


 3390Likes
Thread: 55 Wagon Progress


Results 766 to 780 of 1865
 LinkBack URL
 About LinkBacks
-
03-01-2016 08:04 PM #766
 CHR Member

- Join Date
- Jun 2008
- Location
- Leonardtown
- Car Year, Make, Model: Walking
- Posts
- 1,228
Worked on some louvers tonight, wanted to get some practice pieces done to see how well our "theory" might fare.
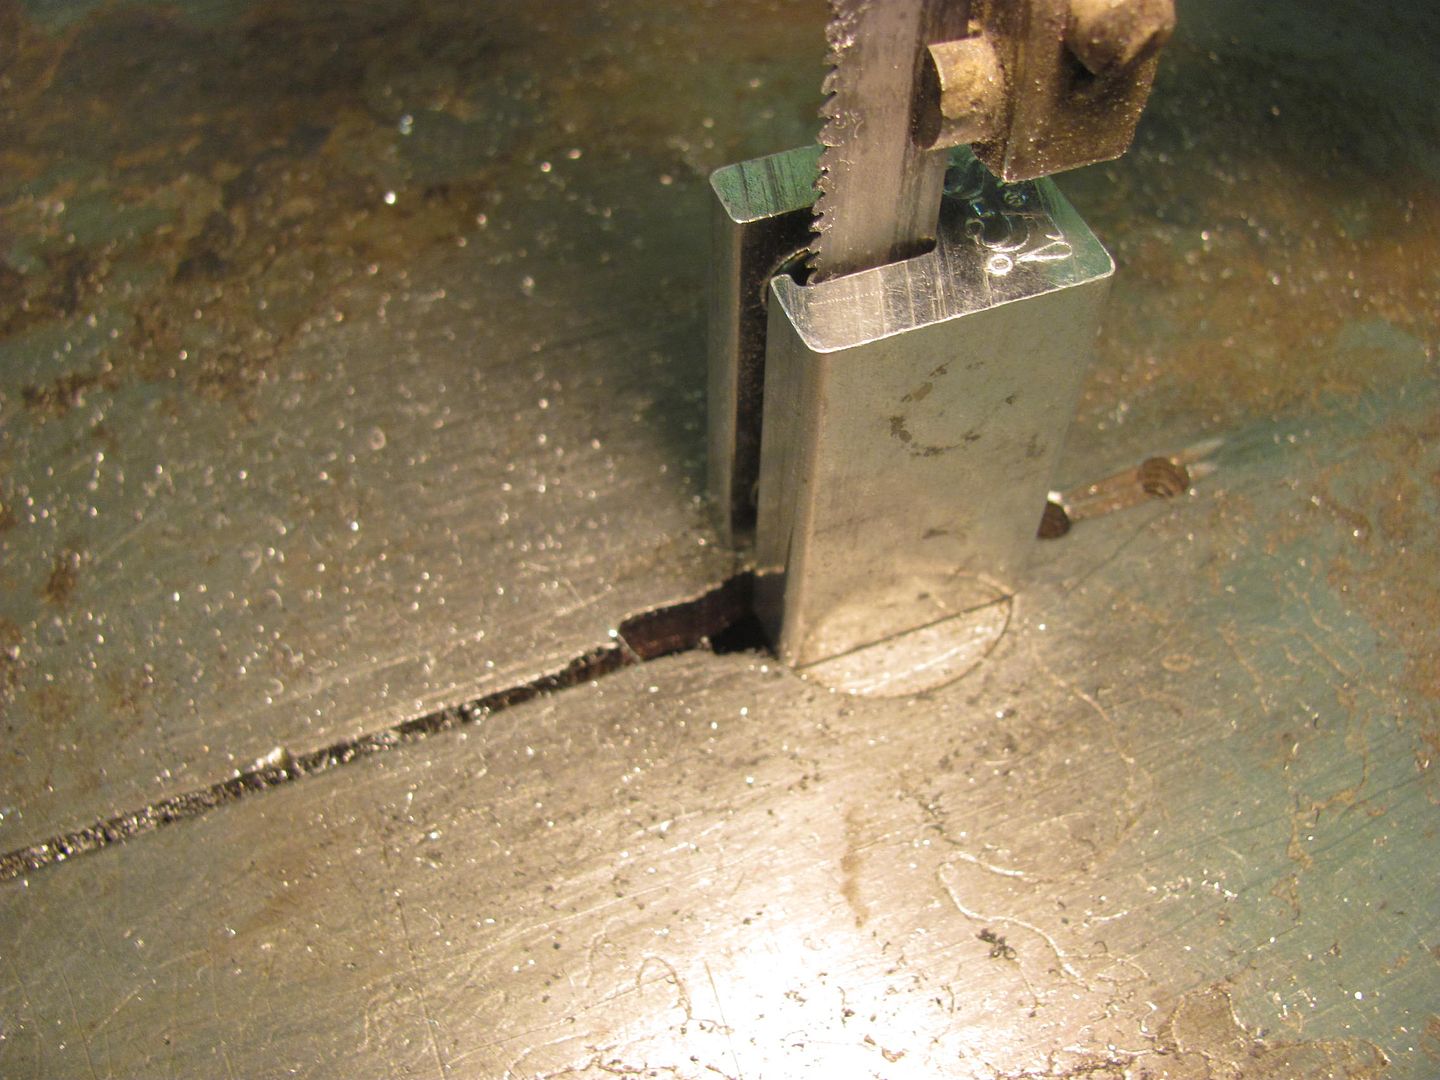
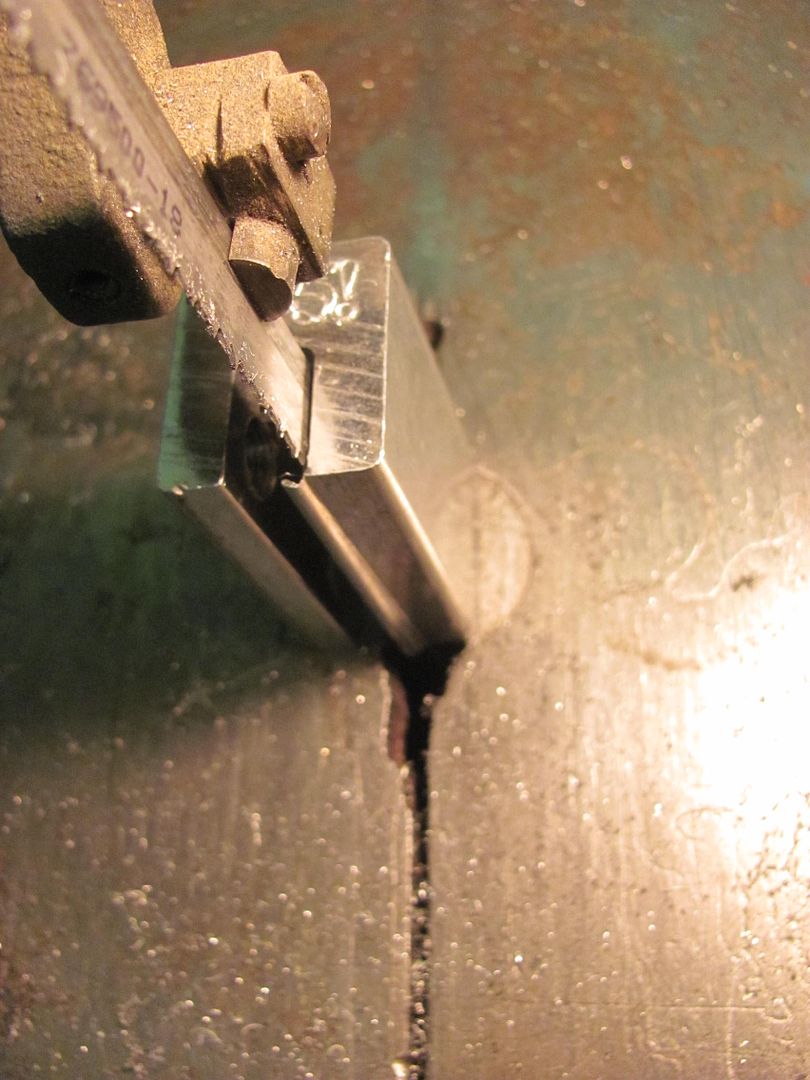
Kyle cutting an inside lip off the clamp before cutting it in half..
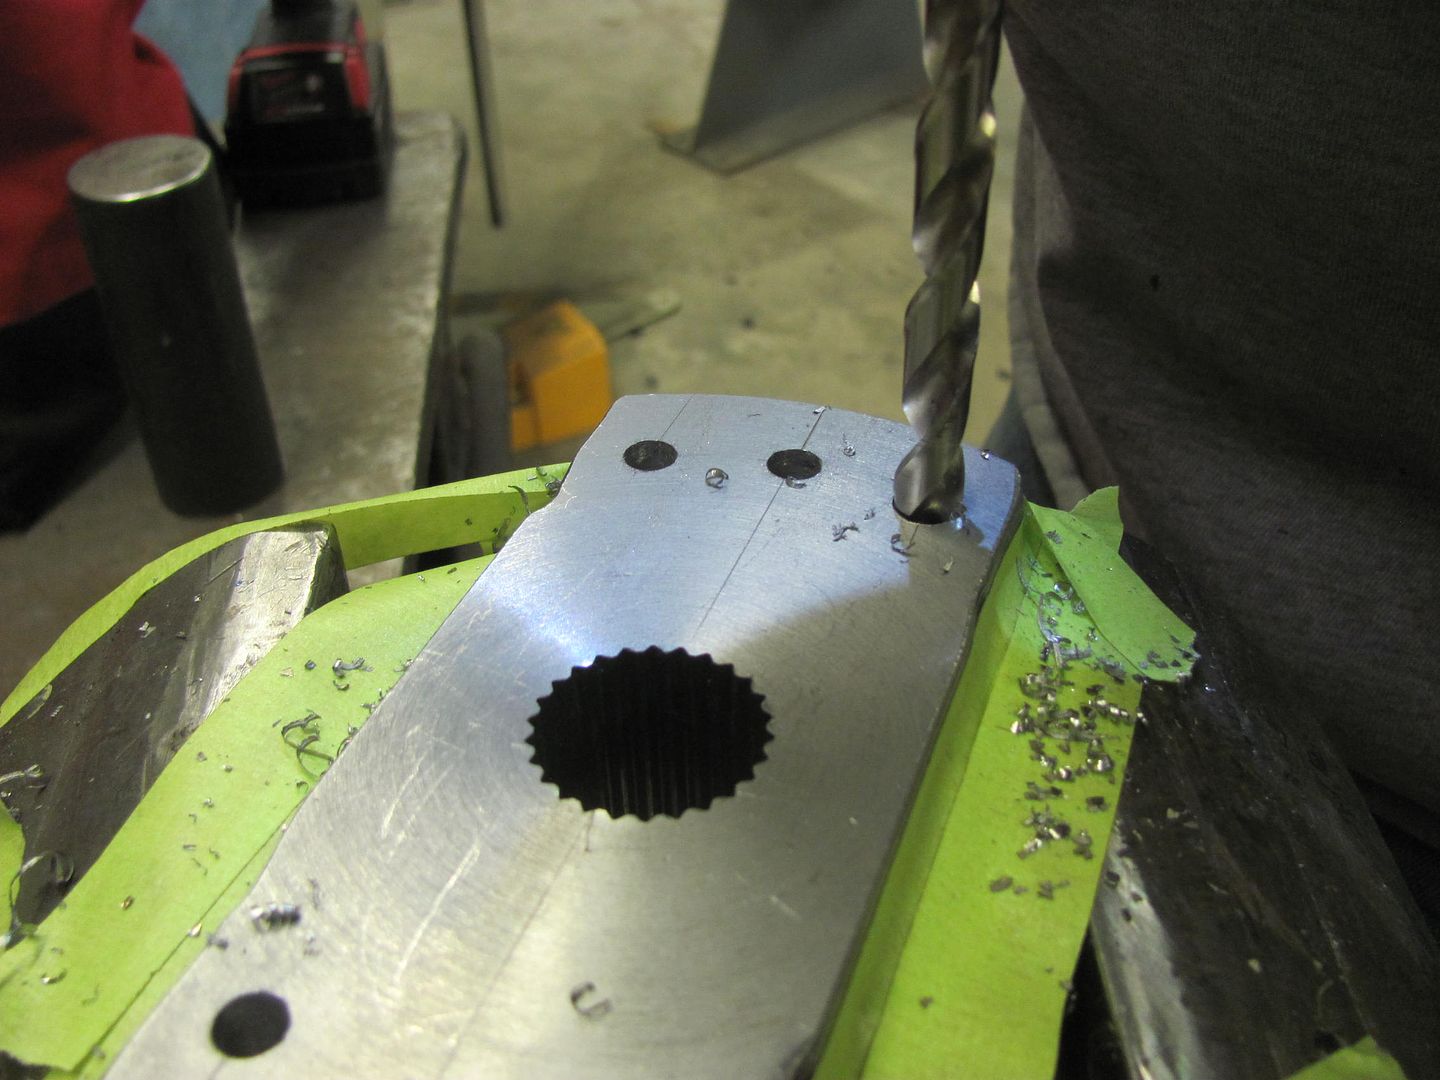
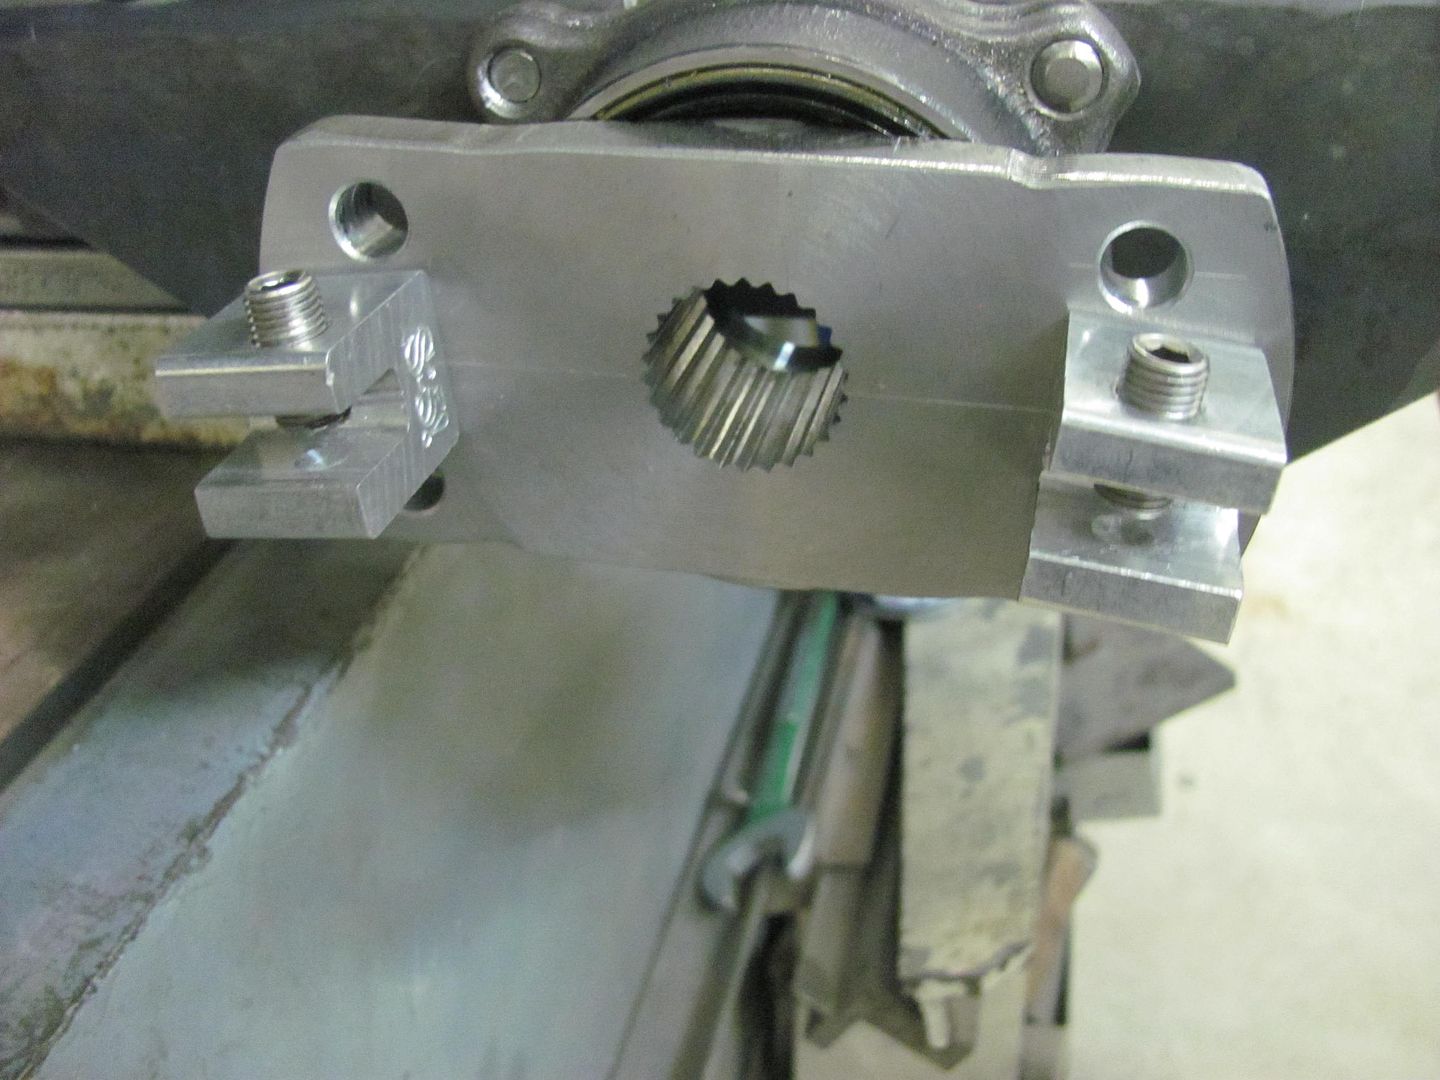
Meanwhile I got the holes (and some spares for height adjustment) drilled in the wheel hub flange...
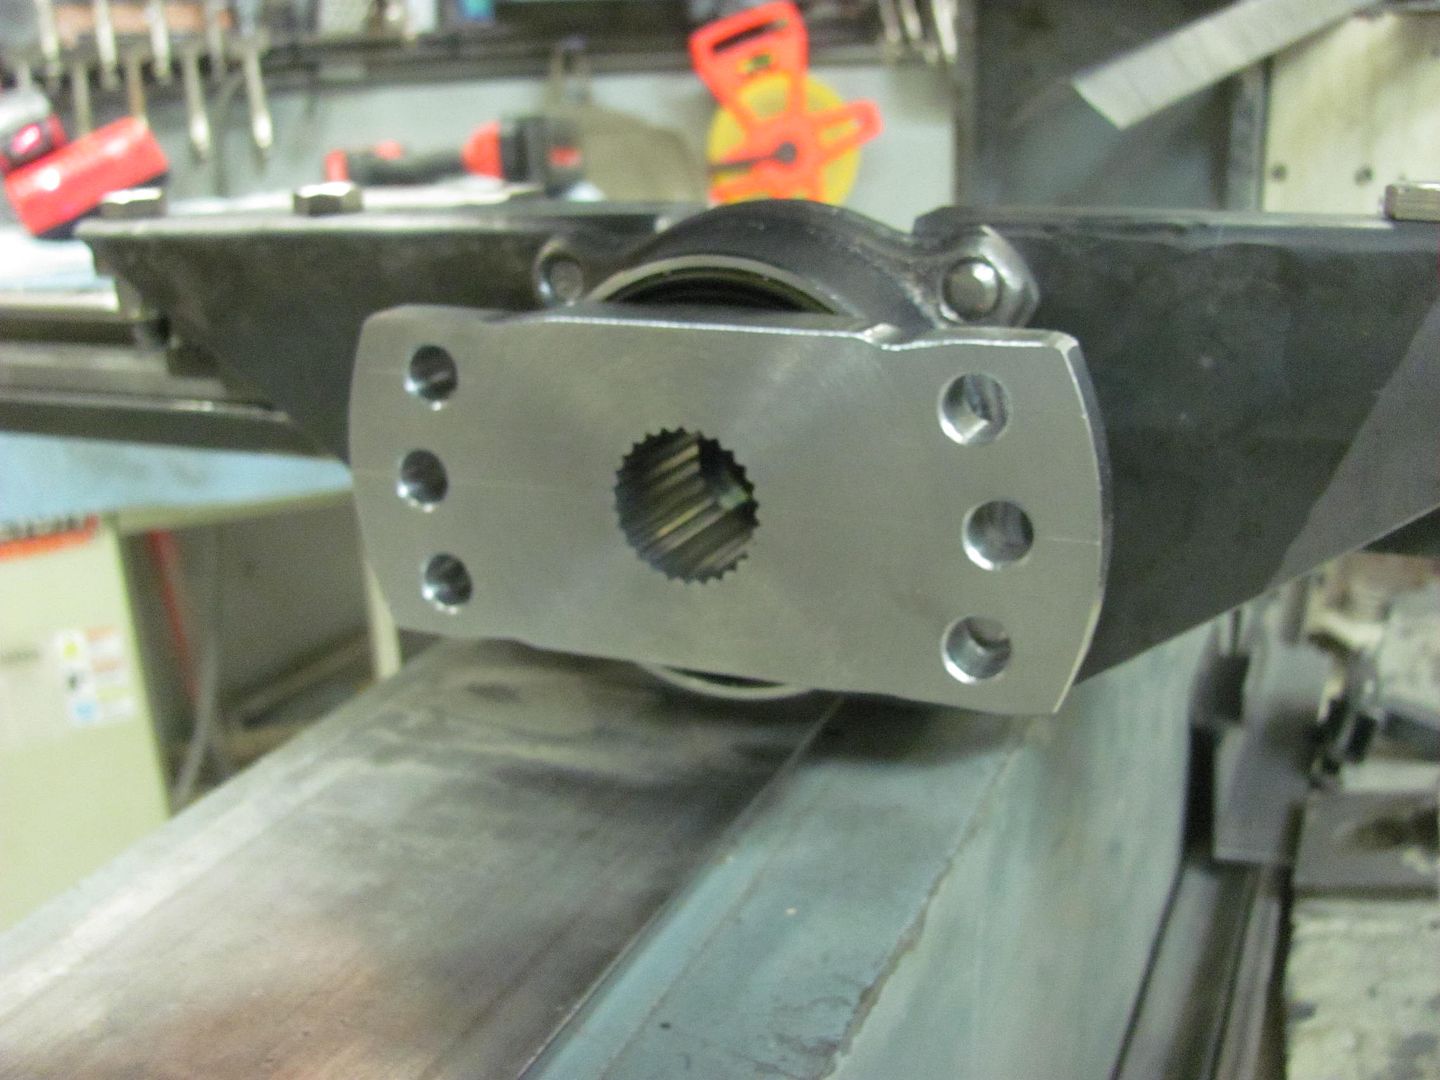
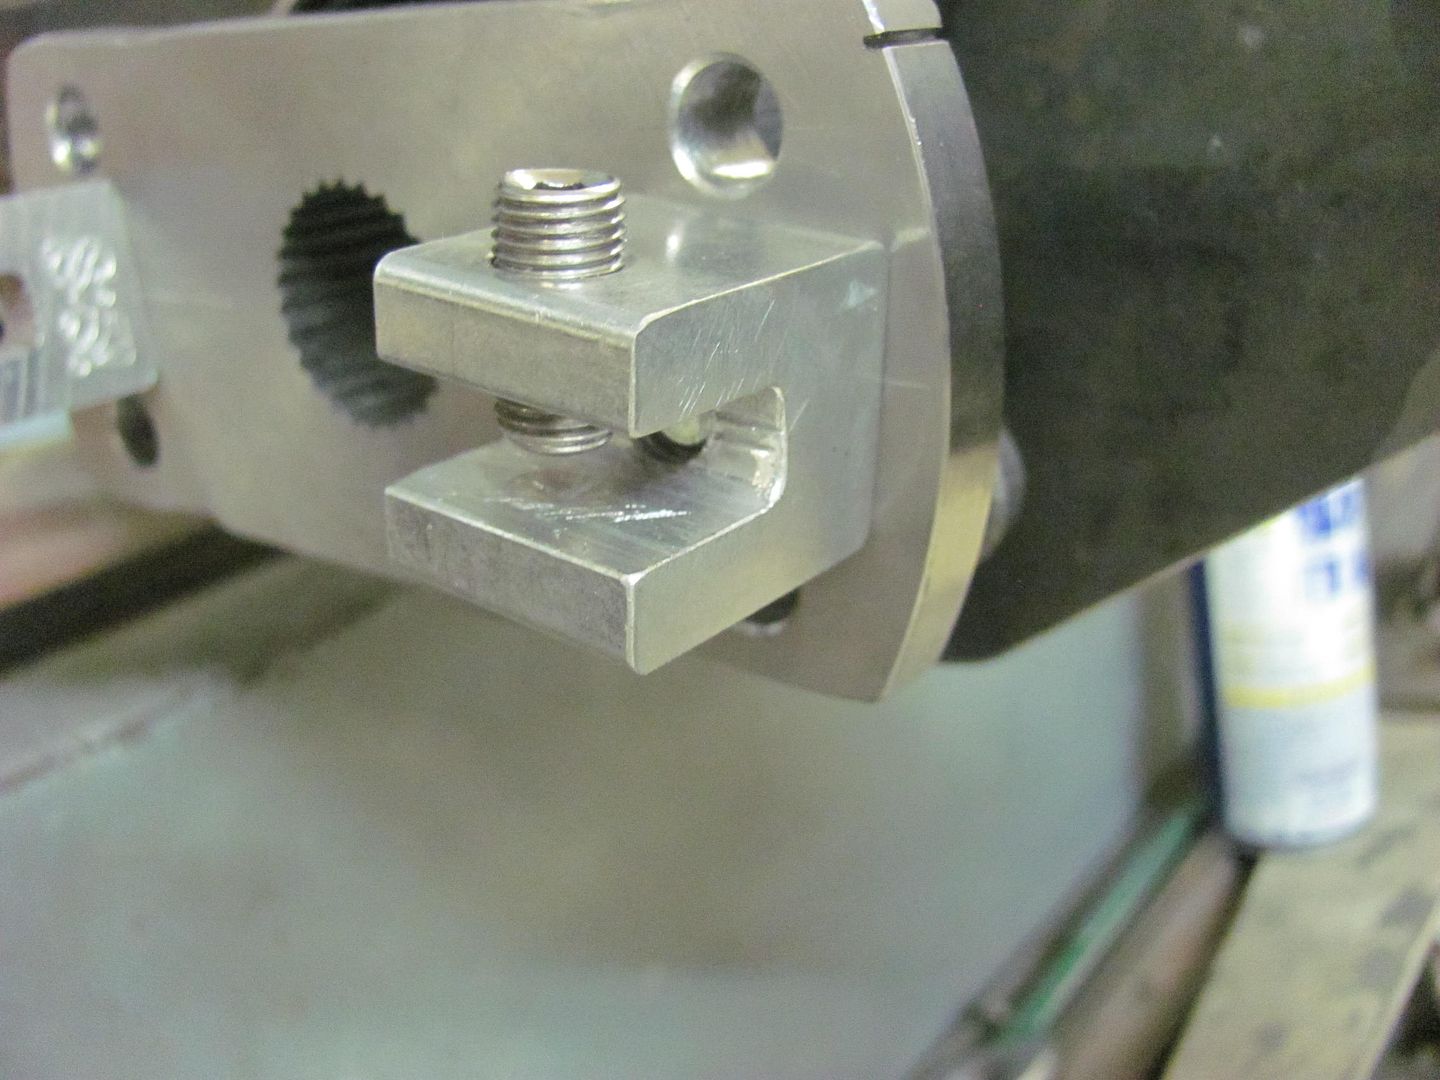
Clamps added...
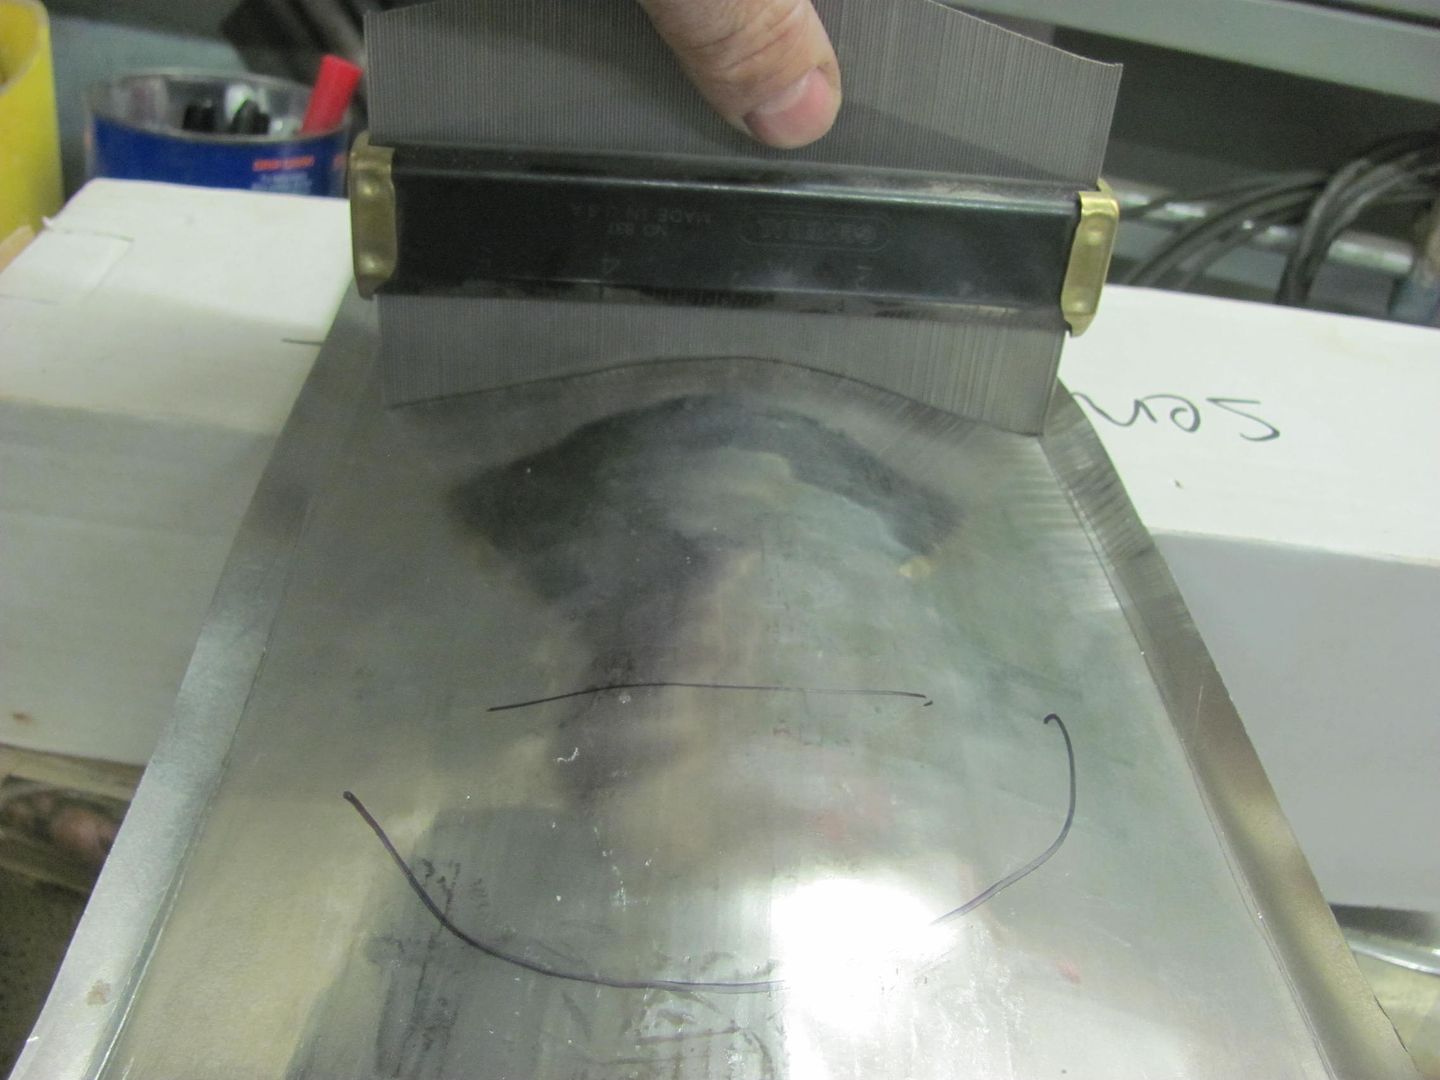
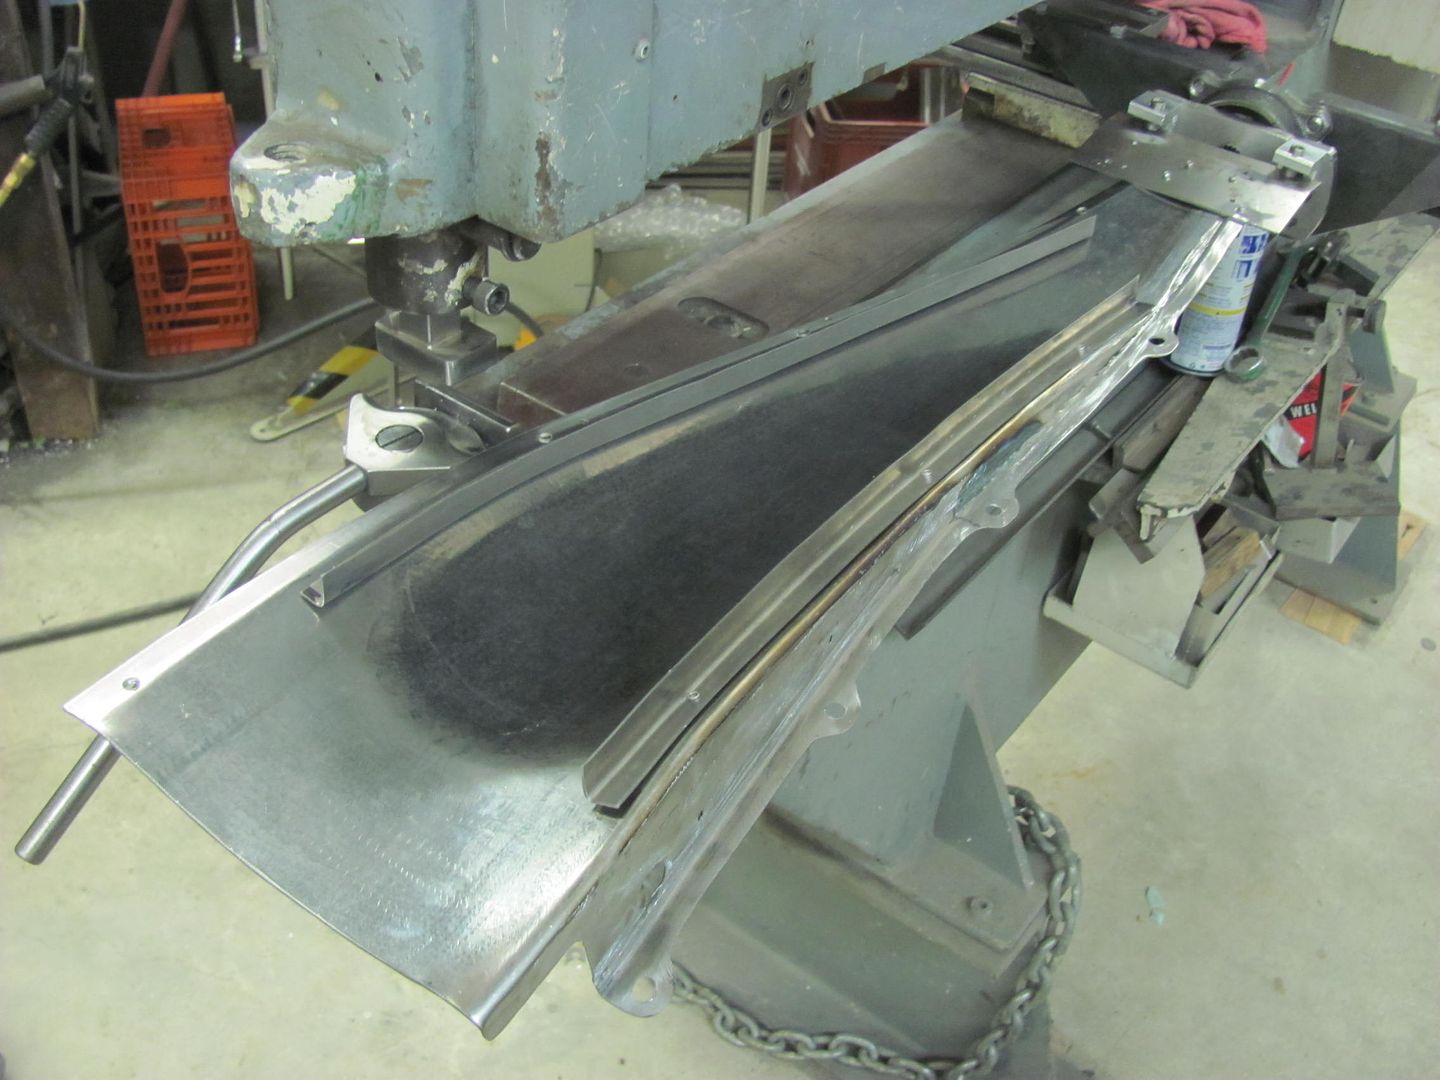
We used a "squaring plate" to align the panel for louver angle..
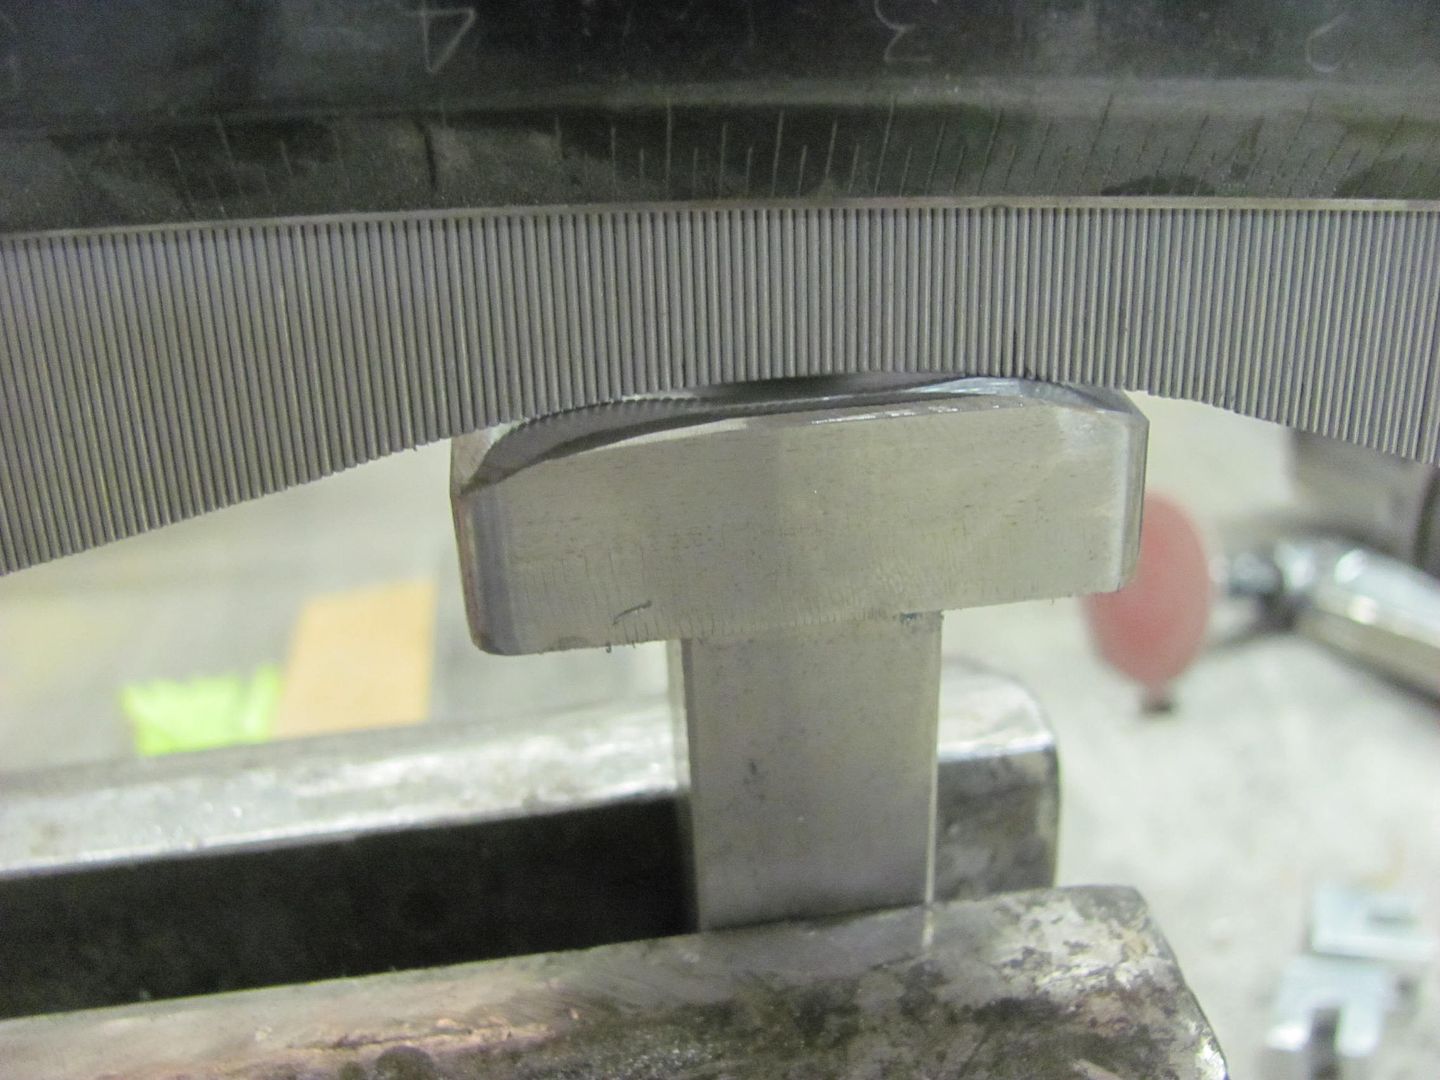
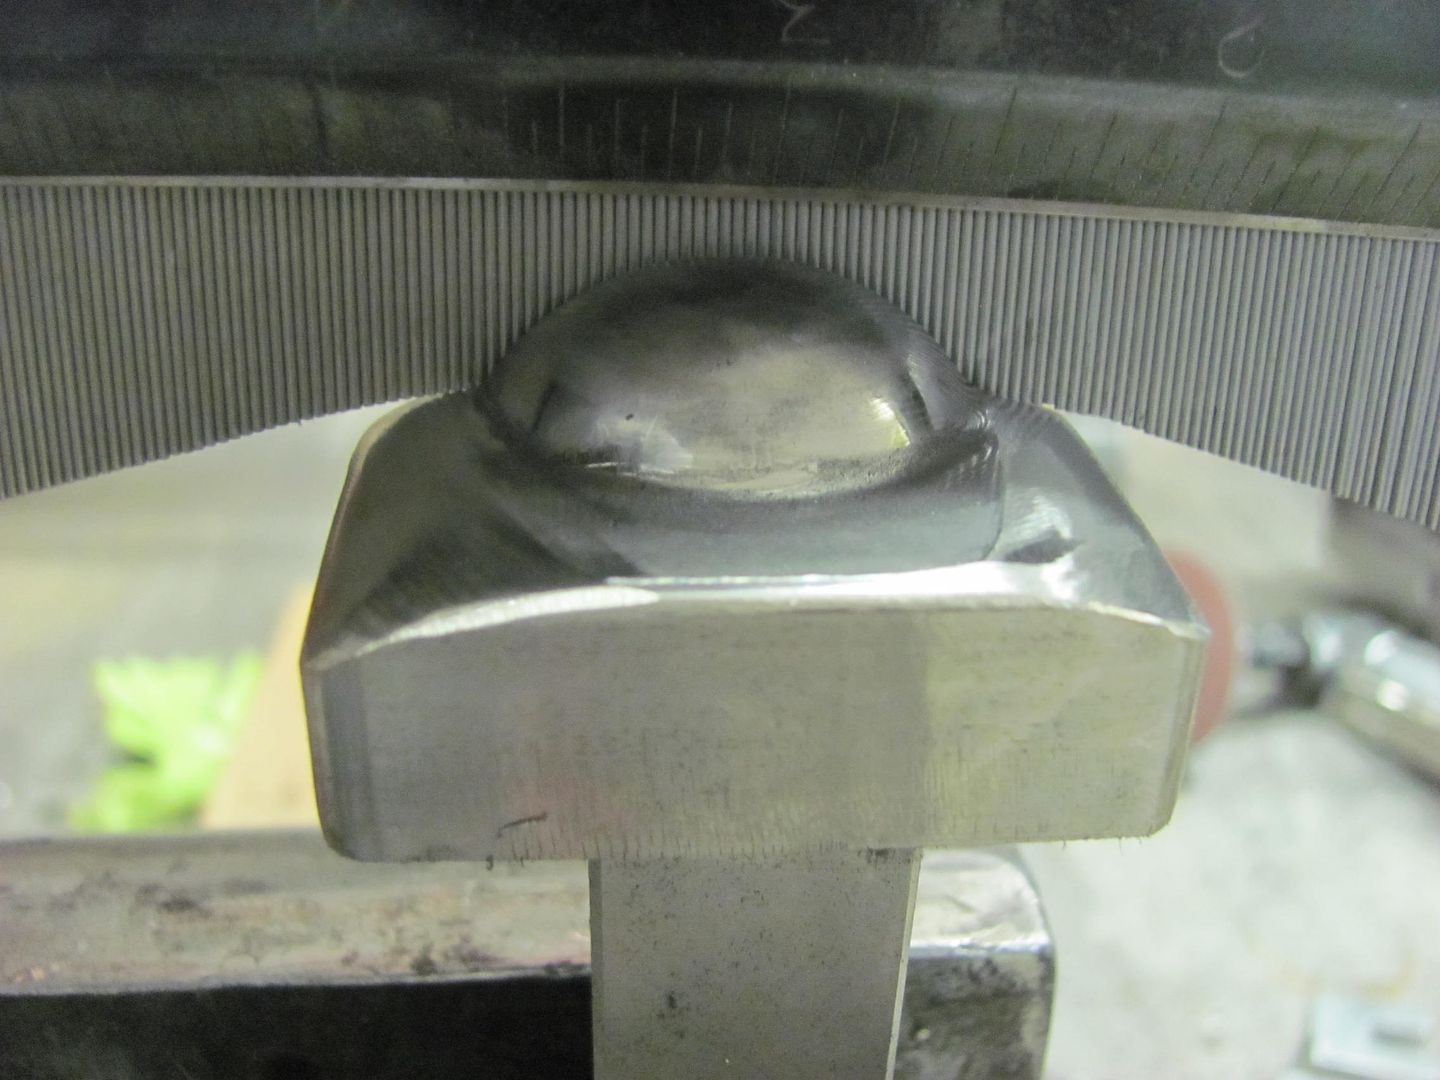
The punch needed some relieving to insure the corners didn't hit the inside radius of the panel...
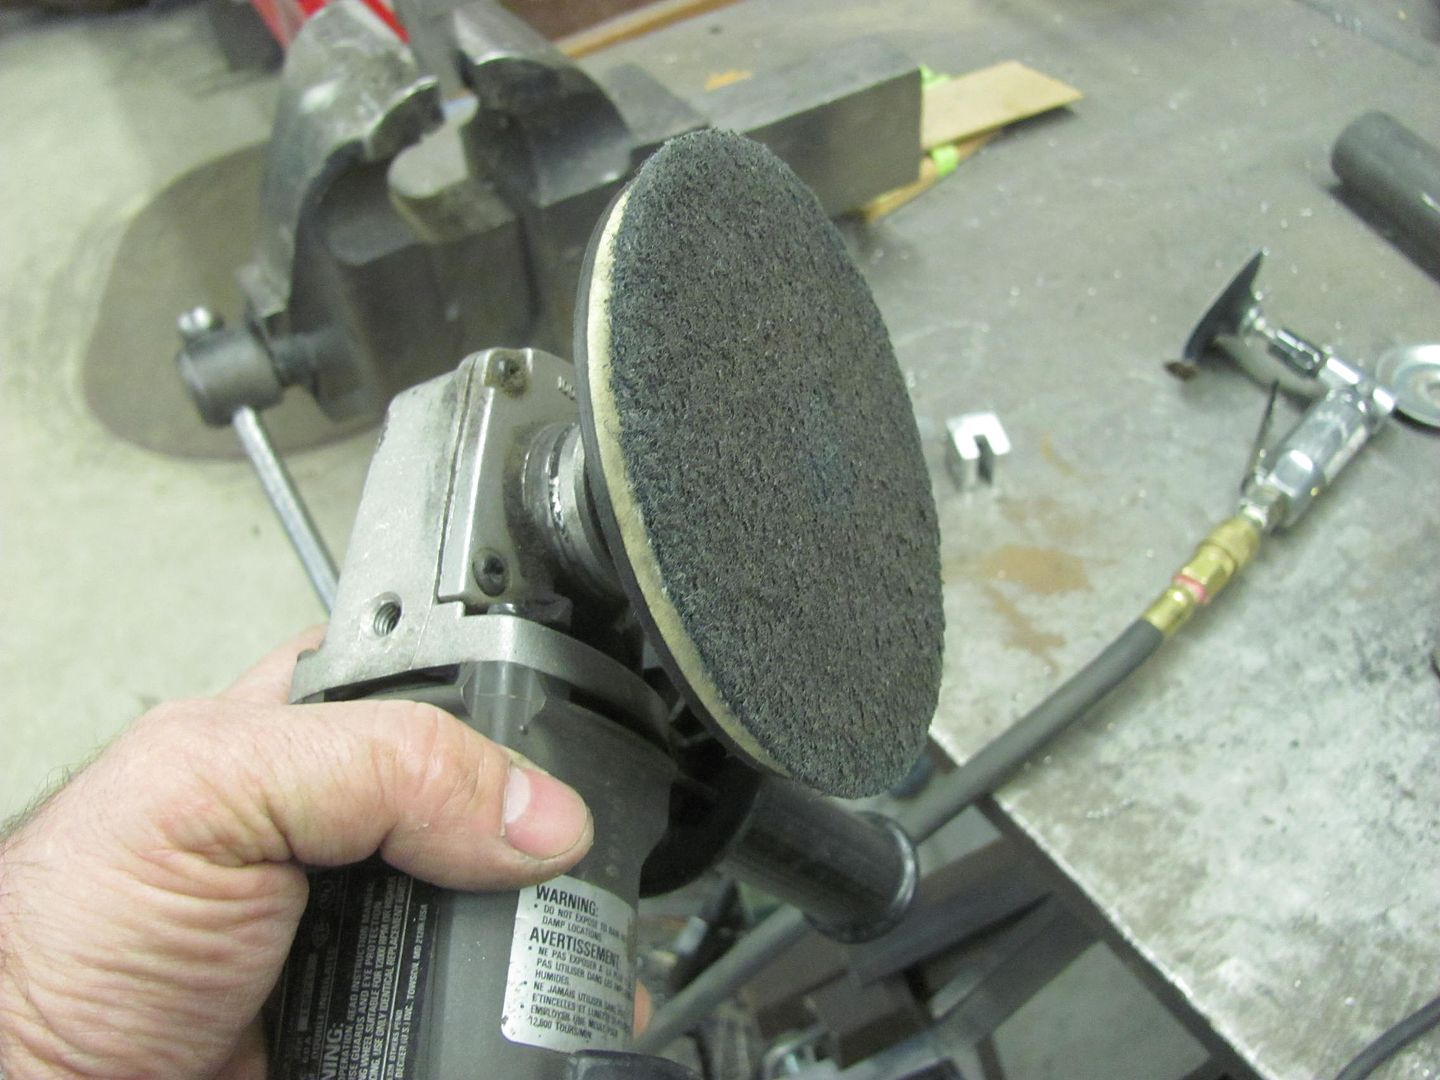
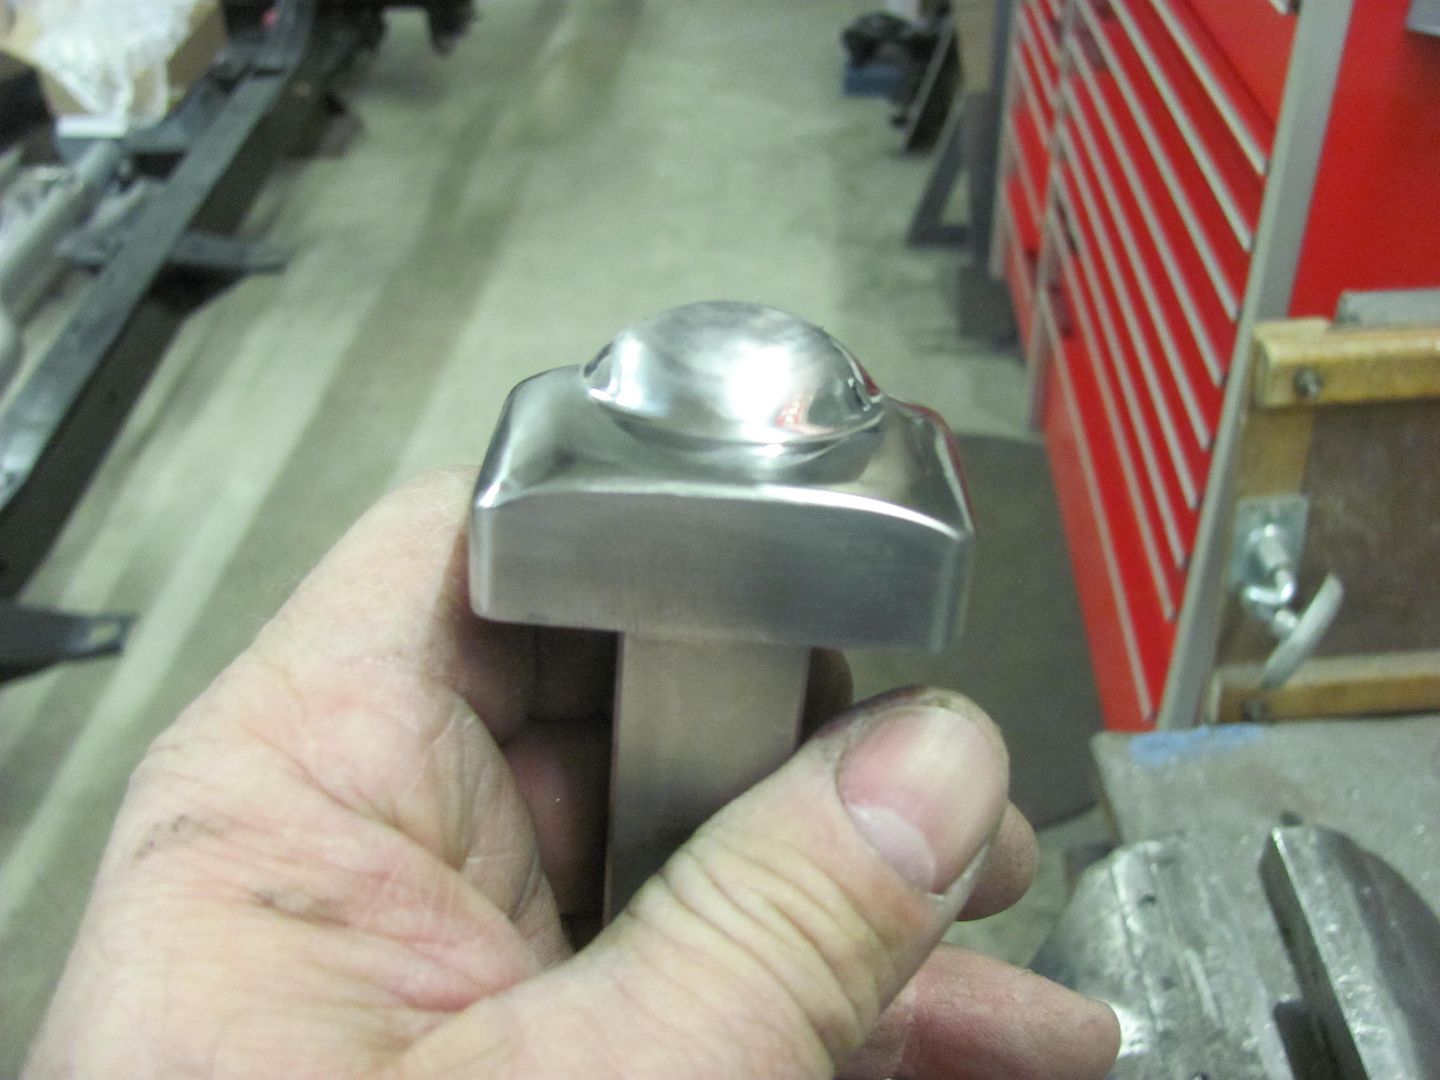
Cleaned up the grinder marks with a Scotchbrite pad..
Looking at the louvers...
Action shots:
https://youtu.be/EEyI10qb4BI

We have some more relieving to do on the tooling to eliminate some marking, then we'll do one more practice piece before breaking into the good stuff..Robert
-
Advertising

- Google Adsense
- REGISTERED USERS DO NOT SEE THIS AD
-
03-01-2016 09:07 PM #767
CHR Member
- Join Date
- Sep 2005
- Location
- Hamilton
- Car Year, Make, Model: 69 nomad, 73 charger, 74 vega
- Posts
- 3,900
Send me your practice pieces. I'll find something to do with them..
Education is expensive. Keep that in mind, and you'll never be terribly upset when a project goes awry.
EG
-
03-02-2016 05:32 AM #768
CHR Member
- Join Date
- Jun 2008
- Location
- Leonardtown
- Car Year, Make, Model: Walking
- Posts
- 1,228
You should see the scrap pile...
Robert
-
03-02-2016 07:51 AM #769
CHR Member
- Join Date
- Sep 2013
- Location
- Portage
- Car Year, Make, Model: 31 A Coupe
- Posts
- 567
Does relieving the tooling effect the dies for use on flat surfaces?
Richhttp://www.clubhotrod.com/hot-rod-bu...del-coupe.html
-
03-02-2016 08:02 AM #770
CHR Member
- Join Date
- Jun 2008
- Location
- Leonardtown
- Car Year, Make, Model: Walking
- Posts
- 1,228
Rich, I don't think I'm that close to affect it, but then I haven't tried it yet either. :fingerscrossed:Robert
-
03-03-2016 08:00 PM #771
CHR Member
- Join Date
- Jun 2008
- Location
- Leonardtown
- Car Year, Make, Model: Walking
- Posts
- 1,228
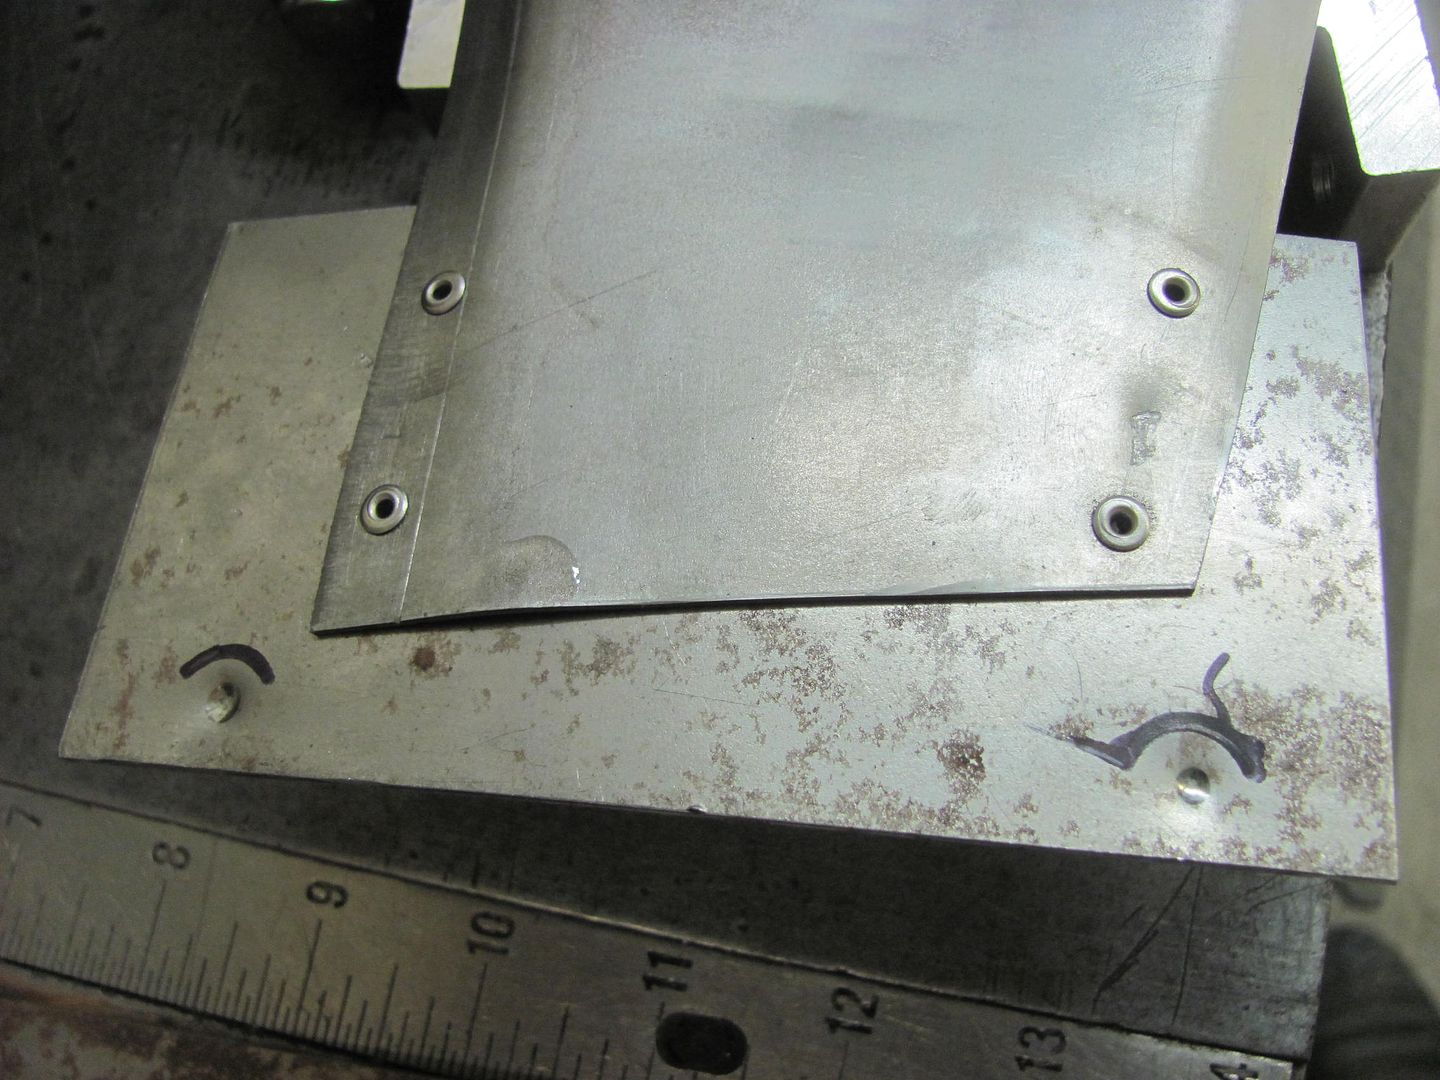
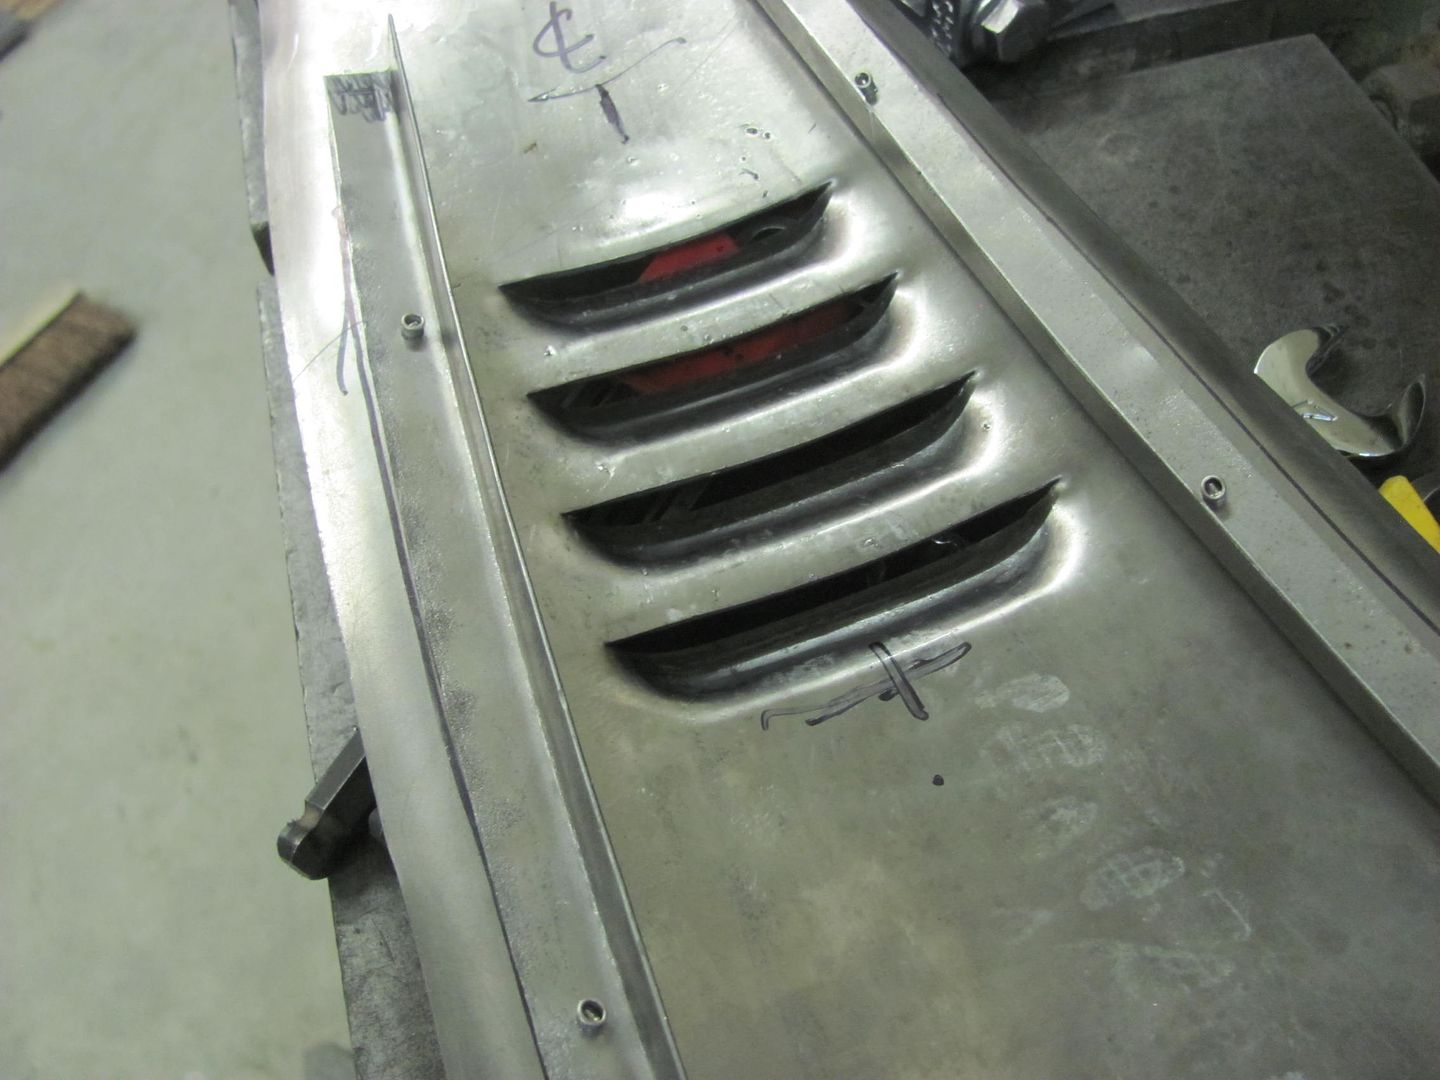
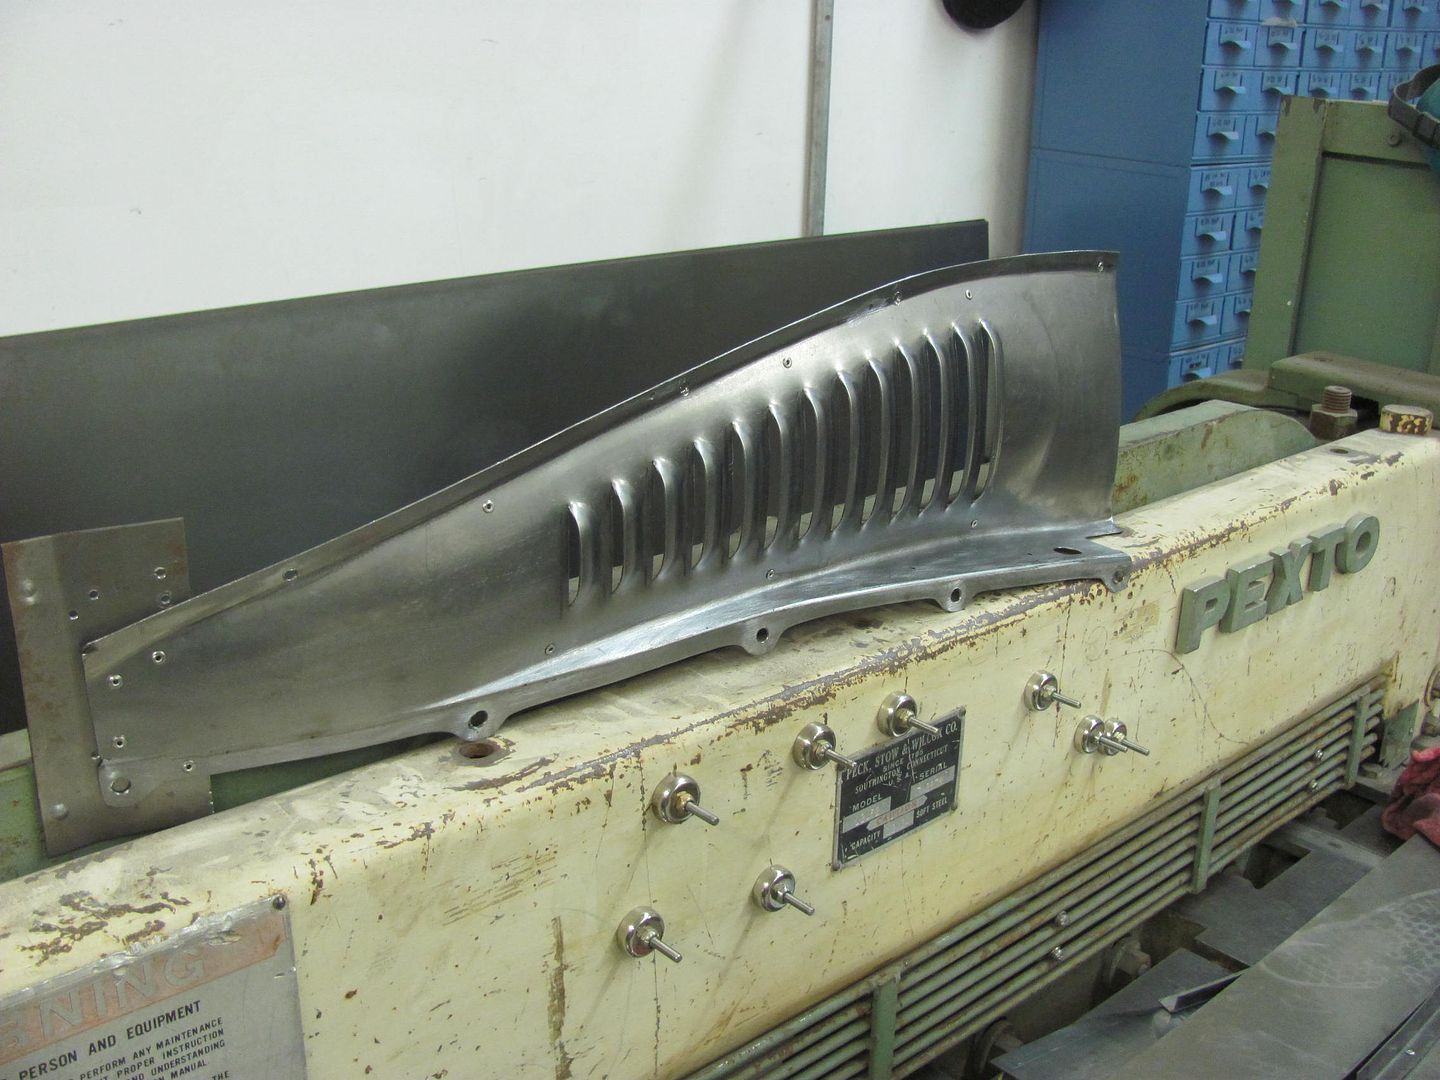
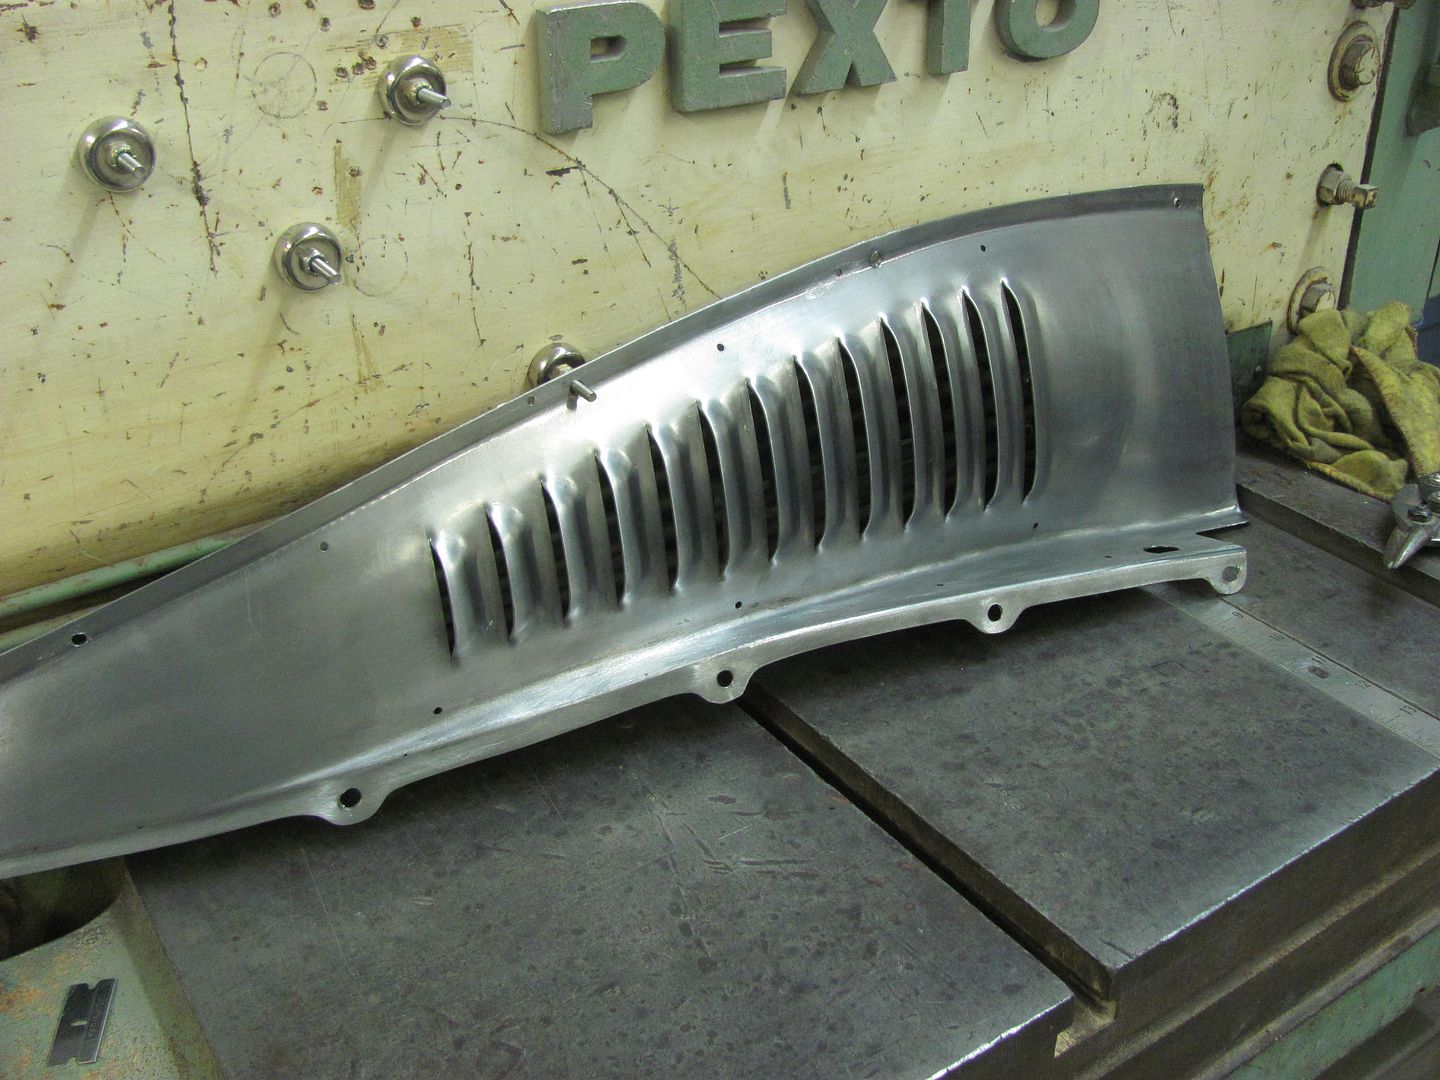
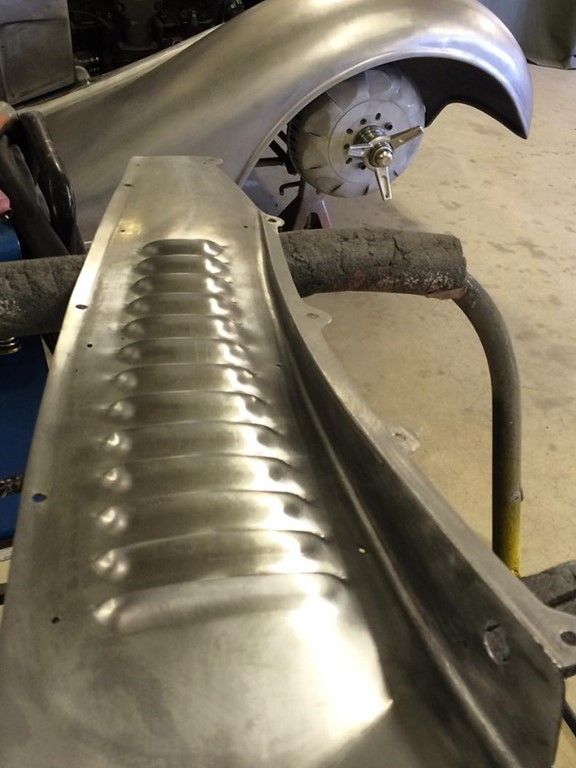
Here's the next practice panel as compared to Cody's inner fender panel..
Punching the louvers in the practice panel..
https://youtu.be/n3NVTILslbE
https://youtu.be/sHr2P60cqt8
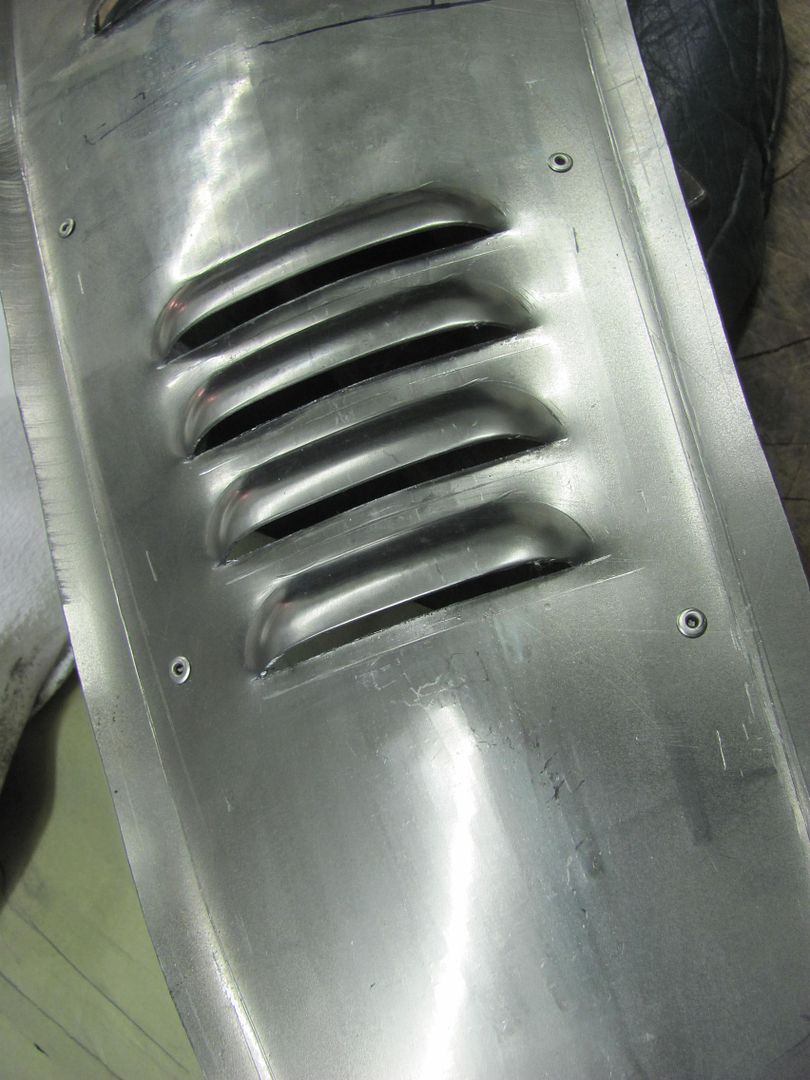
Here's the moment of truth, the inner fender ready for punching...
Looks like our crown still exists!
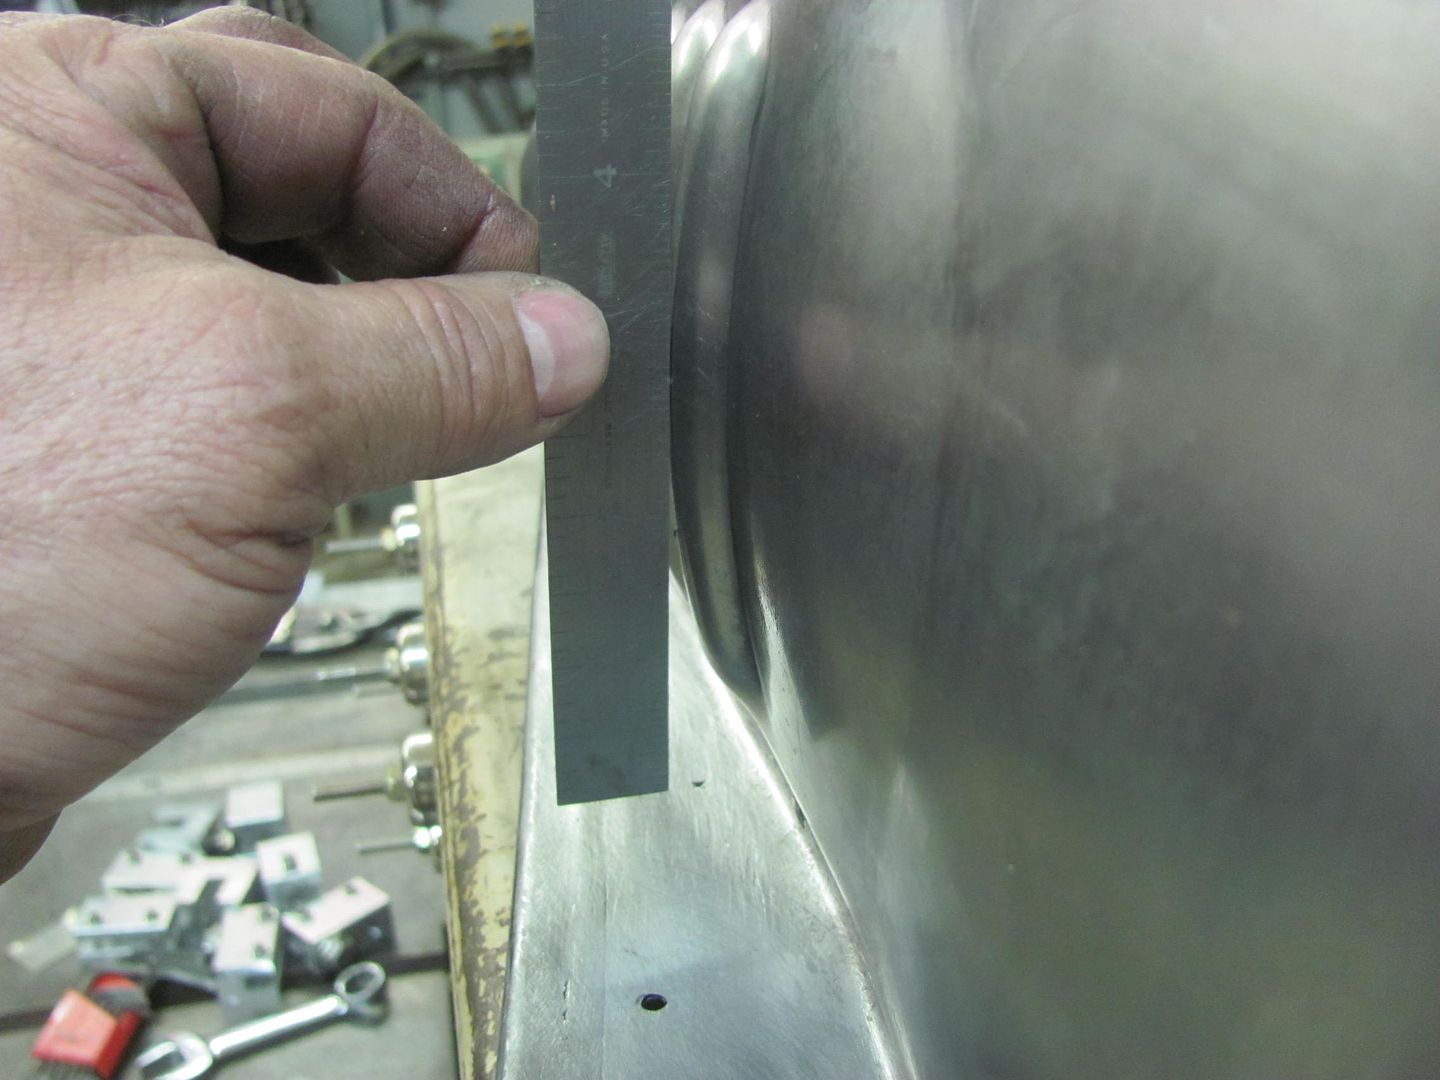

another view....
https://youtu.be/7tcYNZ29WTg
One down, one to go..Robert
-
03-03-2016 08:46 PM #772
CHR Member
- Join Date
- Apr 2004
- Location
- Little Elm
- Car Year, Make, Model: 34 Ford Low Boy w/ZZ430 Clone
- Posts
- 3,890
Awesome work. I had a '72 Chevy pickup with louvers everywhere, and always wondered how the builder did it.Jack
Gone to Texas
-
03-05-2016 04:31 PM #773
CHR Member
- Join Date
- Jun 2008
- Location
- Leonardtown
- Car Year, Make, Model: Walking
- Posts
- 1,228
Jack, if all your louvers were of the same size, that would have been a single punch per louver rather than a reciprocating machine like we used..
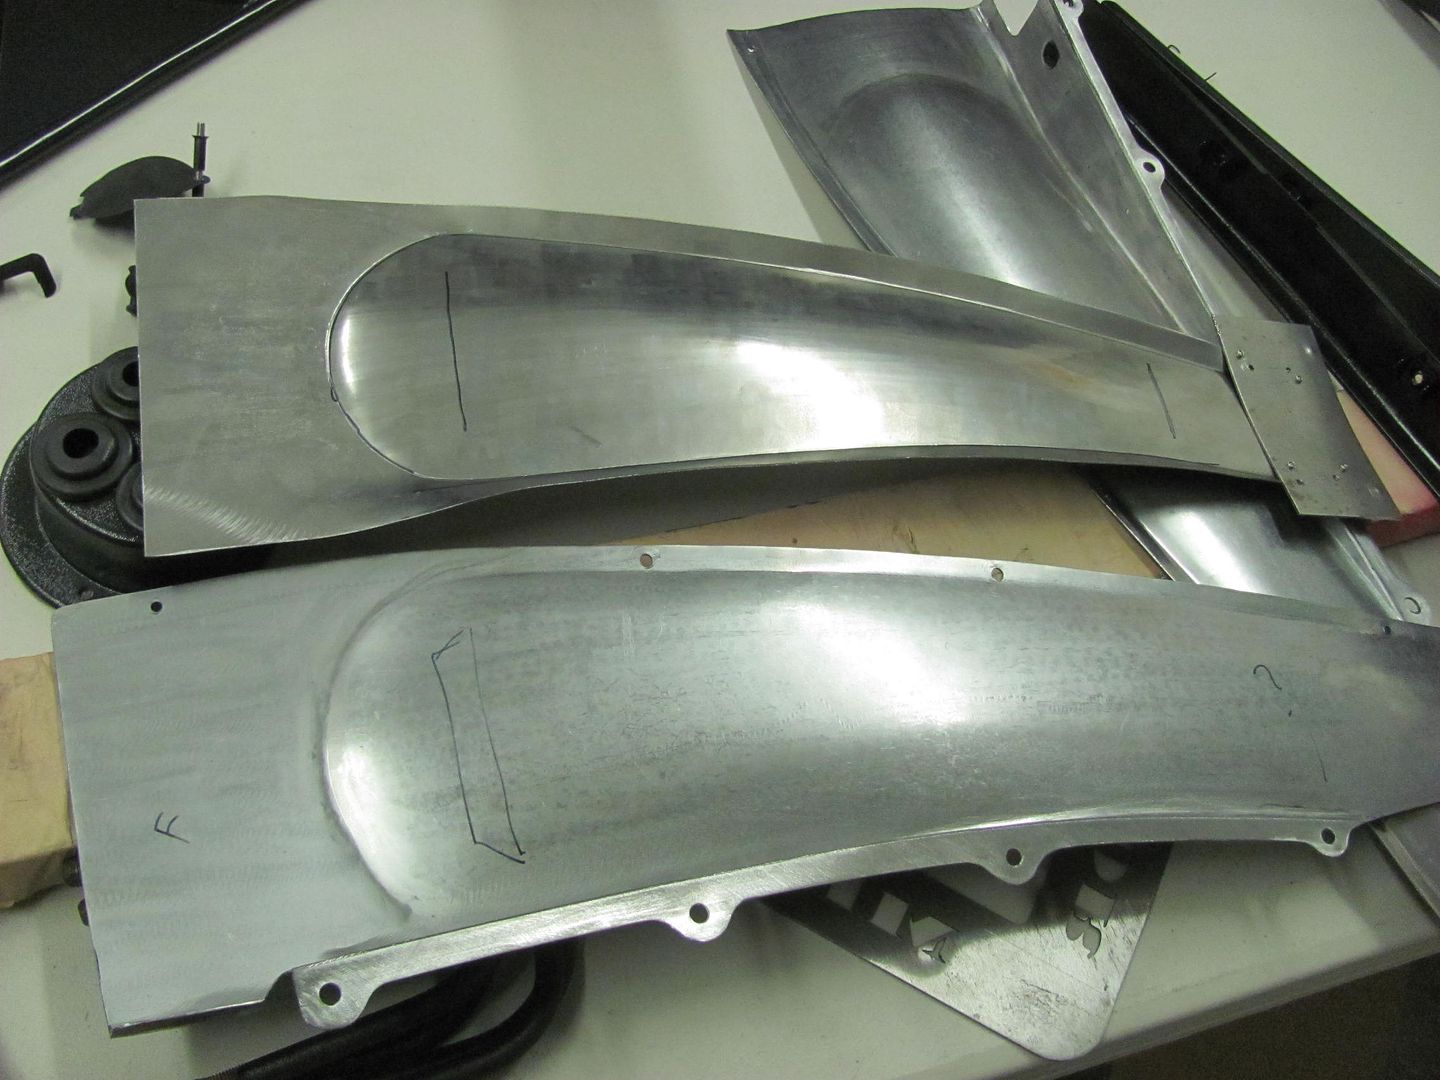
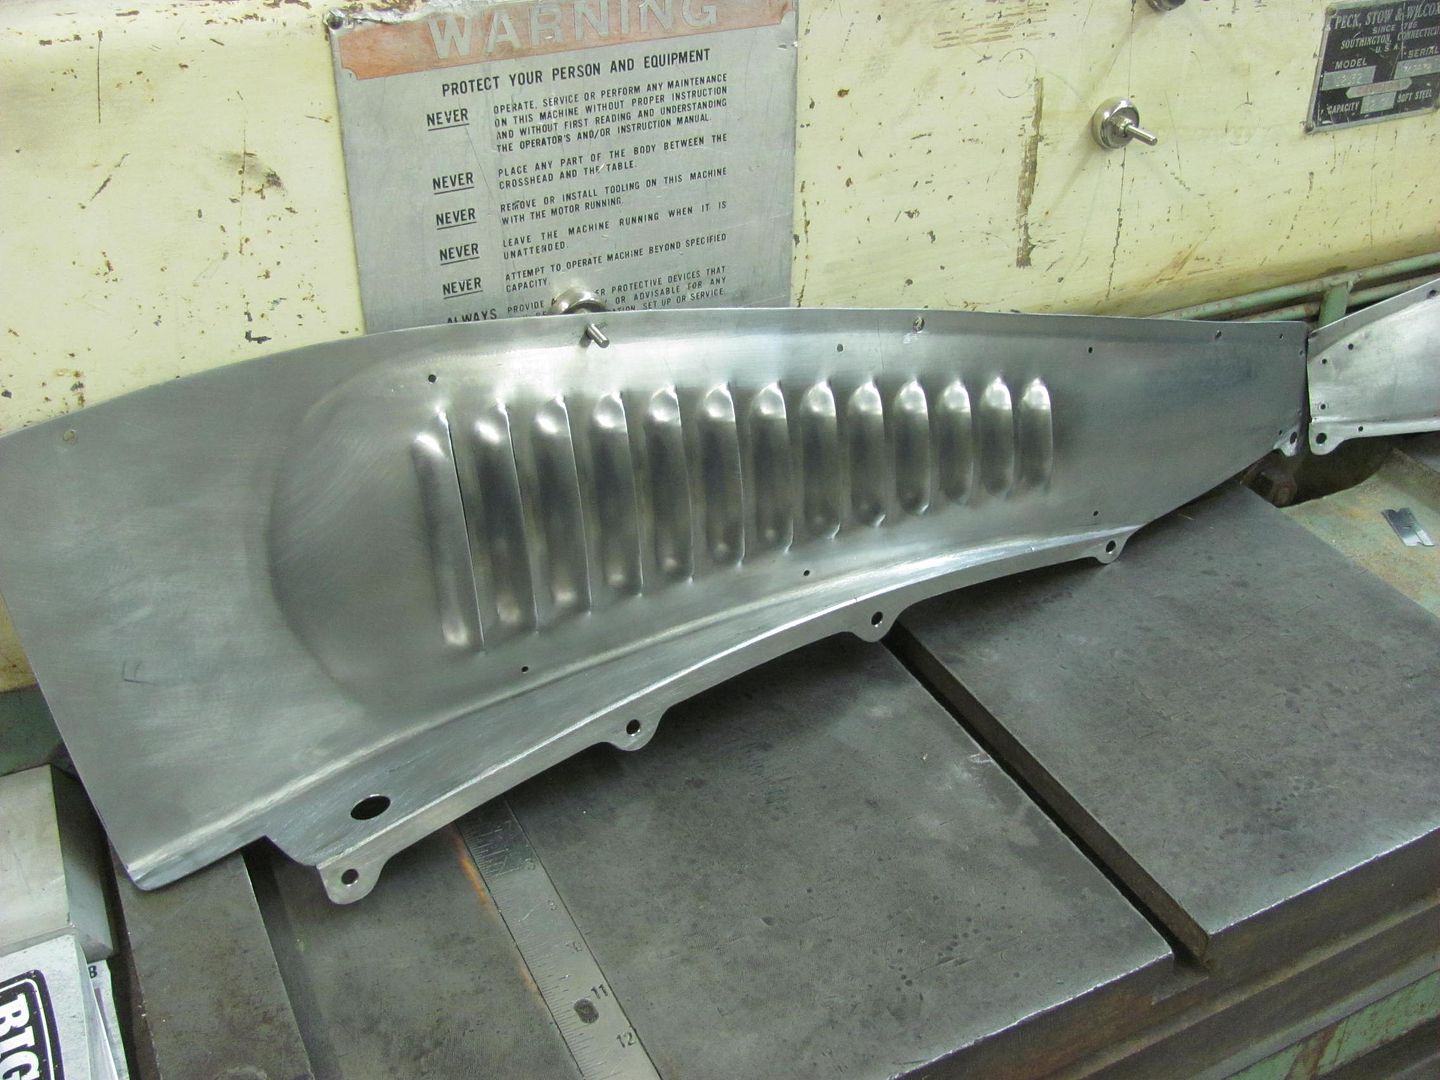
Finished the driver's side inner fender this morning..
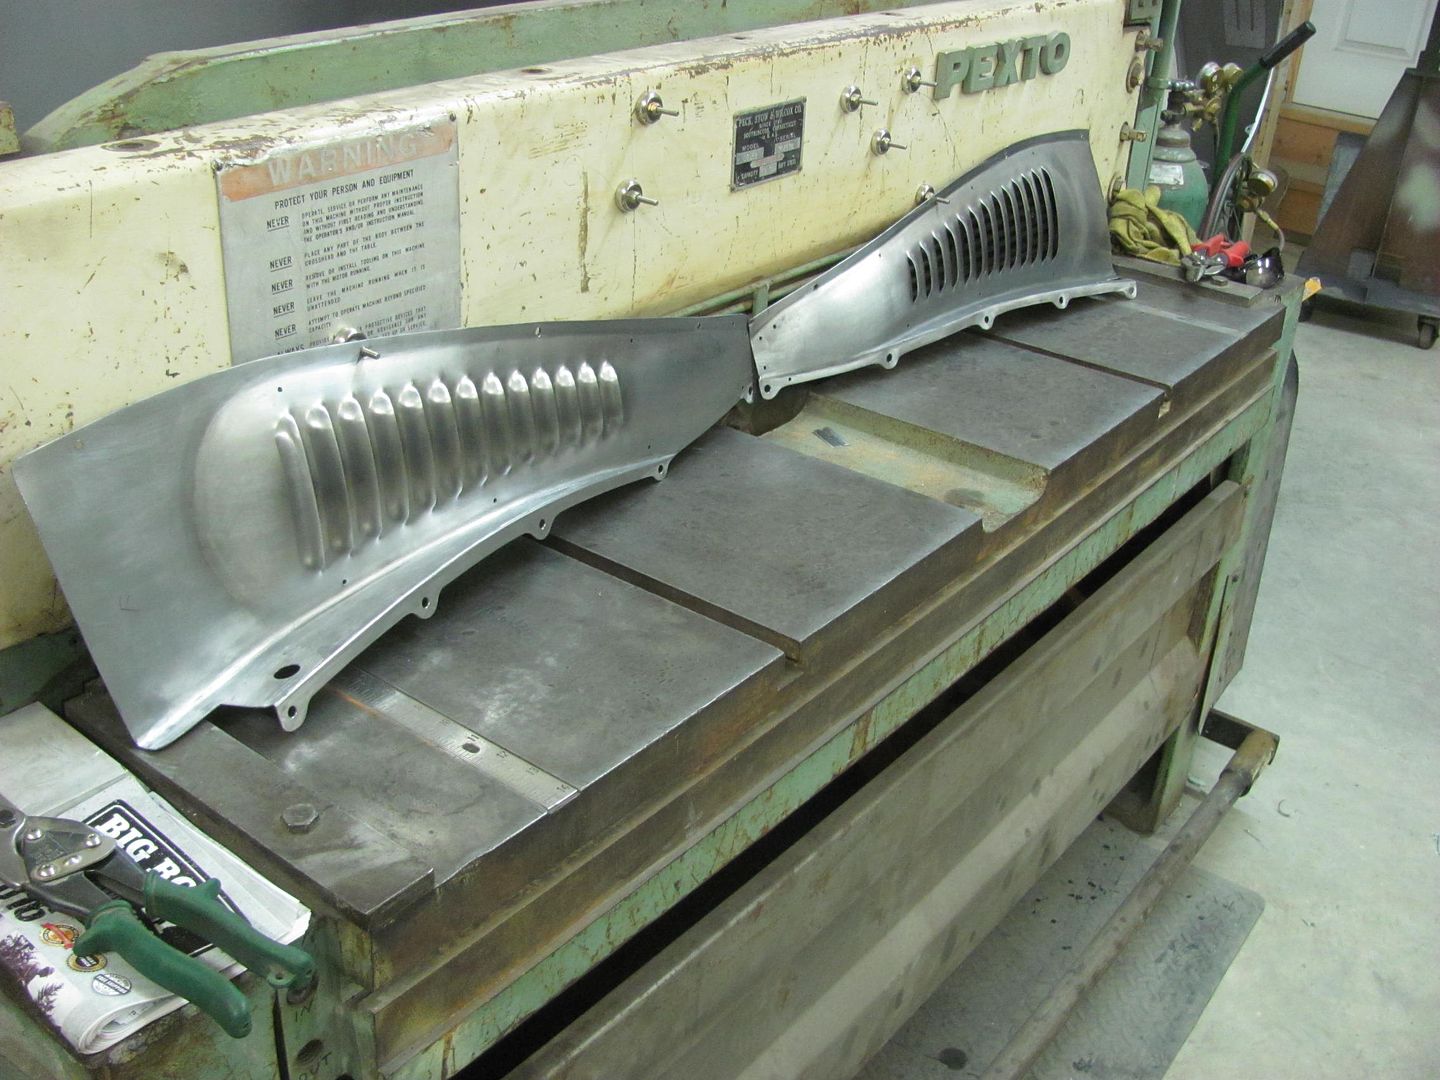
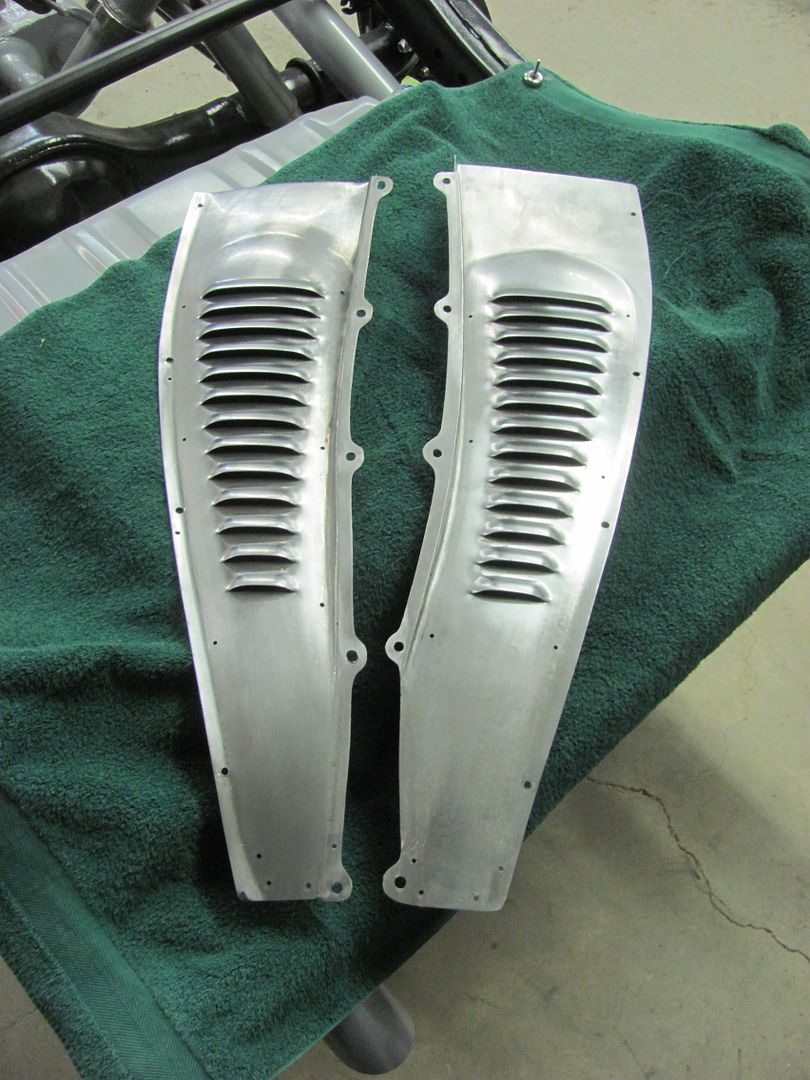
Now to get them back to Cody so he can do some more re-assembly..Robert
-
03-05-2016 05:03 PM #774
CHR Member
- Join Date
- Jun 2008
- Location
- Leonardtown
- Car Year, Make, Model: Walking
- Posts
- 1,228
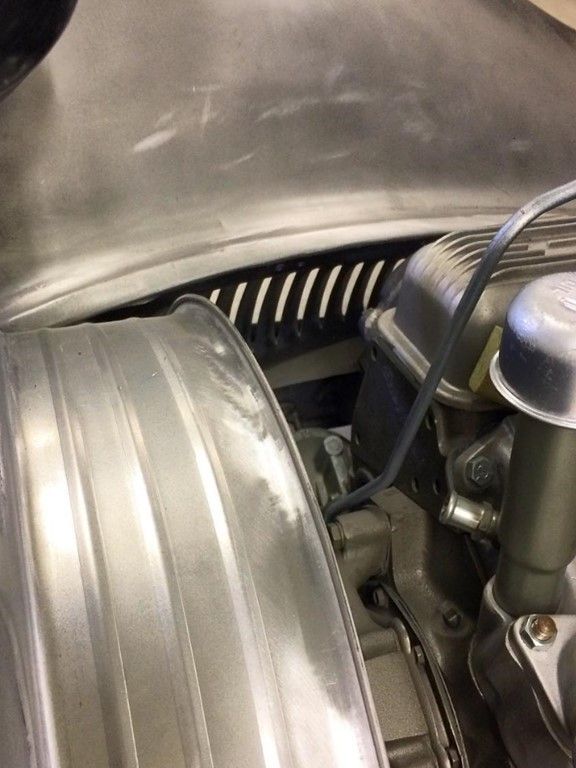
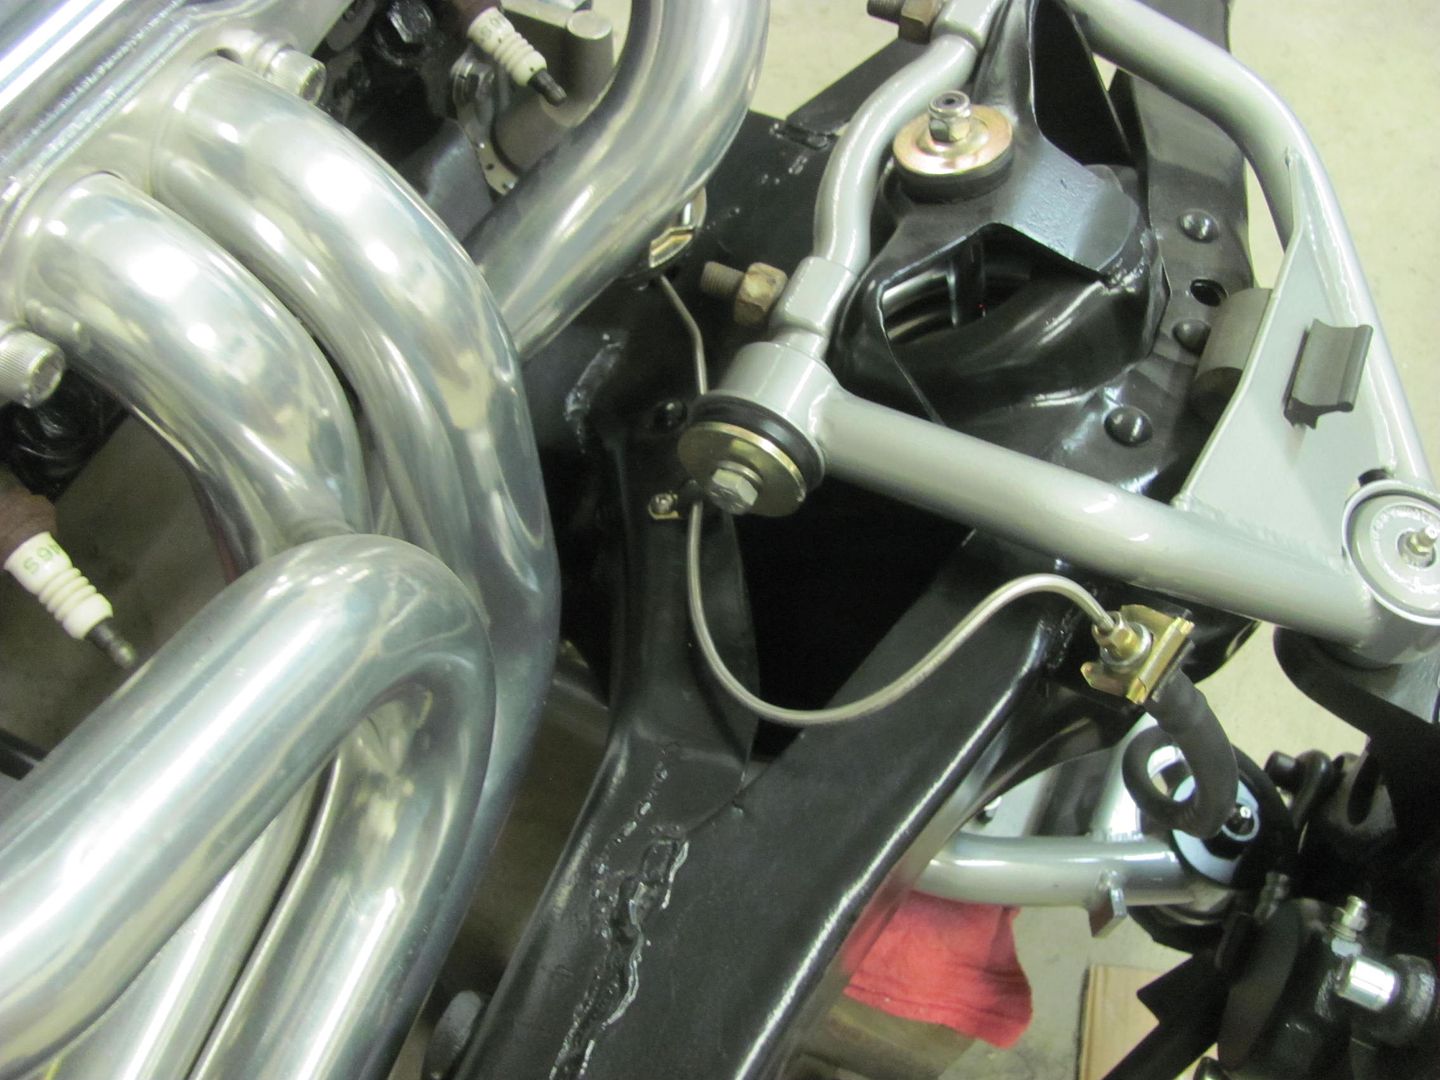
After finishing the louvers this morning, we turned our attention back to the wagon. We started installing the brake lines and found the "kit" the owner had purchased was far from a direct fit. here's the booster and master cylinder we're using...

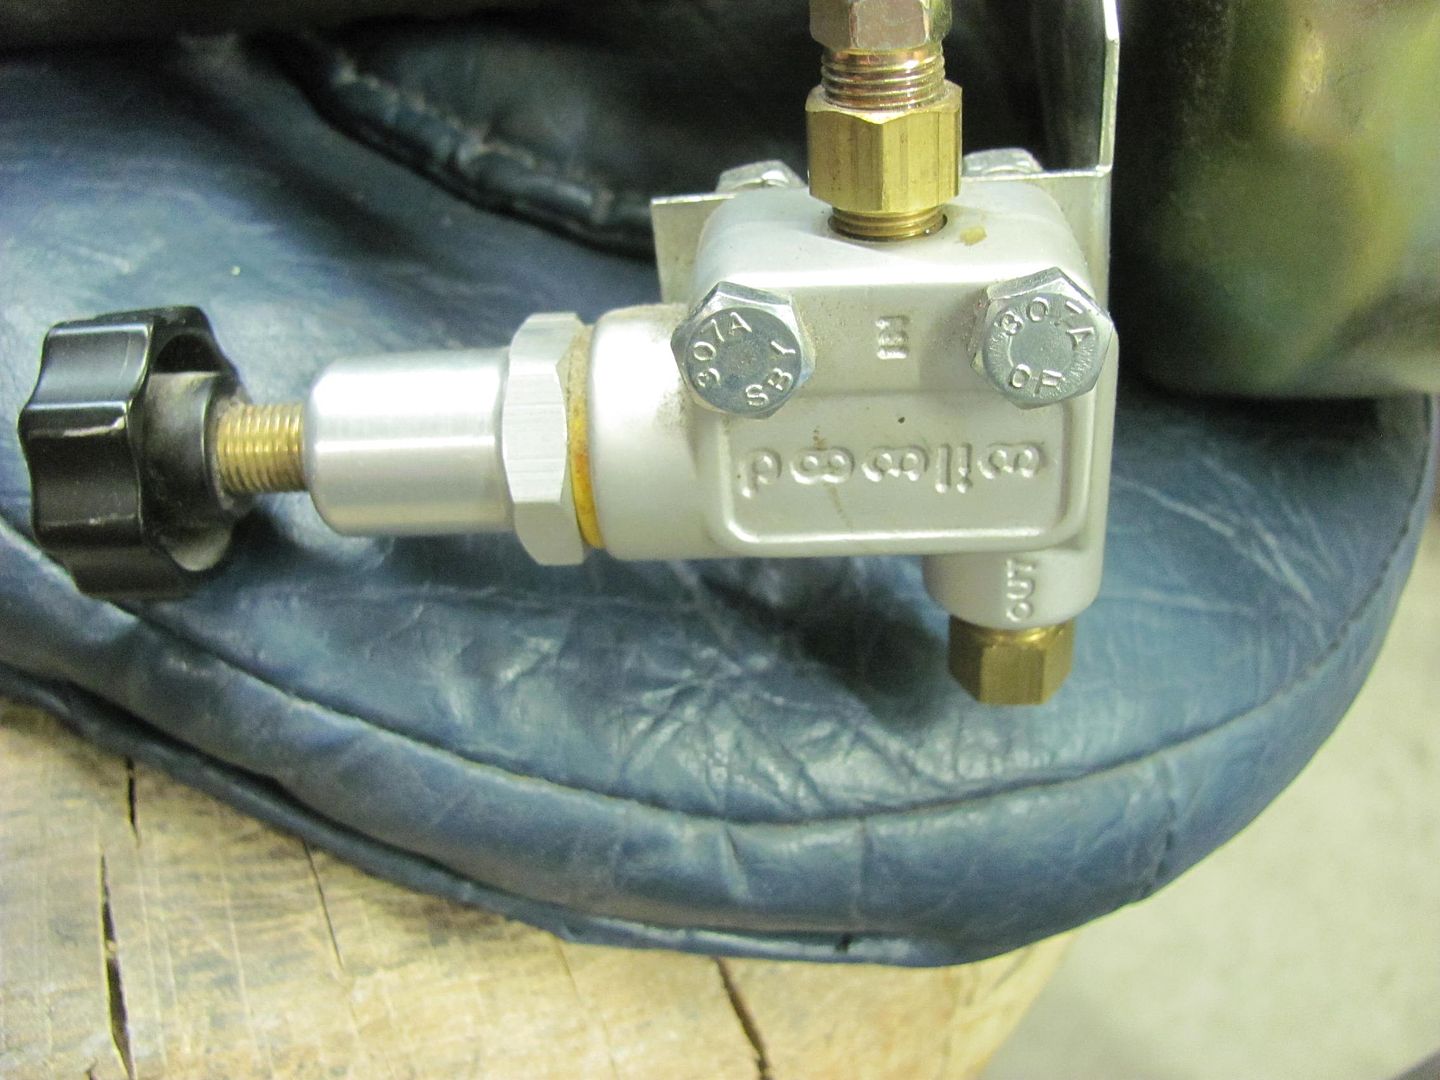
As the kit had no lines to fit a 9" rear, we used a stick of stainless tubing that was left over from the Fairlane job and bent our own.
Robert
-
03-05-2016 05:10 PM #775
CHR Member
- Join Date
- Sep 2013
- Location
- Portage
- Car Year, Make, Model: 31 A Coupe
- Posts
- 567
Wow, those louvers came out perfect, your problem solving on that project was amazing!
Richhttp://www.clubhotrod.com/hot-rod-bu...del-coupe.html
-
03-07-2016 09:50 AM #776
CHR Member
- Join Date
- Jun 2008
- Location
- Leonardtown
- Car Year, Make, Model: Walking
- Posts
- 1,228
Thanks Rich! Well most small jobs I do like this you never see the part installed (like the Studebaker dash parts) so I was happy to see Cody post up some pictures this morning. Here's a shot of the passenger side installed.. It was nice to take on a challenge like this and see it actually work..
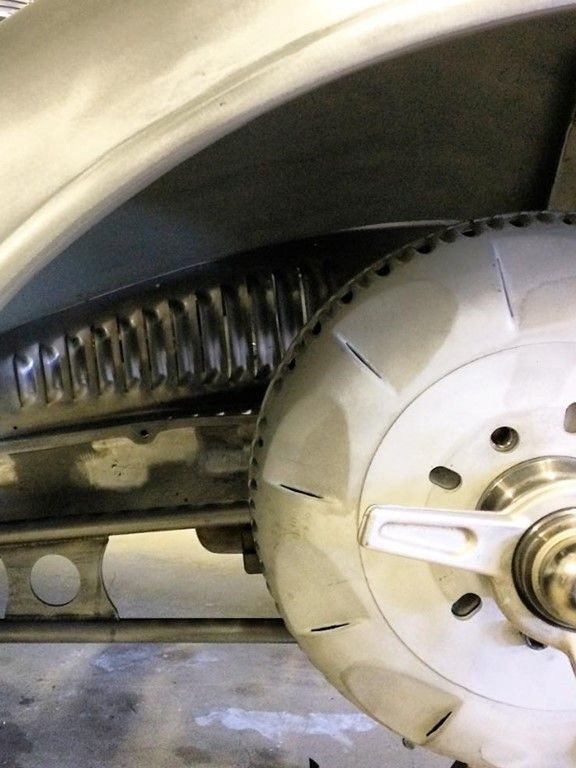
I think Kyle enjoyed the break from blocking epoxy primer.. Now back to the old grind..Robert
-
03-07-2016 11:43 AM #777
CHR Member
- Join Date
- Oct 2007
- Location
- Petaluma
- Car Year, Make, Model: 48 Ford F1
- Posts
- 9,794
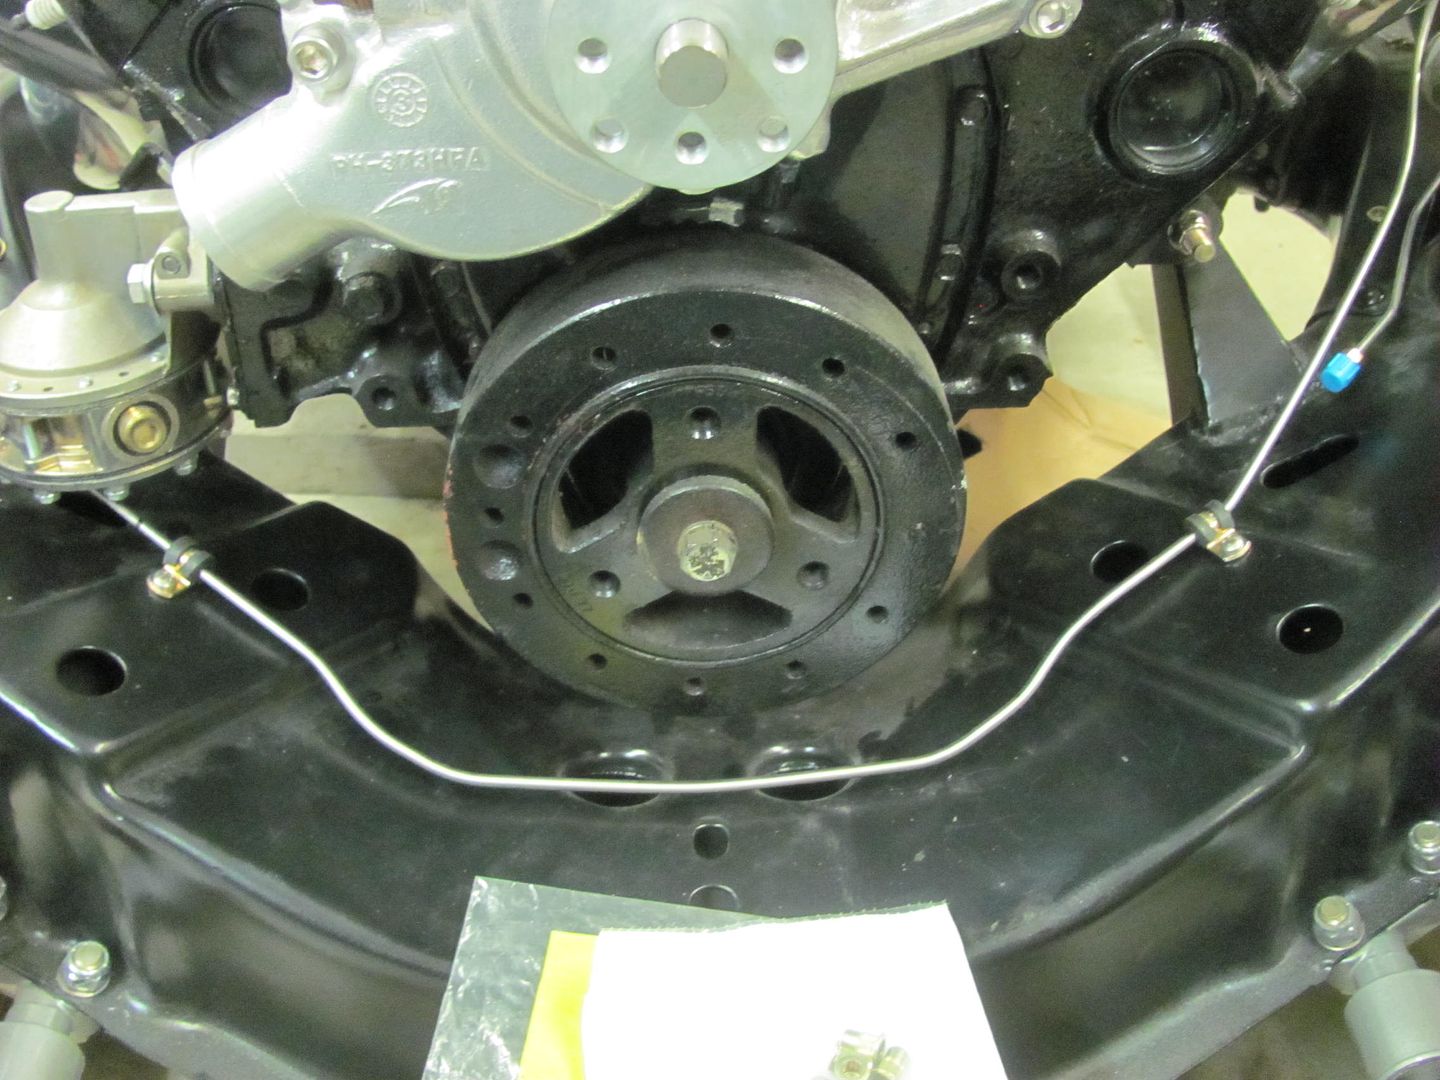
never seen a front drum like that or is it in front of a disc? to cool?"  "No matter where you go, there you are!" Steve.
-
03-07-2016 11:56 AM #778
CHR Member
- Join Date
- Jun 2008
- Location
- Leonardtown
- Car Year, Make, Model: Walking
- Posts
- 1,228
TMK it's a disc coverRobert
-
03-08-2016 06:54 PM #779
CHR Member
- Join Date
- Jun 2008
- Location
- Leonardtown
- Car Year, Make, Model: Walking
- Posts
- 1,228
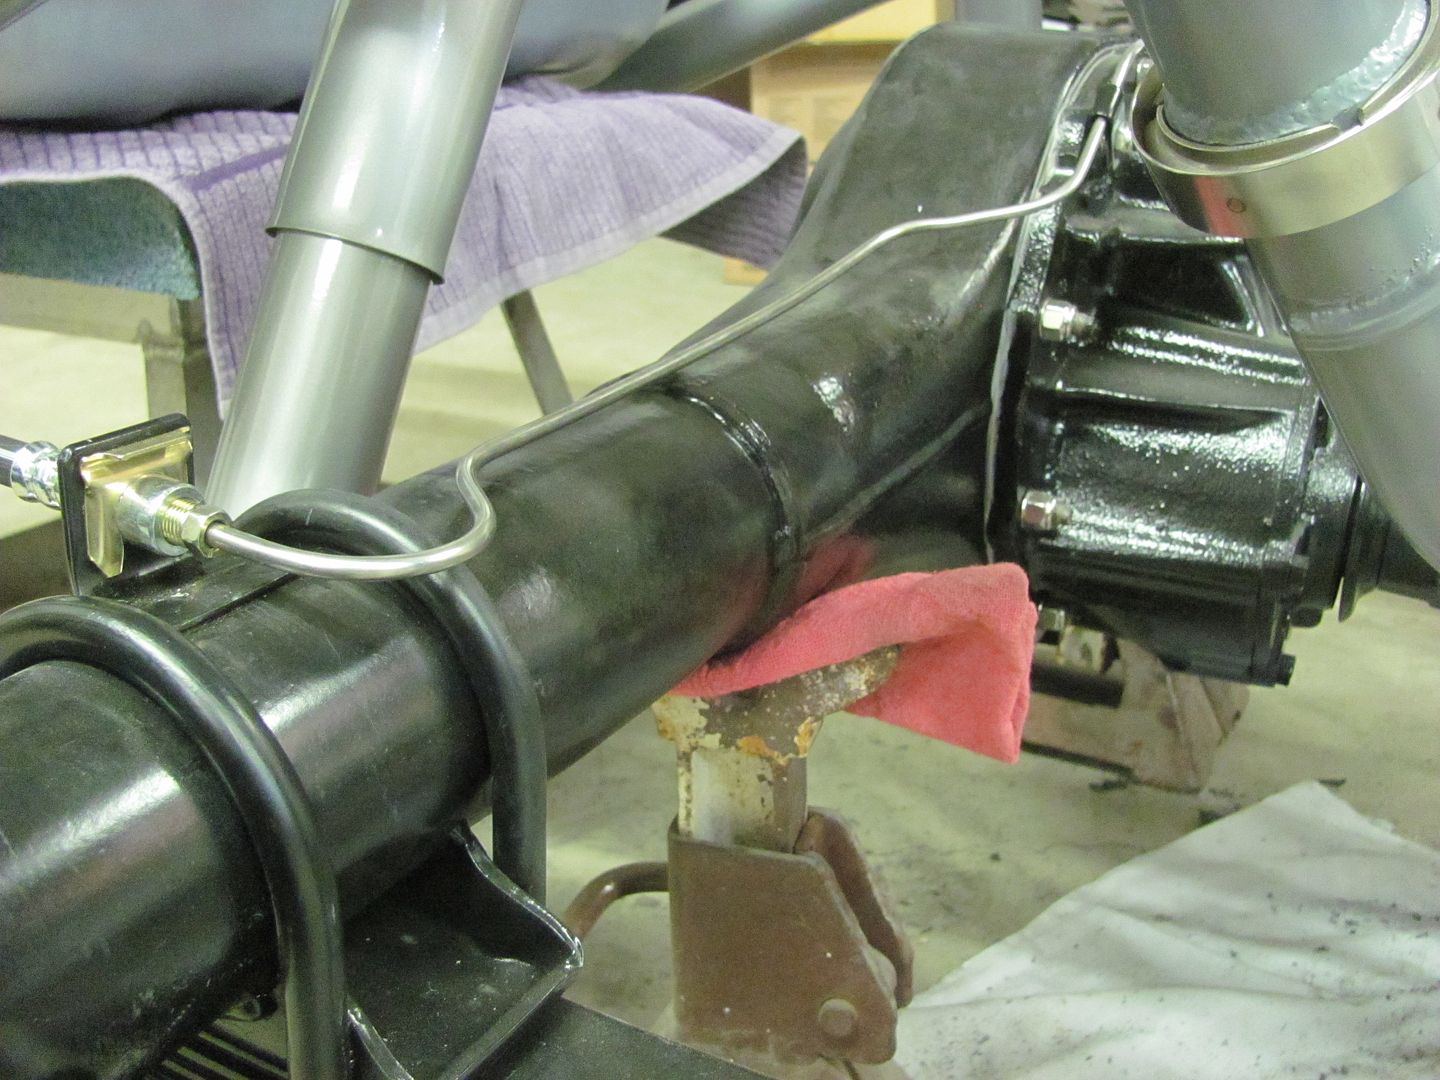
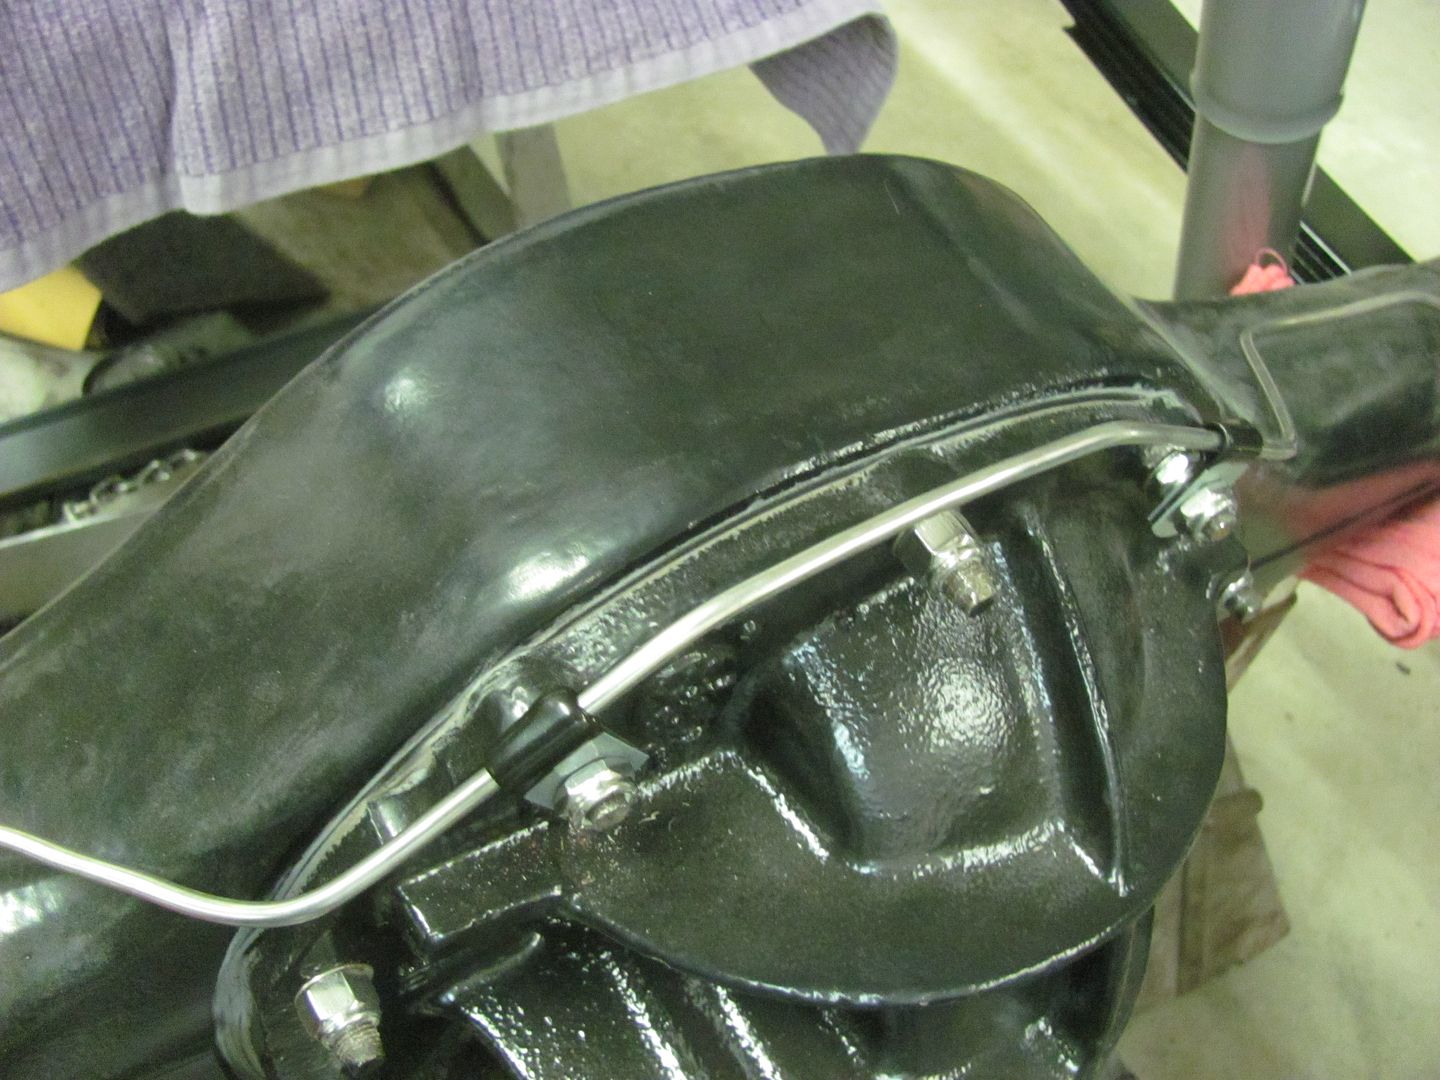
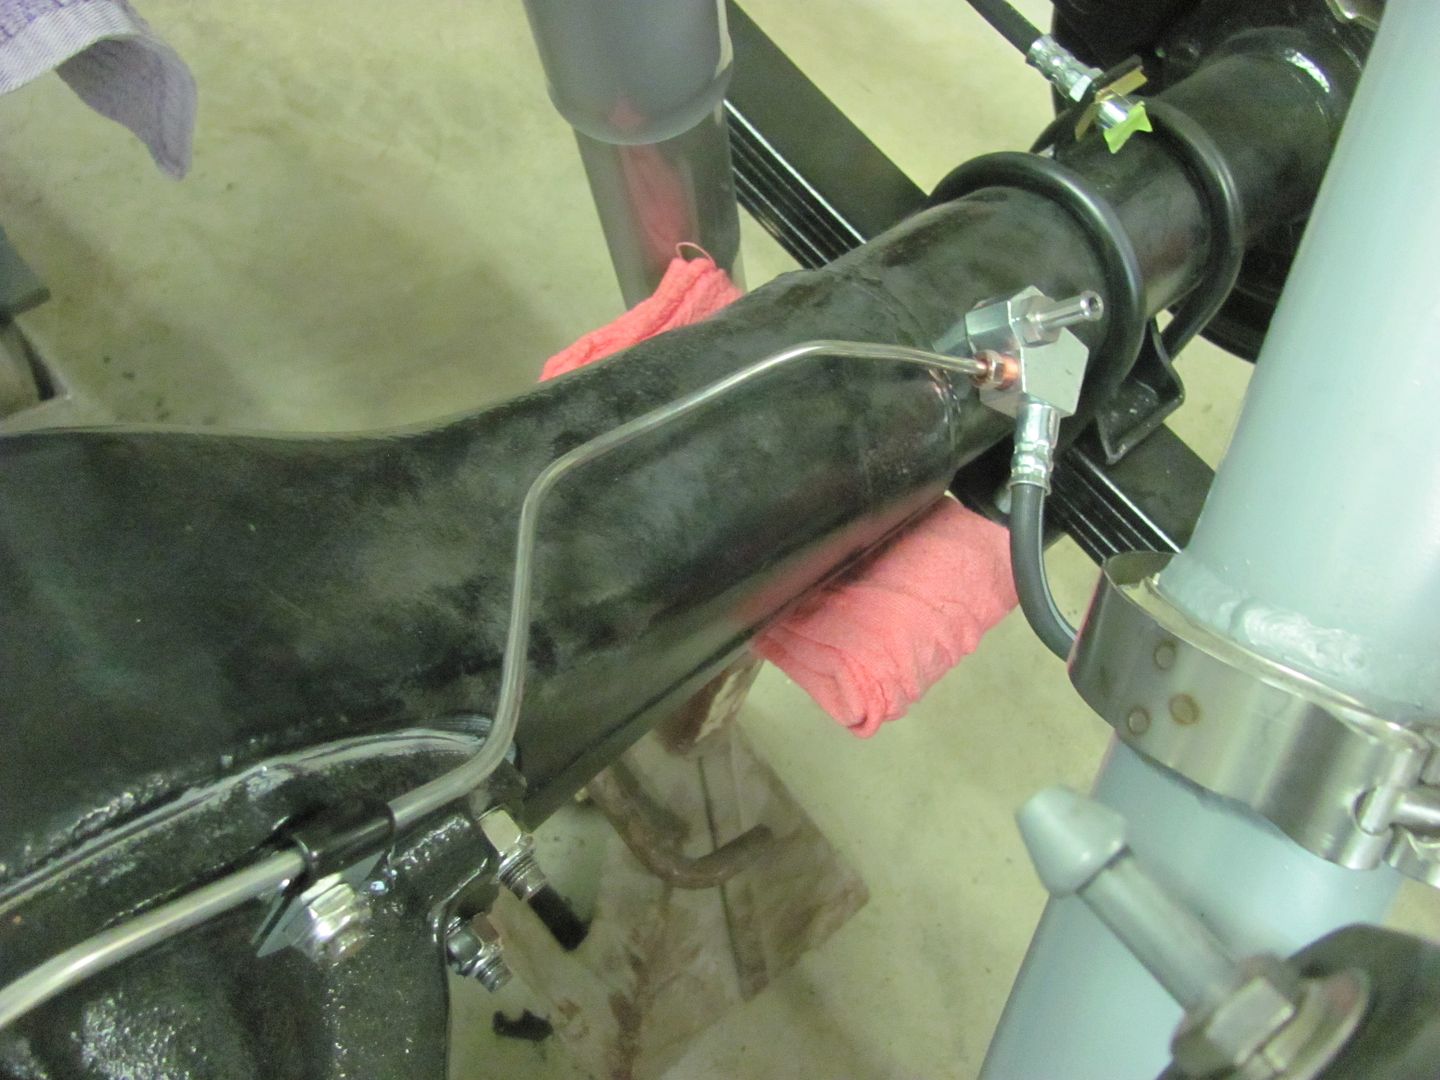
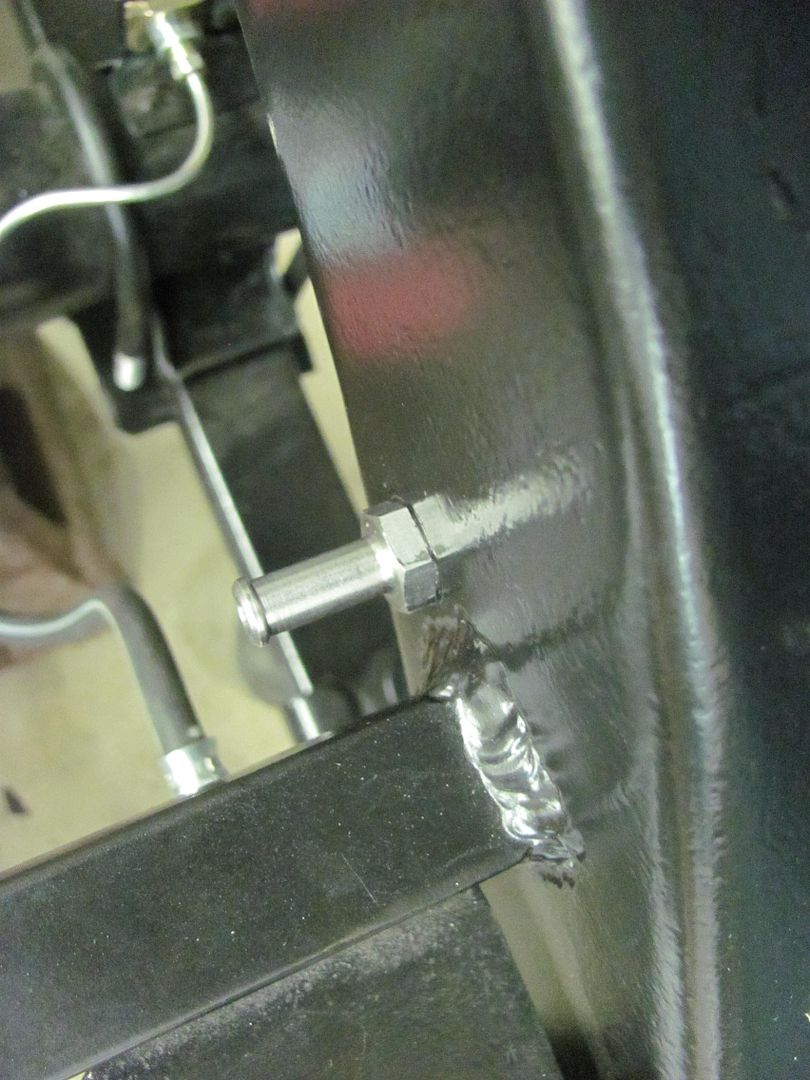
Adding the rear axle vent hose, we needed a spot to anchor the second vent fitting to keep the hose from flopping around...
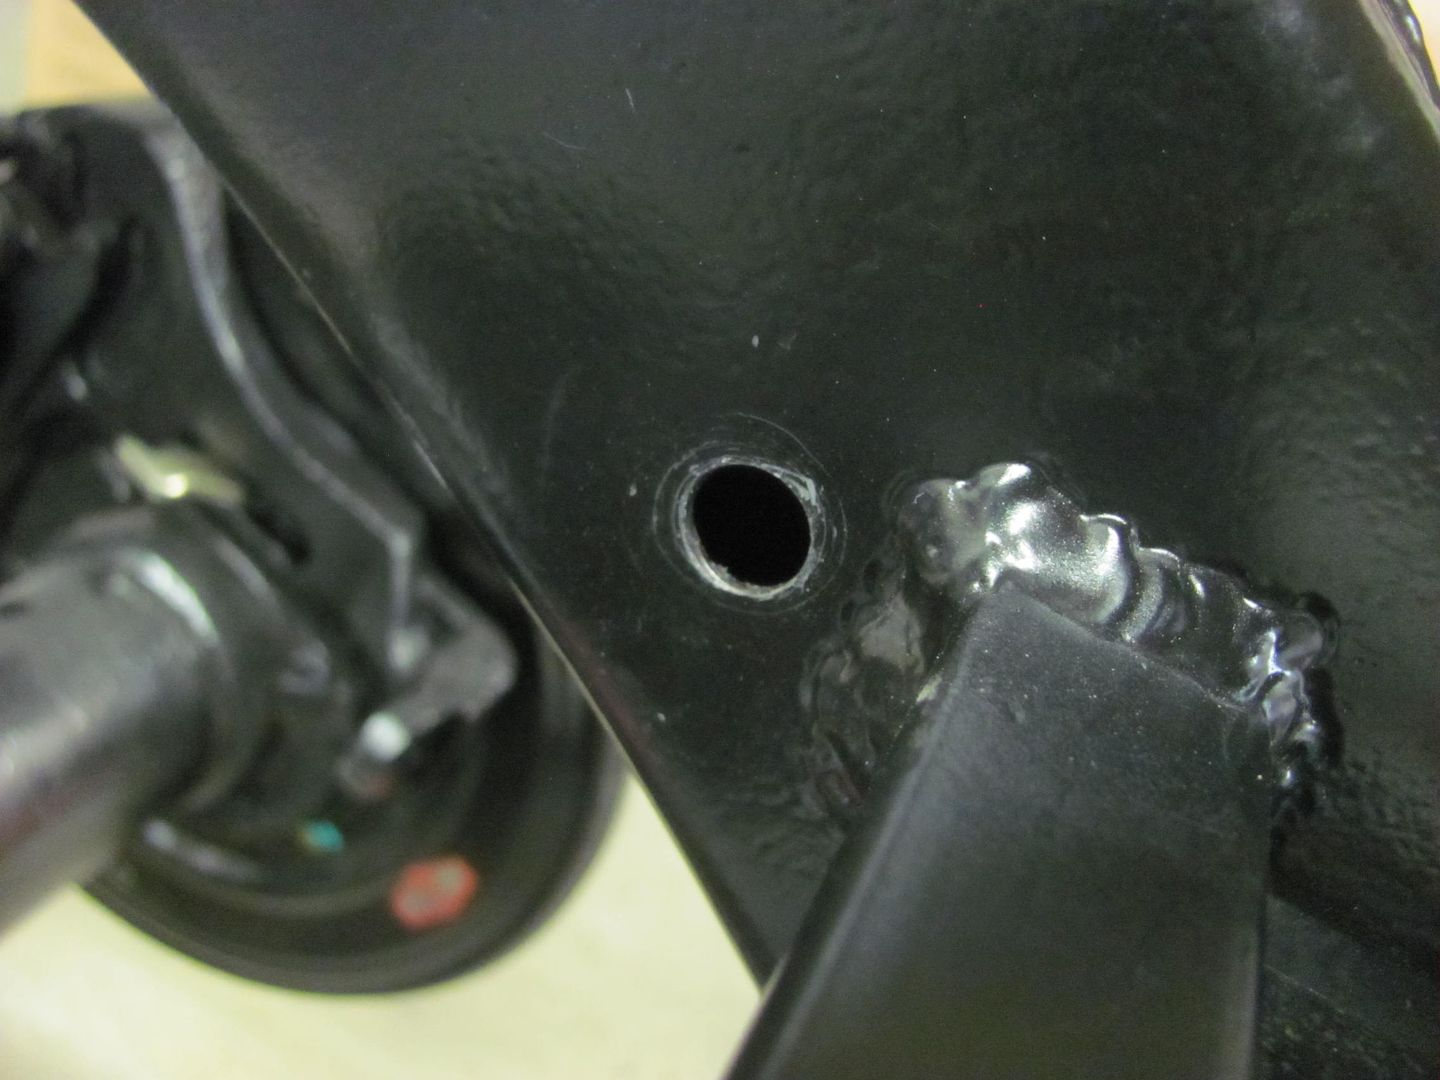
Which is threaded with a 7/16-20 thread
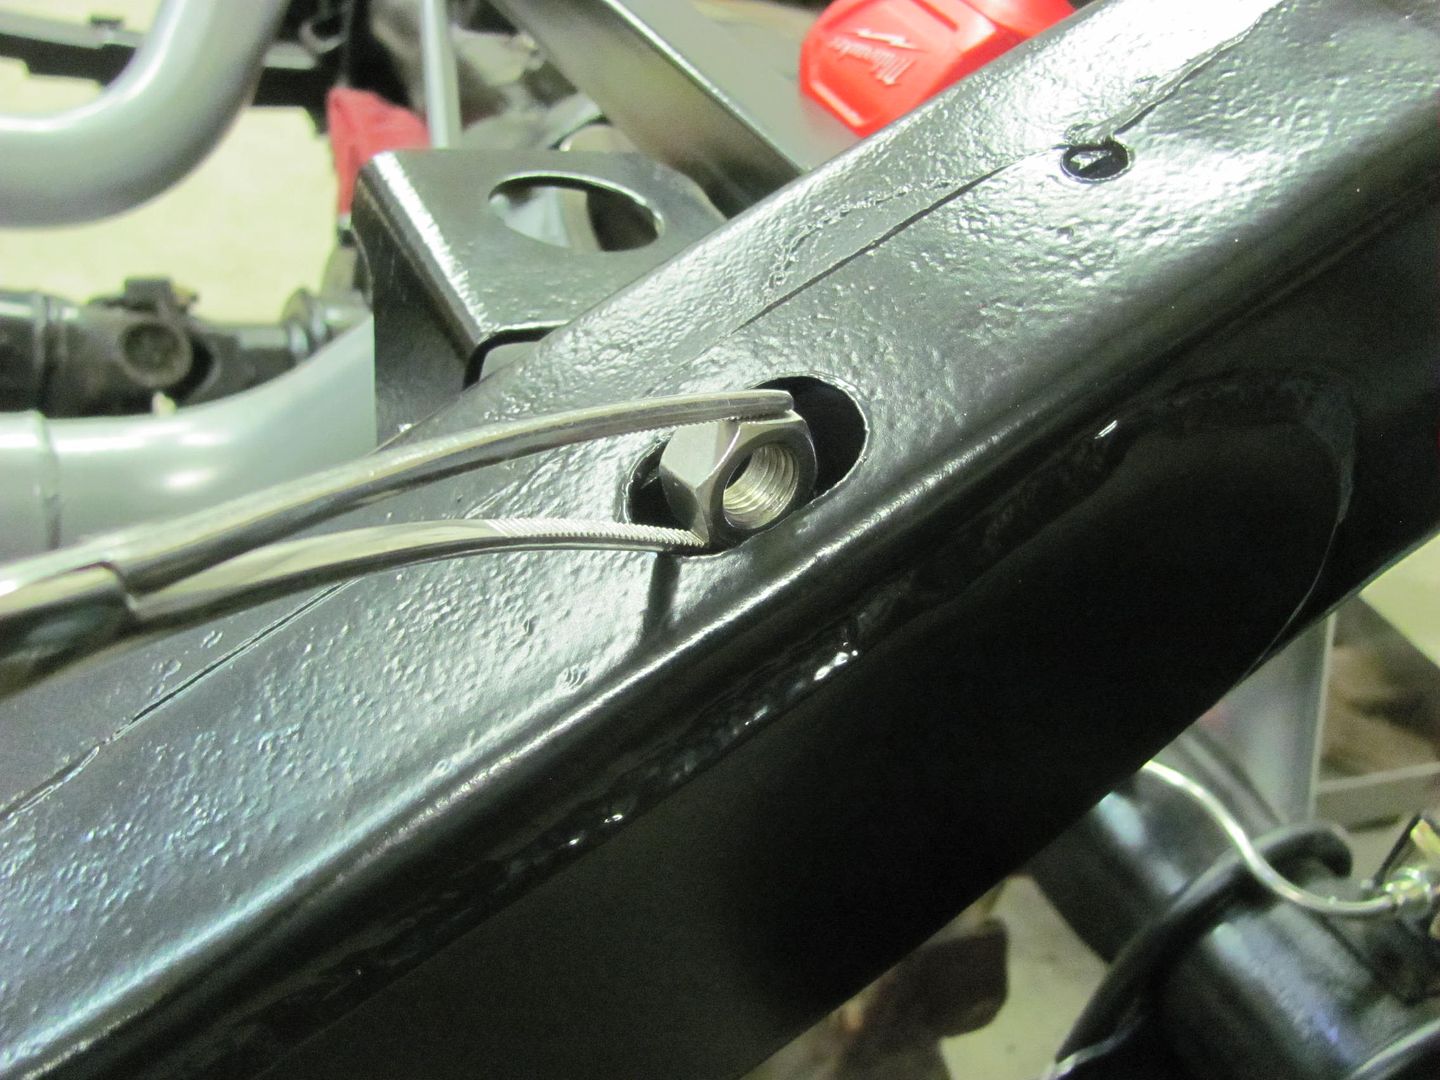
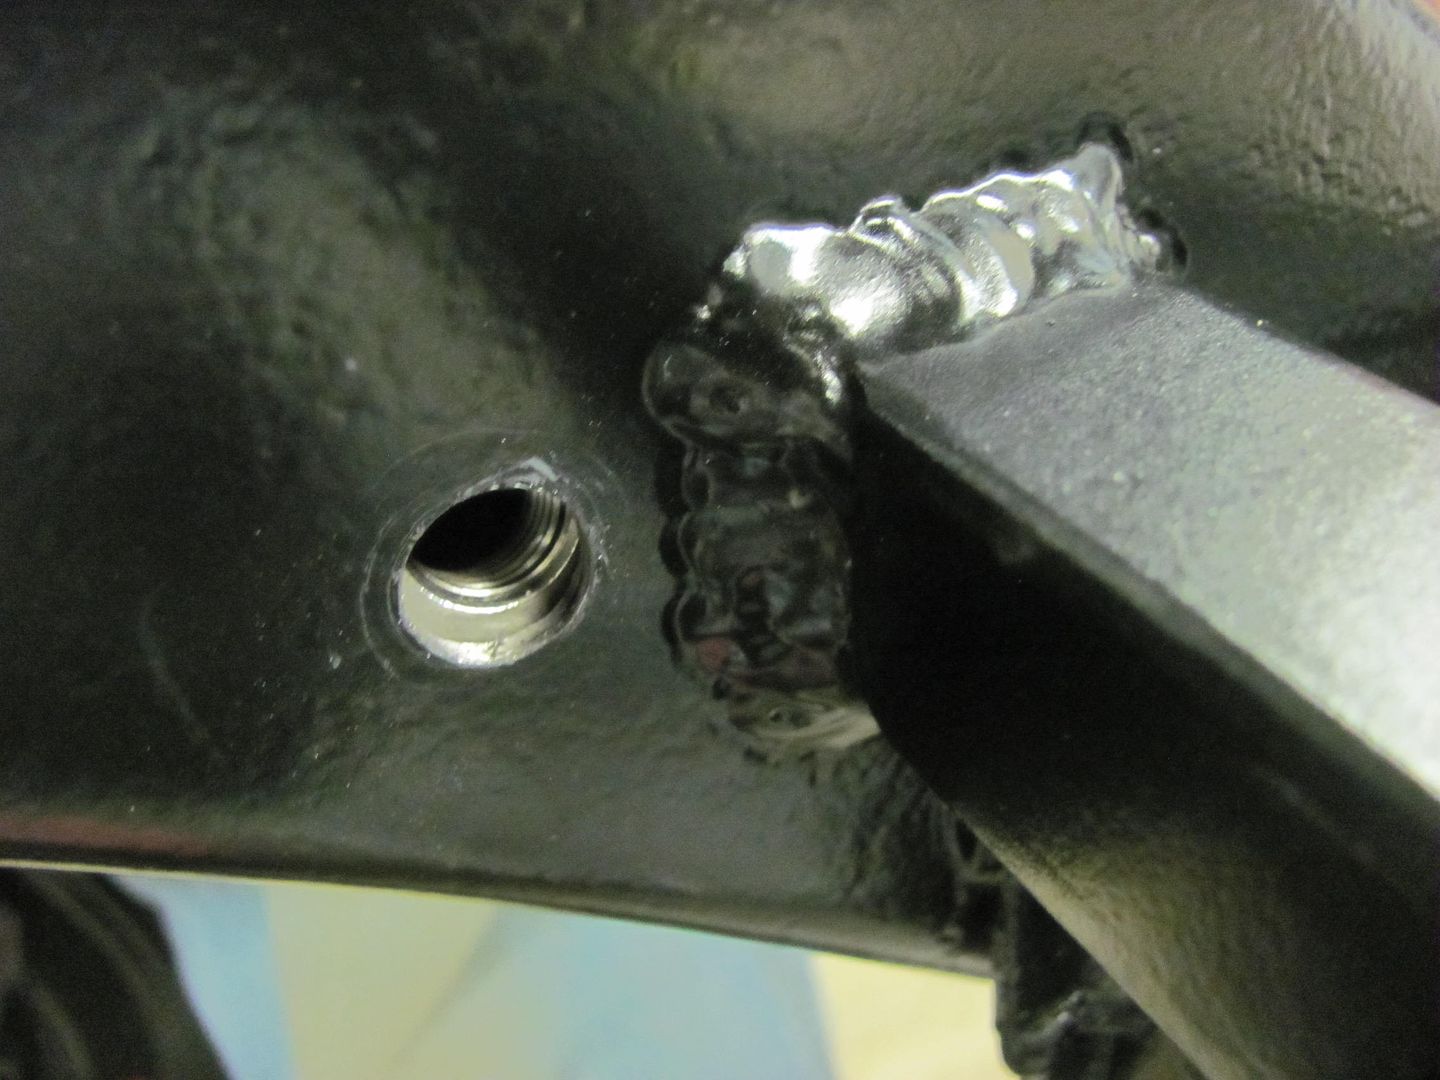
With Loctite added to the threads...
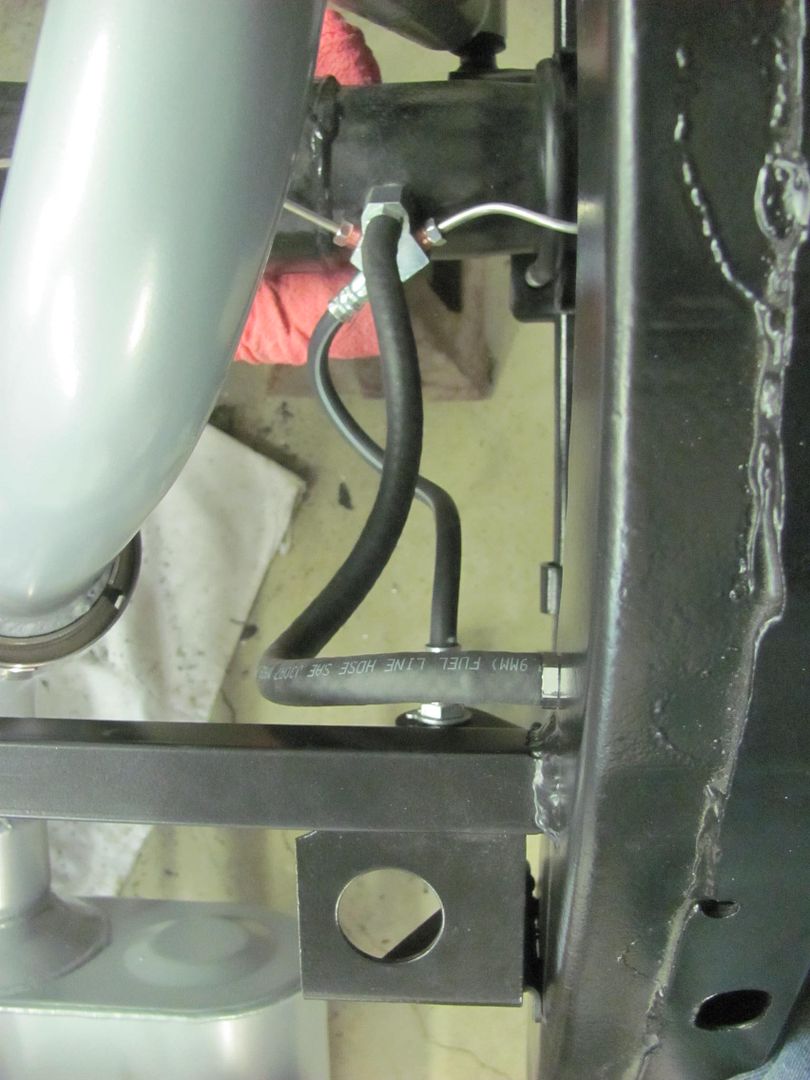
More SS brake lines...
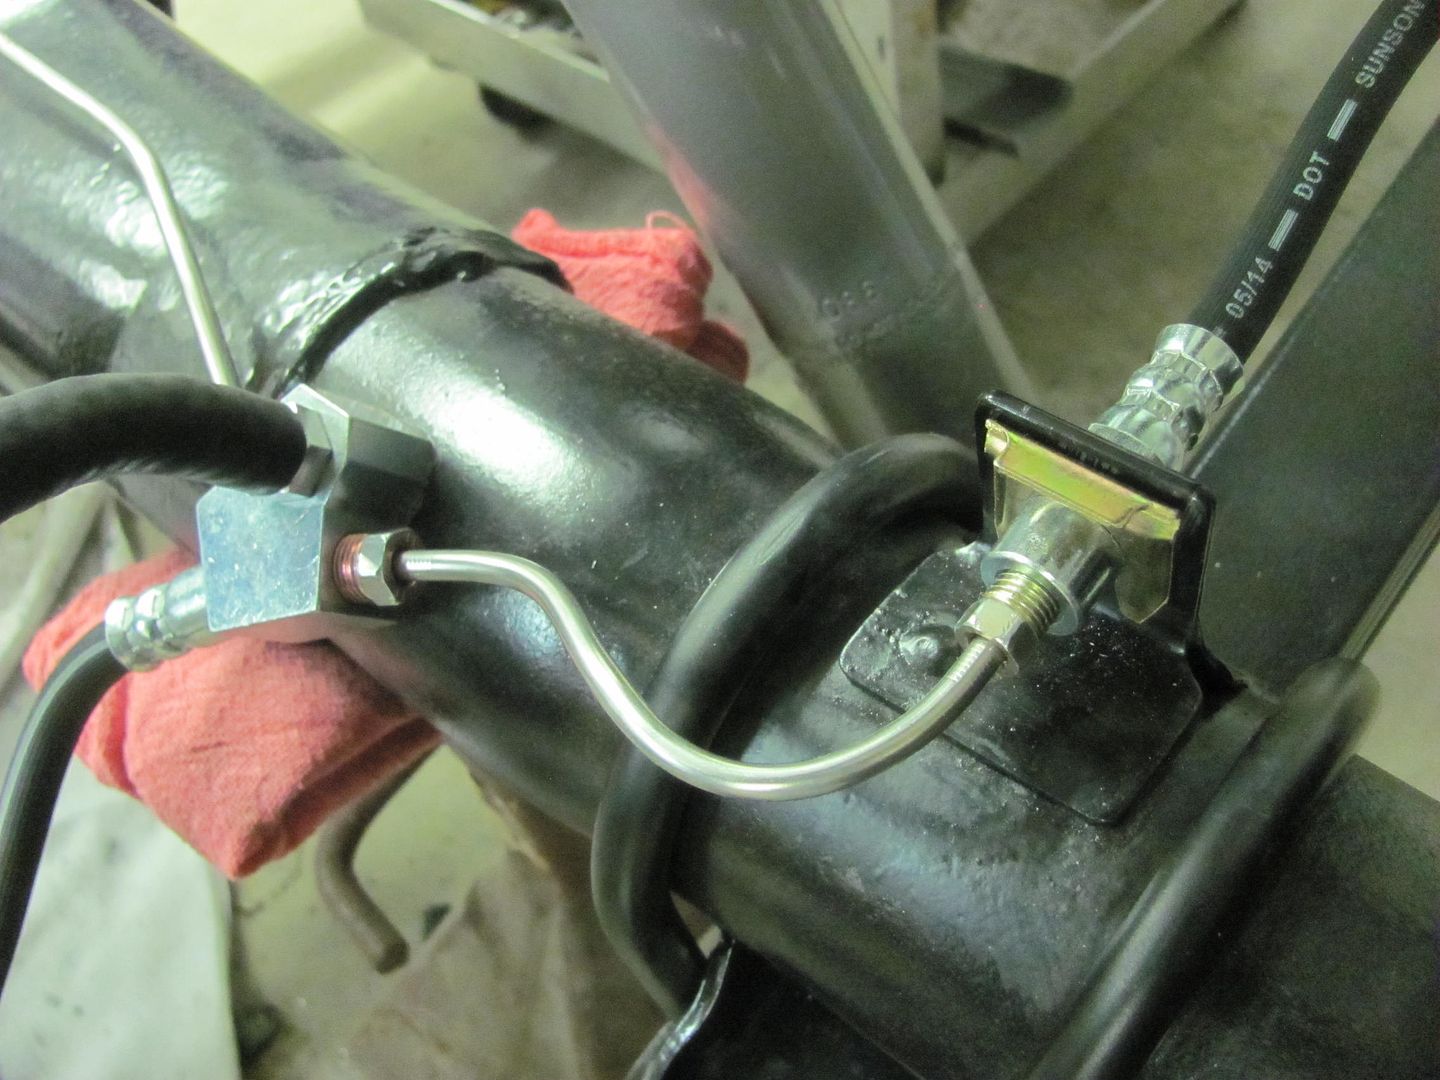
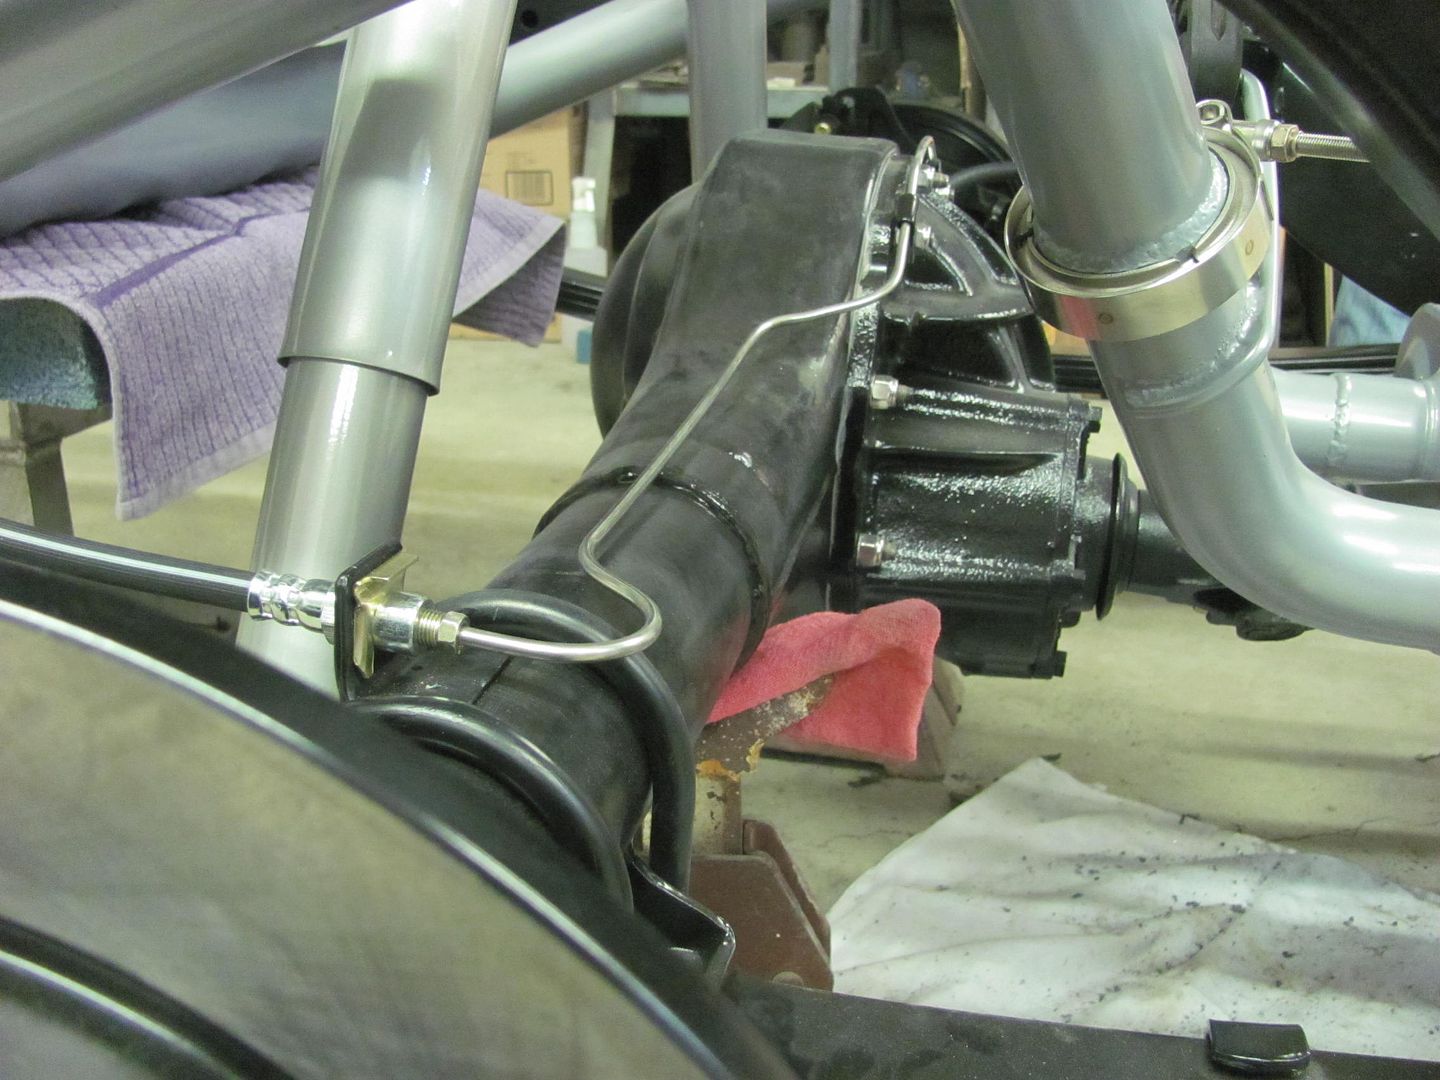
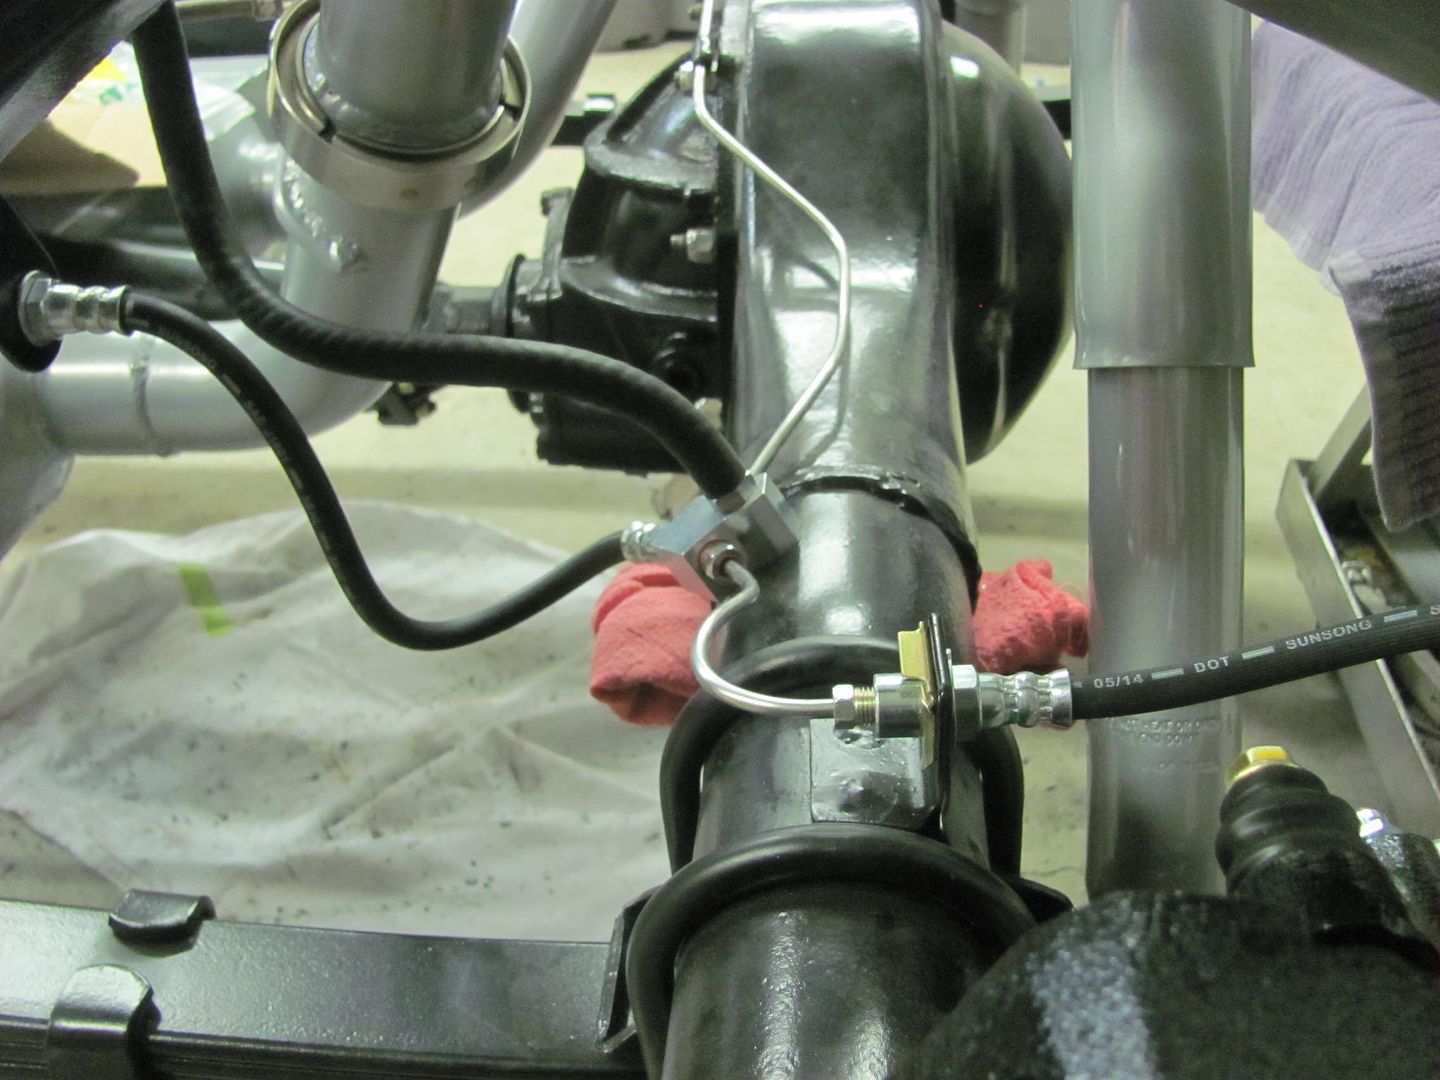
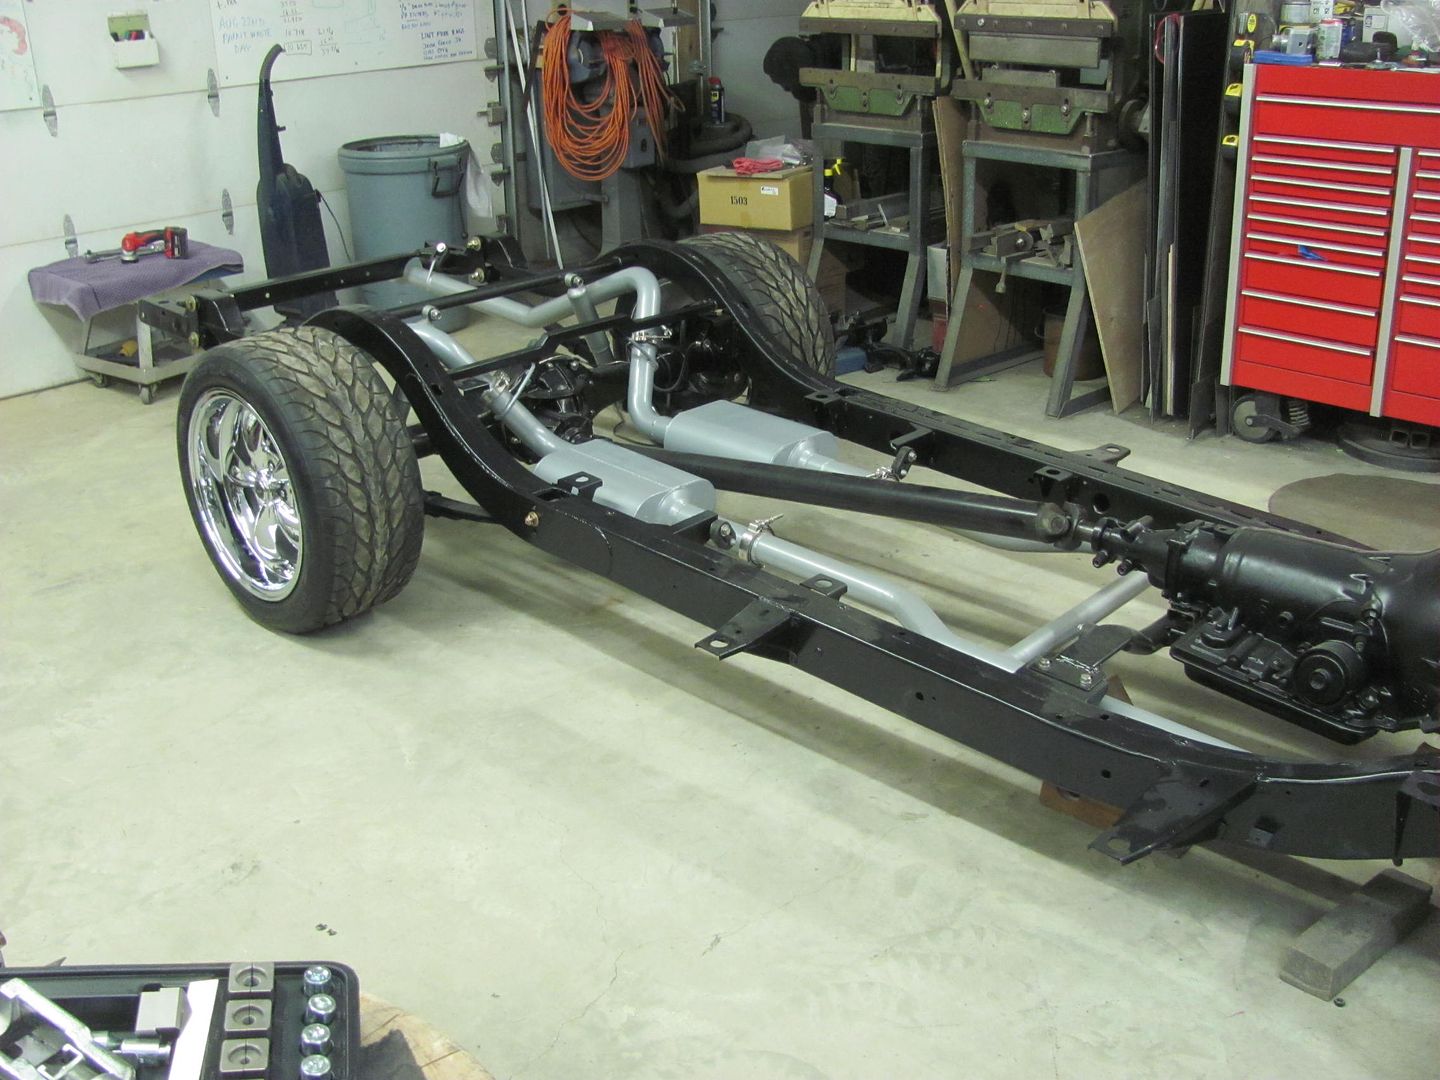
With the rear brake lines complete, the rear wheels were bolted back up..
And for our lessons learned, this is what happens when you cut 12 gauge steel with a square on the other end of the shear. Dan, the blades are still sharp!
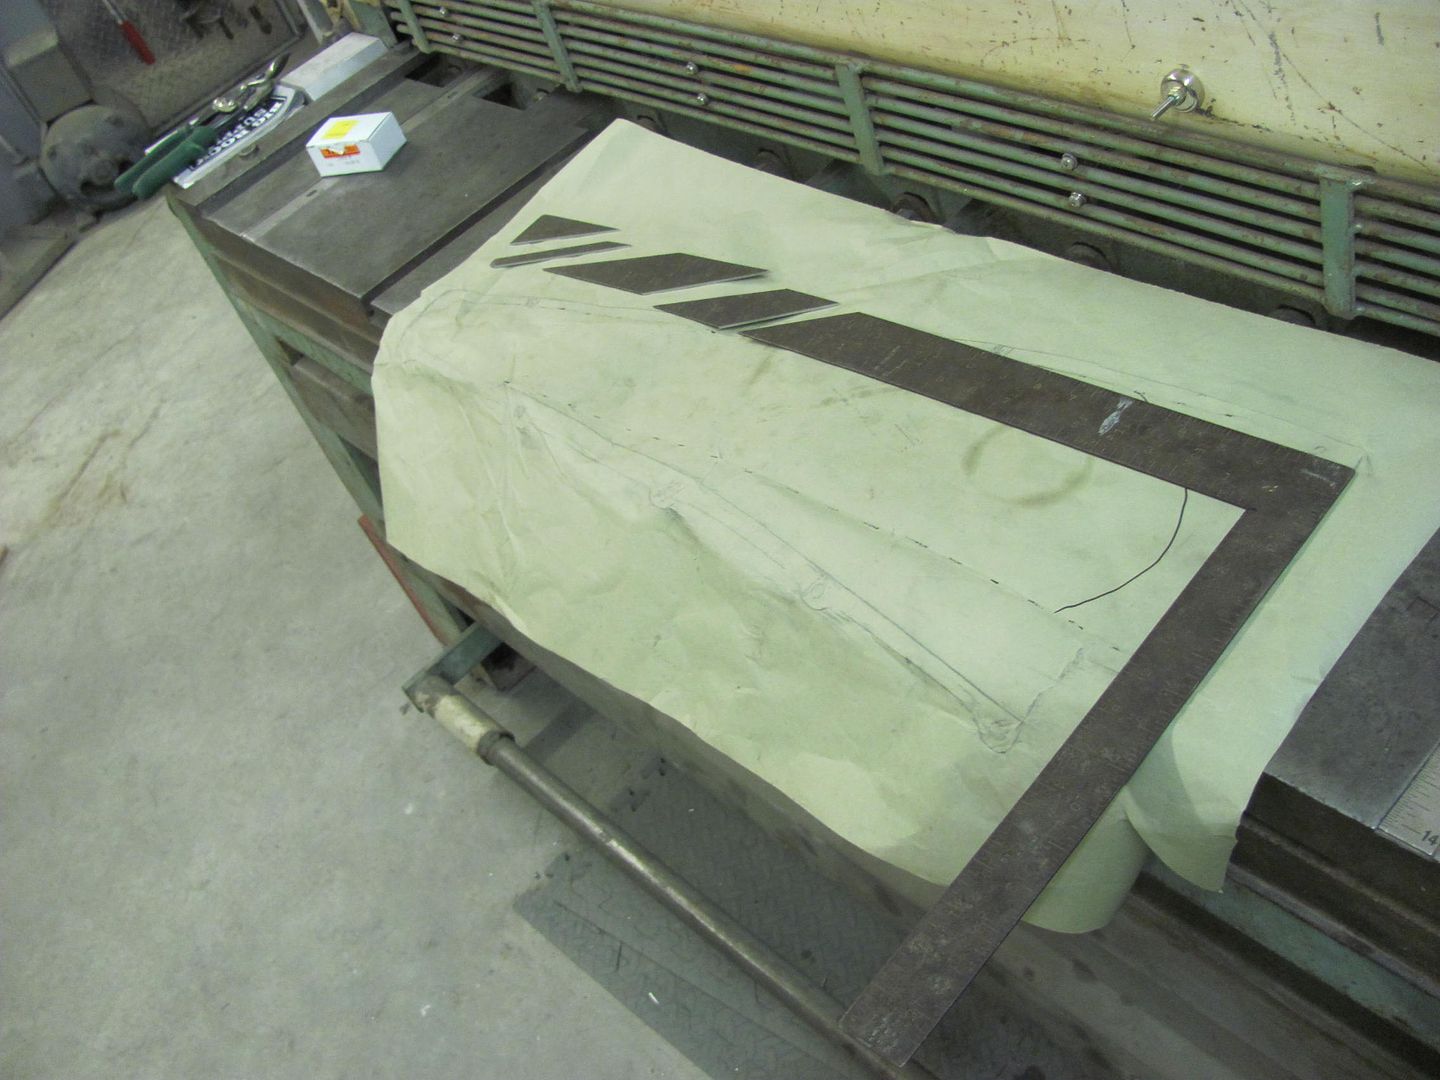
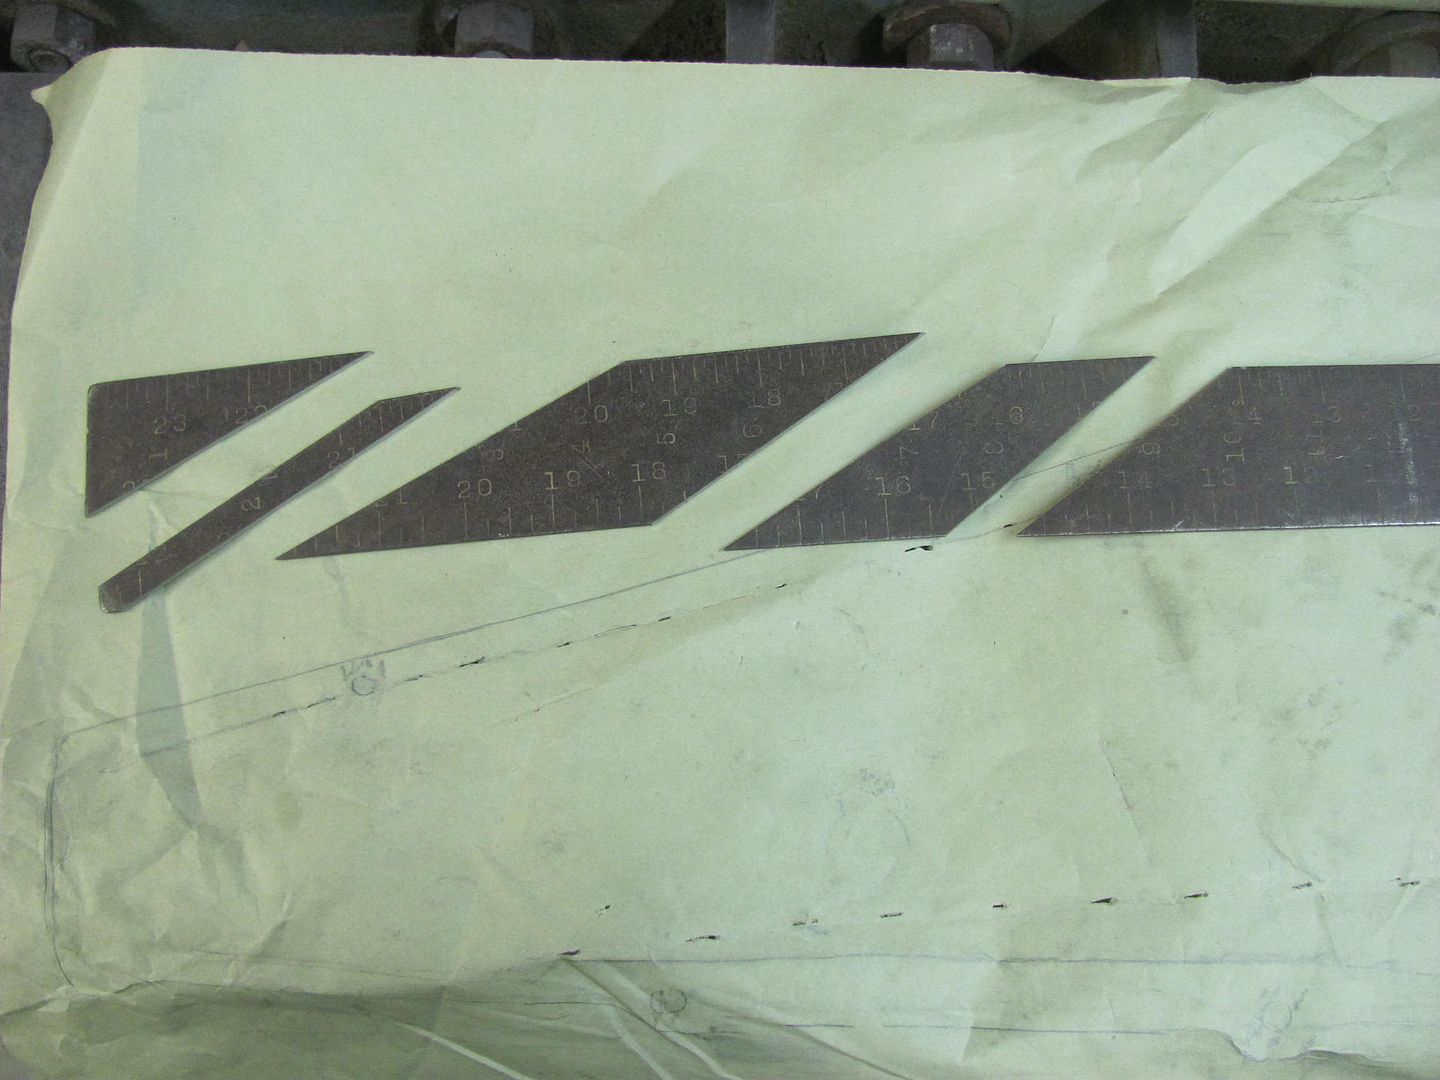
Robert
-
03-08-2016 07:54 PM #780
CHR Member
- Join Date
- May 2005
- Location
- Tataraimaka NZ
- Car Year, Make, Model: `47 Ford sedan, A.C.Cobra replica.
- Posts
- 2,895
Weld it back together.
It'll be alright.

johnboy
Mountain man. (Retired.)
Some mistakes are too much fun to be made only once.
I don't know everything about anything, and I don't know anything about lots of things.
'47 Ford sedan. 350 -- 350, Jaguar irs + ifs.
'49 Morris Minor. Datsun 1500cc, 5sp manual, Marina front axle, Nissan rear axle.
'51 Ford school bus. Chev 400 ci Vortec 5 sp manual + Gearvendors 2sp, 2000 Chev lwb dually chassis and axles.
'64 A.C. Cobra replica. Ford 429, C6 auto, Torana ifs, Jaguar irs.
 Reply With Quote

Posting Permissions
- You may not post new threads
- You may not post replies
- You may not post attachments
- You may not edit your posts

I'm happy to see it back up, sure hope it lasts.
Back online