


 3390Likes
Thread: 55 Wagon Progress


Results 16 to 30 of 1865
 LinkBack URL
 About LinkBacks
-
01-16-2013 05:24 PM #16
 CHR Member

- Join Date
- Jun 2008
- Location
- Leonardtown
- Car Year, Make, Model: Walking
- Posts
- 1,228
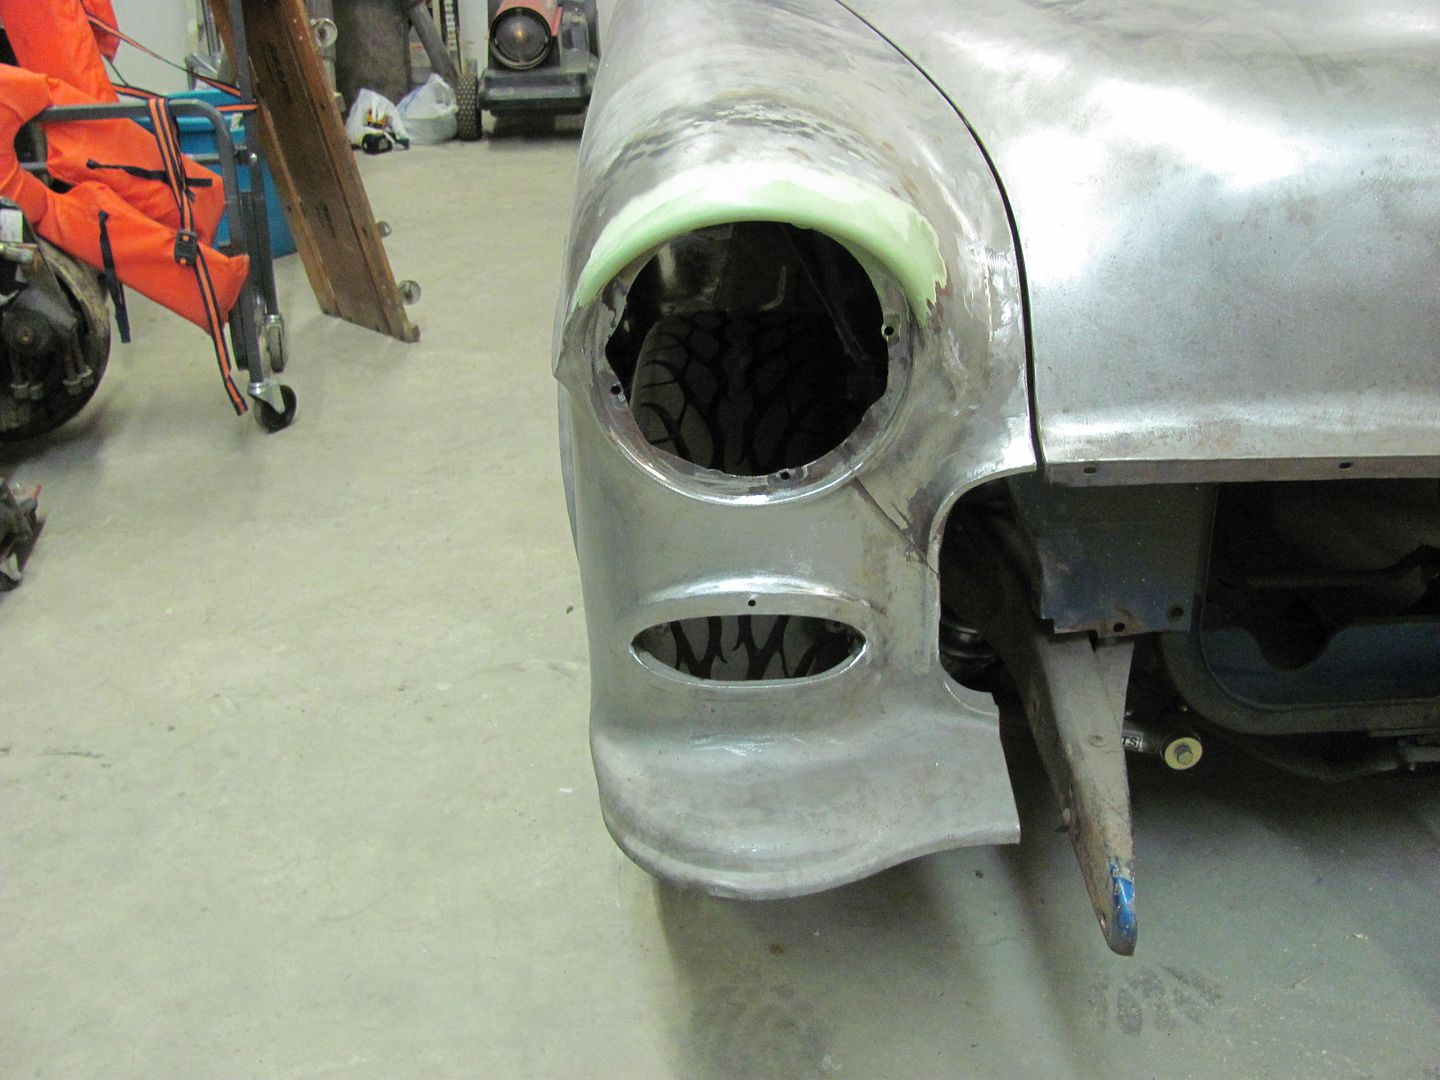
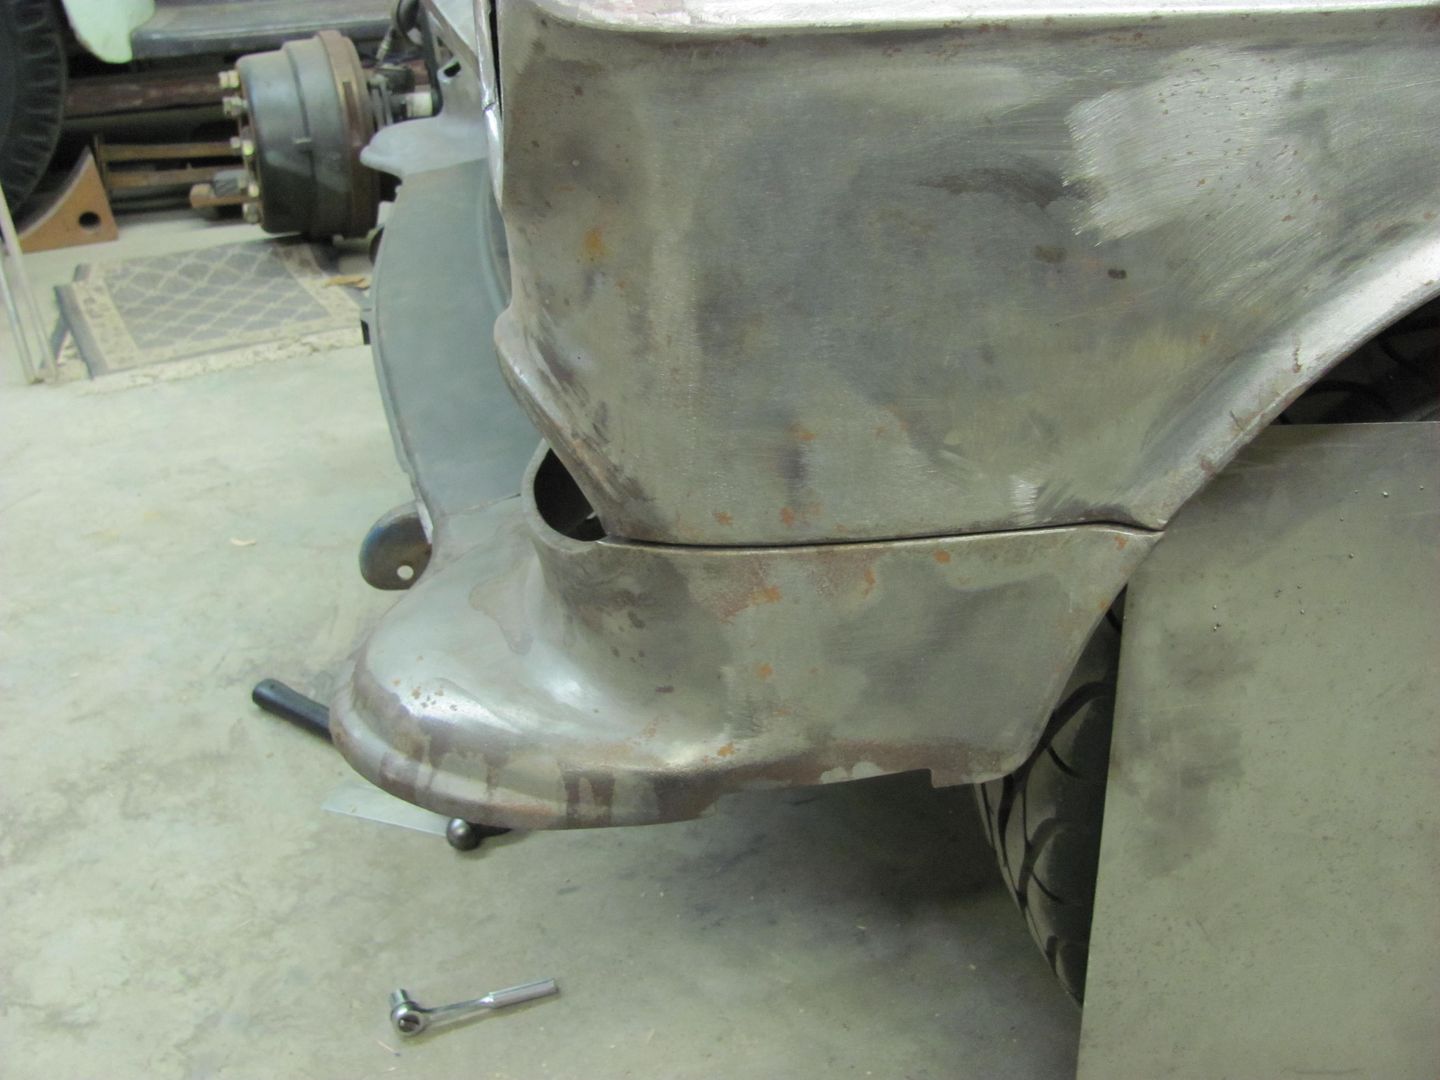
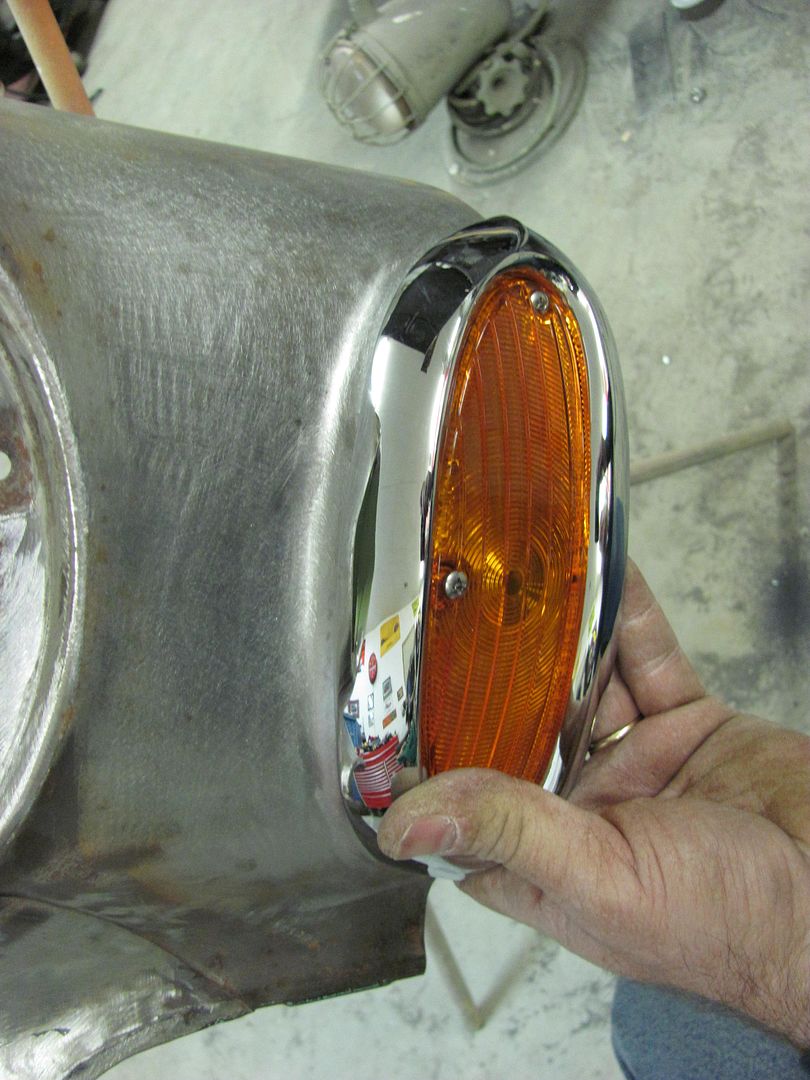
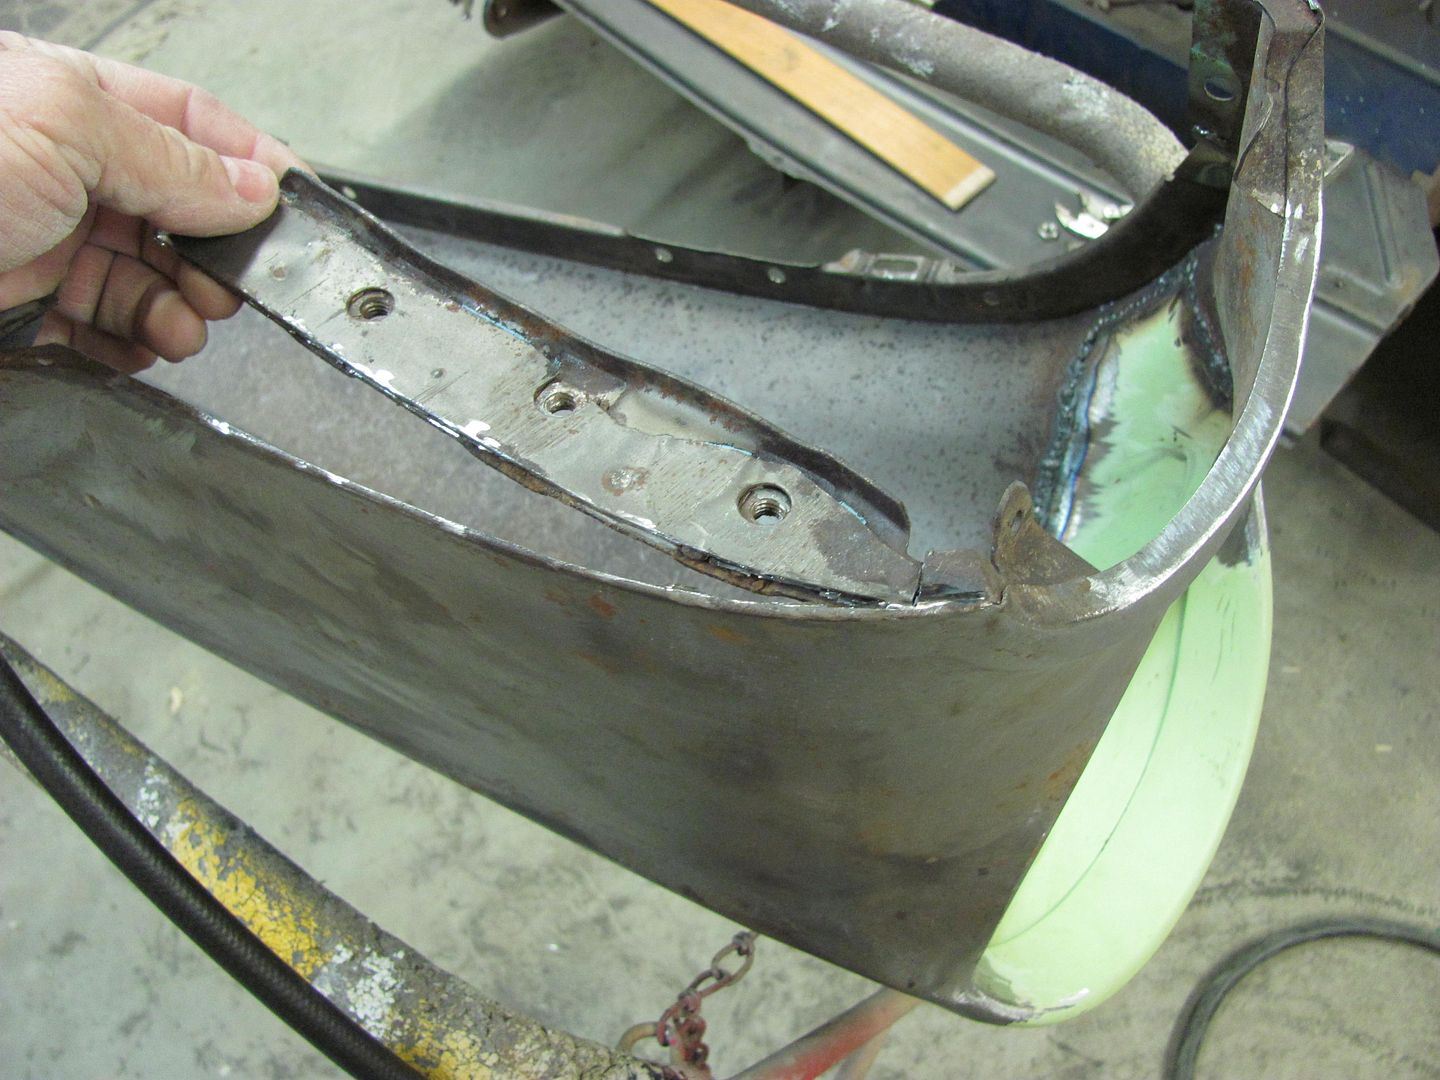
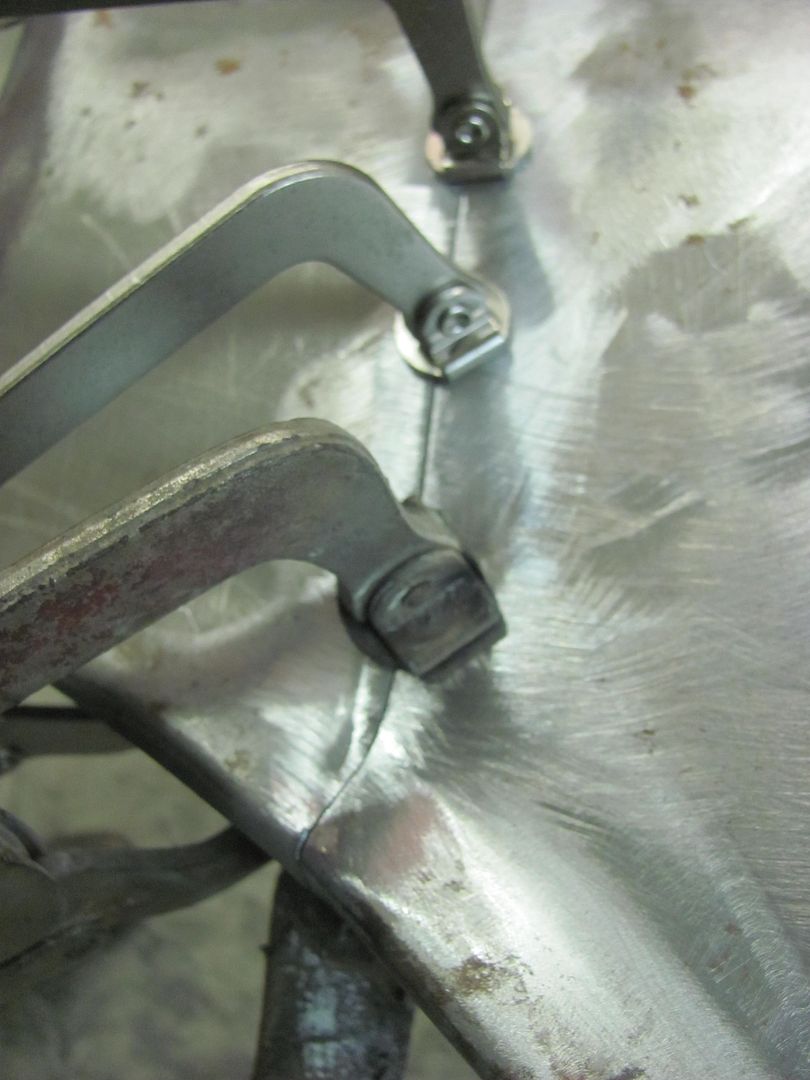
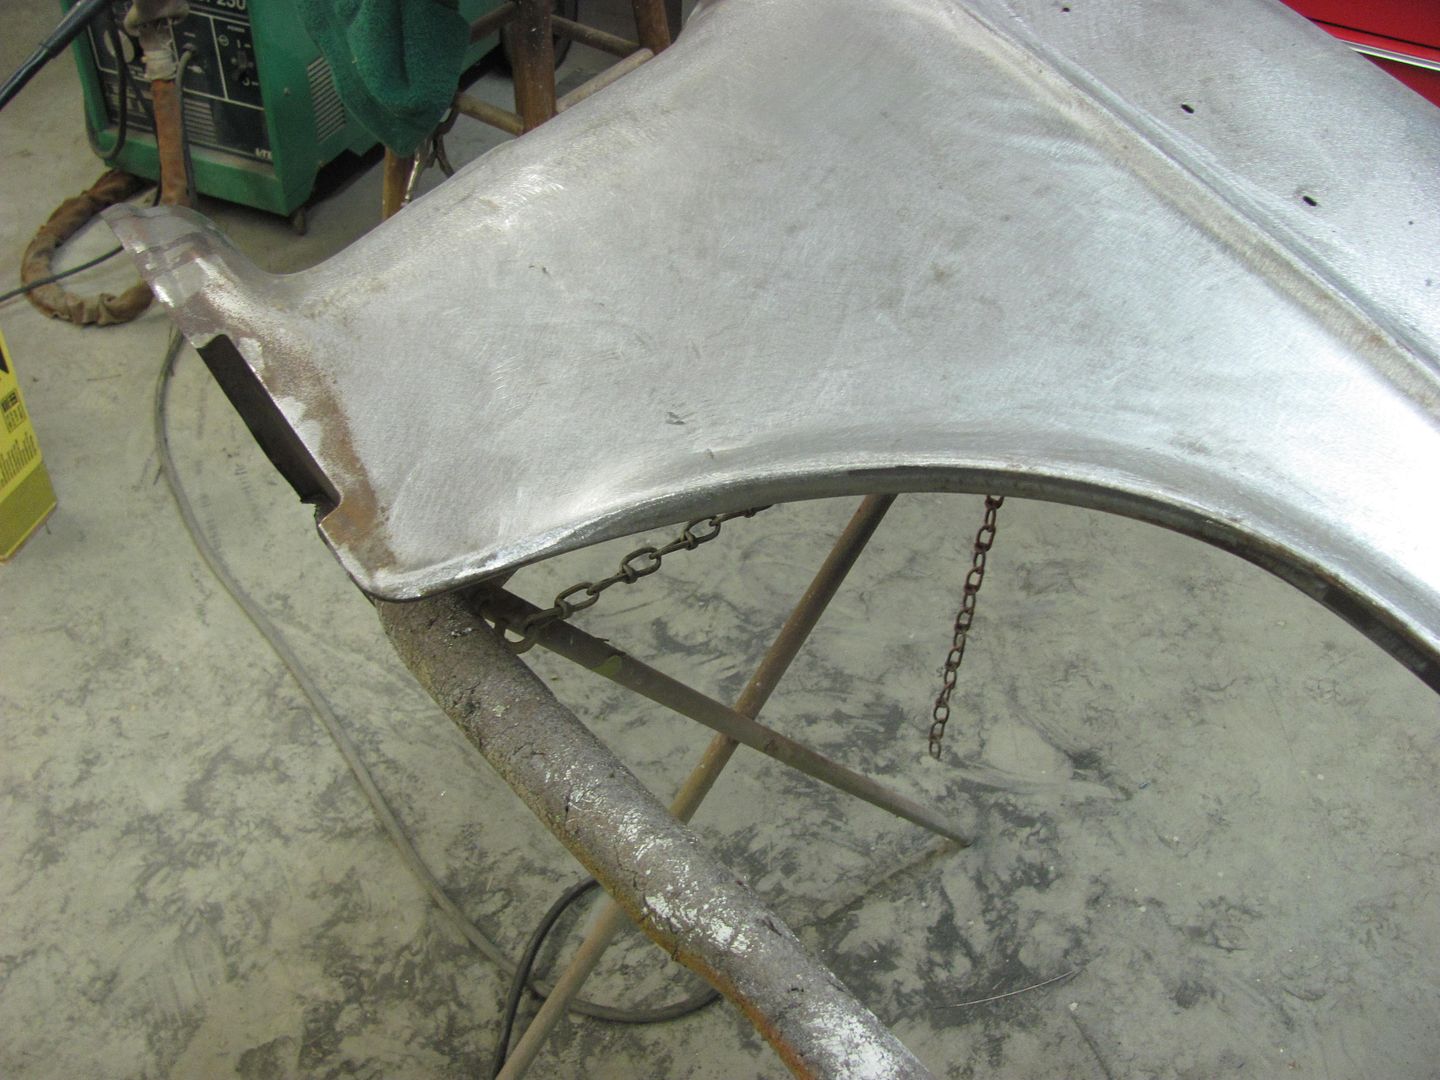
Had a few minutes this evening so I hung the fender on the car to have a better look-see...

Robert
-
Advertising

- Google Adsense
- REGISTERED USERS DO NOT SEE THIS AD
-
01-21-2013 07:45 PM #17
CHR Member
- Join Date
- Sep 2006
- Location
- New Lenox
- Car Year, Make, Model: 67 Mstg cpe , 37 Ford Coupe
- Posts
- 2,787
Did you have to replace the eye brows also , the style of press at manufacture causes so much stretch and thinning there .
.
-
01-27-2013 12:17 PM #18
CHR Member
- Join Date
- Jun 2008
- Location
- Leonardtown
- Car Year, Make, Model: Walking
- Posts
- 1,228
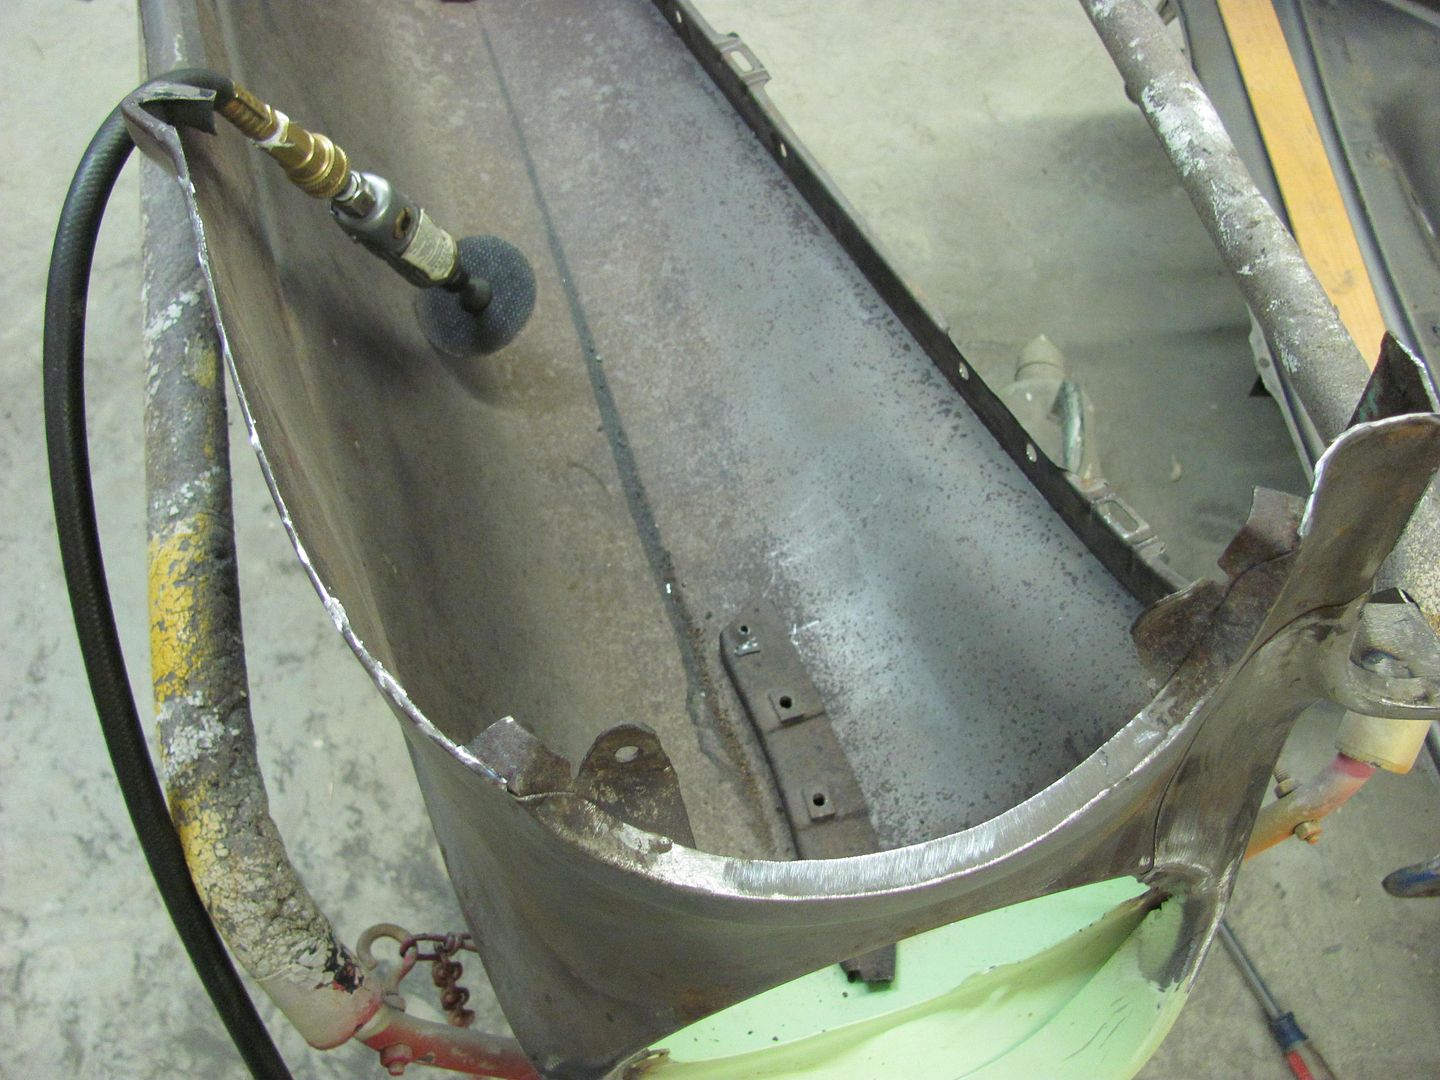
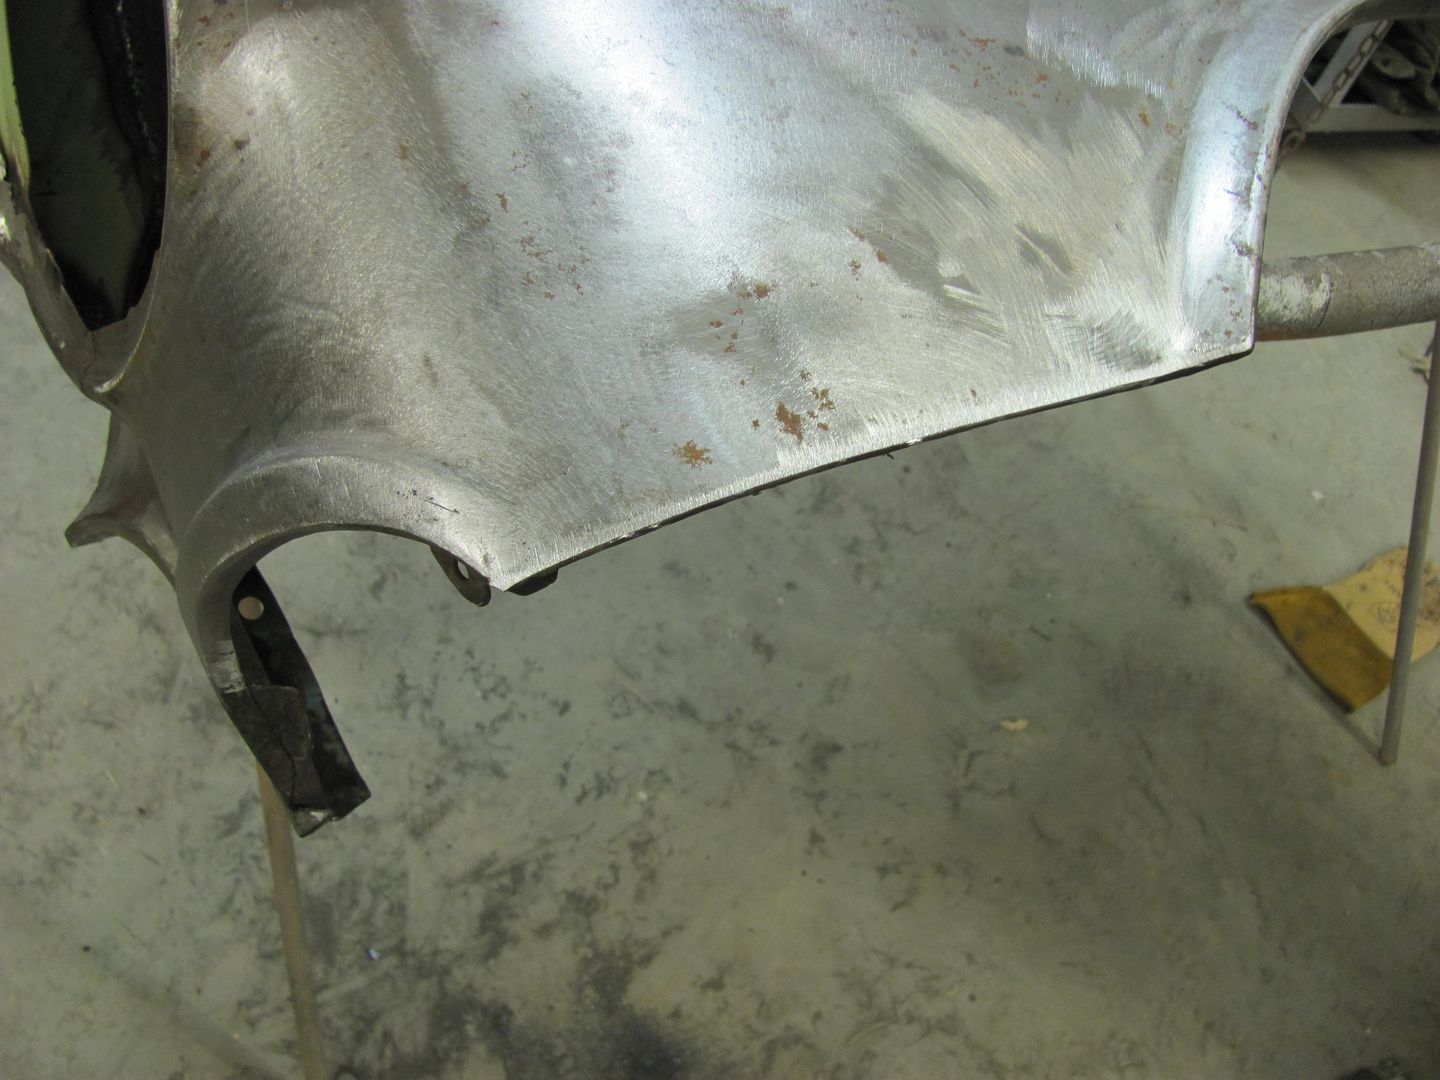
Sorry so long to respond, been out of town. Yes the eyebrows above the headlights have been replaced. Still have some hammer and dolly work there to do.....well actually, in a lot of places...
Robert
-
01-29-2013 05:59 PM #19
CHR Member
- Join Date
- Jun 2008
- Location
- Leonardtown
- Car Year, Make, Model: Walking
- Posts
- 1,228
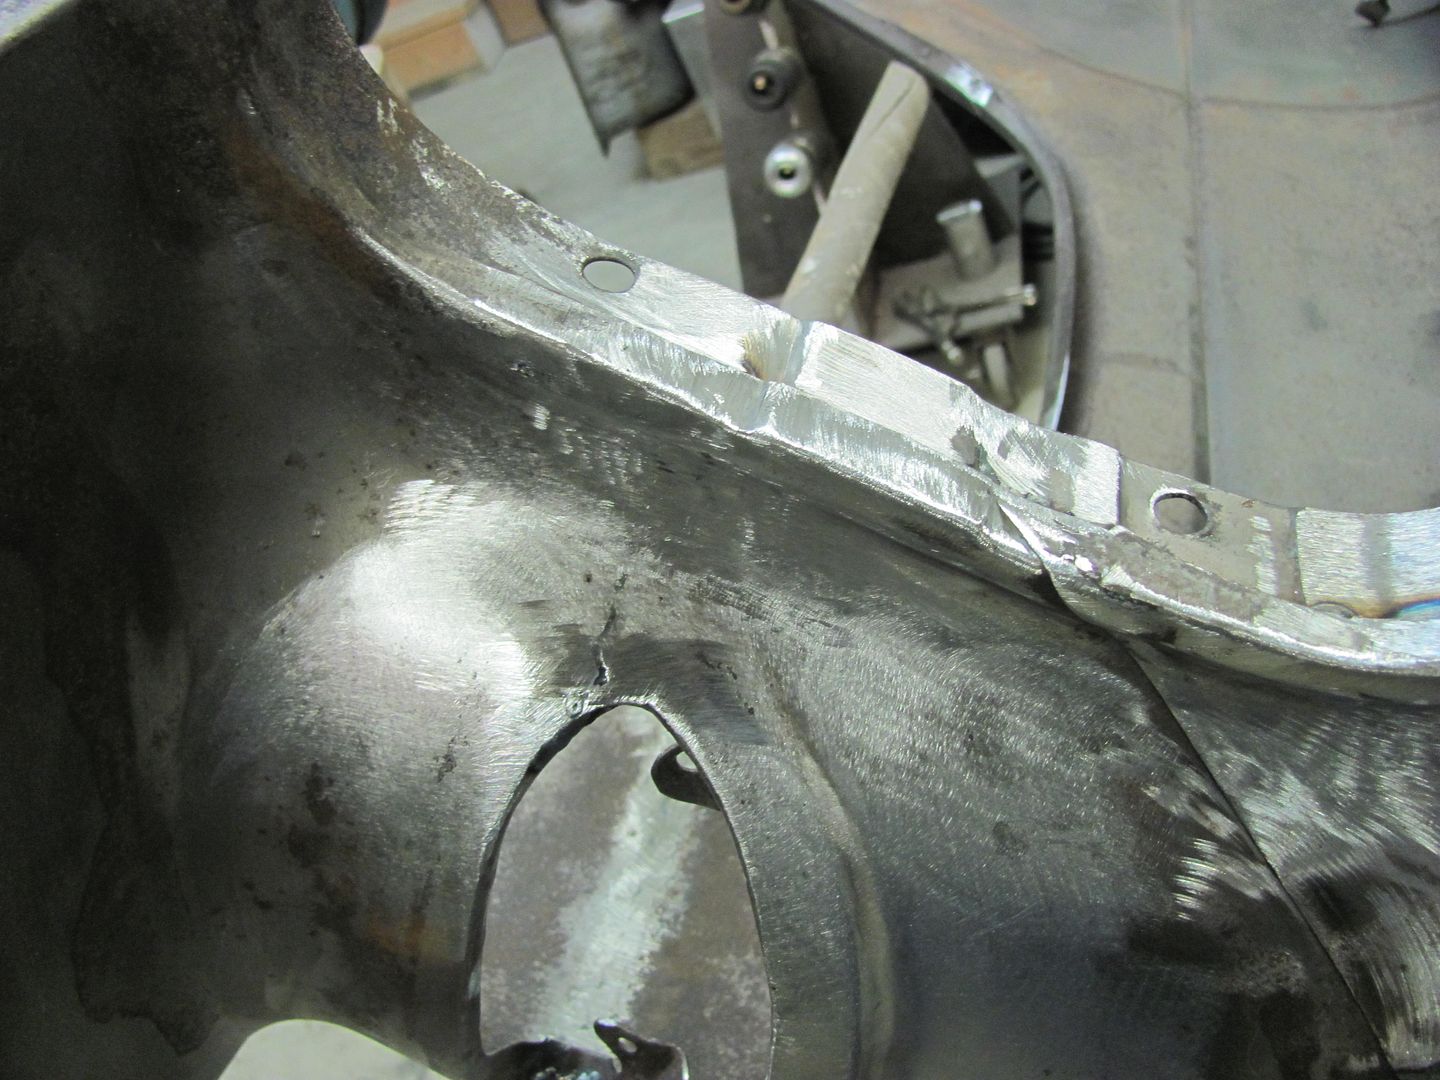
One more piece to finish up the shave, the inner flange for the grille opening needed connecting together after trimming the bolting flanges.
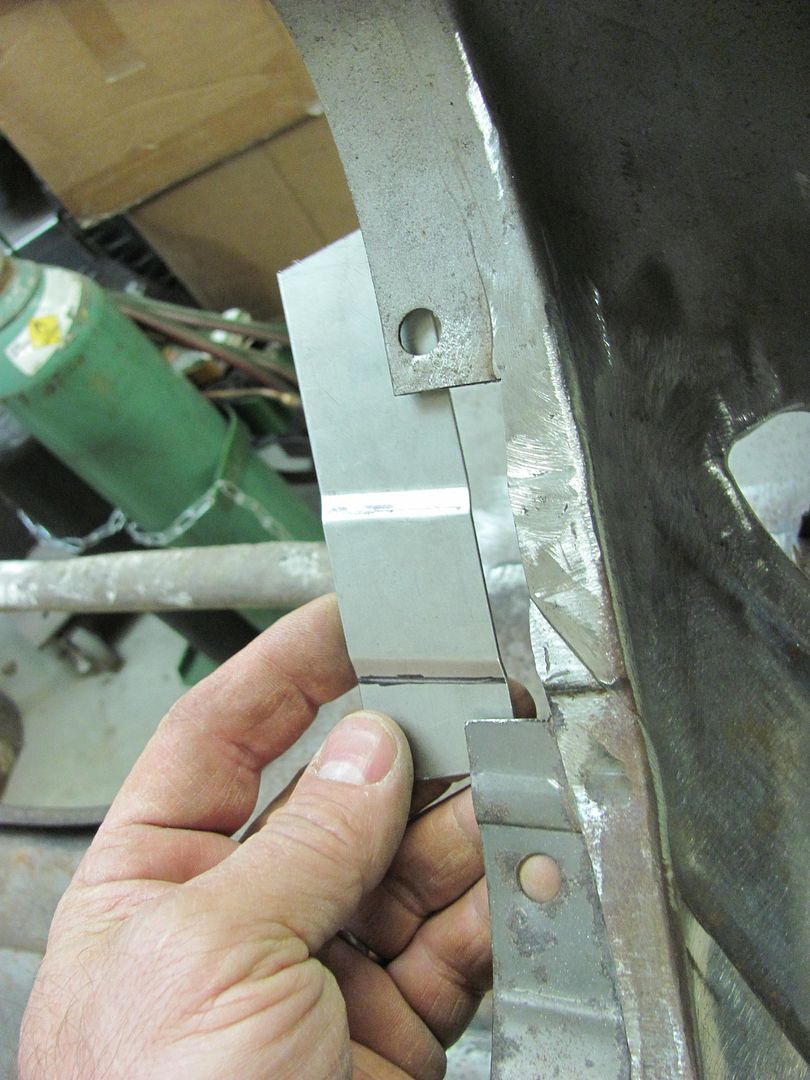
Trimmed and holes drilled for plug welds....

All welded and dressed out....
Robert
-
01-30-2013 04:58 AM #20
CHR Member
- Join Date
- Mar 2007
- Location
- festus
- Car Year, Make, Model: 48 Plymouth, 48,54 Heap
- Posts
- 3,407
Looking good, Robert!
-
02-02-2013 04:12 PM #21
CHR Member
- Join Date
- Jun 2008
- Location
- Leonardtown
- Car Year, Make, Model: Walking
- Posts
- 1,228
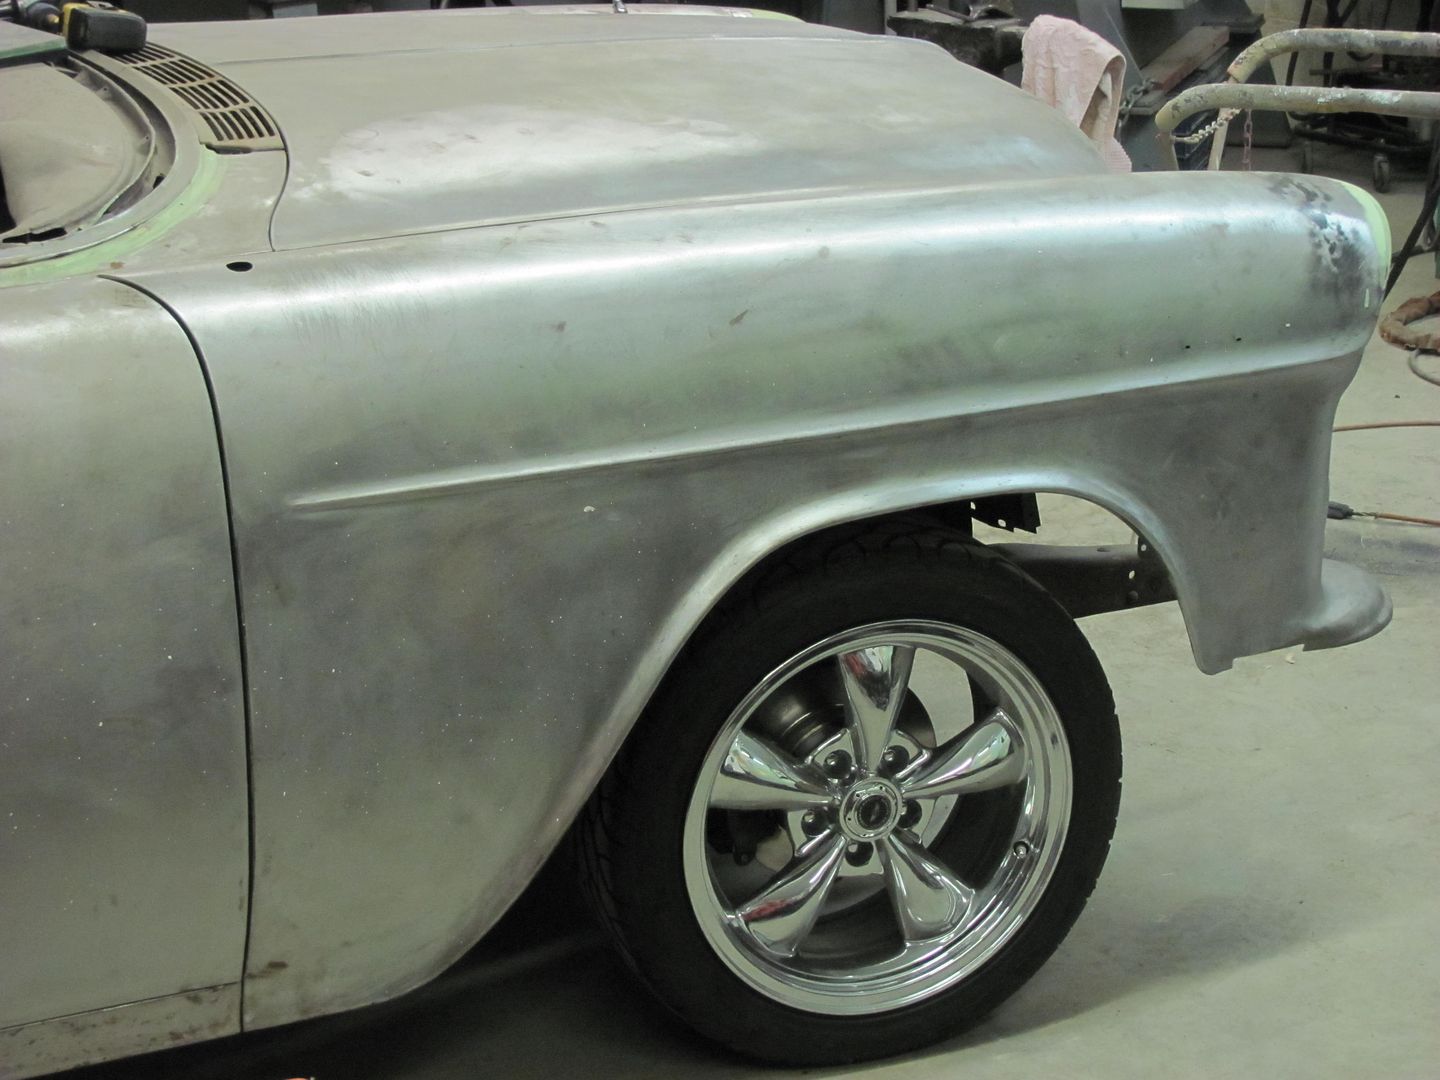
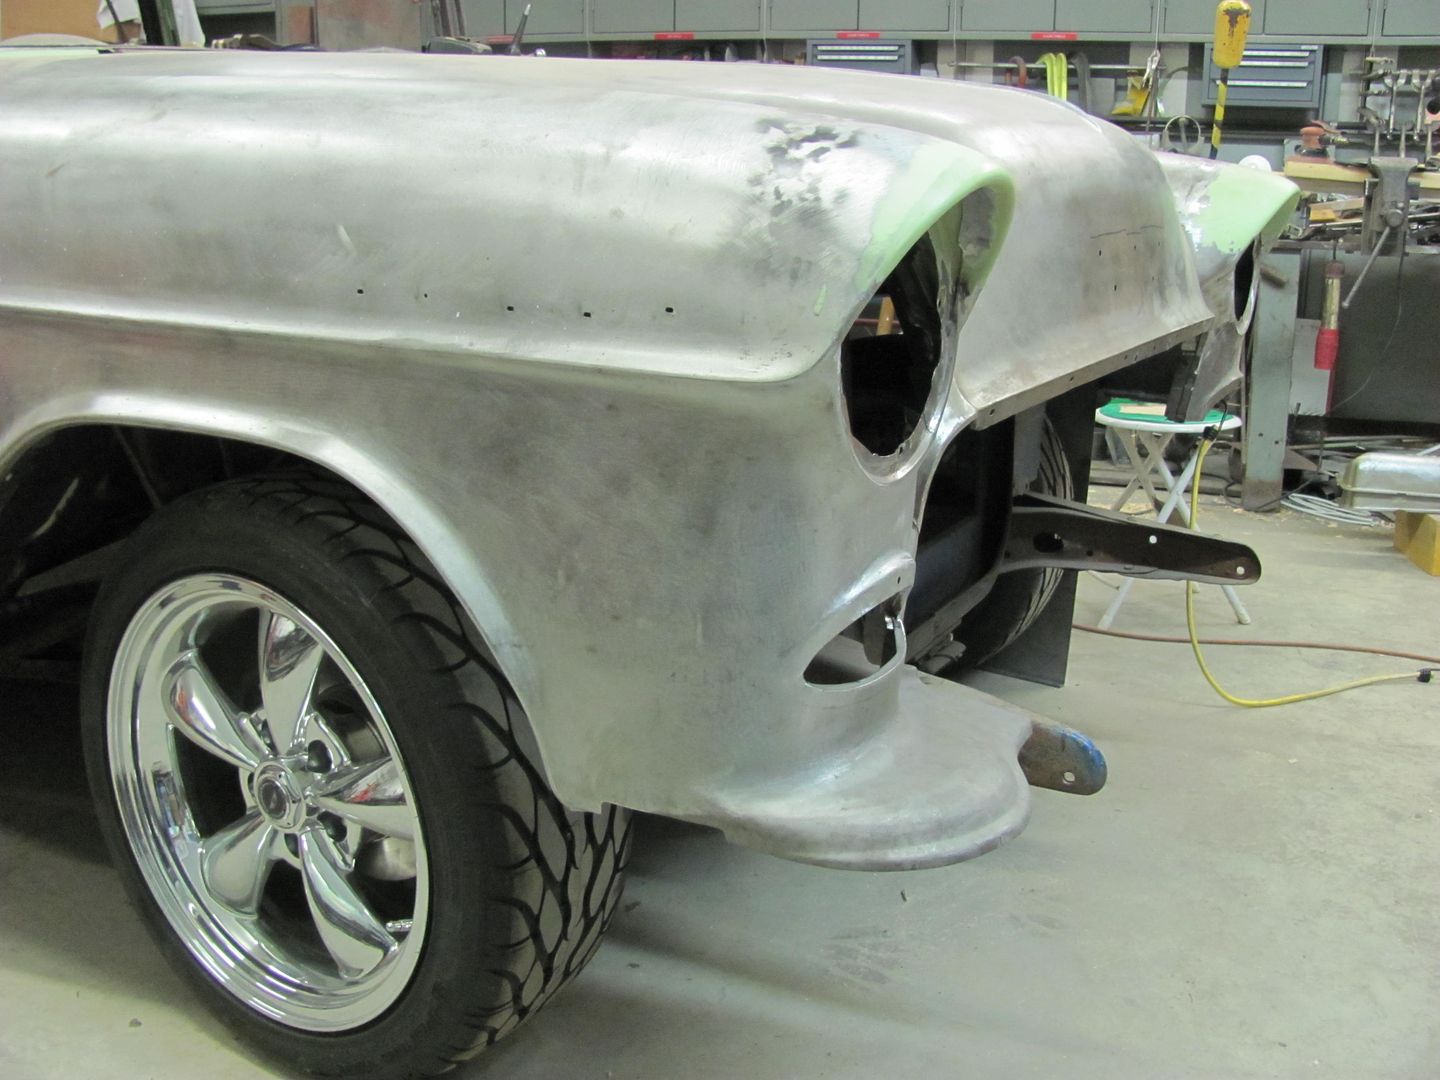
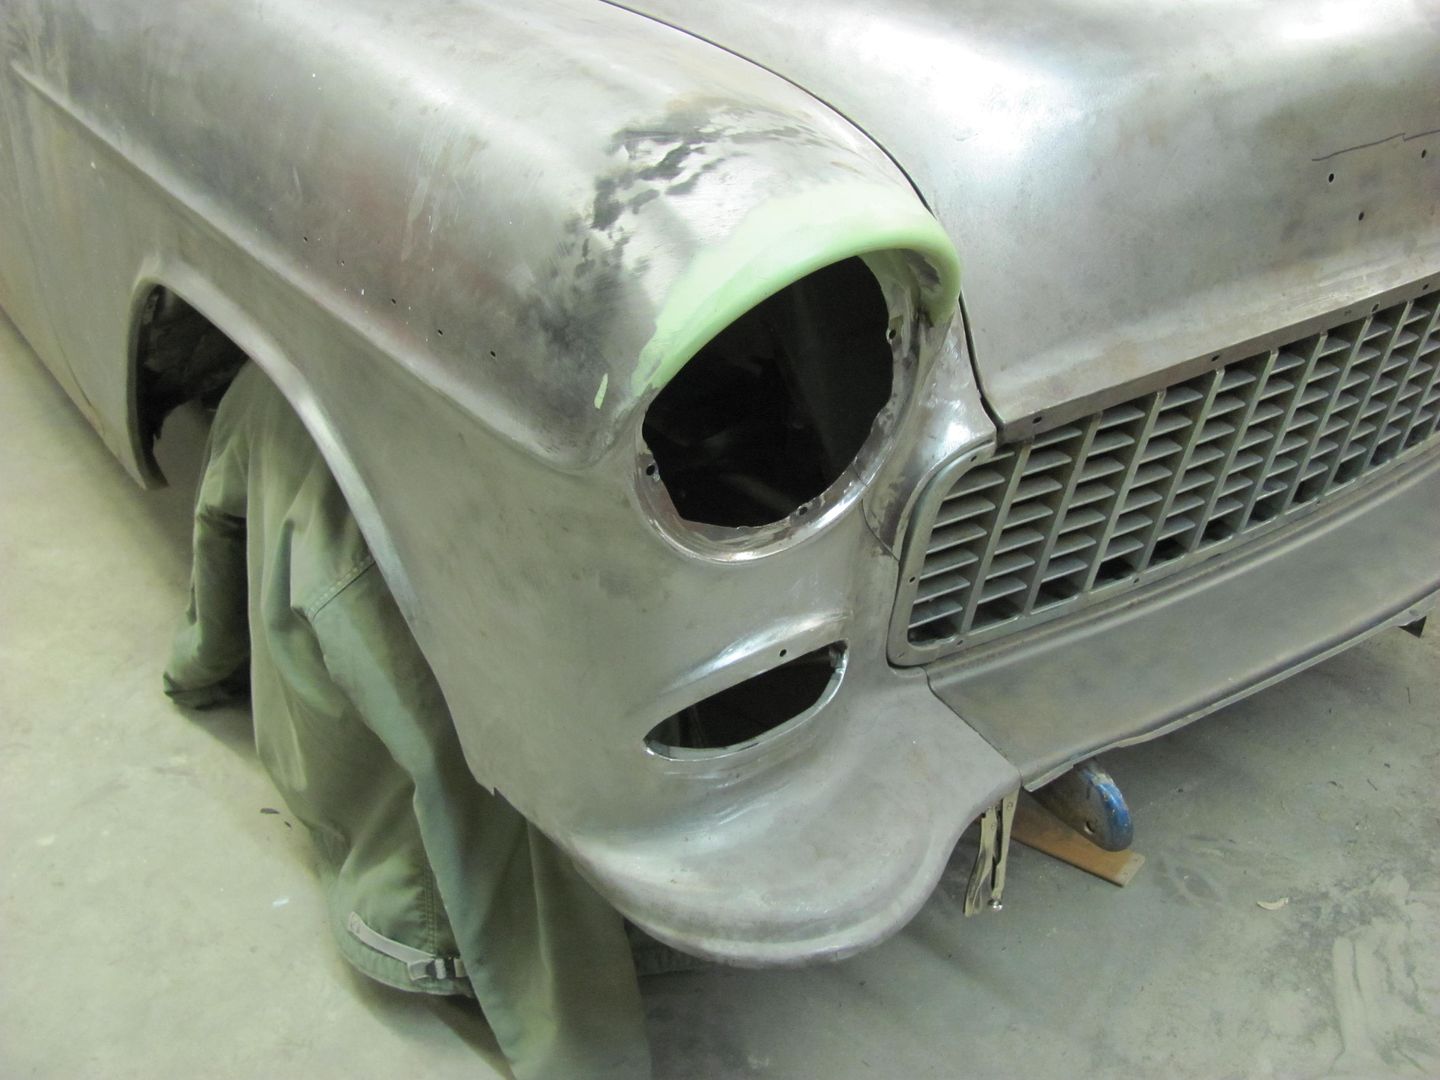
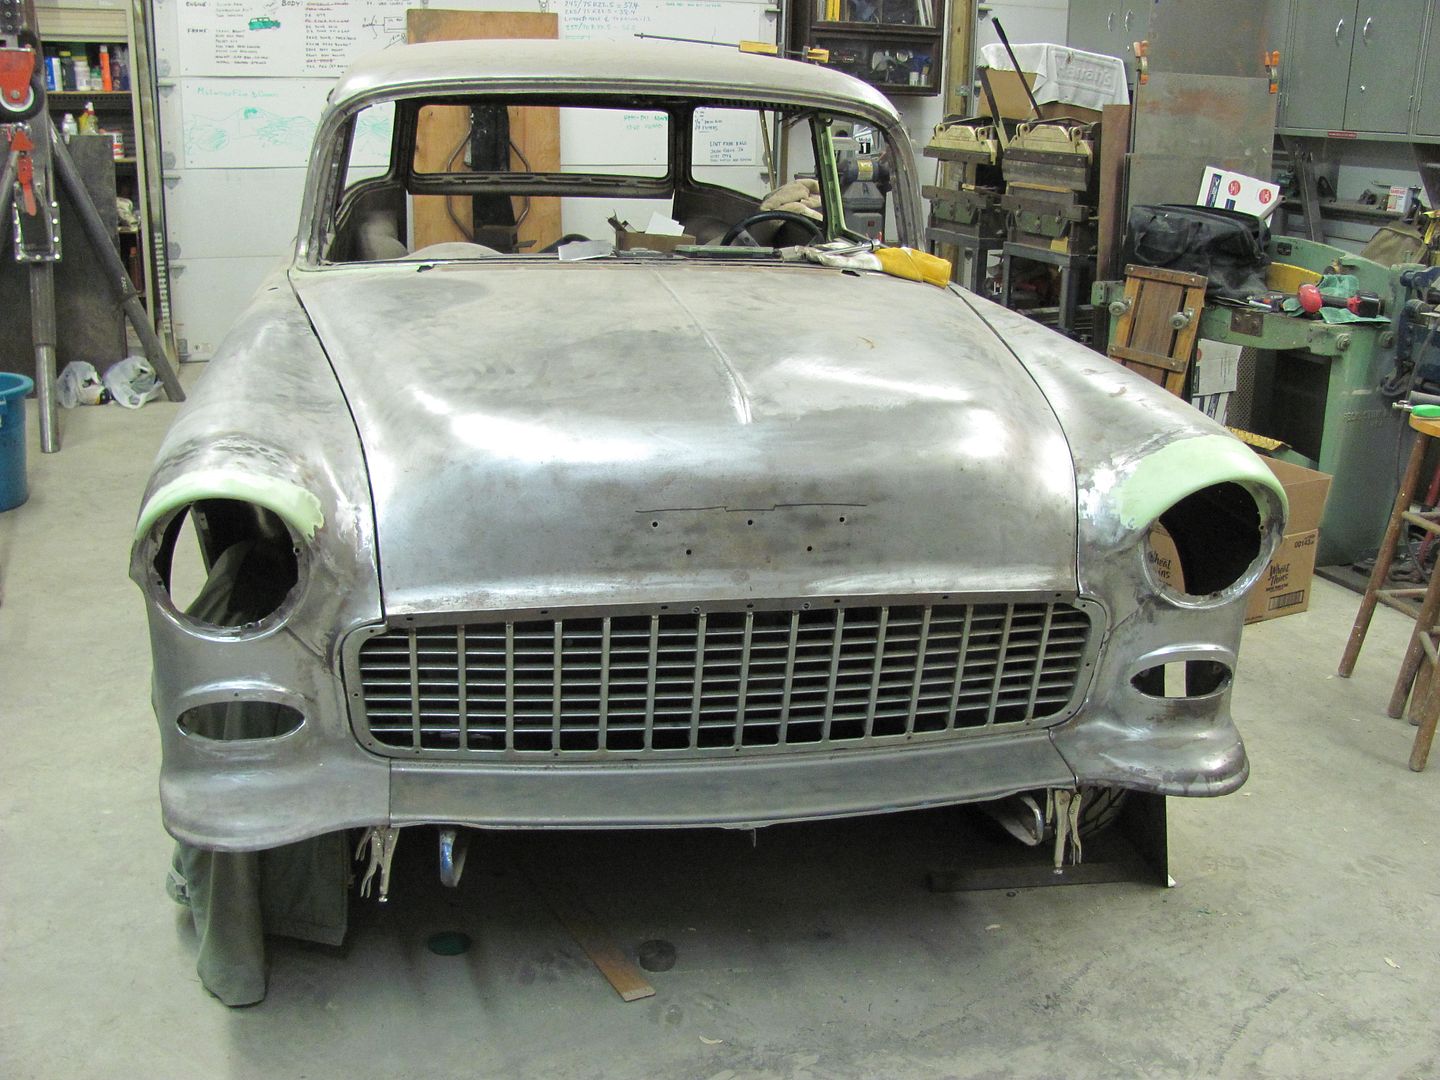
Thanks for all the likes and comments guys. I was going to start the shave on the driver's side, but a few stumbling blocks along the way...
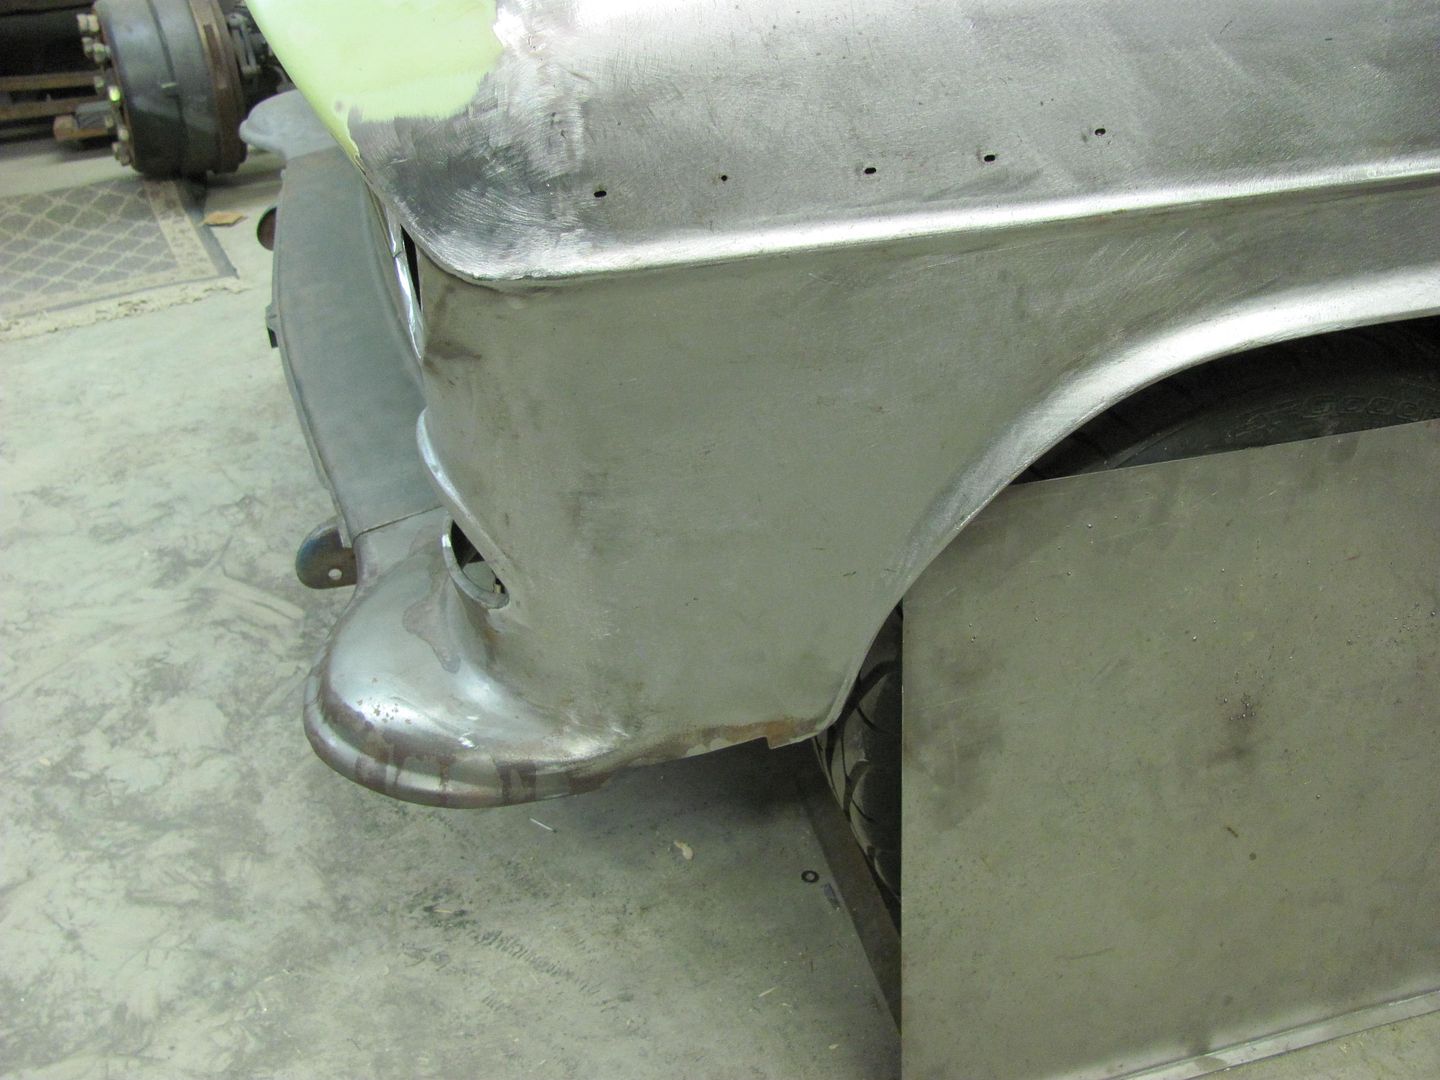
Mocked up all the front sheet metal just to see it together again.. Gotta love that hood bird..

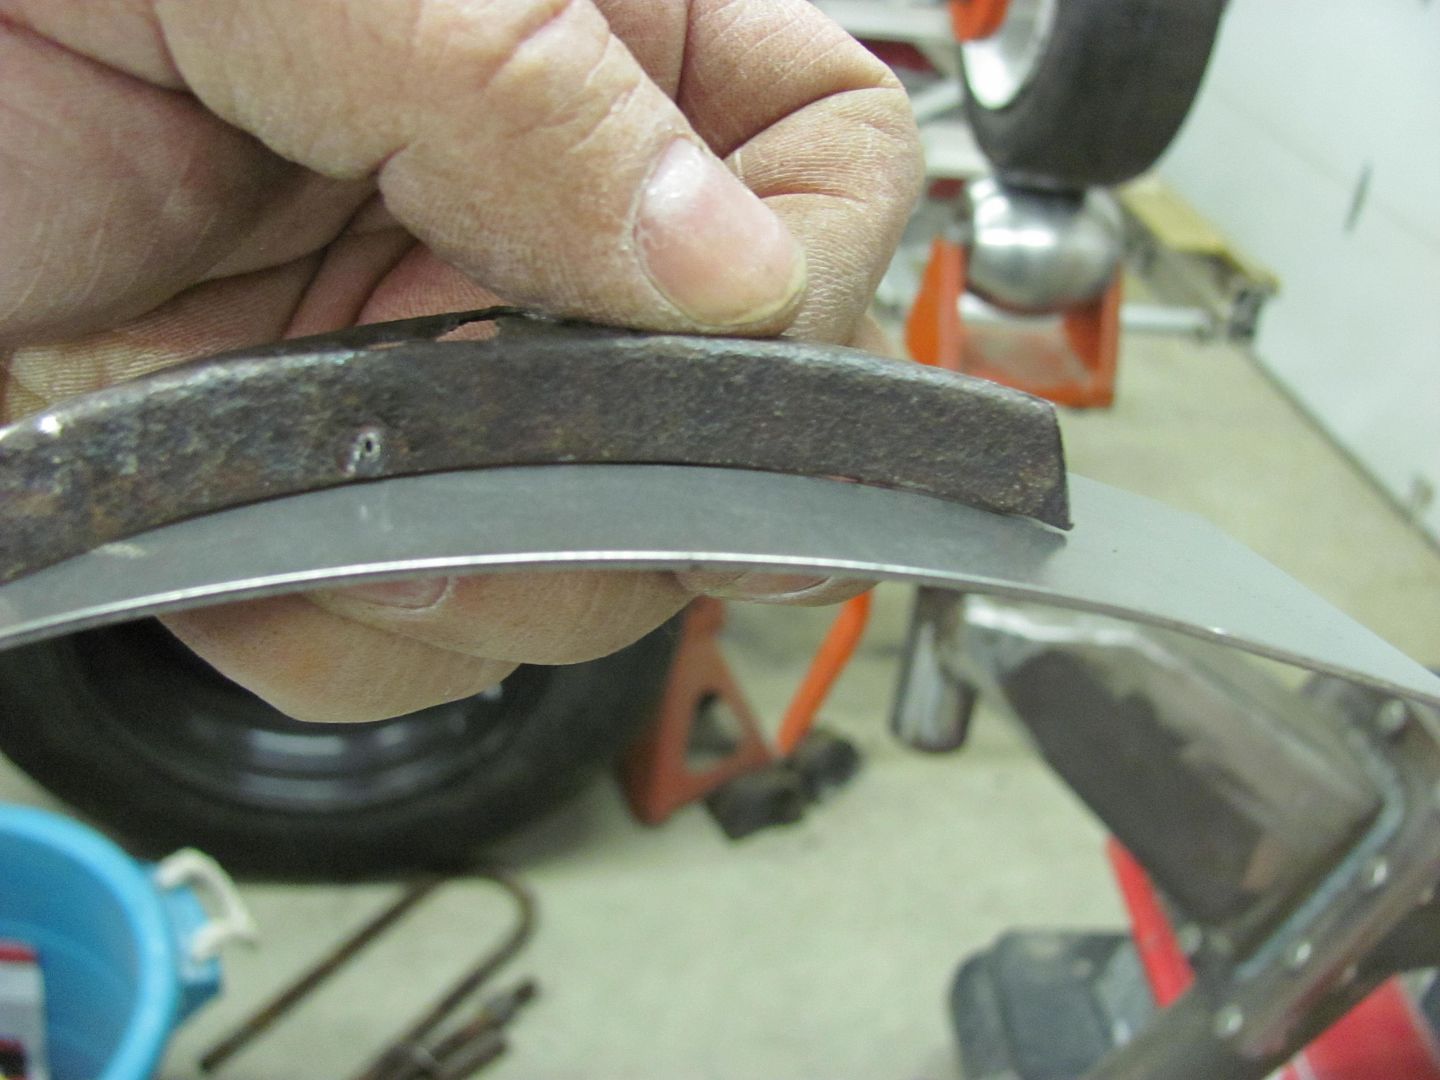
Here's the factory seam to compare to the shaved version...
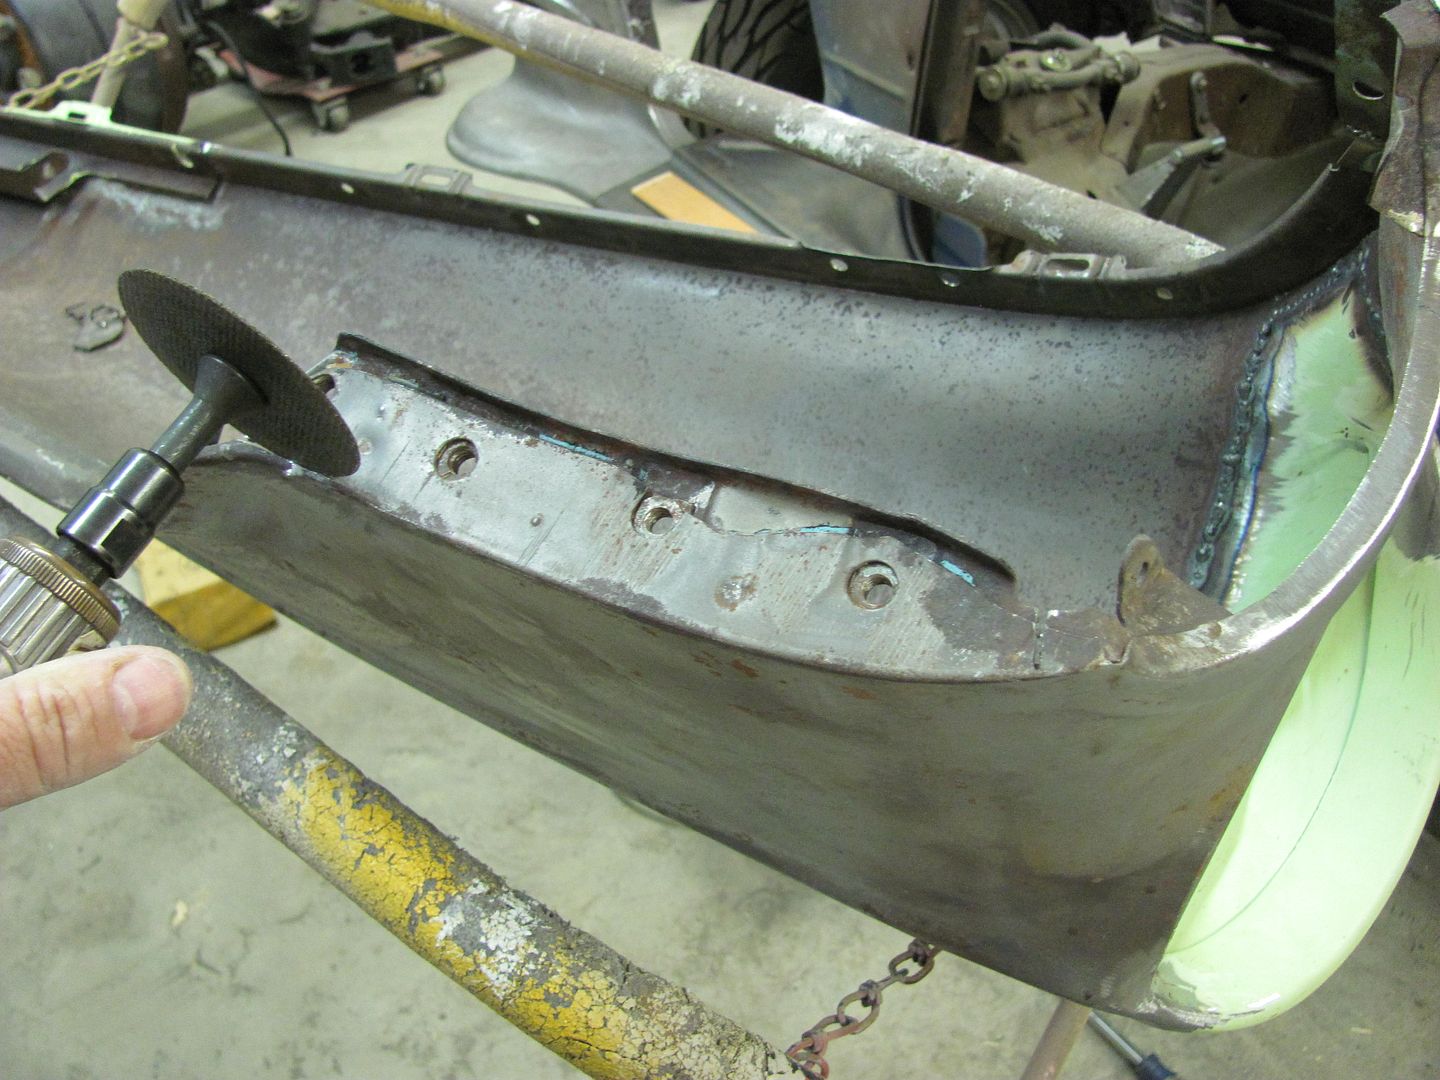
Bumper filler panel had been tweaked at some point in the past 50 years, so let's see what we can do to straighten it out some....
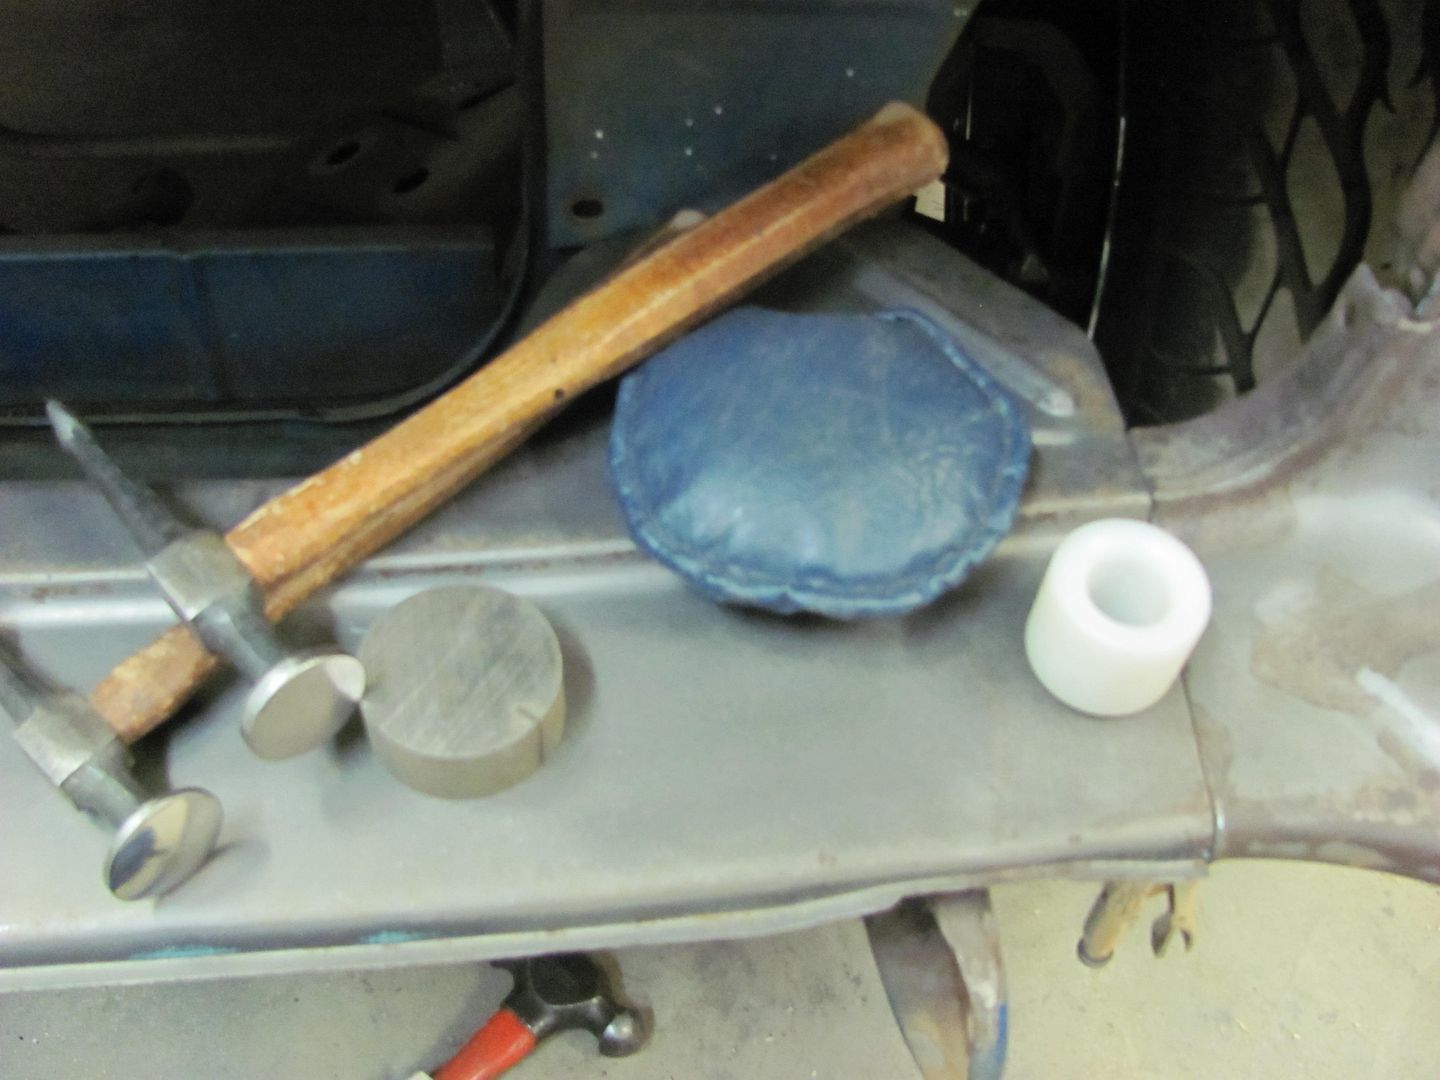
Used a combination of the flat and crowned body hammers, the donut dolly, the 5" dia shot bag, and a round hunk of steel.
Much better...

Next on the list before the next shave, a bit more rust to attend to...
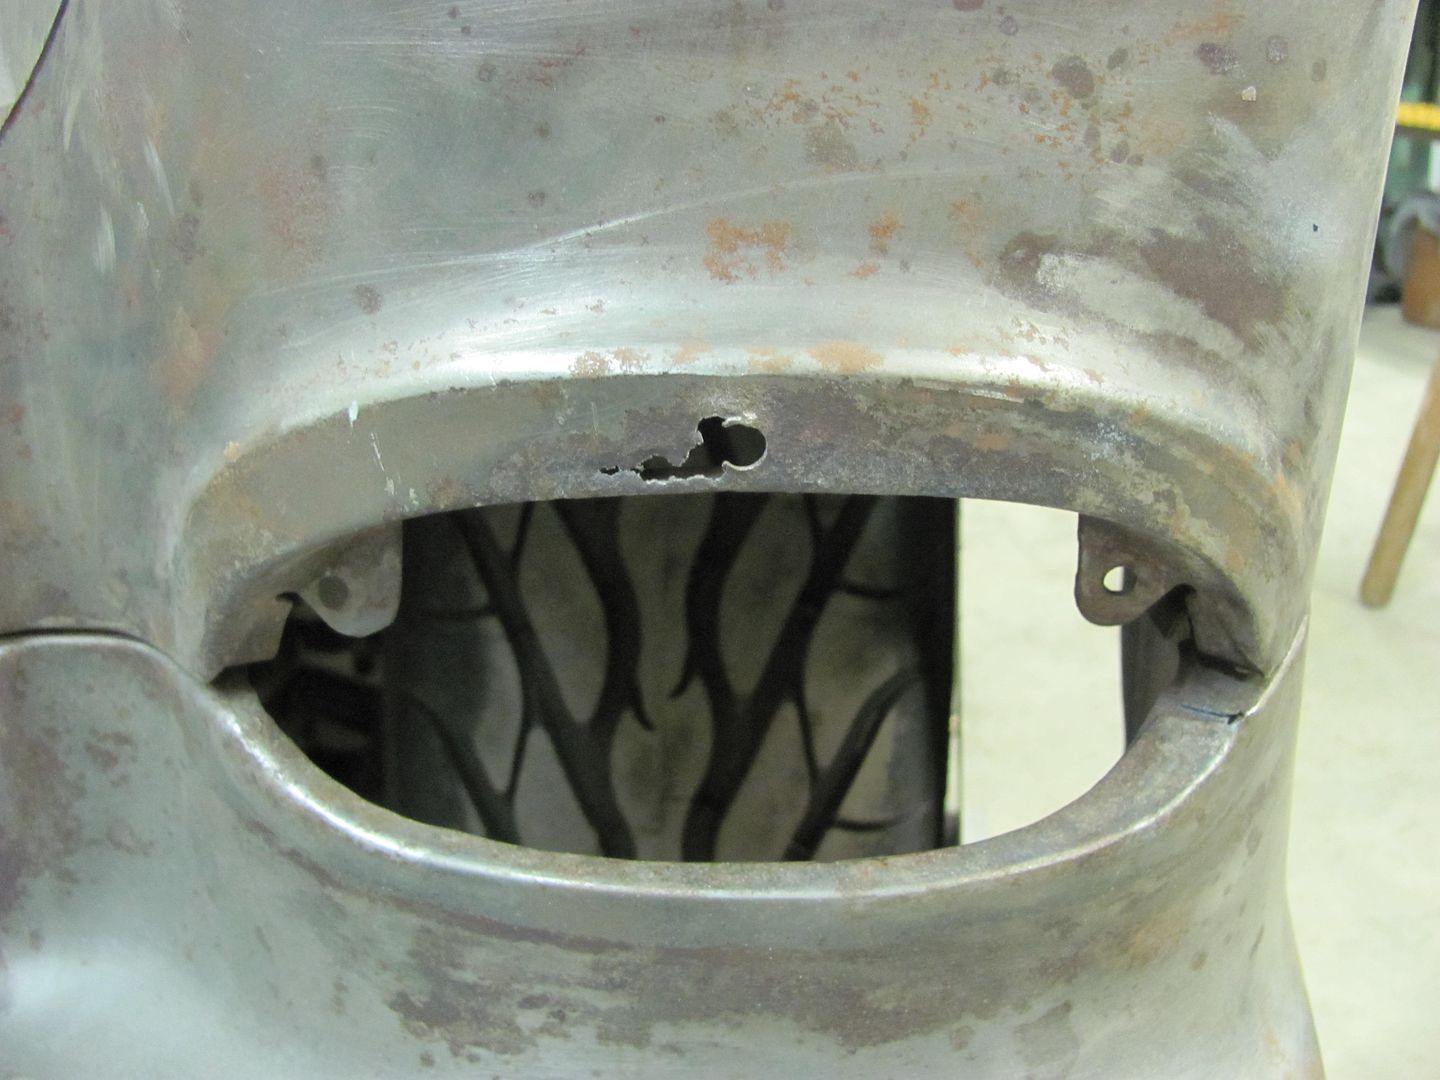
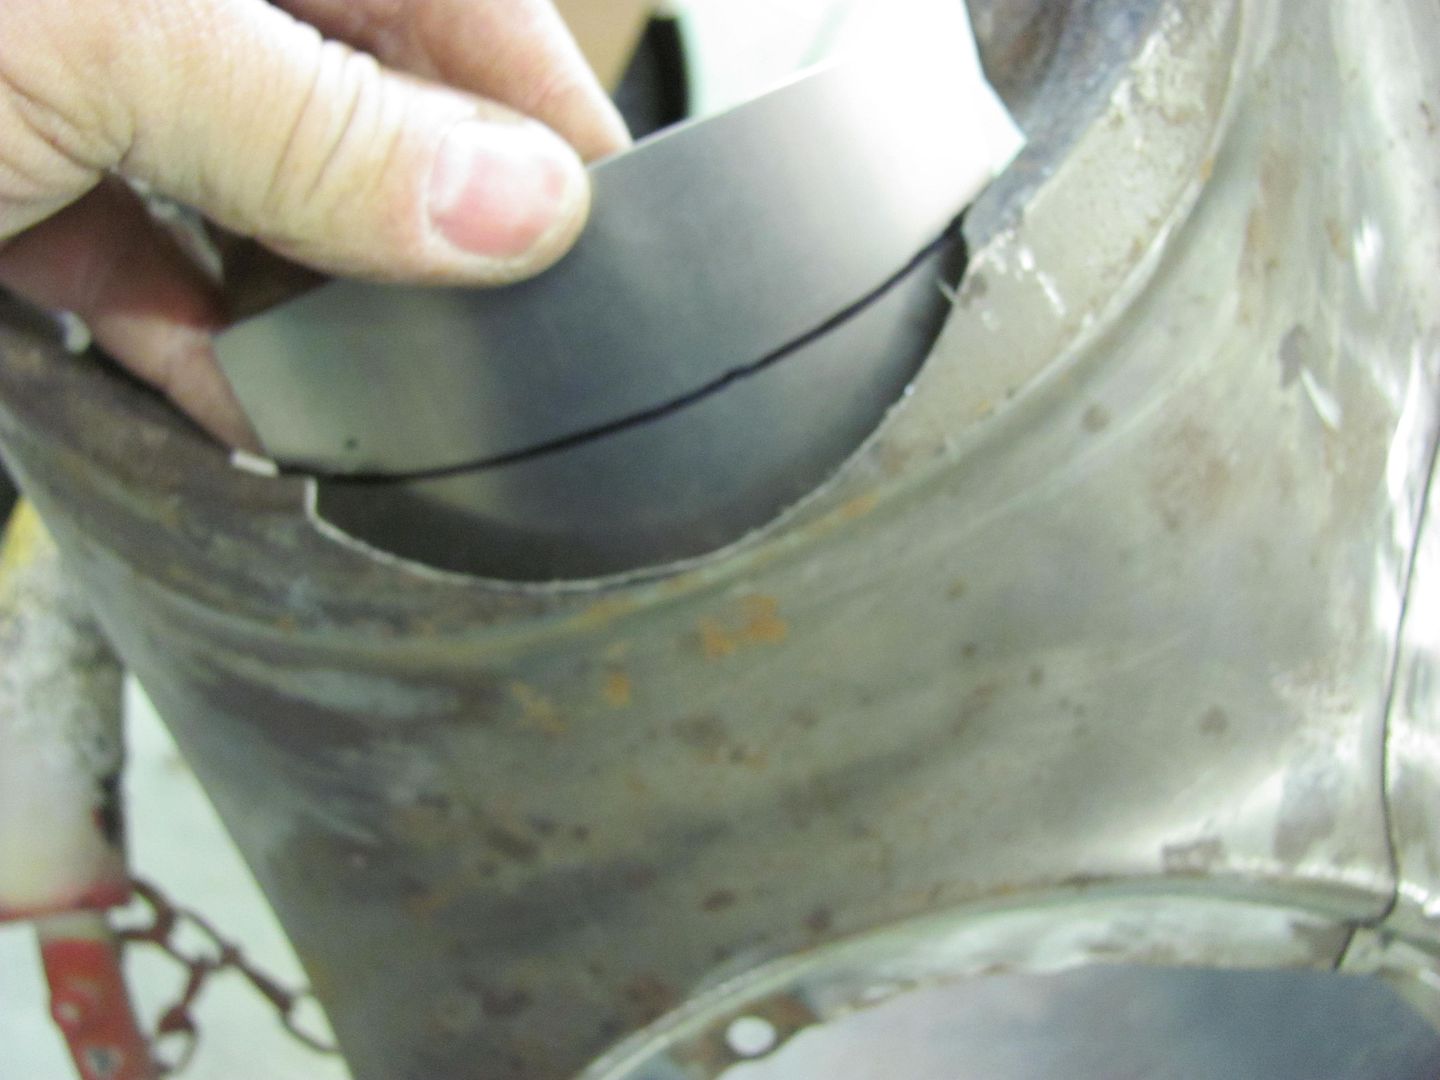
Used a wide sweeping radius on the cut to minimize any extra shrinking that occurs inside tight corners.
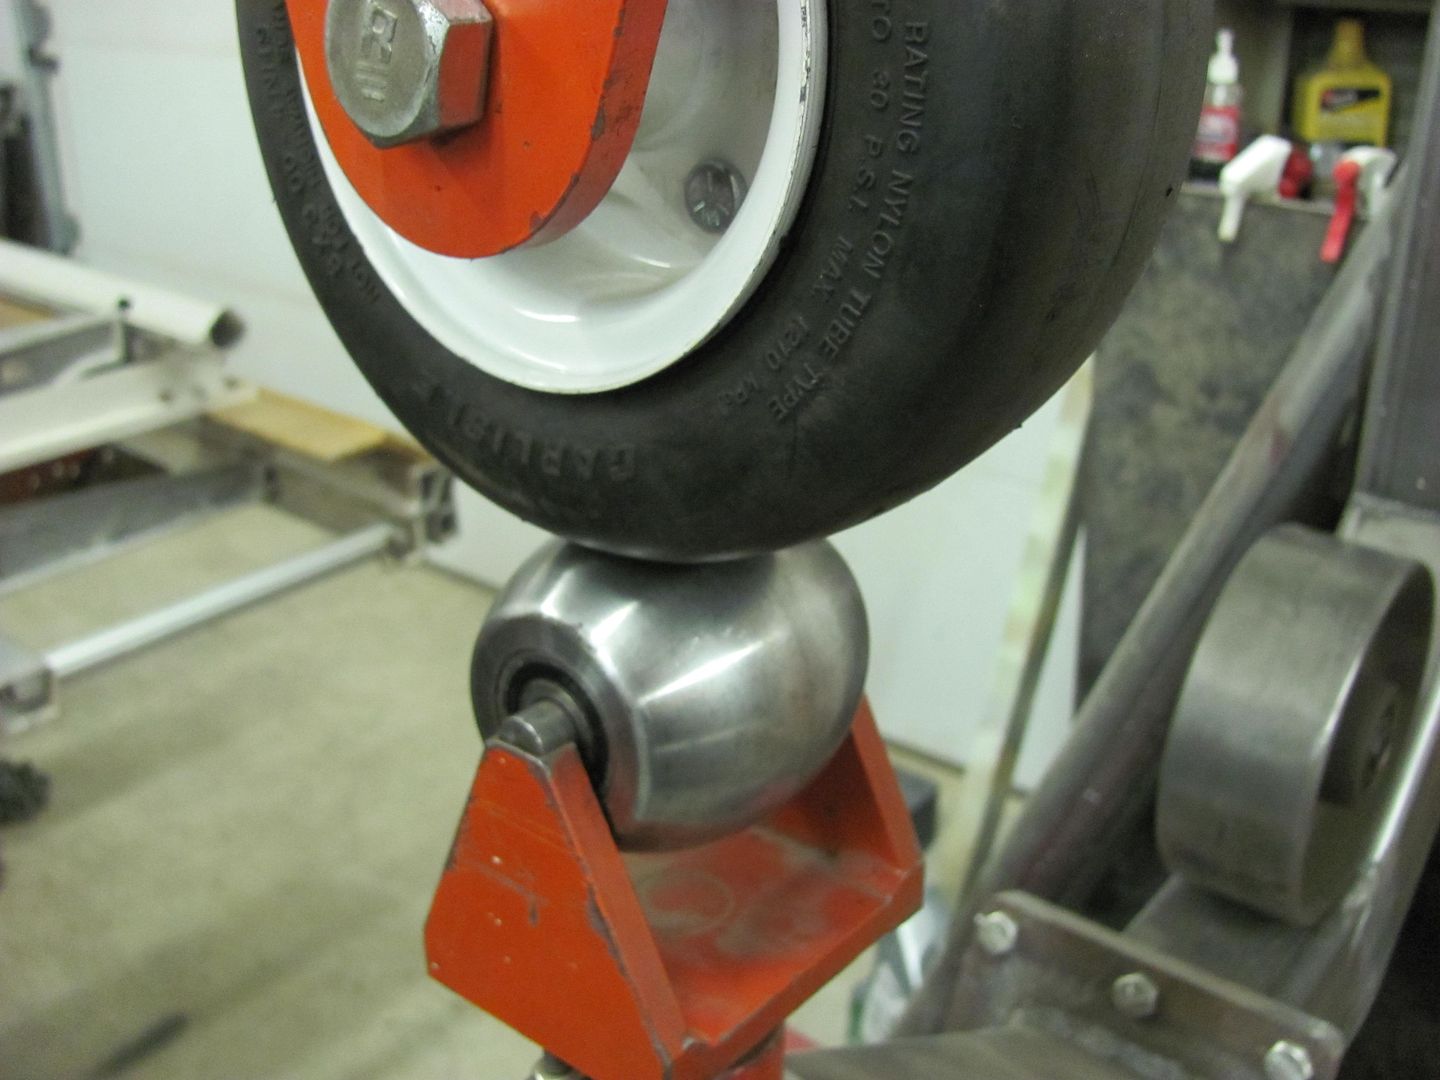
To get a good, consistent profile on the patch, I used the go kart wheel...

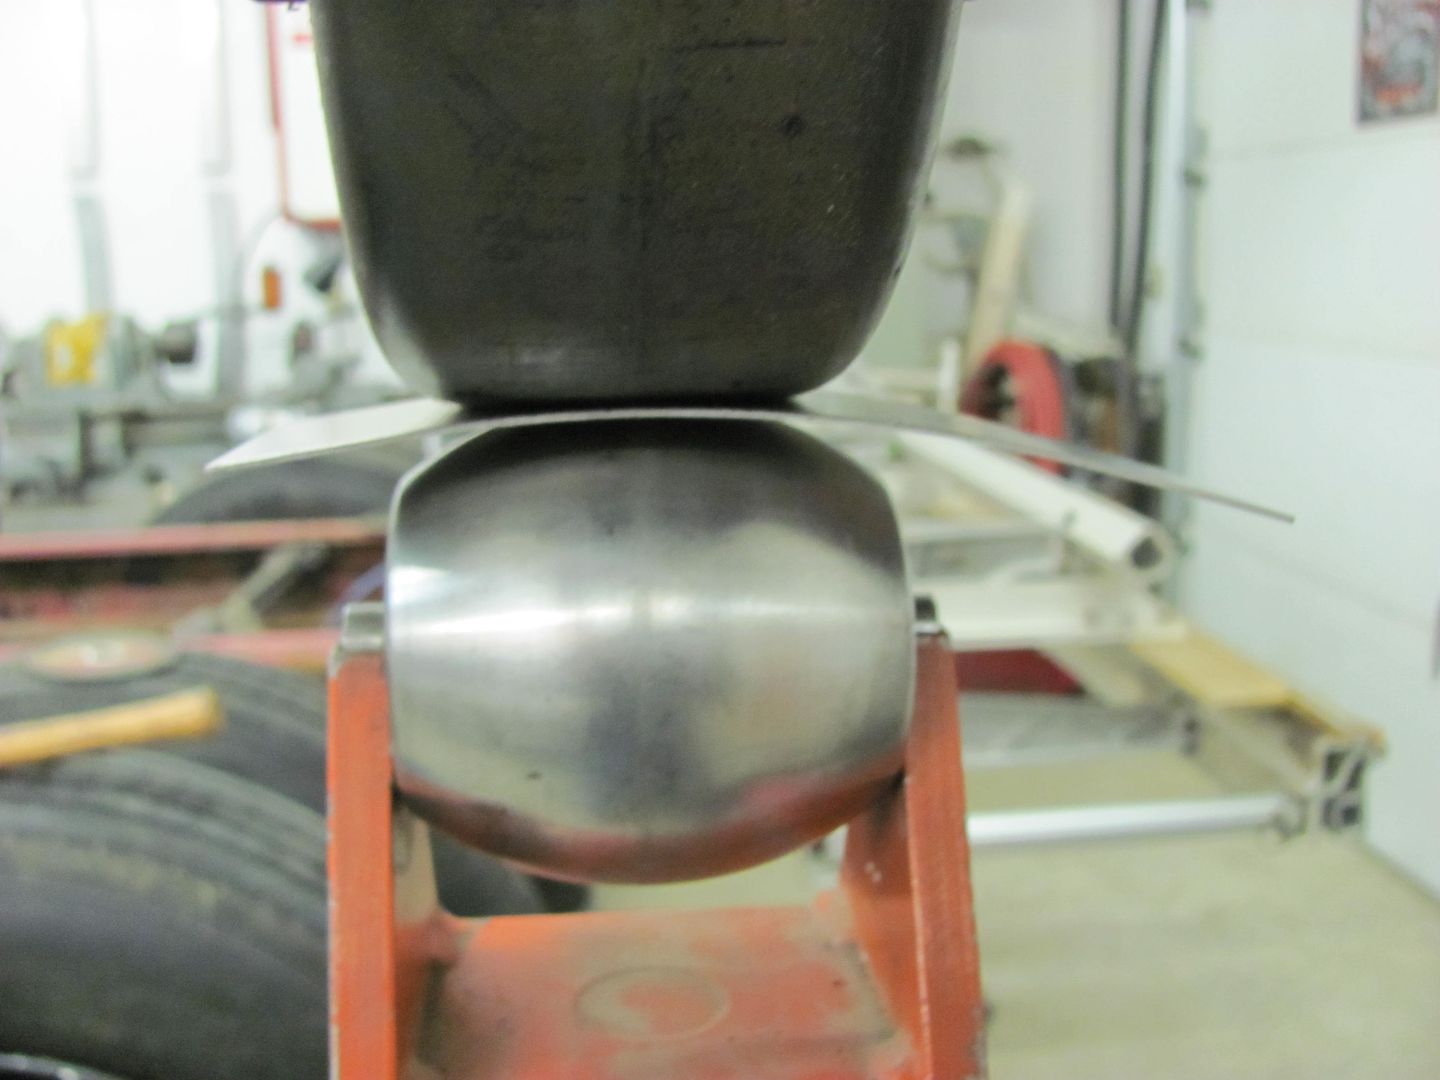
Laying out the pattern..
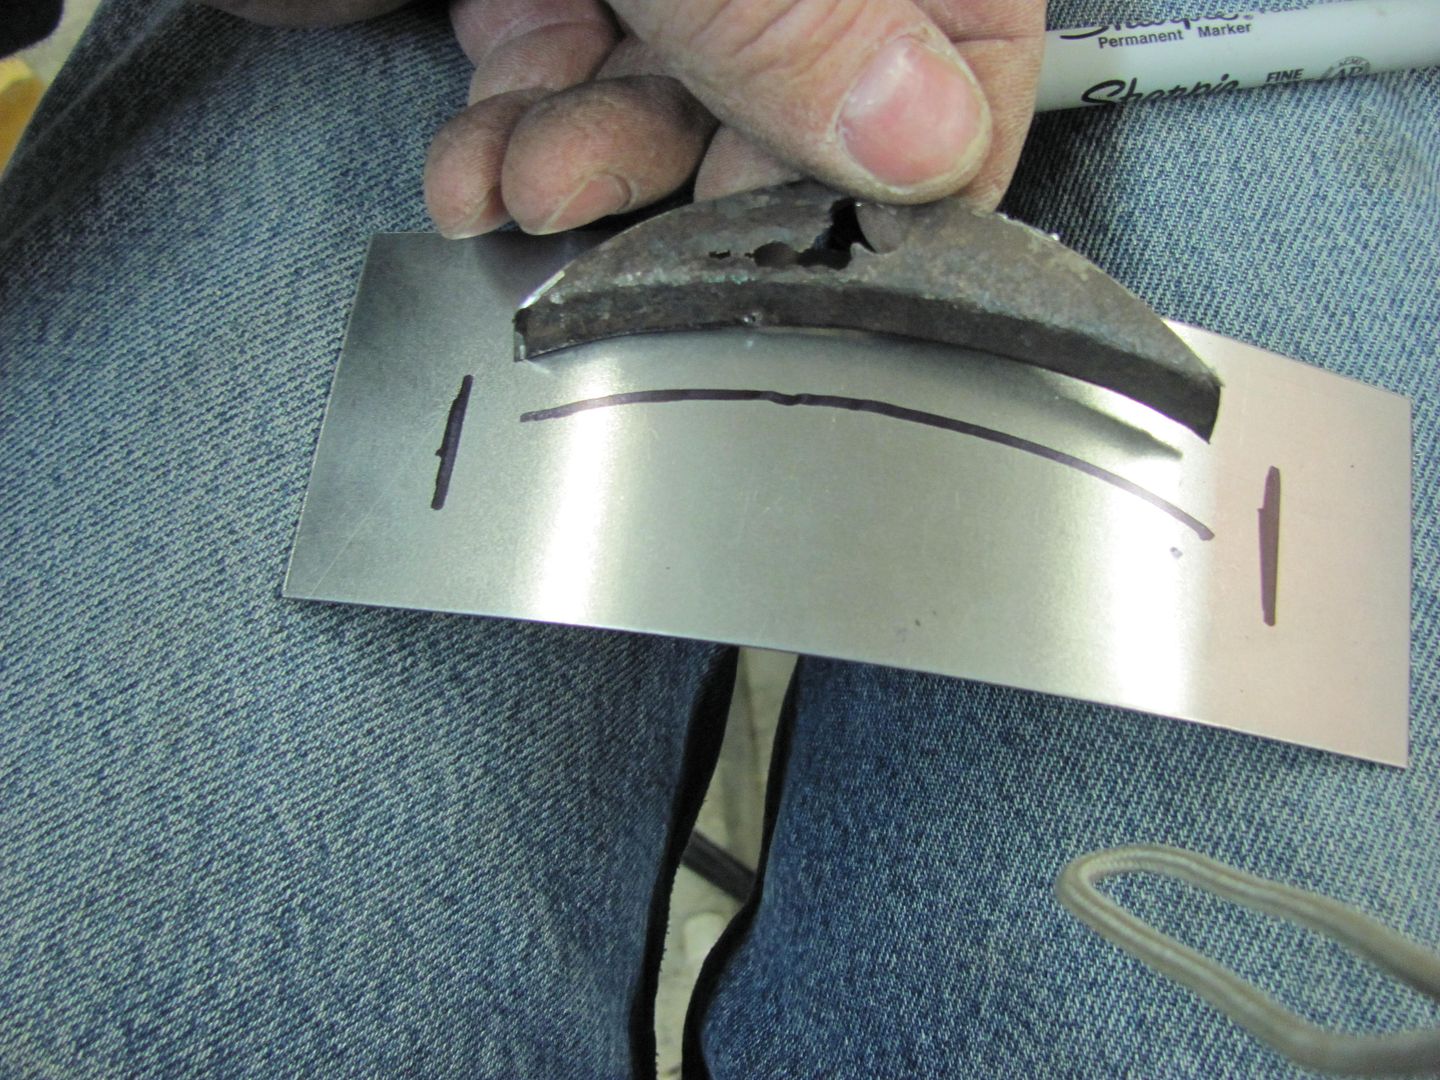

One last test fit before tipping the flange...

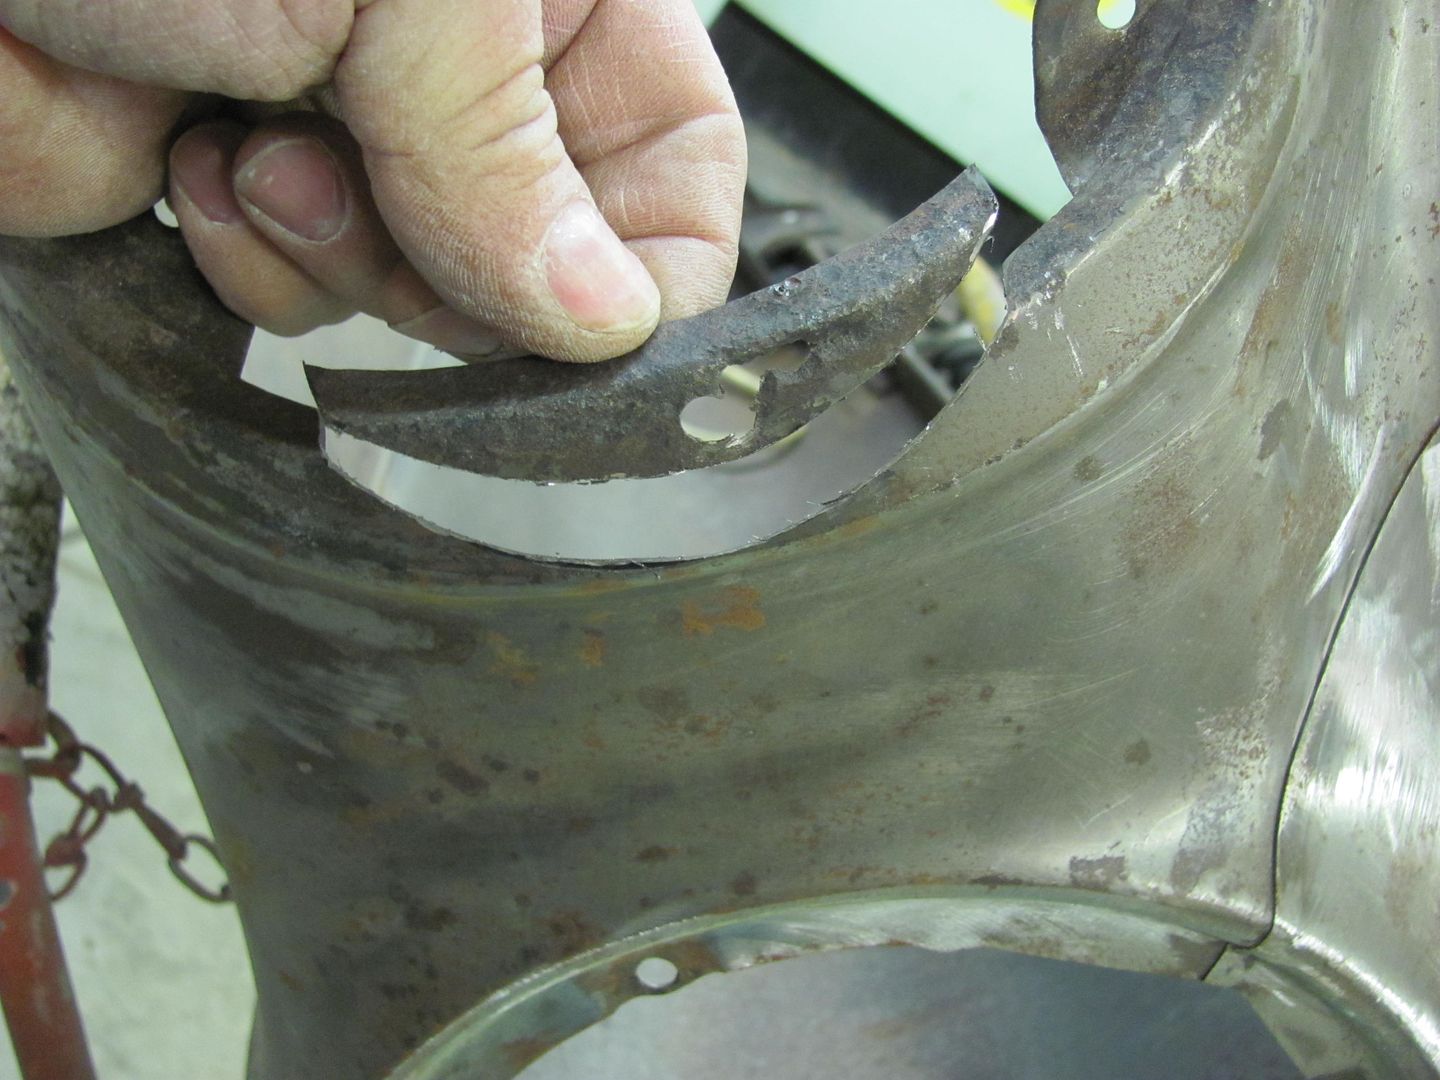
Dumb mistake number one....don't cut the patch so small you can't get leverage to force the flange to tip...
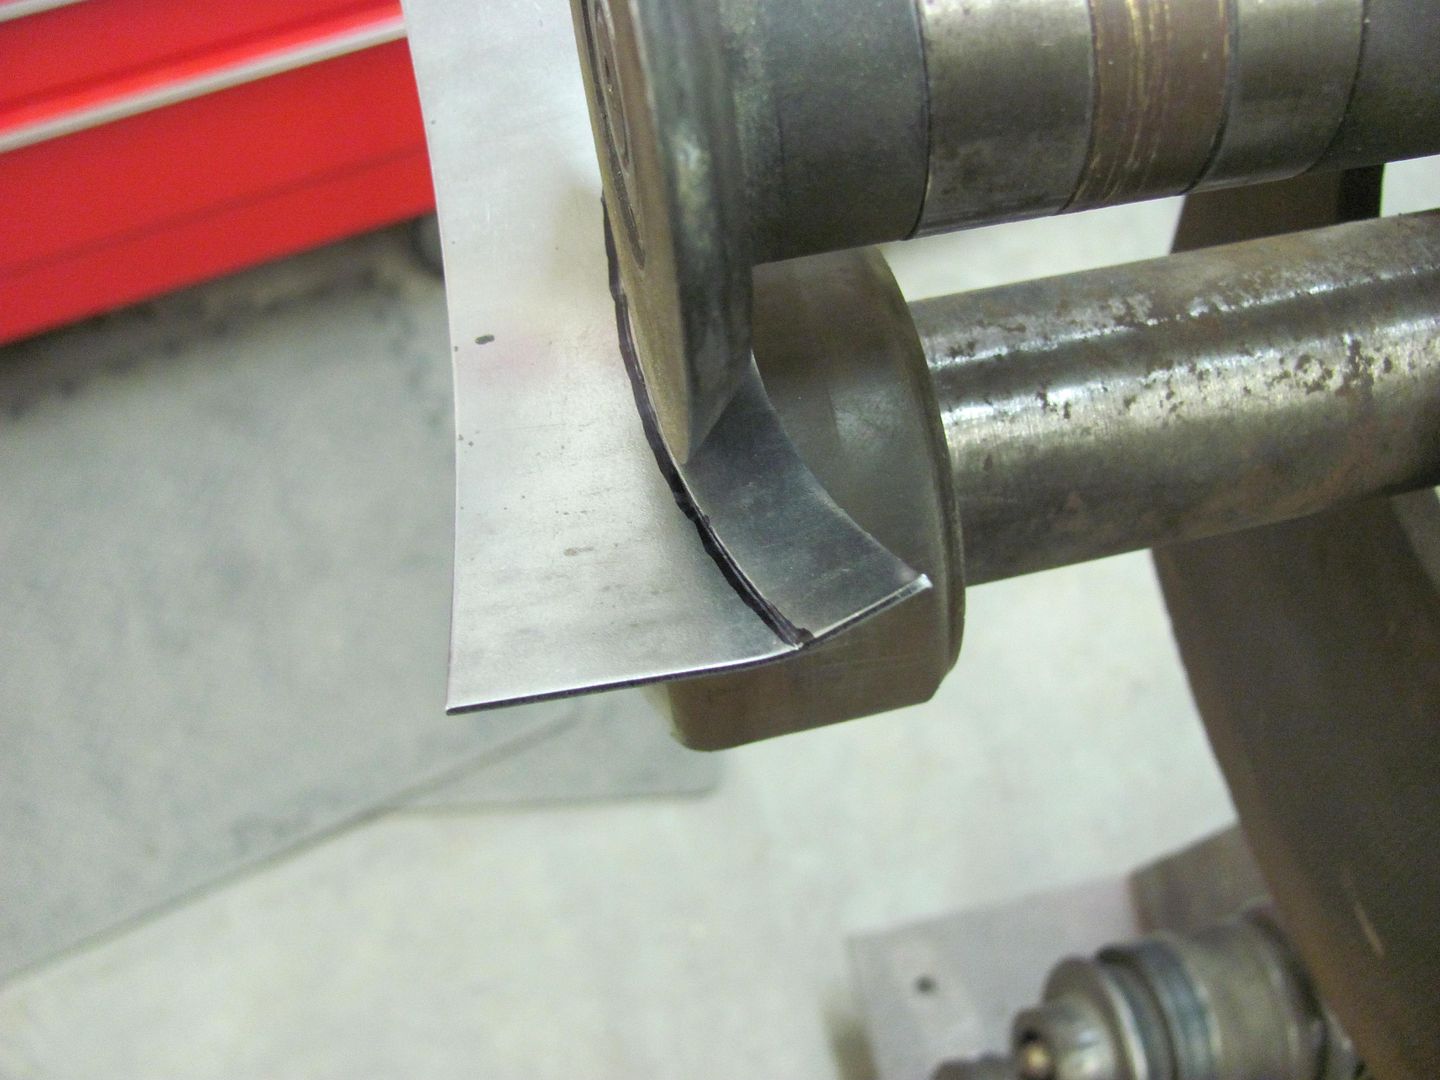
Well, we do have a good crease to work from now. Some hammering on the 2" round anvil will work
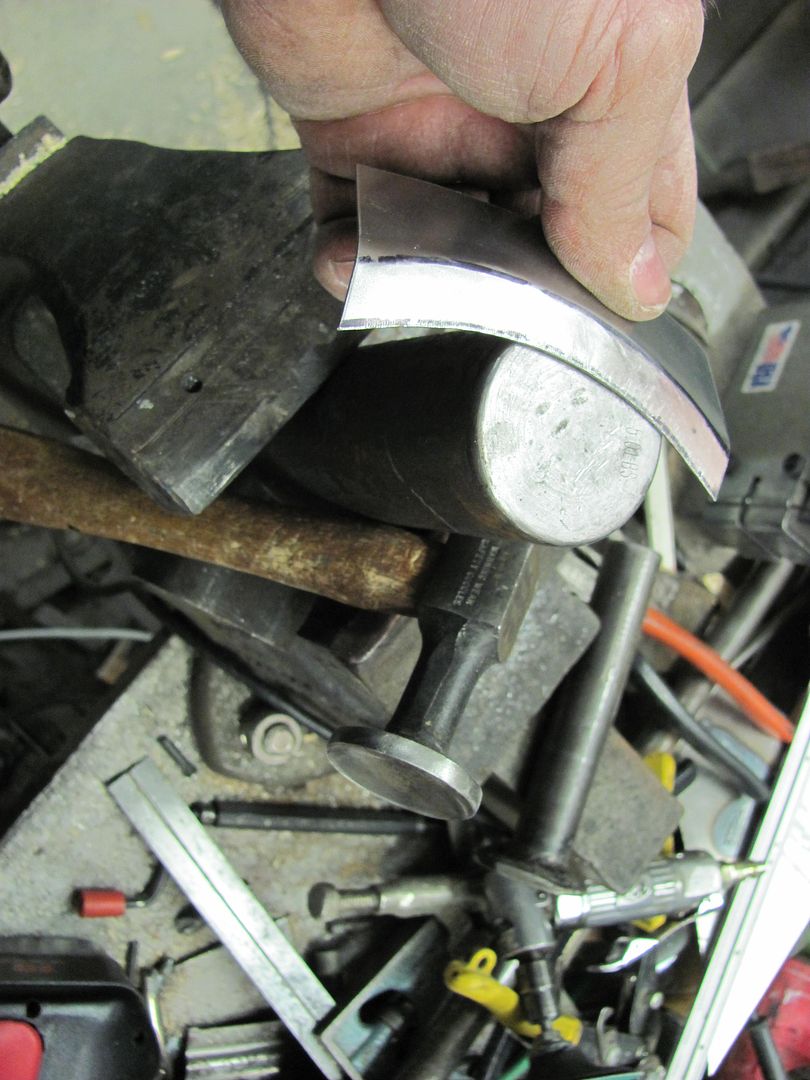
Trimmed to fit...
Welded and dressed...
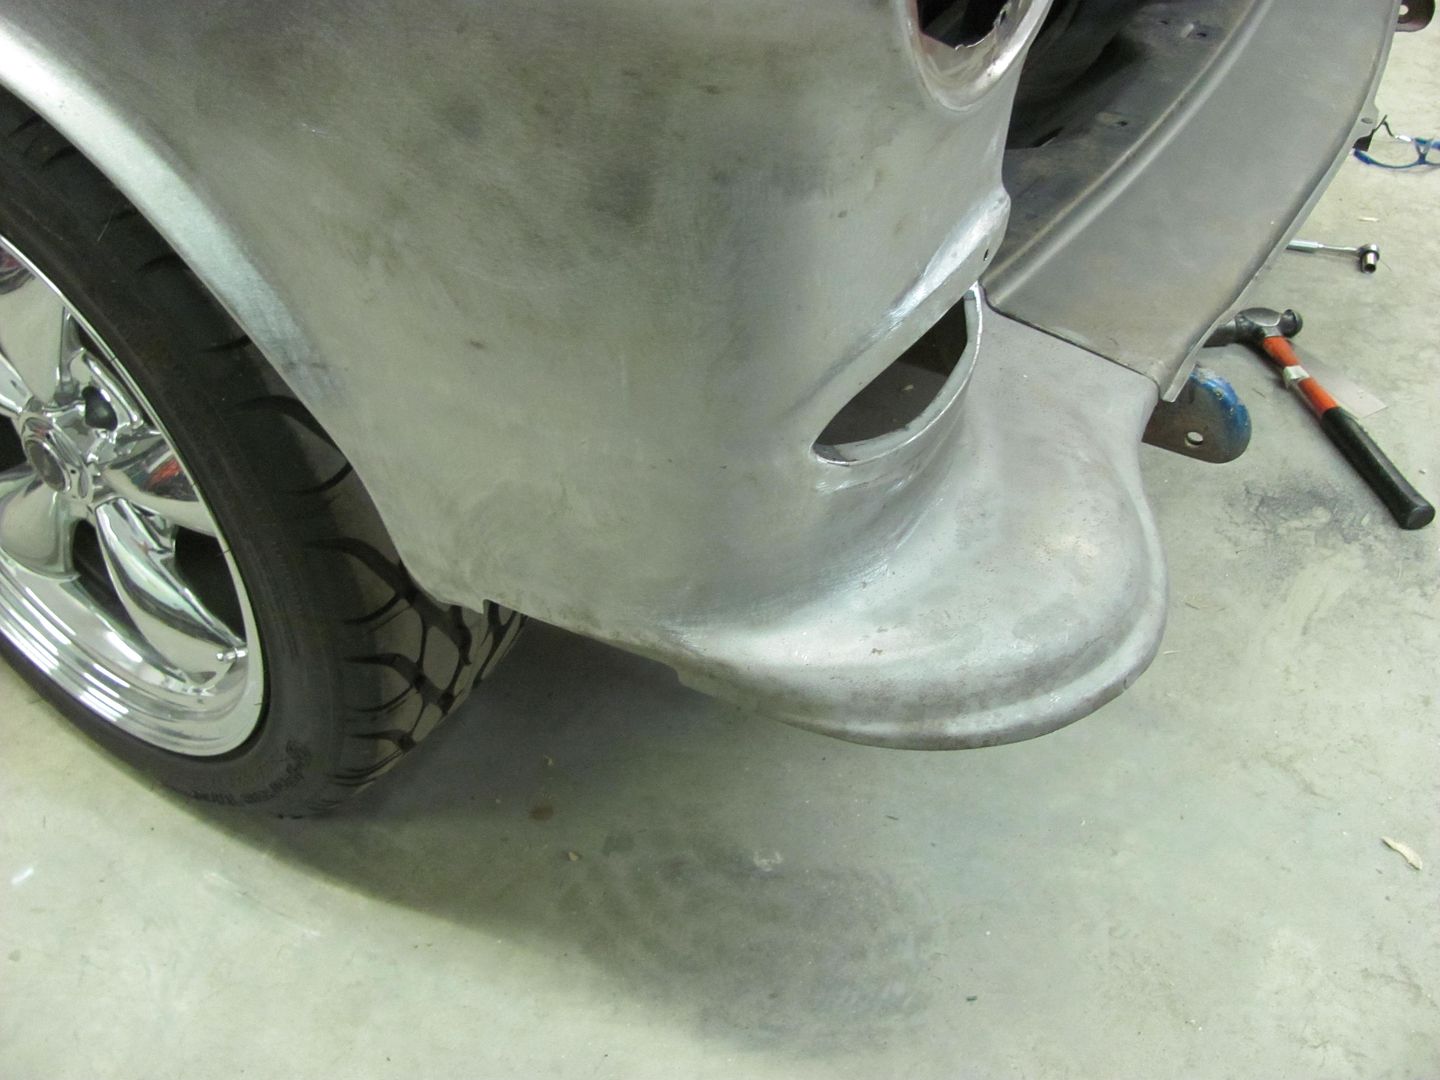
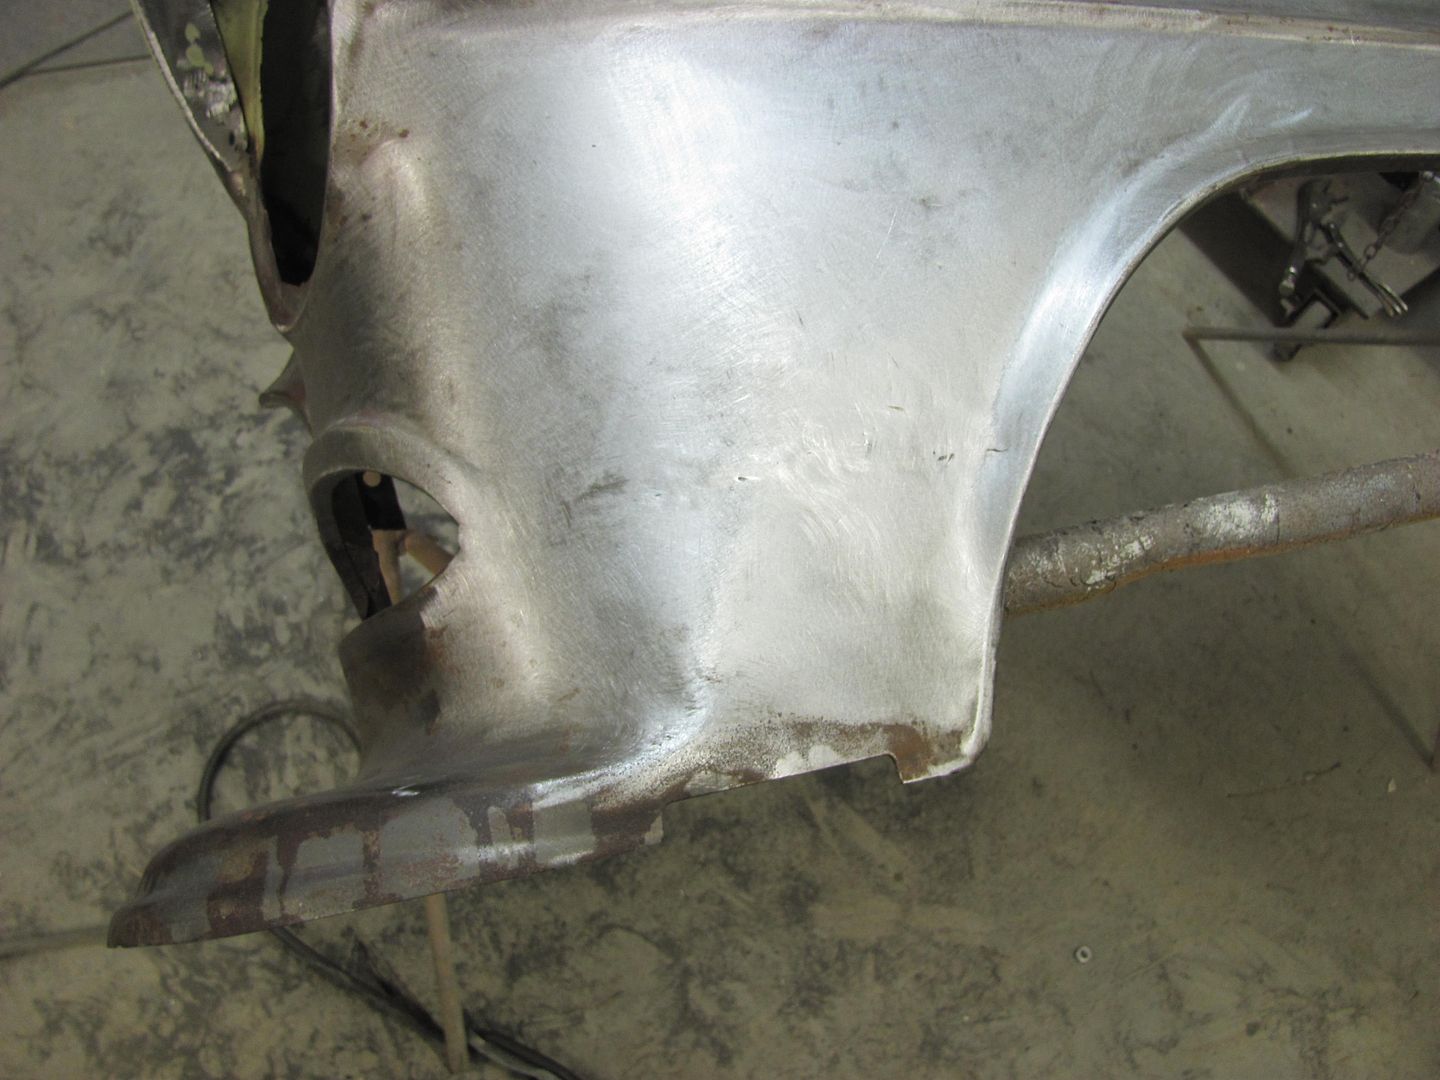
Hey...the light even fits
Robert
-
02-09-2013 05:07 AM #22
CHR Member
- Join Date
- Jun 2008
- Location
- Leonardtown
- Car Year, Make, Model: Walking
- Posts
- 1,228
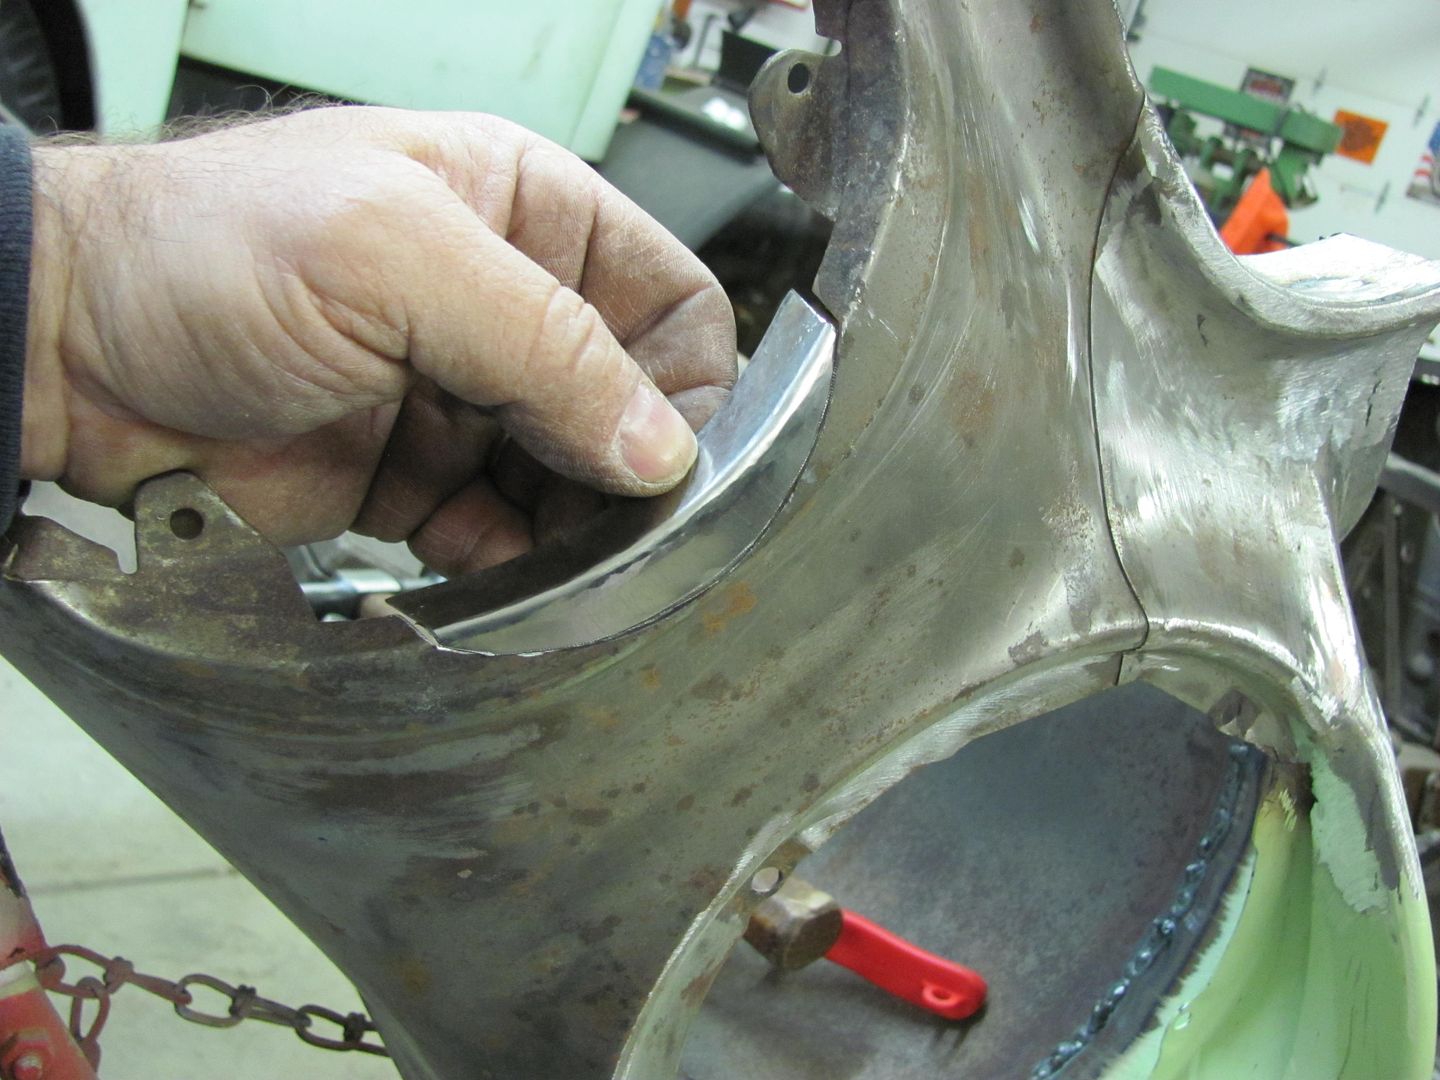
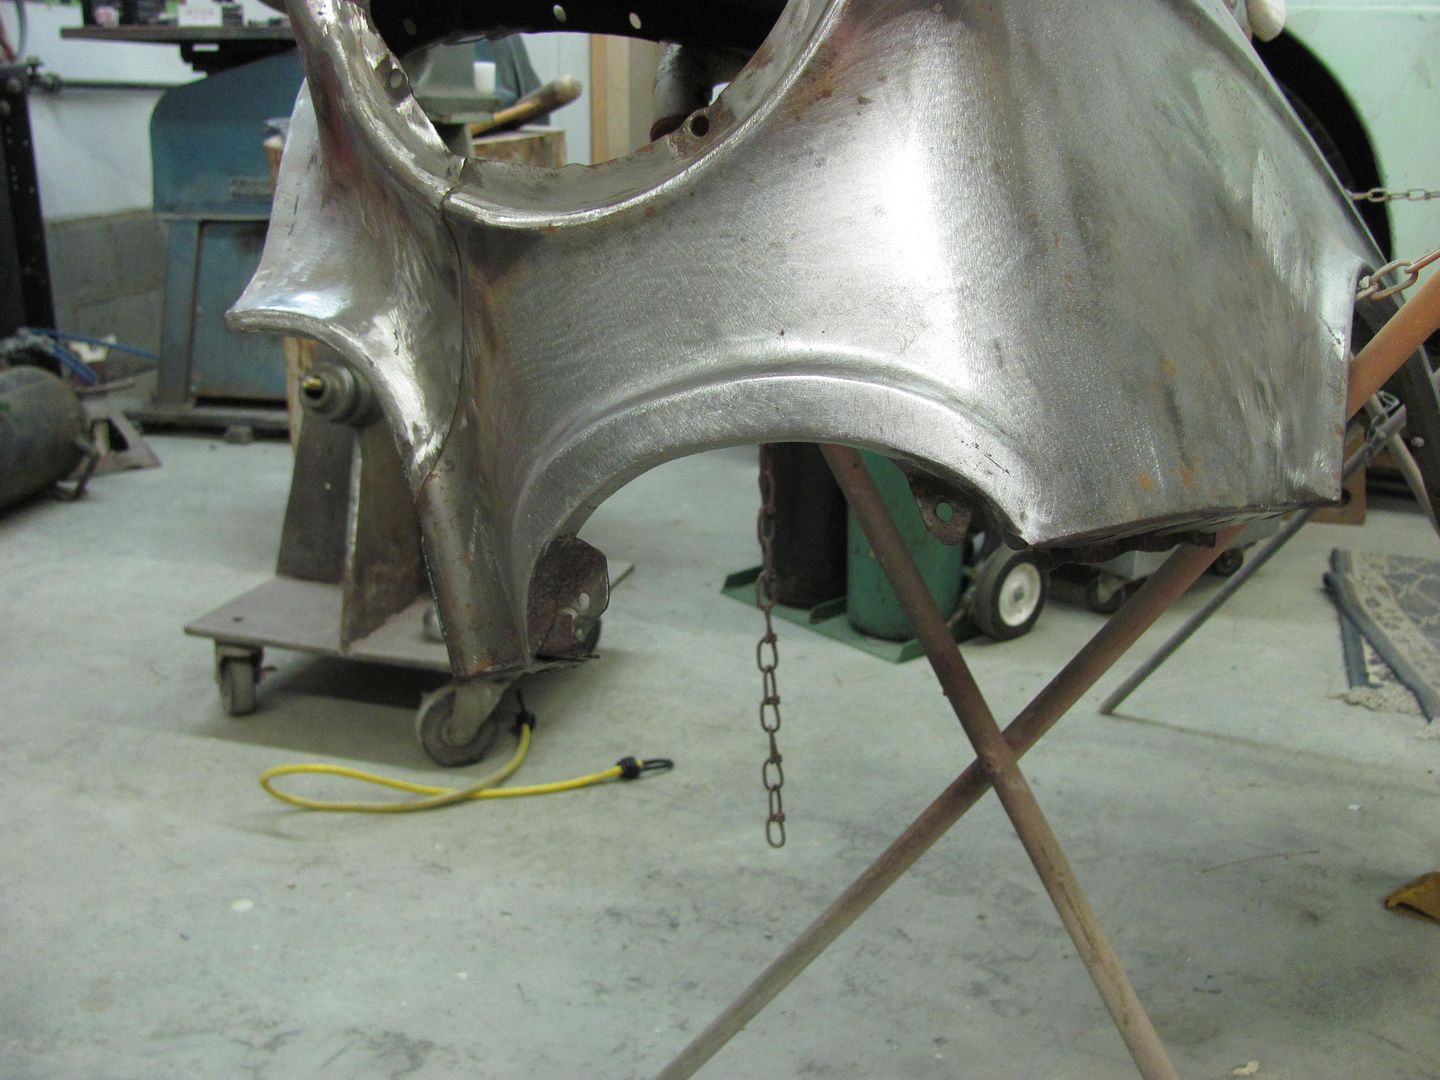
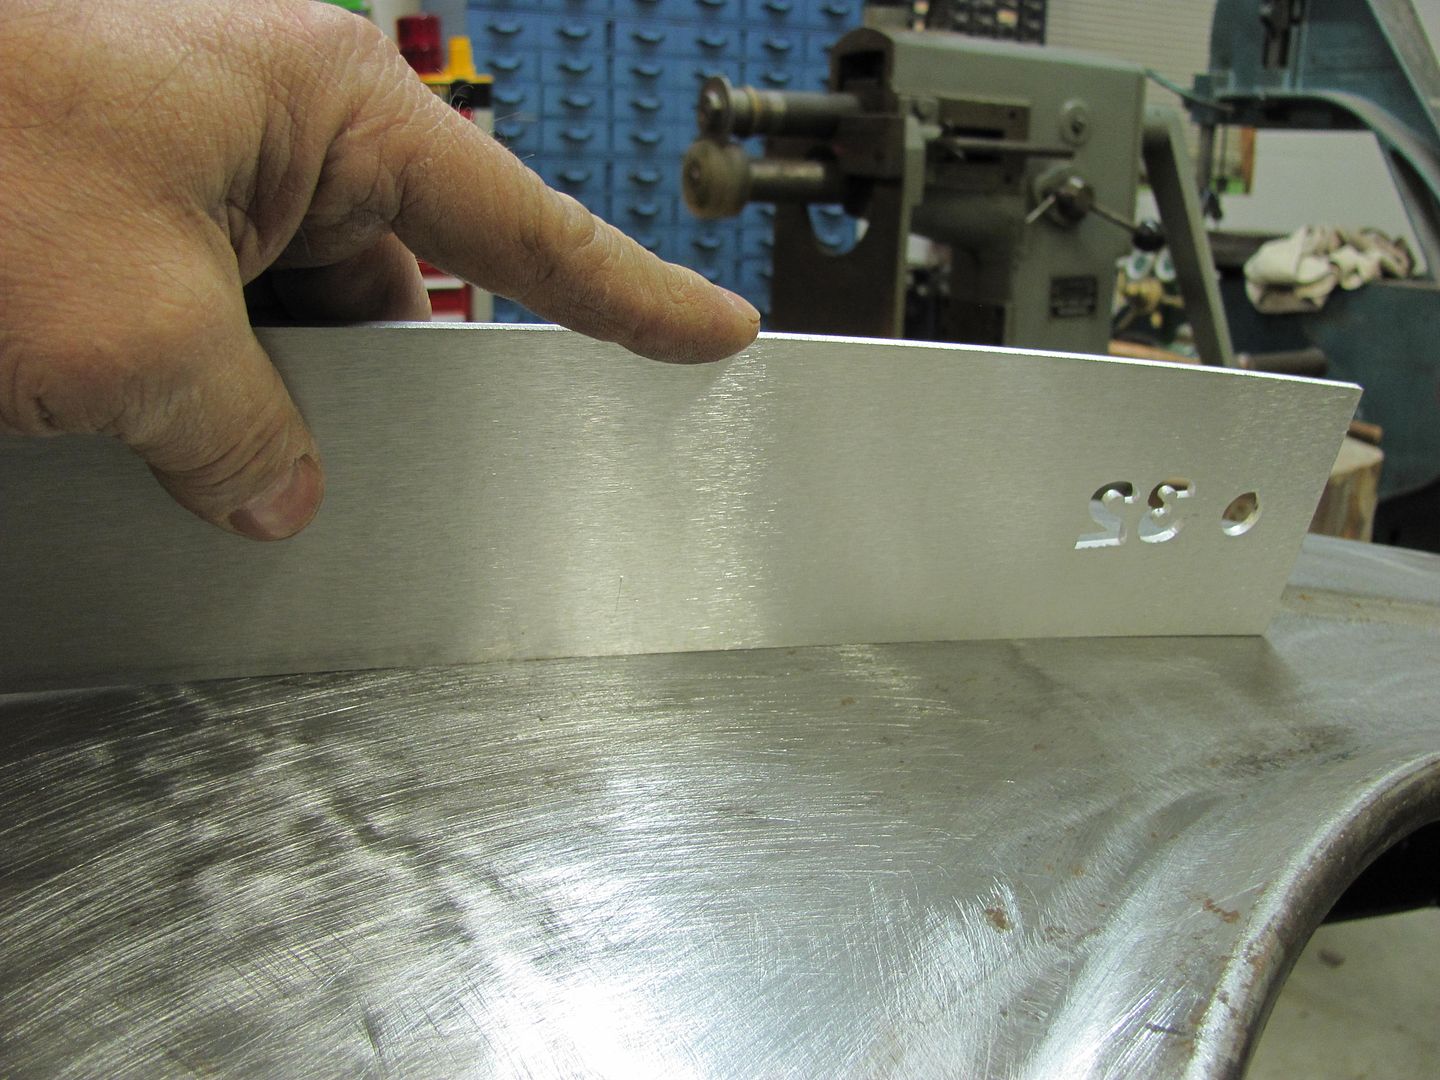
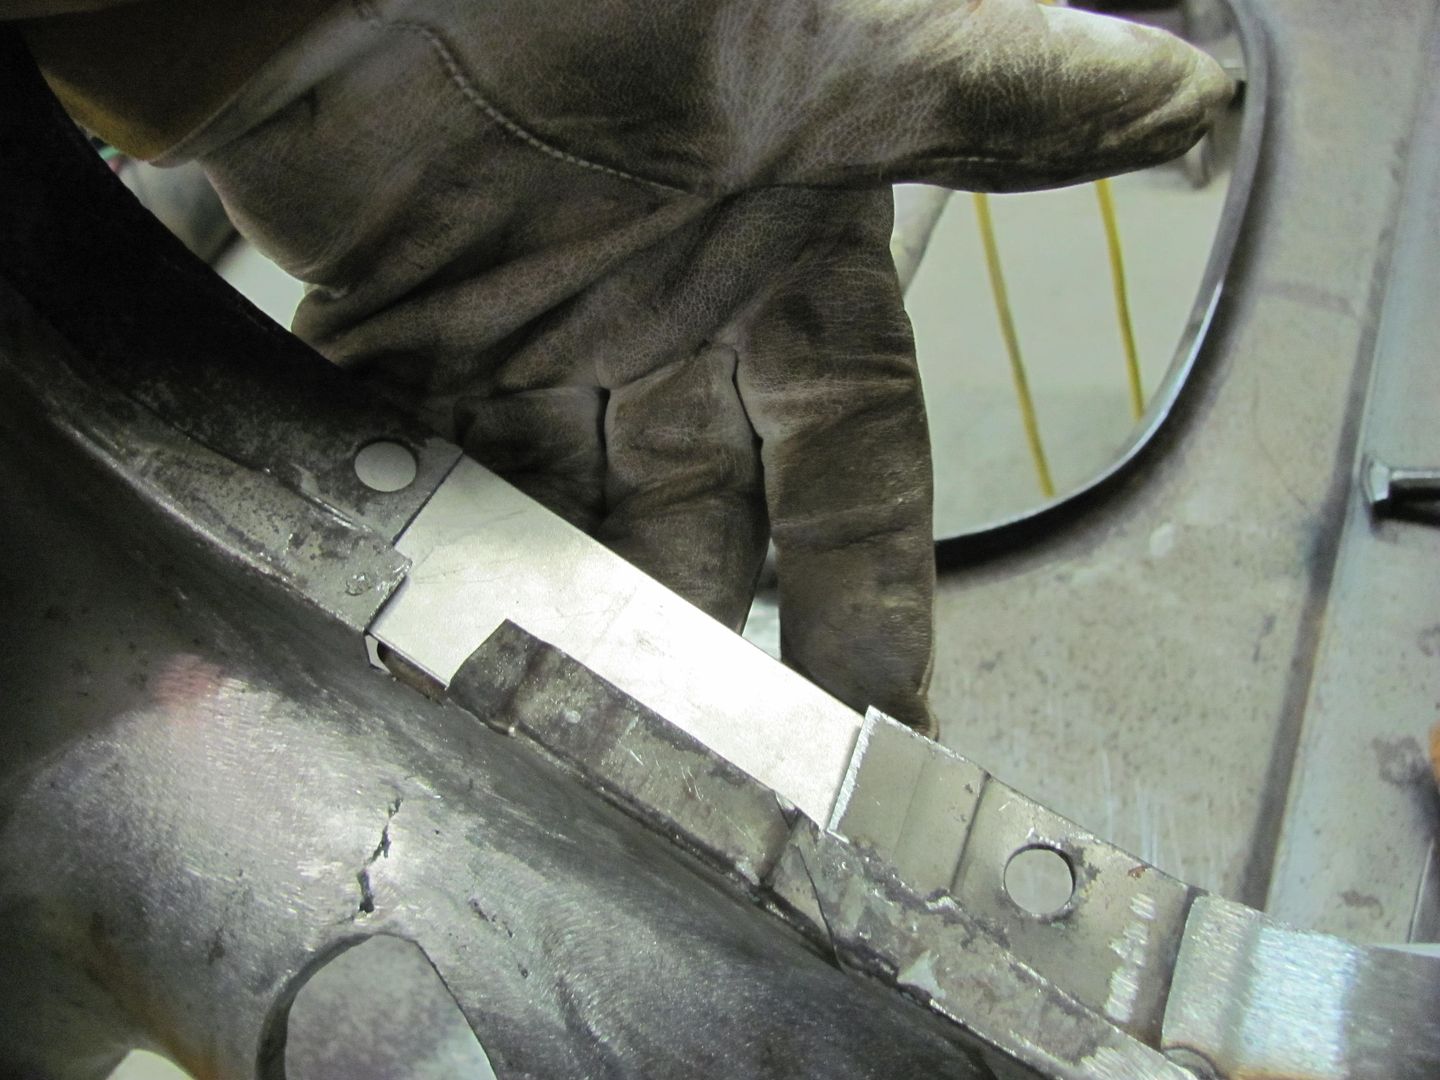
started the prep for shaving fender number two.....
Then the top of the seam was trimmed....
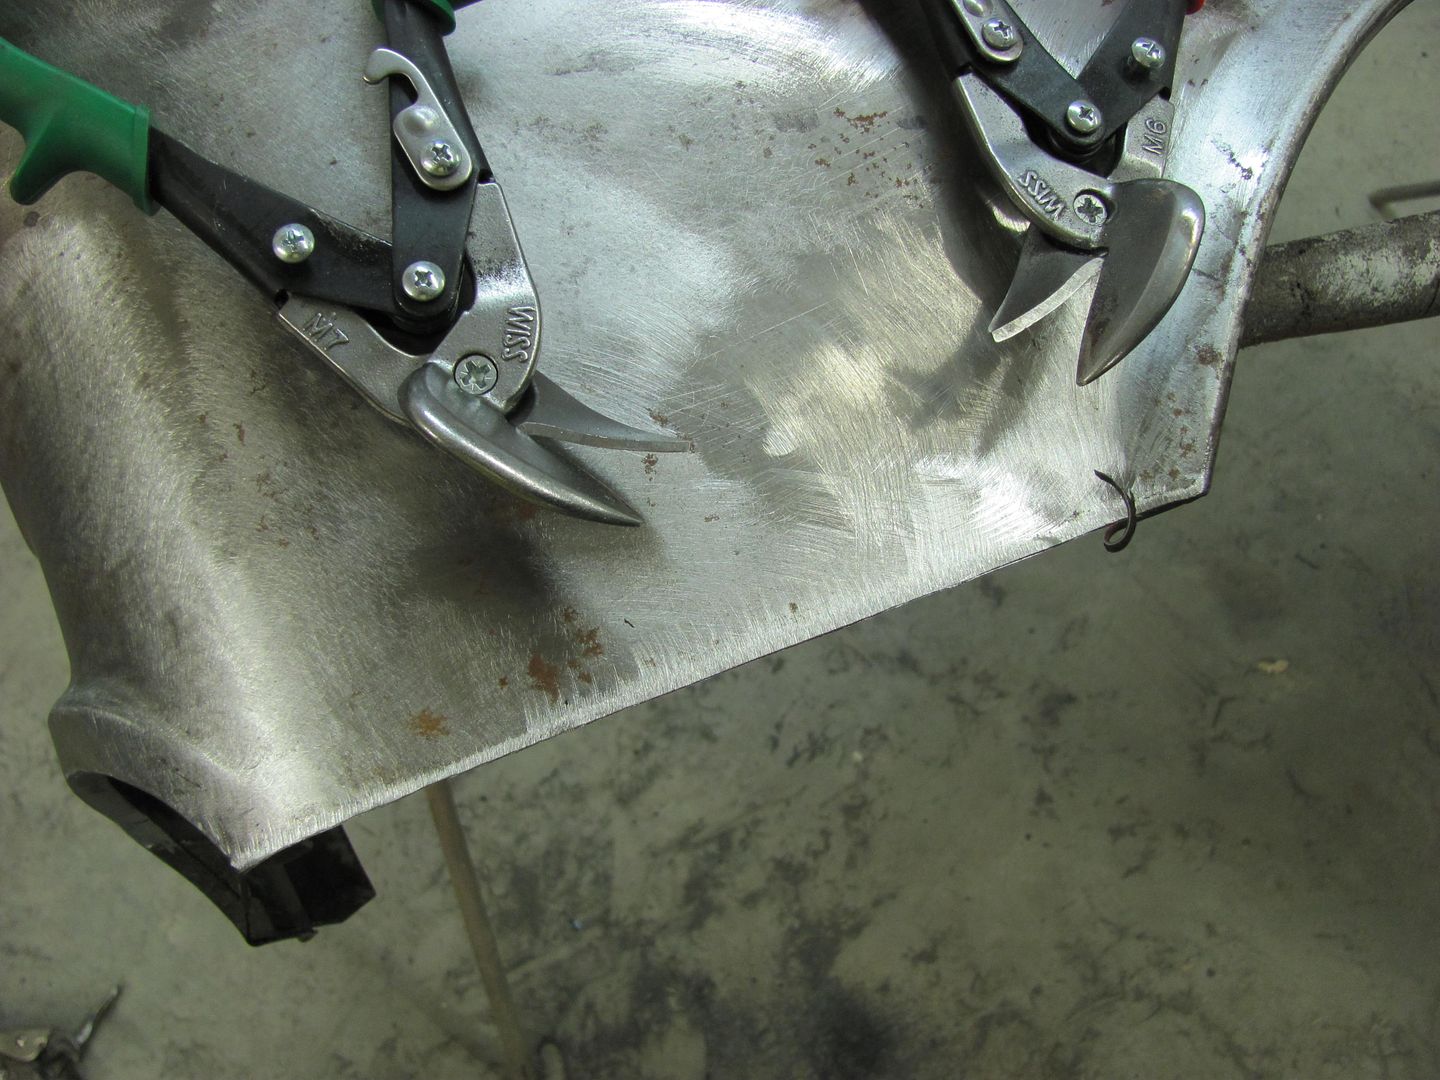
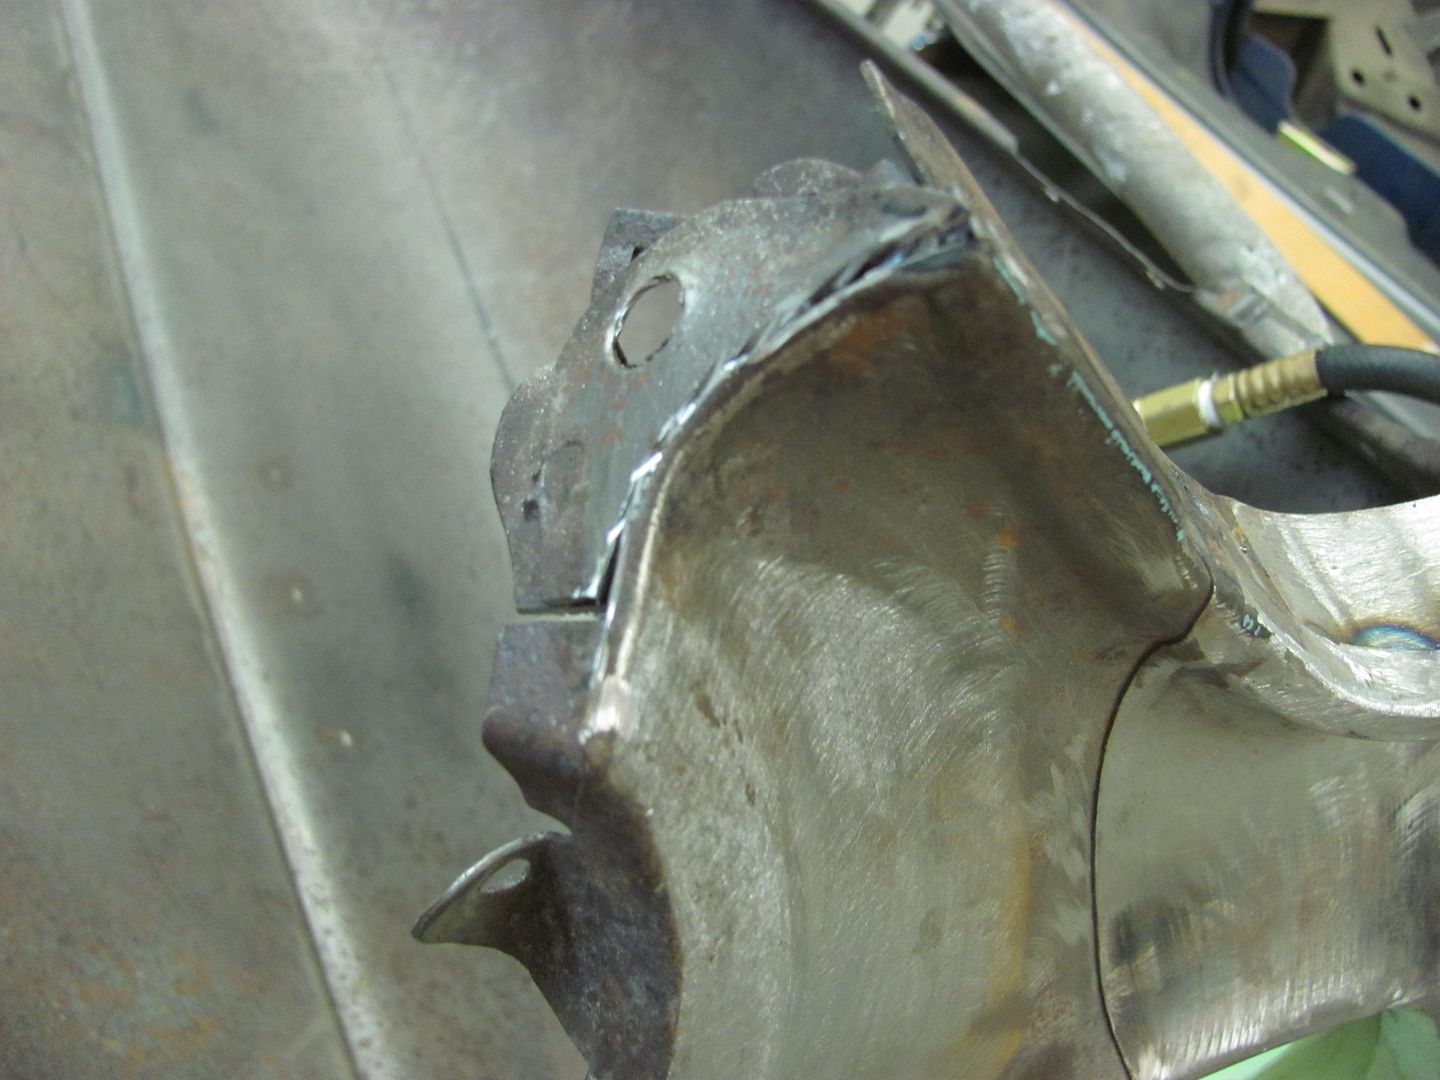
When trimming along through the center, I noticed a weak spot on the back side....


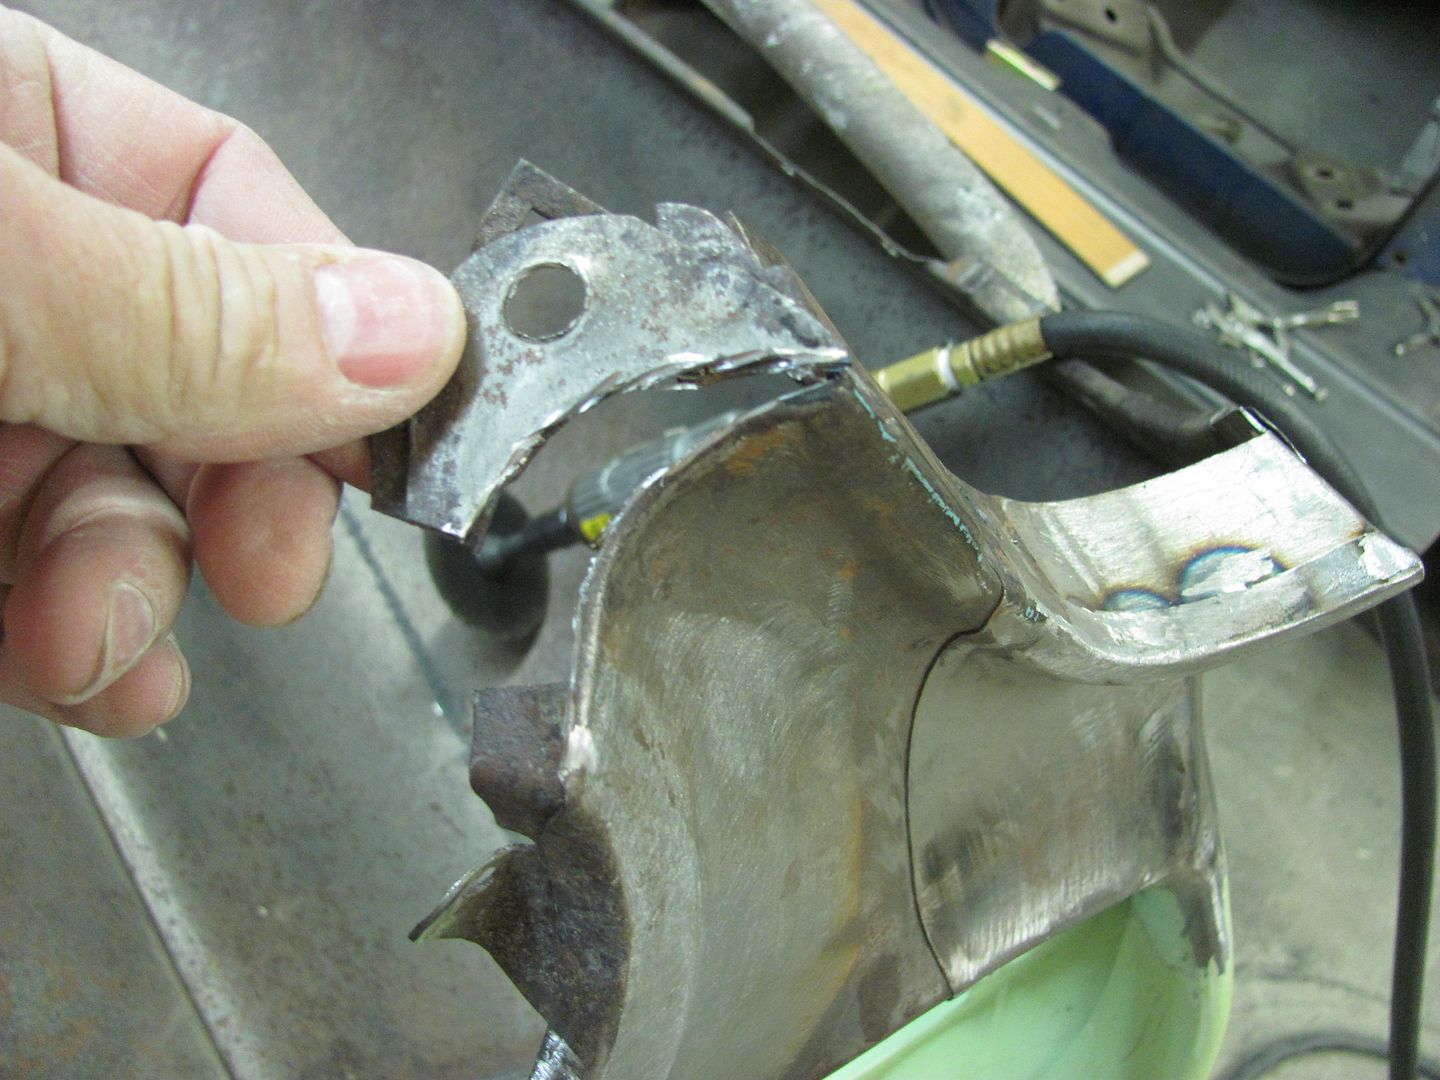
This is where some dirt had been trapped behind the bolting plate on top of the flange, and looks like it wouldn't have been long in coming through paint. To be able to trim the pitted area out, the lower section was trimmed with about 3/16 extra... see the scribe mark...
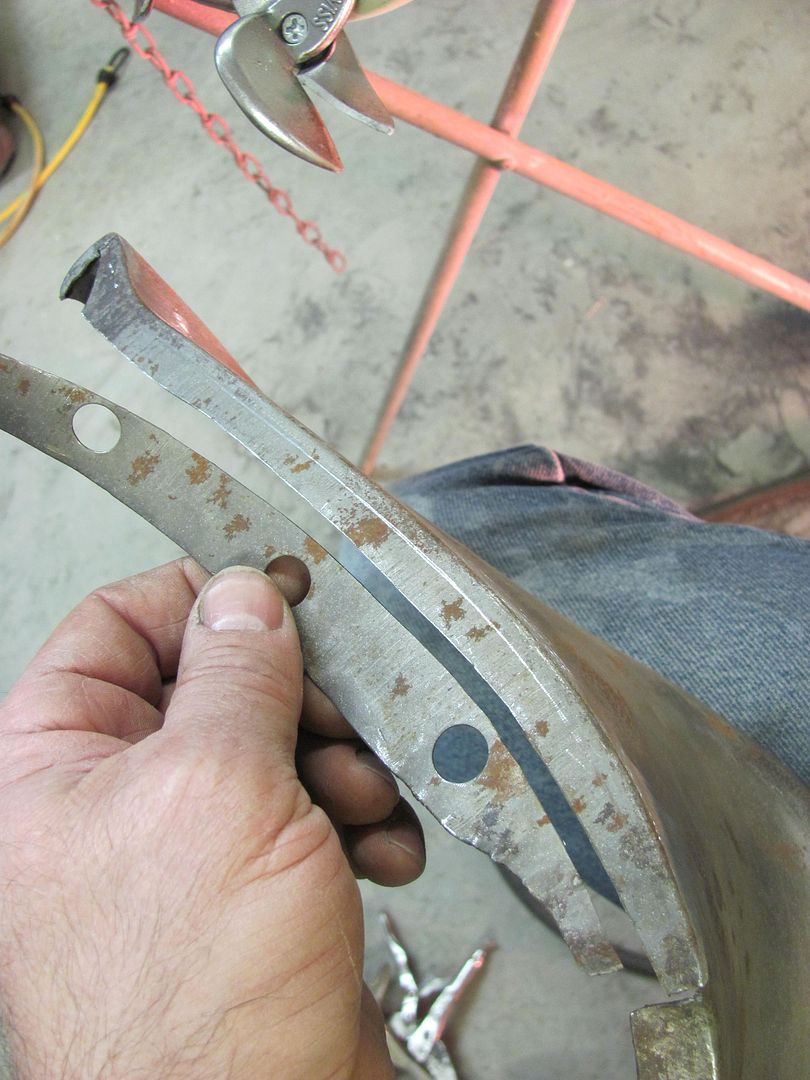
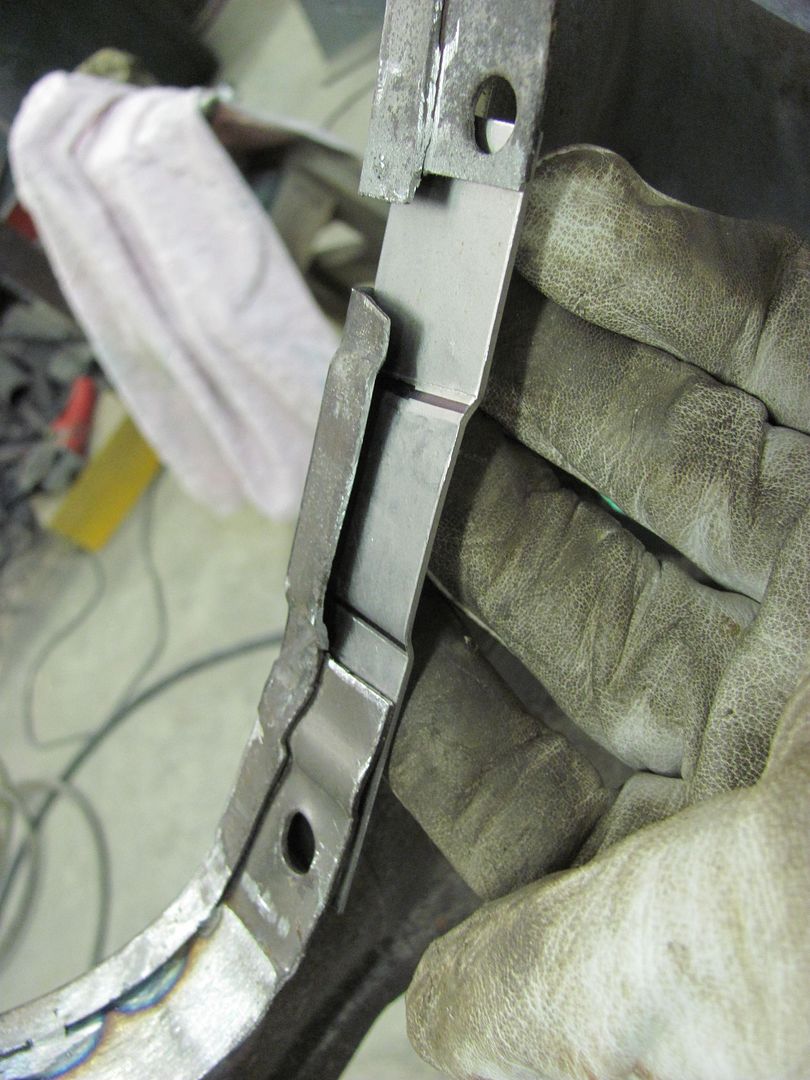
Planished flat..

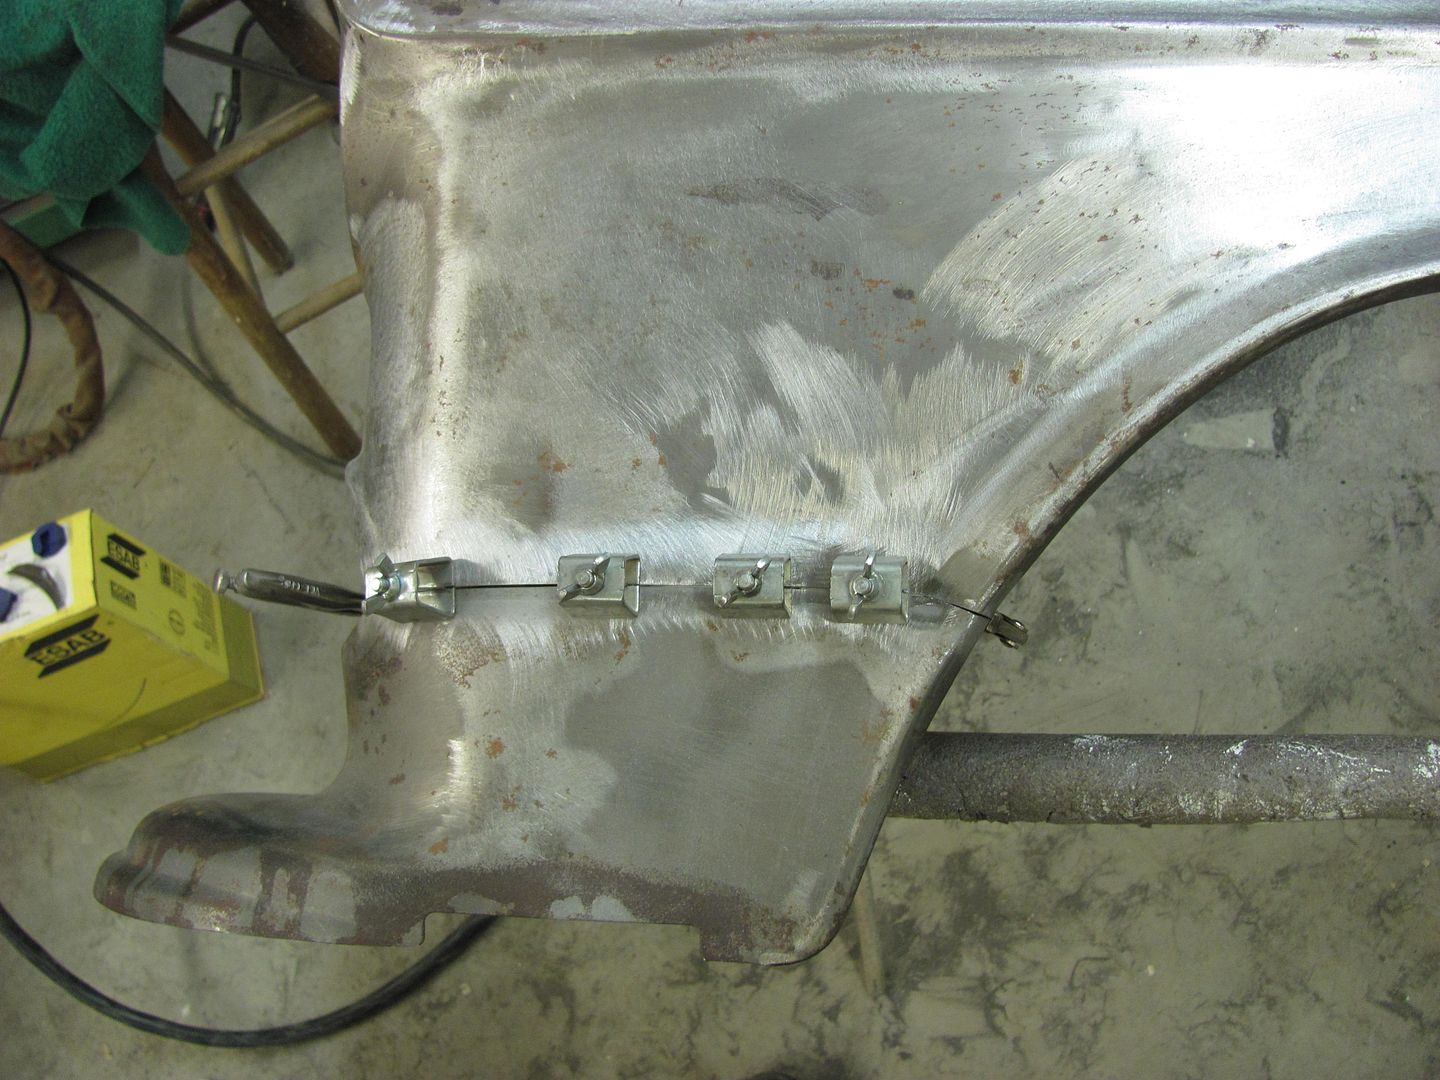
Clamped over fender and scribed....
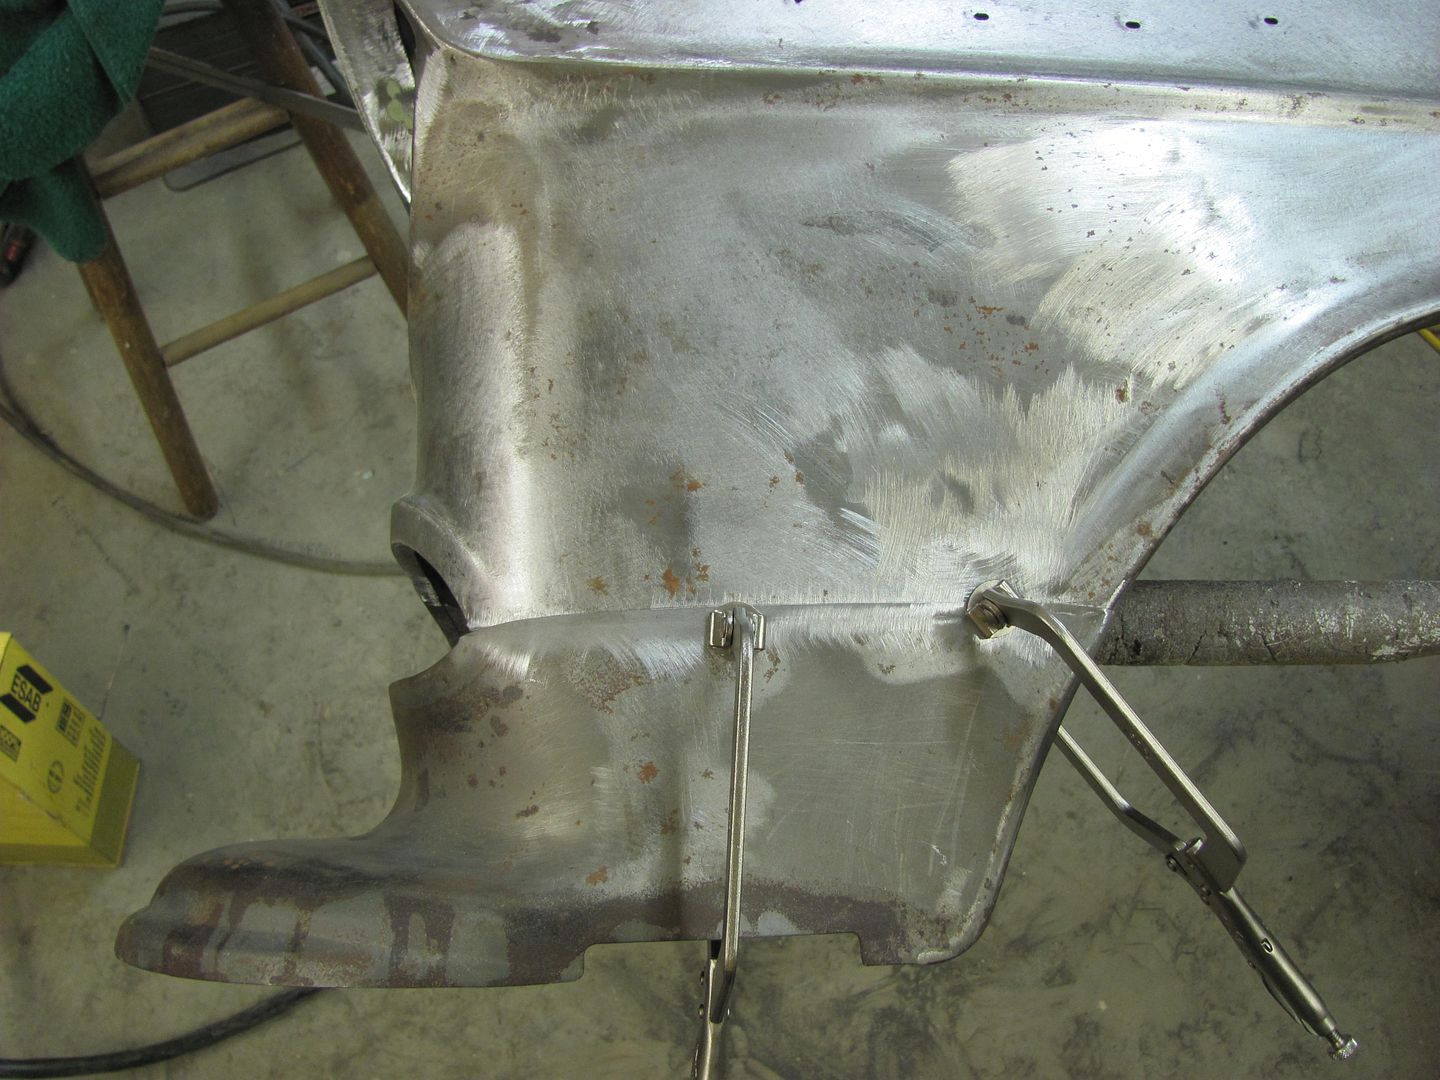
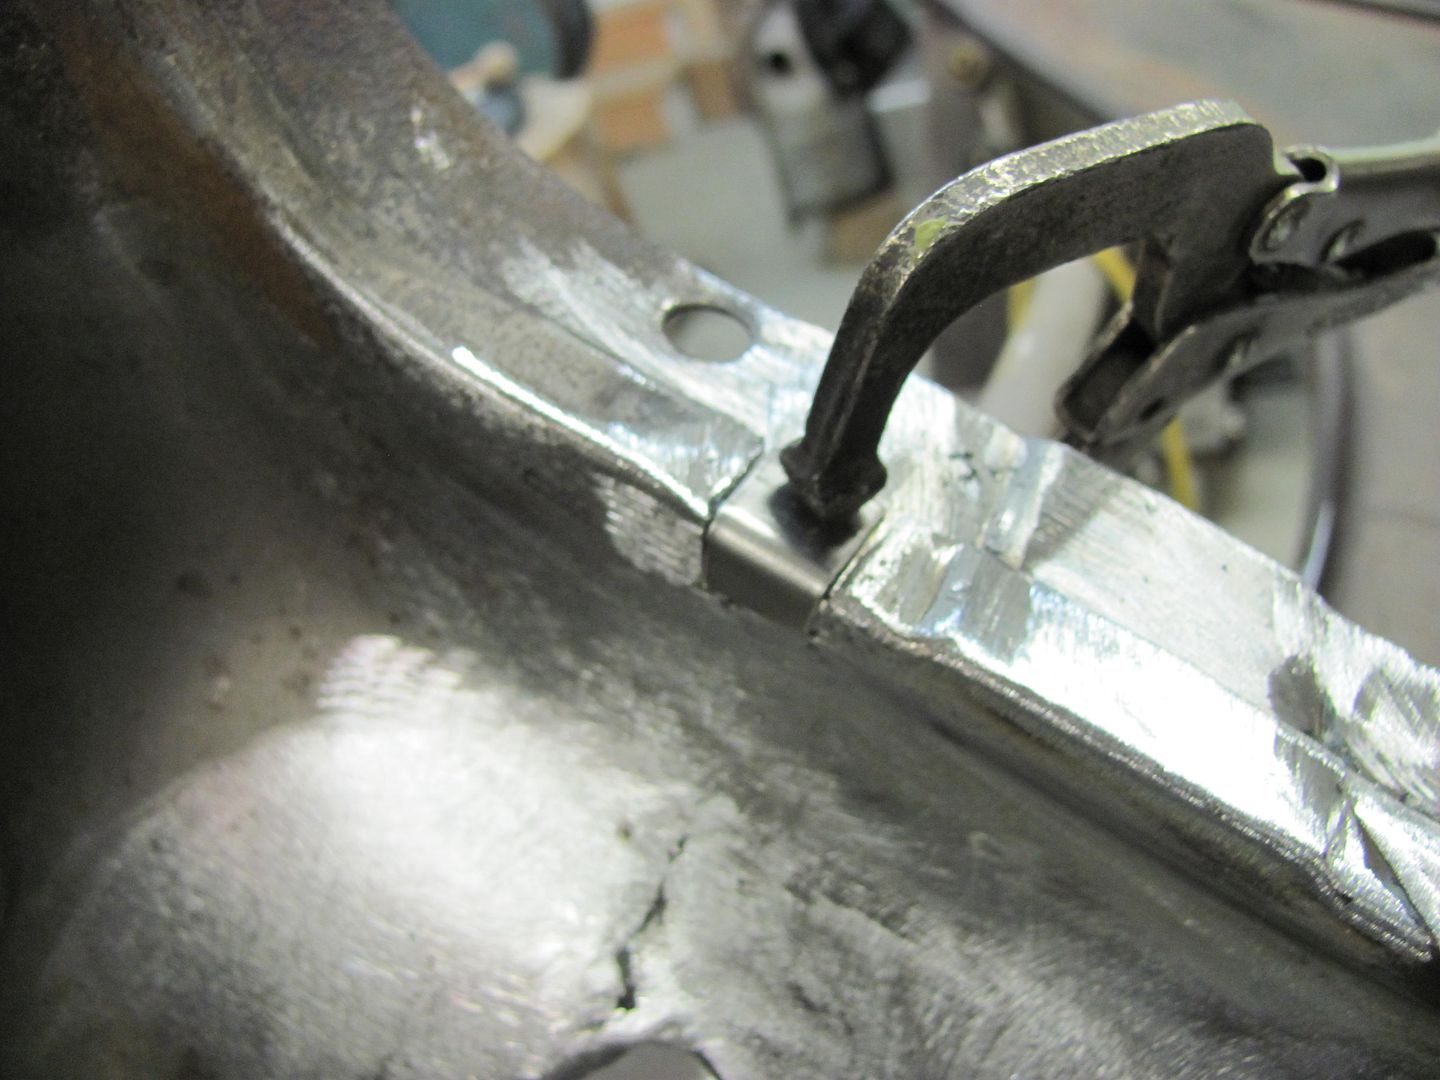
Trimmed for tight fit. Note that butt weld clamps are used to hold for fitment only, joint will be butted tight when welding...
until next time....Robert
-
02-14-2013 09:41 AM #23
CHR Member
- Join Date
- Jan 2004
- Location
- Macomb
- Car Year, Make, Model: '32 Ford 3W Coupe, 383 sbc
- Posts
- 1,593
That is some nice metal work, Robert!
Lynn
'32 3W
There's no 12 step program for stupid!
http://photo.net/photos/Lynn%20Johanson
-
02-17-2013 06:14 PM #24
CHR Member
- Join Date
- Jun 2008
- Location
- Leonardtown
- Car Year, Make, Model: Walking
- Posts
- 1,228
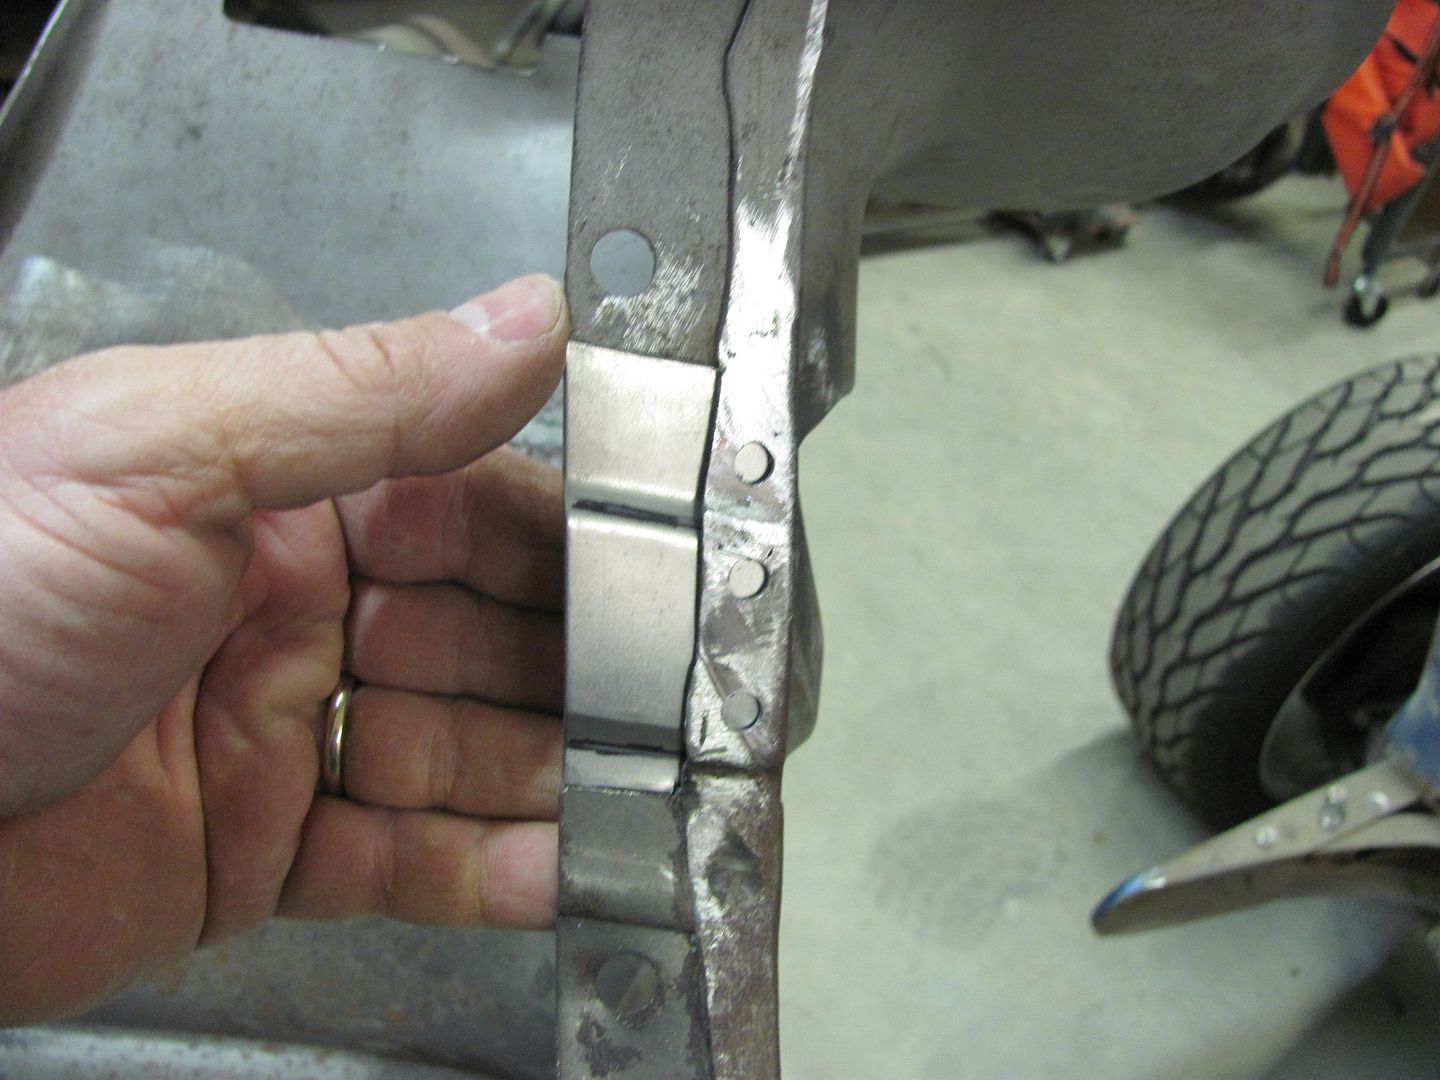
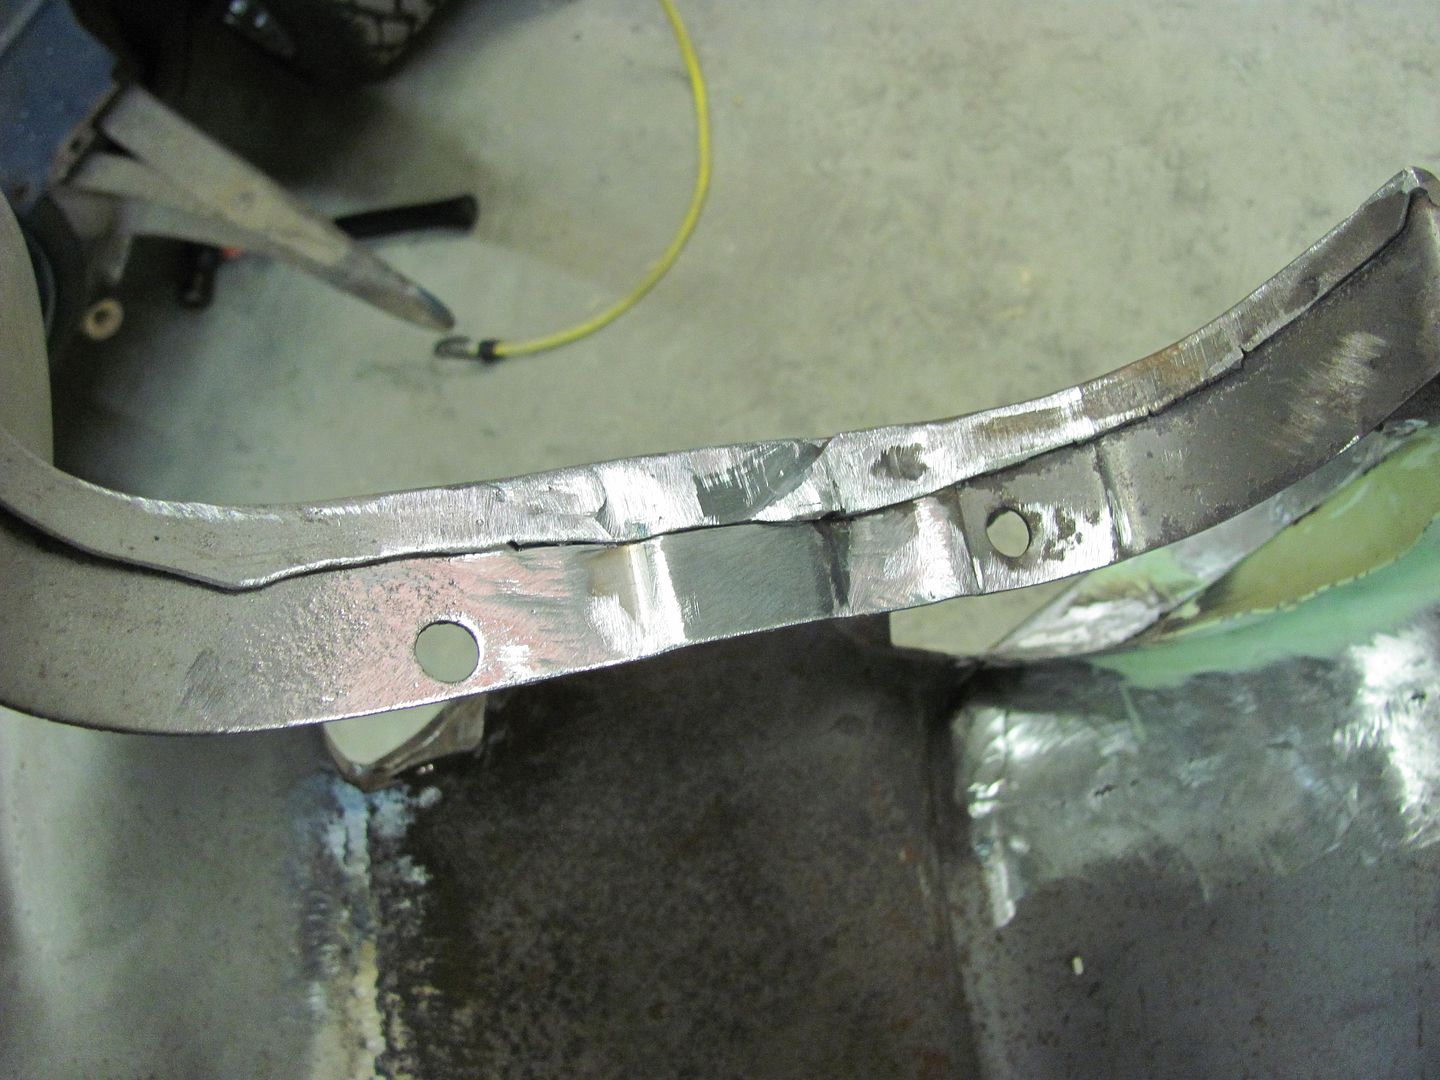
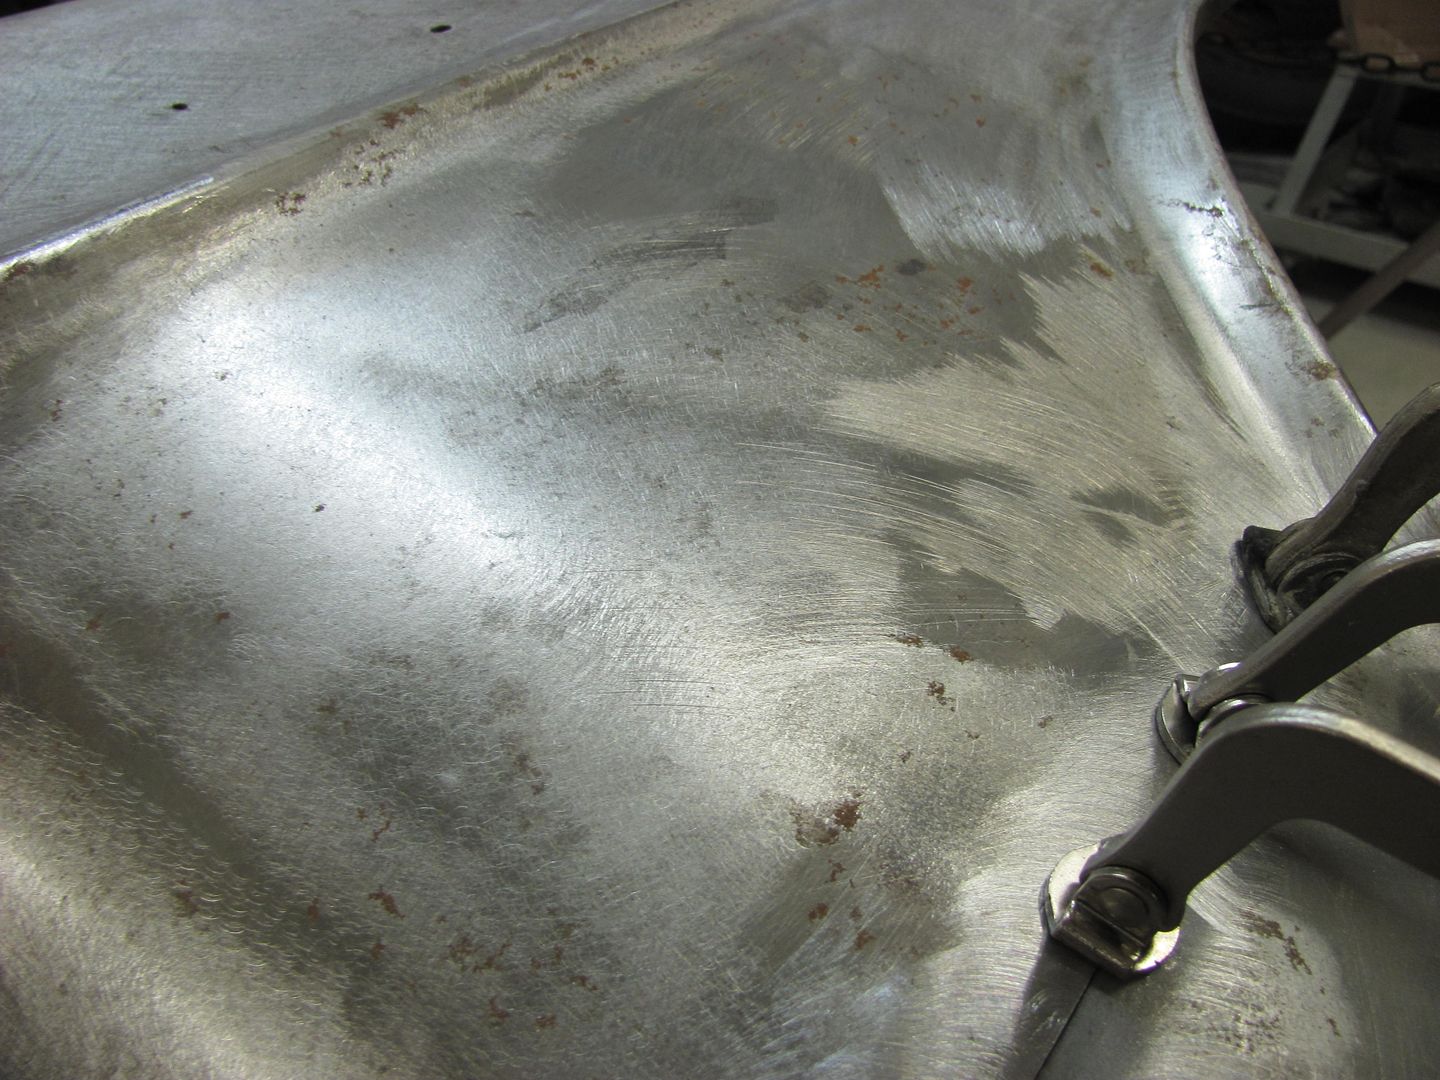
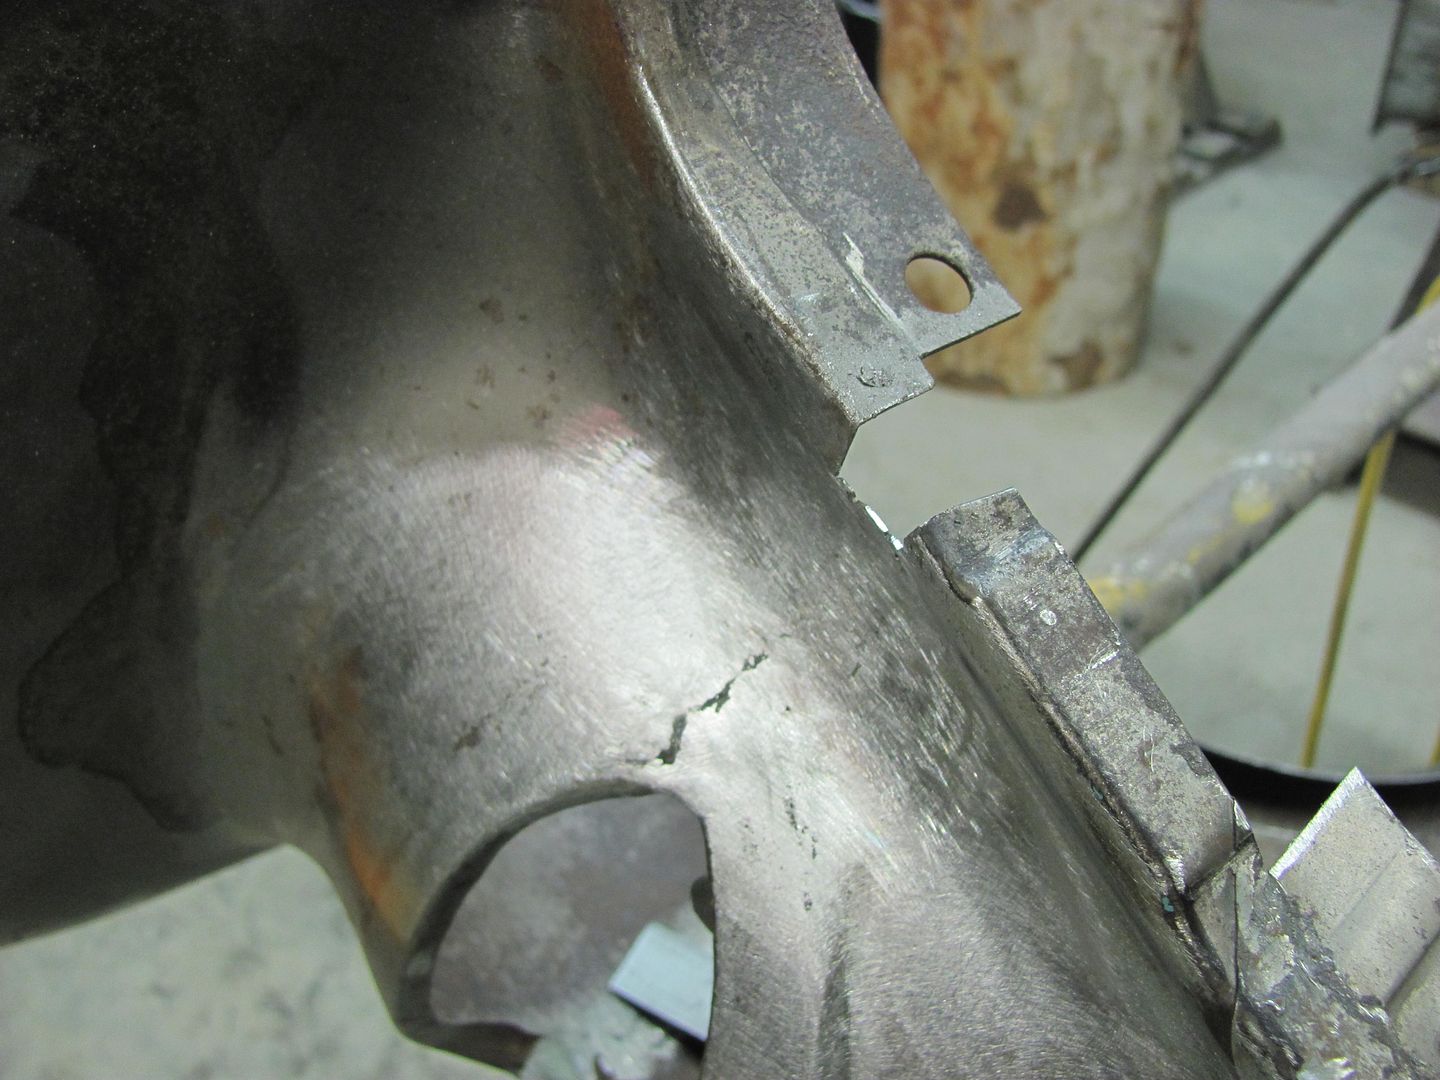
Thanks! Well after the 390 valve cover diversion, time to get back to work on the 55's driver fender. The two pieces have been trimmed for a tight butt joint, shown here clamped together...
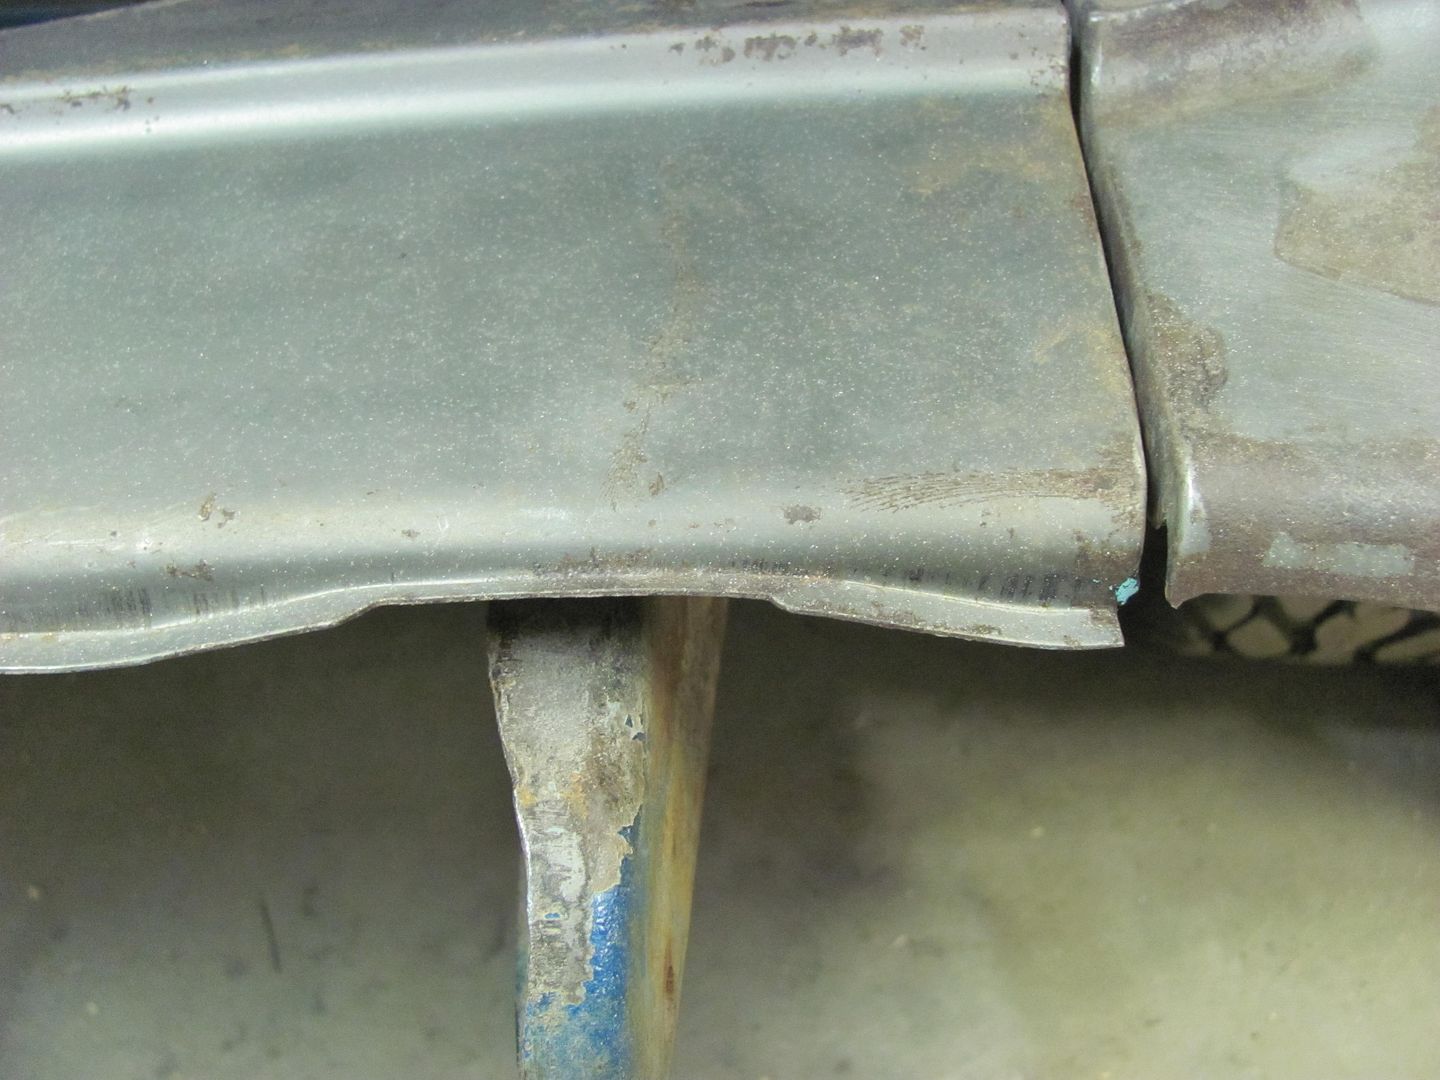
It was then I noticed the crease just above the seam..
Ahhh, the dreaded fender bump. I believe this is caused by someone bumping into something with the corner of the bumper, which in turn forces the lower portion of the fender backward, thus forming the inward crease (red line) and outward crease (yellow line). Always better to fix the body damage before attempting to weld panels together.
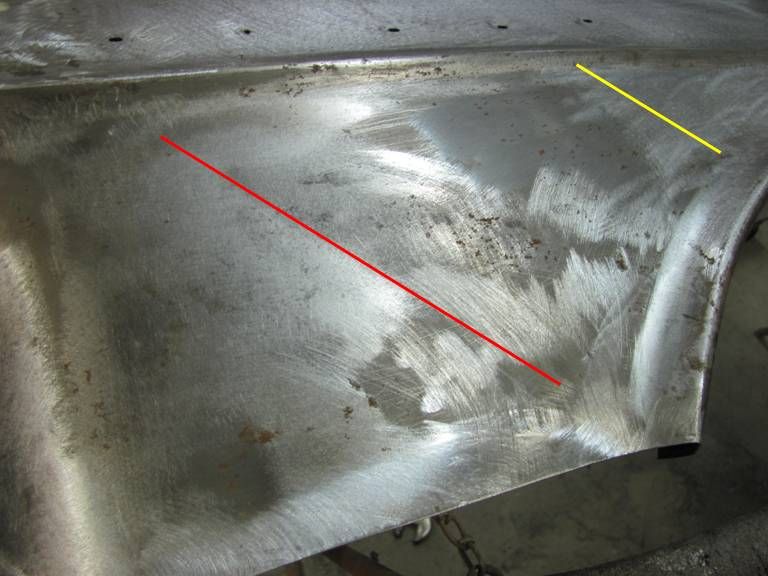
Another view of the outward crease....
A 3" roloc disc scuffed across the lower crease on the inside of the panel quickly shows the area that needs to be bumped outward...
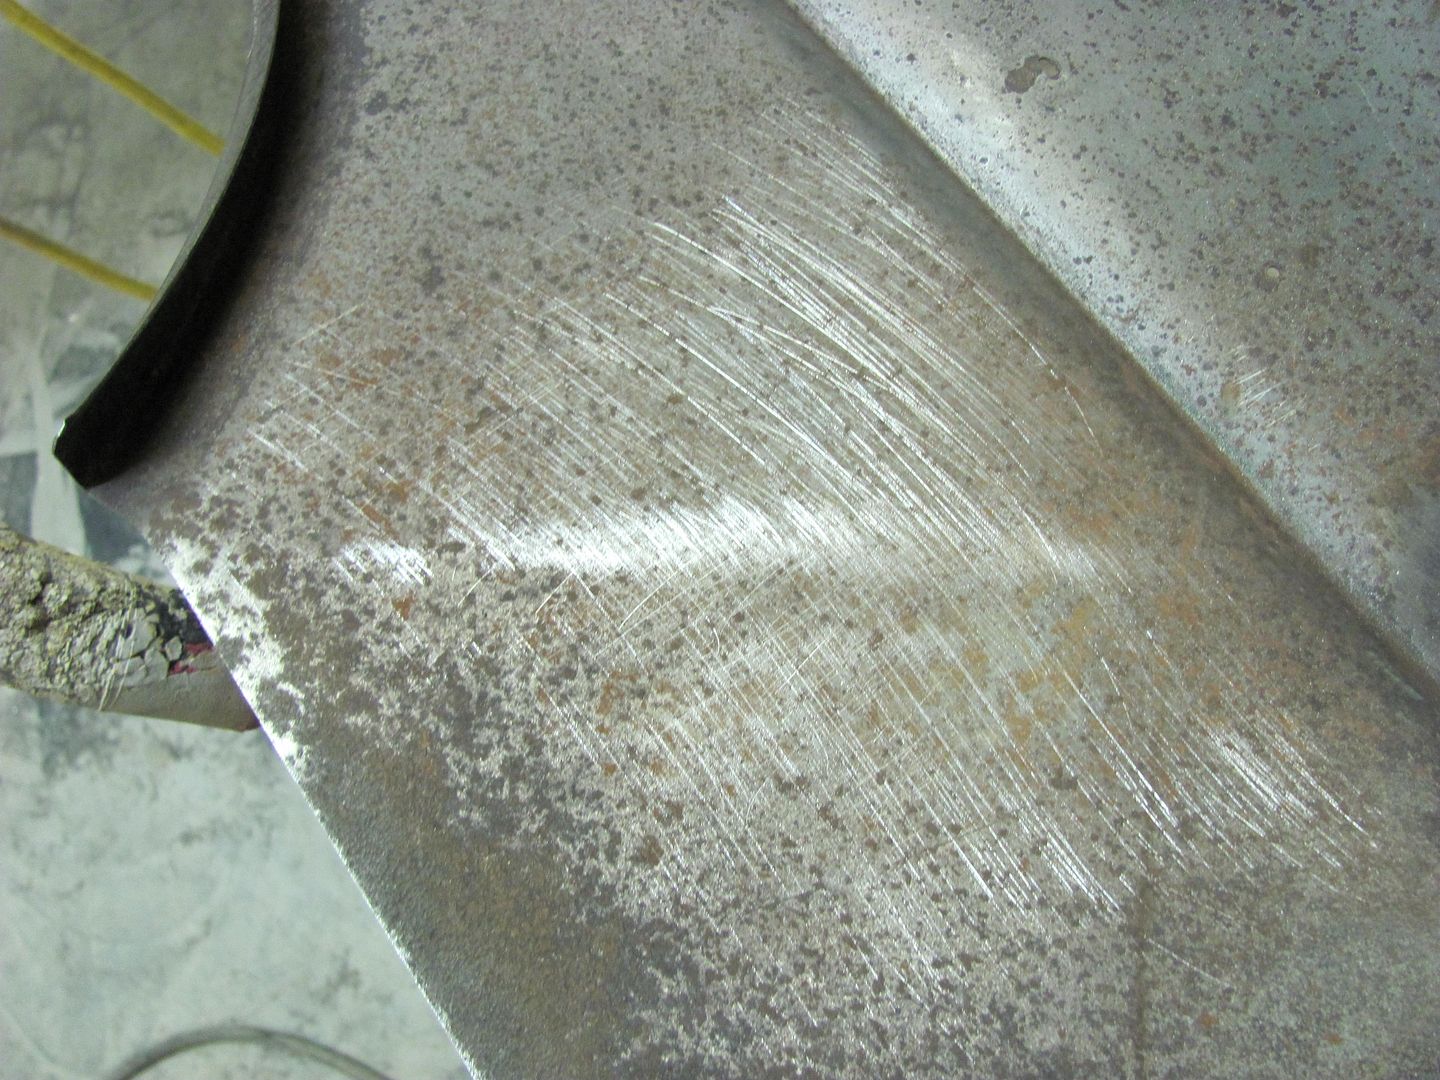
The tools used will be the donut dolly, a small shot bag, and body hammer.
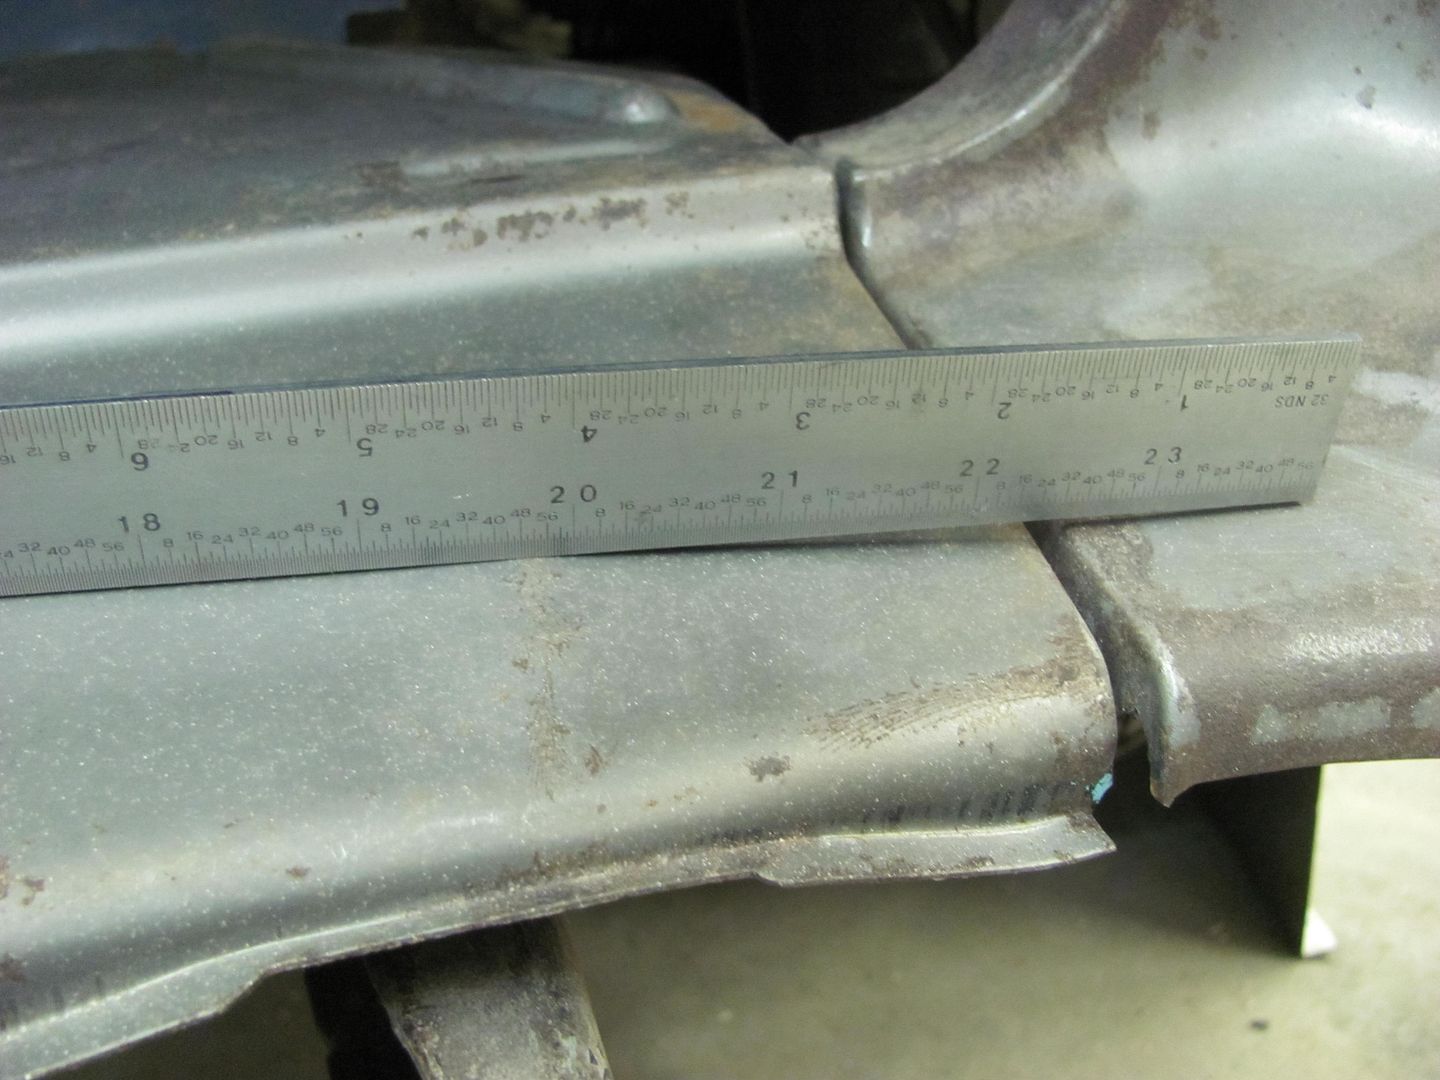
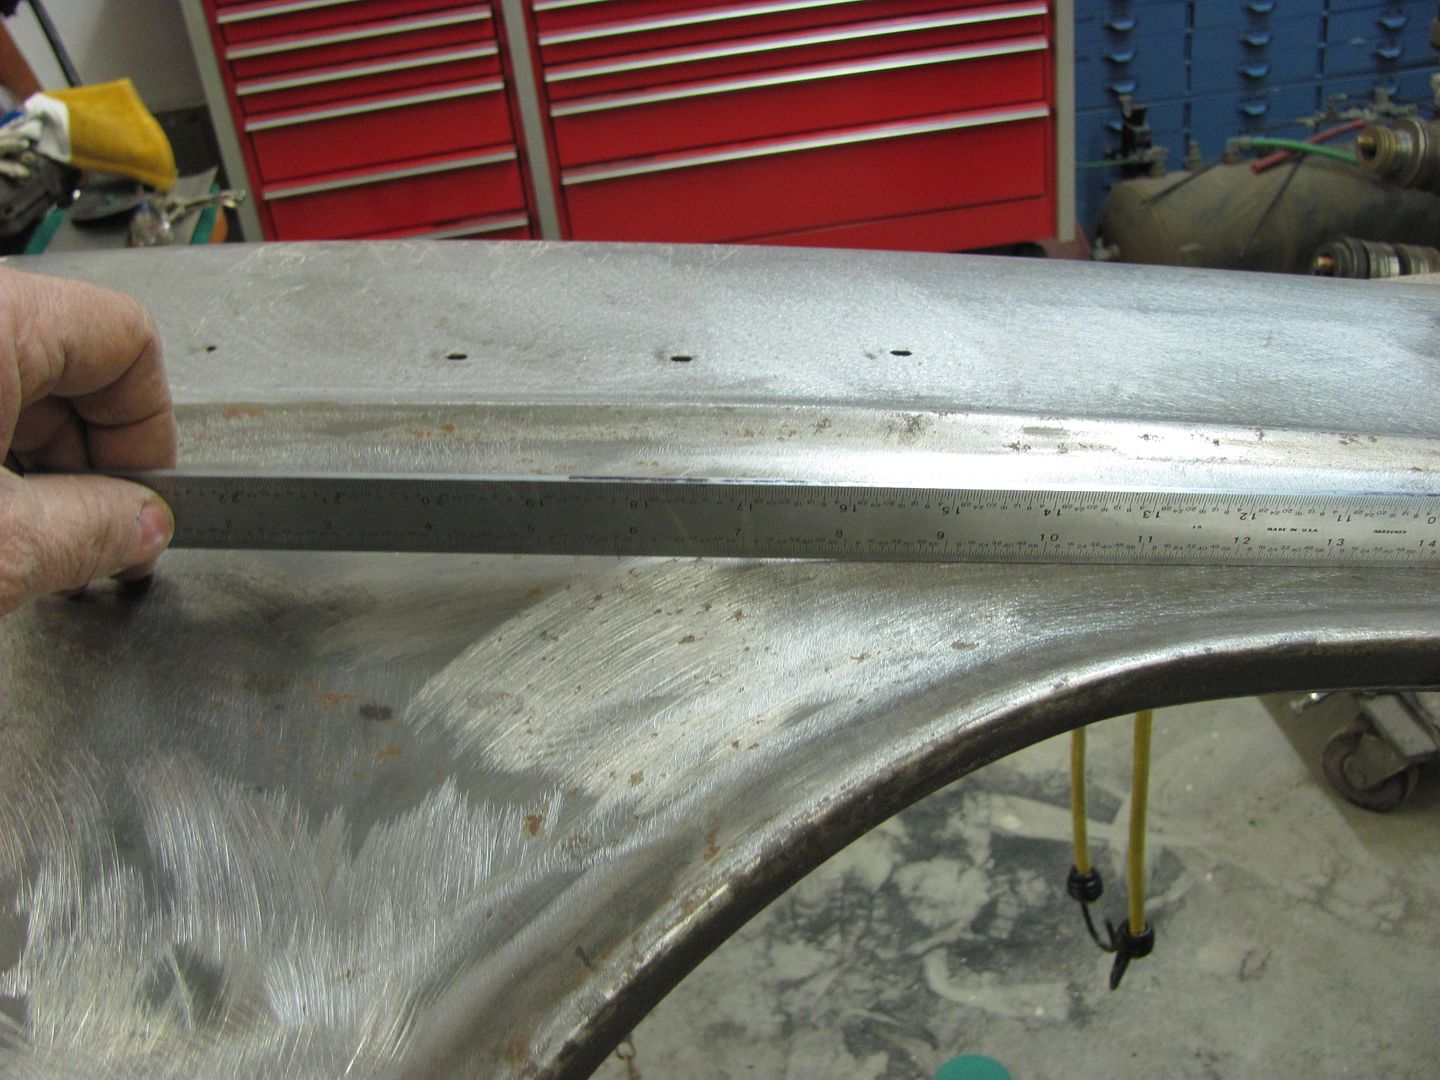
The area was worked using the hammer and dolly, with progress checked by scuffing with the roloc disc.

Needs just a bit more cleanup, but shows a much more repectable crown, as shown by the #32 sweep
Robert
-
02-19-2013 07:31 PM #25
CHR Member
- Join Date
- Jun 2008
- Location
- Leonardtown
- Car Year, Make, Model: Walking
- Posts
- 1,228
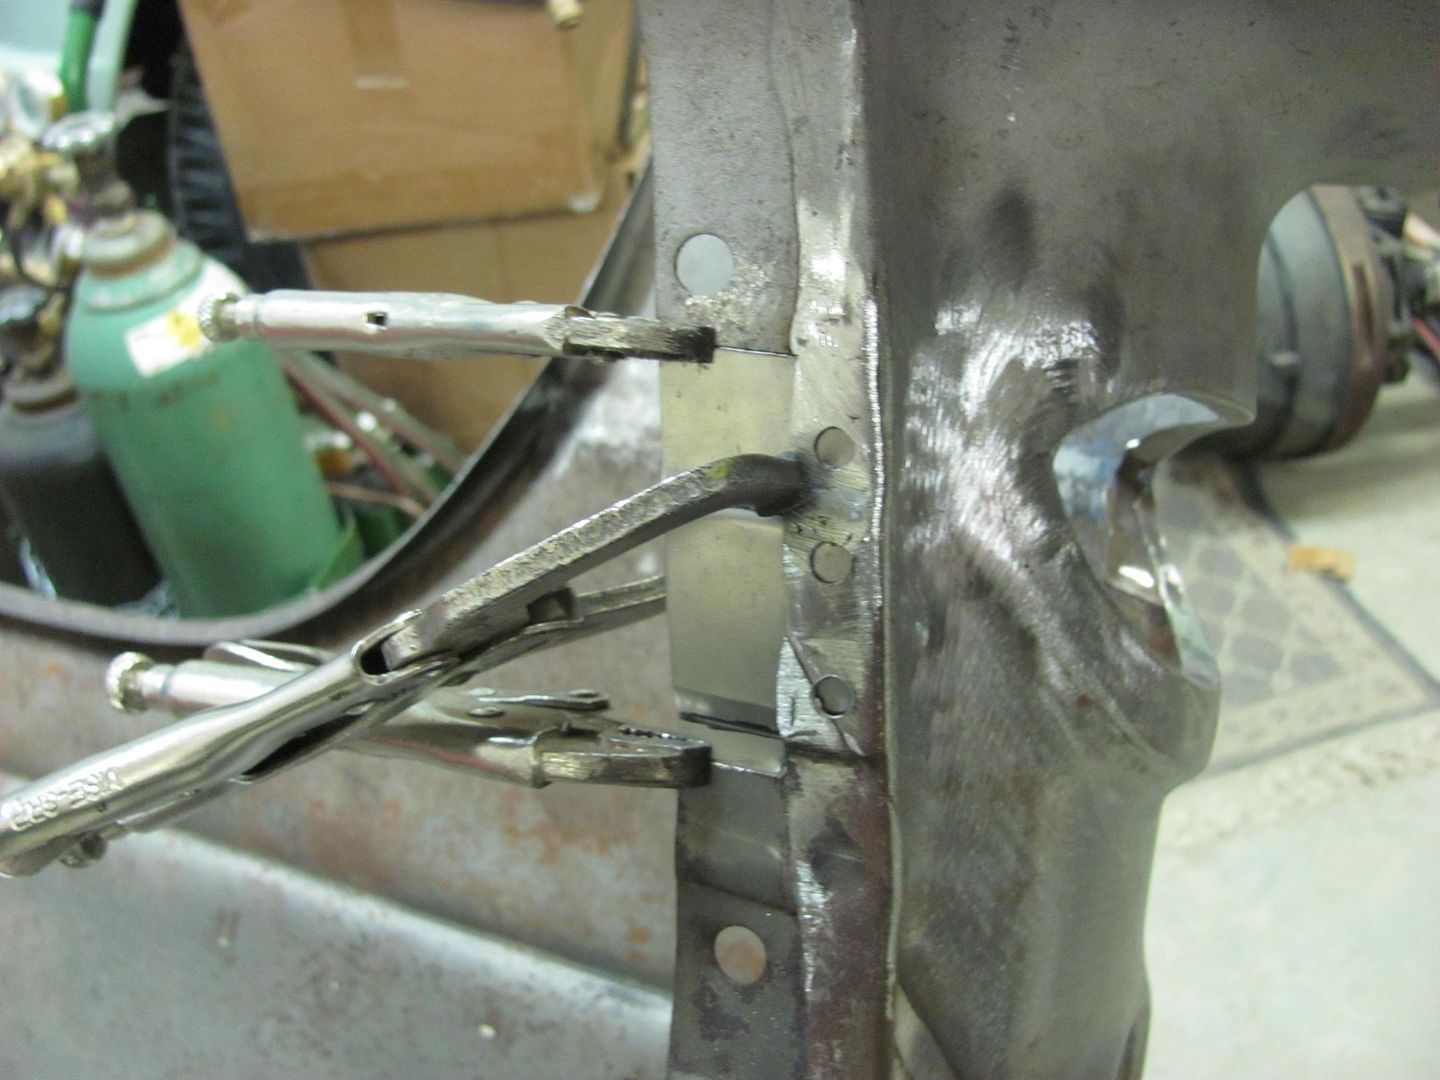
Back to welding... All clamped up, again...
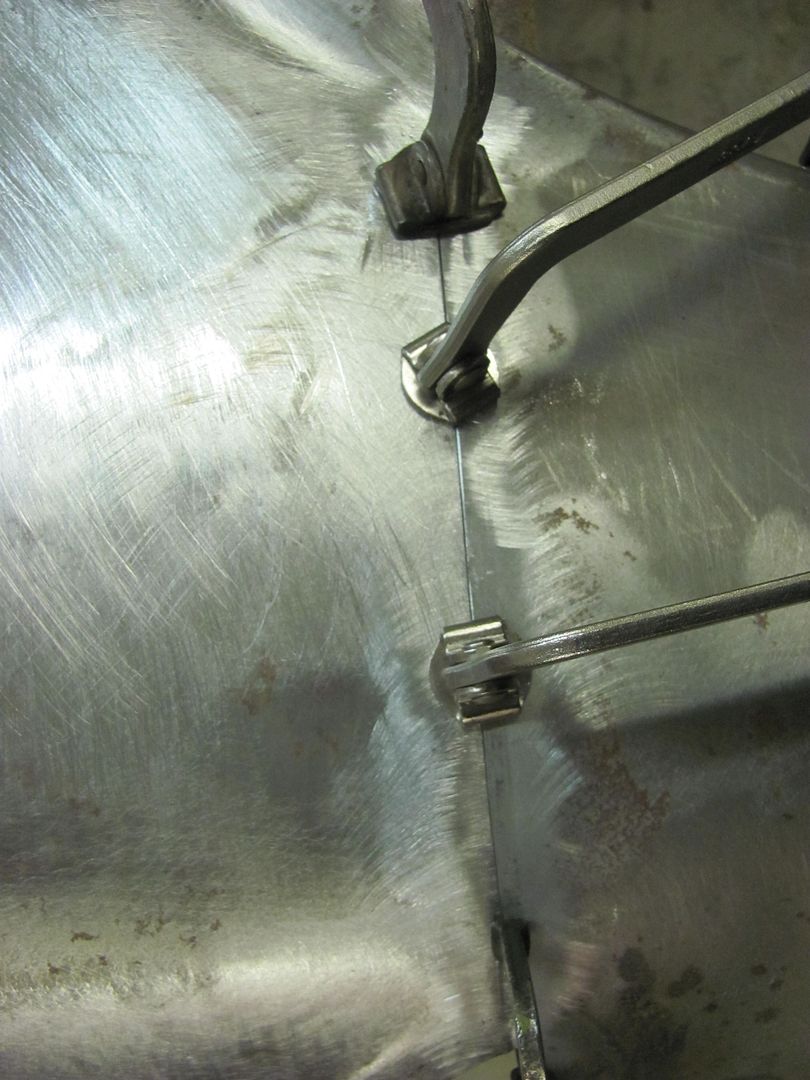
First set of tacks...
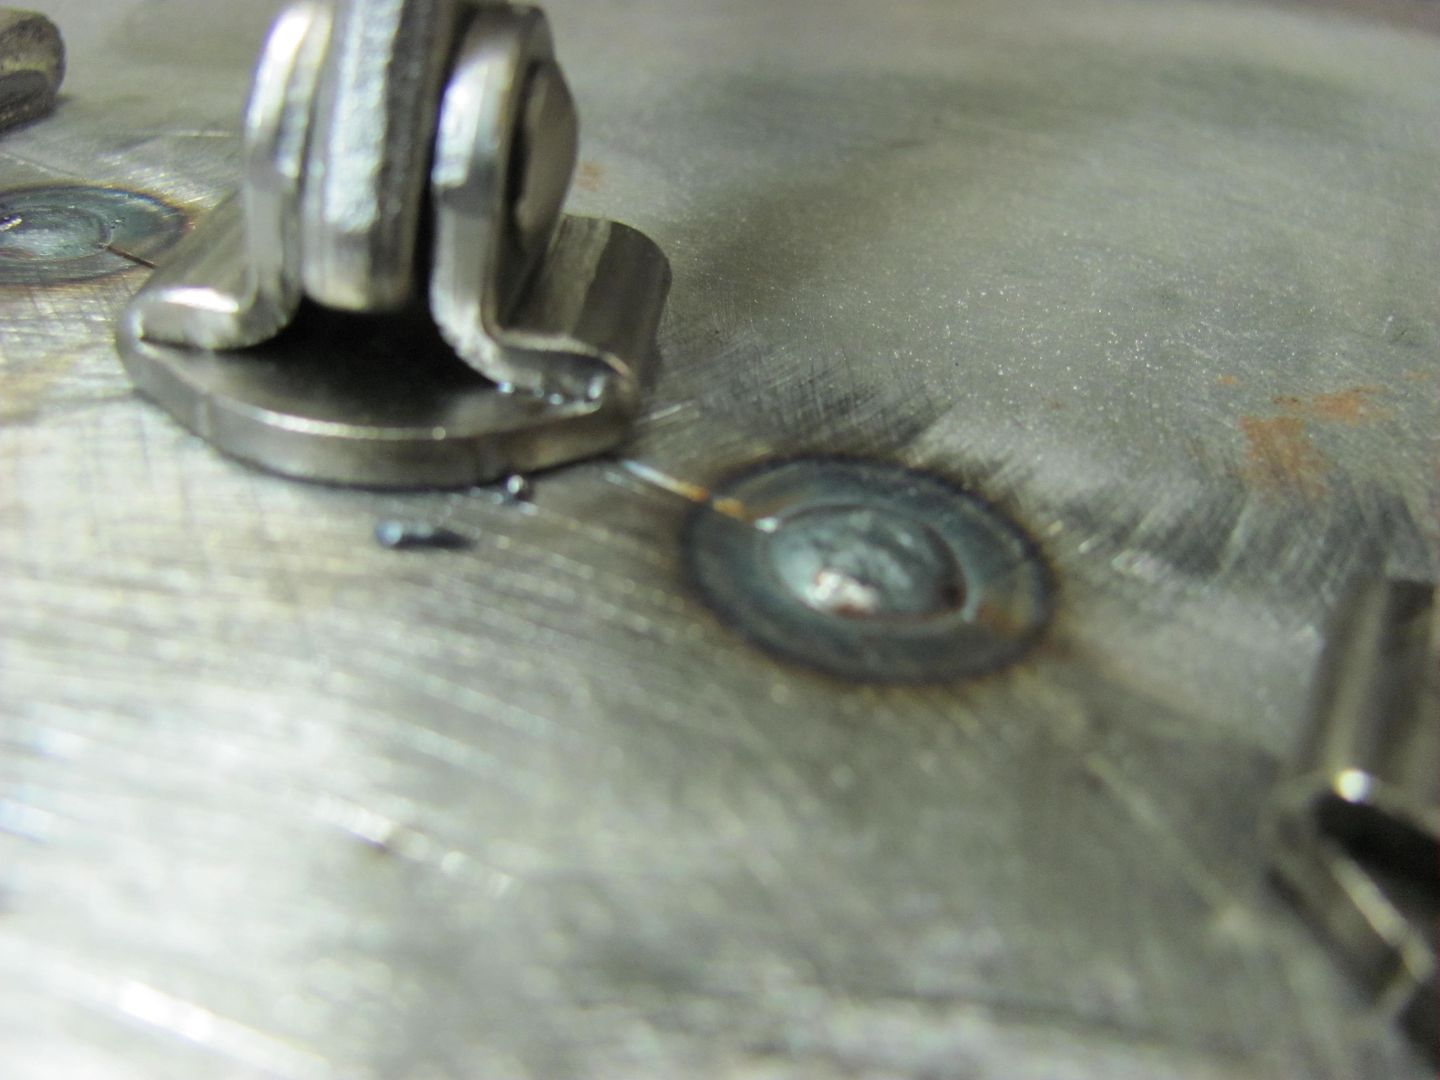
Weld penetration, the back side....
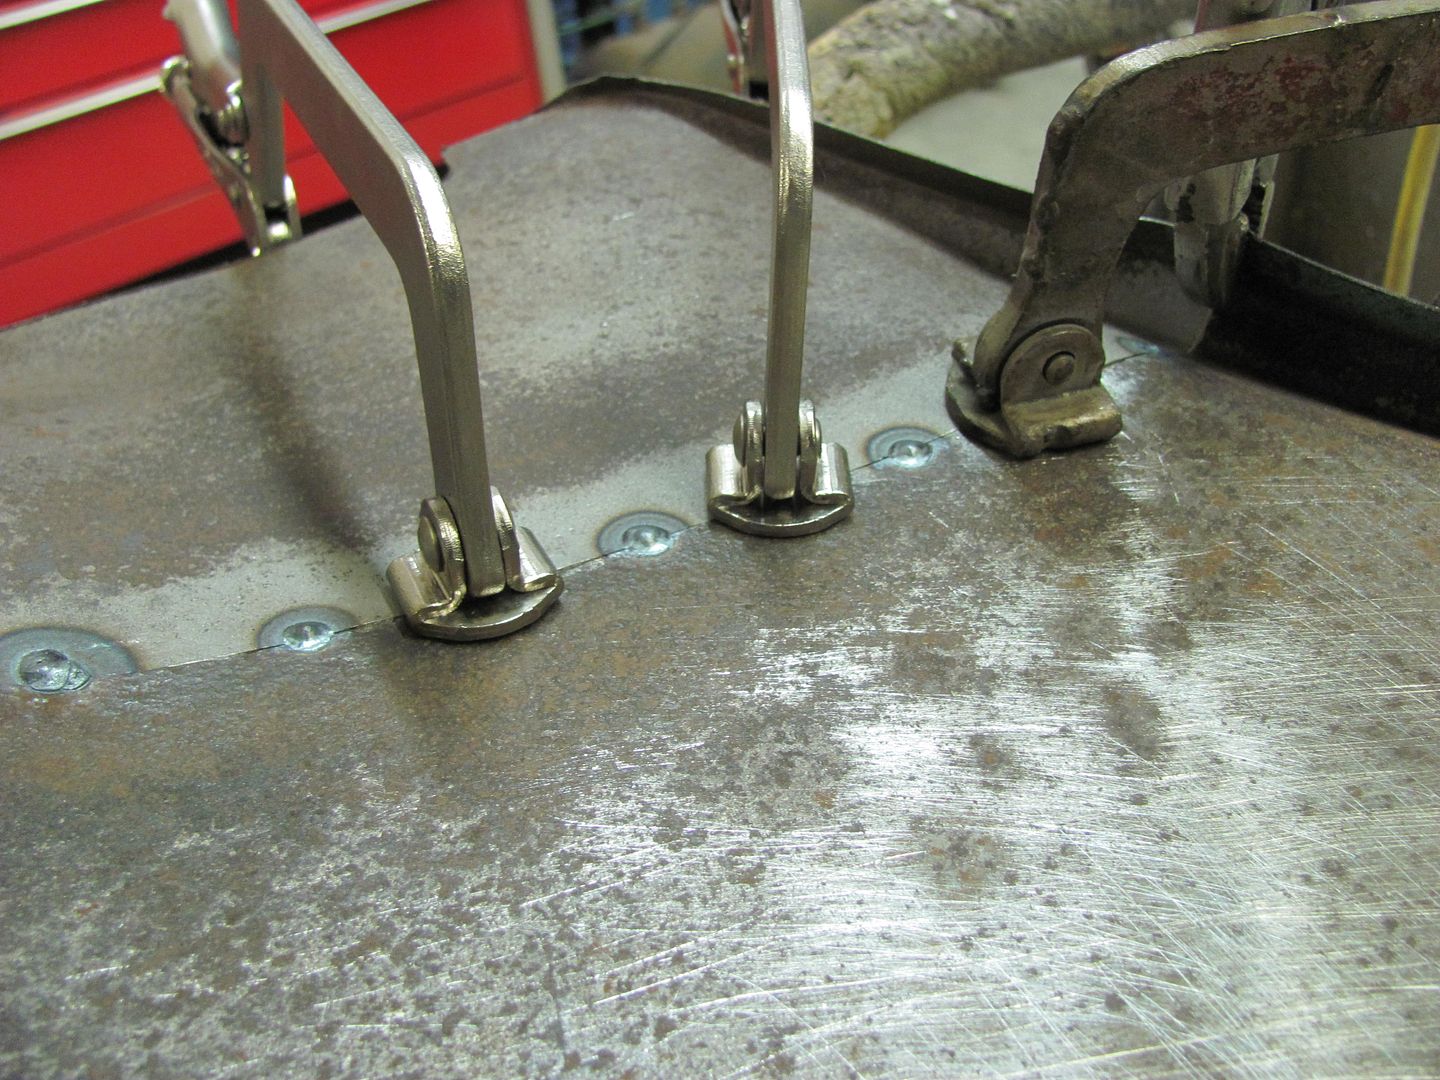
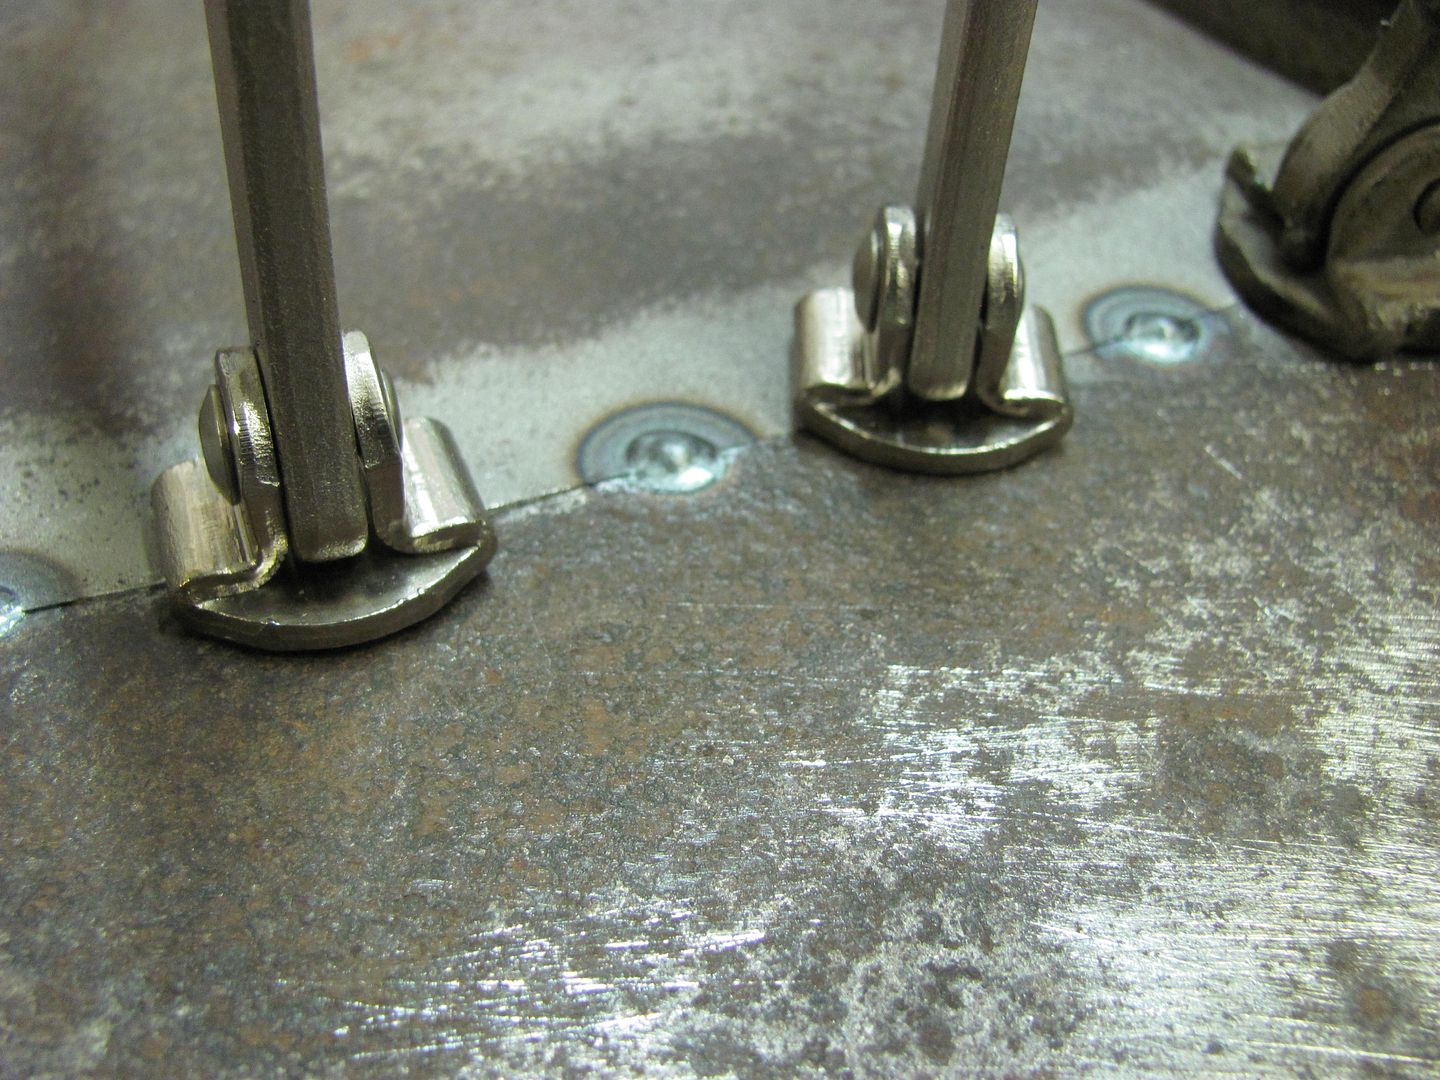
I had someone asking about the process I used with the mig, so I took the close ups to show it a little better... Weld, planish, grind, overlap, repeat...
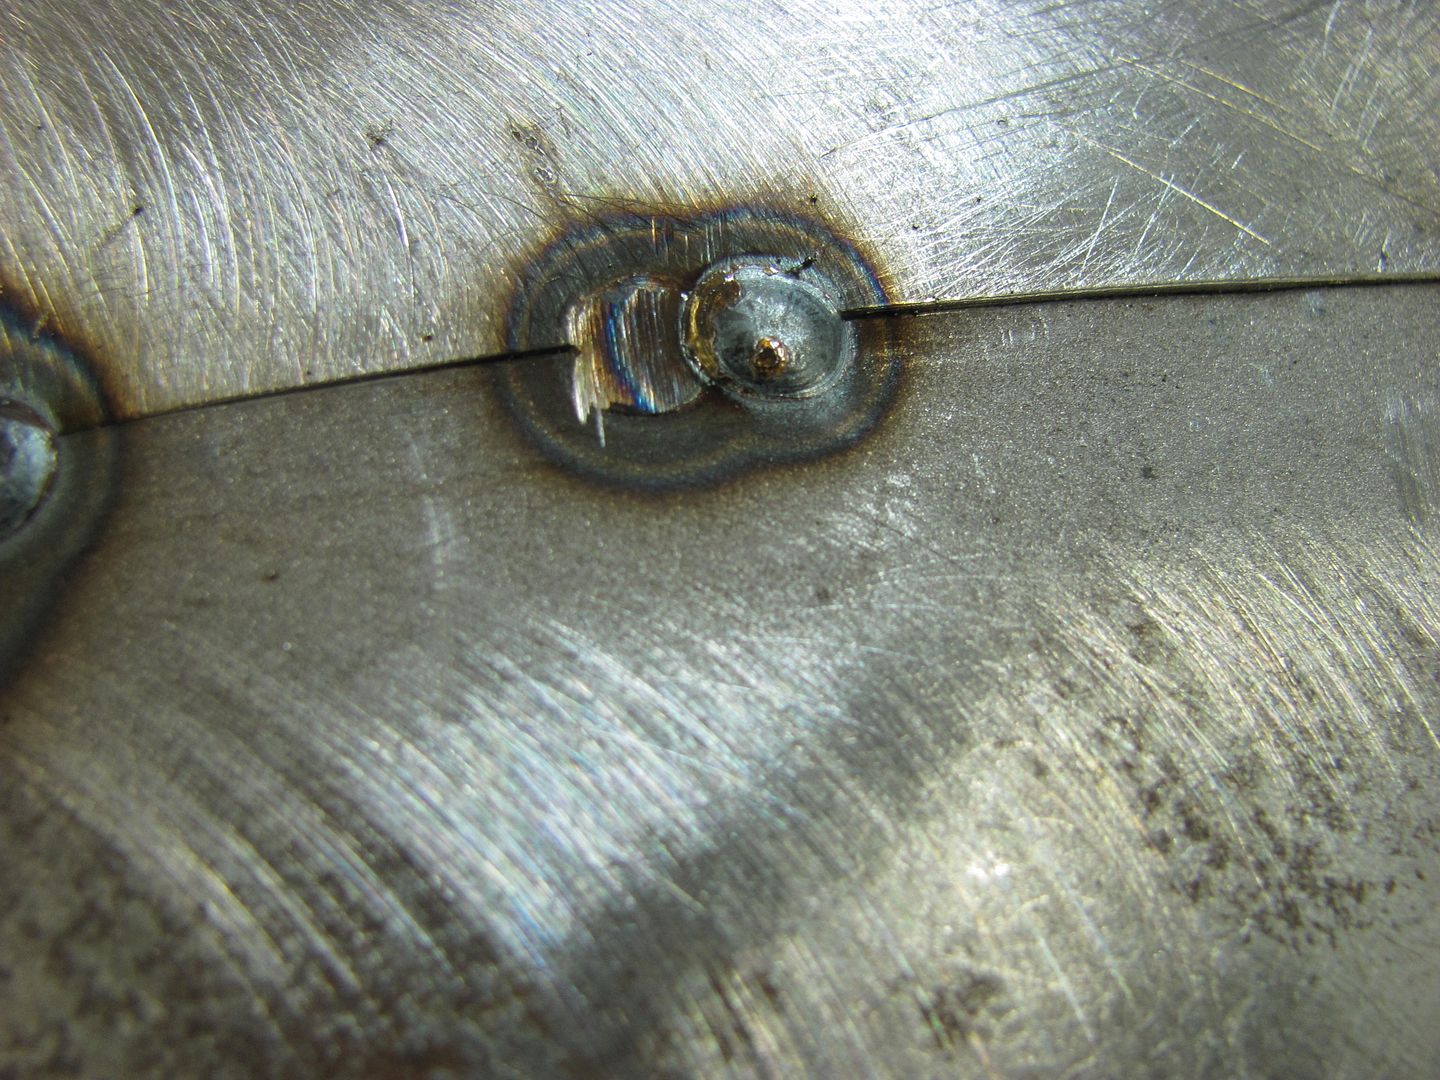
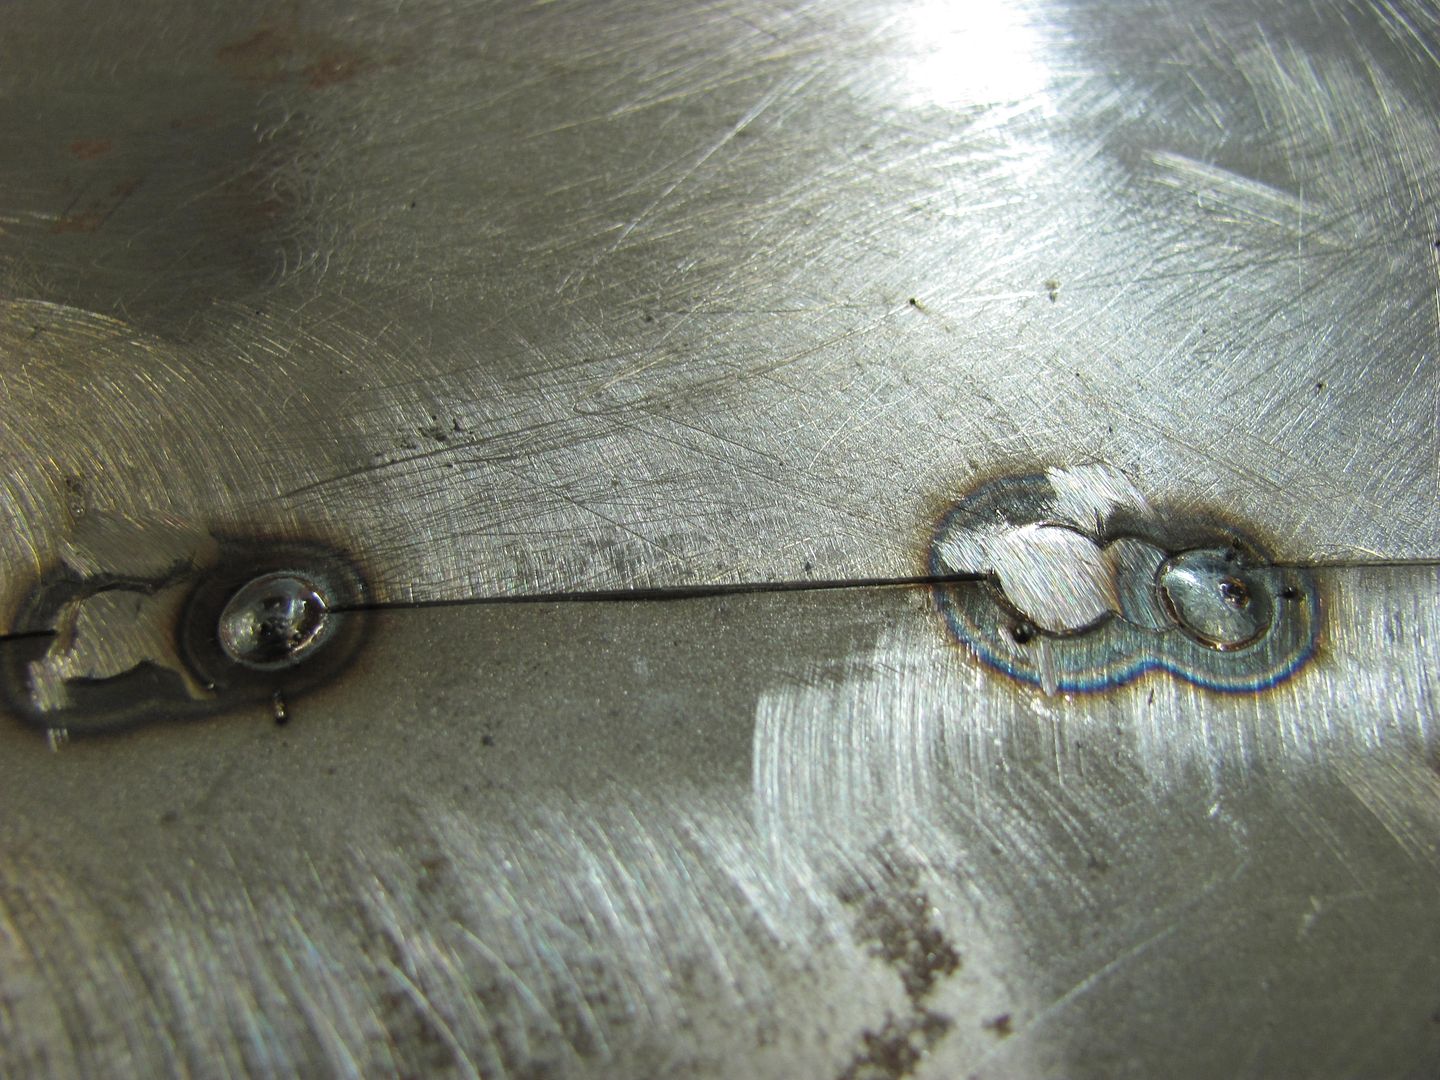
Planishing as you go helps to keep the panel's shape in check...
Still needs a bit of bumping but not too bad overall..
Robert
-
02-24-2013 07:23 PM #26
CHR Member
- Join Date
- Jun 2008
- Location
- Leonardtown
- Car Year, Make, Model: Walking
- Posts
- 1,228
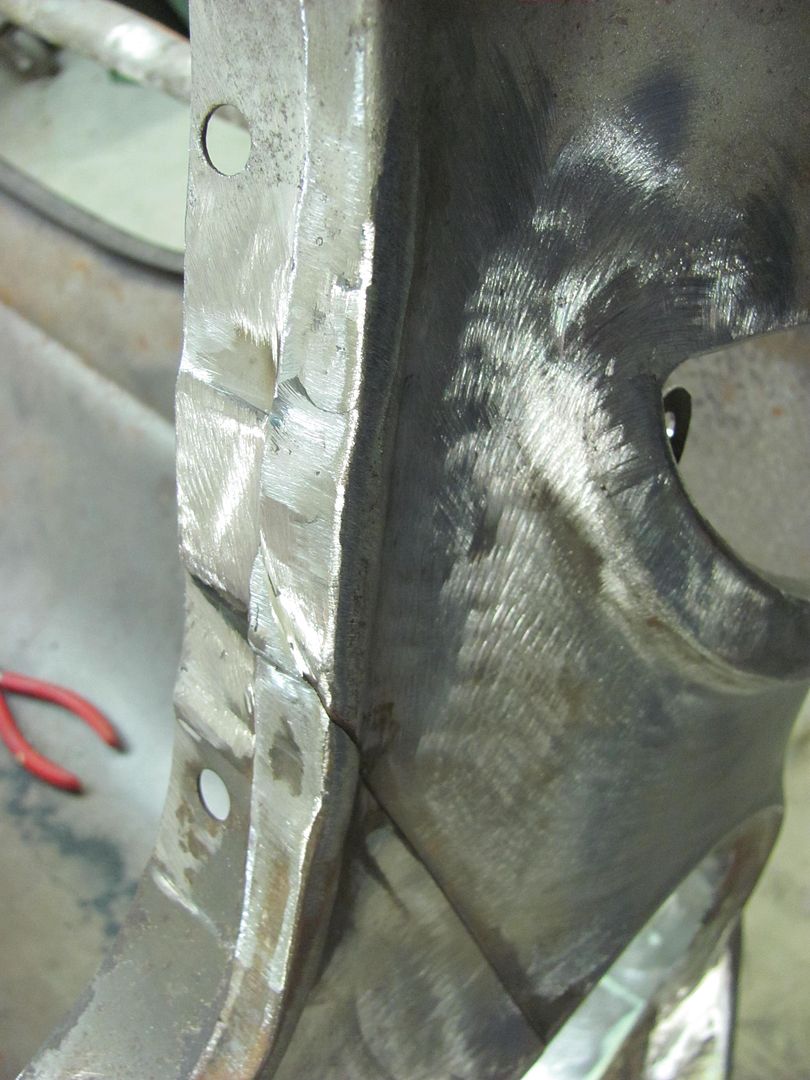
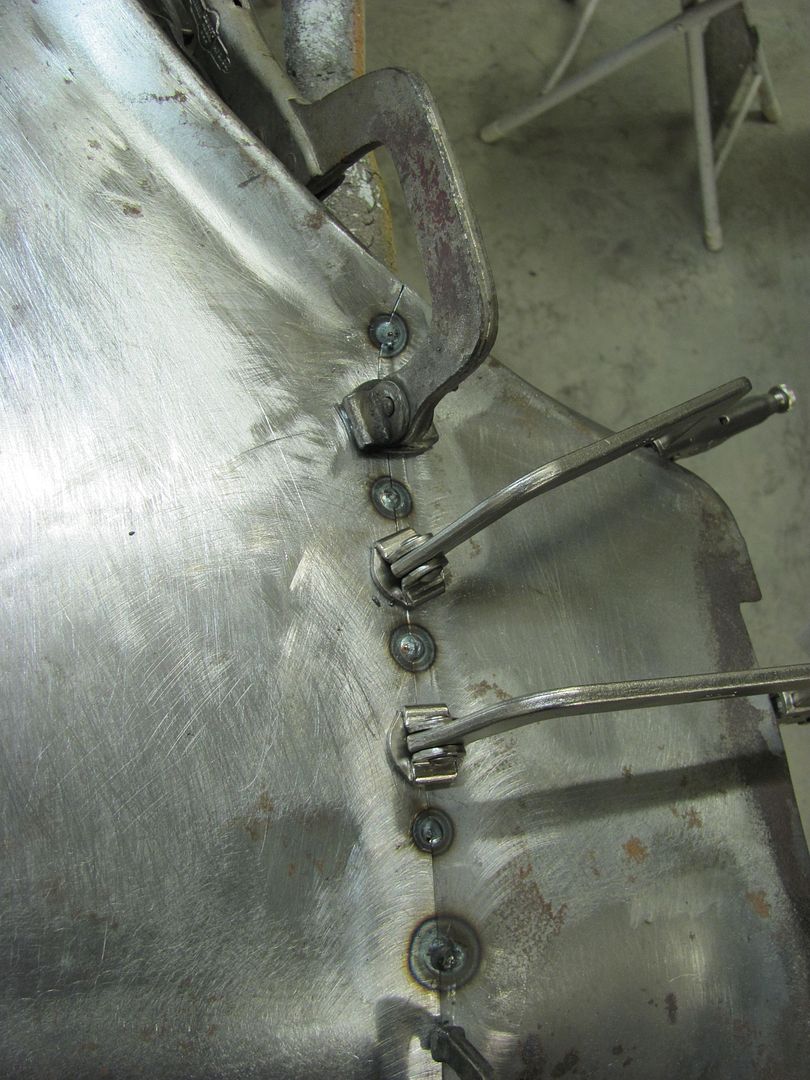
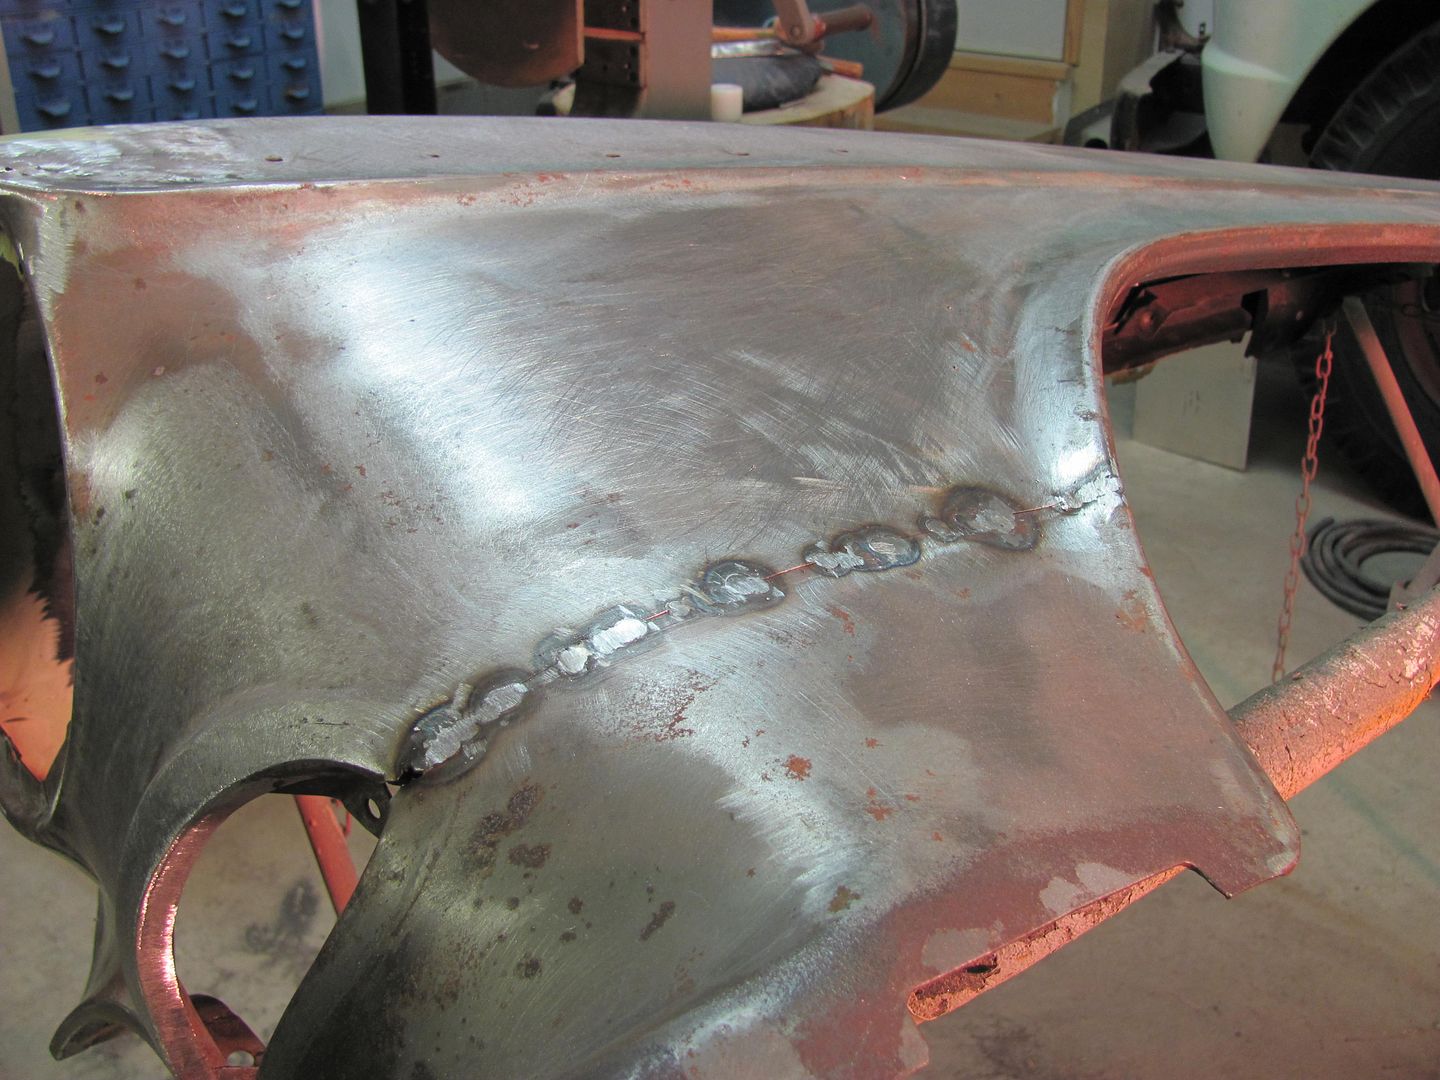
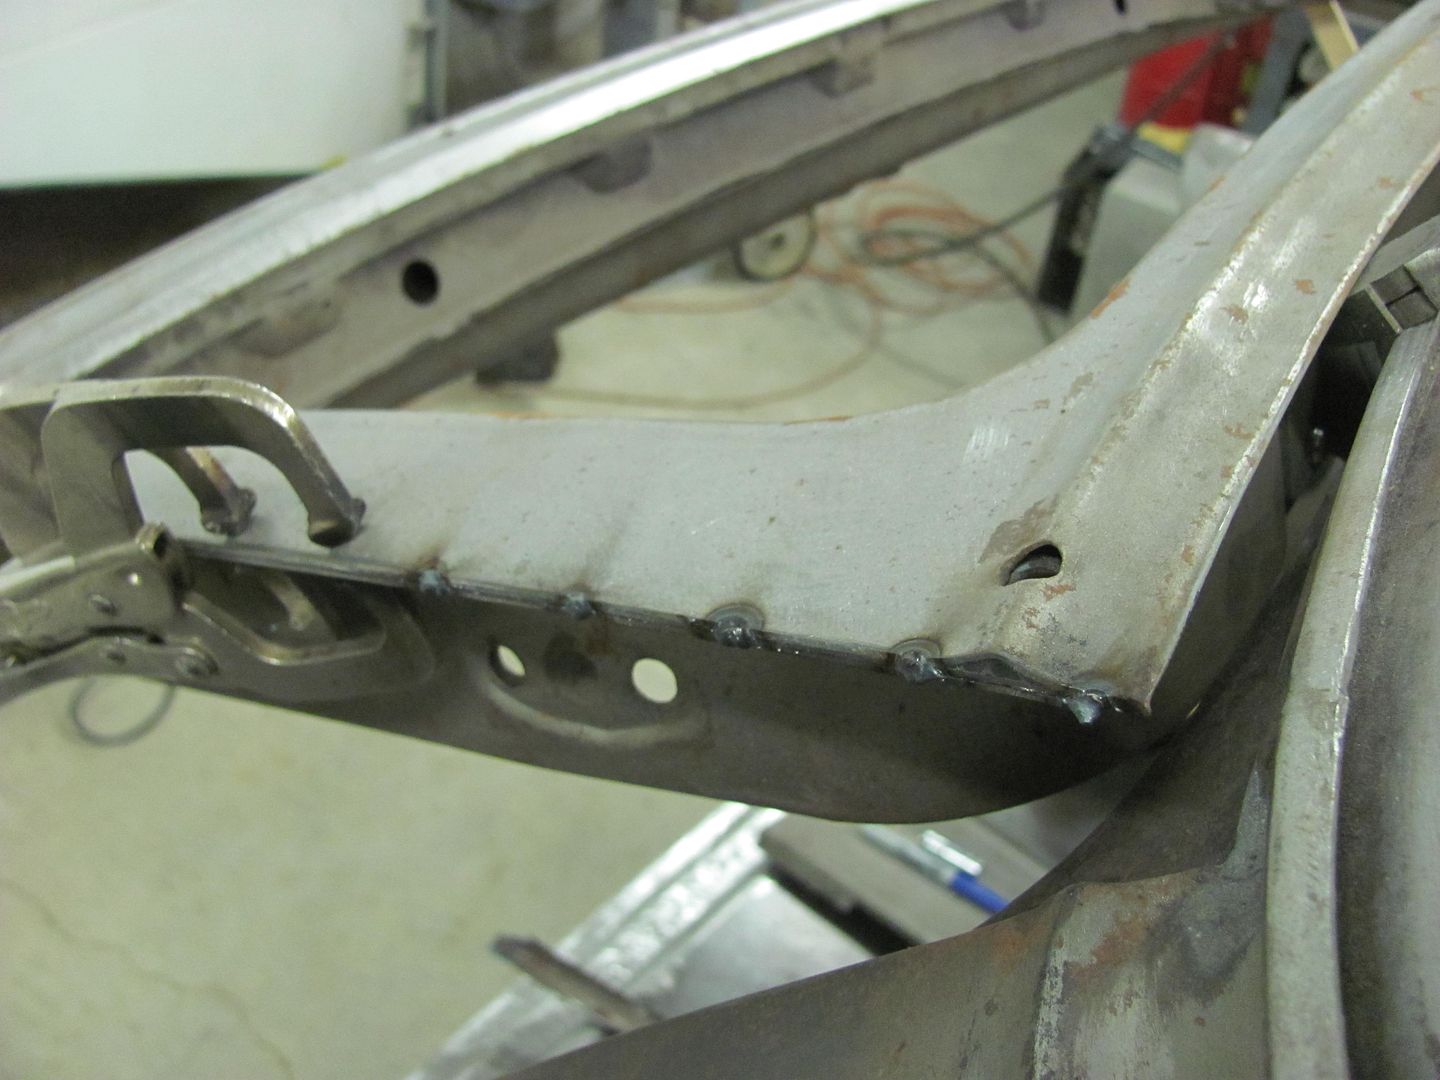
Tonight's accomplishment, back to the driver fender. I still had the inner seam to finish up...

Bridging the gap where the flanges were cut out...

Installed....
A look from the front...
Robert
-
02-24-2013 10:38 PM #27
CHR Member
- Join Date
- Feb 2007
- Location
- Santa Monica
- Car Year, Make, Model: 37 Ford tudor humpback
- Posts
- 1,988
Great work, Robert!!! I always look forward to your posts!! I know I'm going to see really nice work and I know I'm probably going to learn something. Thanks!!"It is not much good thinking of a thing unless you think it out." - H.G. Wells
-
03-24-2013 06:59 PM #28
CHR Member
- Join Date
- Jun 2008
- Location
- Leonardtown
- Car Year, Make, Model: Walking
- Posts
- 1,228
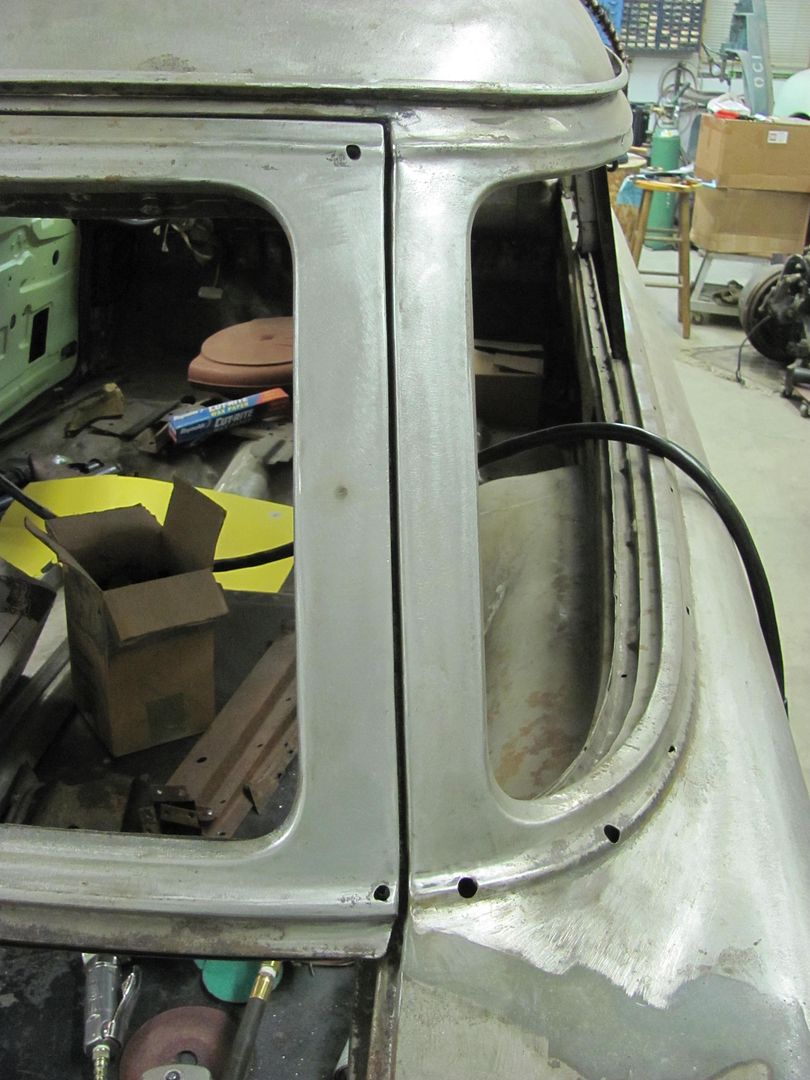
Started back in the wagon tonight, the rear hatch was a bit snug for the opening the factory provided.


Rather than risk certain chipped paint, we'll work to get the gaps more consistent...
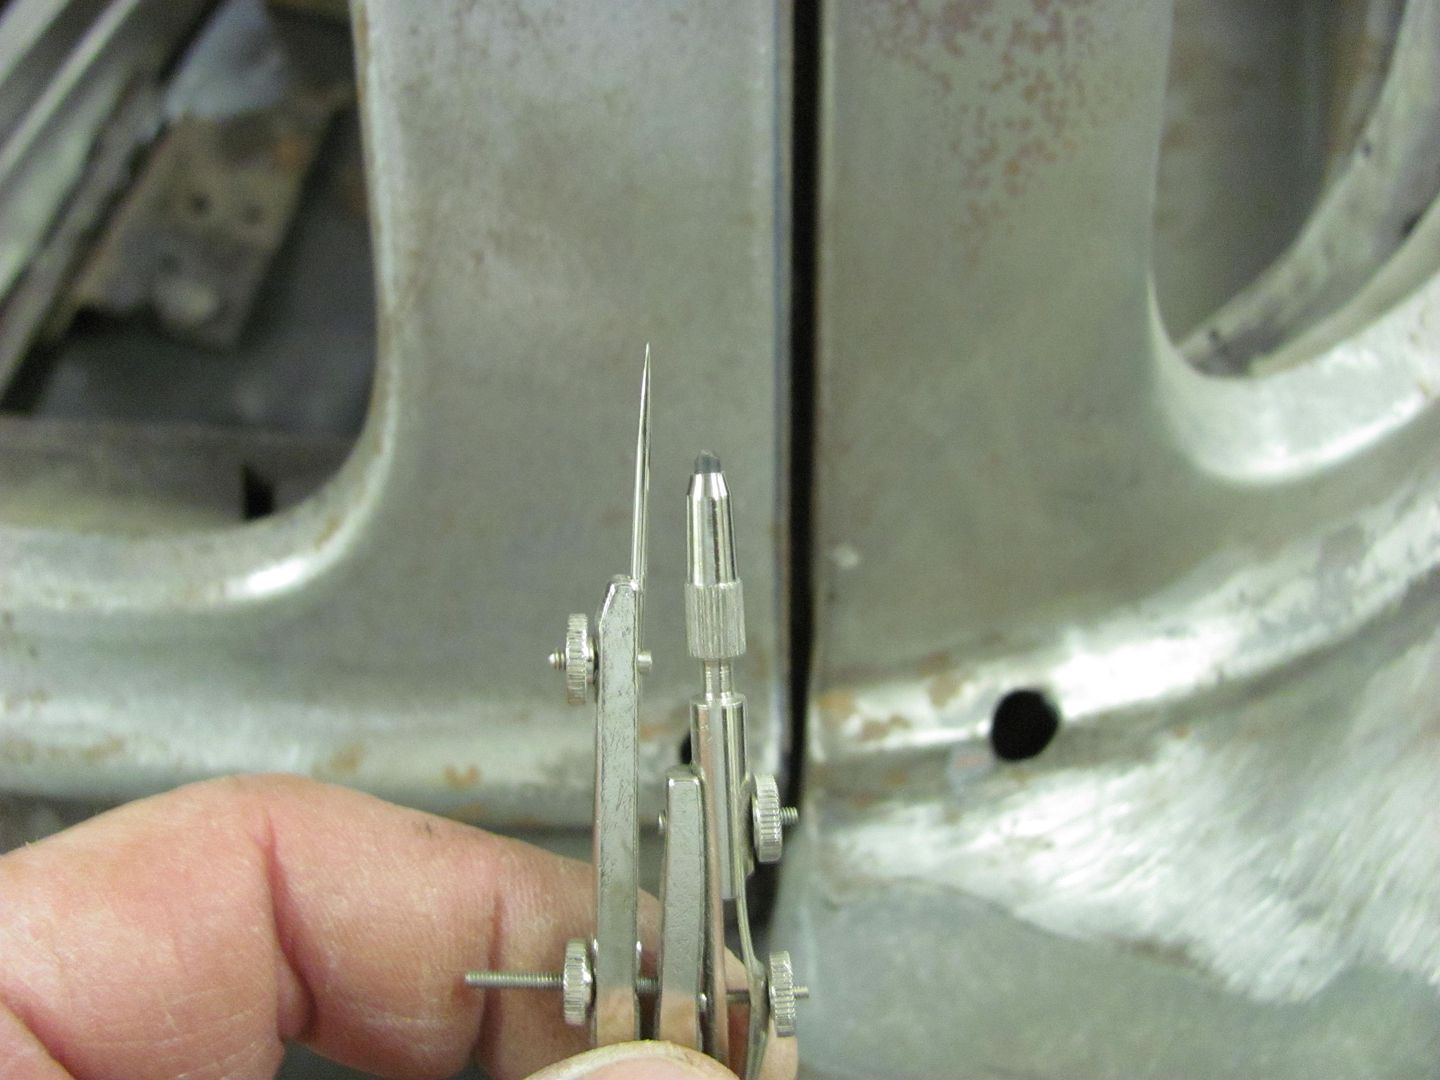
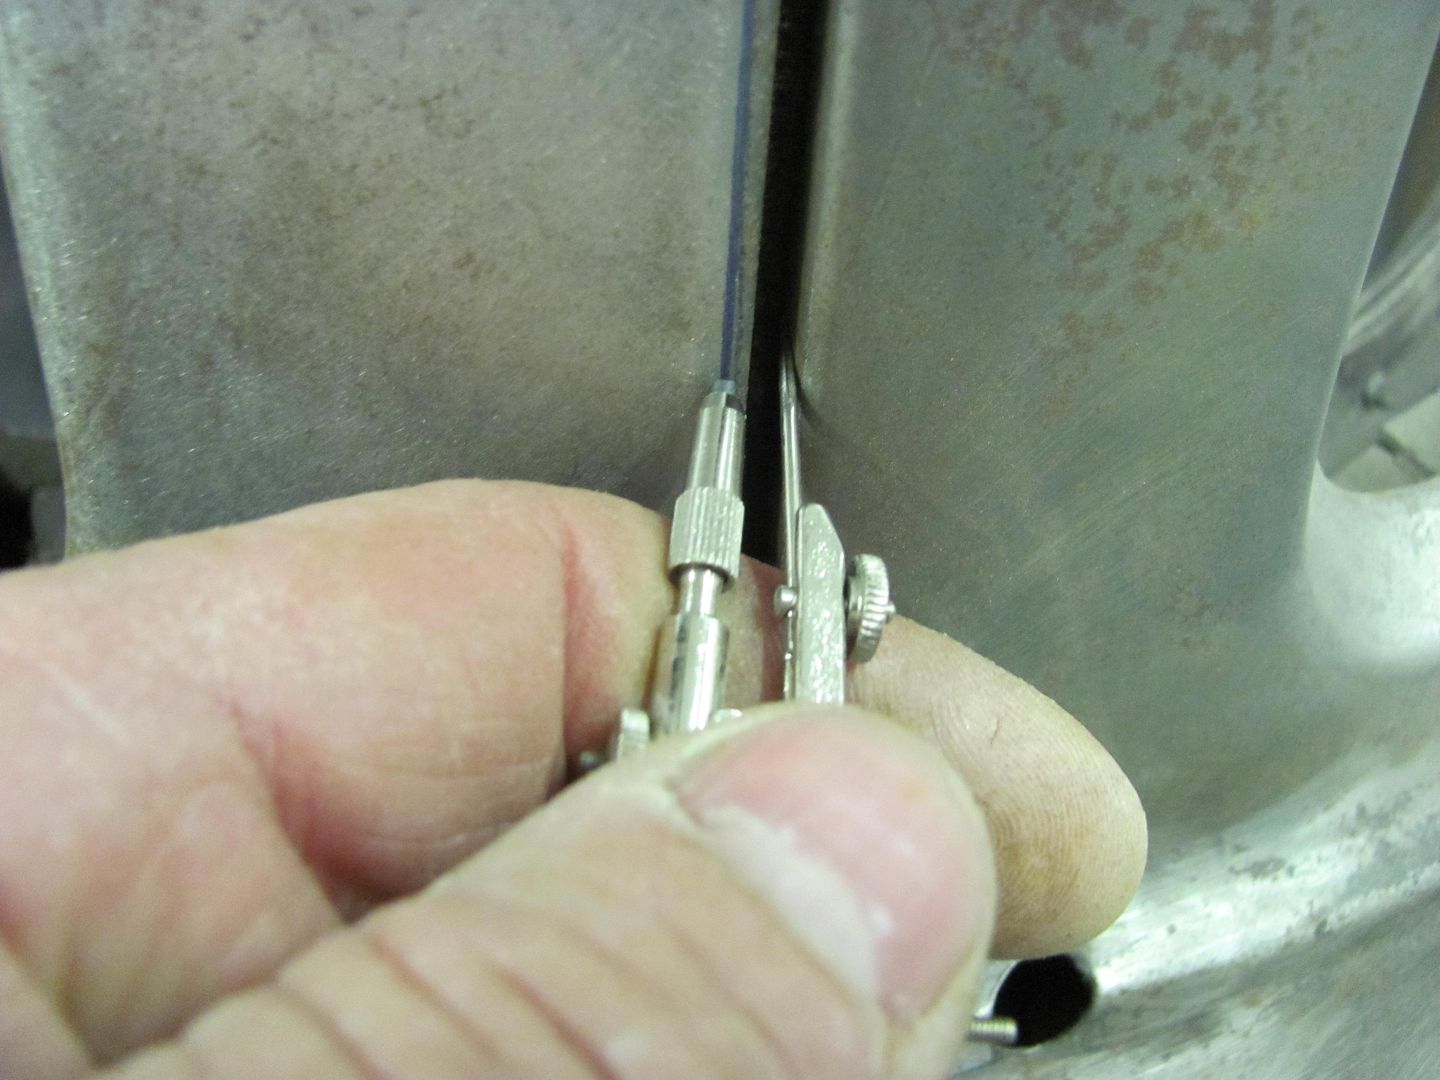
Then the edge was ground to our mark and some c-clamp vise grips held all three pieces snug while they were tacked in place.
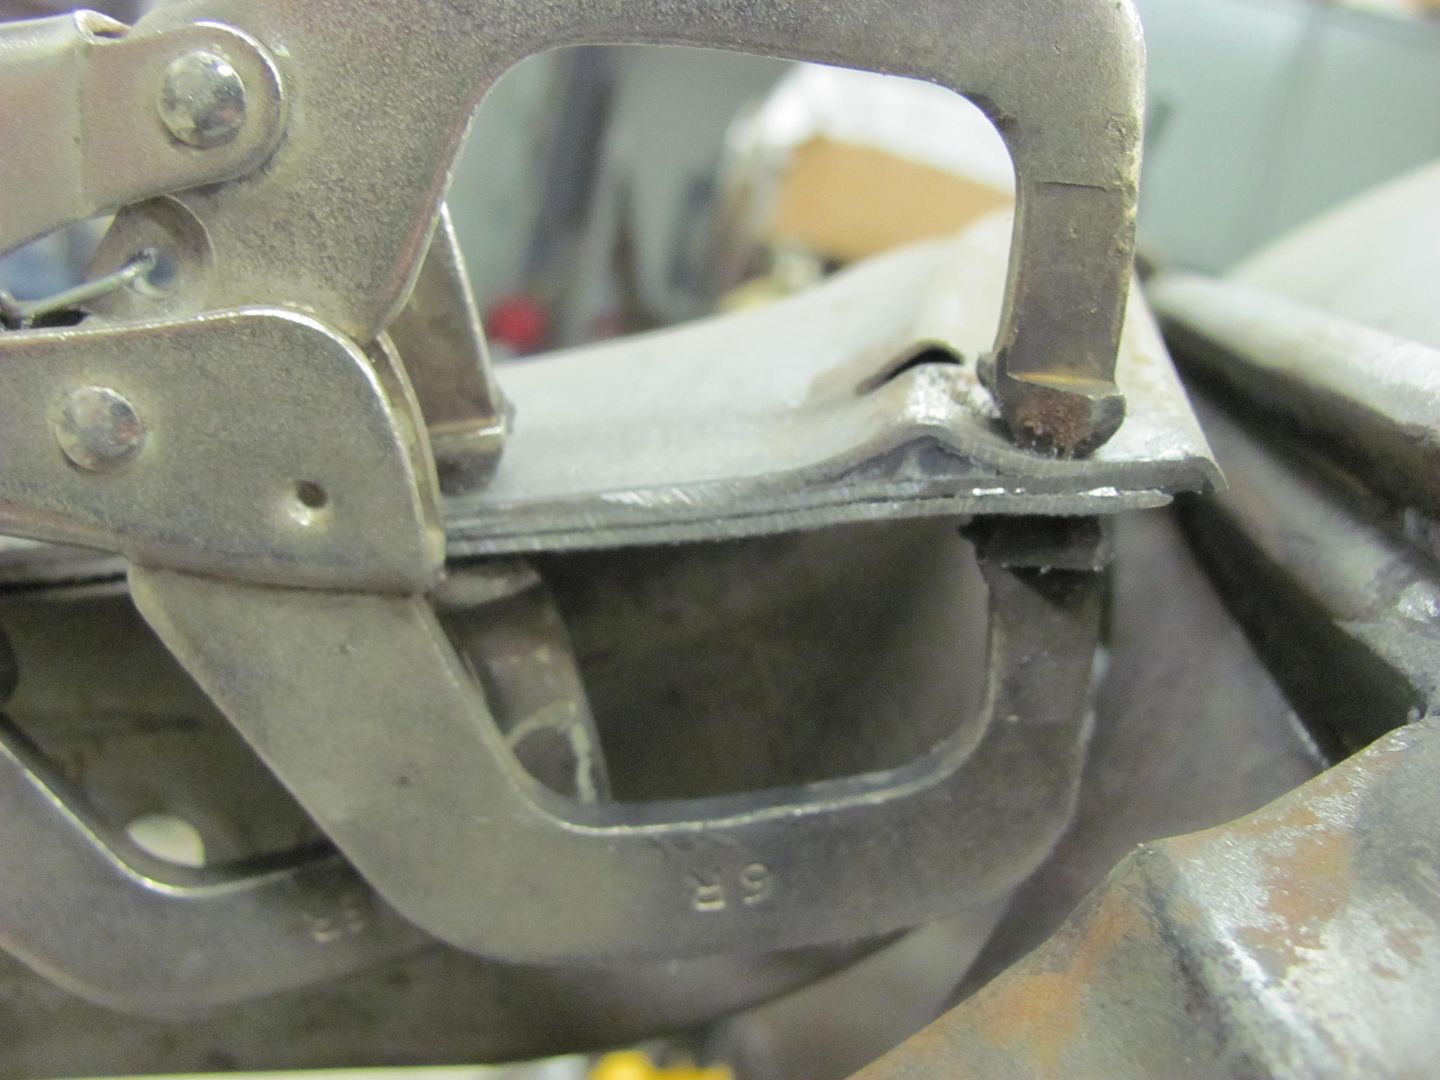

Then the top and bottom sides of the weld are ground flush with the panels. This removes the bulk of the weld and makes it easier in trimming the side....

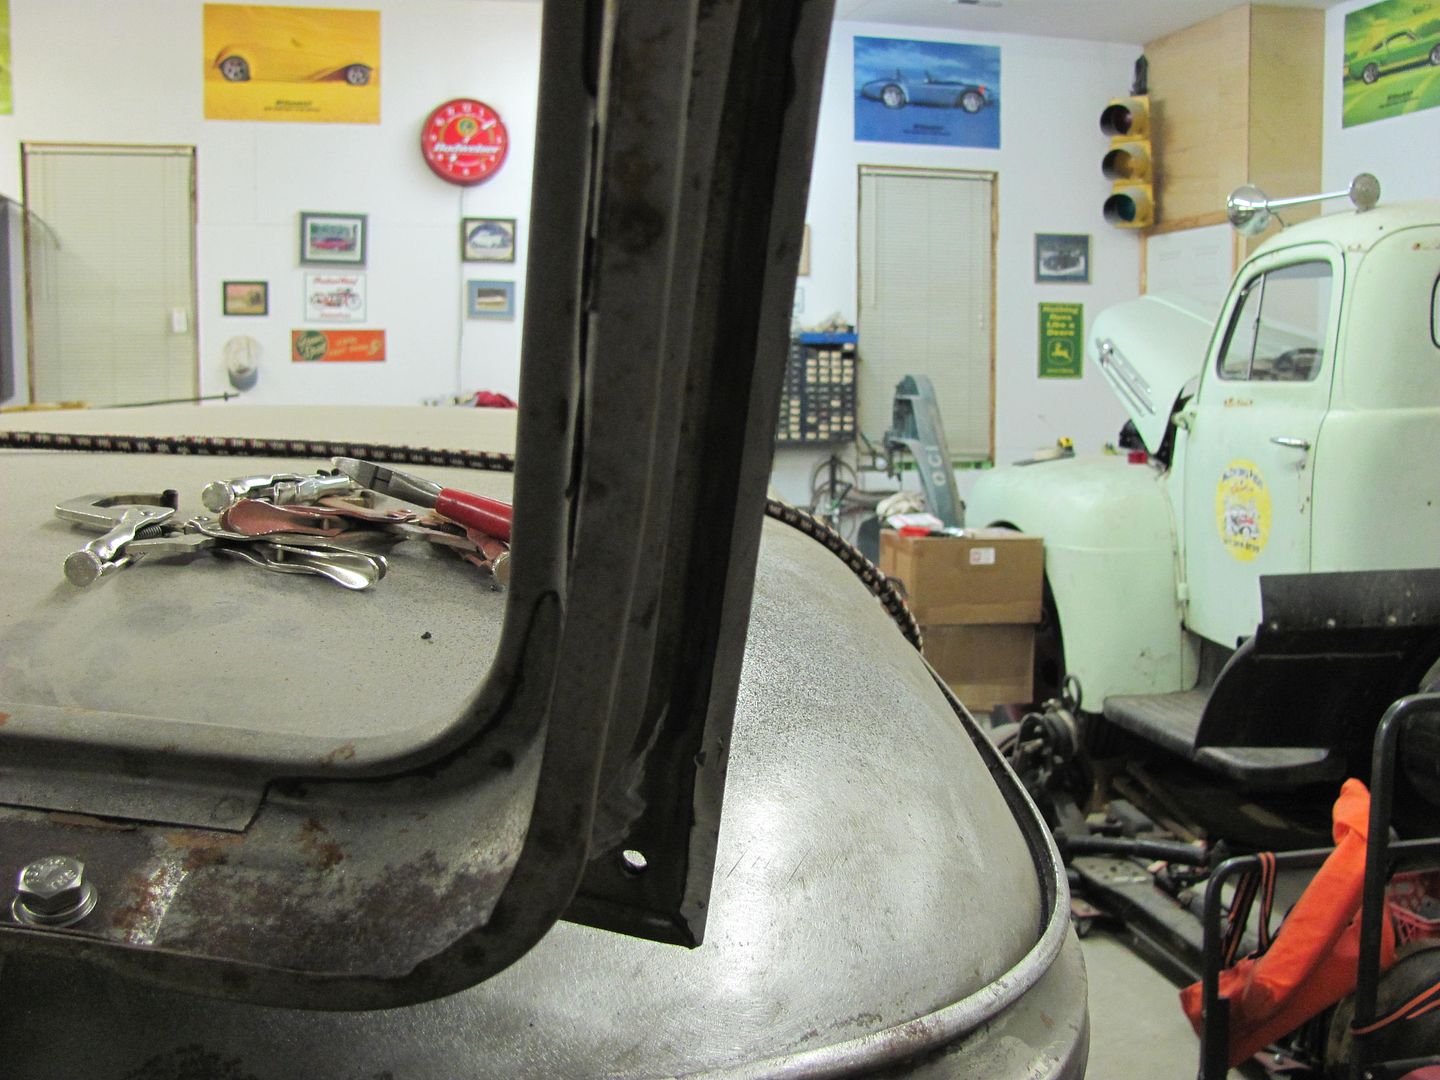
Marked again....
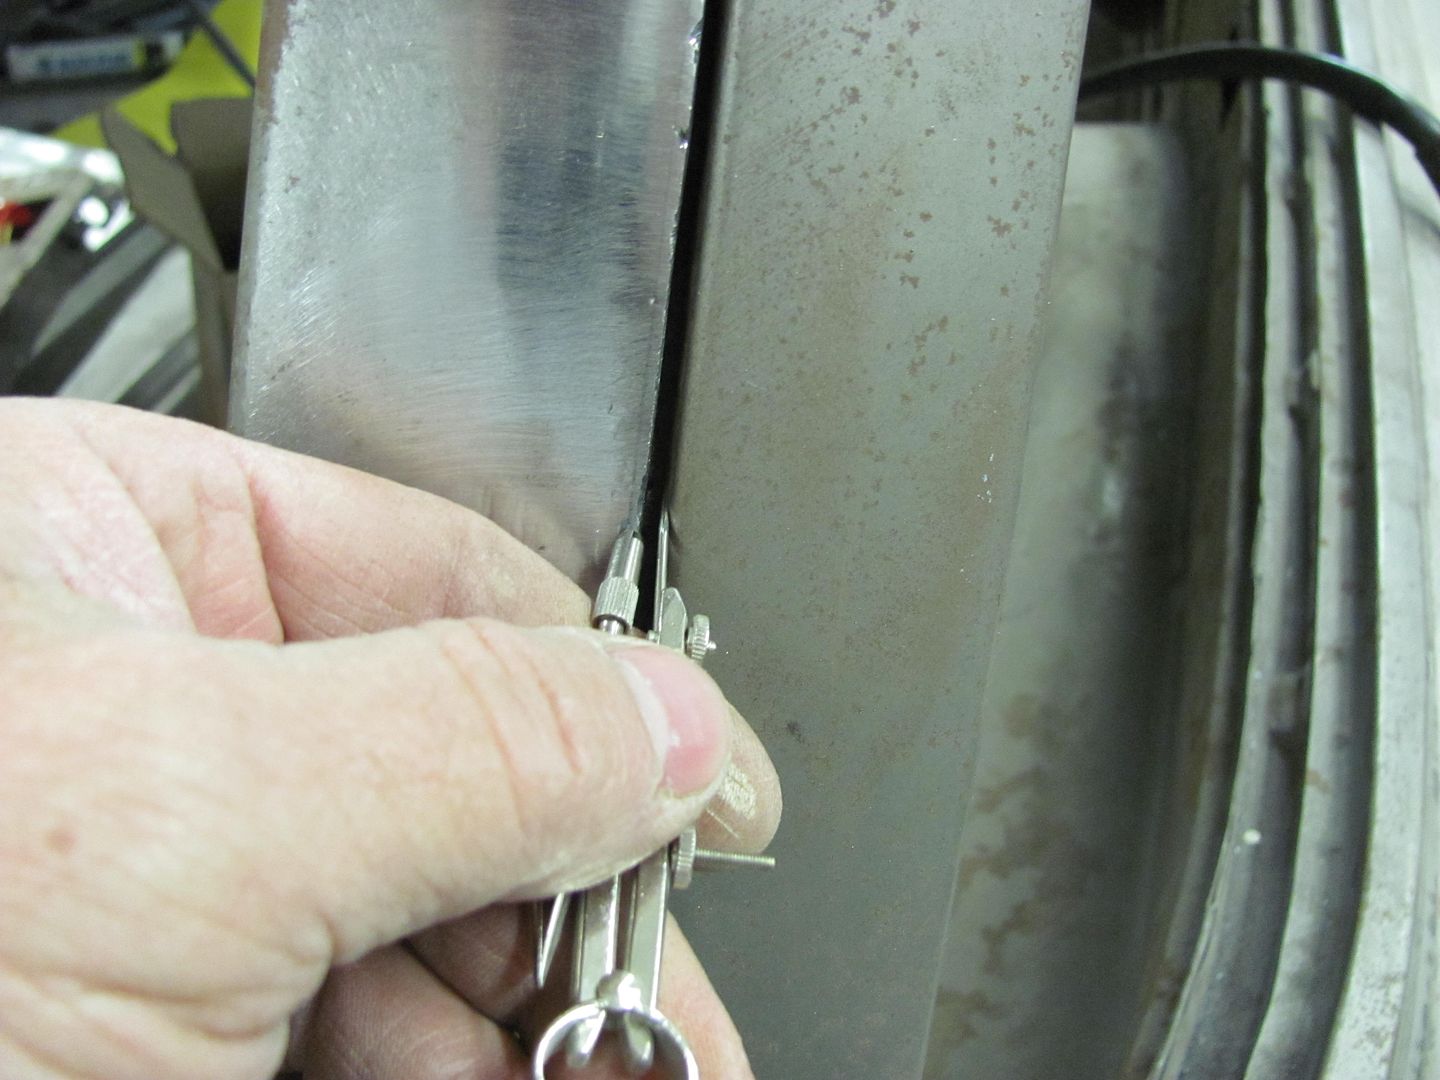
....and ground to yield a much better gap. One down......
Robert
-
03-24-2013 07:03 PM #29
CHR Member
- Join Date
- Feb 2007
- Location
- Santa Monica
- Car Year, Make, Model: 37 Ford tudor humpback
- Posts
- 1,988
So that's how you do that.....
 Nice!!!
"It is not much good thinking of a thing unless you think it out." - H.G. Wells
-
03-24-2013 07:19 PM #30
CHR Member
- Join Date
- Oct 2012
- Location
- Narberth
- Car Year, Make, Model: 32 Brookville Hi Boy; 95 Toyota Supra
- Posts
- 1,029
This is shaping up to be a beautiful, custom handmade '55 wagon.Nick
Brookville '32 hi-boy roadster
TriStar Pro Star 427 CID
 Reply With Quote

Posting Permissions
- You may not post new threads
- You may not post replies
- You may not post attachments
- You may not edit your posts

i've enjoyed the years here . made a lot of friends. most who have left. i see no reason to continue with this so hope to see you somewhere else. i dont think this site will ever be back. it's lived...
Dead!