


 3390Likes
Thread: 55 Wagon Progress


Results 856 to 870 of 1865
 LinkBack URL
 About LinkBacks
-
07-01-2016 05:54 PM #856
 CHR Member

- Join Date
- Sep 2007
- Location
- New Bedford
- Car Year, Make, Model: 34 Ford 3W Coupe Replica
- Posts
- 14,754
Times two! What he said.. WOW - thats Nice..
I'm glad I asked for pics!! LOL..
Tell Cody well done! ANd the club says HELLO!
-
Advertising

- Google Adsense
- REGISTERED USERS DO NOT SEE THIS AD
-
07-05-2016 11:23 AM #857
CHR Member
- Join Date
- Apr 2011
- Location
- Prairie City
- Car Year, Make, Model: 40 Ford Deluxe, 68 Corvette, 72&76 K30
- Posts
- 7,301
- Blog Entries
- 1
Great work on the glove box door. Cody does some amazing work too! That is one fine coupe!Ryan
1940 Ford Deluxe Tudor 354 Hemi 46RH Electric Blue w/multi-color flames, Ford 9" Residing in multiple pieces
1968 Corvette Coupe 5.9 Cummins Drag Car 11.43@130mph No stall leaving the line with 1250 rpm's and poor 2.2 60'
1972 Chevy K30 Longhorn P-pumped 24v Compound Turbos 47RH Just another money pit
1971 Camaro RS 5.3 BTR Stage 3 cam, SuperT10
Tire Sizes
-
07-07-2016 08:56 PM #858
CHR Member
- Join Date
- Jun 2008
- Location
- Leonardtown
- Car Year, Make, Model: Walking
- Posts
- 1,228
It sure is!
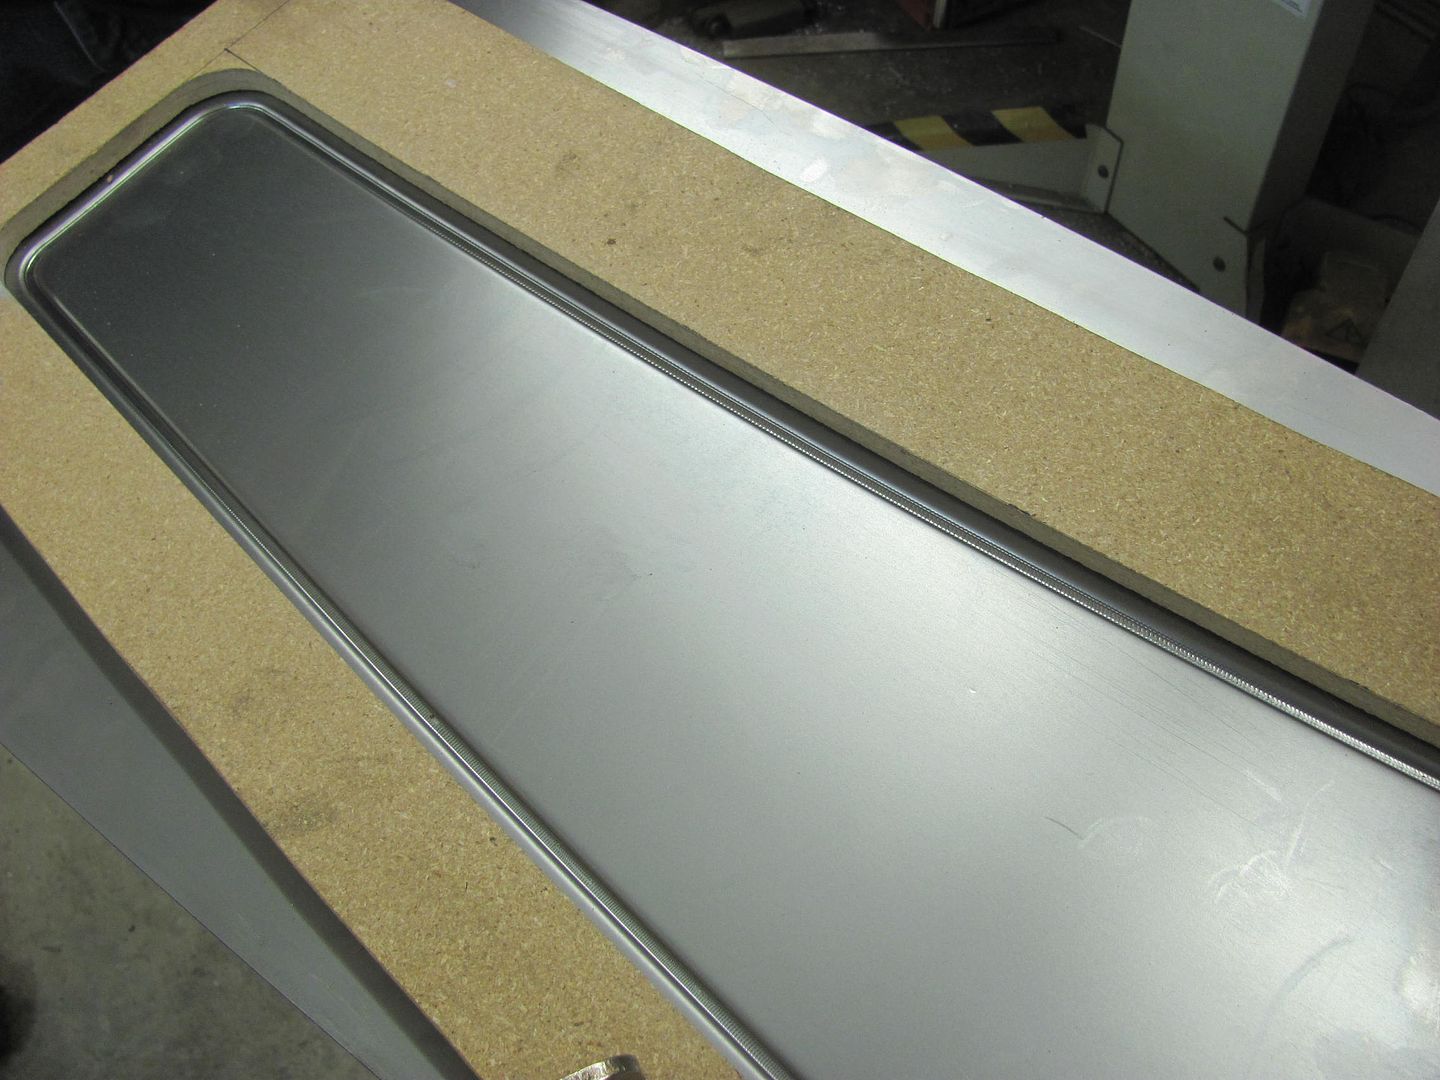
Got a "requirement" for some bead detail work and don't need the panels losing any of their shape. The bead roller does a nice job, but the forming process is more of a relocation of the metal from elsewhere, which would cause a panel to possibly lose some crown.
The Lennox (Pullmax) as a reciprocating machine does a better job of stretching the metal as the bead is formed, so there is less issue of losing panel crown.
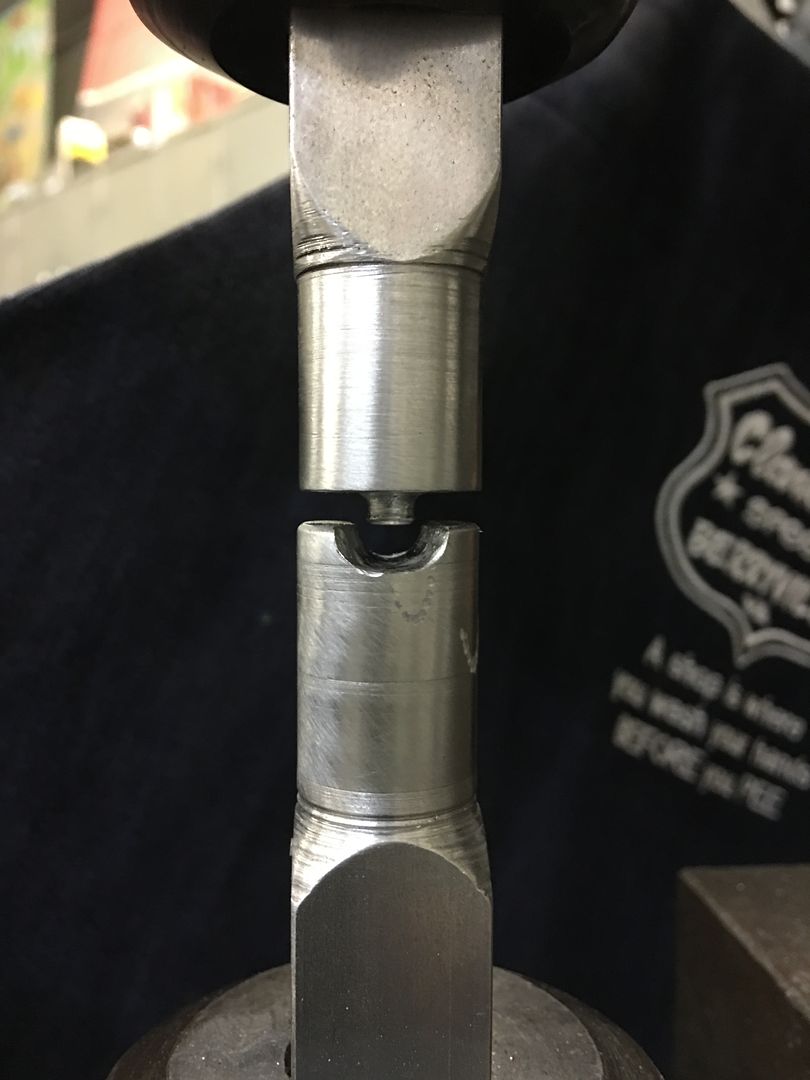
Here we're making the female die in the South Bend milling machine.

Ball end milling bit clamped in the chuck, square stock clamped in the Aloris tool holder..
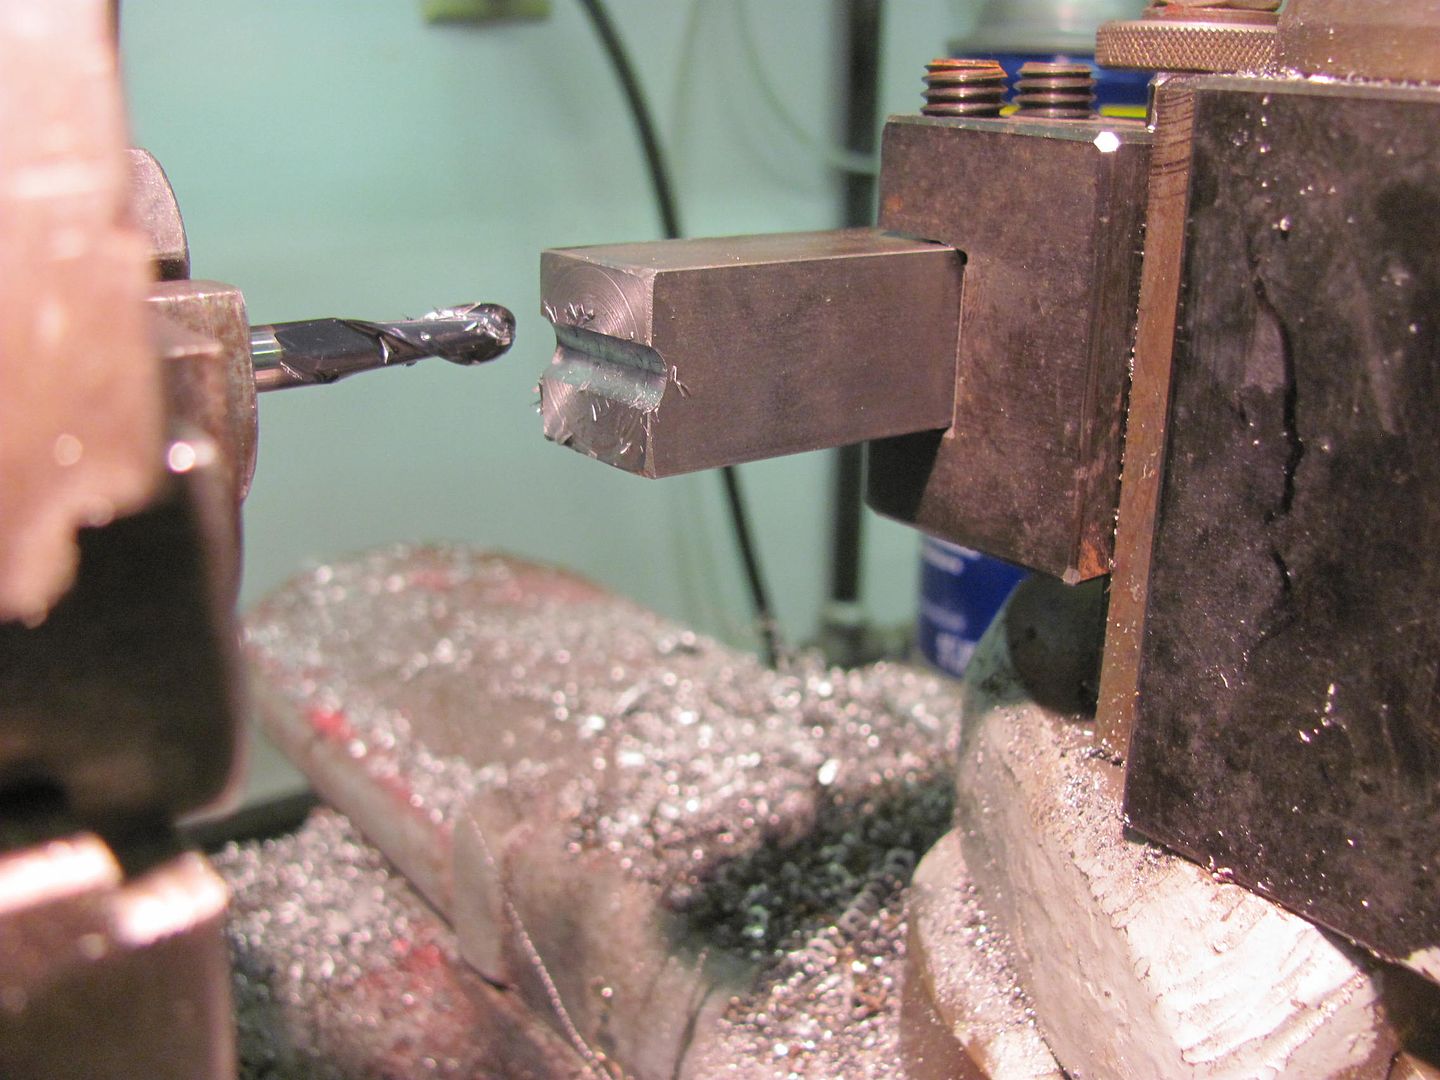
The ends of the tooling was also turned in the lathe to give a nice round feature that will work better for use with a guide.
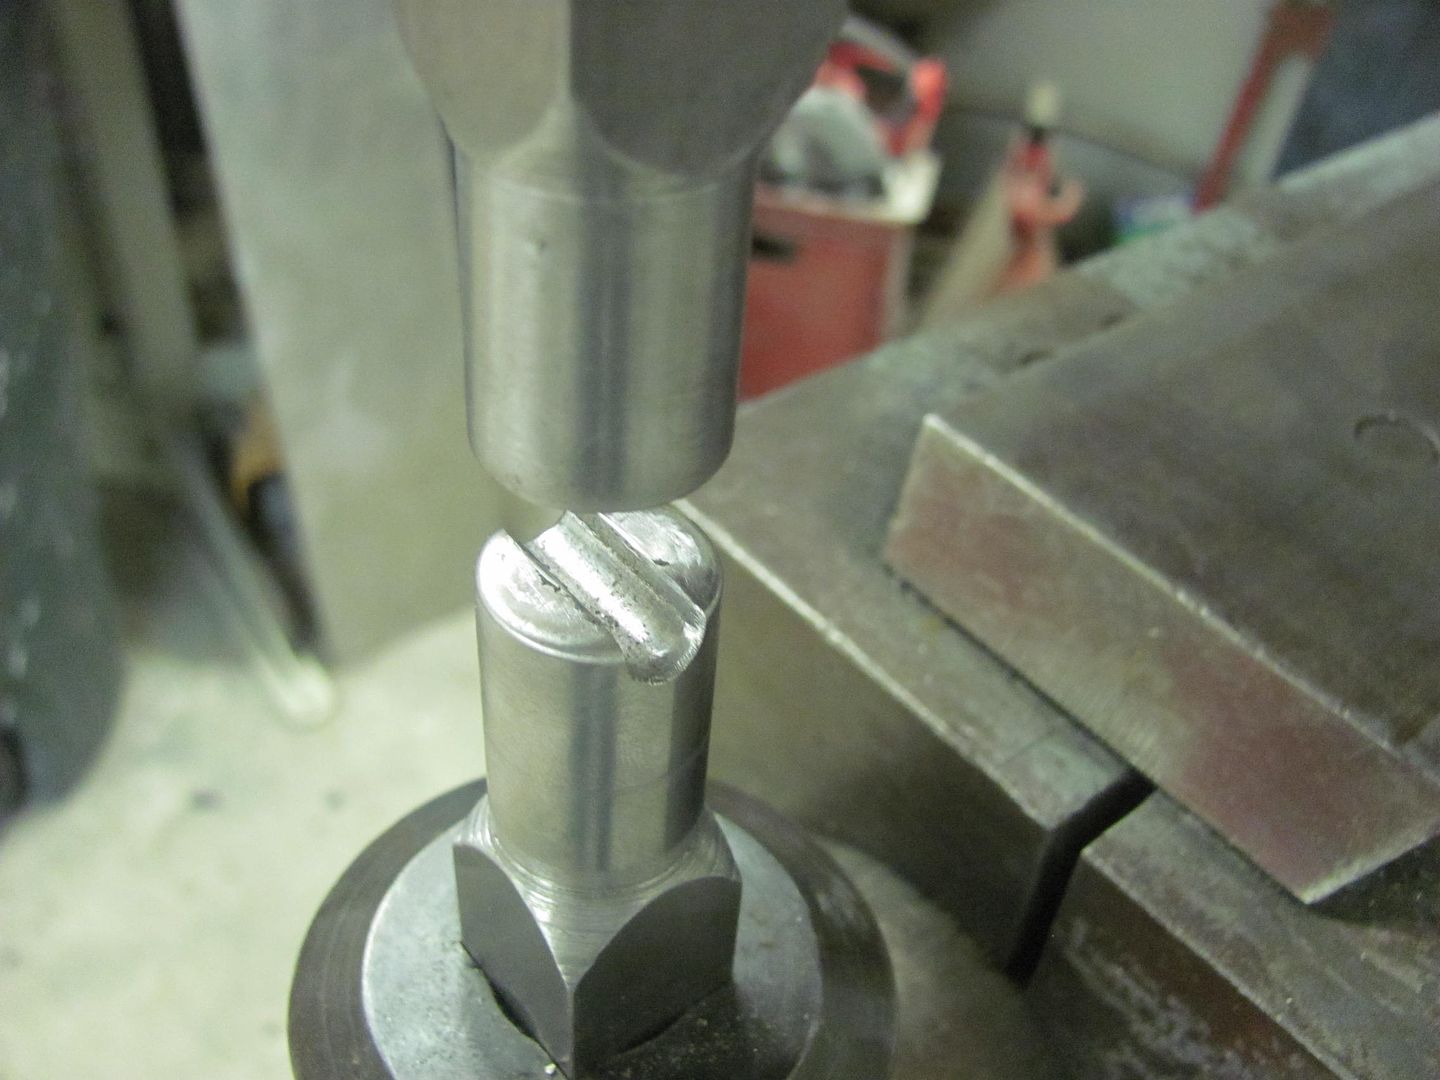

Test run...
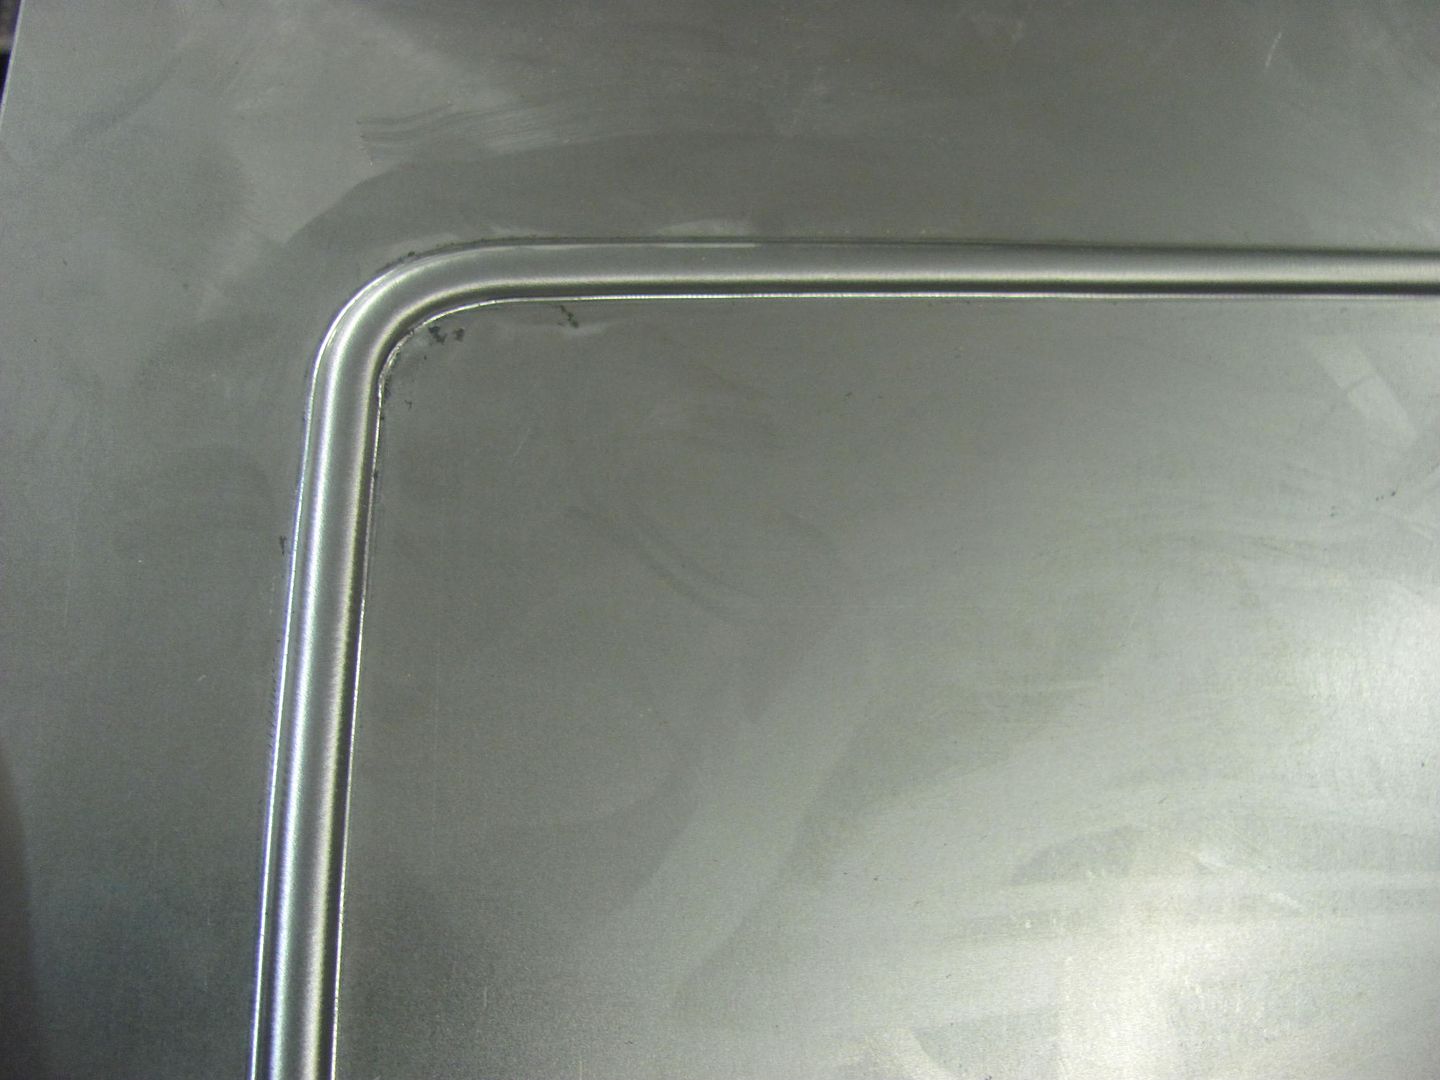
Nice crisp lines, the "chatter" should be cleaned up if I can get the feed speed more consistent. The small diameter of the upper die's "punch" provides the needed stretch, with the downside being the marking from too fast of a feed speed. Making the upper die in more of an oval shape will eliminate most of the marking, but it won't stretch as well.. To keep from losing panel crown, stretch is our preference here..
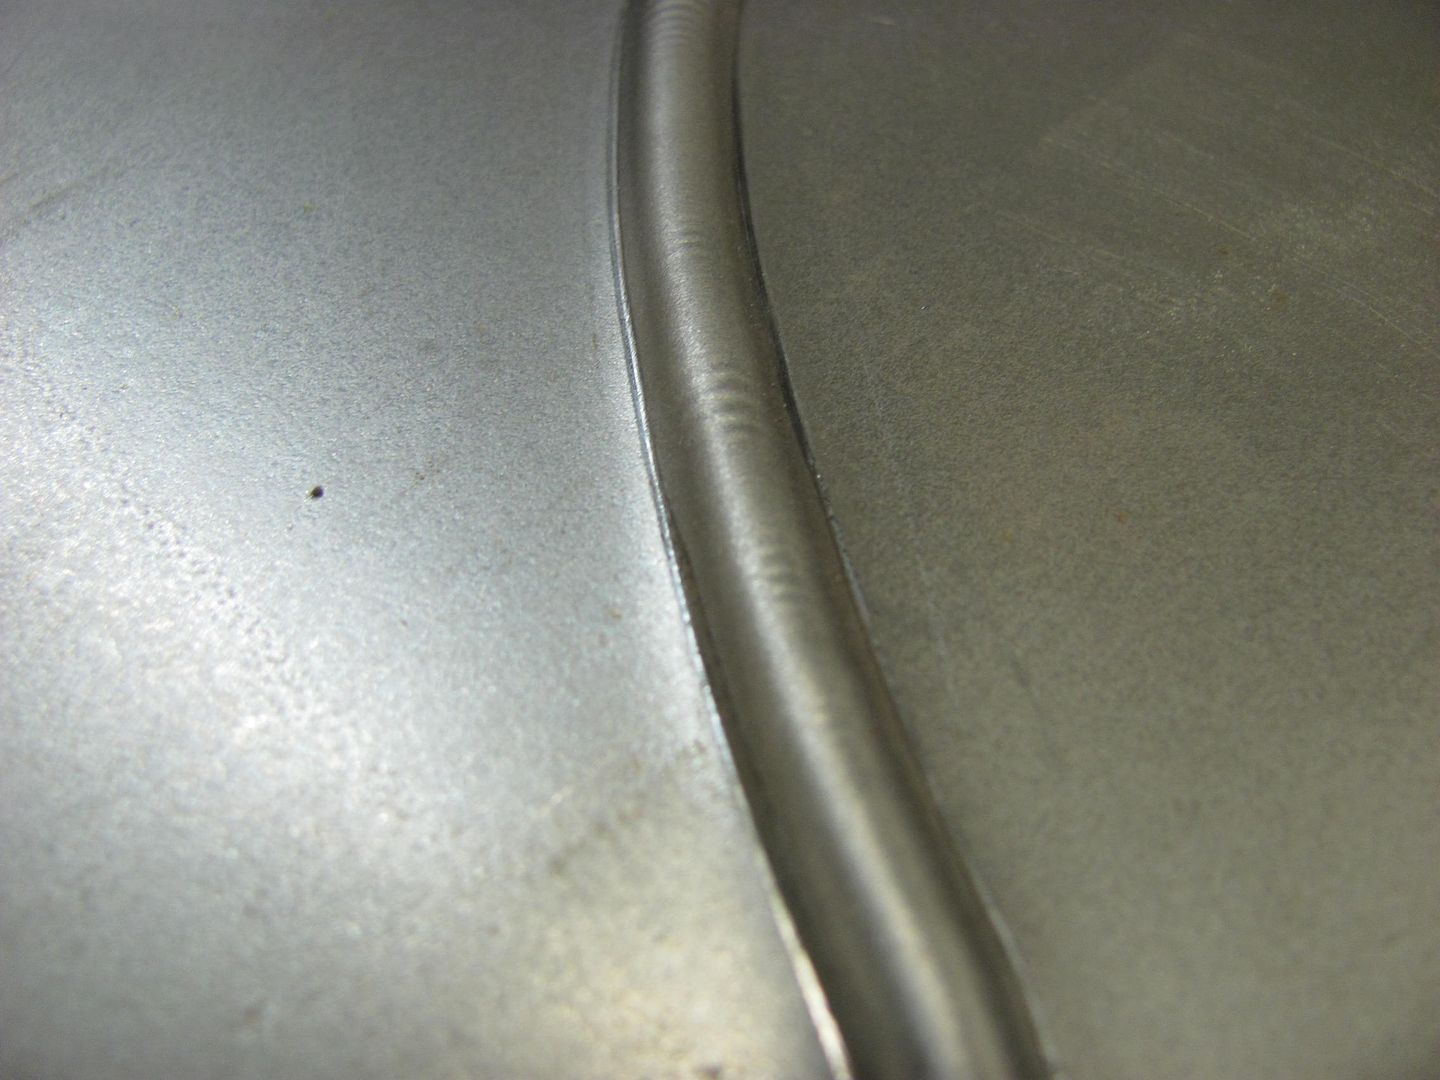
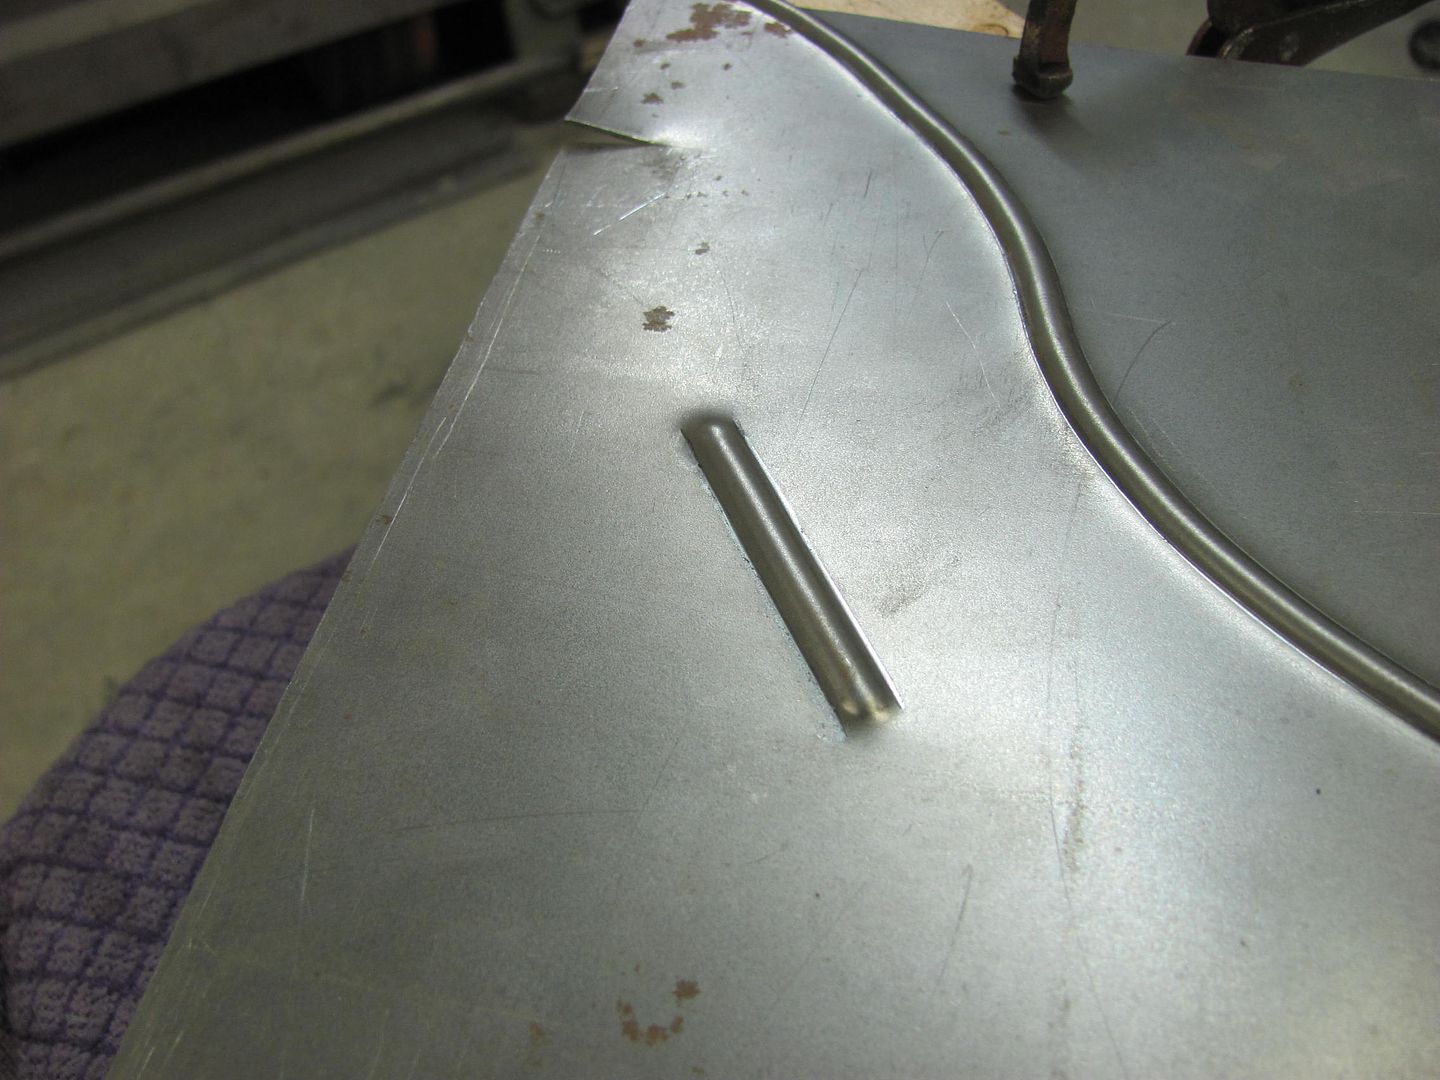
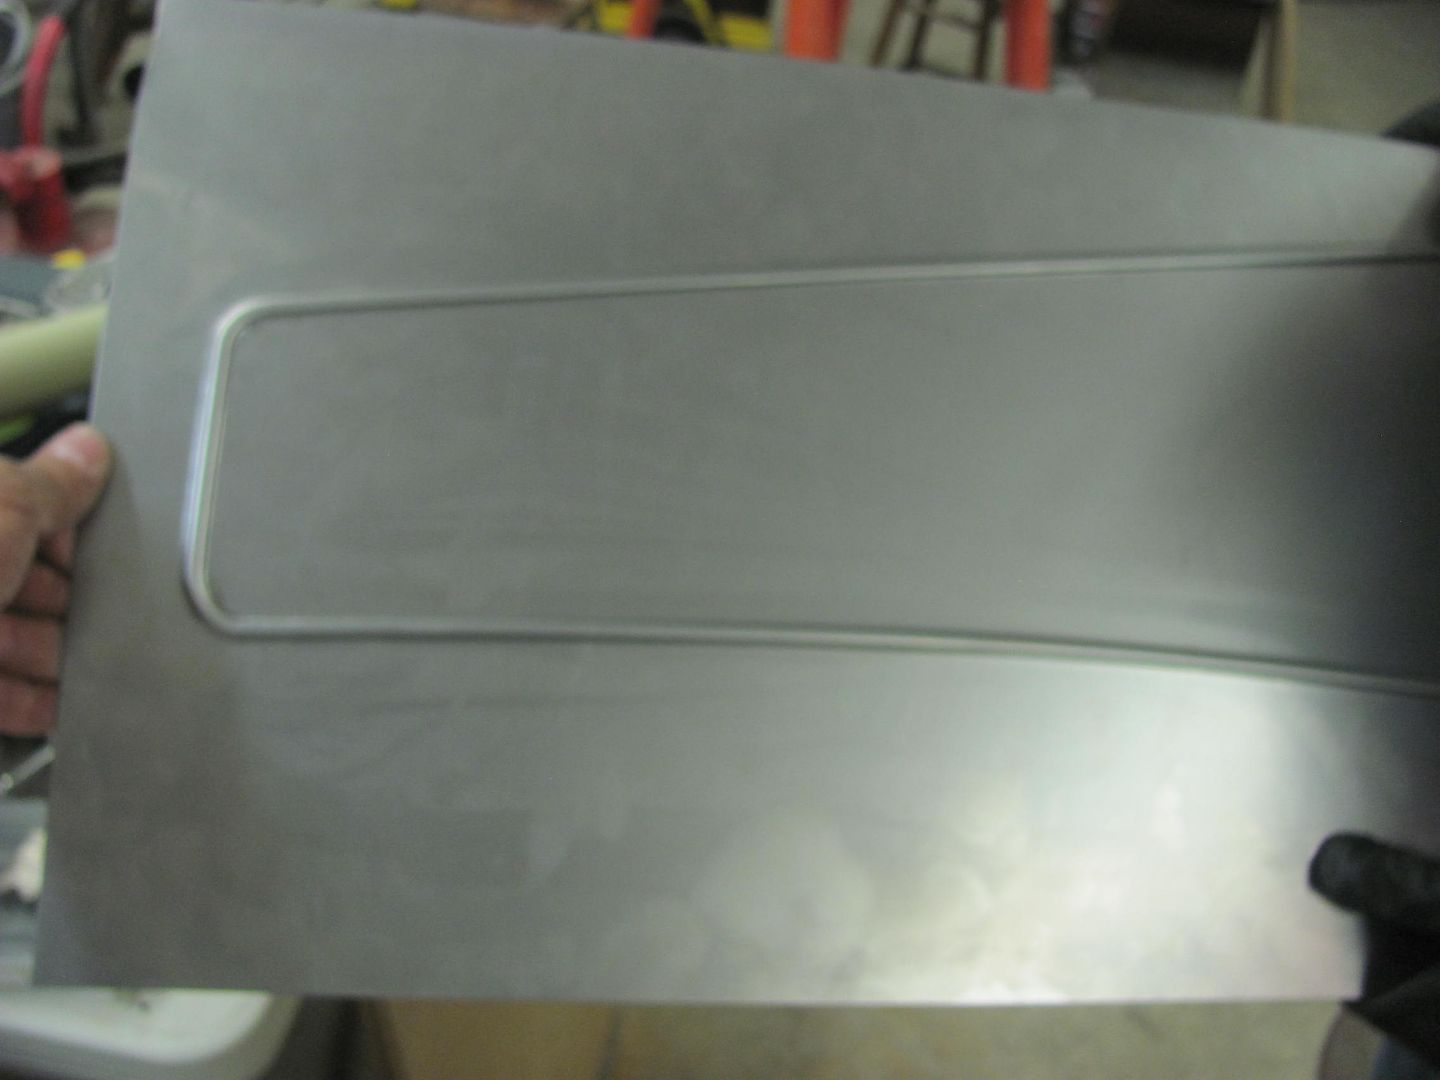
This shows how well the die provides stretch, when you can add a bead in the middle of a panel....
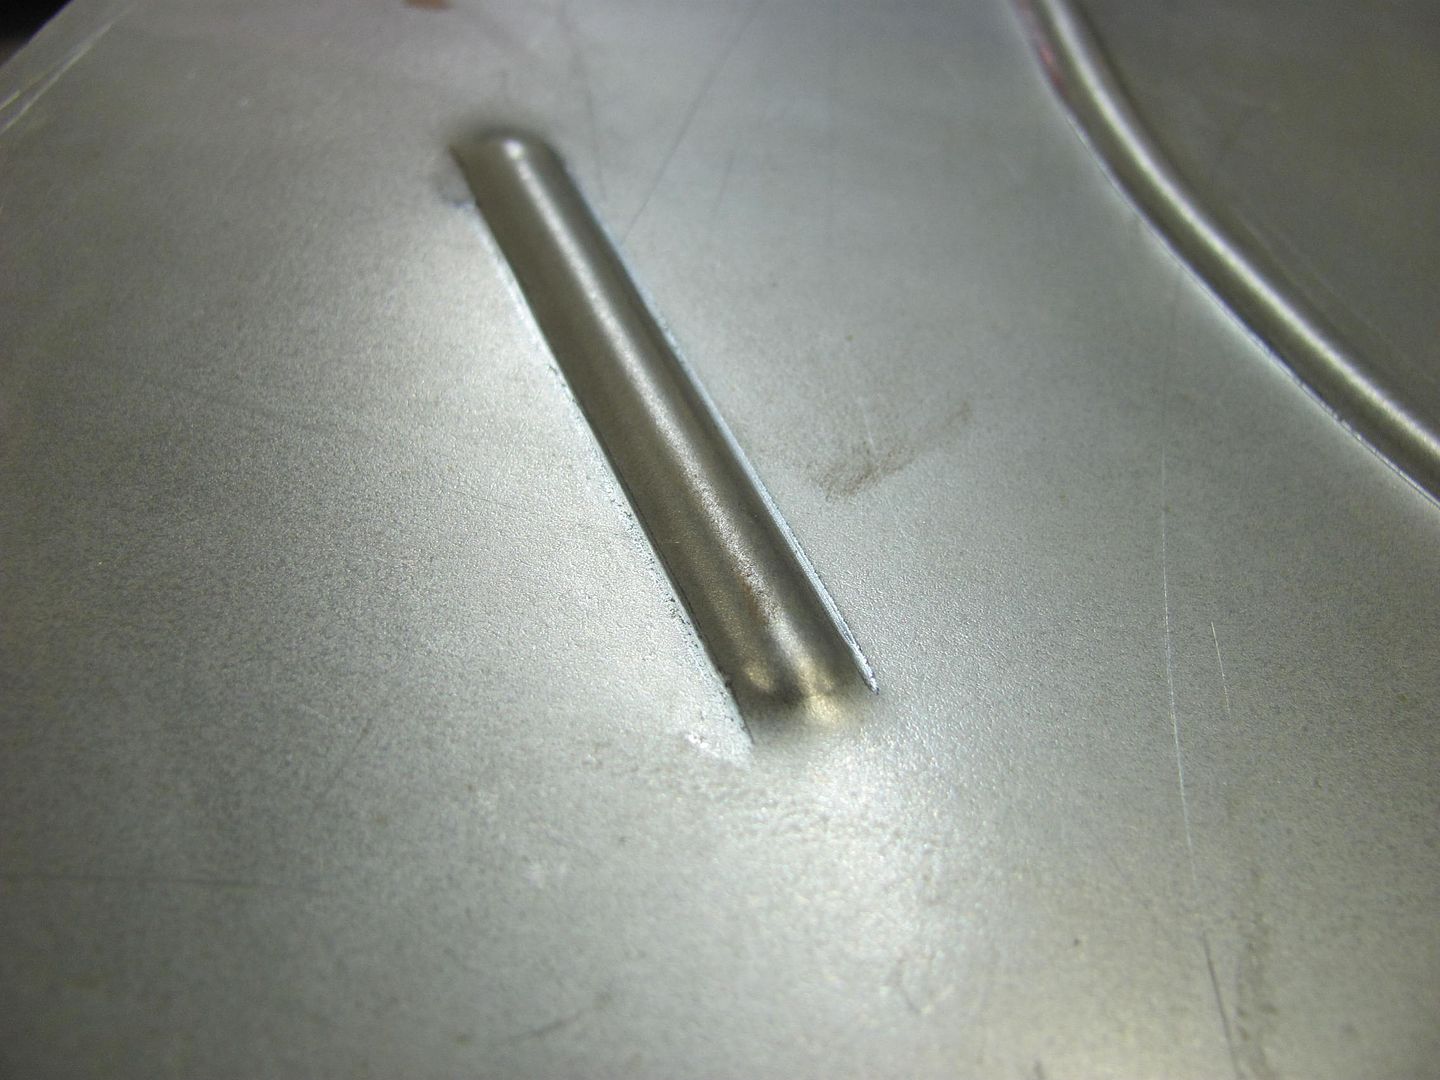
......and there's no distortion on the ends of the bead on an otherwise flat panel..
Robert
-
07-16-2016 06:38 PM #859
CHR Member
- Join Date
- Jun 2008
- Location
- Leonardtown
- Car Year, Make, Model: Walking
- Posts
- 1,228
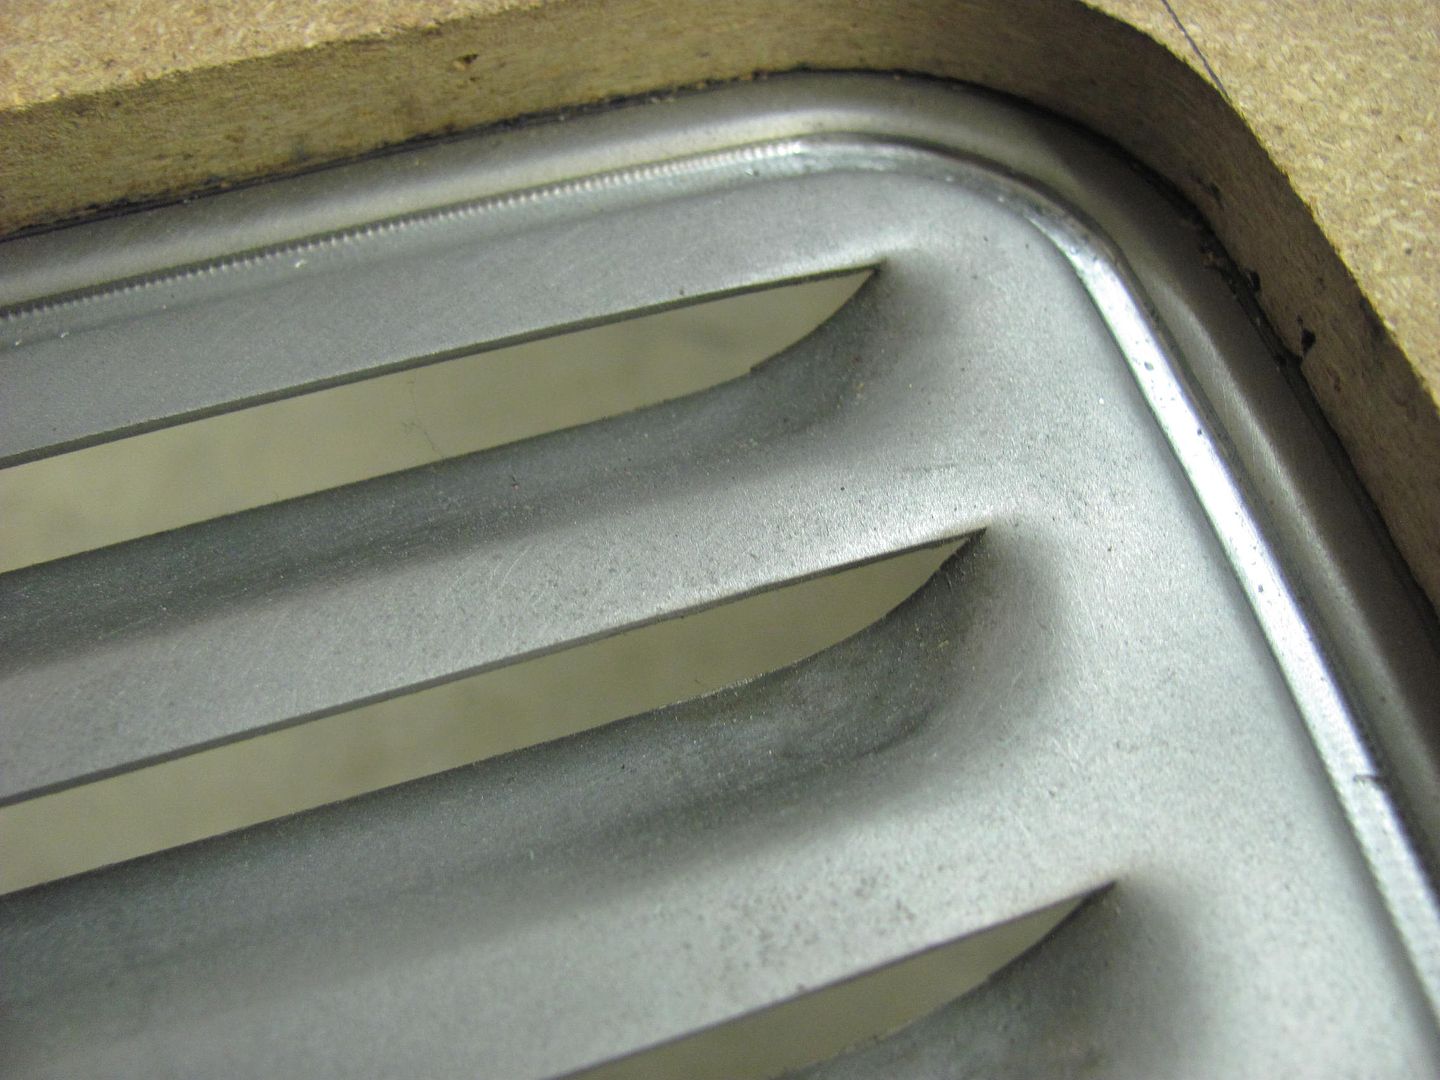
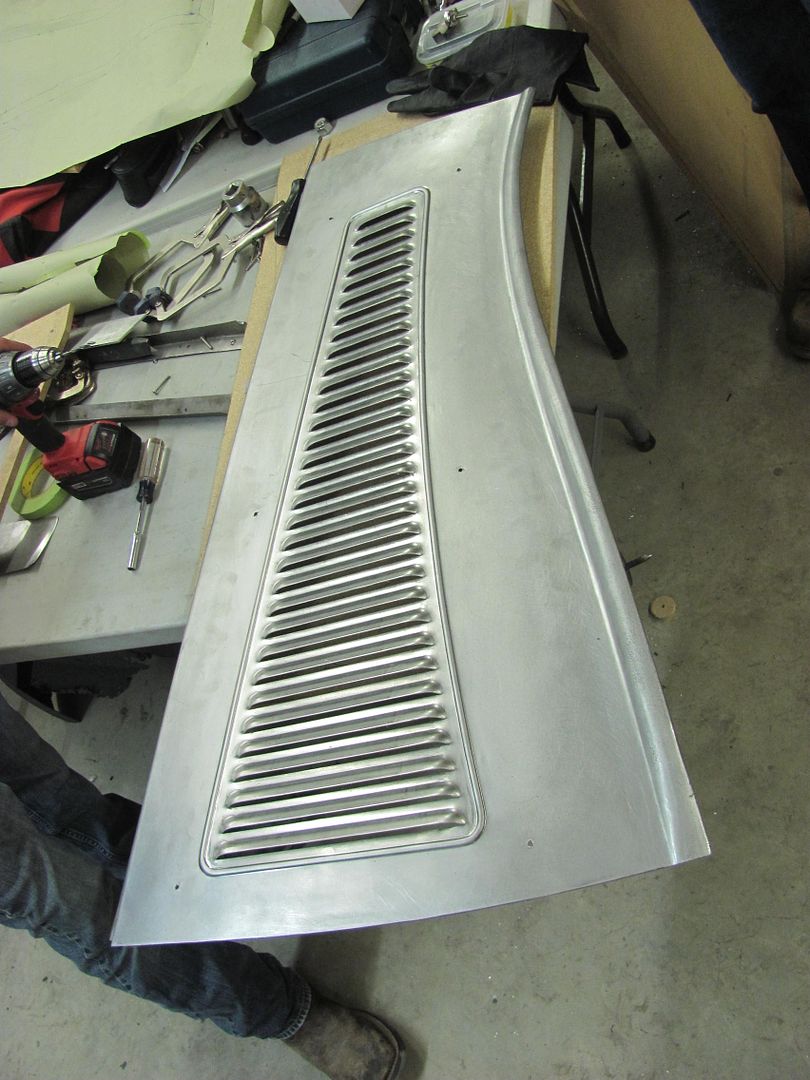
Cody travelled down today from Milton DE so we could add some bead detail surrounding the louvers on the hood sides.
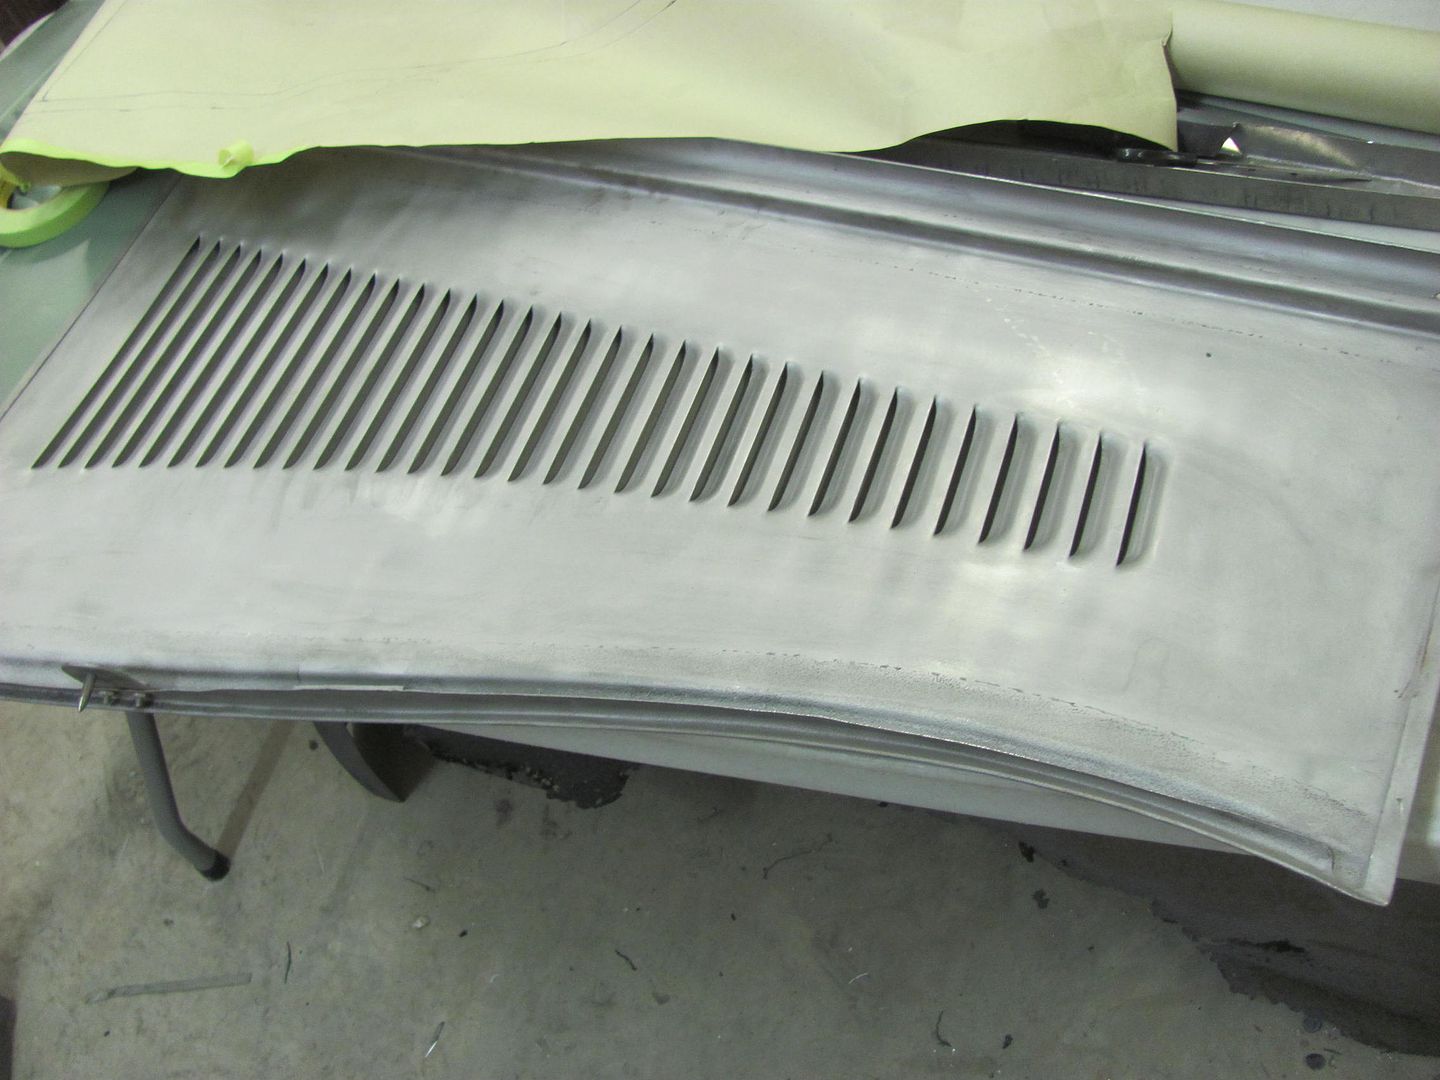
He used a paper pattern to copy the louver layout from the hood sides, and then added the offset for the bead location.
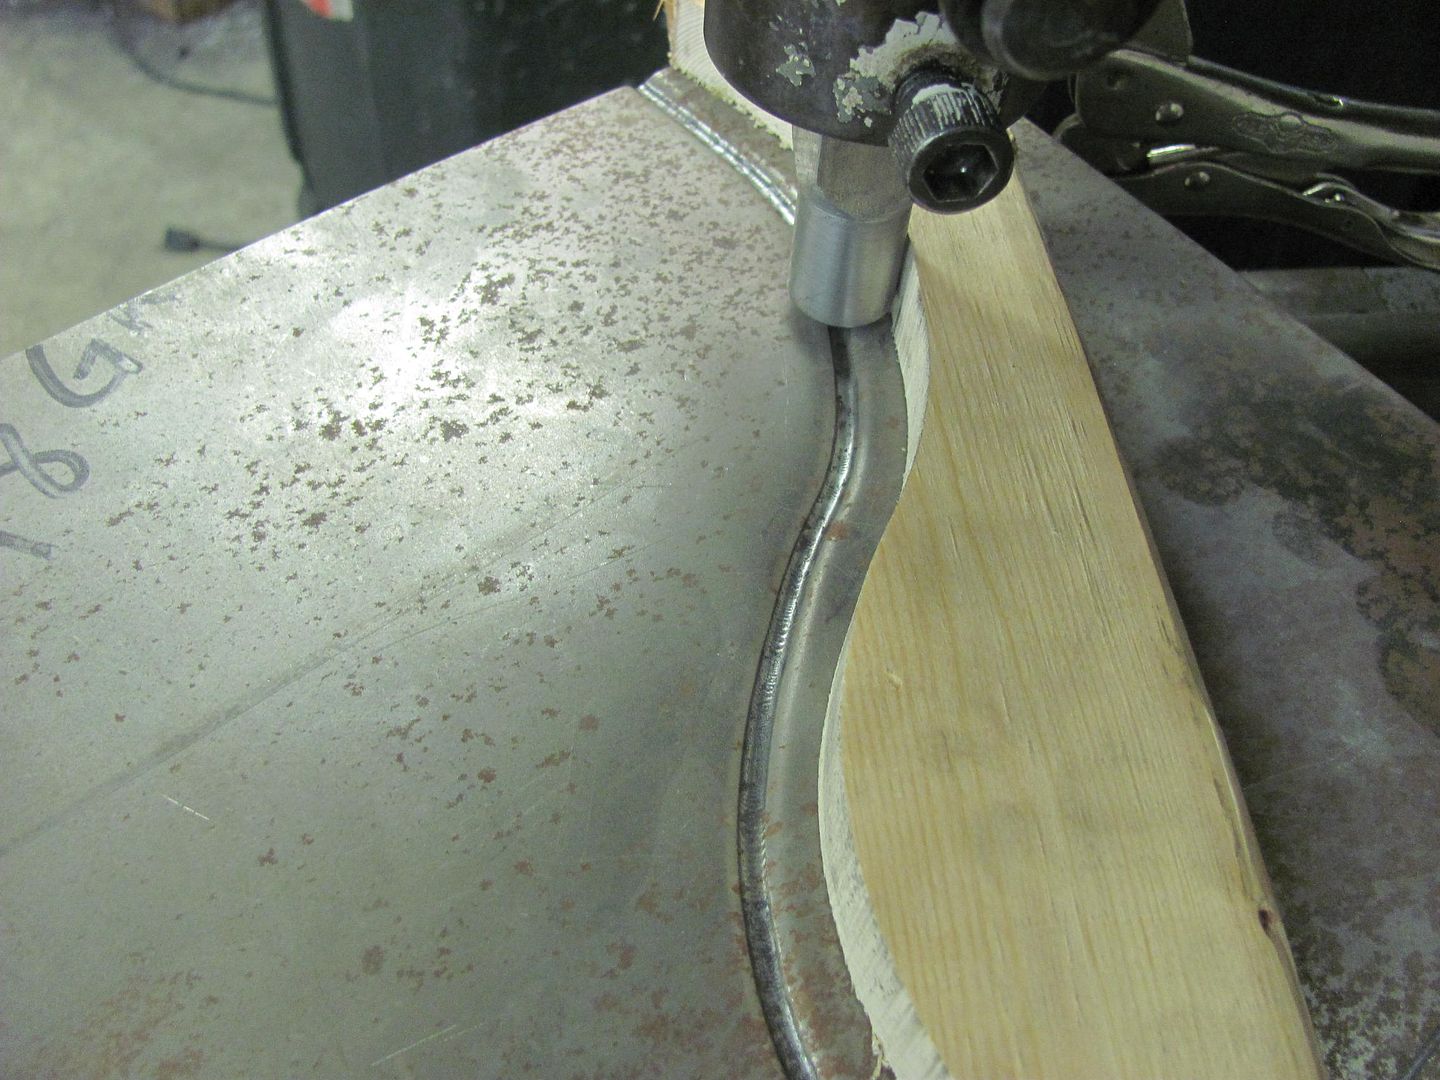
While he was doing that Kyle and I added the rounded bead detail to the louver panels for the Wheeling Machine, here using a fancy clamp-on guide...
Beaded....
Motion picture of same..
https://www.youtube.com/watch?v=IcPpwUF5yvI
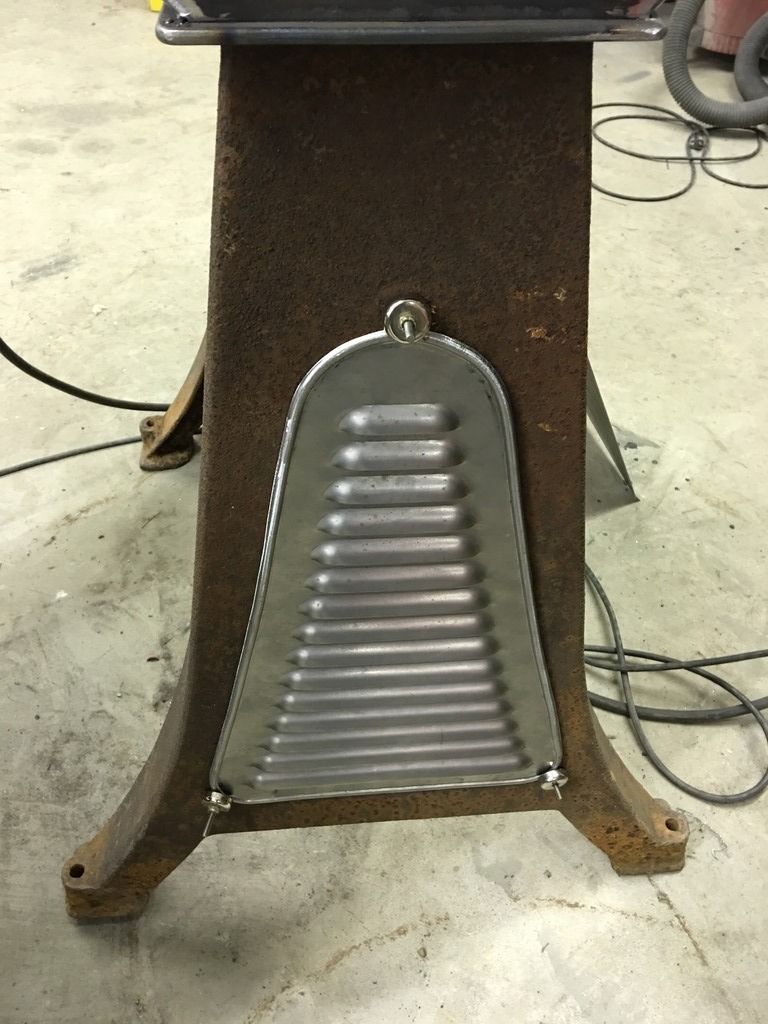
Excess flange is trimmed to the bead edge...
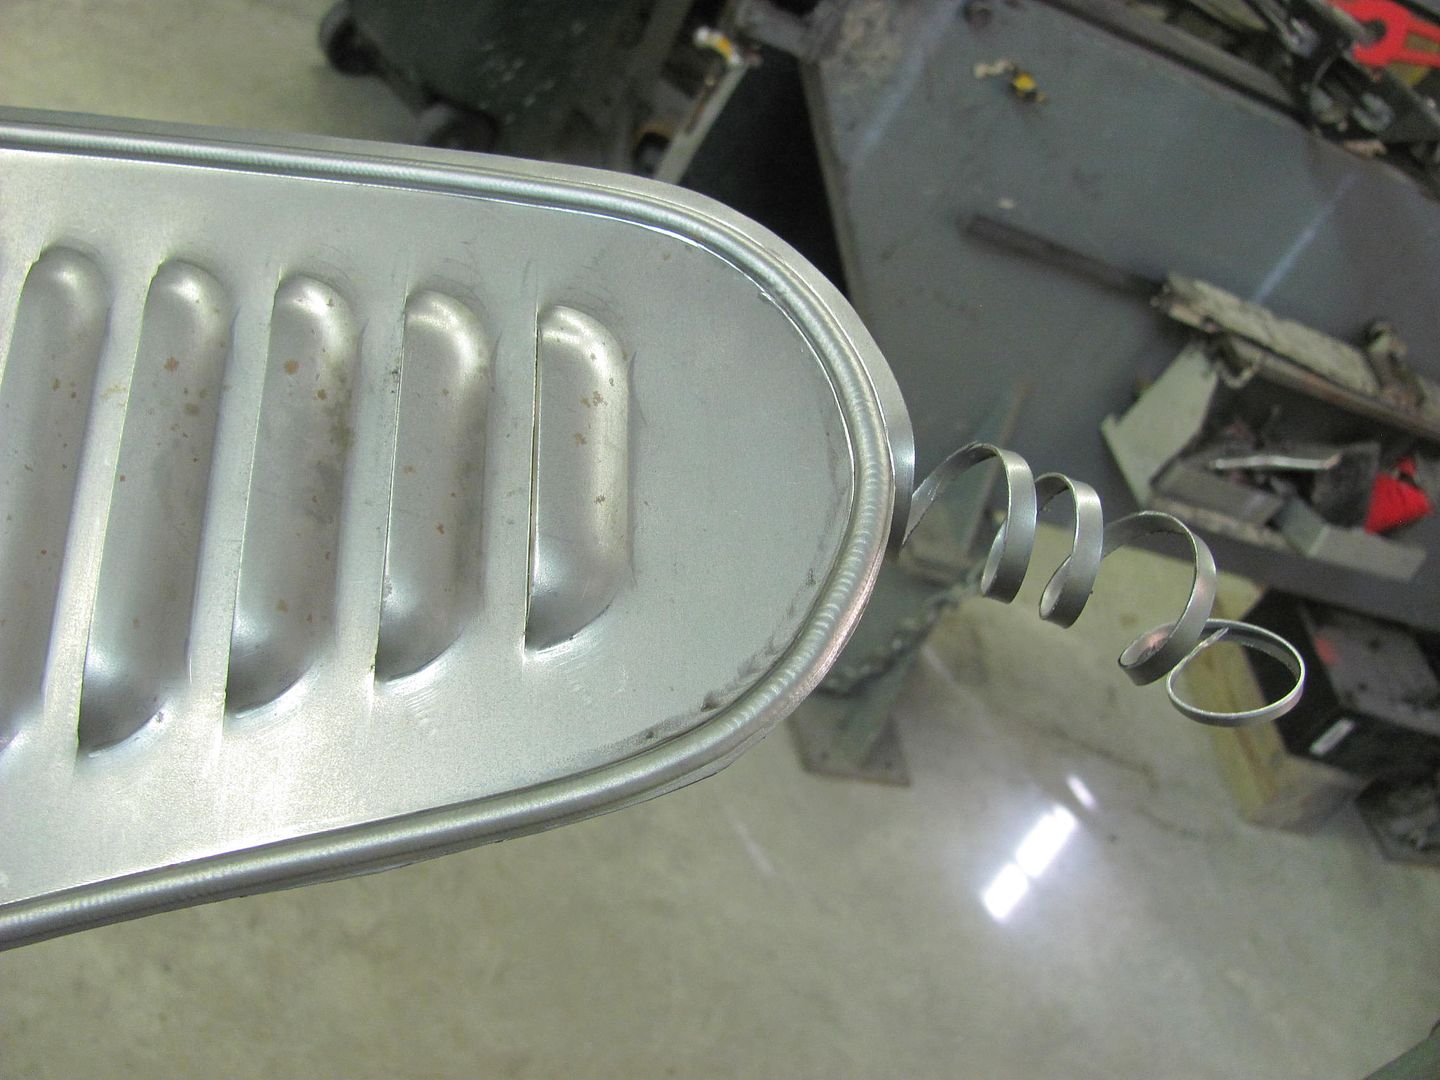
This should give a more finished edge when attached to the cast legs...
Once Cody was done with the layout and transferred it to some 1/2" thick MDF, it was cut out on the fancy vice jigsaw...
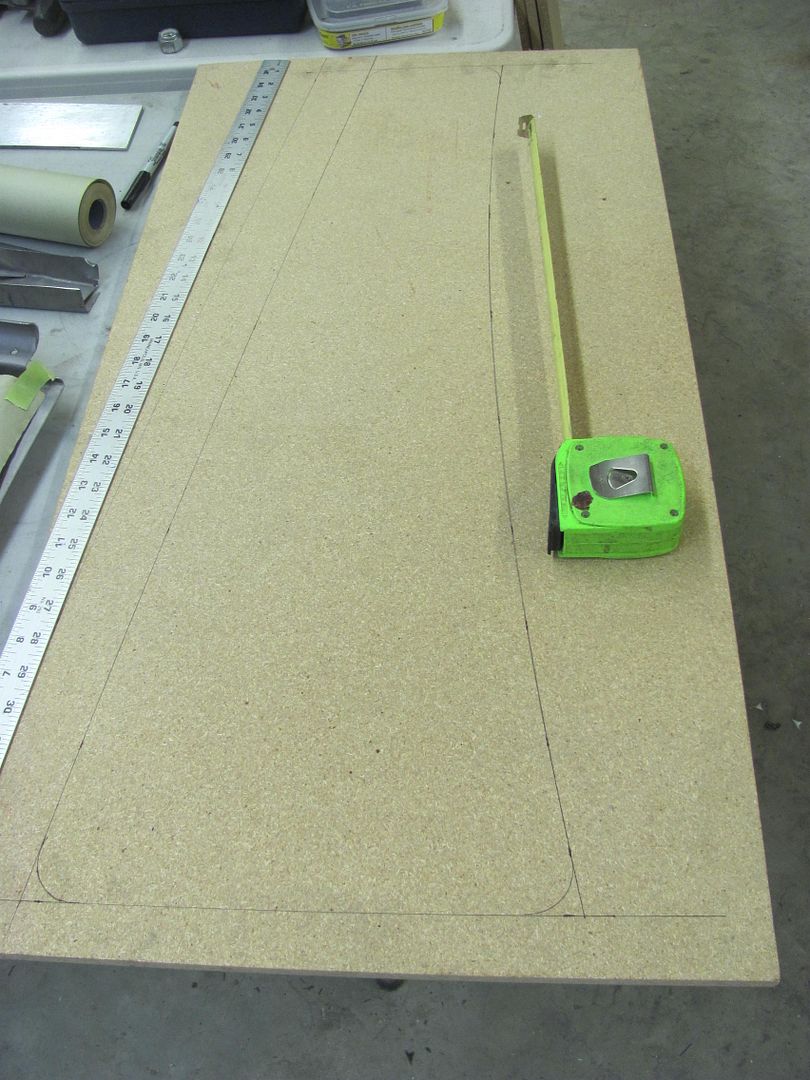

The corners were dressed with a 1-1/2" diameter drum sander and all the other edges filed to remove any imperfections that may alter the course of the beading dies. Then a sample of 18 gauge was clamped and run through the dies to insure the corners wanted to play nicely... The dies in the Lennox were changed to the flat upper for a flatter bead profile.

With that looking good, the MDF guide was located on the hood side, clamped temporarily with some vise grips, and drilled for 8-32 machine screws to secure it in place..

Cody positions the IPhone for the video, using the patent pending Vise Grip phone clamp.
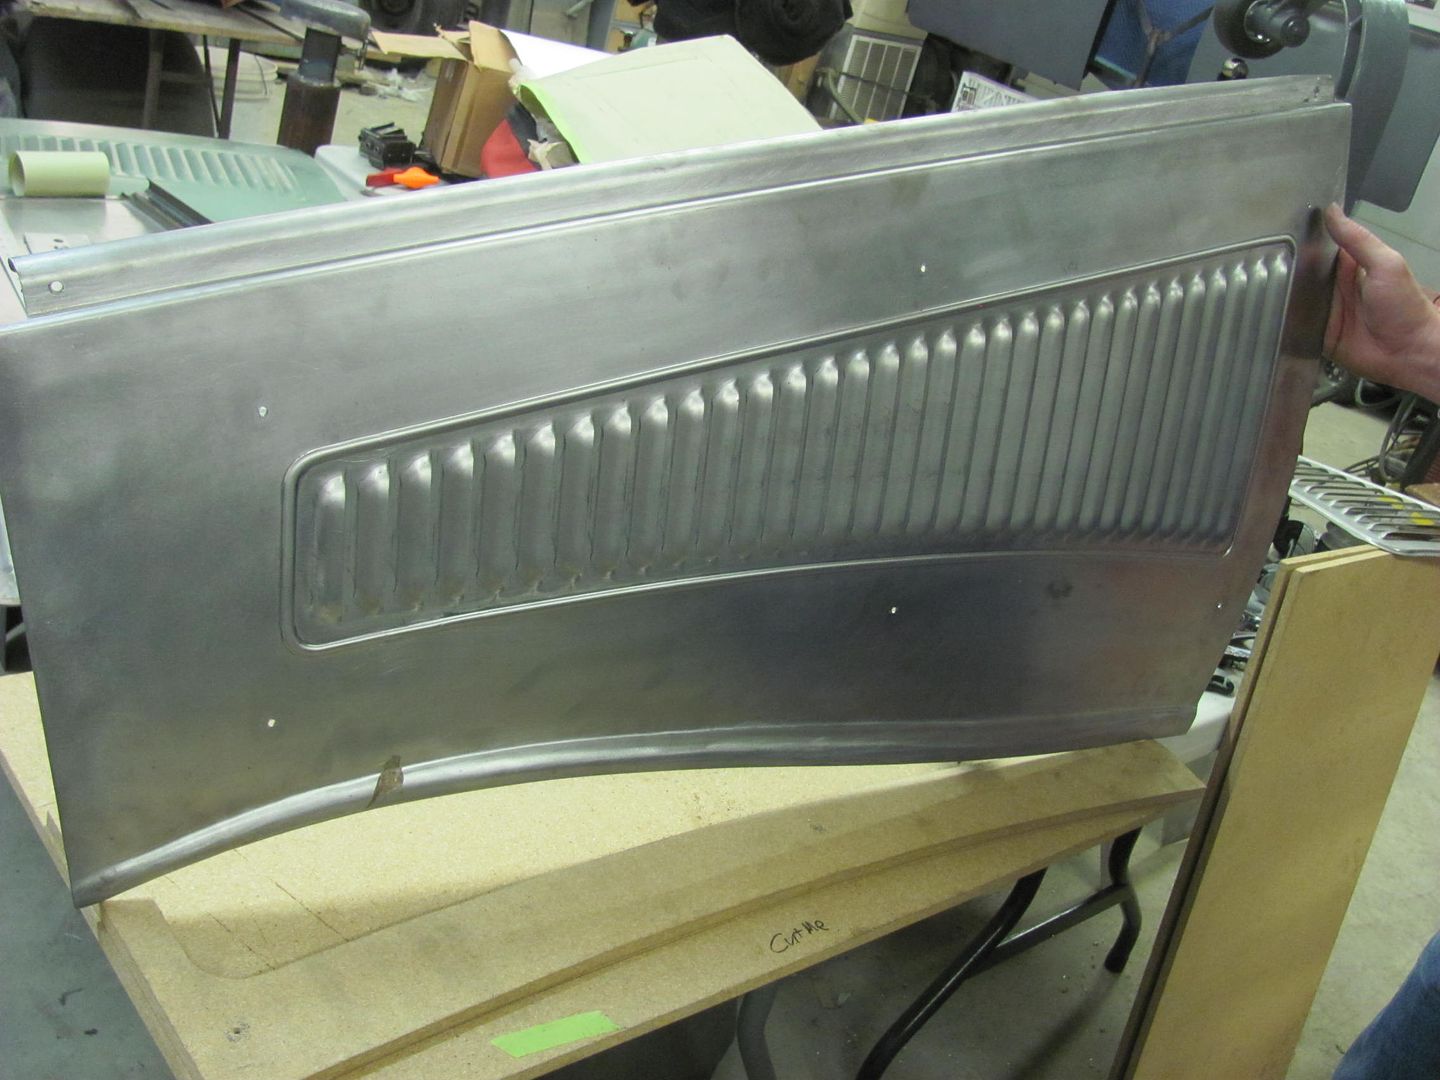
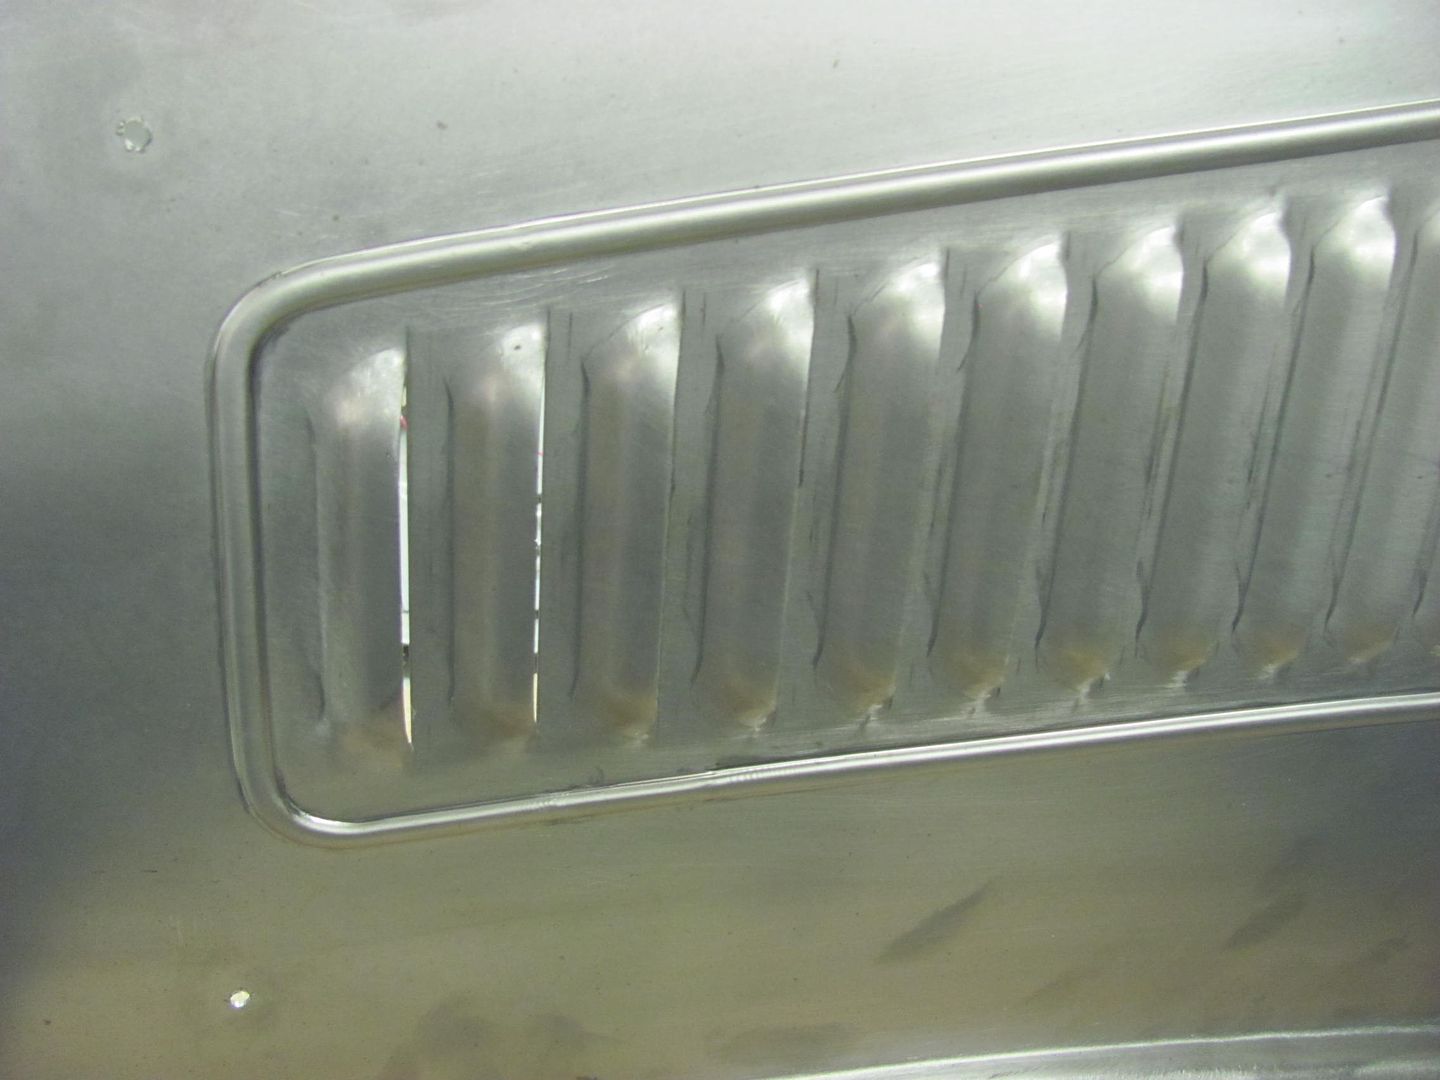
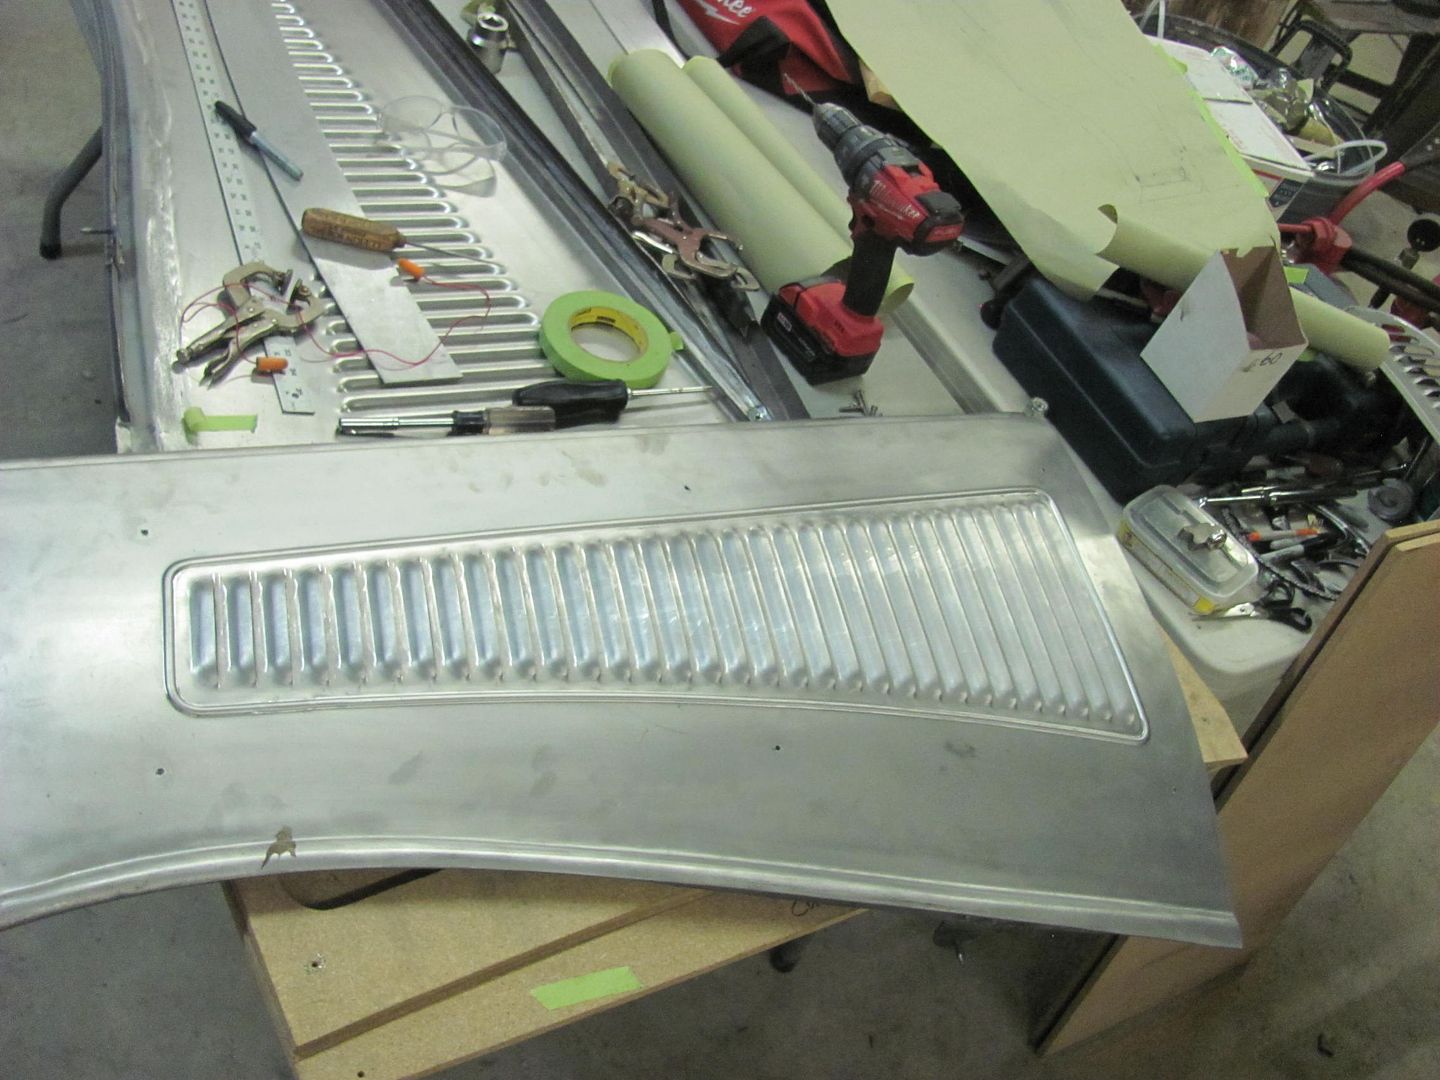
Completed panels...
Video of the process....
https://www.youtube.com/watch?v=zicnFG7KRLc
One pass was made most of the way through to give a good amount of stretch, and a second pass a slight bit more to add some definition..

Robert
-
07-17-2016 03:16 AM #860
CHR Member
- Join Date
- Sep 2007
- Location
- New Bedford
- Car Year, Make, Model: 34 Ford 3W Coupe Replica
- Posts
- 14,754
I will have to admit I, didn't "get it".... I couldn't imagine a bead surrounding the louvers.
( or how it would be accomplished )
But it all came together and I must admit it looks very, very nice!
As always, thanks to you and the crew for sharing it all with us.
-
07-18-2016 02:55 PM #861
CHR Member
- Join Date
- Apr 2011
- Location
- Prairie City
- Car Year, Make, Model: 40 Ford Deluxe, 68 Corvette, 72&76 K30
- Posts
- 7,301
- Blog Entries
- 1
That is really cool and innovative! Thanks for sharing that. I really like the look of the bead around the louvers!Ryan
1940 Ford Deluxe Tudor 354 Hemi 46RH Electric Blue w/multi-color flames, Ford 9" Residing in multiple pieces
1968 Corvette Coupe 5.9 Cummins Drag Car 11.43@130mph No stall leaving the line with 1250 rpm's and poor 2.2 60'
1972 Chevy K30 Longhorn P-pumped 24v Compound Turbos 47RH Just another money pit
1971 Camaro RS 5.3 BTR Stage 3 cam, SuperT10
Tire Sizes
-
07-18-2016 05:23 PM #862
CHR Member
- Join Date
- Jun 2008
- Location
- Leonardtown
- Car Year, Make, Model: Walking
- Posts
- 1,228
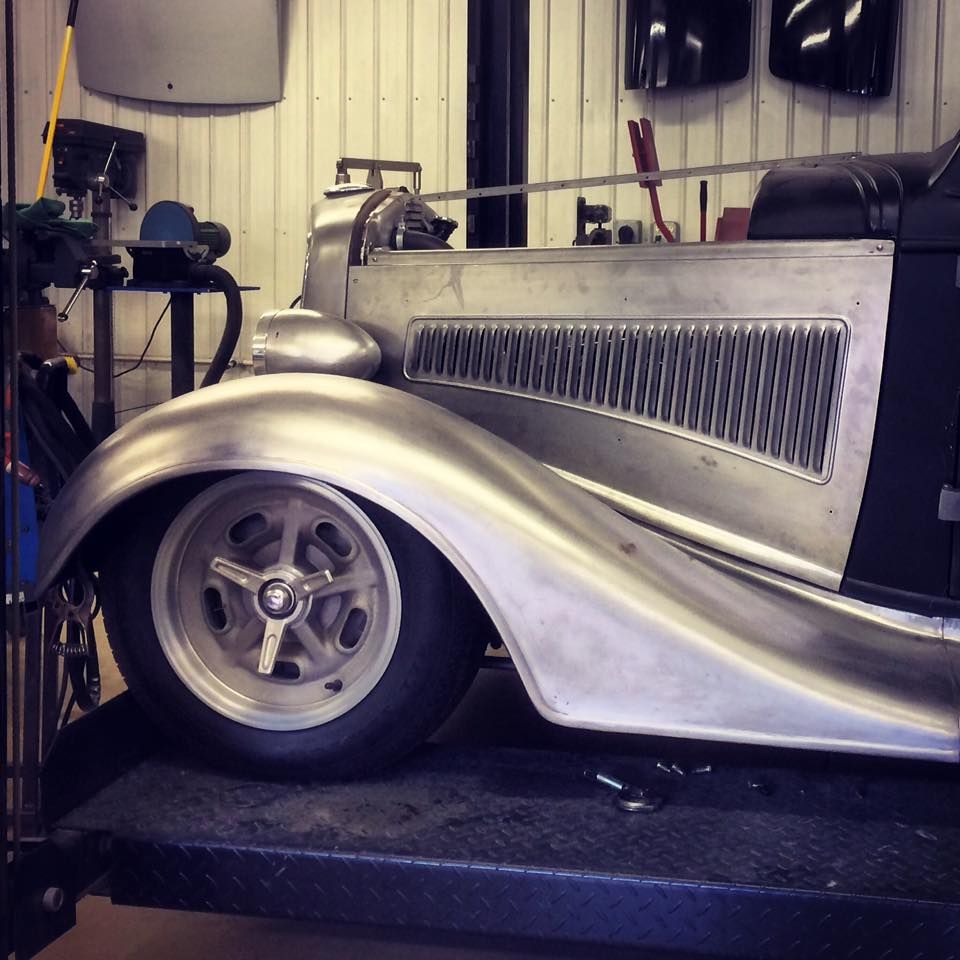
Thanks guys! Cody got one of the hood sides hung on the car today to check out the new look. I definitely think the bead detail gives the louvers a better, more refined look.. Good call Cody.
Robert
-
08-29-2016 04:54 AM #863
CHR Member
- Join Date
- Jun 2008
- Location
- Leonardtown
- Car Year, Make, Model: Walking
- Posts
- 1,228
Well after block sanding the latest coat of epoxy....
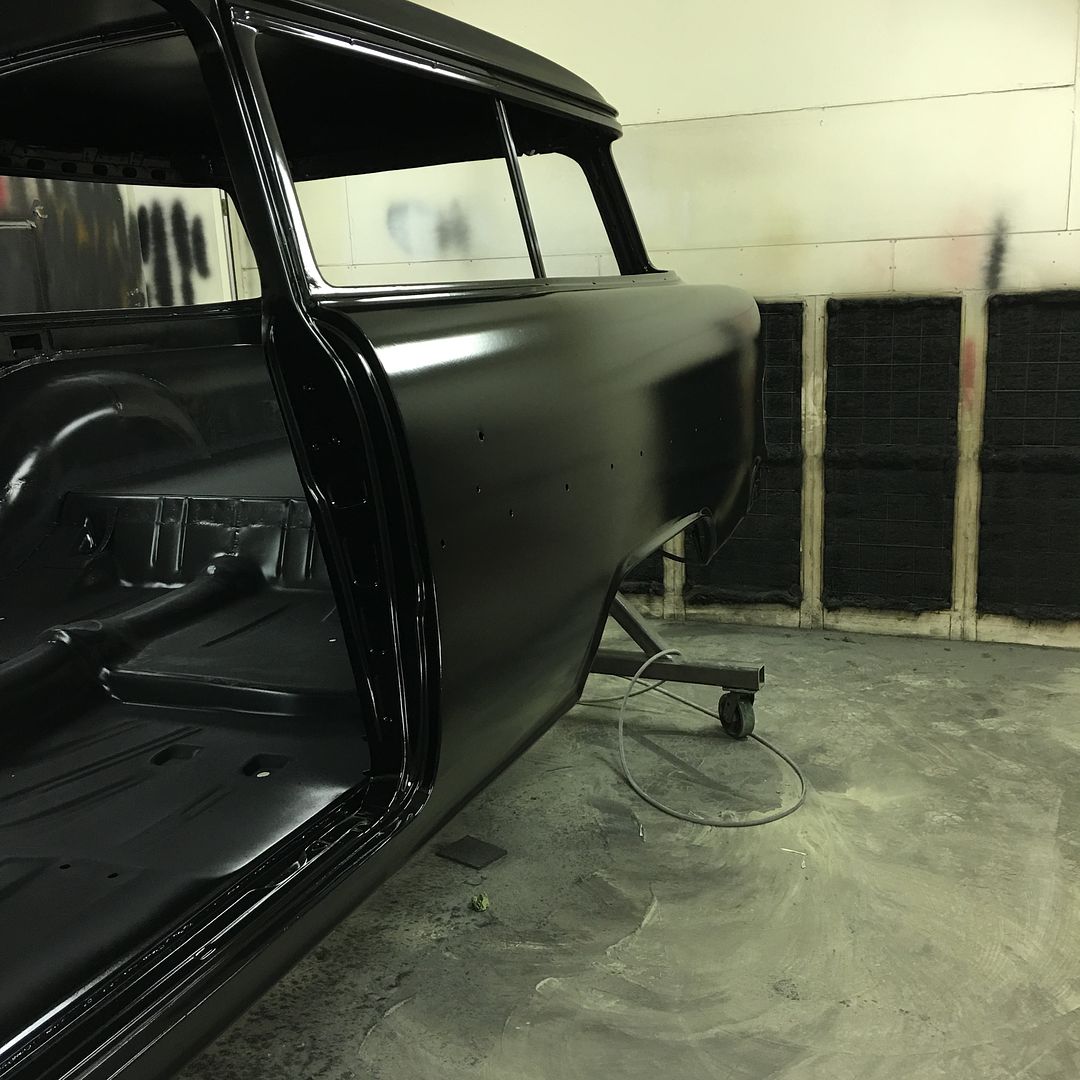
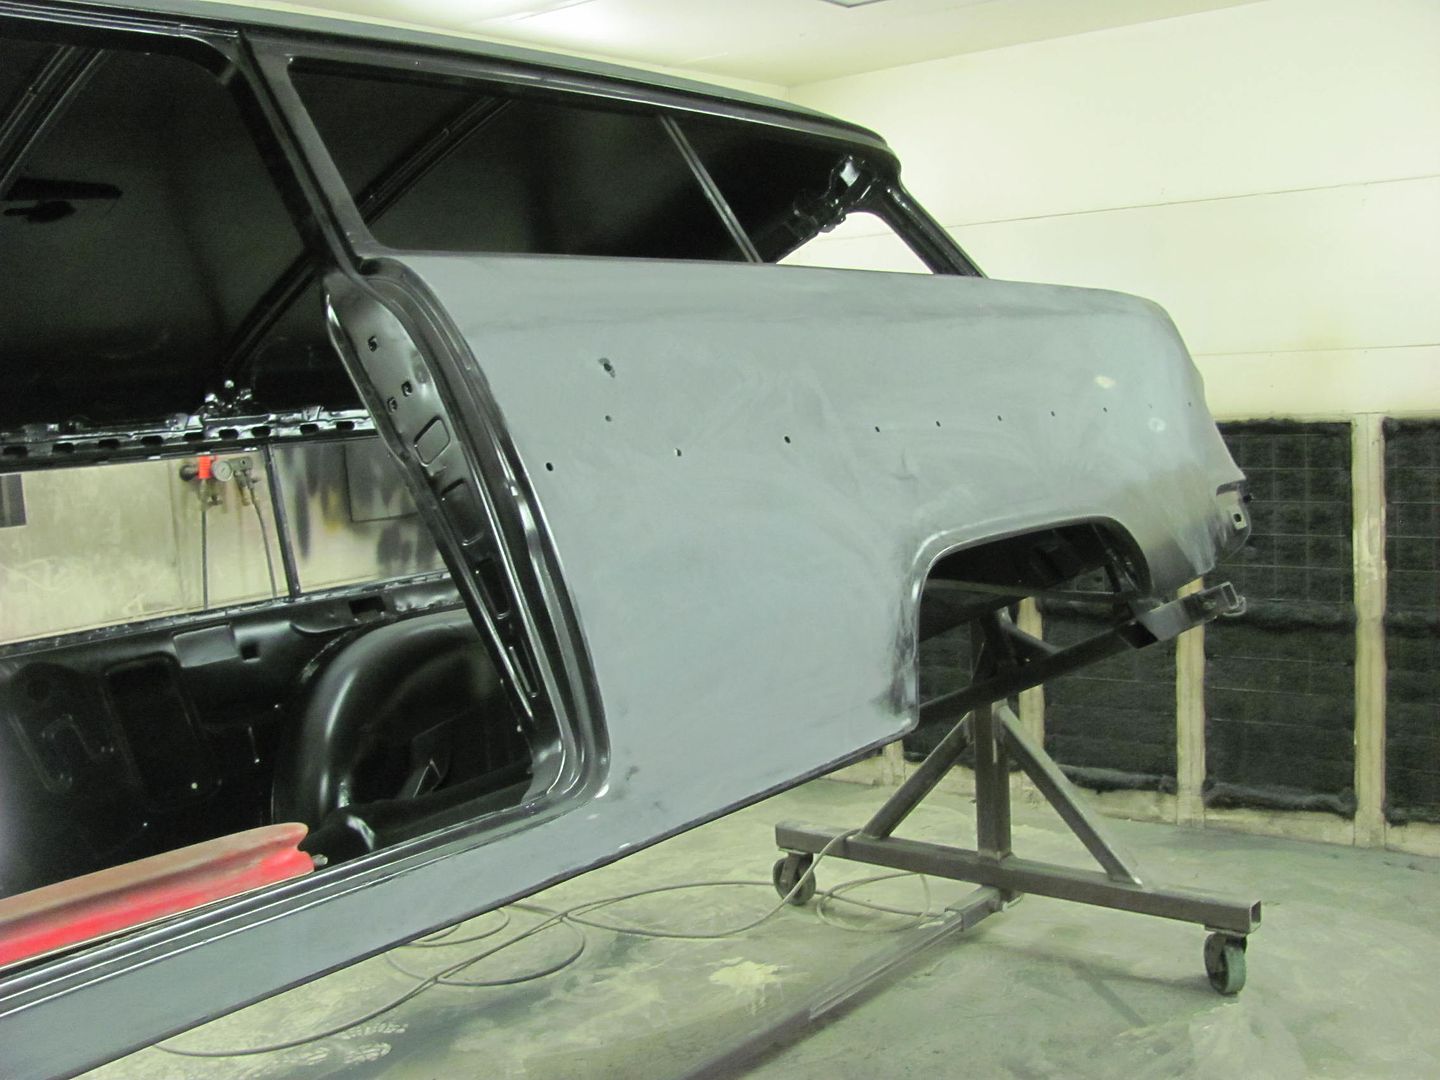
We had a local car show we could attend, but didn't know whether to take the body or the frame...
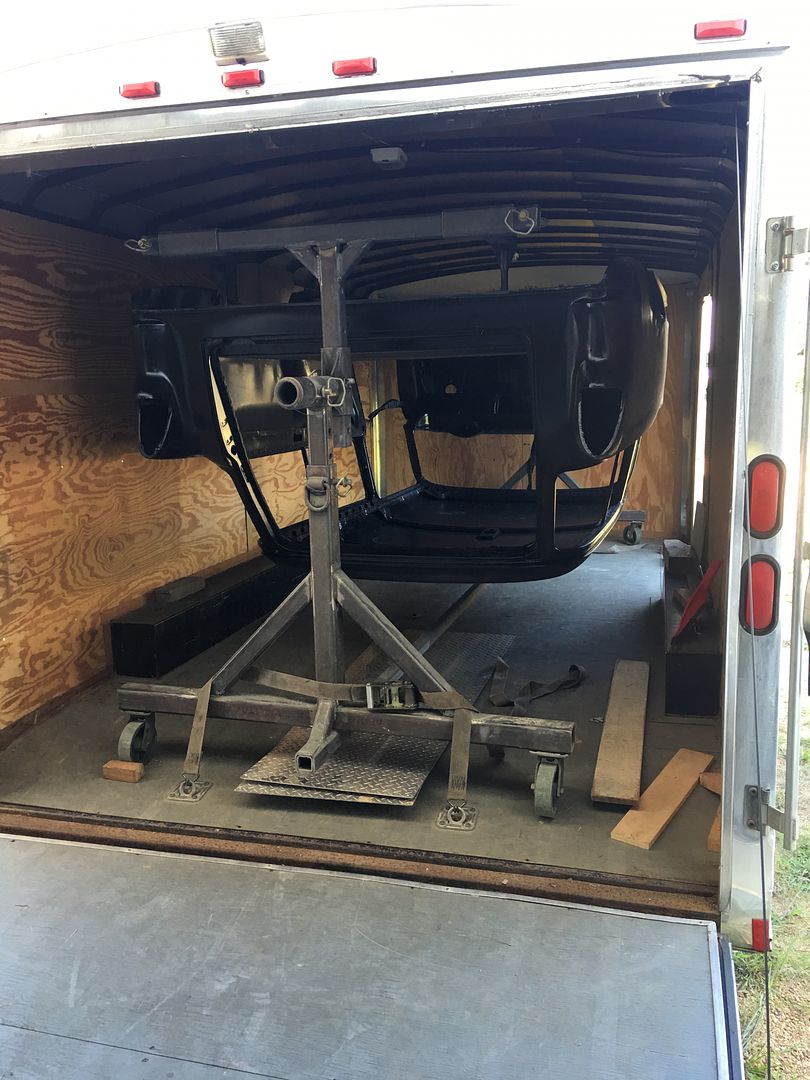
I didn't think the rotisserie would fit in my 16' trailer for some reason, but another measurement proved otherwise. Since it showed more of our metal fabrication, we opted for the body.. All loaded up, height limitations on the ceiling do require inverted travel...
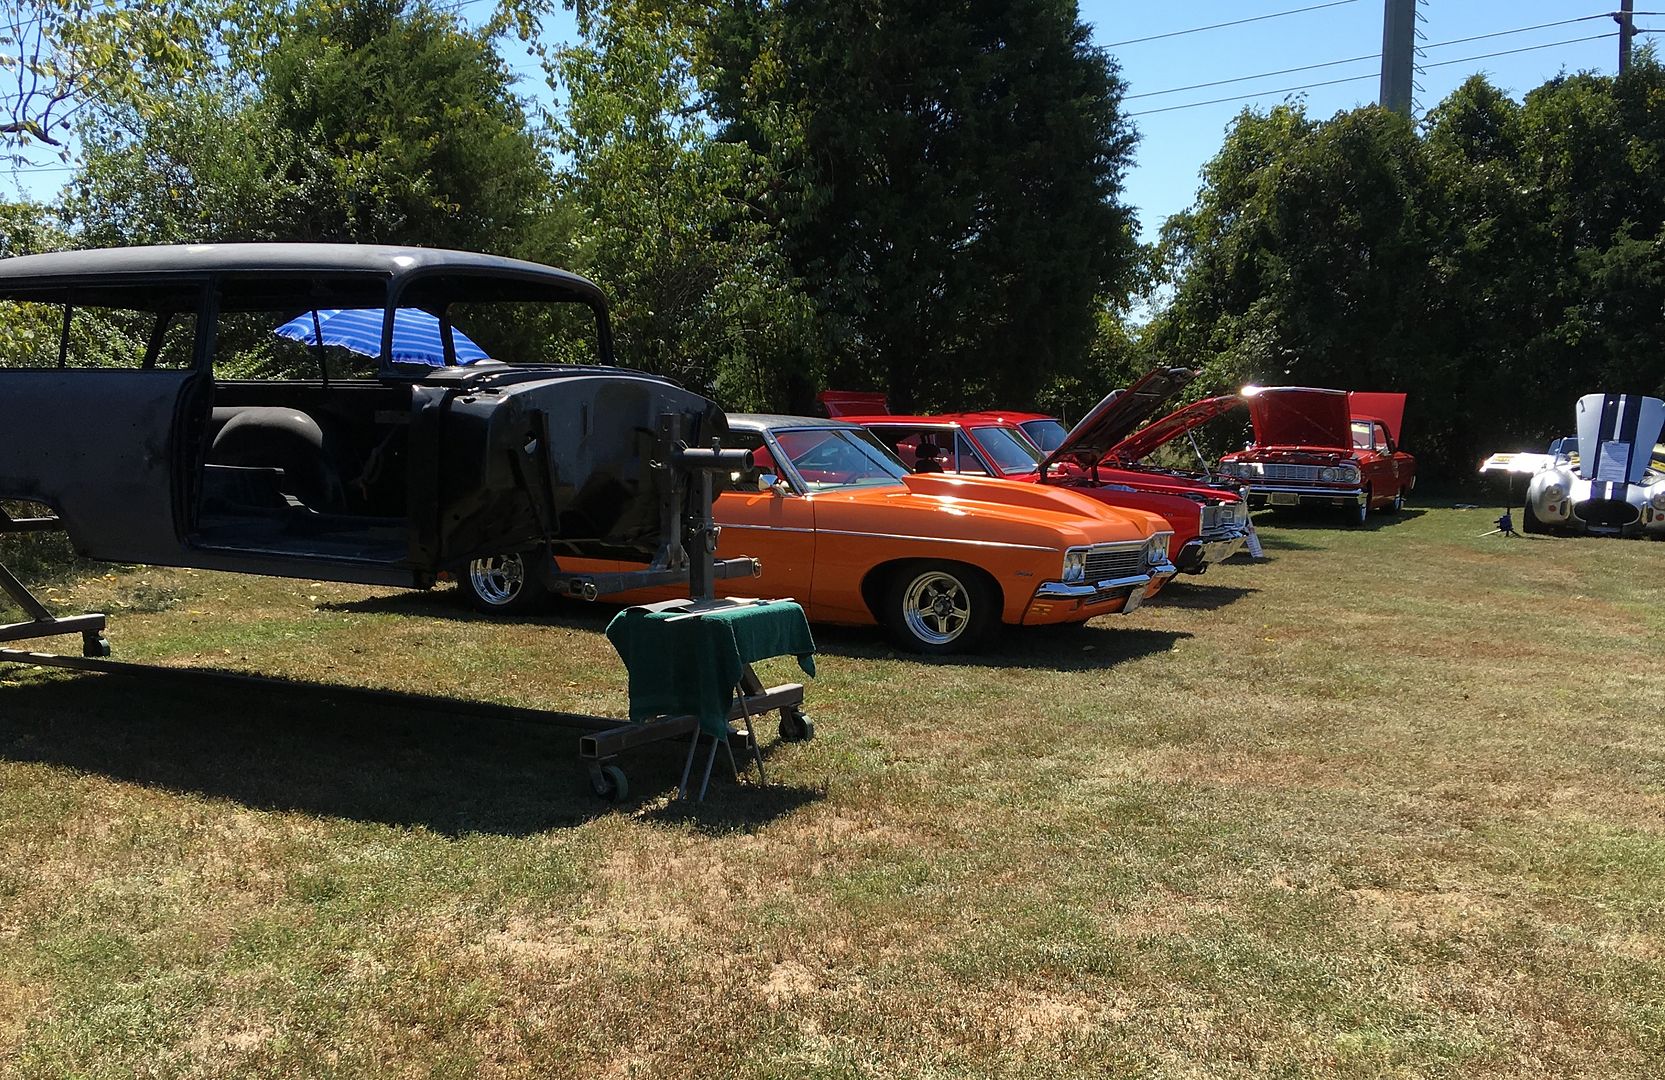
At the show with the "trailer queen"
Robert
-
08-29-2016 07:00 AM #864
CHR Member
- Join Date
- Feb 2007
- Location
- Santa Monica
- Car Year, Make, Model: 37 Ford tudor humpback
- Posts
- 1,988
Perhaps you should have put arrows on the car pointing to each detail of masterful metal work you've done on this car so the observer could have some idea of your amazing skills and perfectionism!! Of course, this thread is a metal-working education in itself!
Thanks for your continued posts, Robert!"It is not much good thinking of a thing unless you think it out." - H.G. Wells
-
08-29-2016 07:40 AM #865
CHR Member
- Join Date
- Sep 2007
- Location
- New Bedford
- Car Year, Make, Model: 34 Ford 3W Coupe Replica
- Posts
- 14,754
YES! I'll echo what R2 said.. Skill and Perfectionism = Amazing Result.
-
08-29-2016 07:46 AM #866
CHR Member
- Join Date
- Feb 2007
- Location
- Santa Monica
- Car Year, Make, Model: 37 Ford tudor humpback
- Posts
- 1,988
it looks like it might have latent "bat-mobile" tendencies hanging upside down in that trailer....
"It is not much good thinking of a thing unless you think it out." - H.G. Wells
-
08-29-2016 08:40 AM #867
CHR Member
- Join Date
- Aug 2003
- Location
- Springfield
- Car Year, Make, Model: '66 Mustang, 76 Corvette
- Posts
- 5,444
That's a great idea, but i think you'd run out if room for the arrows. Originally Posted by randyr


Ken Thomas
NoT FaDe AwaY and the music didn't die
The simplest road is usually the last one sought
Wild Willie & AA/FA's The greatest show in drag racing
-
09-10-2016 06:27 PM #868
CHR Member
- Join Date
- Jun 2008
- Location
- Leonardtown
- Car Year, Make, Model: Walking
- Posts
- 1,228
Thanks for the comments guys. We had quite a few conversations over the work done on the wagon, looked at other's rides for onsite suggestions, a good time overall.
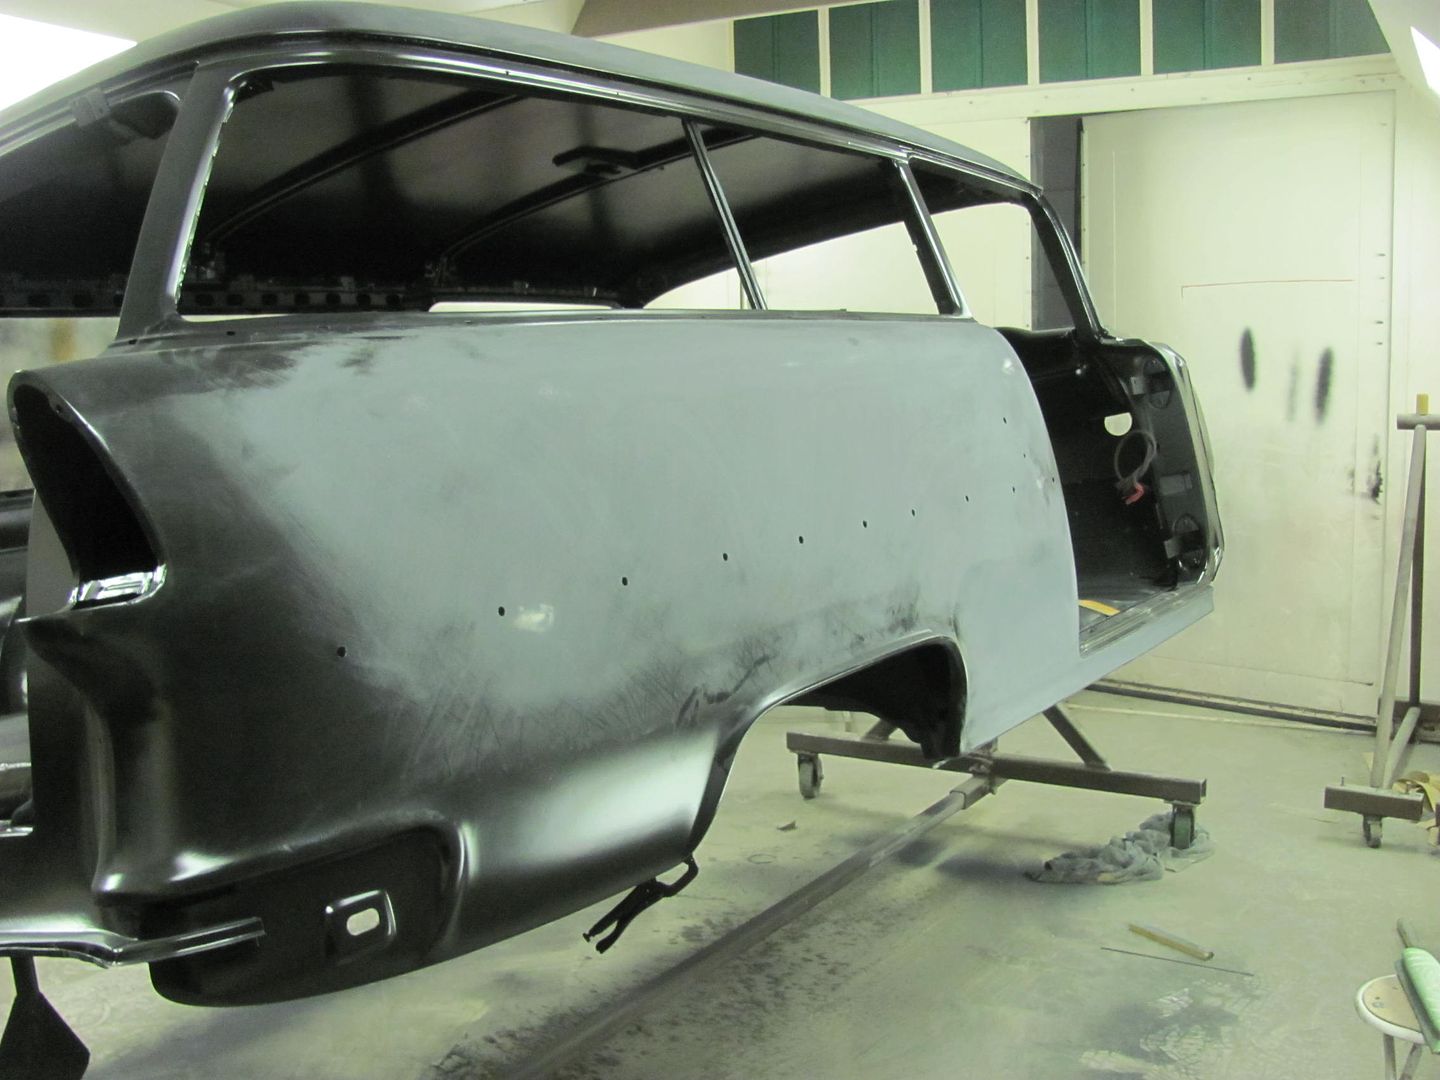
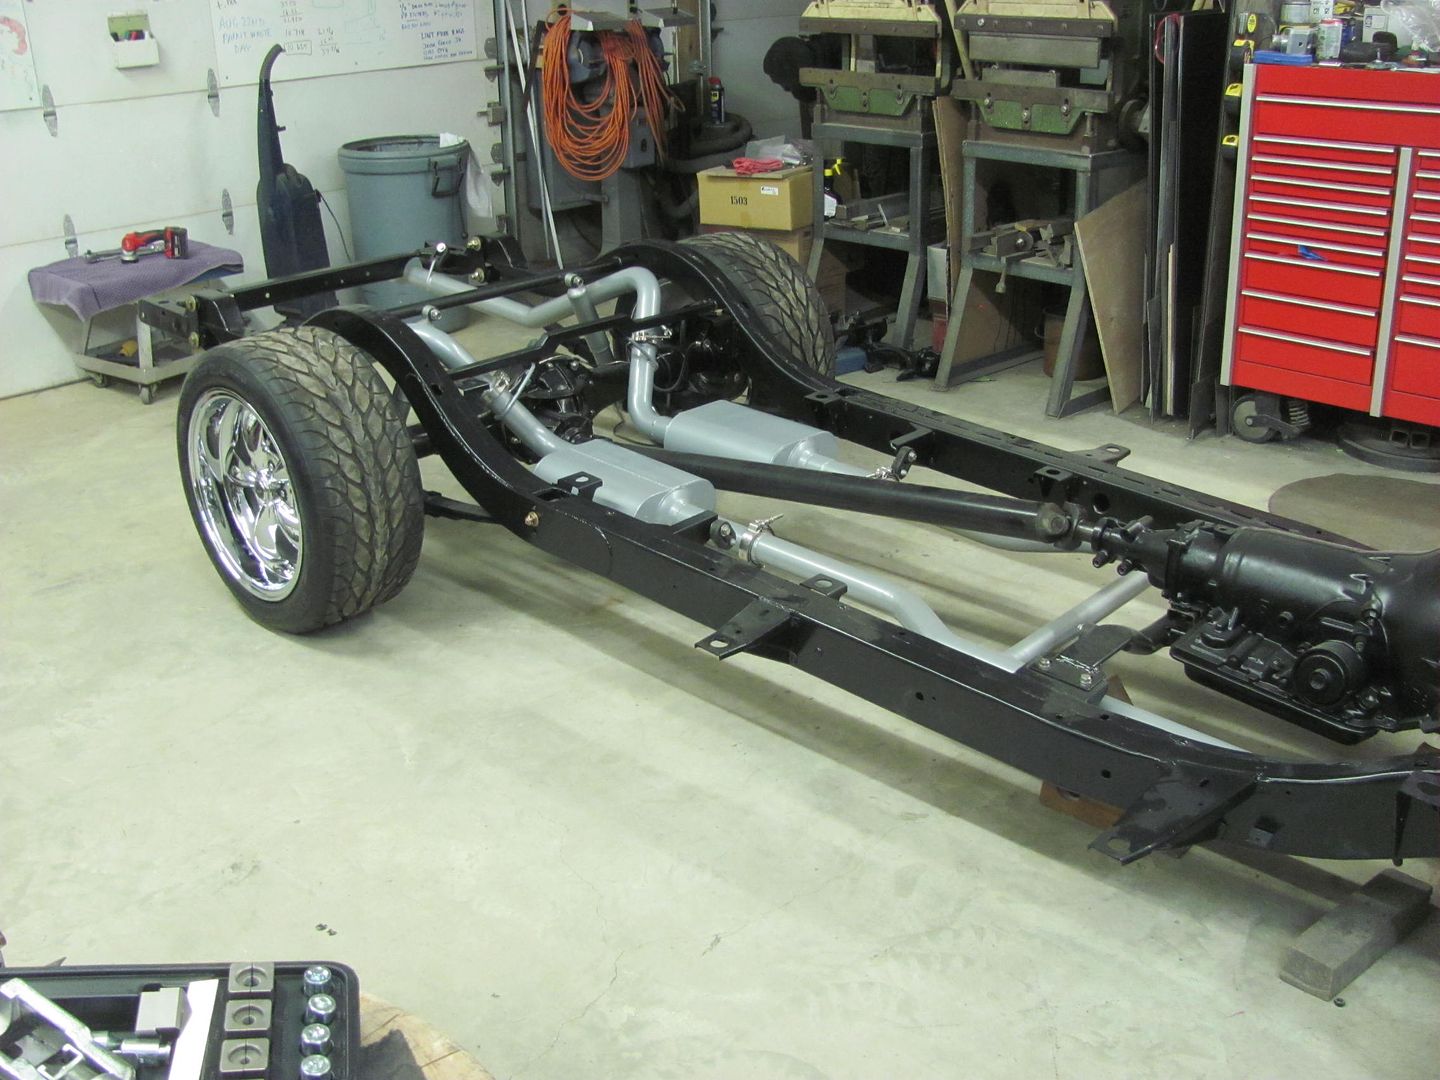
Today was more blocking on the 55, and moving forward to get it ready for the Linex that will go on the bottom side. We need to get seat brackets complete and welded into the floor, finish epoxy prime on cavities (rocker and inner quarter), install wheel houses, etc. Yesterday was a road trip to get a paint sample and other paint supplies. here's the proposed color for above the quarter...

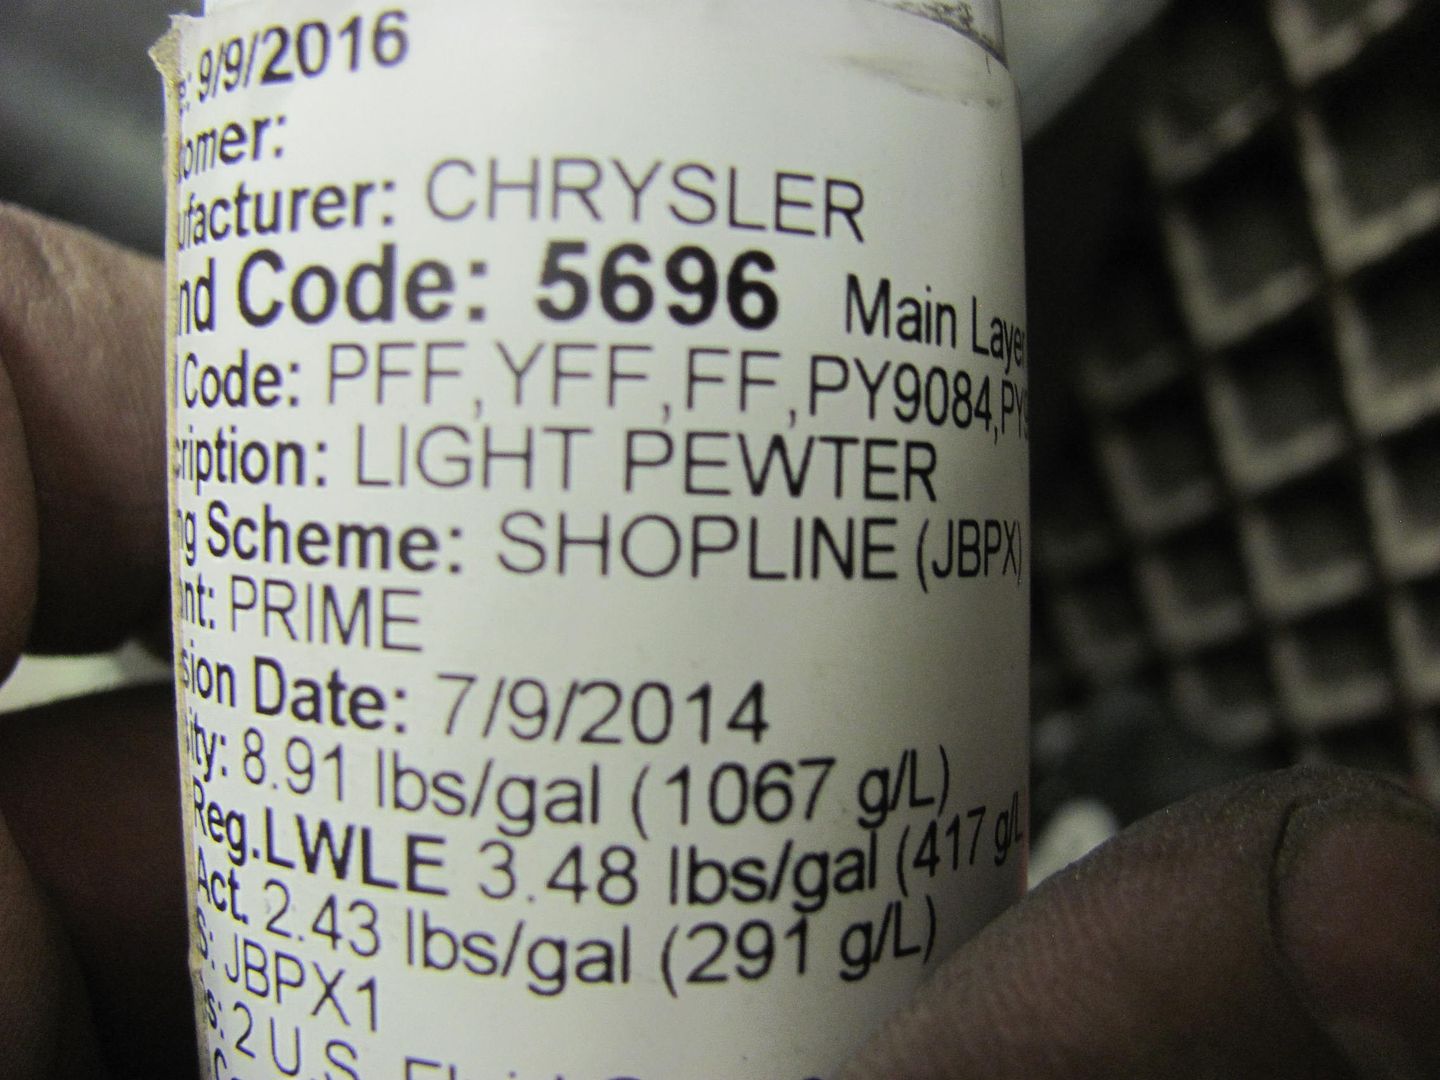
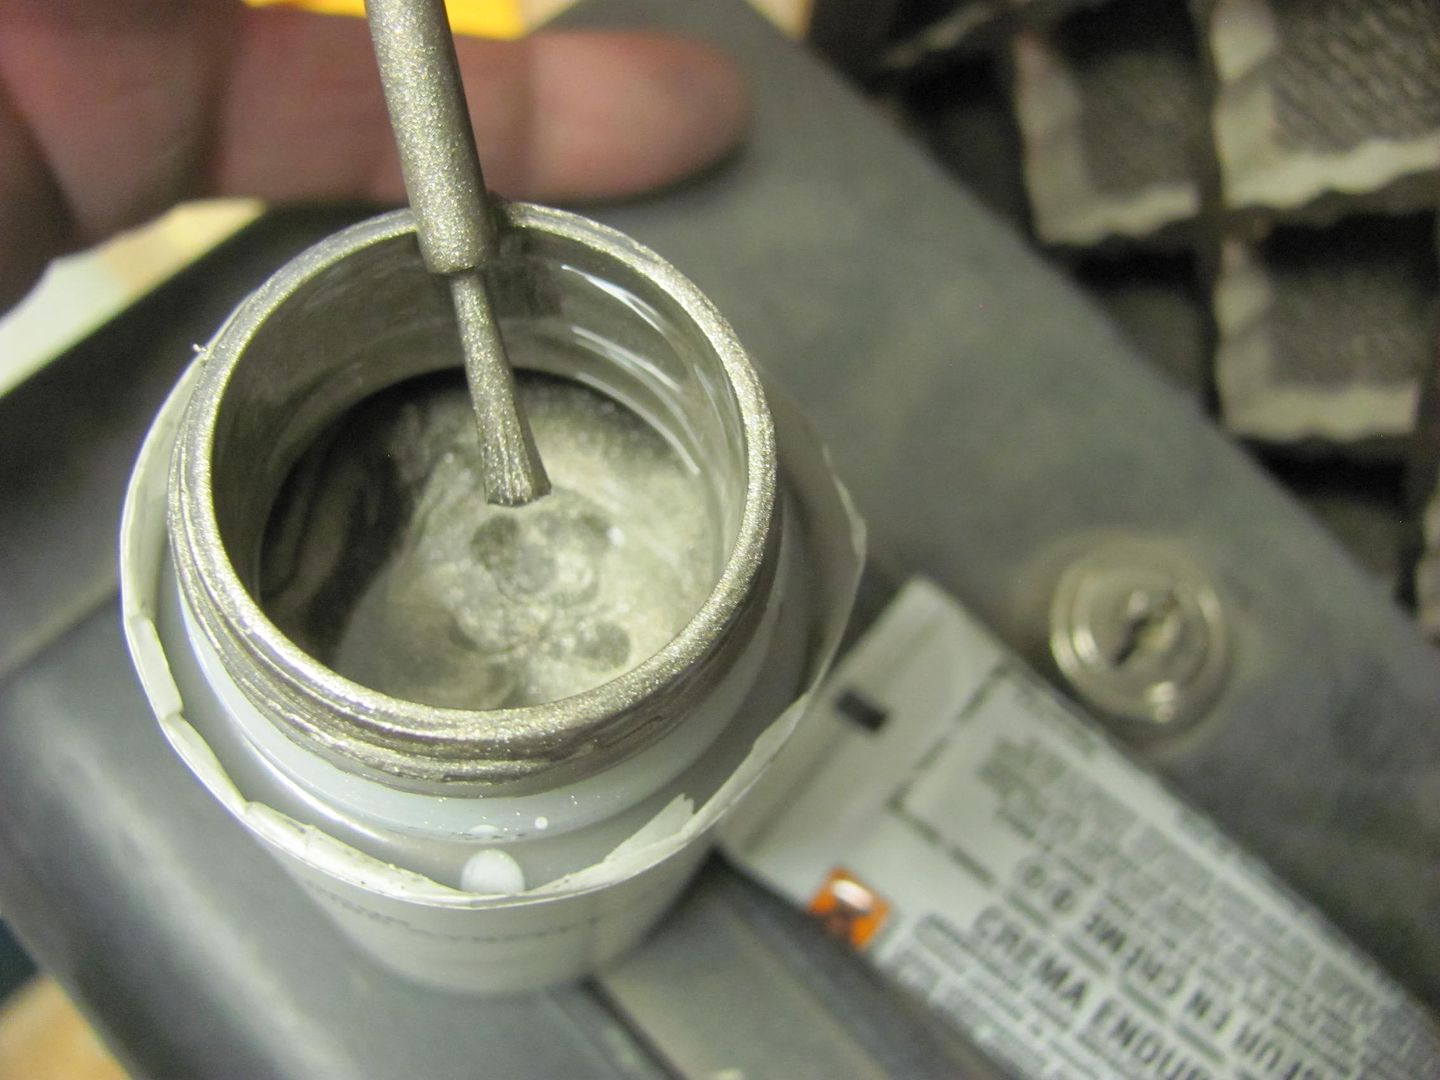
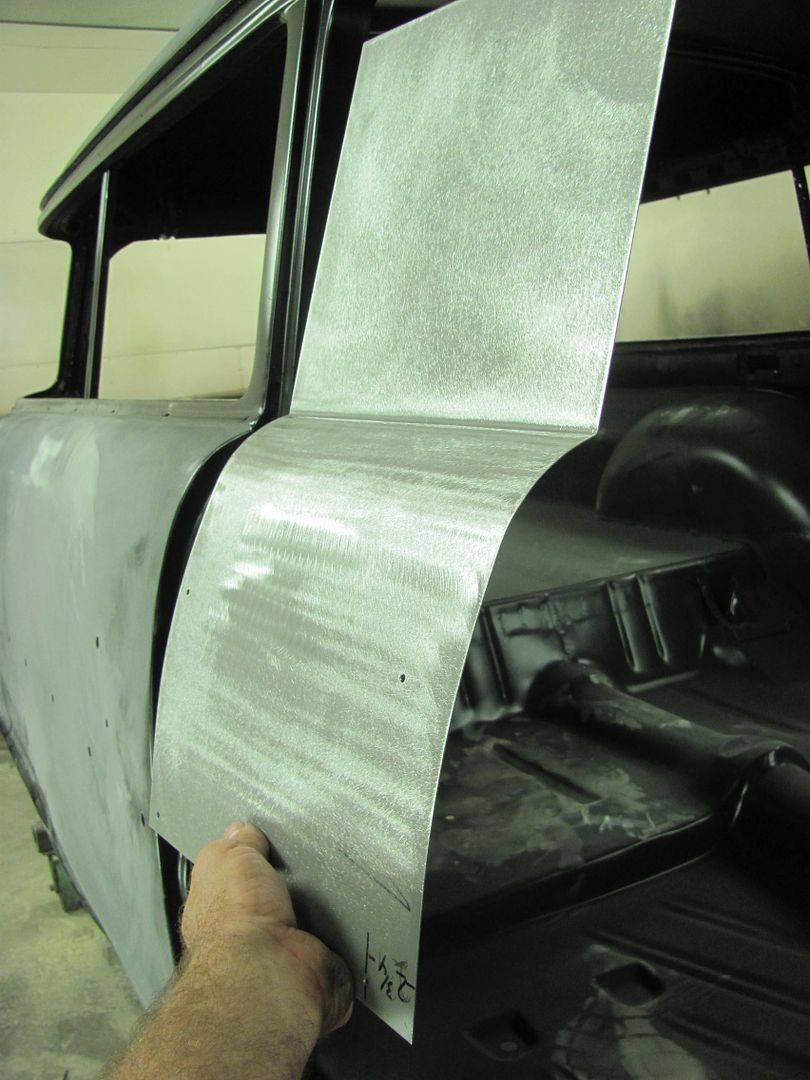
With the H/K Organic Green Kandy basecoat on the quarters down. To better get a feel for the test sprayout of the Kandy, a panel was made to simulate the top of the quarter, so we can better see the effects in the sunlight...
Next, epoxy in the cavities. I had looked at cavity spraying wands and the like, and did not care for what was available. So lets get basic, after all it is unseen when complete..
This area doesn't have to be pretty, so picked up this goodie at the local hardware store..
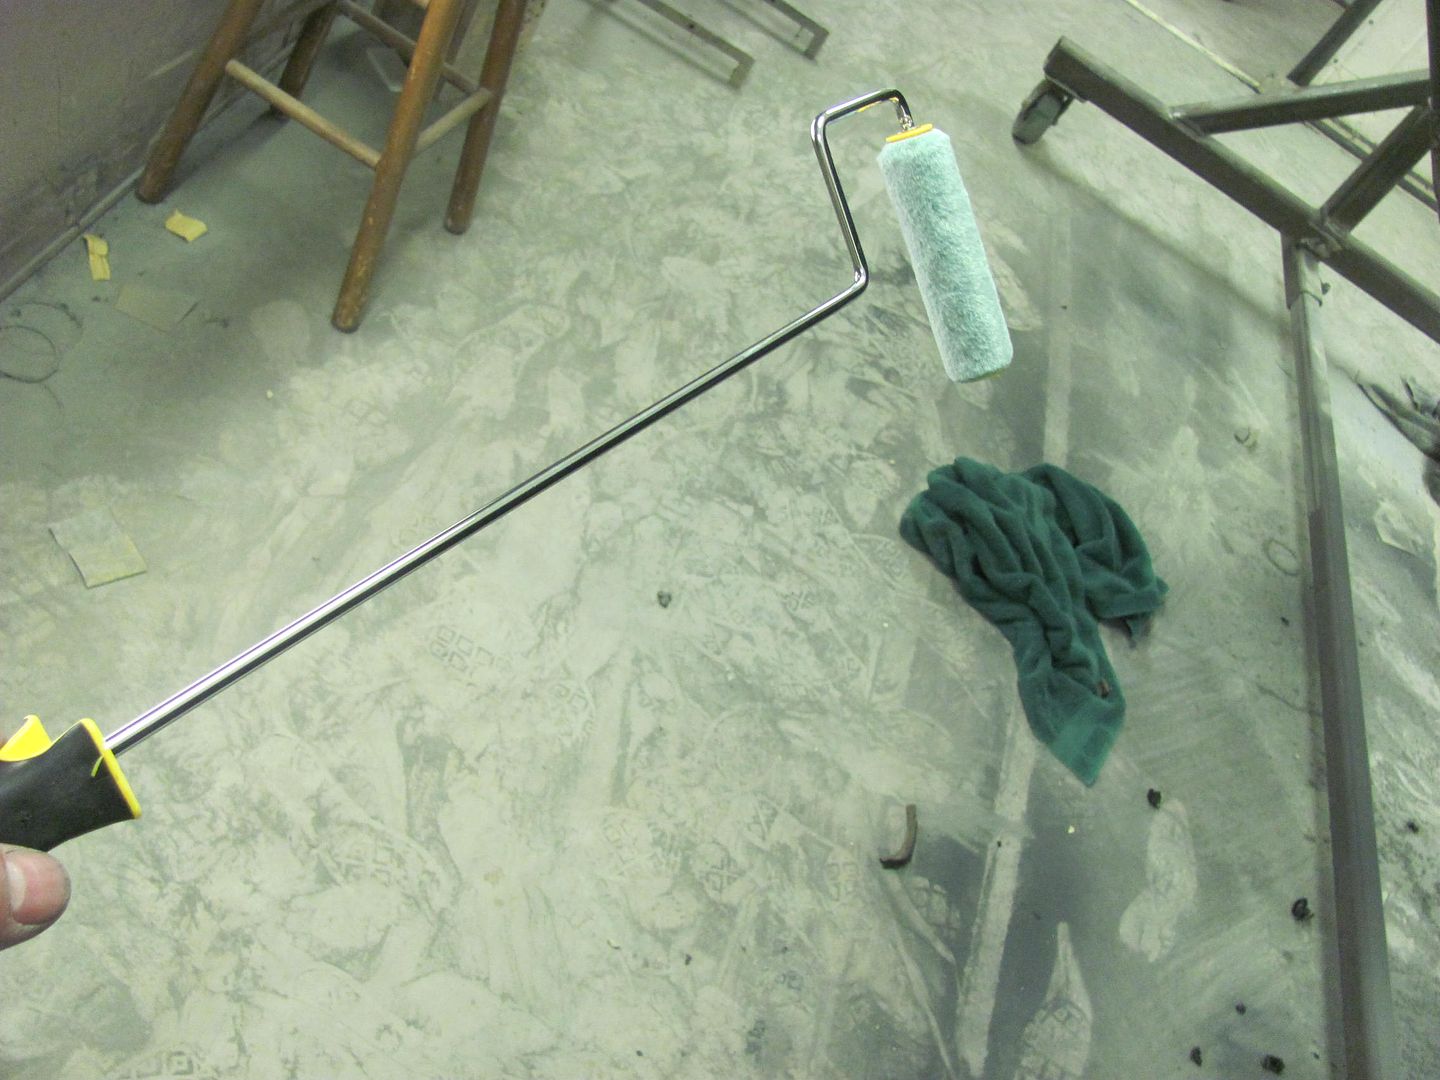
.....which should get enough on the inner quarter to seal things up..
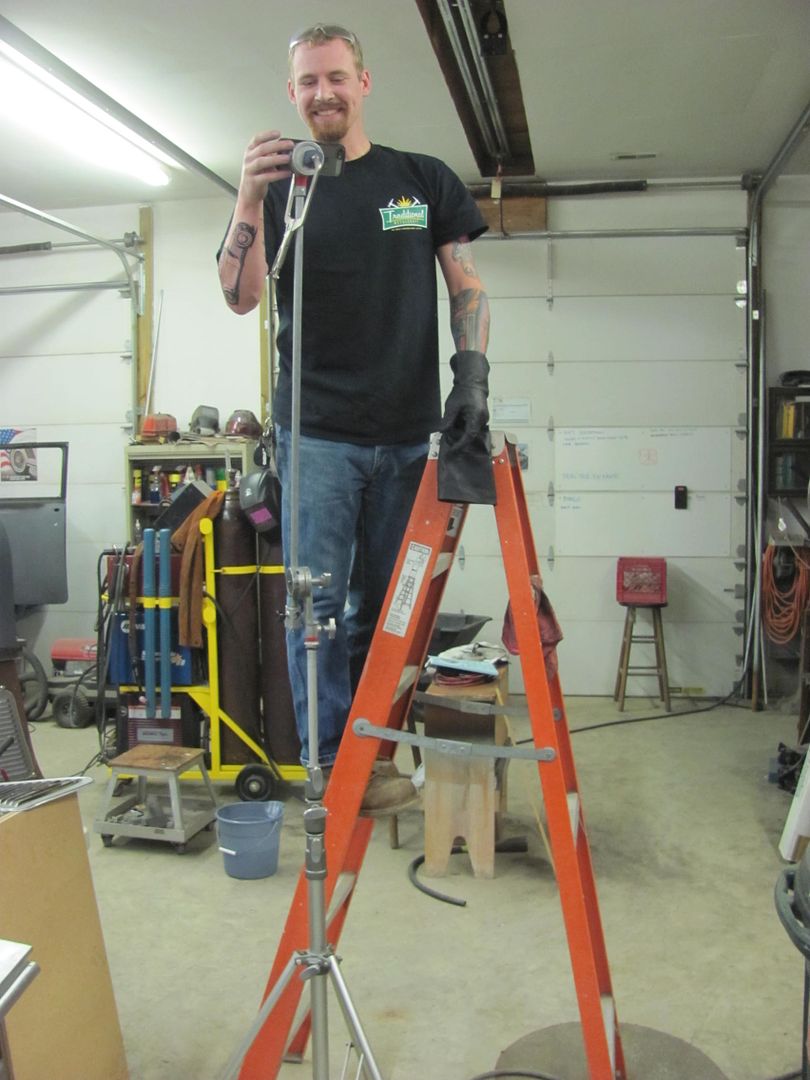
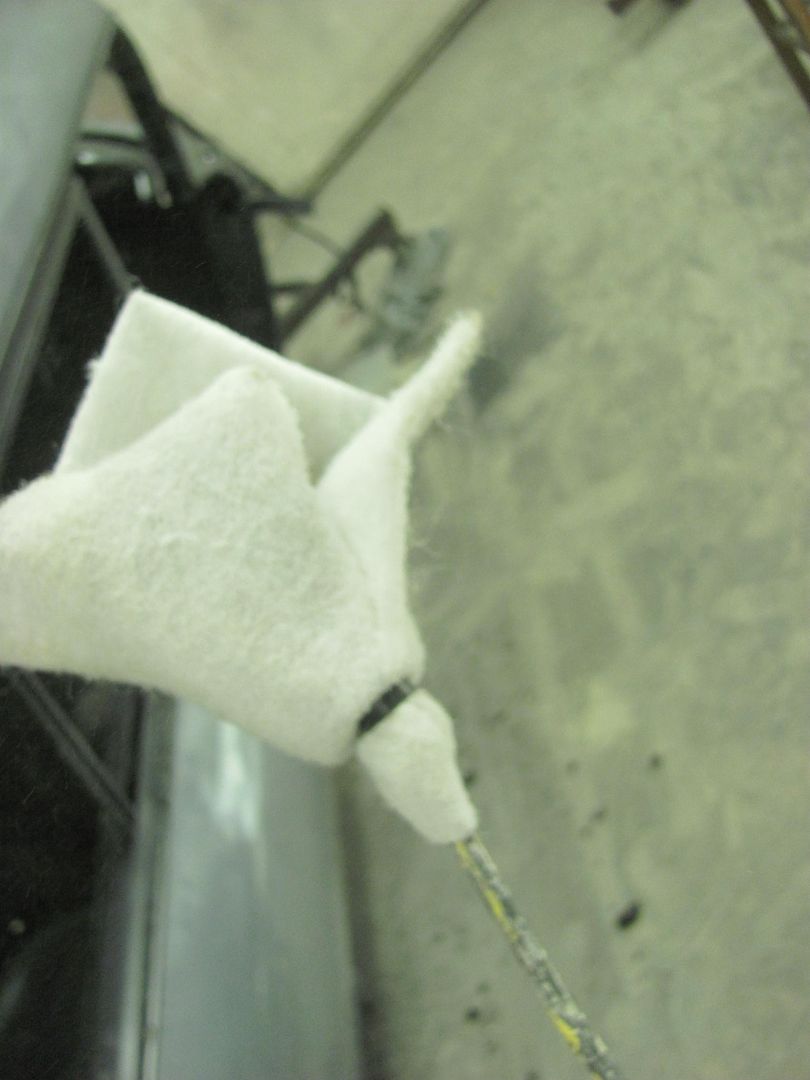
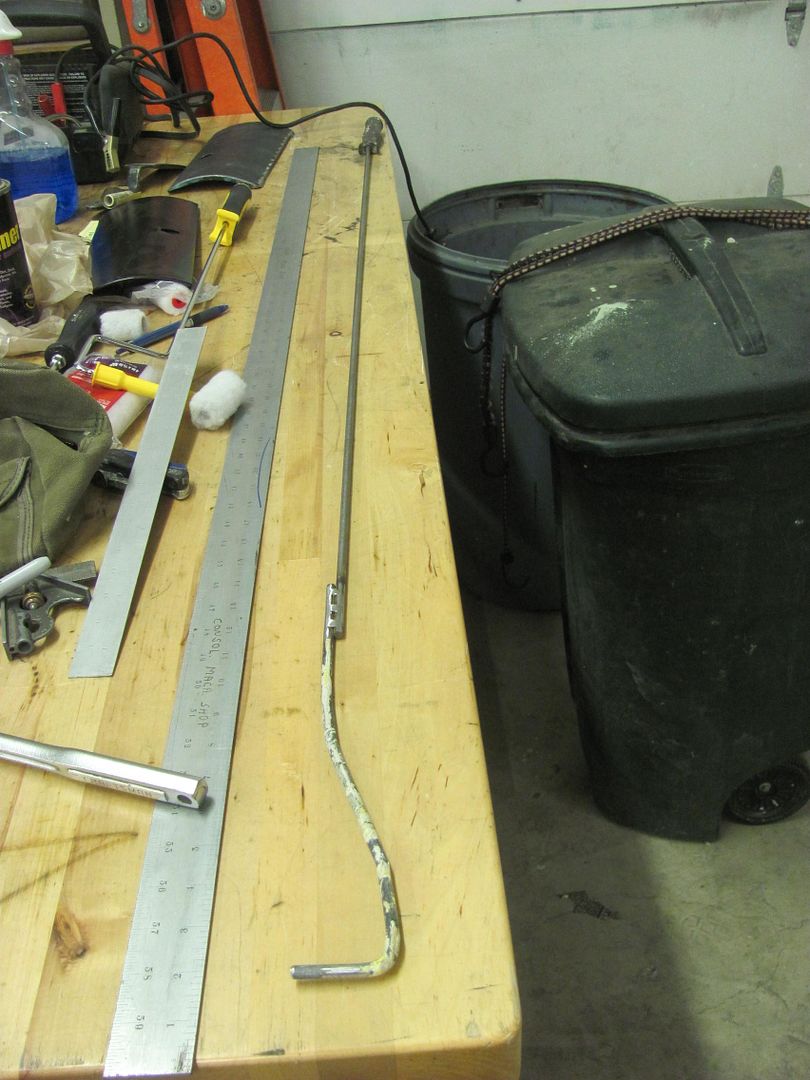
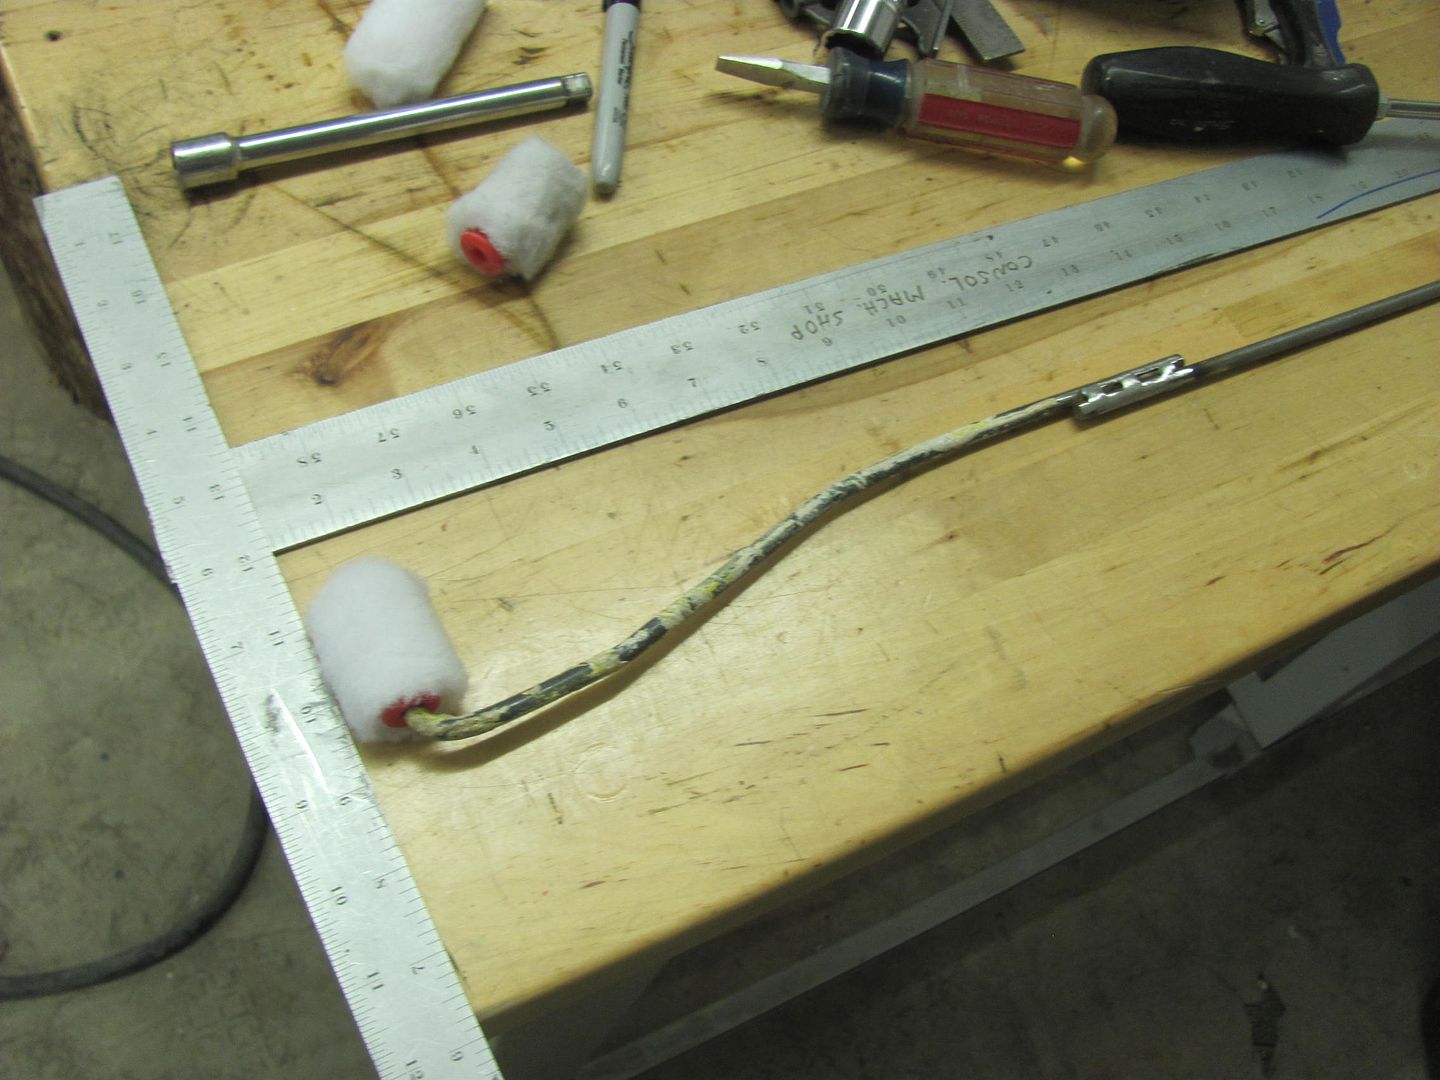
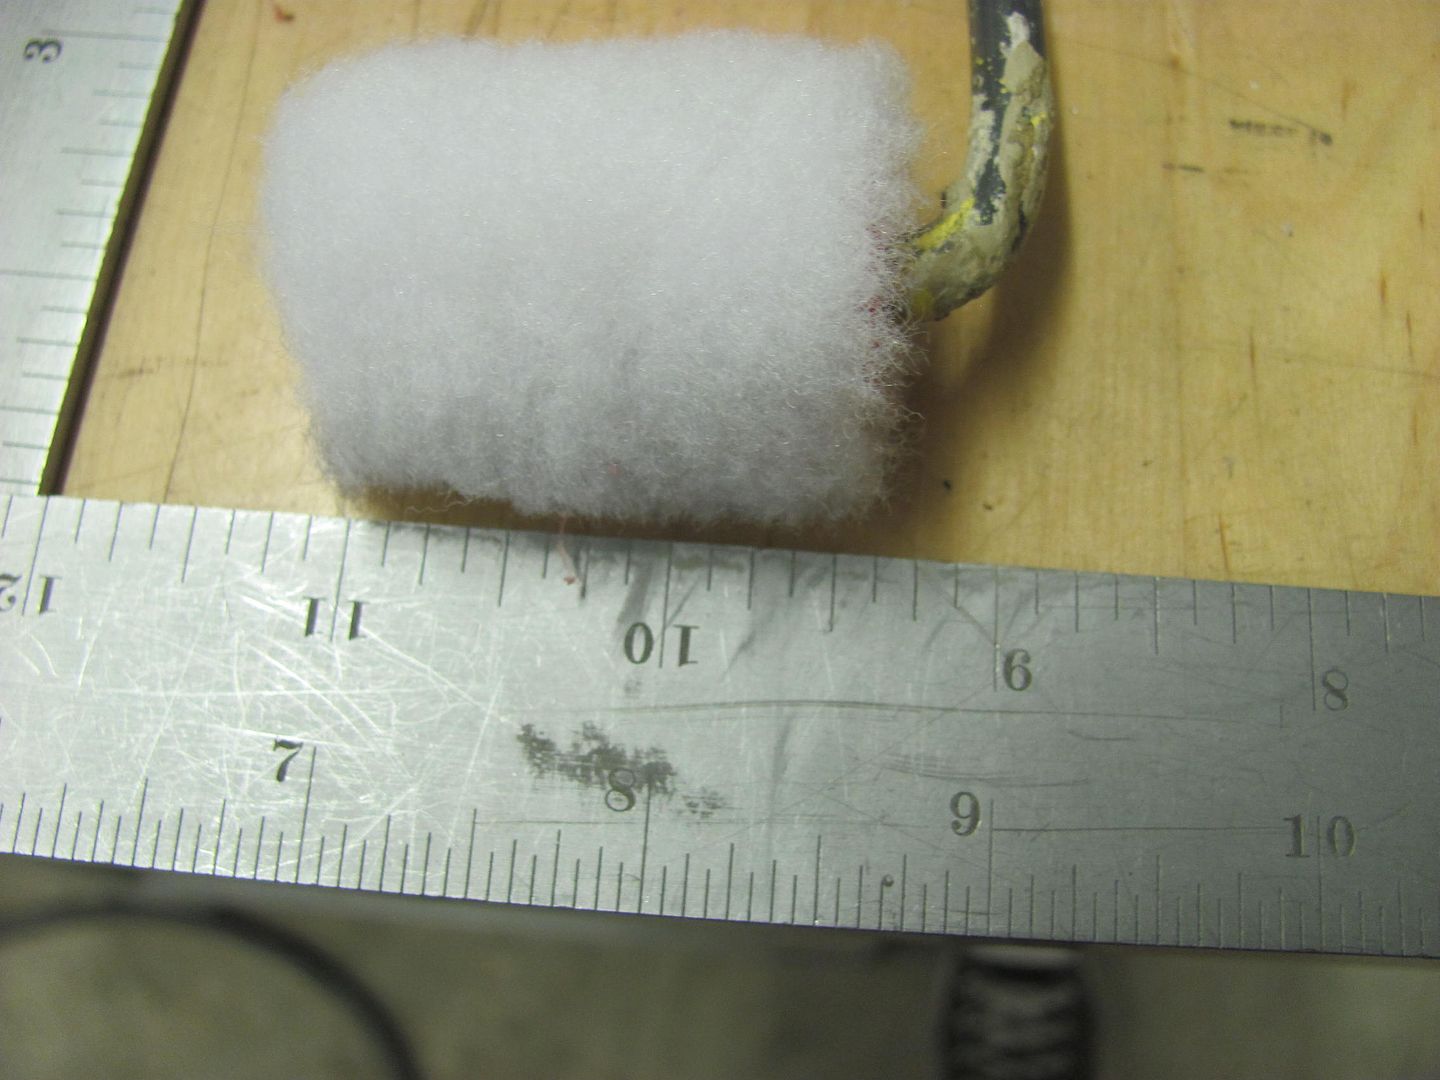
For the rocker, needed a bit more reach, both to scuff things up and roll on some paint. Here's the new multi-tool, with a 4' lift kit.
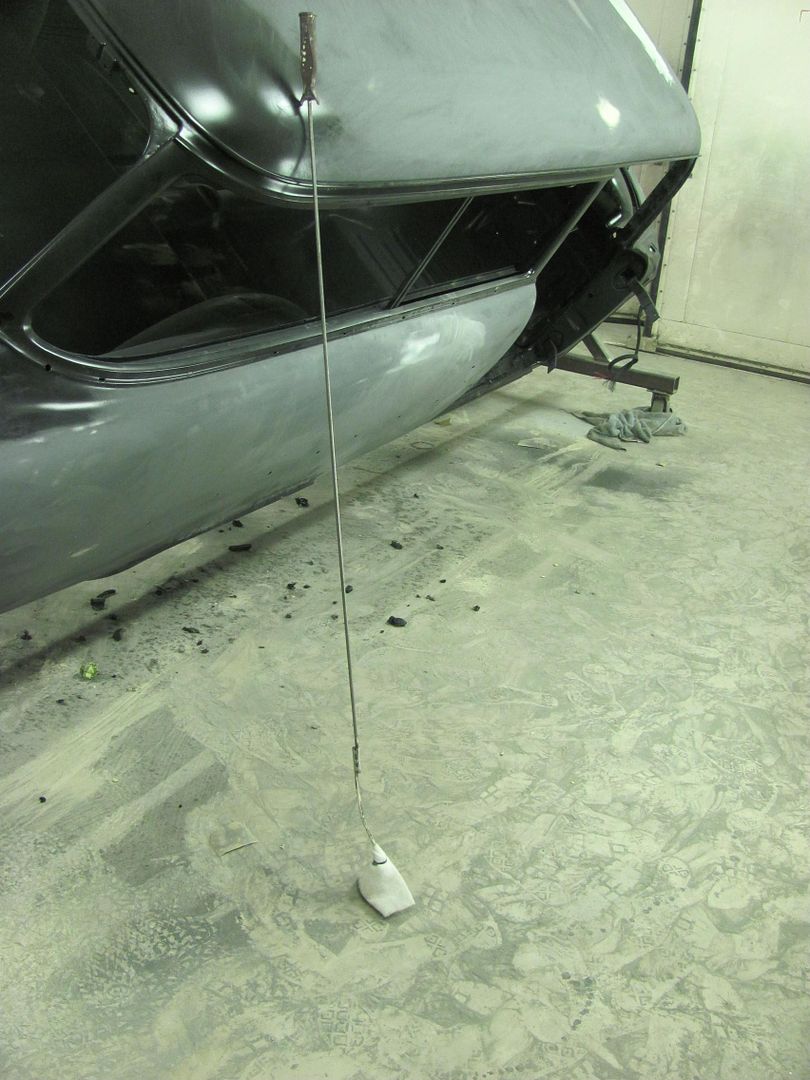
Scuffing attachment
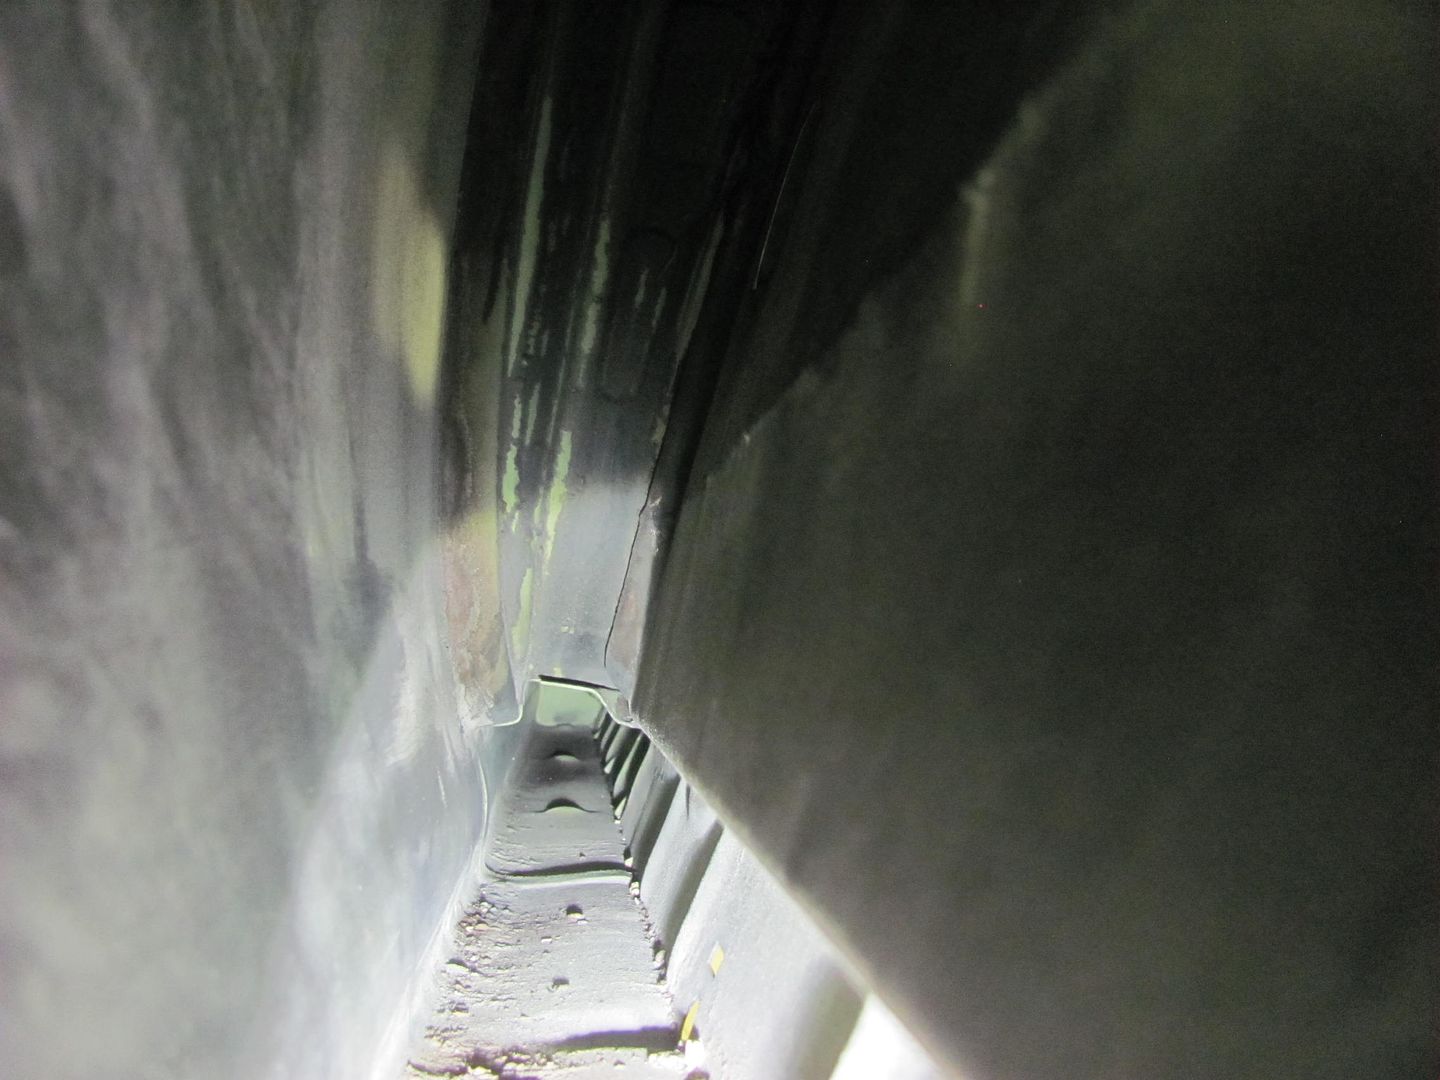
Target area..
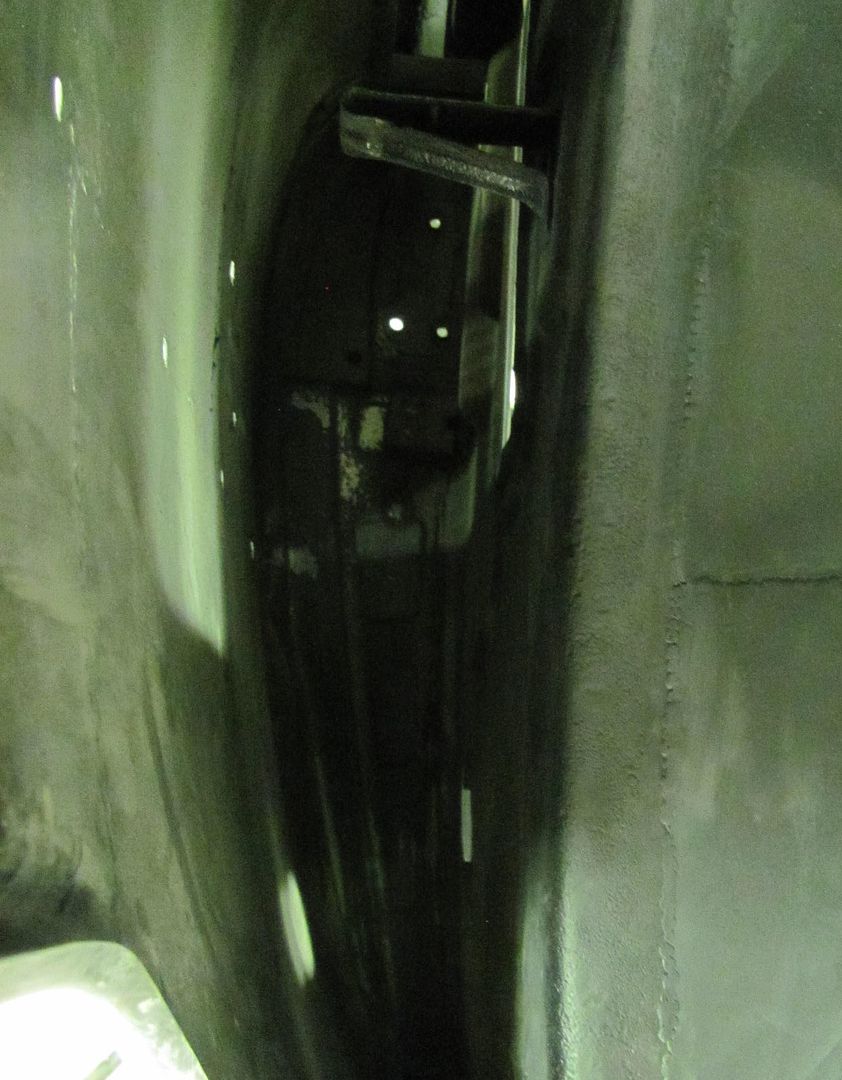
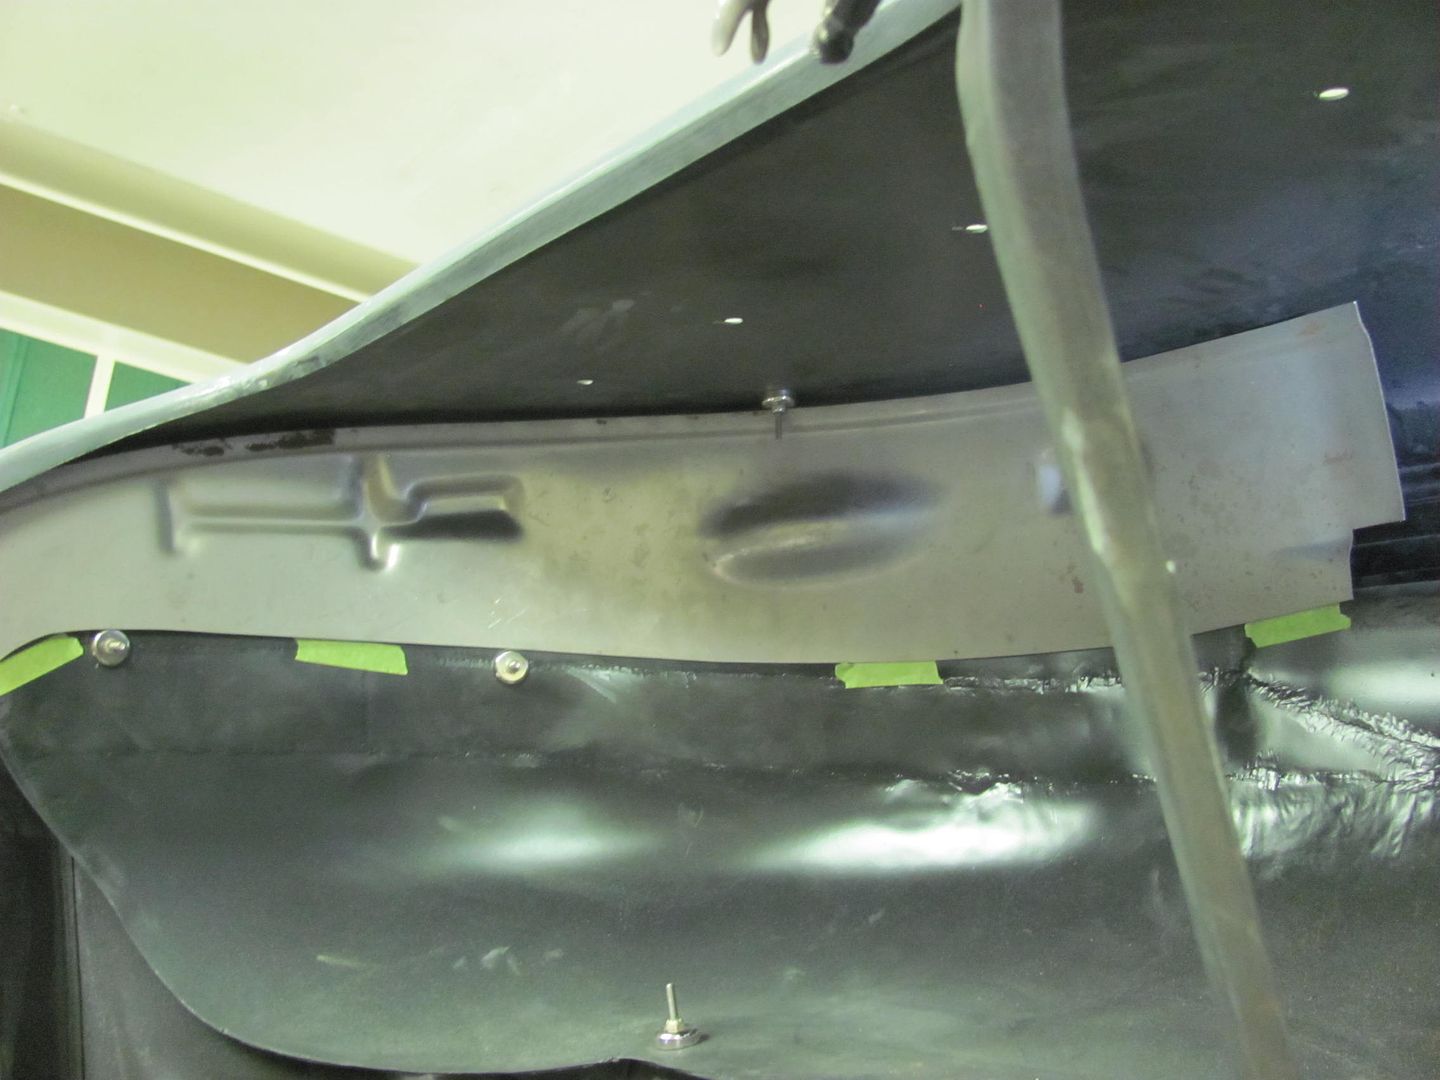
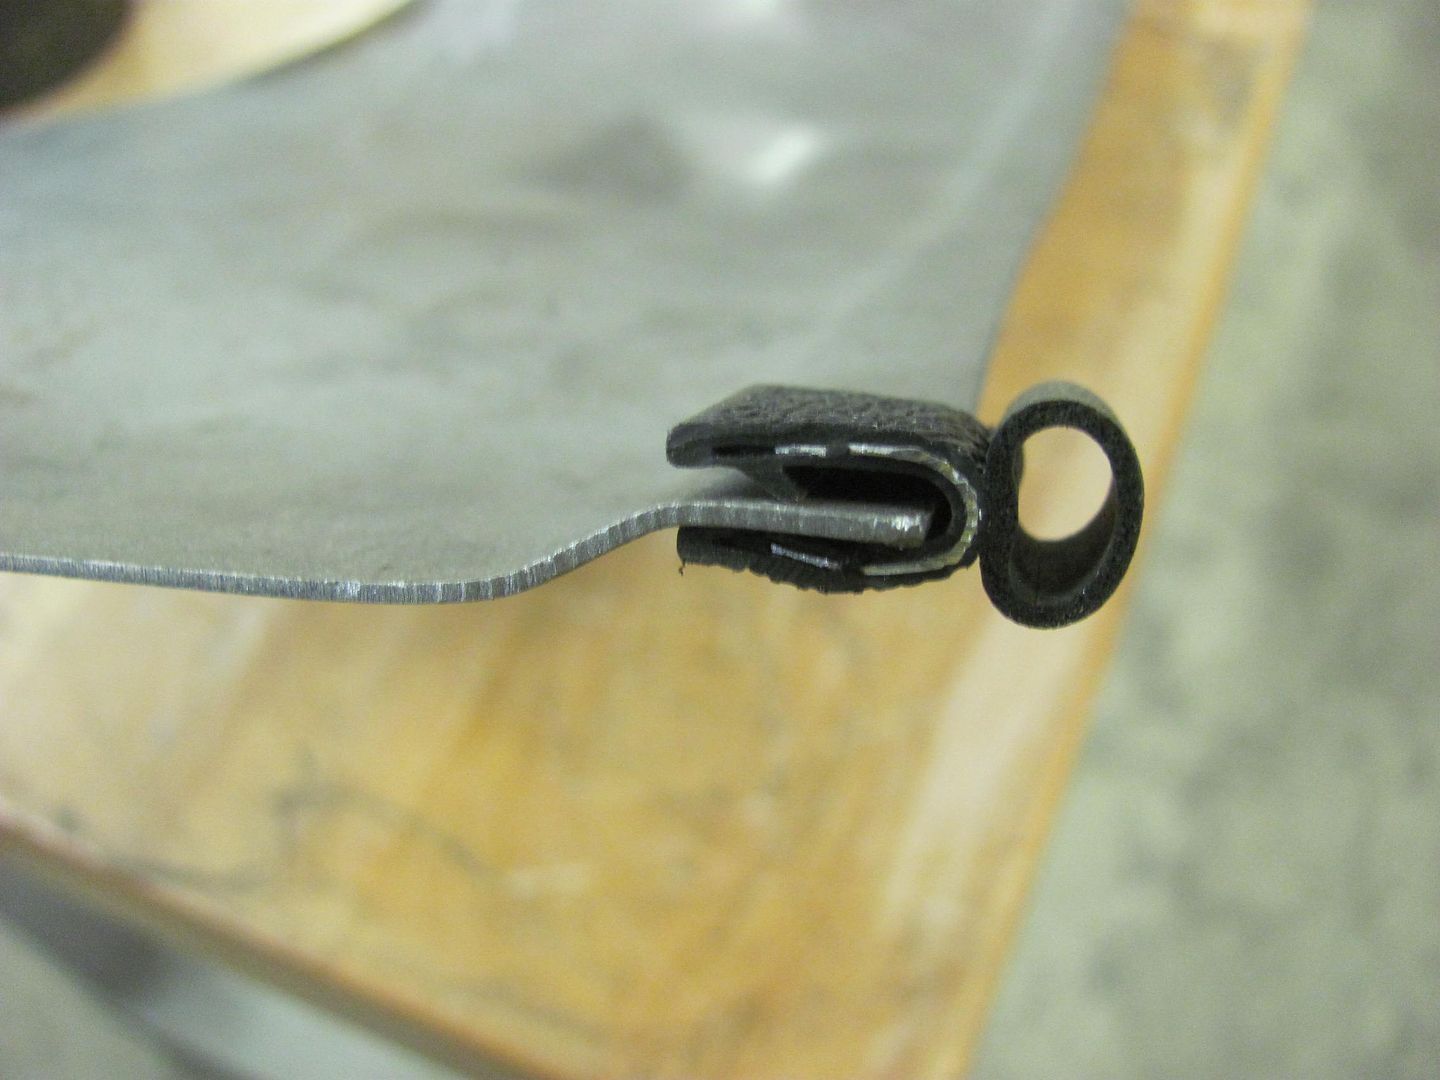
These dividers sit above the wheelwells inside the top of the quarter, and a bottom flange serves as a welding anchor for the top of the wheelwell. If they both had a bottom flange..
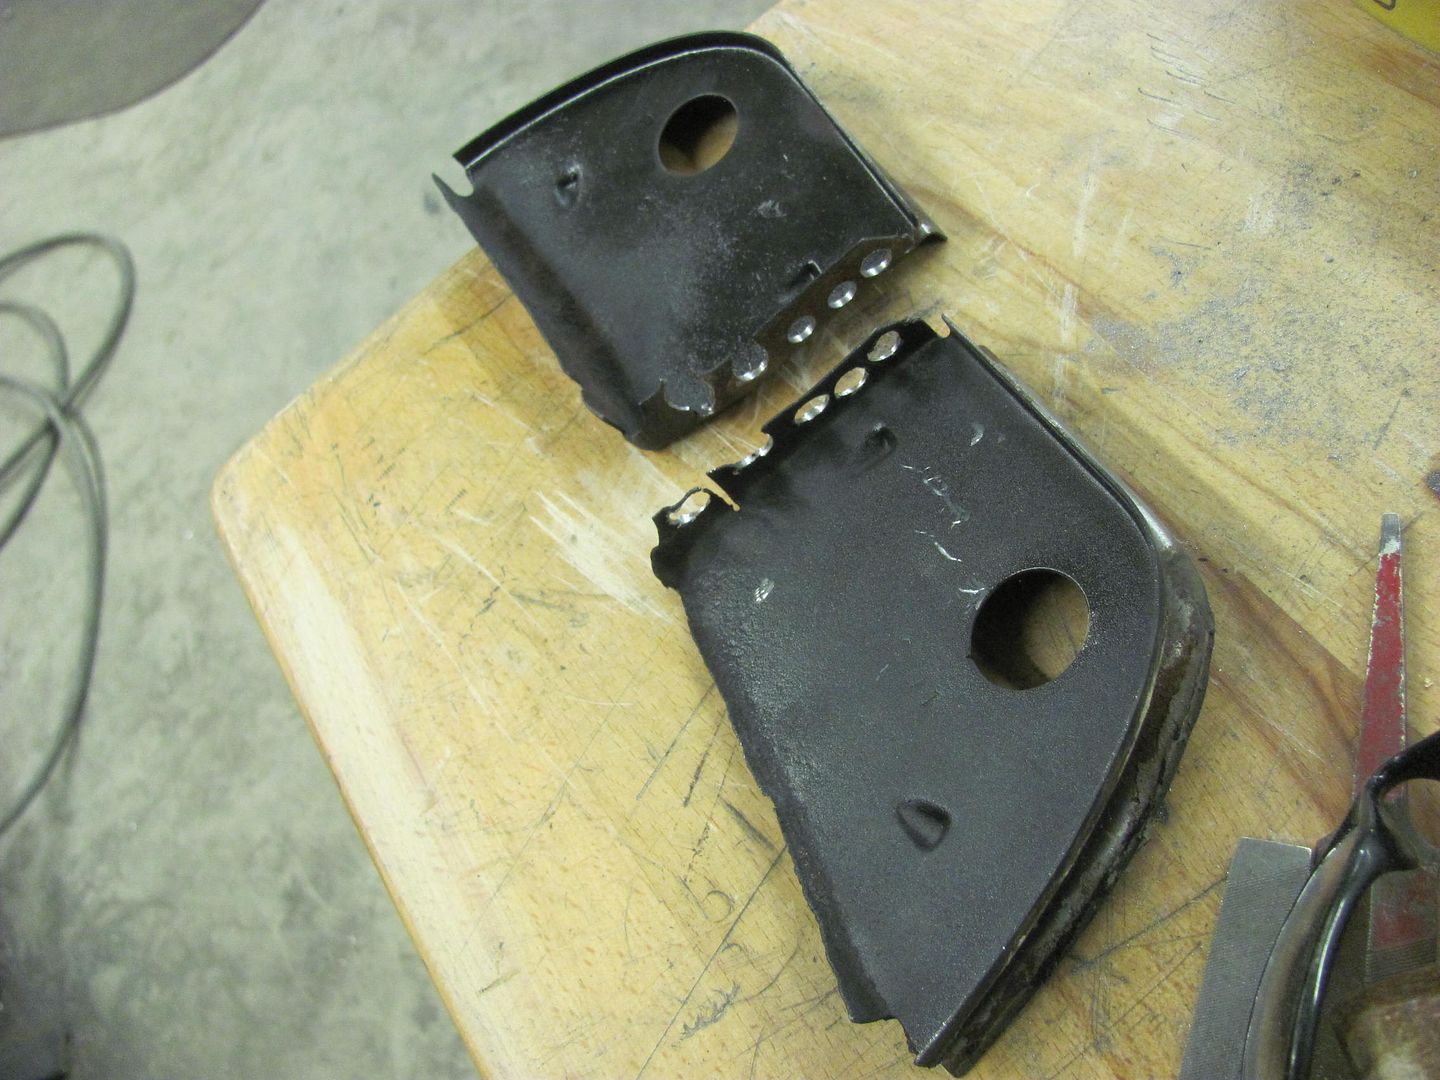
On top of those was a nice foam seal, which also served to trap water and cause one of our pits in the original quarter that we removed.
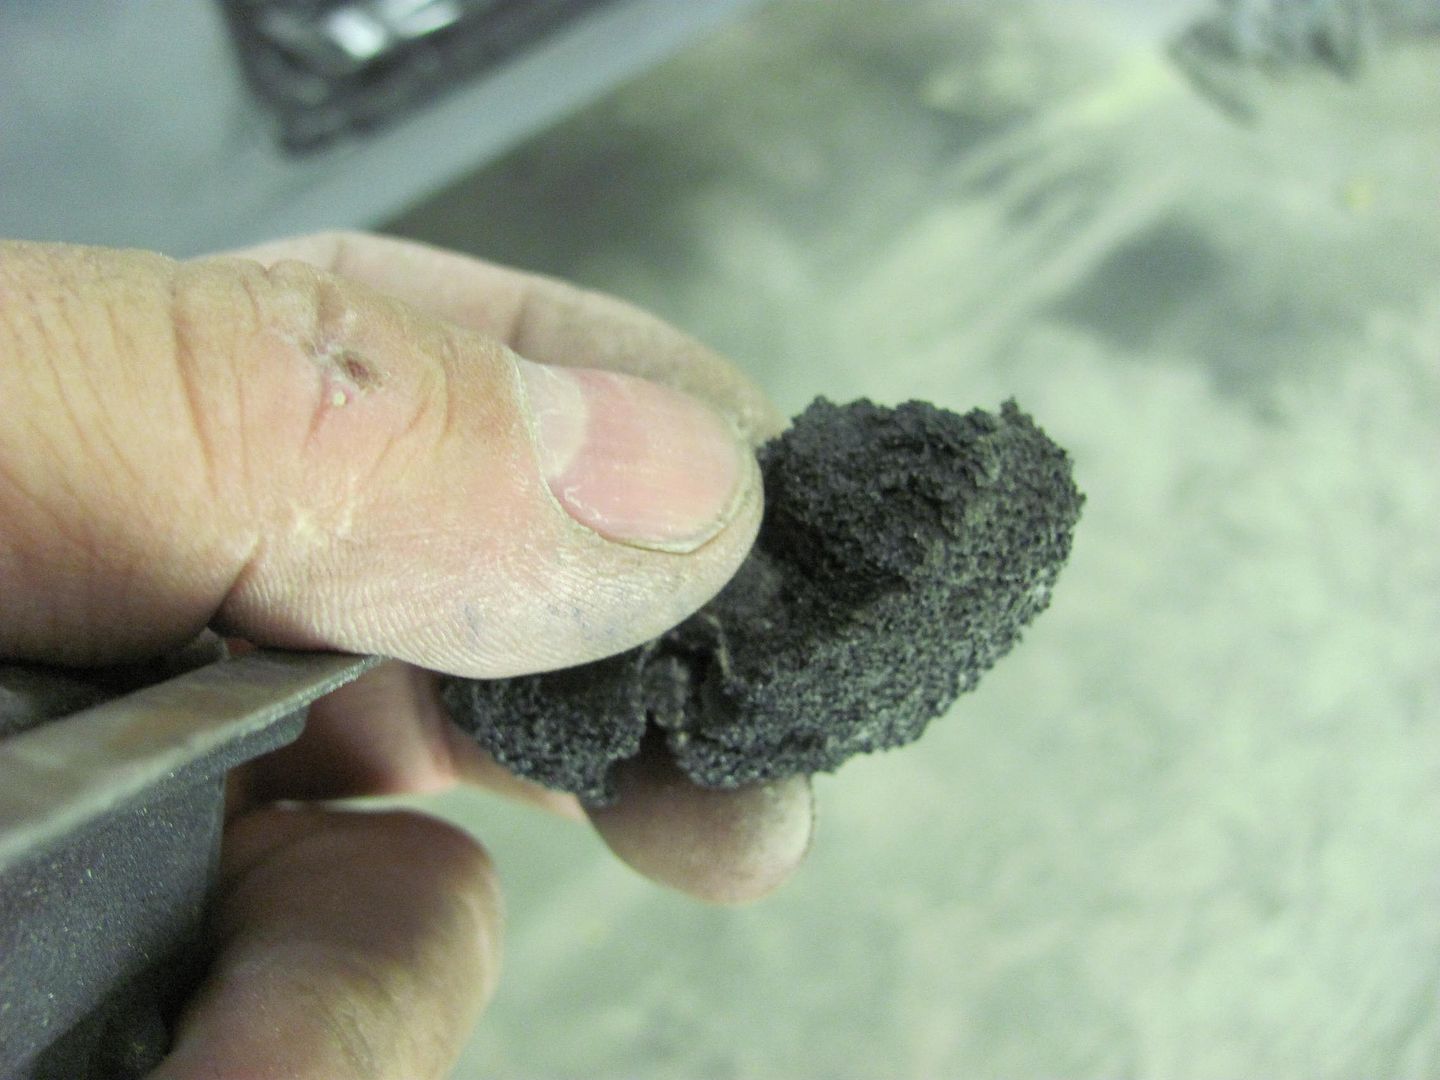
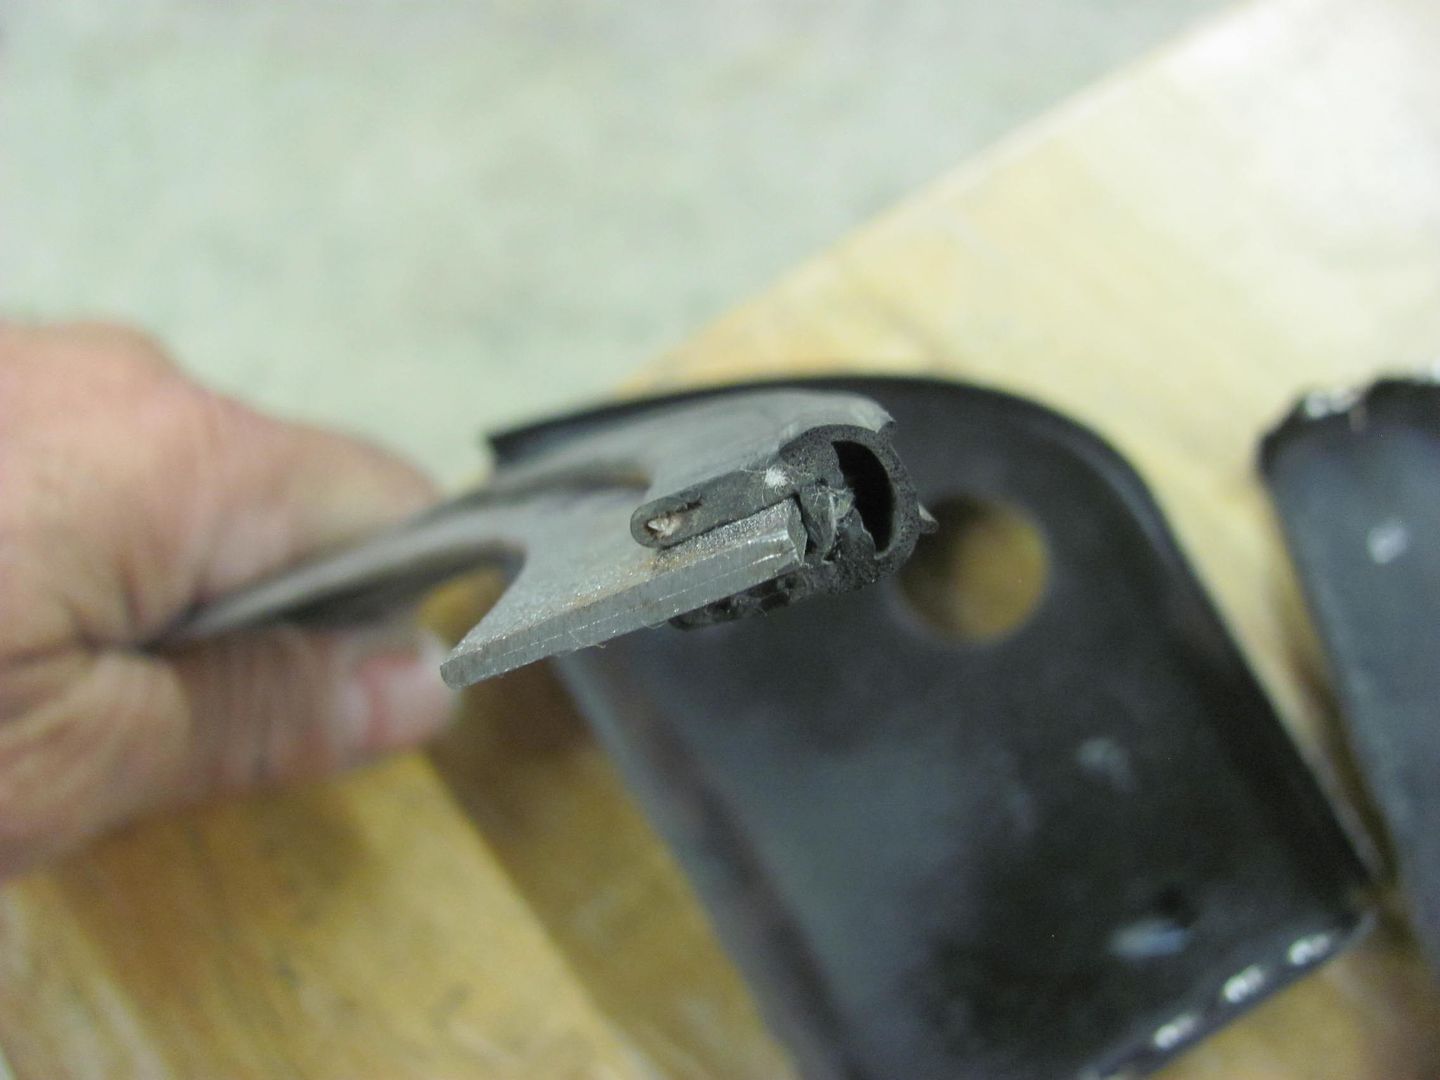
So the thought is to replace these with new ones made of 16 gauge, using a bulb seal at the top for less water absorption/retention...
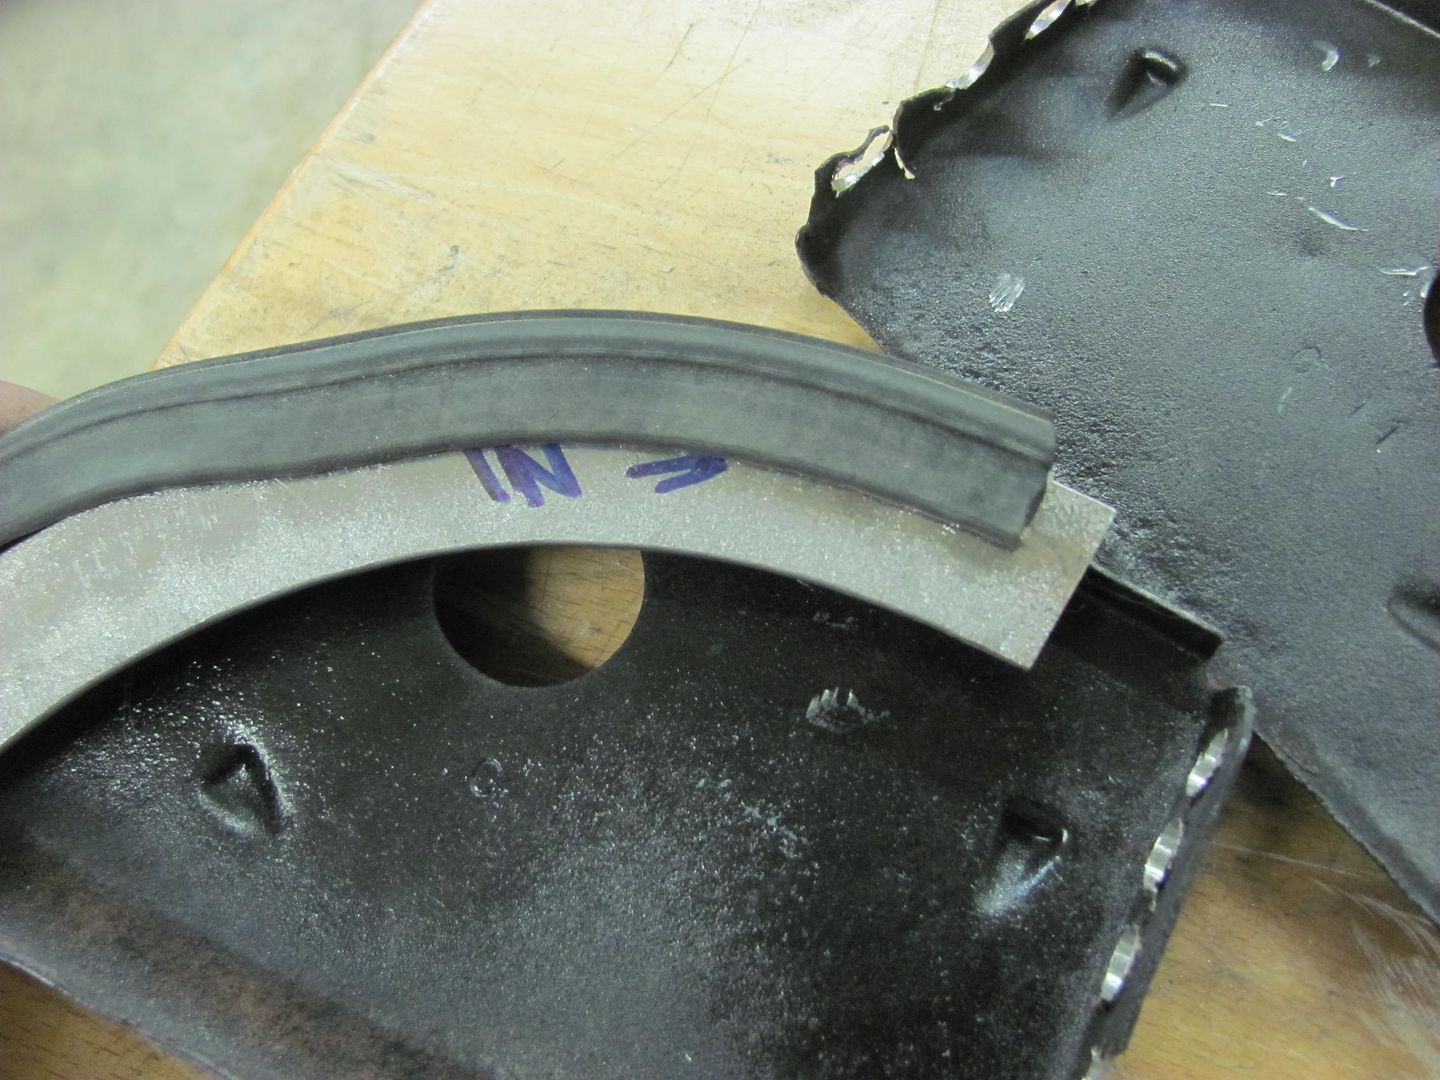
With these now removed, you can see the still bare 1955 sheet metal that we'll also get covered with epoxy prior to installing the new brackets..

After all this fun, we loaded up one of the Biederman fenders and took it over to Saufley Sandblasting to get a quote on those. We'll get all the parts blasted individually, then sealed in epoxy primer, then assembled. After assembly, one more dose of Epoxy and they're off to the painter..Robert
-
09-12-2016 03:00 PM #869
CHR Member
- Join Date
- Apr 2011
- Location
- Prairie City
- Car Year, Make, Model: 40 Ford Deluxe, 68 Corvette, 72&76 K30
- Posts
- 7,301
- Blog Entries
- 1
More awesome work. Your tools to get in the quarter should work very nicely.Ryan
1940 Ford Deluxe Tudor 354 Hemi 46RH Electric Blue w/multi-color flames, Ford 9" Residing in multiple pieces
1968 Corvette Coupe 5.9 Cummins Drag Car 11.43@130mph No stall leaving the line with 1250 rpm's and poor 2.2 60'
1972 Chevy K30 Longhorn P-pumped 24v Compound Turbos 47RH Just another money pit
1971 Camaro RS 5.3 BTR Stage 3 cam, SuperT10
Tire Sizes
-
09-17-2016 07:59 PM #870
CHR Member
- Join Date
- Jun 2008
- Location
- Leonardtown
- Car Year, Make, Model: Walking
- Posts
- 1,228
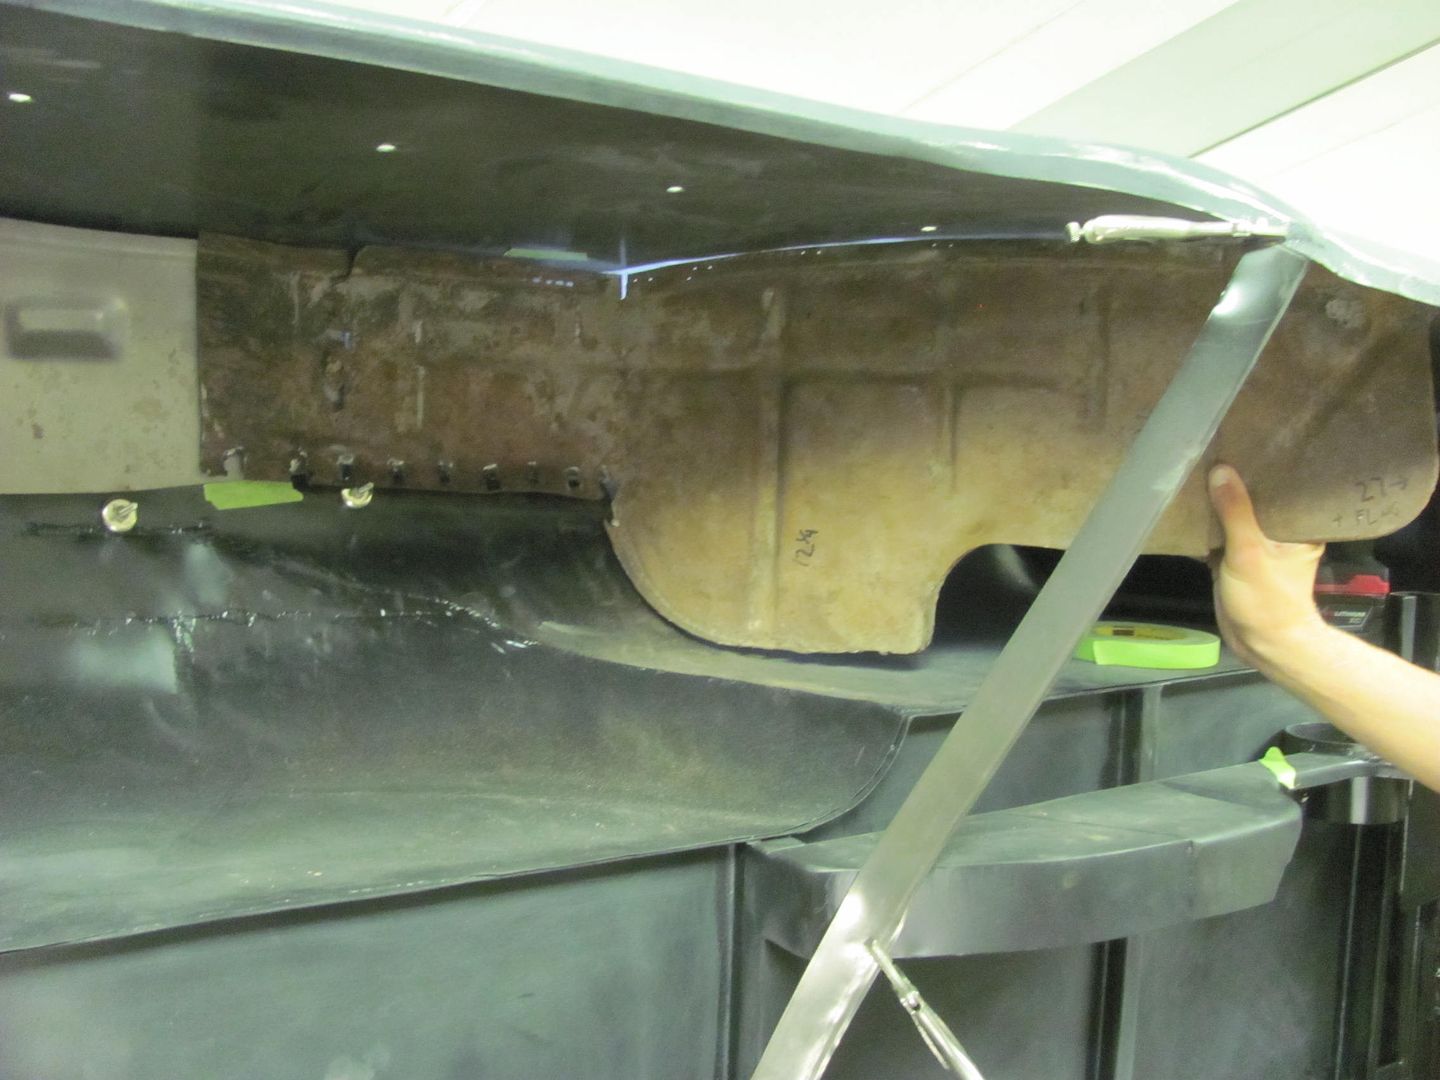
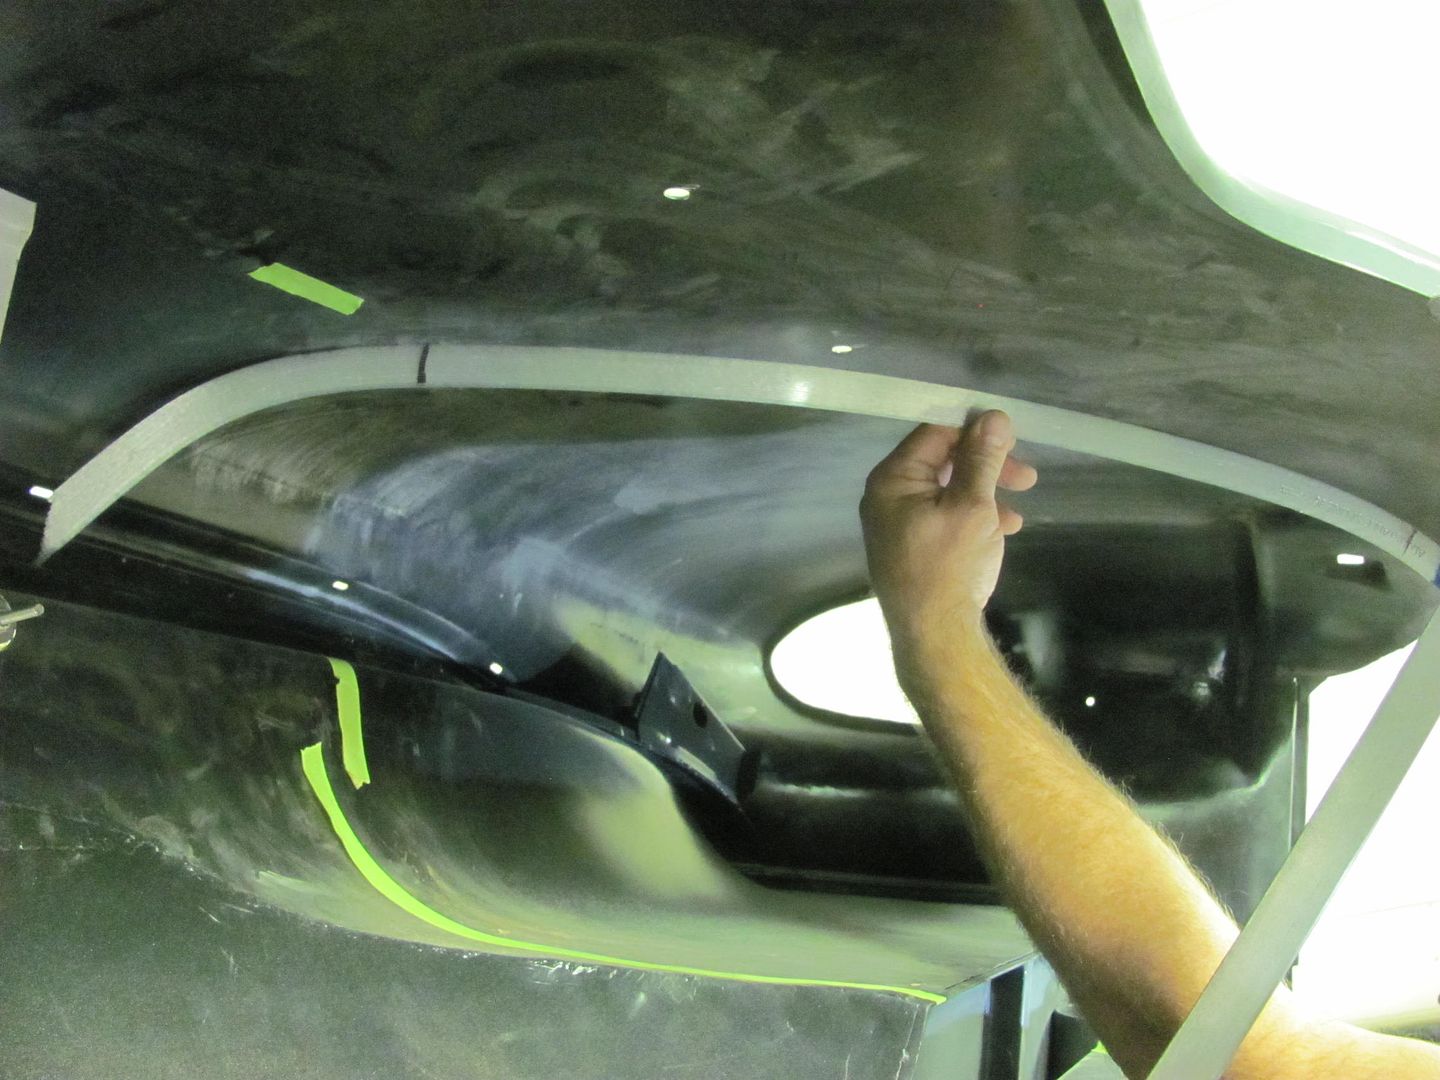
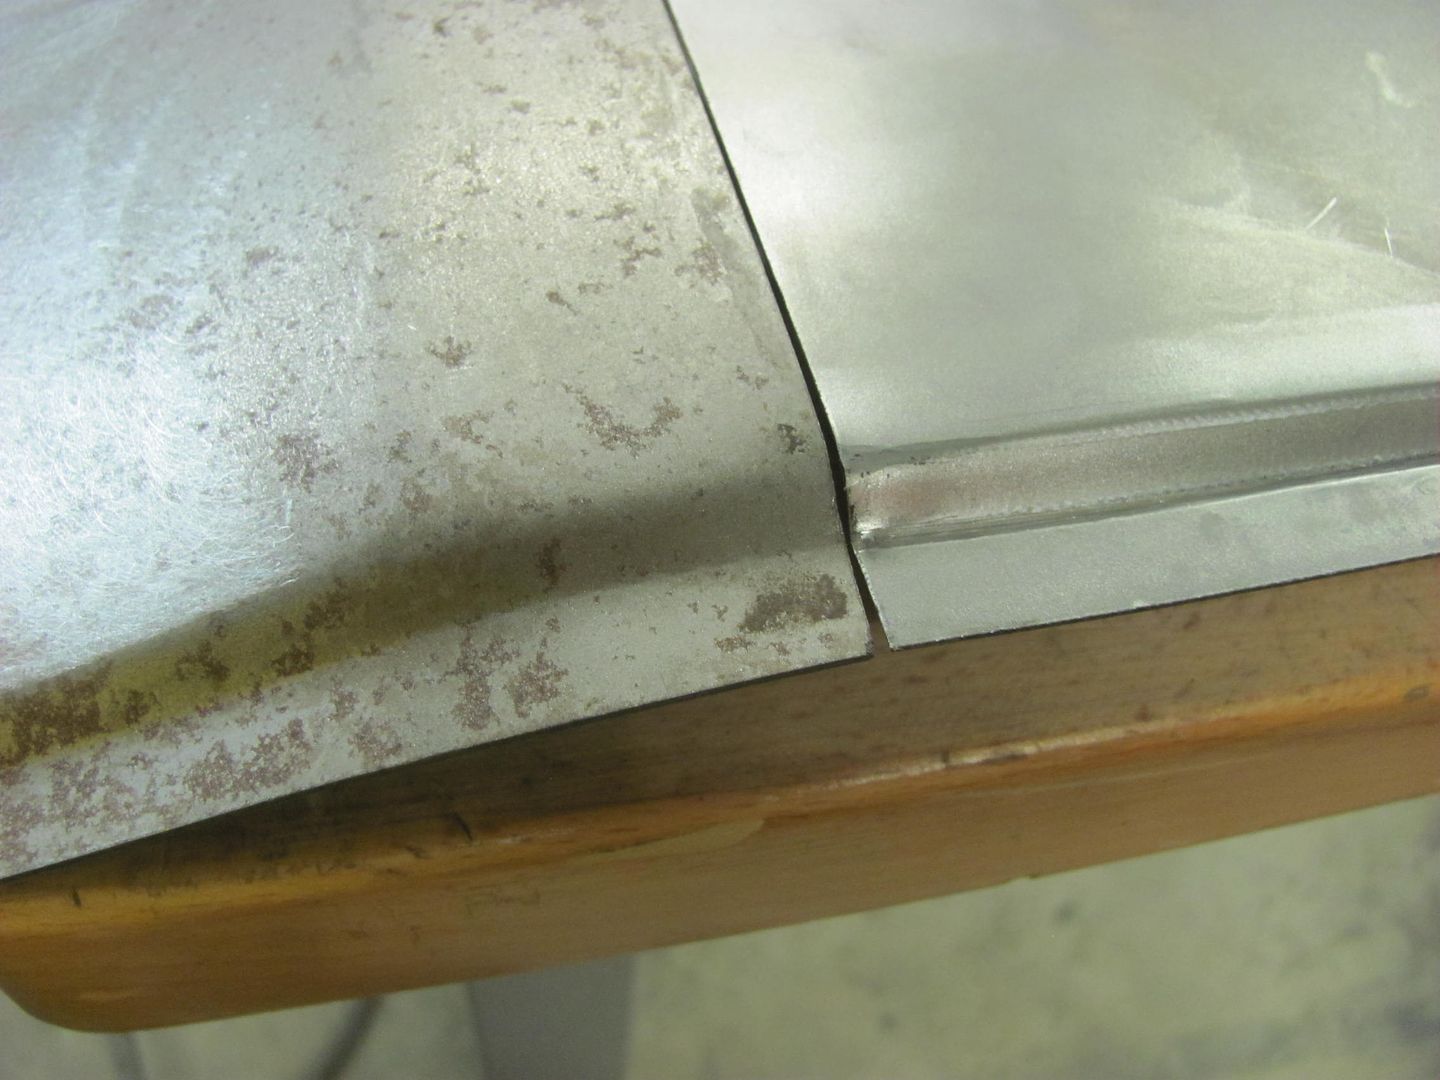
Working today on fitting up the wheel wells. The front half is re-popped and uses the same part as the sedans, the rear part is not available. Fitting the front, notice the right lower corner (as shown) tapers up with less overlap for plug/spot welding.
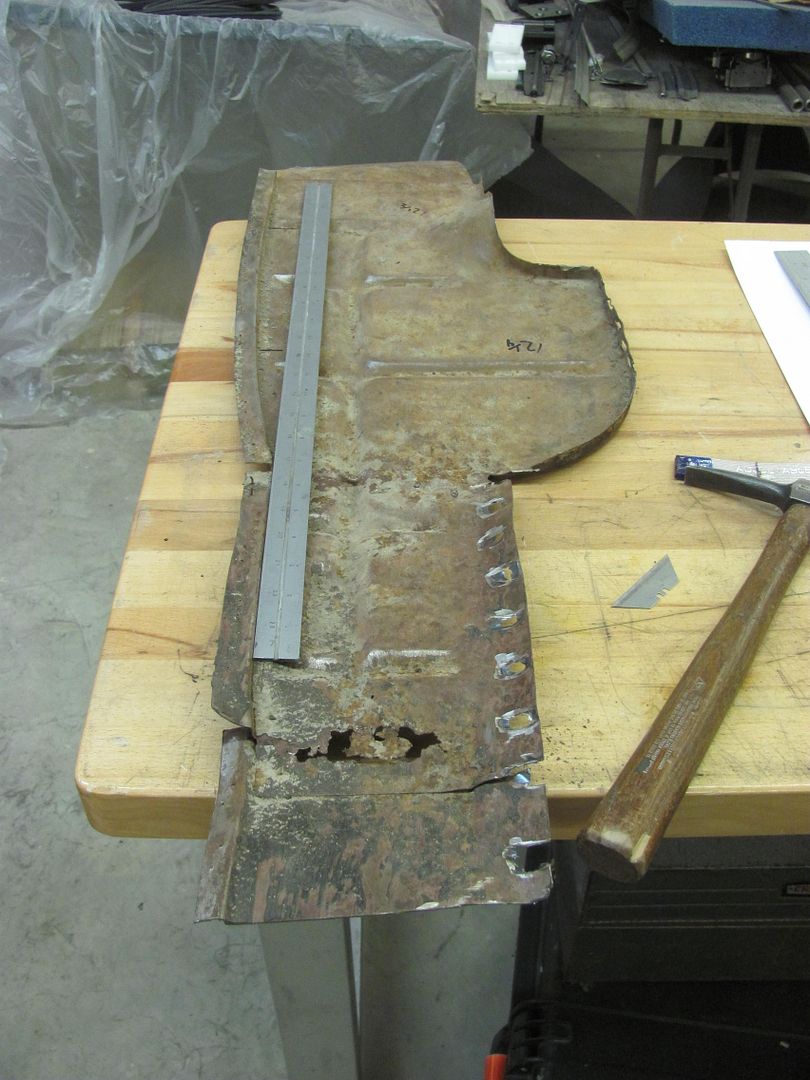
The rear section is NOT available in reproduction, and the notch you see there is for routing the fuel fill on a wagon tank. We've switched to a sedan tank to make room for dual exhaust, and given the widened wheel tubs and tires being used, no need in leaving such a gaping hole. So new parts it is.. The lower flap I'm holding is a separate piece that is spot welded on. In an effort to minimize moisture traps/rust generators in the future, we'll make this in one piece.
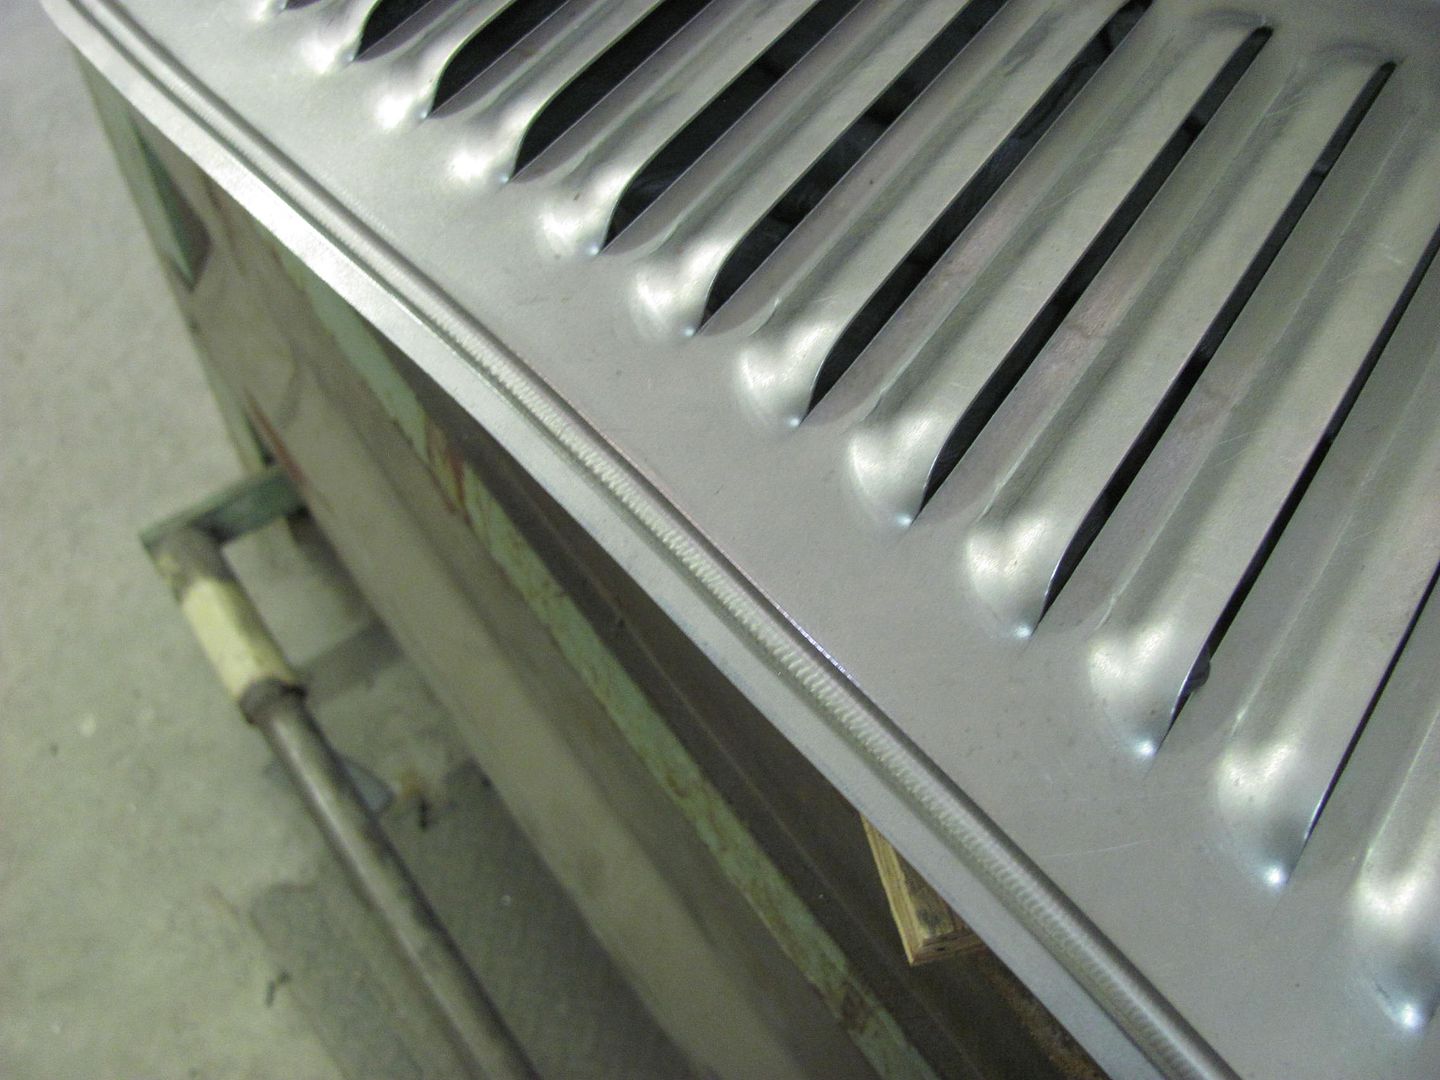
To fix our front repop, a piece of 18 gauge is TIG welded to give us a square corner...
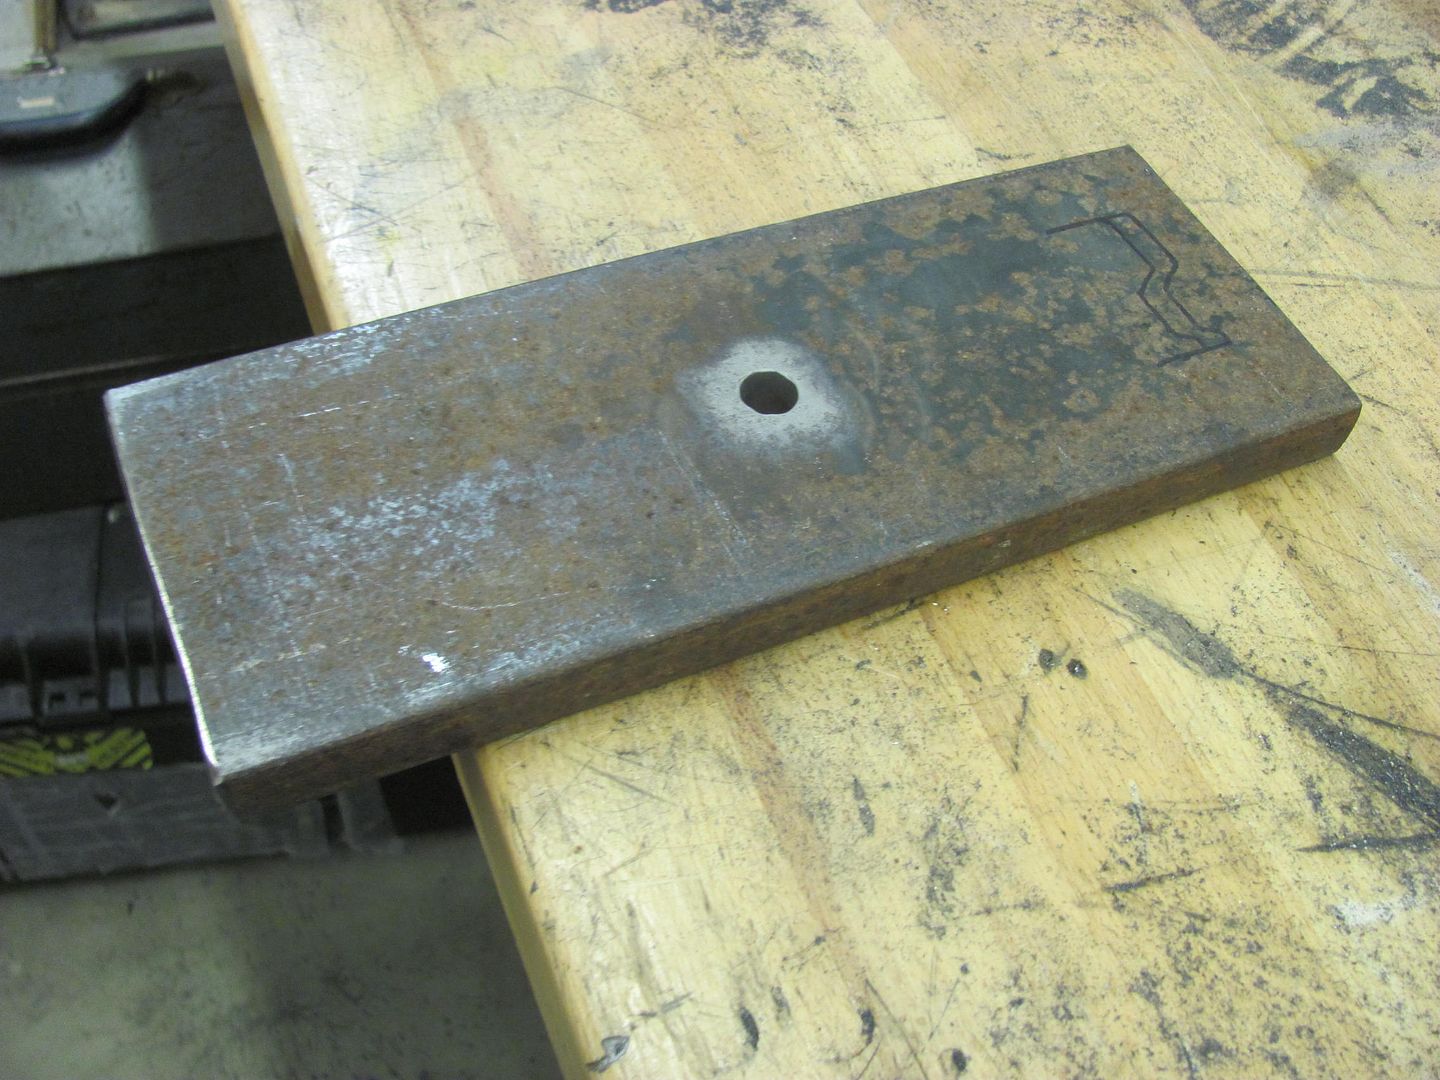
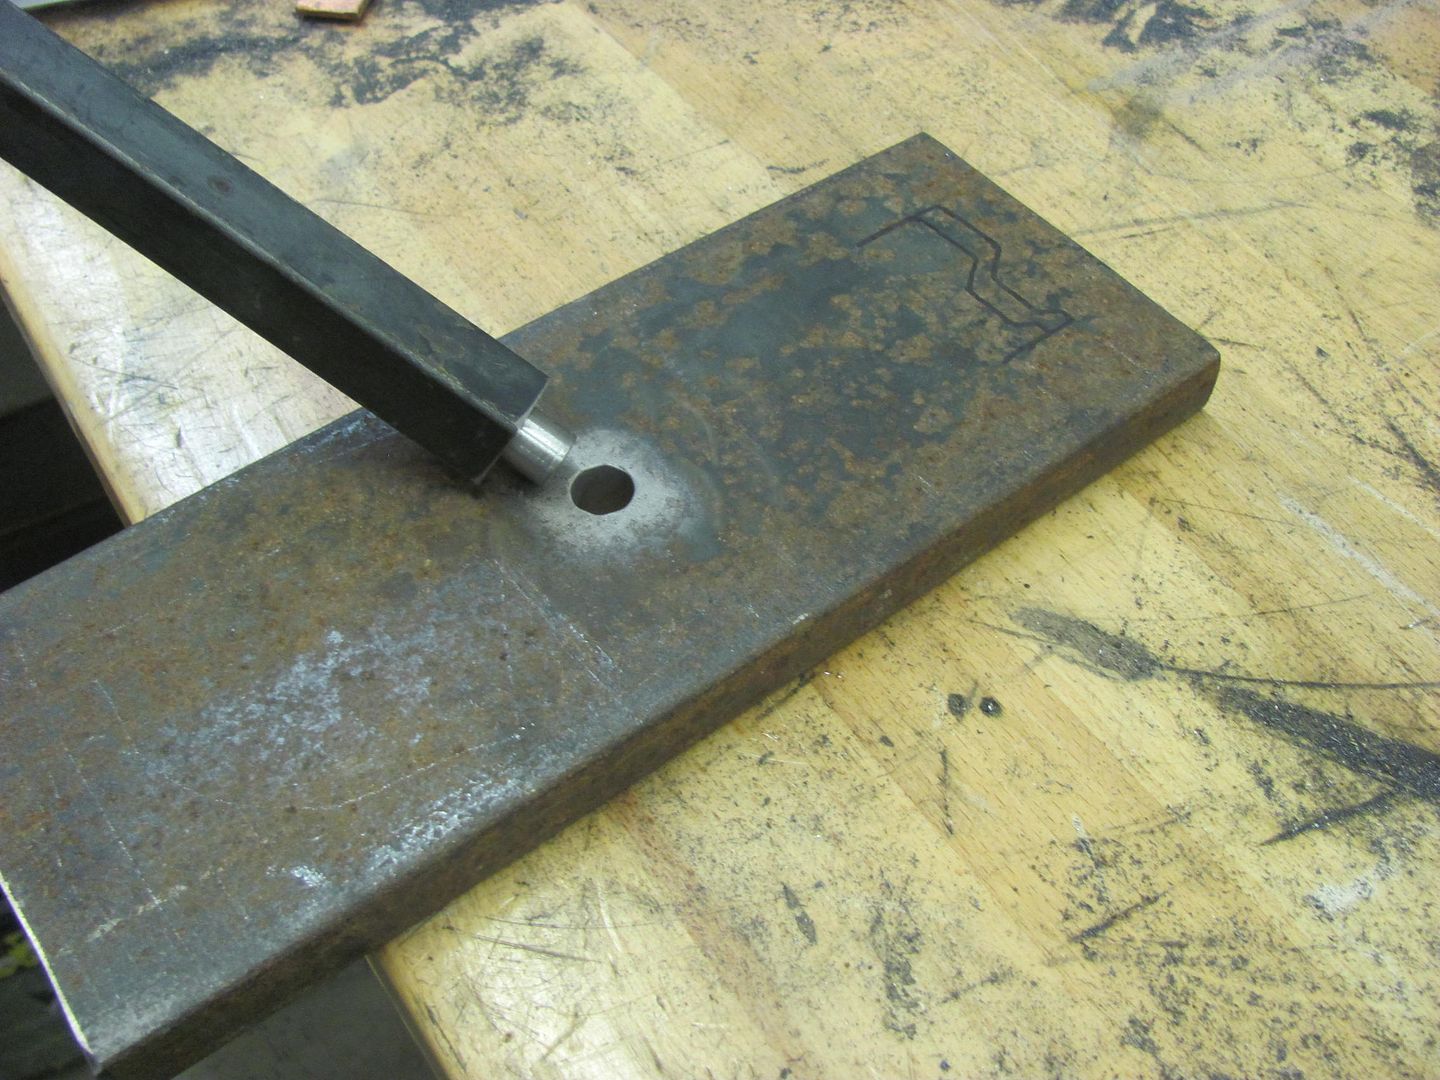
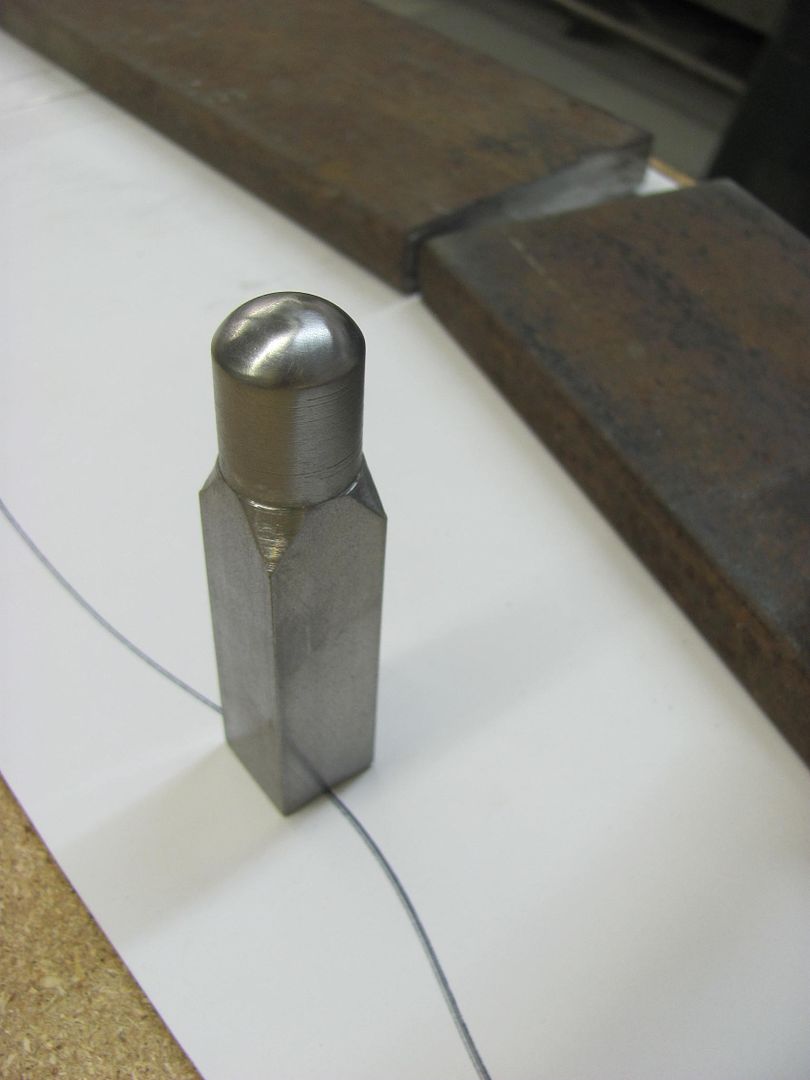
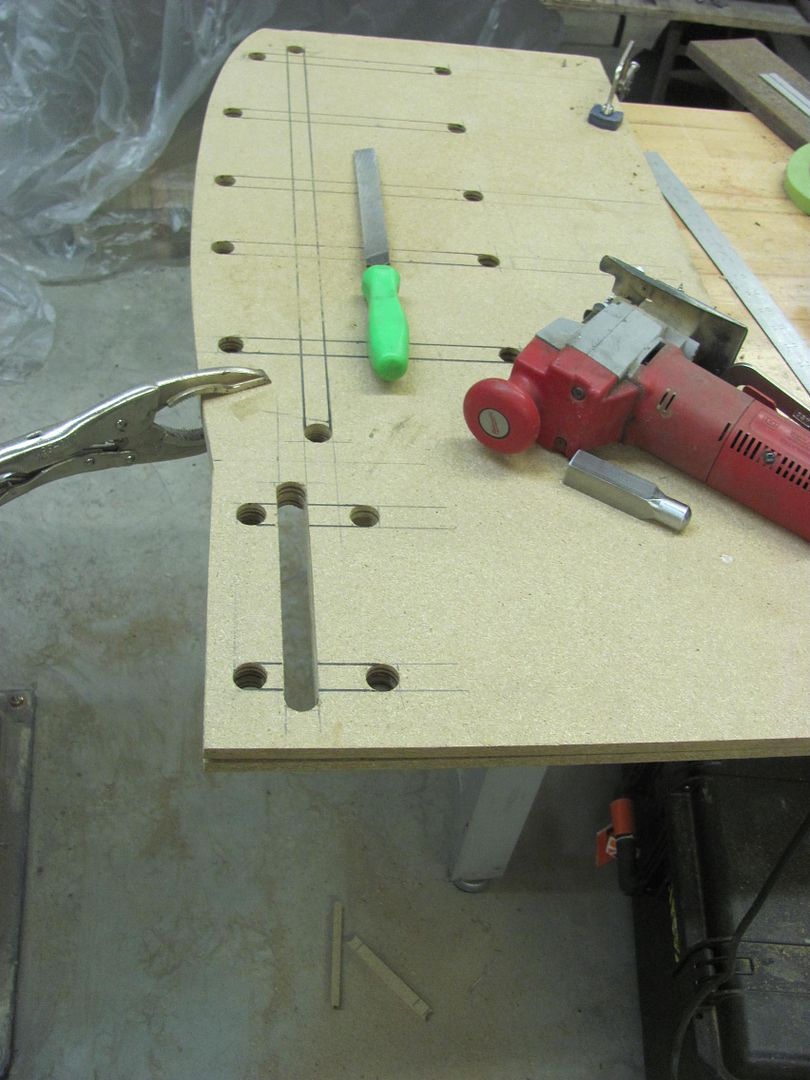
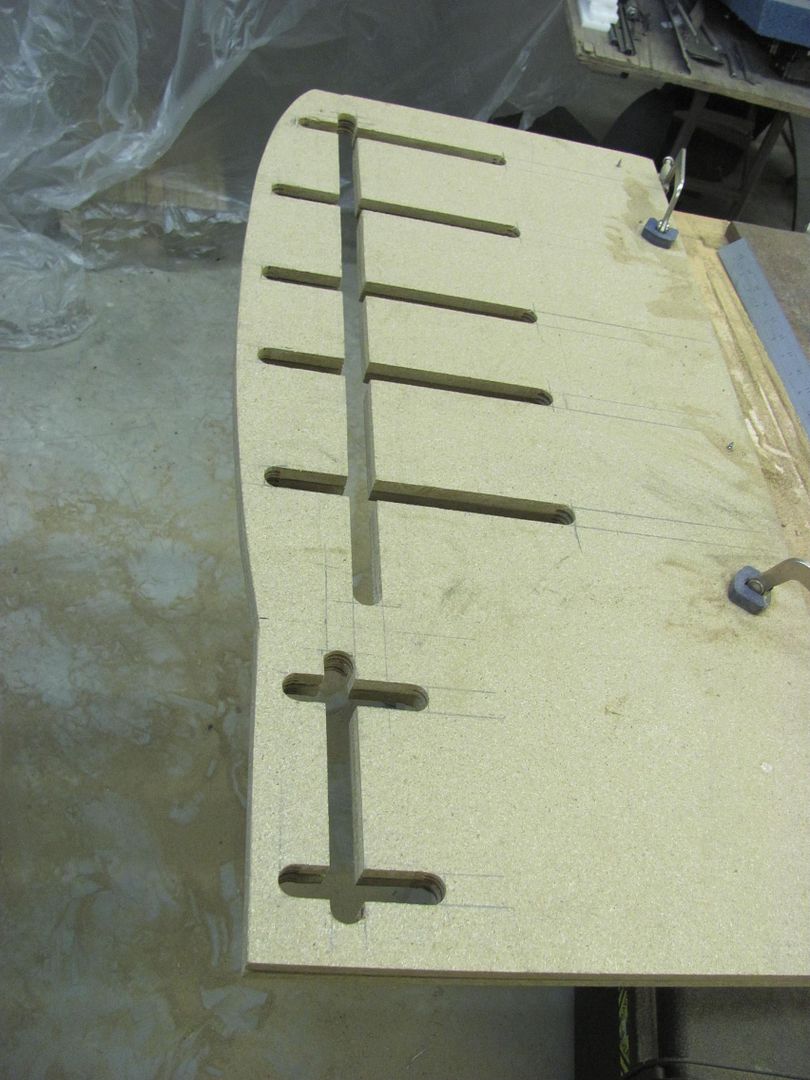
To make the new piece for the rear, we'll need a method to add beads that cross each other. This will entail a small table to use on the Lennox, an upper punch, and two pieces of matched MDF. Slots will be cut into the MDF, the top used as a guide for the punch, the bottom acts as our bottom die as it "rests" on the table..
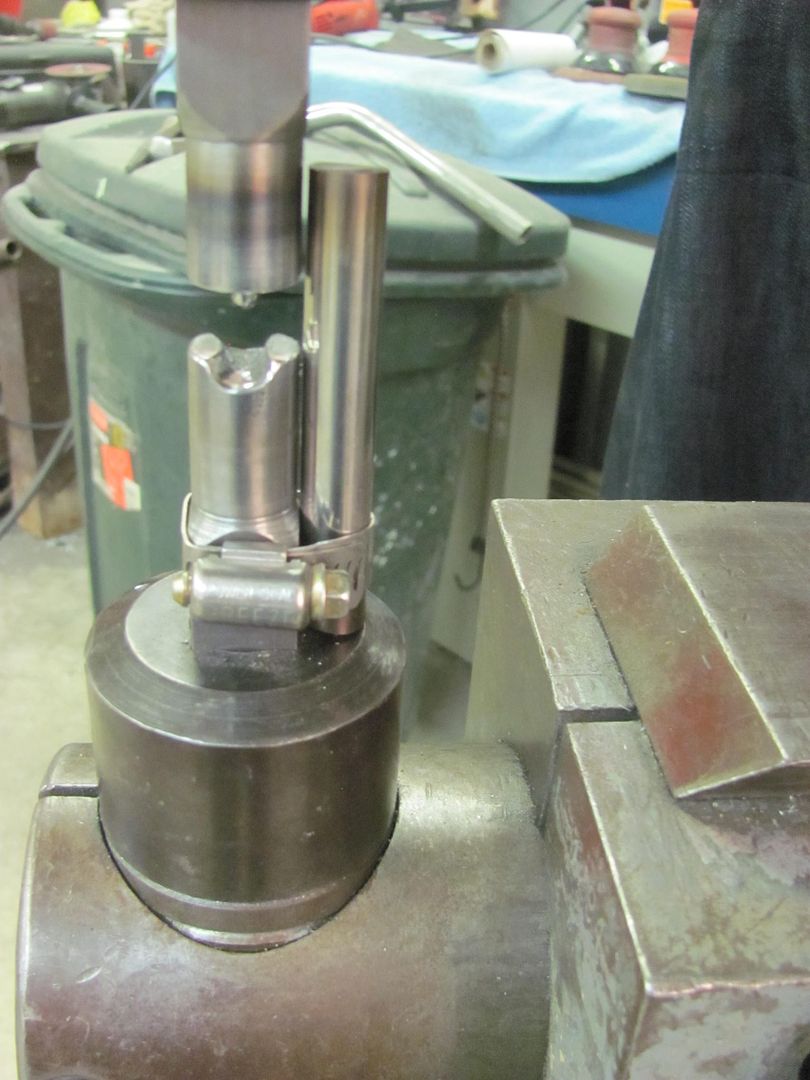
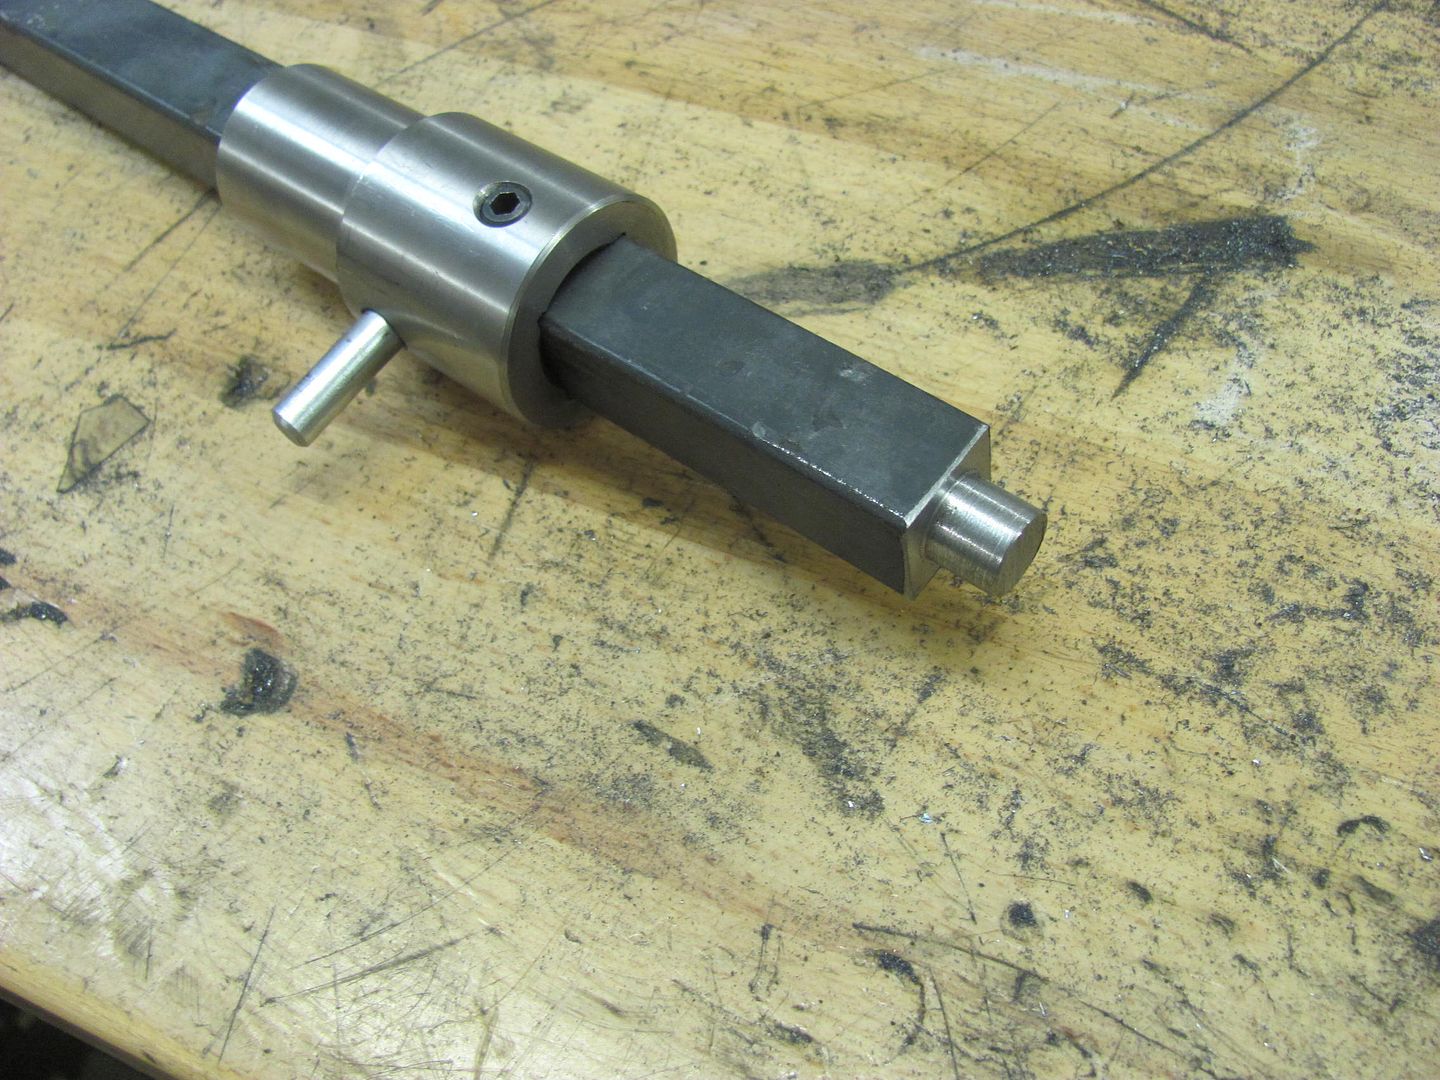
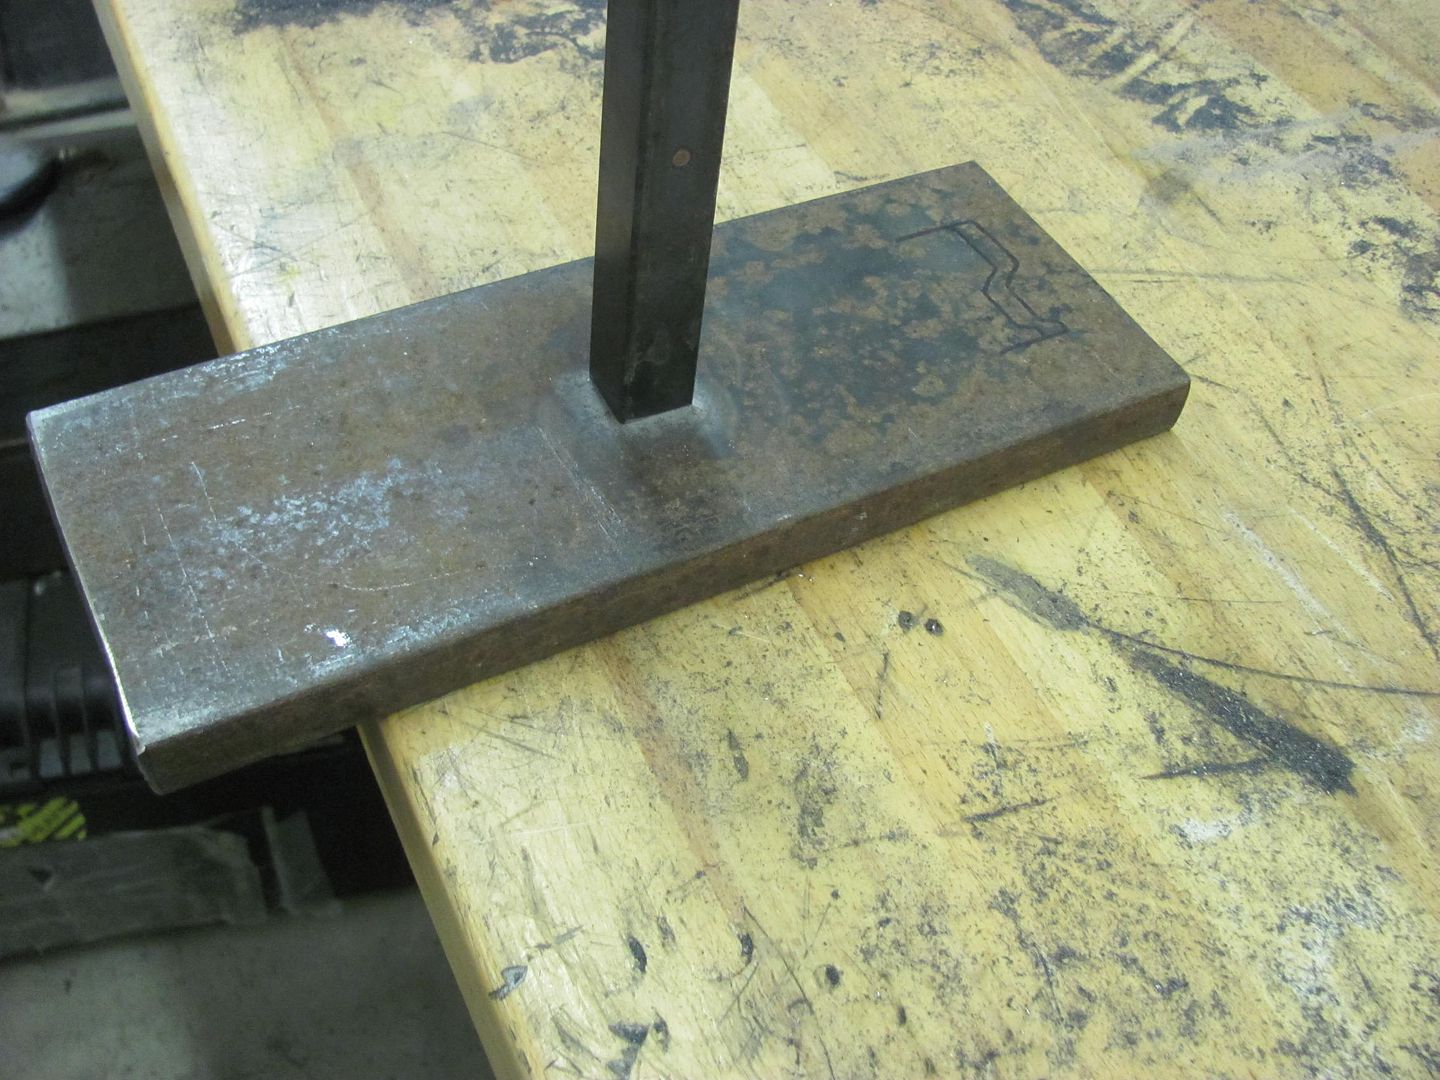
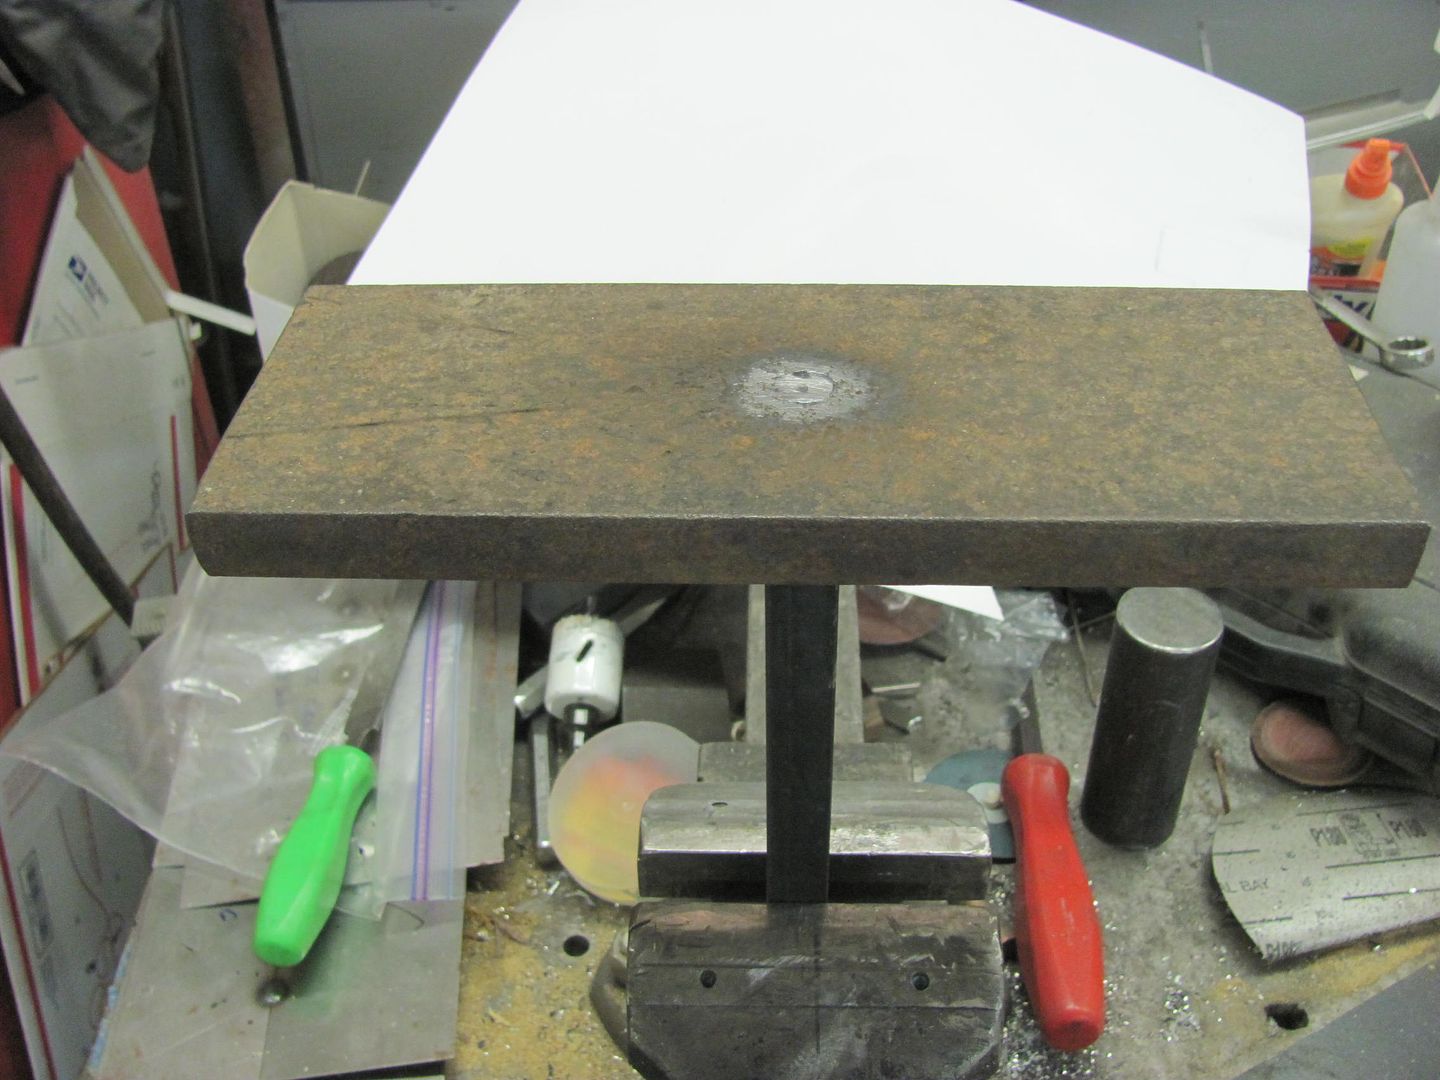
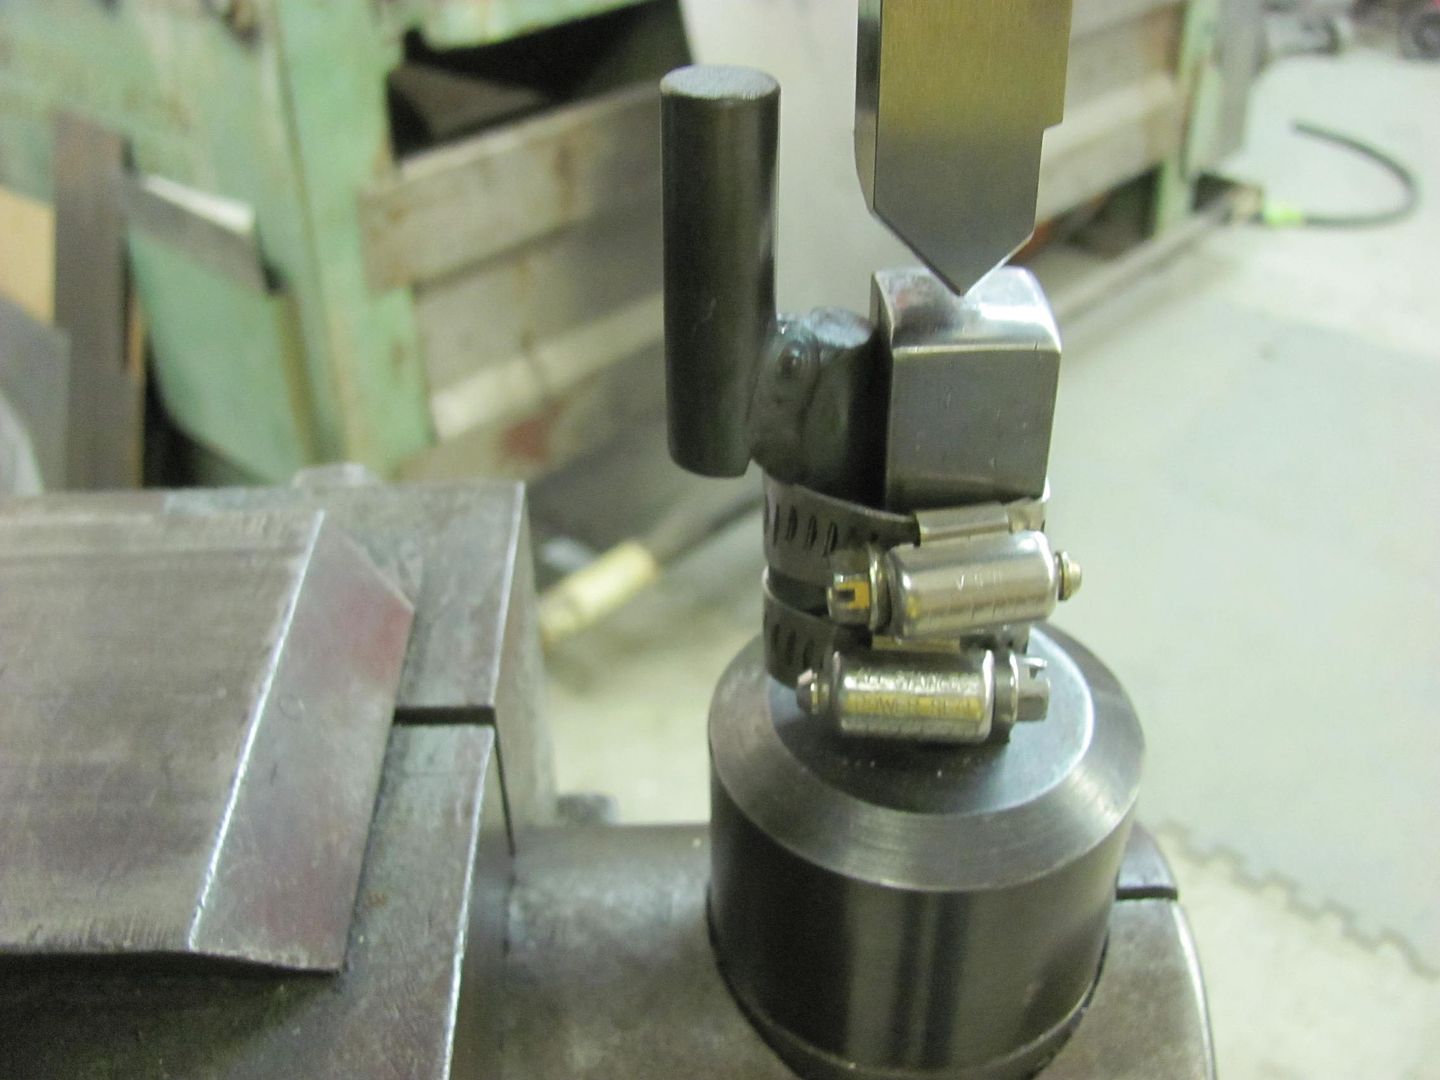
The table will be supported in the lower tool holder using a 3/4 shank. The end is turned down to 1/2" to mate into a 1/2" hole in the 4 x 12 table, which is then plug welded.
For an upper punch, we'll use some 3/4 oil hardening 4140, making it less pointed than the original just in case we want to use it for something besides the 55.


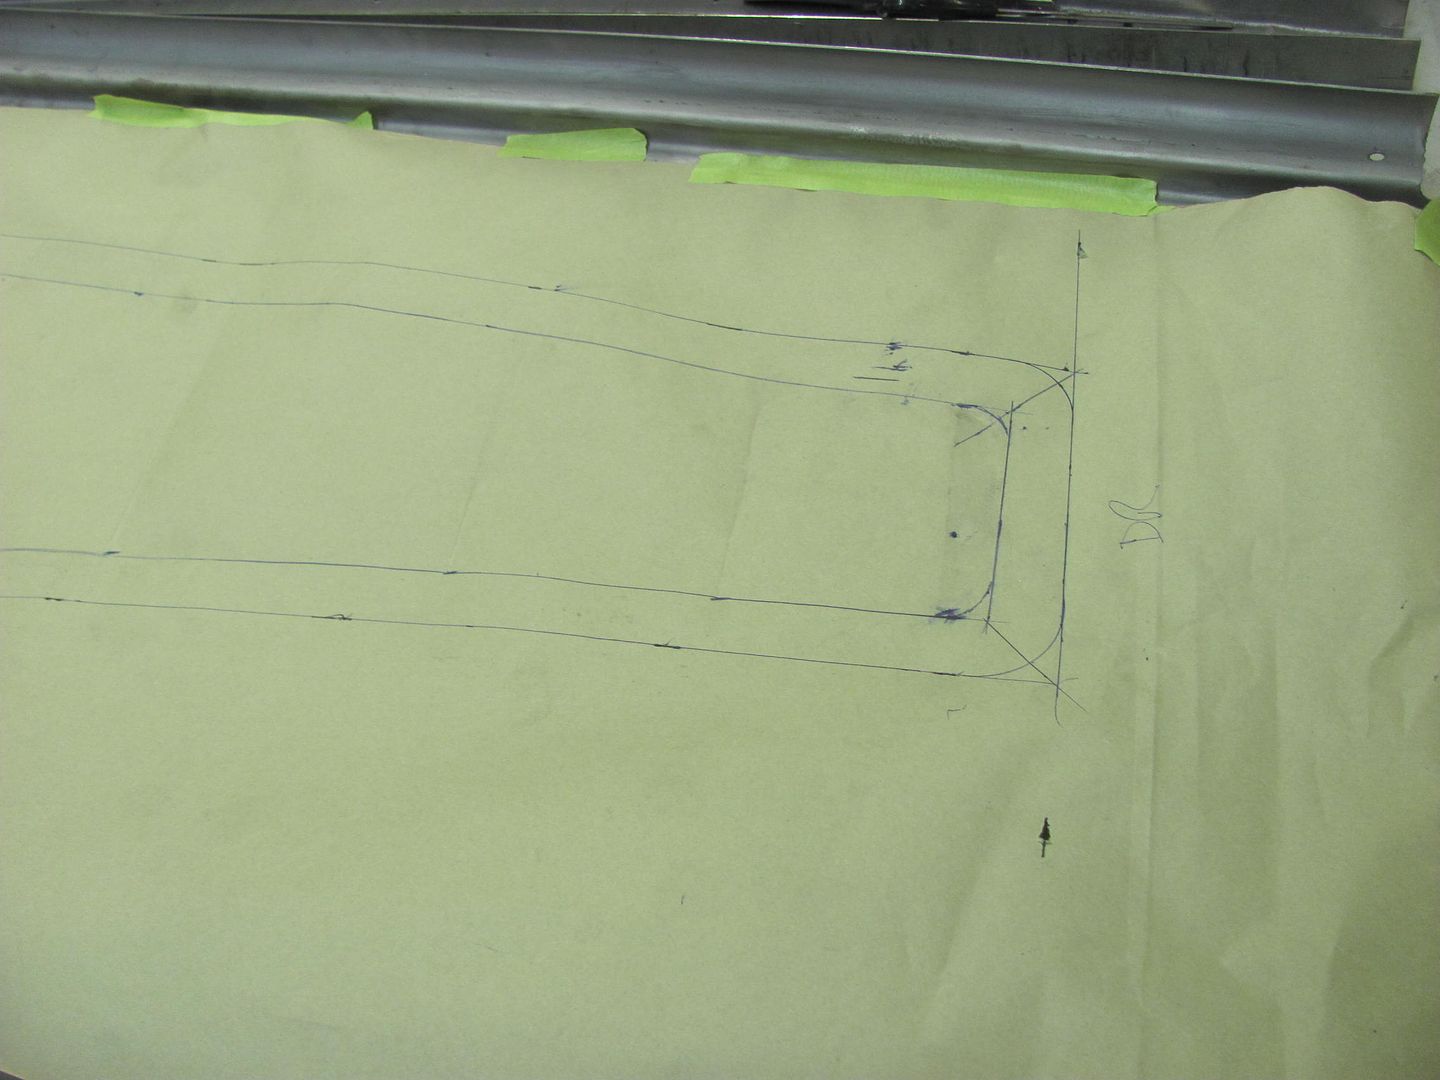
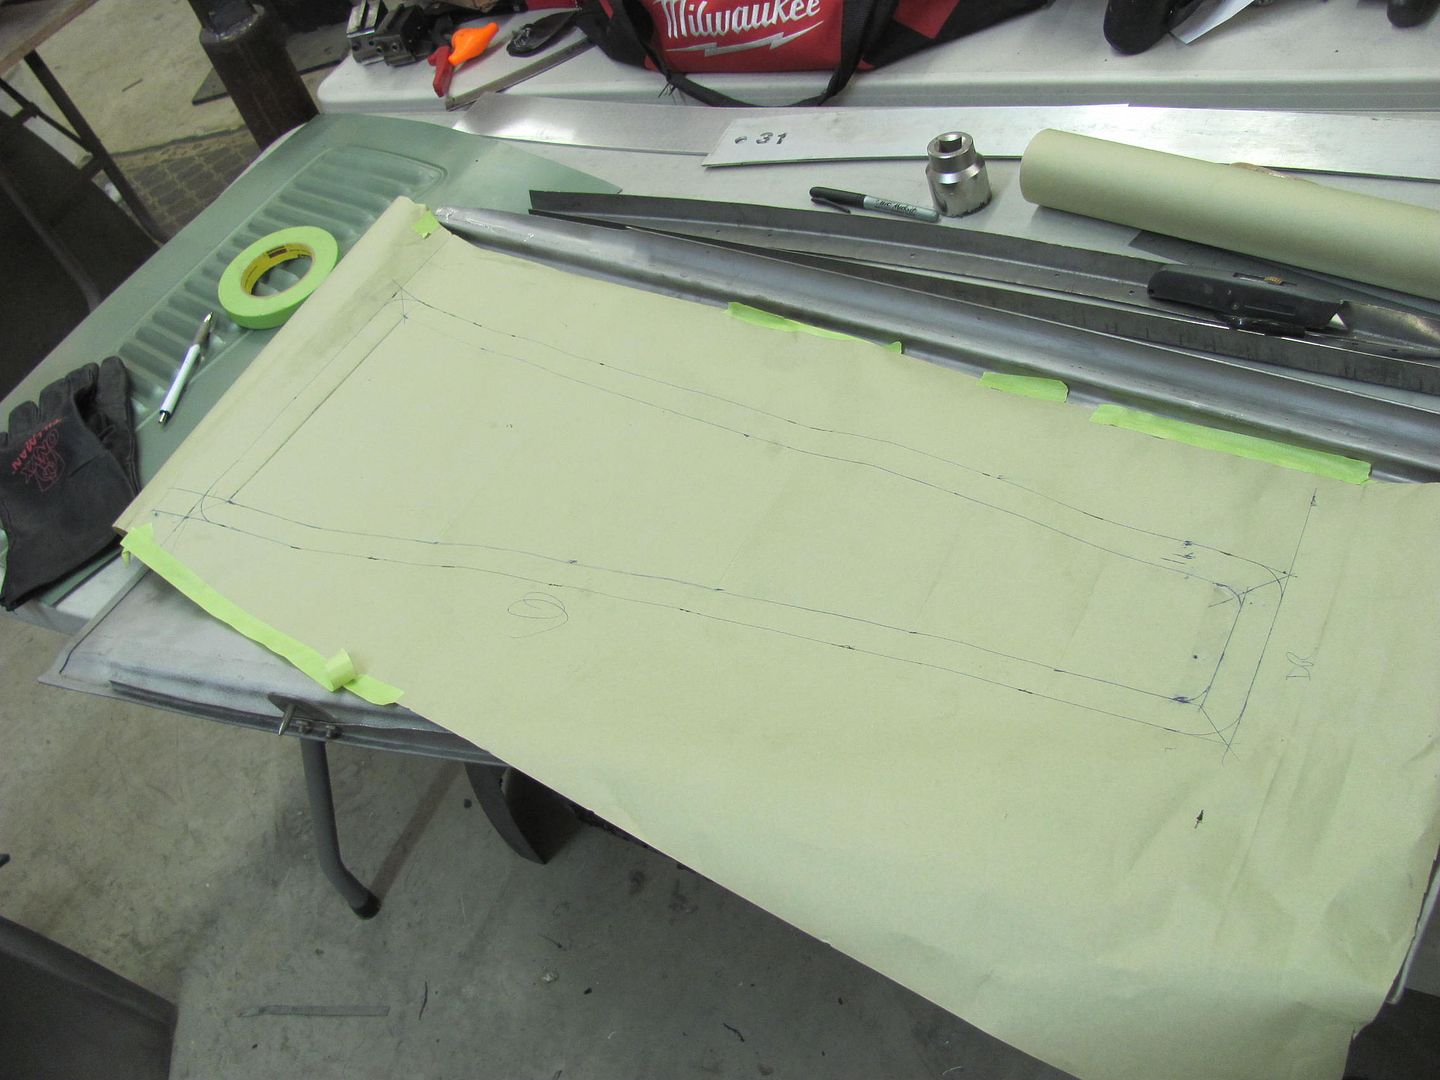
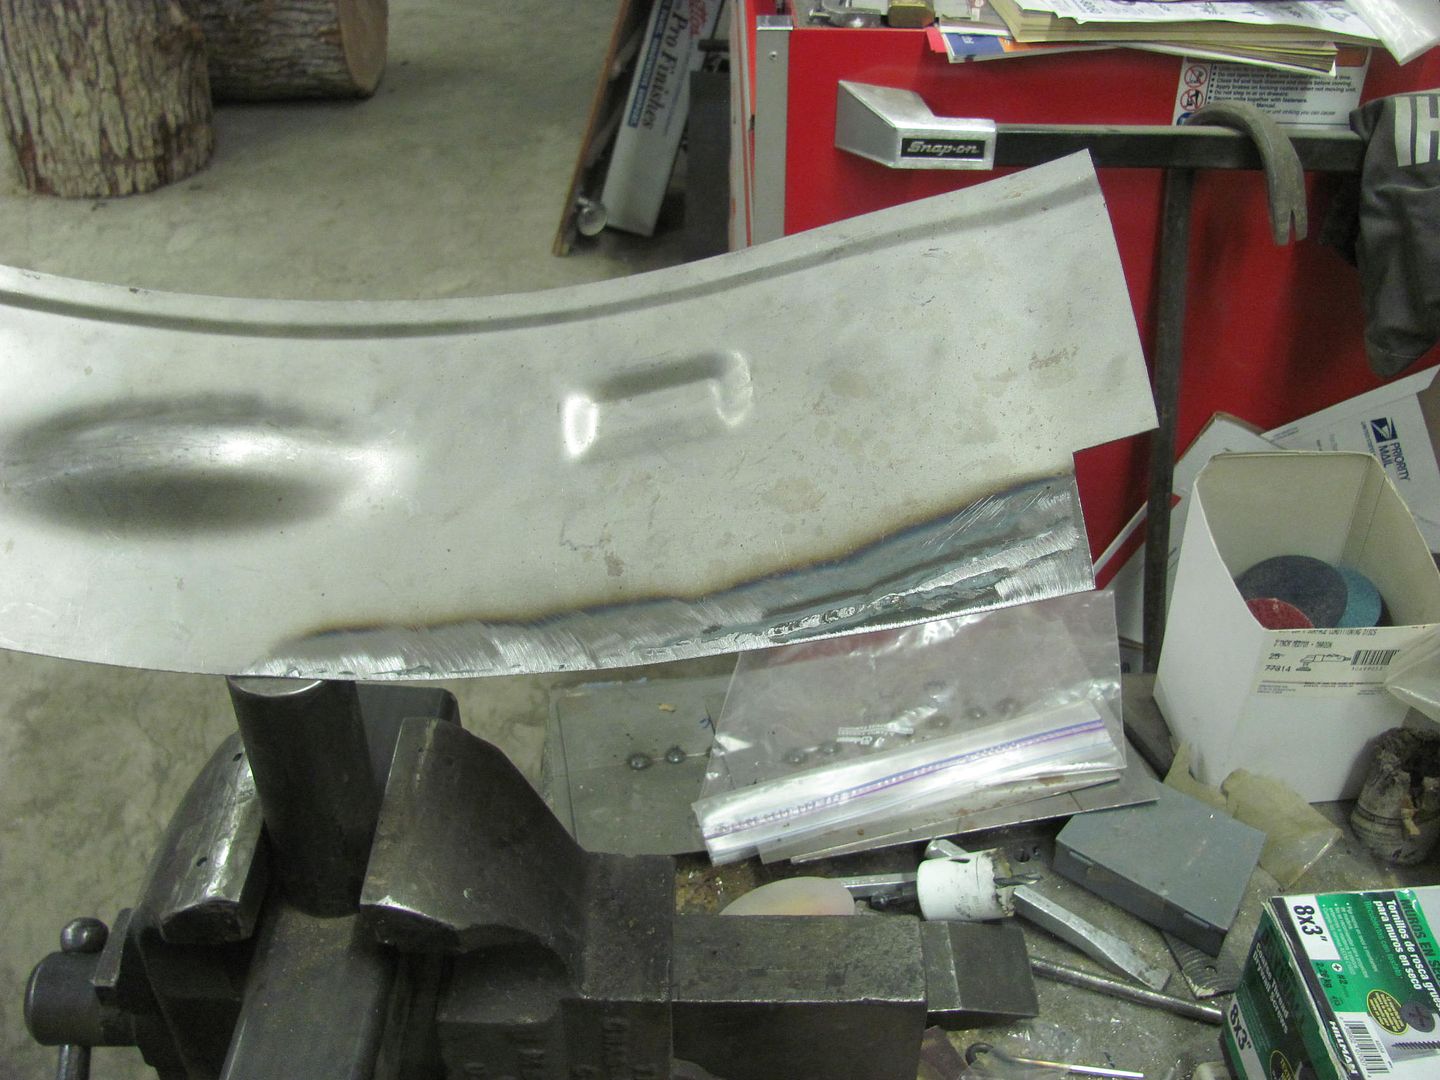
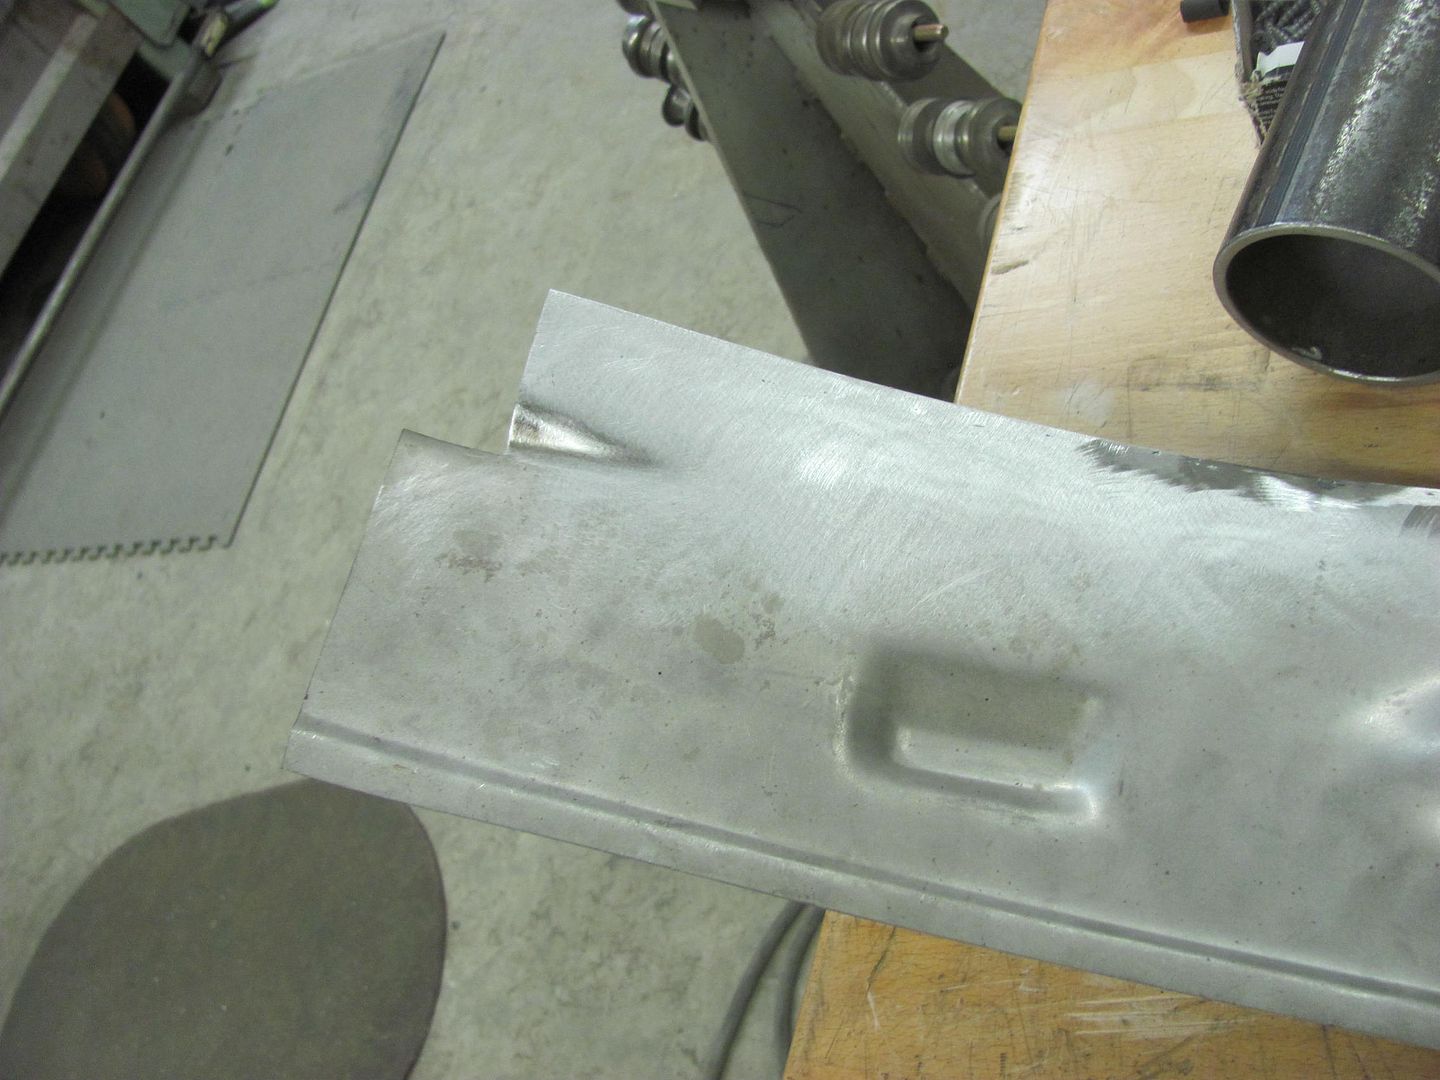
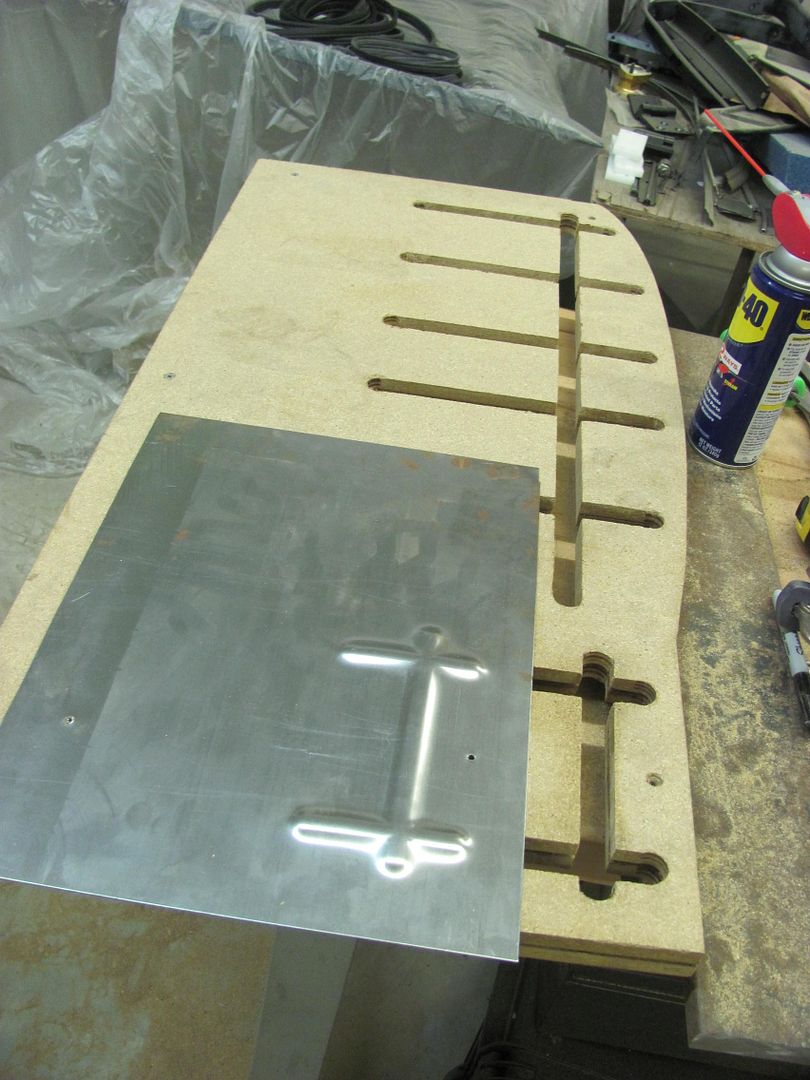
For a bead guide we first need to get a good template of the inside of the quarter. The adjustable spline comes in handy...
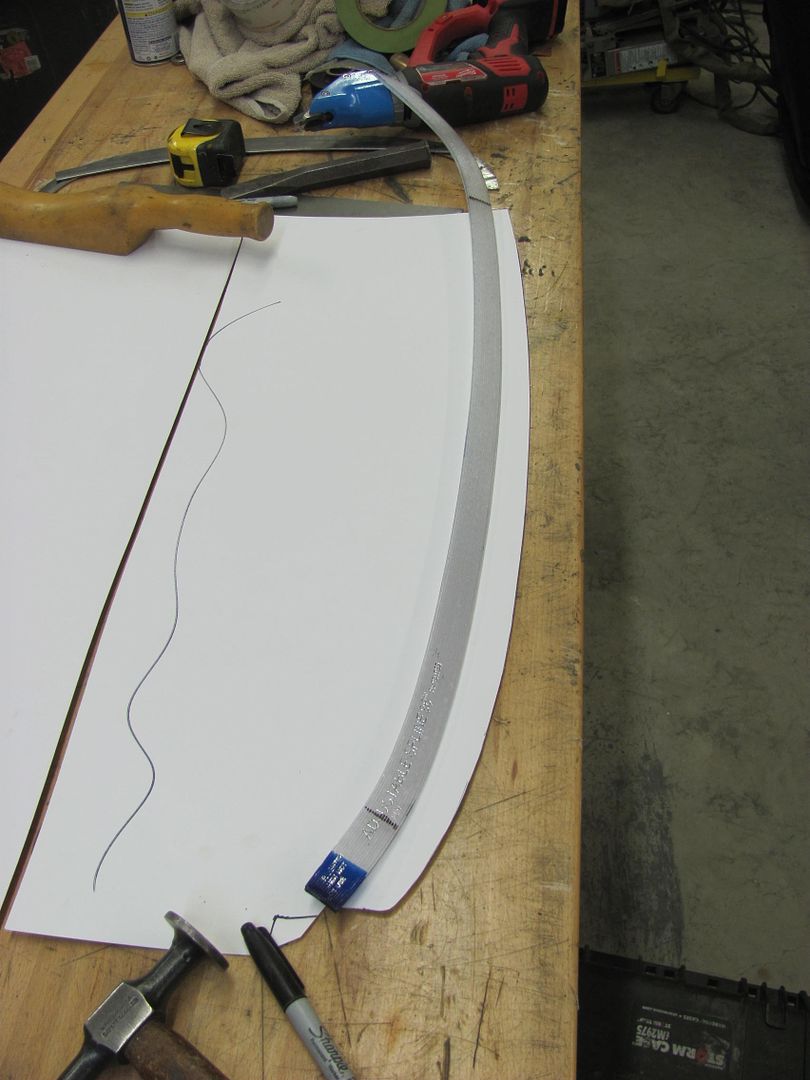
MDF is screwed together and then the edge profile cut..
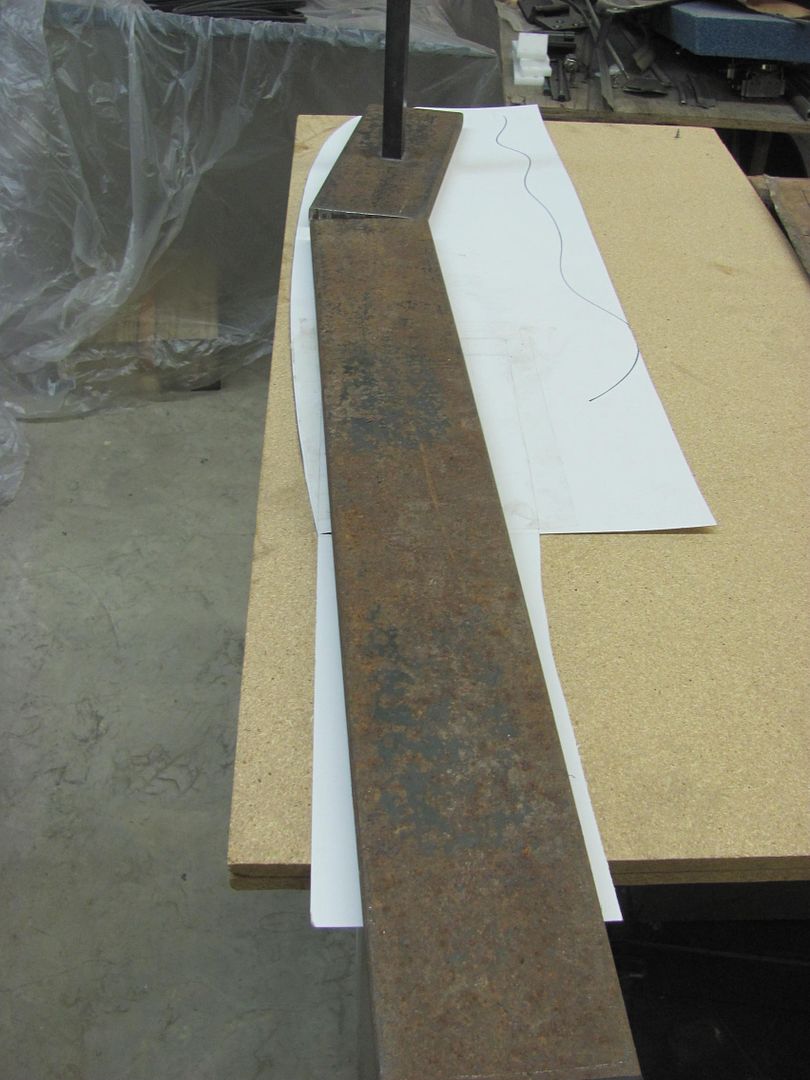
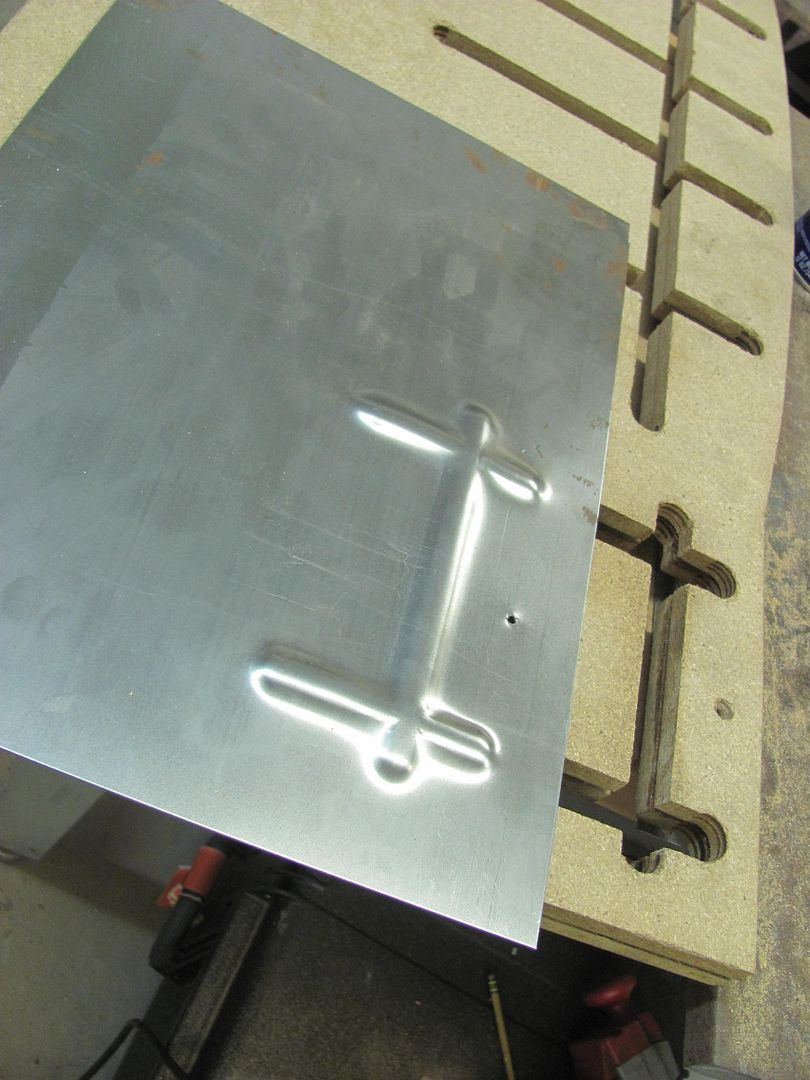
Cutting our bead pattern..
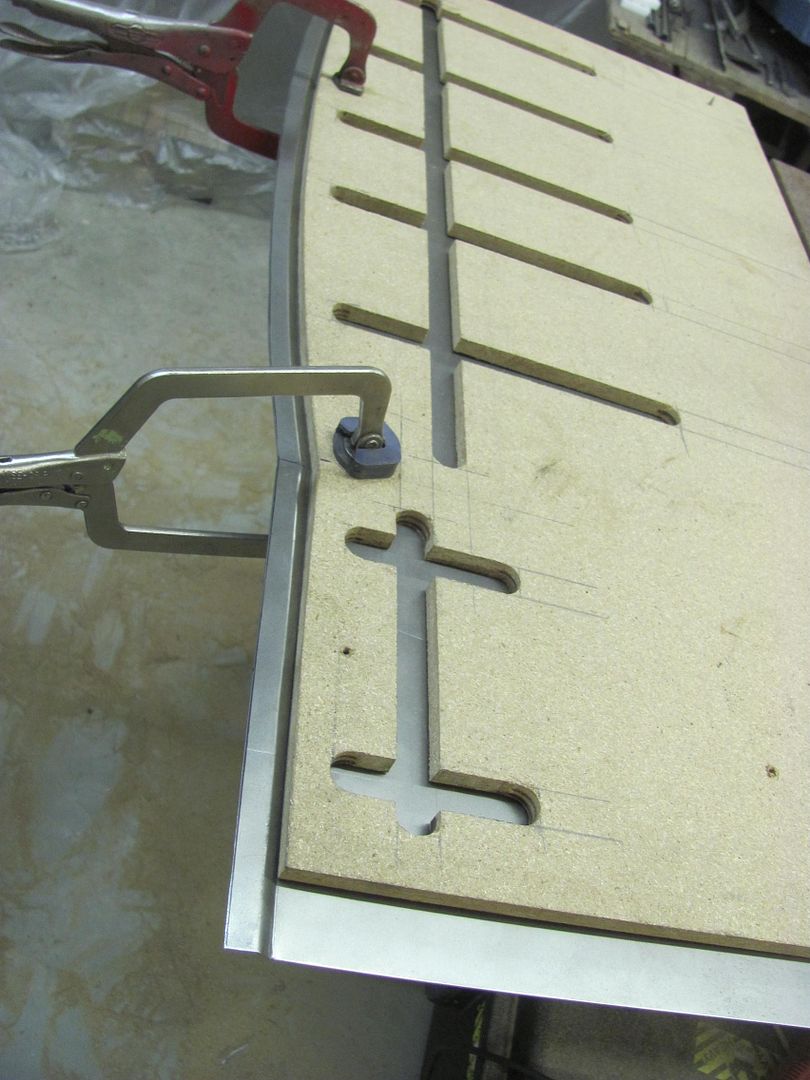
The offset of the original for the quarter seal is added using a tipping die in the Lennox, slight modification on the backstop for the correct width..
New matches the repop....
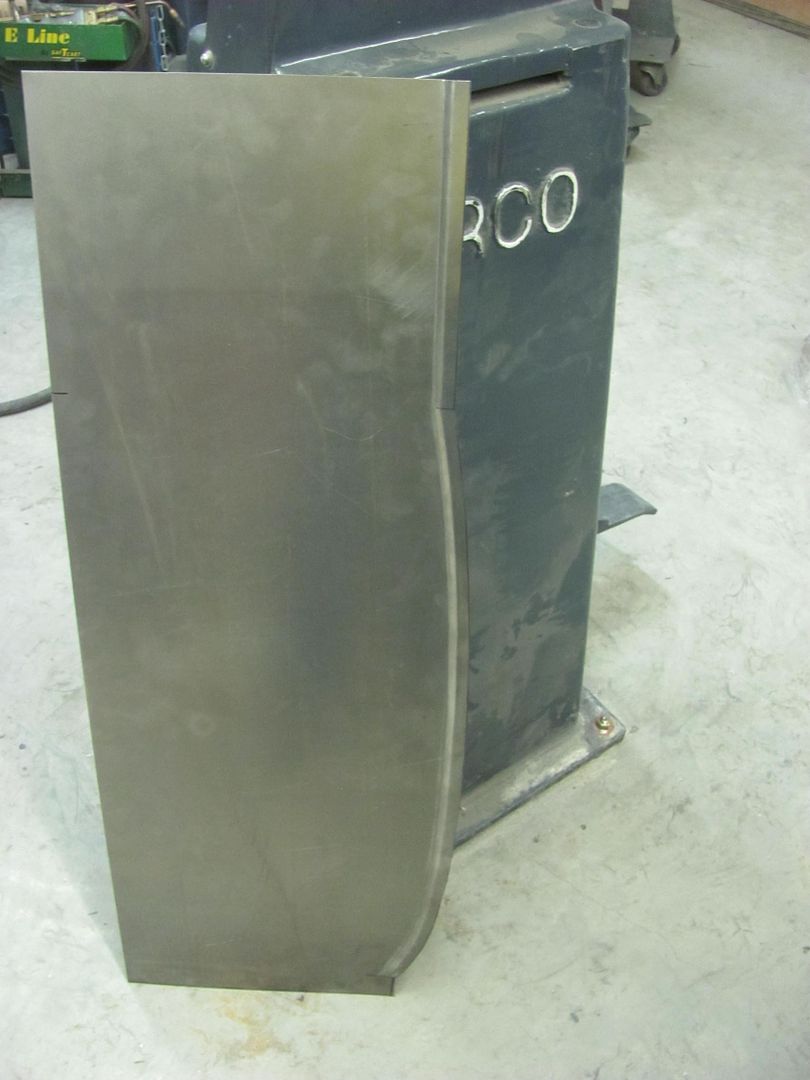
This seal will be used against the inside of the quarter..
Running a test pattern... The table height is adjusted to set the punch depth...
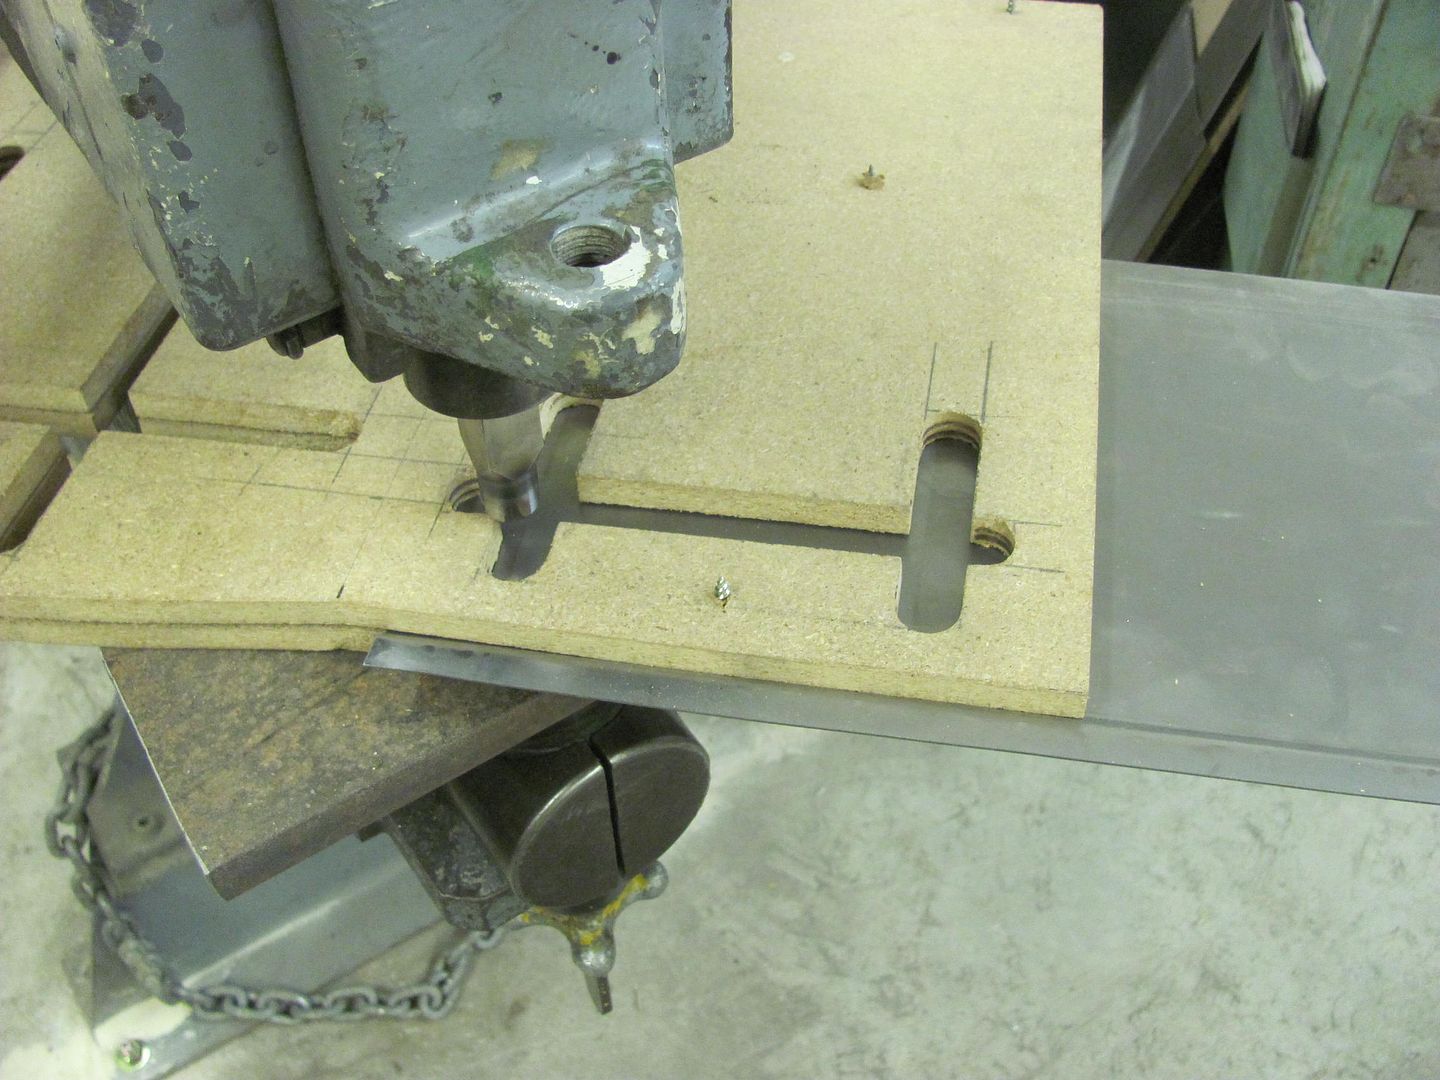
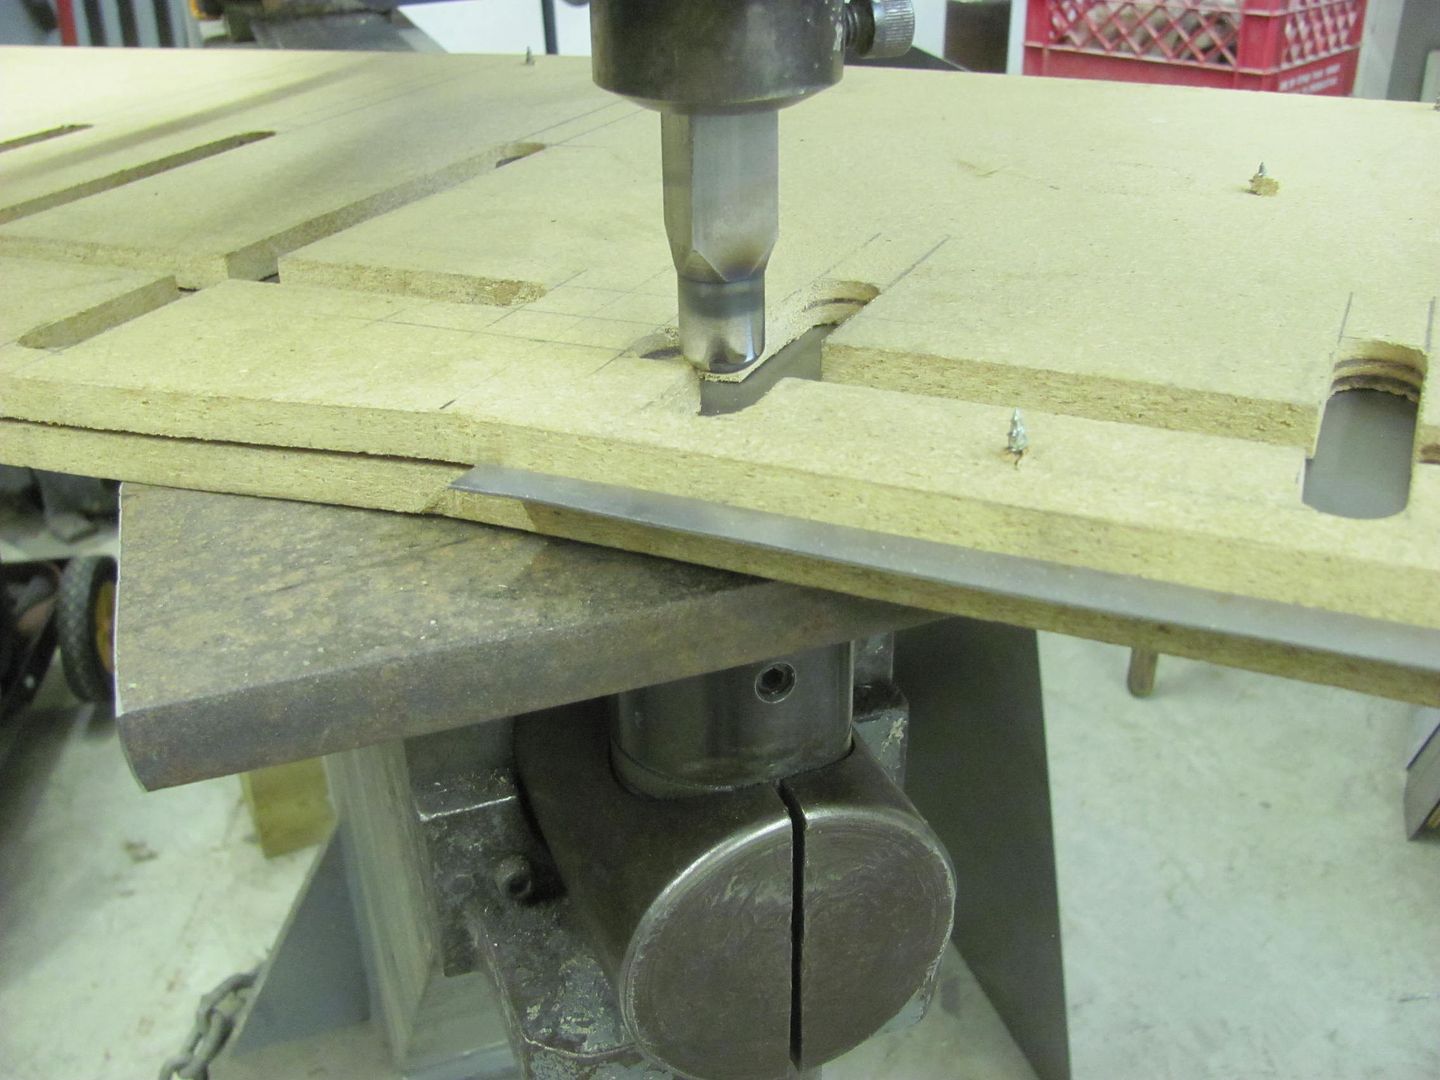
All clamped up, ready to go. Kyle has already left for the day so we'll finish up next time..

Last edited by MP&C; 09-21-2016 at 06:54 AM.
Robert
 Reply With Quote

Posting Permissions
- You may not post new threads
- You may not post replies
- You may not post attachments
- You may not edit your posts

i've enjoyed the years here . made a lot of friends. most who have left. i see no reason to continue with this so hope to see you somewhere else. i dont think this site will ever be back. it's lived...
Dead!