


 3390Likes
Thread: 55 Wagon Progress


Results 1 to 15 of 1865
 LinkBack URL
 About LinkBacks
Hybrid View
-
01-10-2013 07:27 PM #1
 CHR Member

- Join Date
- Jun 2008
- Location
- Leonardtown
- Car Year, Make, Model: Walking
- Posts
- 1,228
55 Wagon Progress
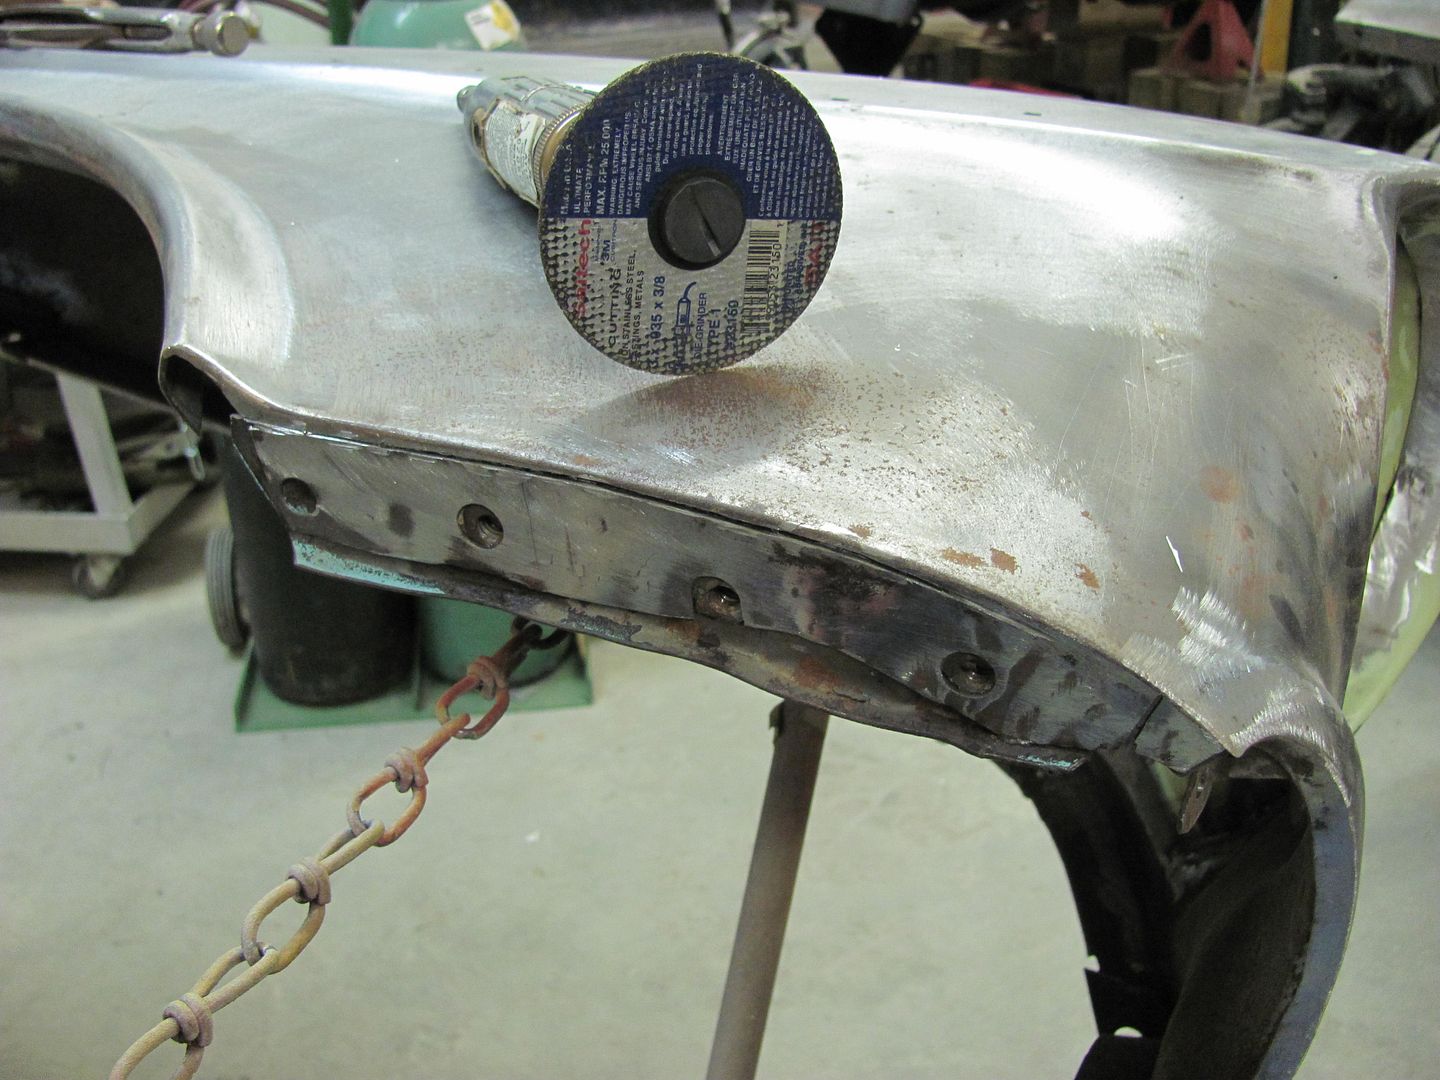
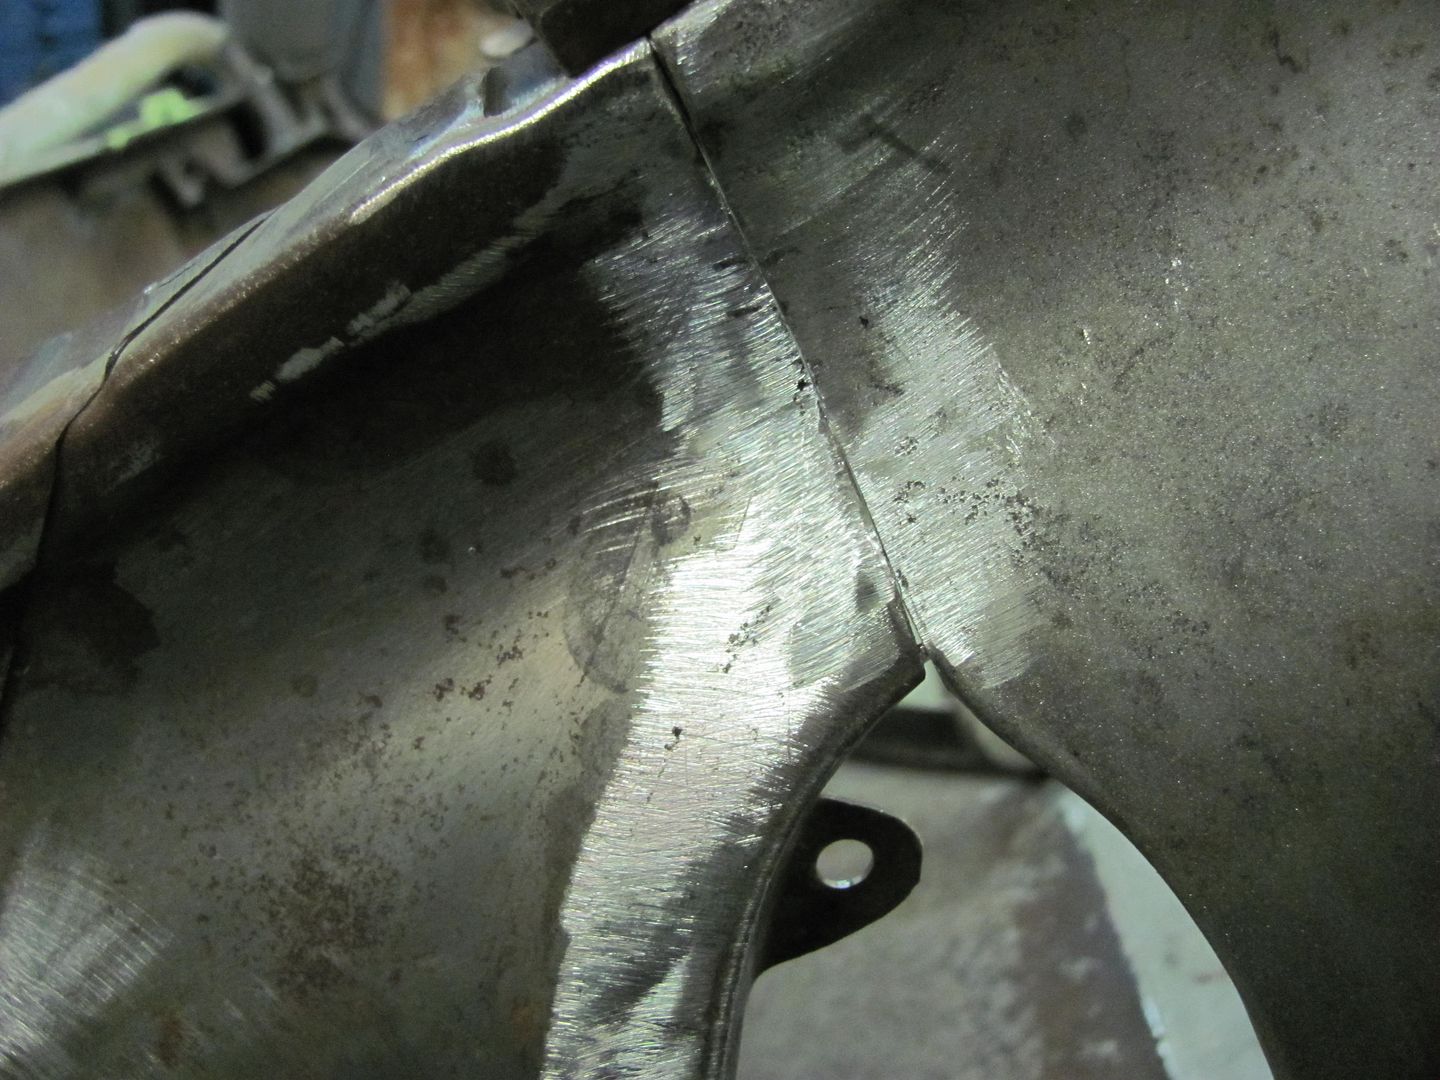
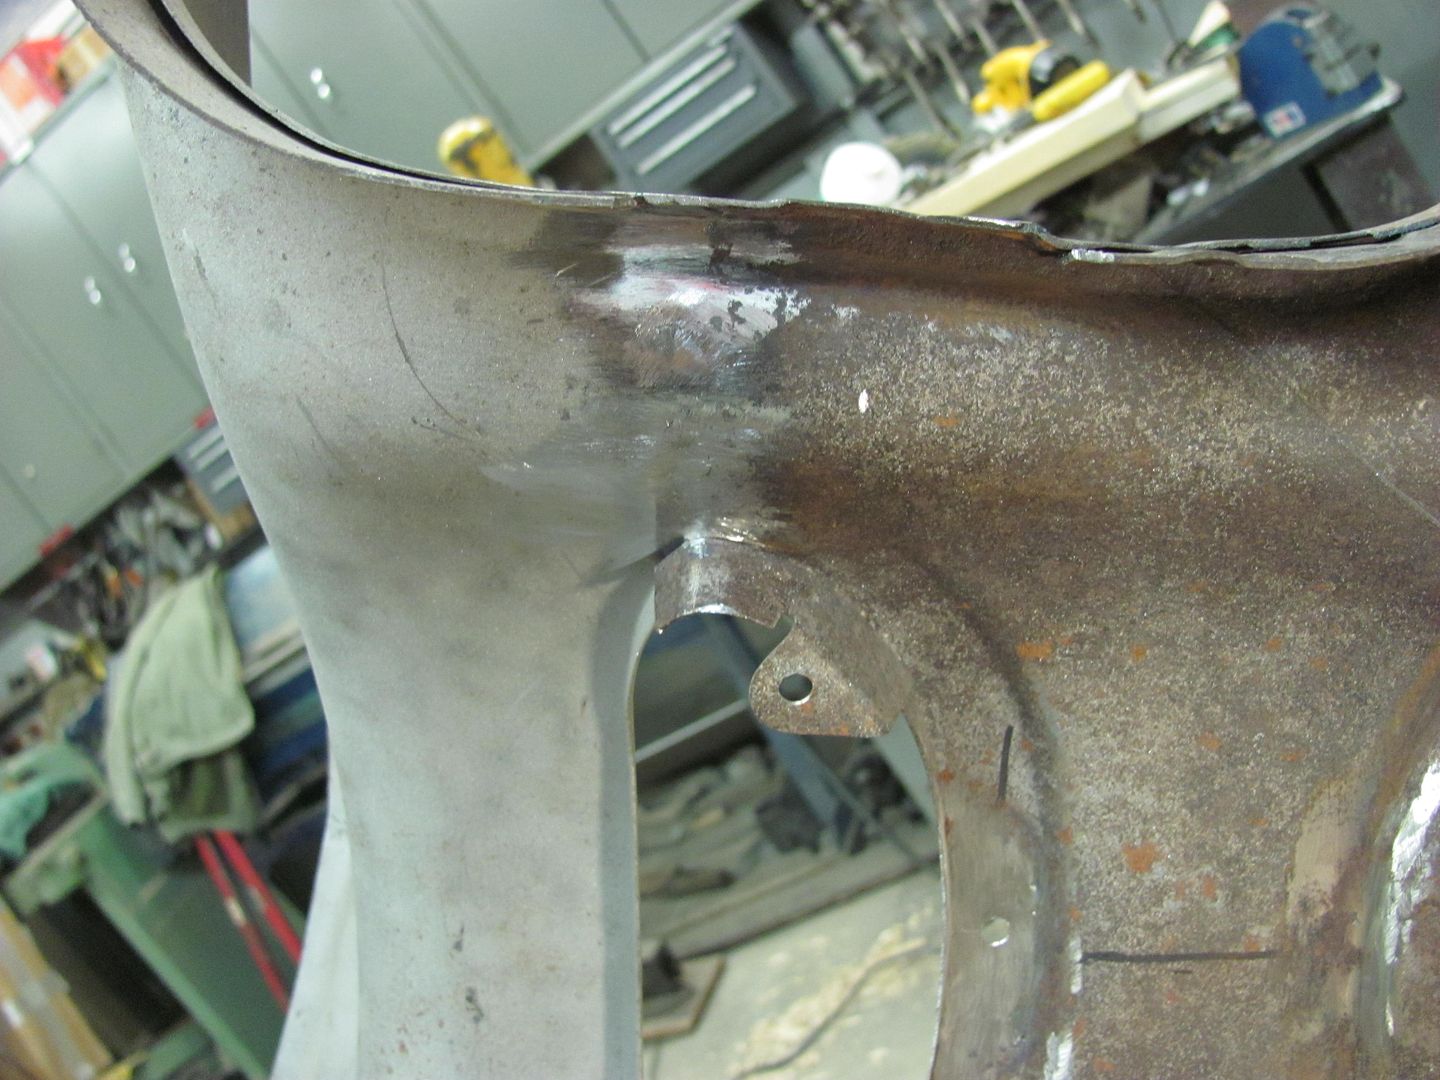
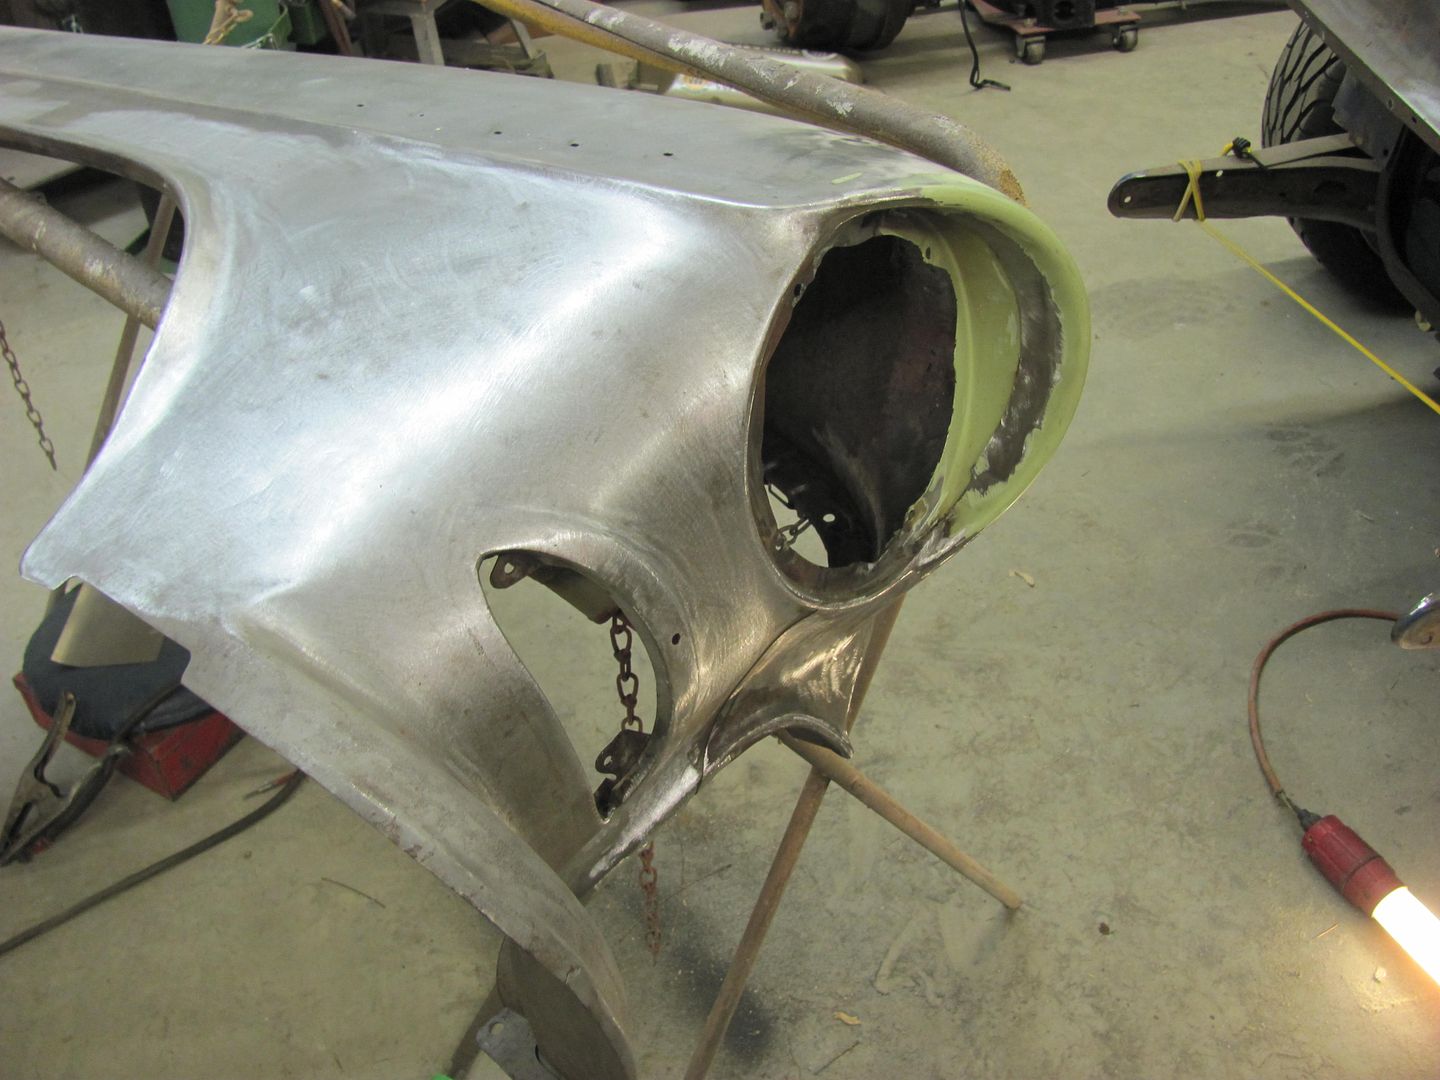
This is a customer car, the owner and I discussed shaving the fender seams quite a while back, and she asked about it again last week, so I guess we're on the hook..
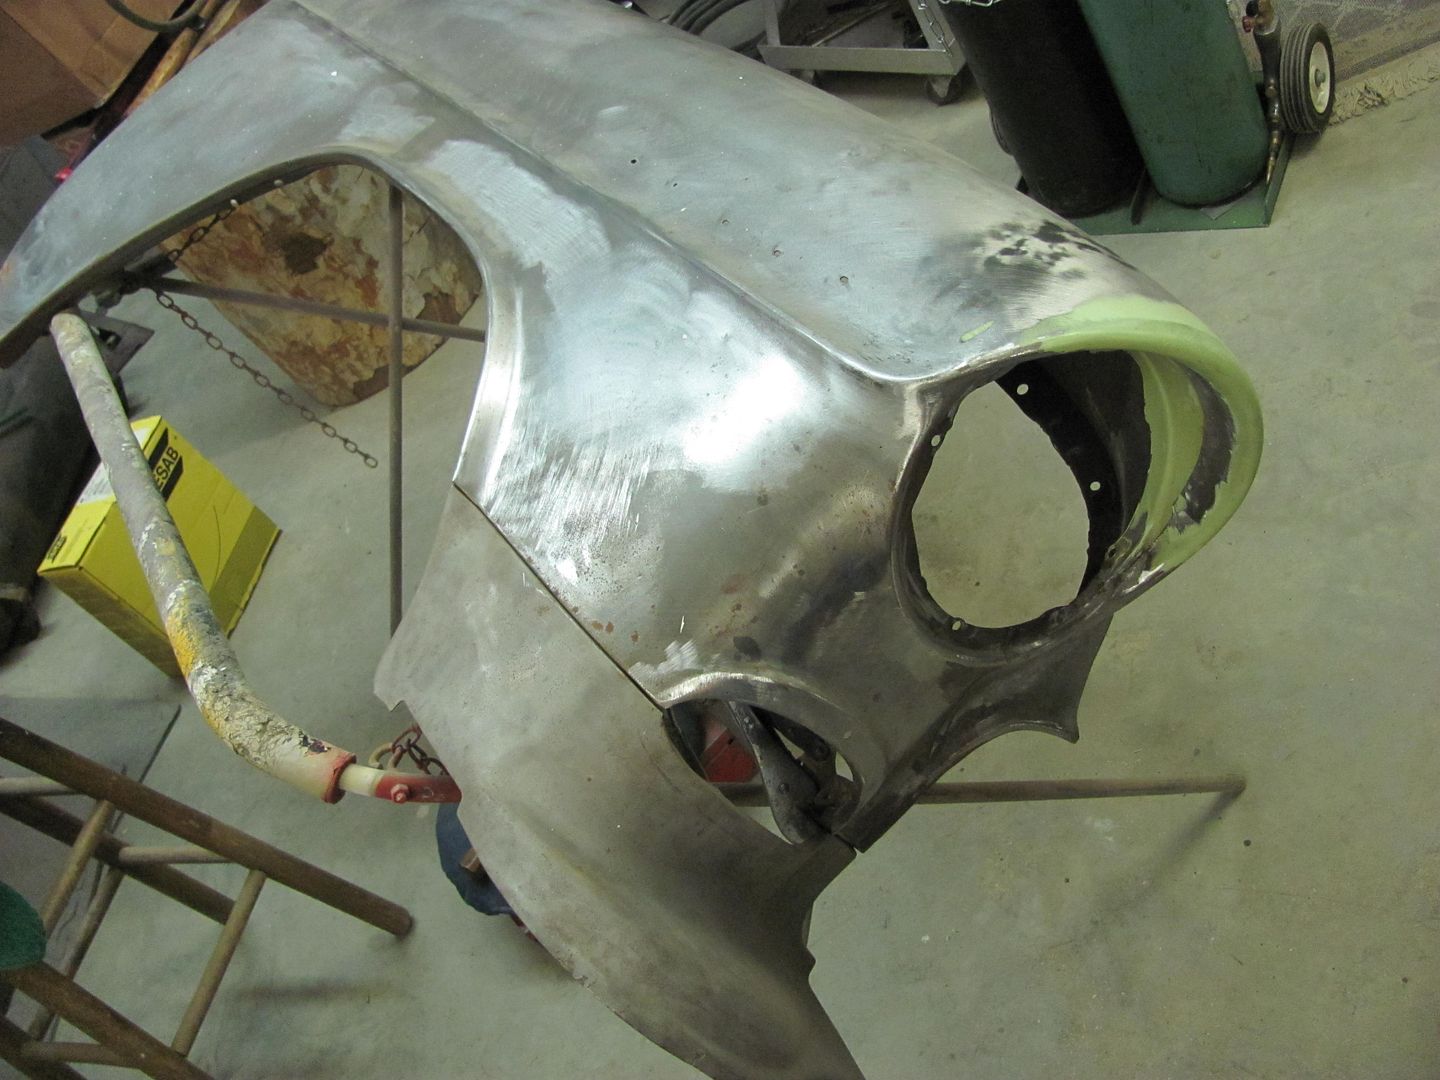
The bolting plates are cut out of the way, and the folded flange is trimmed, leaving a bit of extra to allow for fine tuning the weld joint.
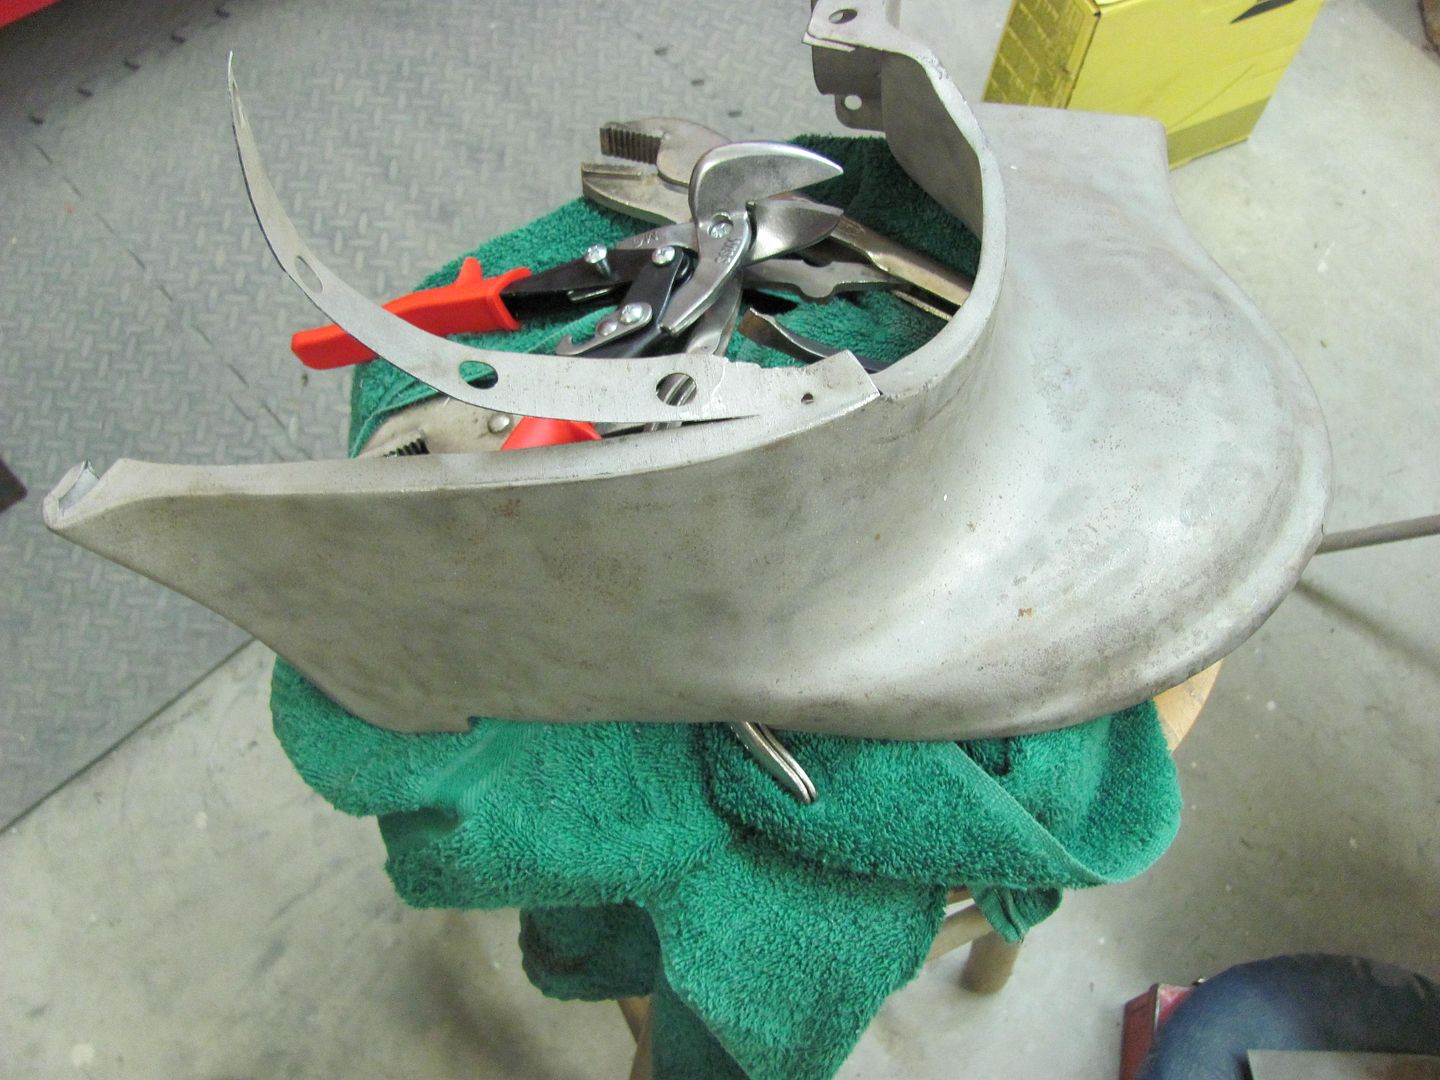
Bottom of the fender is cut loose from the bolting plate using the cutoff wheel. Then sanding the face of the fender leaves a contrast at the bend of the flange for a good guide for trimming with snips....
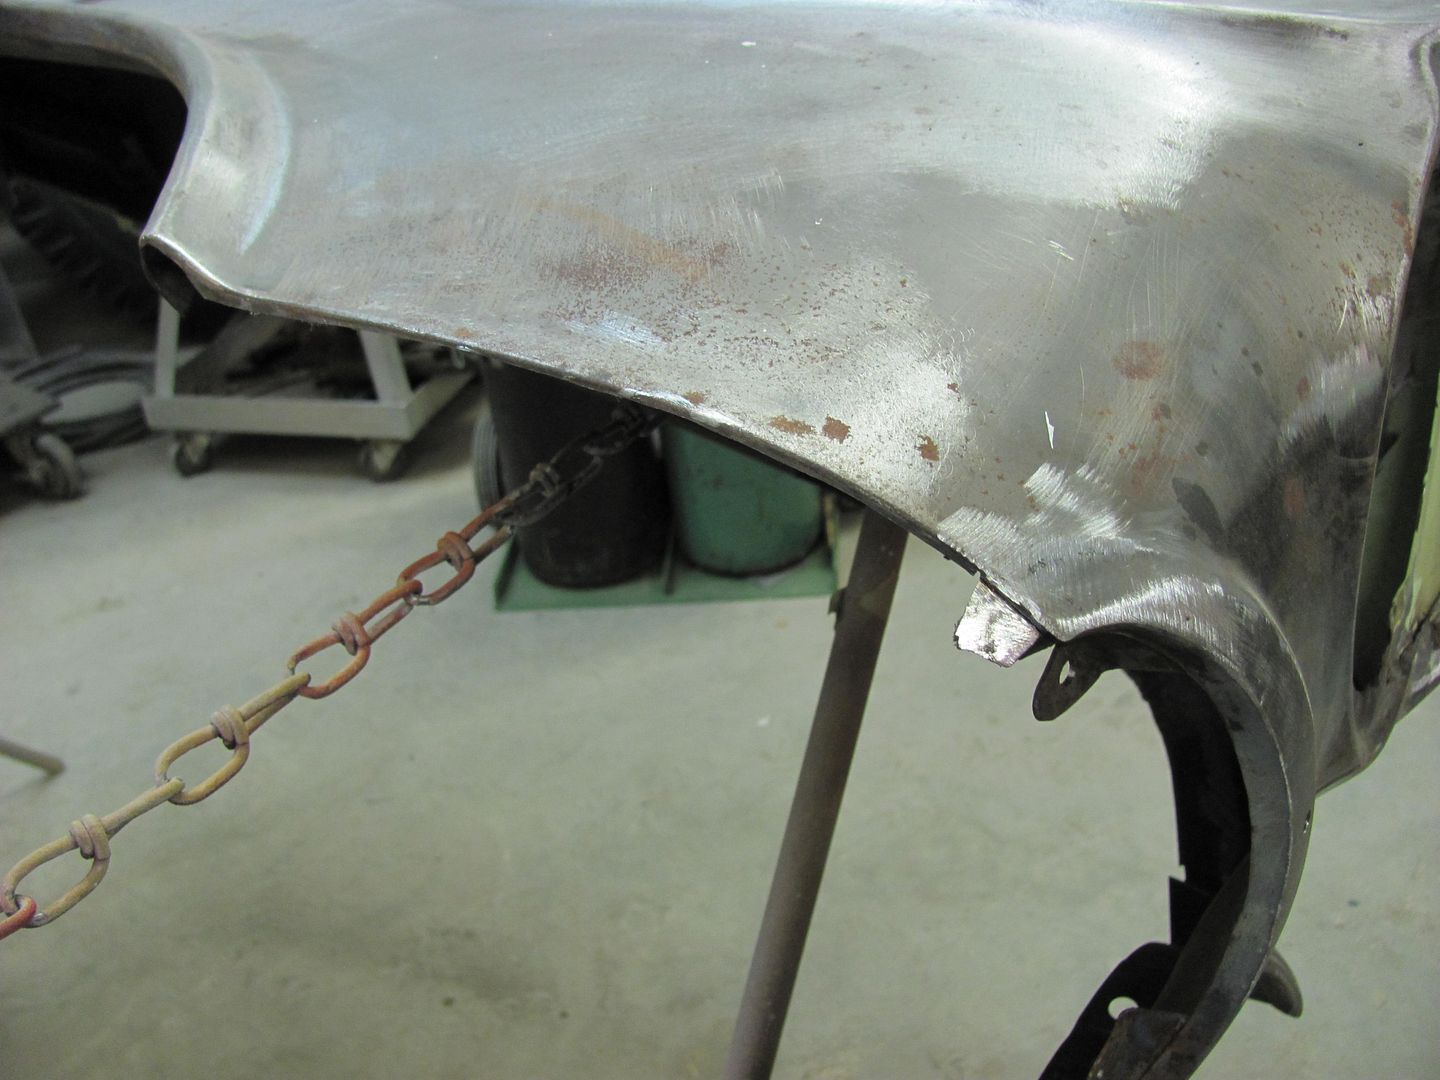
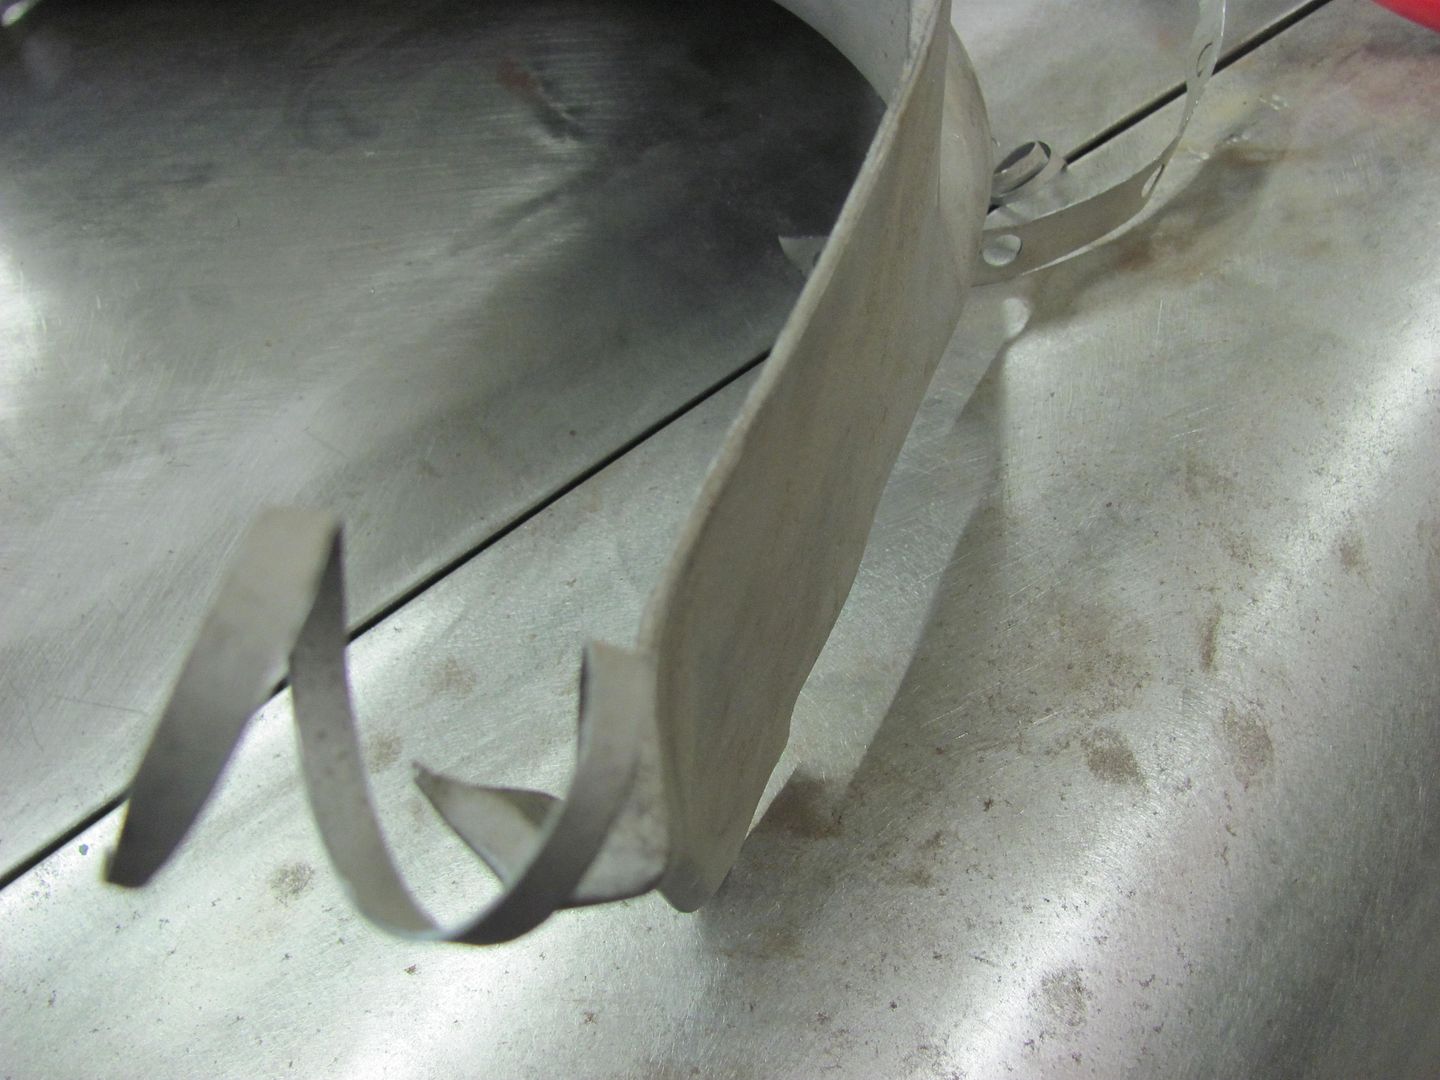
Planishing out the fold to fill the gap....
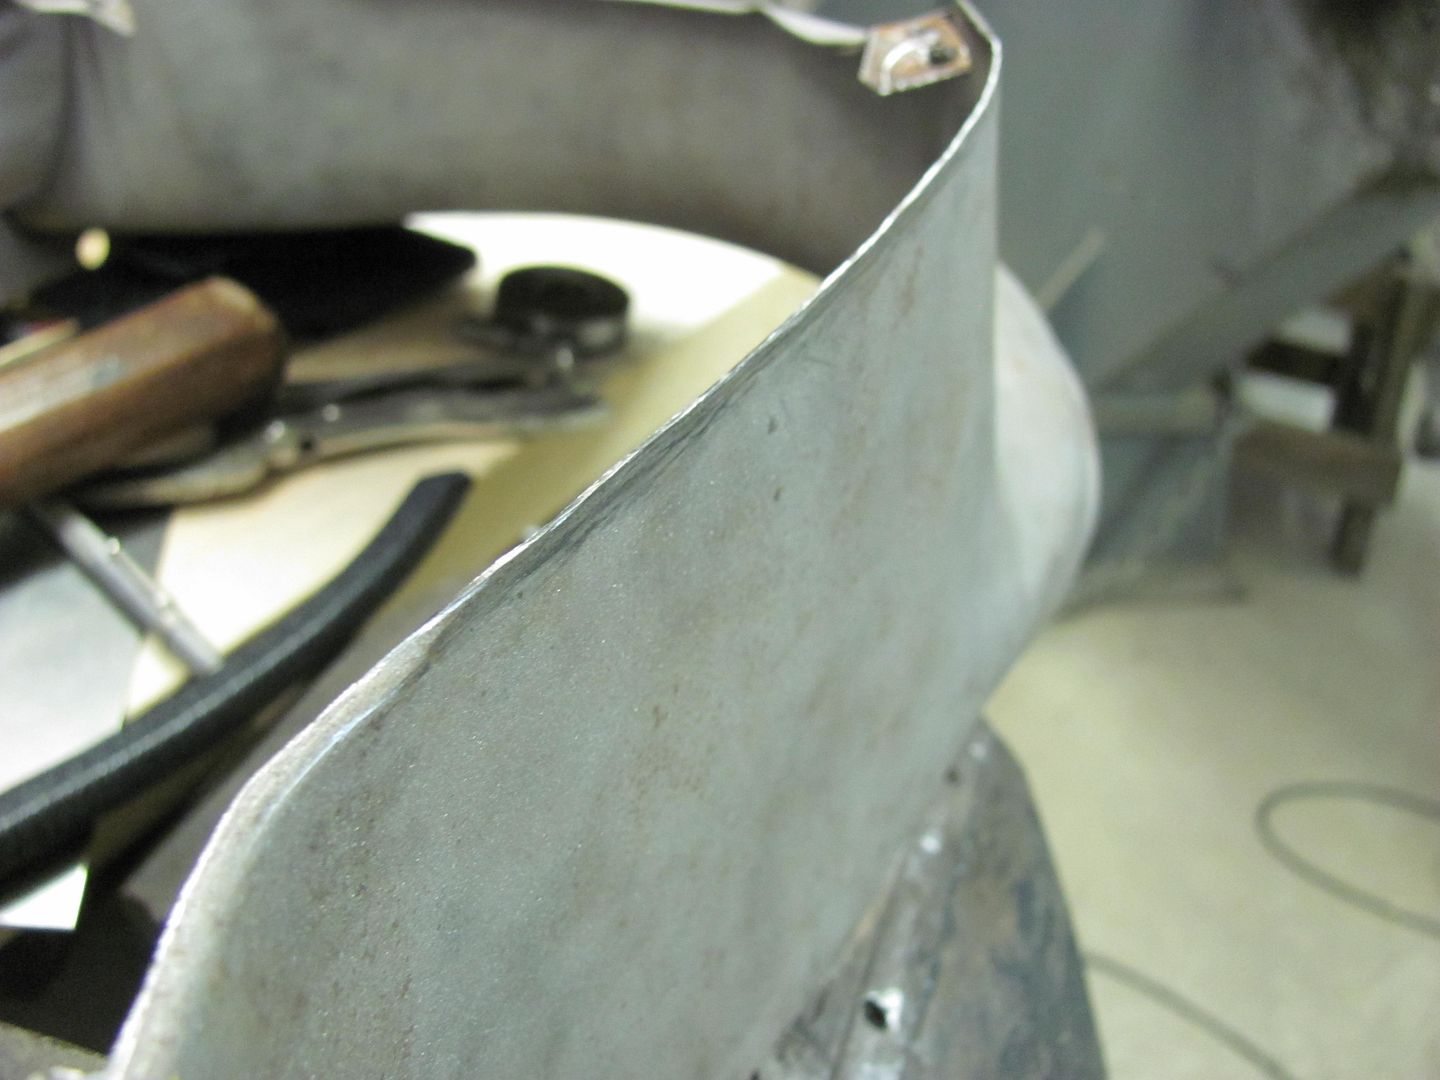
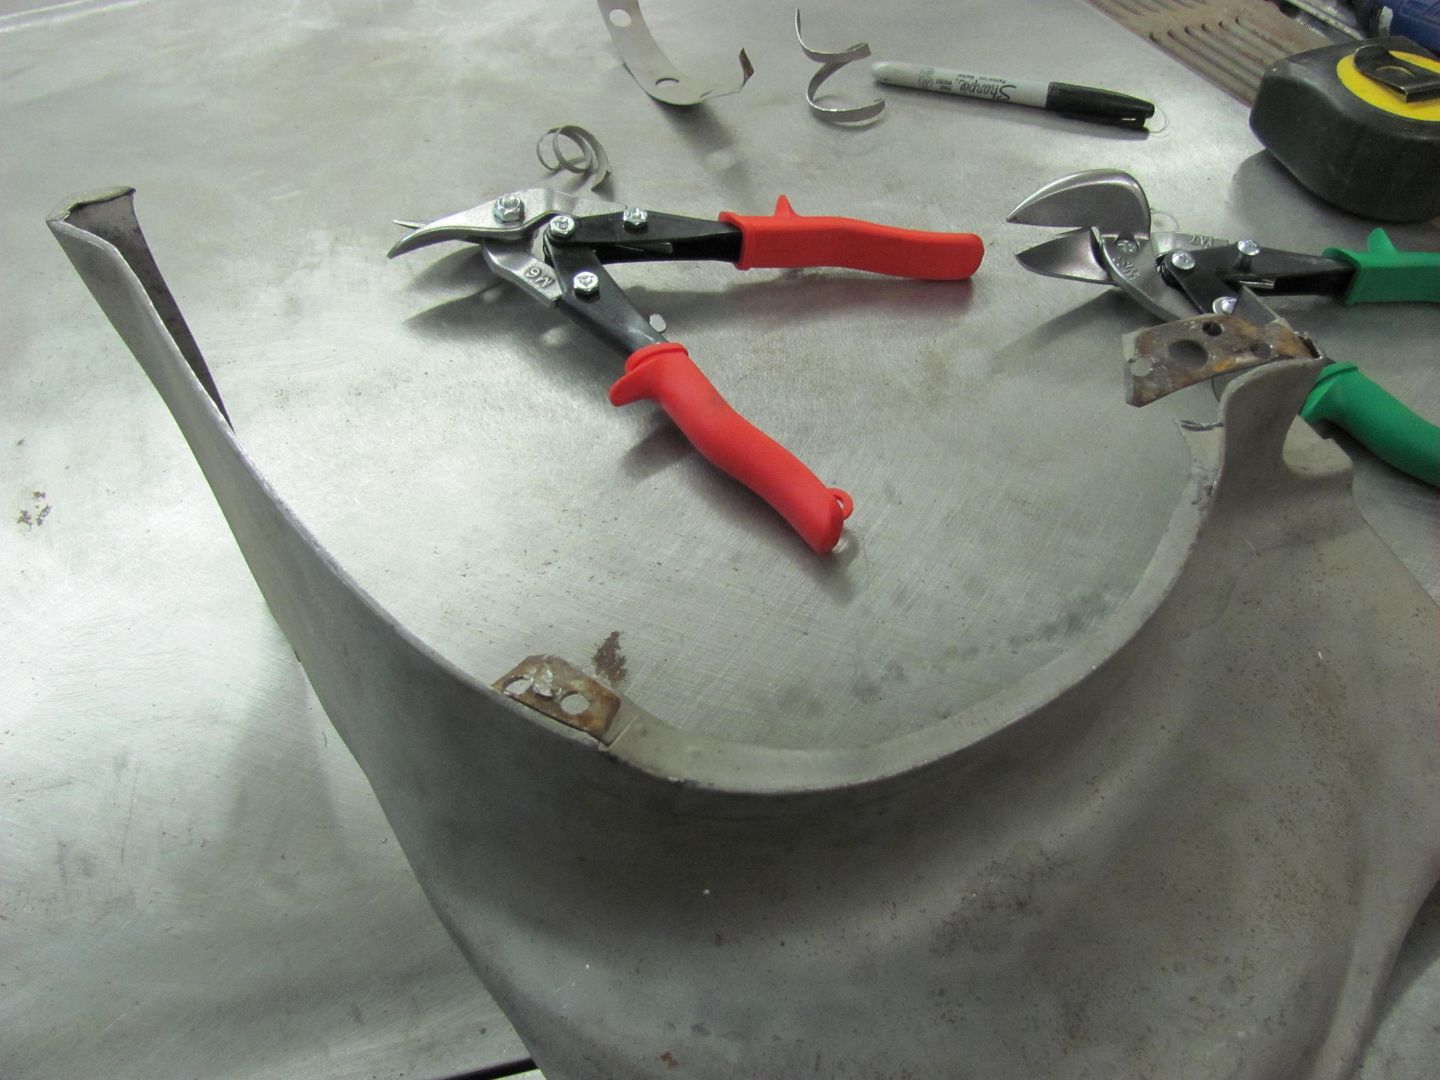
Clamps used to test fit. Still needs some fine tuning for zero gaps, but we'll finish that another day..
Robert
-
01-11-2013 04:34 AM #2
CHR Member
- Join Date
- Mar 2007
- Location
- festus
- Car Year, Make, Model: 48 Plymouth, 48,54 Heap
- Posts
- 3,407
Looks good! I thought about doing that on my 48 but chickened out since my fenders were nice and didnt need much work.
-
01-11-2013 03:25 PM #3
CHR Member
- Join Date
- Apr 2011
- Location
- Prairie City
- Car Year, Make, Model: 40 Ford Deluxe, 68 Corvette, 72&76 K30
- Posts
- 7,301
- Blog Entries
- 1
Nice metal working!Ryan
1940 Ford Deluxe Tudor 354 Hemi 46RH Electric Blue w/multi-color flames, Ford 9" Residing in multiple pieces
1968 Corvette Coupe 5.9 Cummins Drag Car 11.43@130mph No stall leaving the line with 1250 rpm's and poor 2.2 60'
1972 Chevy K30 Longhorn P-pumped 24v Compound Turbos 47RH Just another money pit
1971 Camaro RS 5.3 BTR Stage 3 cam, SuperT10
Tire Sizes
-
01-12-2013 01:09 PM #4
CHR Member
- Join Date
- Jun 2008
- Location
- Leonardtown
- Car Year, Make, Model: Walking
- Posts
- 1,228
Thanks for the comments guys!
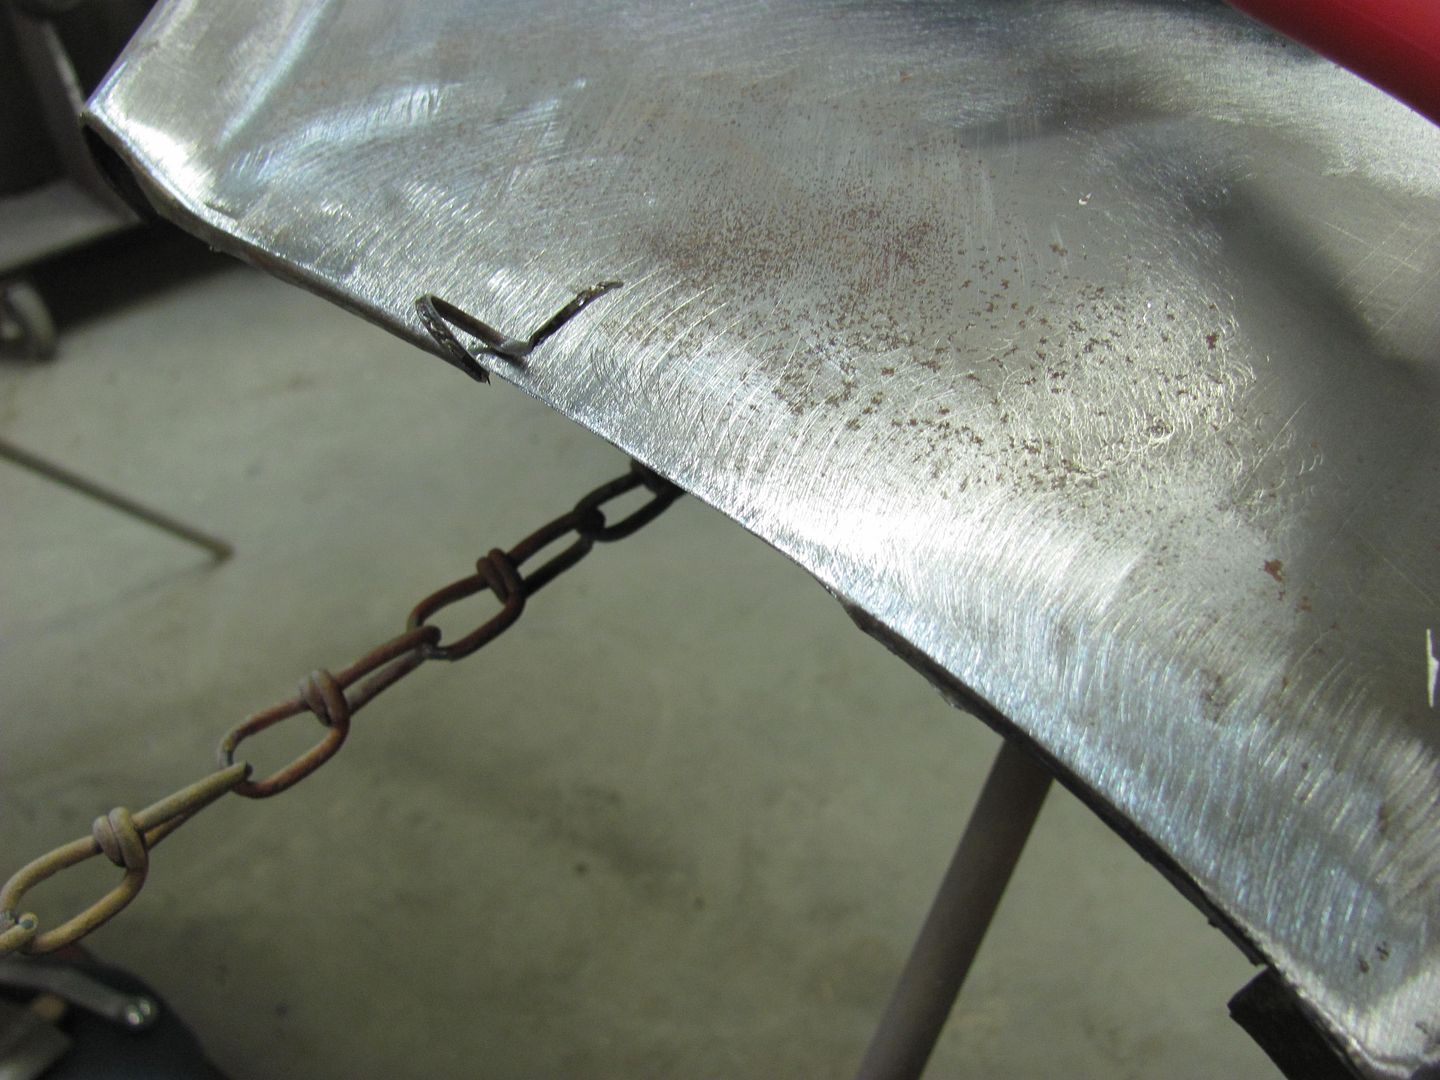
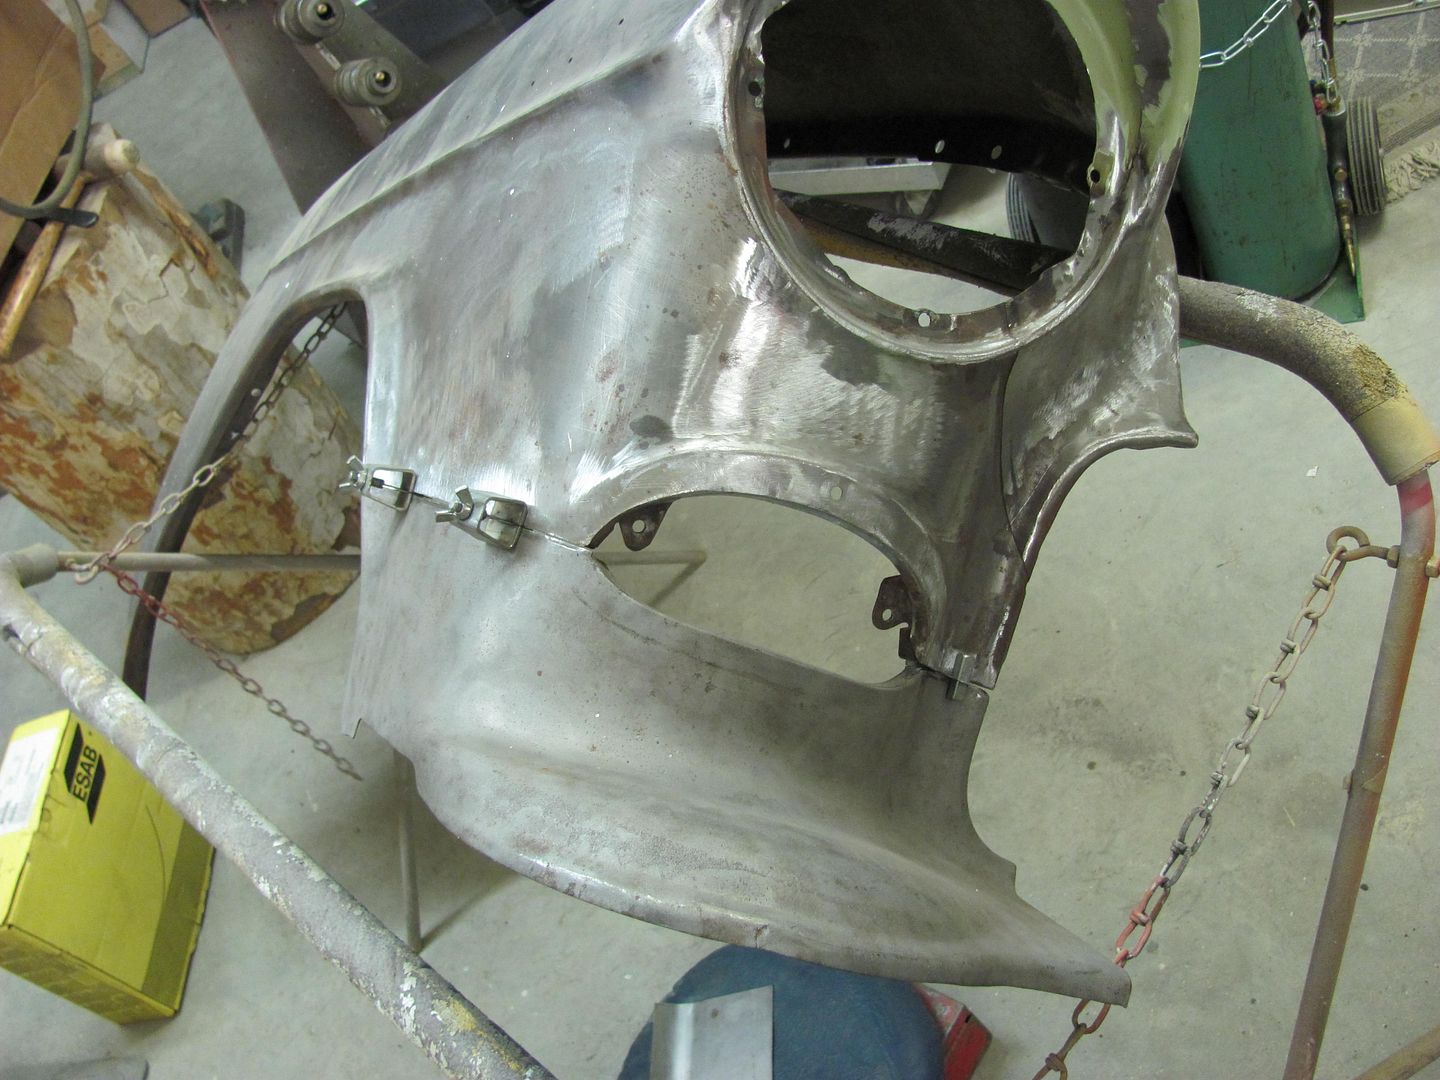
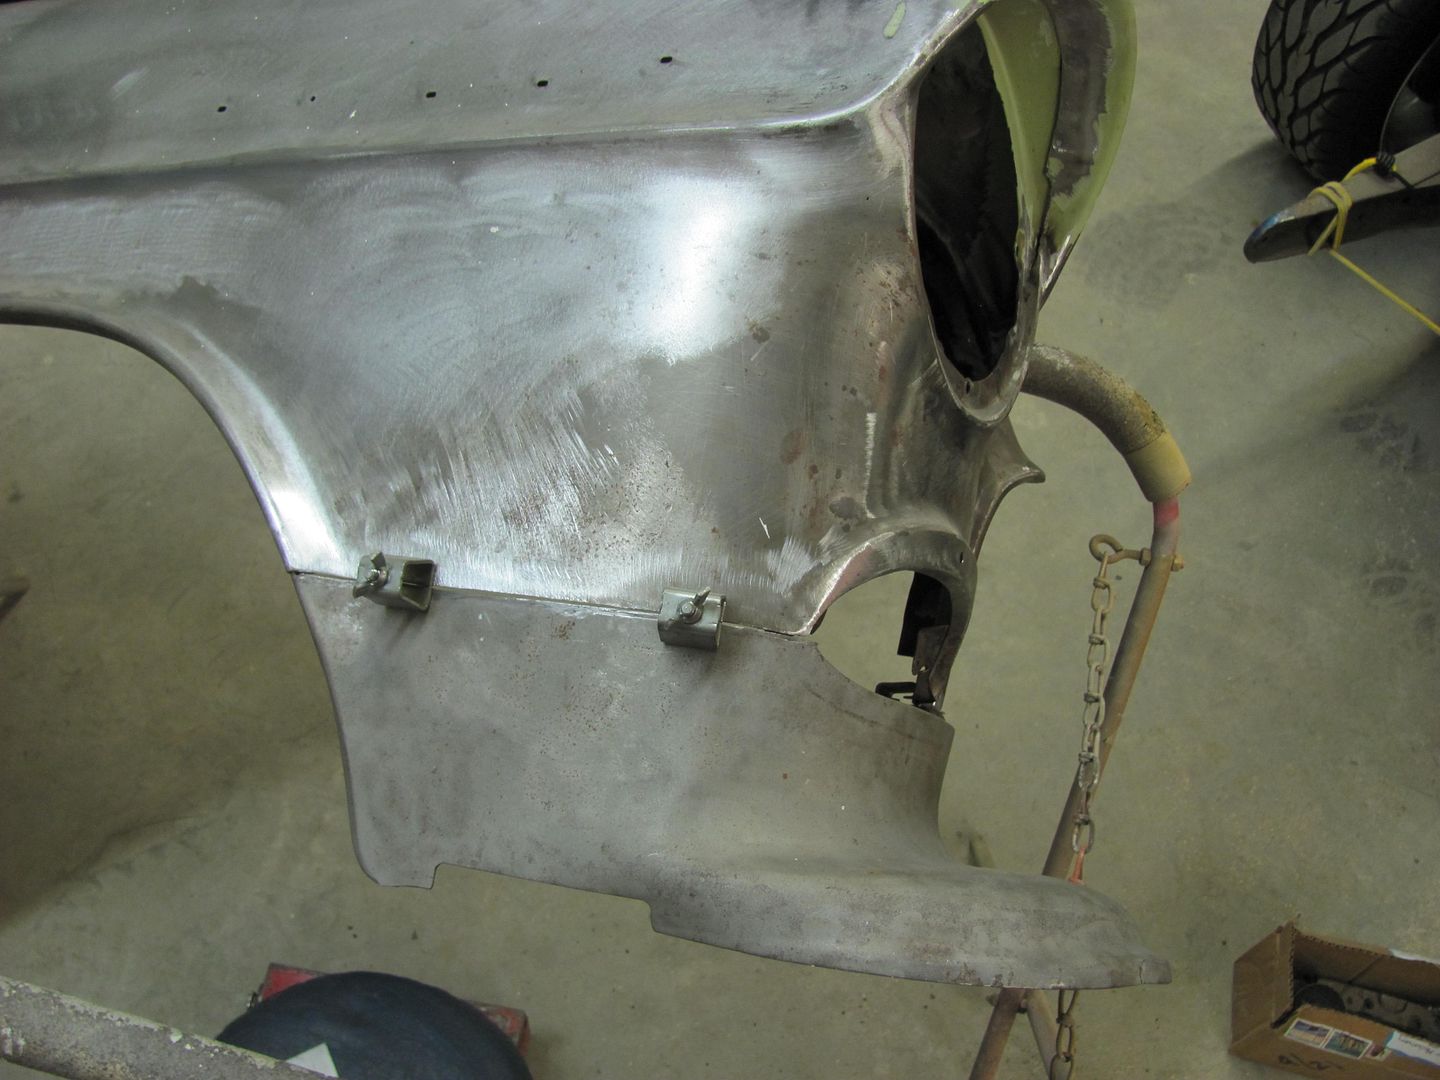
Got to trimming today, little to no gaps....
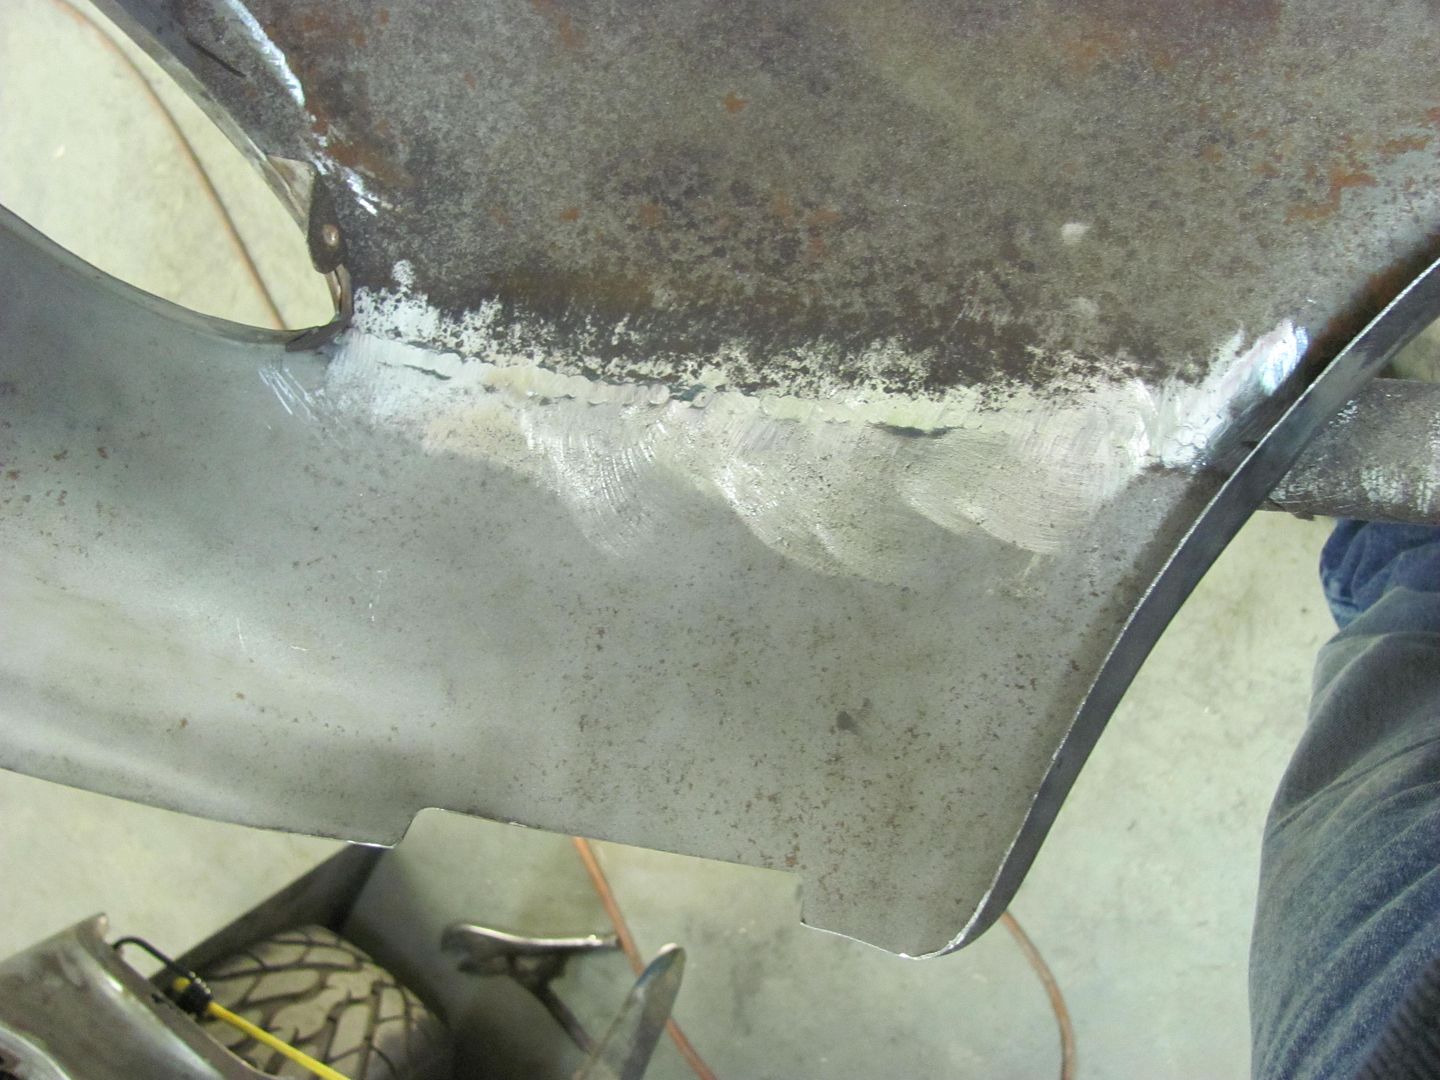
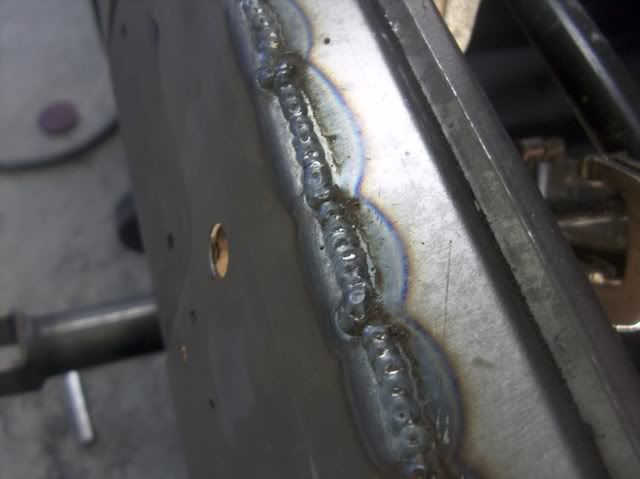
Used the new ER70S-7 wire. Looks to me like it lays out a bit flatter...
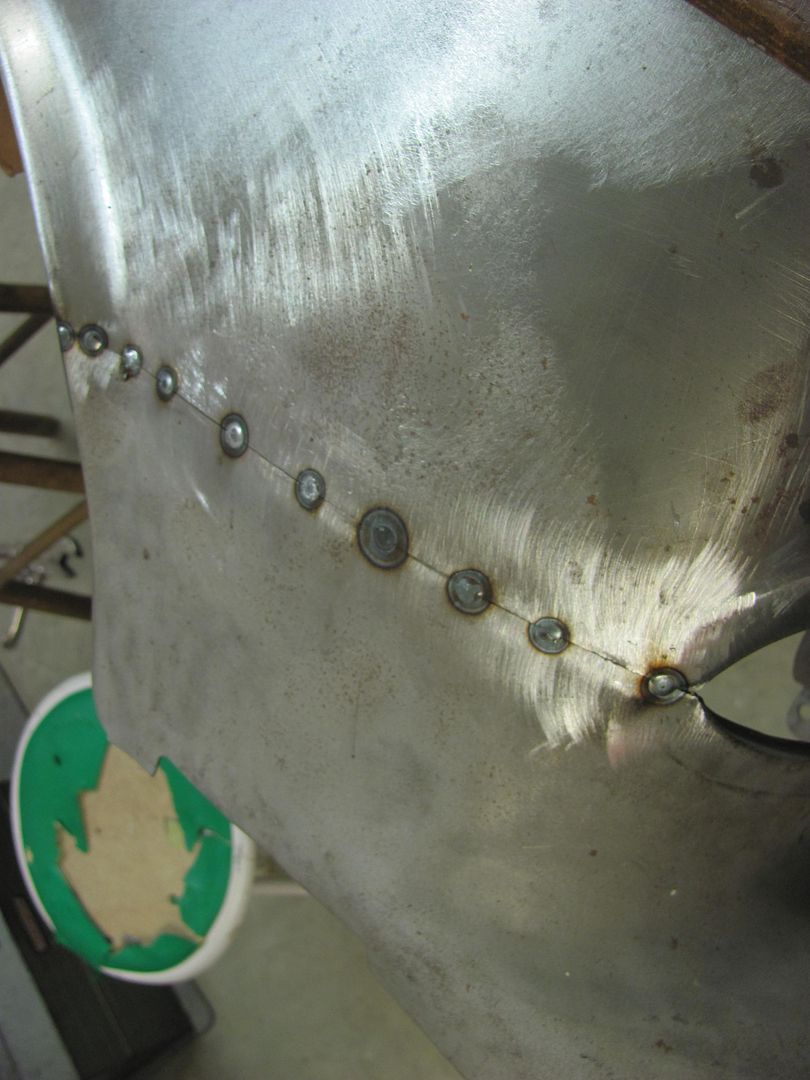
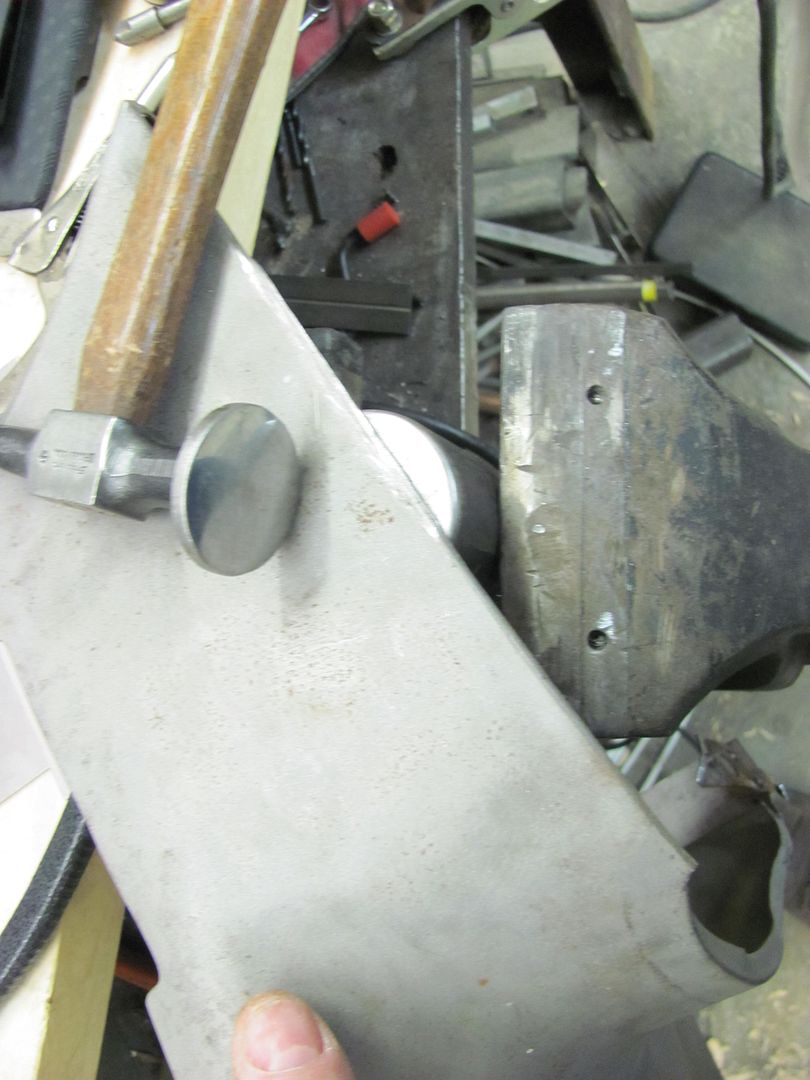
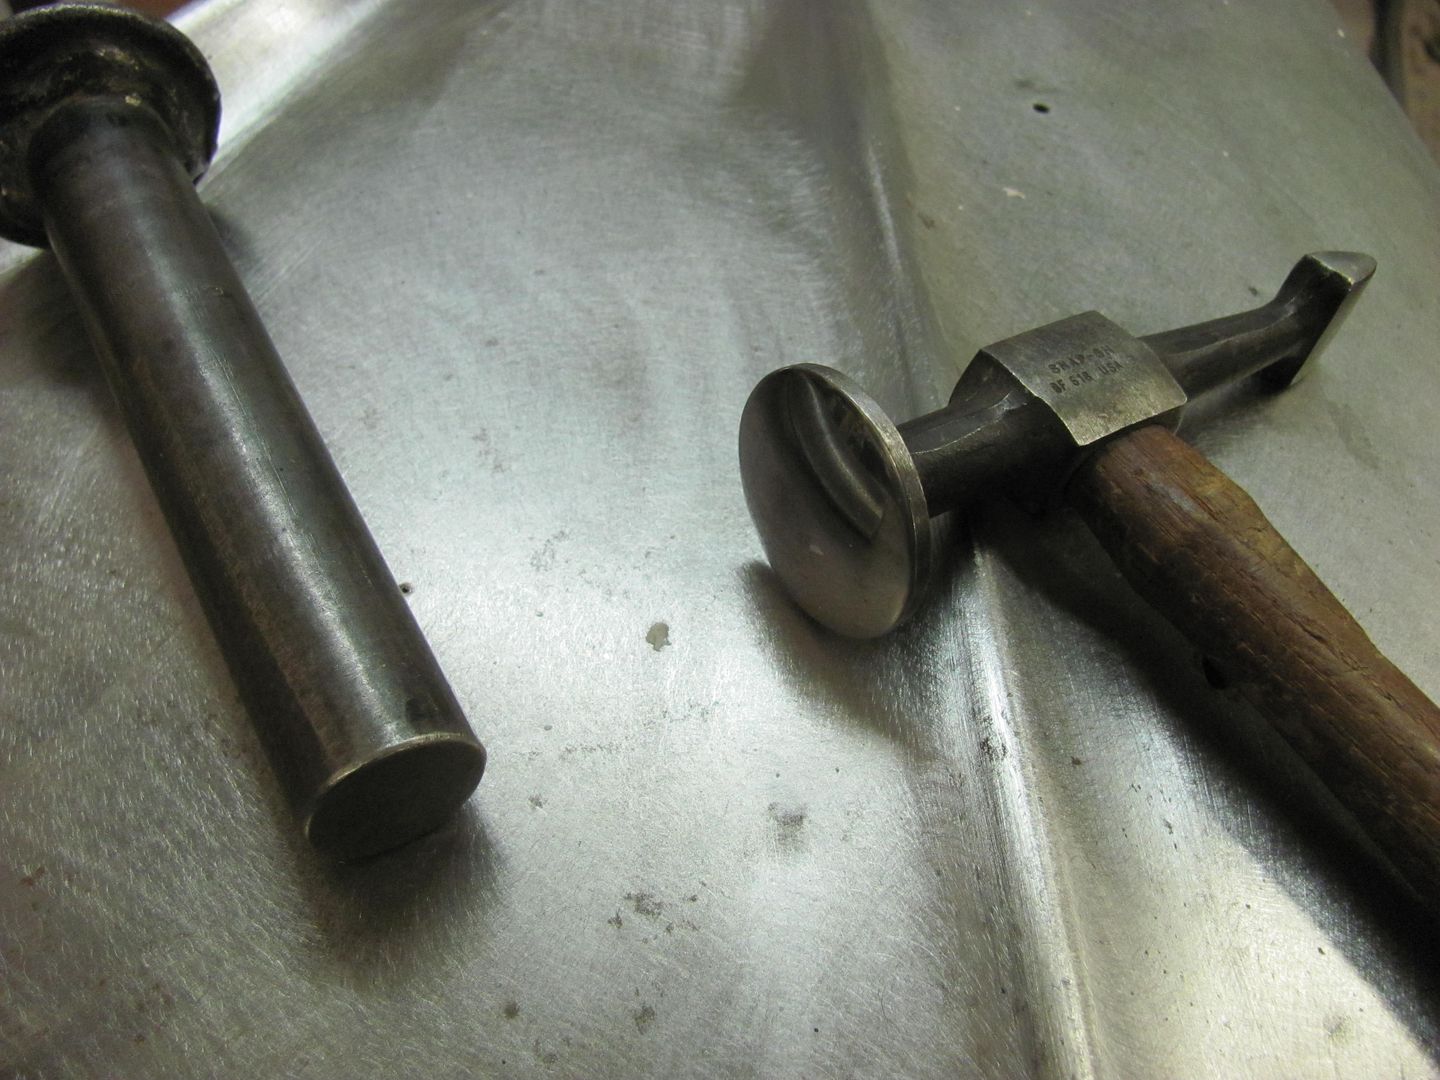
Used the crowned hammer to planish the welds. This stuff appears to planish out a bit easier as well.
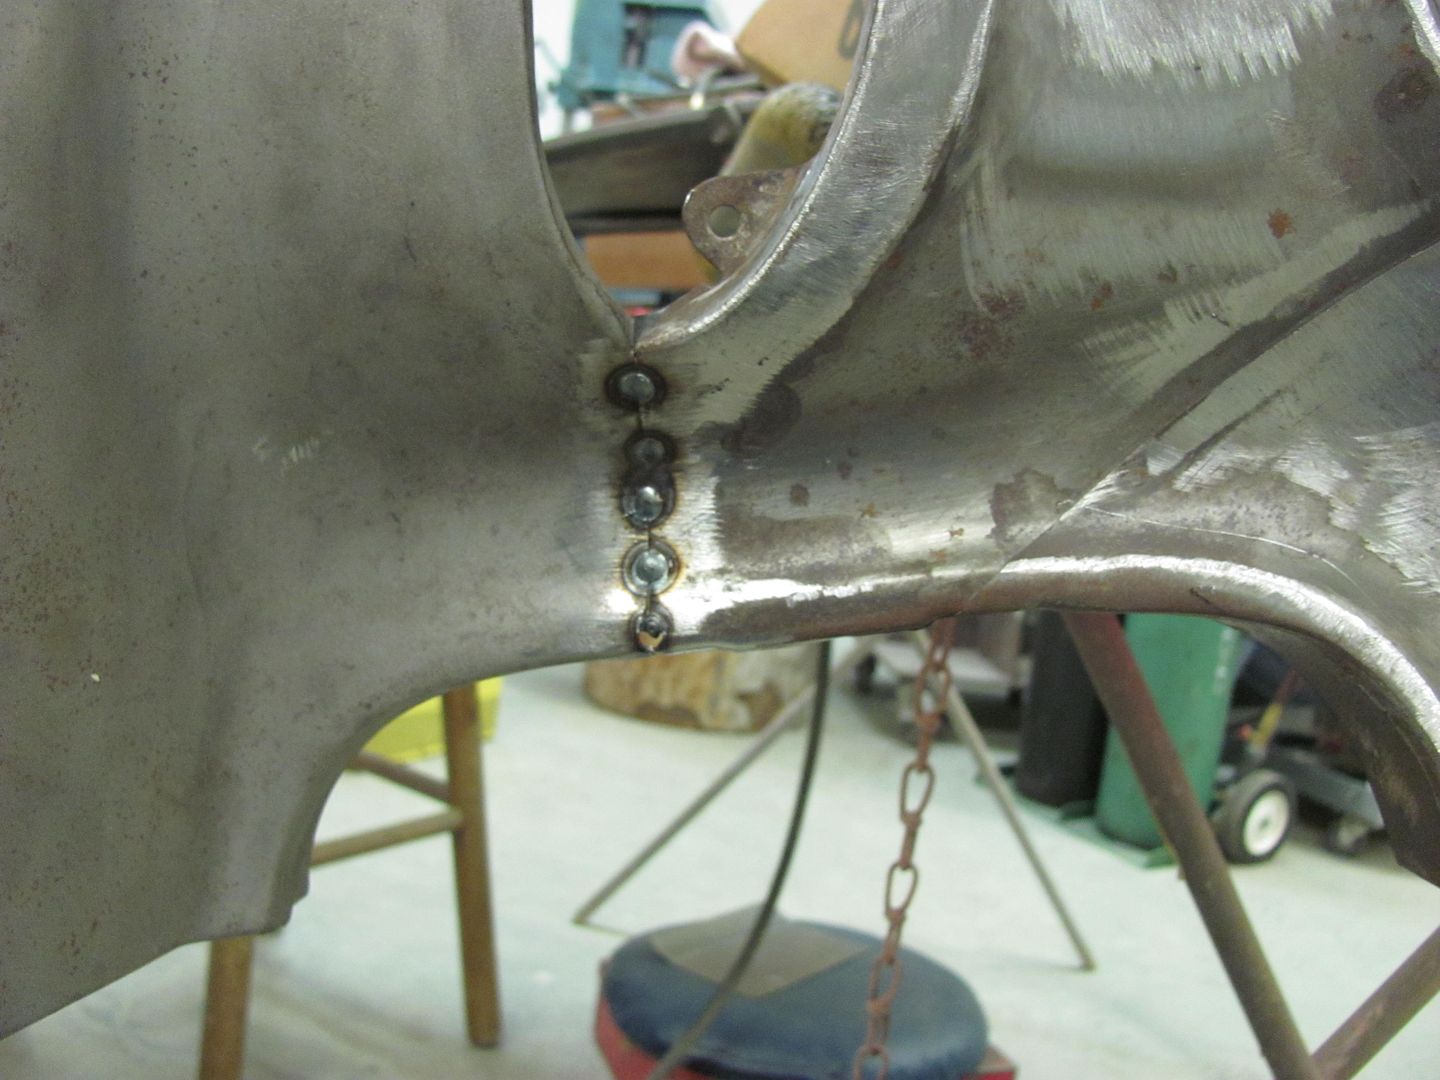
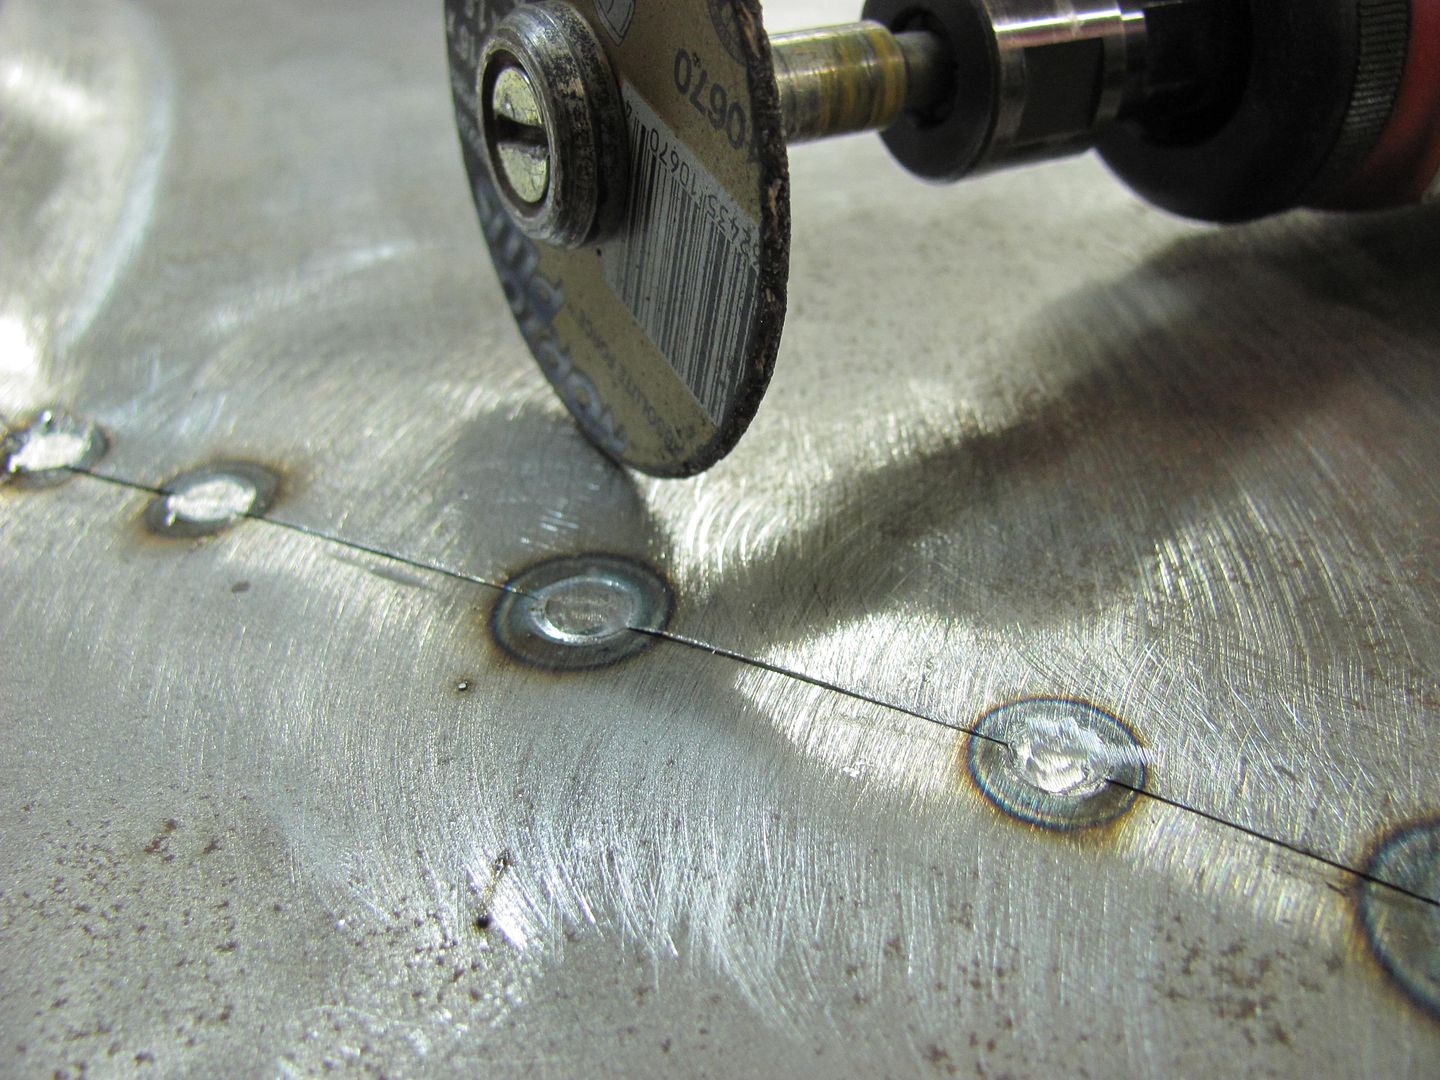
After planishing, 1/16" wide cutoff wheel used perpendicular to the weld for grinding the welds with minimal contact patch and less heat buildup. Ground welds just proud of the metal surface, front and back, to make room for planishing the next set of weld dots. Then rather than weld the next dots in the middle, I overlapped each of the previous welds to help eliminate missed spots and pinholes. Weld, planish, grind, repeat.
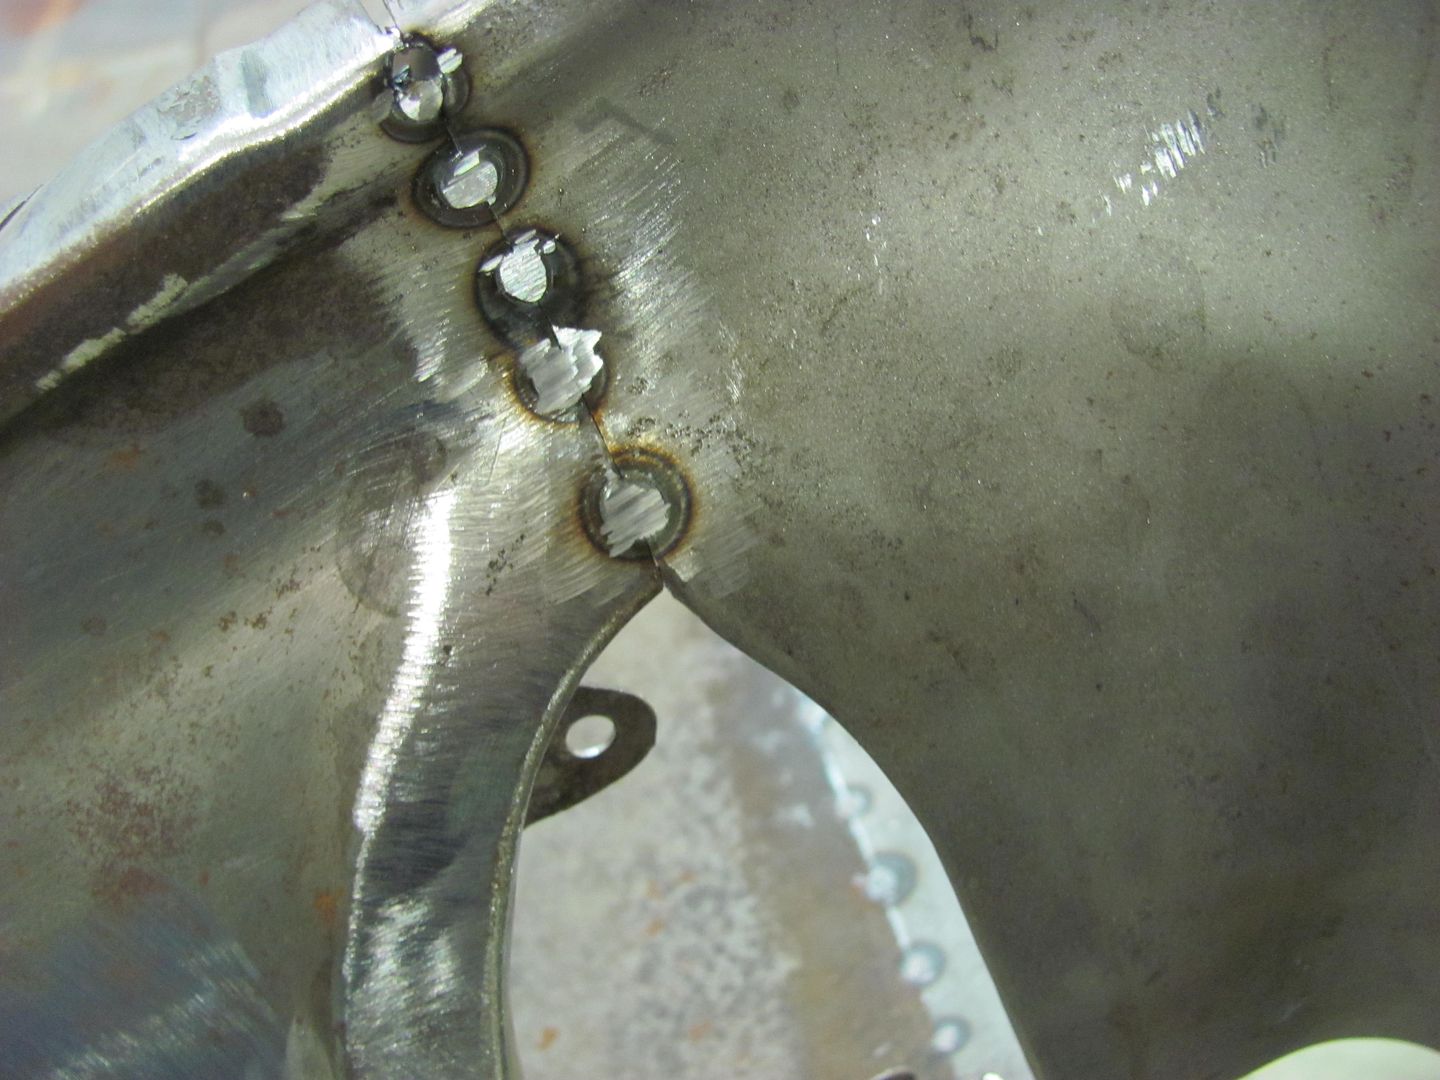
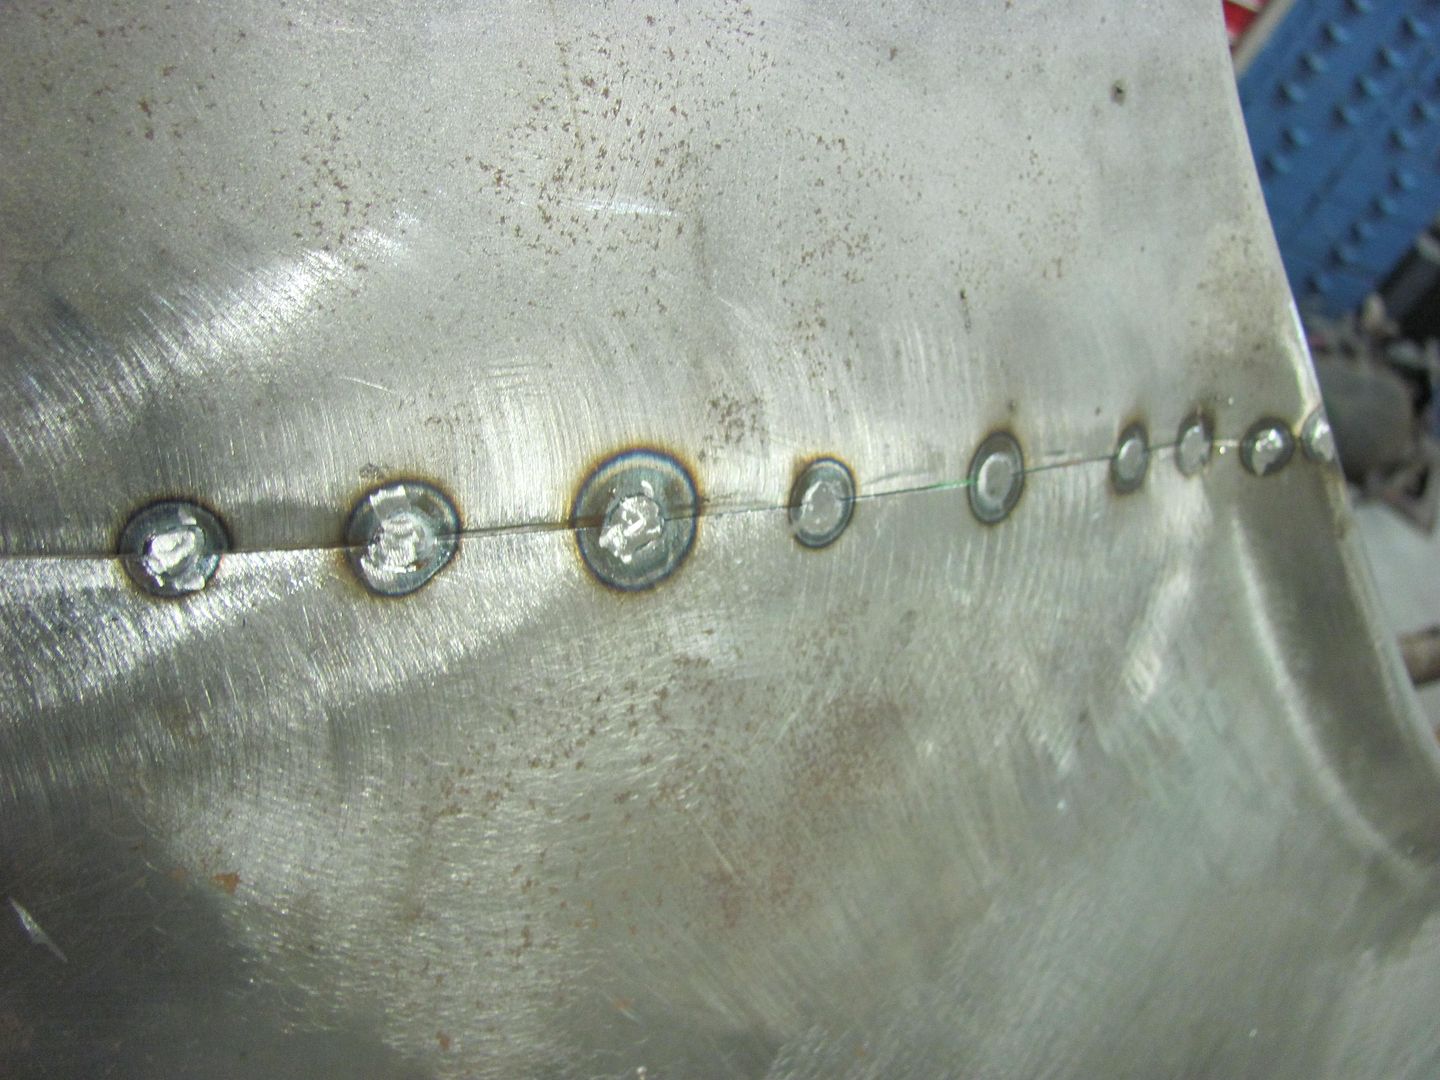
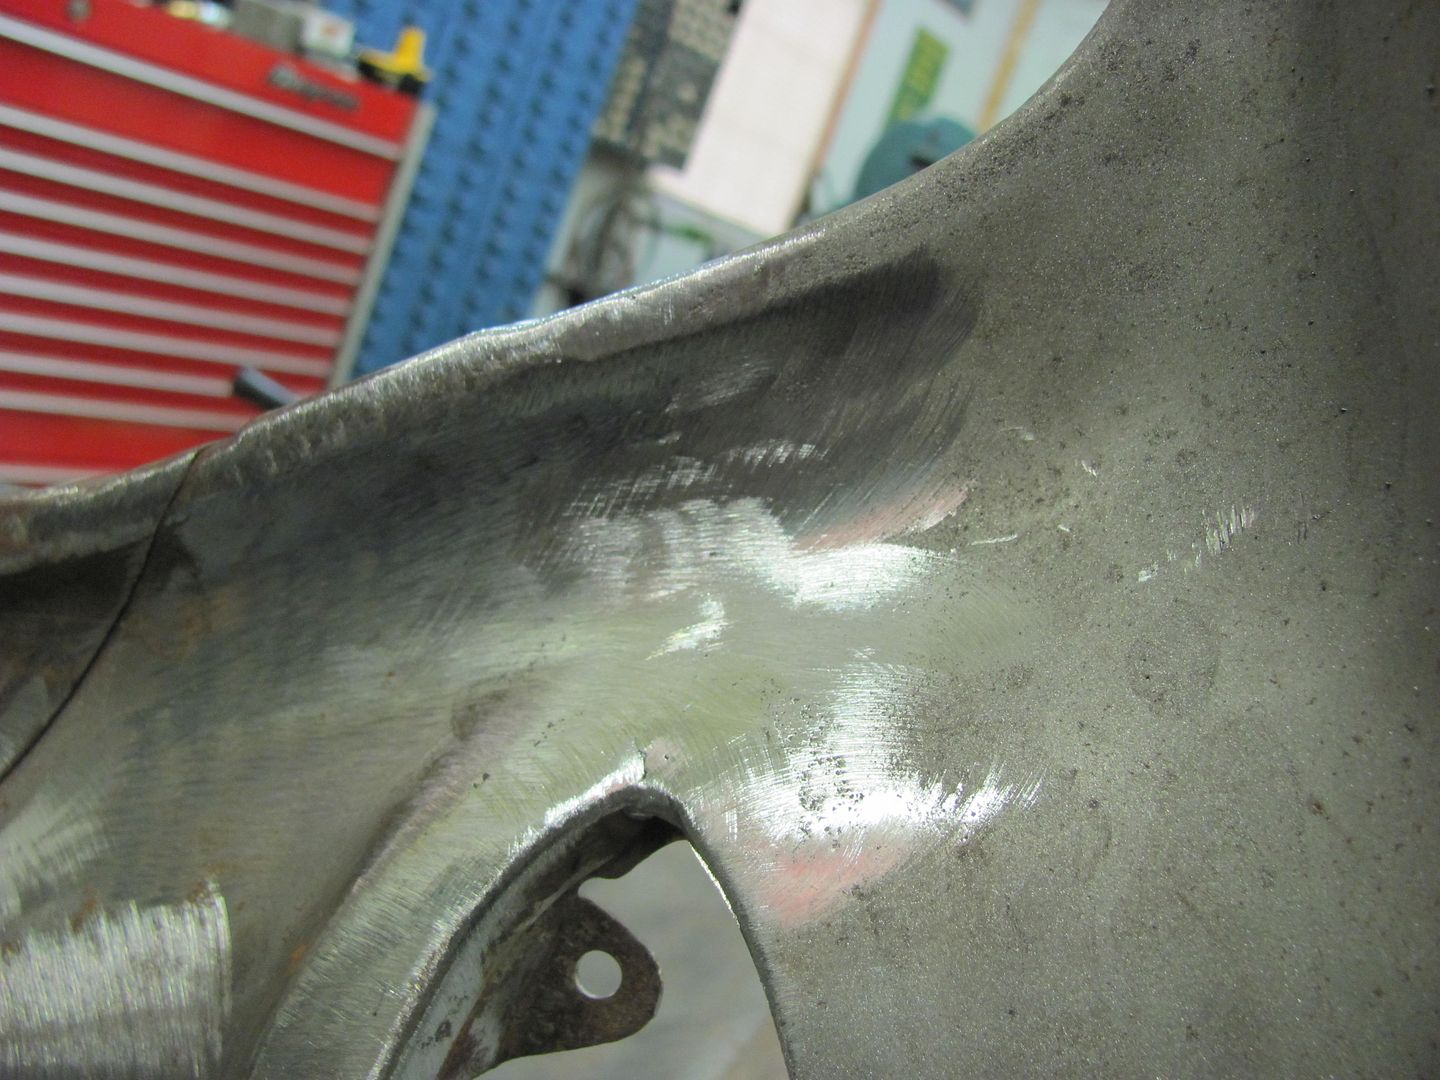
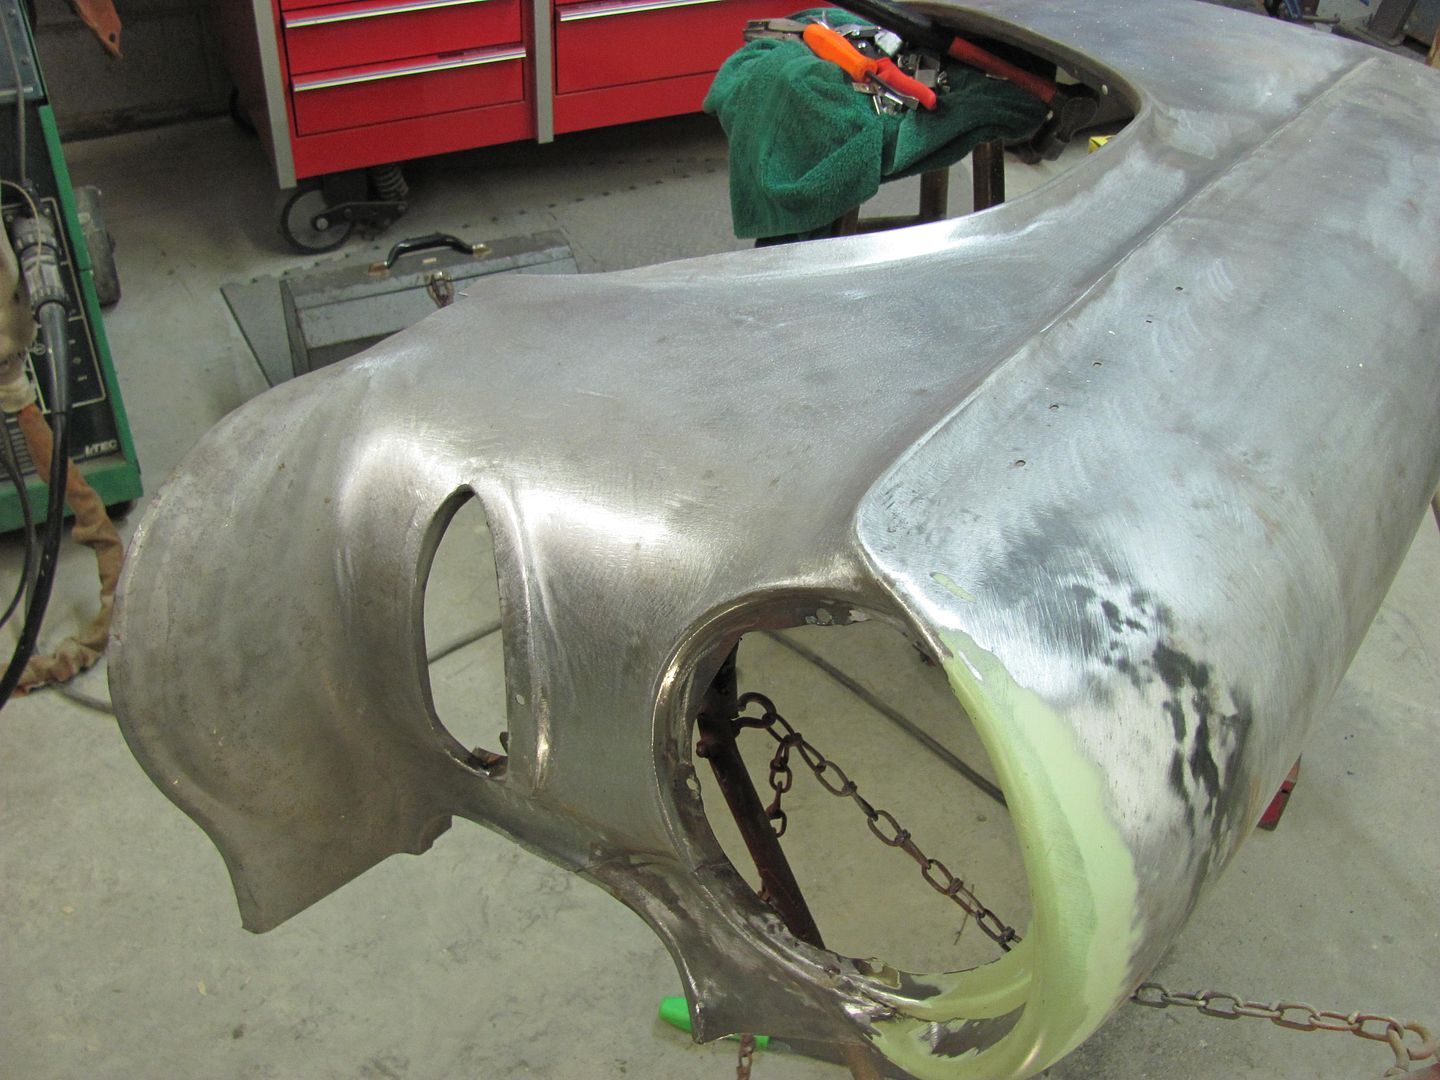
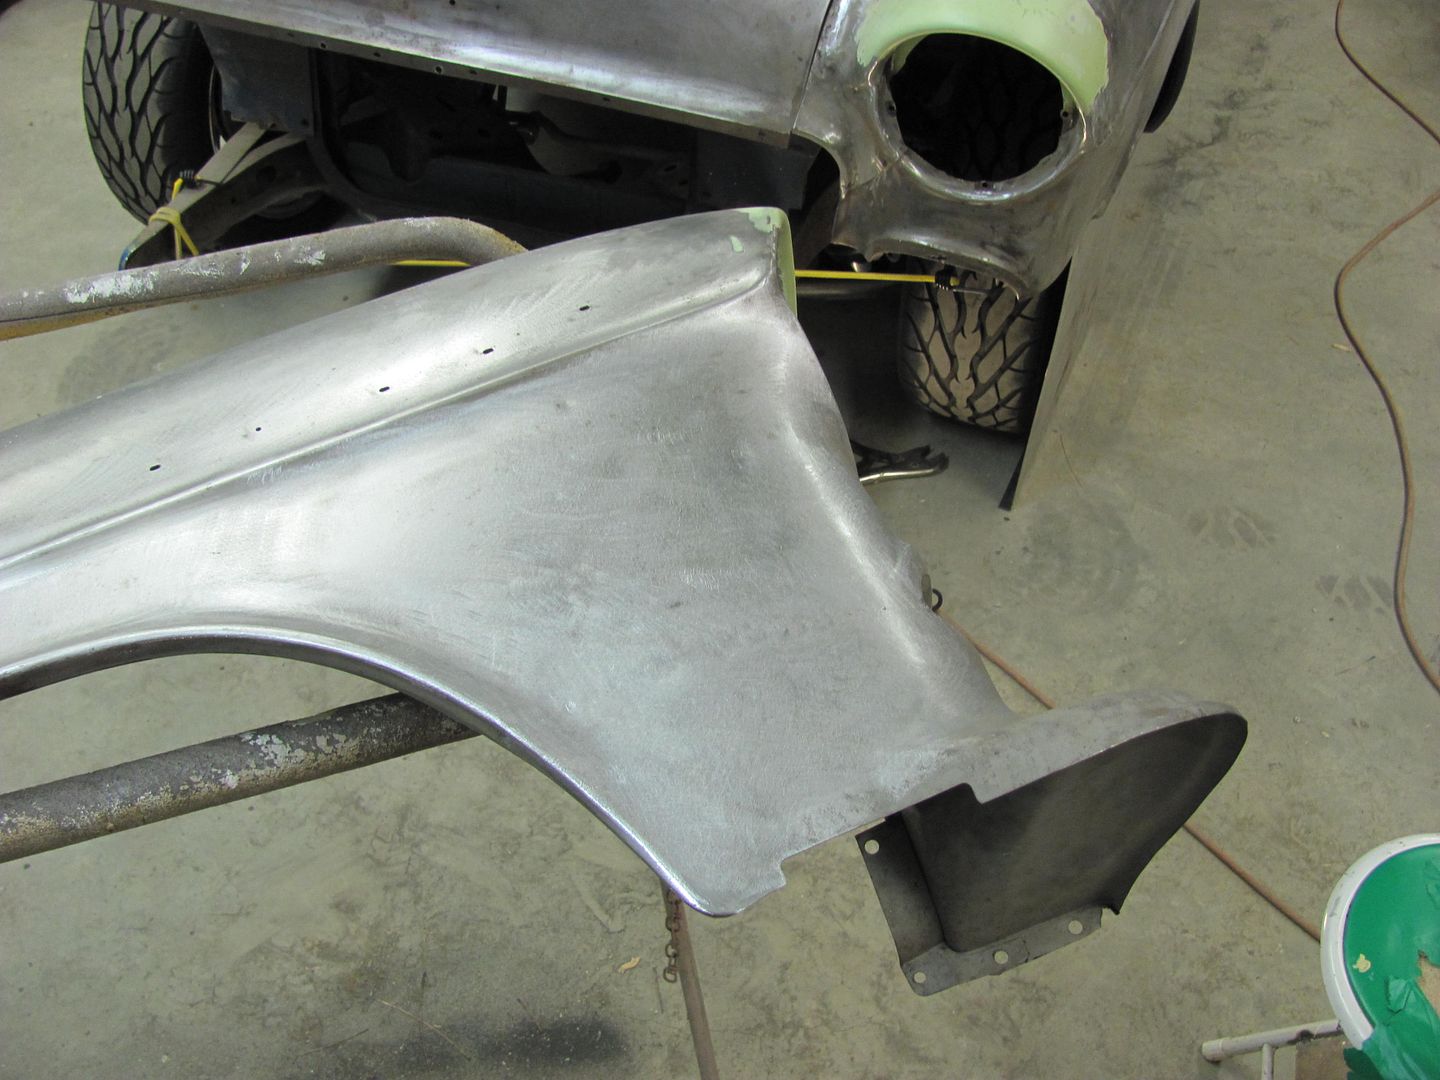
Then I got on a roll and missed some in process pics, but here is the result after dressing out all the welds...
Back side....
Yeah, I like this much better....
Robert
-
01-12-2013 01:28 PM #5
CHR Member
- Join Date
- Jan 2006
- Location
- Constantine
- Car Year, Make, Model: 57 chevy 2 dr wagon
- Posts
- 9,476
Its the little things that make a rebuild. Nice workCharlie
Lovin' what I do and doing what I love
Some guys can fix broken NO ONE can fix STUPID
W8AMR
http://fishertrains94.webs.com/
Christian in training
-
01-12-2013 01:29 PM #6
CHR Member/Contributor
- Join Date
- Sep 2007
- Location
- Gardner, KS
- Car Year, Make, Model: '33 HiBoy Coupe, '32 HiBoy Roadster
- Posts
- 11,245
That's one of those subtle details that people look at, wondering what's different from the norm, but knowing that they like it better. Nice work!Roger
Enjoy the little things in life, and you may look back one day and realize that they were really the BIG things.
-
01-12-2013 04:01 PM #7
CHR Member
- Join Date
- Nov 2011
- Location
- Cosmopolis
- Car Year, Make, Model: 1983/1995 Camaro's
- Posts
- 43
Yes that does look sweet, nice work.
-
01-12-2013 05:45 PM #8
CHR Member
- Join Date
- Feb 2007
- Location
- Santa Monica
- Car Year, Make, Model: 37 Ford tudor humpback
- Posts
- 1,988
Robert,
Amazing work as usual!!! In the first pic you had the pieces held together with sheet metal clamps but after trimming to remove the gap, how did you hold it together for the first tack welds? Also, what diameter is the wire you're using?
Thanks for sharing!!!
Randy"It is not much good thinking of a thing unless you think it out." - H.G. Wells
-
01-12-2013 05:54 PM #9
CHR Member
- Join Date
- Jun 2008
- Location
- Leonardtown
- Car Year, Make, Model: Walking
- Posts
- 1,228
Thanks, The Eastwood clamps I use for fitment only, to get the joint close. Once the gaps were non-existent, I used c-clamp vise grips to hold the two panels together tightly, in about three different spots, and tacked them together. Typically you will have to planish some of the tacks before you get them all done, as the shrinking pulls the panels together too tightly where they try to overlap. A couple strikes on the last weld with the hammer and dolly usually spreads it back to flush again.Robert
-
01-12-2013 07:36 PM #10
CHR Member
- Join Date
- Feb 2007
- Location
- Santa Monica
- Car Year, Make, Model: 37 Ford tudor humpback
- Posts
- 1,988
Is your wire size for the ER70S-7 wire .030?"It is not much good thinking of a thing unless you think it out." - H.G. Wells
-
01-12-2013 07:43 PM #11
CHR Member
- Join Date
- Jun 2008
- Location
- Leonardtown
- Car Year, Make, Model: Walking
- Posts
- 1,228
Oops, forgot that... .035. Where I think a lot of guys will use .023 or .030 for sheetmetal, my machine and its setup just seems to work better with .035Last edited by MP&C; 01-12-2013 at 07:47 PM.
Robert
-
01-13-2013 06:50 AM #12
CHR Member/Contributor
- Join Date
- Jul 2003
- Location
- Madison
- Car Year, Make, Model: '67 Ranchero, '57 Chevy, '82 Camaro,
- Posts
- 21,160
Nice work, but I've got to ask why you go with no gap on the 2 pieces??? The general rule for years from most of the fabricators I know, a bunch of the old tin benders, and the folks who make the welders and wire we use has been to leave a .030 to .040 gap to allow the weld to penetrate properly..... Not criticizing your work, just wondering????Yesterday is history, tomorrow is a mystery, Live for Today!
Carroll Shelby
Learning must be difficult for those who already know it all!!!!
-
01-13-2013 11:32 AM #13
CHR Member
- Join Date
- Jun 2008
- Location
- Leonardtown
- Car Year, Make, Model: Walking
- Posts
- 1,228
Using no gap is largely for consistency. Any weld causes shrinking, and in the case of a low crown panel, there is typically insufficient shape in the panel to resist any of this movement. So in a case like welding horizontally through the center of a quarter panel (adding a repair panel at the bottom) any shrinking tends to pull from the adjacent panels, losing some of the crown in the process. It's here especially why the "Leave a gap" theory causes so much headache. As the heat causes the shrink, if someone did leave a gap, there is nothing to keep the panels from moving even that much more closer to one another. The first tack weld will pull the panels closer together, the next even more. Now when you planish to stretch the weld and HAZ, you'll also have that panel movement (and inconsistent movement) to try and compensate for, making the task more work. So if you did leave a gap, that becomes a larger hurdle in trying to restore the panel's crown. An absolutely tight butt joint between the two panels (or to the best of one's ability) is crucial to keep the panels from pulling together, losing even more crown/panel shape. This consistency even starts with fitting up the panel. Tight joints in some areas and wider gaps in others will result in more welding and thus heat in those wider gaps, for more shrinking, more planishing required. As for using the gap to allow for weld penetration, IMO the welder should be properly set up with adequate heat for full weld penetration (without a gap), and with sufficient wire feed speed to not blow holes. This should be done first on scraps before welding on your car/project. Consistency throughout the process, from panel fitment to welding methods to planishing, will make for better consistency in the results.Robert
-
01-13-2013 02:48 PM #14
CHR Member/Contributor
- Join Date
- Jul 2003
- Location
- Madison
- Car Year, Make, Model: '67 Ranchero, '57 Chevy, '82 Camaro,
- Posts
- 21,160
I guess what you refer to as "planishing" is what many of us refer to as hammer welding.... The losing the crown thing I guess has never been a problem for me, lack of patience and hurrying the welding process usually is the culprit when panels move around.... The zero gap plan to me has caused problems as the panels tend to overlap, or force the panels to "push" on each other and form an unwanted "edge" as the weld process proceeds... Regardless of the gap, more folks will create problems for themselves with the wrong heat and wire speed, and/or hurrying the process of welding too much. I guess as with most any process there are a variety of ways to accomplish it, and as long as it works for the man doing it, then it's a good process! Curious, do you ever use brass on the backside when welding a seam, to absorb some of the heat???? Used to be a product on the market called moistbestos, but when asbestos was found to be a carcinogen it went away, too. Surprised that technology hasn't brought up a similar product minus the asbestos.....Yesterday is history, tomorrow is a mystery, Live for Today!
Carroll Shelby
Learning must be difficult for those who already know it all!!!!
-
01-13-2013 03:54 PM #15
CHR Member
- Join Date
- Jun 2008
- Location
- Leonardtown
- Car Year, Make, Model: Walking
- Posts
- 1,228
I refer to hammer welding as using a hammer and dolly on a weld while it is still hot, what I did here was to tack from one end to the other, and hammer and dolly after that round of tacks, so the weld was likely cool to the touch. When tacking you do sometimes find the panels trying to overlap as the last weld shrinks, but a hammer and dolly will stretch the weld tack back out a bit enough for the panels to align again and continue tacking. For those who have used the eastwood style butt weld clamps during welding, a weld on either side of the clamp will typically show how much panel movement is experienced from the heat of welding, as you may see the clamp locked in place as the panels shrink/move together.
I don't use brass or copper behind the panel, as I use welder setup to give me full penetration welds without them, so any "backer" would only serve to heat sink and affect that setup. Here's a sample, front and back sides showing the full penetration welds on a Fairlane trunk opening repair...
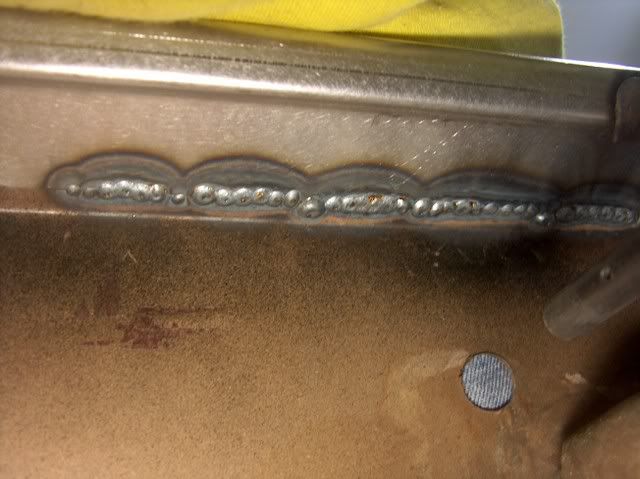
This was close enough to the adjacent bend detail that it held most of the weld shrinking issues in check, so I waited until after all welding complete to planish the welds...
Further, if using a backer and it is not tight to the back side of the panel each and every time, then you are affecting the amount of "heat sink factor" for the possibility of affecting the weld consistency from one to the next. While I agree that people should use what gives them the best results, those methods, however performed, should promote consistency.Last edited by MP&C; 01-13-2013 at 04:18 PM.
Robert
 Reply With Quote

Posting Permissions
- You may not post new threads
- You may not post replies
- You may not post attachments
- You may not edit your posts

i've enjoyed the years here . made a lot of friends. most who have left. i see no reason to continue with this so hope to see you somewhere else. i dont think this site will ever be back. it's lived...
Dead!