Thread: 55 Wagon Progress
-
01-10-2016 12:22 PM #706
Jack, with housing stationary and wheels rotated, we did see a bit of fluctuation of about +/- .005 to .010, but it was rather sporadic and not relative to the welded pads. When the tires where stationary and the housing was rotated around, before our heating efforts the runout started at about +/- .050, and was directly related to the welded pad location. At the point the housing was being rotated, the dial indicator remained in the same spot on the wheel, so although the wheel isn't perfect, the reading should have reflected housing issues only.Robert
-
Advertising

- Google Adsense
- REGISTERED USERS DO NOT SEE THIS AD
-
01-11-2016 09:36 AM #707
Robert, thanks for that explanation. I learned something new.

Jack.www.clubhotrod.com/forums/showthread.php?t=44081
-
01-12-2016 08:20 PM #708
Well Kyle was mostly on his own tonight as I had some repairs to do on the wife's vehicle..
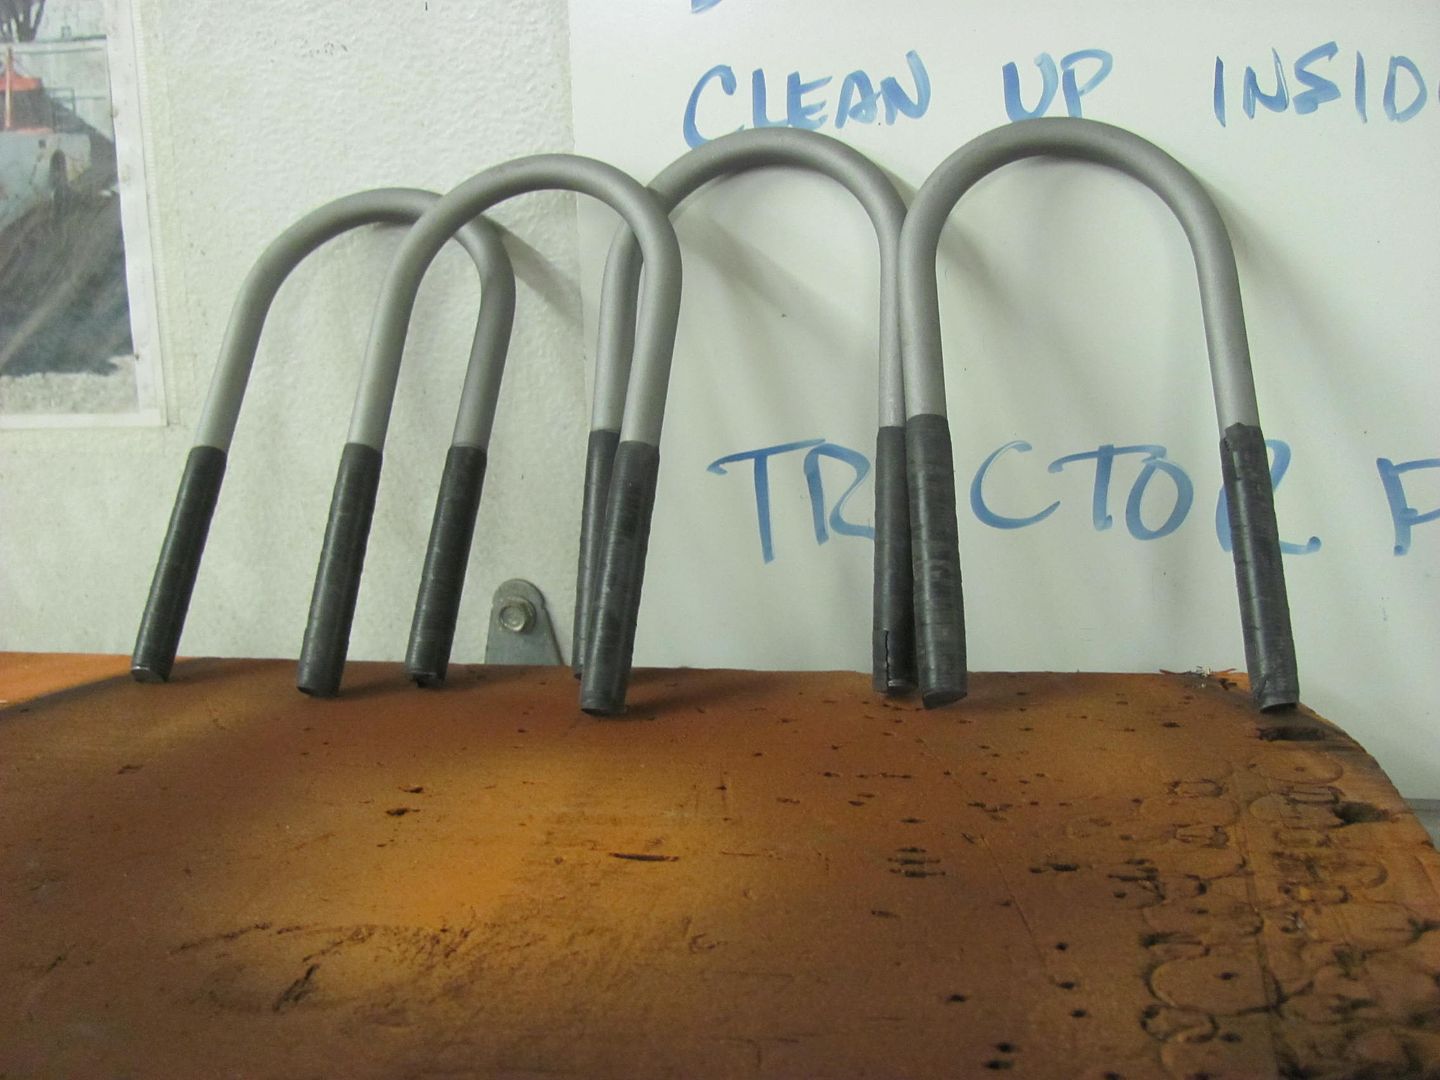
New U-bolts came in yesterday, they have a pretty good selection on their web site if anyone needs some....
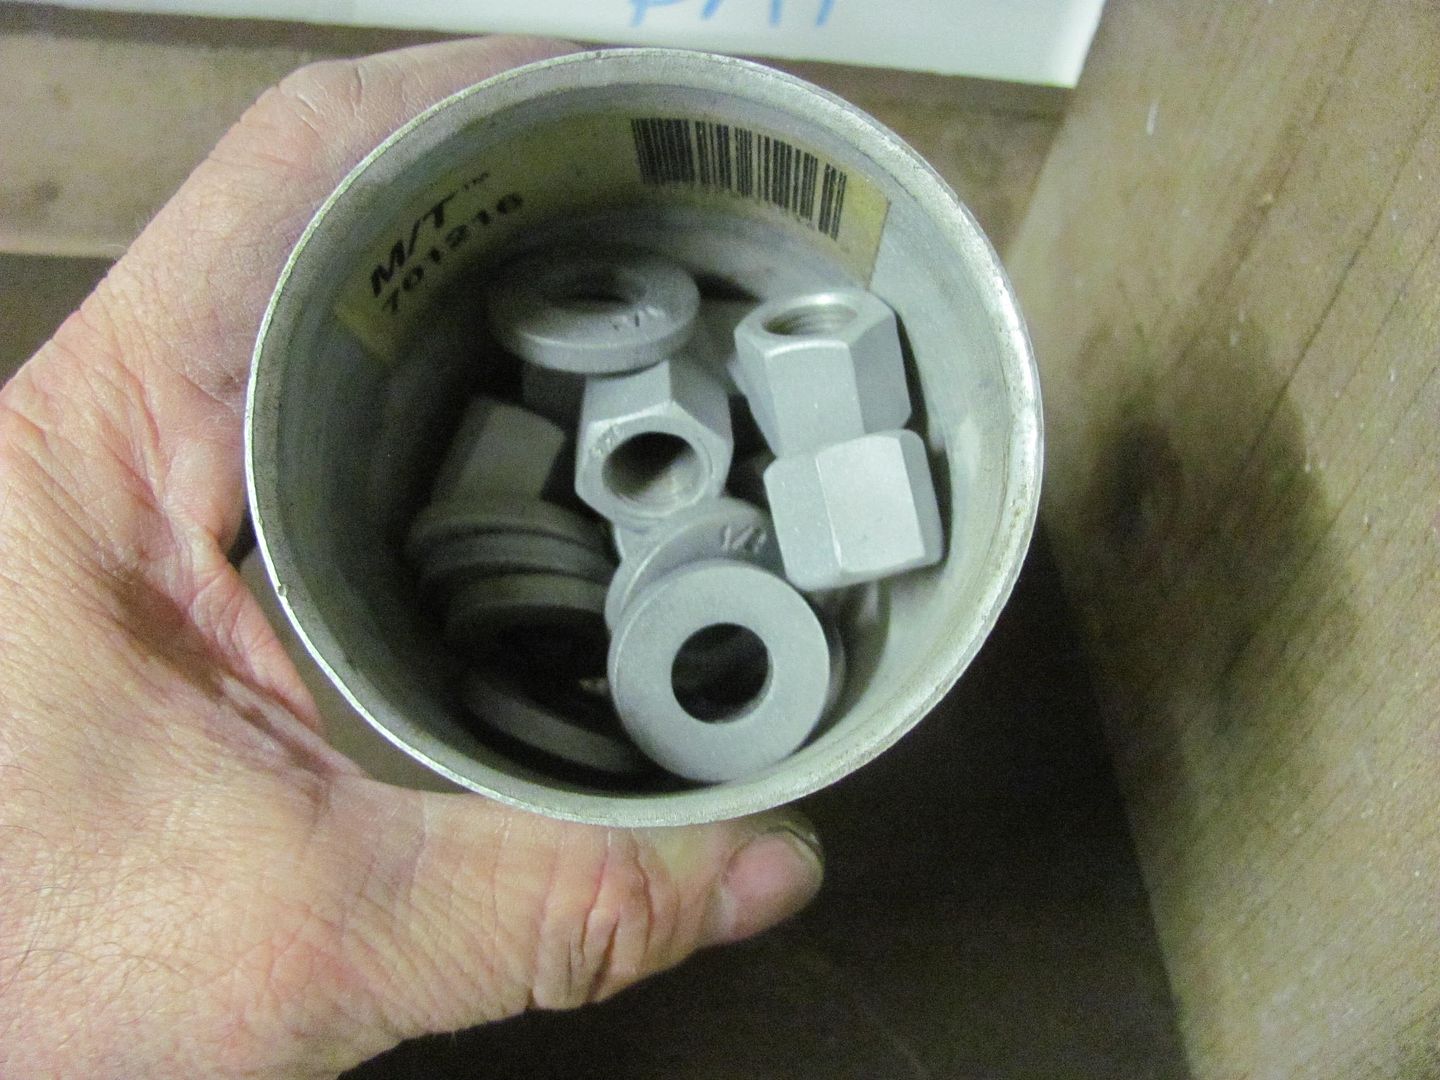
Threads taped off and all the parts media blasted...
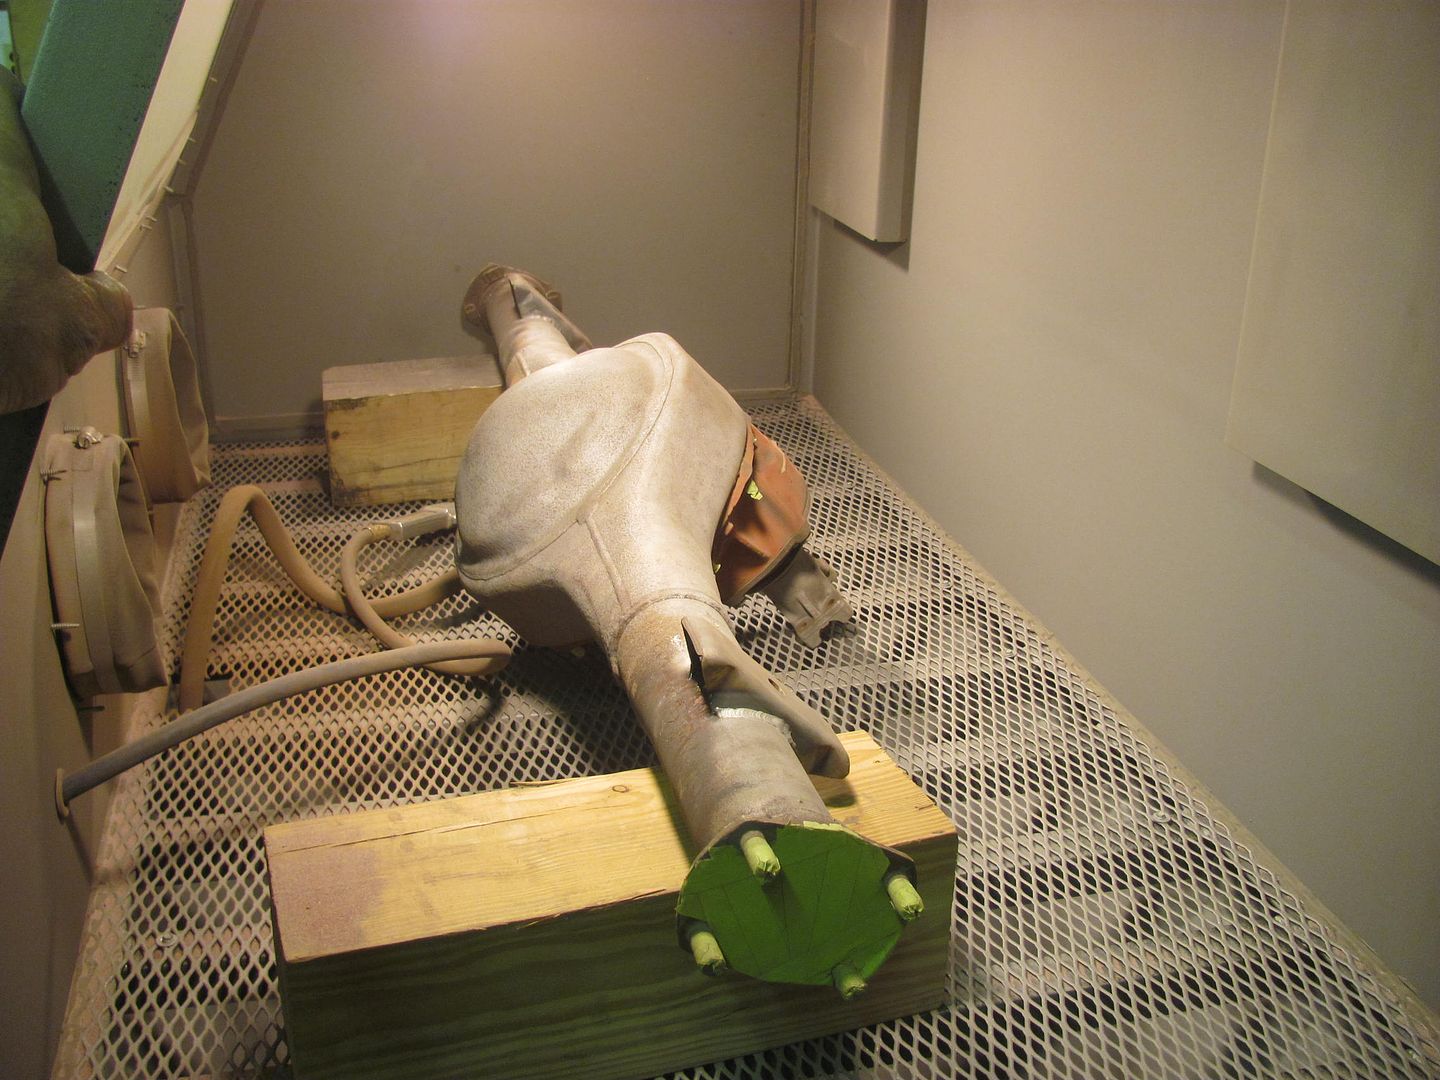
Then Kyle got the rear torn down for media blasting as well. Blast cabinet just the right size..
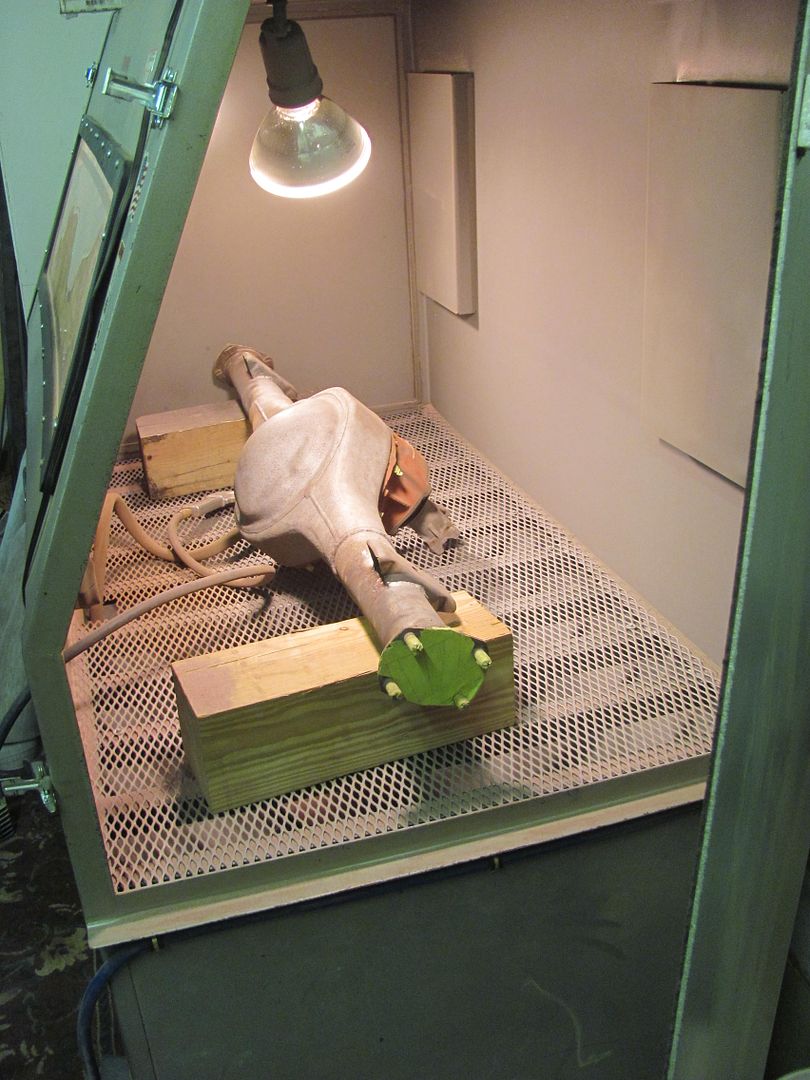
Robert
-
01-13-2016 04:45 PM #709
Some Hoosier Profile parts showed up for the new wheeling machine.. Joe Andrews does some real nice work..

Robert
-
01-19-2016 08:49 PM #710
Getting things ready for the next round of SPI epoxy, here hanging the 9" rear on the multi-purpose rotisserie a-frame..
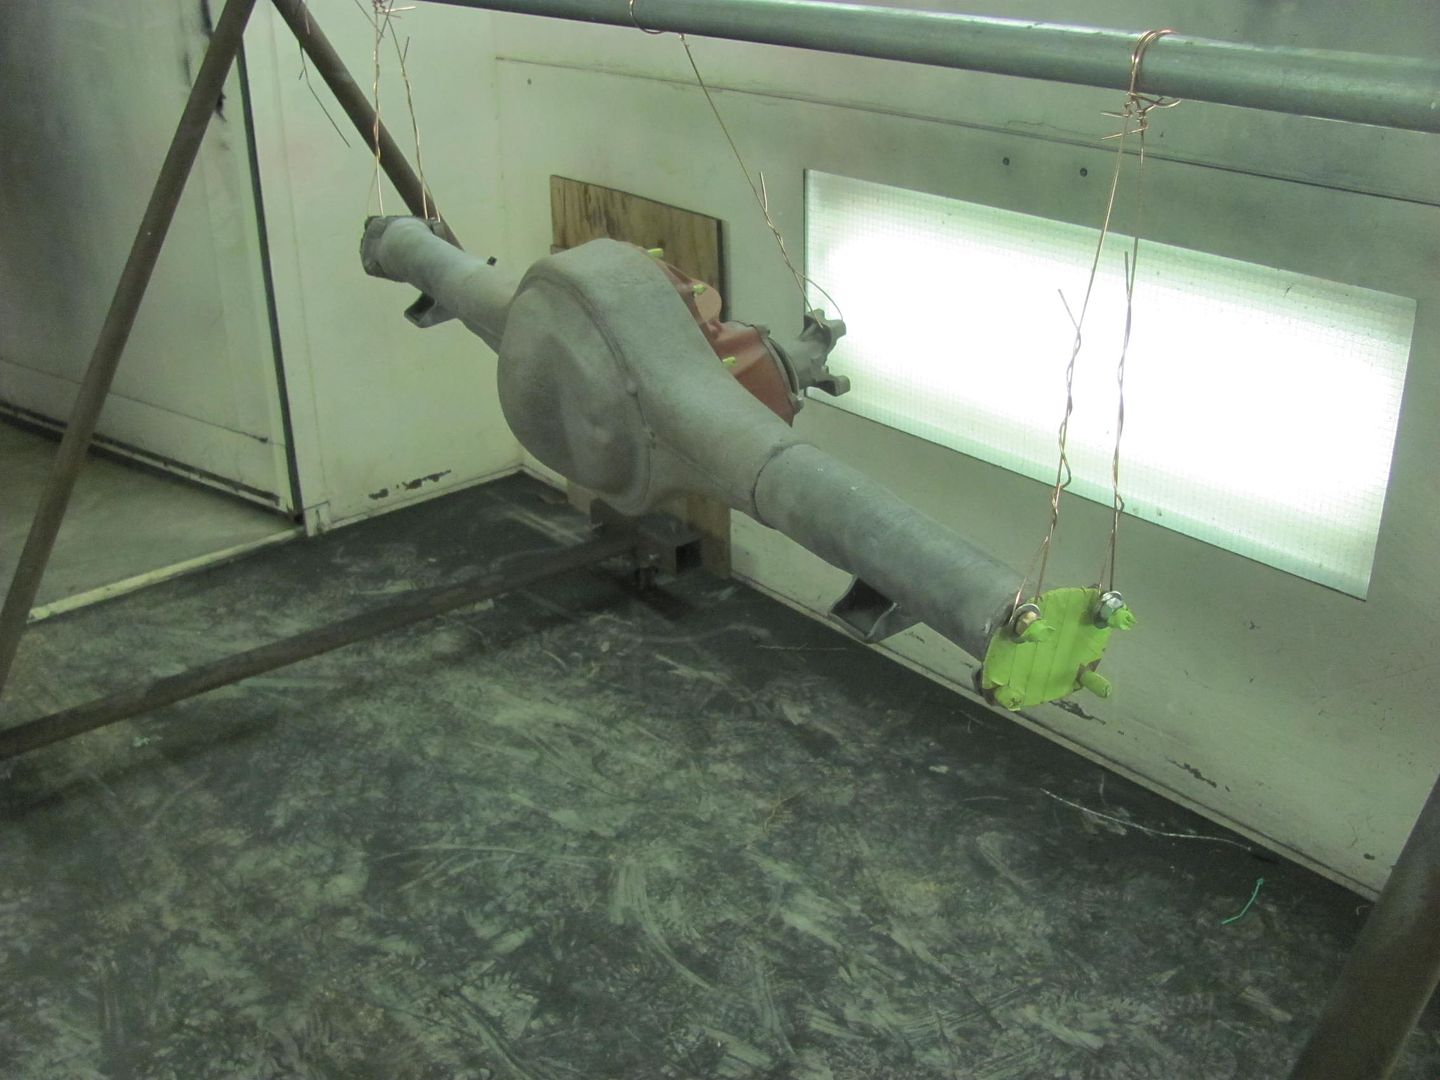
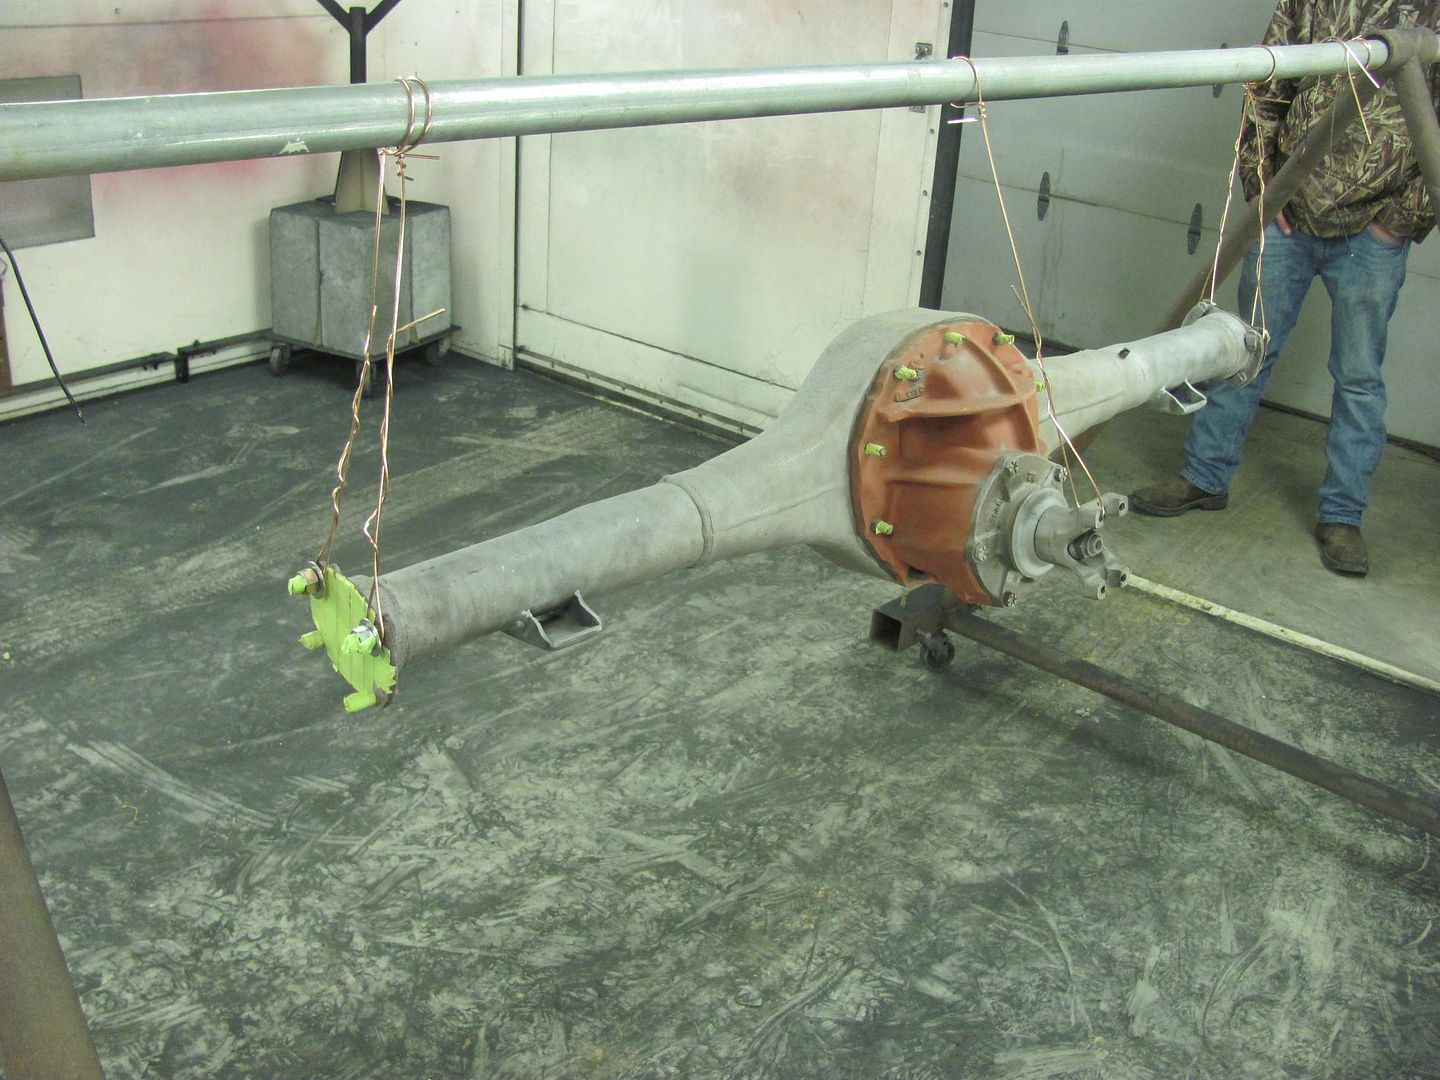
We had this bare spot after the last time we blocked, and had bumped it a bit with the flat body hammer.
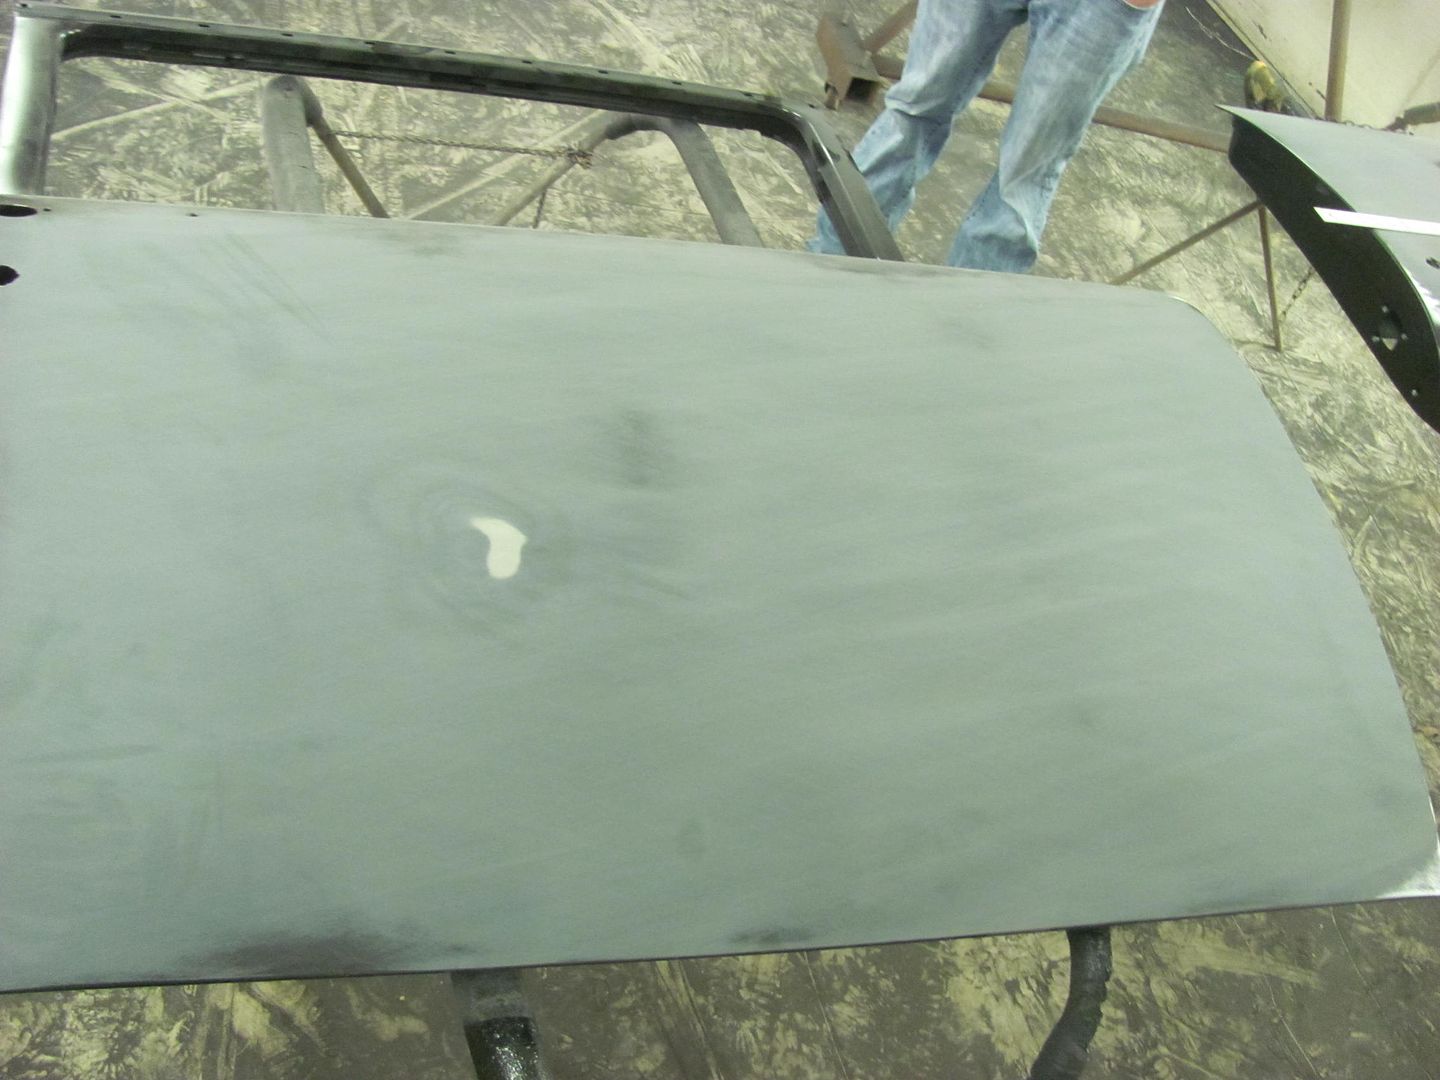
Doesn't look like it did much to rectify the issue, let's look further....
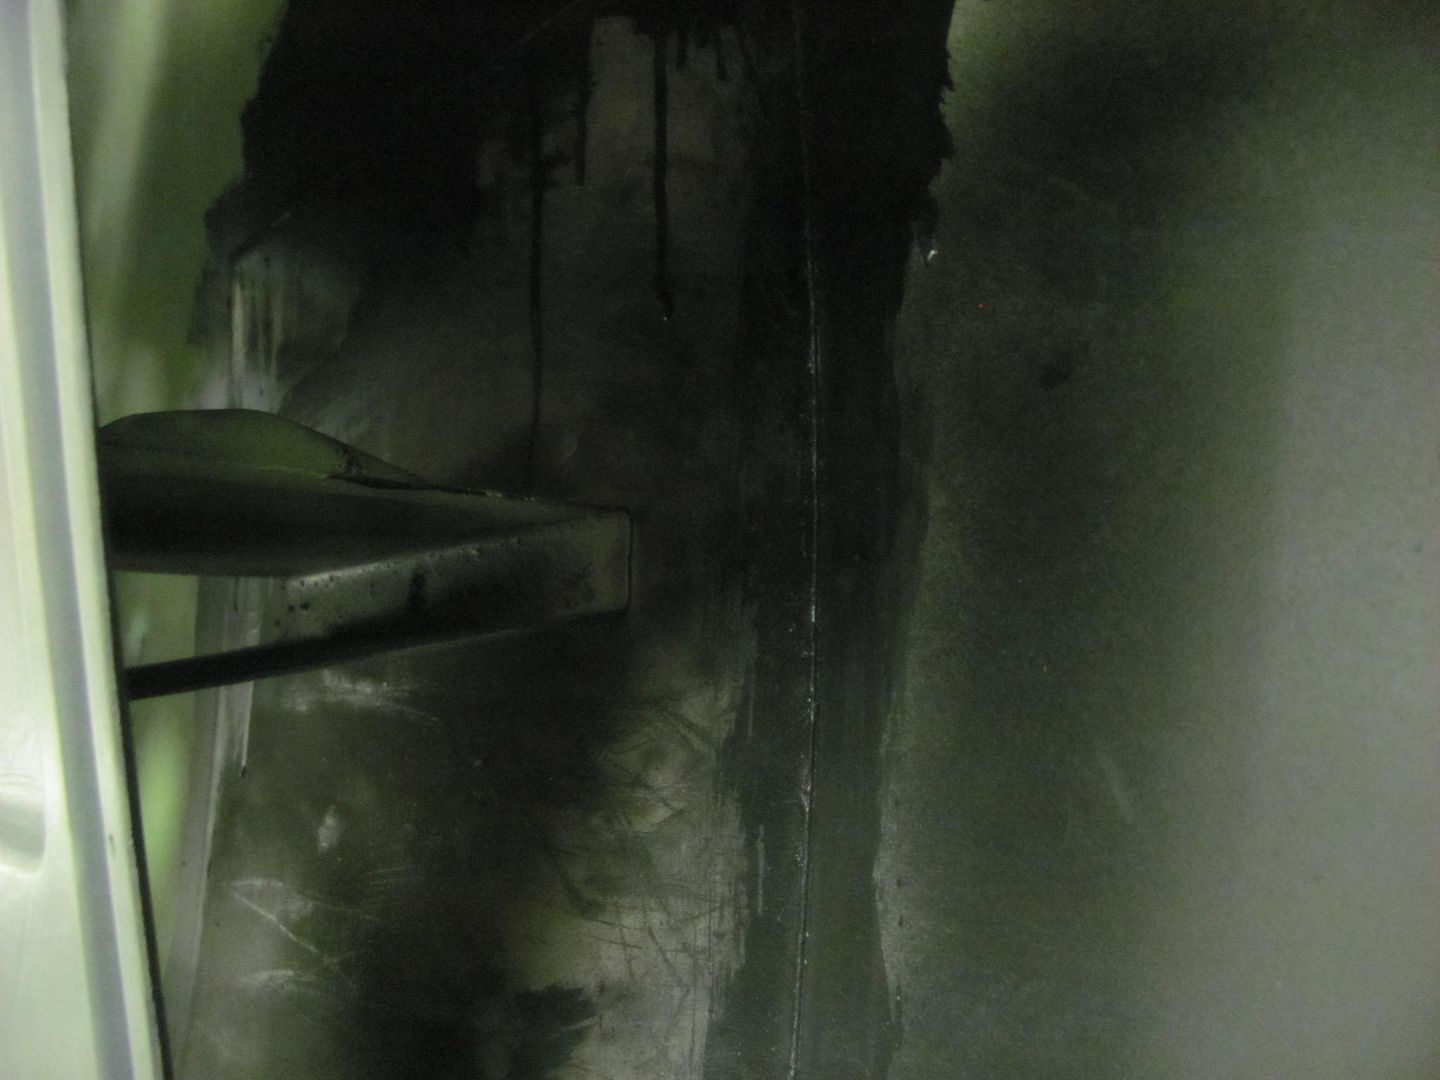
Looks like the rear end of the inside bracket is pushing a bit on the skin, no wonder the hammer didn't do much. Time to find the tool for the job, a pair of crimping pliers for stove pipe/ductwork.....
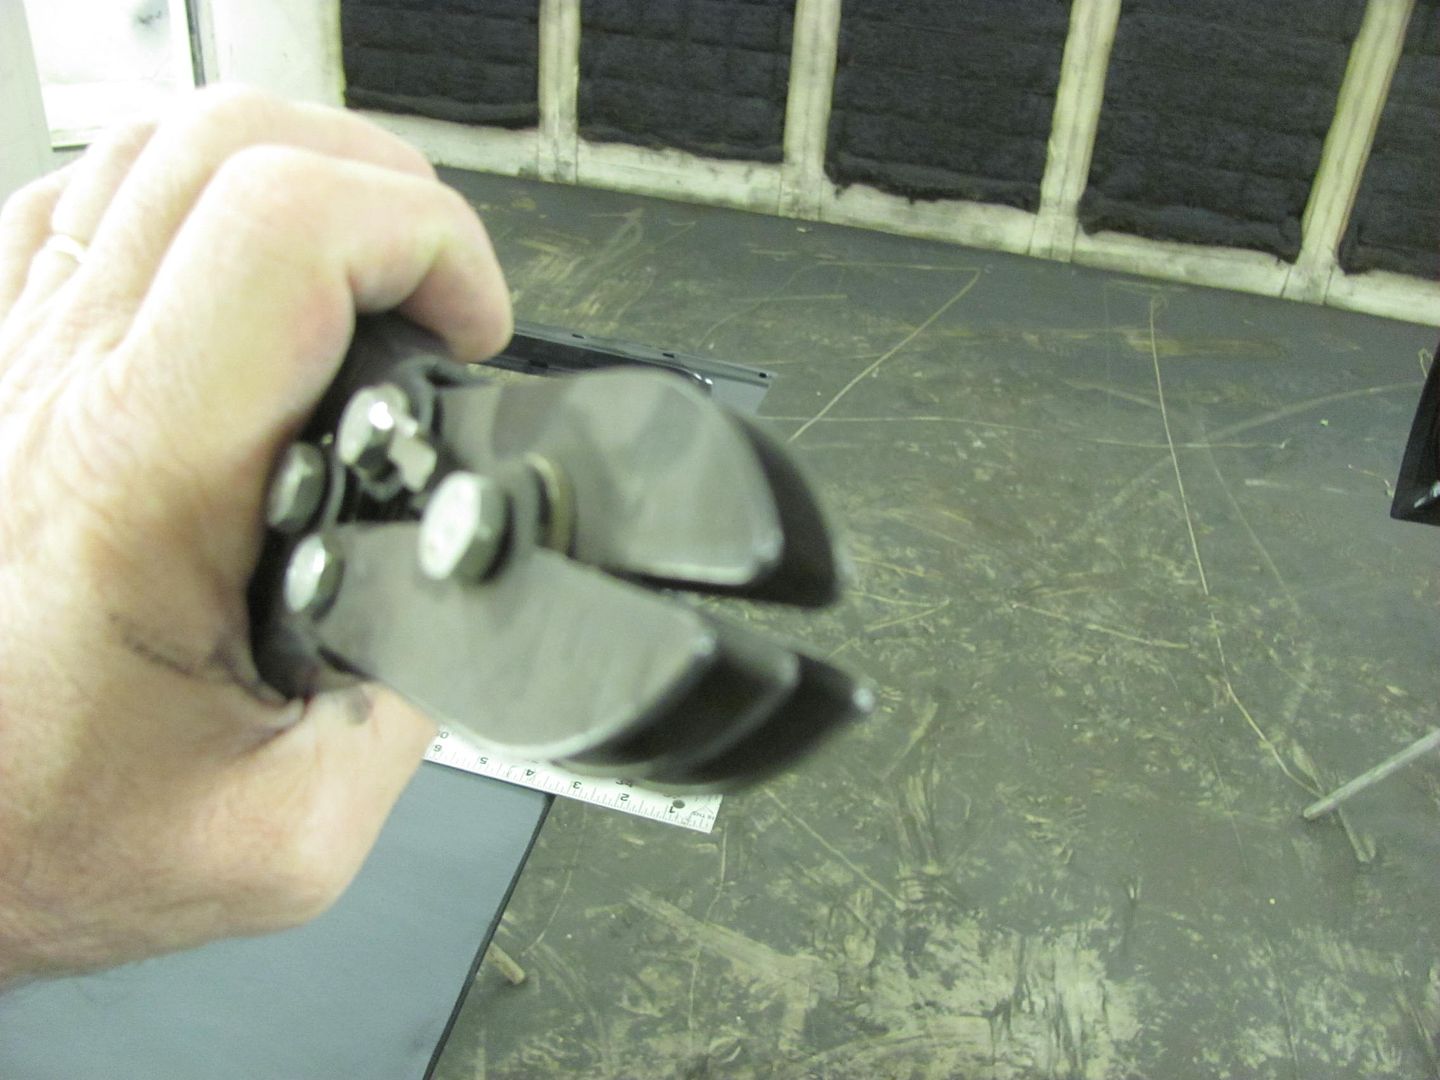
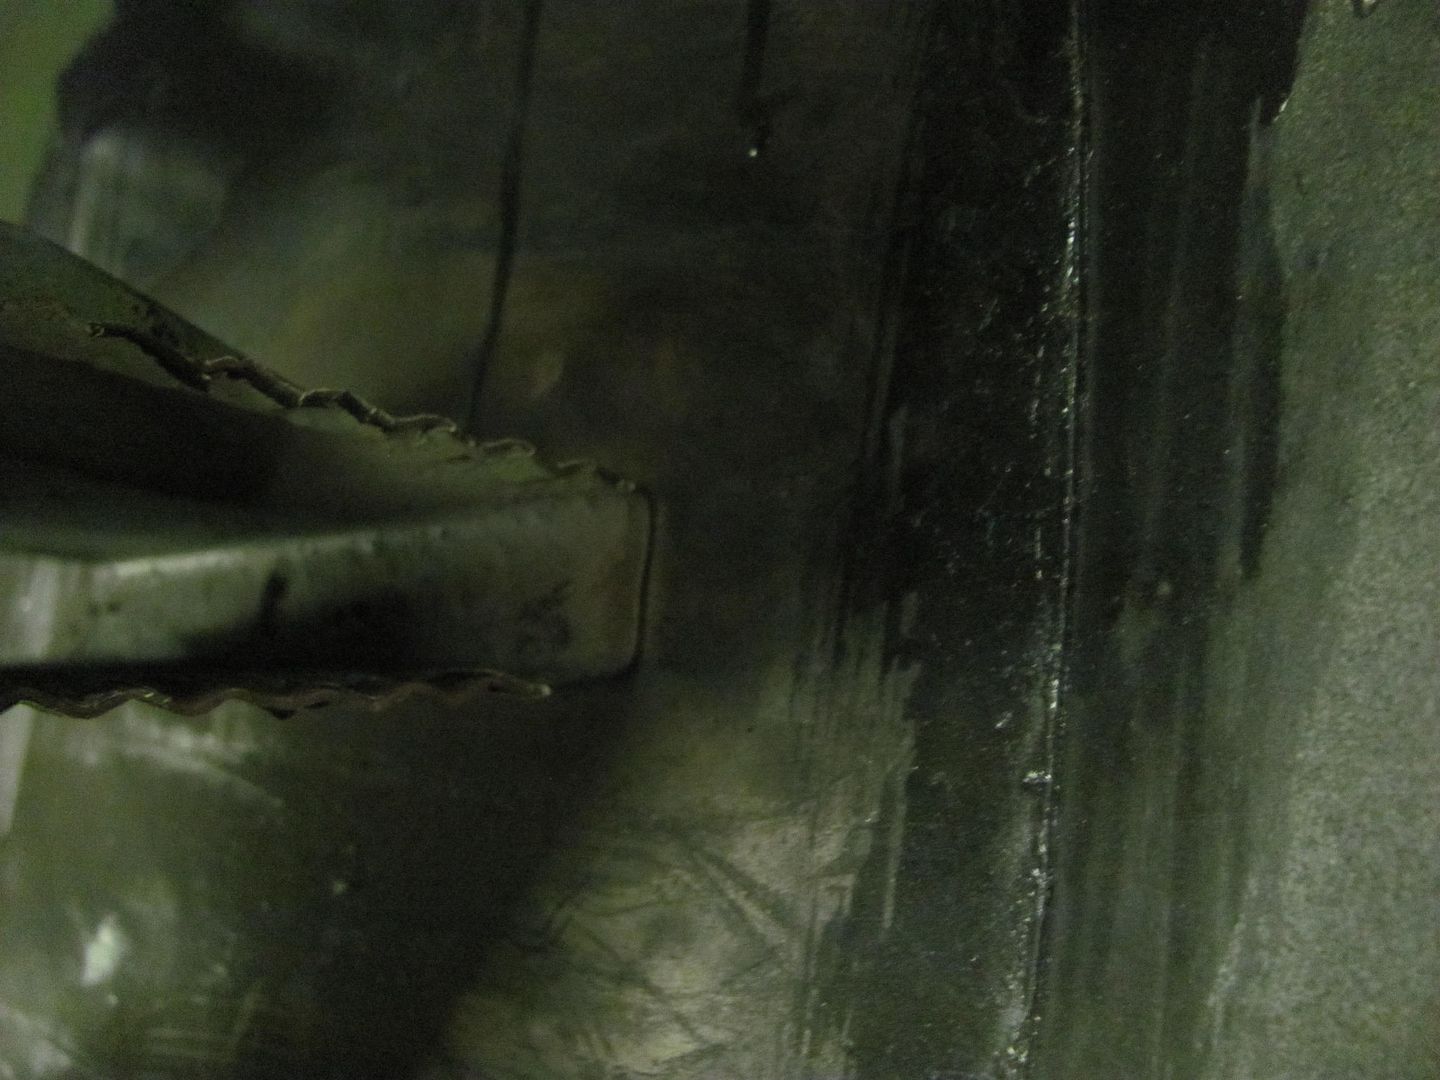
That should give us some breathing room, and bumped it again with the hammer.
Put the SPI in the paint shaker, should have tapped the lid a bit tighter..
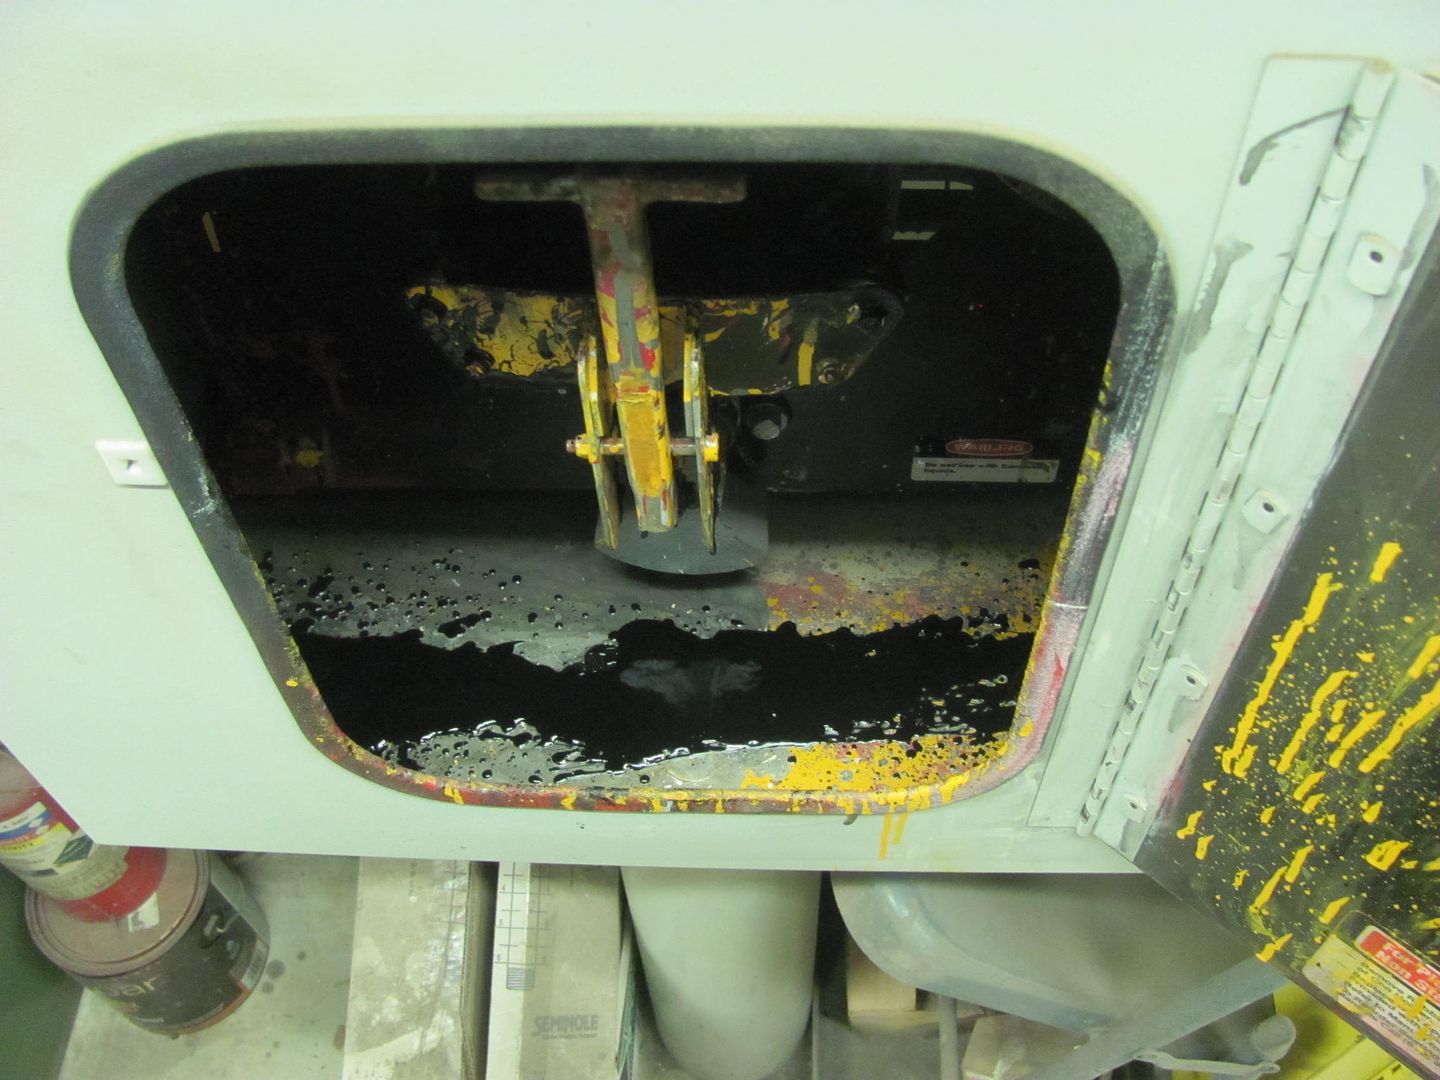
More parts ready for spraying....
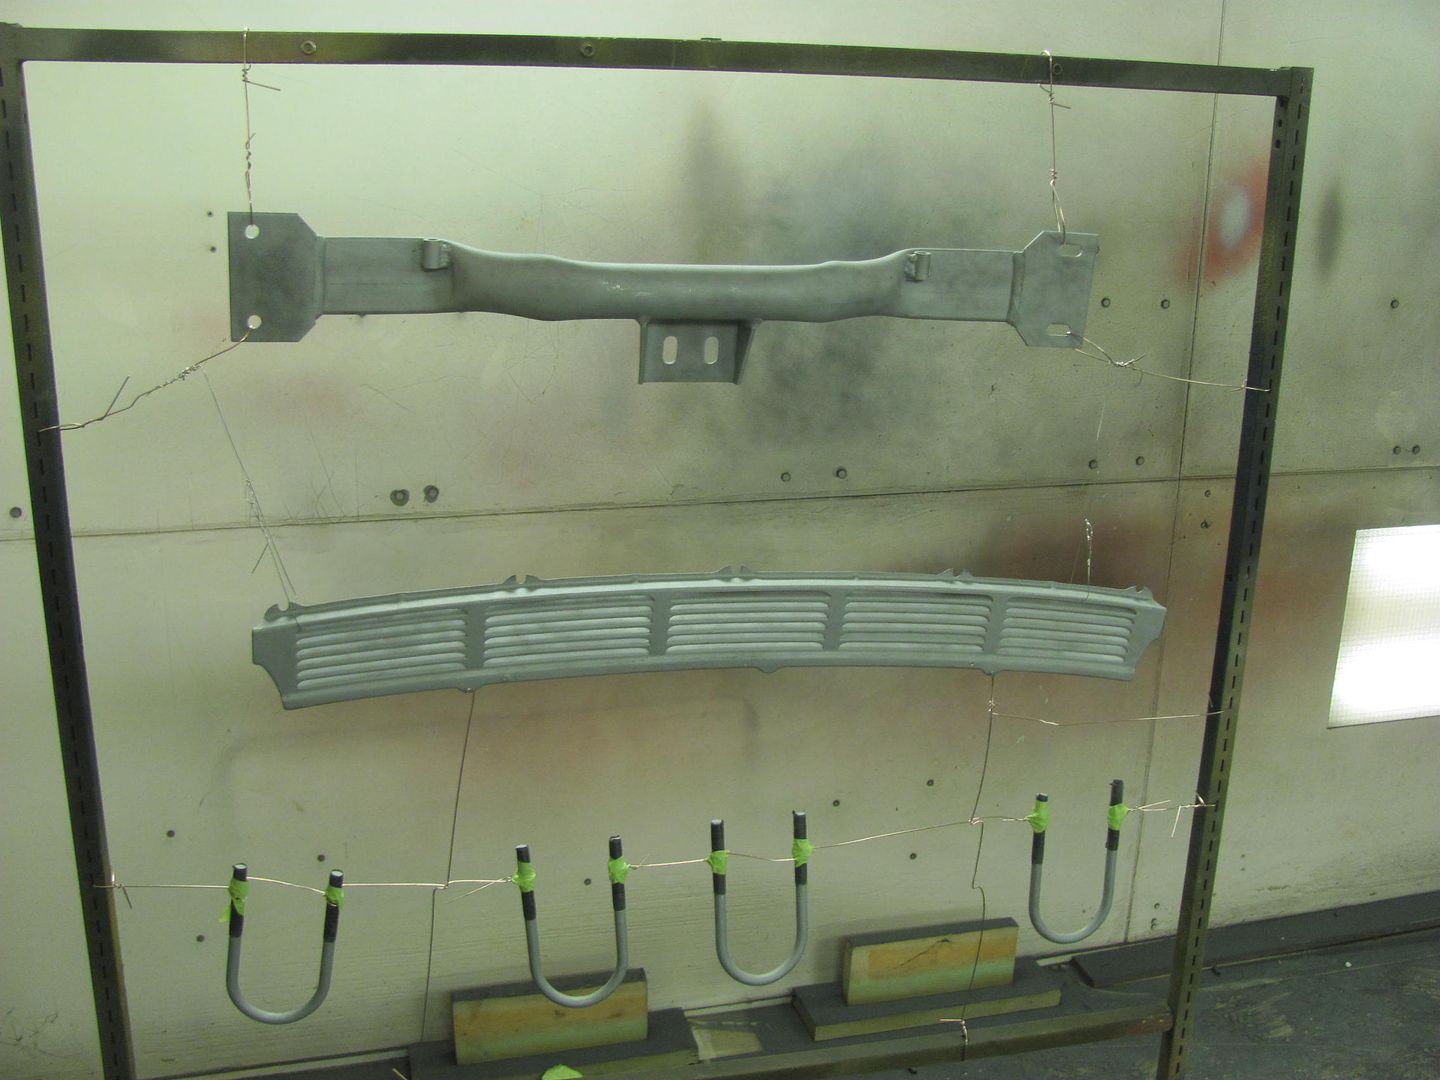
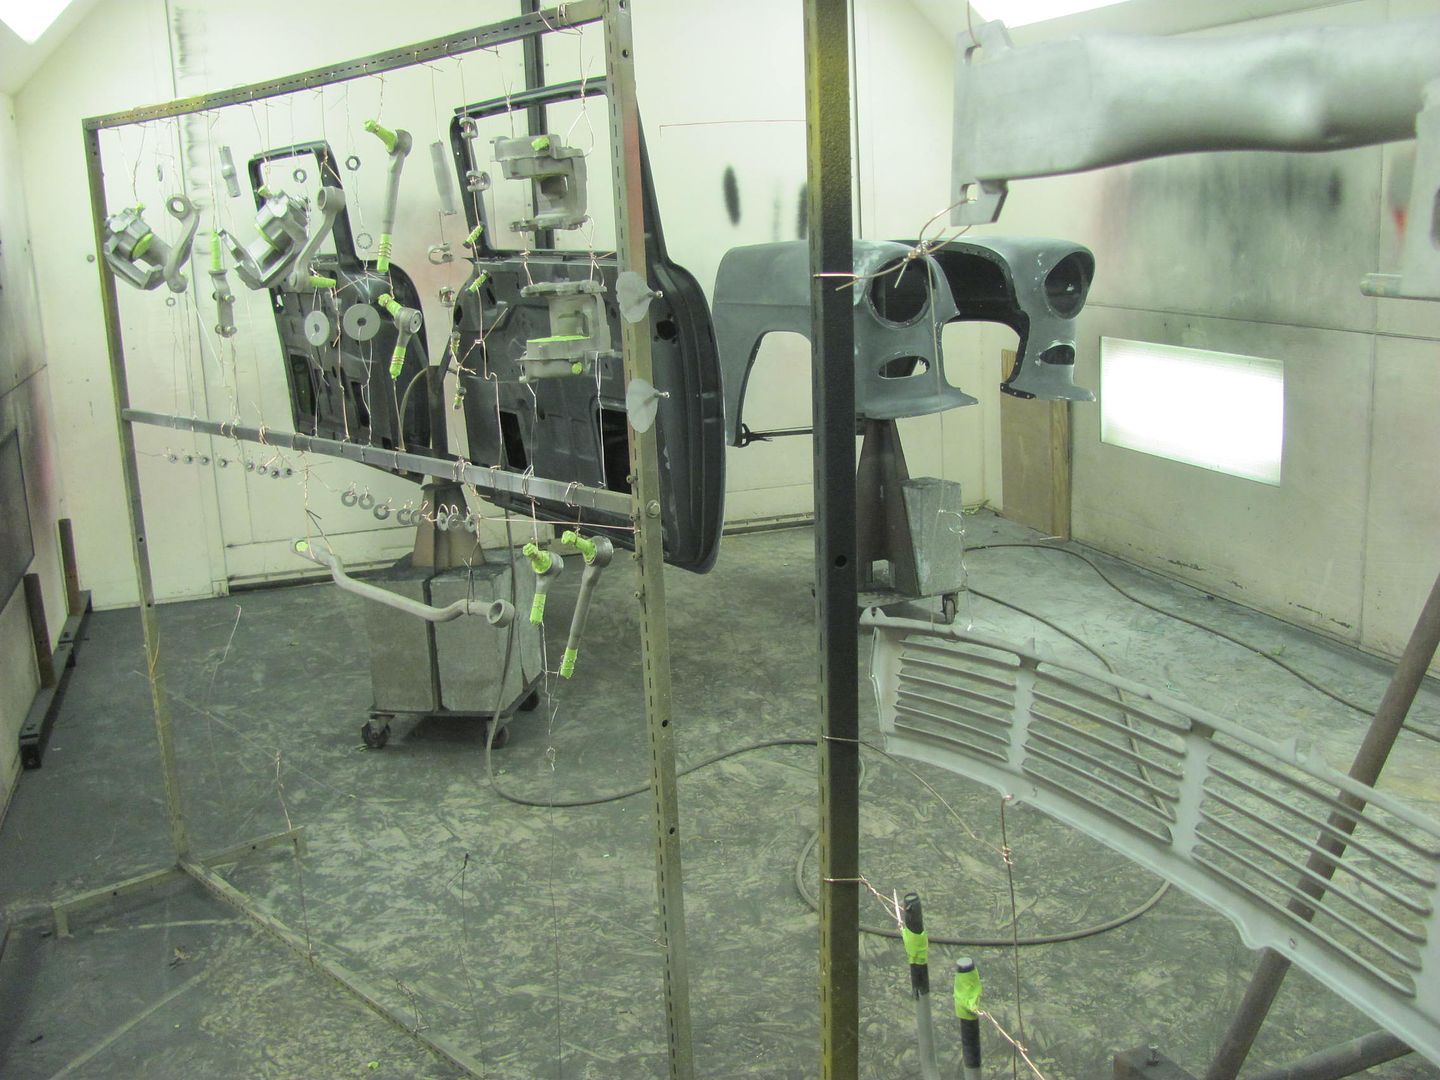
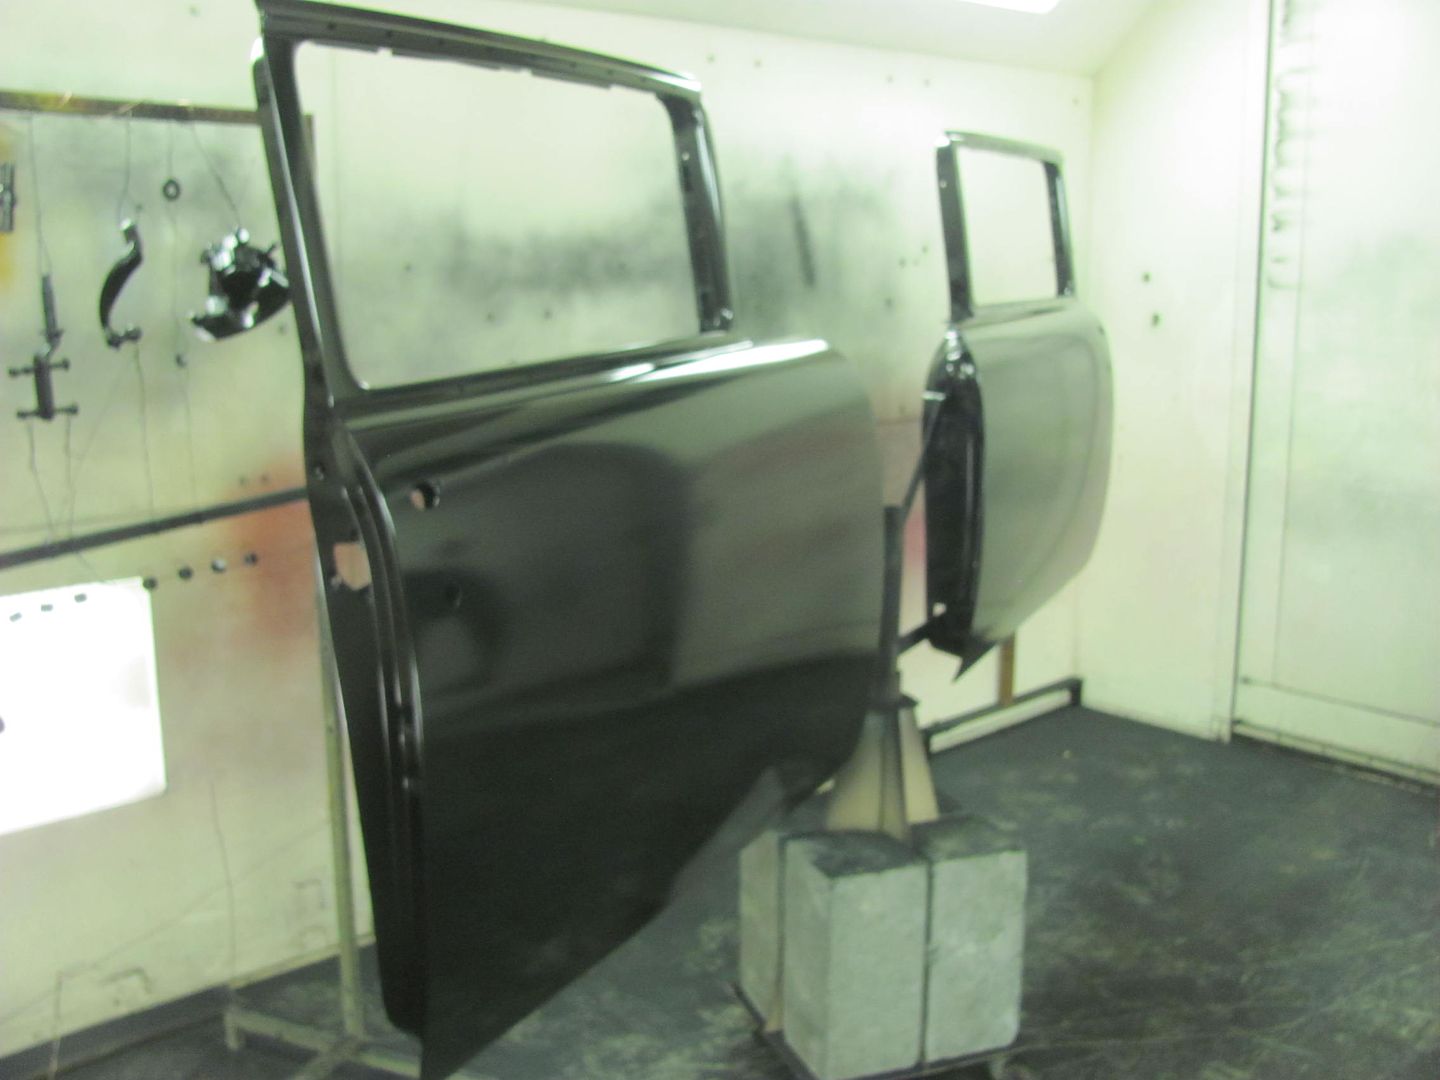
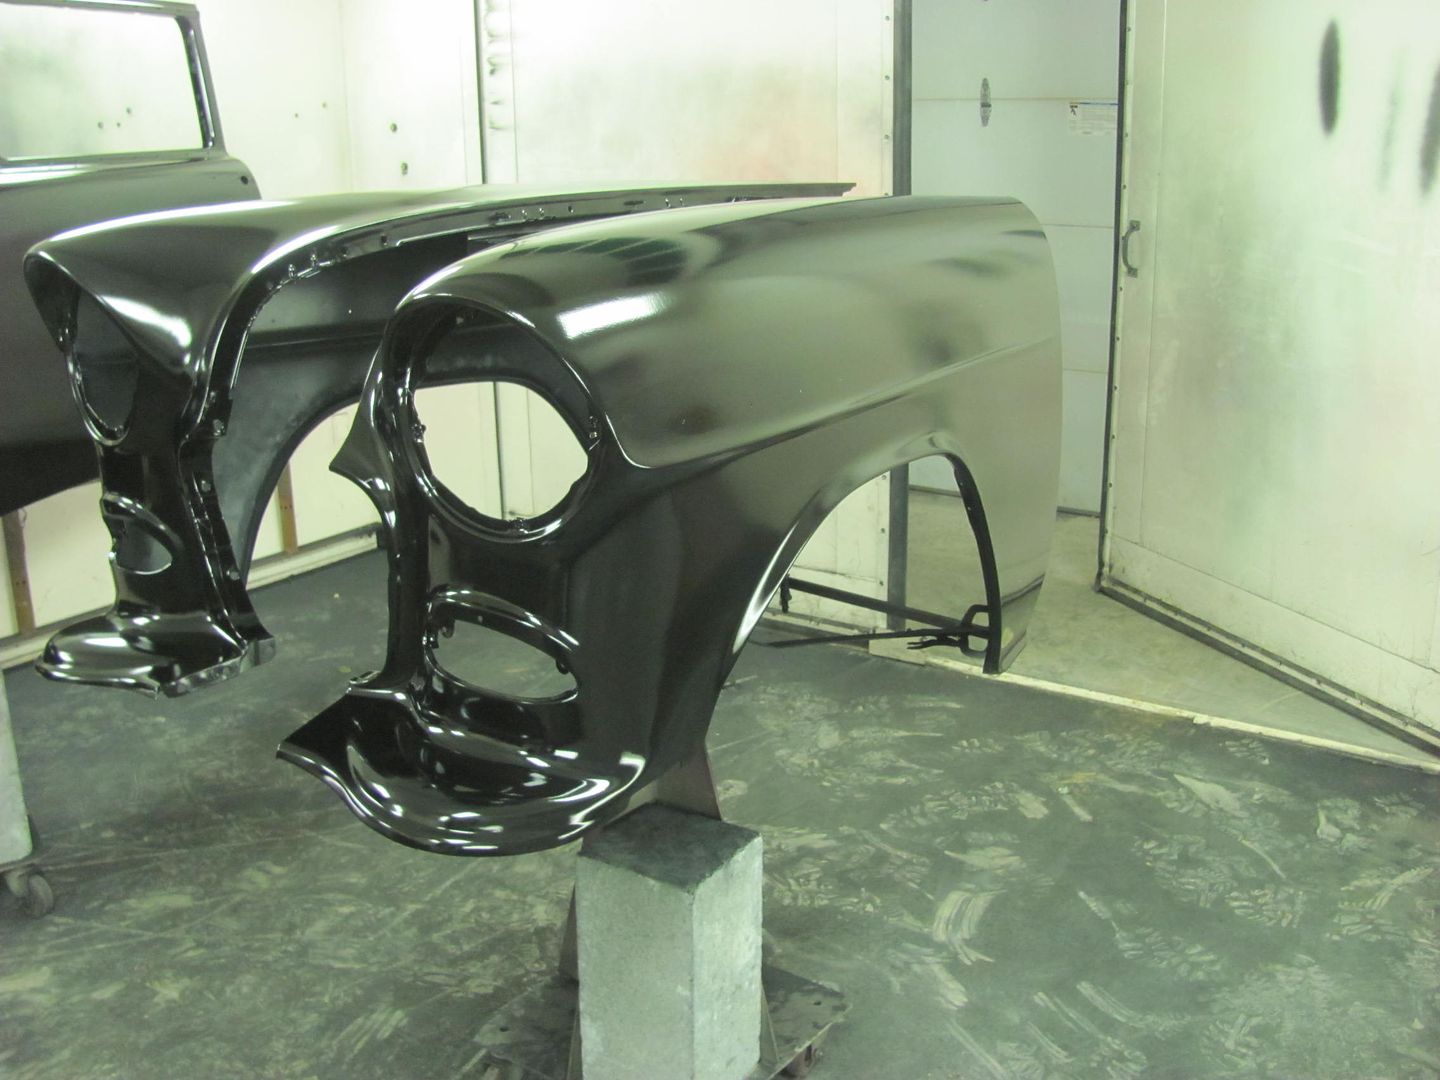
After 3 coats of epoxy....
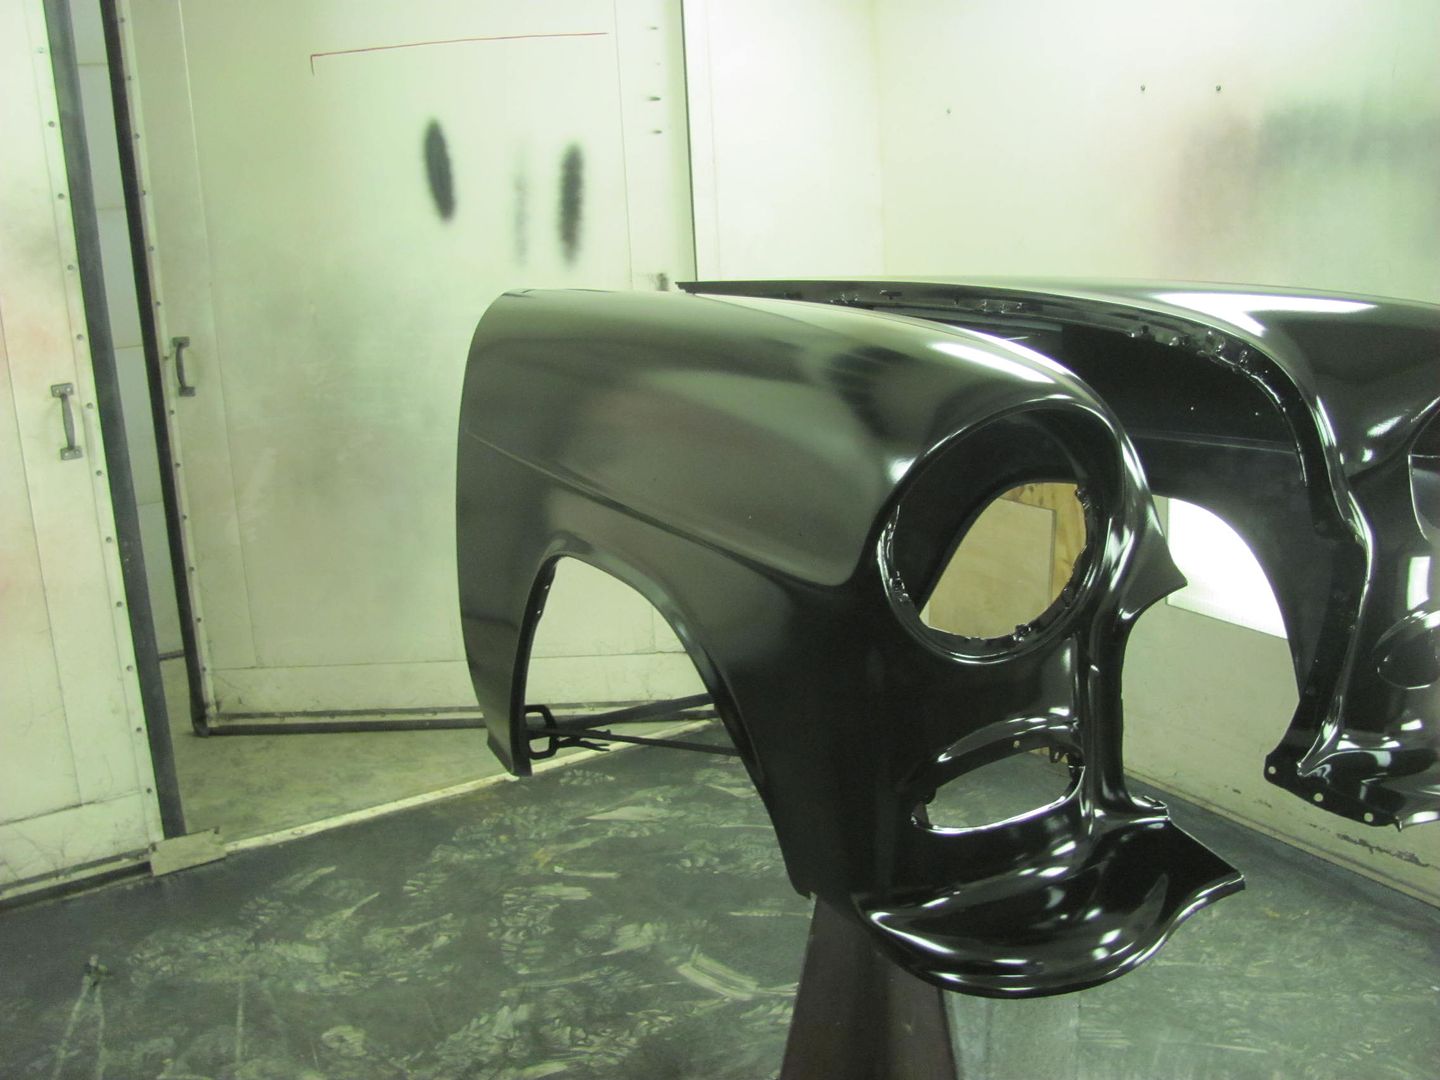
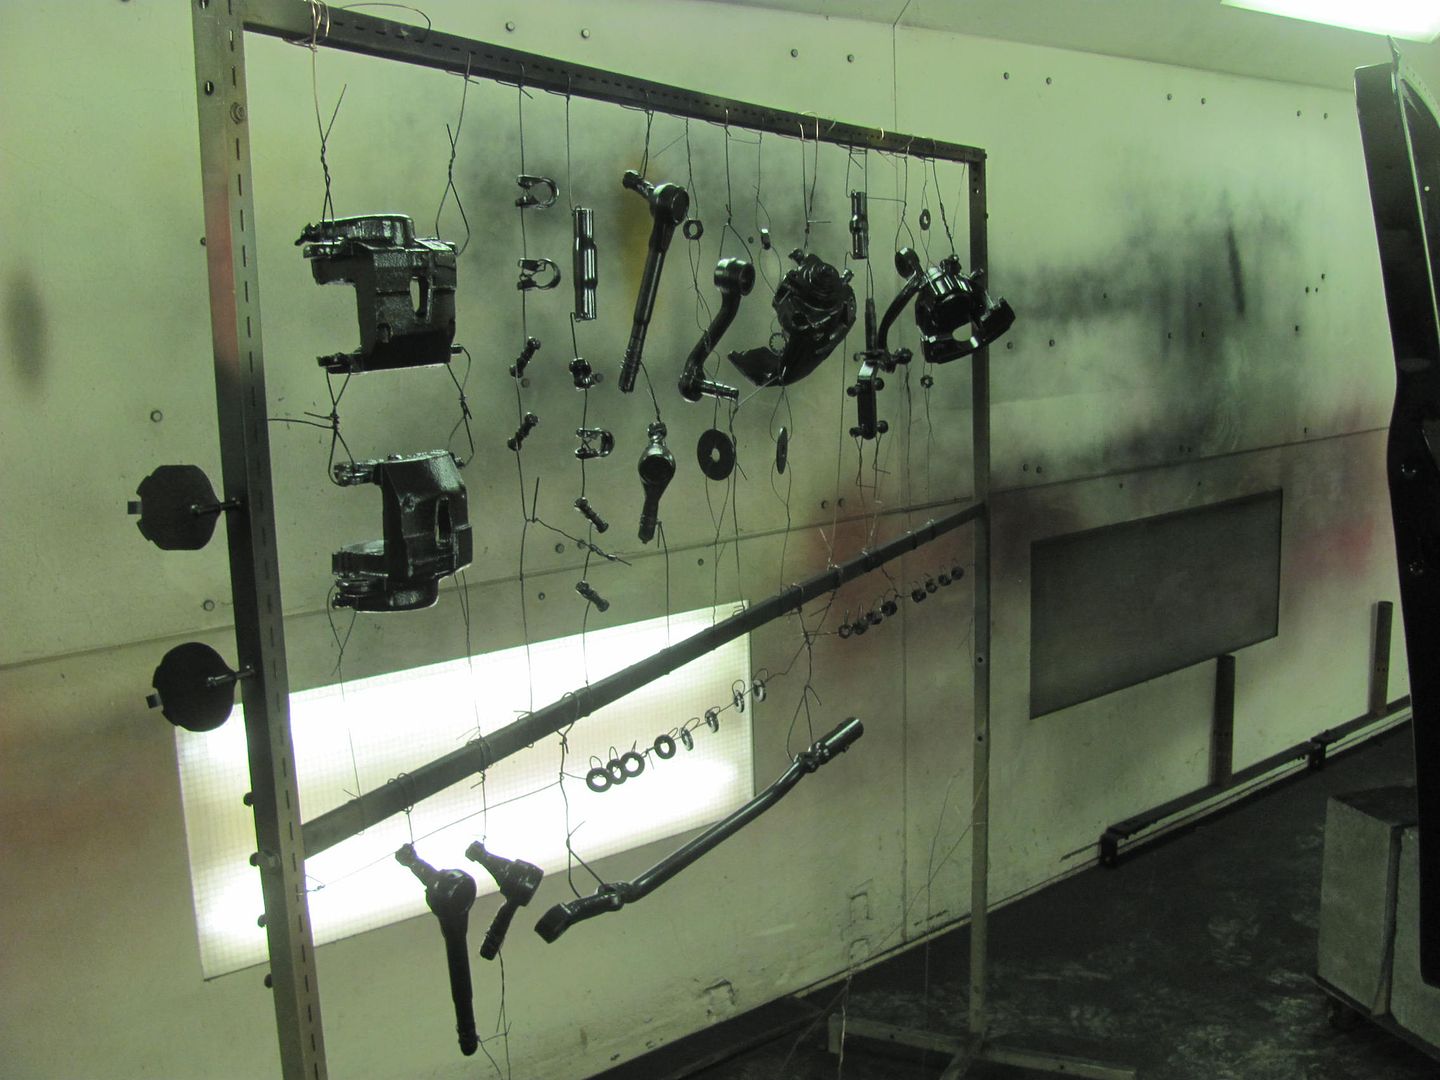
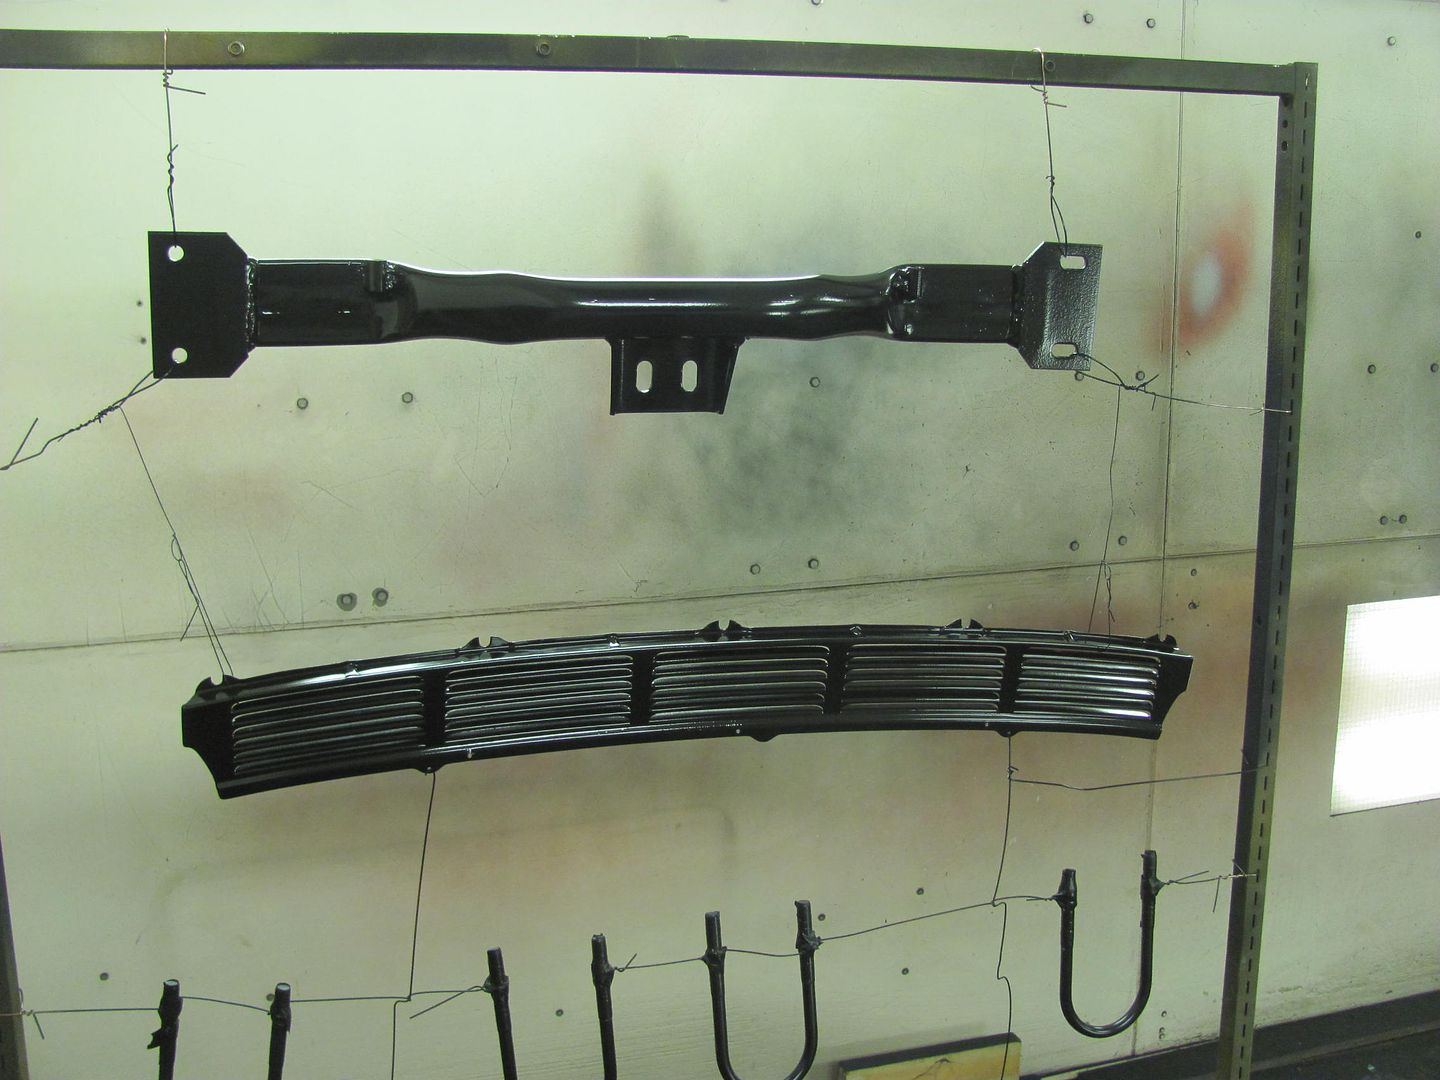
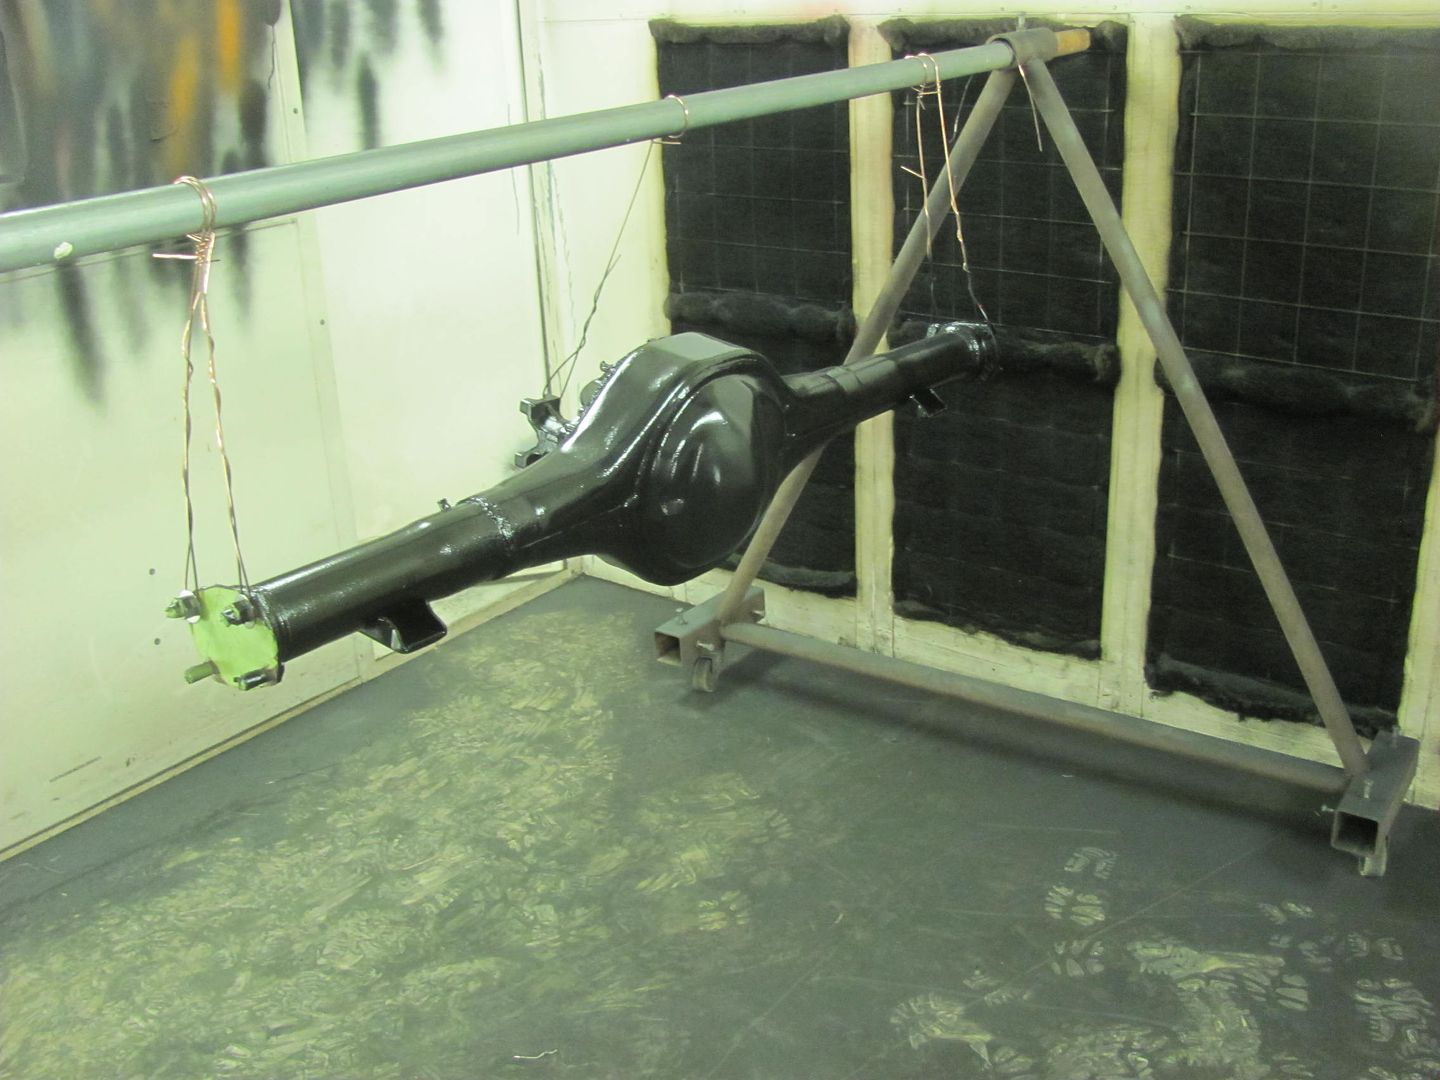
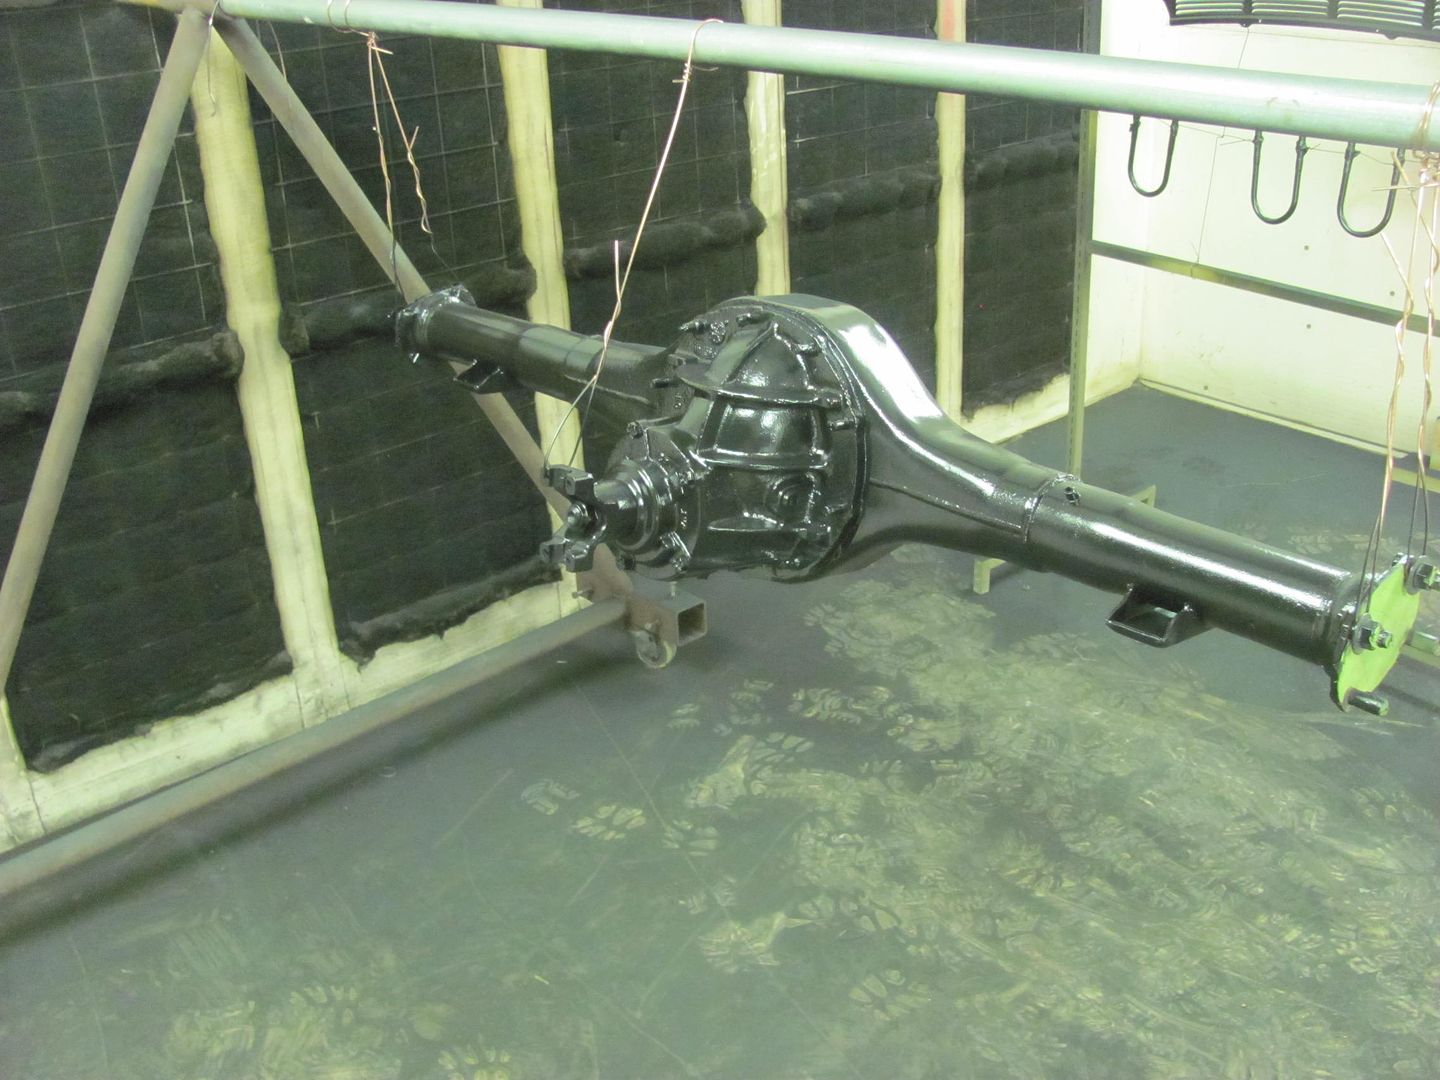
Here's some of the "restraint" methods for painting the small parts....
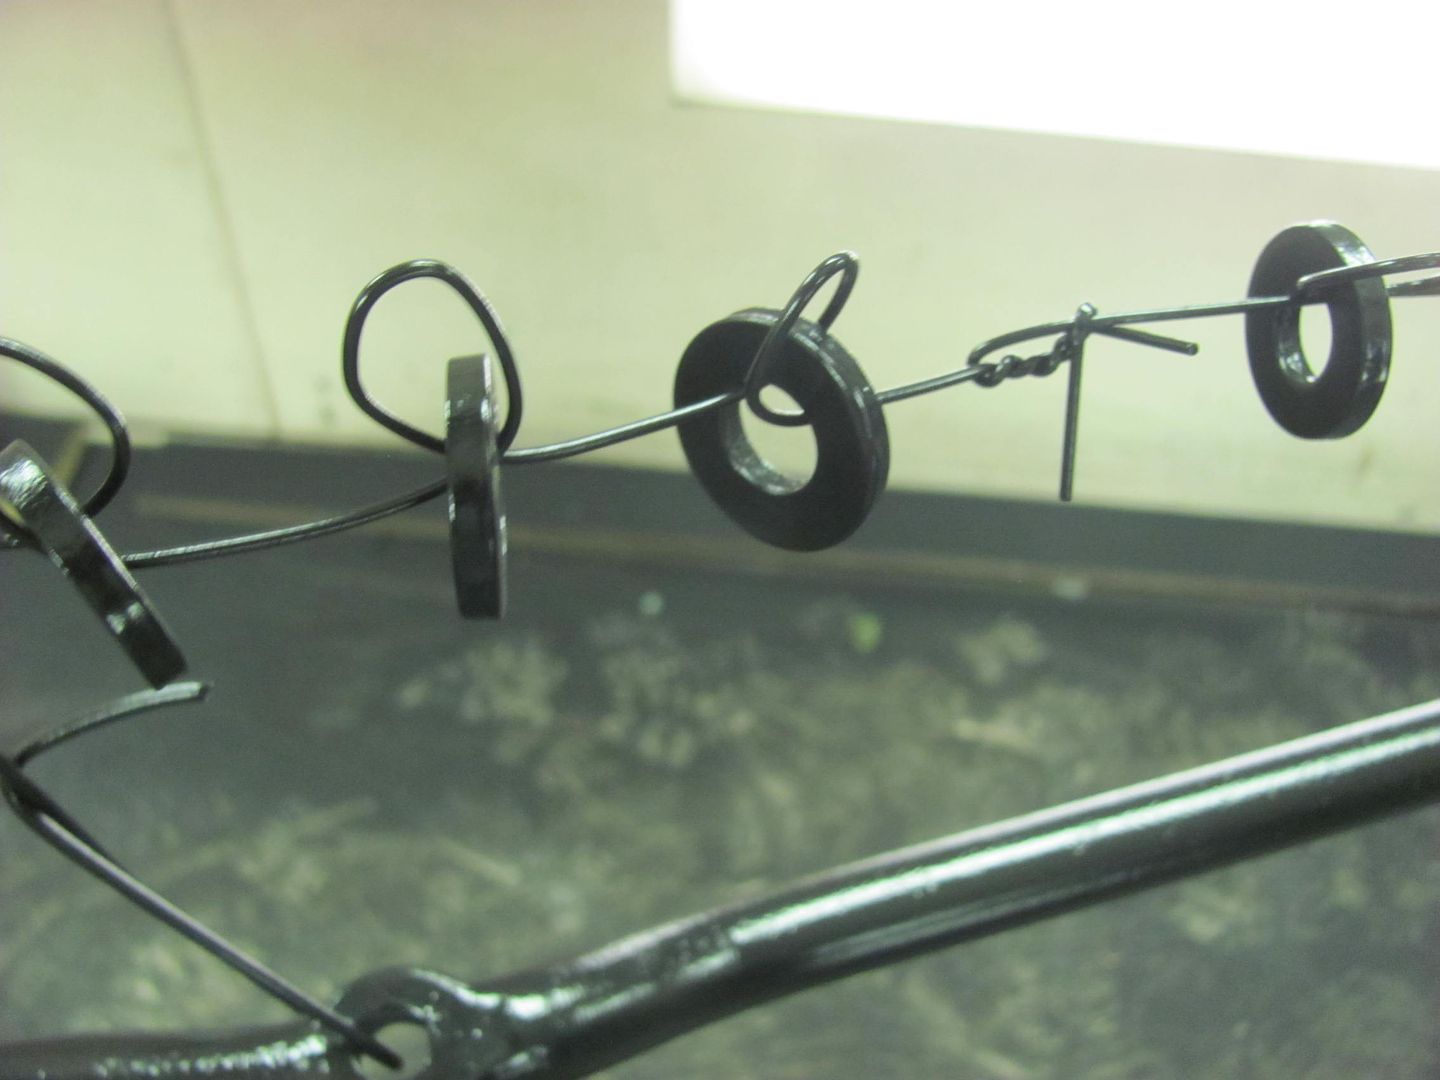
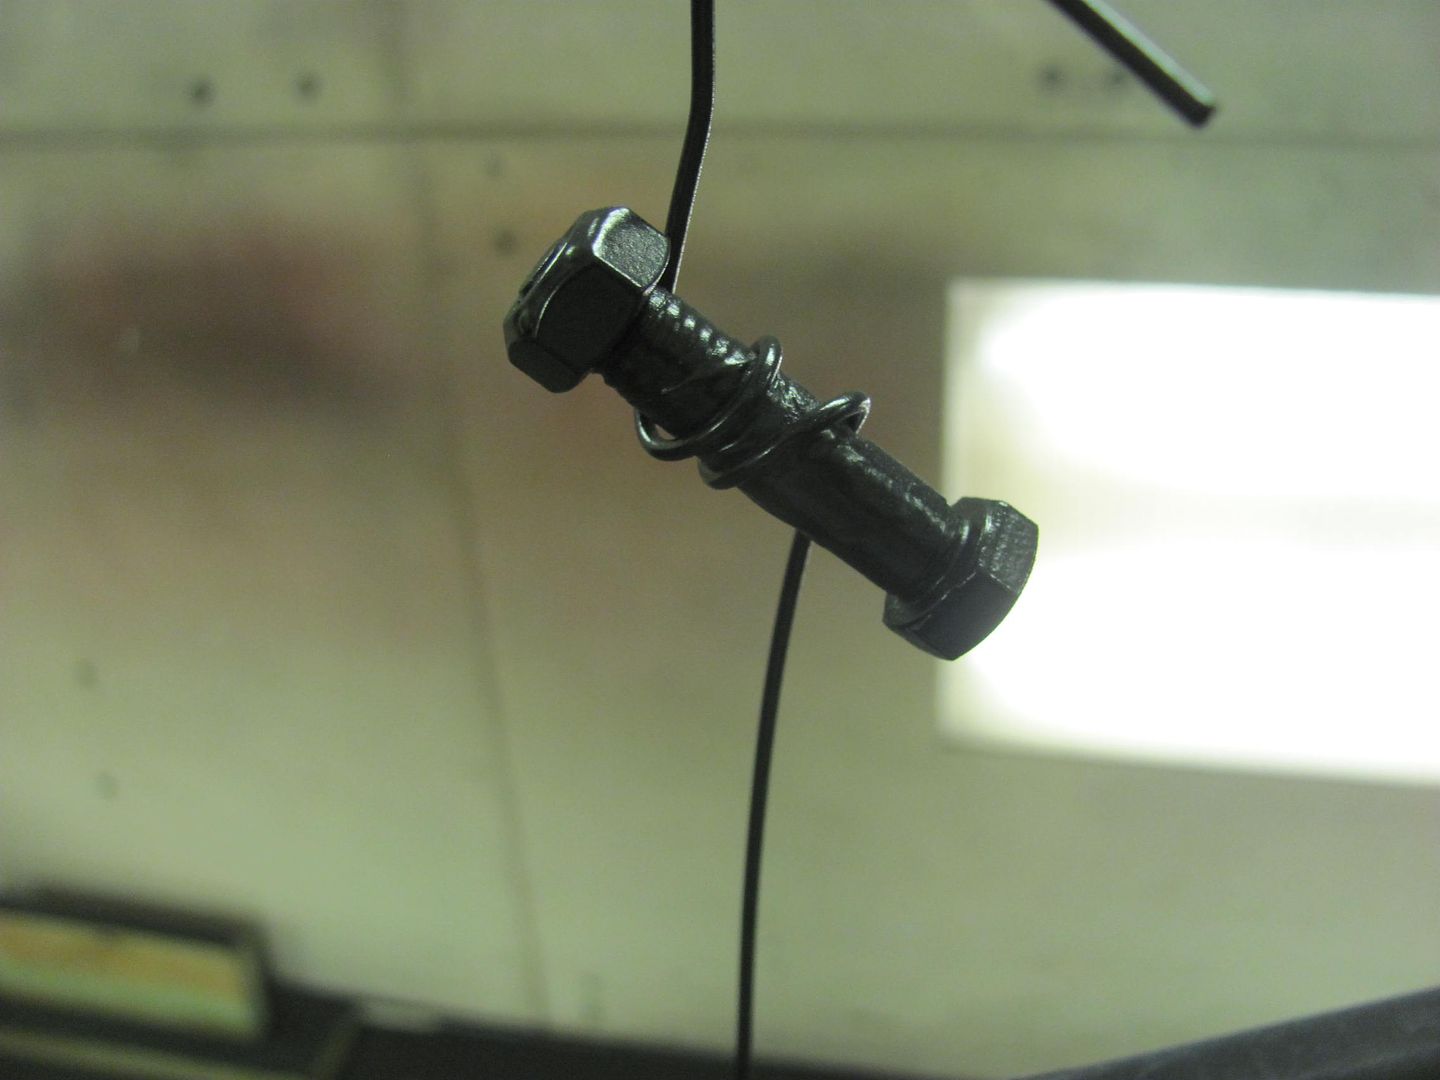
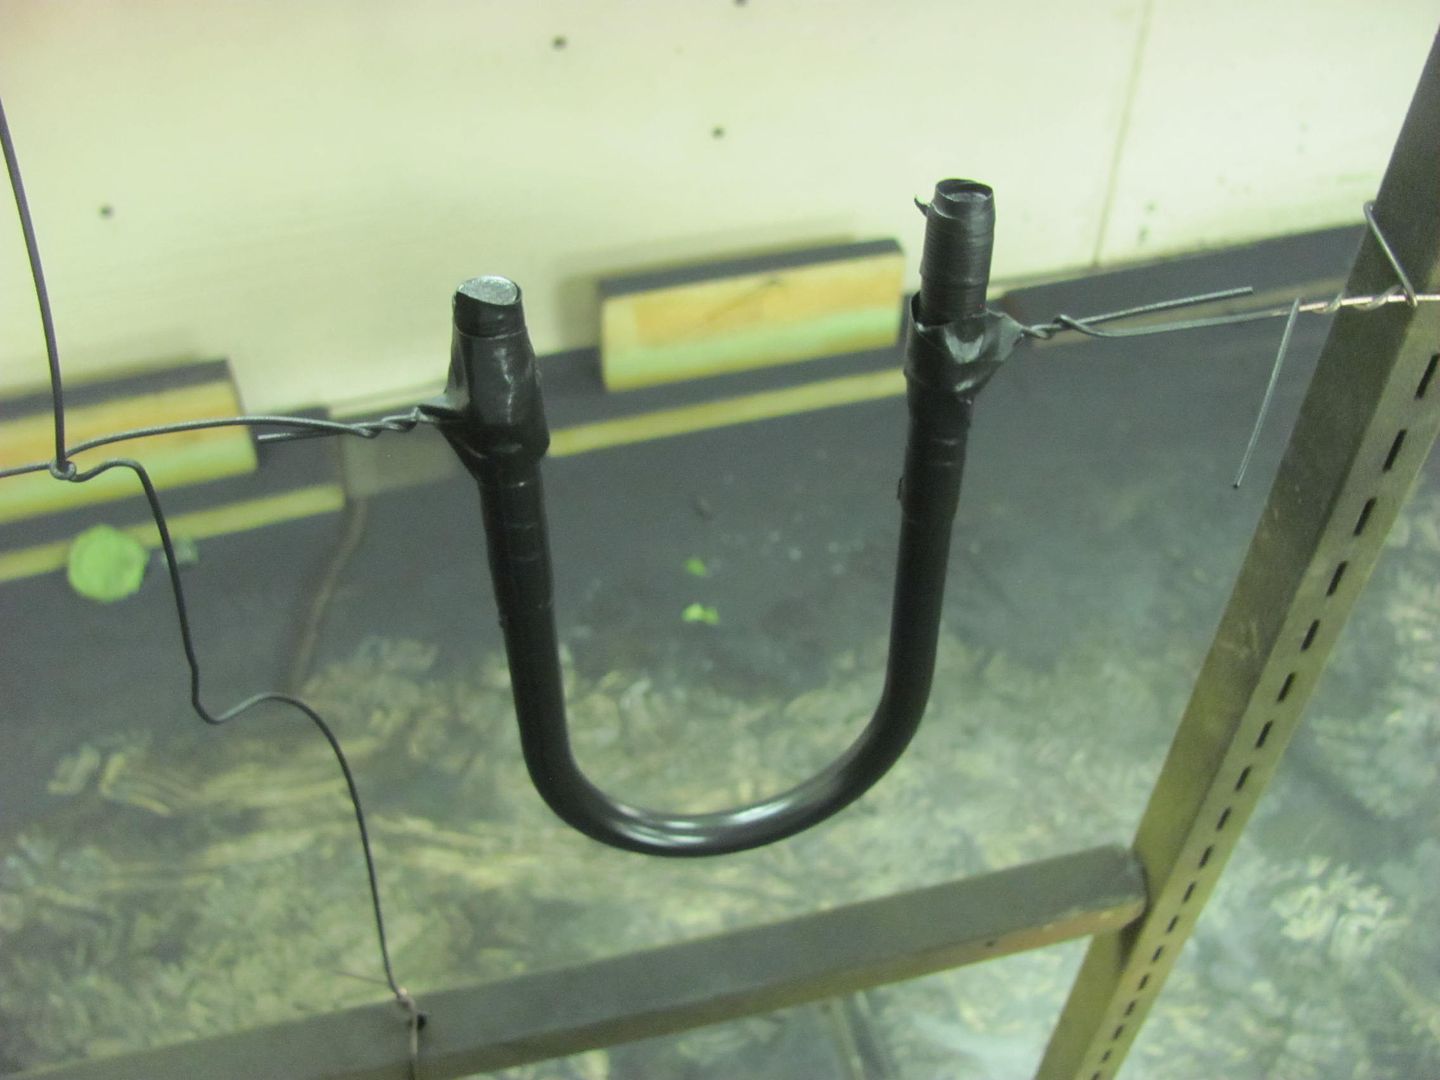
Here clamps for the tie rod ends are held in a twisted loop..
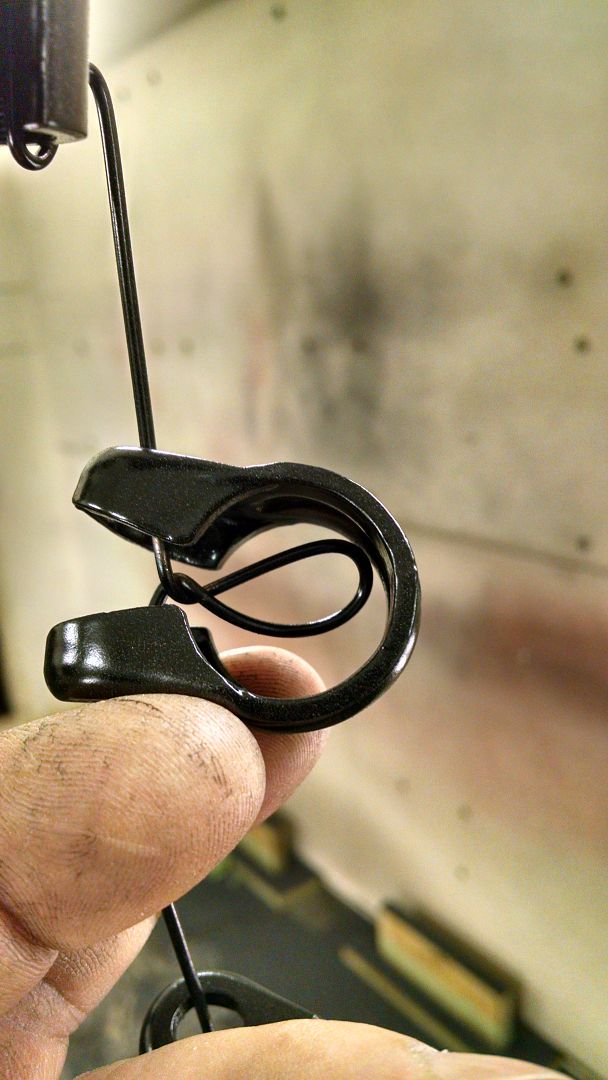
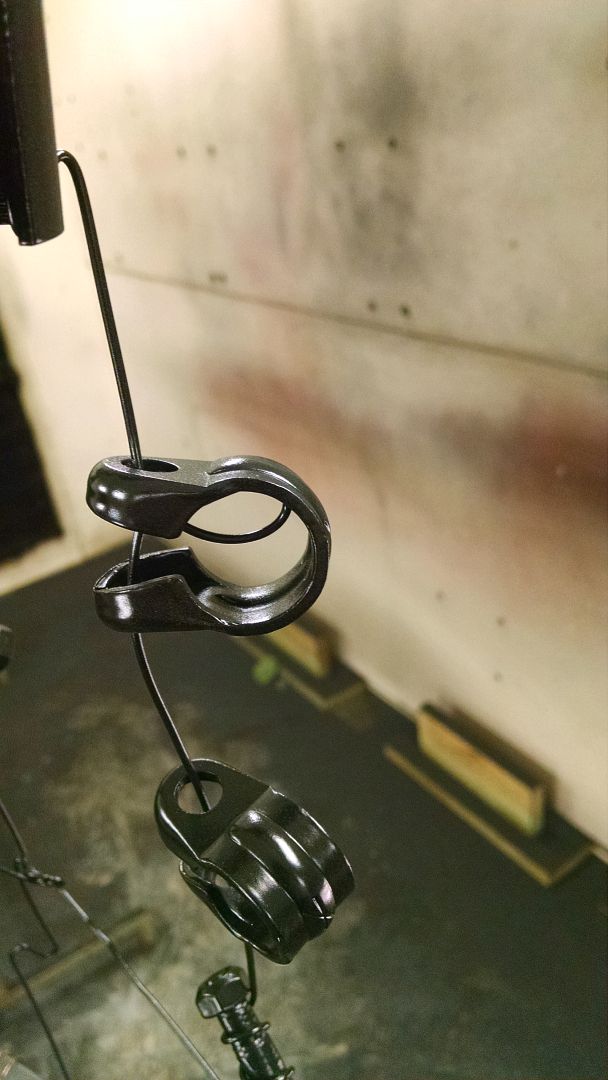
I think the fenders should be good for wet sanding after this go round:
https://www.youtube.com/watch?v=wHrxzkEc618
.Robert
-
01-19-2016 10:27 PM #711
Crimping pliers. So that's what those are.
I've got a pair, I expected to find what they're for eventually..
Education is expensive. Keep that in mind, and you'll never be terribly upset when a project goes awry.
EG
-
01-21-2016 08:55 PM #712
They come in handy in putting stovepipe together when the one end needs to be a bit smaller..
Well we didn't get many pictures tonight, but we've got the frame back on 4 wheels!
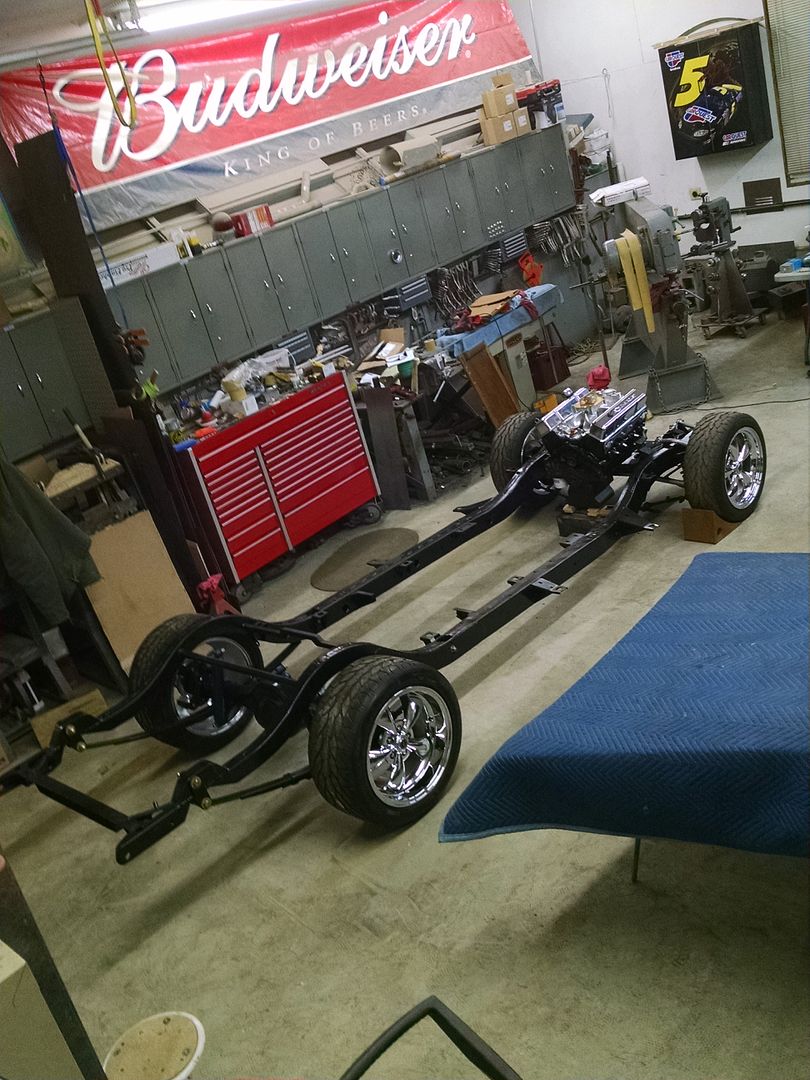
Robert
-
01-26-2016 09:03 PM #713
Well after the weekend off for the Snowmaggedon, back at more parts prep for the next round of primer..
Kyle did some media blasting on the steering box and other parts while I blocked out the inside of the hood and the hood brace..
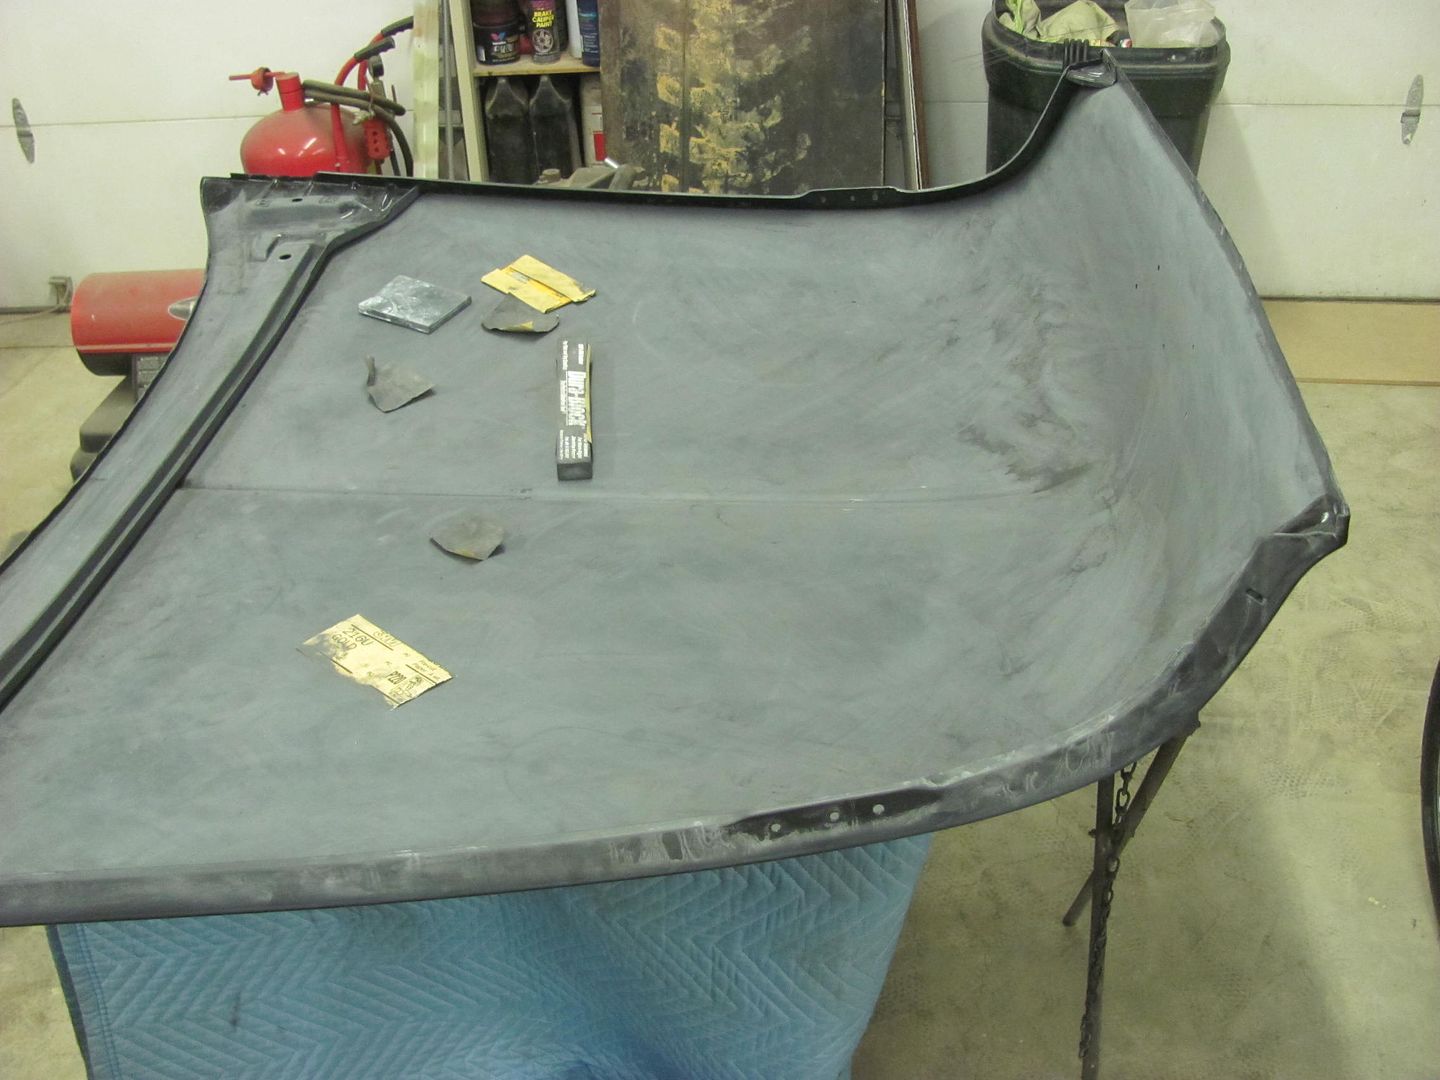
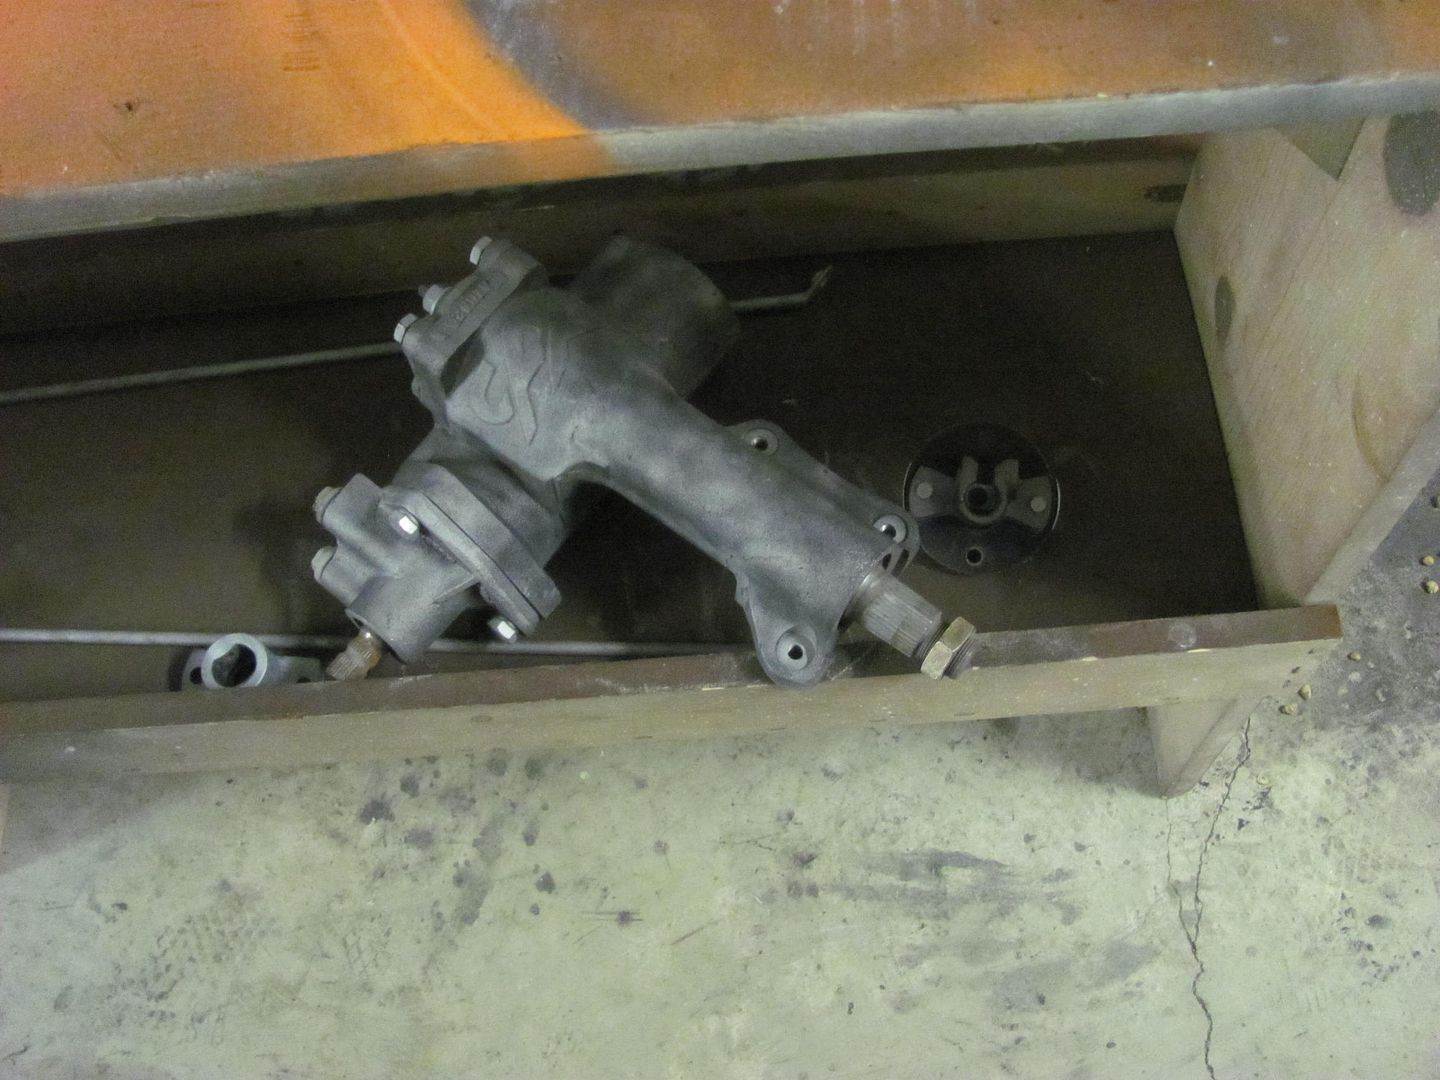
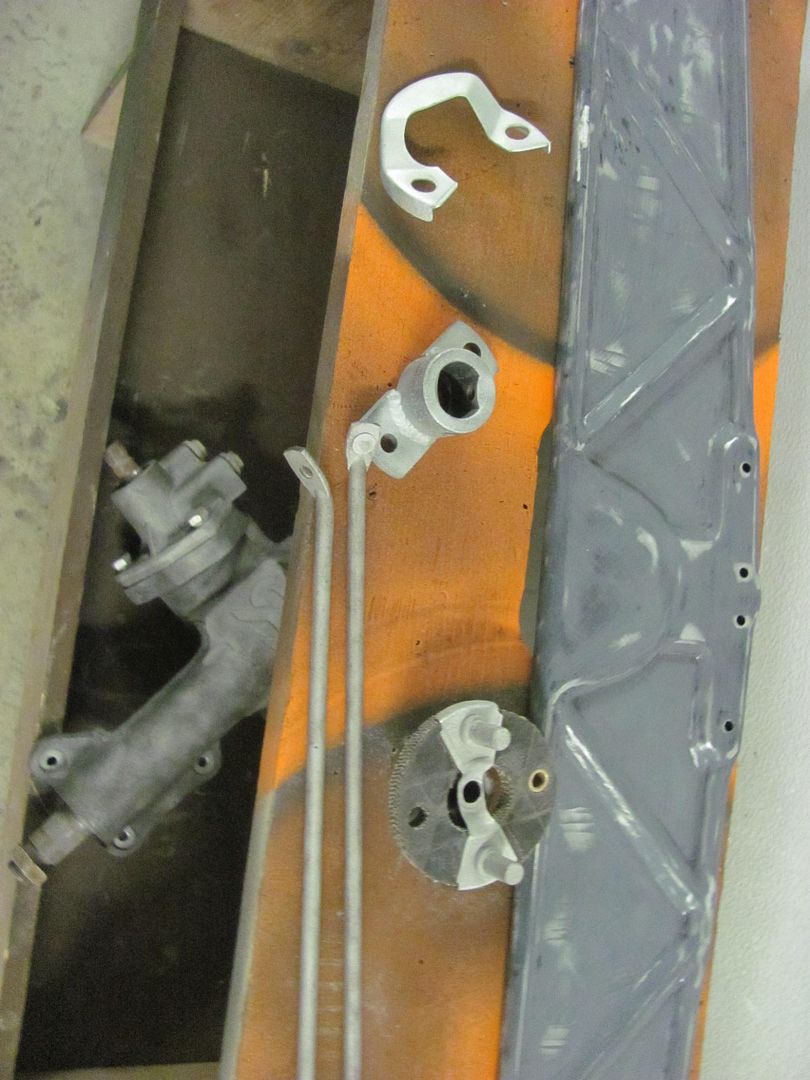
Then Kyle worked on degreasing and scuffing the trans...

Robert
-
01-27-2016 06:15 AM #714
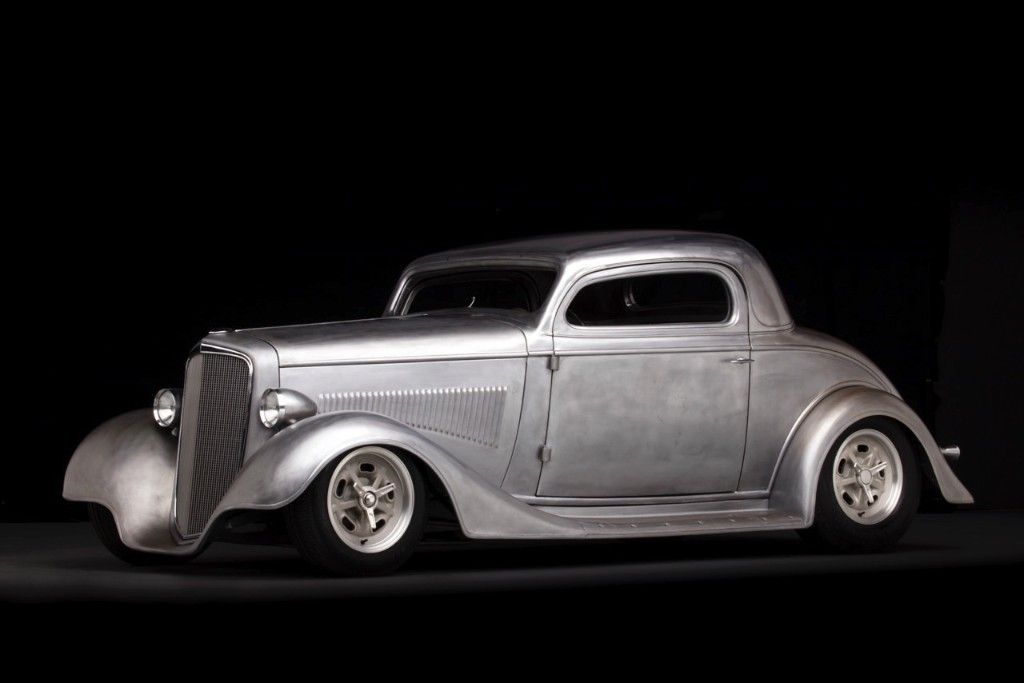
For those that followed the Louver job on the 35 Chevy hood sides, Cody Walls (the builder) and Dave Thomas (the owner) will at the Grand National Roadster Show Jan 29-31. The 35 will be the feature car in The Rodder's Journal booth in building 4, so if you're going be sure to stop by and check out Cody's craftsmanship and attention to detail.. absolutely beautiful car..
TRJ will also have a full feature article in the next issue.
Robert
-
01-27-2016 06:52 AM #715
That is simply beautiful! Fantastic metal work, and the louvers on the hood are a defining feature, in my eye. You're making me wonder why I'm not traveling to California for the weekend!Roger
Enjoy the little things in life, and you may look back one day and realize that they were really the BIG things.
-
01-27-2016 09:24 AM #716
-
01-27-2016 09:32 AM #717
Randy, get plenty of pictures!Robert
-
01-27-2016 09:44 AM #718
-
01-27-2016 02:16 PM #719
-
01-27-2016 02:59 PM #720
A much over looked detail. You must have some circle track racing in your resume. Referring to you rear end straightening post.


 3390Likes

 LinkBack URL
 About LinkBacks
 Reply With Quote

 And I'm not saying a word!!


Right after I posted yesterday it was down again, I don't think it's getting better.
Where is everybody?