


 3390Likes
Thread: 55 Wagon Progress


Results 811 to 825 of 1865
 LinkBack URL
 About LinkBacks
-
05-06-2016 07:47 AM #811
 CHR Member

- Join Date
- Sep 2007
- Location
- New Bedford
- Car Year, Make, Model: 34 Ford 3W Coupe Replica
- Posts
- 14,754
 Originally Posted by MP&C

AHHhhhh... thank you sensei...
-
Advertising

- Google Adsense
- REGISTERED USERS DO NOT SEE THIS AD
-
05-10-2016 09:13 PM #812
CHR Member
- Join Date
- Jun 2008
- Location
- Leonardtown
- Car Year, Make, Model: Walking
- Posts
- 1,228
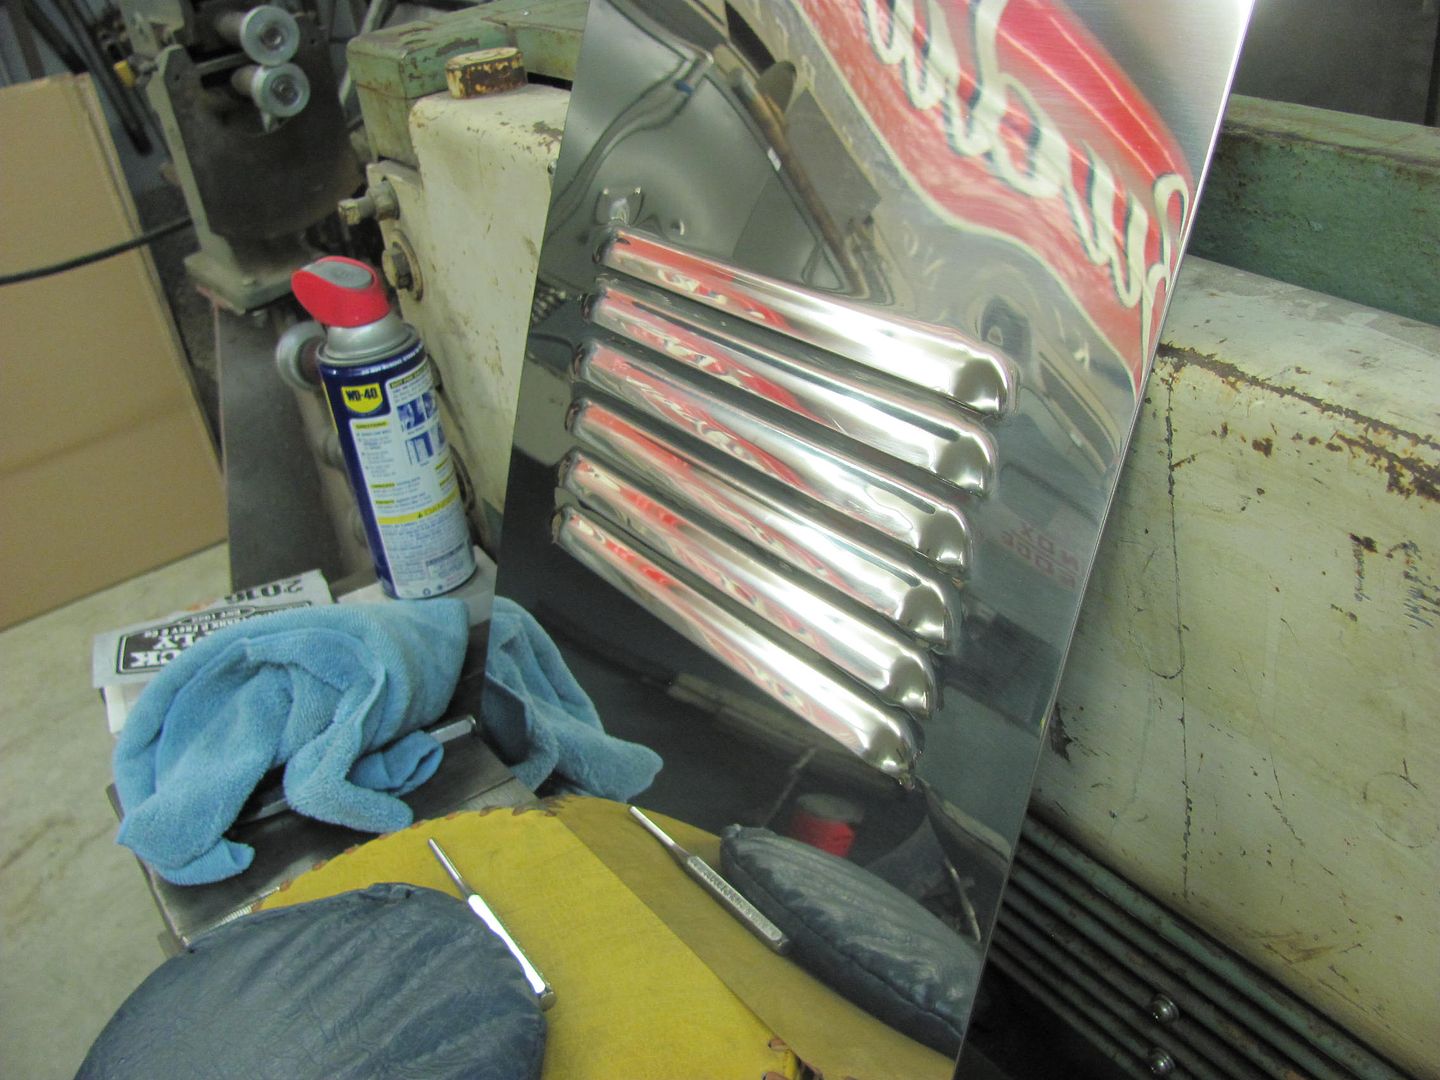
Punched some louvers this evening in 18 gauge polished stainless...
Motion pictures this evening....Punching...
https://www.youtube.com/watch?v=yph2x9Woq8I
Finished....
https://www.youtube.com/watch?v=VdXGRXDxn8M

Robert
-
05-10-2016 11:09 PM #813
CHR Member
- Join Date
- Oct 2007
- Location
- Petaluma
- Car Year, Make, Model: 48 Ford F1
- Posts
- 9,795
Nice work as usual and thanks for taking the time to video tape the how to do process"  "No matter where you go, there you are!" Steve.
-
05-11-2016 12:13 PM #814
CHR Member
- Join Date
- Apr 2011
- Location
- Prairie City
- Car Year, Make, Model: 40 Ford Deluxe, 68 Corvette, 72&76 K30
- Posts
- 7,301
- Blog Entries
- 1
Man, that is awesome! Great work!Ryan
1940 Ford Deluxe Tudor 354 Hemi 46RH Electric Blue w/multi-color flames, Ford 9" Residing in multiple pieces
1968 Corvette Coupe 5.9 Cummins Drag Car 11.43@130mph No stall leaving the line with 1250 rpm's and poor 2.2 60'
1972 Chevy K30 Longhorn P-pumped 24v Compound Turbos 47RH Just another money pit
1971 Camaro RS 5.3 BTR Stage 3 cam, SuperT10
Tire Sizes
-
05-15-2016 09:37 PM #815
CHR Member
- Join Date
- Jun 2008
- Location
- Leonardtown
- Car Year, Make, Model: Walking
- Posts
- 1,228
Thanks guys. I did have a slight defect that didn't show that well (but you know I noticed..), asked Cody if he wanted it remade. He says, this is for under the car..
Well today was our Saturday so we put the newly installed GoKart slick to use on the cast wheeling machine, along with the 4" diameter lower anvil. Started with slight pressure and gradually increased. Tire was about 1/2 deflated.

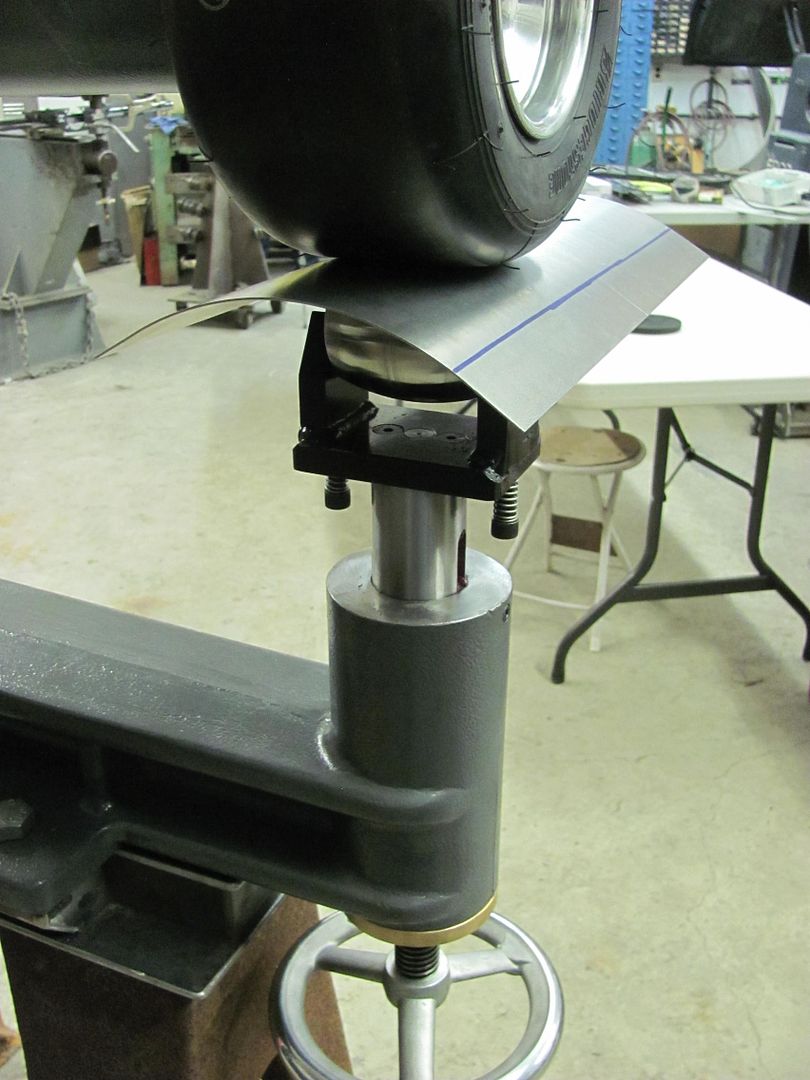
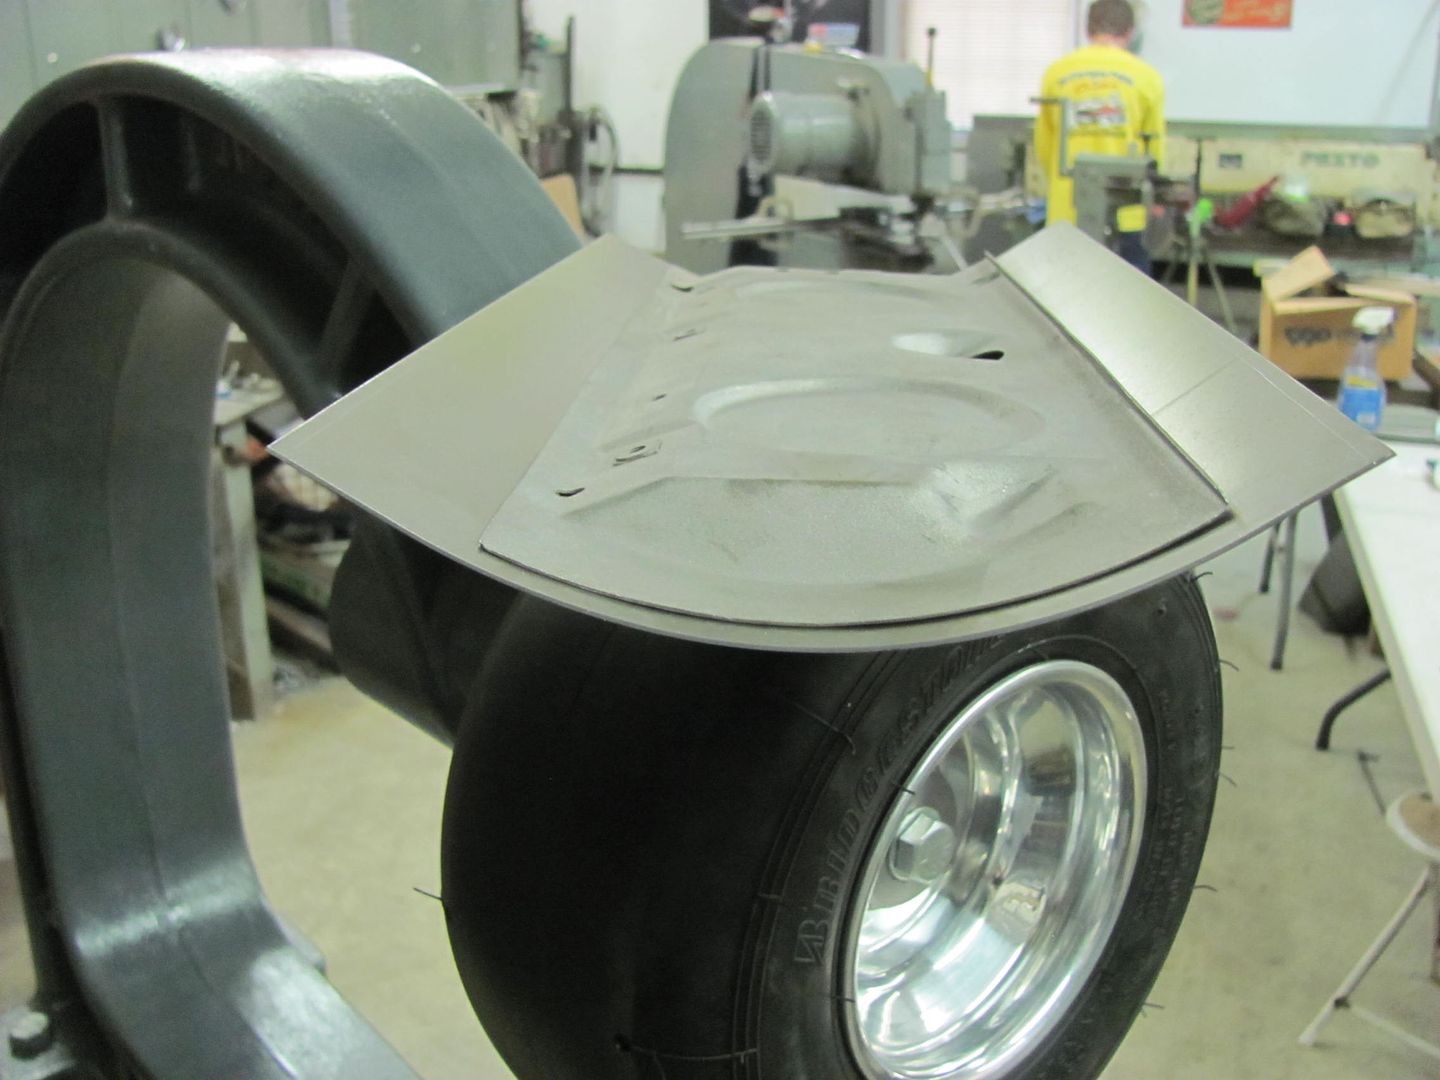
The sides (as shown) had been left a bit long to keep from flattening out fingertips, so now we trimmed one side and marked for the bends. The tipping wheel in the bead roller was used to thin the bend area for a bit of friendly persuasion..
These were fun. About 3/16" from bend to bend....or less. Had to use all the tricks, hem is still loose, we'll epoxy all the pieces apart and then assemble, making all the folds tight.

Still have the lock hole to go as well, we are going to leave this one smooth as opposed to the factory's vertical bead to simulate the gap at the ashtray..Robert
-
05-16-2016 04:52 AM #816
CHR Member
- Join Date
- Sep 2007
- Location
- New Bedford
- Car Year, Make, Model: 34 Ford 3W Coupe Replica
- Posts
- 14,754
Wow.... just wow!
Thanks for the detail shots of the slick at work. NOW, it finally makes sense to me! LOL..
-
05-18-2016 08:44 PM #817
CHR Member
- Join Date
- Jun 2008
- Location
- Leonardtown
- Car Year, Make, Model: Walking
- Posts
- 1,228
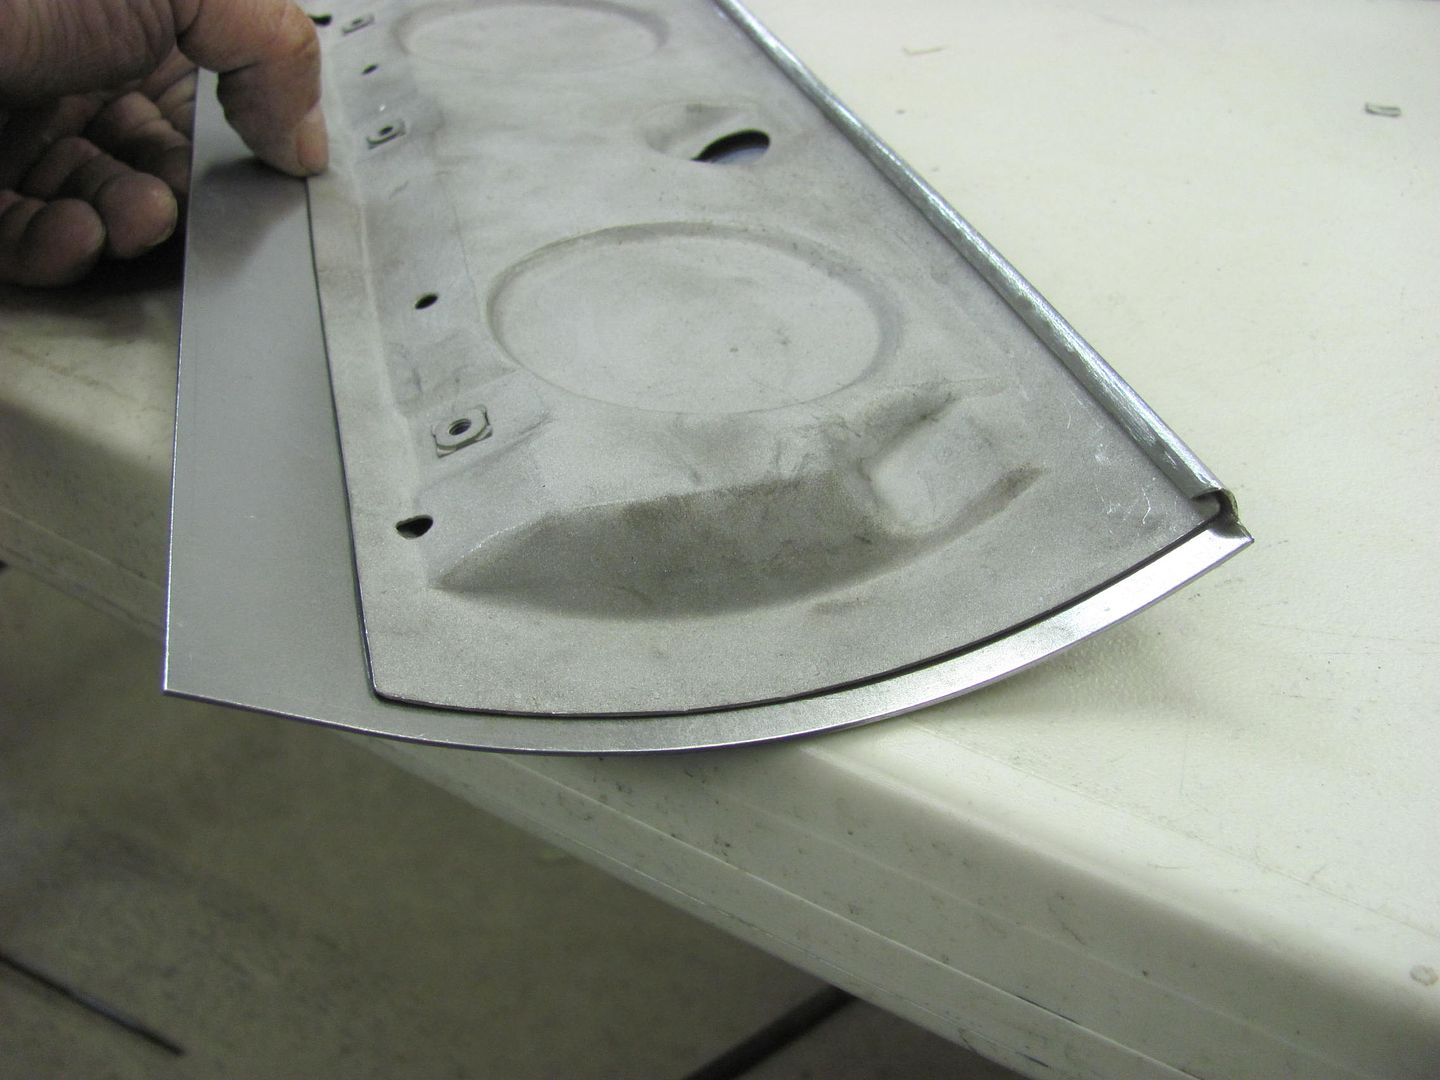
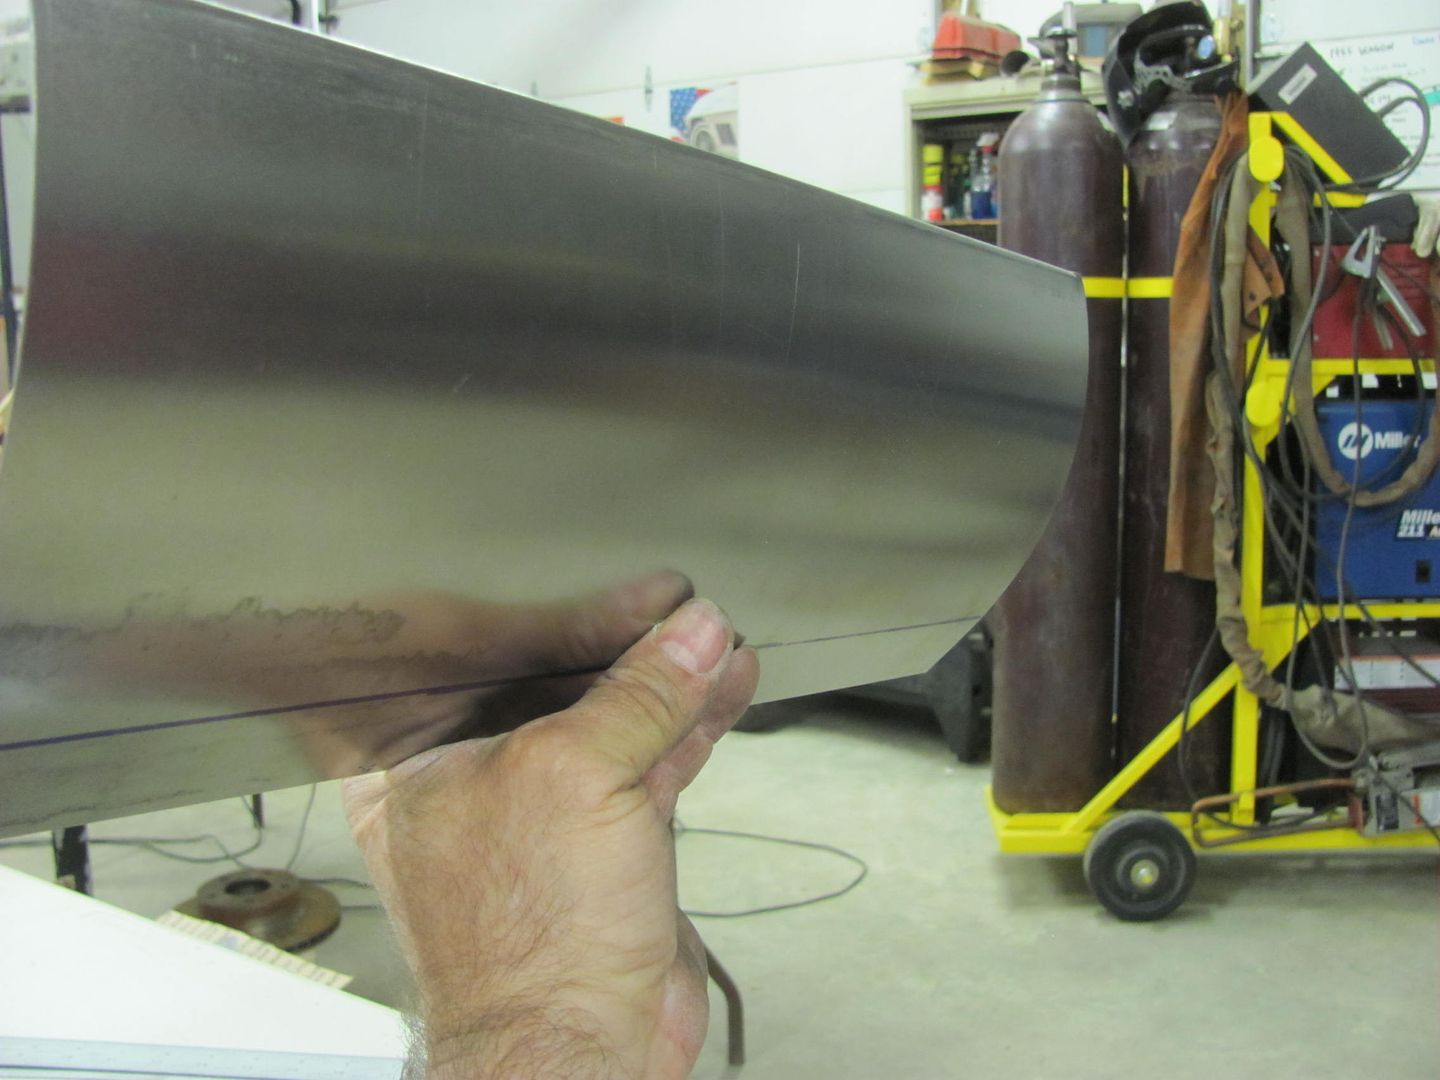
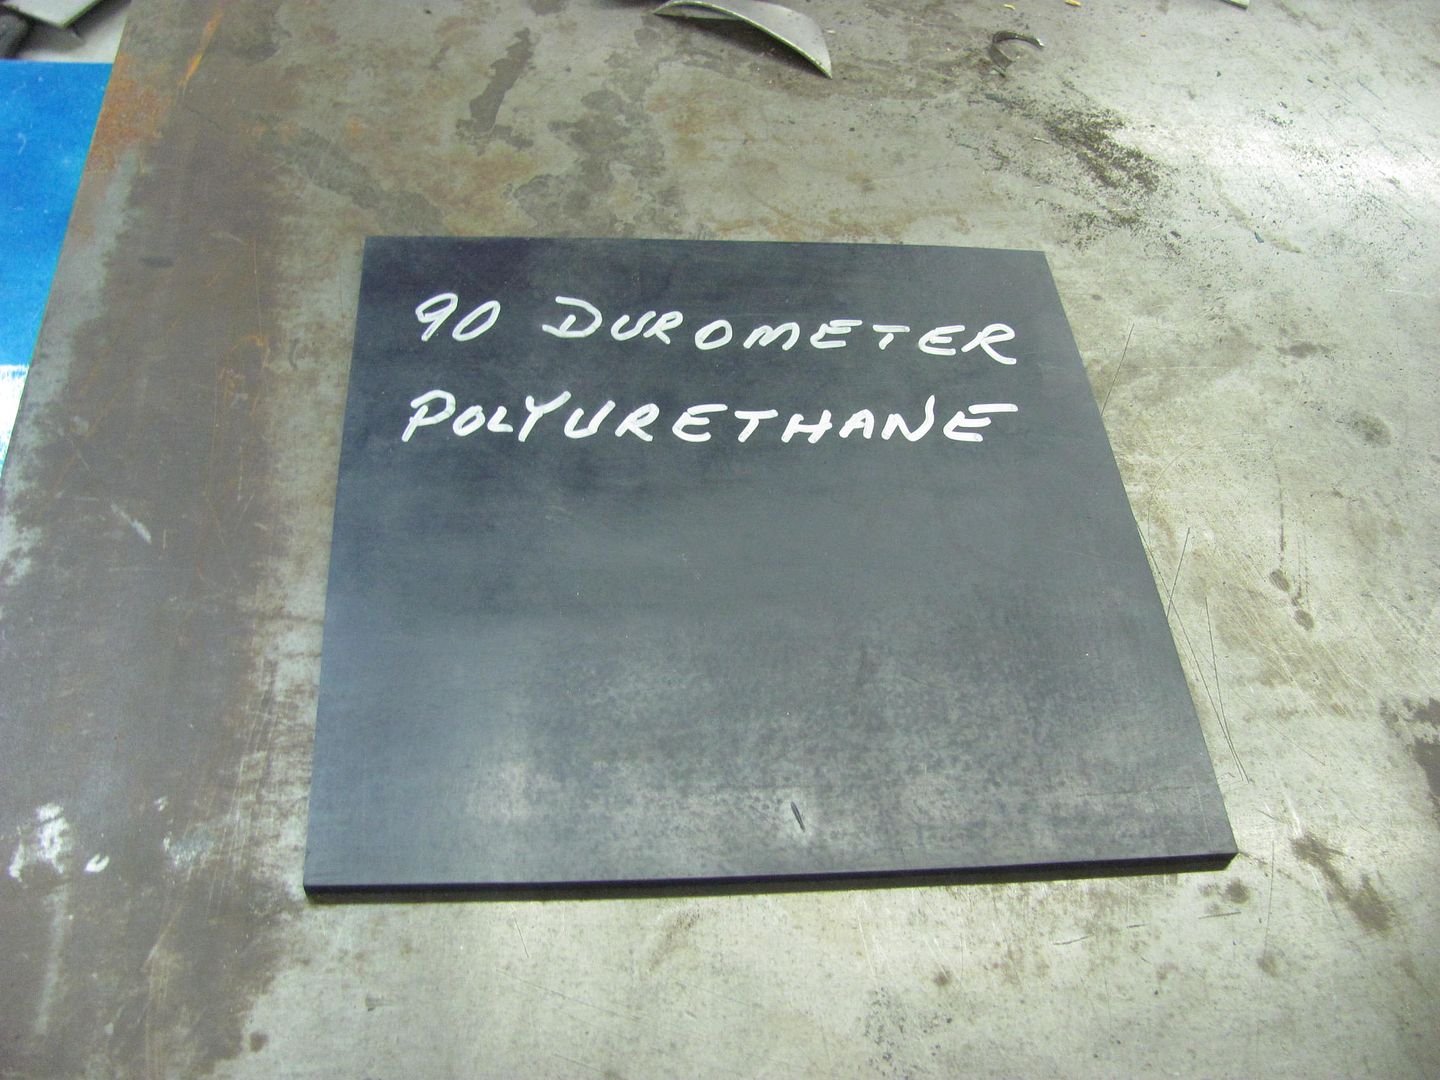
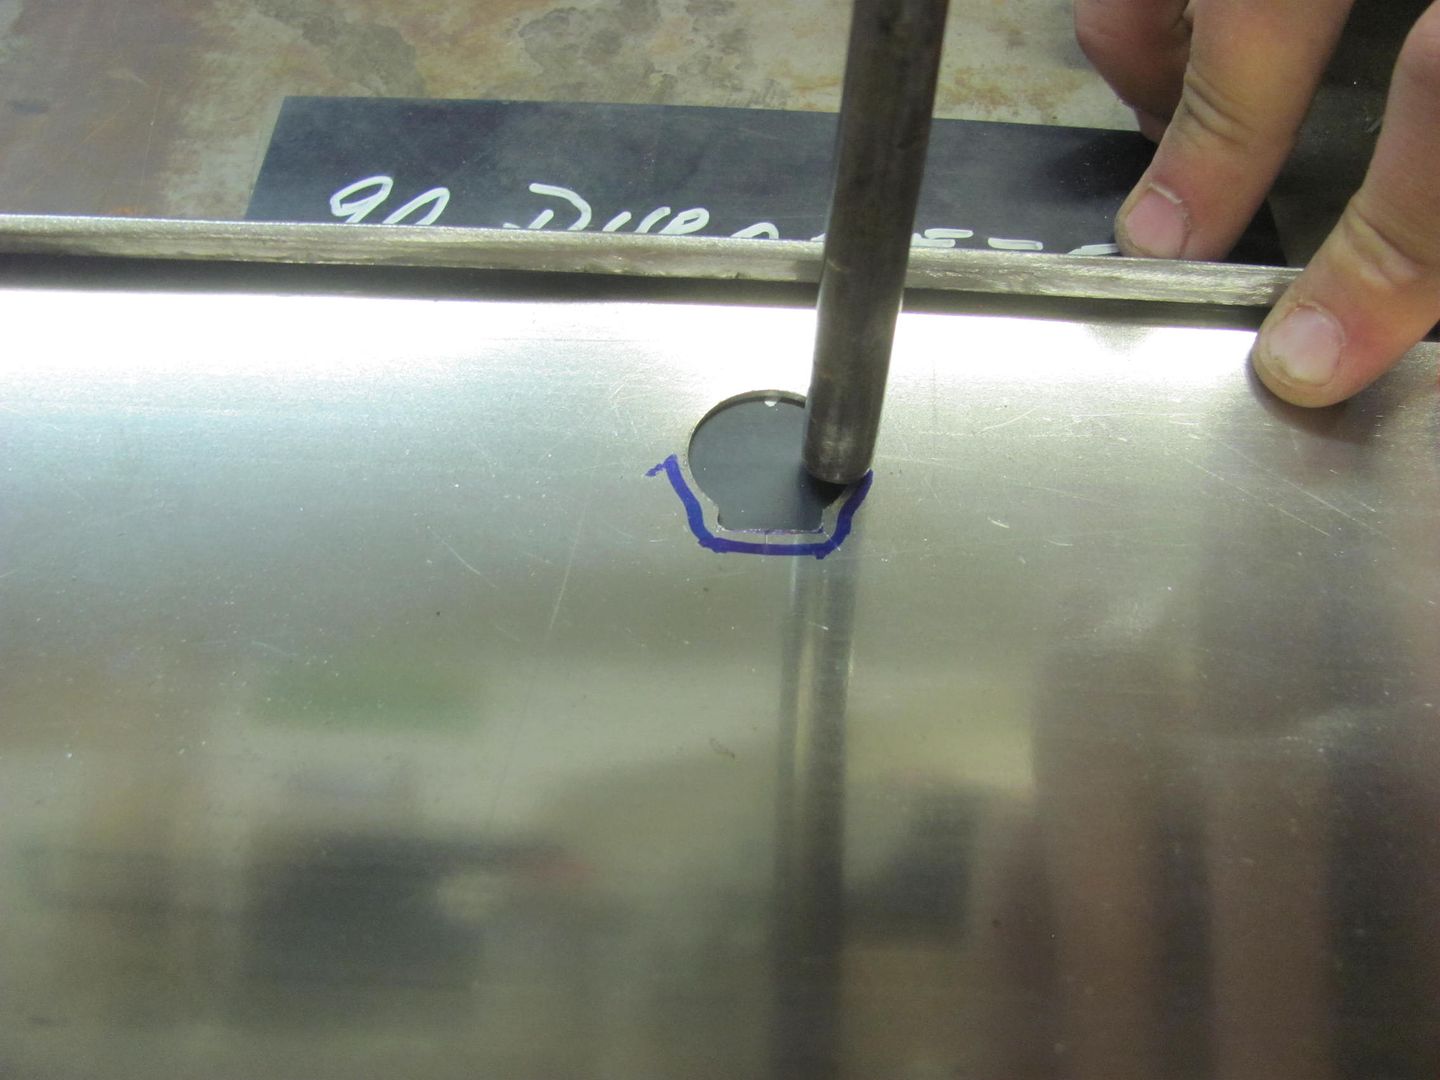
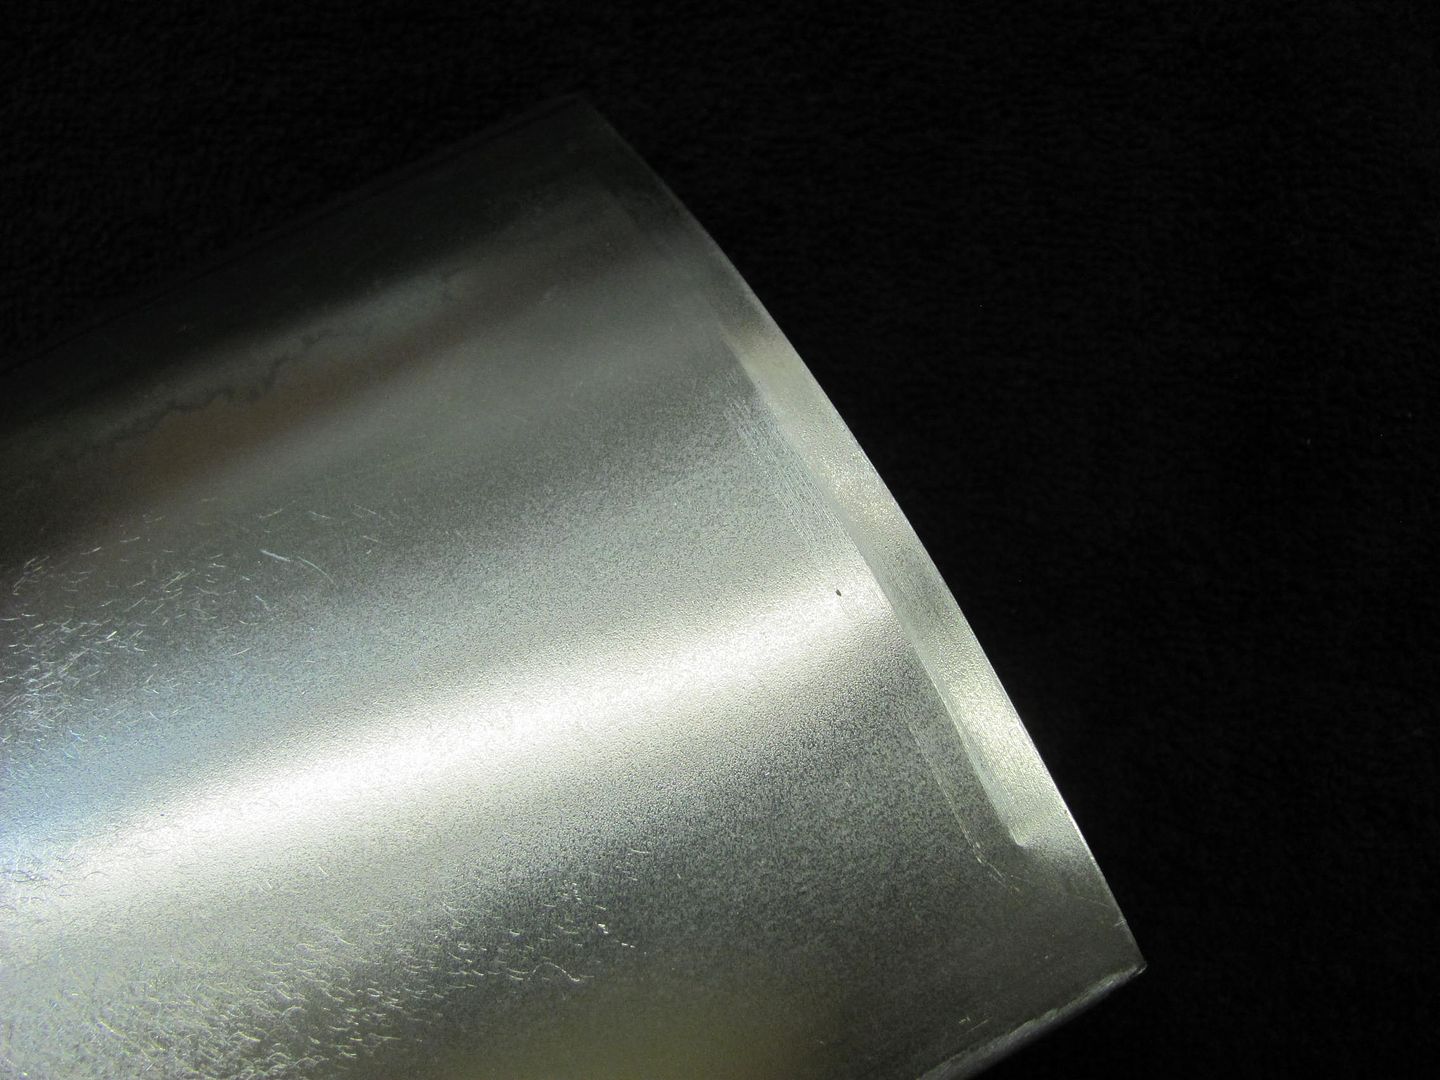
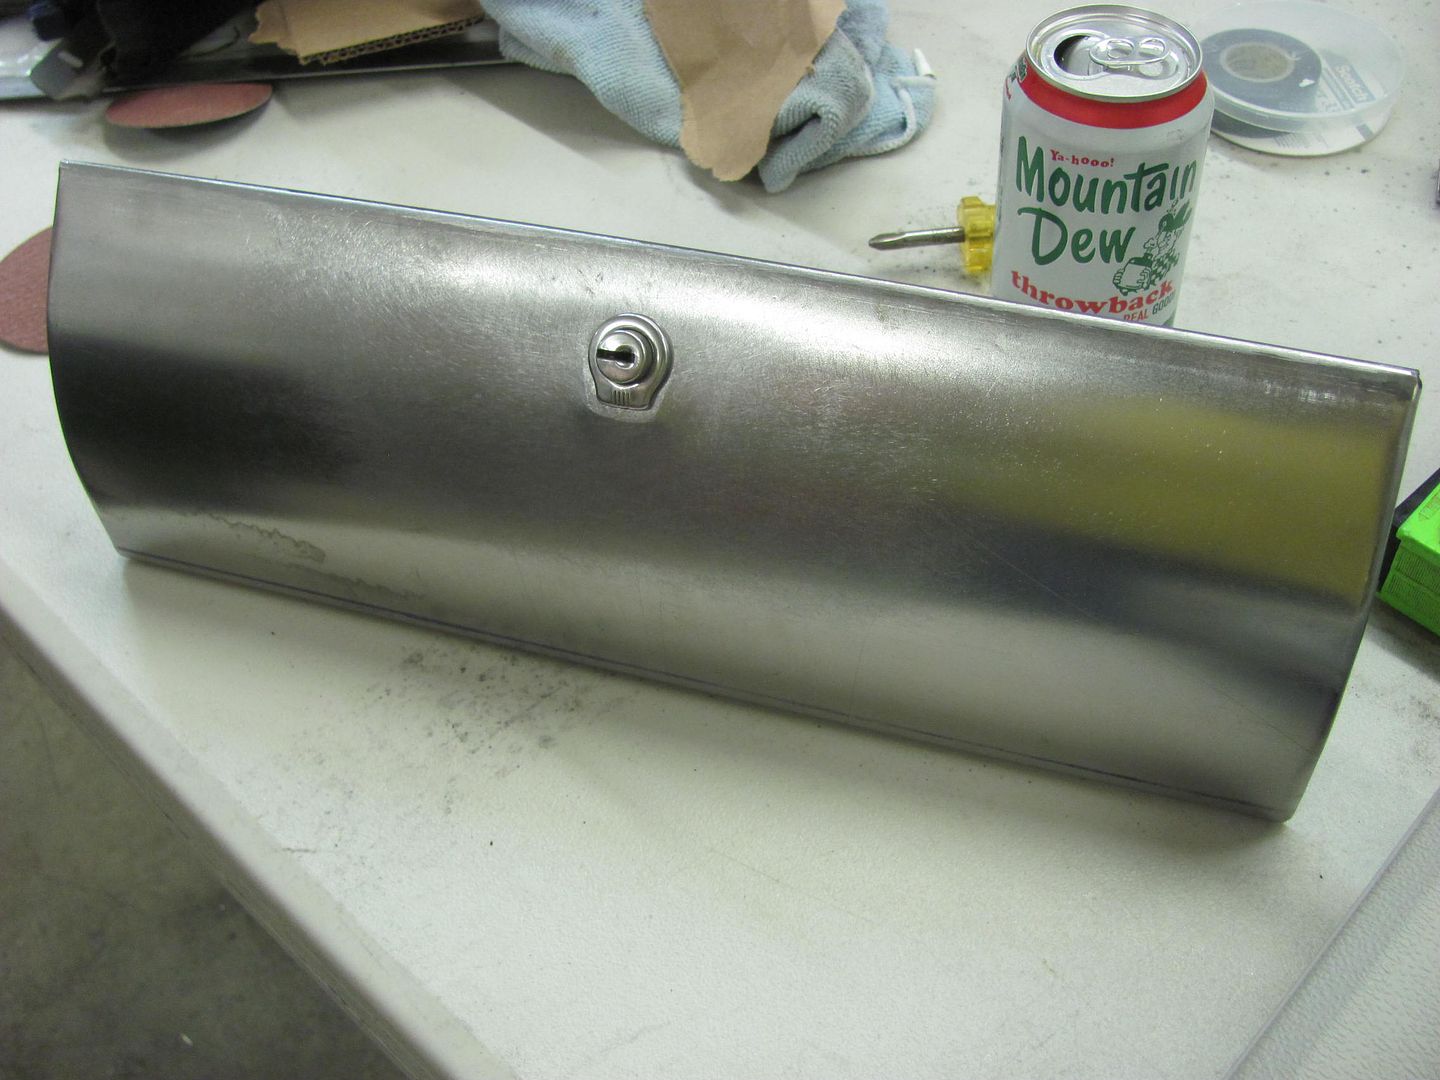
Well with a nice radius on the face of the glove box door skin, we now need a flat area for the lock cylinder. Since I had a piece of Polyurethane here from the care package Rich B had sent me, it seemed the right tool for the job. (Thanks Rich!)
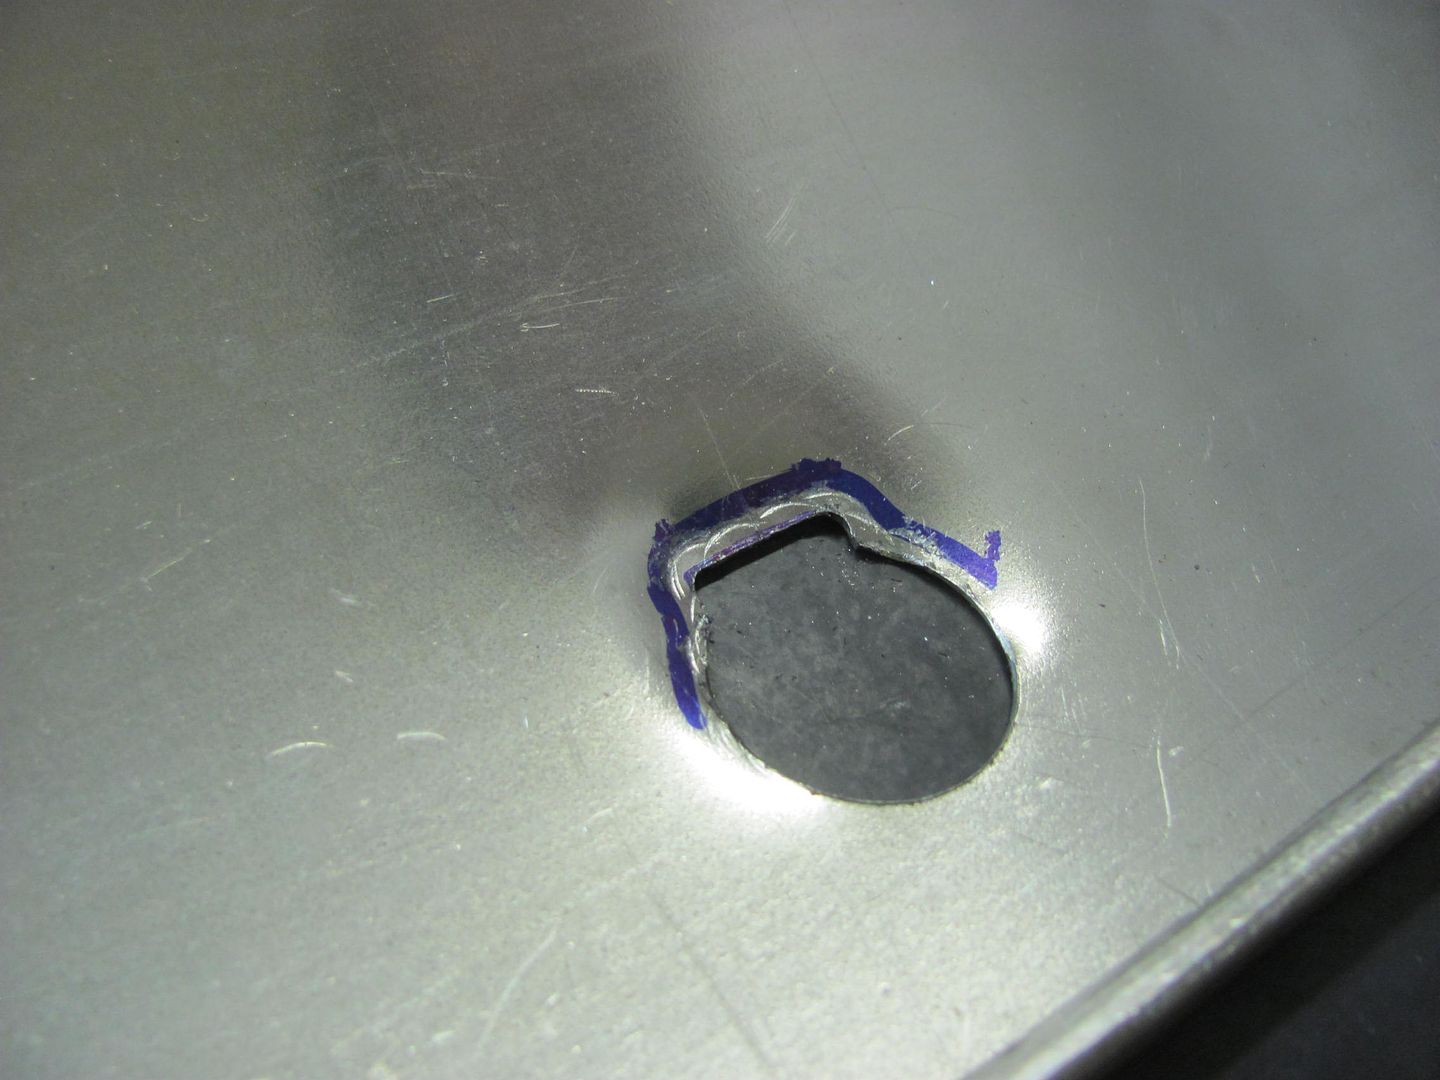
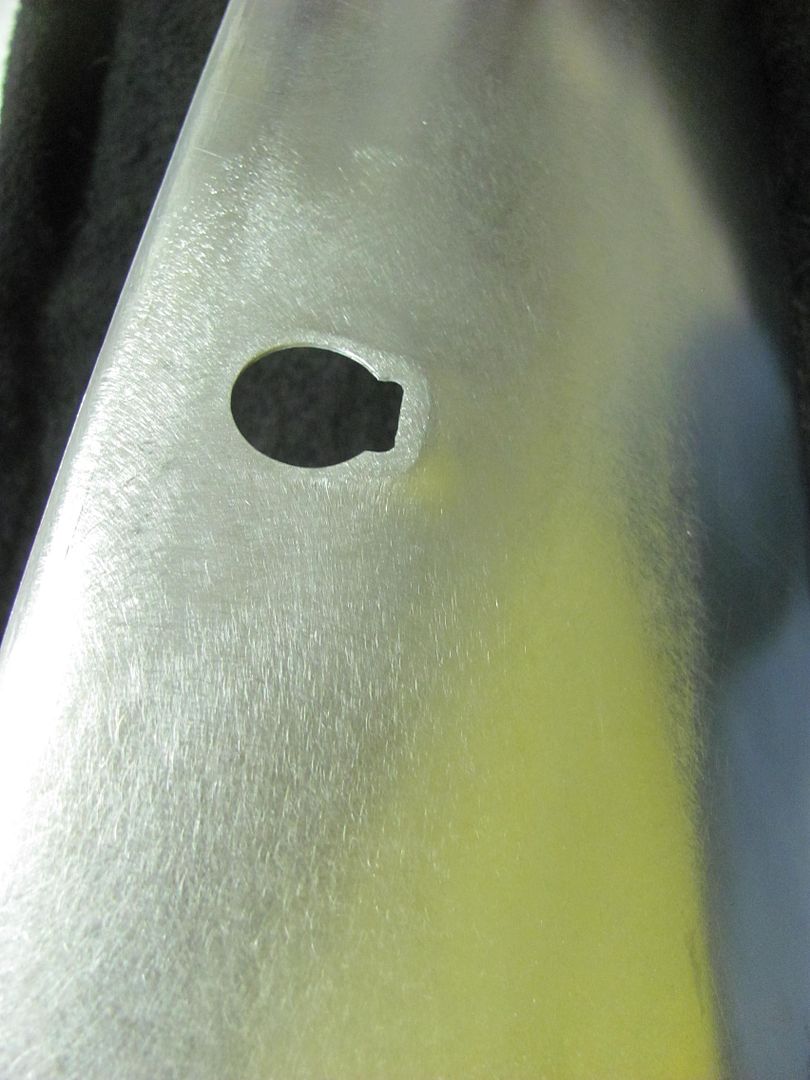
The lock cylinder hole was added using a step drill for the hole and a die grinder for the notch.
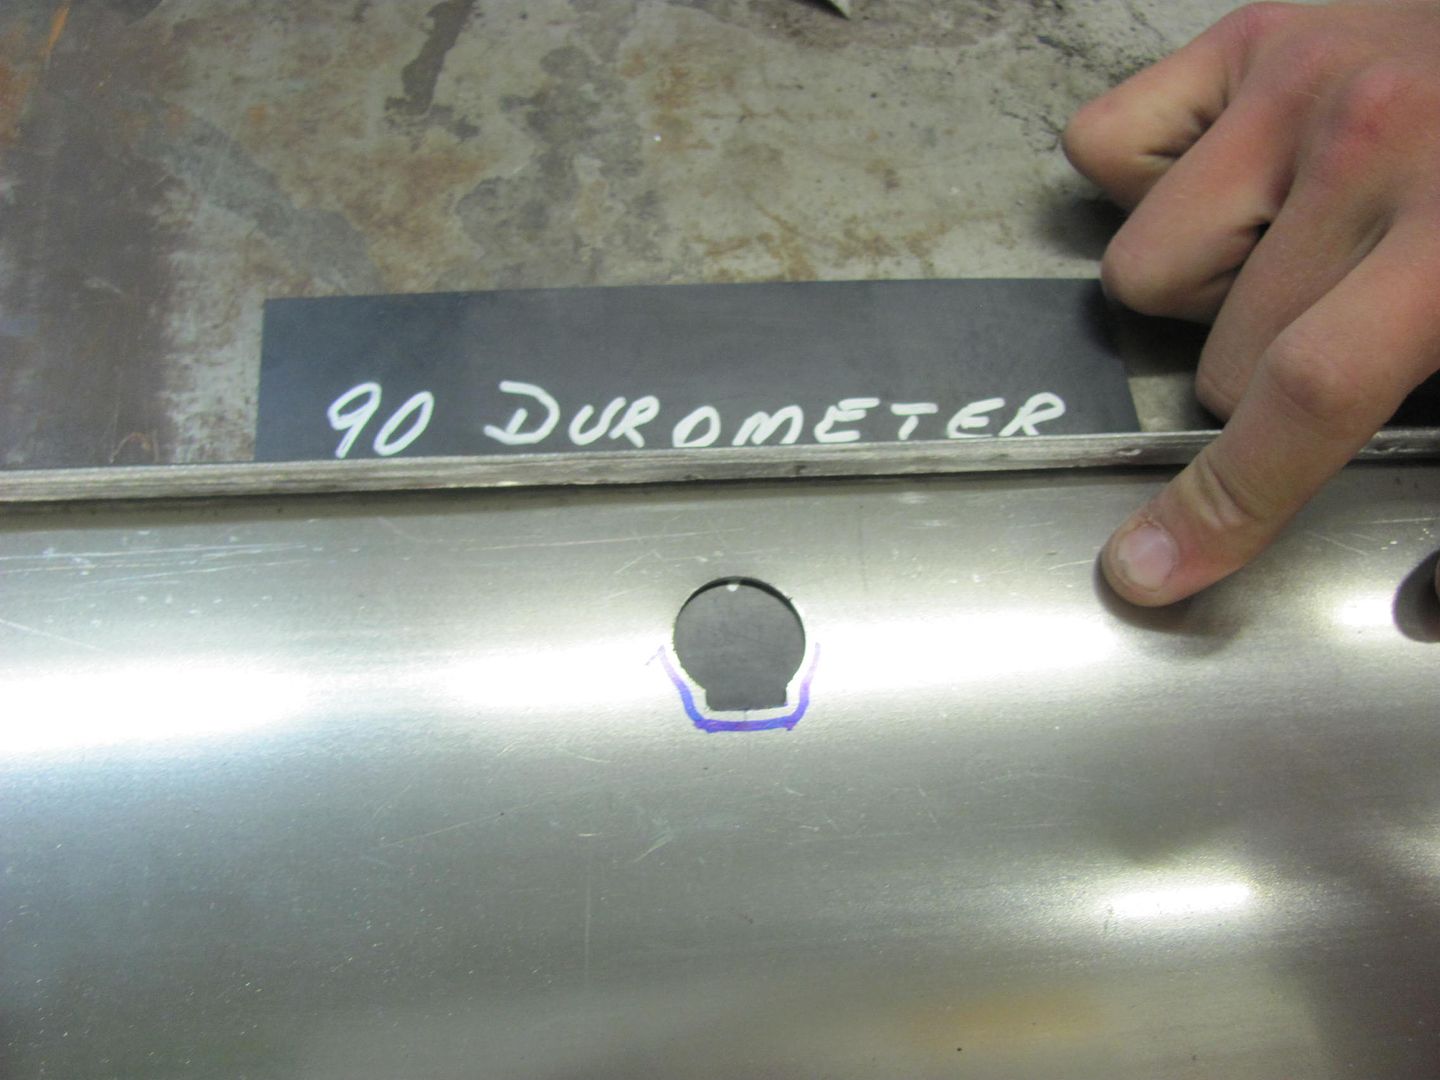
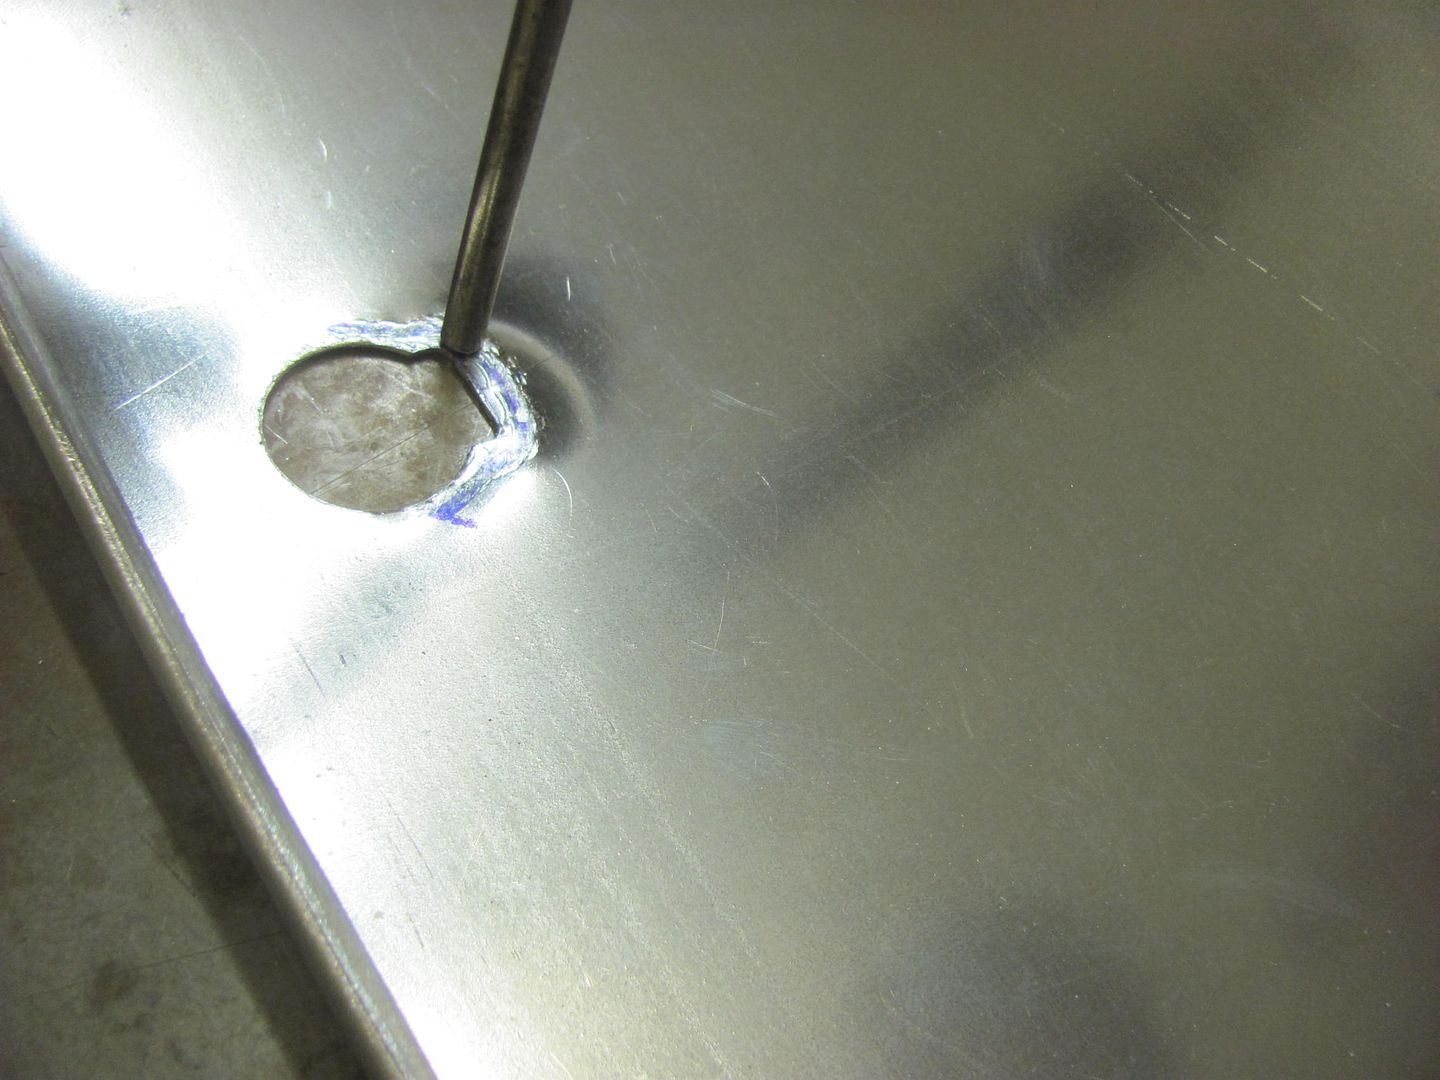
A punch is used to add the needed stretch to provide the flat area..
Starting to take shape..
Some fine tuning of the detail...
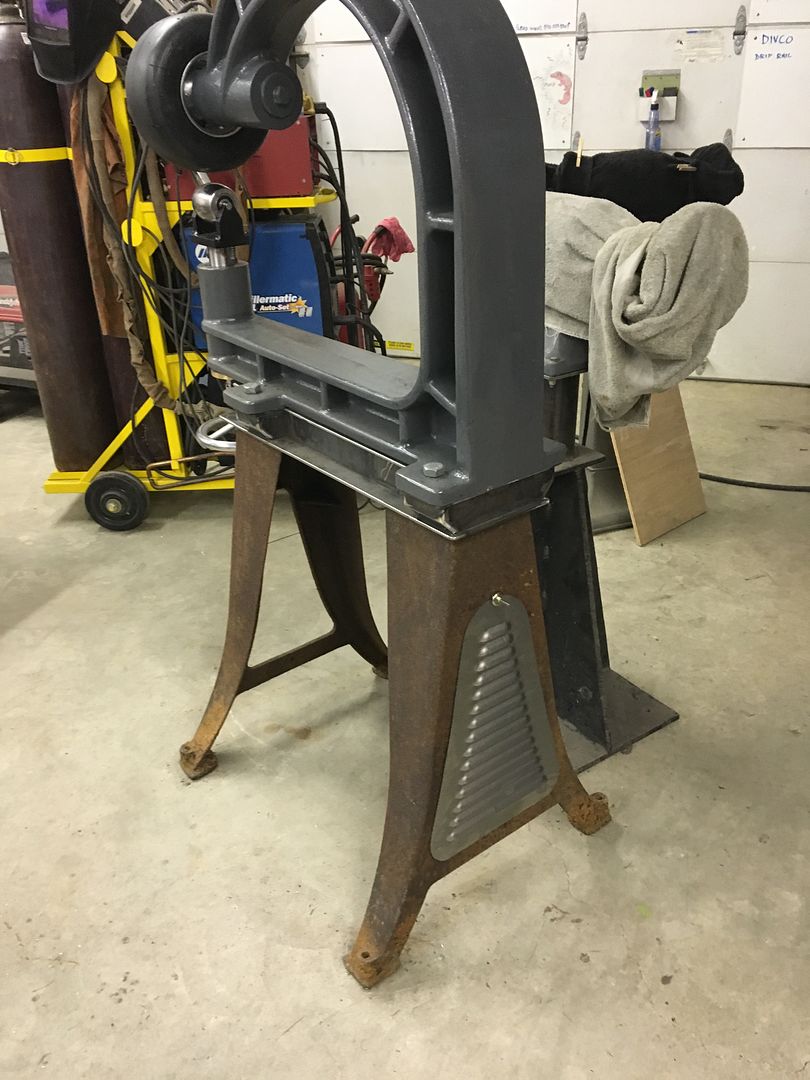
The bottom flange was measured, trimmed, and folded in the Diacro press brake
The side flanges were tipped slightly in the Bead Roller.. This also gives us a nice mark to show the fold line..
Touched up with the DA
With the three flanges folded to a 90, now we'll media blast and epoxy before assembling the two halves.
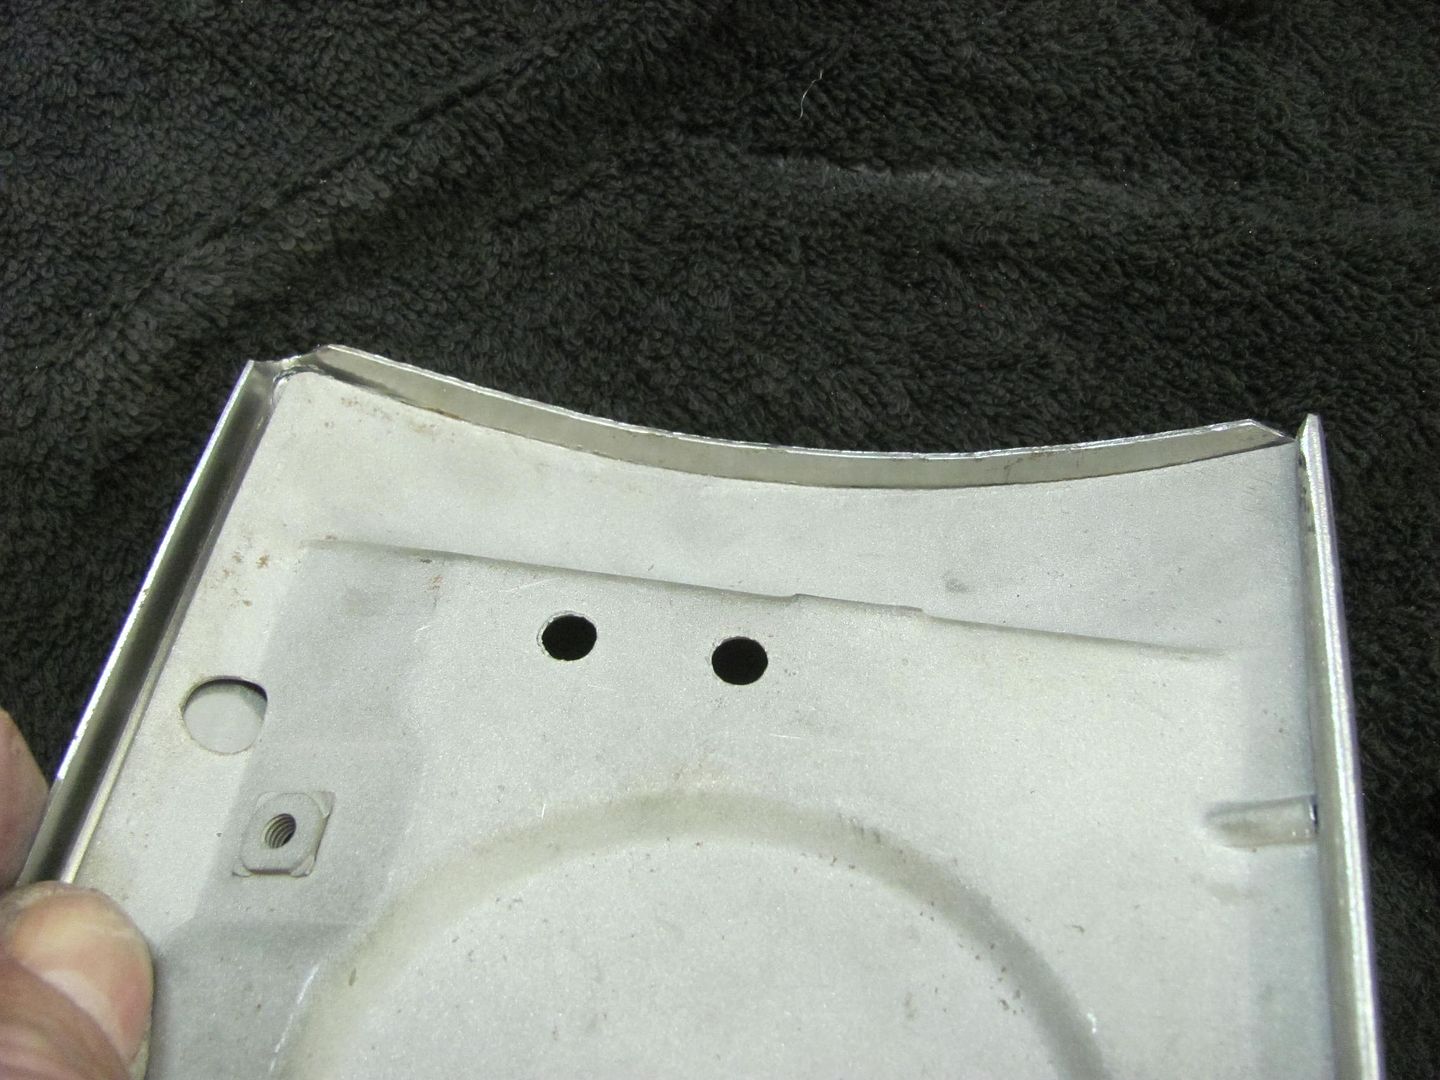
This shows the tipping tool used on the side flanges.
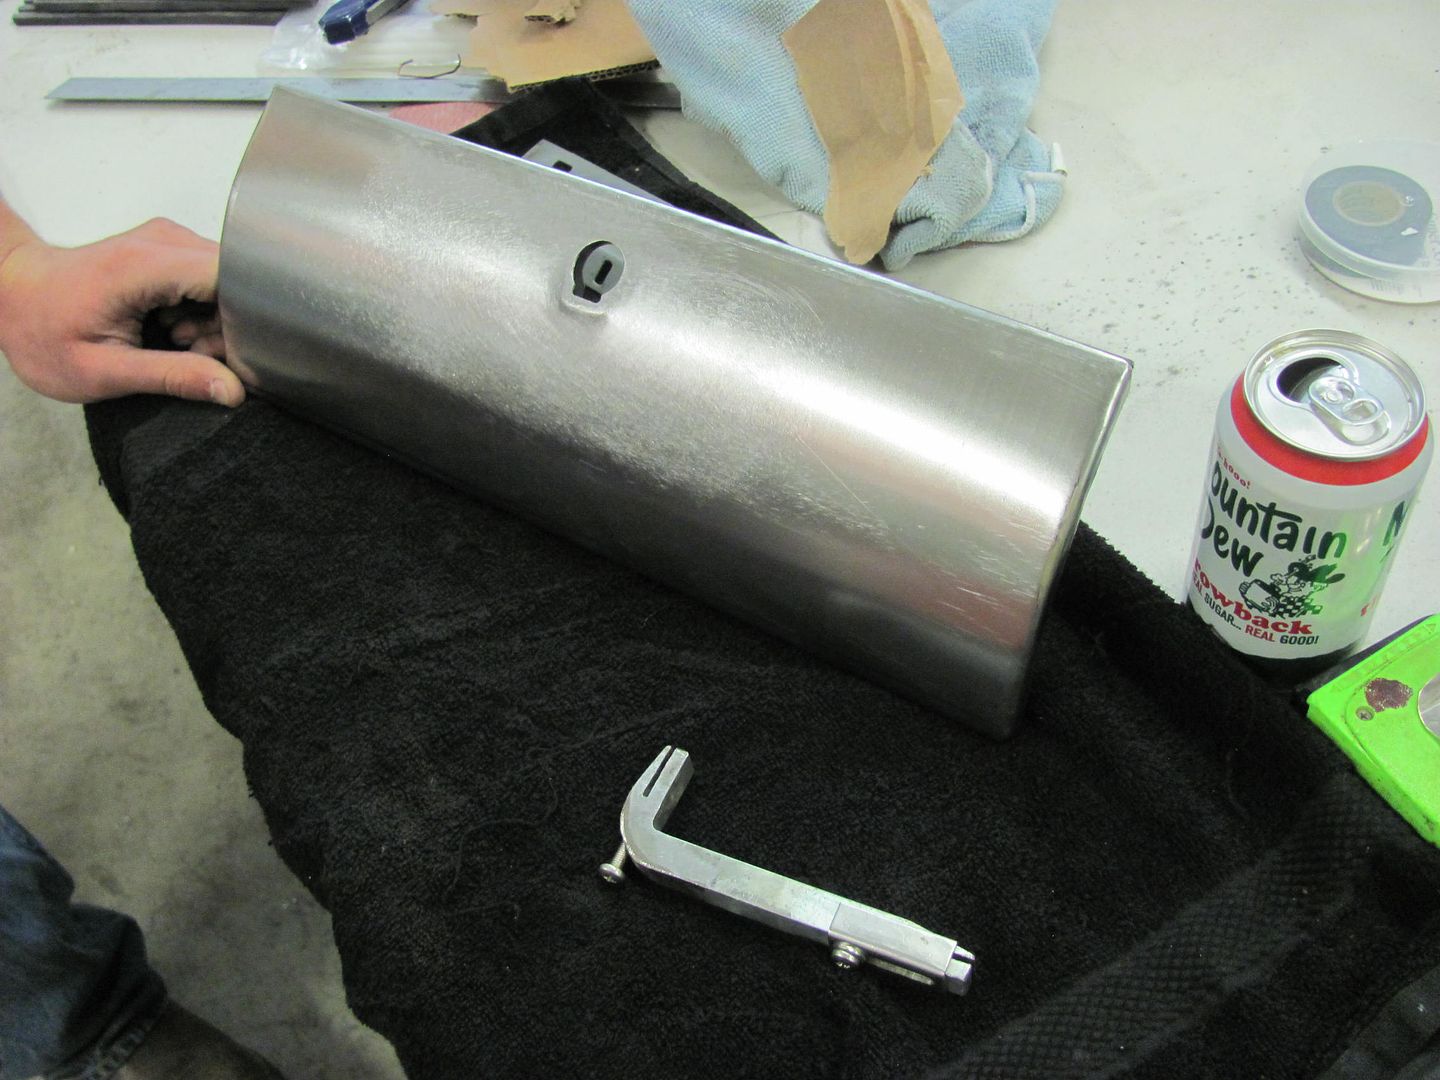
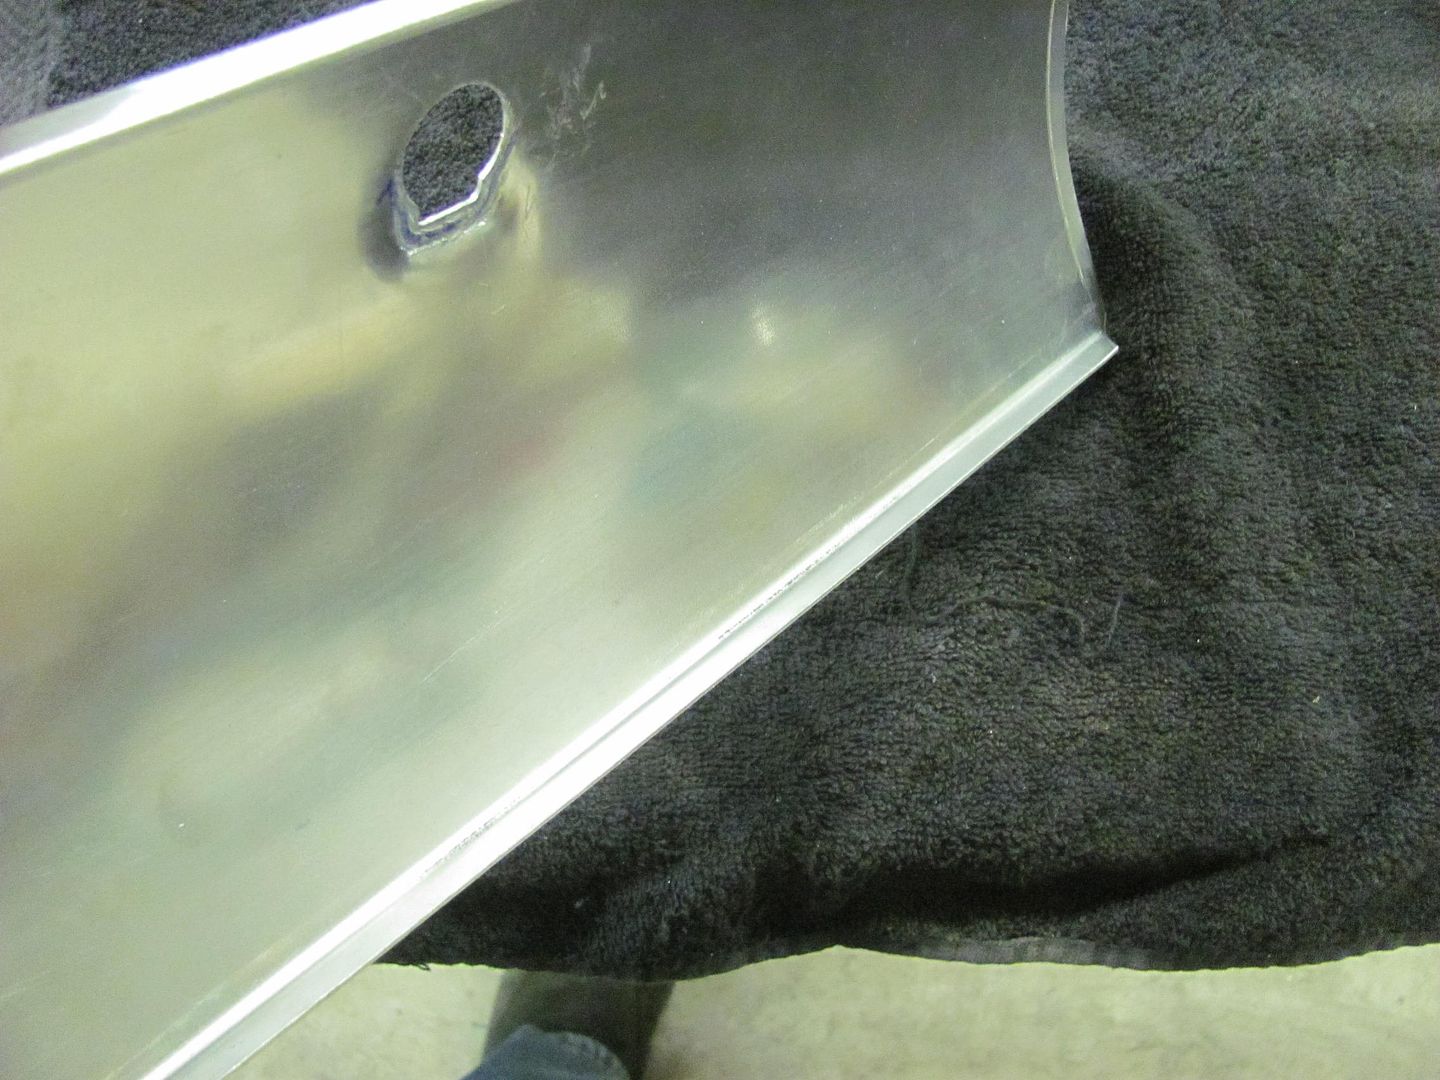
With lock cylinder. Looks almost factory...
Robert
-
05-20-2016 04:53 AM #818
CHR Member
- Join Date
- Jun 2008
- Location
- Leonardtown
- Car Year, Make, Model: Walking
- Posts
- 1,228
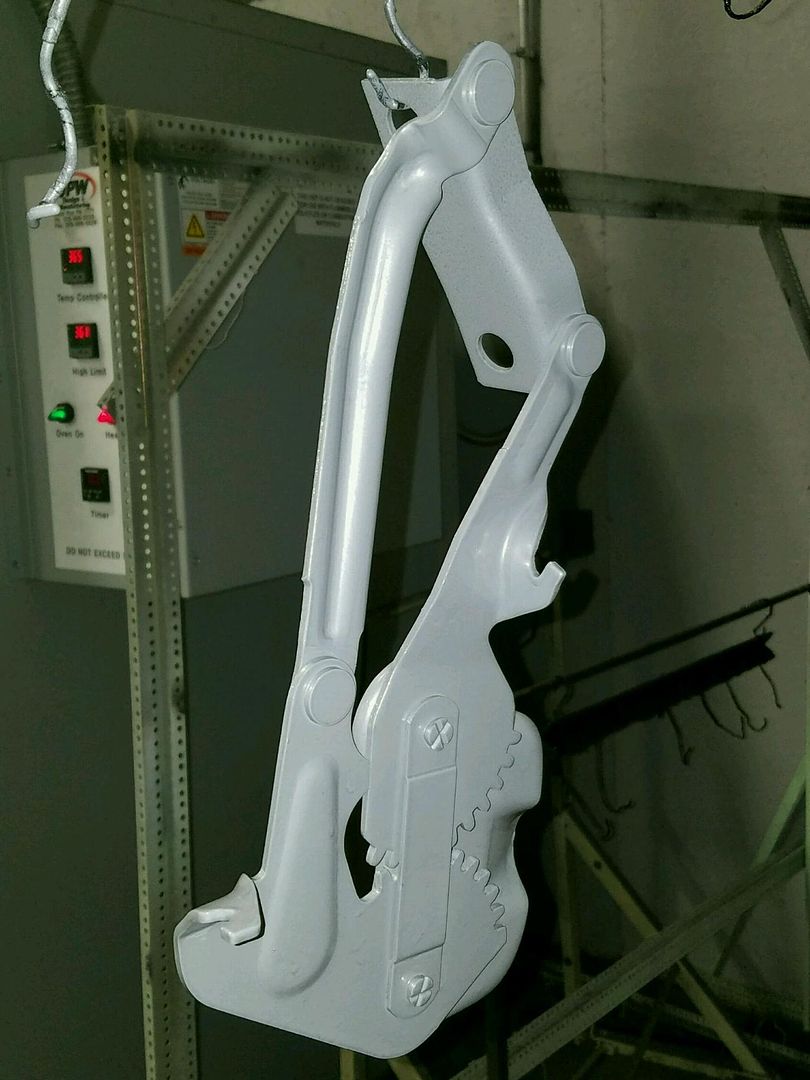
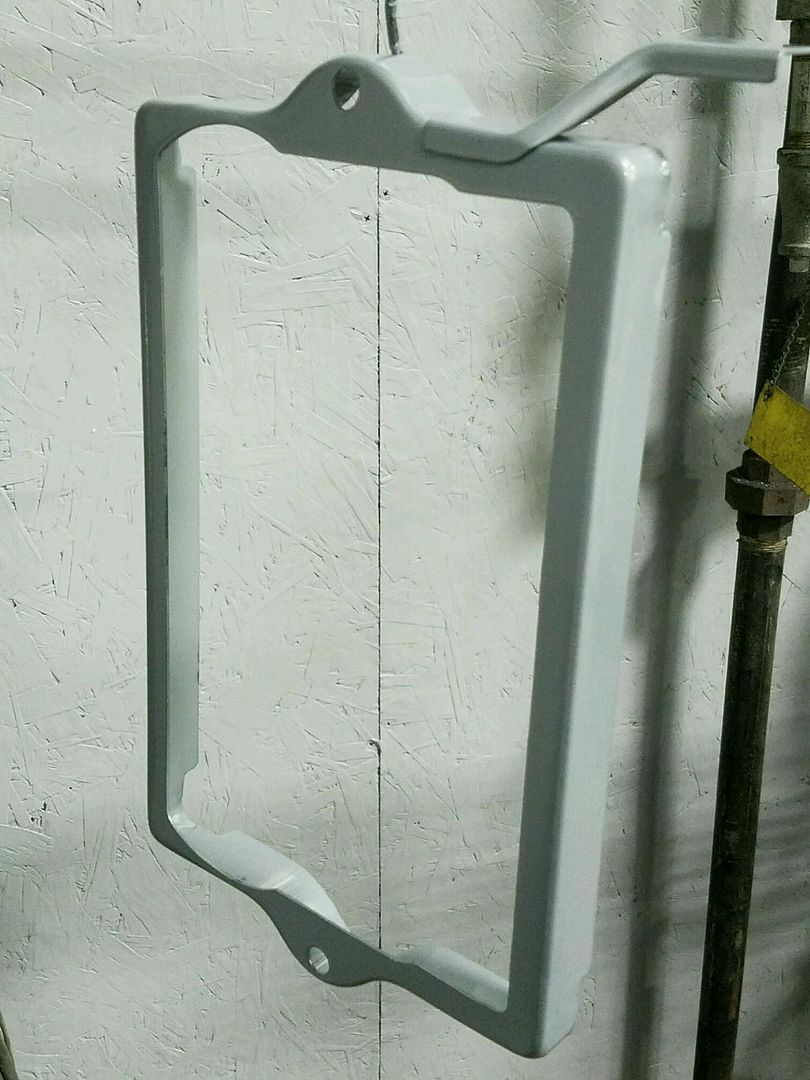
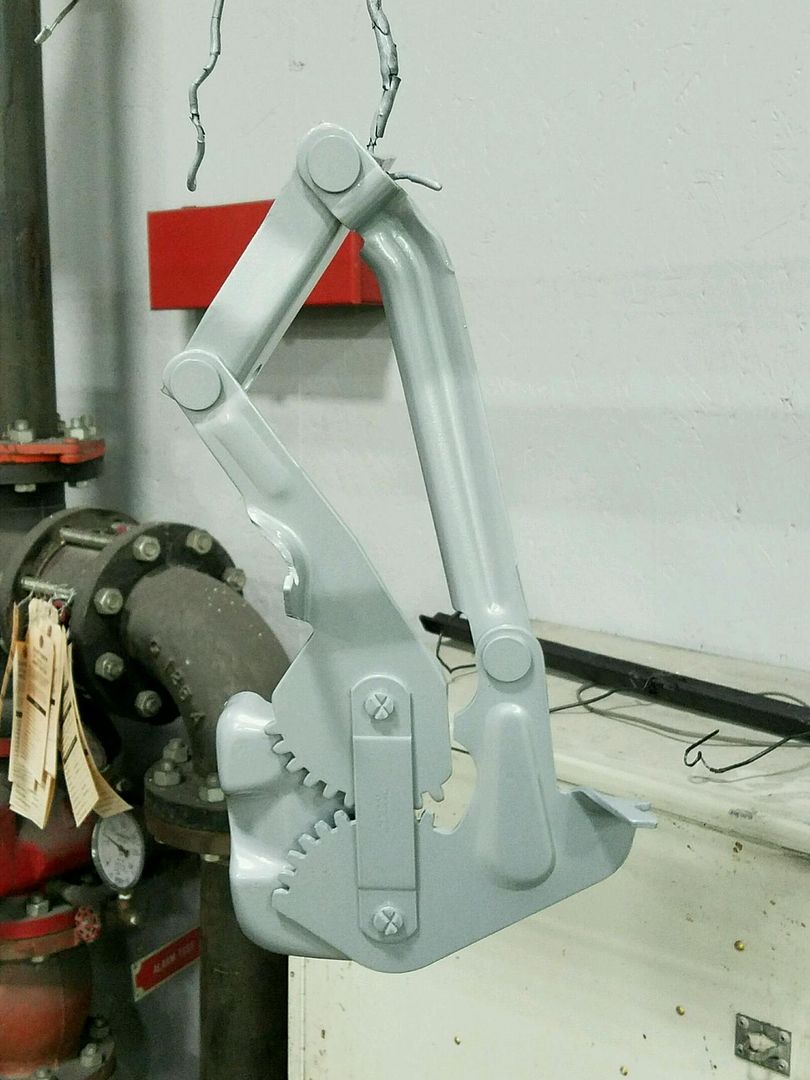
Well last night's efforts saw us media blasting, hanging the next batch of small parts for epoxy primer, and general cleanup.......which has been sorely needed. So we don't have much of interest to show, so let's turn it over to Dana (the owner) who got these parts powder coated yesterday for us...
Robert
-
05-20-2016 05:00 AM #819
CHR Member
- Join Date
- Sep 2007
- Location
- New Bedford
- Car Year, Make, Model: 34 Ford 3W Coupe Replica
- Posts
- 14,754
Robert. On items like the hood hinges. Do you paint the hinge in say the "open" position, and then do them in a "closed" position? Or do you not worry about there being a point where there may not be any paint on the part.?.?
HMmm.. maybe I'm being to anal?? LOL.
-
05-20-2016 06:16 AM #820
CHR Member
- Join Date
- Jun 2008
- Location
- Leonardtown
- Car Year, Make, Model: Walking
- Posts
- 1,228
Those were powder coated. We had them rebuilt, and Willie from hoodhingerepair (awesome work btw) gave her the process to use. I think they are coated in one position, moved while still fresh to reveal the bare spots and coated again. Not 100% sure on the process, she talked directly to Willie.. But they are about as coated as they're gonna be, given something riveted together....
**************edit************
Just got off the phone with Dana. Dry powder is applied while hinges in closed position, then opened and sprayed again. Since they are normally "viewed" in the open position, this is the position they are sprayed last. Then the entire thing is baked. I would have thought this would seal them together, but she said it opens fine after all that...Last edited by MP&C; 05-20-2016 at 08:13 AM.
Robert
-
05-20-2016 11:03 AM #821
CHR Member
- Join Date
- Sep 2007
- Location
- New Bedford
- Car Year, Make, Model: 34 Ford 3W Coupe Replica
- Posts
- 14,754
Thanks (as always) for the info Robert.
-
05-23-2016 04:14 AM #822
CHR Member
- Join Date
- Jun 2008
- Location
- Leonardtown
- Car Year, Make, Model: Walking
- Posts
- 1,228
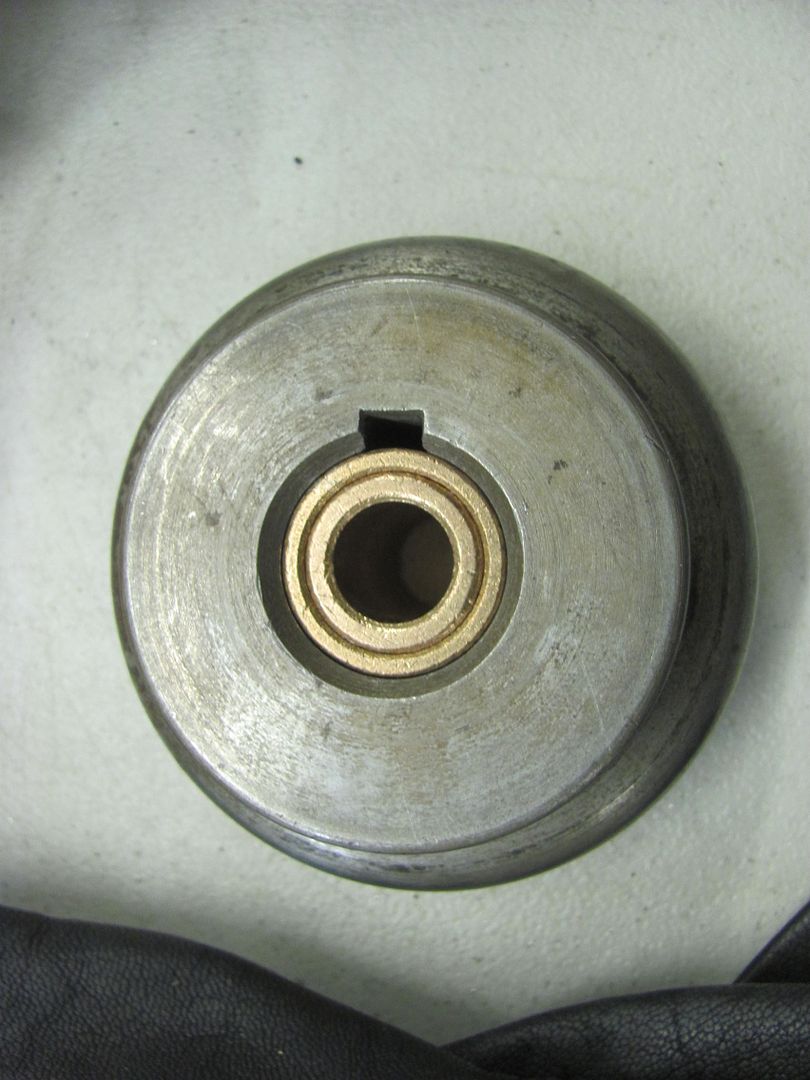
I've got a pretty good selection of dies for the bead roller and thought these may come in handy if we could adapt them to the lower anvil cradle on the Wheeling Machine.. I've got a couple dies I use for tipping, and you never know when some other odd shape may help out in a pinch. The Fasti bead roller uses a .94 shaft for the dies, so we started with an oilite bearing, 15/16 outer to 3/4 inner diameter, then a 3/4 outer to 1/2 inner, supported on a piece of 1/2" diameter hardened Stainless..
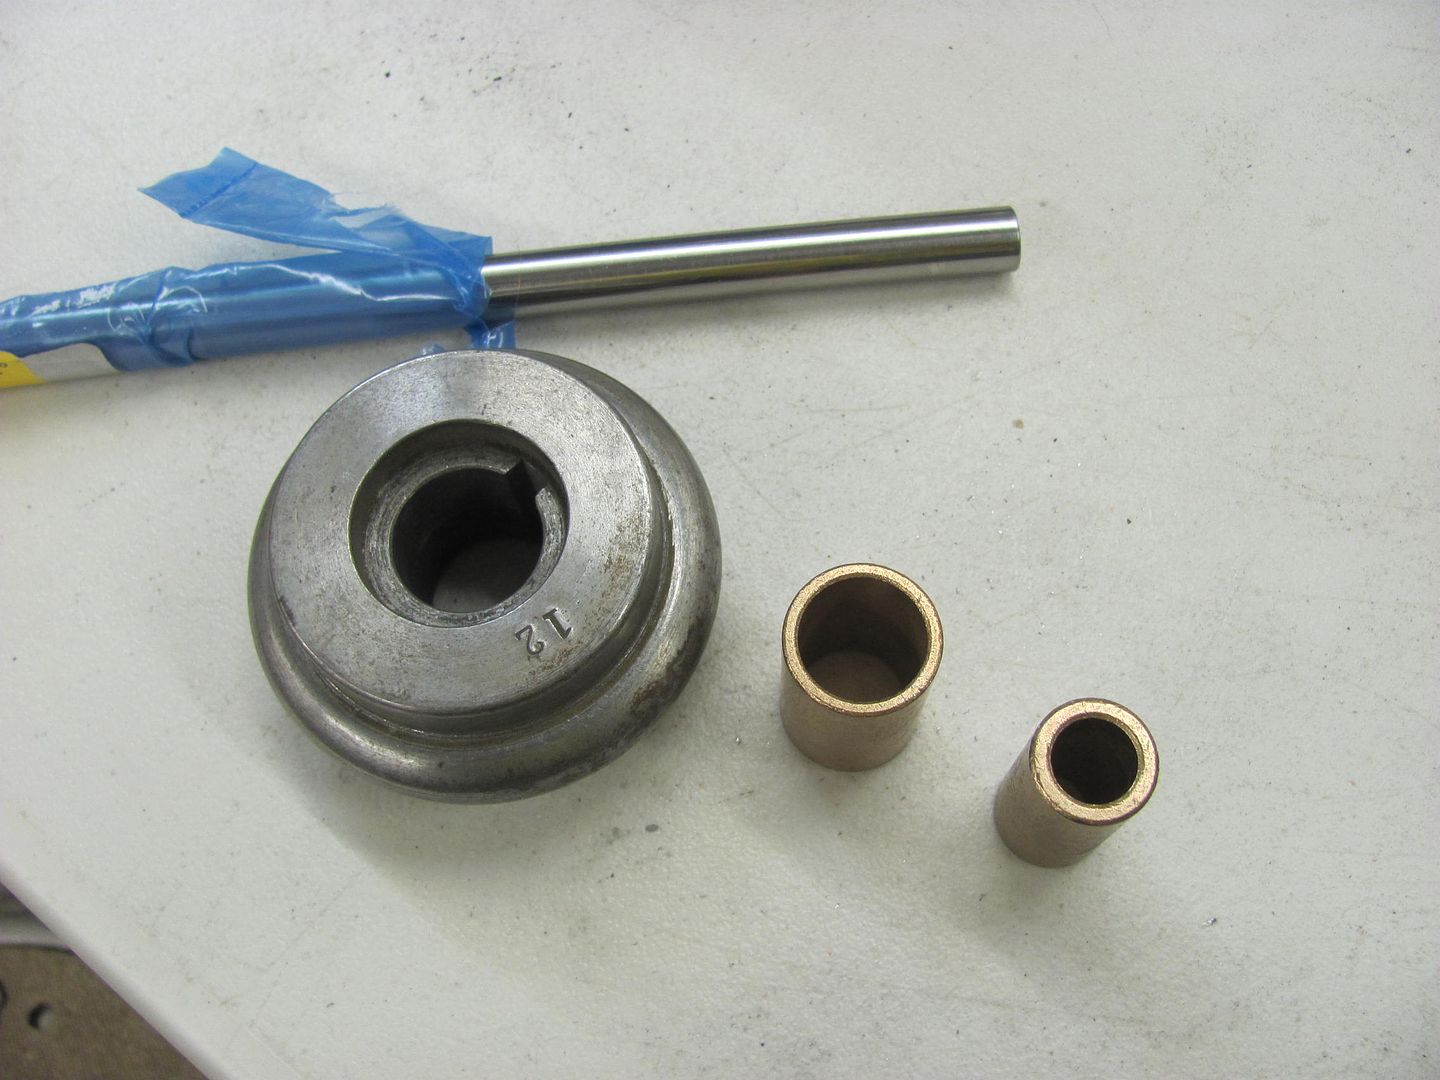
The two oilites were a tight fit, so they were "pressed" together in the vise..

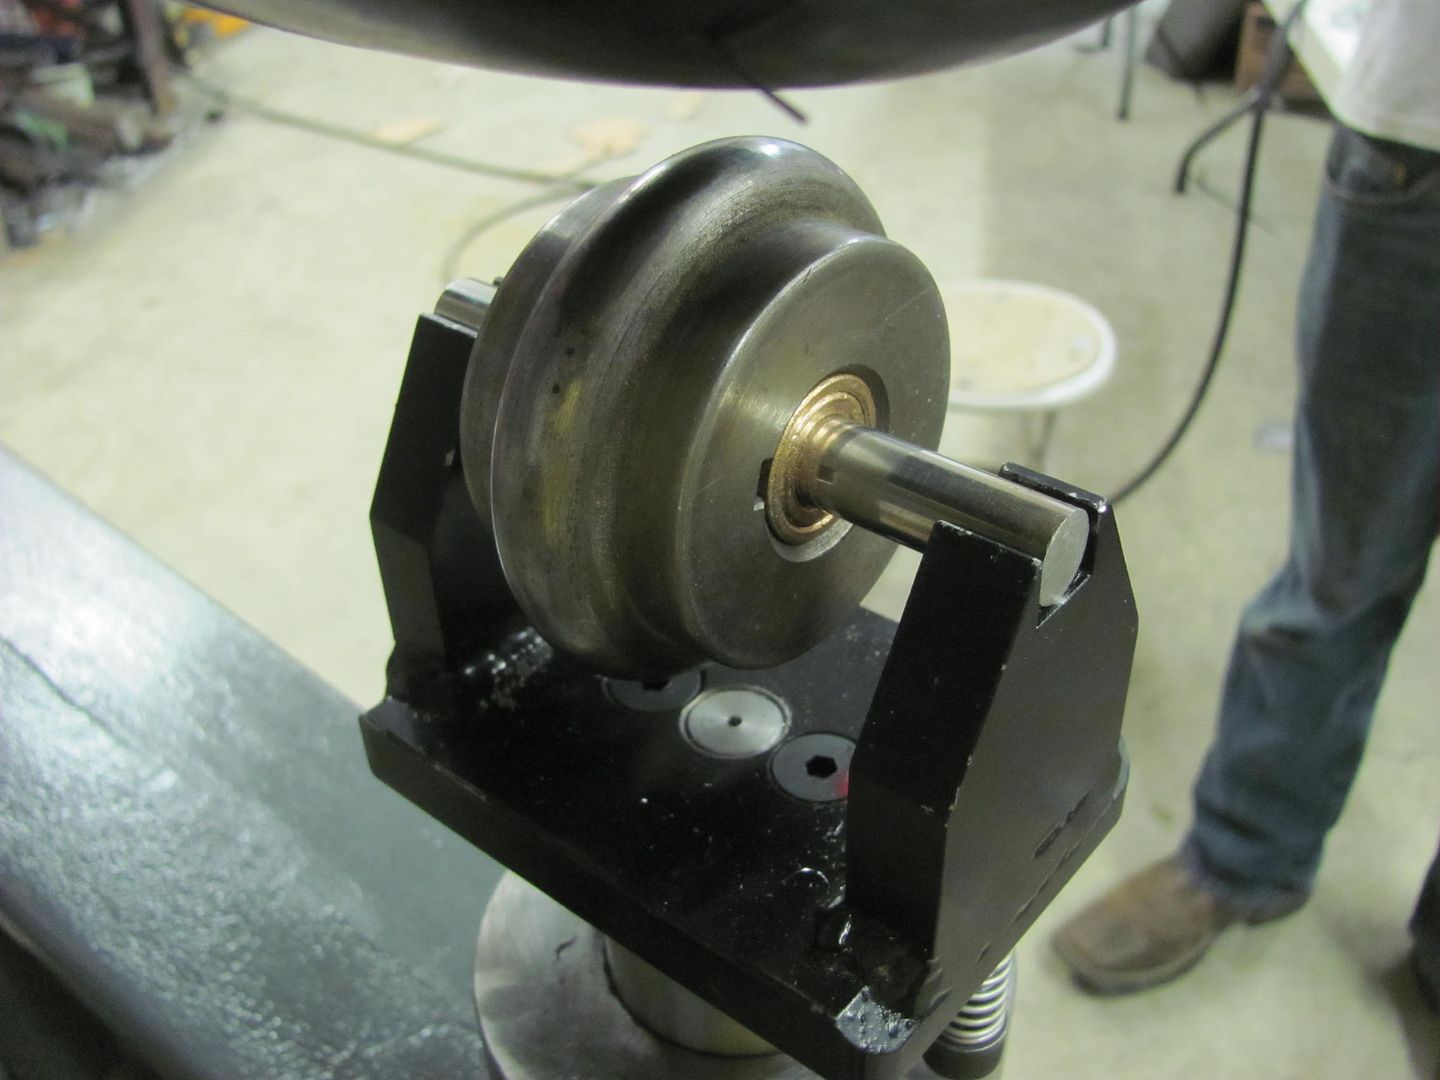
And to finish it off we have a couple of shaft collars on the way so the die won't walk on us while in use..
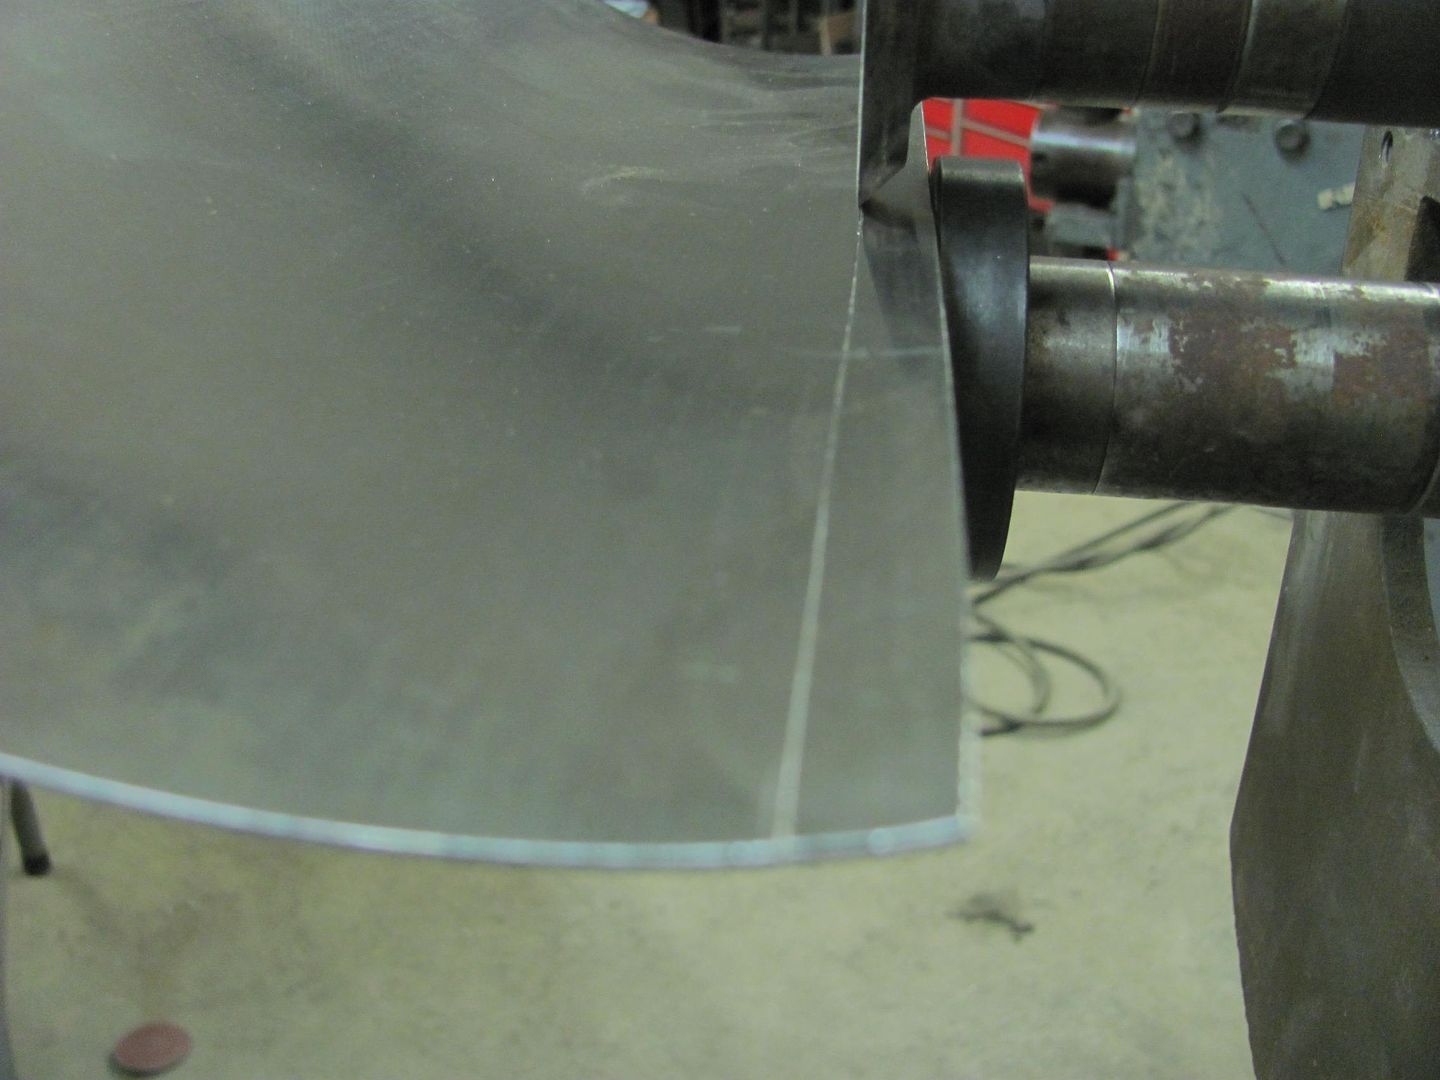
Saturday had us performing major shop cleanup so we could better get to an assembly line efficiency in polishing stainless trim and block sanding painted parts. I guess we walked past this one too many times...
....and since the Lennox still had some dies in it from last week....

The outer perimeter will get trimmed a bit more and we'll add a small bead detail on the very edge prior to bolting it on...
Robert
-
05-25-2016 12:55 PM #823
CHR Member
- Join Date
- Apr 2011
- Location
- Prairie City
- Car Year, Make, Model: 40 Ford Deluxe, 68 Corvette, 72&76 K30
- Posts
- 7,301
- Blog Entries
- 1
Awesome work! You even had to trick out your stand. Very nice!
Ryan
1940 Ford Deluxe Tudor 354 Hemi 46RH Electric Blue w/multi-color flames, Ford 9" Residing in multiple pieces
1968 Corvette Coupe 5.9 Cummins Drag Car 11.43@130mph No stall leaving the line with 1250 rpm's and poor 2.2 60'
1972 Chevy K30 Longhorn P-pumped 24v Compound Turbos 47RH Just another money pit
1971 Camaro RS 5.3 BTR Stage 3 cam, SuperT10
Tire Sizes
-
05-26-2016 08:02 PM #824
CHR Member
- Join Date
- Jun 2008
- Location
- Leonardtown
- Car Year, Make, Model: Walking
- Posts
- 1,228
Thanks!
Well the two weeks plus of non stop rain has finally subsided where the media blasting could commence. Got a phone call today that the car was ready to pick up.. Here it is before we loaded it up..
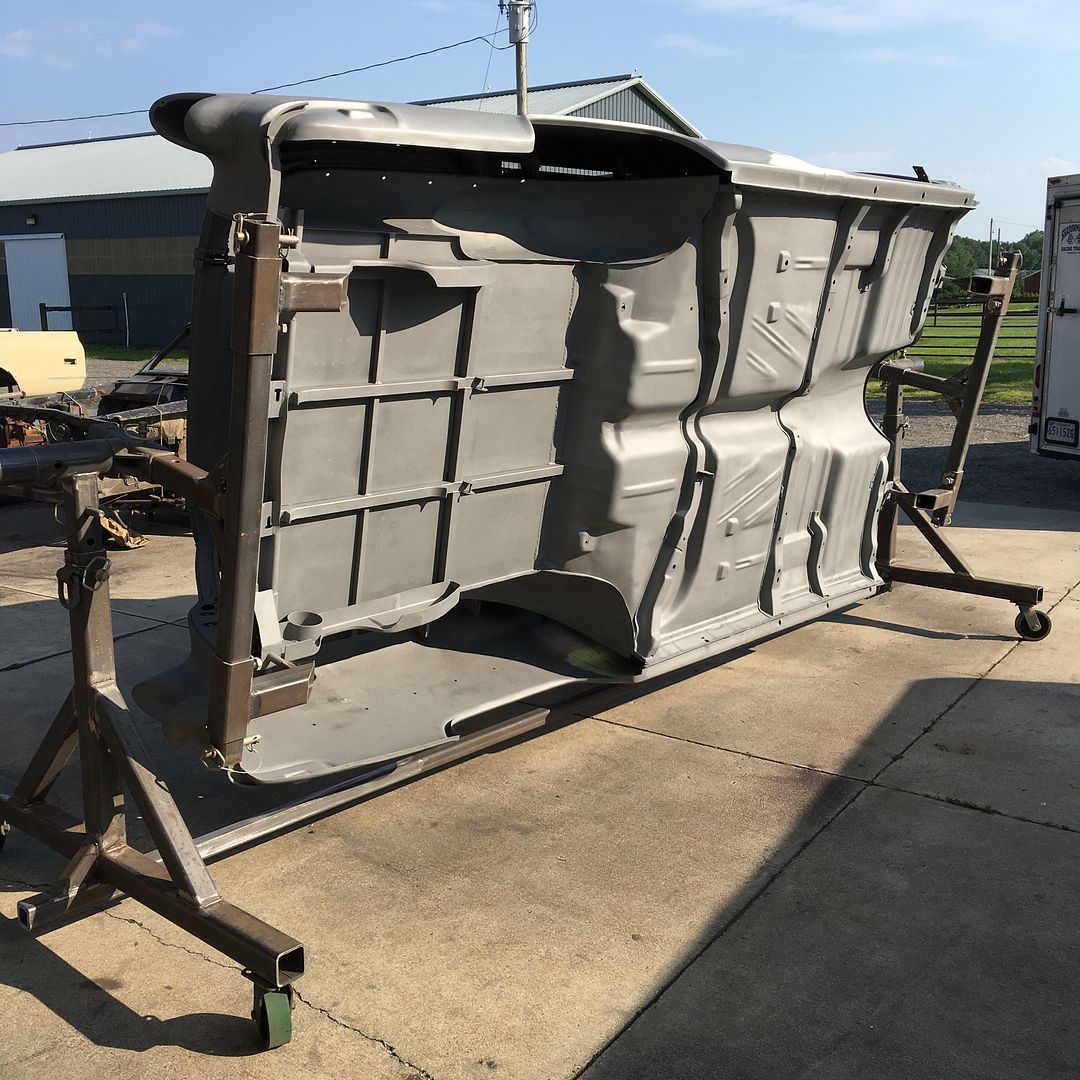

This is the part where you wish you had a tilt bed trailer so any media residue would be persuaded on out on the return trip home... But alas, we found a combination of using the air hose and a shop vac best to evacuate most of the media. That and about 50 or so revolutions on the rotisserie.....
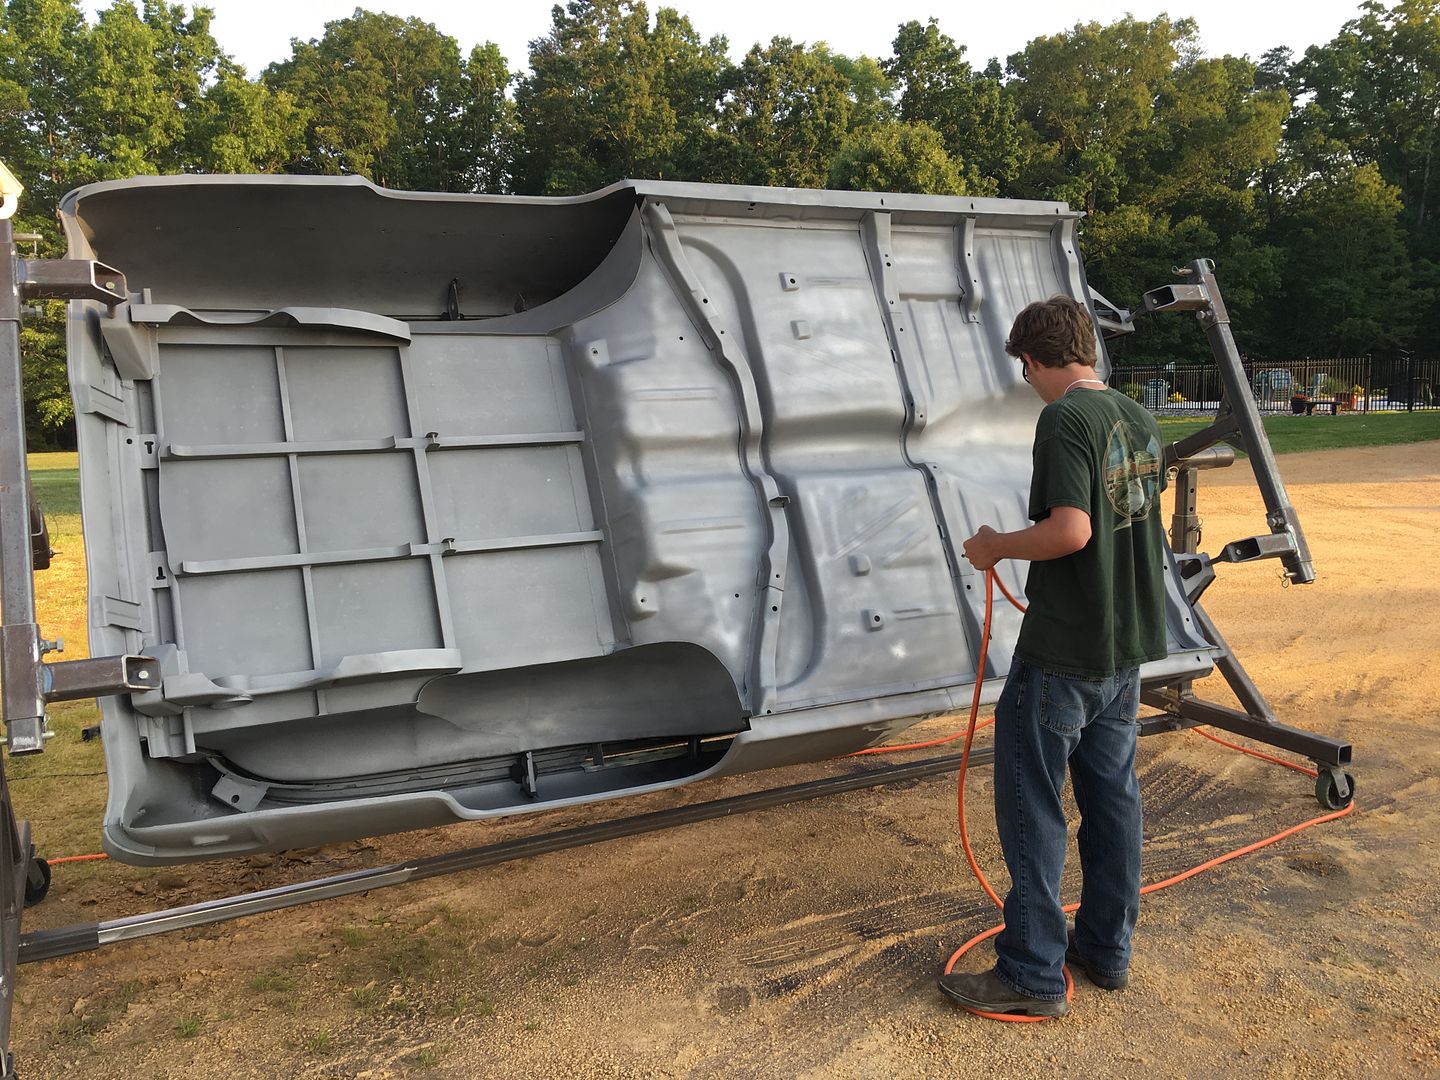
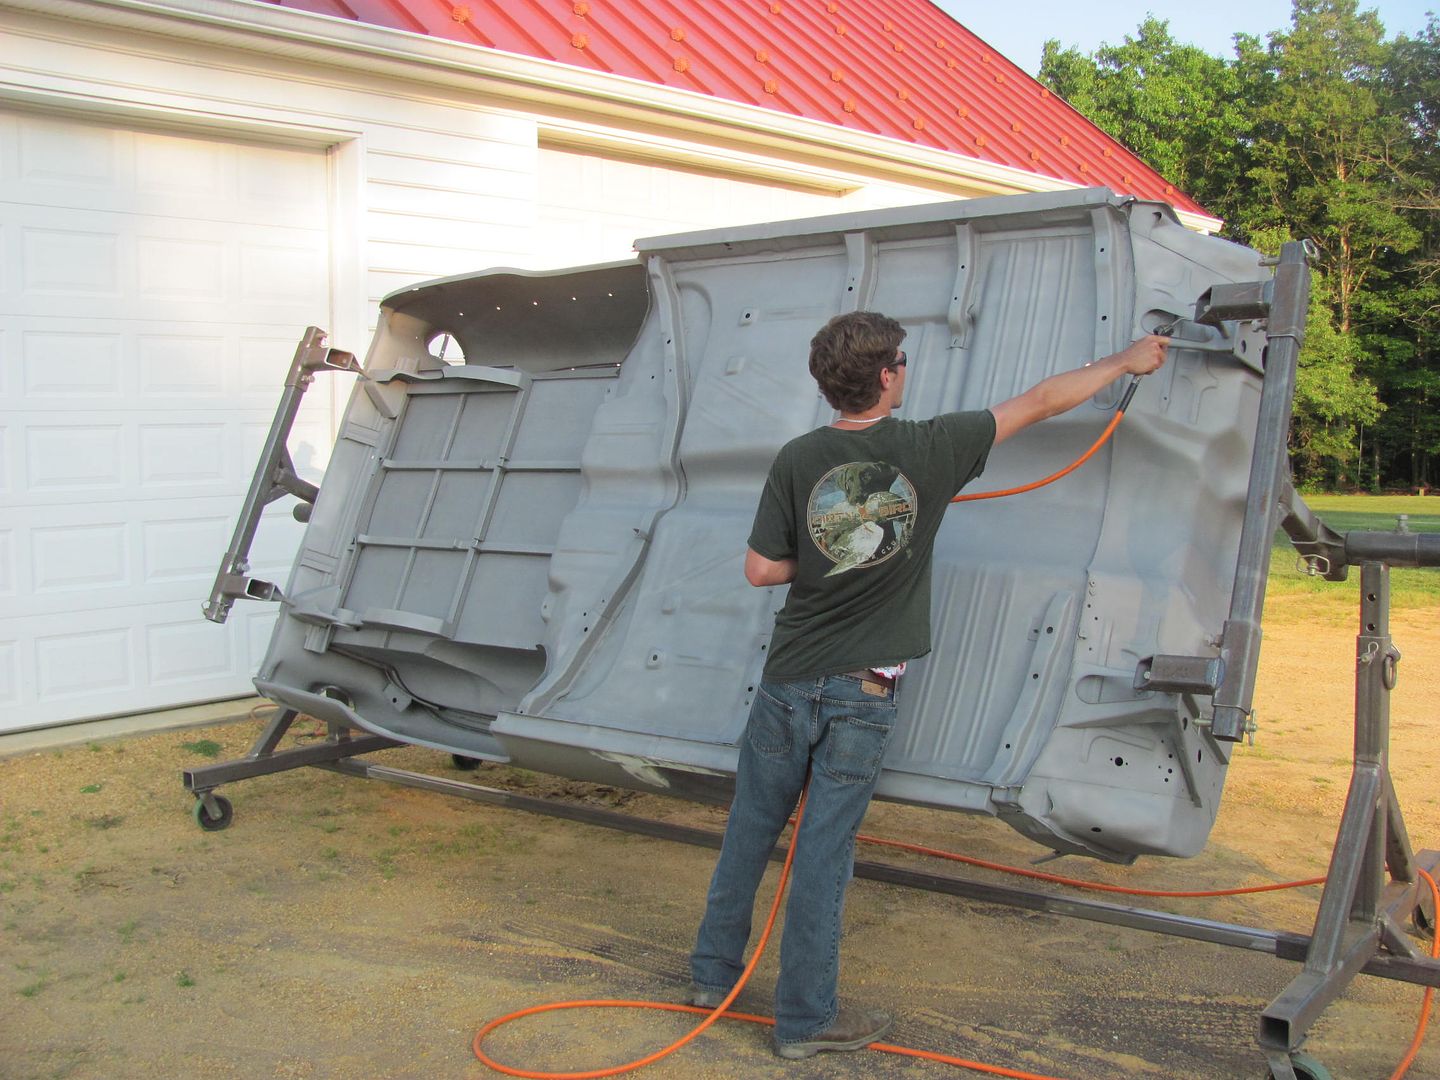
Real pleased with how well it turned out... here moved into the booth and the dehumidifier energized.
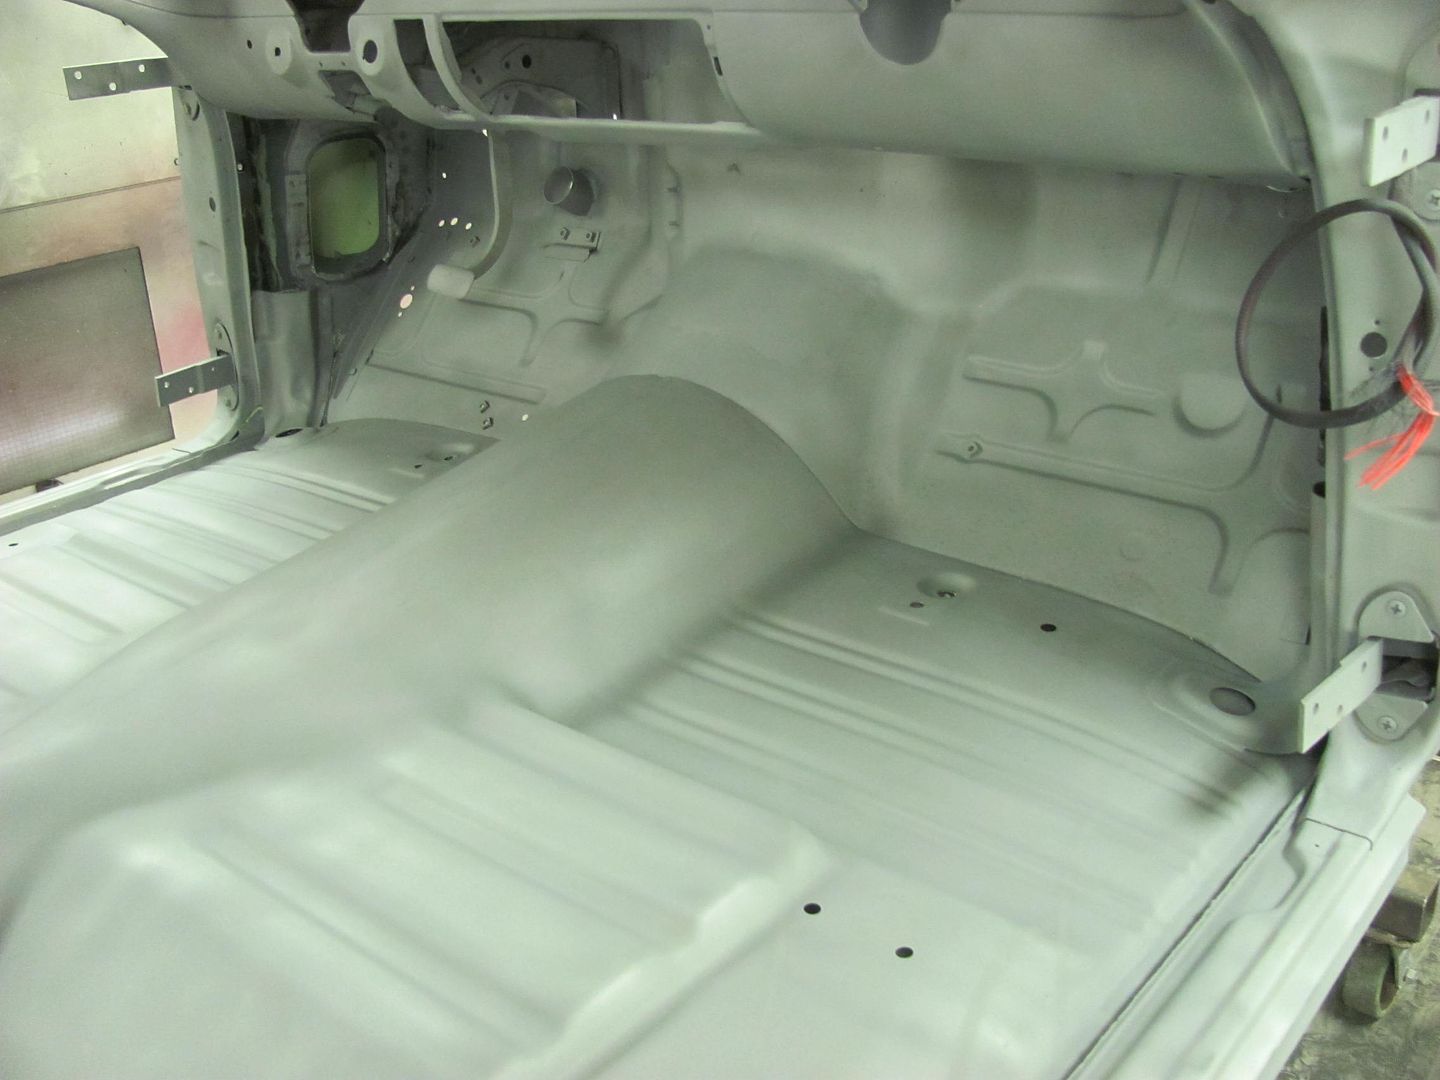
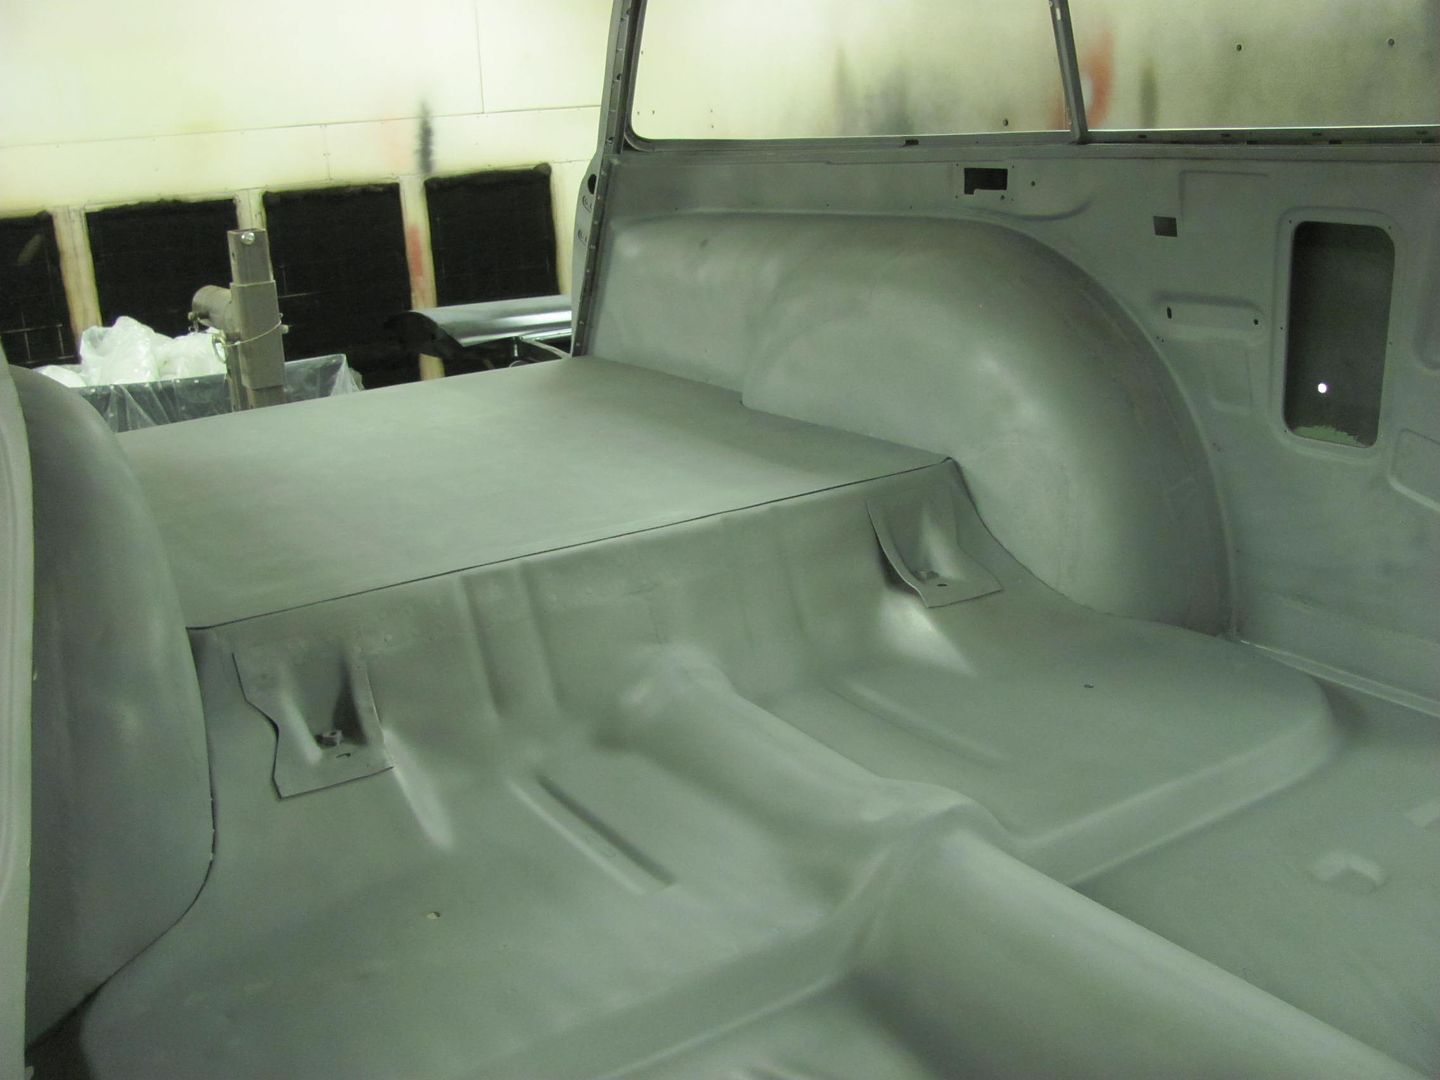

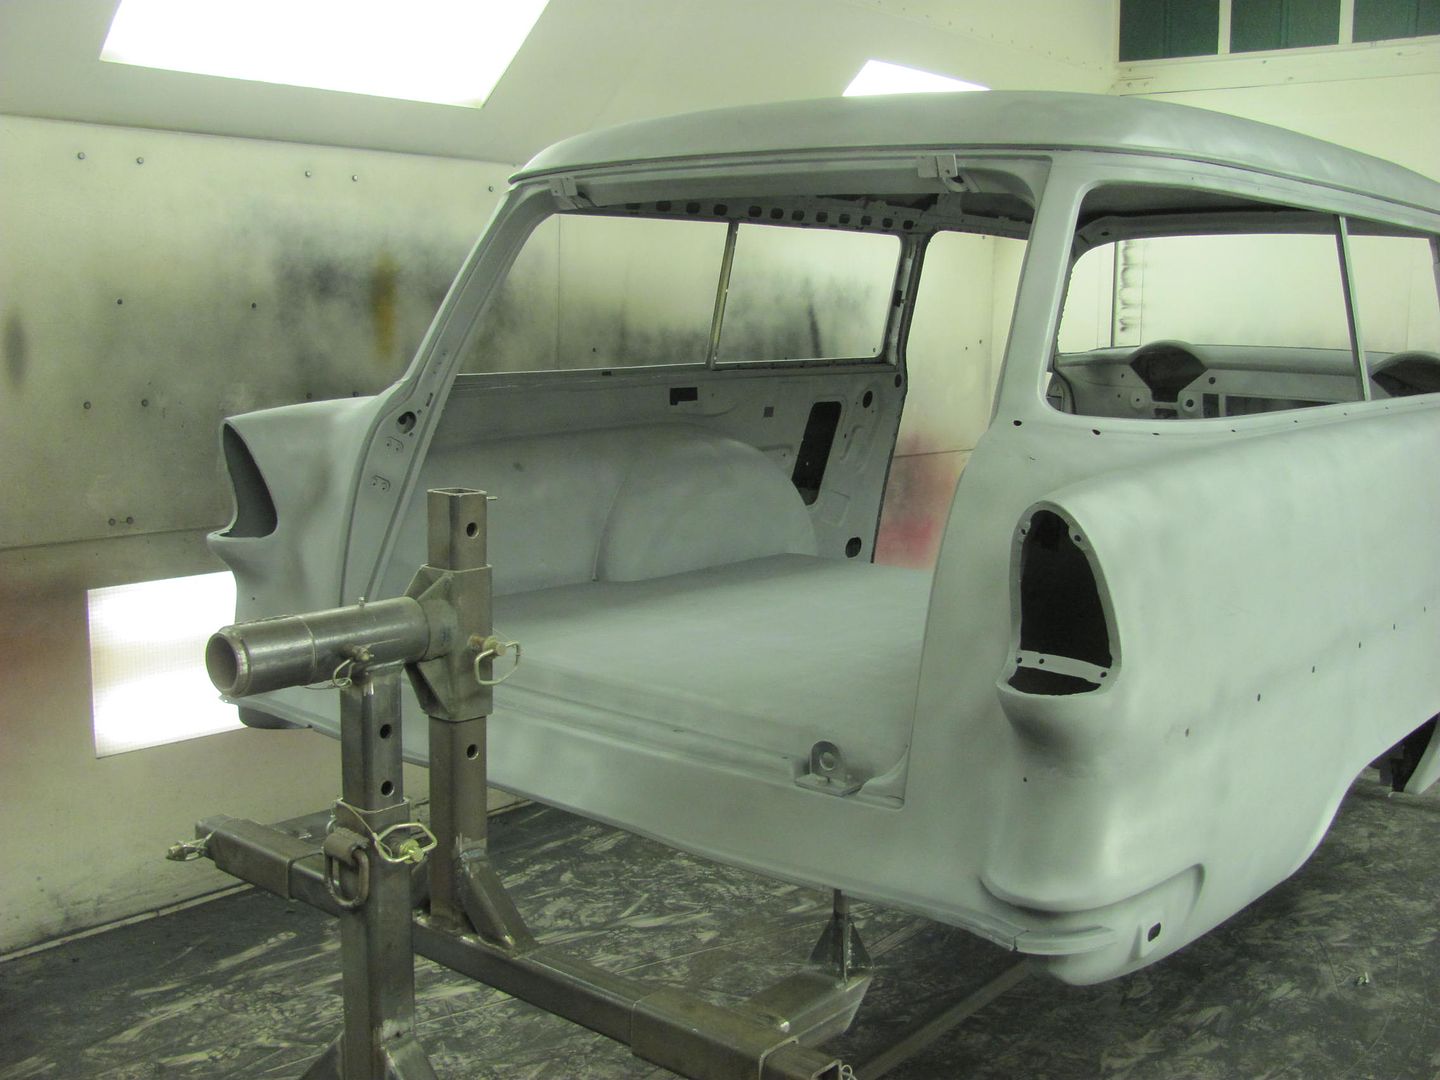
We do have some pin holes that are more apparent now, so we'll get those fixed Saturday morning and see how the weather looks for priming in the afternoon..Robert
-
05-27-2016 09:27 AM #825
CHR Member
- Join Date
- Oct 2007
- Location
- Petaluma
- Car Year, Make, Model: 48 Ford F1
- Posts
- 9,795
Wow what a long way you guys have gone from the start of this incredible project. Wish I had your skills time and patience !Excellent work and thanks for all of your detailed posts and sharing of your knowledge." "No matter where you go, there you are!" Steve.
 Reply With Quote

Posting Permissions
- You may not post new threads
- You may not post replies
- You may not post attachments
- You may not edit your posts

i've enjoyed the years here . made a lot of friends. most who have left. i see no reason to continue with this so hope to see you somewhere else. i dont think this site will ever be back. it's lived...
Dead!