Thread: 55 Wagon Progress
-
10-16-2015 02:32 PM #616
Yes and yes...Robert
-
Advertising

- Google Adsense
- REGISTERED USERS DO NOT SEE THIS AD
-
10-16-2015 06:24 PM #617
- Join Date
- Apr 2011
- Location
- Prairie City
- Car Year, Make, Model: 40 Ford Deluxe, 68 Corvette, 72&76 K30
- Posts
- 7,301
- Blog Entries
- 1
Robert, PM me details I'd like to buy a 3xl if you have them in fat kid sizes.
Ryan
1940 Ford Deluxe Tudor 354 Hemi 46RH Electric Blue w/multi-color flames, Ford 9" Residing in multiple pieces
1968 Corvette Coupe 5.9 Cummins Drag Car 11.43@130mph No stall leaving the line with 1250 rpm's and poor 2.2 60'
1972 Chevy K30 Longhorn P-pumped 24v Compound Turbos 47RH Just another money pit
1971 Camaro RS 5.3 BTR Stage 3 cam, SuperT10
Tire Sizes
-
10-17-2015 12:33 PM #618
Yes, up to 3X..
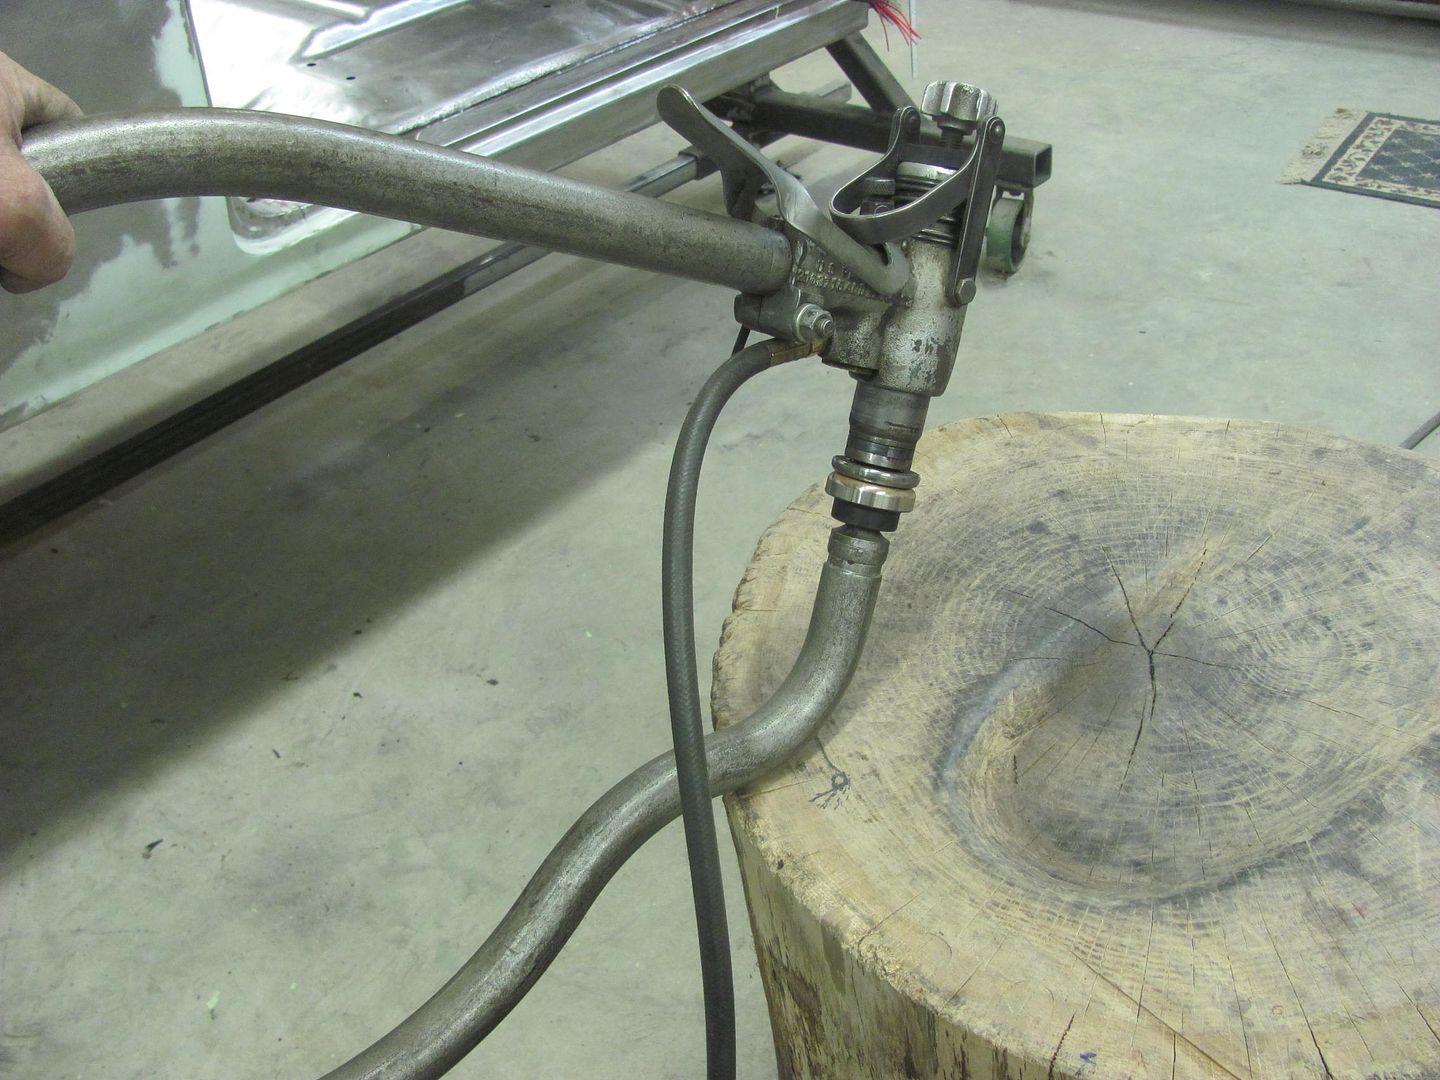
Well time to finish up Randy's scooter fender(s). The original (rear) had been loose at some point as the fender mounting holes were nice and elongated from flopping around. So I'll get them filled in and Randy will need to match drill them to the frame..
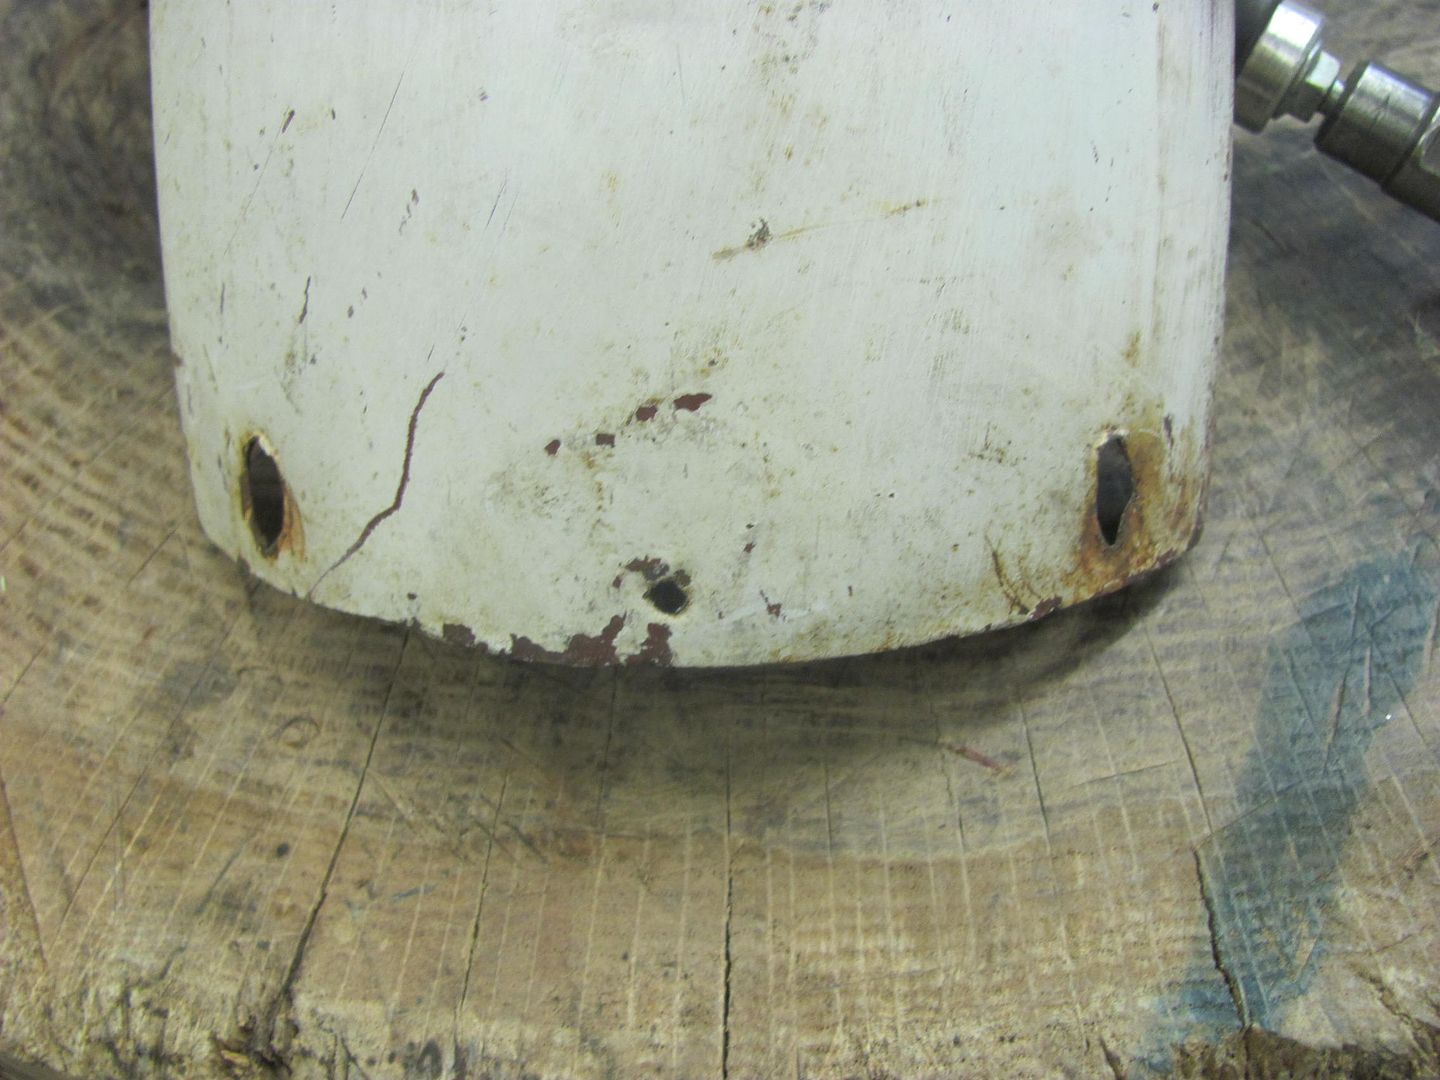
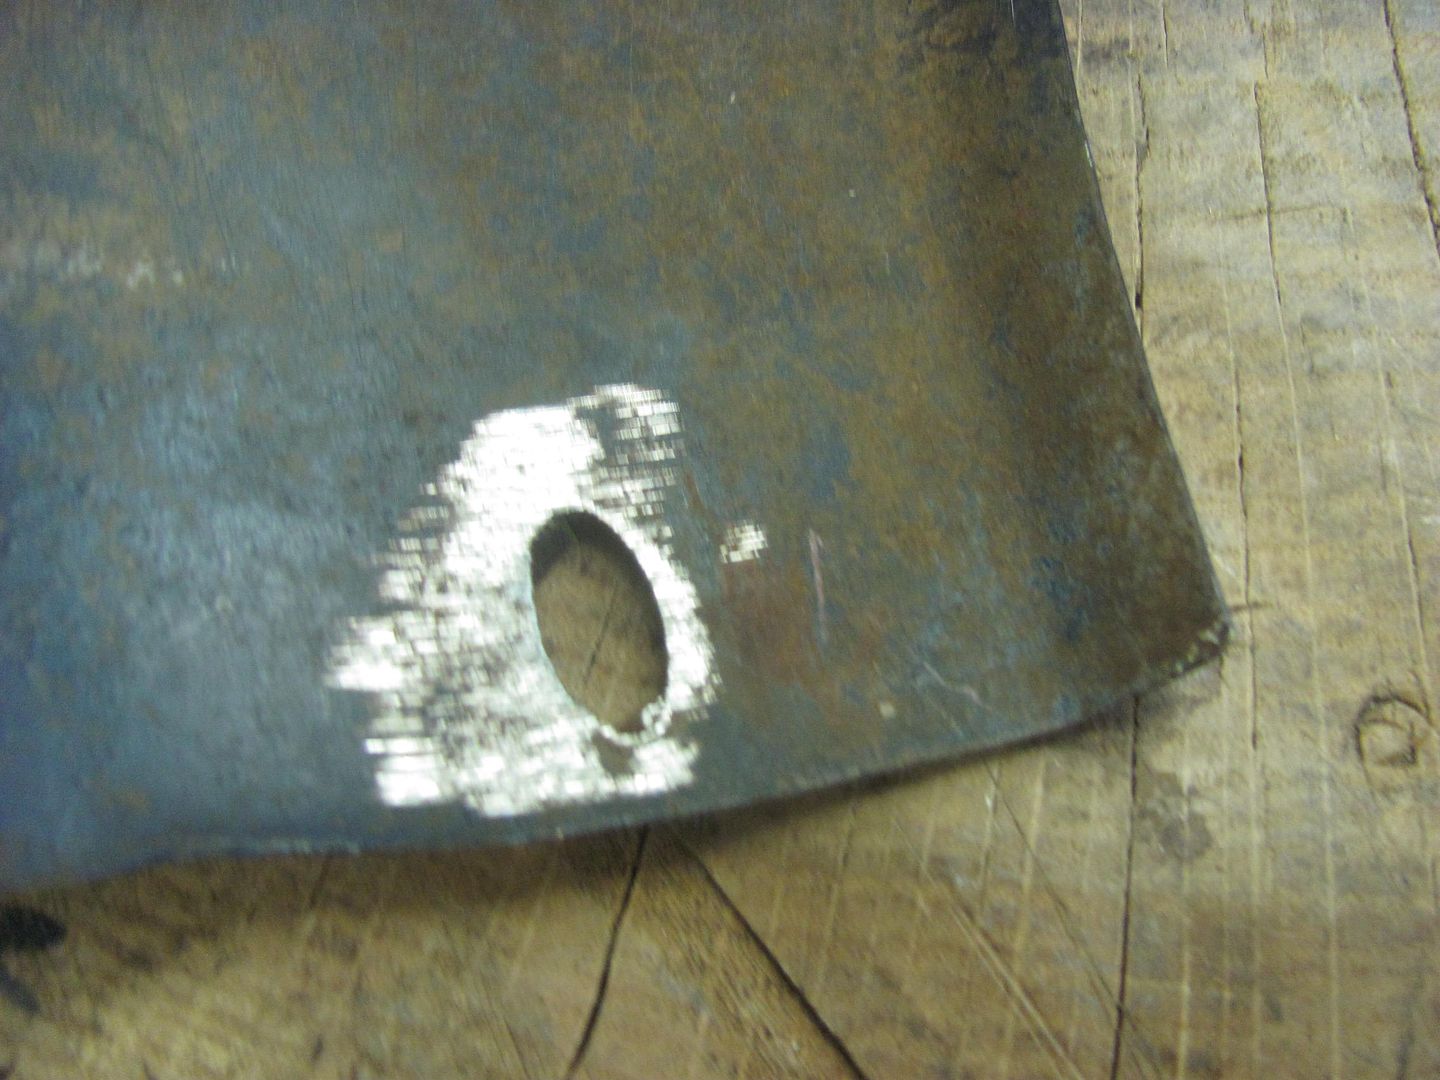
Use the right tools for the job :headscrat
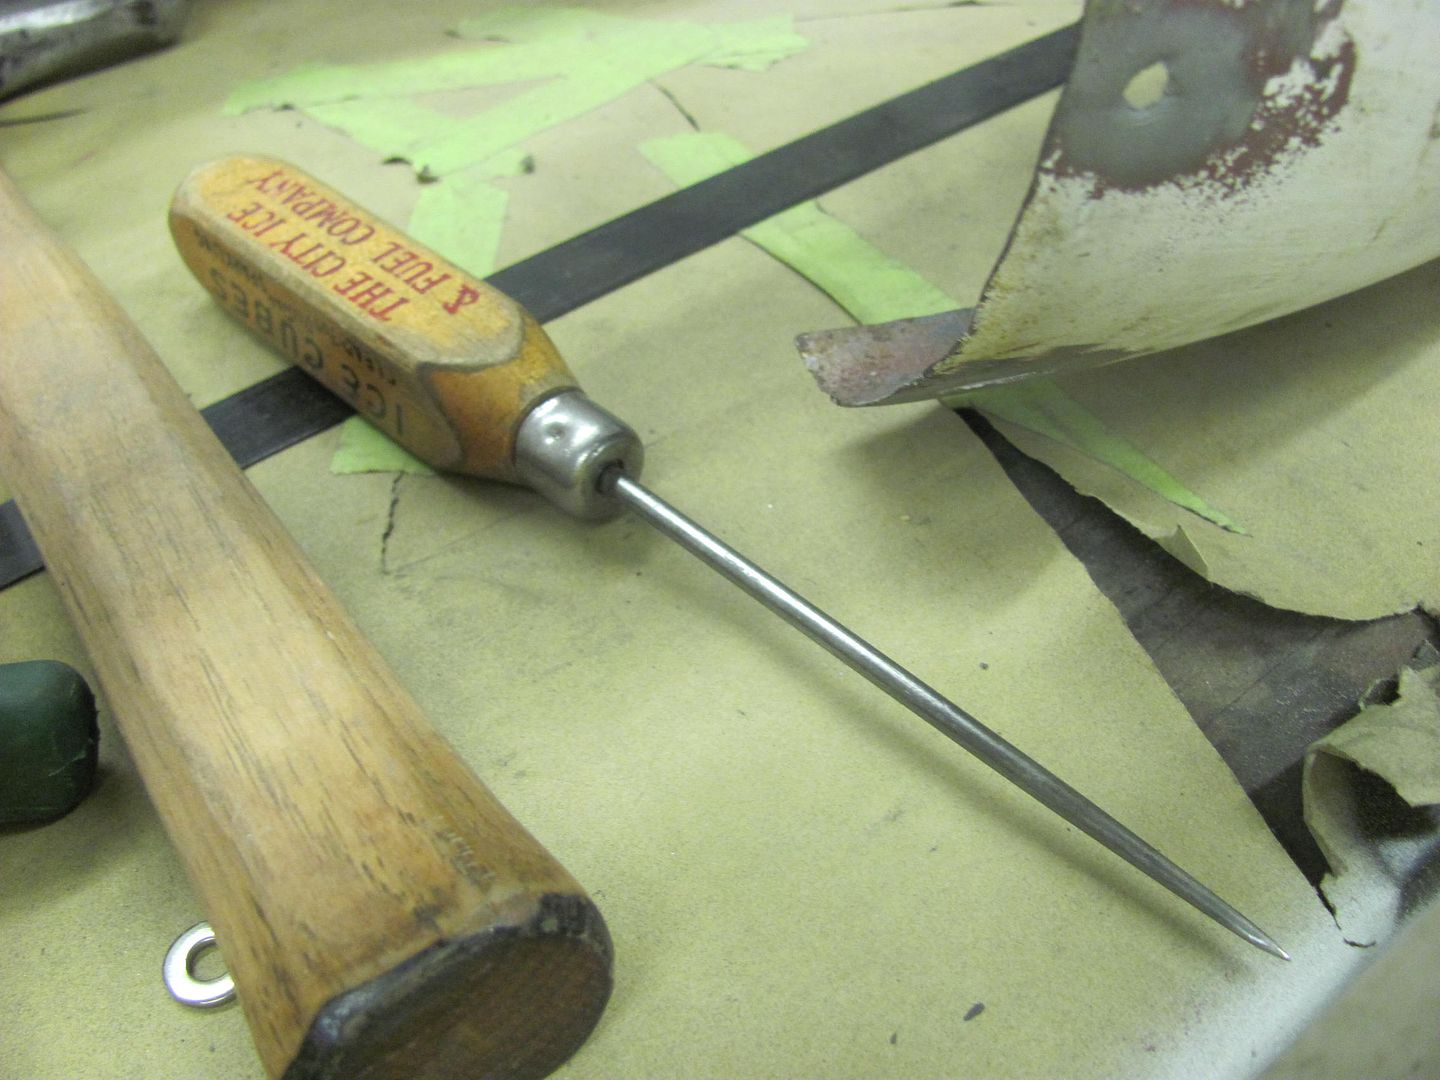
After marking, when cutting out such a small piece I like to leave a "handle" until the very end..
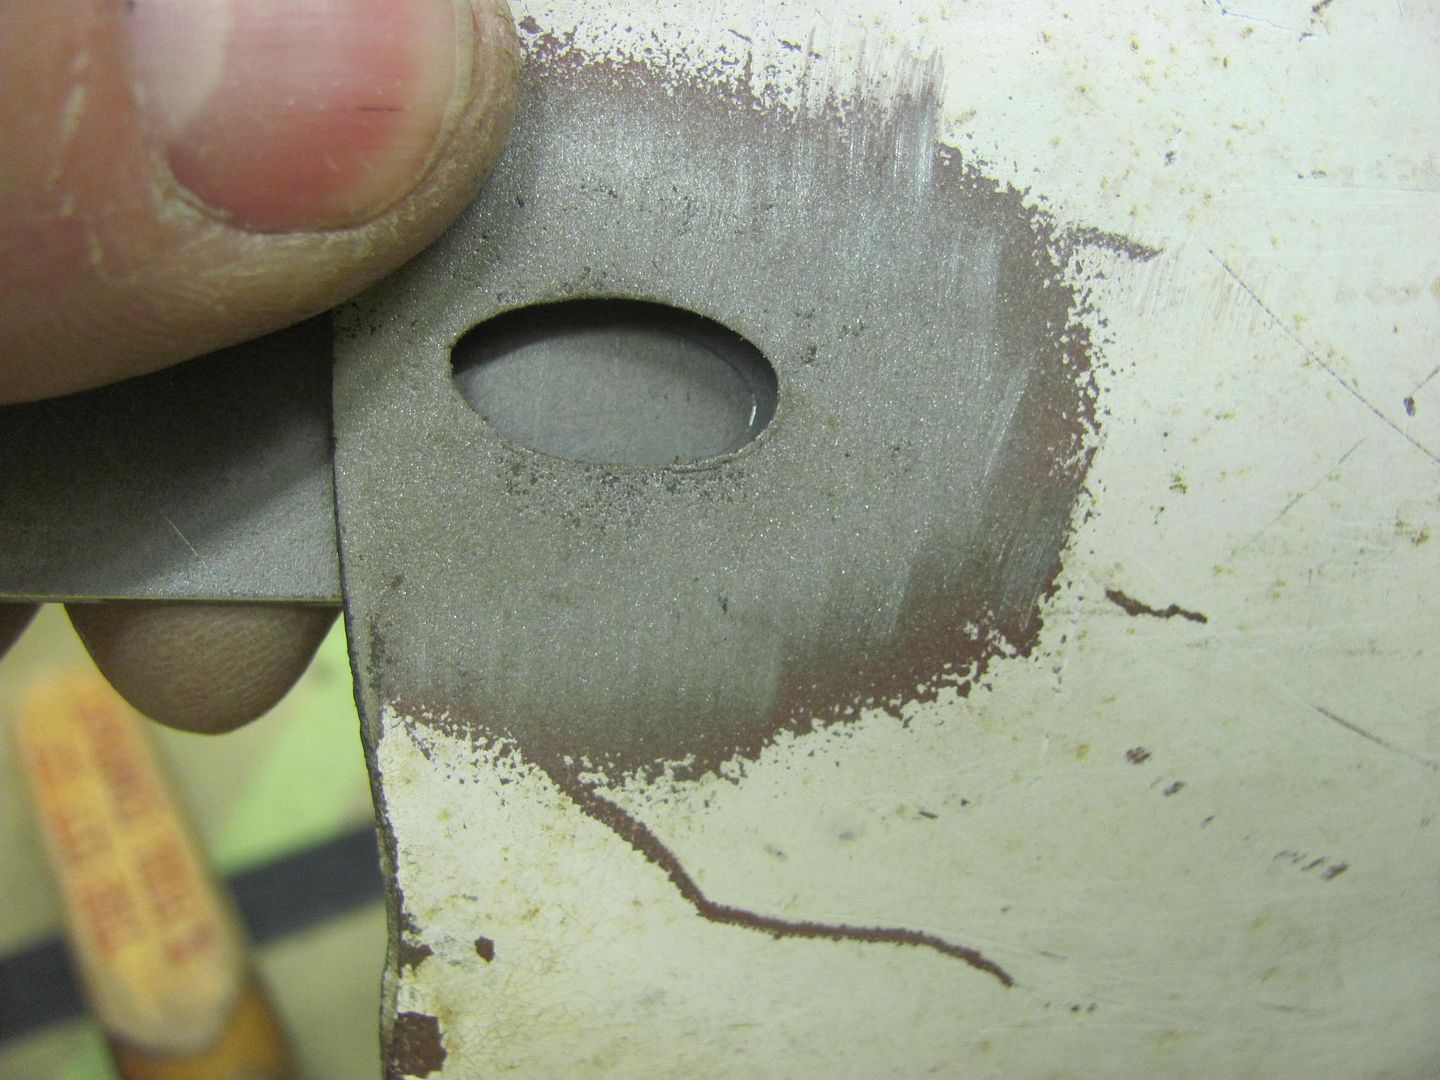
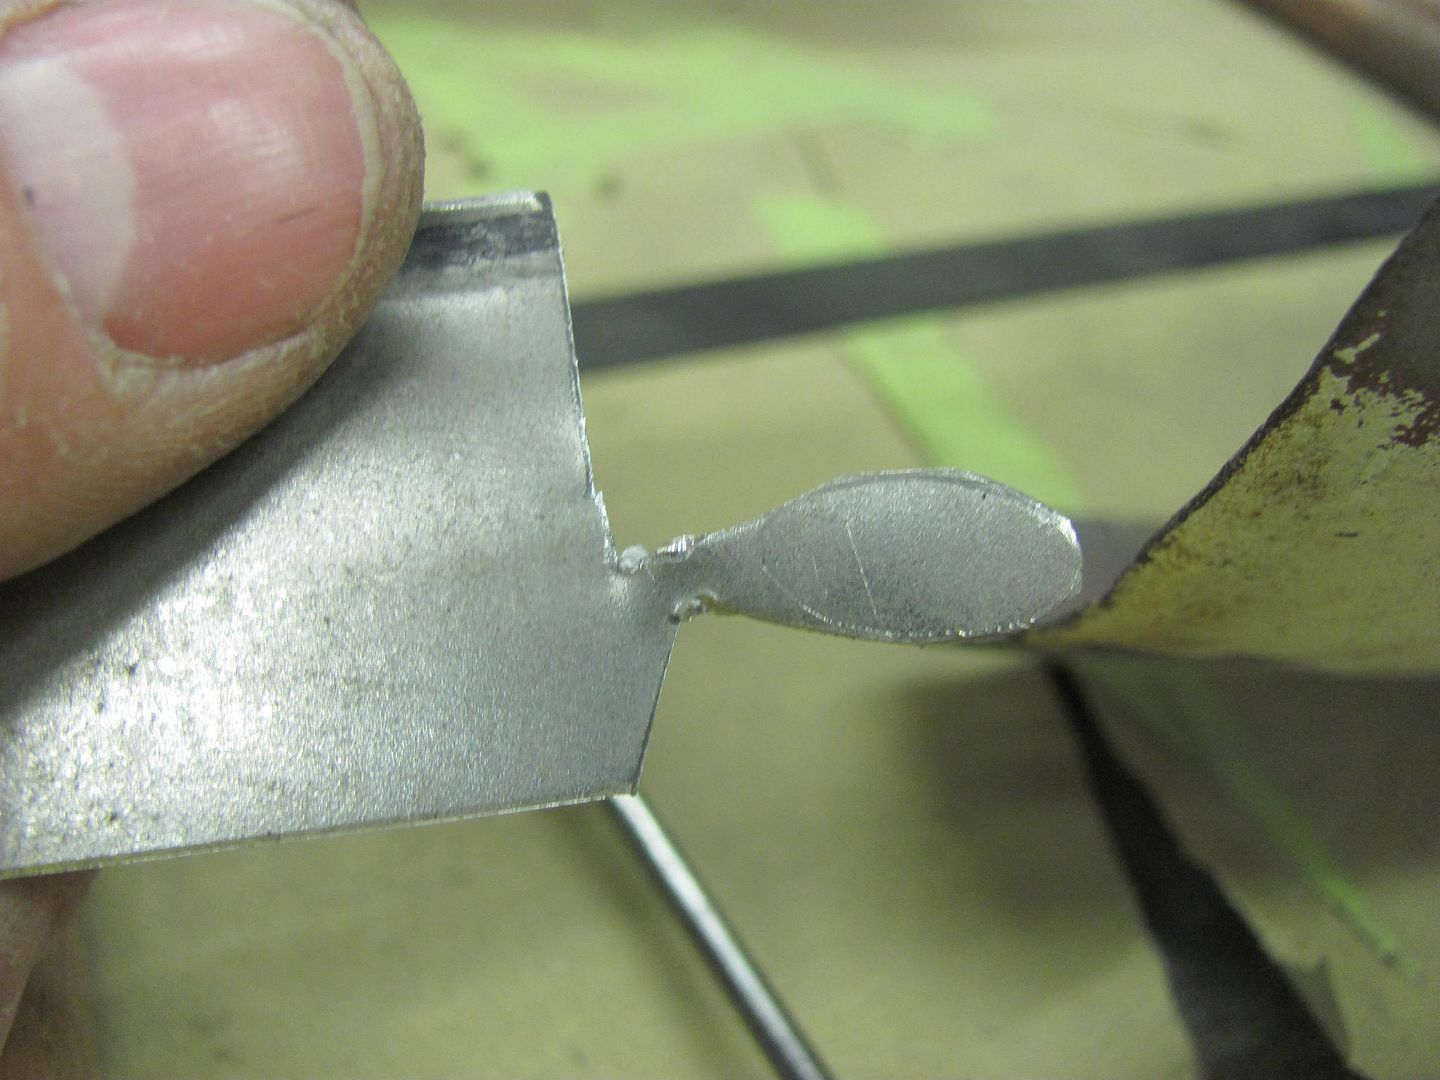
....gives you something to hold onto while fine tuning the fit
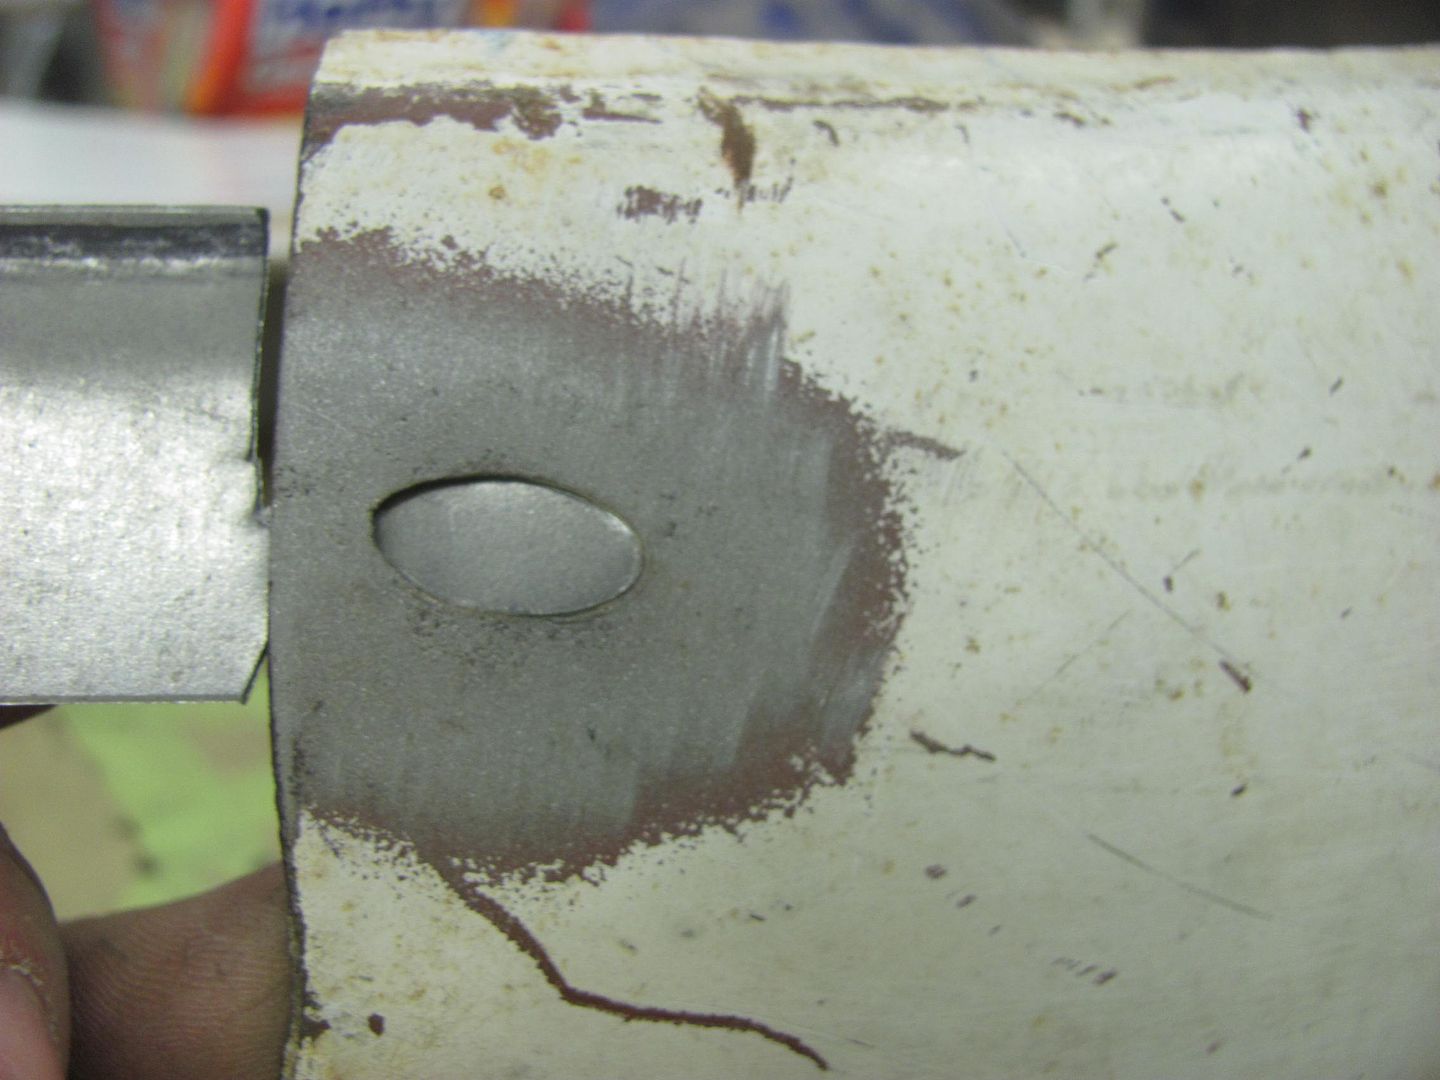
Nice and snug....
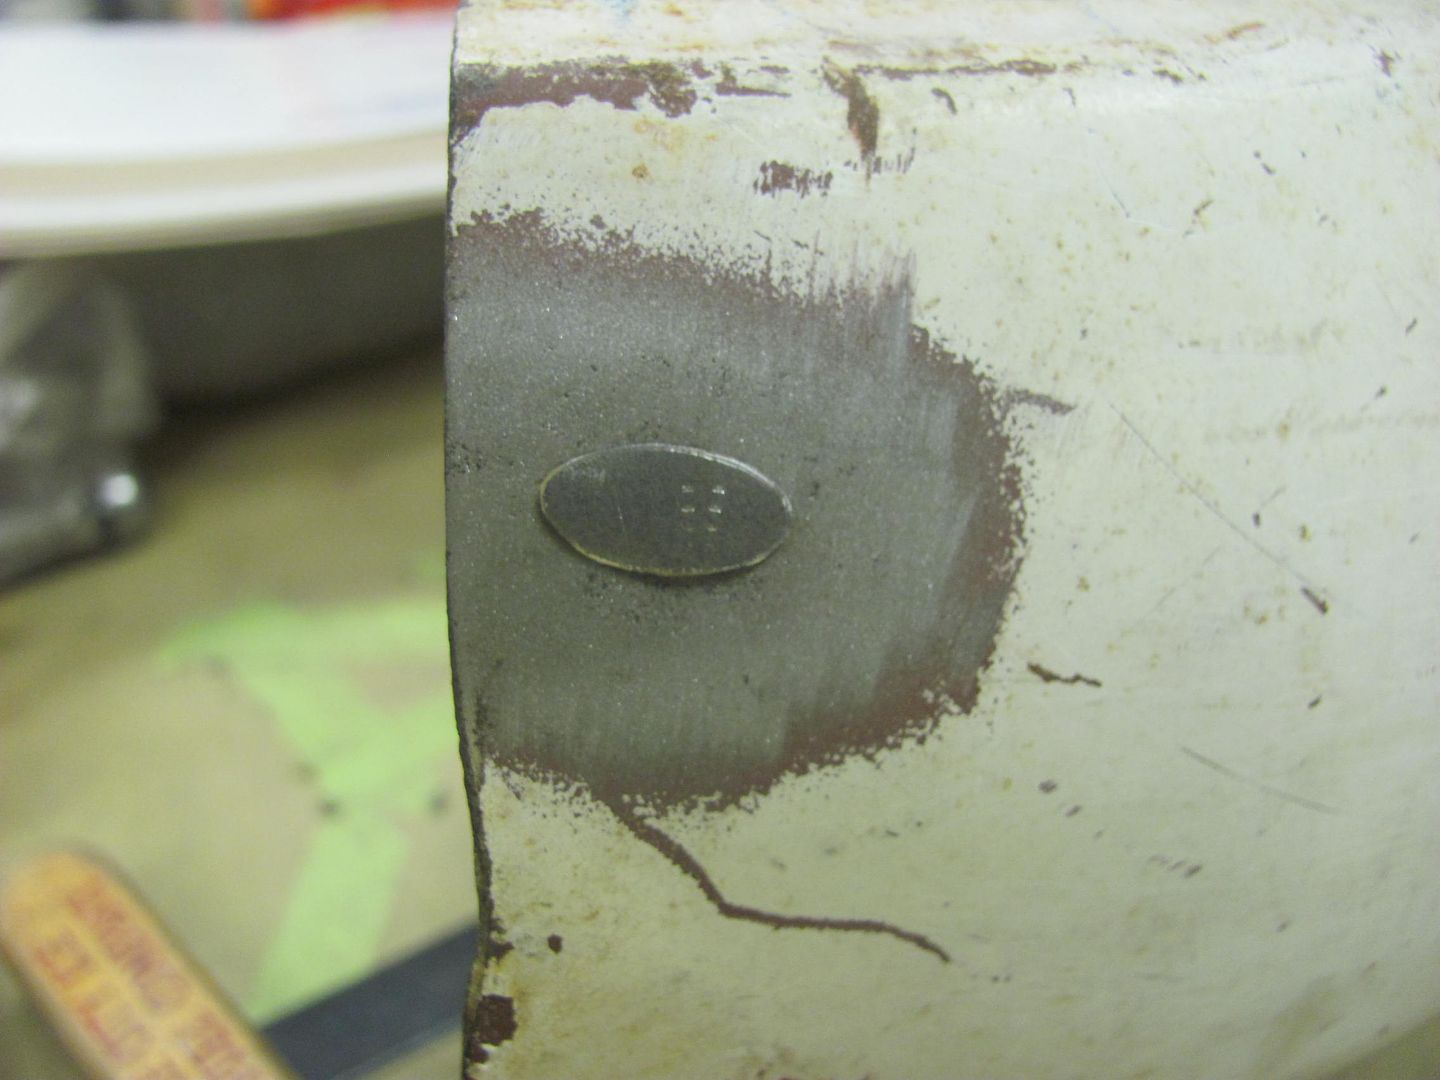
Tacking in the filler piece...
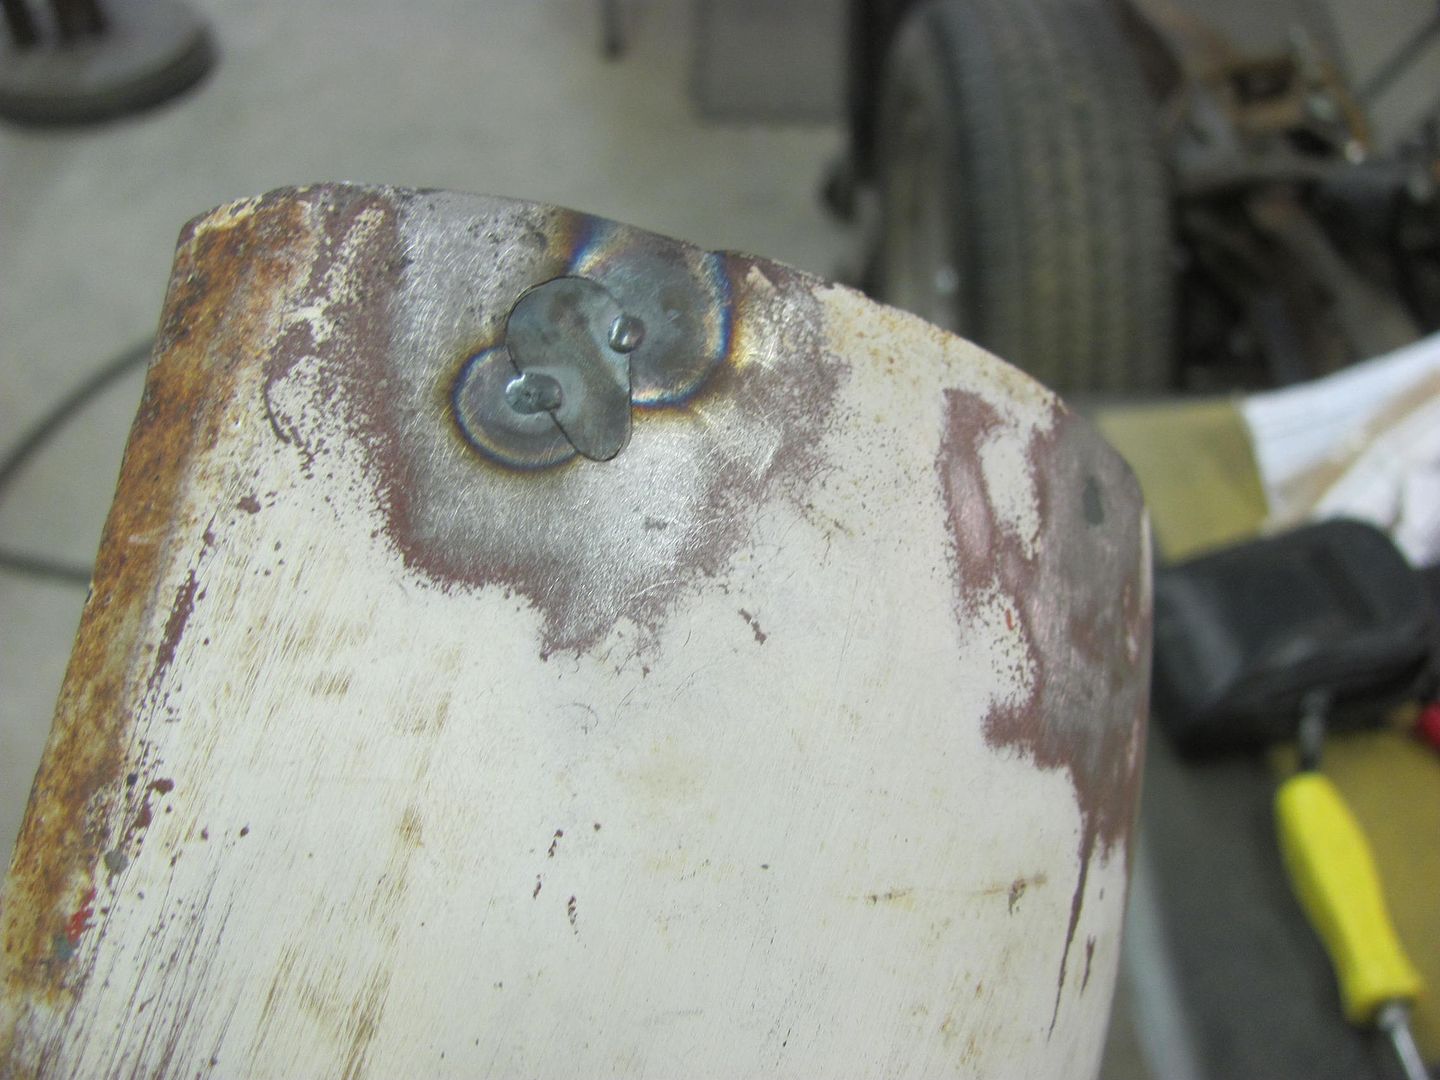
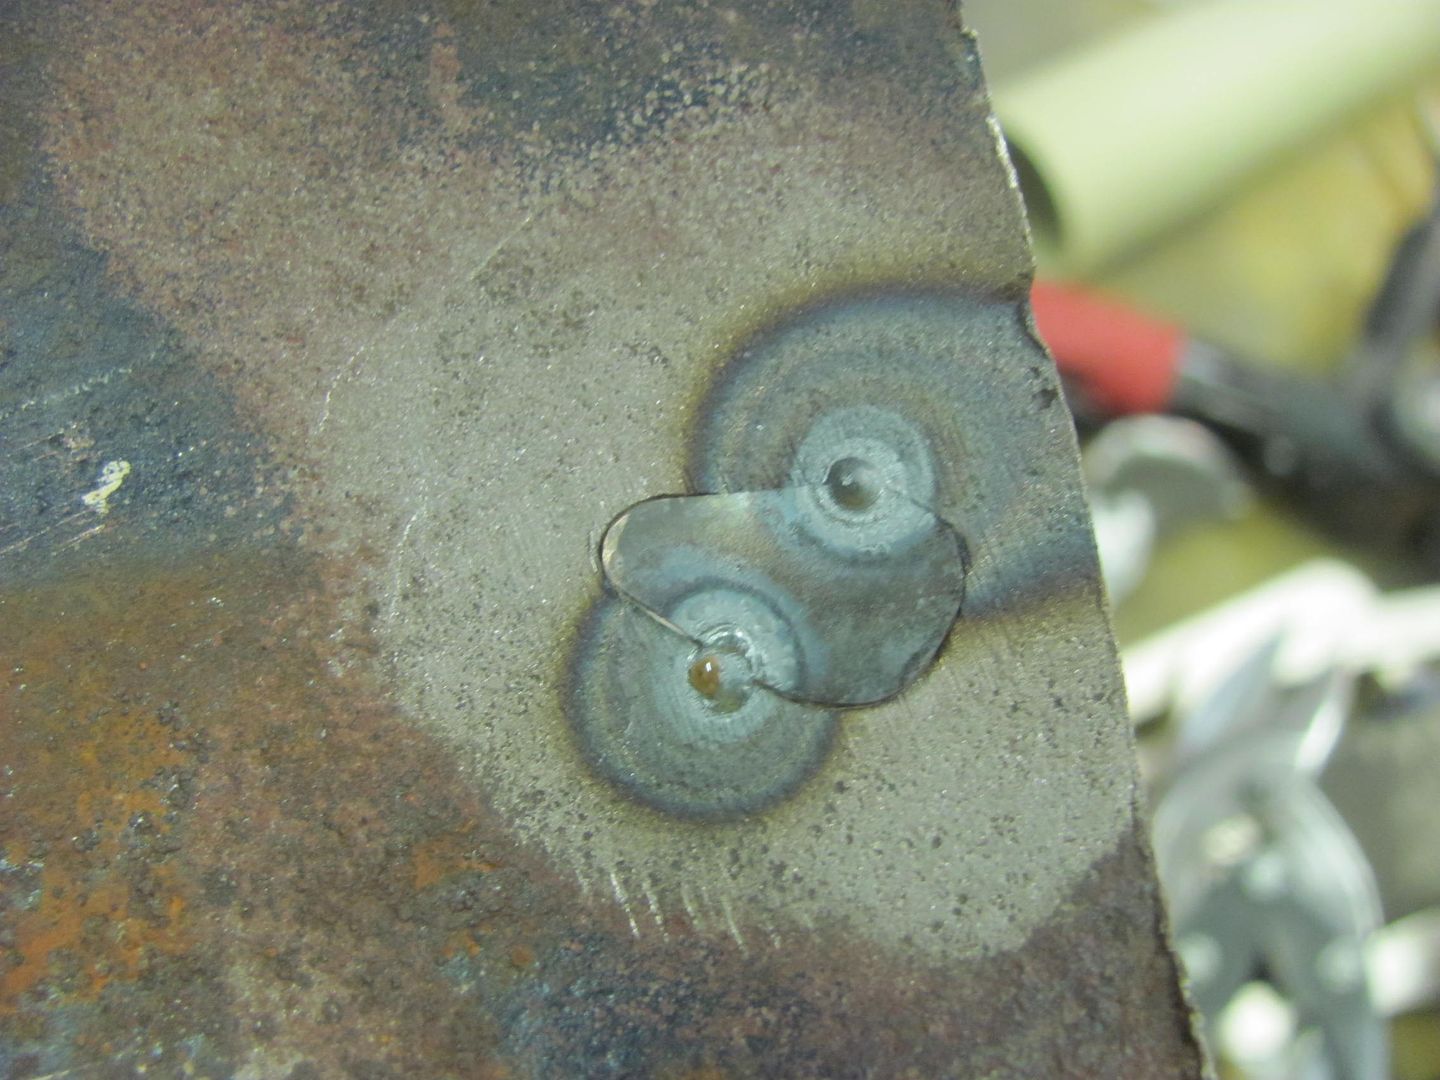
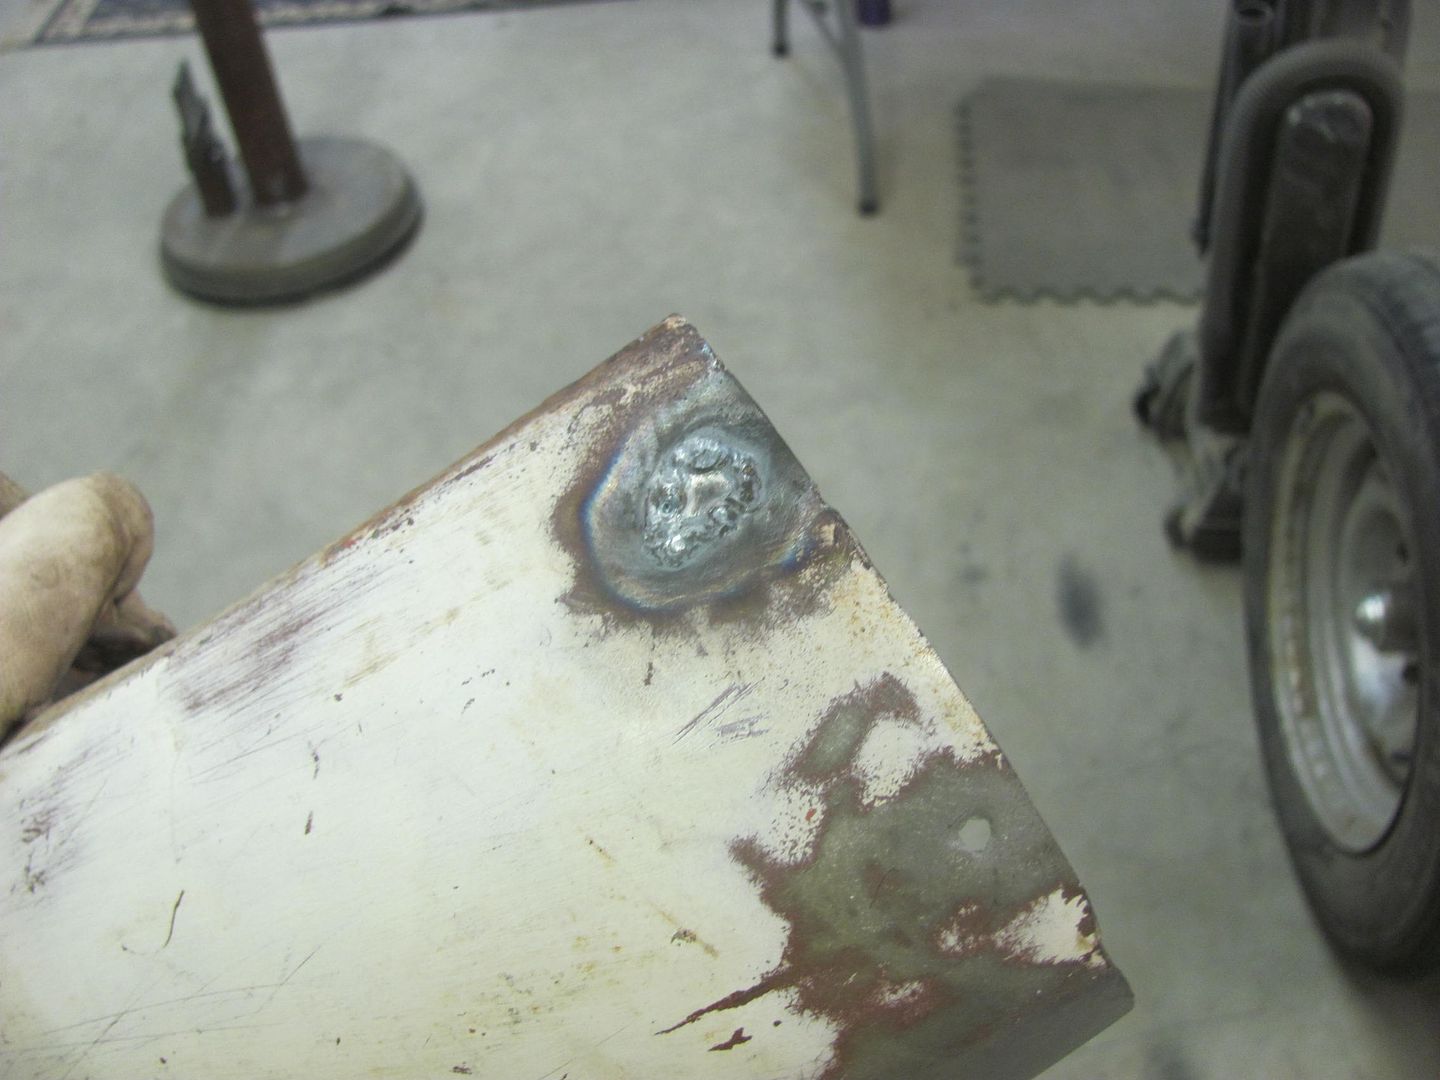
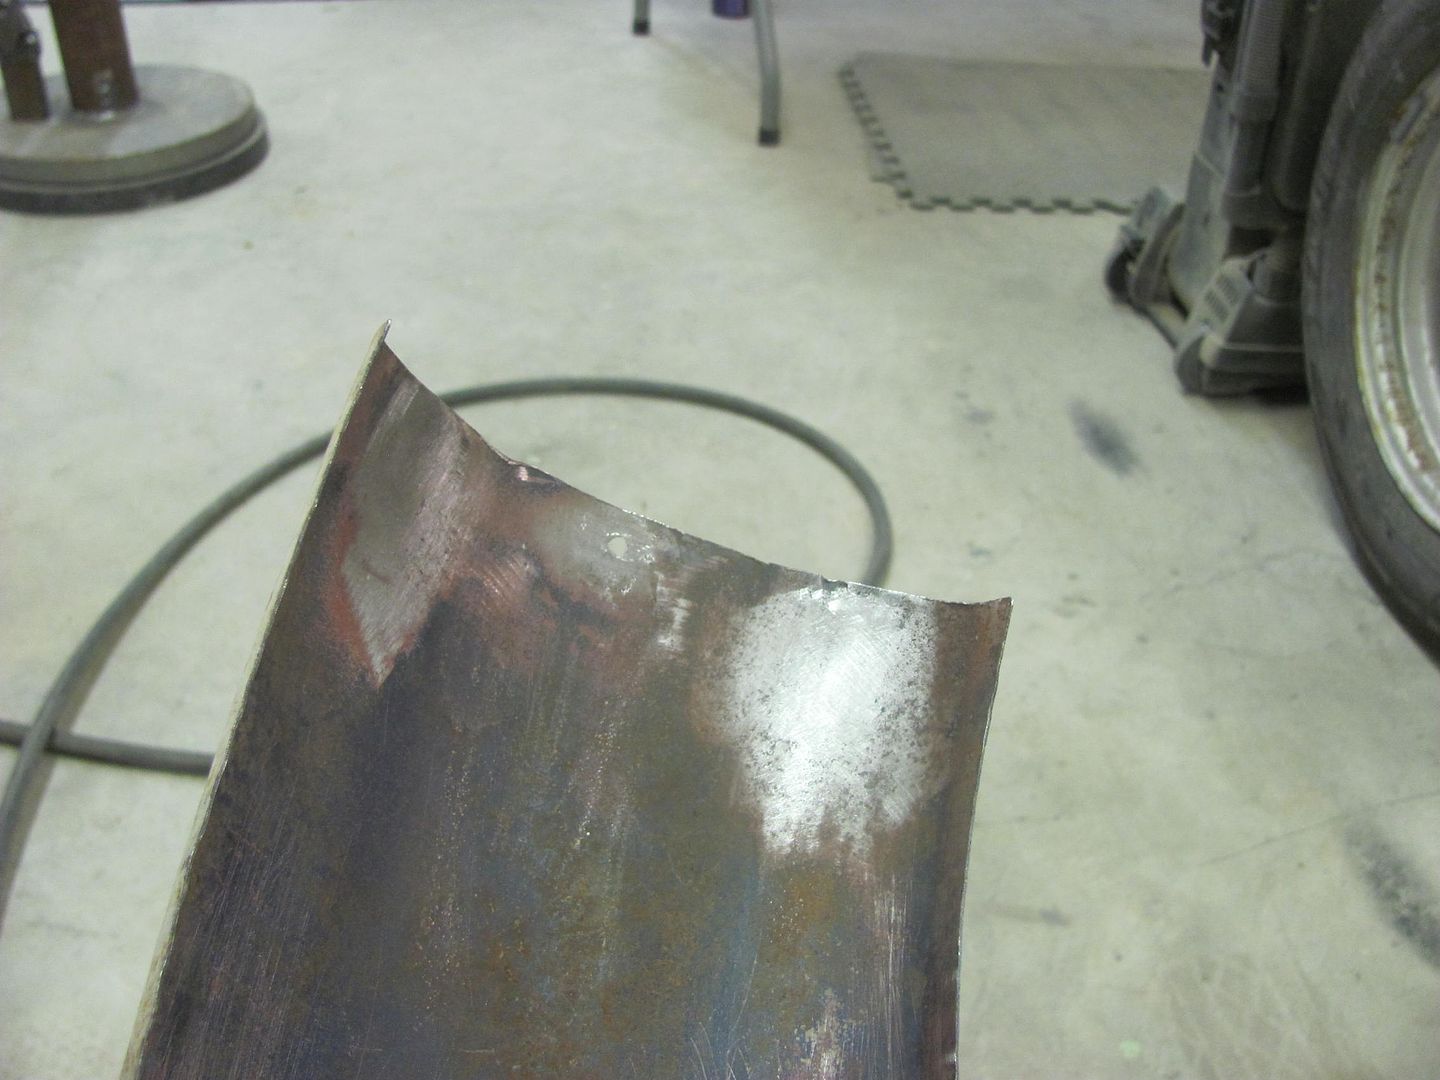
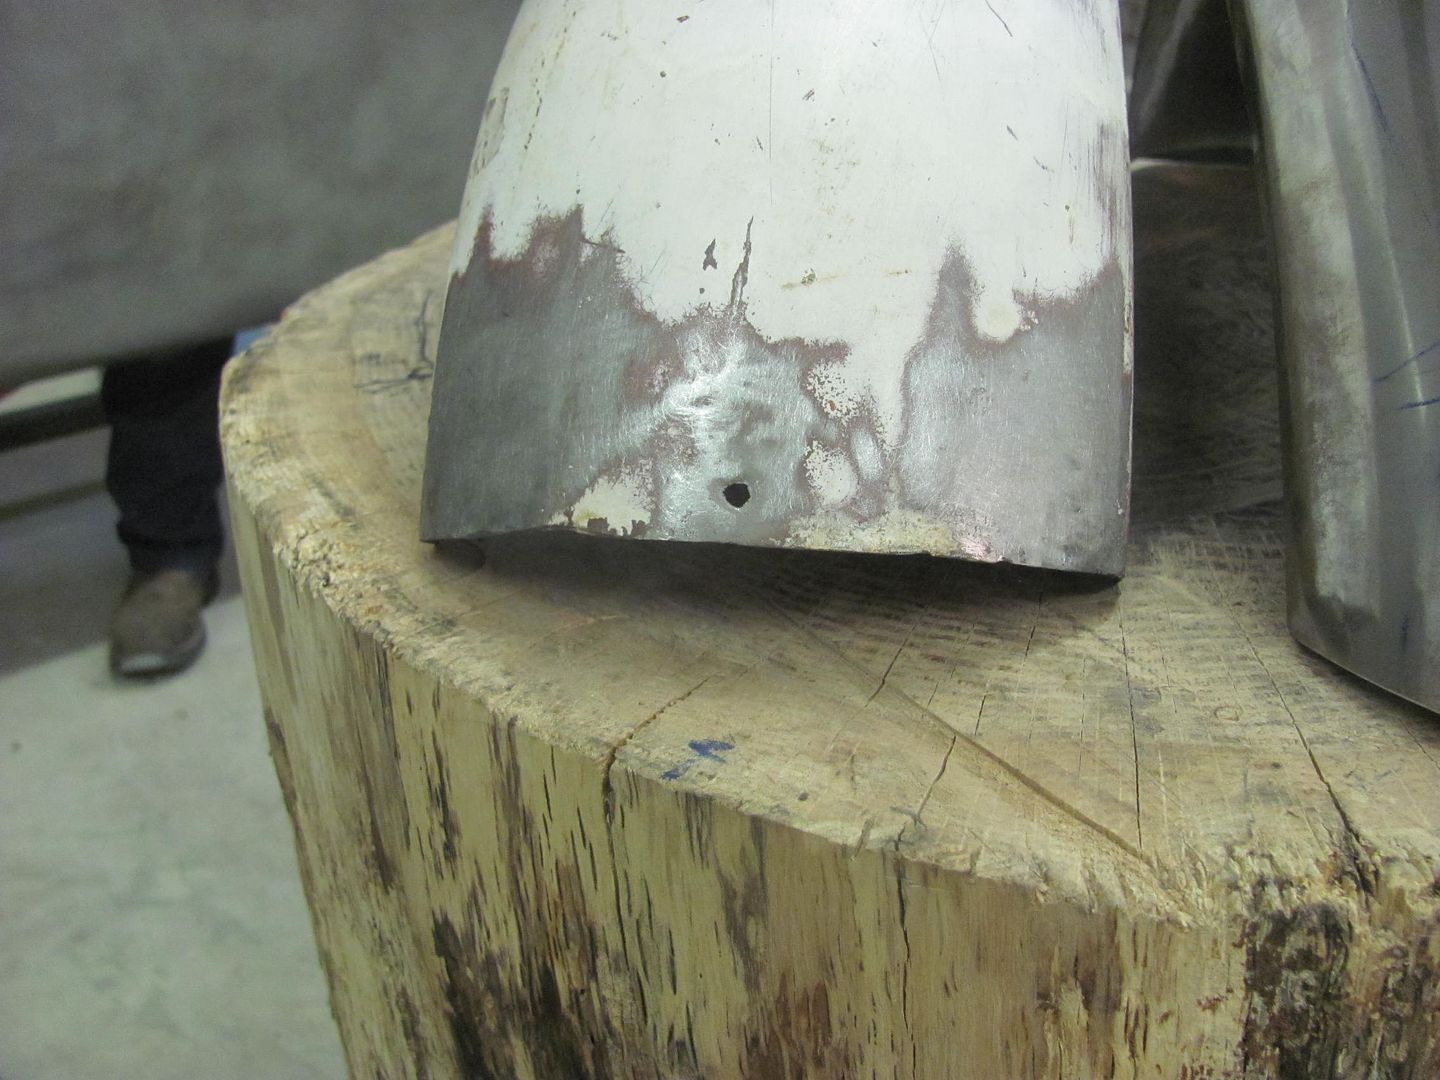
Next was to trim a nice radius on the front and back ends of the new front fender....
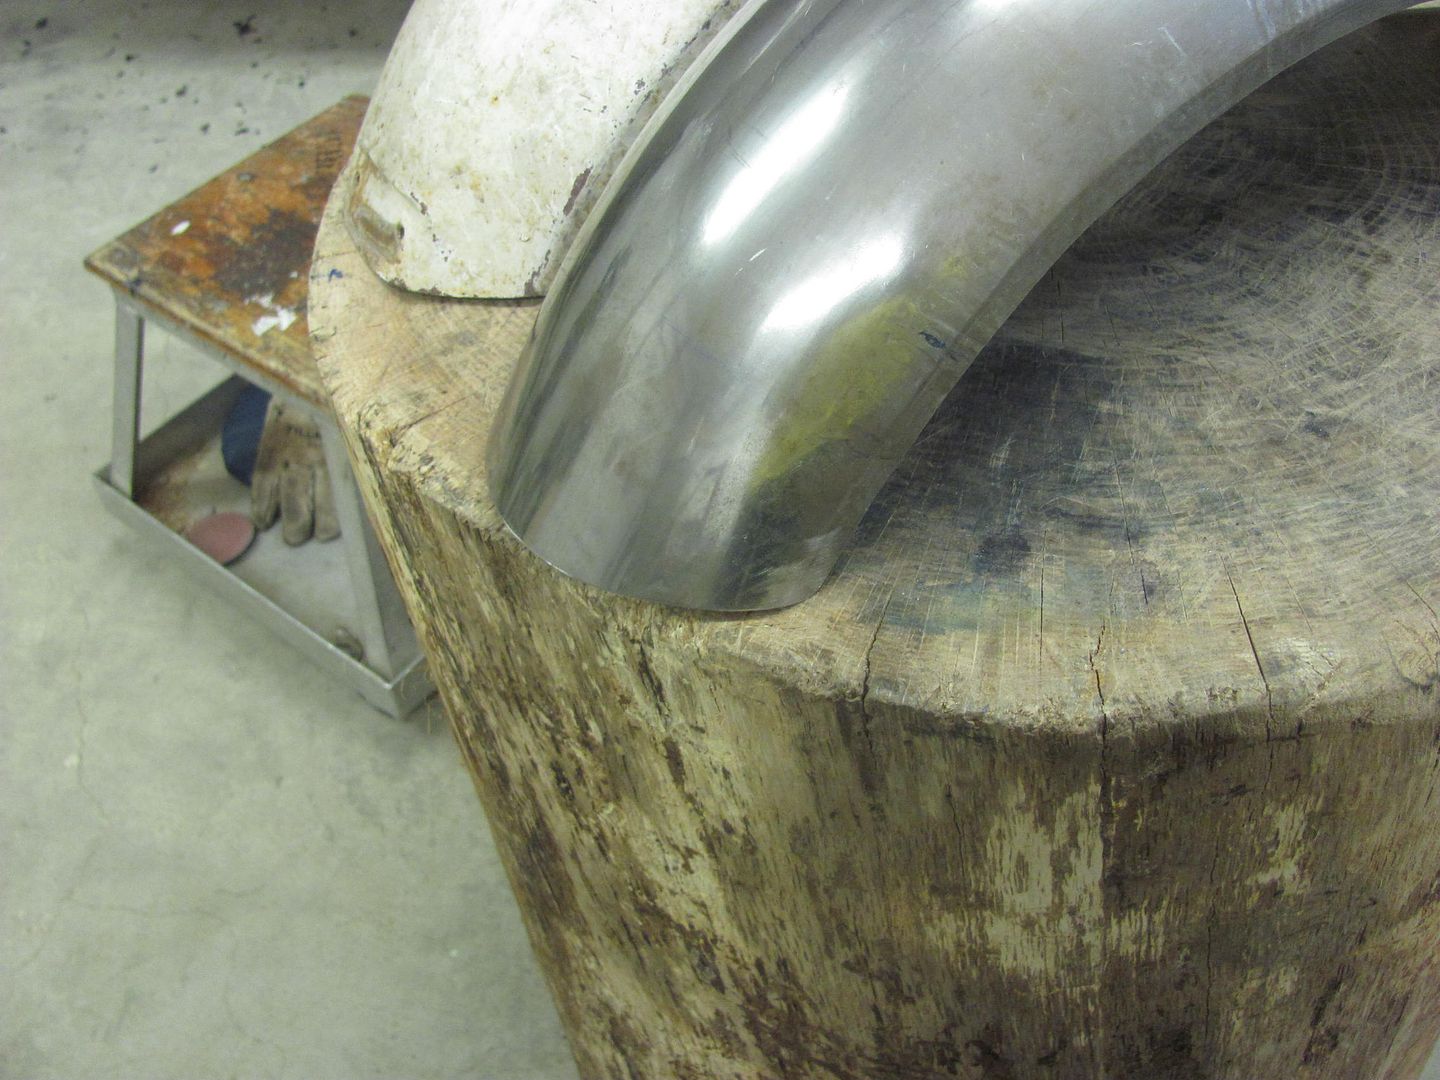
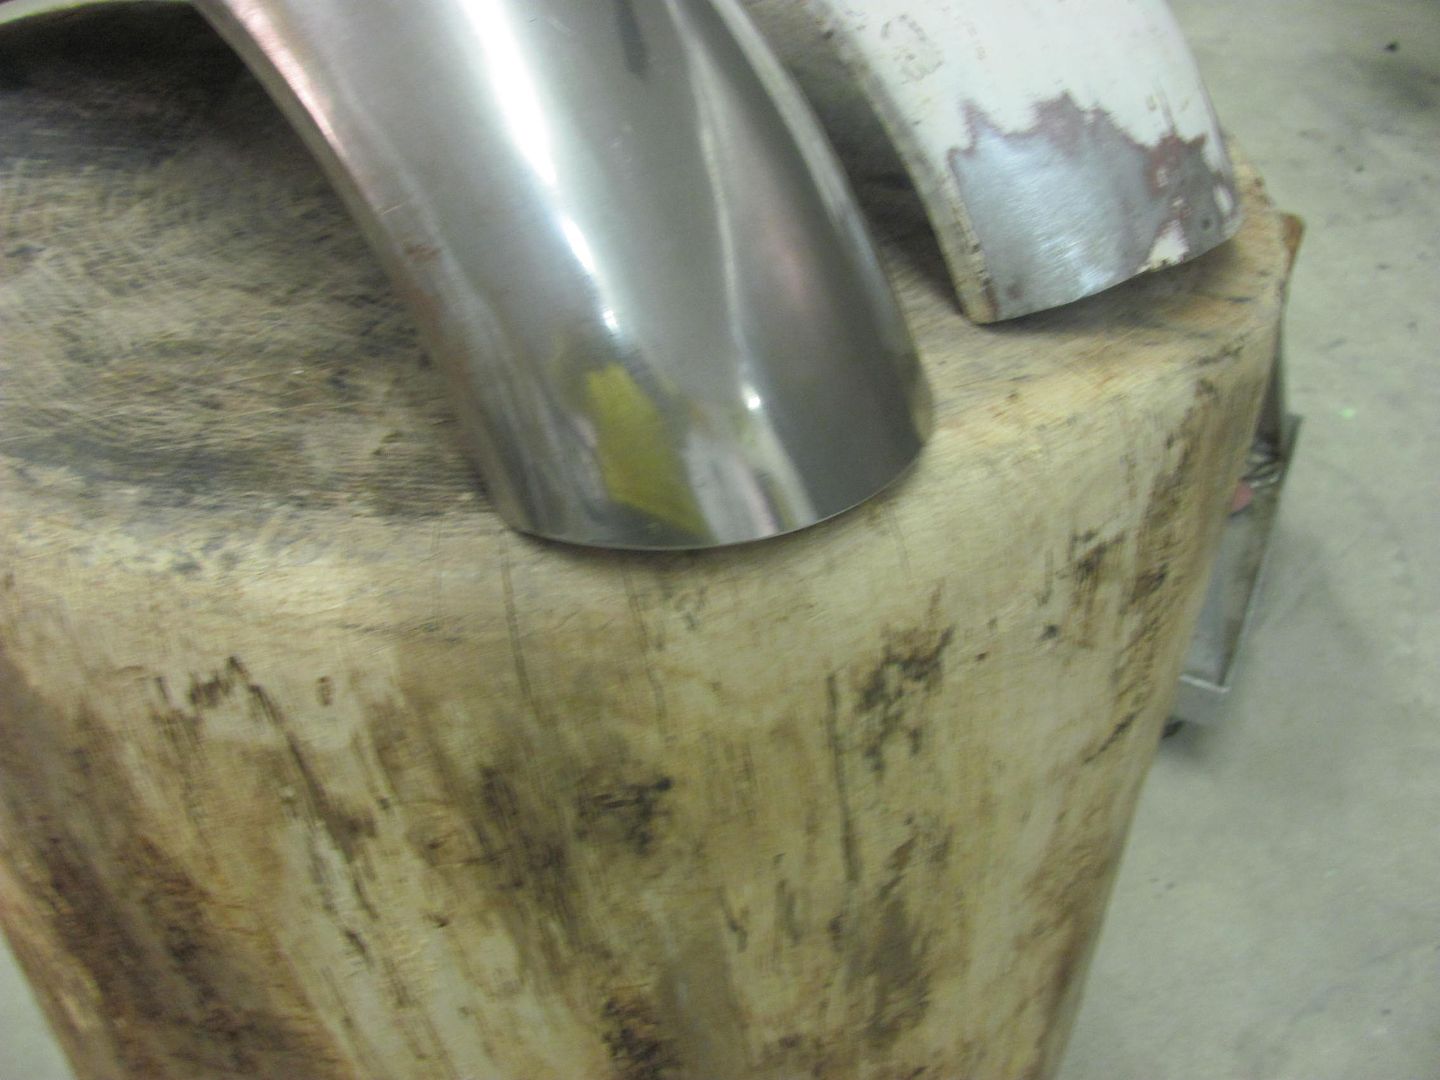
Last on the list, the forming process with the old fender left some "pie crust" edging, as seen here and in an original photo...
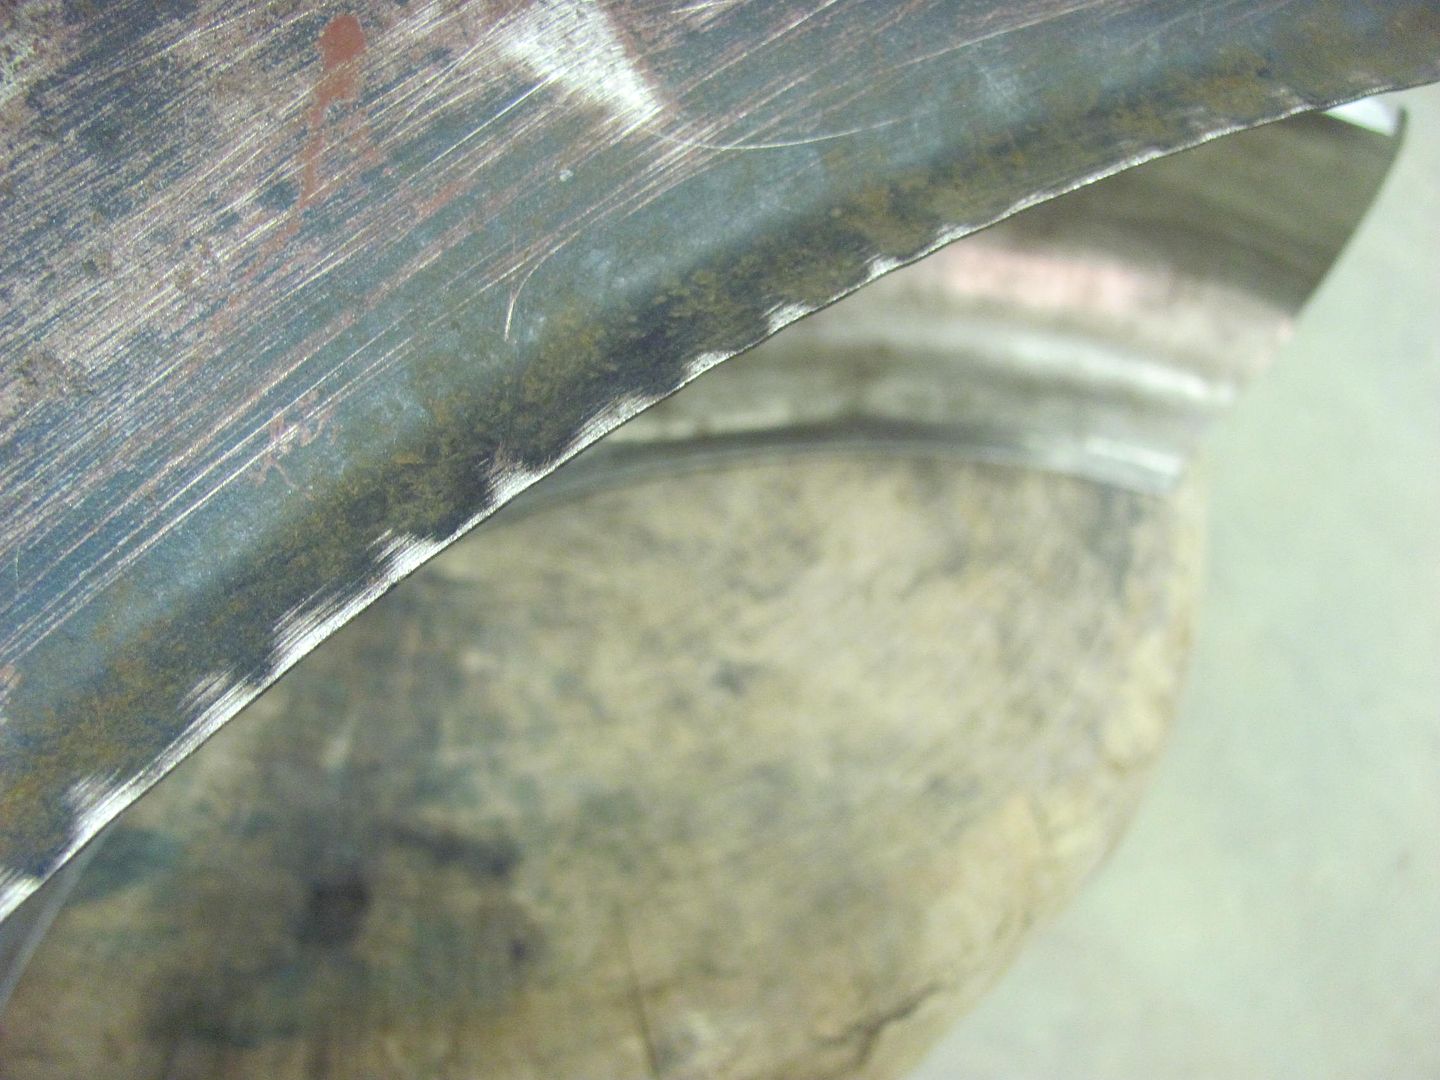
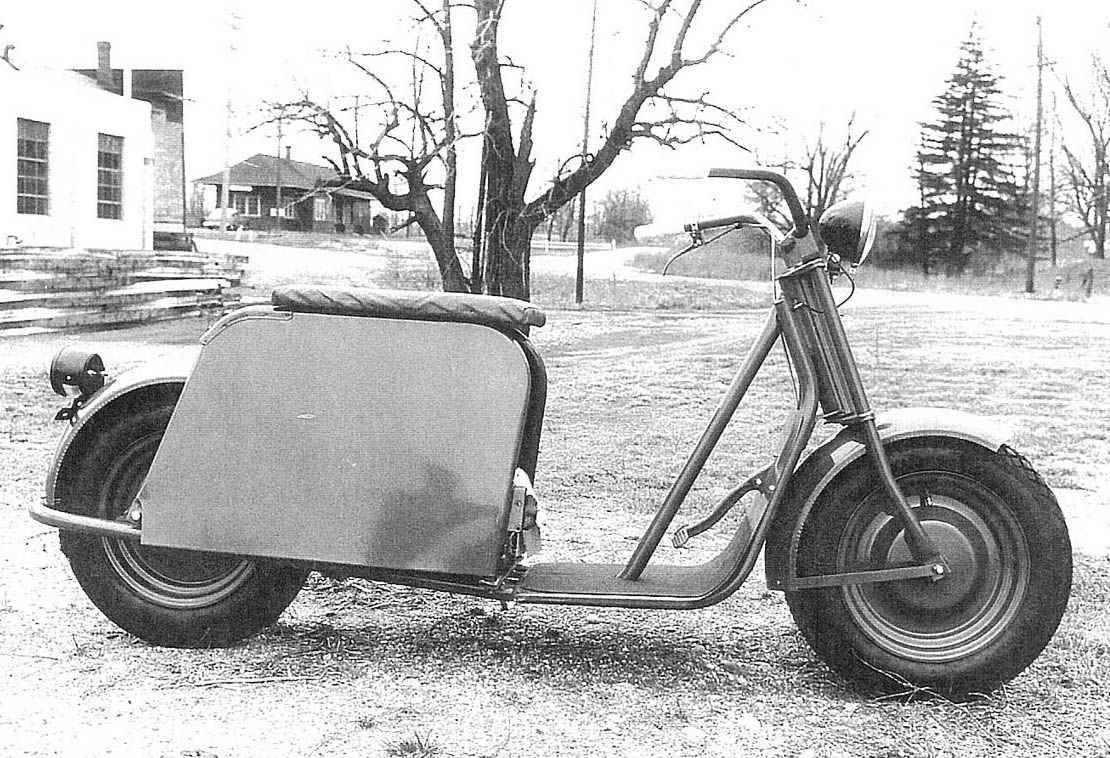
So we needed a special tool in order to duplicate this feature...
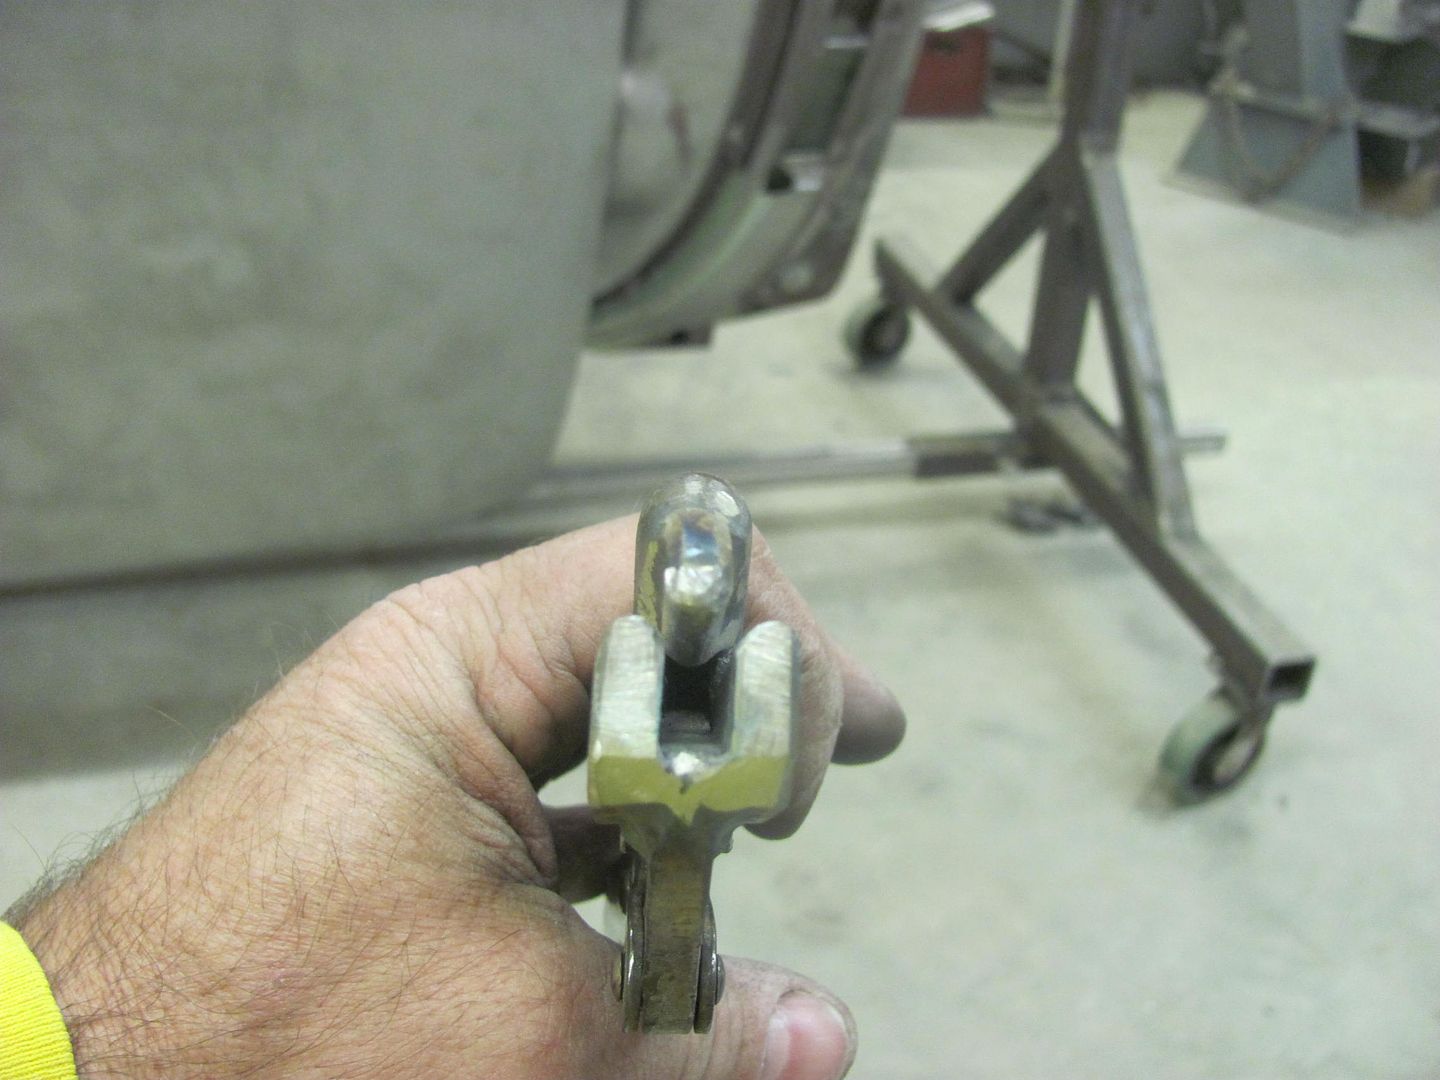
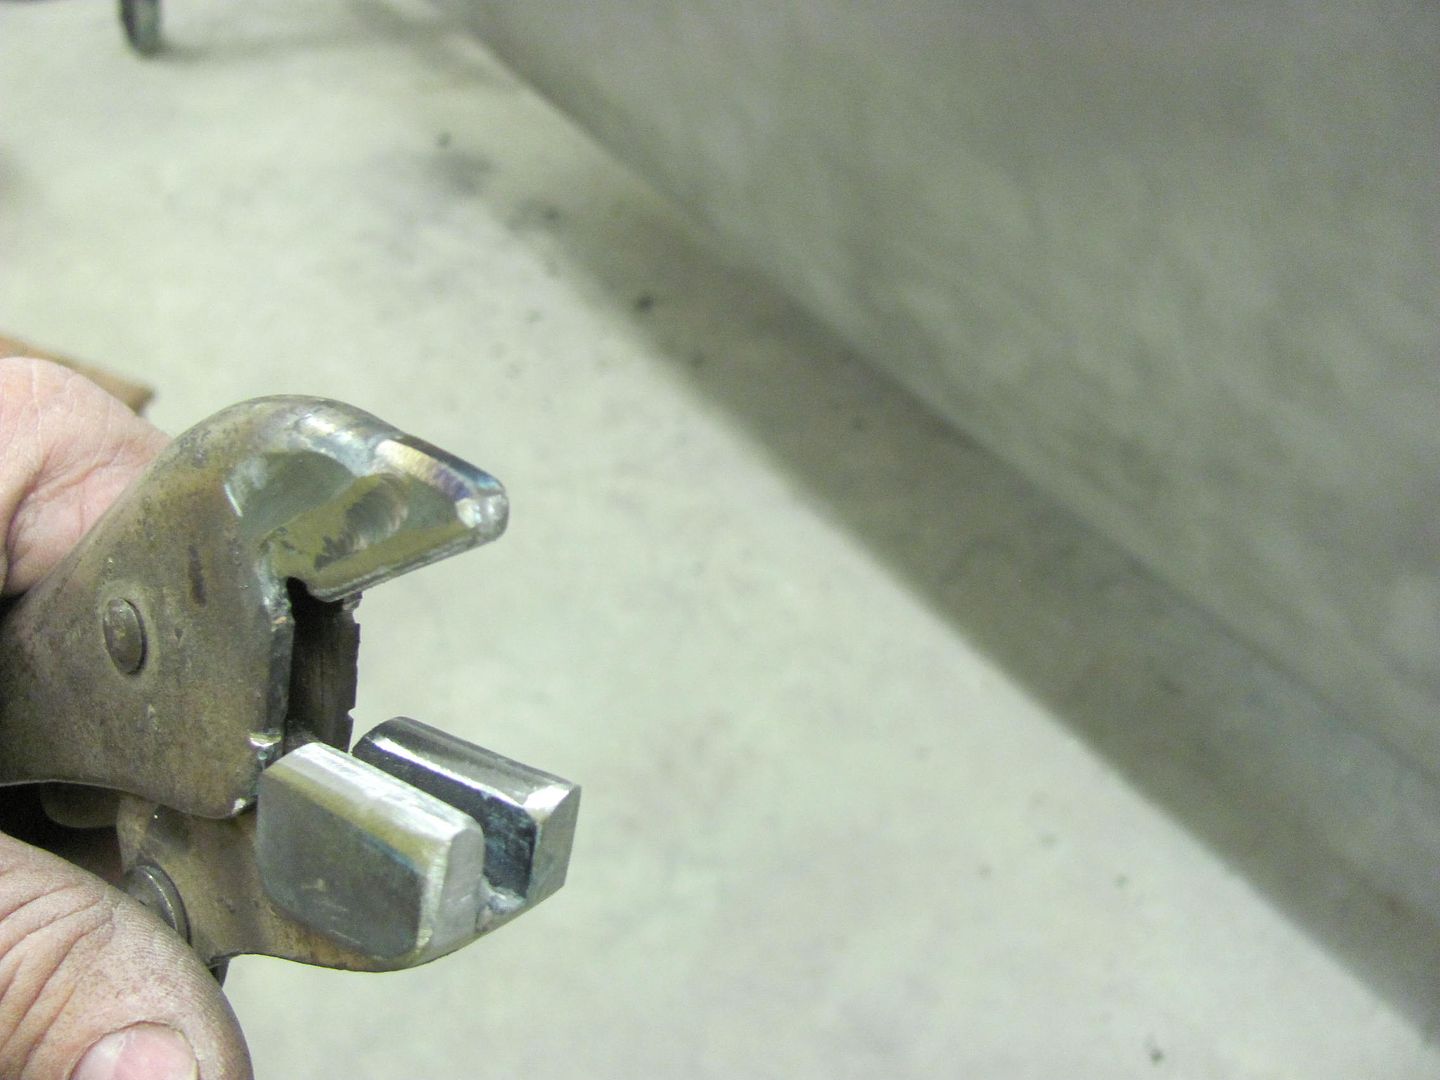
Spacing all marked out....
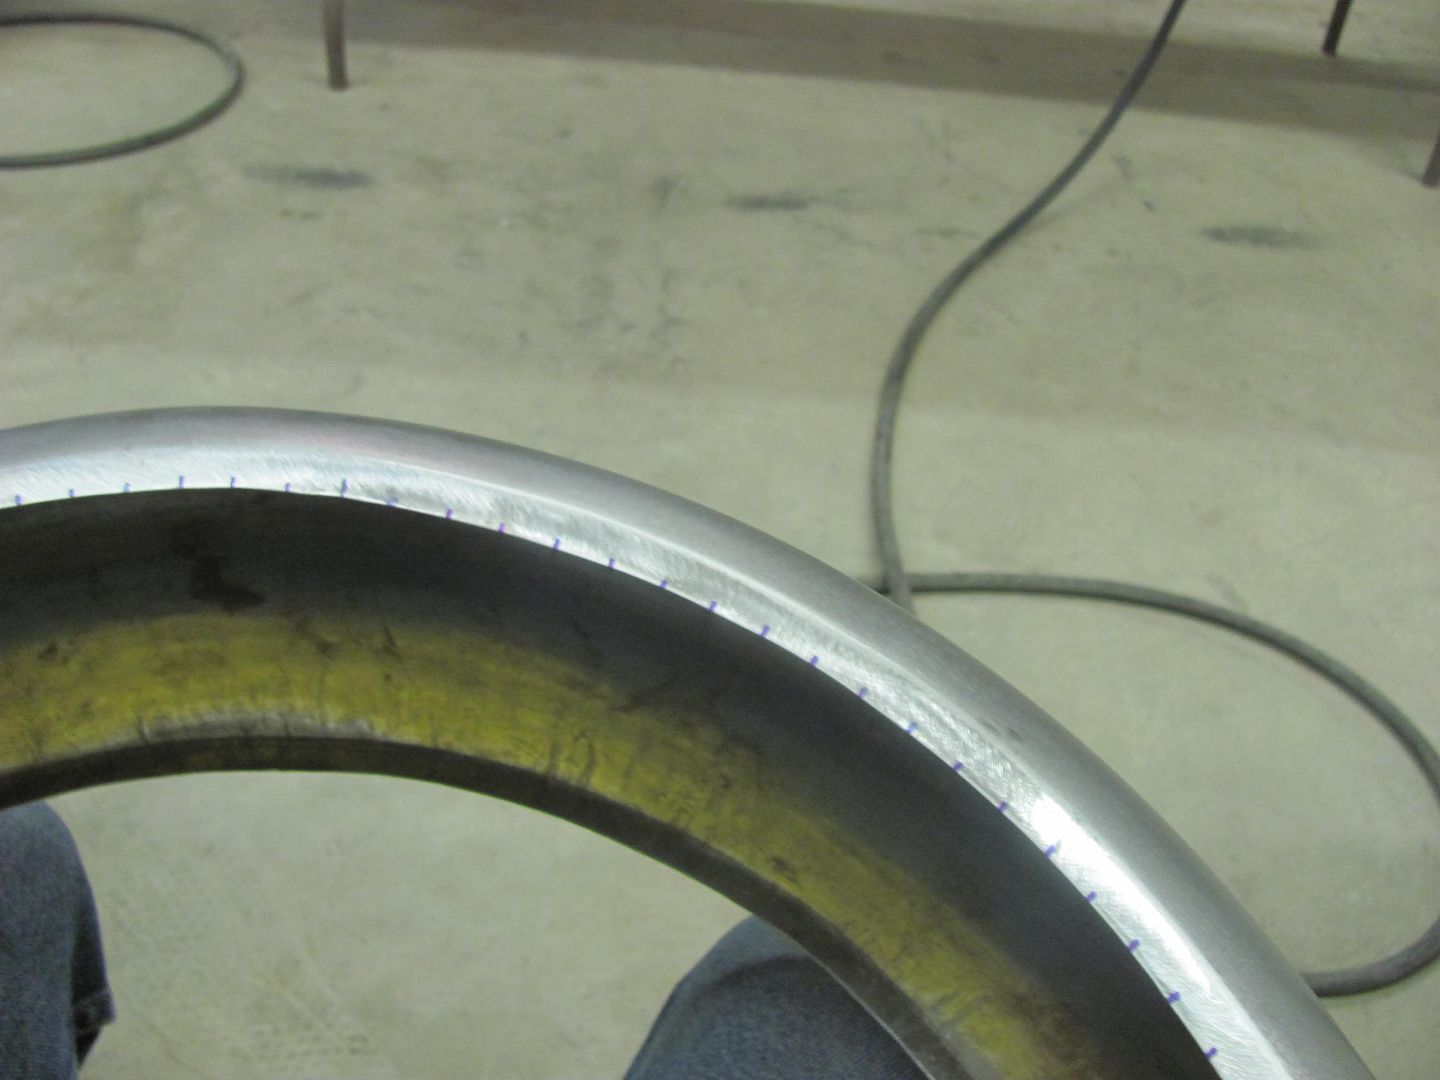
Finished edge...
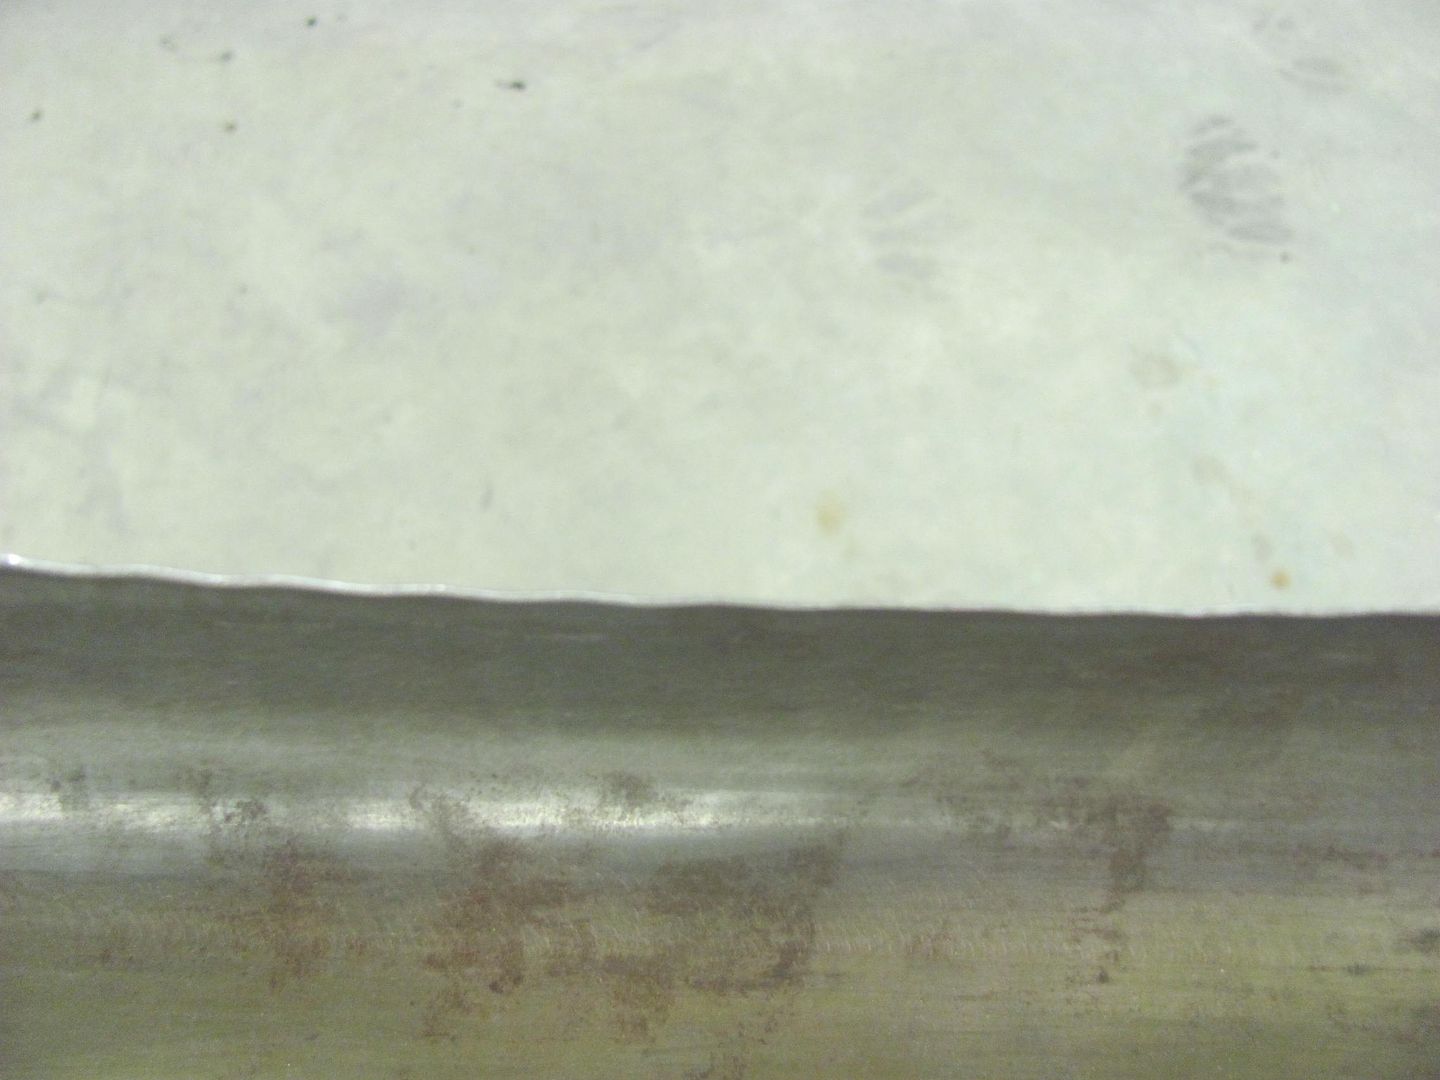
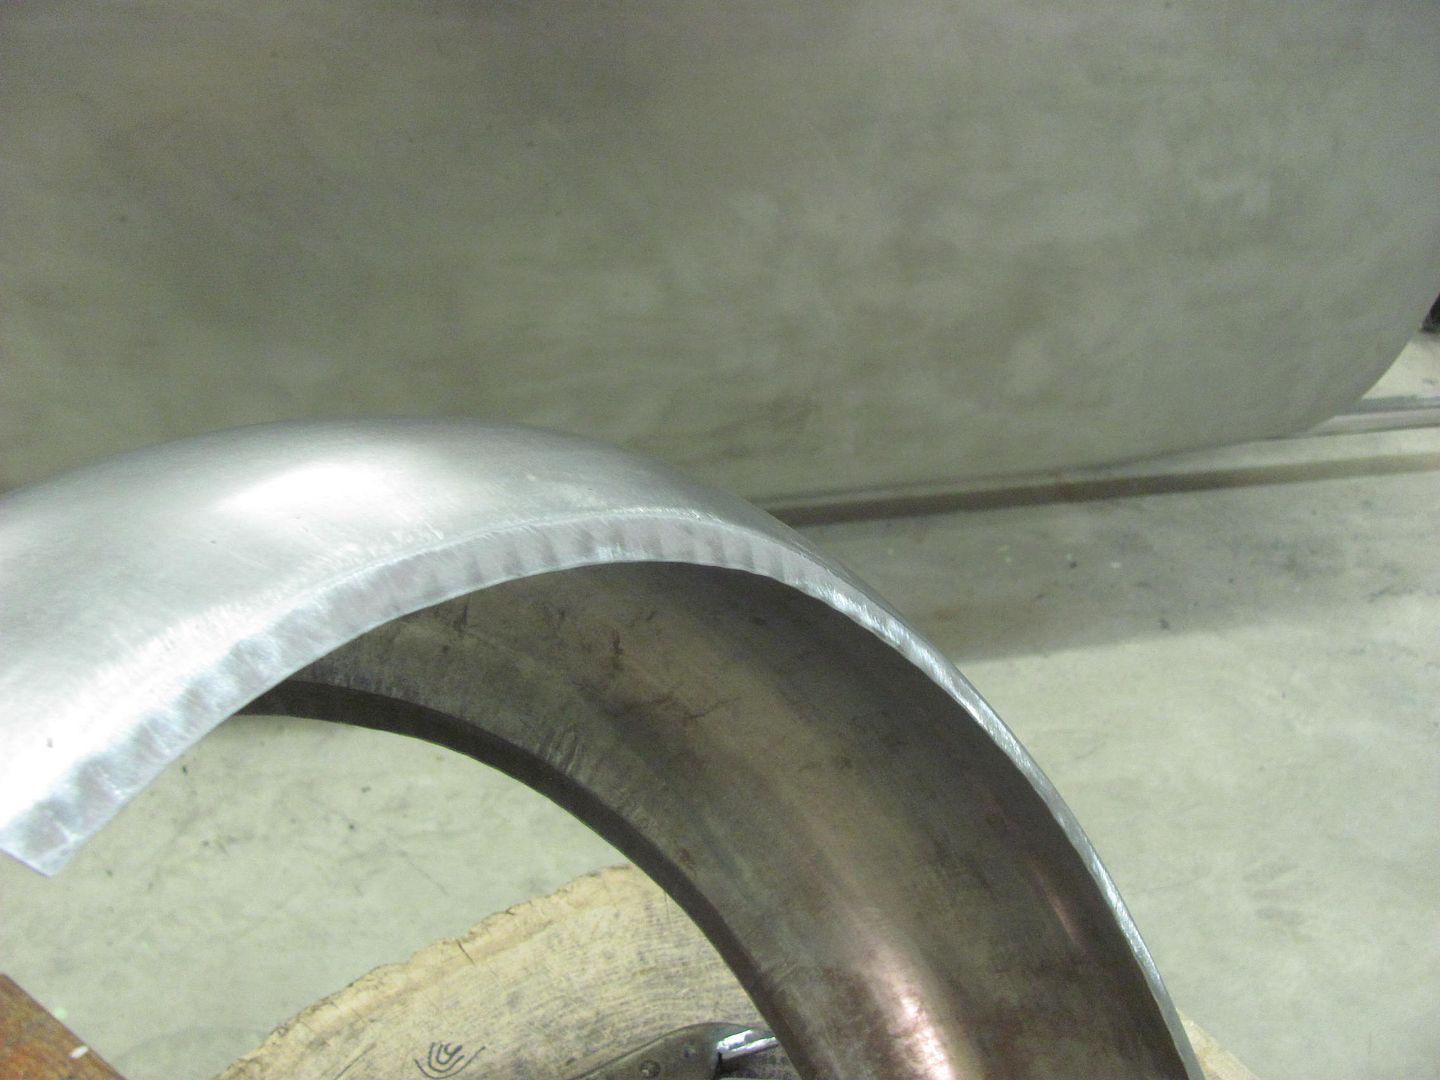
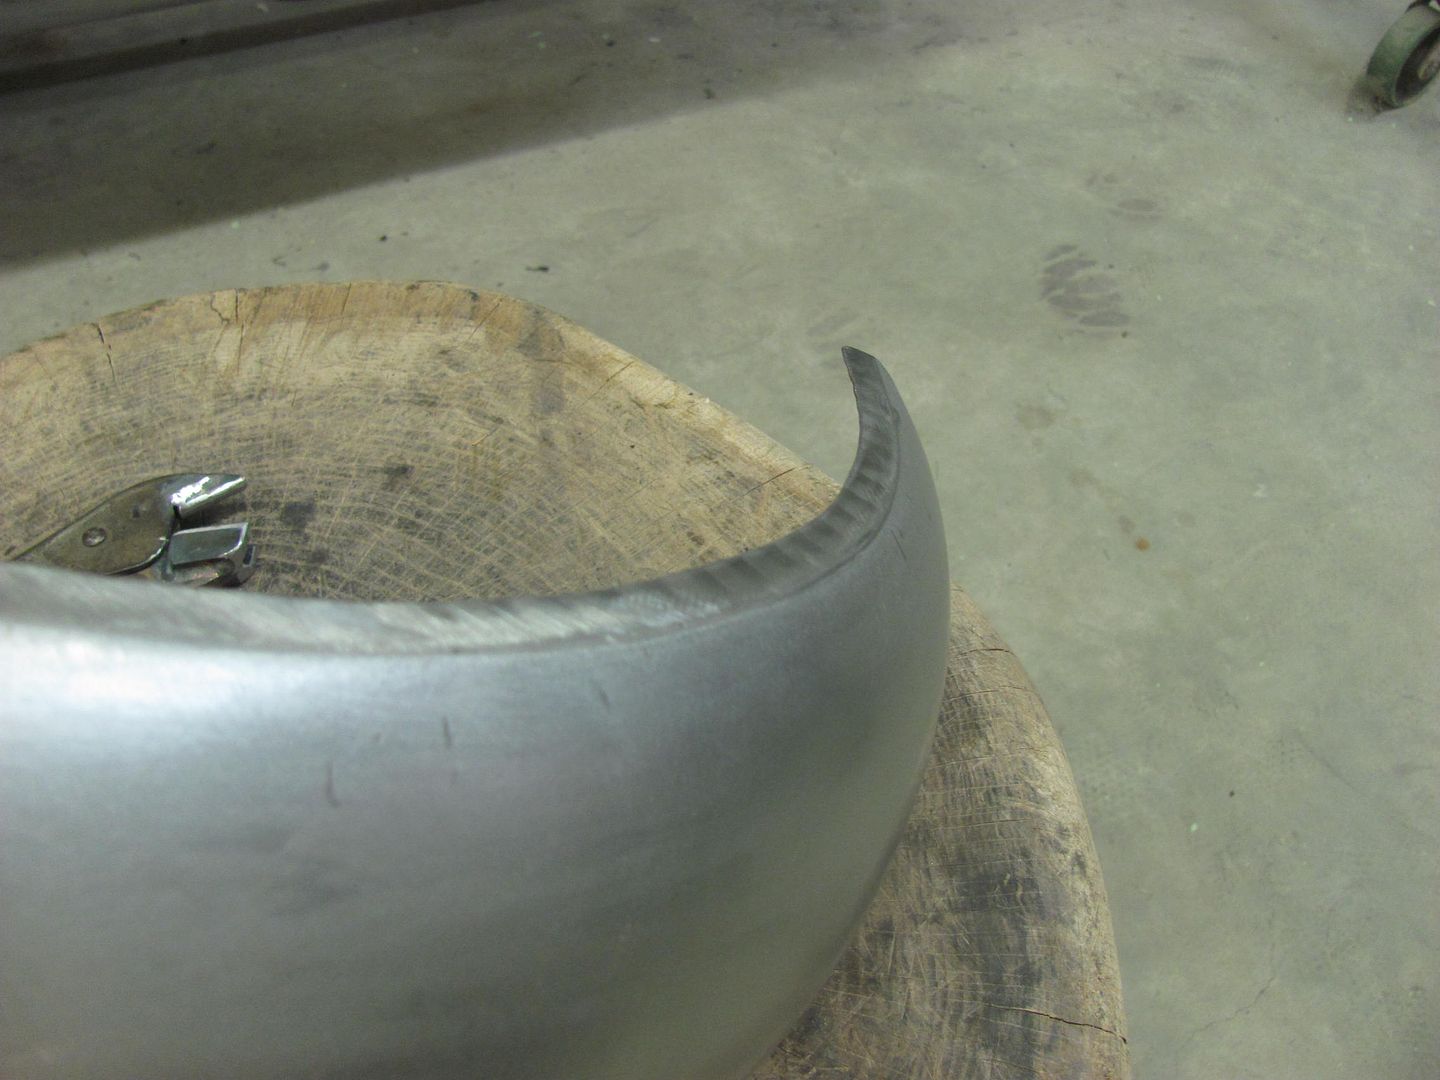
All ready for delivery!Robert
-
10-17-2015 06:47 PM #619
So cool to be able to do what you do!"  "No matter where you go, there you are!" Steve.
-
10-18-2015 04:31 AM #620
X2! Amazing to watch you guys create.
As always, thanks for sharing the pics and your knowledge.
-
10-20-2015 09:33 PM #621
Thanks!
Kyle was off tonight so I missed getting some in-process pictures.. Still cleaning up welds to get the body ready for media blasting. The rear brackets for the gas tank straps were welded in...
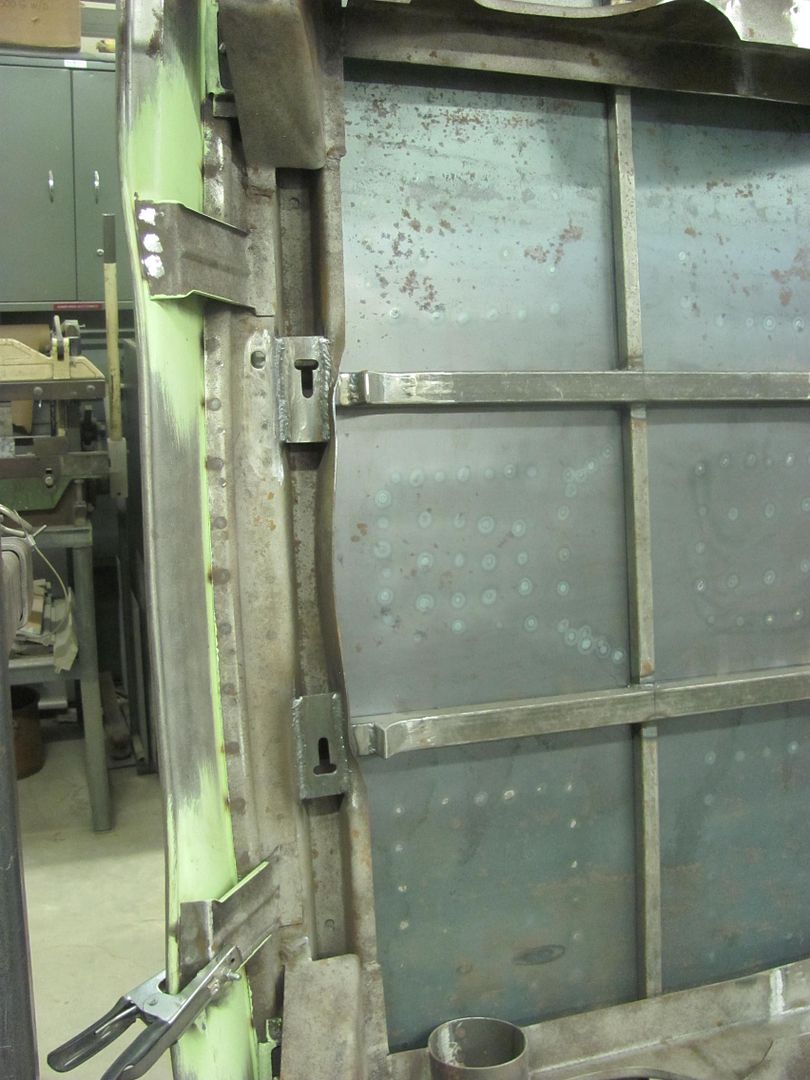
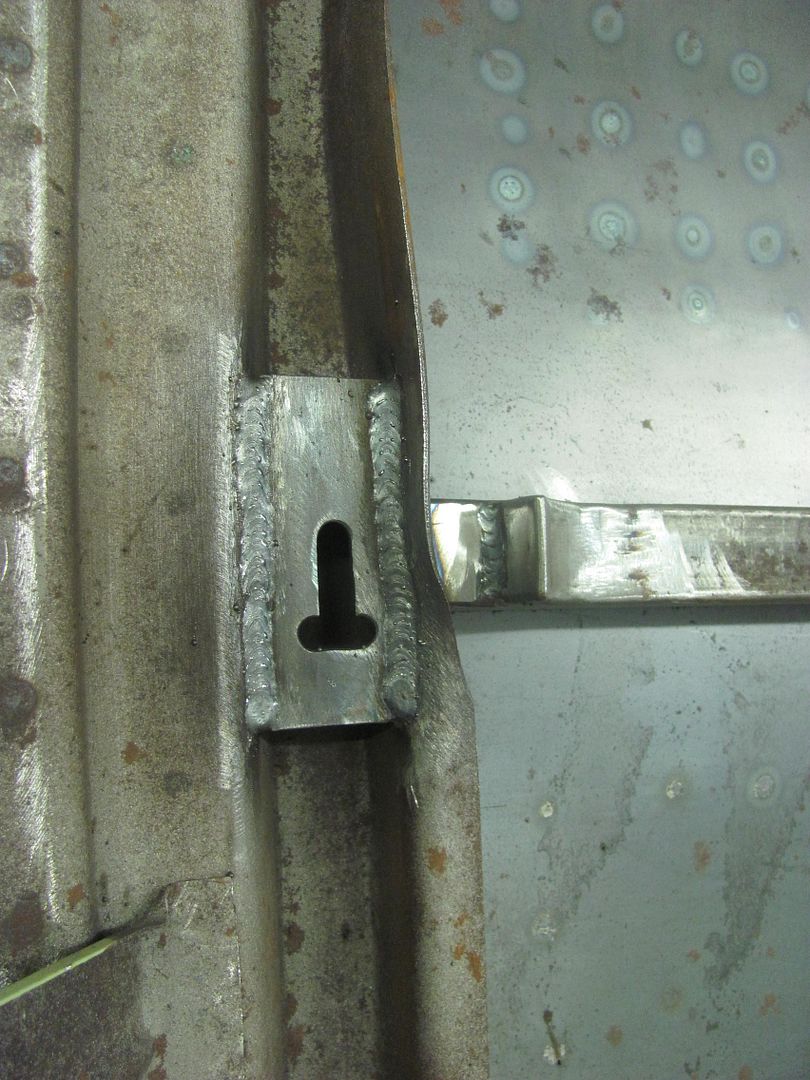
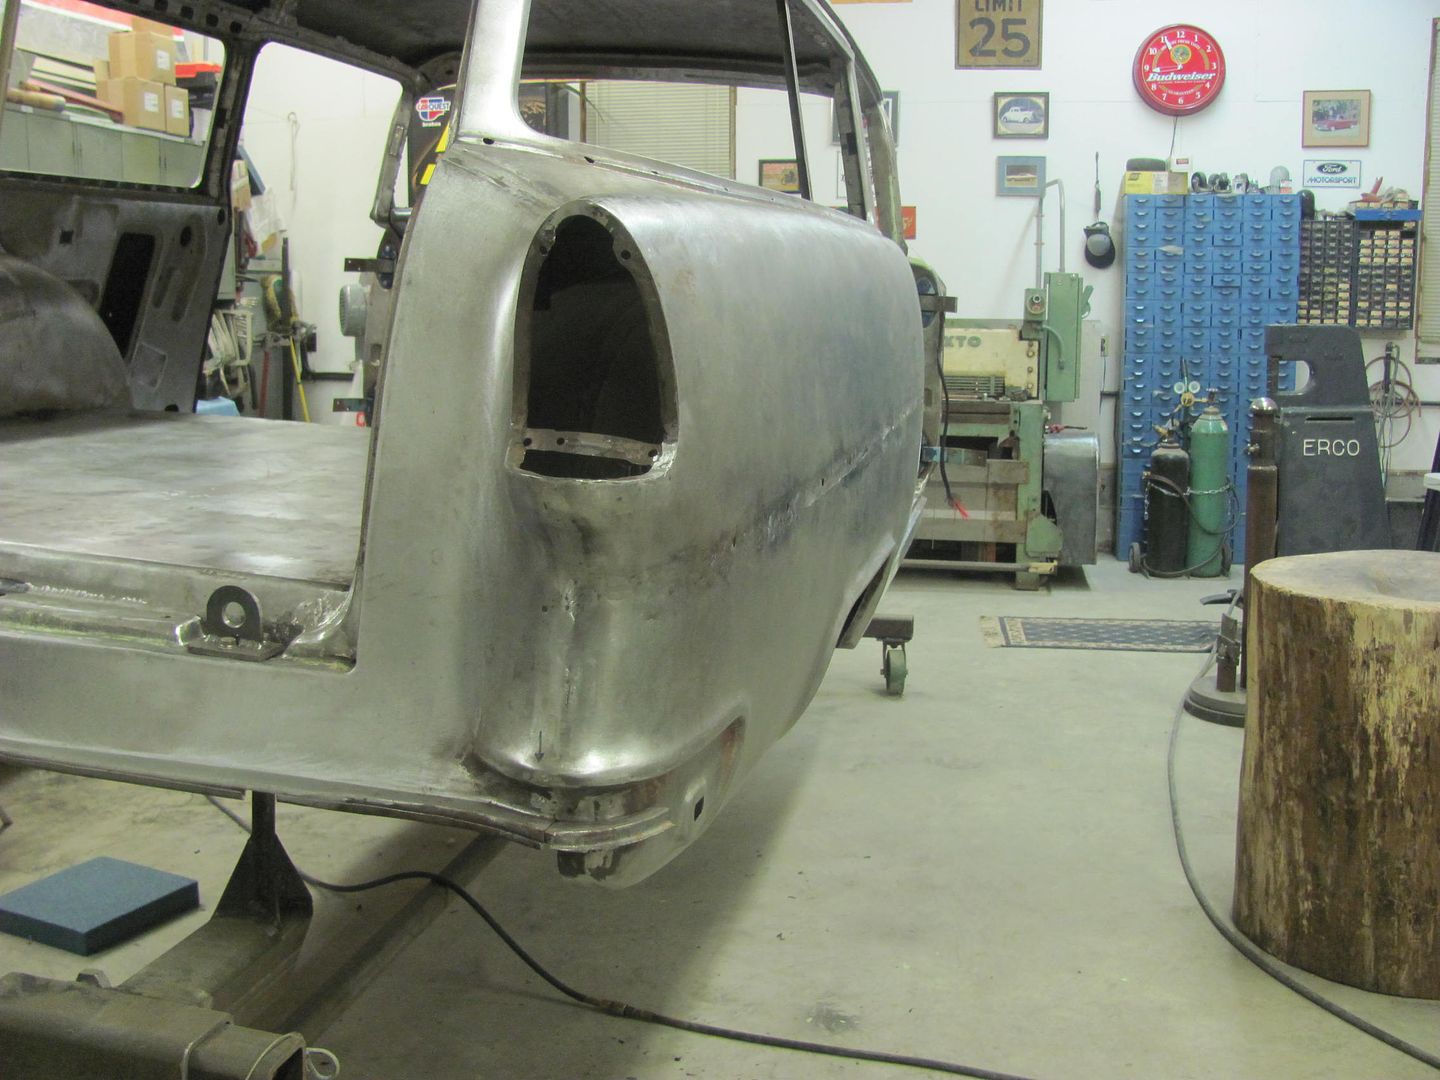
I also worked on the passenger quarter this evening. One of the biggest problems with welding a horizontal seam down through the middle of the quarter on a car is the tendency for the seam to cave inwards.. I had some help this evening using the Watervliet hammer and a 24" radius die..
Still have some highs and lows to address, but the weld seam is back out close to where it should be, and the Atlantic Ocean has calmed quite a bit..
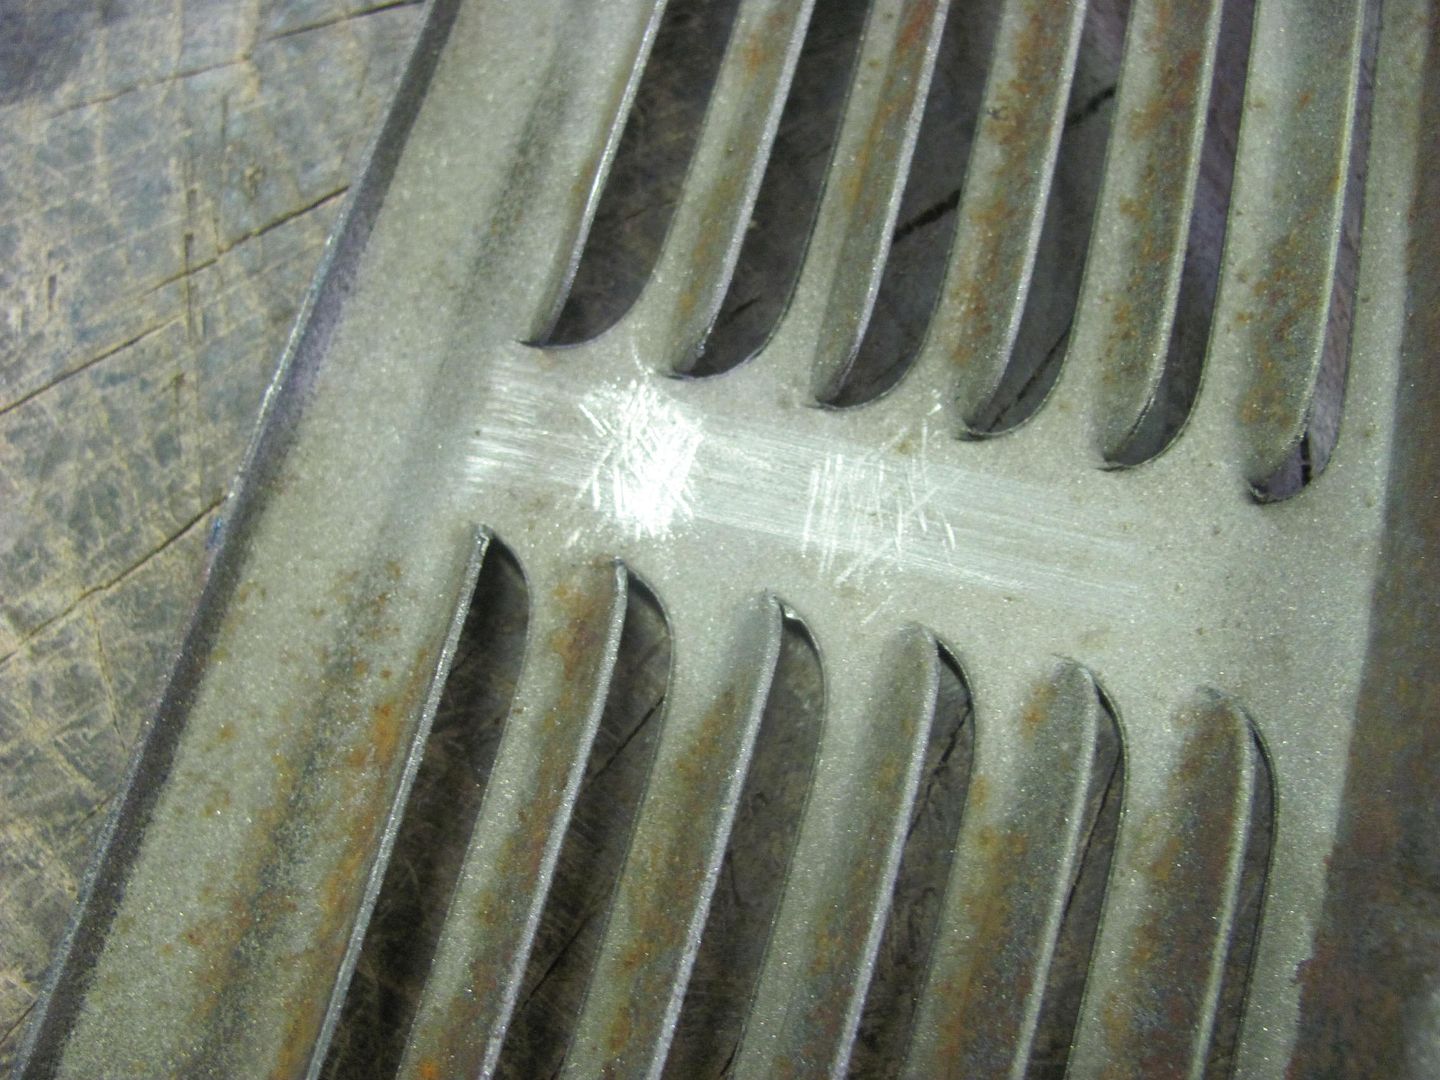
Next was to remove some creases in the cowl vent, seen here...
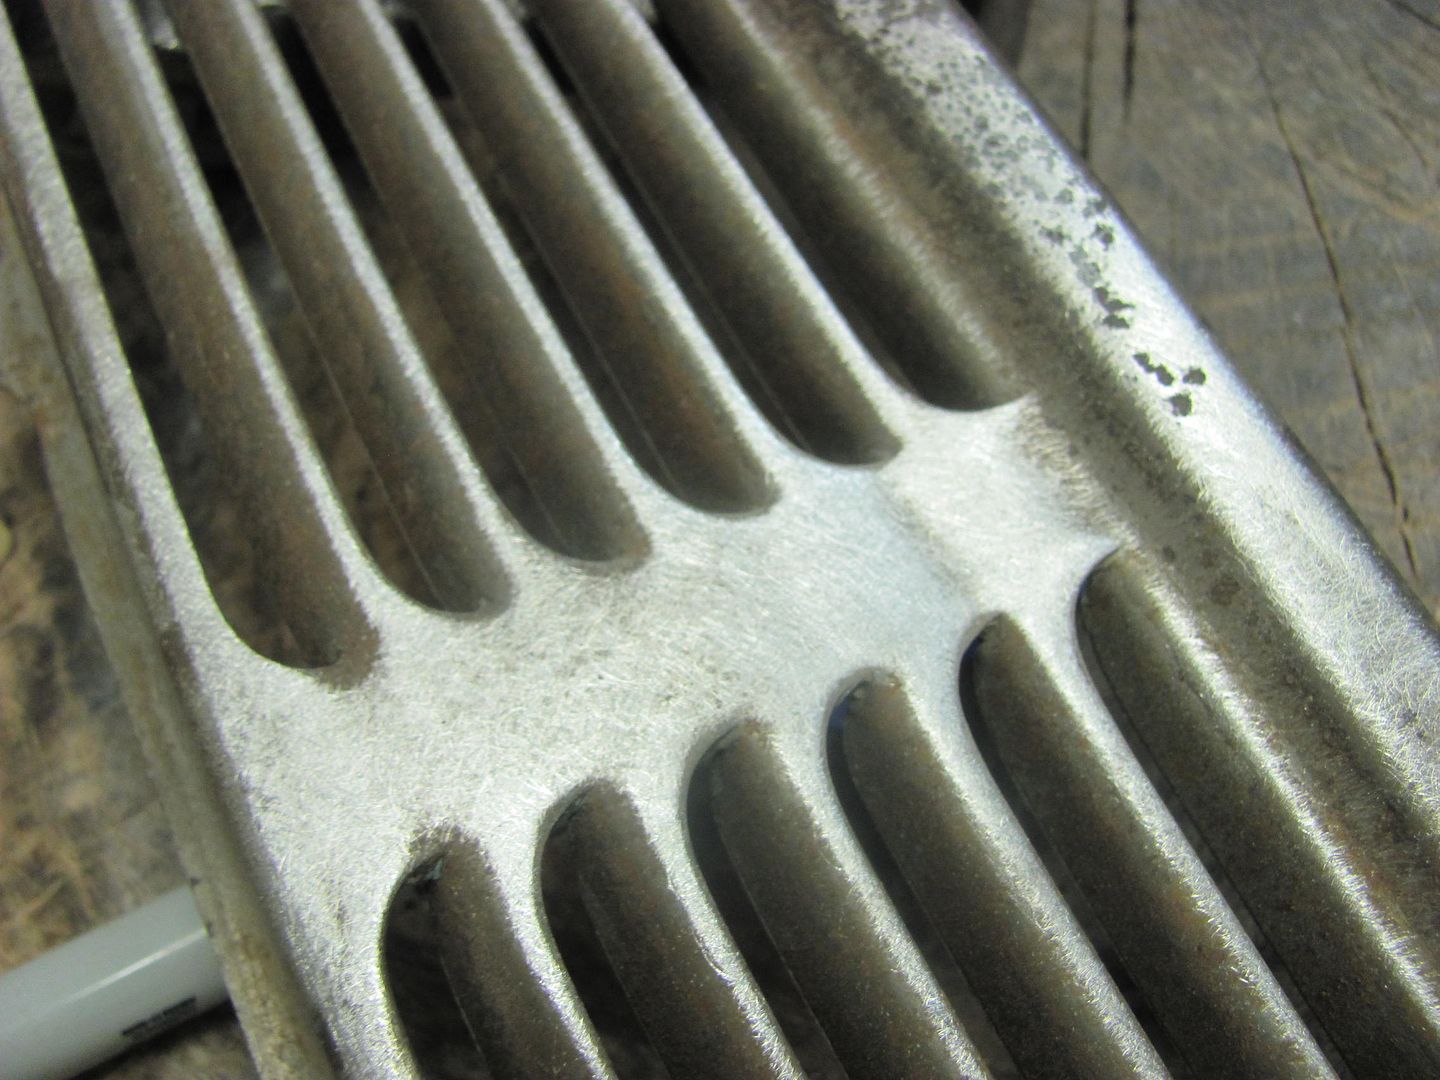
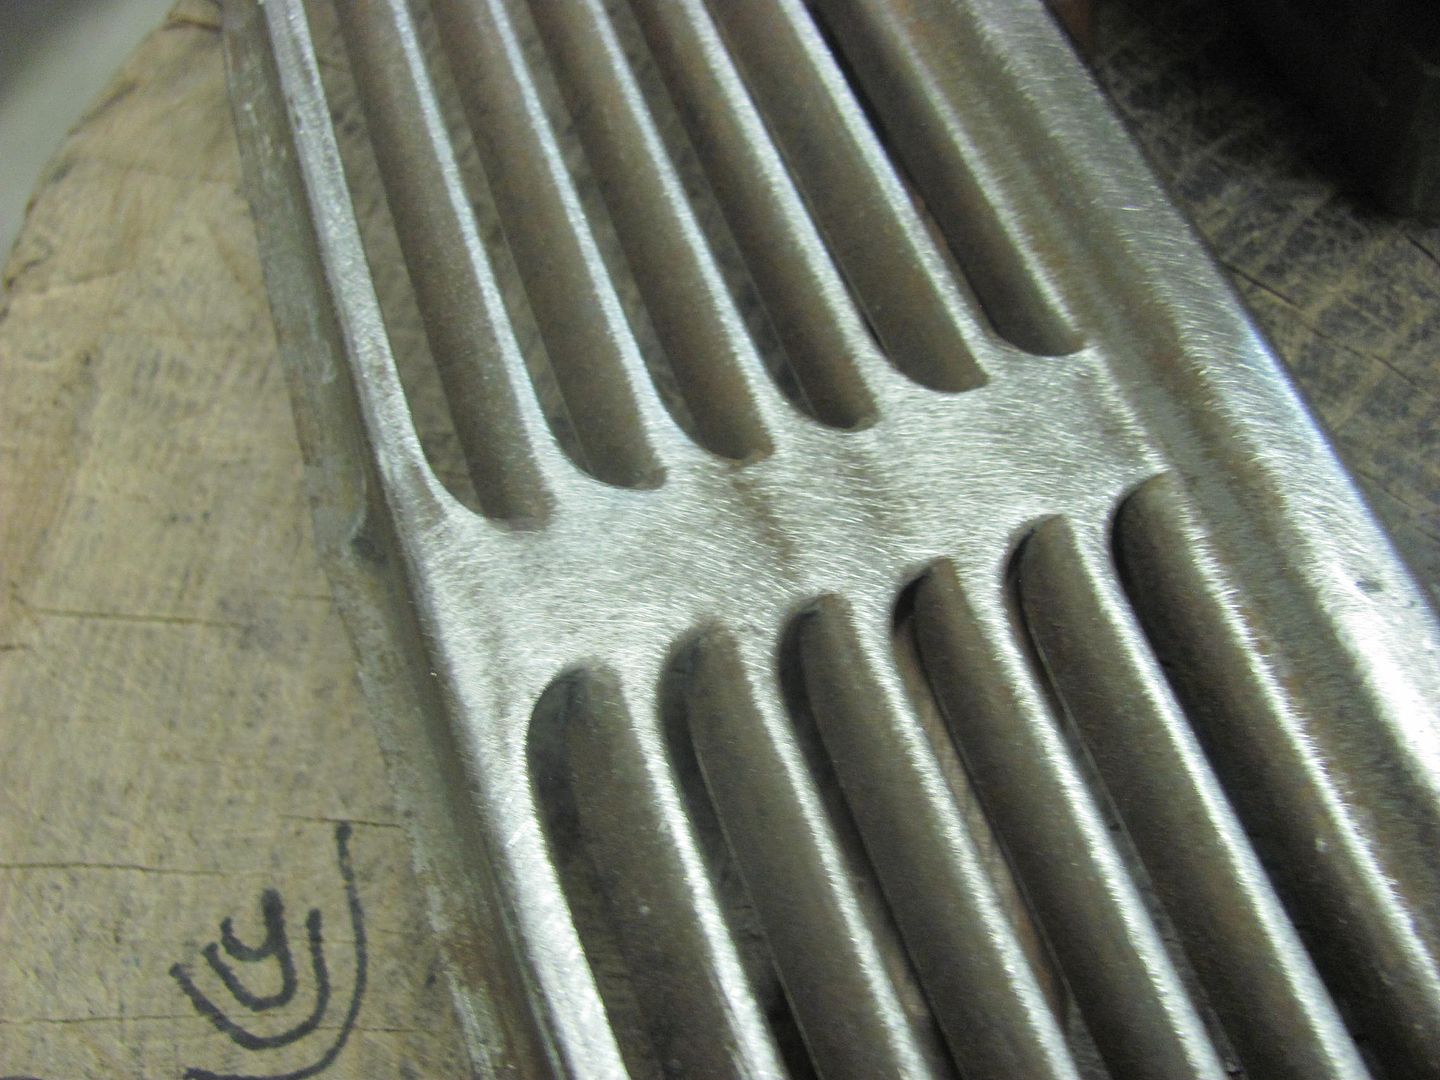
Looks like someone may have kneeled on it at some point in the last 60 years. I've found the easy way to "highlight" an area like this in need of repair is to use a piece of 80 grit on the back side:
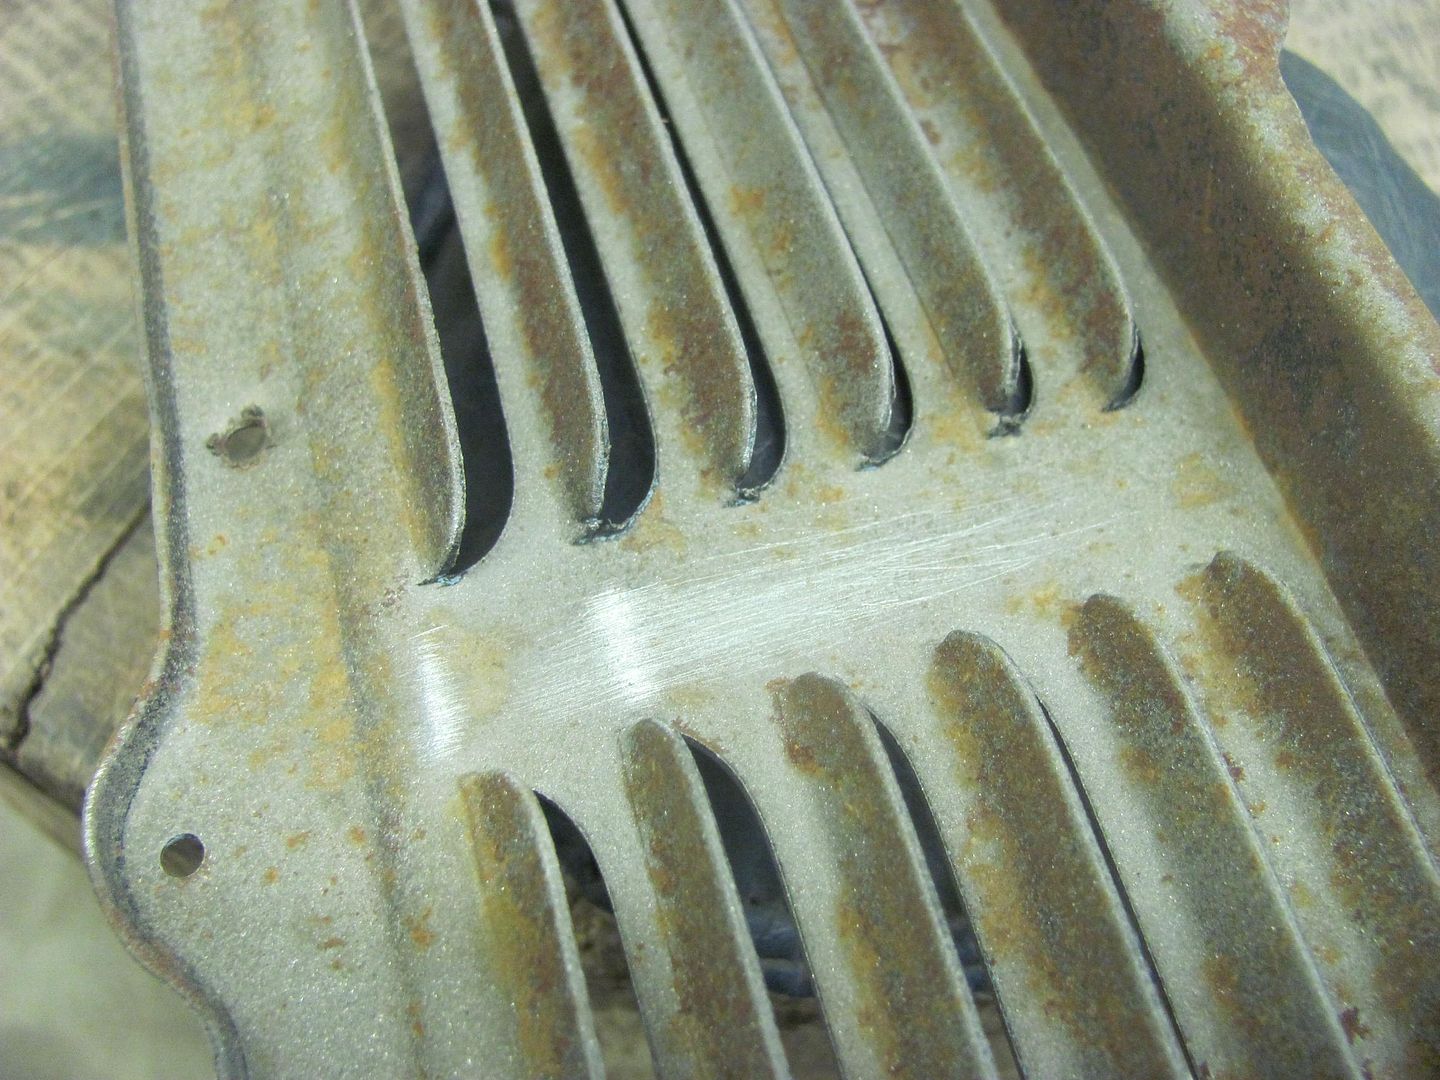
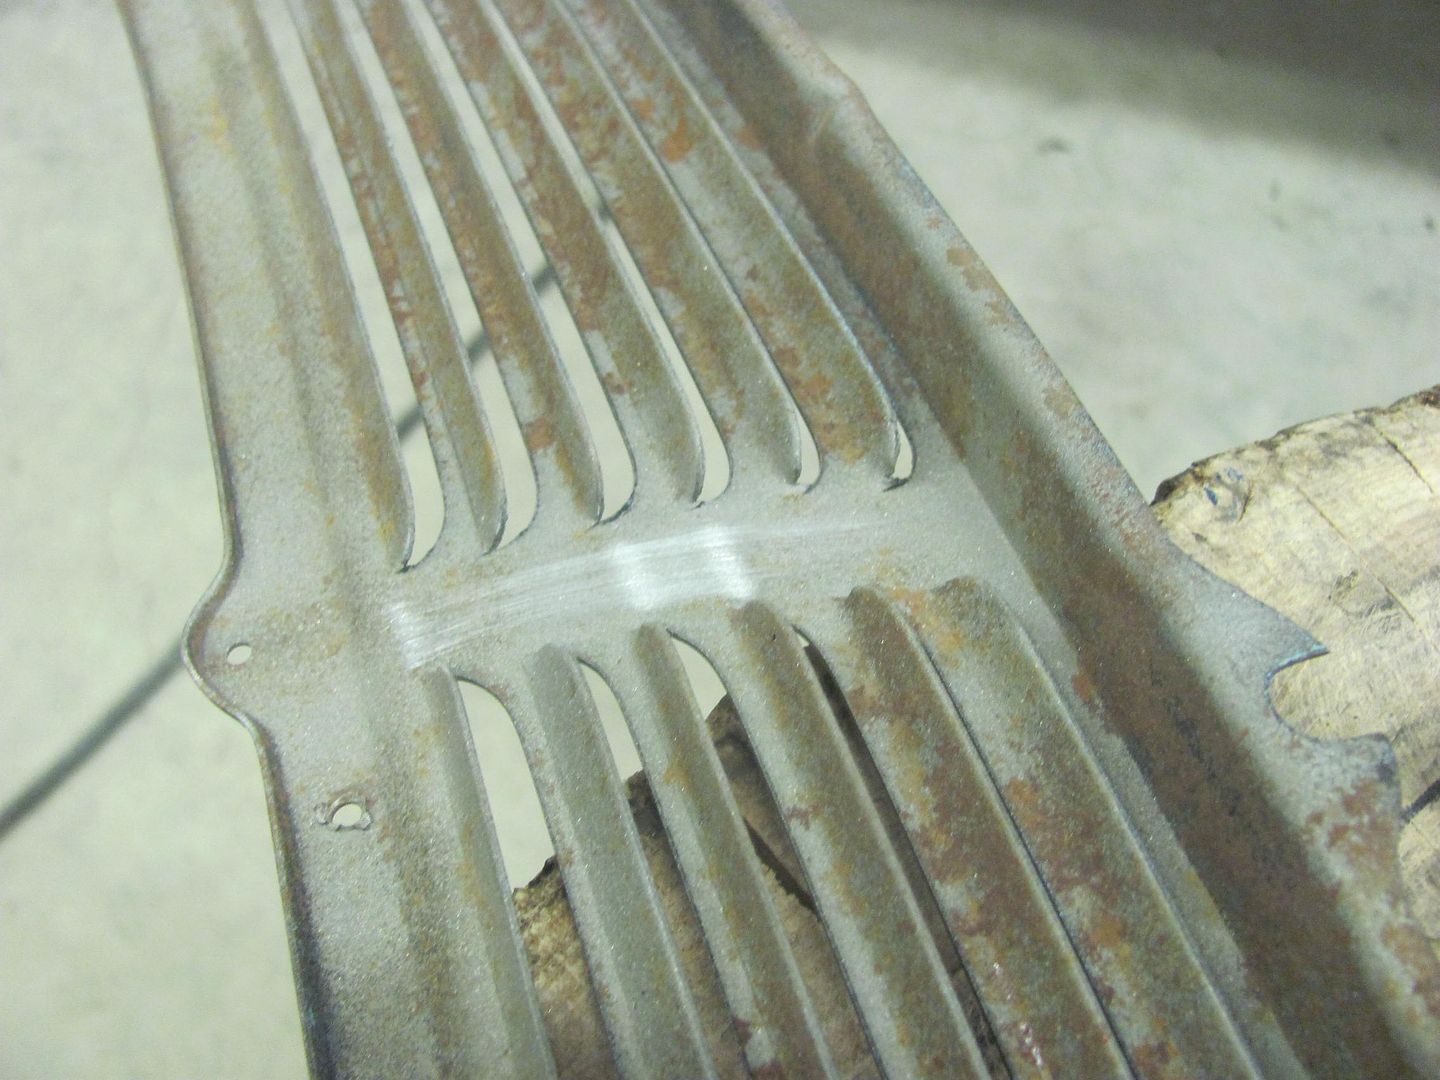
Got the creases out using the body hammer with the chisel tip, and forgot to get the finished pictures. Next time...Robert
-
10-22-2015 08:45 PM #622
Here's the top side of the cowl vent.....
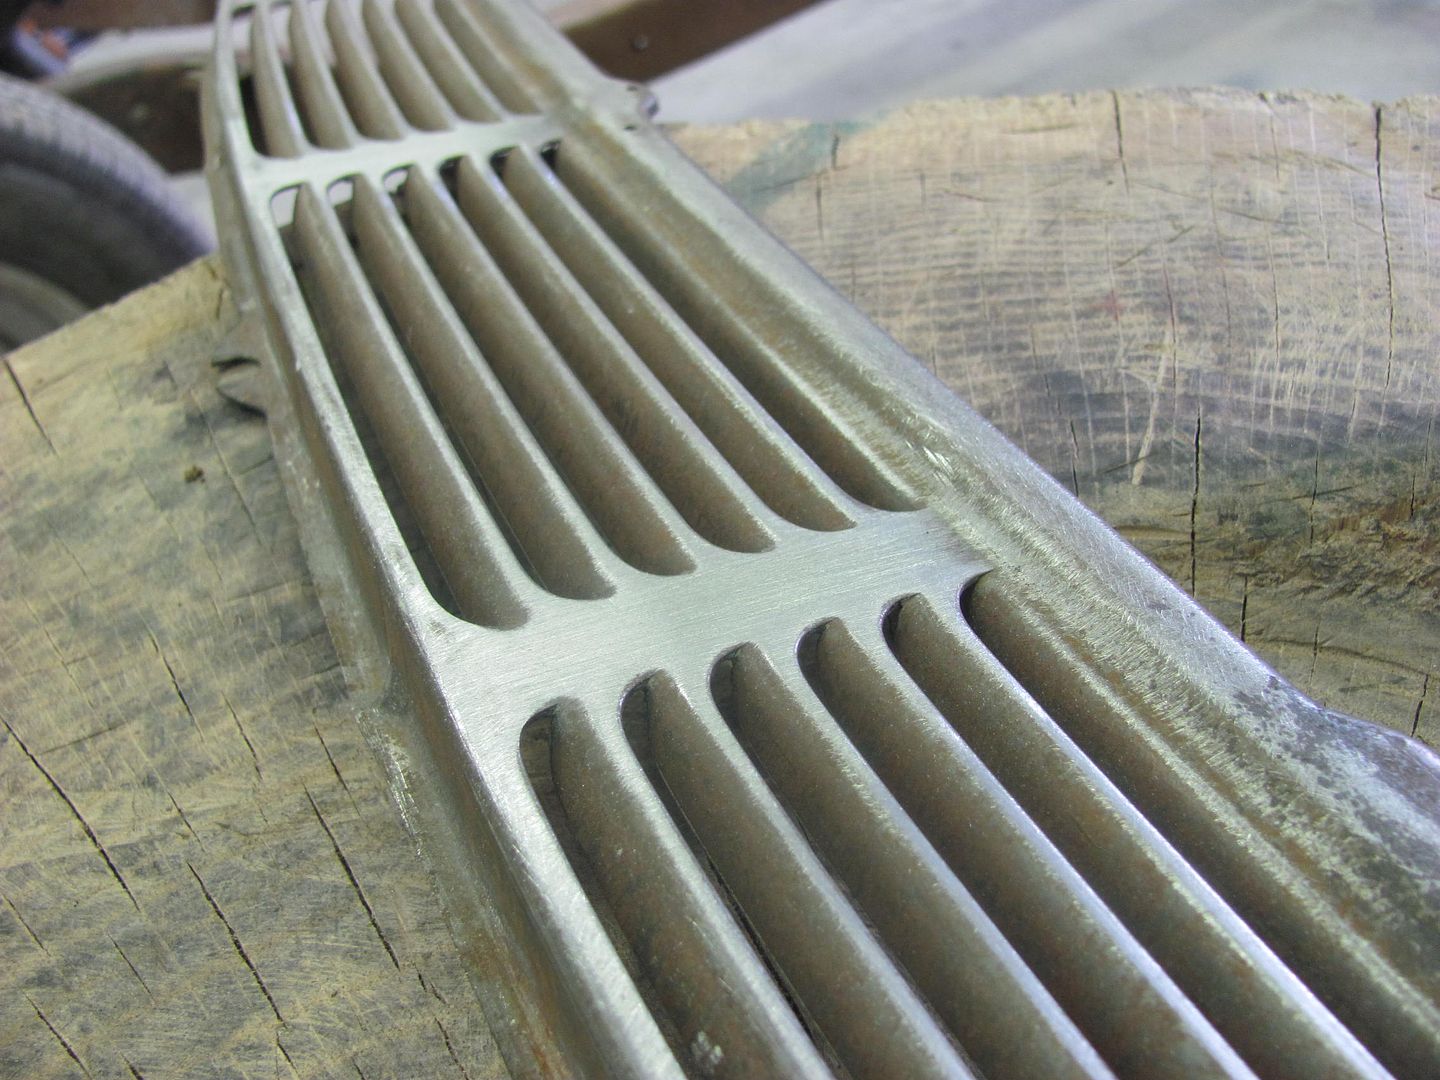
....using this hammer....
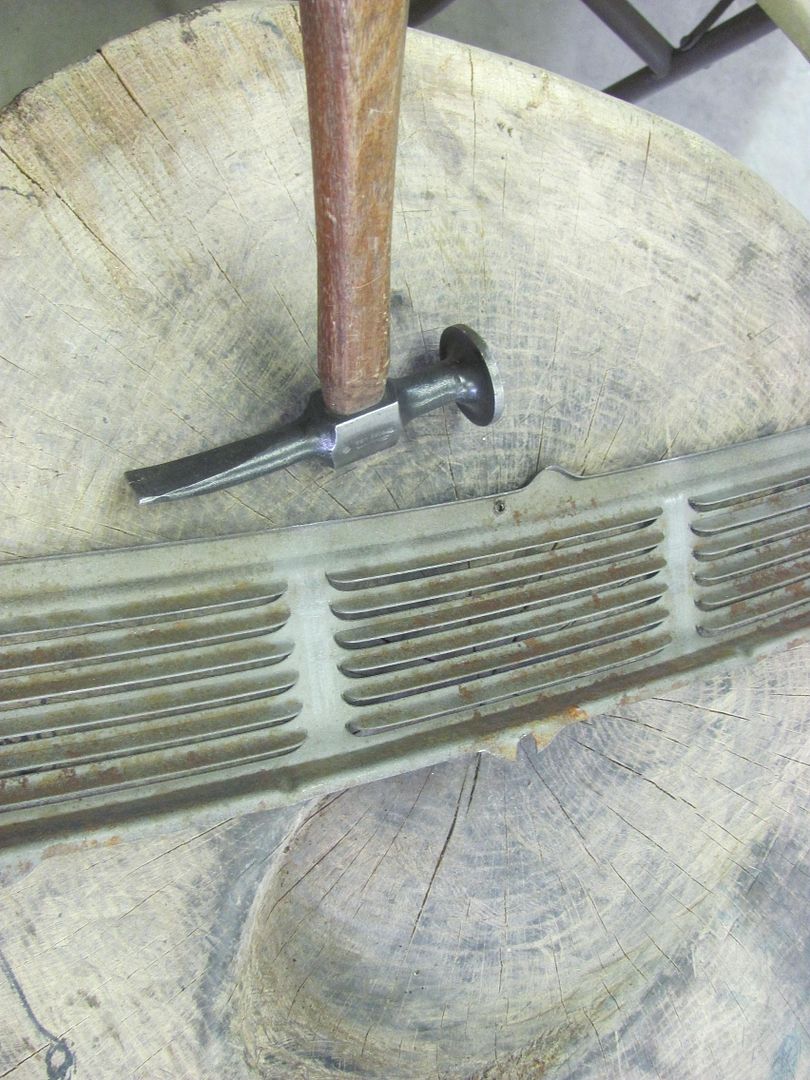
the marks on the back side show where the strikes were placed to remove the creases...
Kyle has the inner roof insulation about gone...
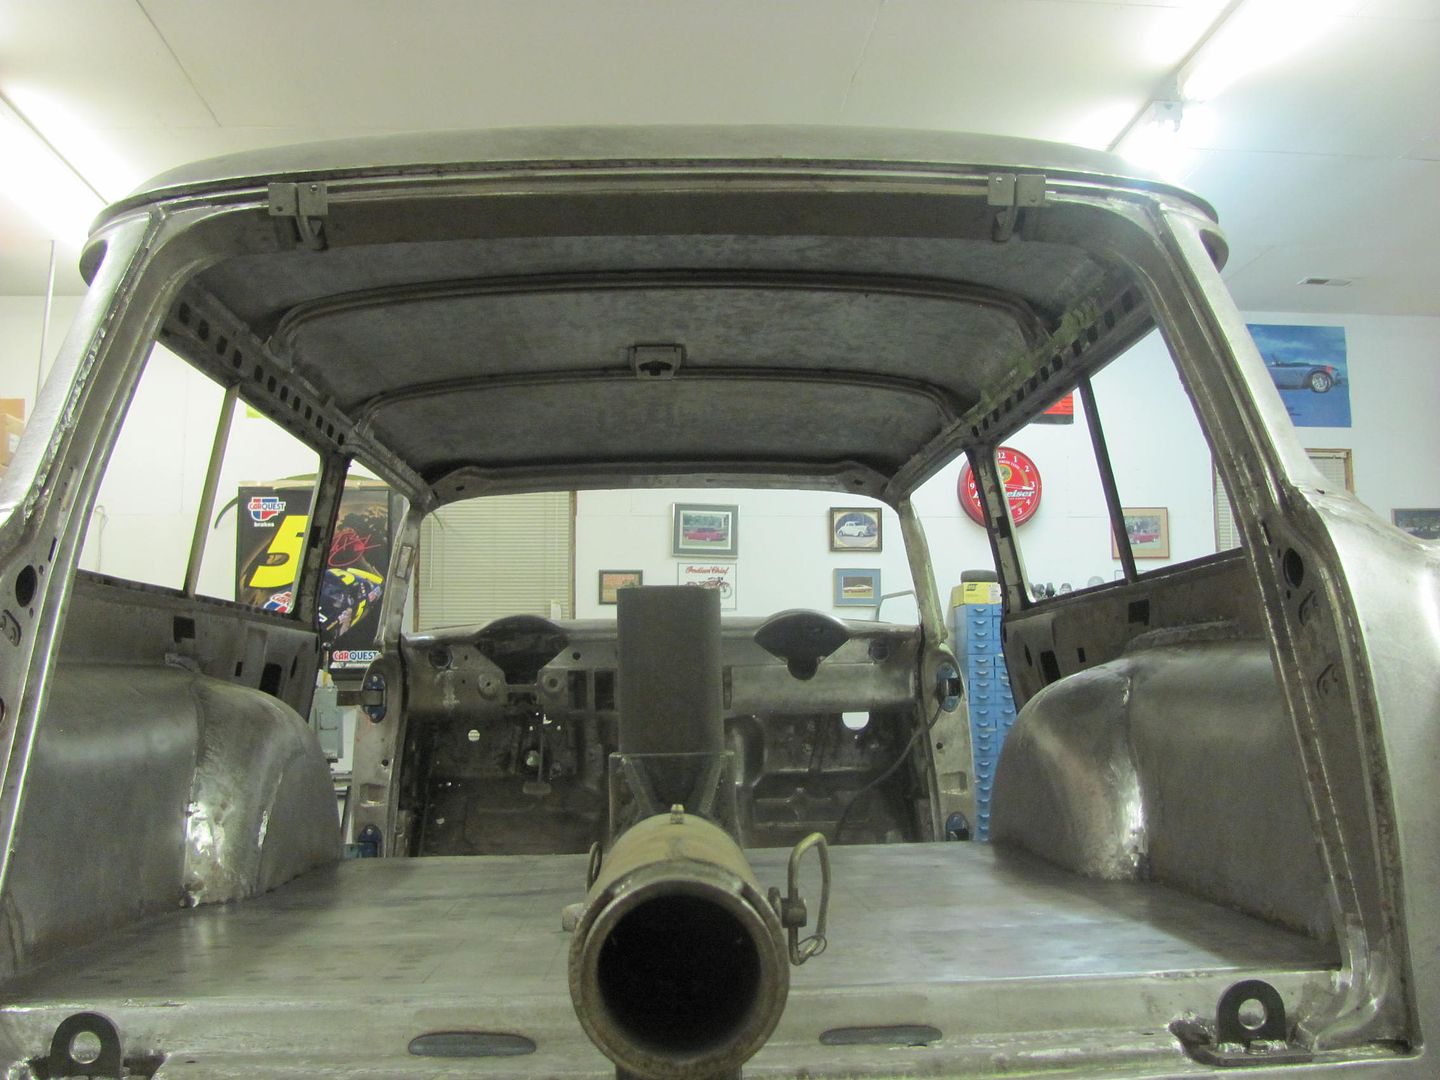
Robert
-
10-23-2015 06:43 PM #623
Great Pics.. Thanks.
And the shop looks like it's stayin' clean.
-
10-27-2015 05:31 AM #624
We're trying to stay on top of it. Upright vacuum cleaner helps out
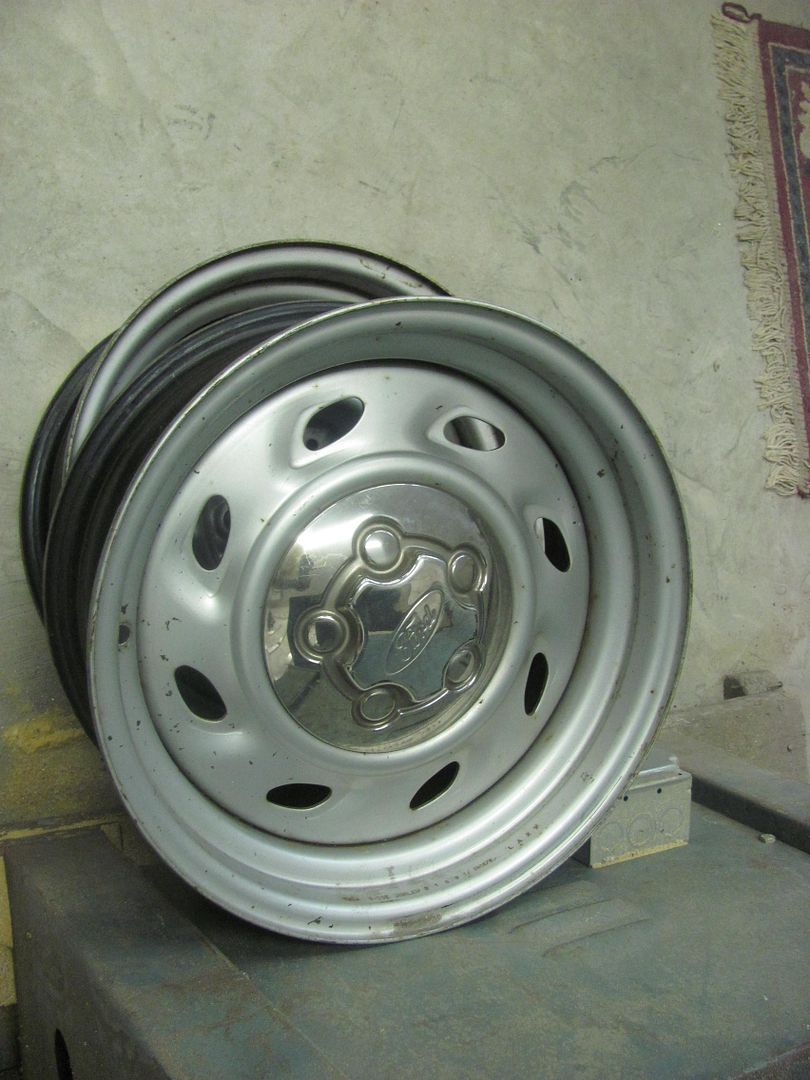
Our enclosed trailer has the white wagon wheels that always seem to turn rusty in a few years, so I have been trying different wheels to see what might work....
These are some late model Mustang wheels, the hub hole would need to be opened slightly, but the offset was, well off.
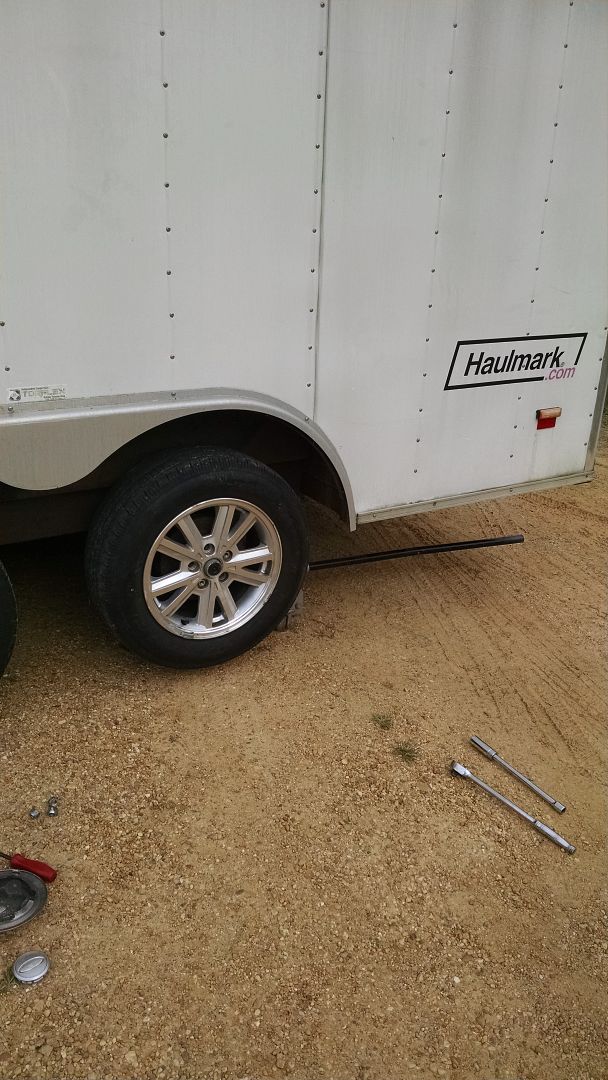
Perhaps on a fancy trailer with more stainless trim, but these just looked too much. Next, some plain Jane Ford Ranger wheels....
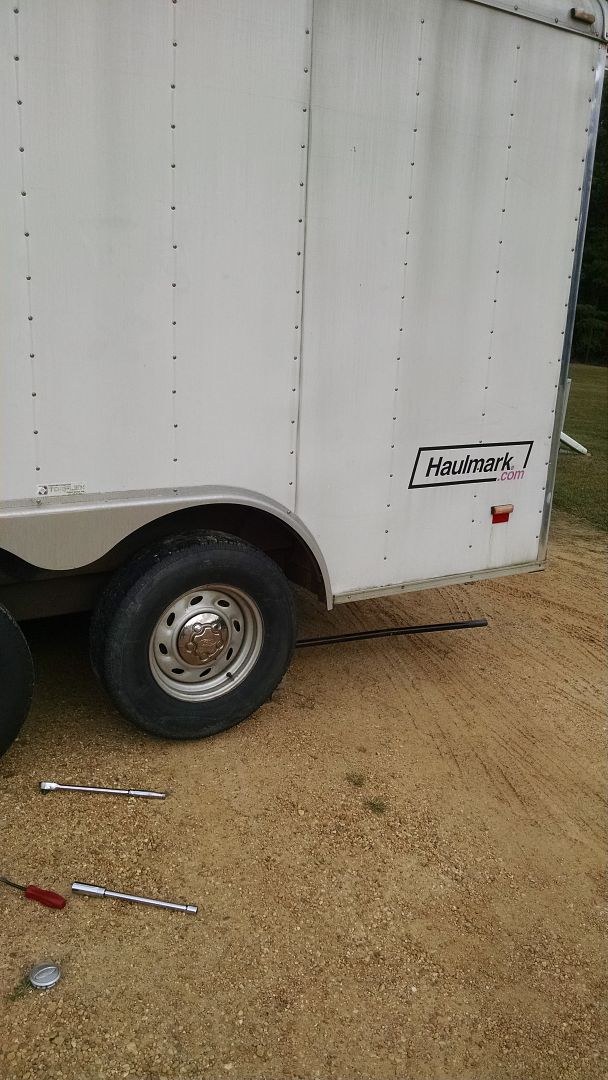
Much better, correct offset, and no wheel modification needed. Just need to change up the color and add some stainless trim rings. I do have some bright orange, some bright red, and a few other colors in the paint locker..
Some before and after media blasting..
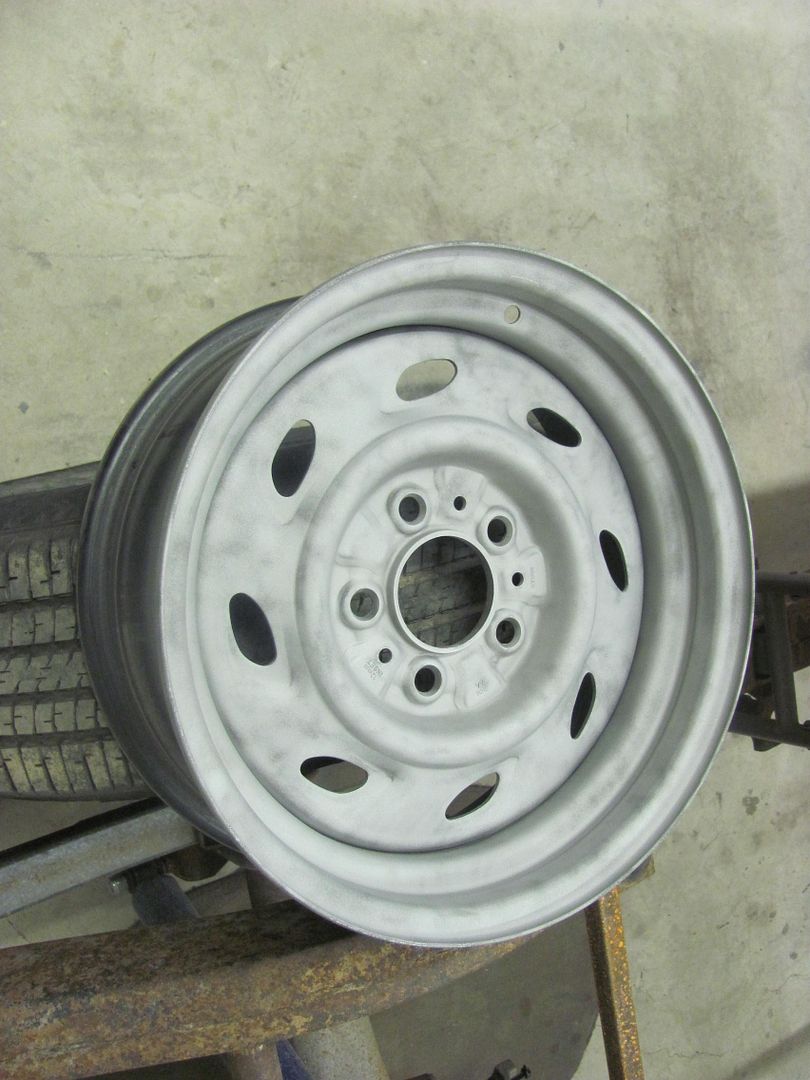
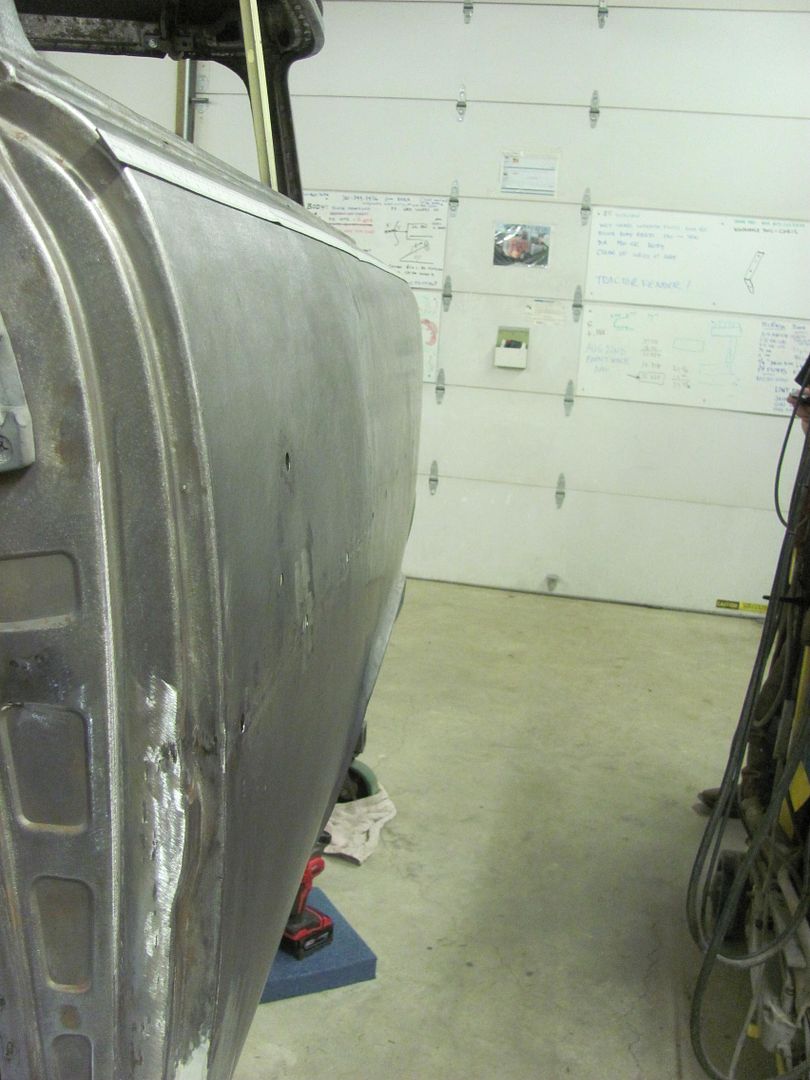
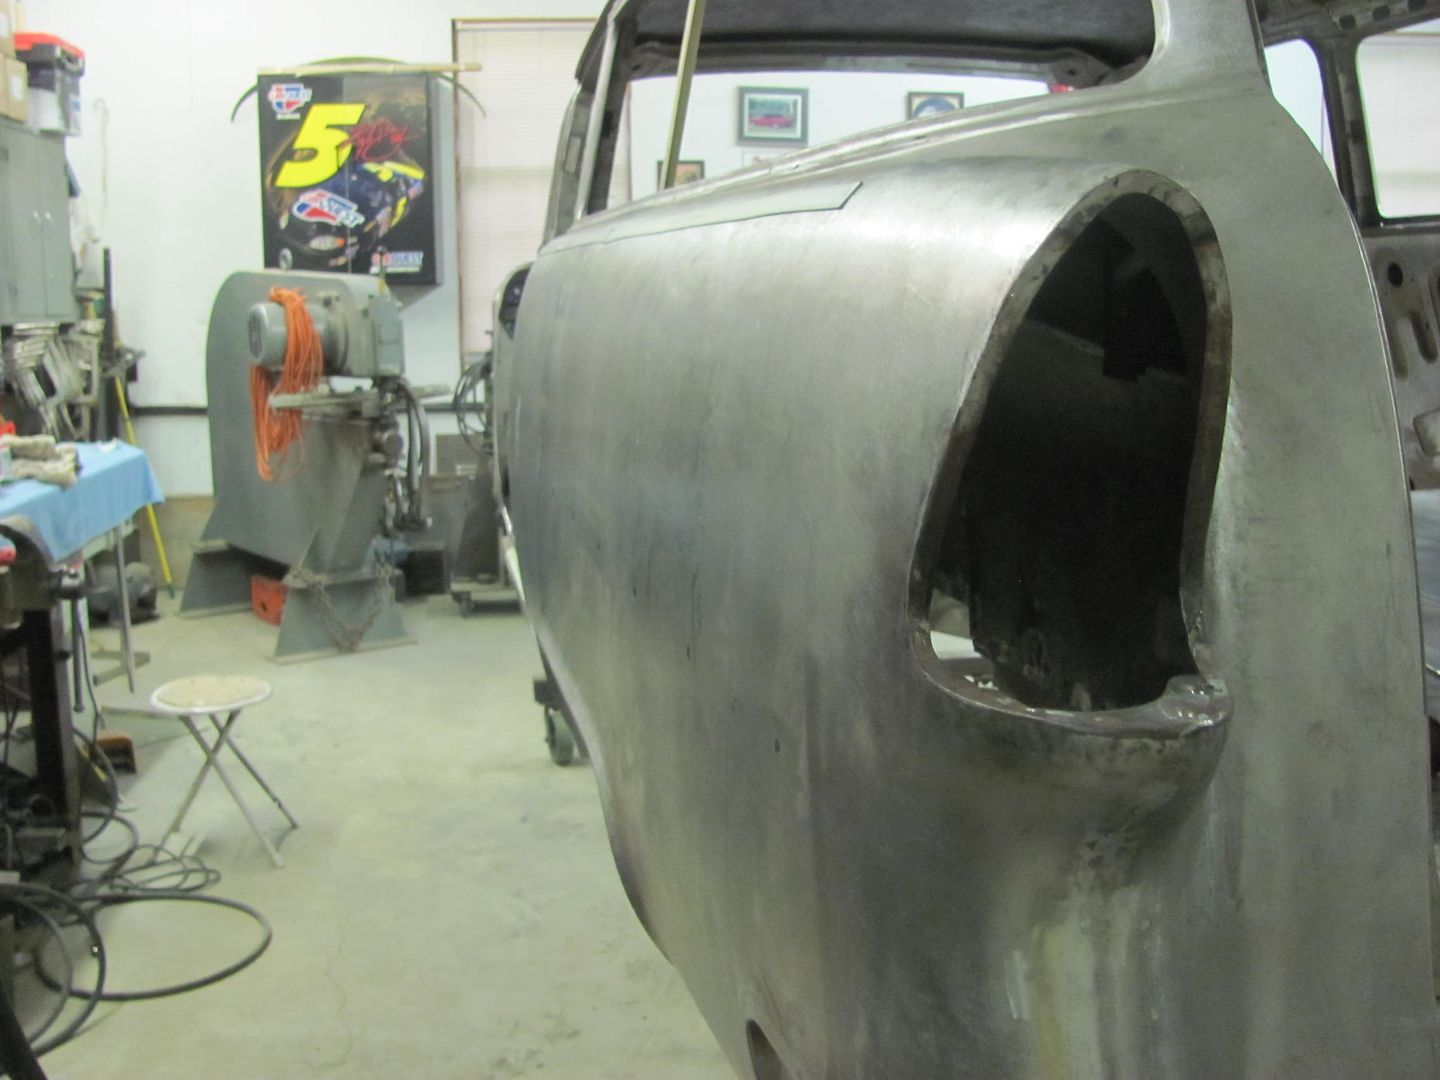
Two down, two to go, and then we'll get some SPI epoxy on there for some rust preventative measure. Can't get it all done in one night. And more weld grinding and other prep work on the wagon continues. Since the big cleanup in preparation for the class in the shop earlier this month, we haven't been able to find our quarter panel profile template, so Kyle made a couple of them, one for in front of the rear wheel, one behind, and we've been working on the weld seams and doing some metal bumping to minimize our stock in filler products. Drivers side is looking much better than it did last week, still about another day to go and the quarters should be good for epoxy primer..
Robert
-
10-27-2015 03:21 PM #625
- Join Date
- Apr 2011
- Location
- Prairie City
- Car Year, Make, Model: 40 Ford Deluxe, 68 Corvette, 72&76 K30
- Posts
- 7,301
- Blog Entries
- 1
That quarter looks amazing! Great work!Ryan
1940 Ford Deluxe Tudor 354 Hemi 46RH Electric Blue w/multi-color flames, Ford 9" Residing in multiple pieces
1968 Corvette Coupe 5.9 Cummins Drag Car 11.43@130mph No stall leaving the line with 1250 rpm's and poor 2.2 60'
1972 Chevy K30 Longhorn P-pumped 24v Compound Turbos 47RH Just another money pit
1971 Camaro RS 5.3 BTR Stage 3 cam, SuperT10
Tire Sizes
-
10-27-2015 06:23 PM #626
Yep.. that's the word.. AMAZING!
-
11-01-2015 08:40 AM #627
Thanks guys, but I think the camera was being kind. We do have some highs/lows to still address, but it's getting much closer to ready for epoxy...
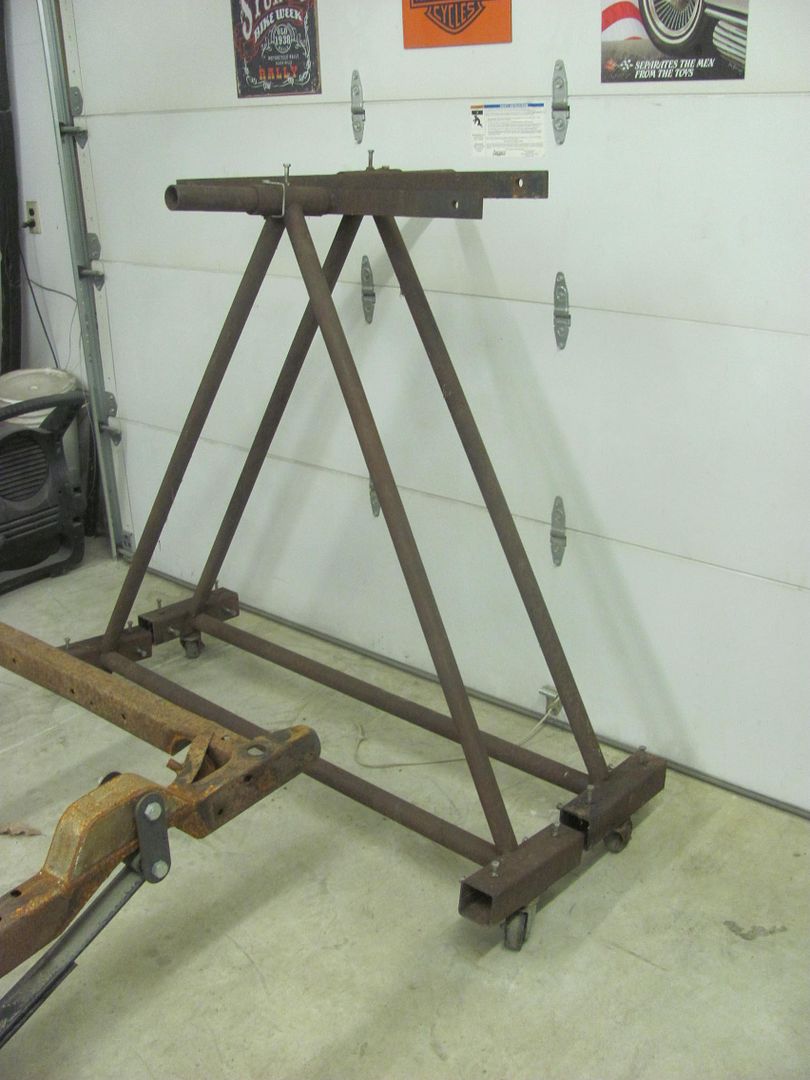
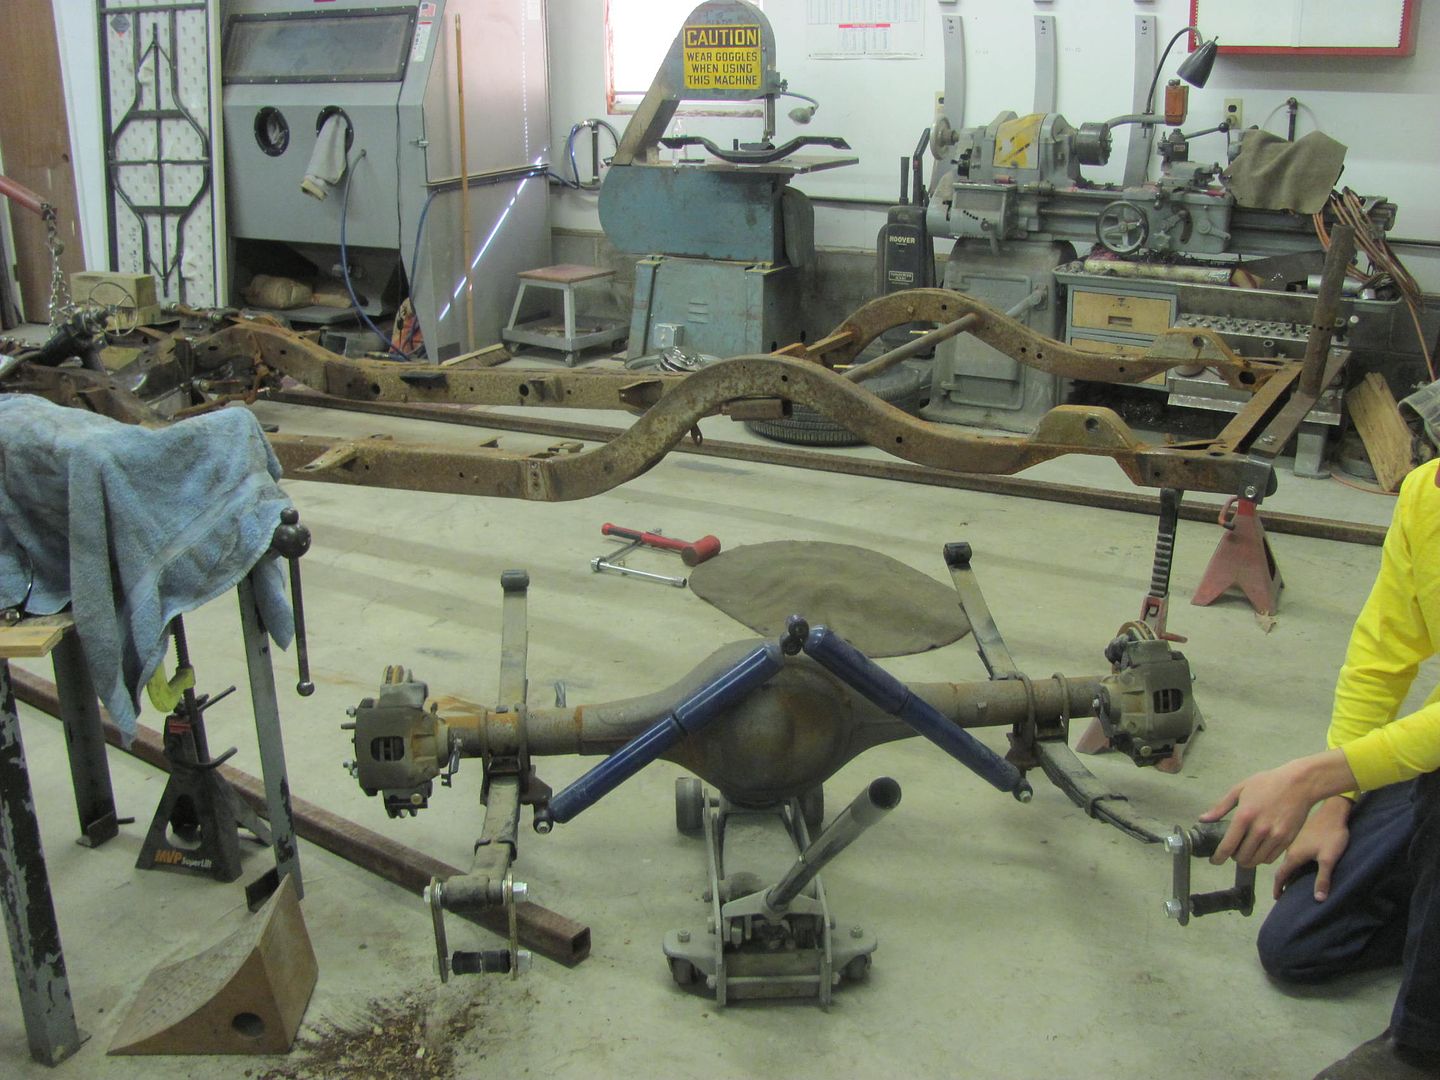
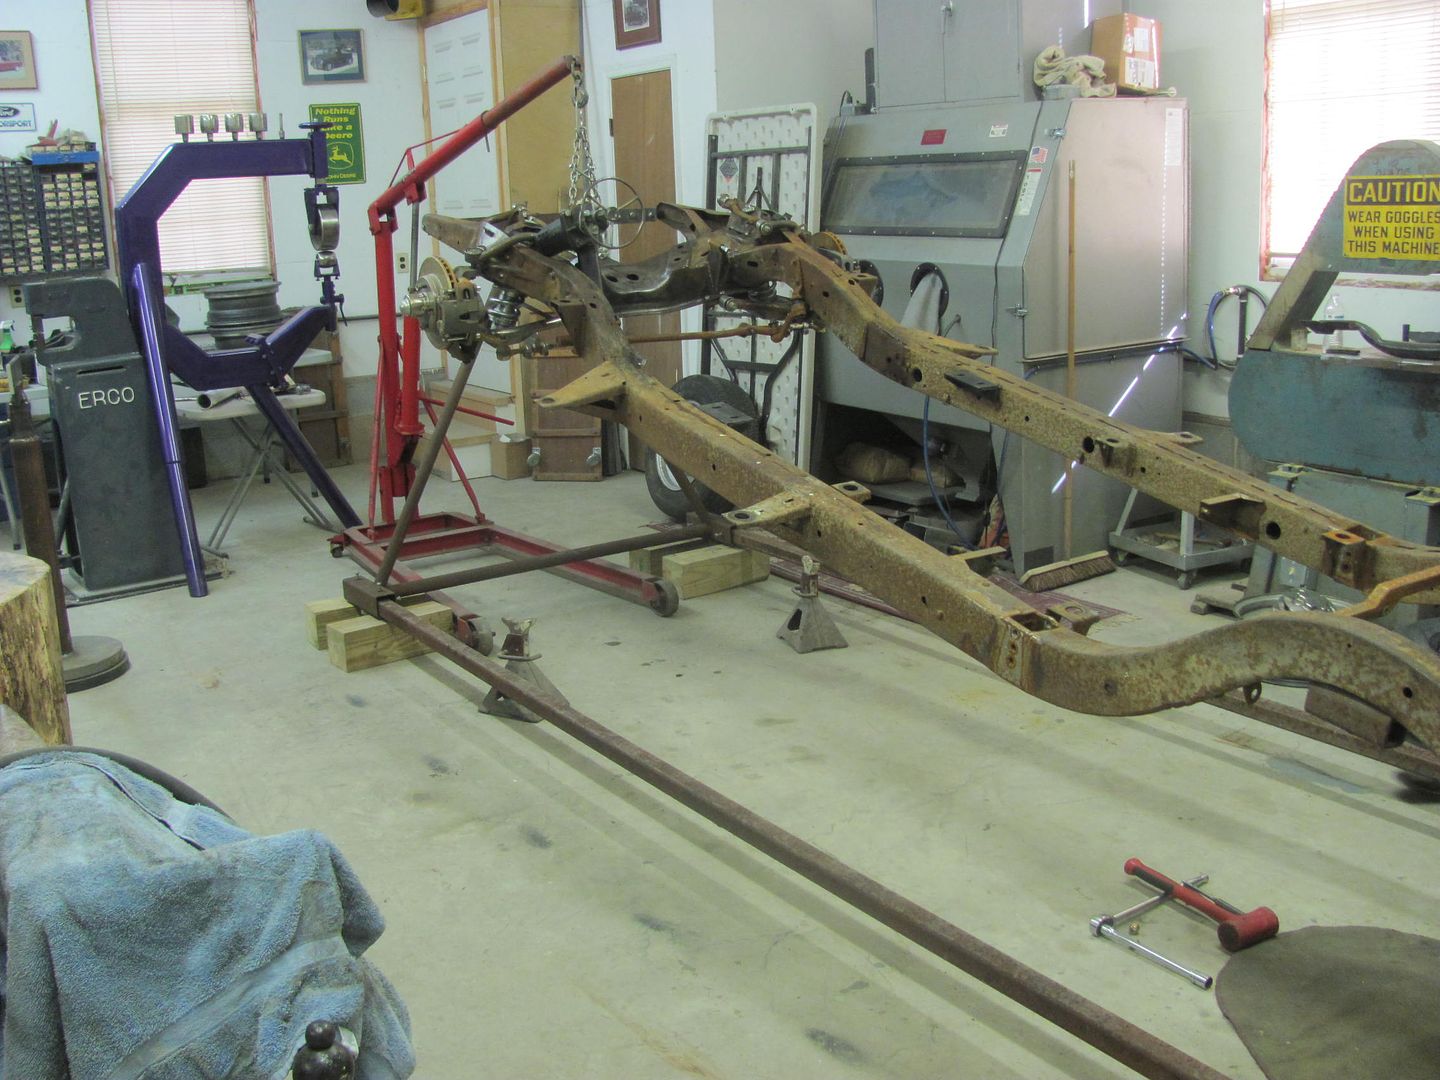
Stopped by my brother in law's and took delivery of the rotisserie for the frame, he had been using it for his ElCamino...
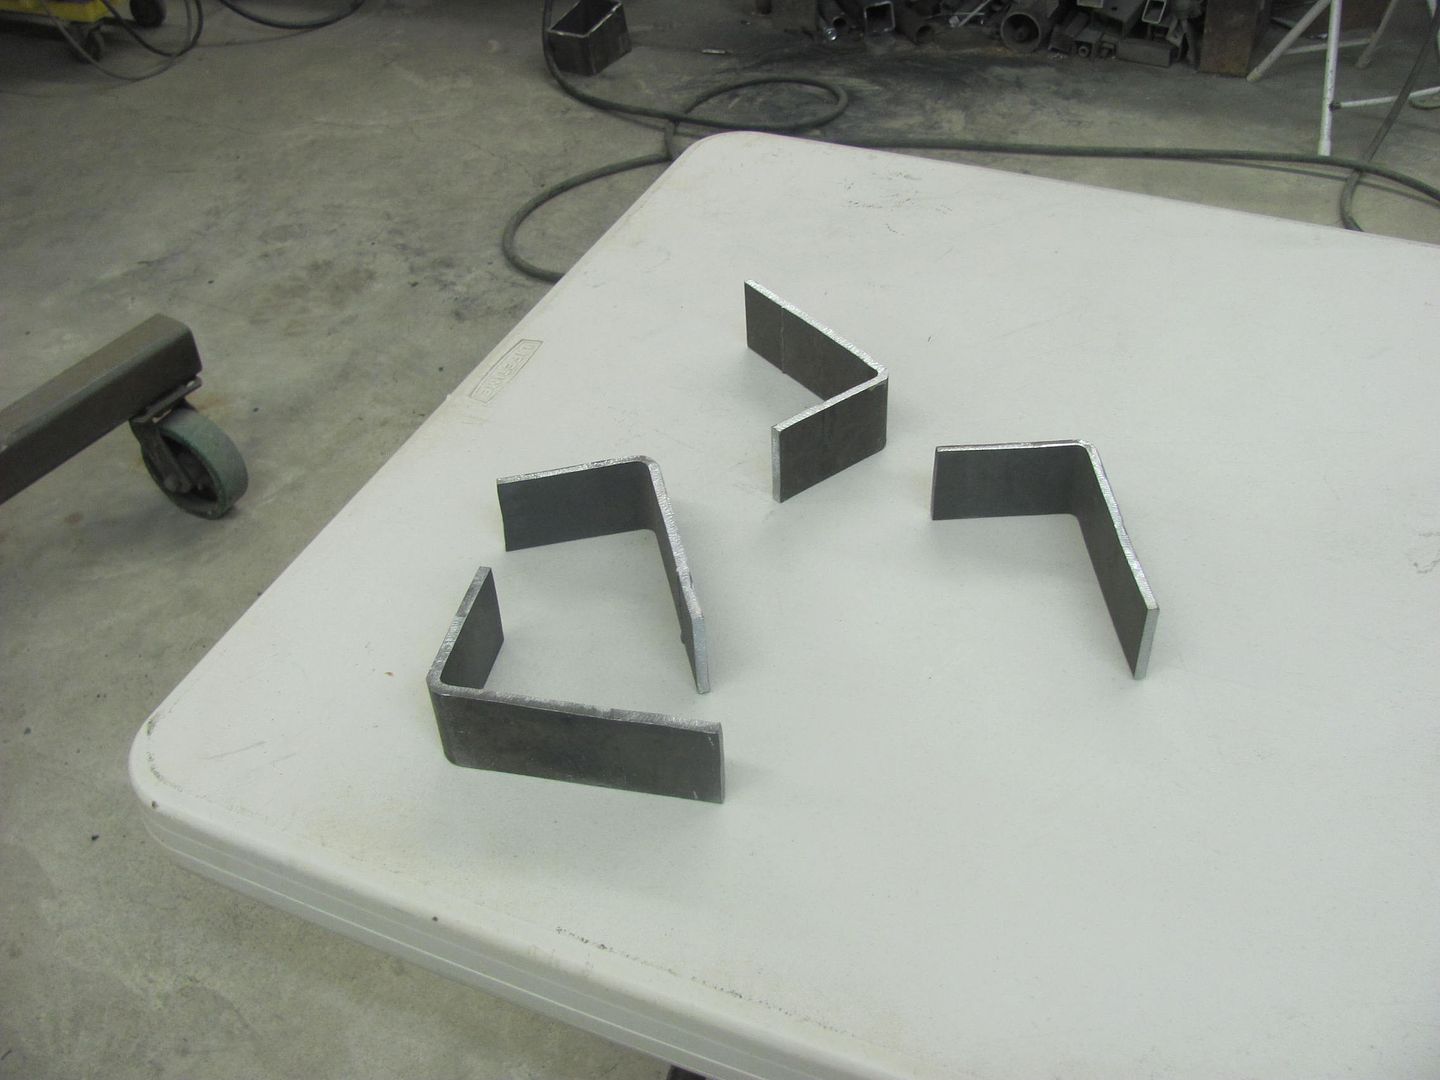
And Kyle cut some adapter angles out of a piece of 4 x 6 tubing...
Well, we didn't get pictures of the funny part. Kyle and I loaded the frame in the trailer and headed off to the local car wash to remove the grease from the front cross member. We had quite a few stares and a couple horns honking as he pushed the frame around the car wash parking lot and I was sitting on the frame rail, maneuvering with the Jr. steering wheel. We found the tire presoak and a wire brush does wonders for the engine grease. The car wash attendant did not look too pleased, but never said a word.
Back at the shop, bolting the adapter plates onto the frame...
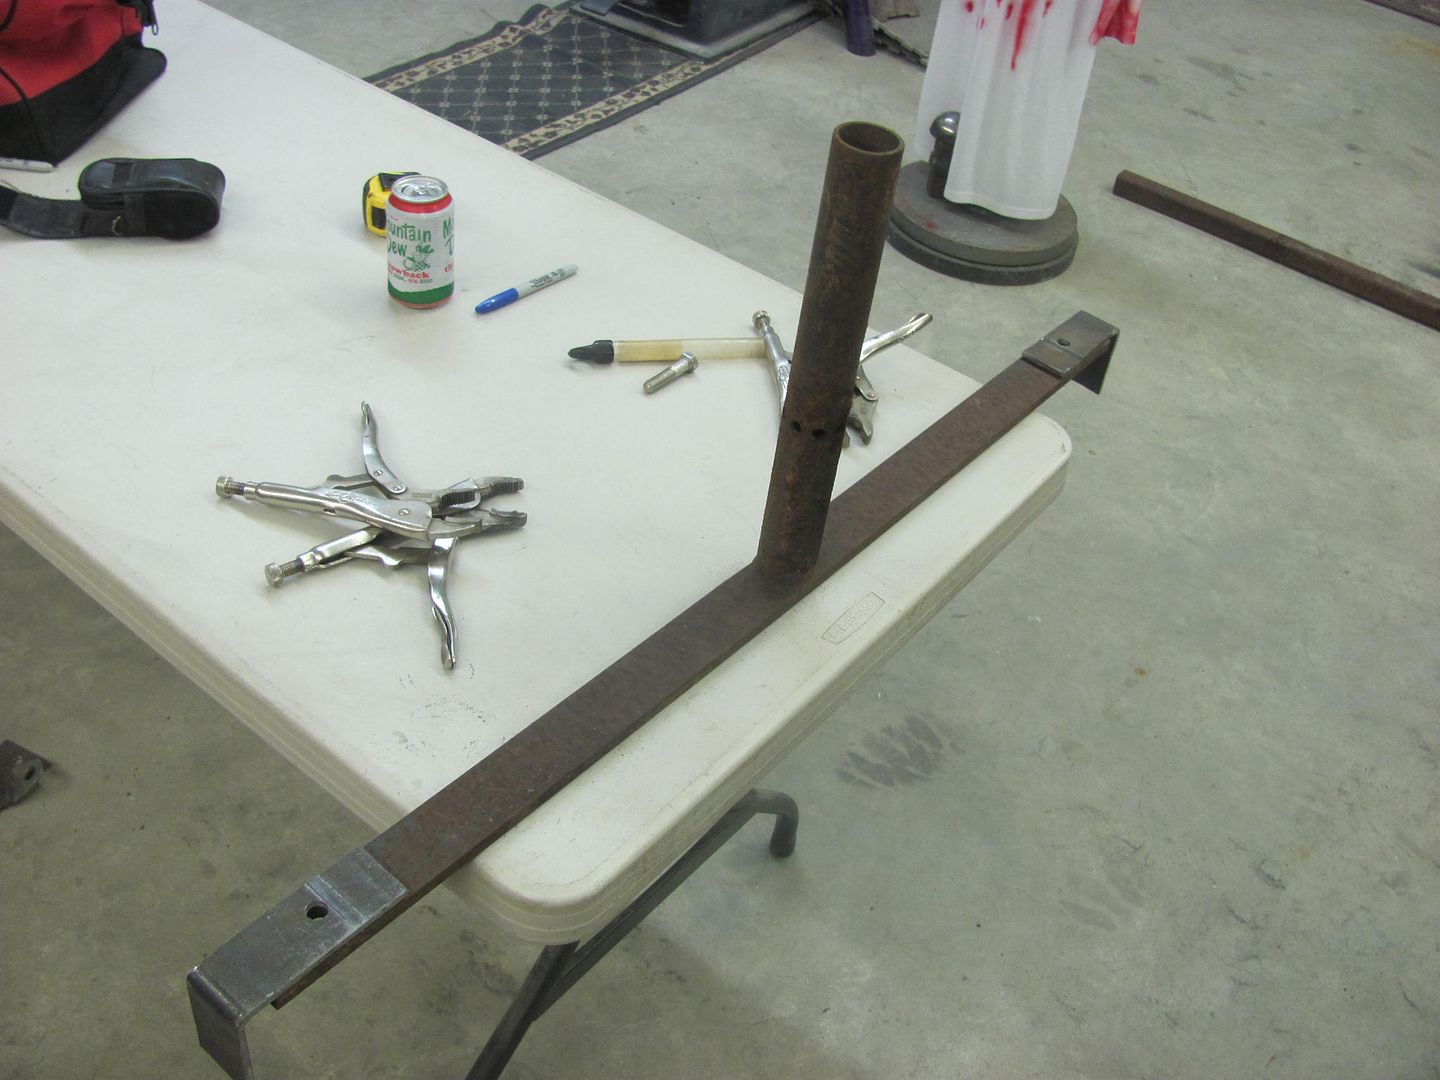
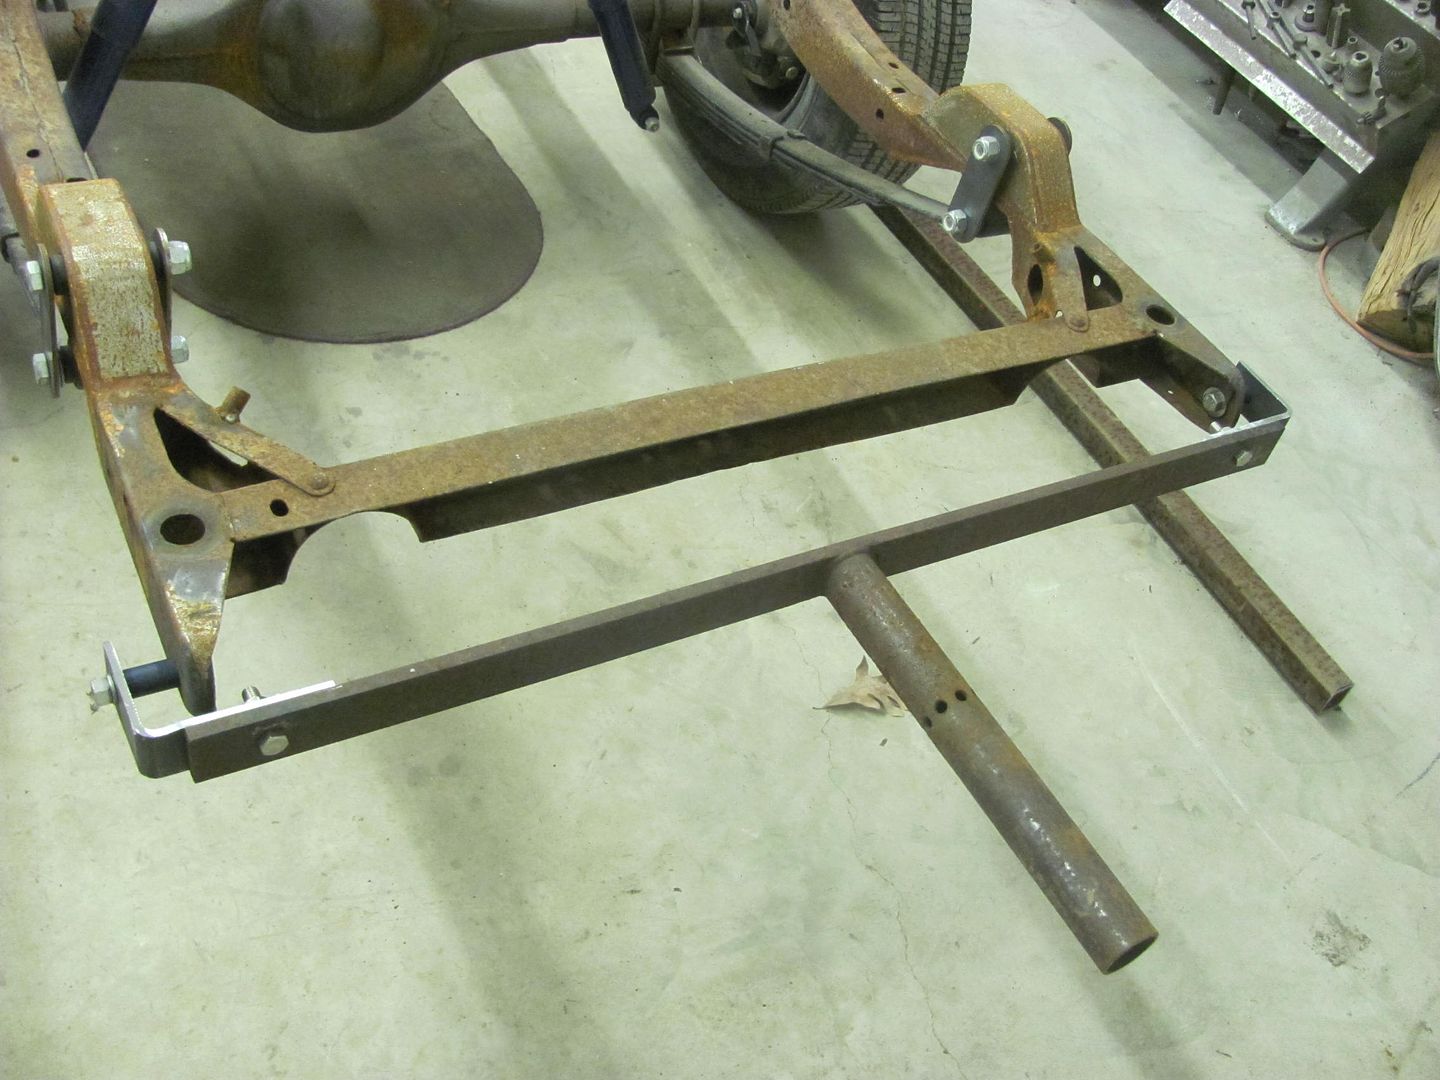
You can see in the above picture we used 1-1/2" long spacers to get a better access for media blasting the frame..
Disassembly starts....
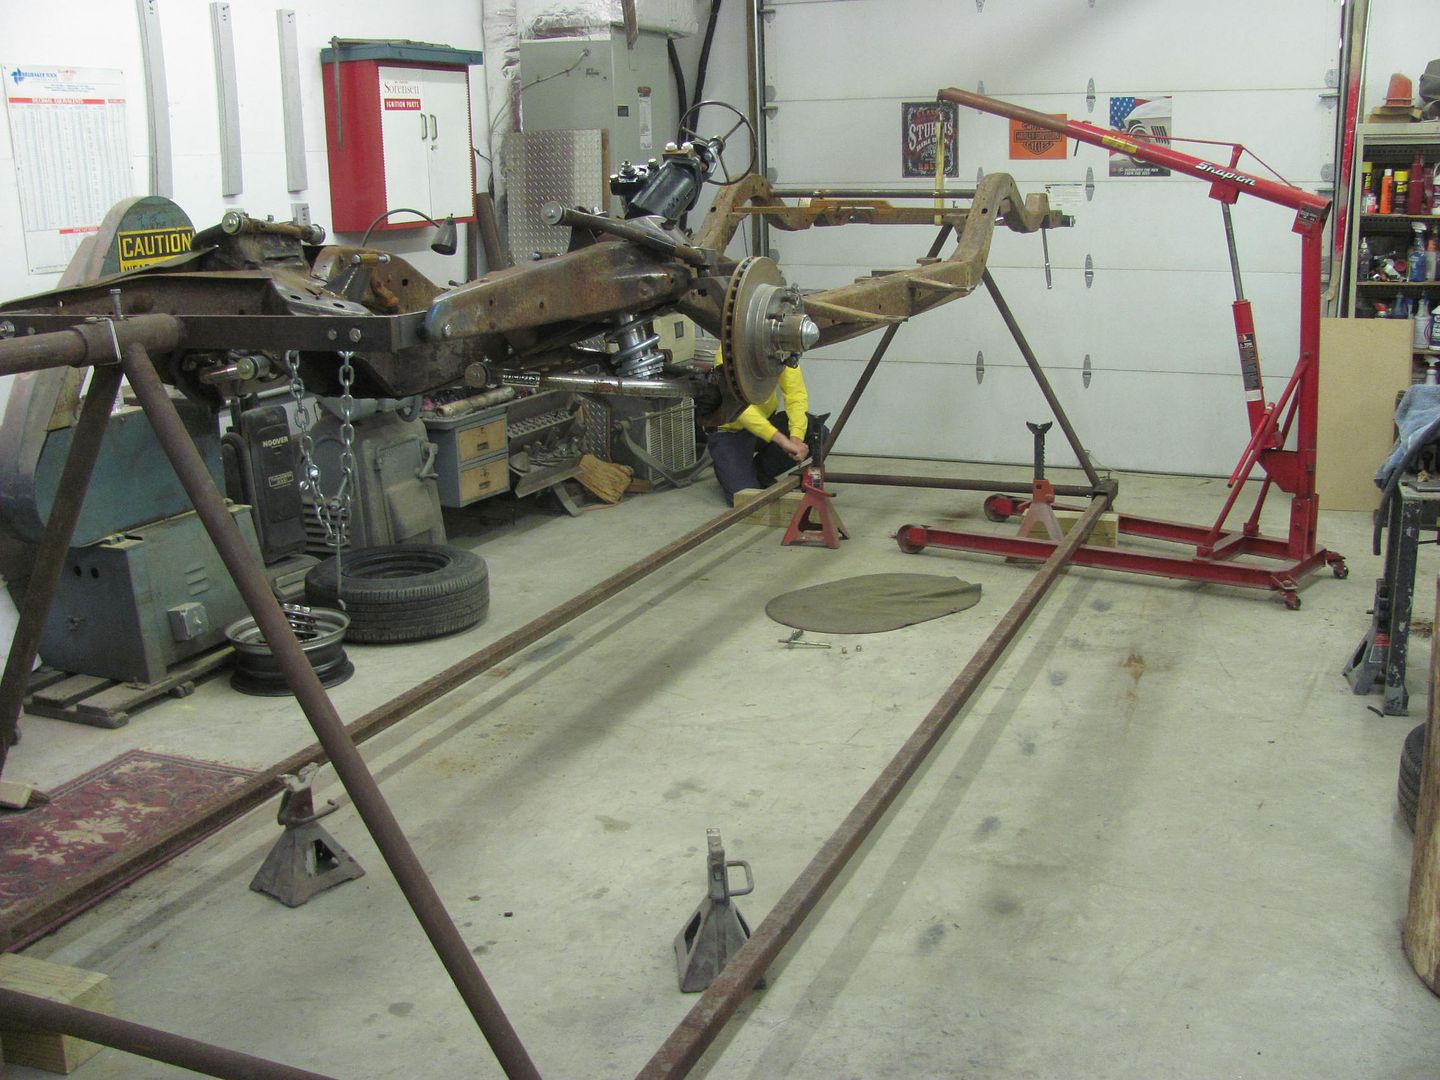
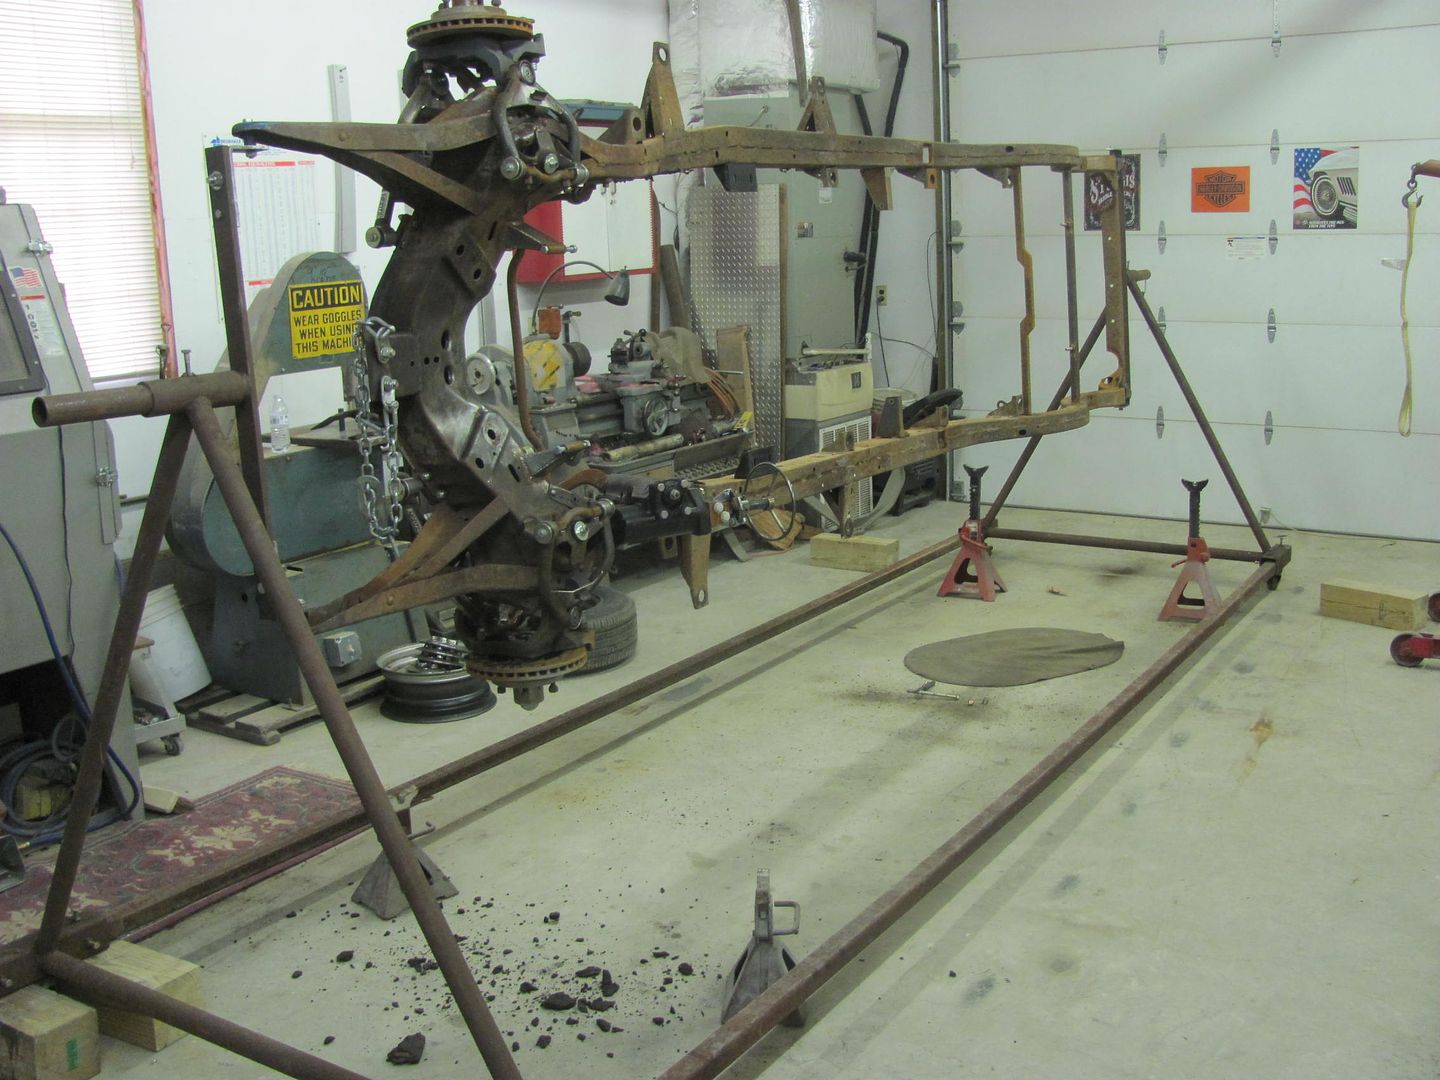
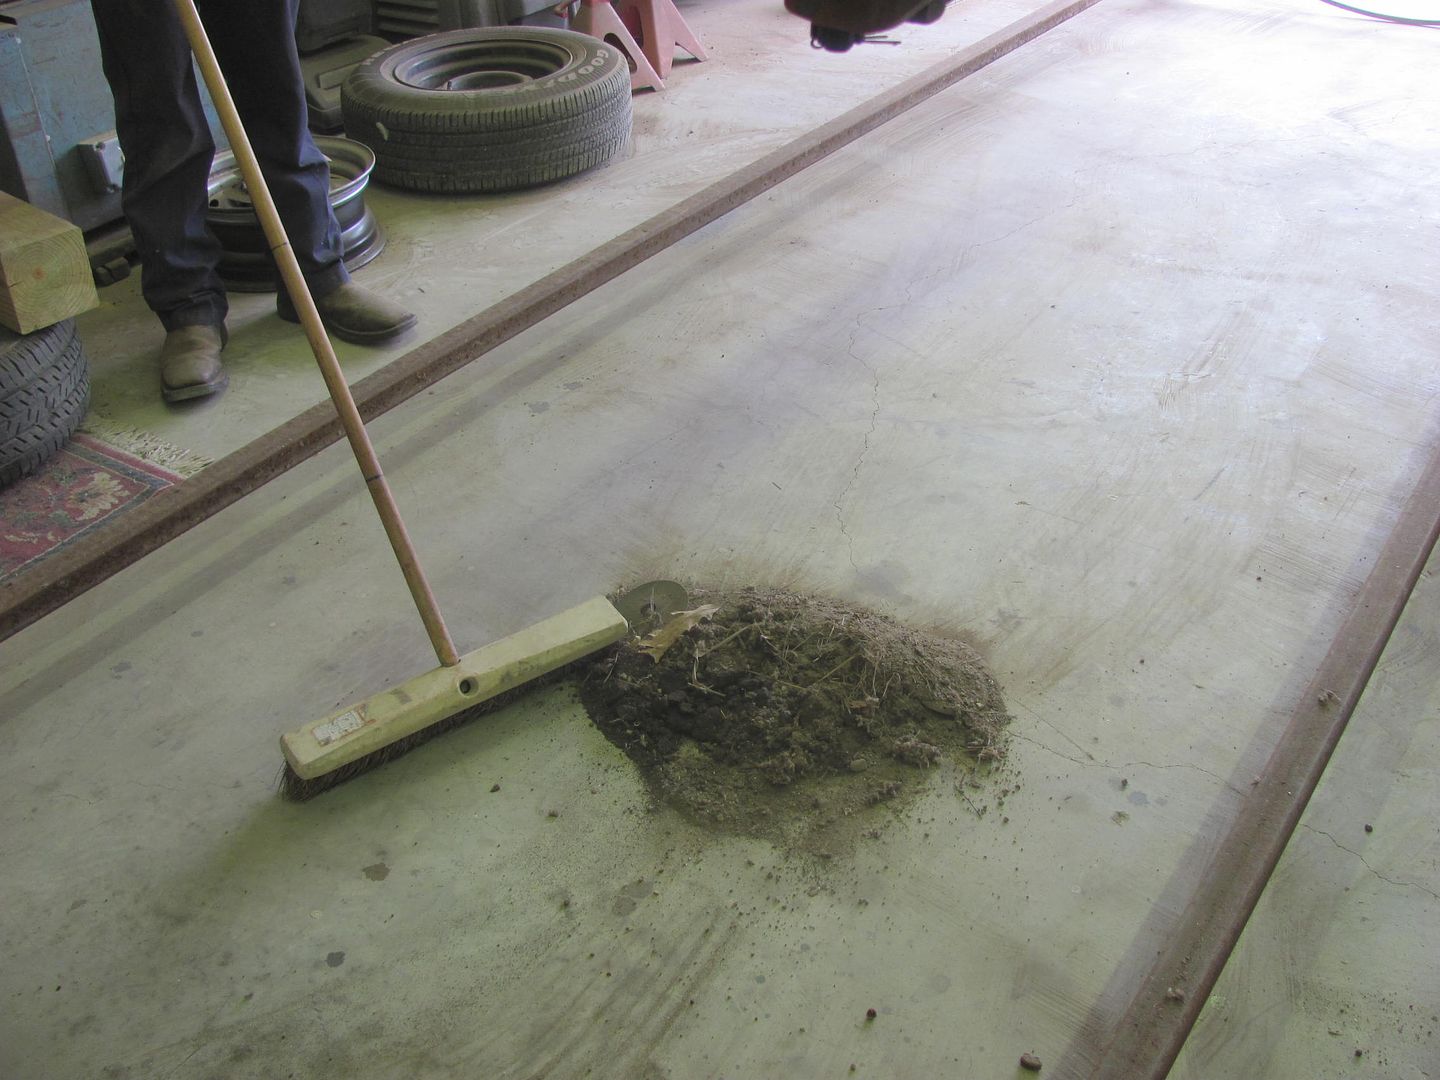
After a few revolutions and a bit of air pressure, we had quite a pile of 60 year old dirt..
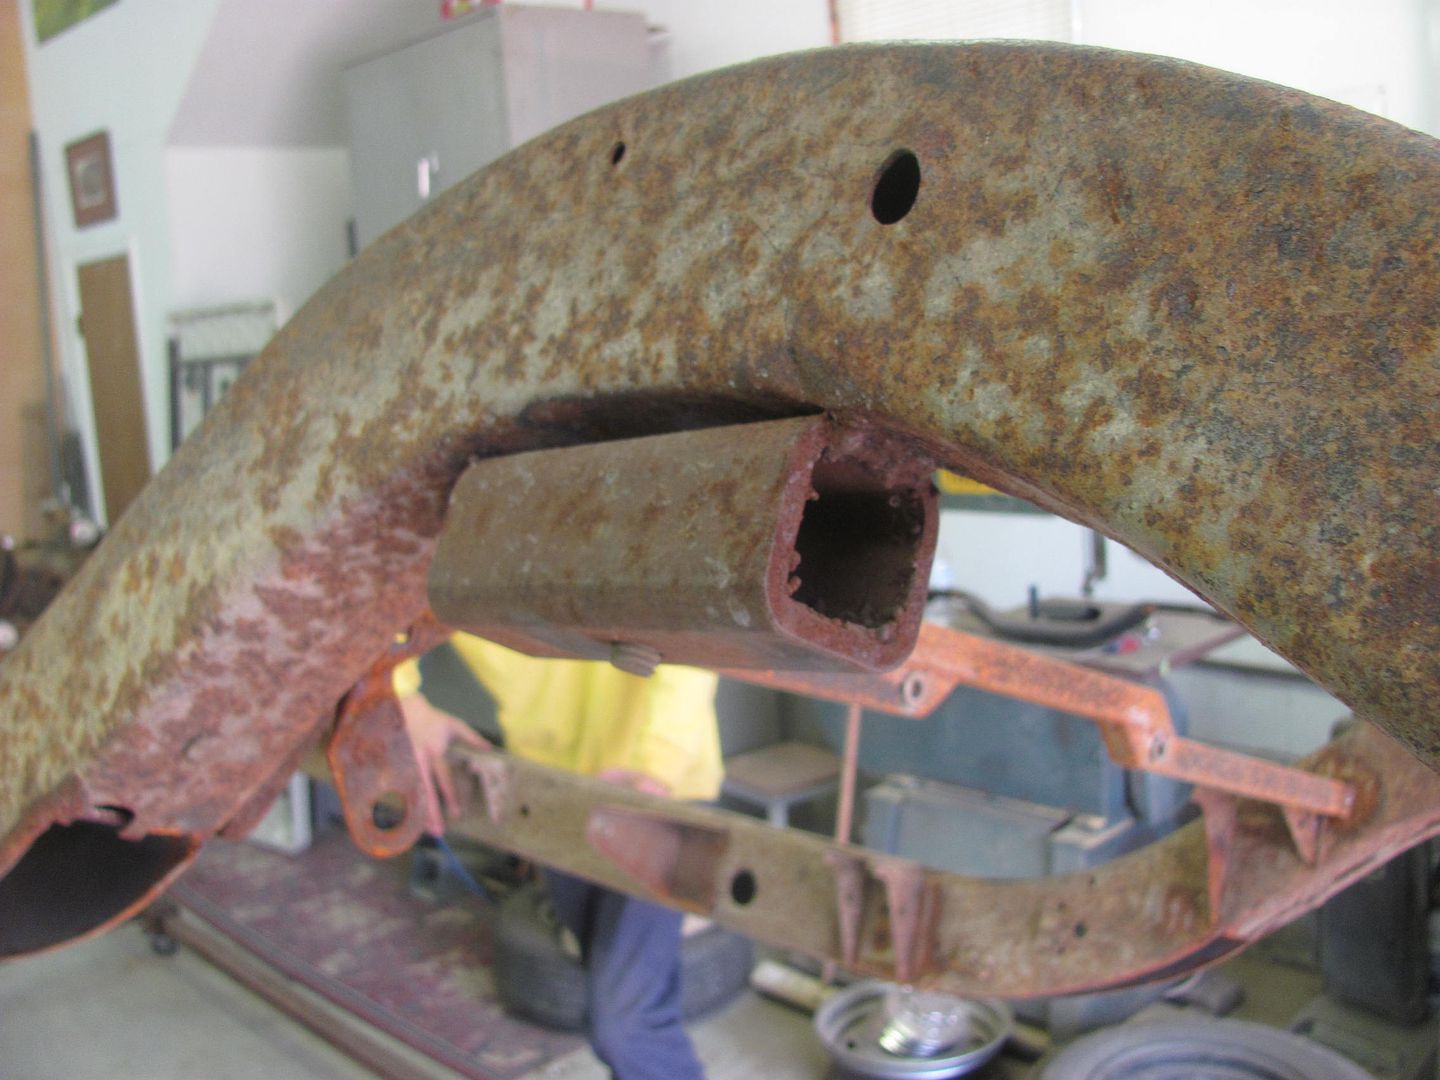
Override springs from the era. The handyman wagons were often used as work vehicles, and this option helped with the heavy loads...
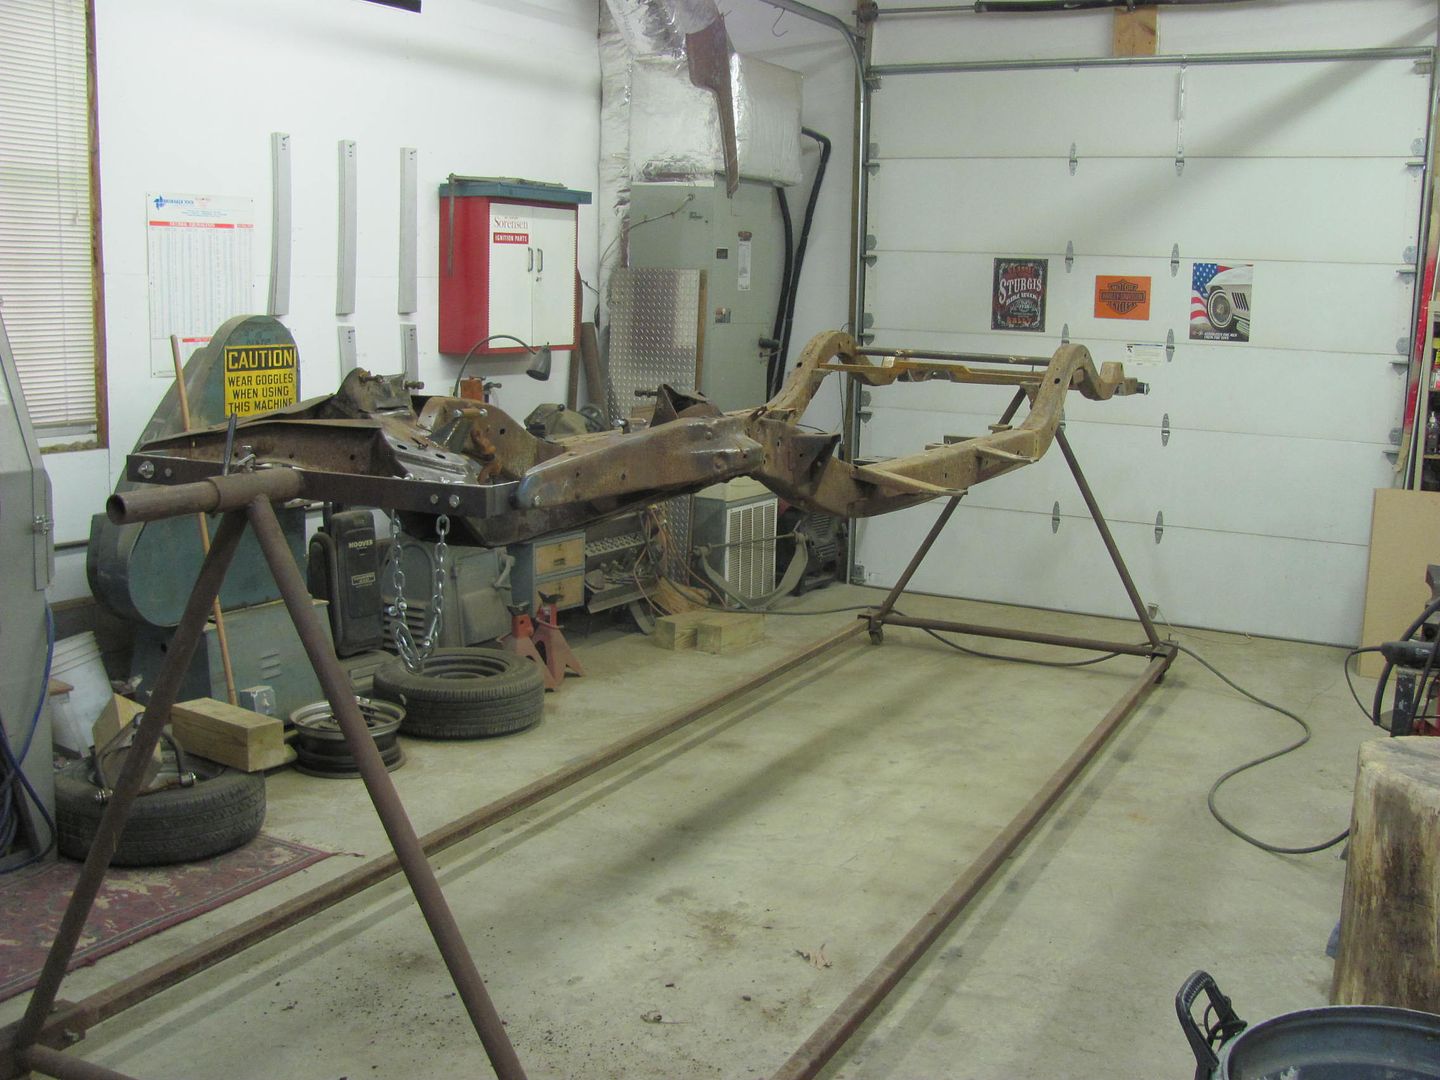
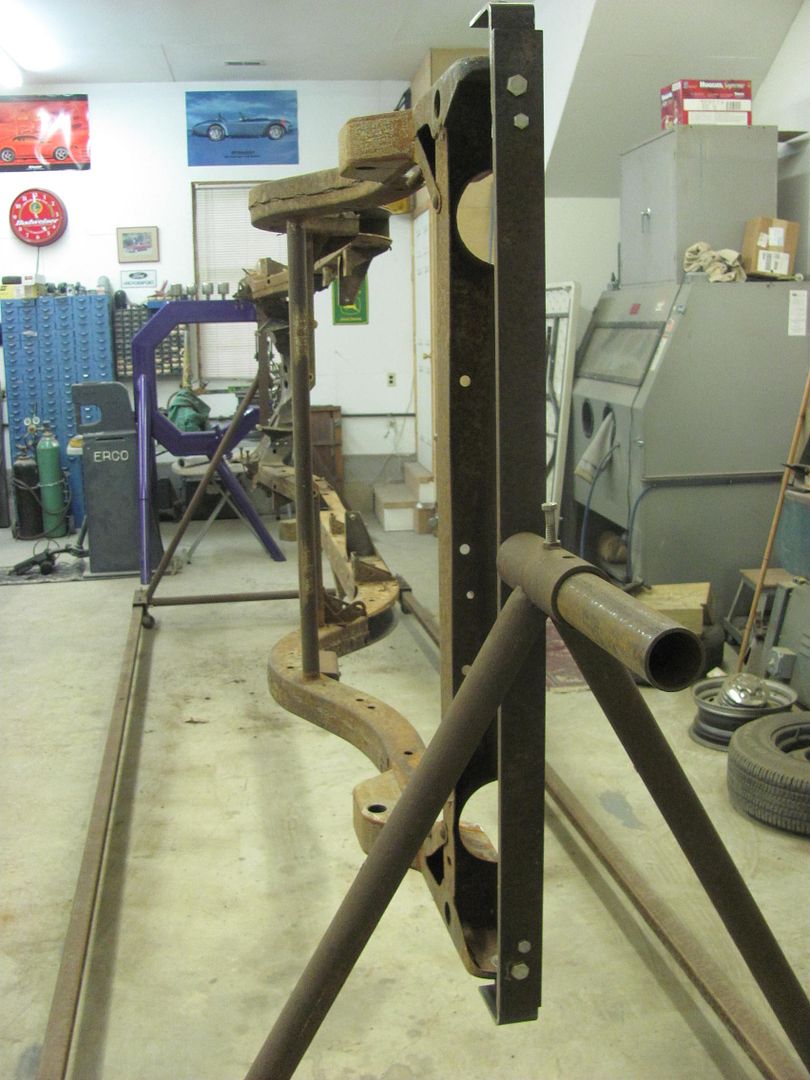
All stripped....
Robert
-
11-03-2015 09:05 PM #628
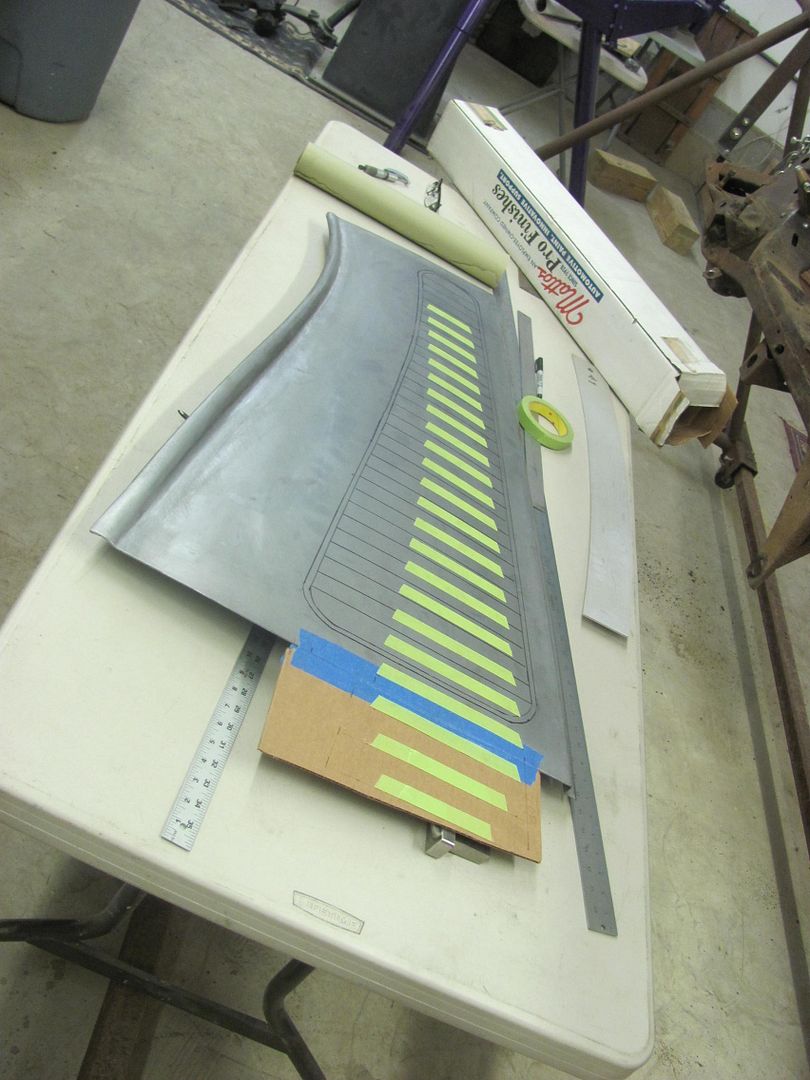
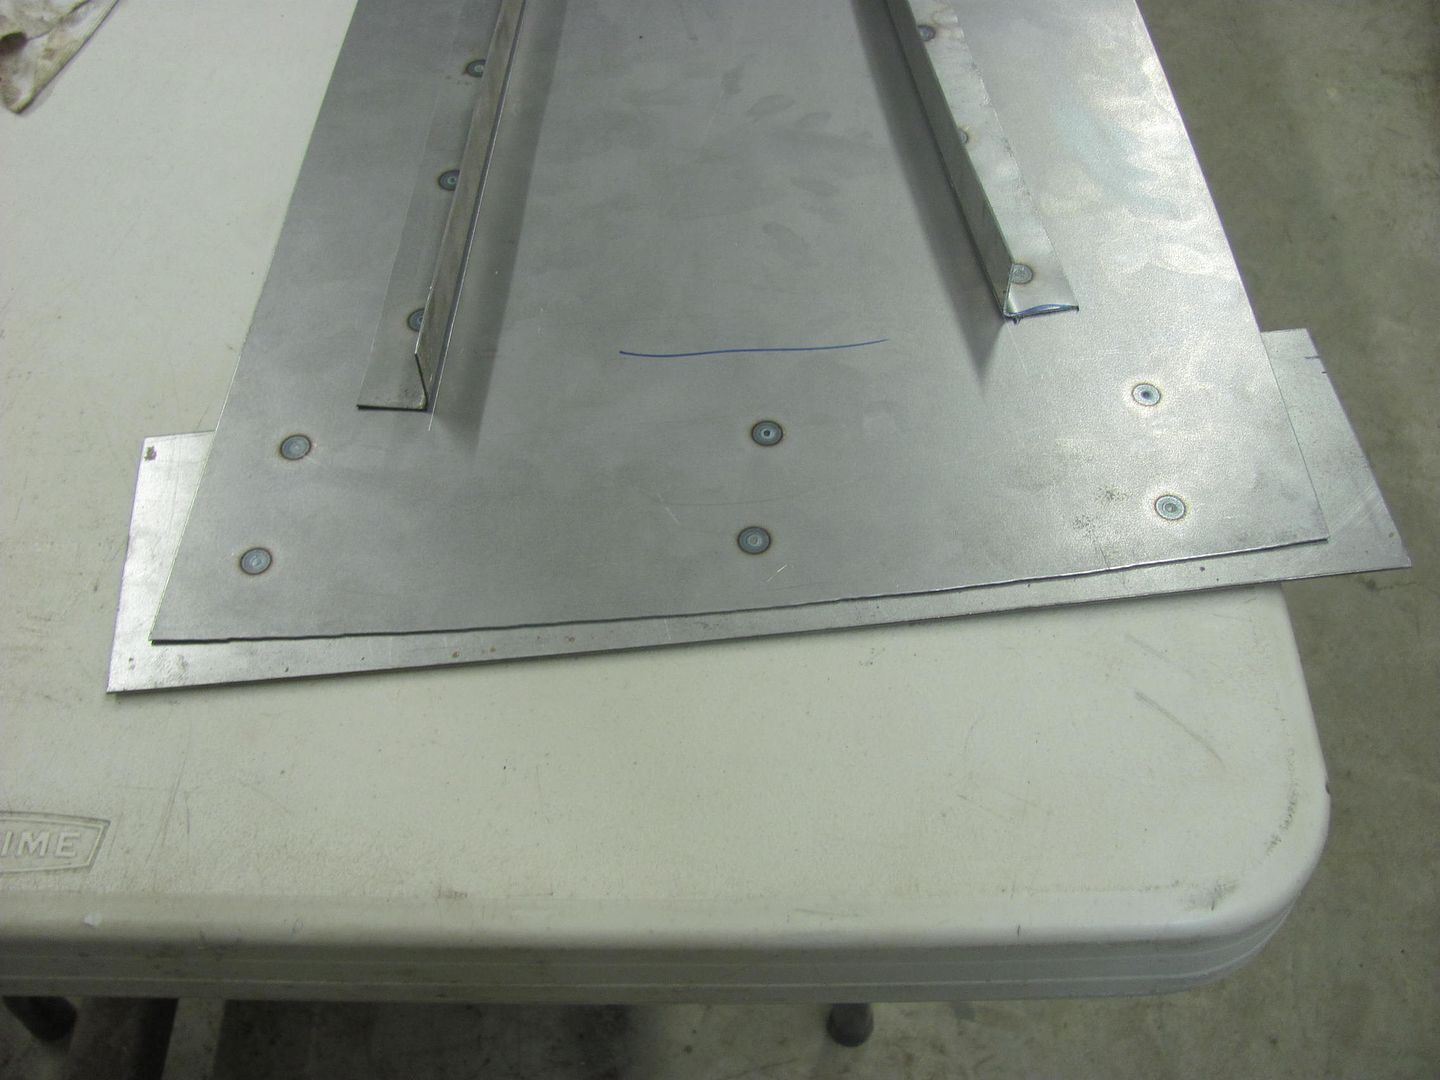
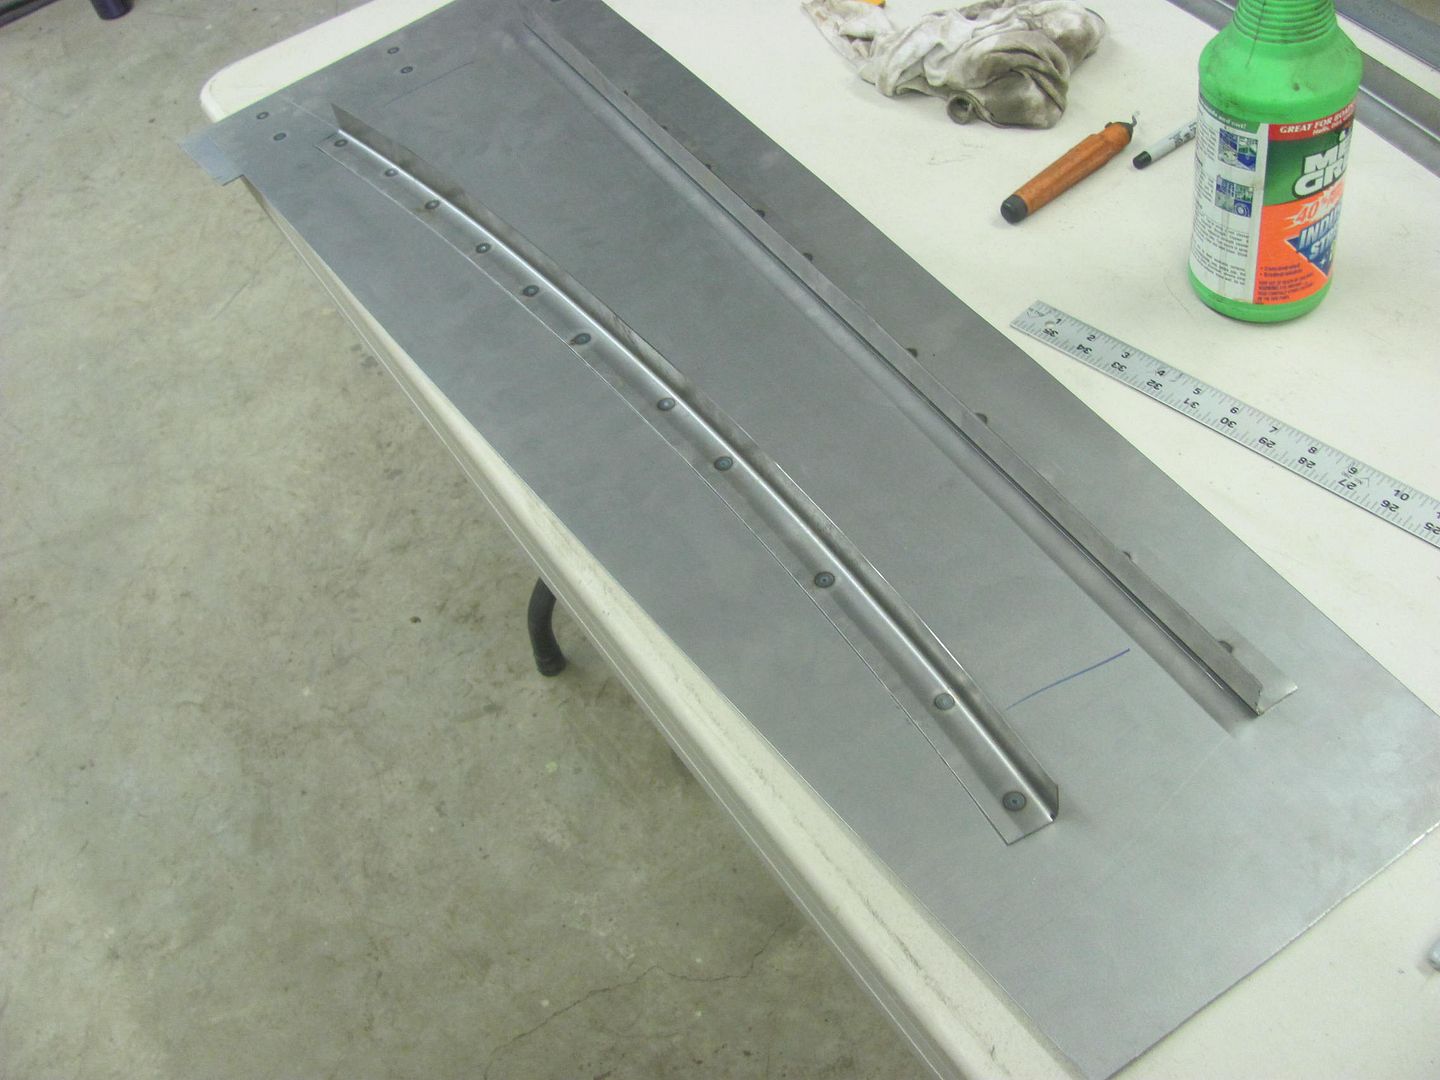
Had a early Chevy hood side show up at the shop tonight, the owner wanted a couple different versions of louver samples made up that he could hold against the hood on the car to better visualize. One style he was looking at lends from an early Alfa Romeo that extends the louvers onto the cowl, as shown in the green tape..
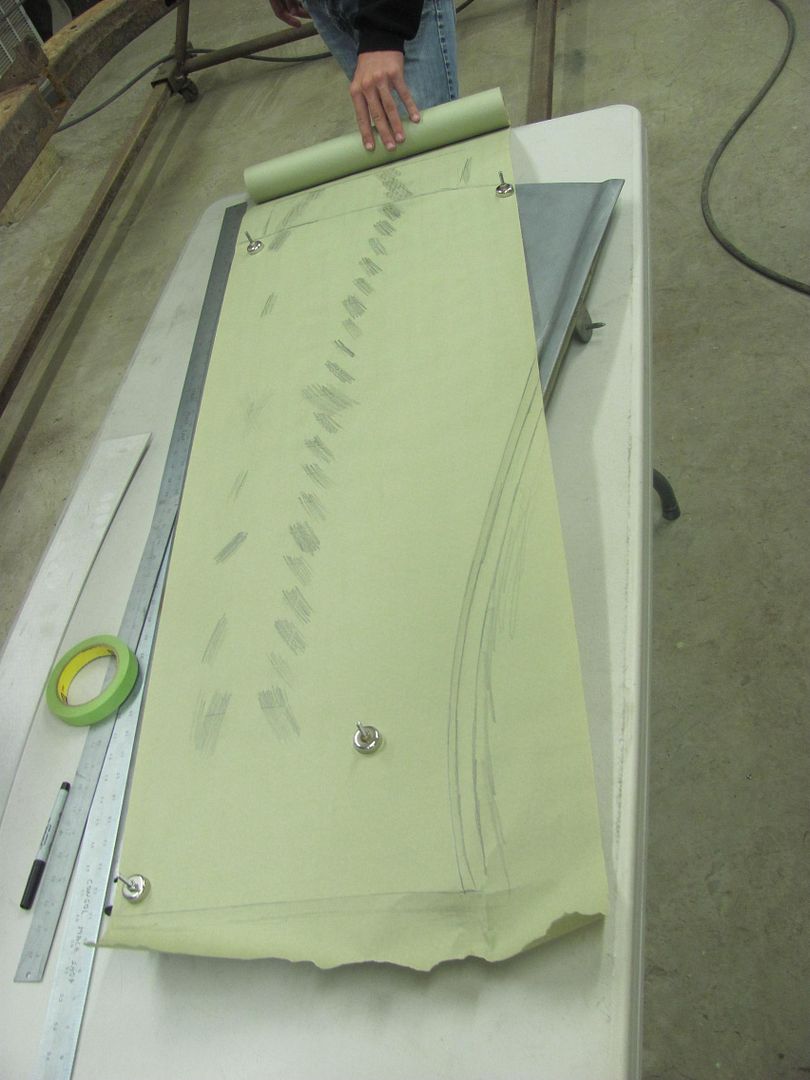
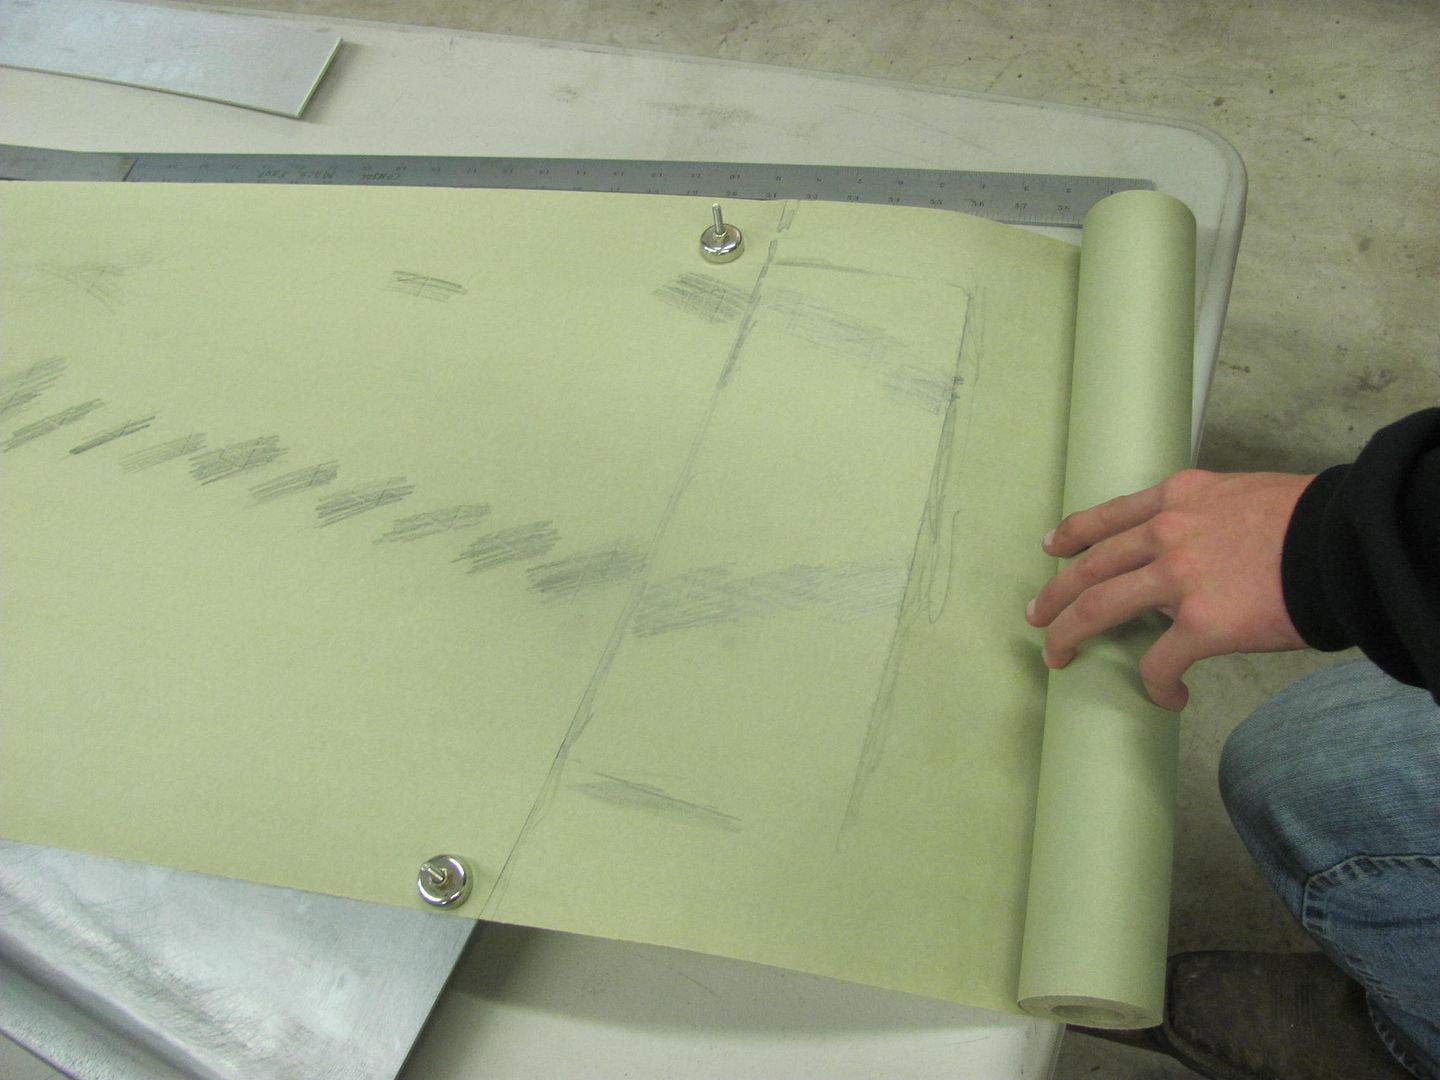
We took a paper pattern of the details so the hood side could go back with him to use as a pattern for the opposite side that still needs to be made.
Spot welded on some "end stops" for the louver die.....
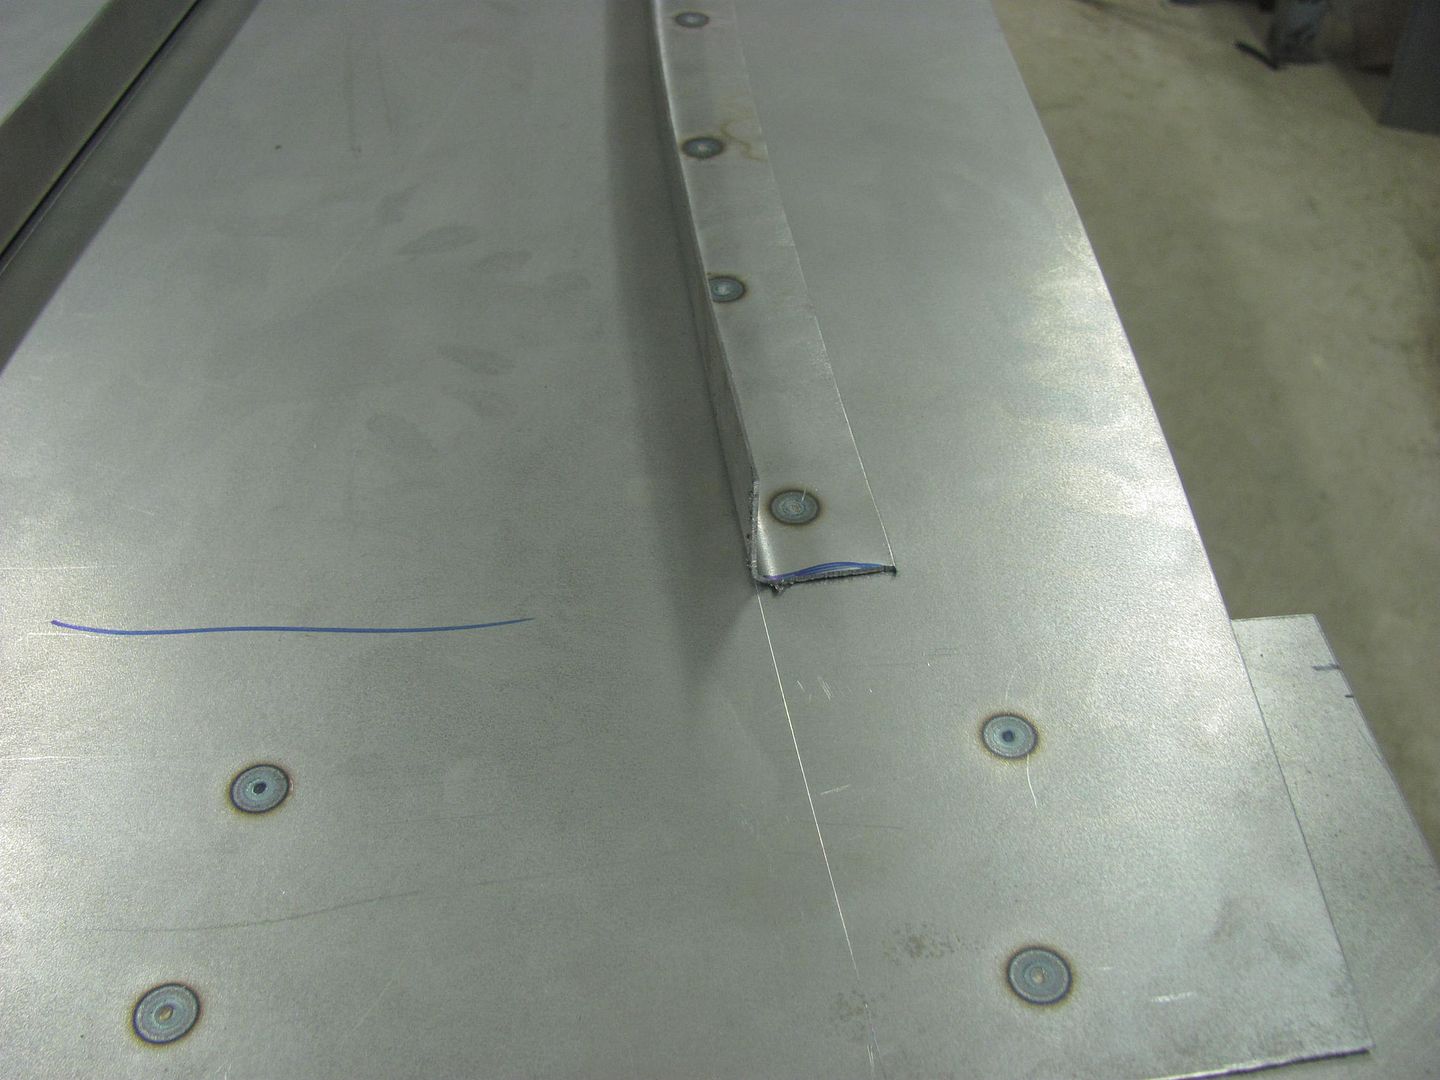
.....and a squared plate for the back gauge.
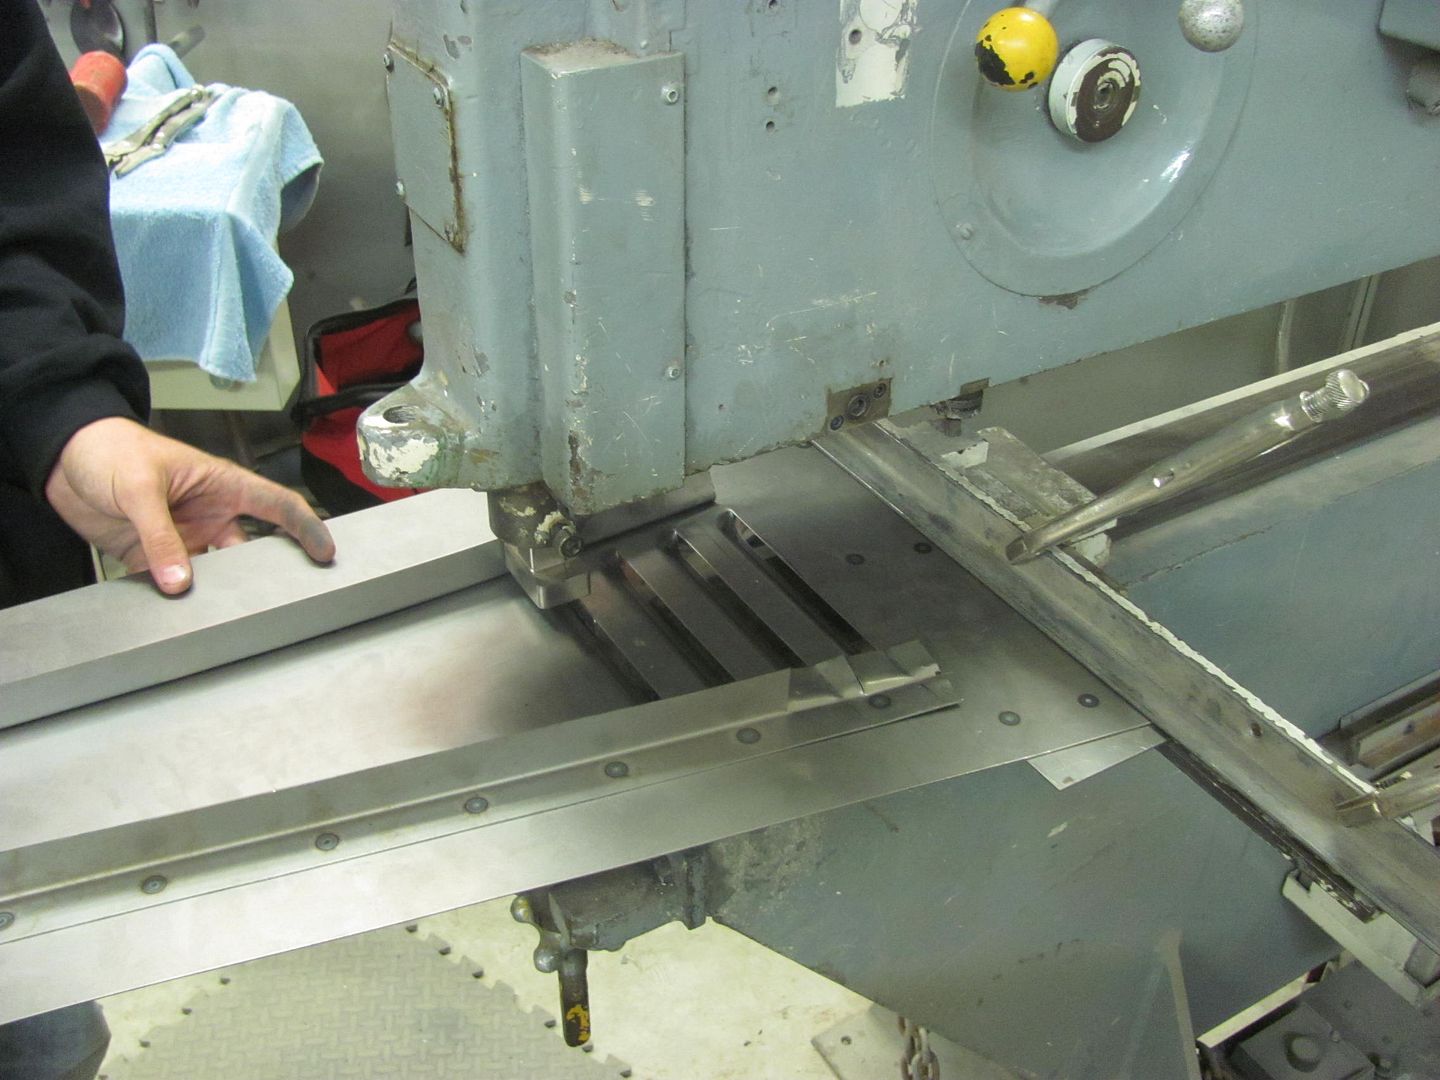
Louvers in the Lennox.....
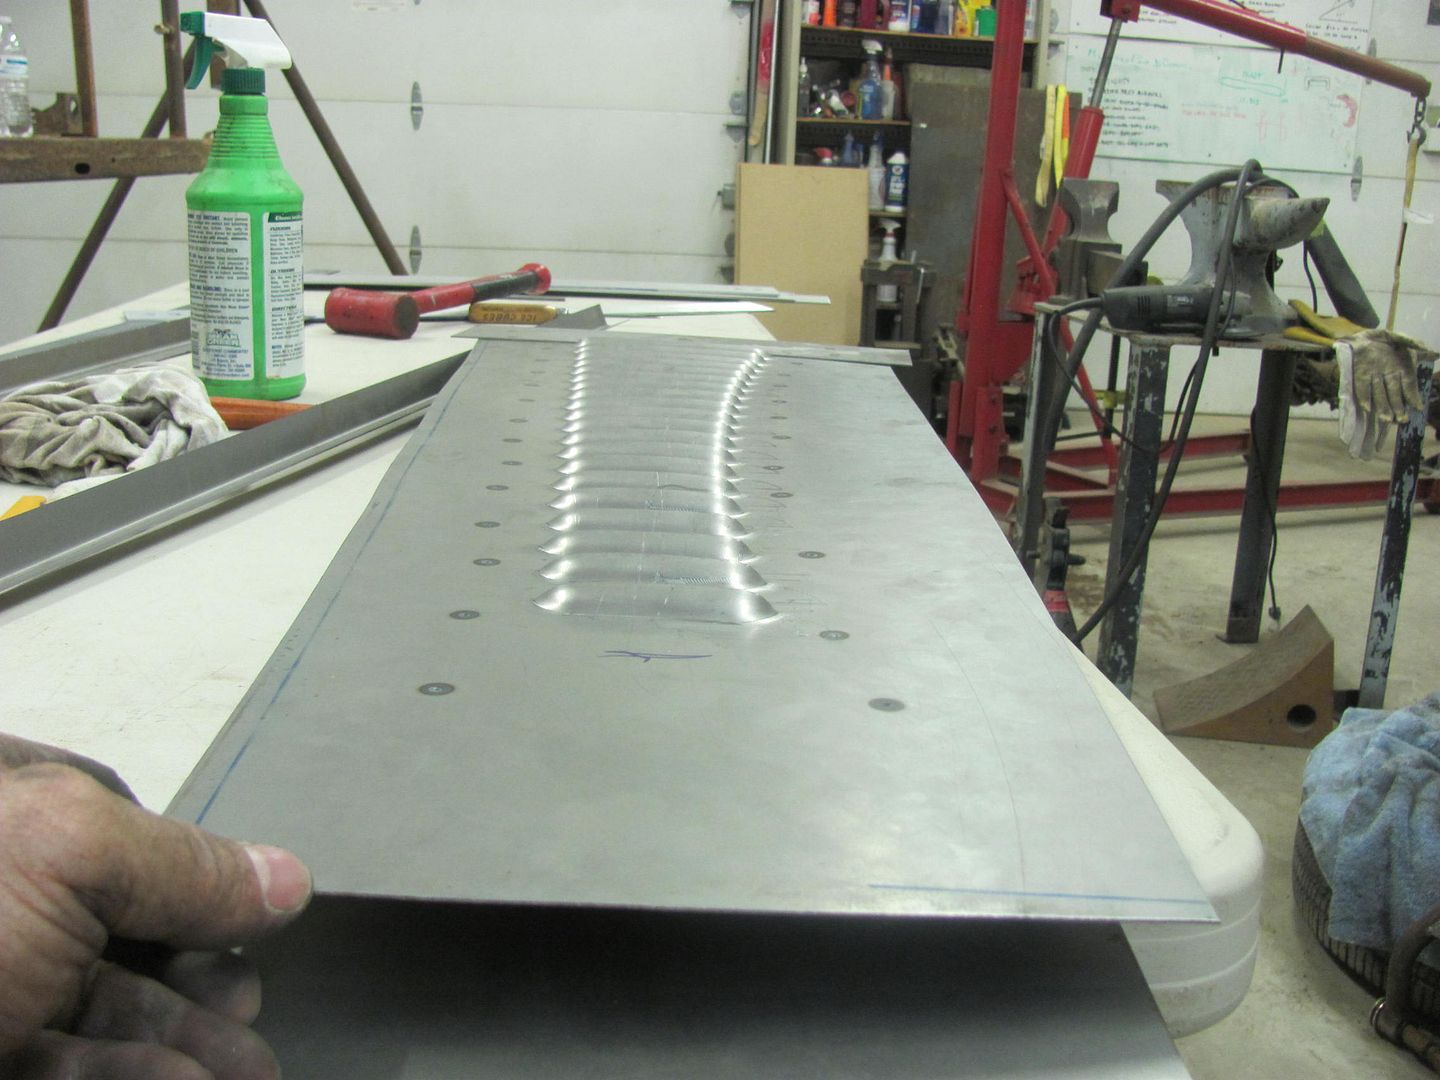
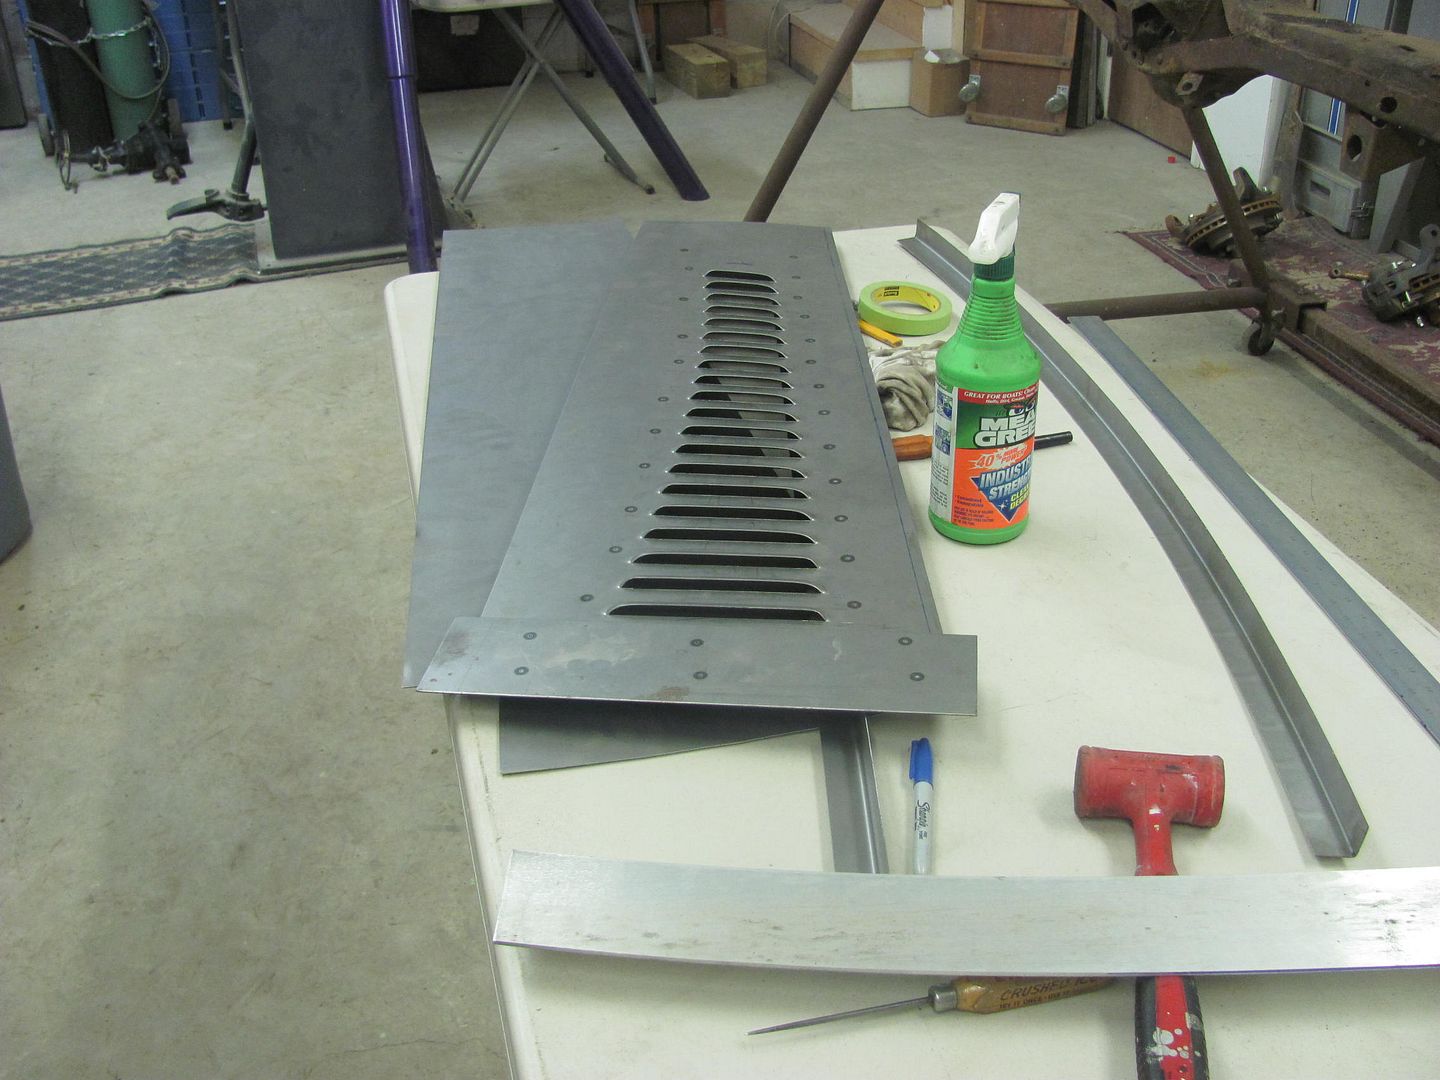
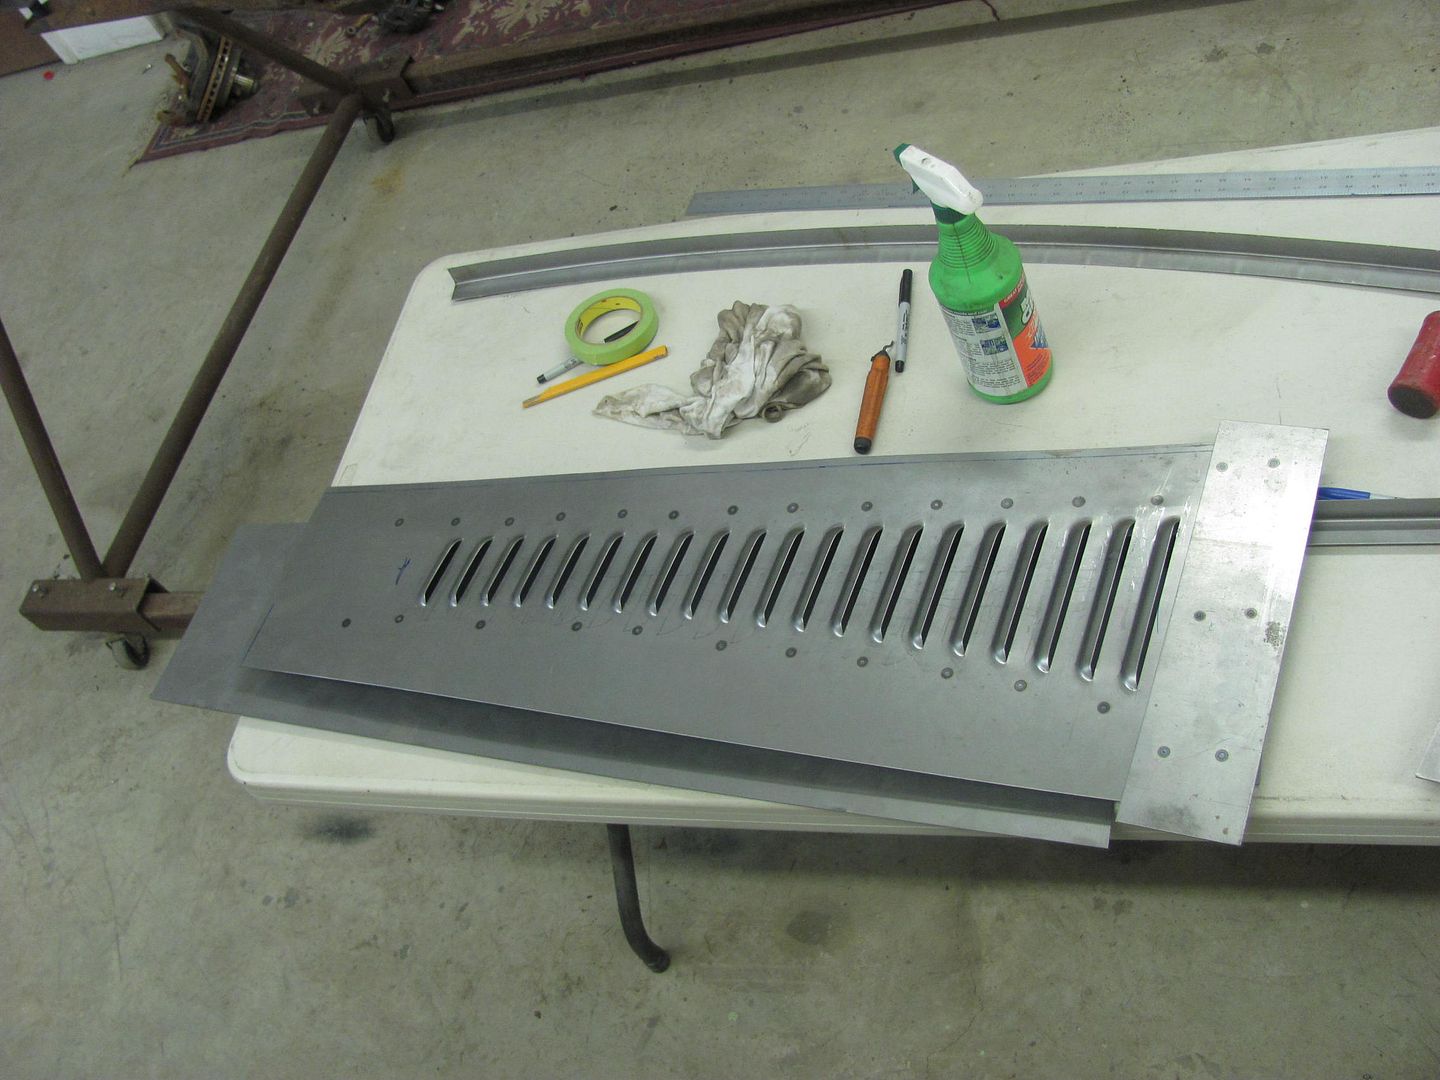
One sample down, one to go..Robert
-
11-03-2015 09:40 PM #629
That's very cool! I had never really thought about forming long louvers, and had no idea that they were done with a set of small dies, moved side to side. Makes perfect sense, but I'd assumed that one had to have a pair of dies for the louver to press it in one action, which makes no sense now that I've seen the actual process. Thanks once again for posting the pictures in sufficient detail to learn from.Roger
Enjoy the little things in life, and you may look back one day and realize that they were really the BIG things.
-
11-03-2015 11:09 PM #630
I'd only seen a picture of Von Dutch punching louvers, and I believe he used a large punch and die setup. Looks like the old analogy of skinning cats holds true yet again..
Education is expensive. Keep that in mind, and you'll never be terribly upset when a project goes awry.
EG


 3390Likes

 LinkBack URL
 About LinkBacks
 Reply With Quote

Right after I posted yesterday it was down again, I don't think it's getting better.
Where is everybody?