


 747Likes

Results 466 to 480 of 1004
 LinkBack URL
 About LinkBacks
-
01-14-2015 11:32 AM #466
 CHR Member

- Join Date
- Apr 2009
- Location
- watford
- Car Year, Make, Model: 26T Coupe, 32 Roadster, 41 Willys Coupe
- Posts
- 2,363
 Originally Posted by stovens

No need to add Steve, there should be a gap there so where I have marked it will be removed.
.Its aweful lonesome in the saddle since my horse died.
-
Advertising

- Google Adsense
- REGISTERED USERS DO NOT SEE THIS AD
-
01-14-2015 01:13 PM #467
CHR Member
- Join Date
- Oct 2007
- Location
- Petaluma
- Car Year, Make, Model: 48 Ford F1
- Posts
- 9,795
Got it!
"  "No matter where you go, there you are!" Steve.
-
01-14-2015 07:22 PM #468
CHR Member
- Join Date
- Jan 2006
- Location
- Constantine
- Car Year, Make, Model: 57 chevy 2 dr wagon
- Posts
- 9,476
The servo boost is used here but the one I had on my 57 1 ton dump was a different shape. It really worked great. I had to send it out for repairs one time so I put in a temp. line so I could drive the truck. I didn't get out my drive and returned couldn't stop the truck with out it.Charlie
Lovin' what I do and doing what I love
Some guys can fix broken NO ONE can fix STUPID
W8AMR
http://fishertrains94.webs.com/
Christian in training
-
01-17-2015 10:27 AM #469
CHR Member
- Join Date
- Apr 2009
- Location
- watford
- Car Year, Make, Model: 26T Coupe, 32 Roadster, 41 Willys Coupe
- Posts
- 2,363
Well I thought today's progress was scuppered when I looked out the window !!!
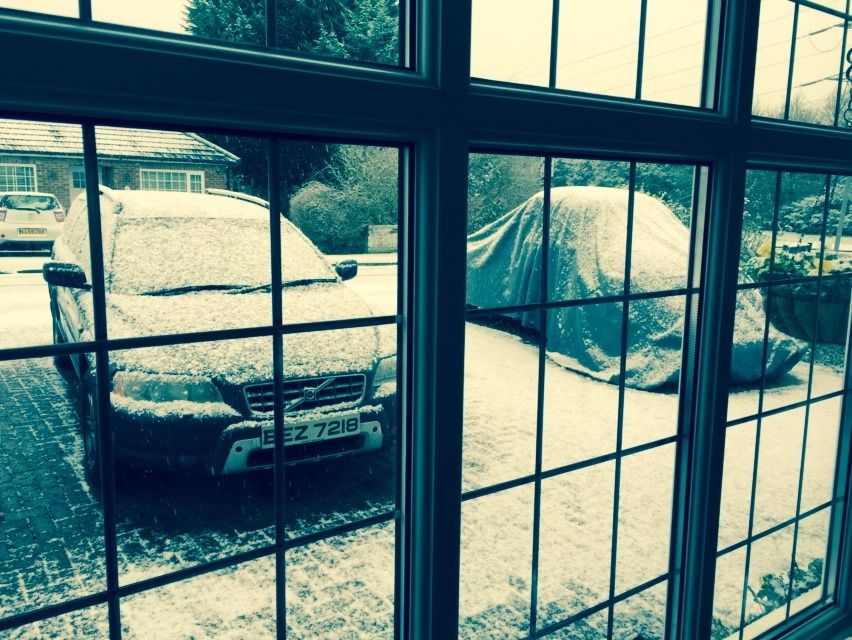
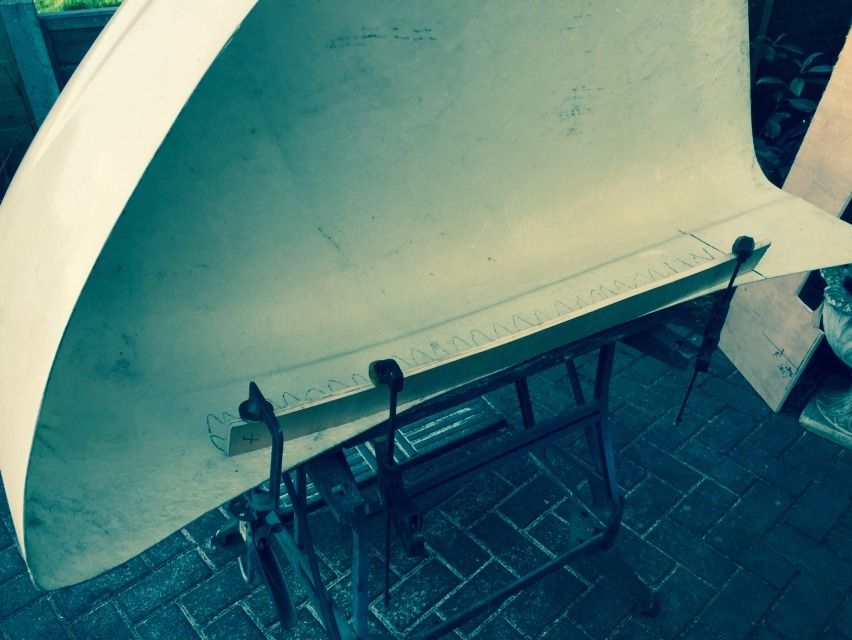
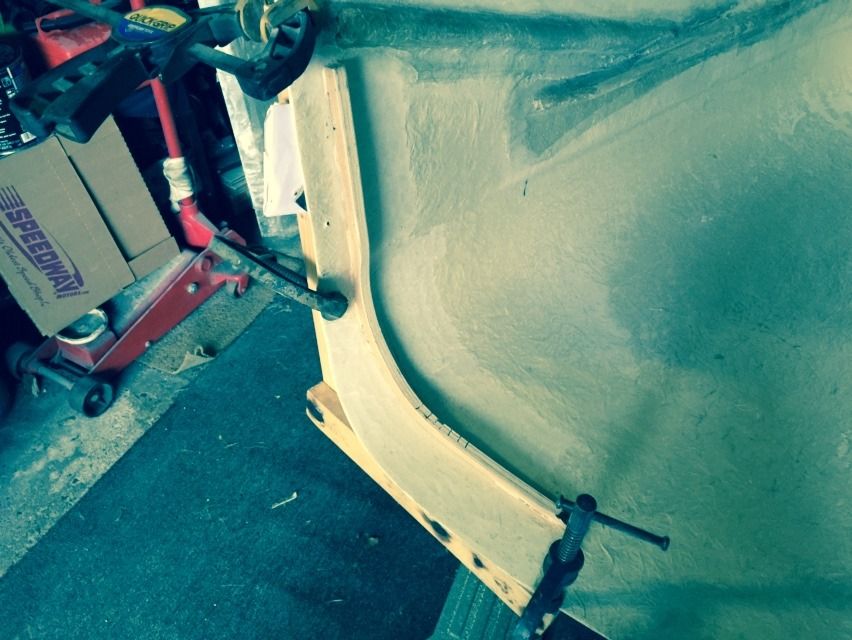
But luckily the sun came out at 10am and melted it all Anyway today was mostly fibreglassing, first thing was to get the hood sorted, the sides flatten slightly when moulded and they should have a barrel shape to them, just the way it is with glass, but its easily sorted
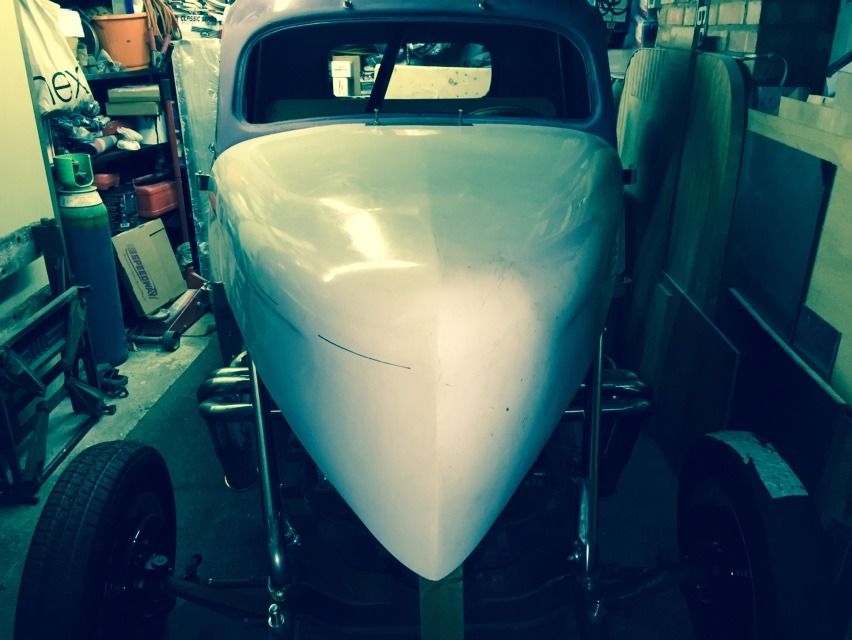
Heres a couple of pics where the shape can be seen or not seen depending on which one your looking at the first is my coupe
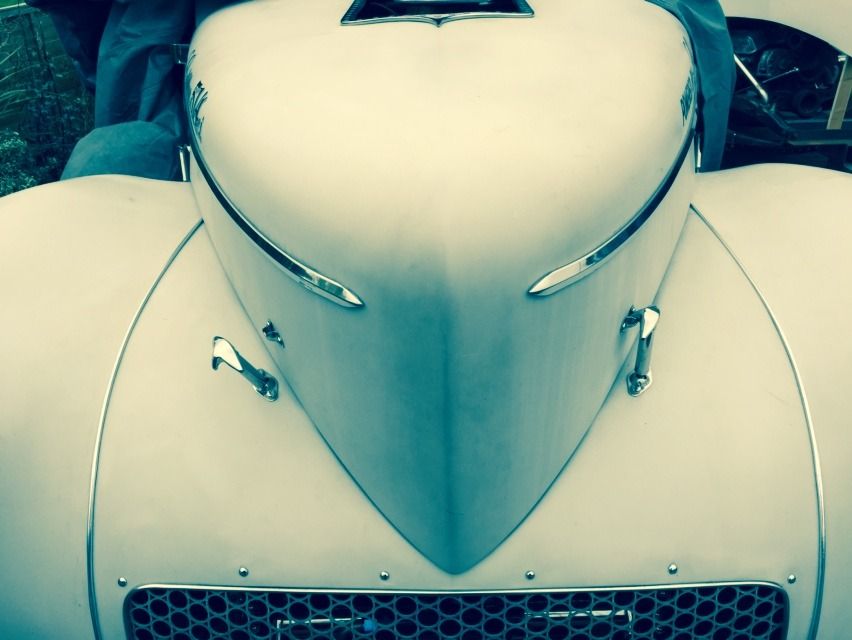
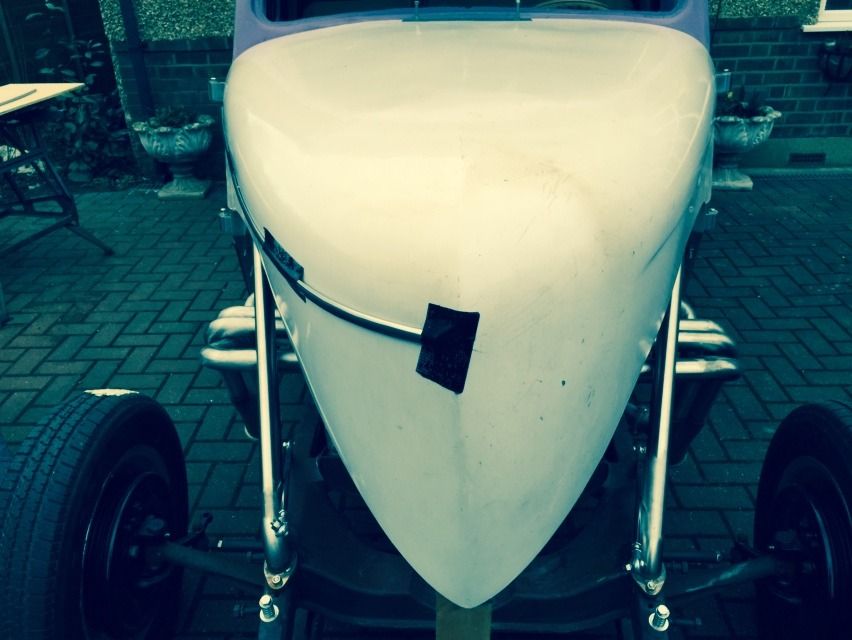
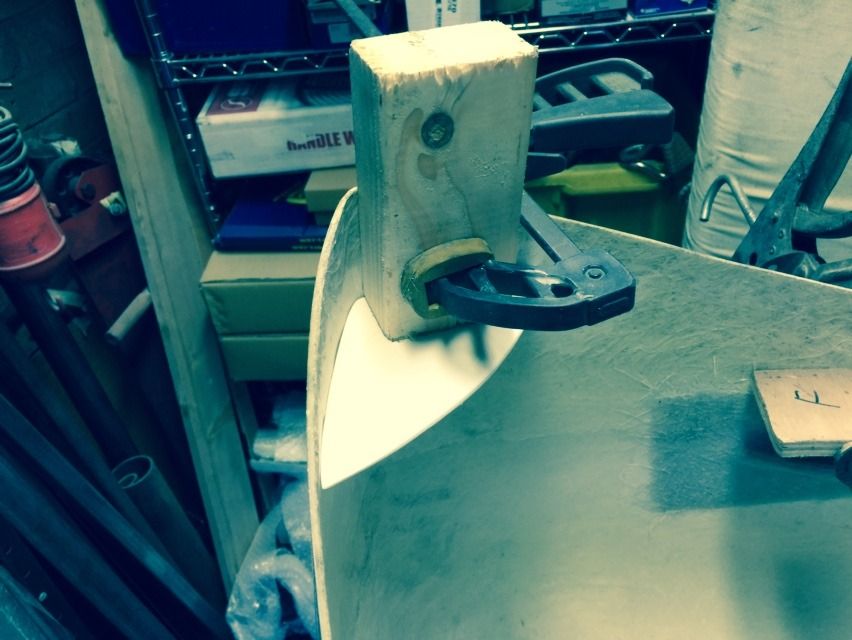
The solution is to bond in 2 thin strips of ply to bring the barrel shape back.
First I used a piece of aluminum fuel pipe to copy the curve, then I traced it onto some ply.
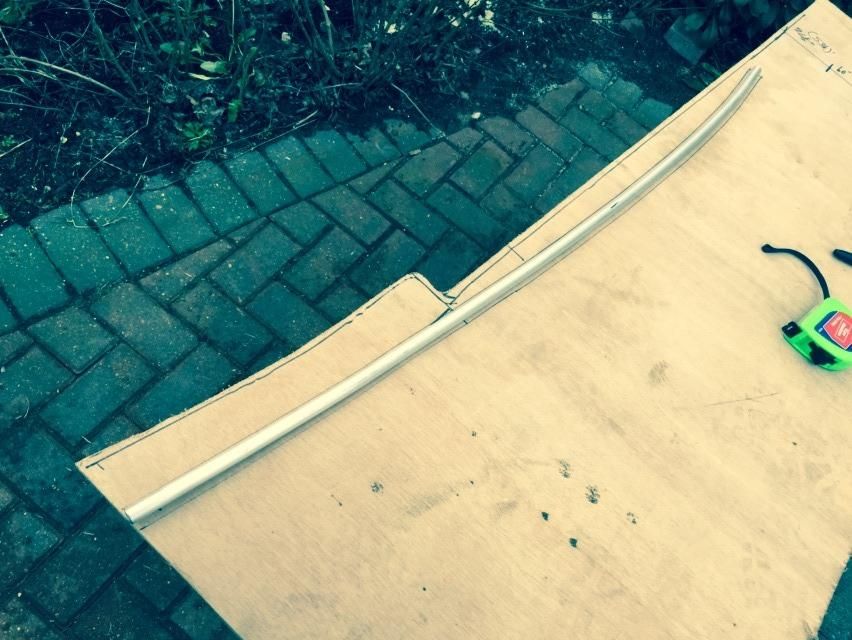
Then I cut 2 thin strips out, a third much thicker strip was cut to form the curve for clamping.

Next it was clamped in place and the bonding area marked for keying (its tricky on white to see where you have been)
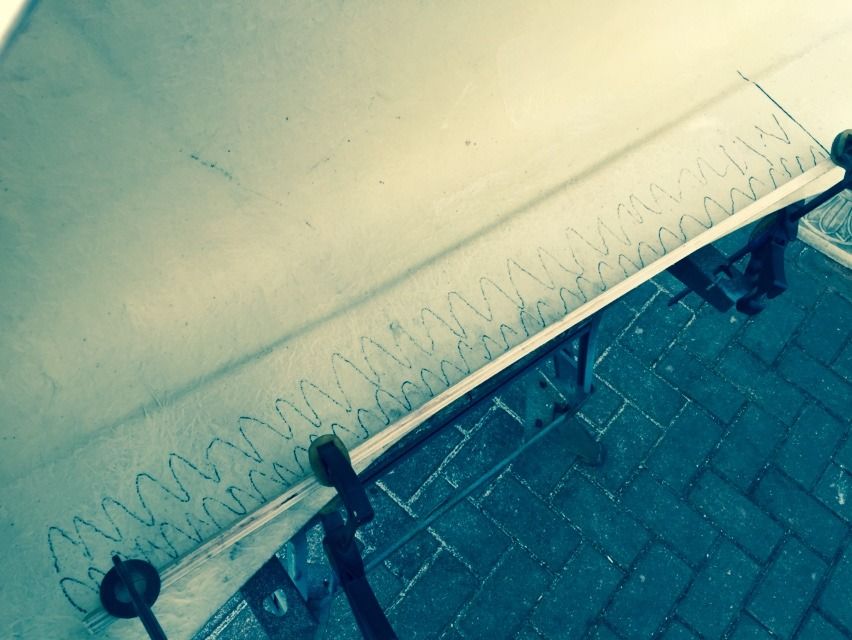
The thin strip is held in place with a few blobs of body filler

Here the strips are bonded in but still green
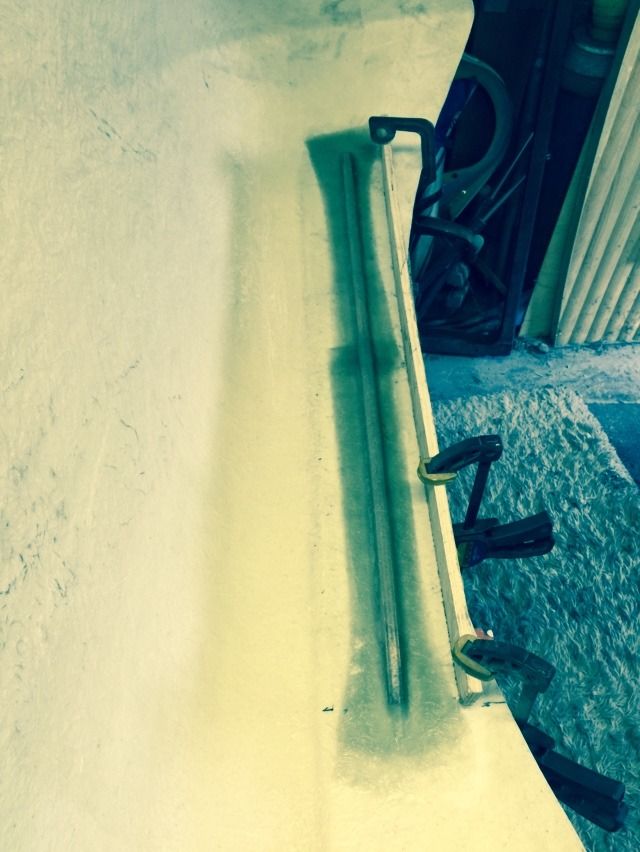
Here you can see the shape in the correct profile
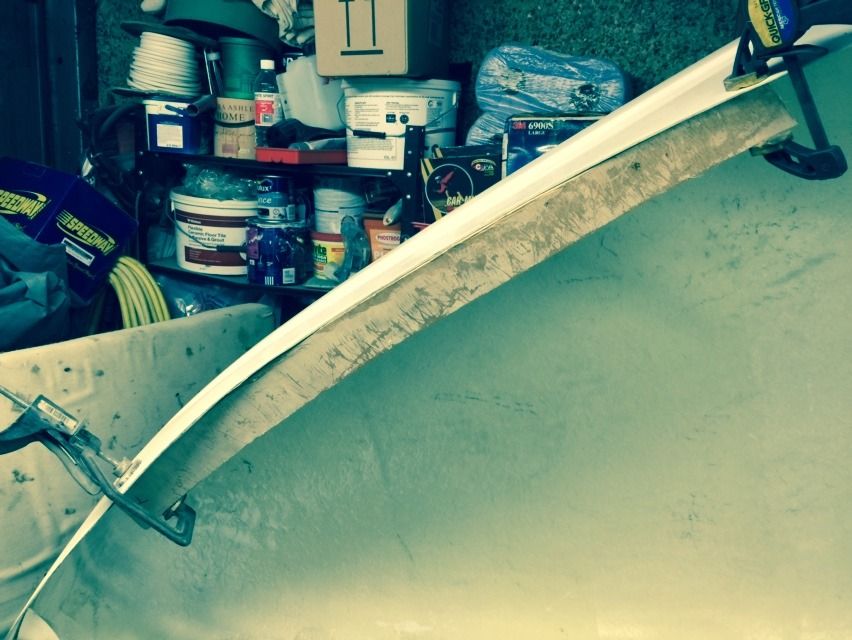
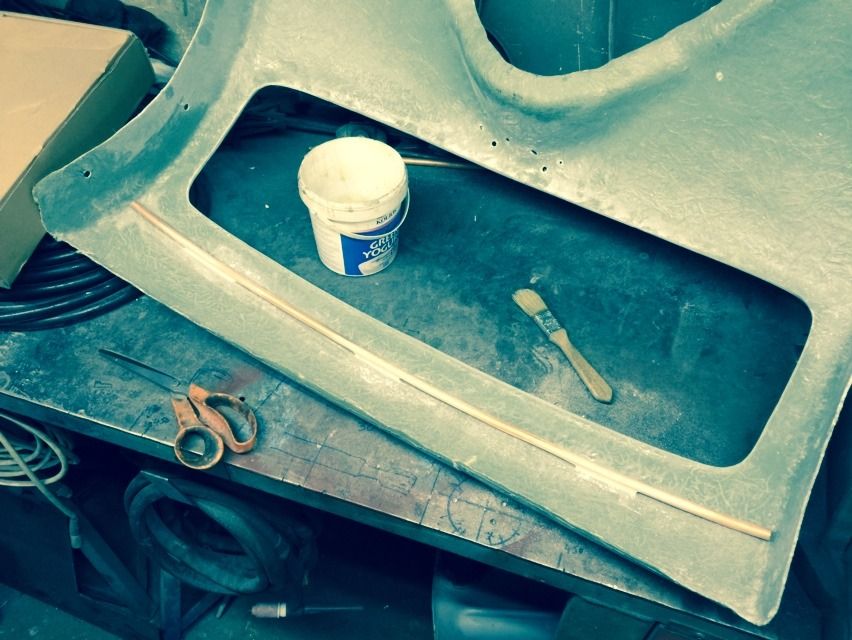
While the strips were kicking off I decided to glass in a hood lock panel, a piece of offcut glass was cut to shape and held in place with a blob of body filler.

Here's the hood back on the car.
.Its aweful lonesome in the saddle since my horse died.
-
01-17-2015 01:24 PM #470
CHR Member
- Join Date
- Oct 2007
- Location
- Petaluma
- Car Year, Make, Model: 48 Ford F1
- Posts
- 9,795
Looks like a much better fit now. Nice solution!" "No matter where you go, there you are!" Steve.
-
01-18-2015 03:43 AM #471
CHR Member
- Join Date
- Apr 2009
- Location
- watford
- Car Year, Make, Model: 26T Coupe, 32 Roadster, 41 Willys Coupe
- Posts
- 2,363
yes steve cheers, Some don't bother and then have trouble fitting the fenders etc etc and then moan about the fit up !!! Originally Posted by stovens
If you look at the fenders there is a curved lip which the hood fits over, If the hood isnt curved it won't fit correctly.
The step by step posting is to help others, saves me writing a manual
.Its aweful lonesome in the saddle since my horse died.
-
01-26-2015 12:00 PM #472
CHR Member
- Join Date
- Apr 2009
- Location
- watford
- Car Year, Make, Model: 26T Coupe, 32 Roadster, 41 Willys Coupe
- Posts
- 2,363
A bit more progress, Saturday was flipping freezing here but I got a little more done, first job was to finish off the footwell strengthener on the passenger side, I had tacked it up but couldn't finish weld it as gas had run out. Also finish welded the cage bar.
Next up was to try and get the front fenders mounted, not the easiest job to do in the wind on your own but I got the rear mounts buttoned up eventually but had to stop until I get someone else to hold them while i drill holes.
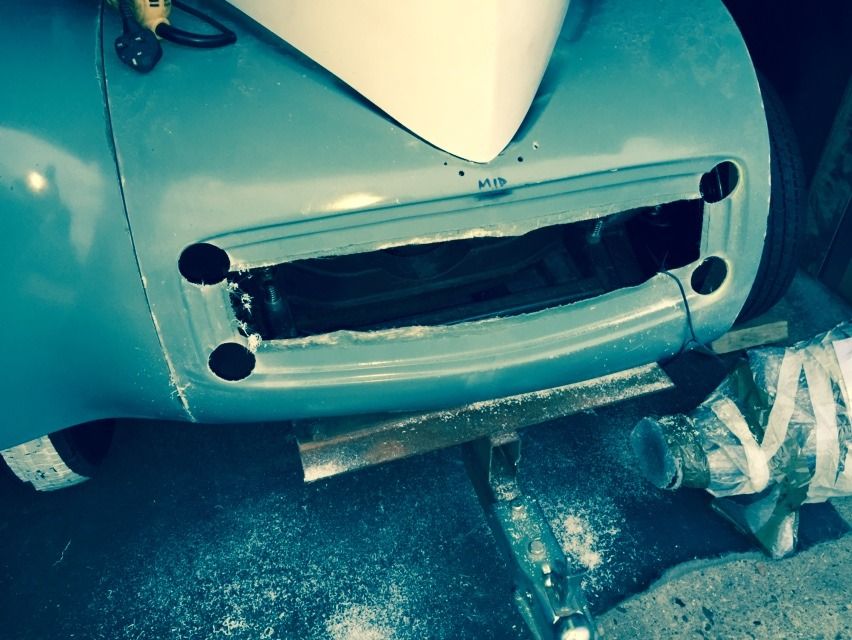
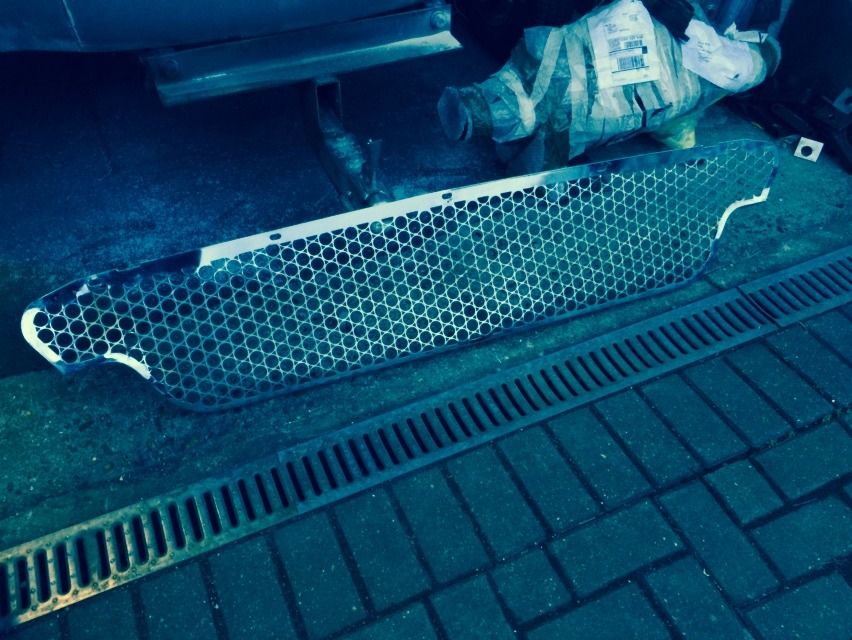
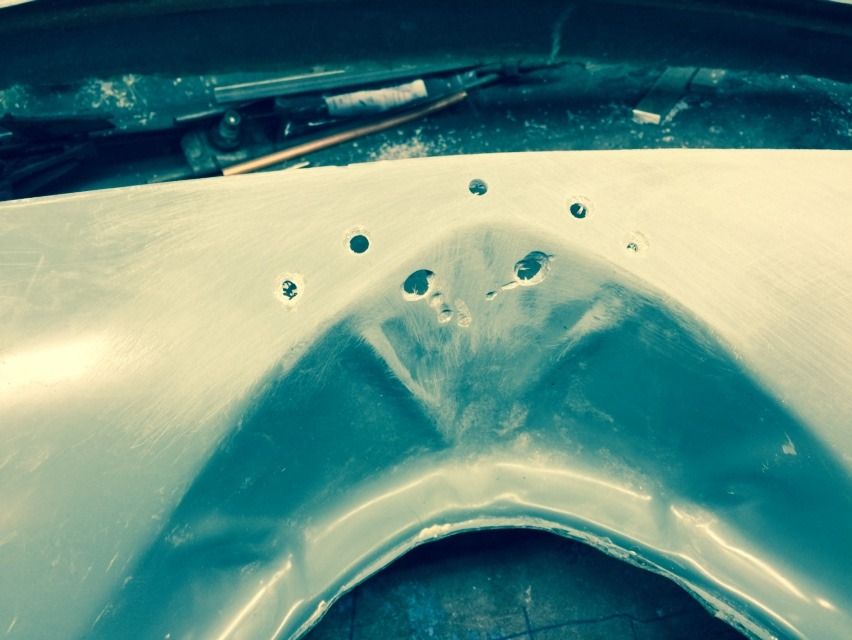
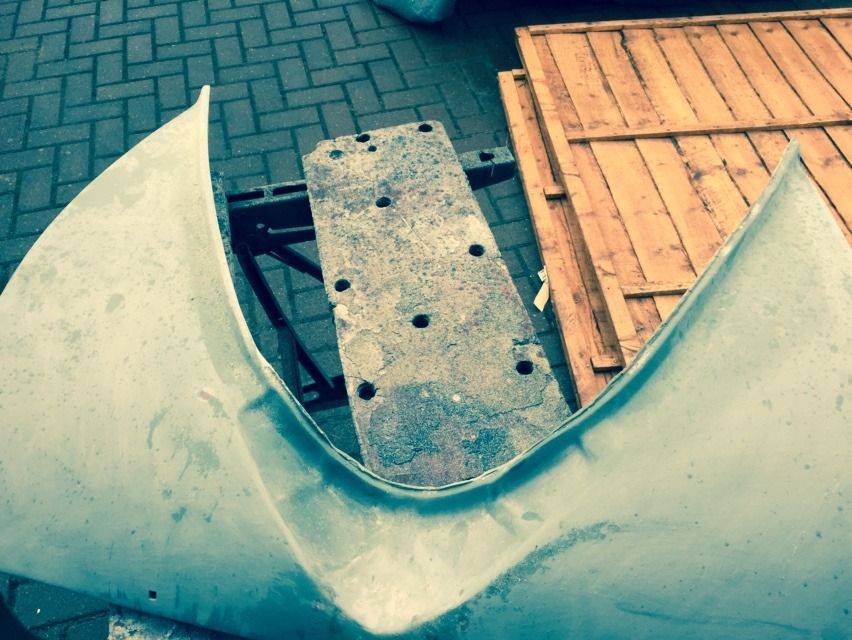
Next up I decided to cut out the grille opening to take the original Fairlane grill, I have 2 of these and never realised they are not all made in aluminium as my spare one is steel.
First I cut the rounded corners with a holesaw, then joined up the holes with a thin cutting wheel in a grinder, next finished the edge with a bit of 80 grit wrapped around a block.

.Last edited by roadster32; 01-26-2015 at 12:02 PM.
Its aweful lonesome in the saddle since my horse died.
-
01-26-2015 12:03 PM #473
CHR Member/Contributor
- Join Date
- Sep 2007
- Location
- Gardner, KS
- Car Year, Make, Model: '33 HiBoy Coupe, '32 HiBoy Roadster
- Posts
- 11,245
Found another '58 Ford grille!Roger
Enjoy the little things in life, and you may look back one day and realize that they were really the BIG things.
-
01-26-2015 12:08 PM #474
CHR Member
- Join Date
- Apr 2009
- Location
- watford
- Car Year, Make, Model: 26T Coupe, 32 Roadster, 41 Willys Coupe
- Posts
- 2,363
Originally Posted by rspears
Got 2 actually Roger, paid $80 each for them, one is aluminium and the other chromed steel, I thought they were all aluminium ???
.Its aweful lonesome in the saddle since my horse died.
-
01-27-2015 11:32 AM #475
CHR Member
- Join Date
- Apr 2009
- Location
- watford
- Car Year, Make, Model: 26T Coupe, 32 Roadster, 41 Willys Coupe
- Posts
- 2,363
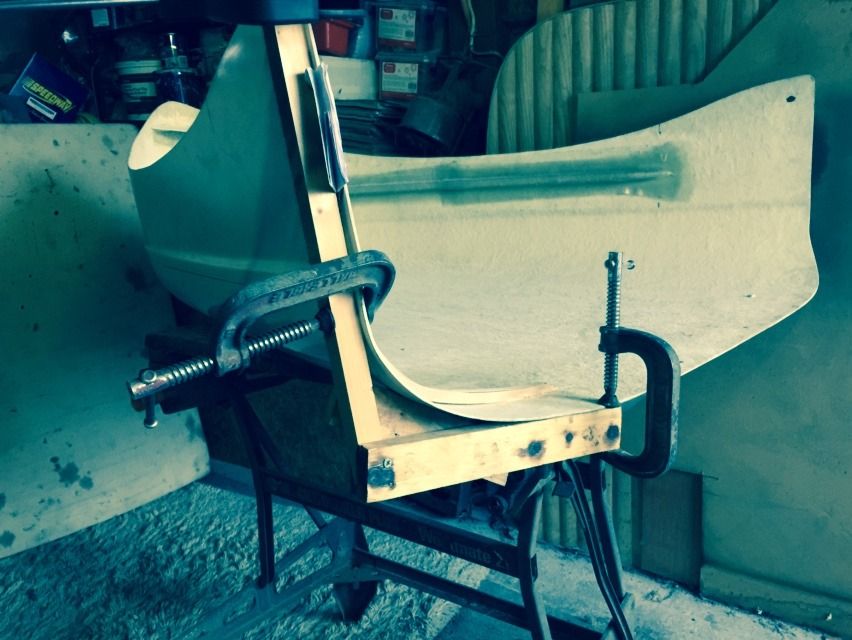
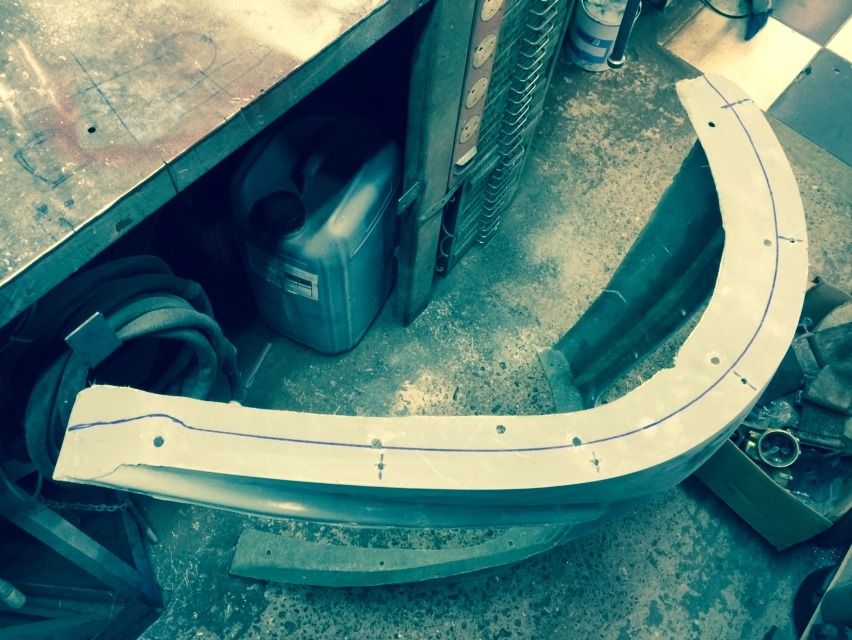
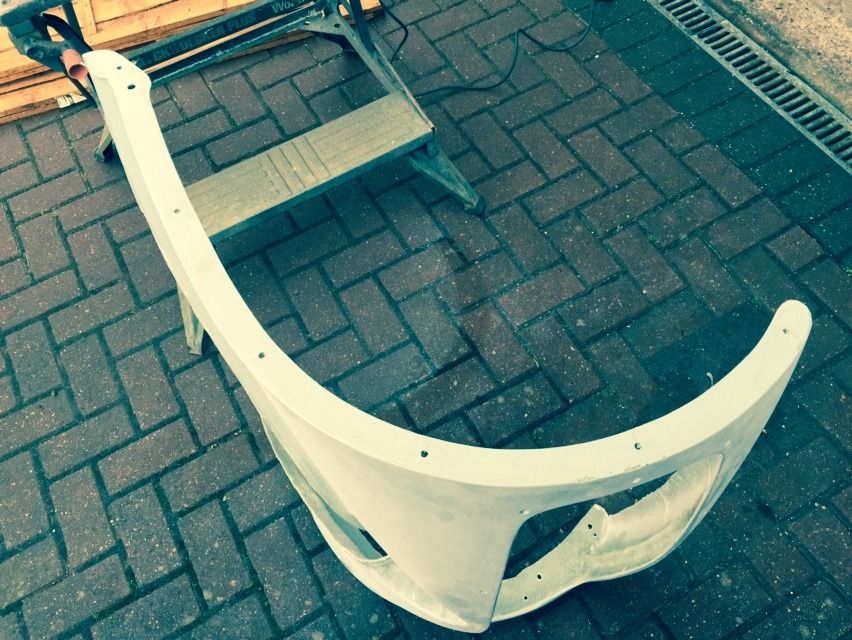
The rear sides of hood were slightly flexy so made up these stiffeners in ply and glassed them into position, spot on now . A simple frame was made in wood to hold the position once off the car.
.Its aweful lonesome in the saddle since my horse died.
-
01-28-2015 05:28 PM #476
CHR Member
- Join Date
- Apr 2011
- Location
- Prairie City
- Car Year, Make, Model: 40 Ford Deluxe, 68 Corvette, 72&76 K30
- Posts
- 7,301
- Blog Entries
- 1
Great work. Thanks for taking the time to show these steps you use to make fit and finish much better and proper.Ryan
1940 Ford Deluxe Tudor 354 Hemi 46RH Electric Blue w/multi-color flames, Ford 9" Residing in multiple pieces
1968 Corvette Coupe 5.9 Cummins Drag Car 11.43@130mph No stall leaving the line with 1250 rpm's and poor 2.2 60'
1972 Chevy K30 Longhorn P-pumped 24v Compound Turbos 47RH Just another money pit
1971 Camaro RS 5.3 BTR Stage 3 cam, SuperT10
Tire Sizes
-
01-31-2015 09:48 AM #477
CHR Member
- Join Date
- Apr 2009
- Location
- watford
- Car Year, Make, Model: 26T Coupe, 32 Roadster, 41 Willys Coupe
- Posts
- 2,363
Had a good day today and got lots done, its been bleeding cold and wet too this morning but hey I gotta get this done !!! So overalls and coat on and lets get out there
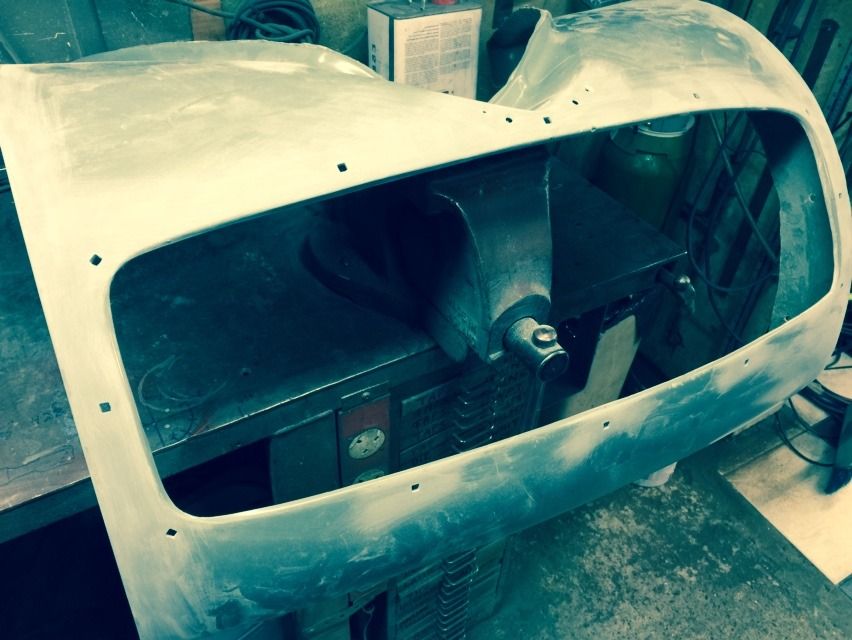
First job was to glass a bit of strength back in the front panel as enlarging the grille opening took away some of its strength, I use a bit of 3/8" copper pipe and put 2 layers of matt over it, done the job perfectly.
I'm using some front panels that a customer returned as they didn't like the fit, odd as its fine on mine. Unfortunately they had drilled loads of odd holes in them so had to reglass these first, pain in the arse !!!
We supply the panels with a generous flange on them but I prefer to cut it down, looks neater, so they were all trimmed to suit.
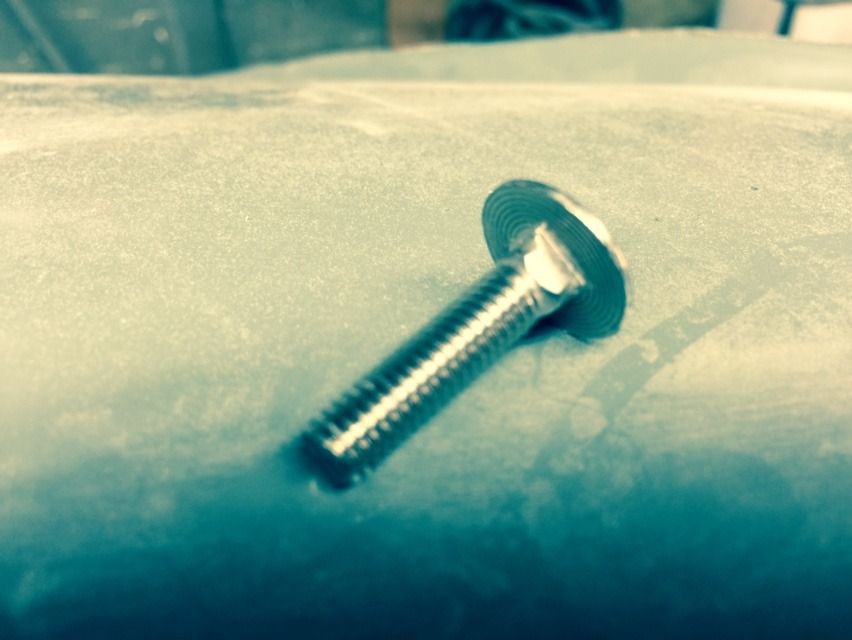
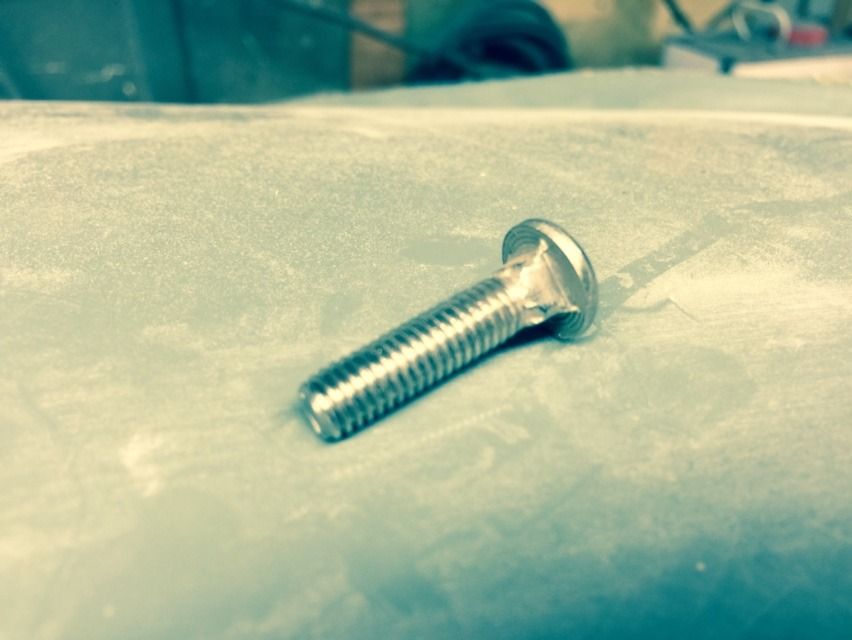
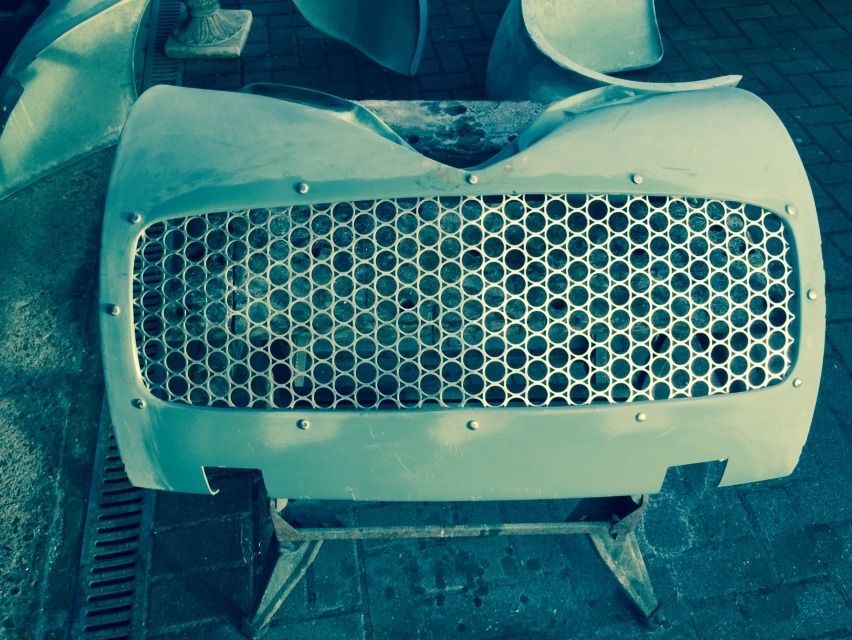
While the glass was kicking off I drilled the holes to hold the grill insert into place, following the rivet theme on the car a few stainless coach bolts gave up their life to become rivet bolts
The next hour was spent outside making dust !!! All the trimmed edges had to be sanded back and made smooth
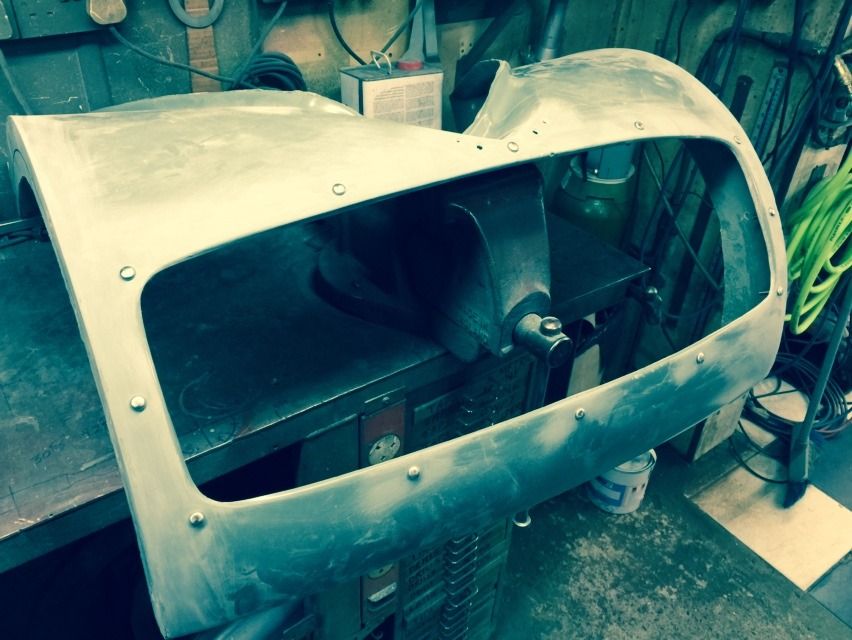
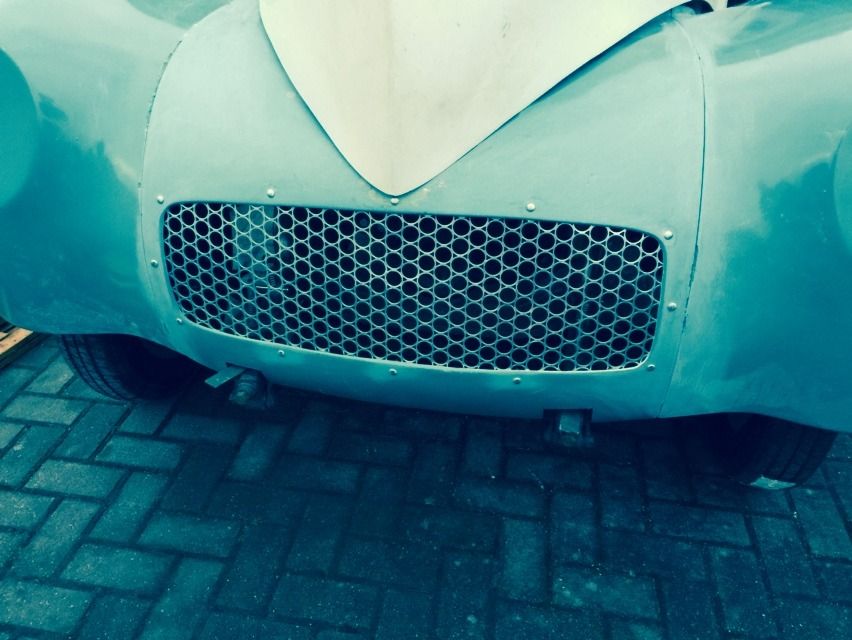
Next I trimmed the 58 Ford grill to fit the front panel and bolted it in, I will make a finisher for the edge later as got no stainless round bar the right size")
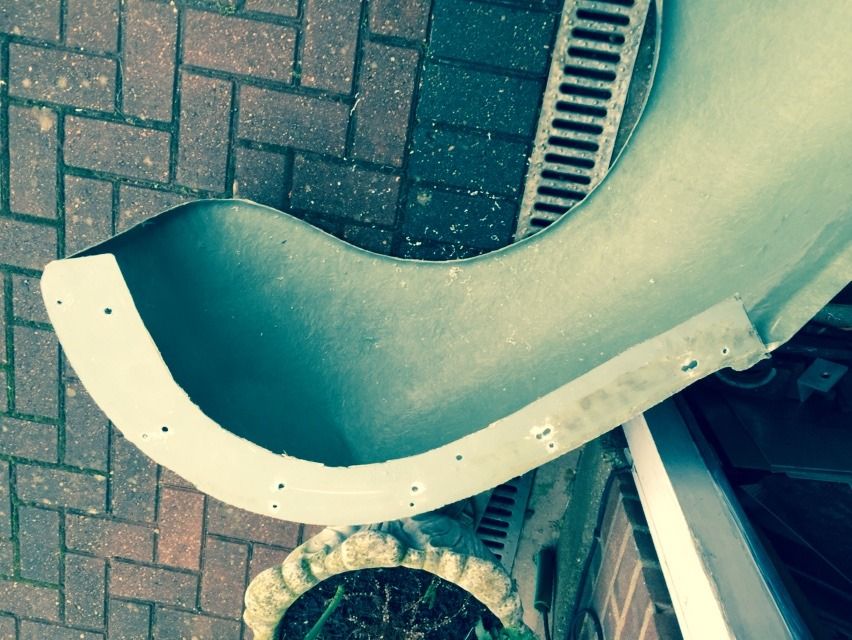
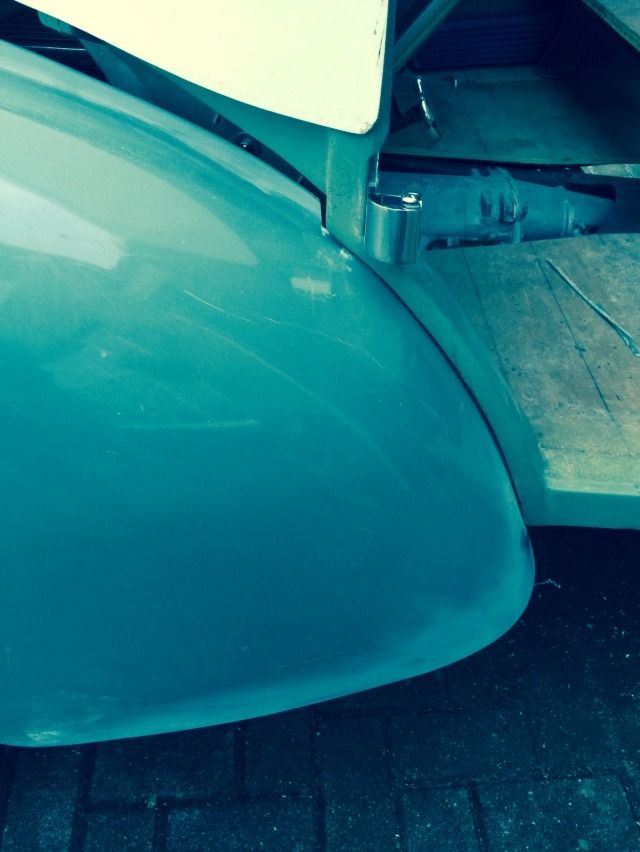
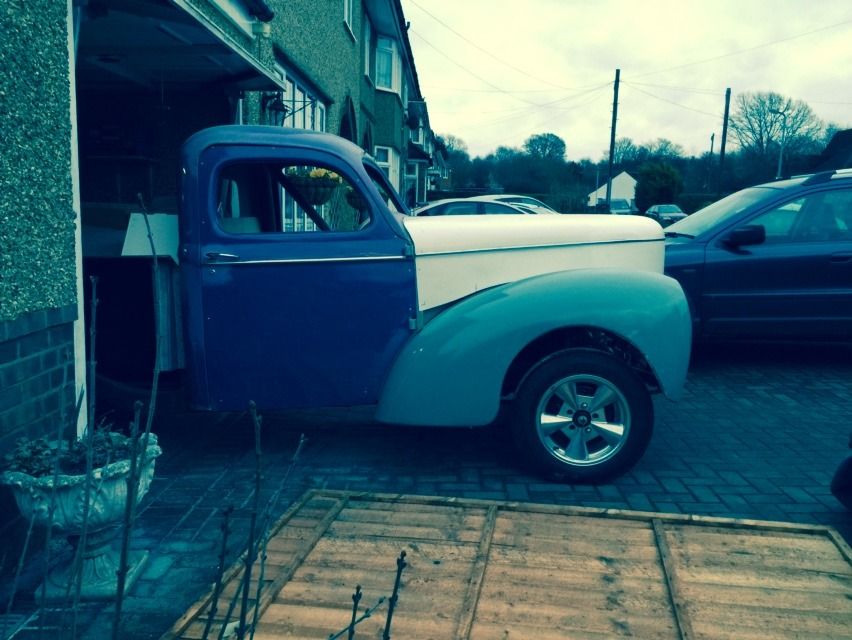
I thought I would post this pic for anyone struggling to fit the front fenders, they are not the easiest things to fit but if you look at this pic it shows how the should sit at the rear.
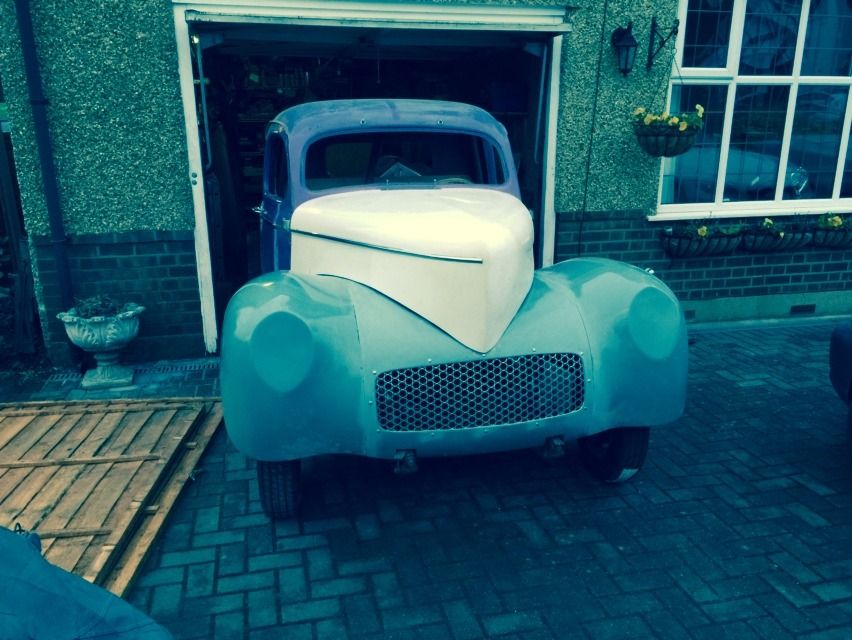
I got the fenders and front panel bolted together and then bolted on the body at the rear, its all propped up with bits of wood at the moment but you get the look
.Its aweful lonesome in the saddle since my horse died.
-
02-03-2015 12:45 PM #478
CHR Member
- Join Date
- Apr 2011
- Location
- Prairie City
- Car Year, Make, Model: 40 Ford Deluxe, 68 Corvette, 72&76 K30
- Posts
- 7,301
- Blog Entries
- 1
It's looking great. Do your neighbors ever get hostile with your line of work?
Ryan
1940 Ford Deluxe Tudor 354 Hemi 46RH Electric Blue w/multi-color flames, Ford 9" Residing in multiple pieces
1968 Corvette Coupe 5.9 Cummins Drag Car 11.43@130mph No stall leaving the line with 1250 rpm's and poor 2.2 60'
1972 Chevy K30 Longhorn P-pumped 24v Compound Turbos 47RH Just another money pit
1971 Camaro RS 5.3 BTR Stage 3 cam, SuperT10
Tire Sizes
-
02-03-2015 02:29 PM #479
CHR Member
- Join Date
- Apr 2004
- Location
- Little Elm
- Car Year, Make, Model: 34 Ford Low Boy w/ZZ430 Clone
- Posts
- 3,890
You do more work in less space than anyone I know.Jack
Gone to Texas
-
02-04-2015 12:57 AM #480
CHR Member
- Join Date
- Apr 2009
- Location
- watford
- Car Year, Make, Model: 26T Coupe, 32 Roadster, 41 Willys Coupe
- Posts
- 2,363
No never had a problem, I don't make much noise, only got a neighbour on one side and he shows an interest. Originally Posted by 40FordDeluxe
.Its aweful lonesome in the saddle since my horse died.
 Reply With Quote


Posting Permissions
- You may not post new threads
- You may not post replies
- You may not post attachments
- You may not edit your posts

i've enjoyed the years here . made a lot of friends. most who have left. i see no reason to continue with this so hope to see you somewhere else. i dont think this site will ever be back. it's lived...
Dead!