


 747Likes

Results 481 to 495 of 1004
 LinkBack URL
 About LinkBacks
-
02-04-2015 01:02 AM #481
 CHR Member

- Join Date
- Apr 2009
- Location
- watford
- Car Year, Make, Model: 26T Coupe, 32 Roadster, 41 Willys Coupe
- Posts
- 2,363
Do you know Jack I get asked all the time how I work in such small areas and my reply is always it's not the size but how you use it Originally Posted by Henry Rifle


Even my proper workshop isn't massive, just enough space to work on 2 cars but hey you learn to work with what you have !!!
In my opinion anyone building a car must be fully committed to see it through to the end.
.Its aweful lonesome in the saddle since my horse died.
-
Advertising

- Google Adsense
- REGISTERED USERS DO NOT SEE THIS AD
-
02-07-2015 04:58 AM #482
CHR Member
- Join Date
- Apr 2009
- Location
- watford
- Car Year, Make, Model: 26T Coupe, 32 Roadster, 41 Willys Coupe
- Posts
- 2,363
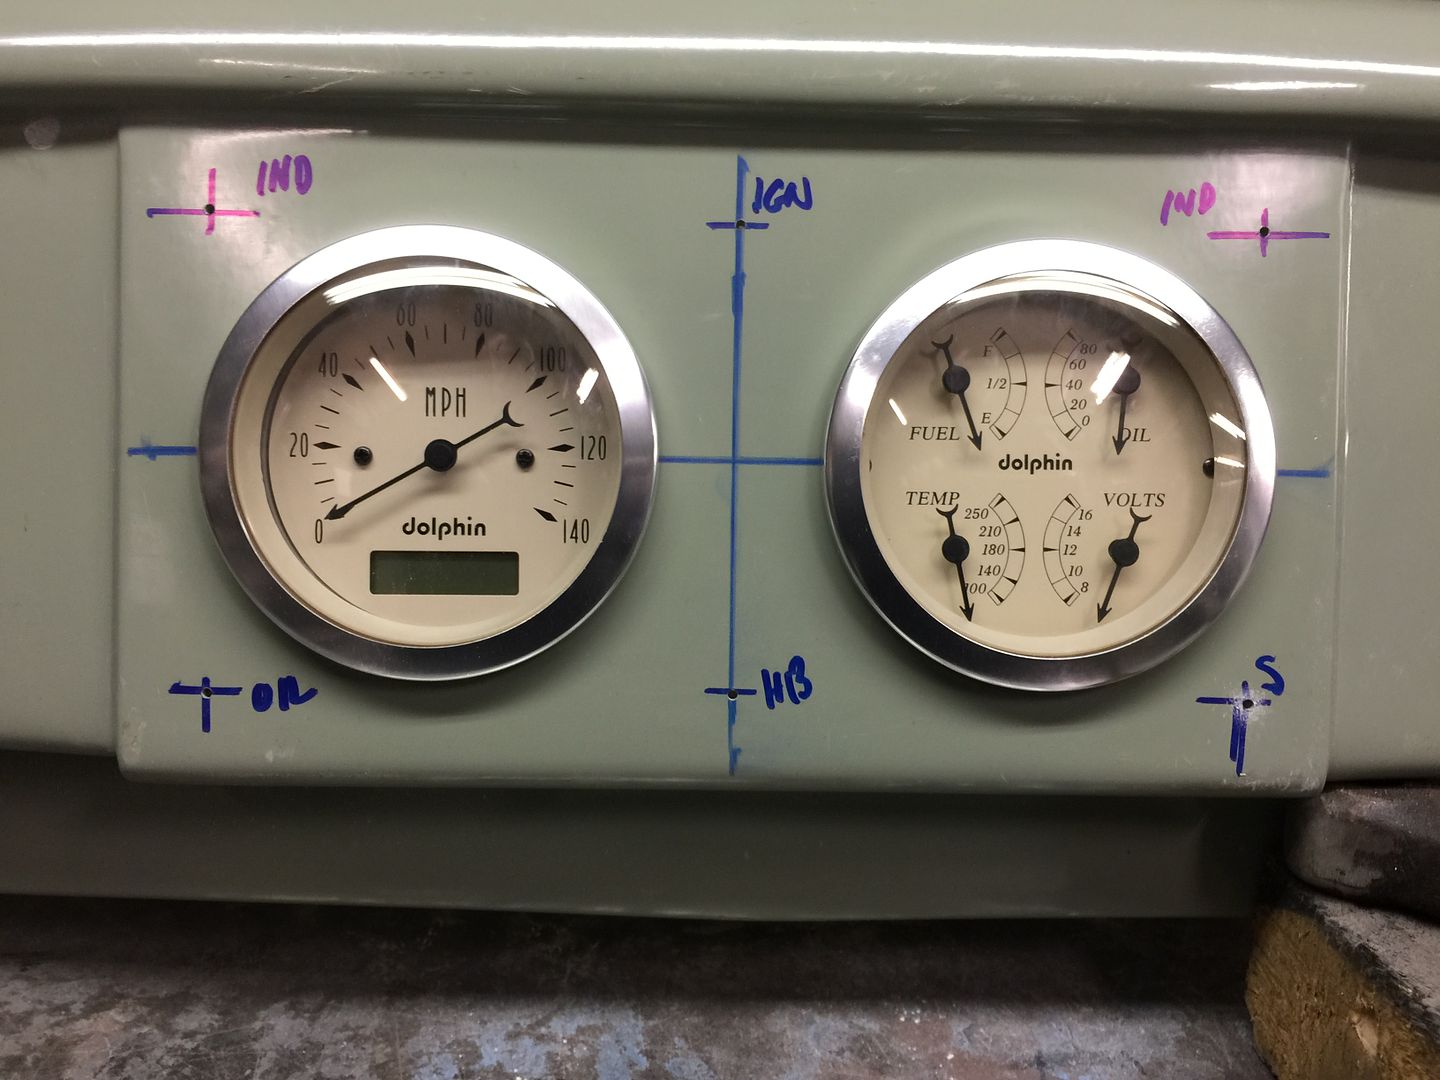
Its been a bit chilly here this week so looked for a job to do that could be done in the nice warm workshop Spotted the dash on the wall so decided to plan the layout, I'm using a set of Dolphin 3 3/8" quad gauges with a electronic speedo run off a Cyberdyne GPS sender because I stock them and want to use stuff on this project that I sell, I usually like white or black faced gauges on my own cars but thought I would have a change so have gone with a Tan face, it will look good against the final colour and be a bit different.
Heres the proposed dash layout
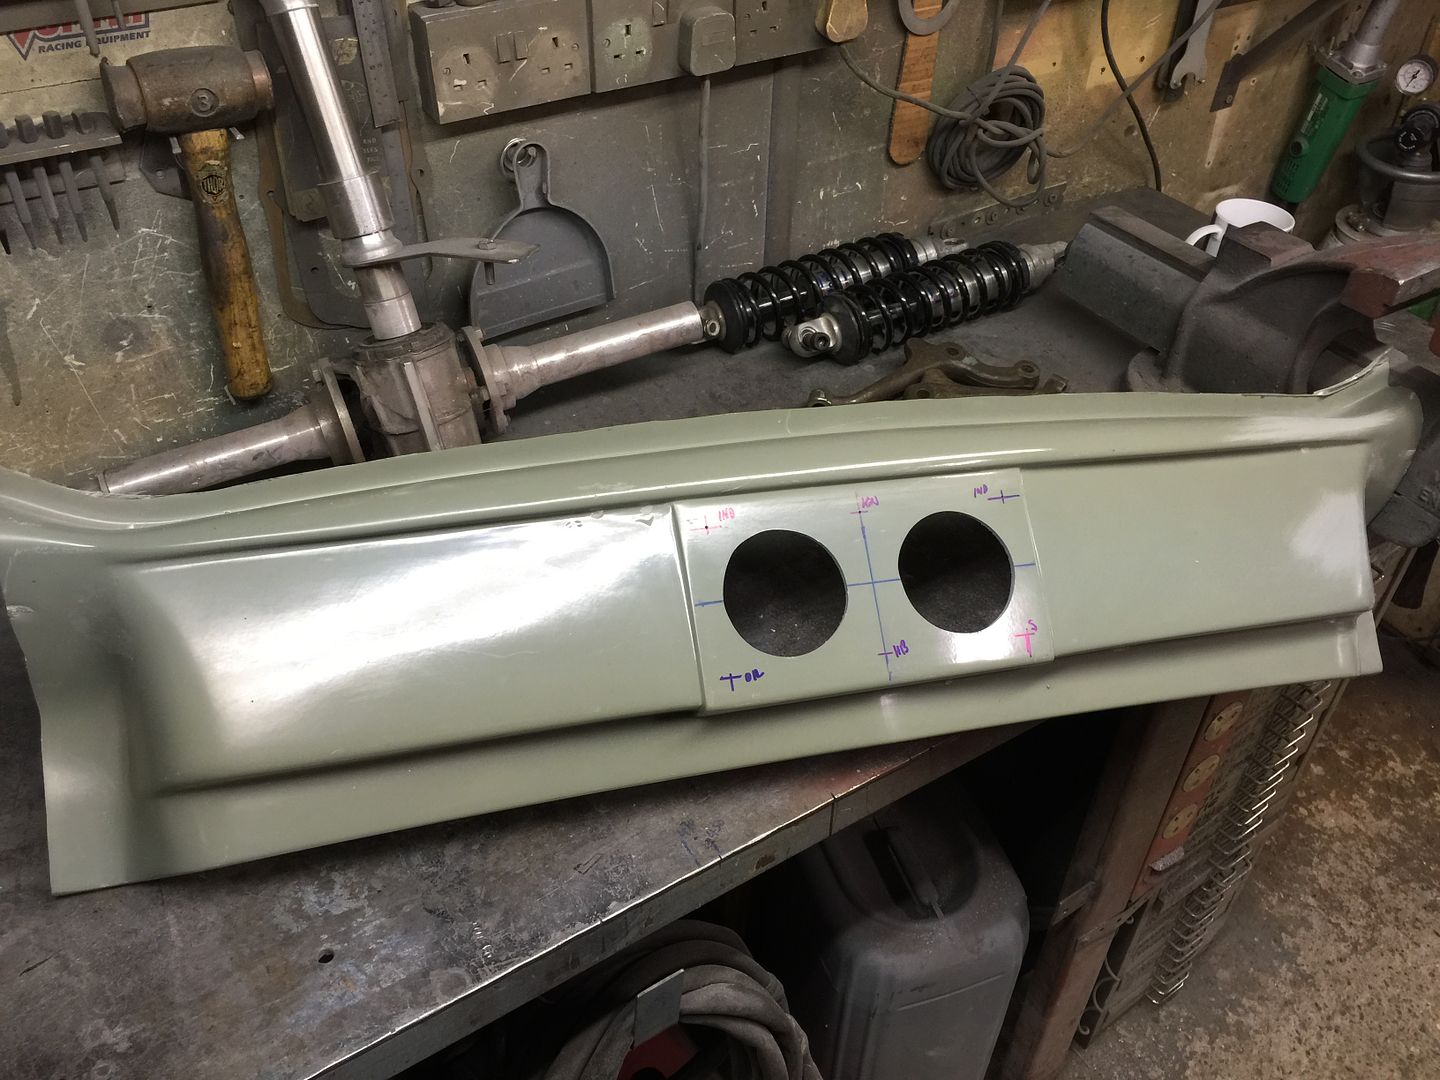
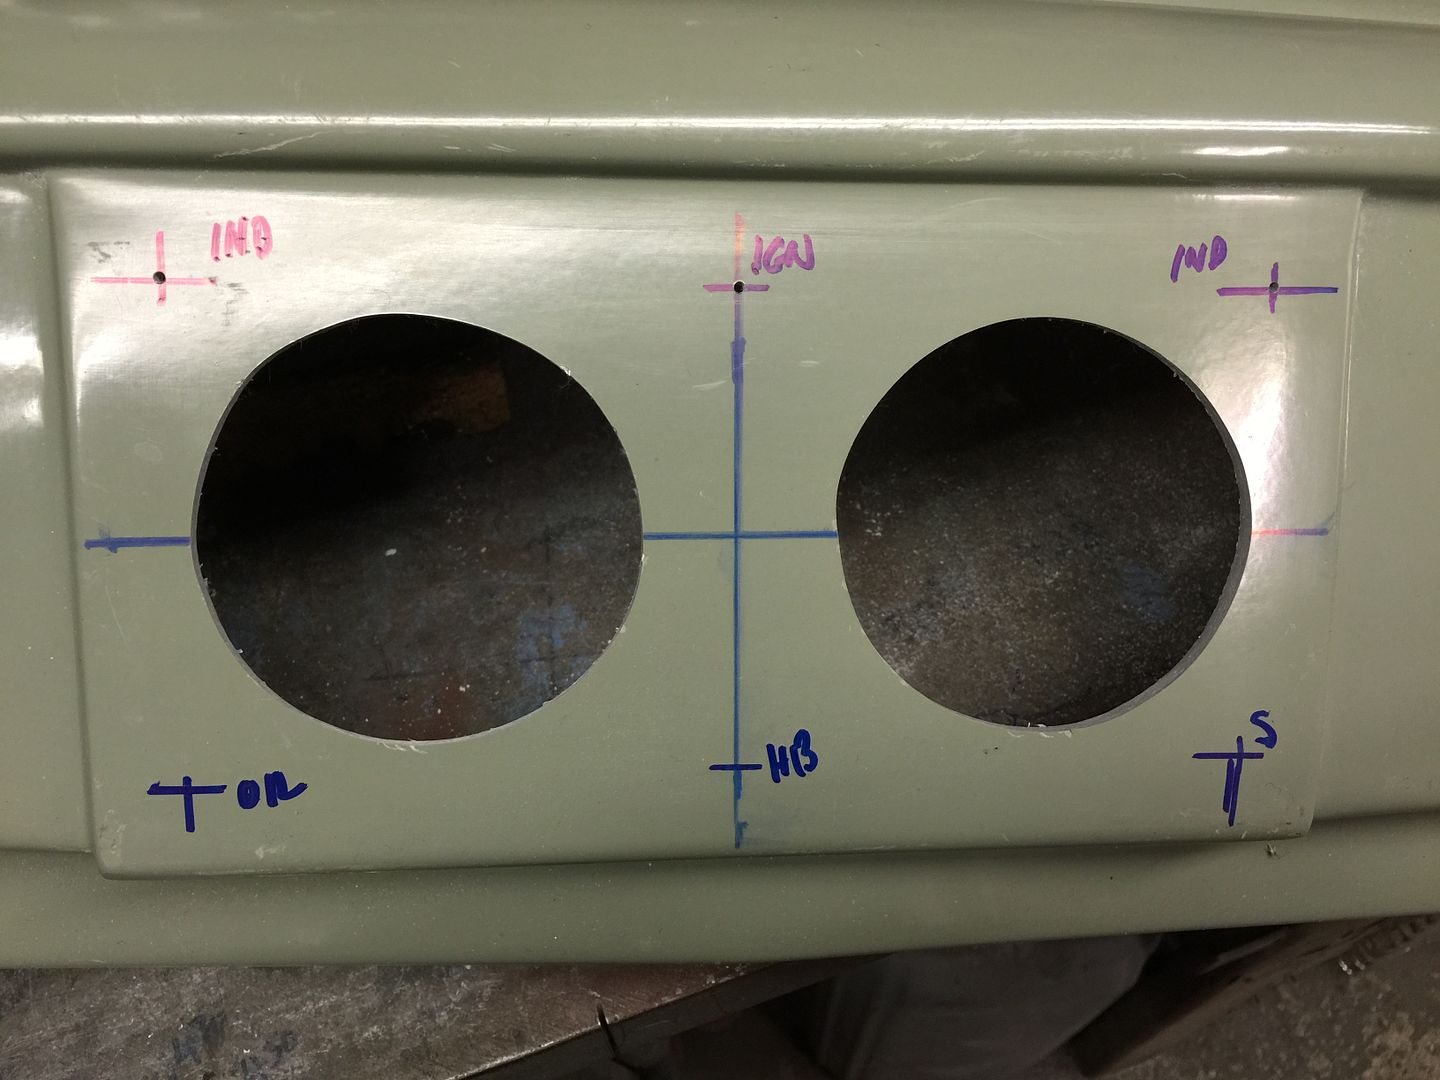
Dug my 3 3/8" holesaw out and viola the 2 main gauges was in !!!
Next I got to thinking about switches & warning lights, I had a set of really nice old warning lights from a Warbird but wanted to keep them for another project, luckily they have been reproduced but unfortunately not in the original stainless steel, these ones are chromed but I just love the look of the jeweled lens. My plan is to use mostly Red but one Blue for high beam as i'm not keen on lots of different coloured lights on the dash.
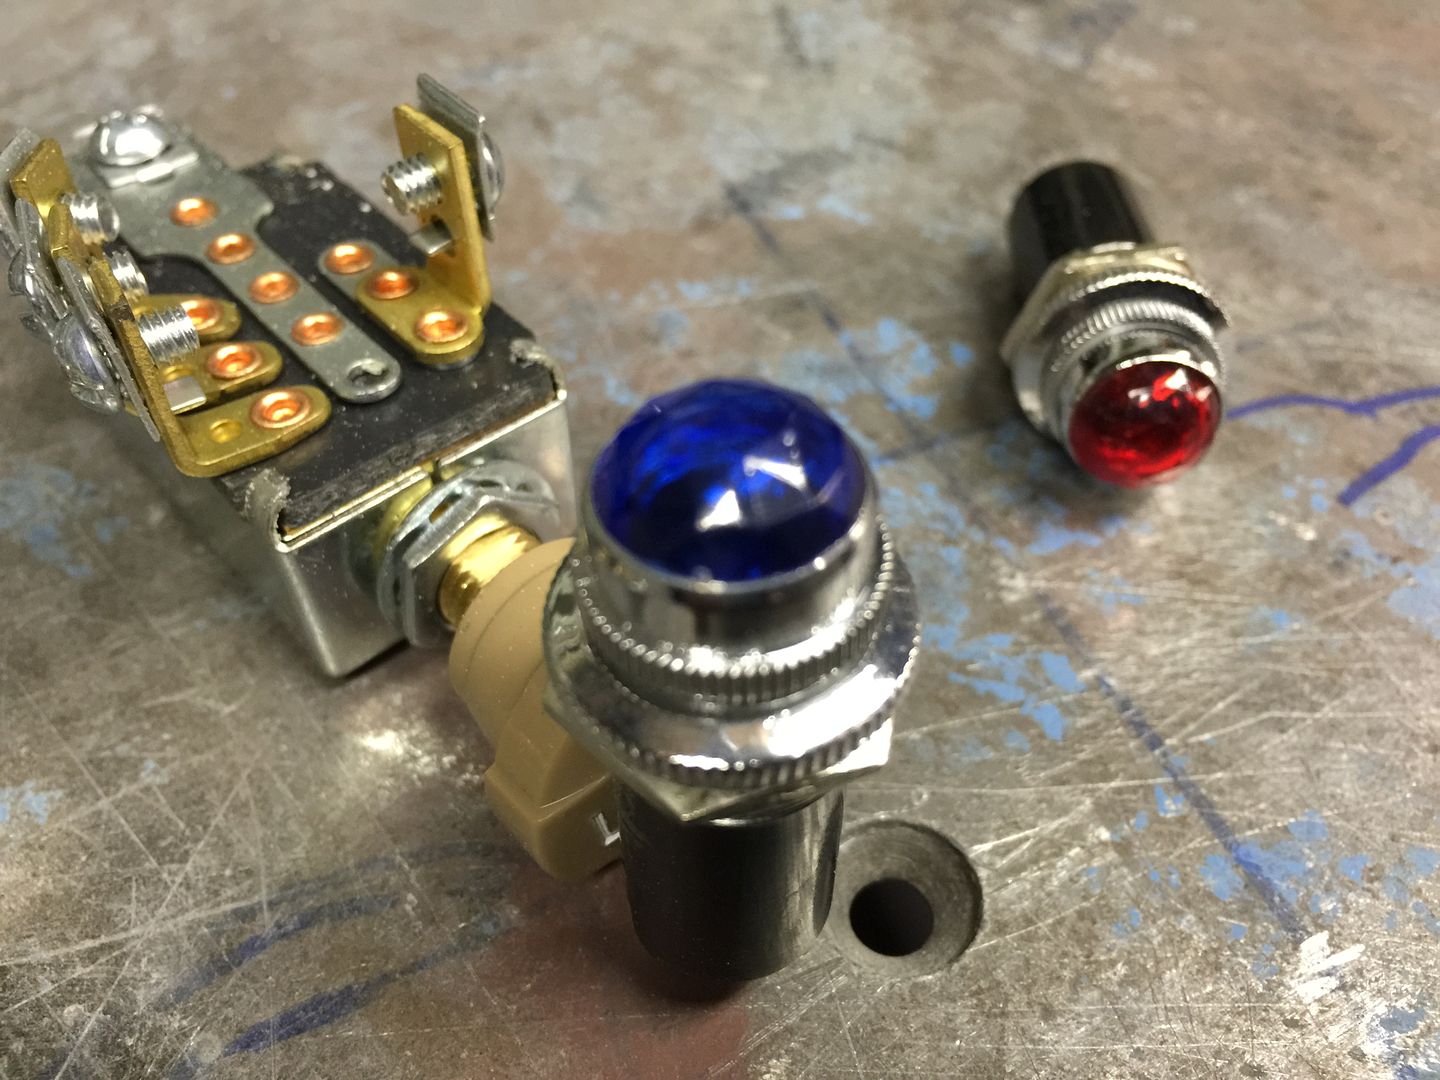
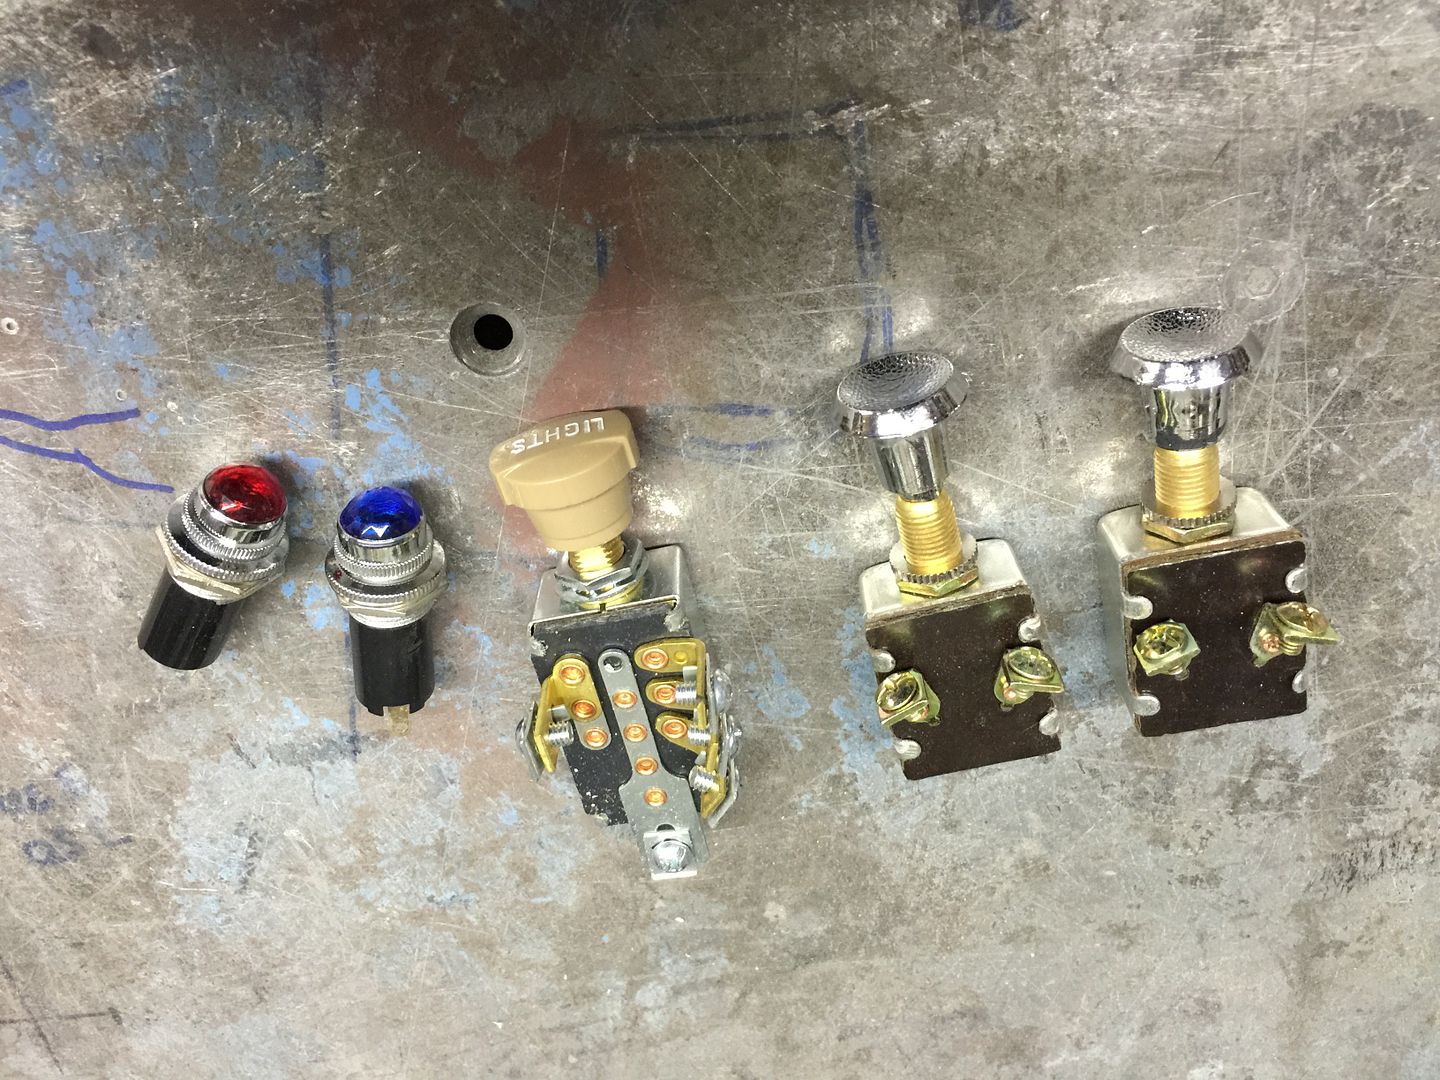
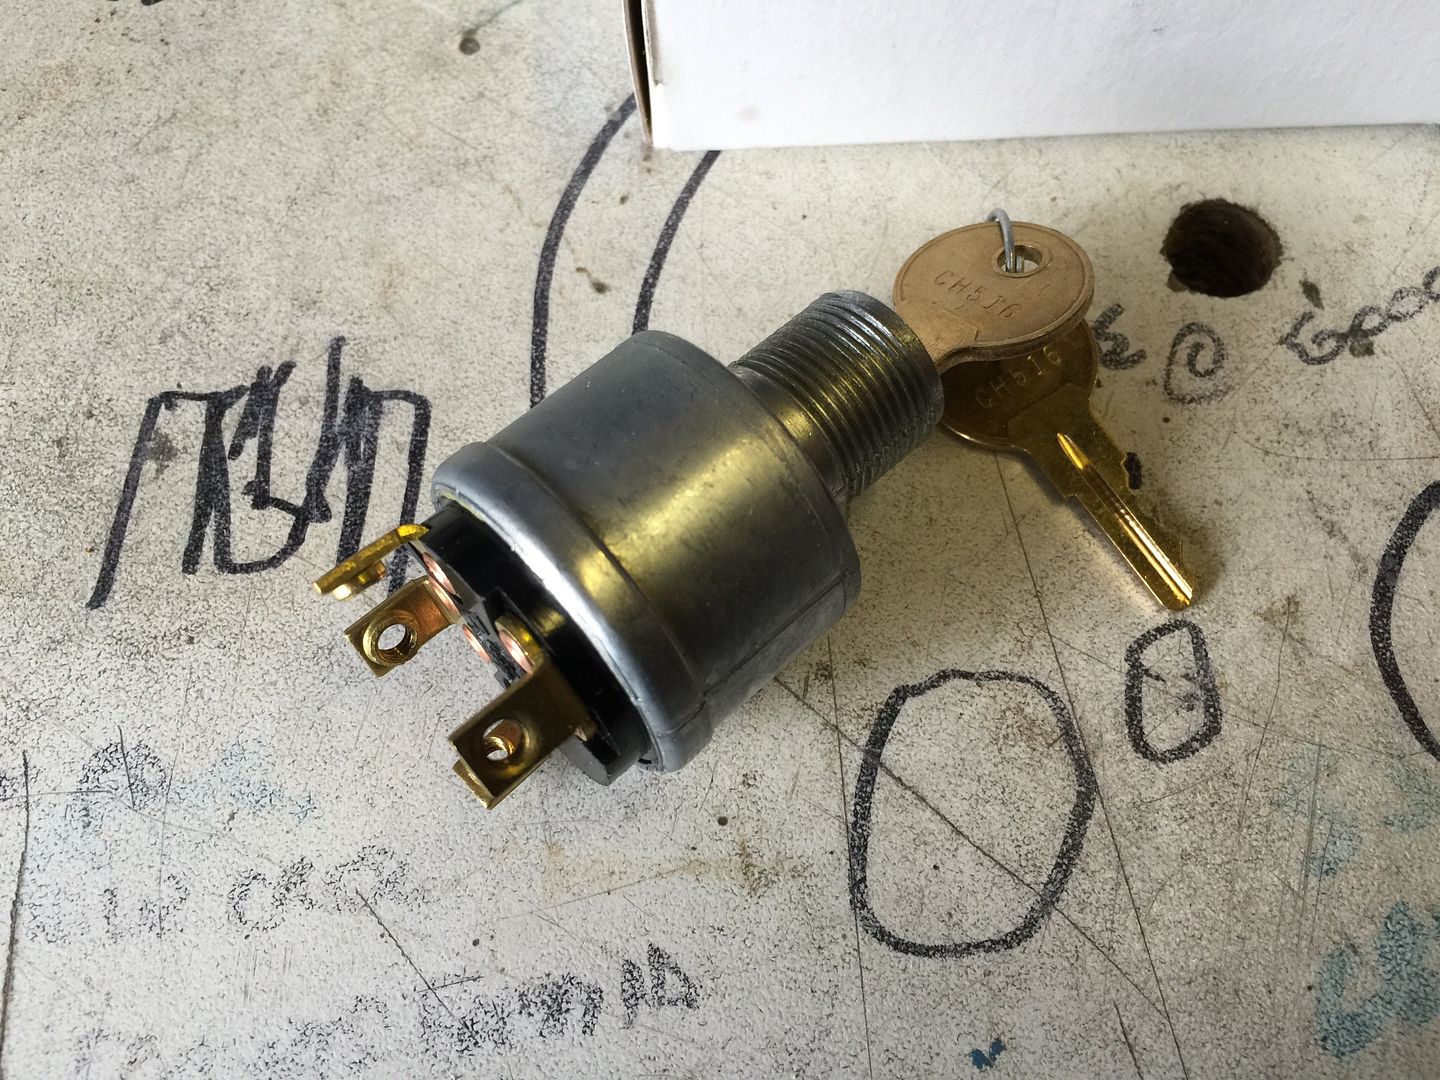
Moving on to switches I rummaged around my stock shelves and found a universal ignition switch and a selection of push pull switches, I like the push pull switch as it suits old cars better in my opinion, the Headlight switch also solves the problem of the dipswitch being on the floor which always looks looks untidy to me, this one has side, dipped beam and high beam all in one switch so nice & neat, the knob$ I will replace with custom made jobbies.
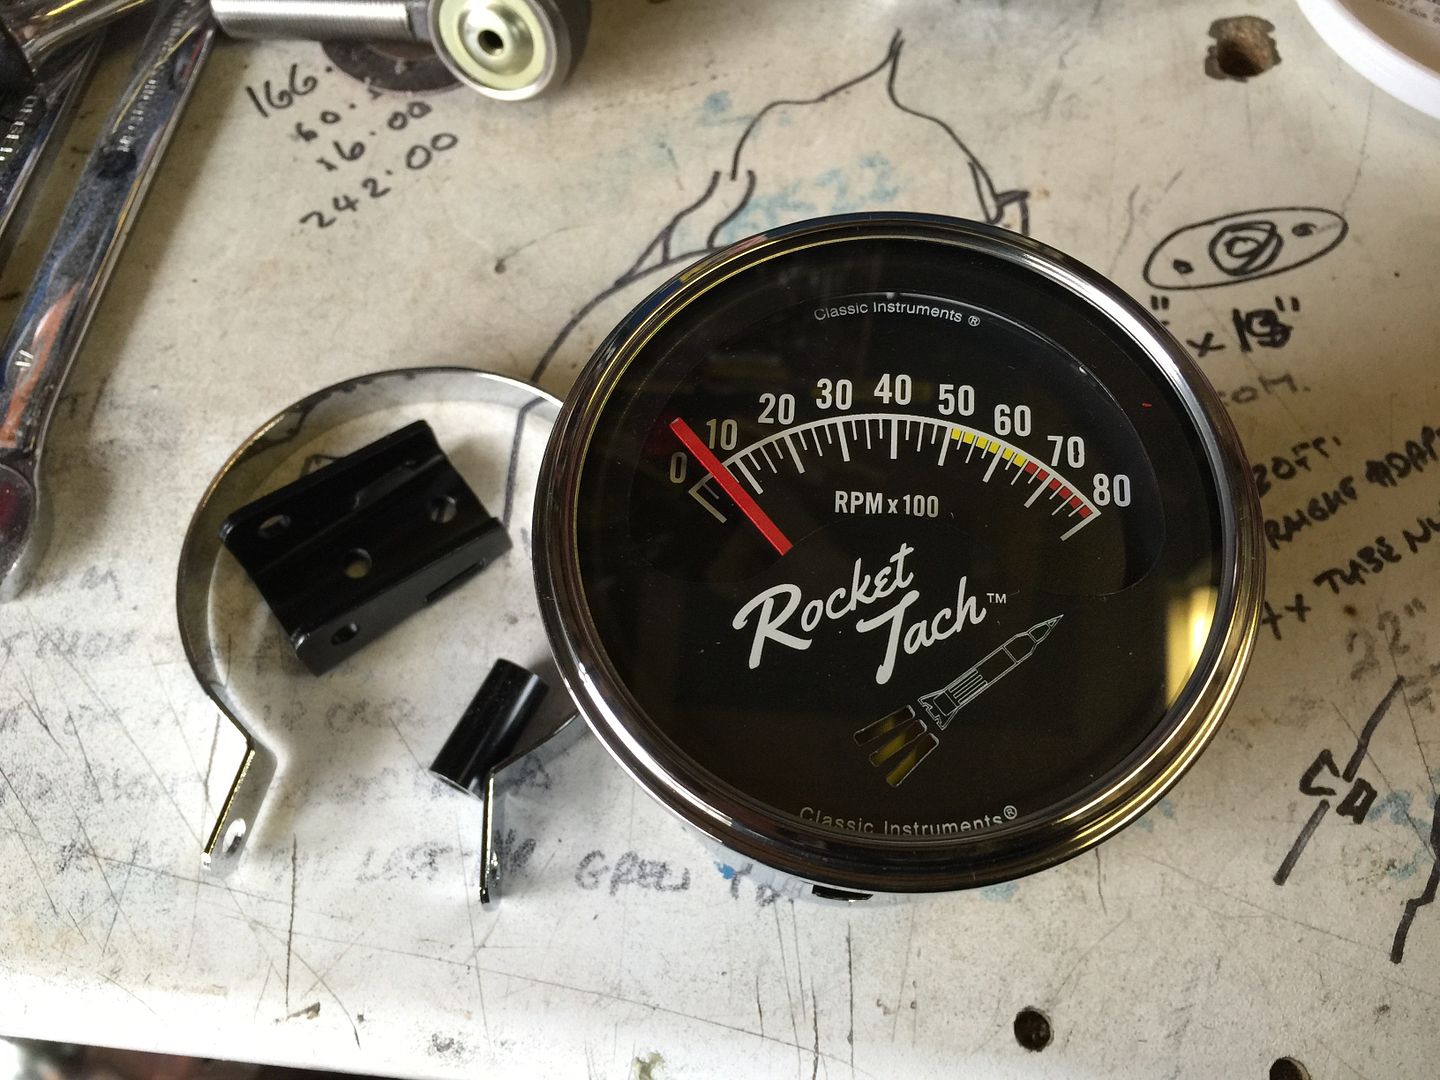
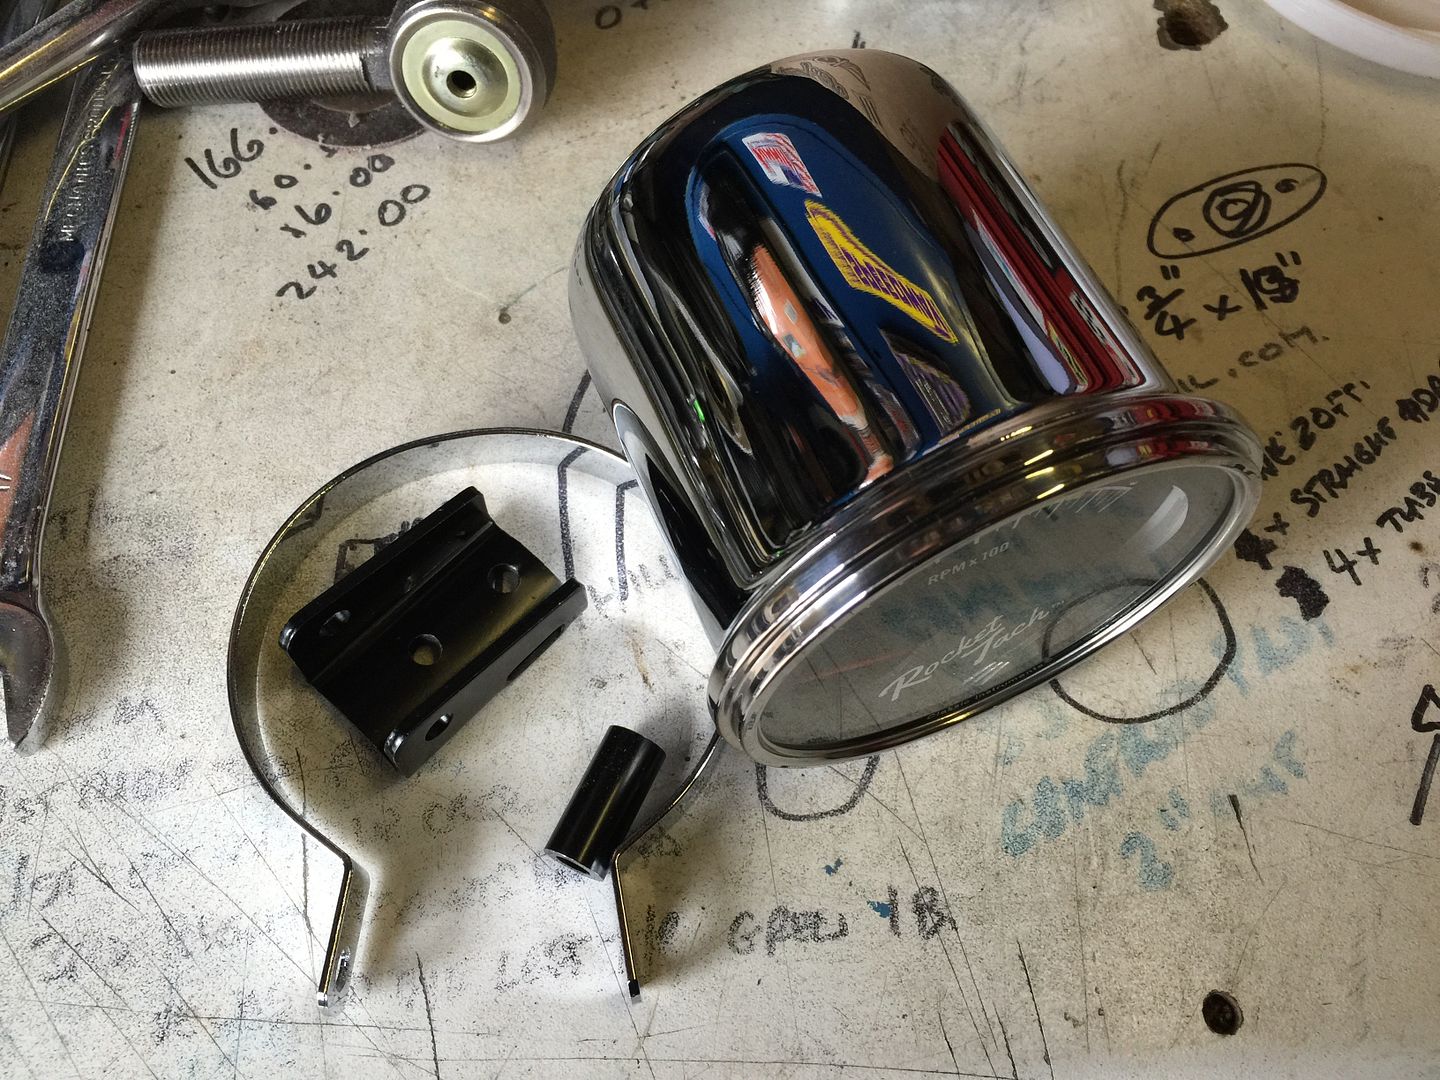
While searching around I remembered I have some of these Classic instruments Rocket tachs so will fit one either on the column or on the dash, decision to make, don't like the mount so will make a stainless mount later.
Thats it for today as we are now off to The annual Hotrodders ball for a few beers

.
.Its aweful lonesome in the saddle since my horse died.
-
02-07-2015 09:36 AM #483
CHR Member
- Join Date
- Oct 2007
- Location
- Petaluma
- Car Year, Make, Model: 48 Ford F1
- Posts
- 9,795
I like the Rocket tach there. Looks like there is lights where the fire would come out of the rocket?"  "No matter where you go, there you are!" Steve.
-
02-07-2015 02:40 PM #484
CHR Member
- Join Date
- Sep 2007
- Location
- New Bedford
- Car Year, Make, Model: 34 Ford 3W Coupe Replica
- Posts
- 14,754
Good Eye! had't noticed that. cool Originally Posted by stovens
-
02-08-2015 04:33 AM #485
CHR Member
- Join Date
- Apr 2009
- Location
- watford
- Car Year, Make, Model: 26T Coupe, 32 Roadster, 41 Willys Coupe
- Posts
- 2,363
Me neither Charlie !!! I might have to wire it up to see Originally Posted by 34_40
.Its aweful lonesome in the saddle since my horse died.
-
02-08-2015 09:18 AM #486
CHR Member
- Join Date
- Oct 2007
- Location
- Petaluma
- Car Year, Make, Model: 48 Ford F1
- Posts
- 9,795
Description from Speedway, "the retro styled, half sweep tachometer features a dual layer design, color changing rocket booster, a red pointer, and a rich black face with bright white numerals and indices. Finished with a stainless low step bezel and flat glass the Rocket Tach comes mounted in a chrome cup that allows for a variety of mounting positions." "No matter where you go, there you are!" Steve.
-
02-08-2015 09:24 AM #487
CHR Member
- Join Date
- Oct 2007
- Location
- Petaluma
- Car Year, Make, Model: 48 Ford F1
- Posts
- 9,795
And another is even better.......Not only is the Rocket Tach a half-sweep gauge it also has a rocket booster that changes colors. The more you mash the gas...the rocket booster changes from light yellow to yellow to orange and finally to raging dark red! How much fun is that?!" "No matter where you go, there you are!" Steve.
-
02-11-2015 11:58 AM #488
CHR Member
- Join Date
- Apr 2009
- Location
- watford
- Car Year, Make, Model: 26T Coupe, 32 Roadster, 41 Willys Coupe
- Posts
- 2,363
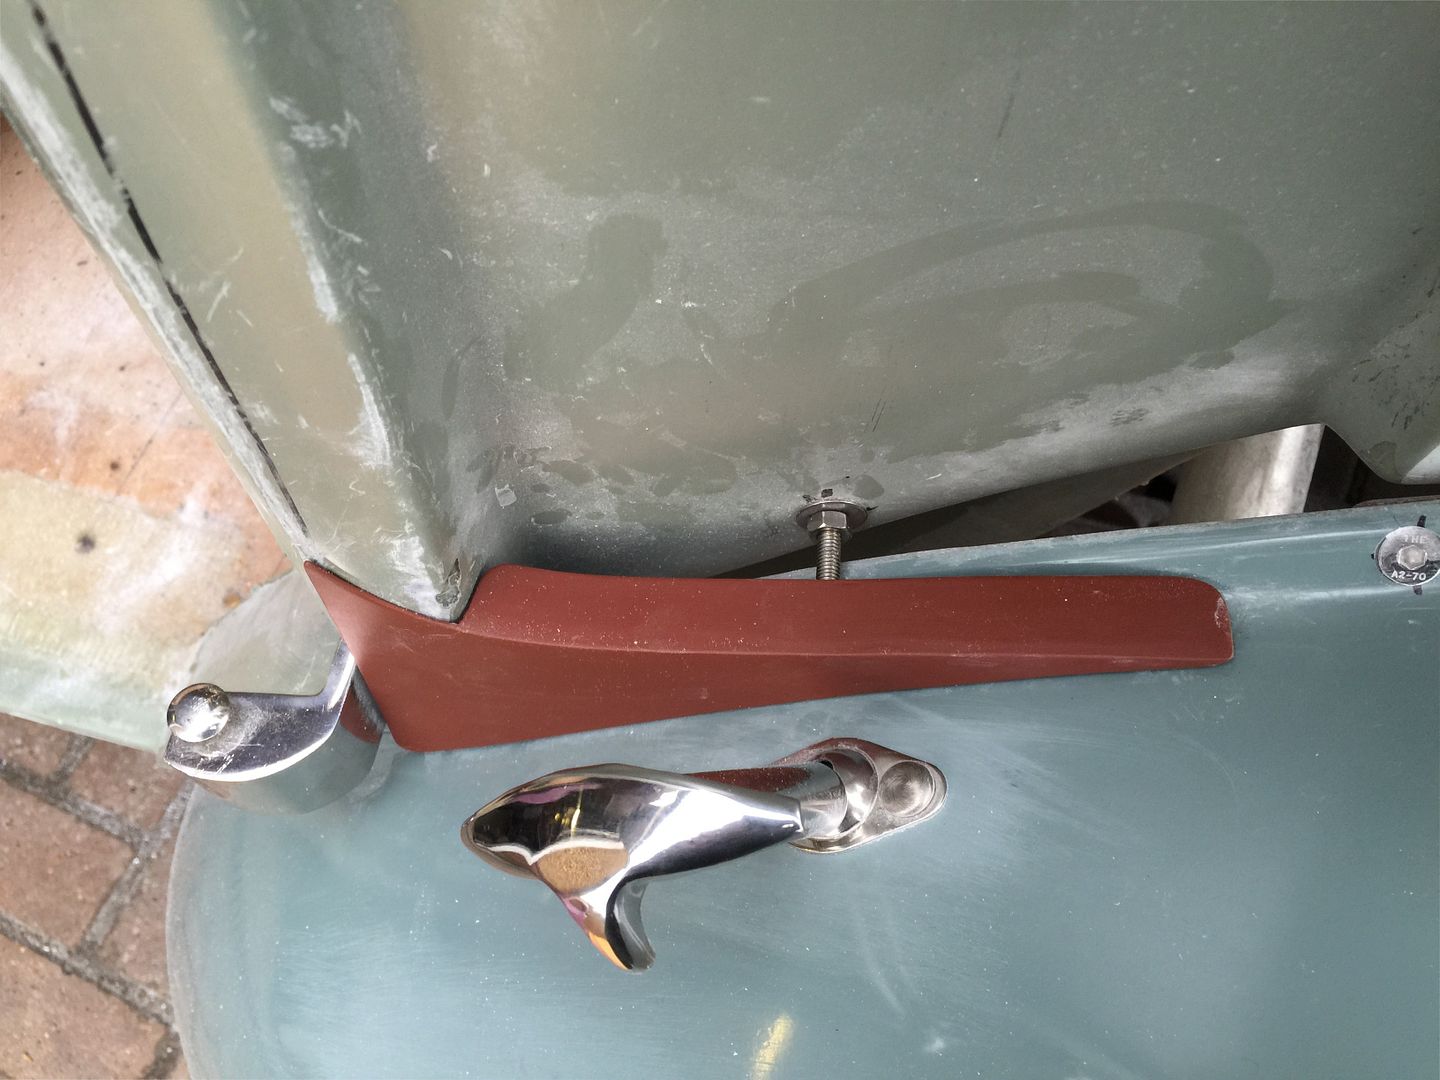
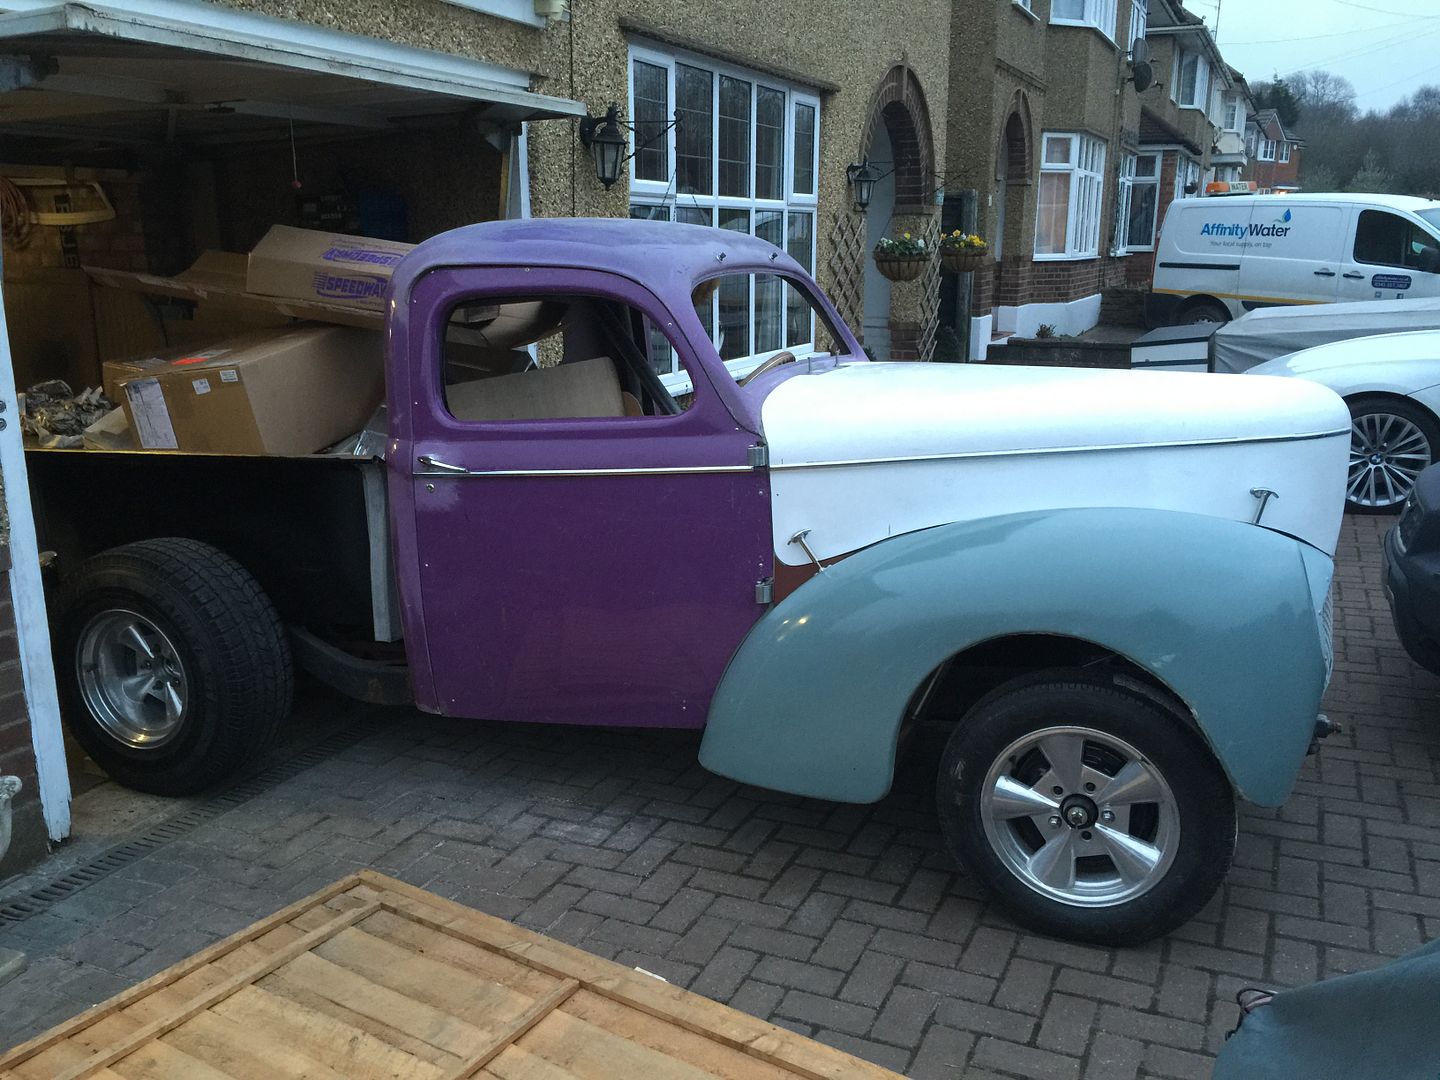
Been fiddling with the hood fit and now pretty good, I'm not a fan of tight gaps on old cars so these are stock willys size gaps.
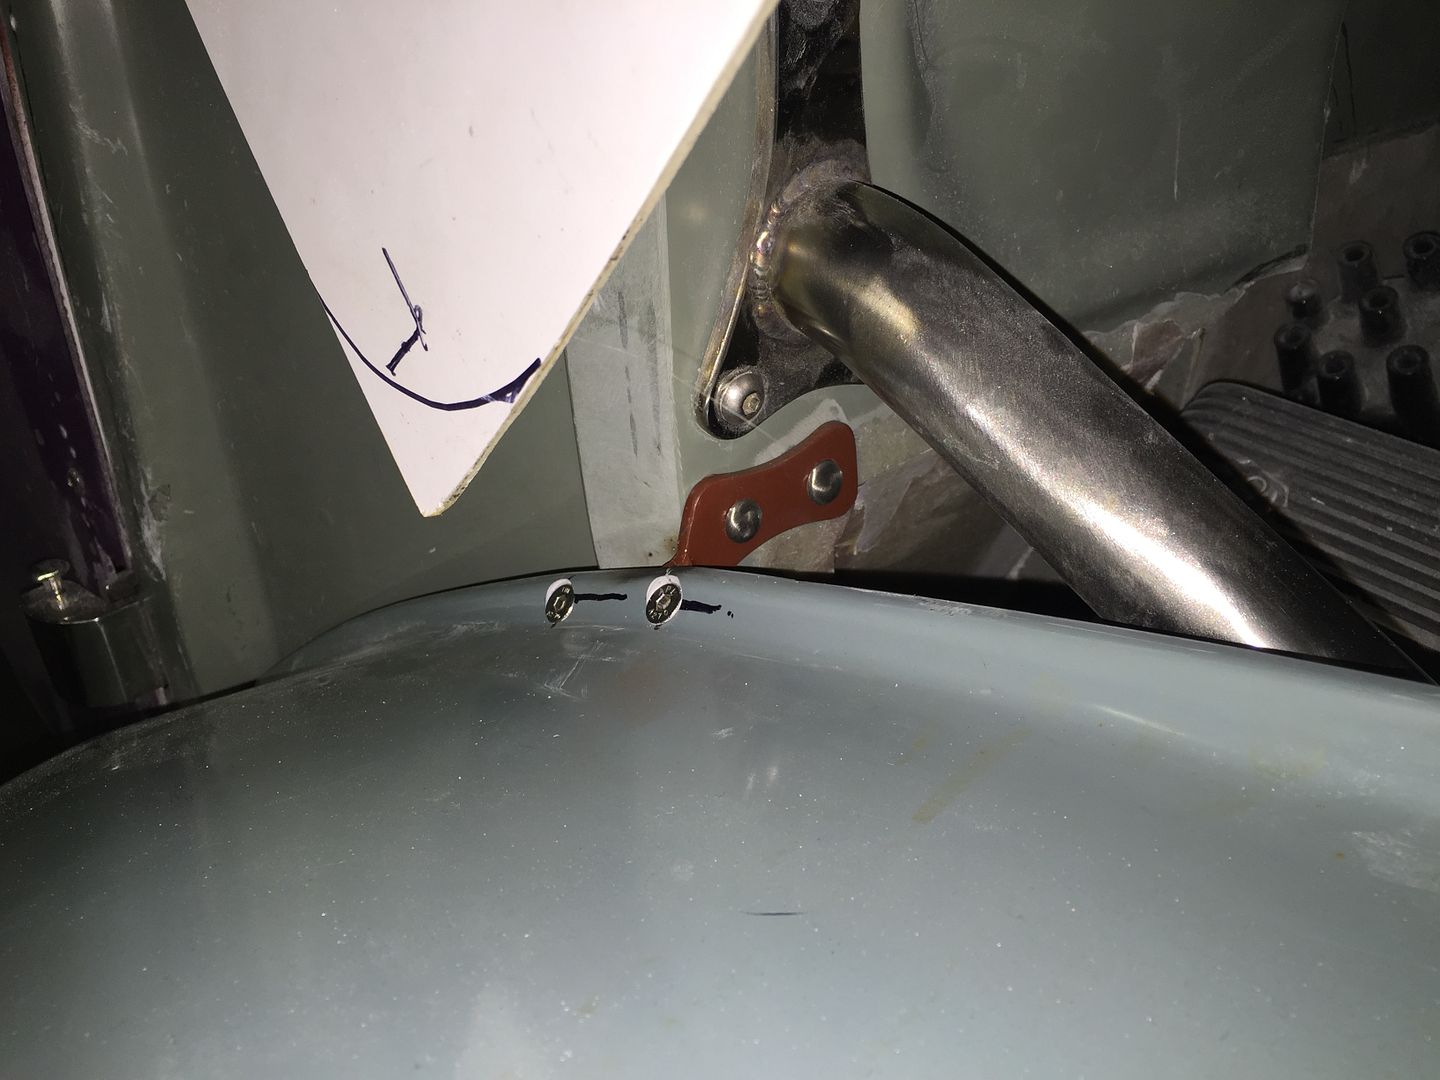
I aim to fit inner fender panels as this is a street truck so I decided to fit brackets here and there to keep it all nice and solid, working from the back of the fender forward I made a bracket that bolts the the fender lip and then bolts to the firewall.
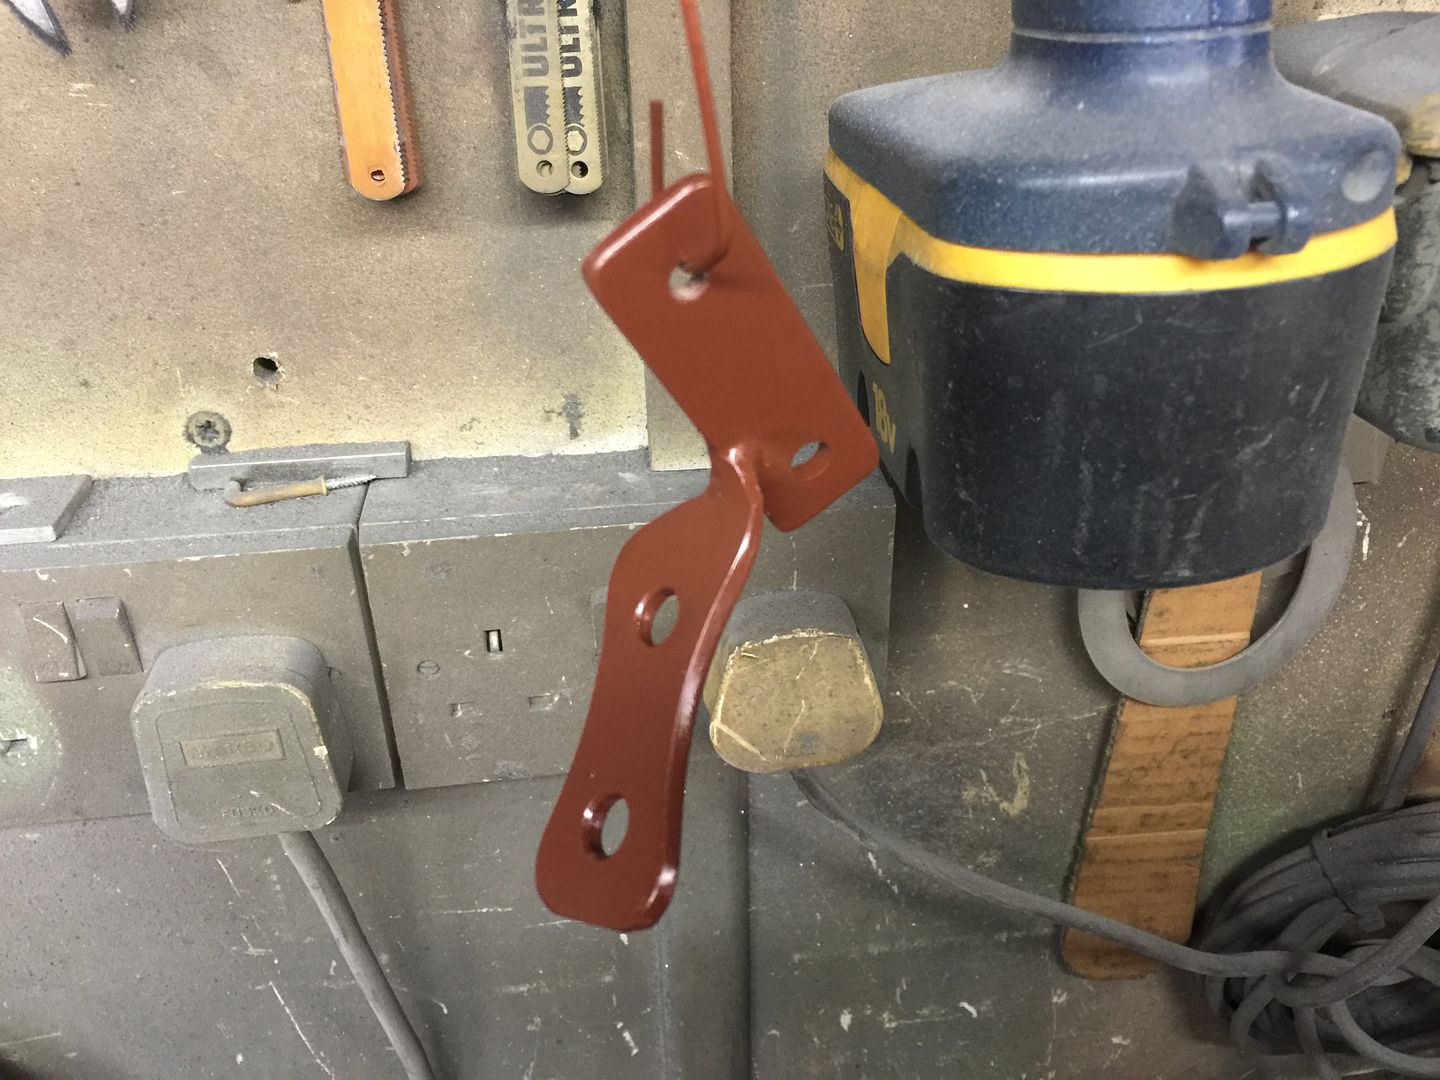
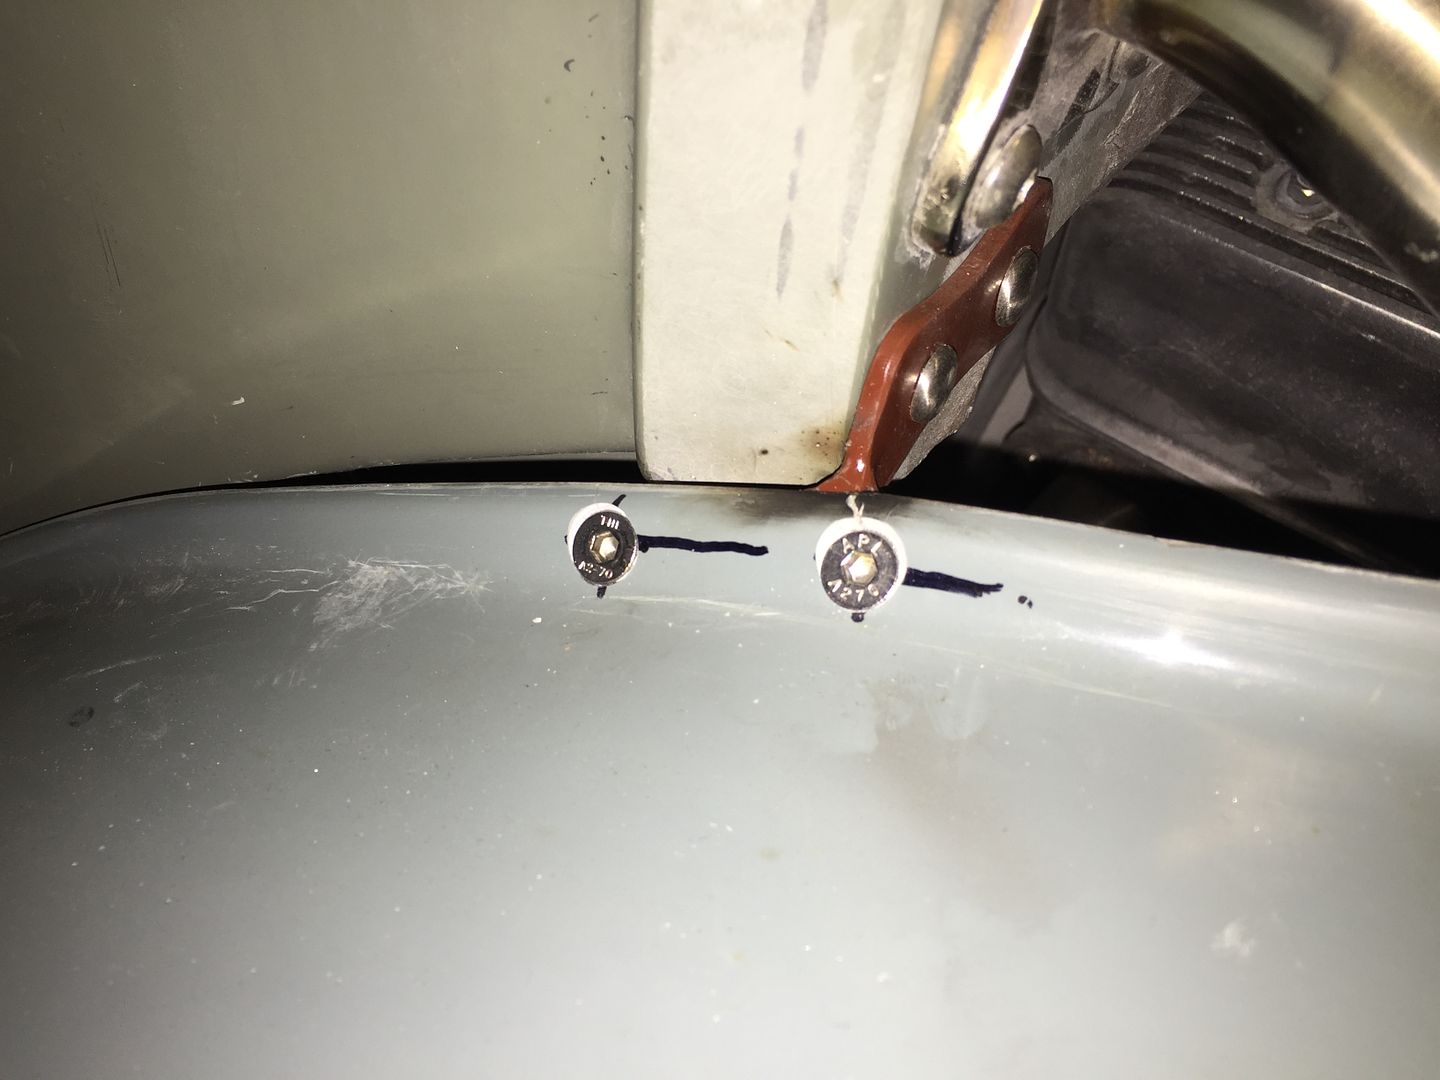

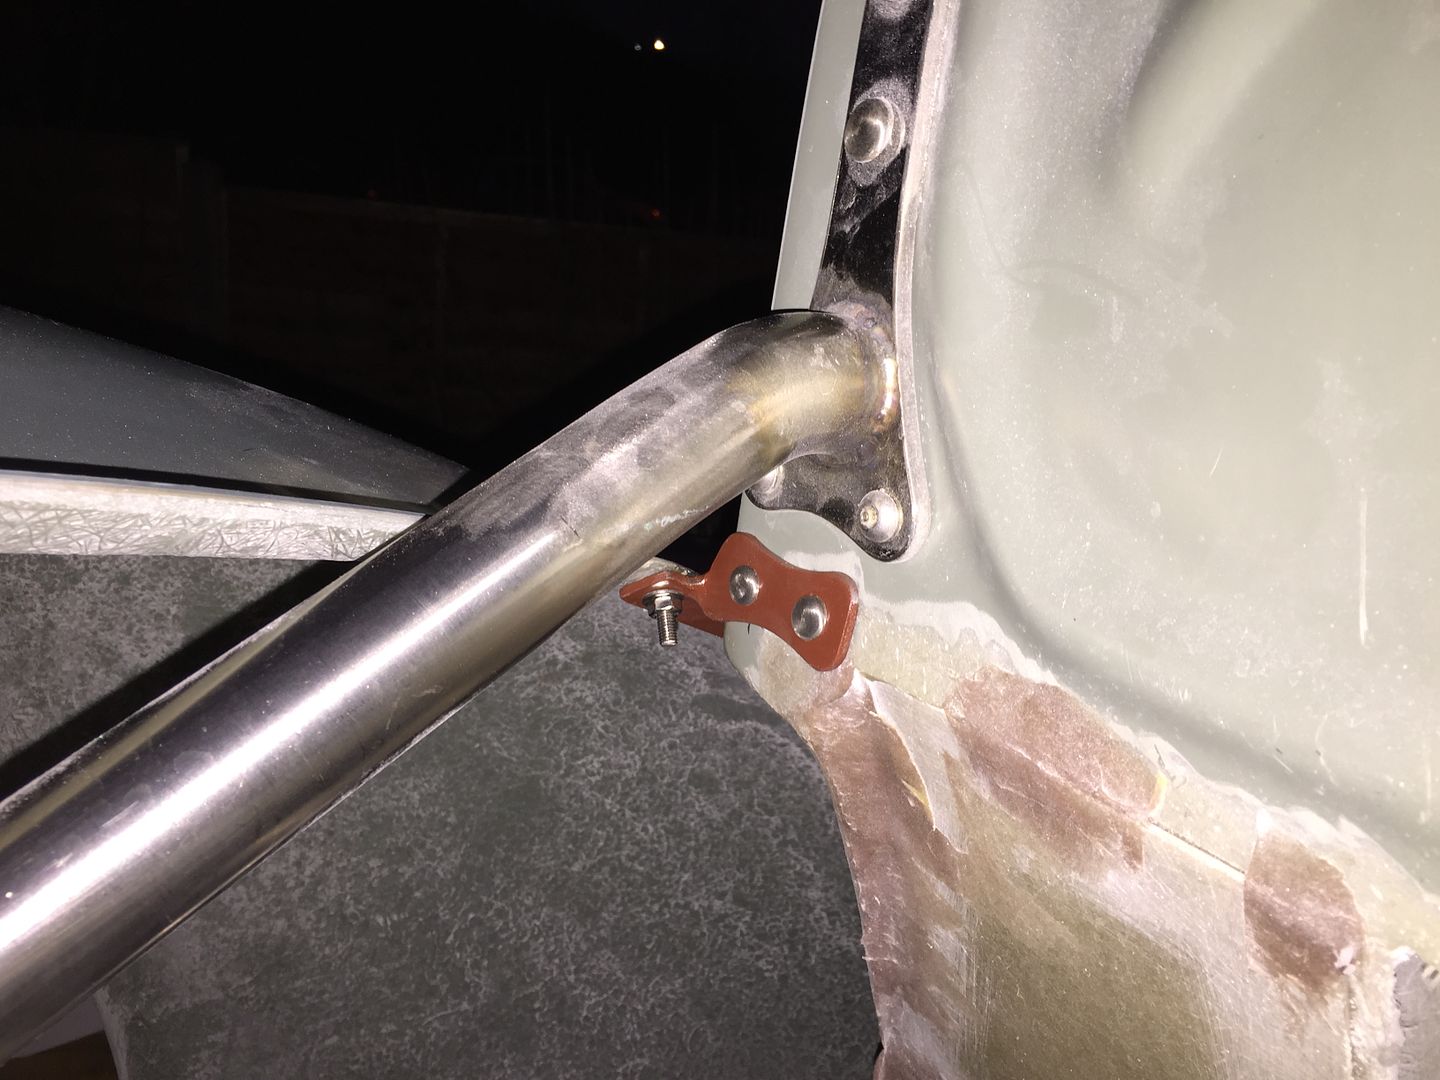
Just adding the first bracket makes the panels fit together nicely as the fender follows is natural curve instead of sagging slightly under its own weight. A little sanding of the gaps and it should be there.
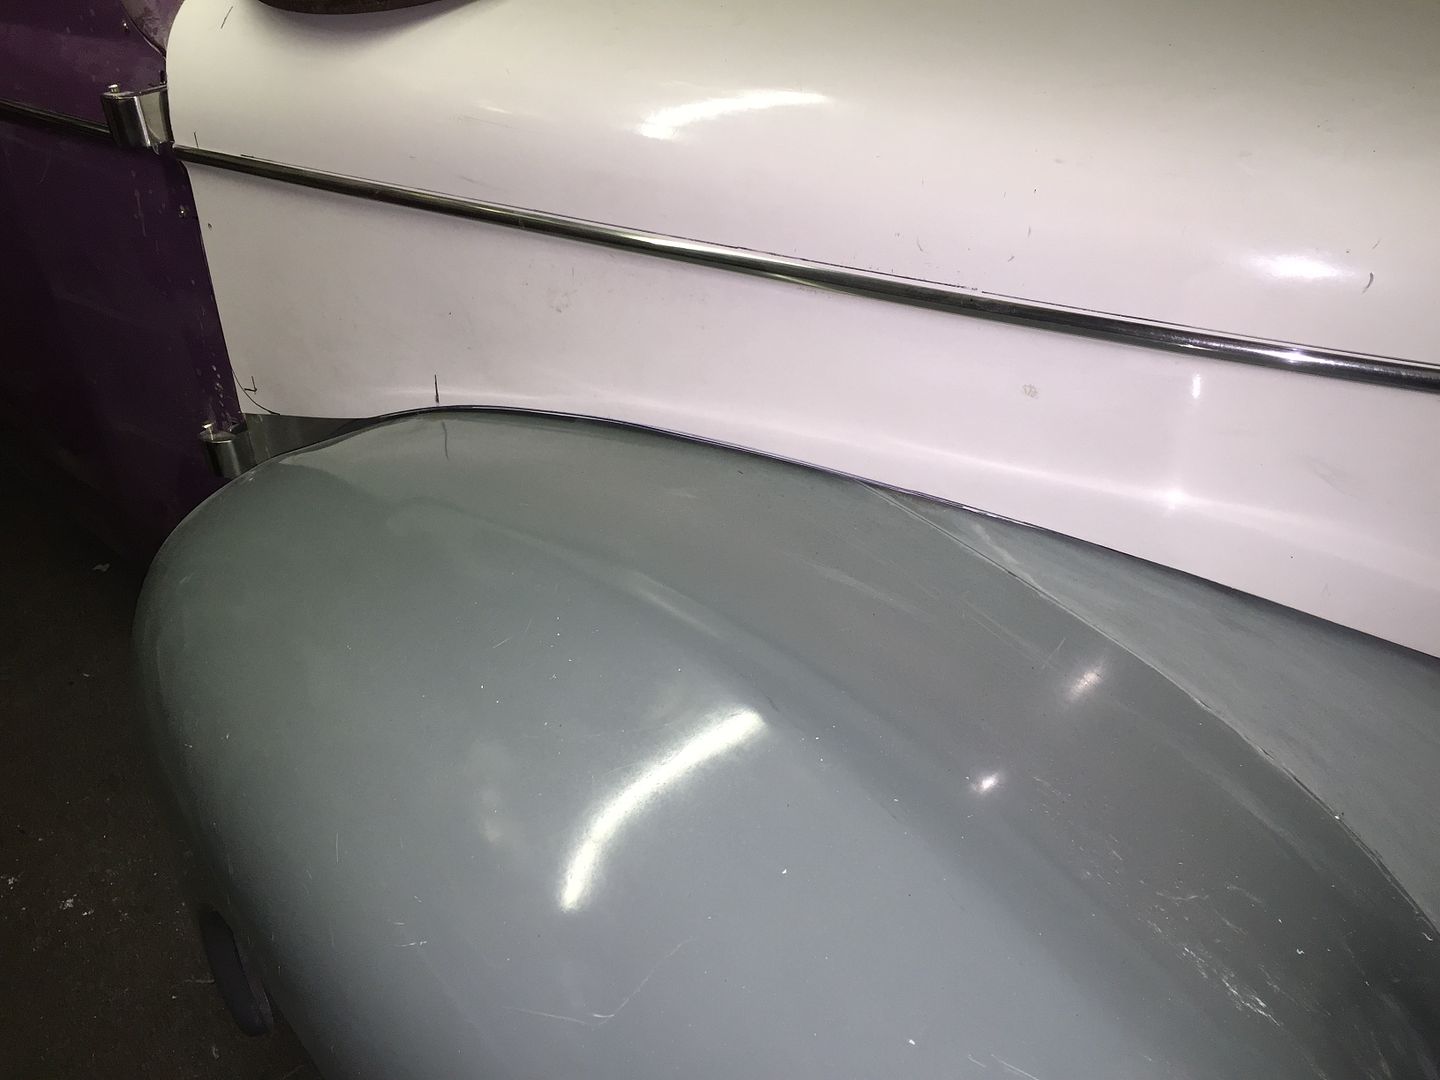
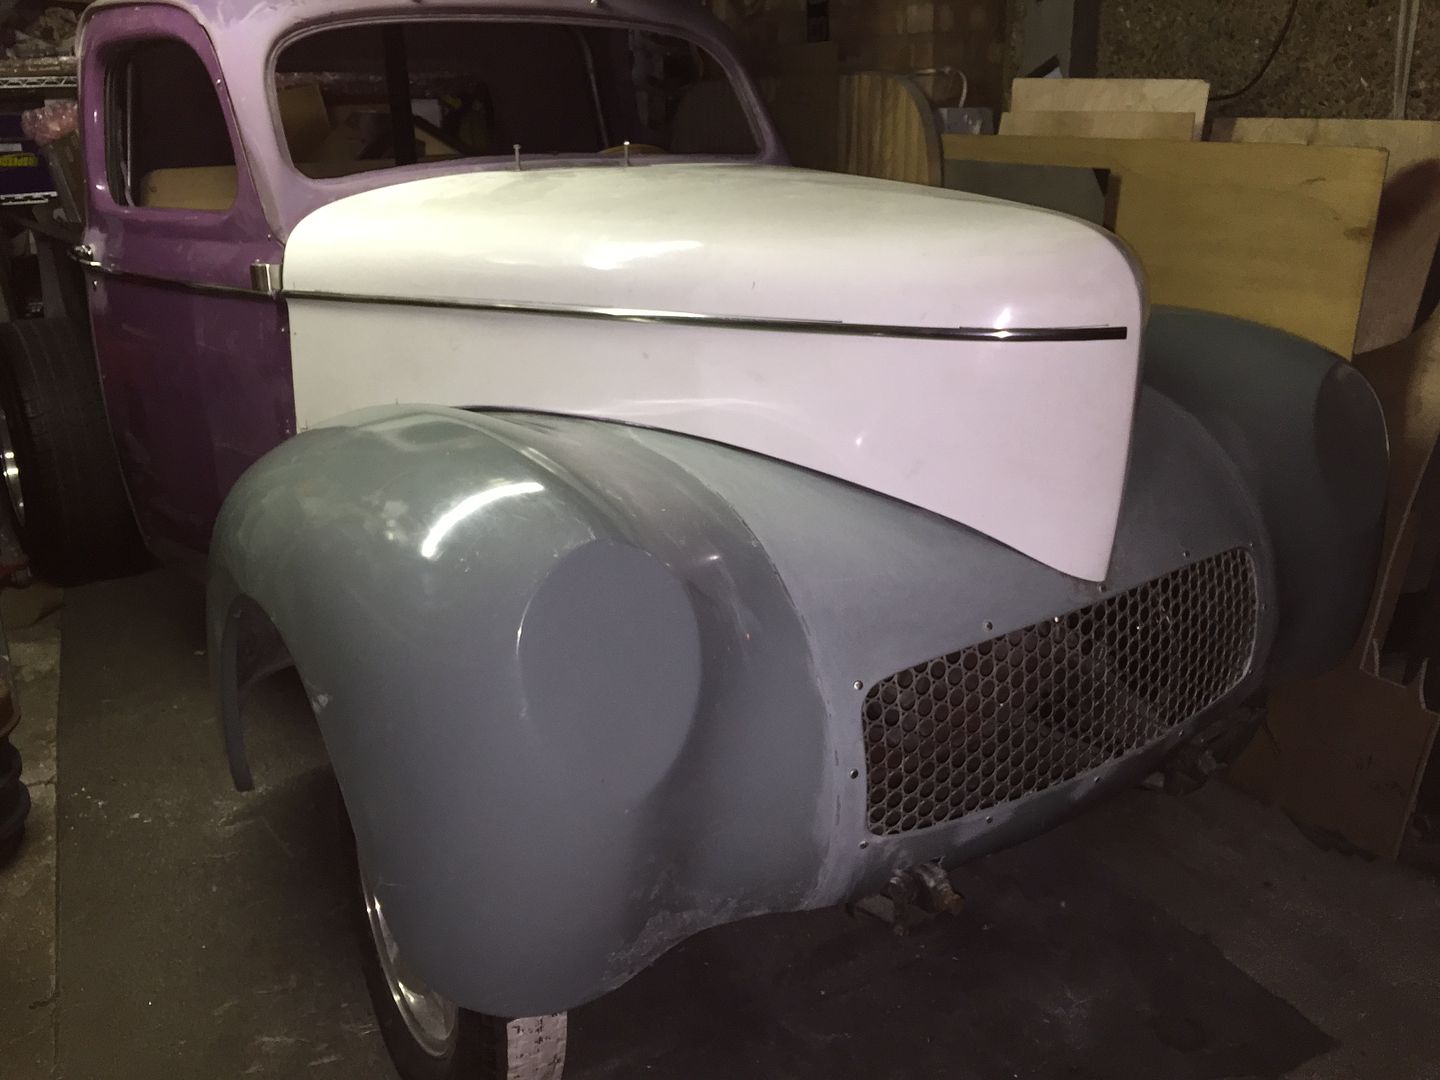
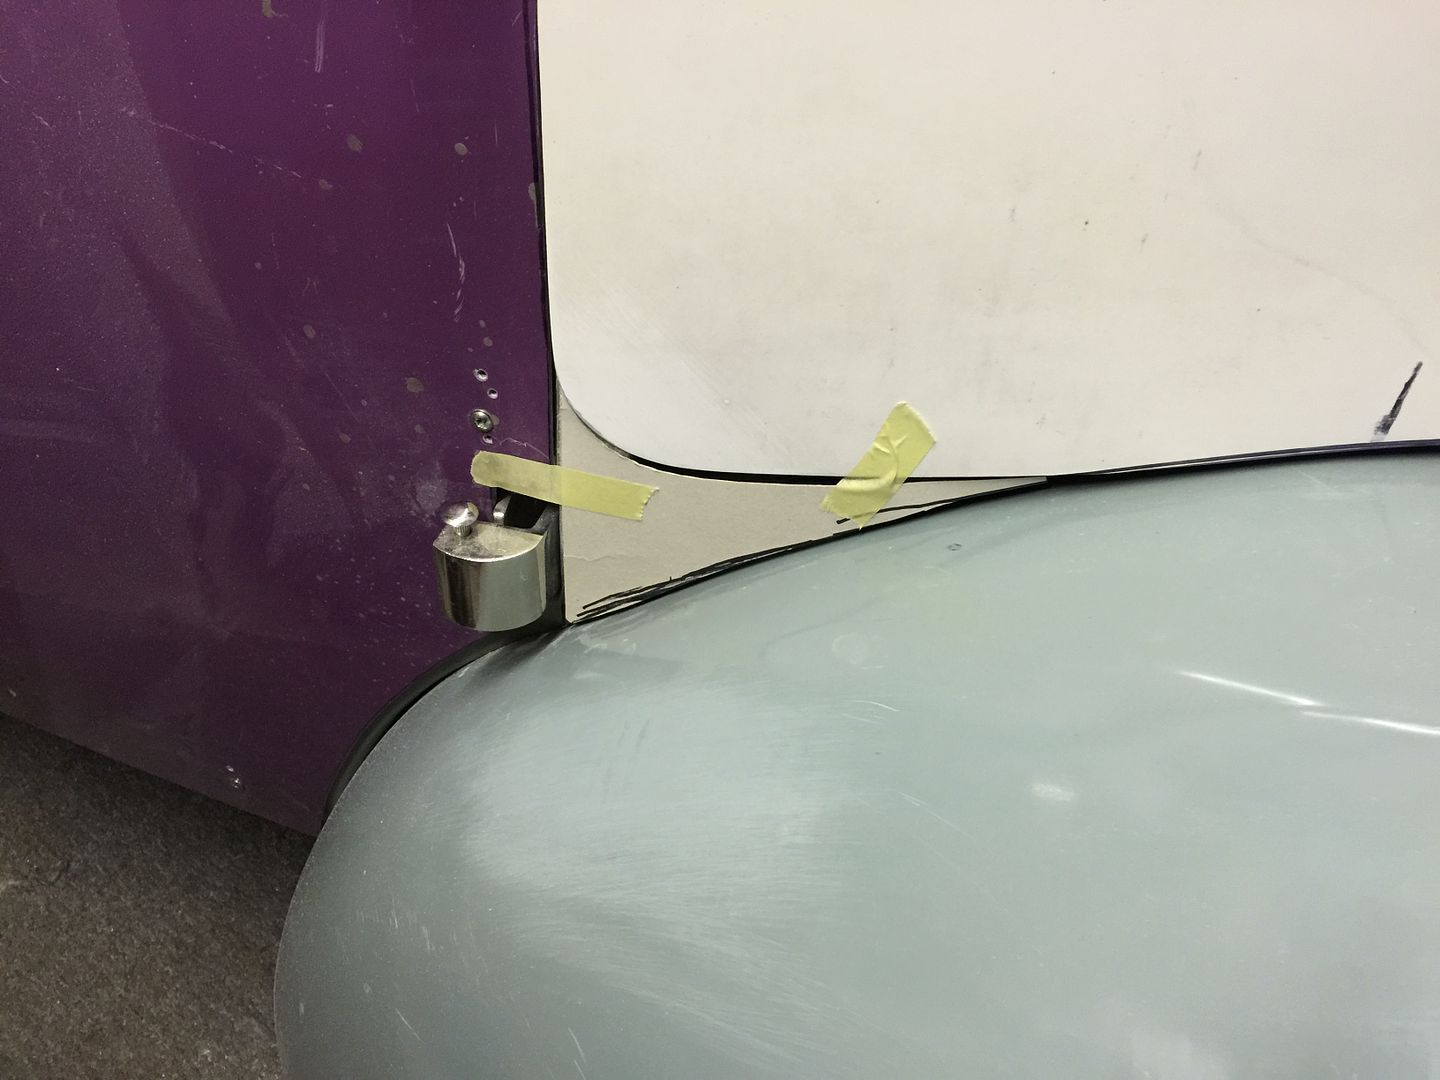
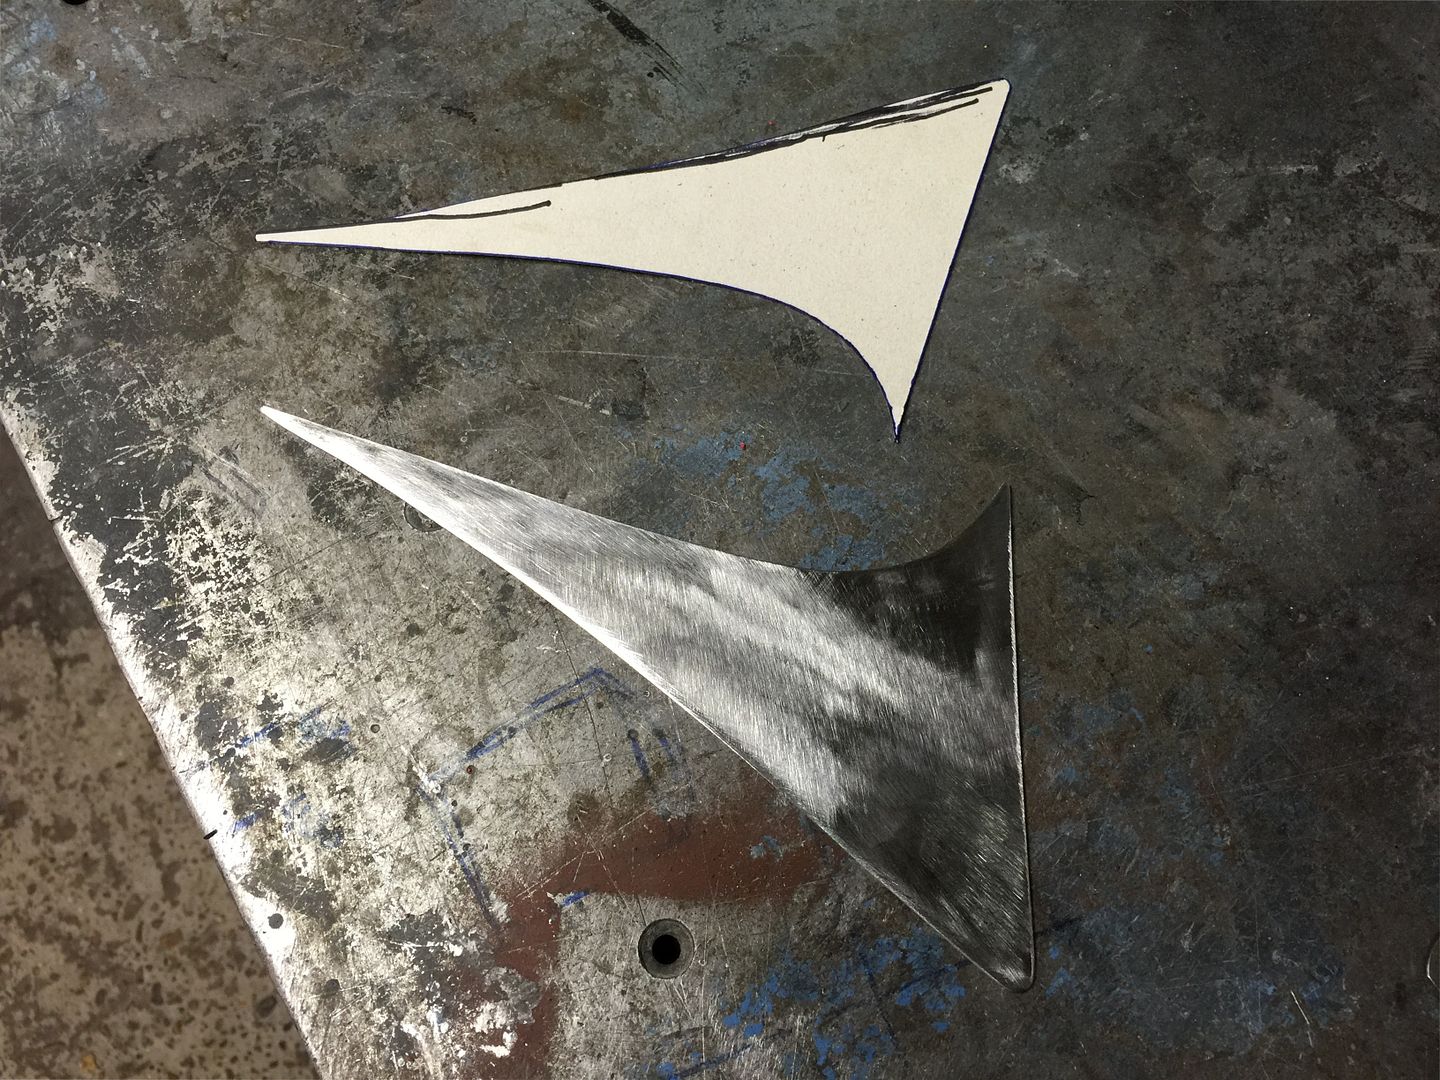
While I was there I radiused the hood corner and made a template for the infill panel
.Its aweful lonesome in the saddle since my horse died.
-
02-11-2015 05:50 PM #489
CHR Member
- Join Date
- Apr 2011
- Location
- Prairie City
- Car Year, Make, Model: 40 Ford Deluxe, 68 Corvette, 72&76 K30
- Posts
- 7,301
- Blog Entries
- 1
Great work! That tach is really cool!Ryan
1940 Ford Deluxe Tudor 354 Hemi 46RH Electric Blue w/multi-color flames, Ford 9" Residing in multiple pieces
1968 Corvette Coupe 5.9 Cummins Drag Car 11.43@130mph No stall leaving the line with 1250 rpm's and poor 2.2 60'
1972 Chevy K30 Longhorn P-pumped 24v Compound Turbos 47RH Just another money pit
1971 Camaro RS 5.3 BTR Stage 3 cam, SuperT10
Tire Sizes
-
02-12-2015 12:33 AM #490
CHR Member
- Join Date
- Oct 2007
- Location
- Petaluma
- Car Year, Make, Model: 48 Ford F1
- Posts
- 9,795
That infill really improves the look on those radius corners in IMHO
Last edited by stovens; 02-12-2015 at 12:35 AM.
" "No matter where you go, there you are!" Steve.
-
02-12-2015 05:59 AM #491
CHR Member/Contributor
- Join Date
- Sep 2007
- Location
- Gardner, KS
- Car Year, Make, Model: '33 HiBoy Coupe, '32 HiBoy Roadster
- Posts
- 11,245
Steve,
Just curious, and it's of no concern at all but wondering why you cut away material to radius the corner, which increased the size of the "infill panel" significantly. More strength to the nicely curved hood line to infill panel, or something else. Again, just curious and always looking to learn.Roger
Enjoy the little things in life, and you may look back one day and realize that they were really the BIG things.
-
02-12-2015 08:42 AM #492
CHR Member
- Join Date
- Oct 2007
- Location
- Petaluma
- Car Year, Make, Model: 48 Ford F1
- Posts
- 9,795
Roger I think part of it is a clearance issue on closing the hood, thus the radius, and the other part is it looked like a real tight gap, before the re-radius cuts. Now wider and more uniform. It's a British thing....Mind the gap!

" "No matter where you go, there you are!" Steve.
-
02-12-2015 08:51 AM #493
CHR Member/Contributor
- Join Date
- Sep 2007
- Location
- Gardner, KS
- Car Year, Make, Model: '33 HiBoy Coupe, '32 HiBoy Roadster
- Posts
- 11,245
Looks like I totally misunderstood the "infill panel". I was visualizing it as an extension of the hood to fill the corner, but not considering that it would bind on the upswing, thus the infill panel on the body, and the nicely radiused corner to open cleanly. Sorry for the bother, Steve.Roger
Enjoy the little things in life, and you may look back one day and realize that they were really the BIG things.
-
02-12-2015 11:33 AM #494
CHR Member
- Join Date
- Apr 2009
- Location
- watford
- Car Year, Make, Model: 26T Coupe, 32 Roadster, 41 Willys Coupe
- Posts
- 2,363
Thats how willys are mate Originally Posted by rspears
.Its aweful lonesome in the saddle since my horse died.
-
02-12-2015 11:37 AM #495
CHR Member
- Join Date
- Apr 2009
- Location
- watford
- Car Year, Make, Model: 26T Coupe, 32 Roadster, 41 Willys Coupe
- Posts
- 2,363
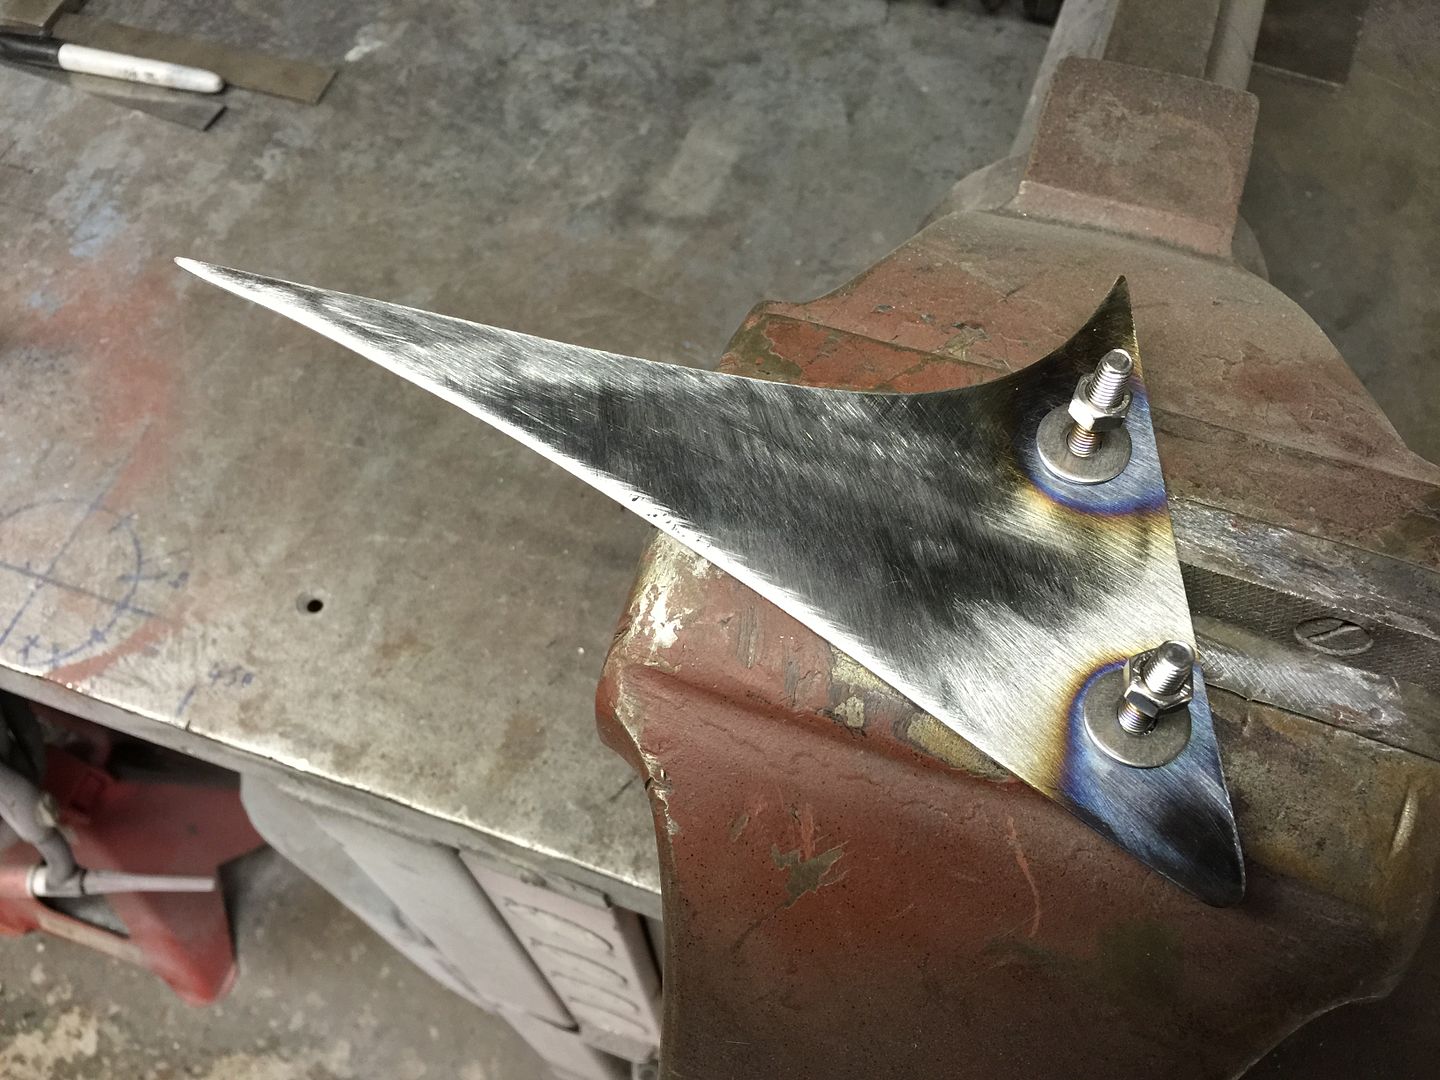
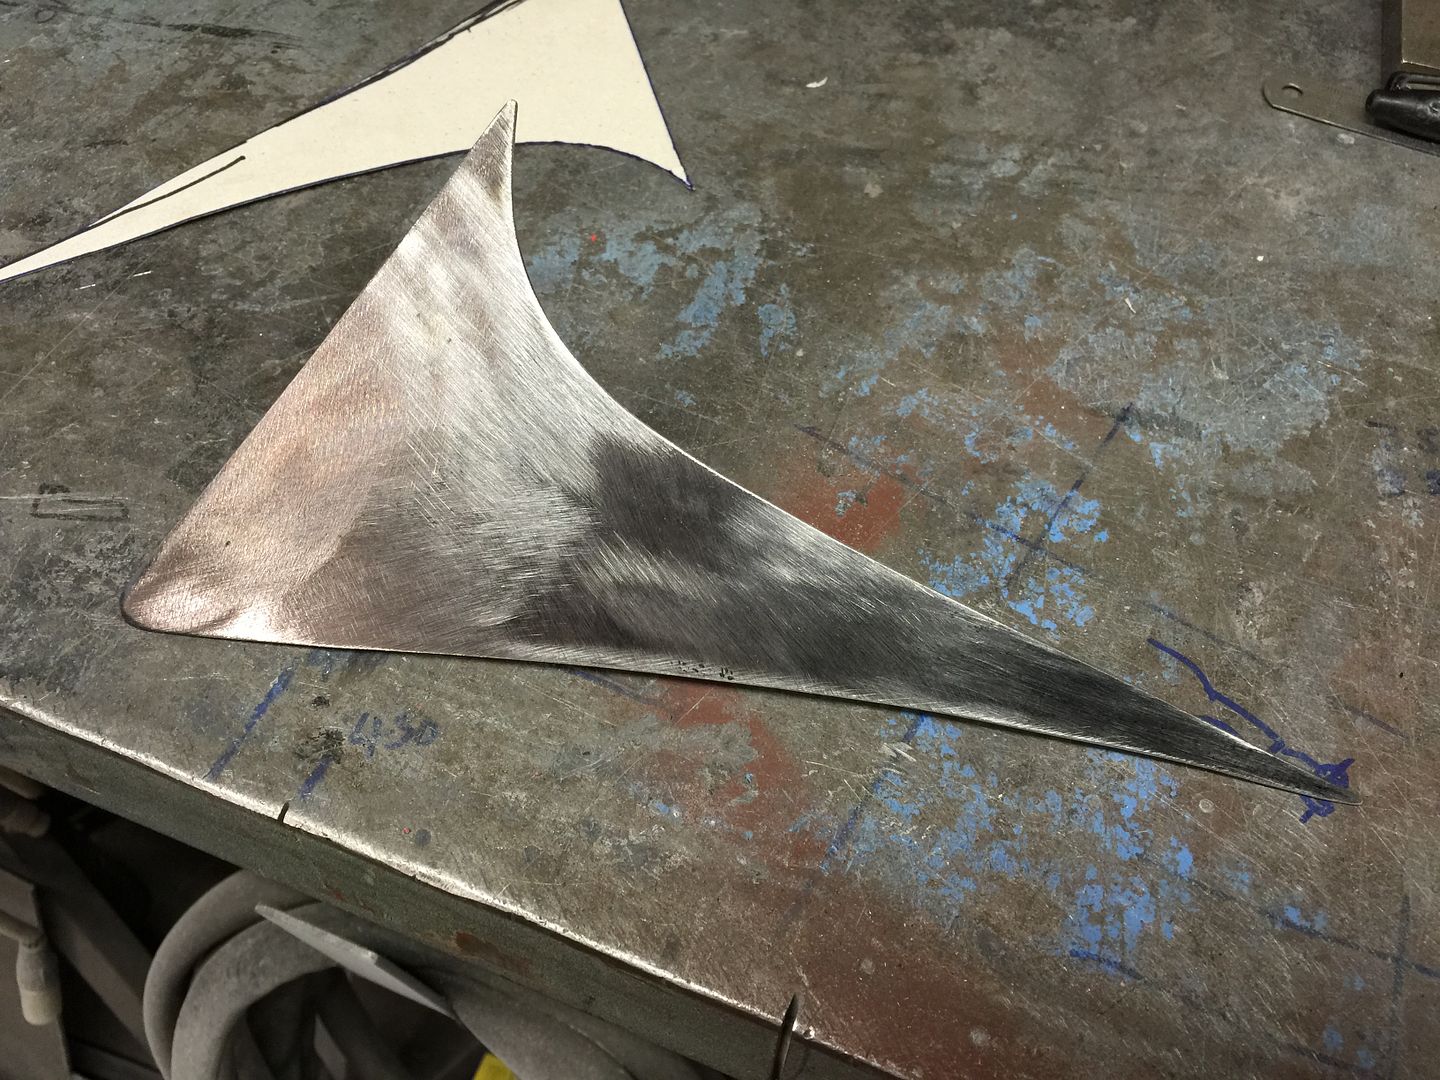
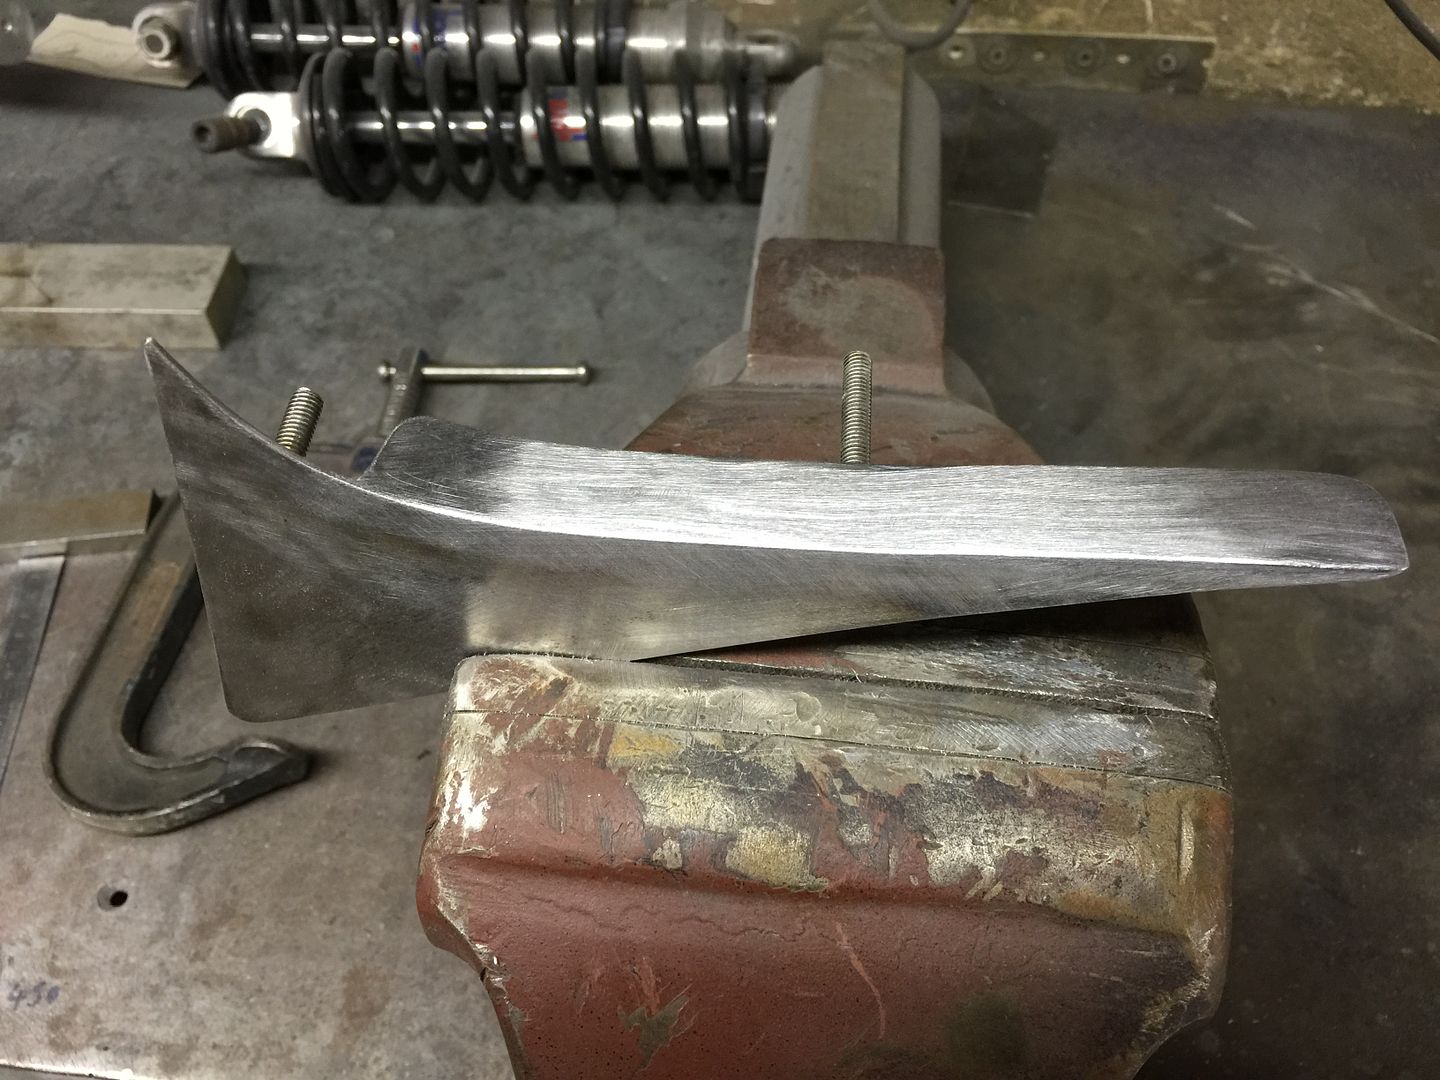
Traced around the template last night onto a bit of 16swg sheet steel welded some mounting studs in place. plug welded them and sanded smooth.
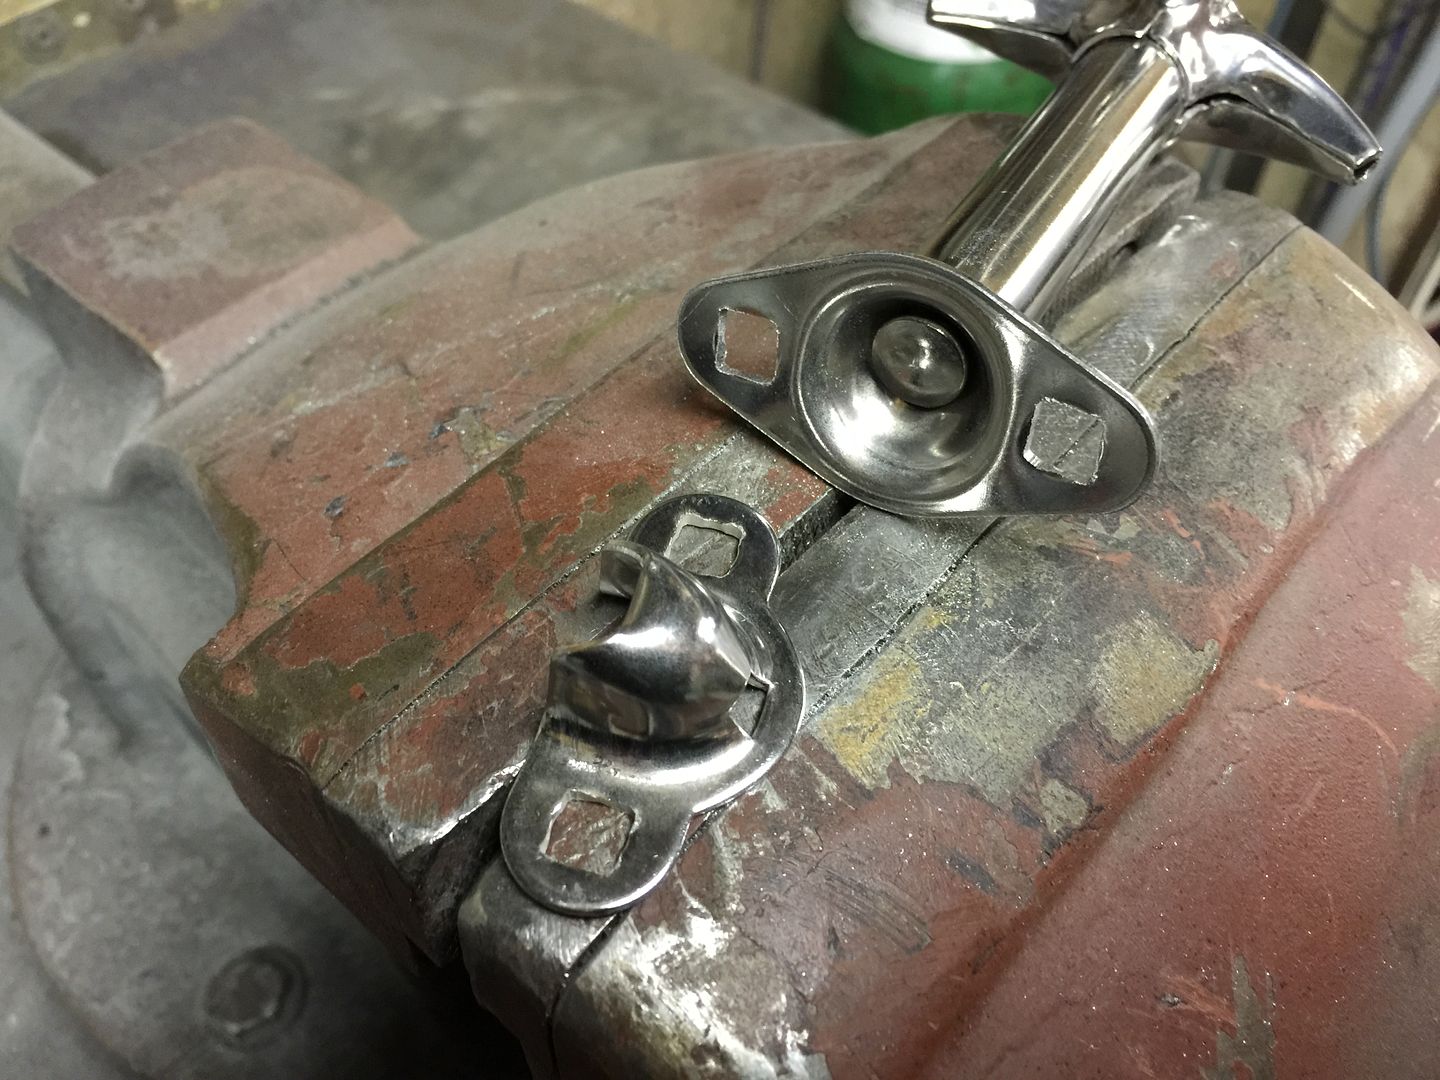
To keep to the rivet theme i filed out the mounting holes in the hood hooks.
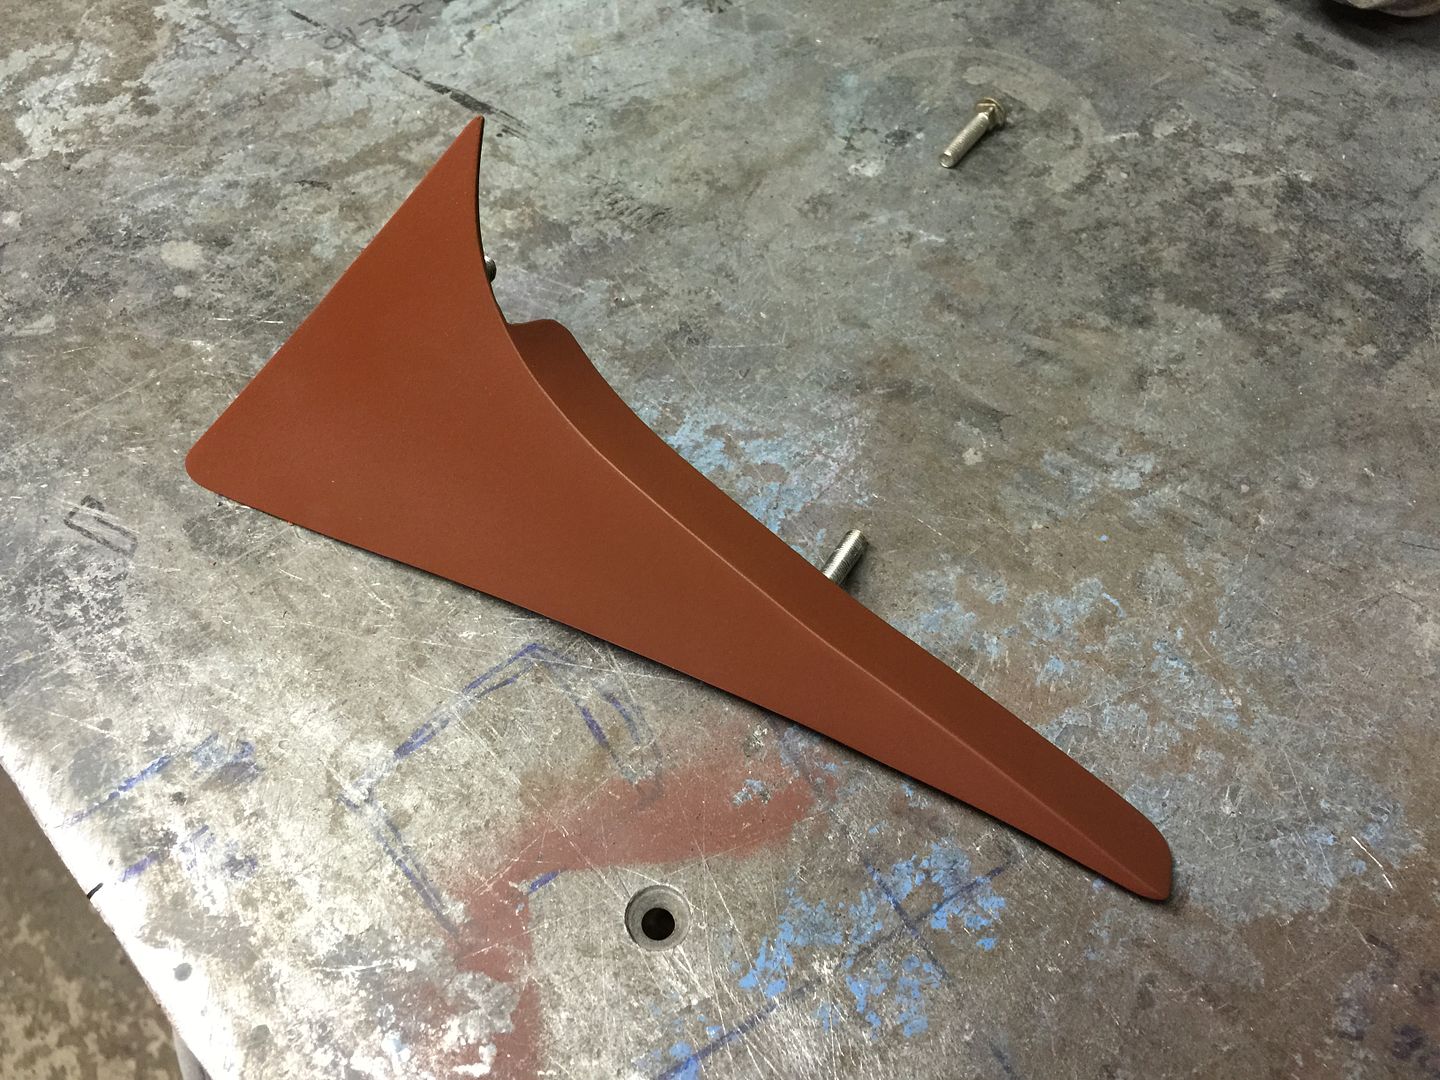
I decided rather than just have an edge on the filler piece I would add a return, tacked it up and then welded and smoothed off and a squirt of primer.
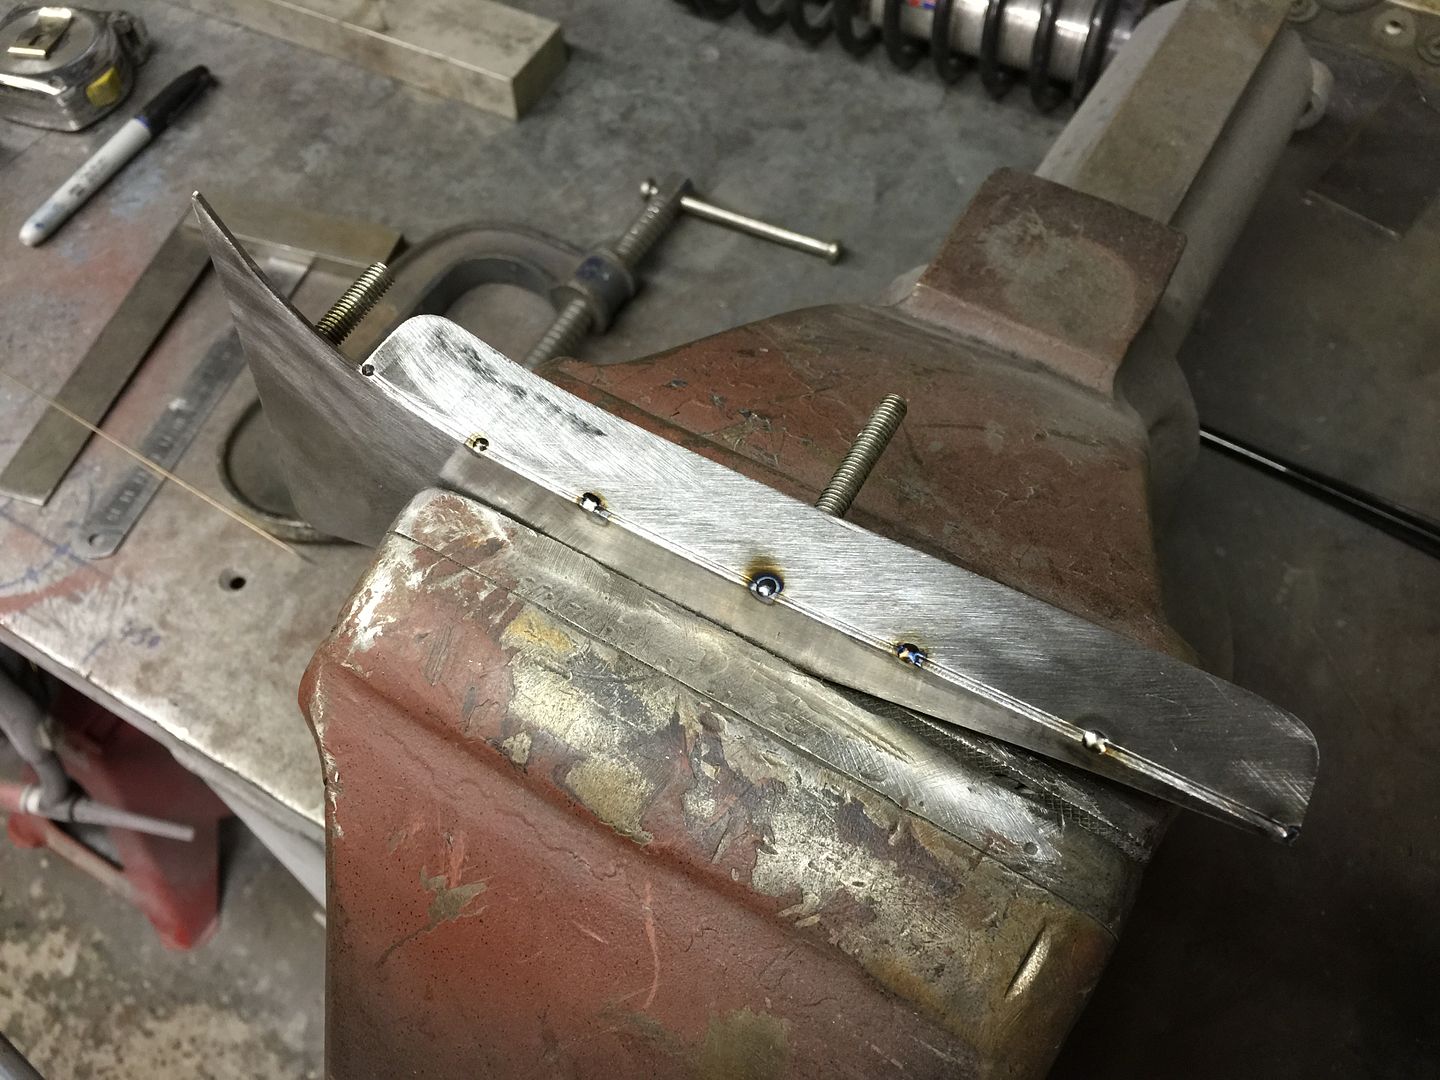
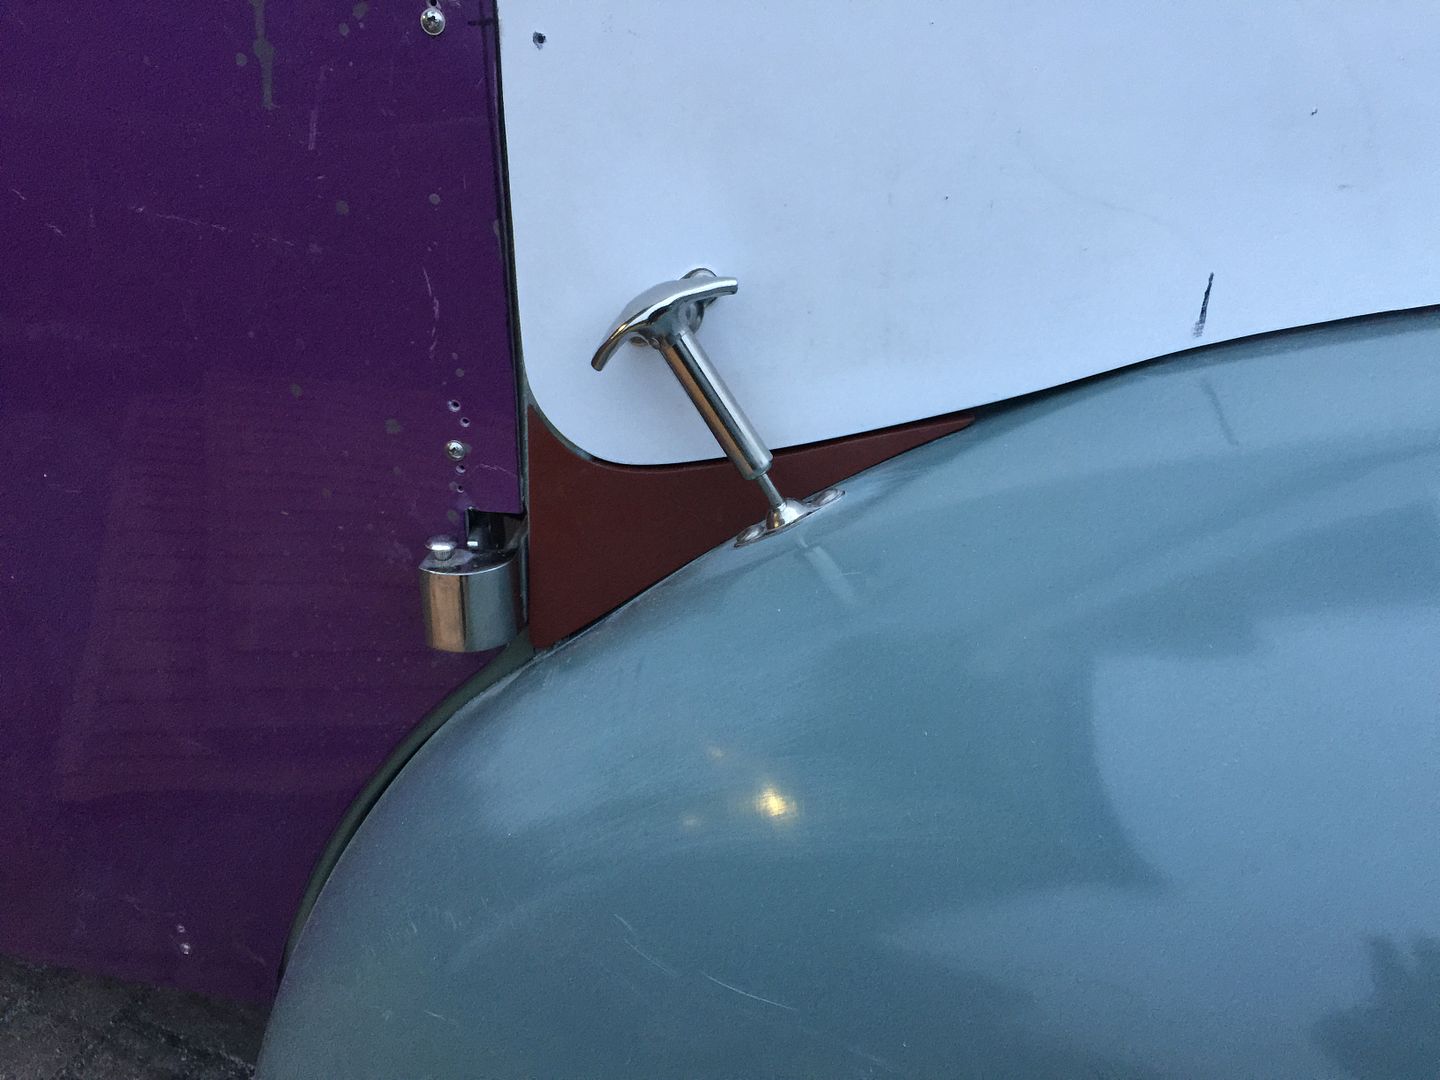
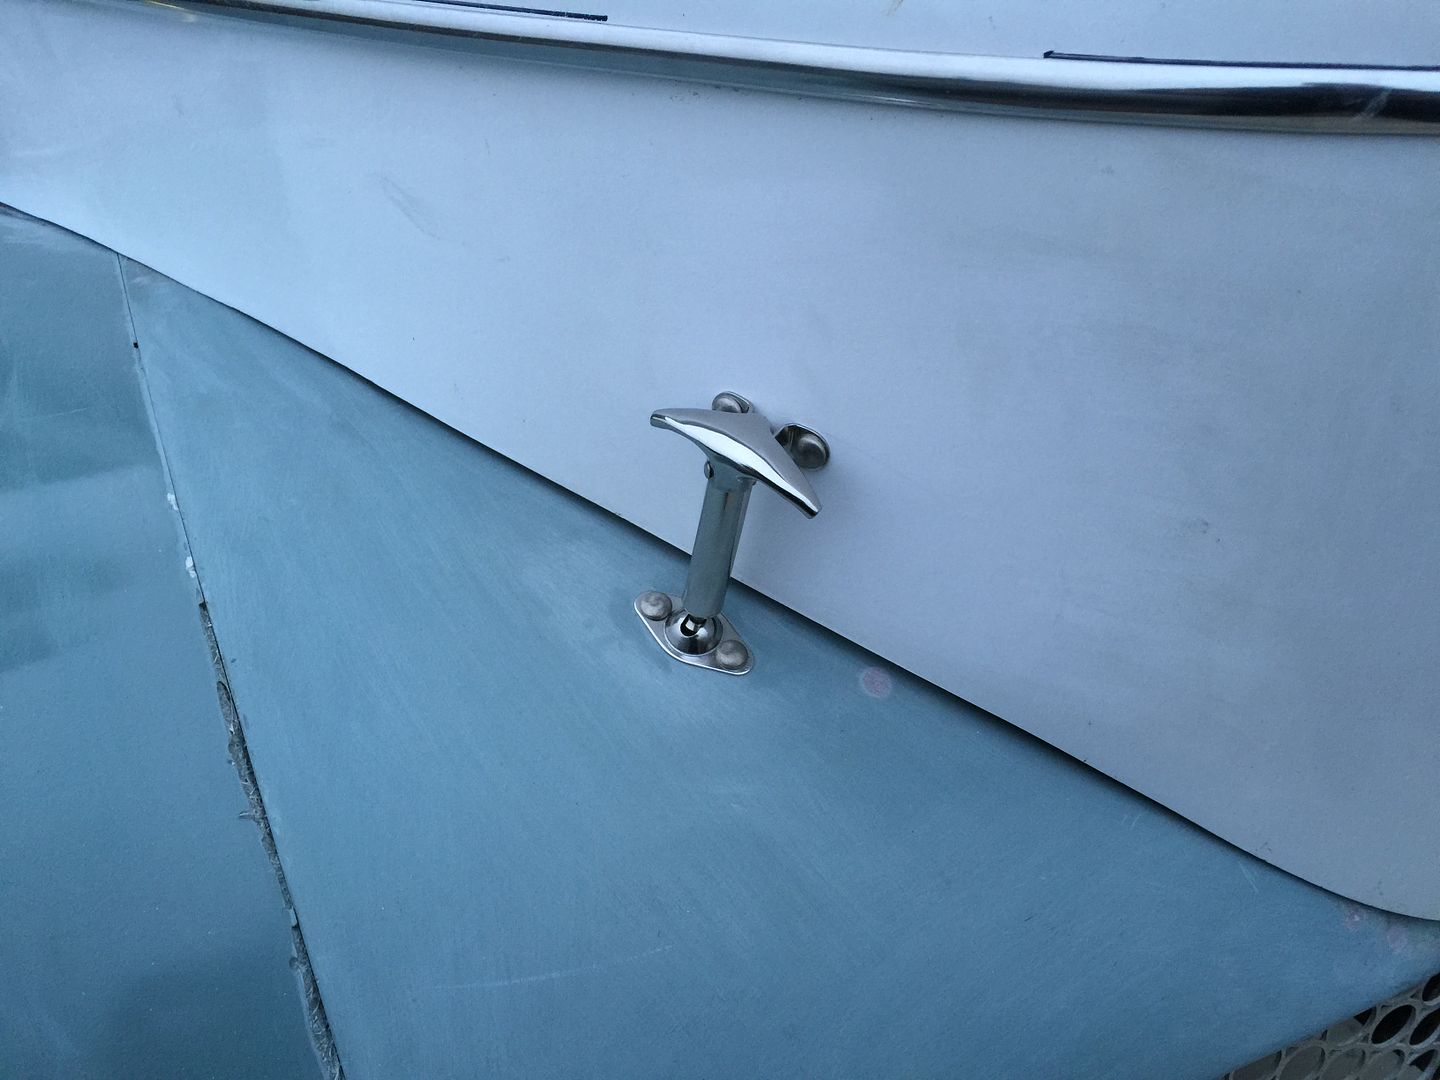
Here its back in place, still needs a bit of sanding to even up the gaps but its looking much better.
.Its aweful lonesome in the saddle since my horse died.
 Reply With Quote


Posting Permissions
- You may not post new threads
- You may not post replies
- You may not post attachments
- You may not edit your posts

i've enjoyed the years here . made a lot of friends. most who have left. i see no reason to continue with this so hope to see you somewhere else. i dont think this site will ever be back. it's lived...
Dead!