


 3390Likes
Thread: 55 Wagon Progress


Results 1,561 to 1,575 of 1865
 LinkBack URL
 About LinkBacks
-
11-08-2020 09:27 PM #1561
 CHR Member

- Join Date
- Jun 2008
- Location
- Leonardtown
- Car Year, Make, Model: Walking
- Posts
- 1,228
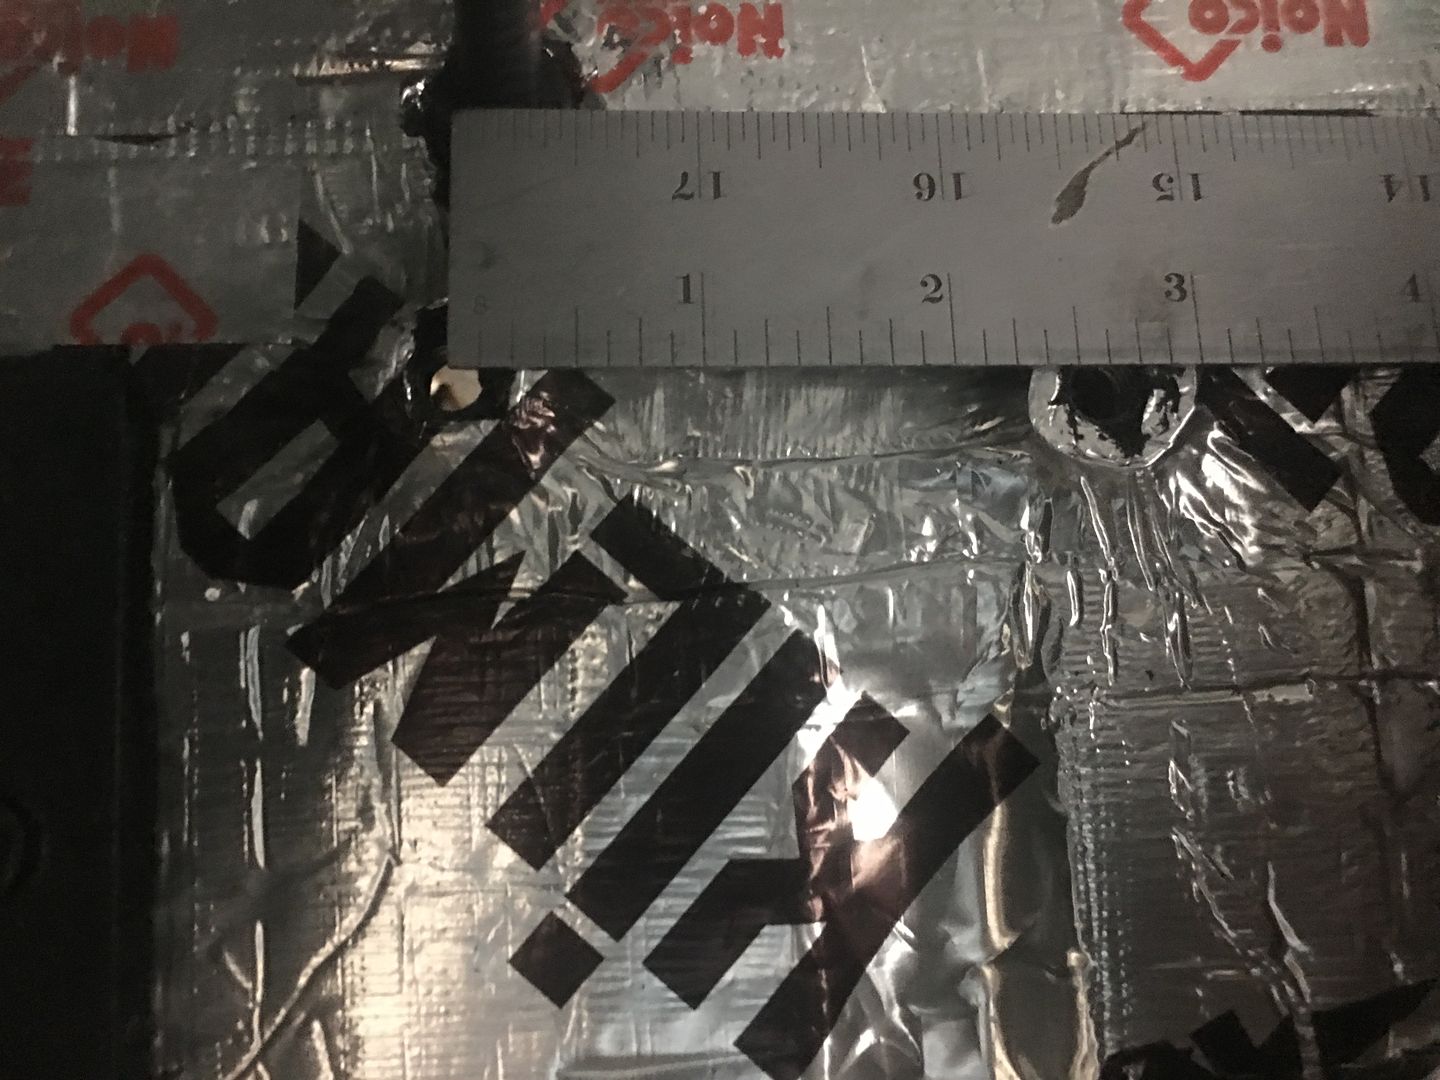
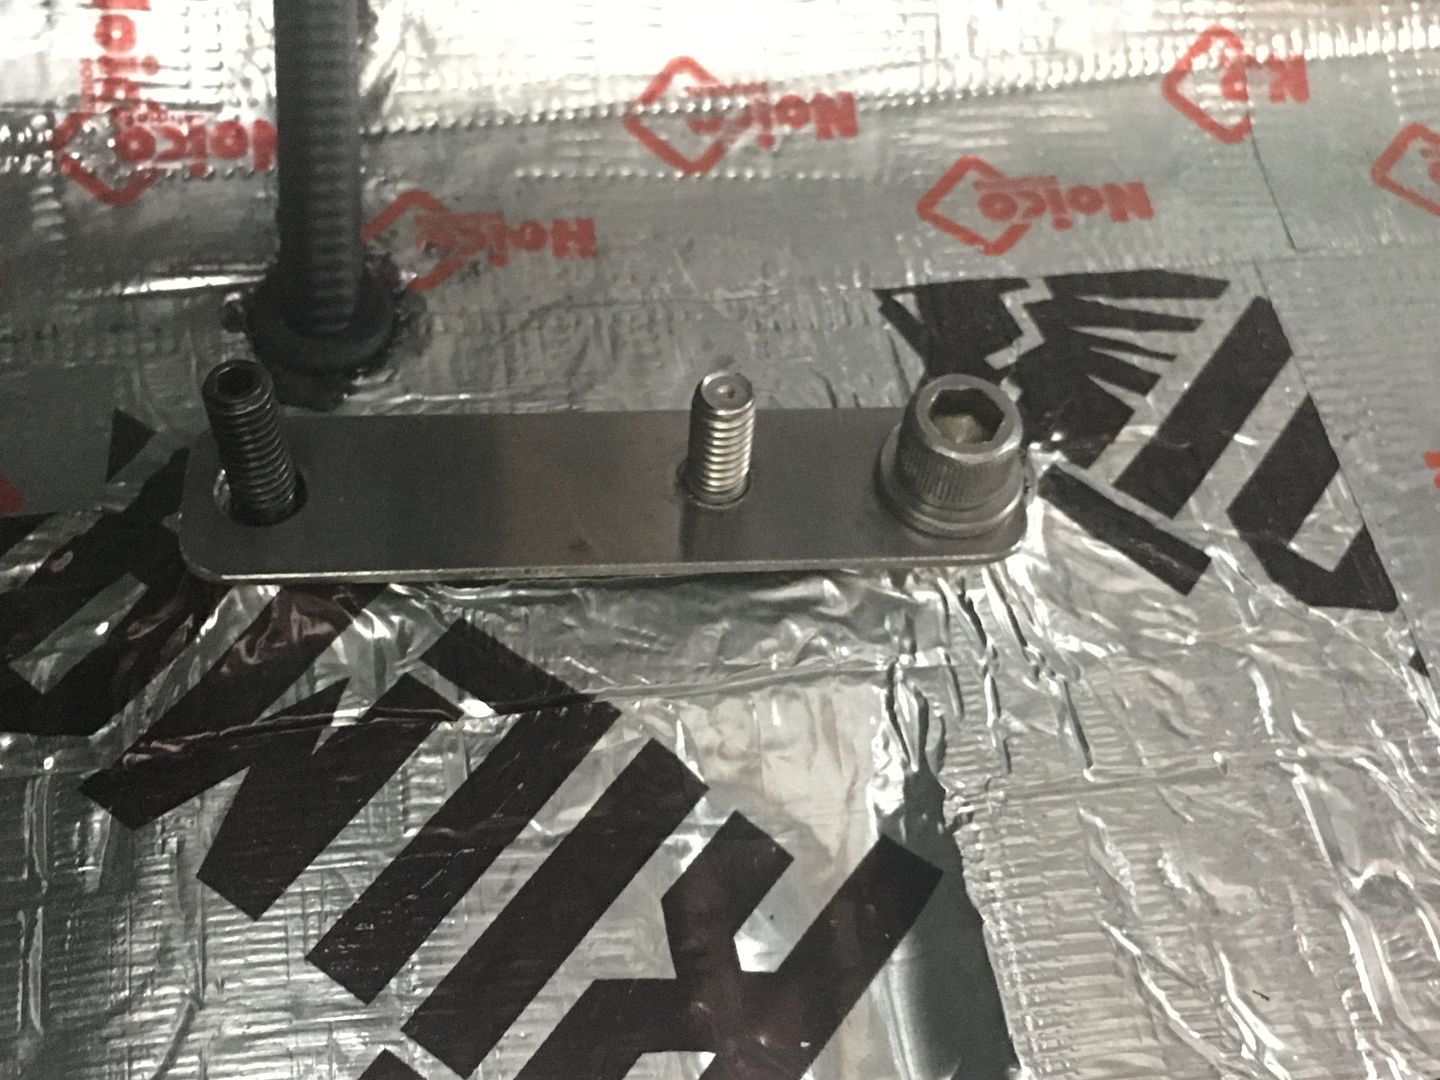
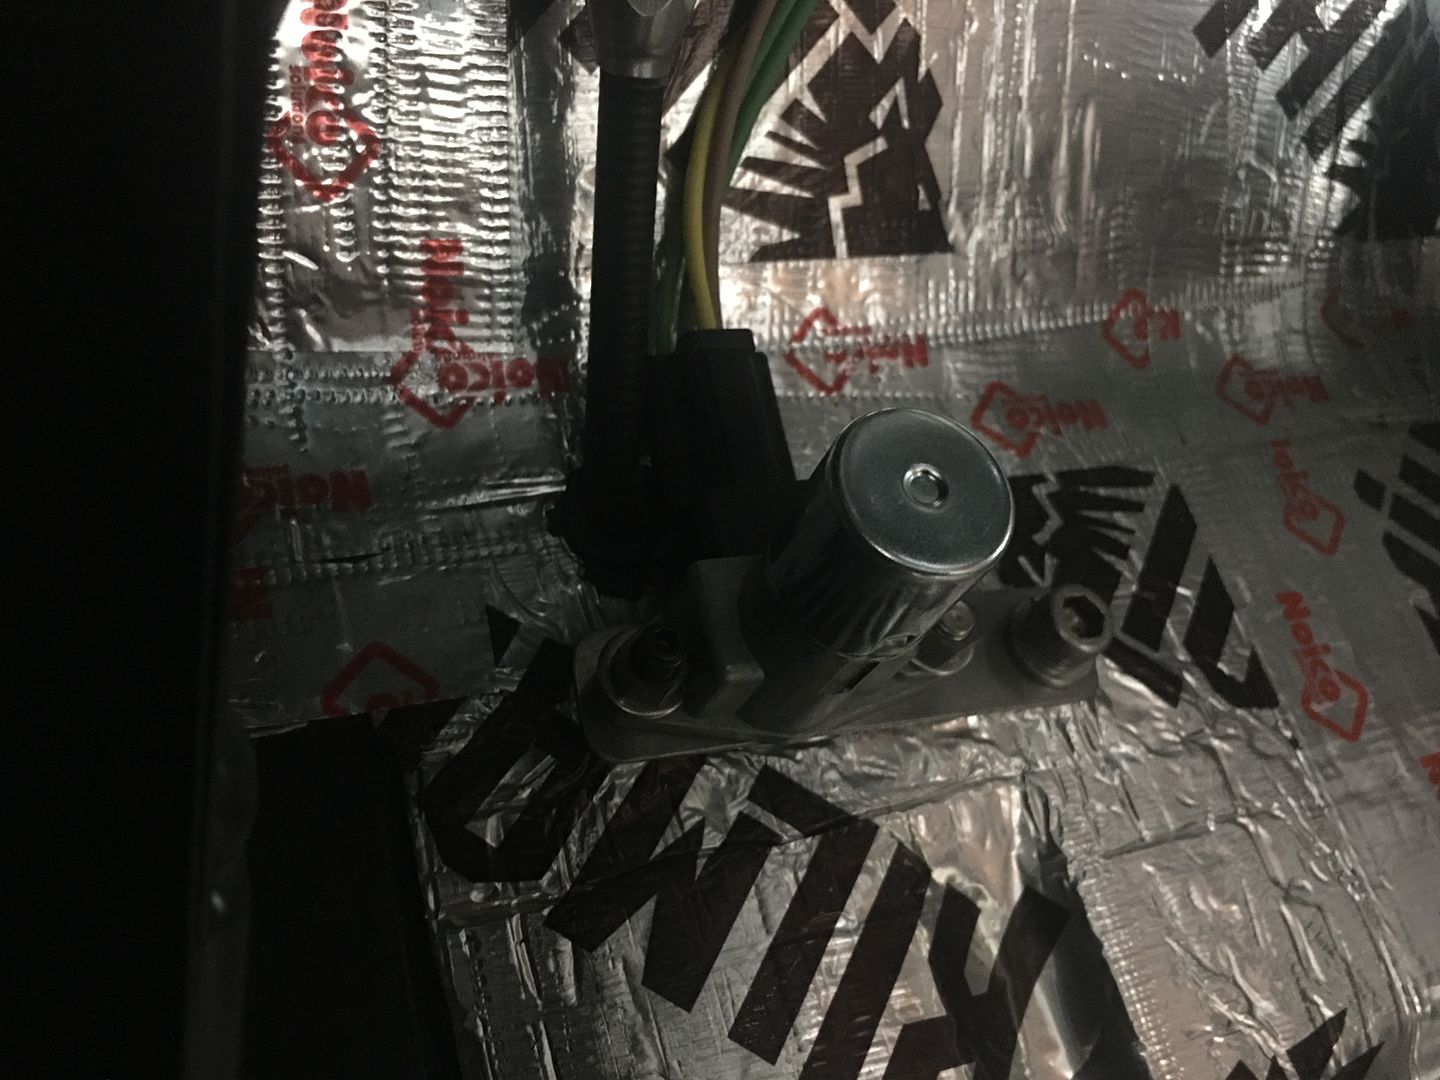
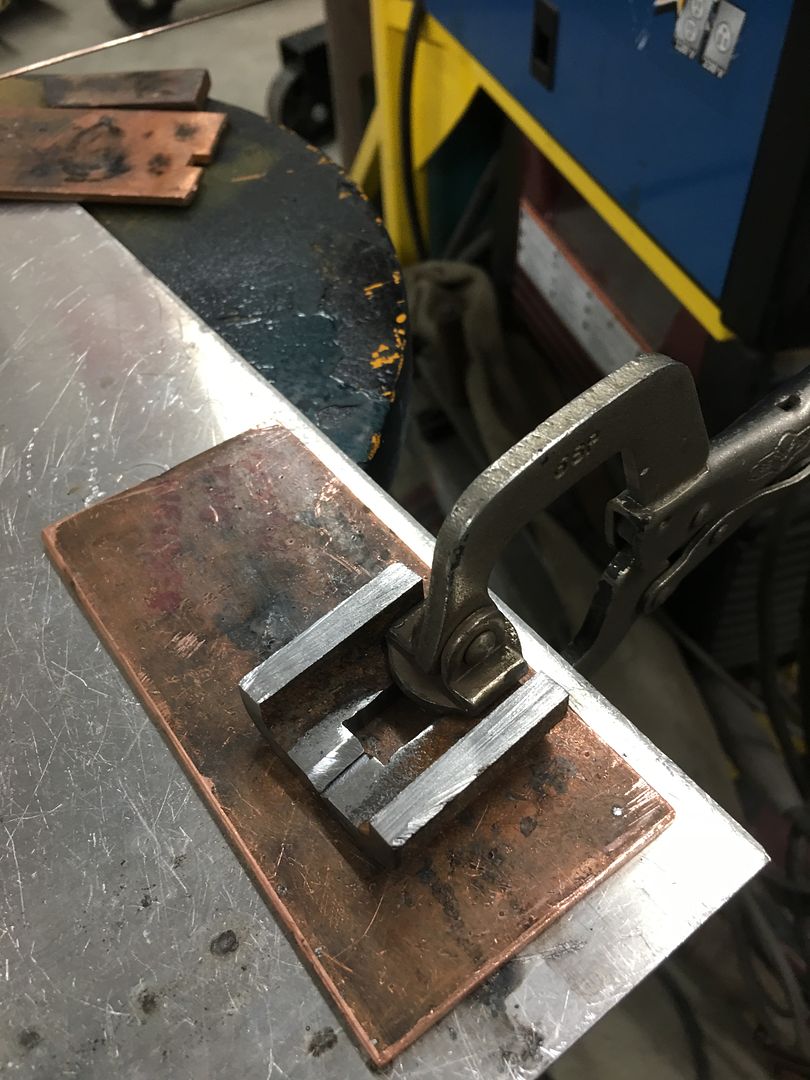
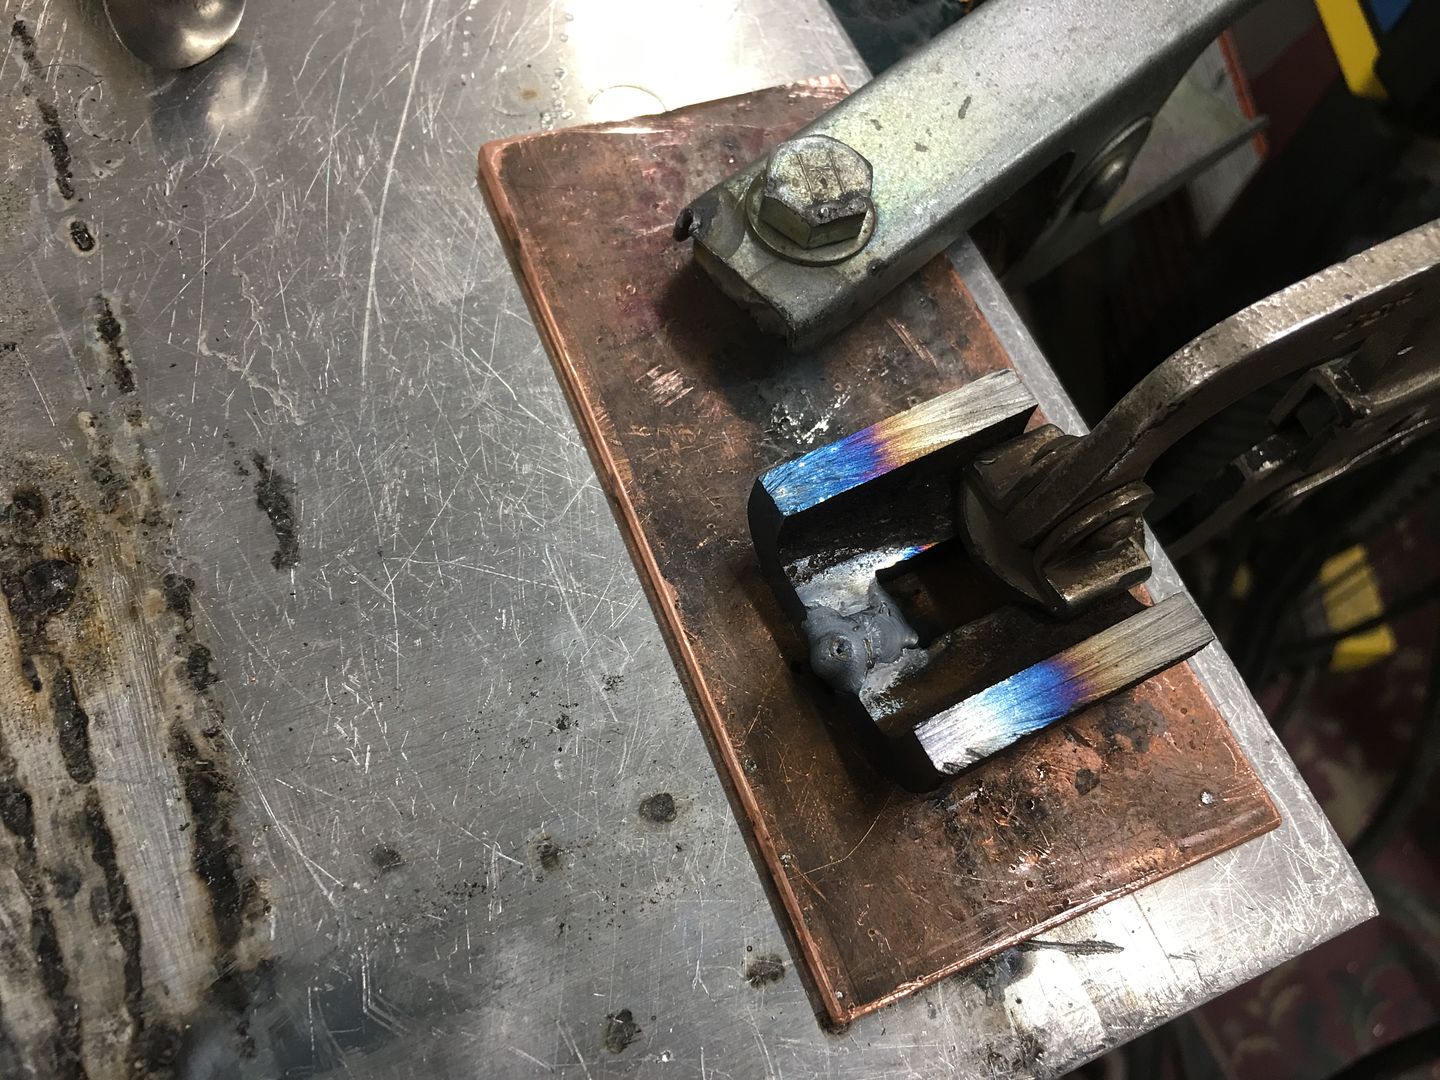
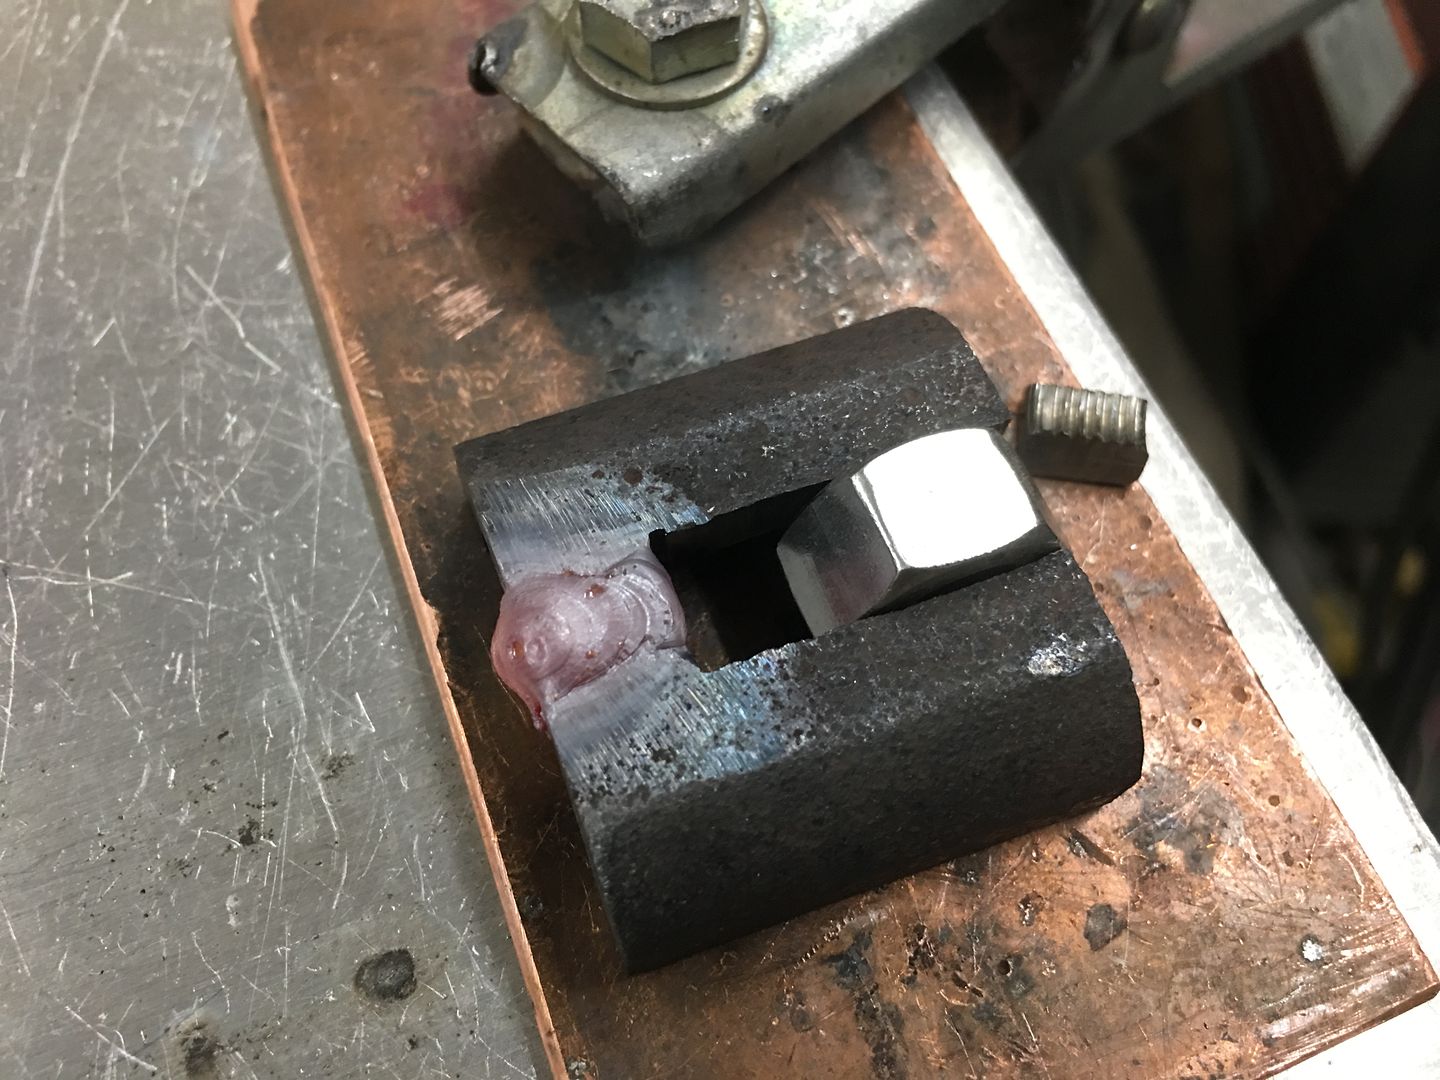
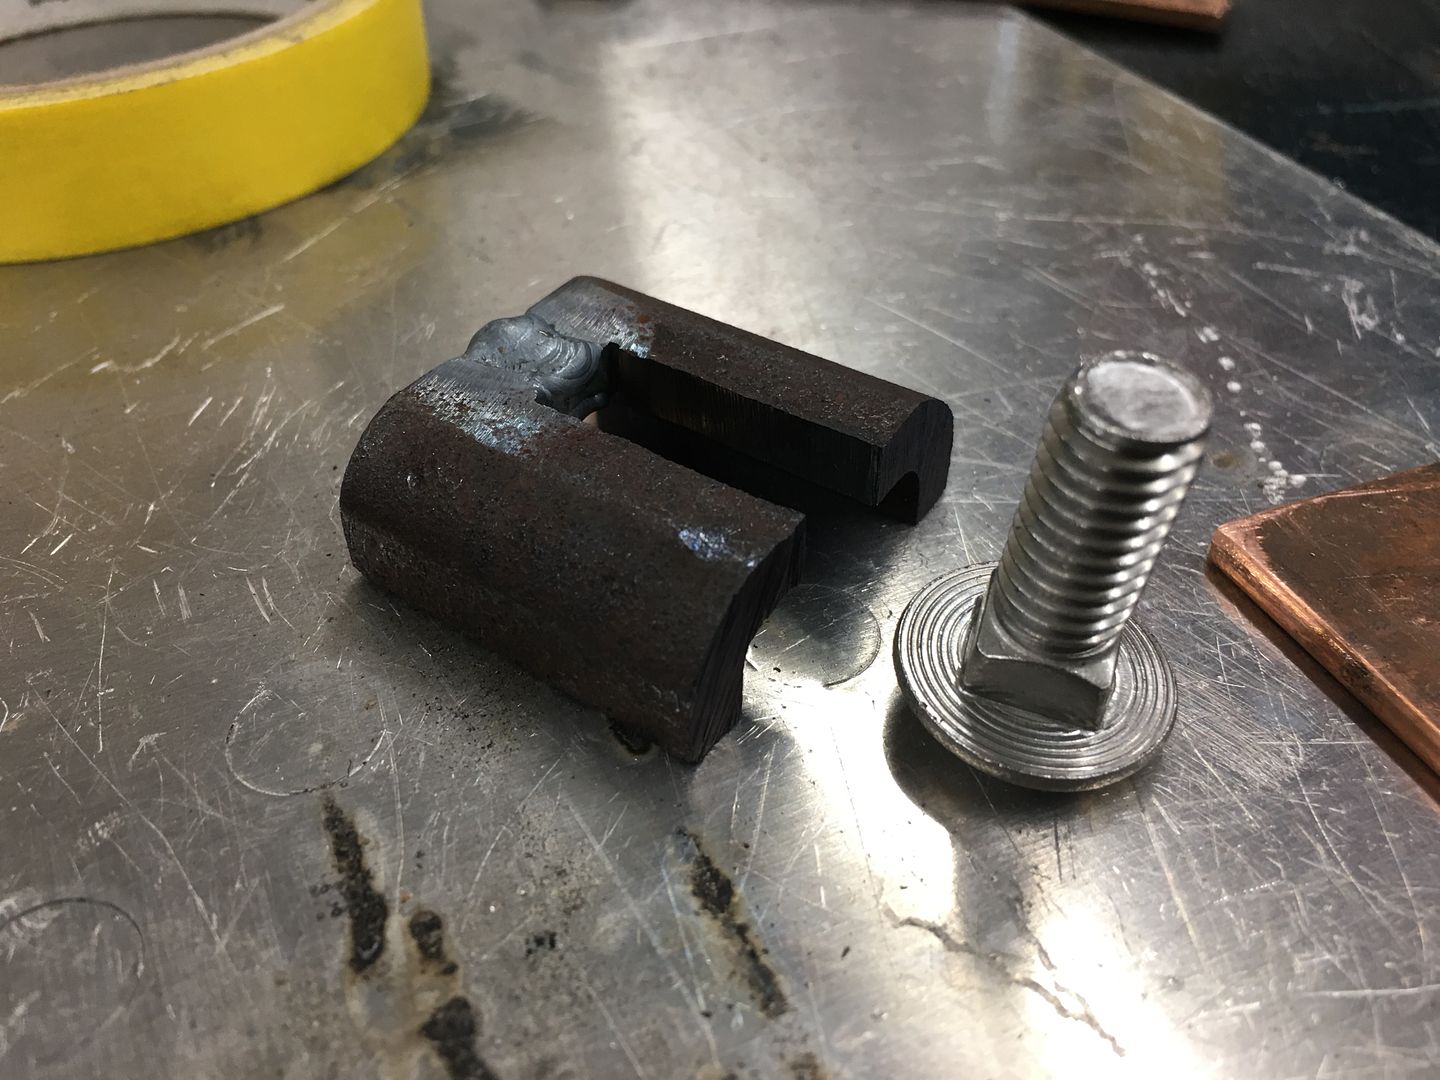
Back when we were shaving all the holes in the firewall, the dimmer switch in the floor actually went THROUGH the floor where the connections were made on the outside, and only the push actuator stuck through the floor. Not wanting anymore electrical connections outside the floor than needed, we welded up the center hole, and kept the floor nuts to bolt the new one inside.. Any never gave it any more thought. Until this weekend. Our dimmer switch, a DS115 has a bolt pattern of about 1.75" between hole centers. The factory nuts are about 2.625" between hole centers. Oh well, back up and punt has become second nature with this project..

So we started by fabricating an "adapter bracket" using 16 gauge stainless and a 1/4-20 press stud.
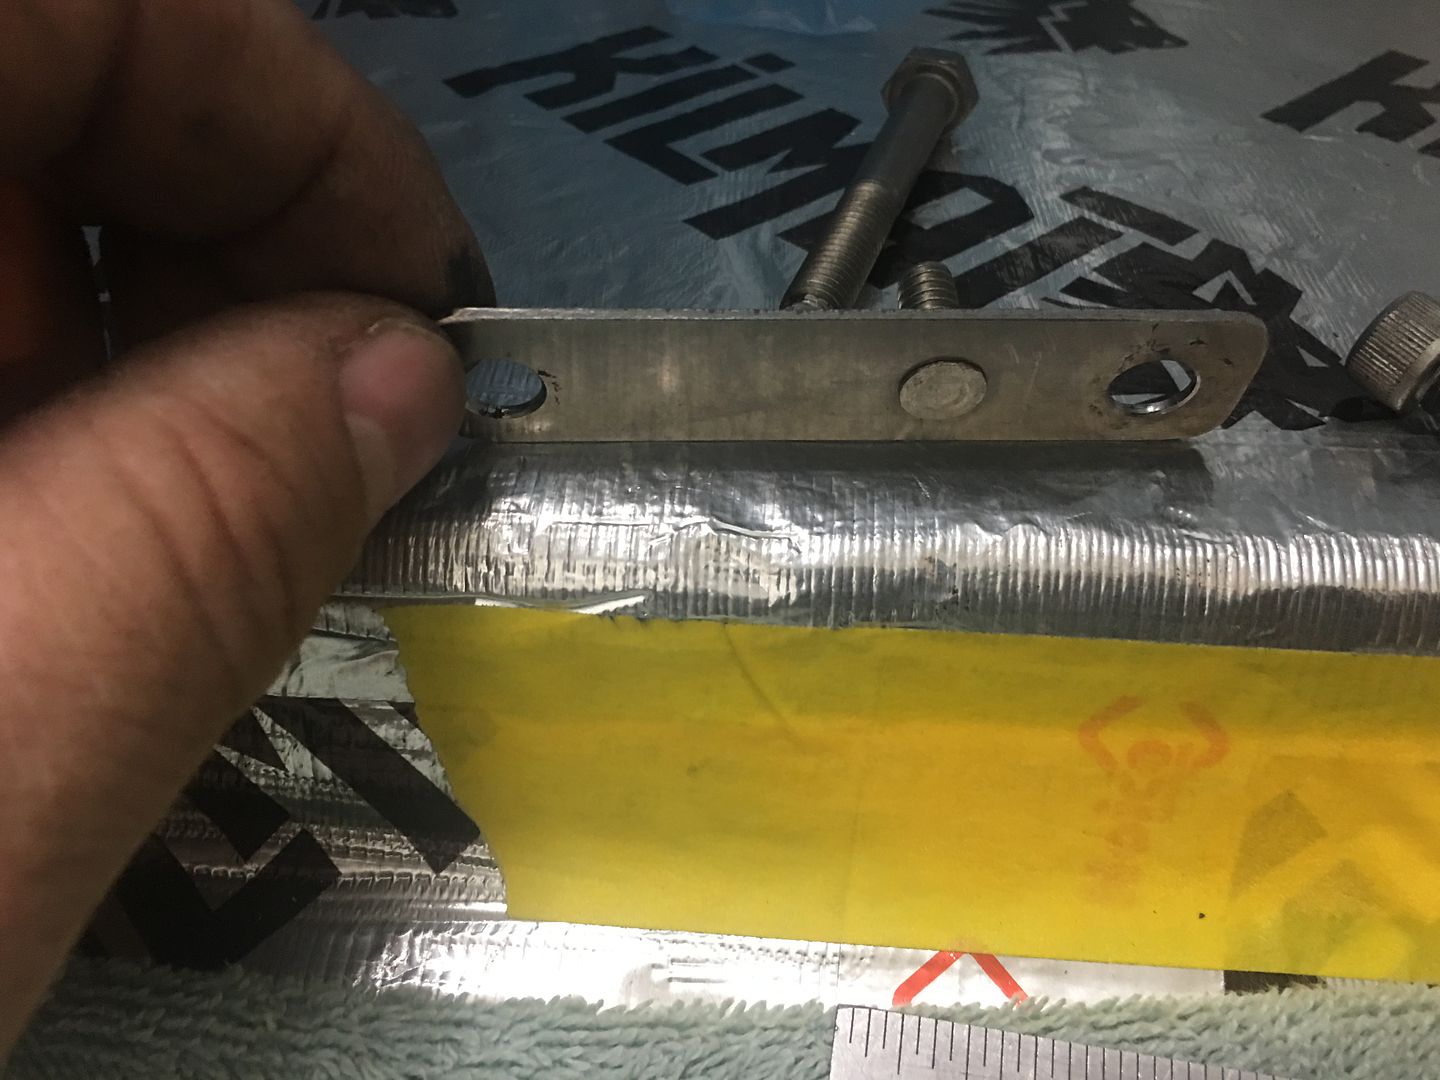
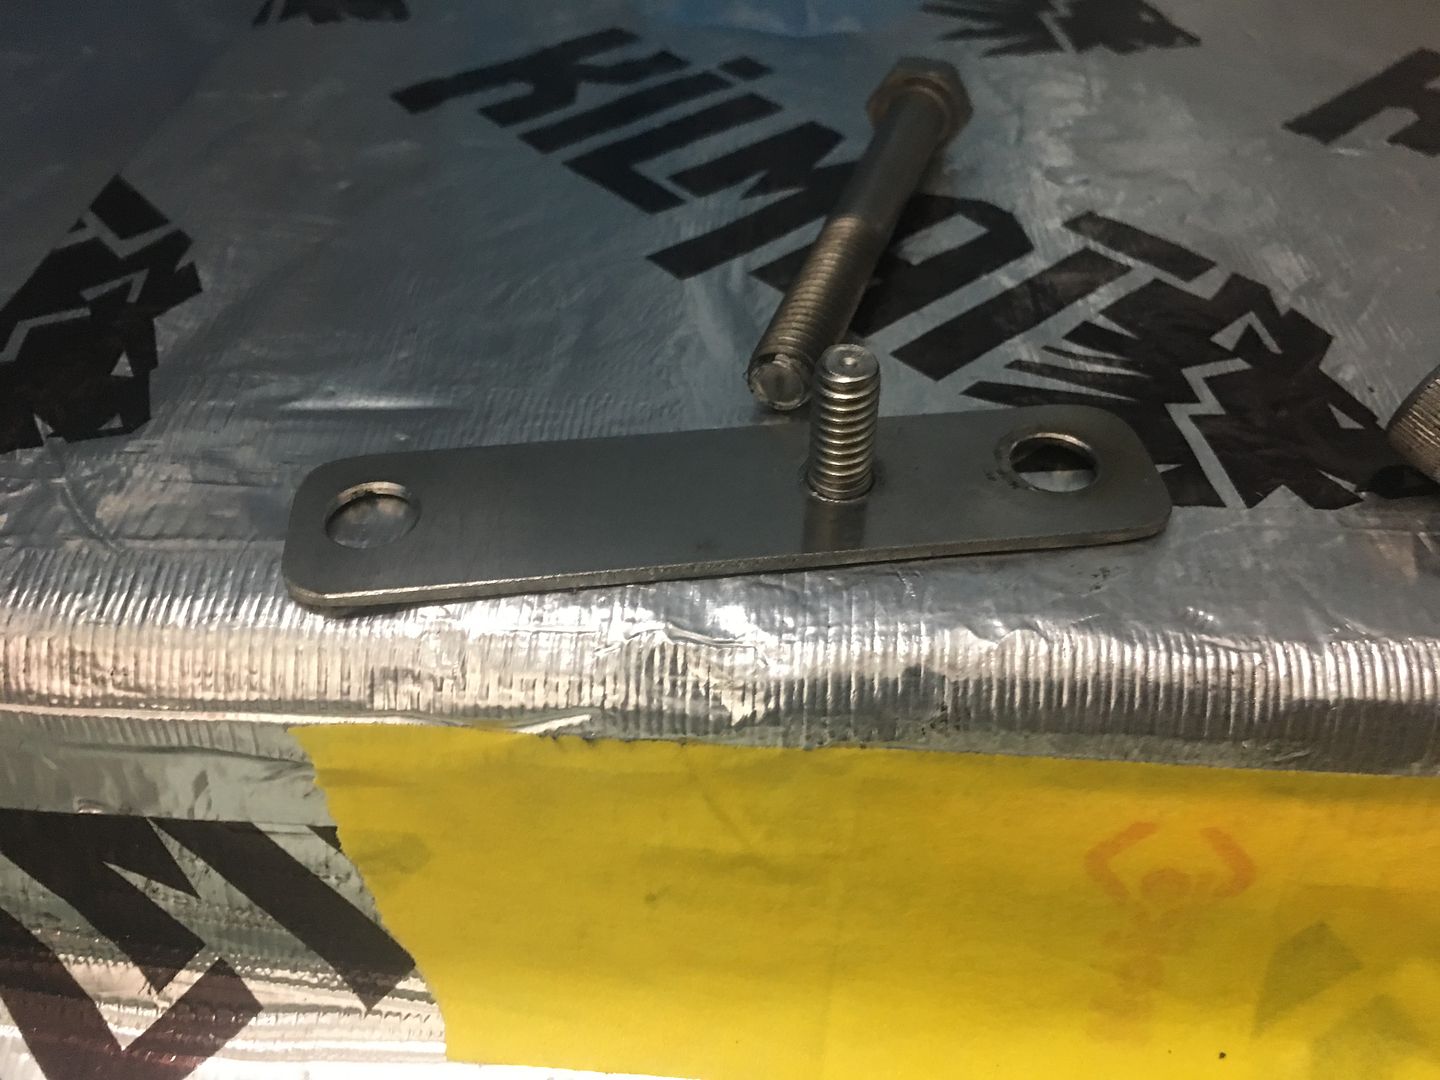
Next, the left bolt needed to be 1/4-20 to fit in the hole of our dimmer switch and with the floor hole at 5/16-18, we need another adapter. So two set screws of appropriate size were welded together, and this allows using an allen wrench to install and hold while tightening the nuts to hold down the dimmer switch.
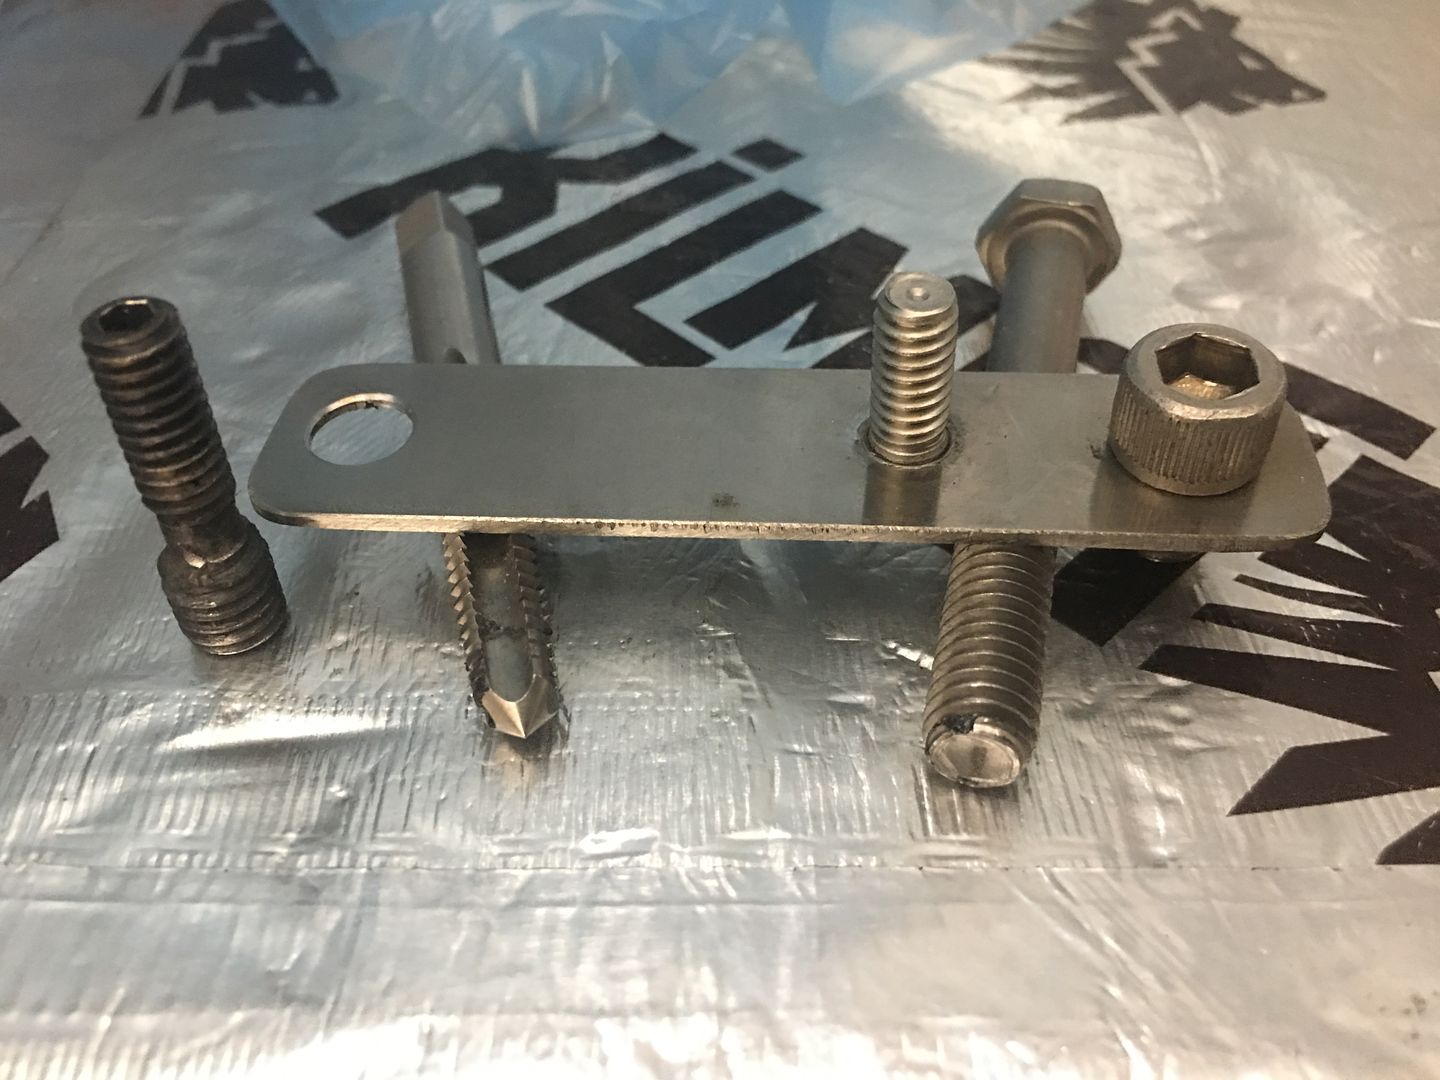
The right screw remains 5/16-18 through, but we are going to find something with a smaller (shorter) profile for under the carpet.
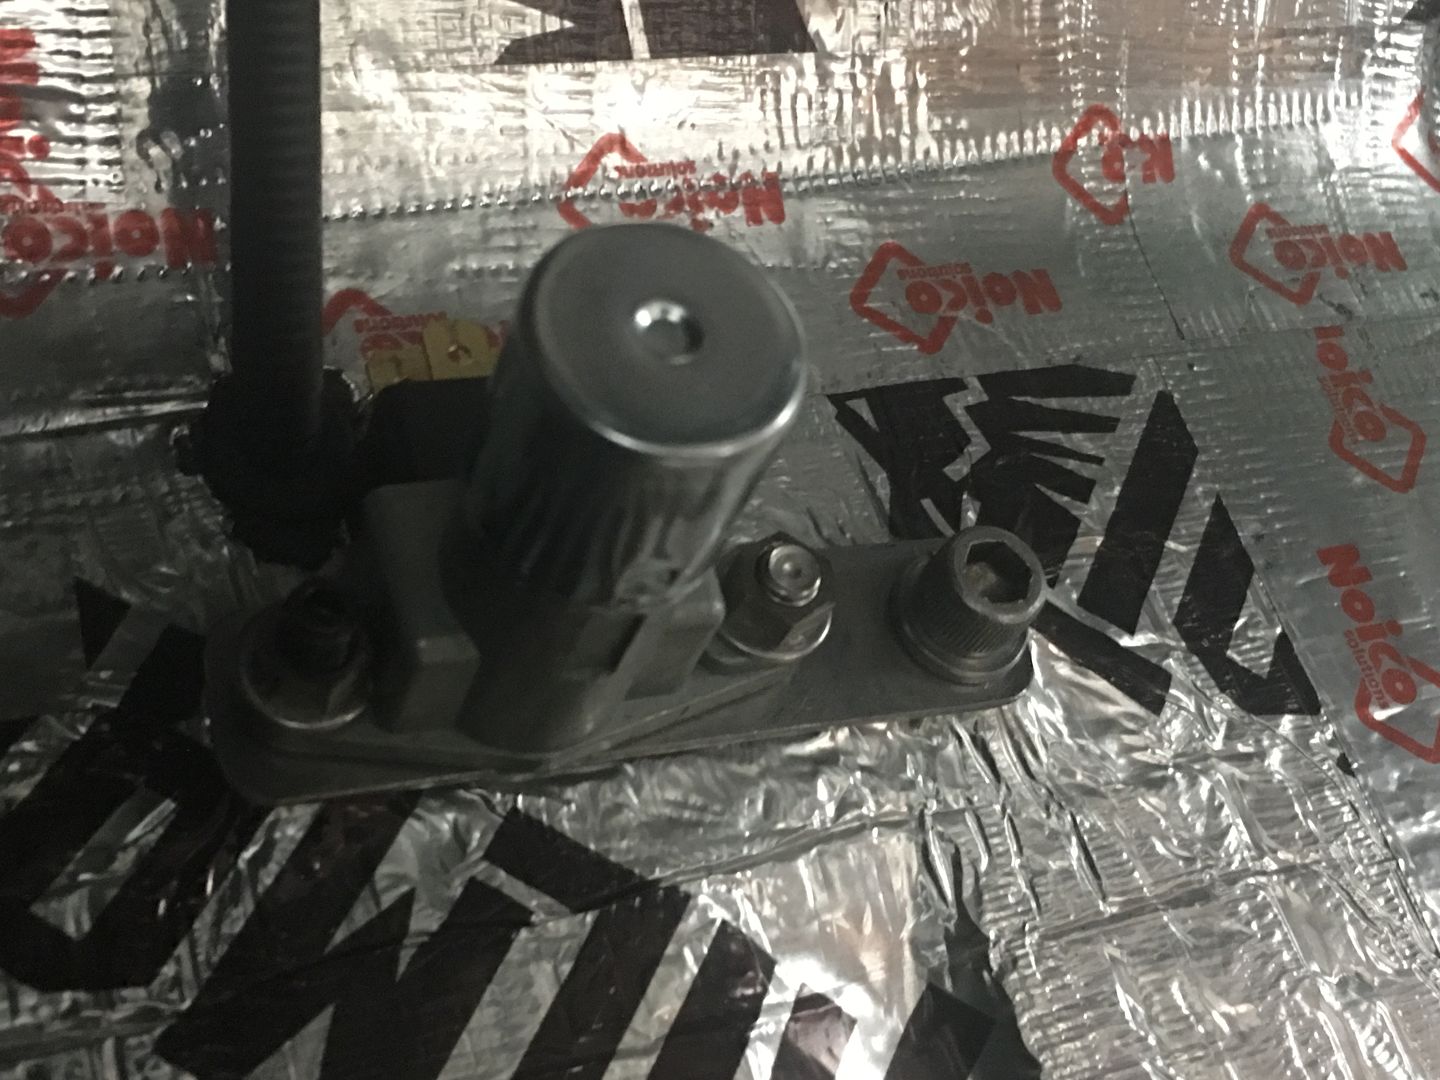
…..with plenty of room for the wiring inside
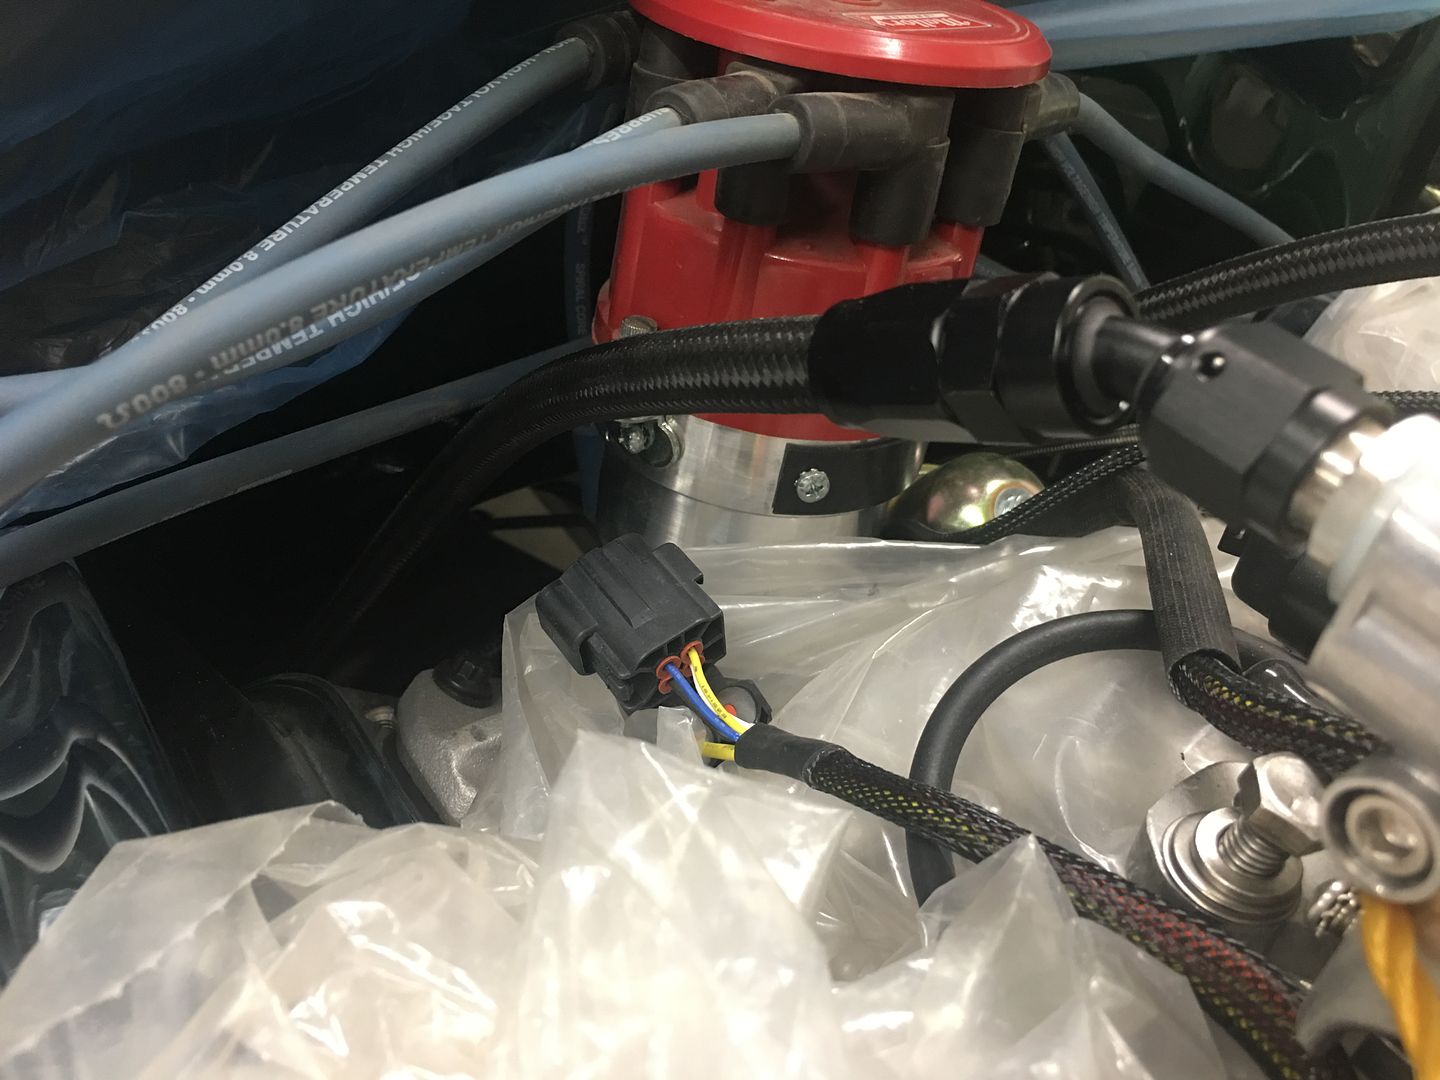
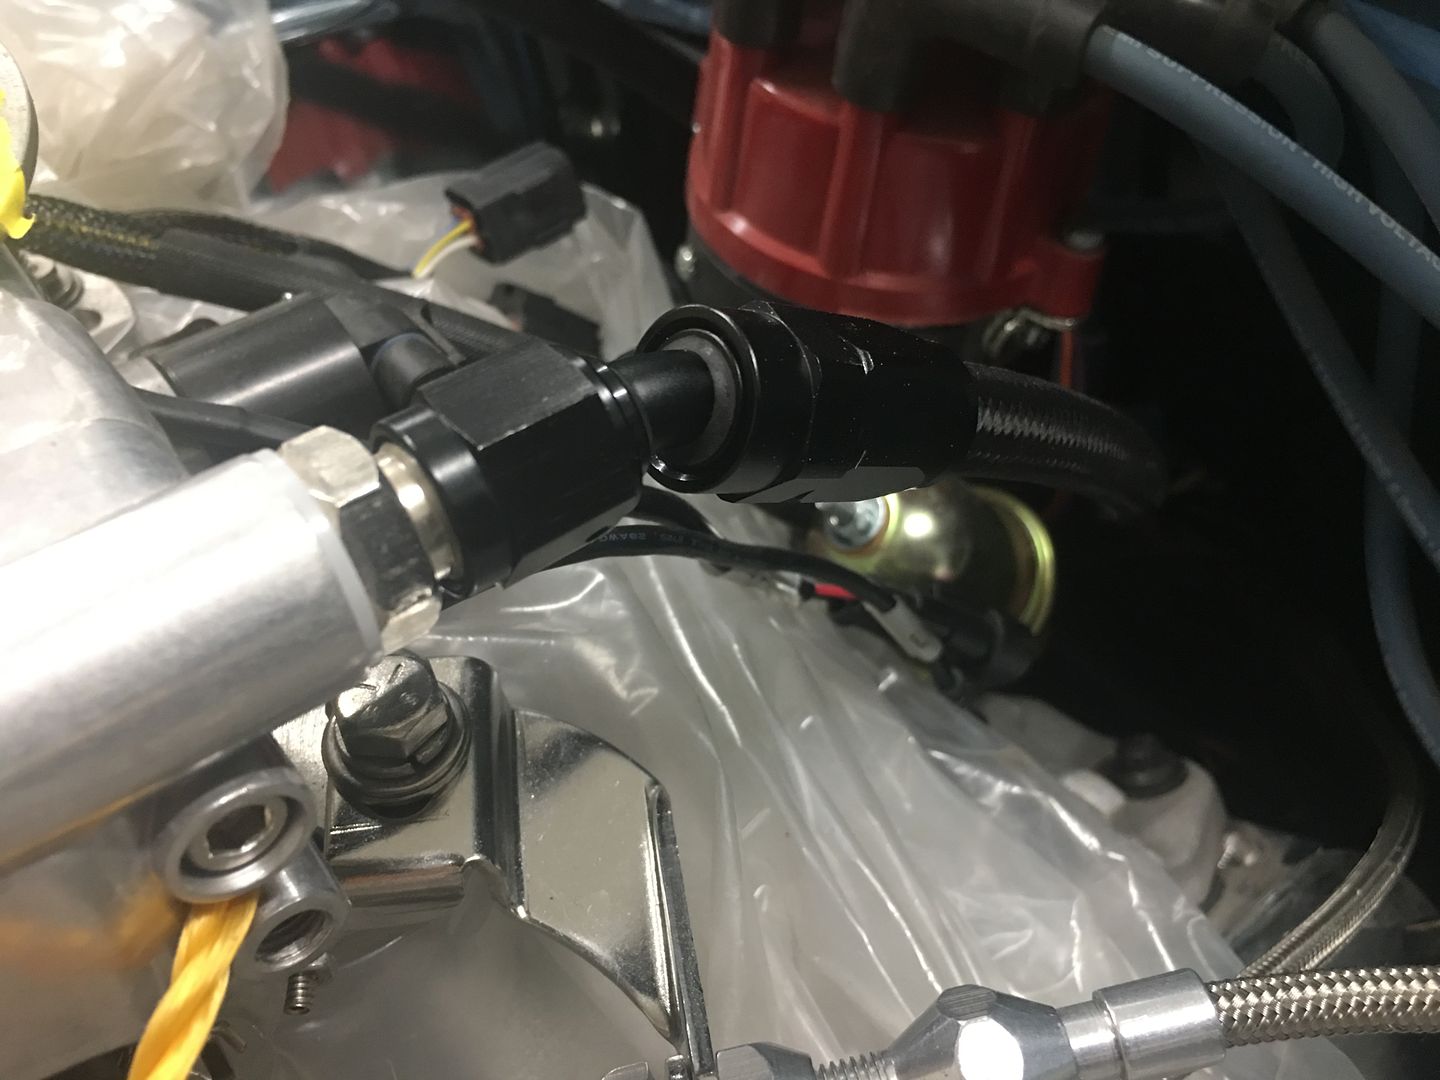
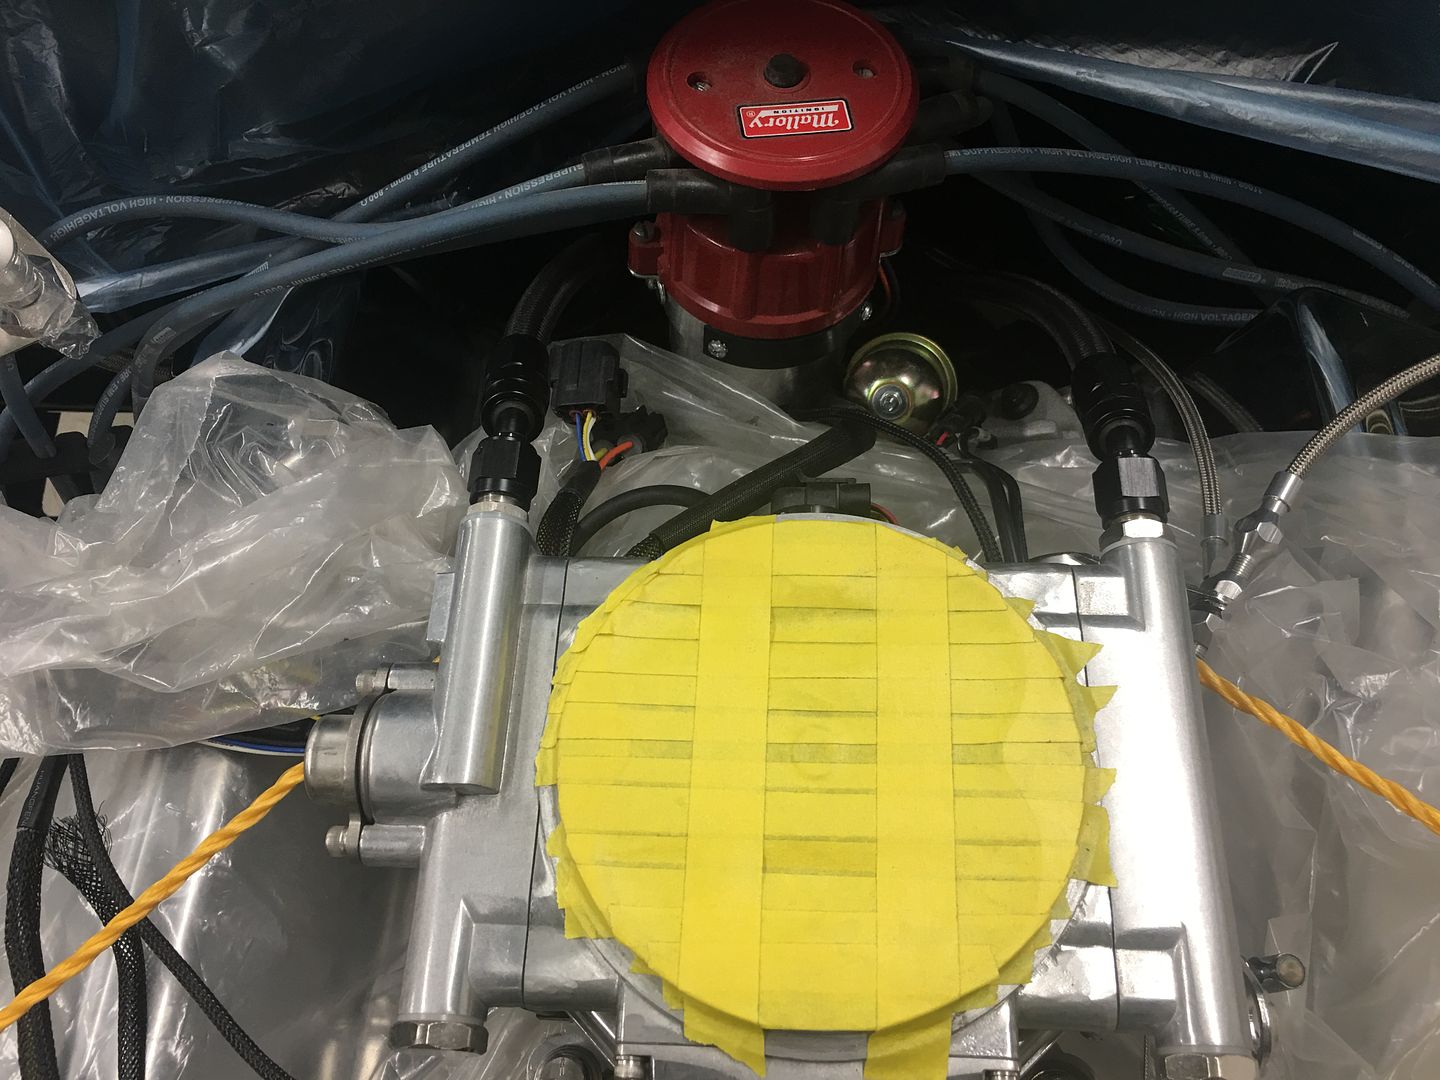
Mike and Jarod got the fuel tank along with fill and vent tubes installed...
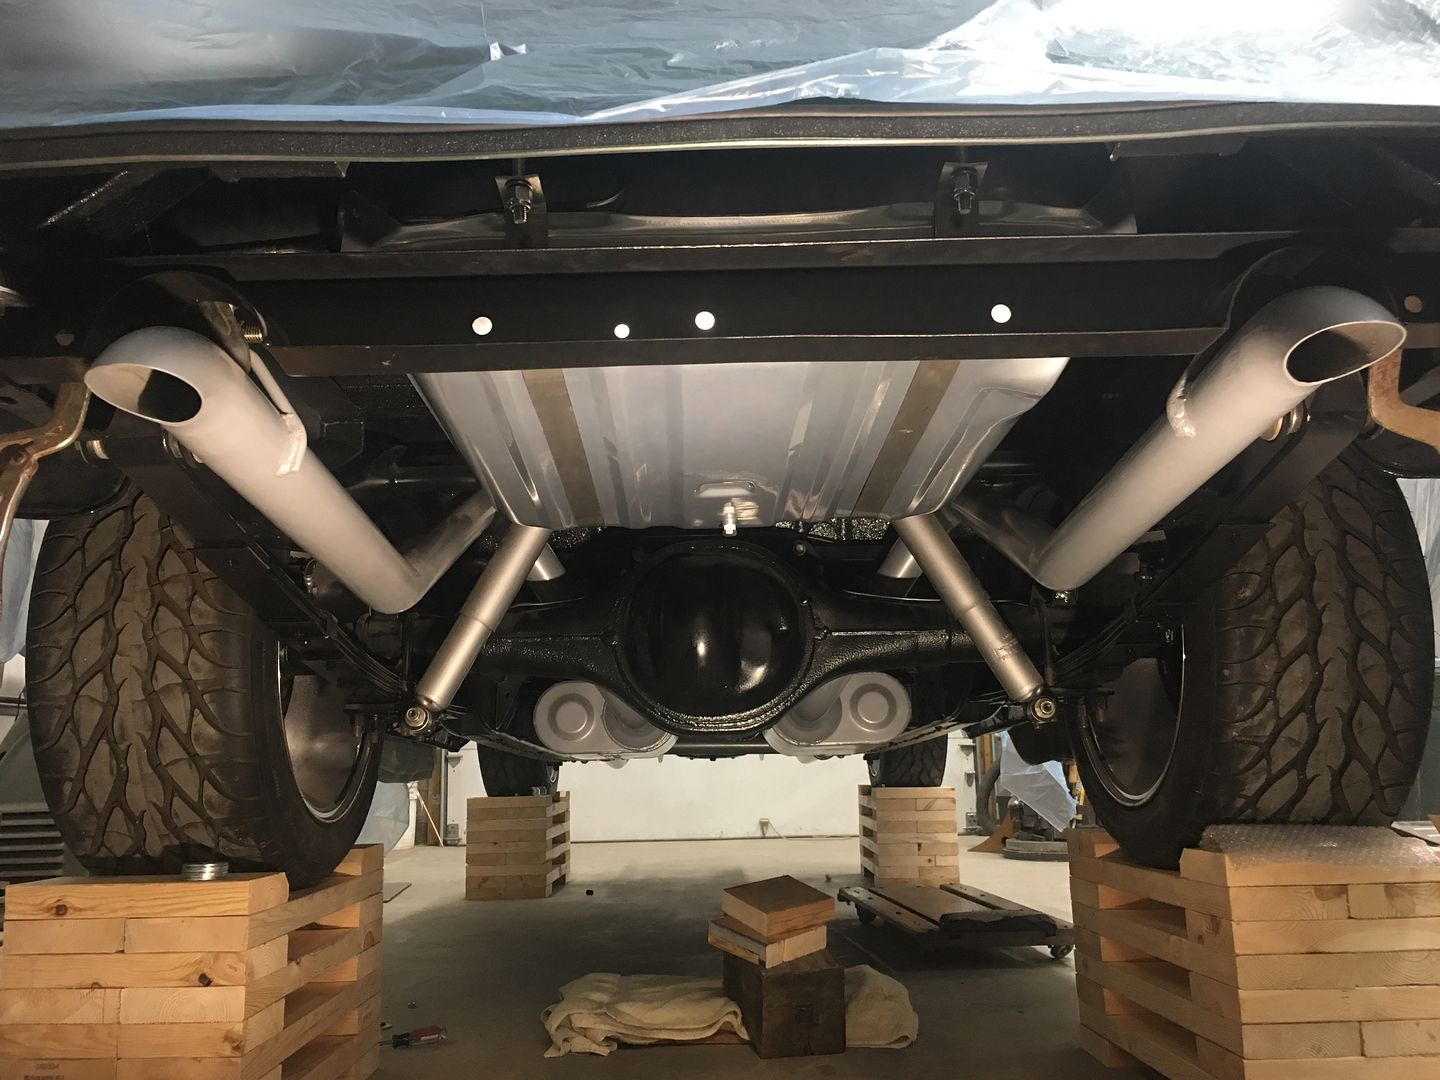
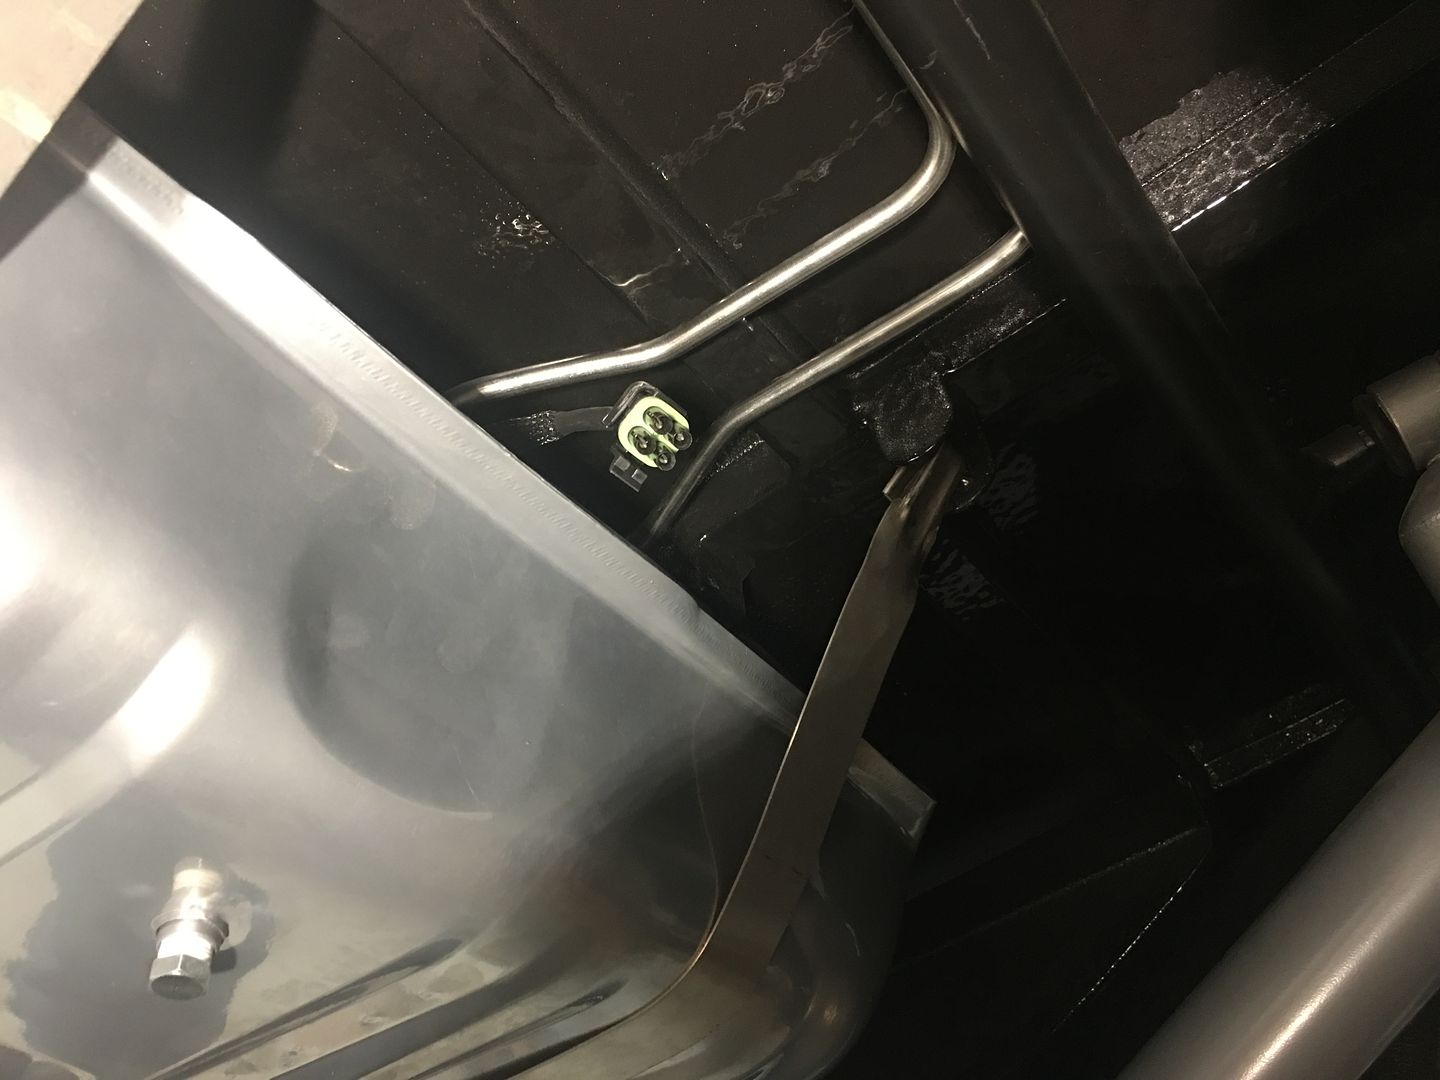
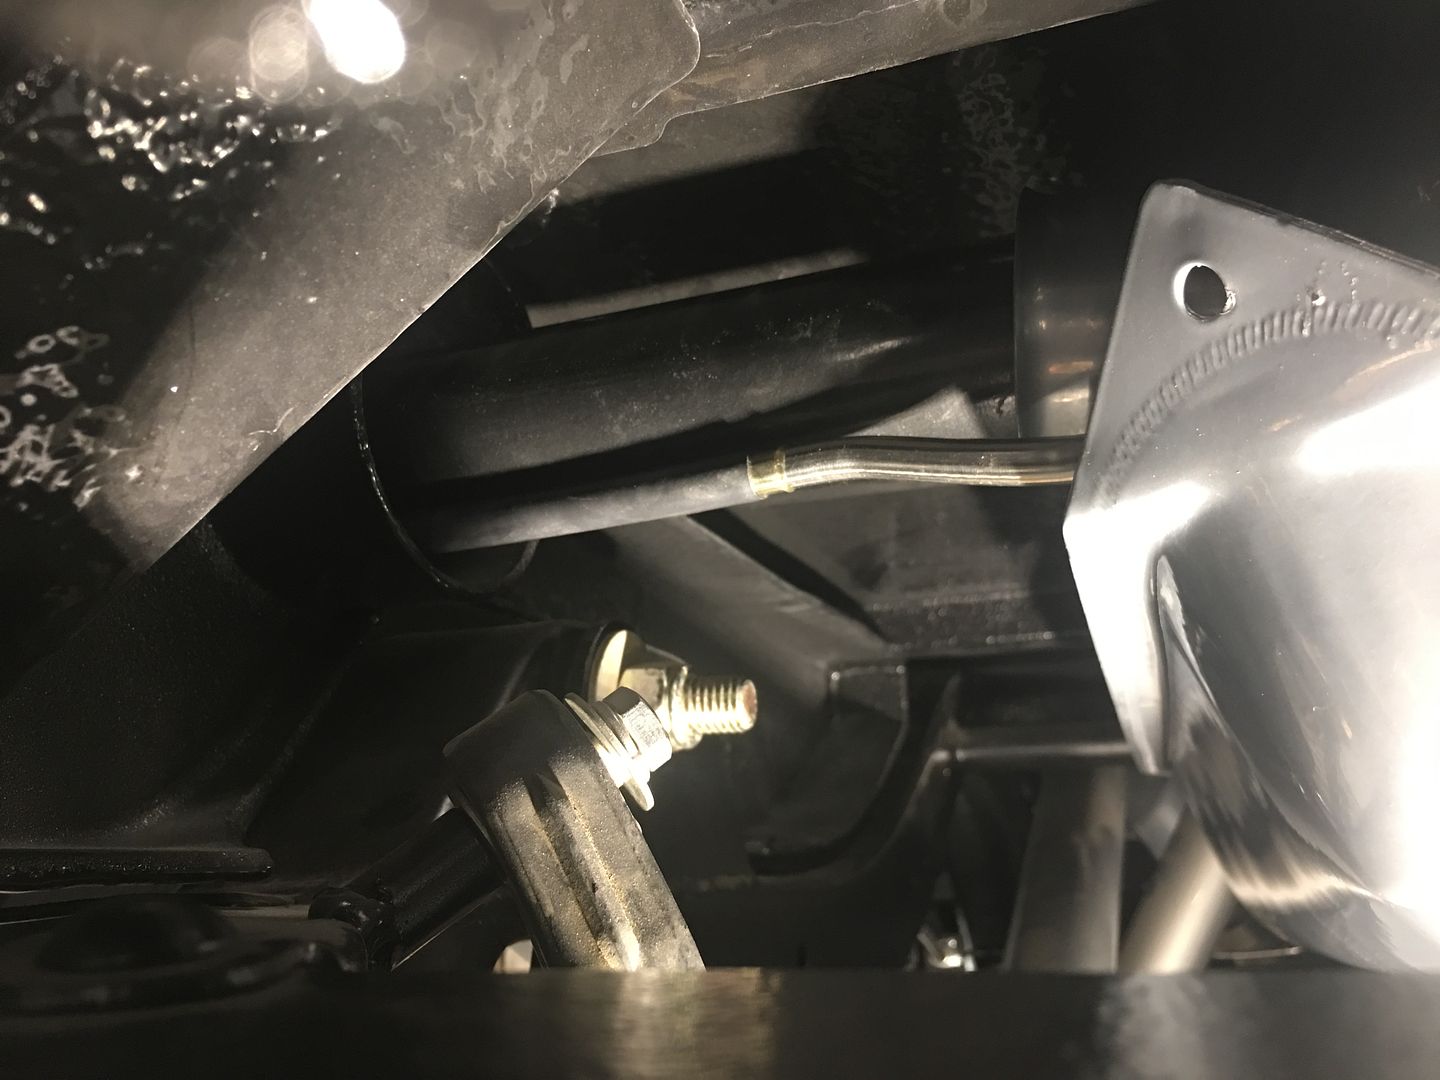
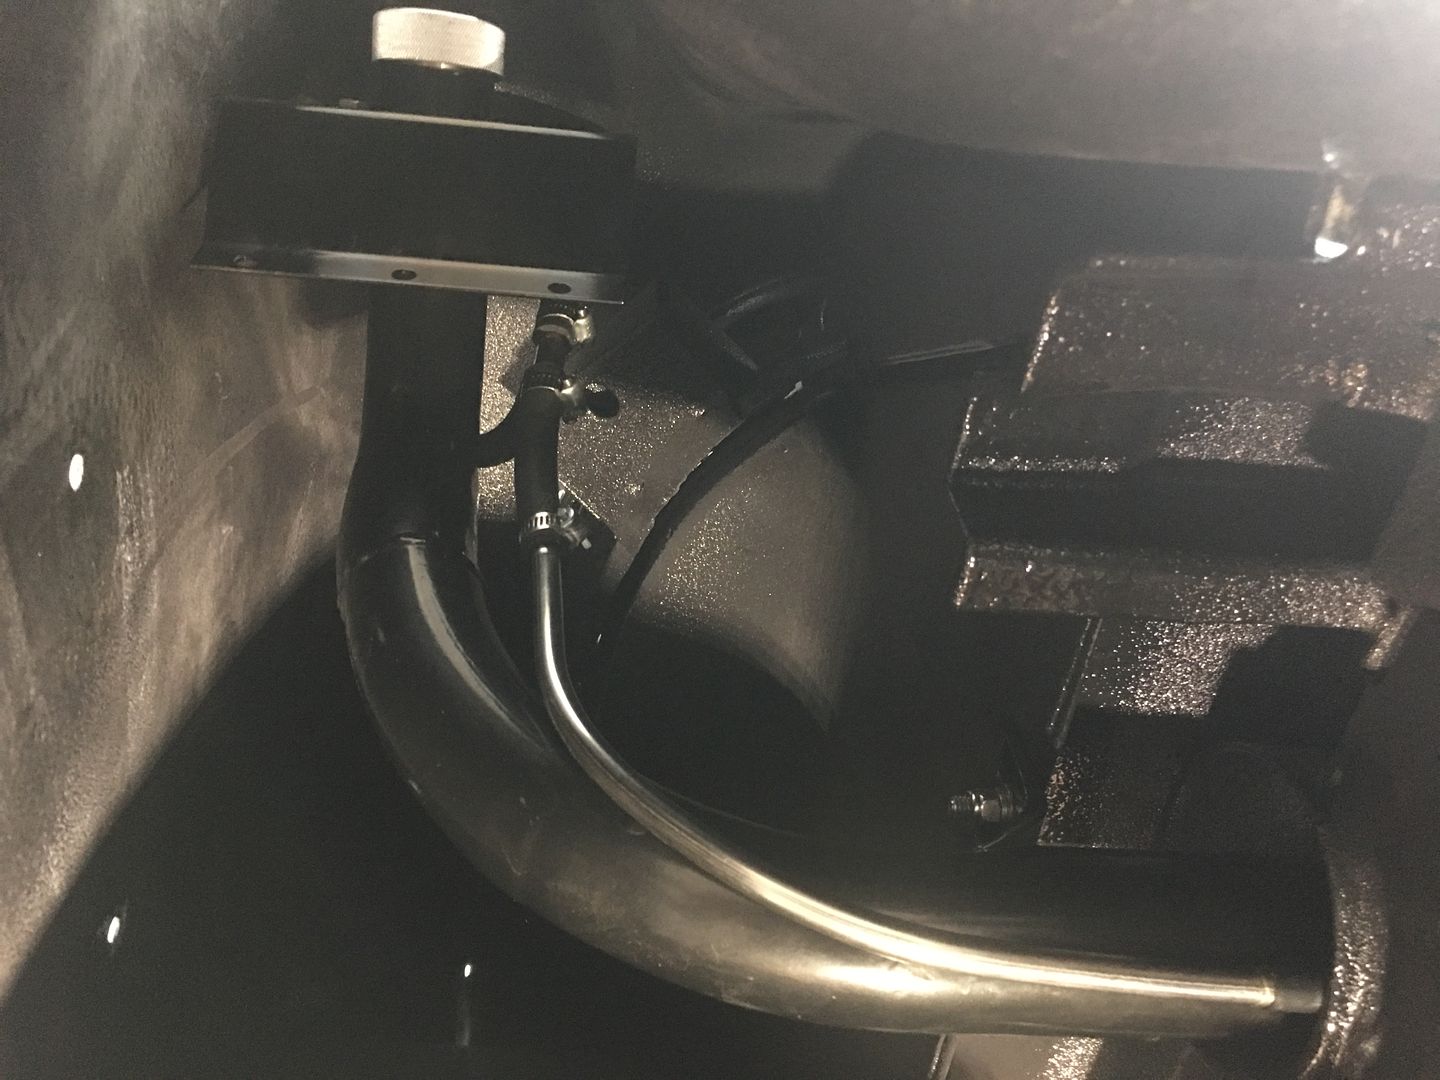
…..and then finished our "flexible" lines from the hard lines on the frame up to the EFI.
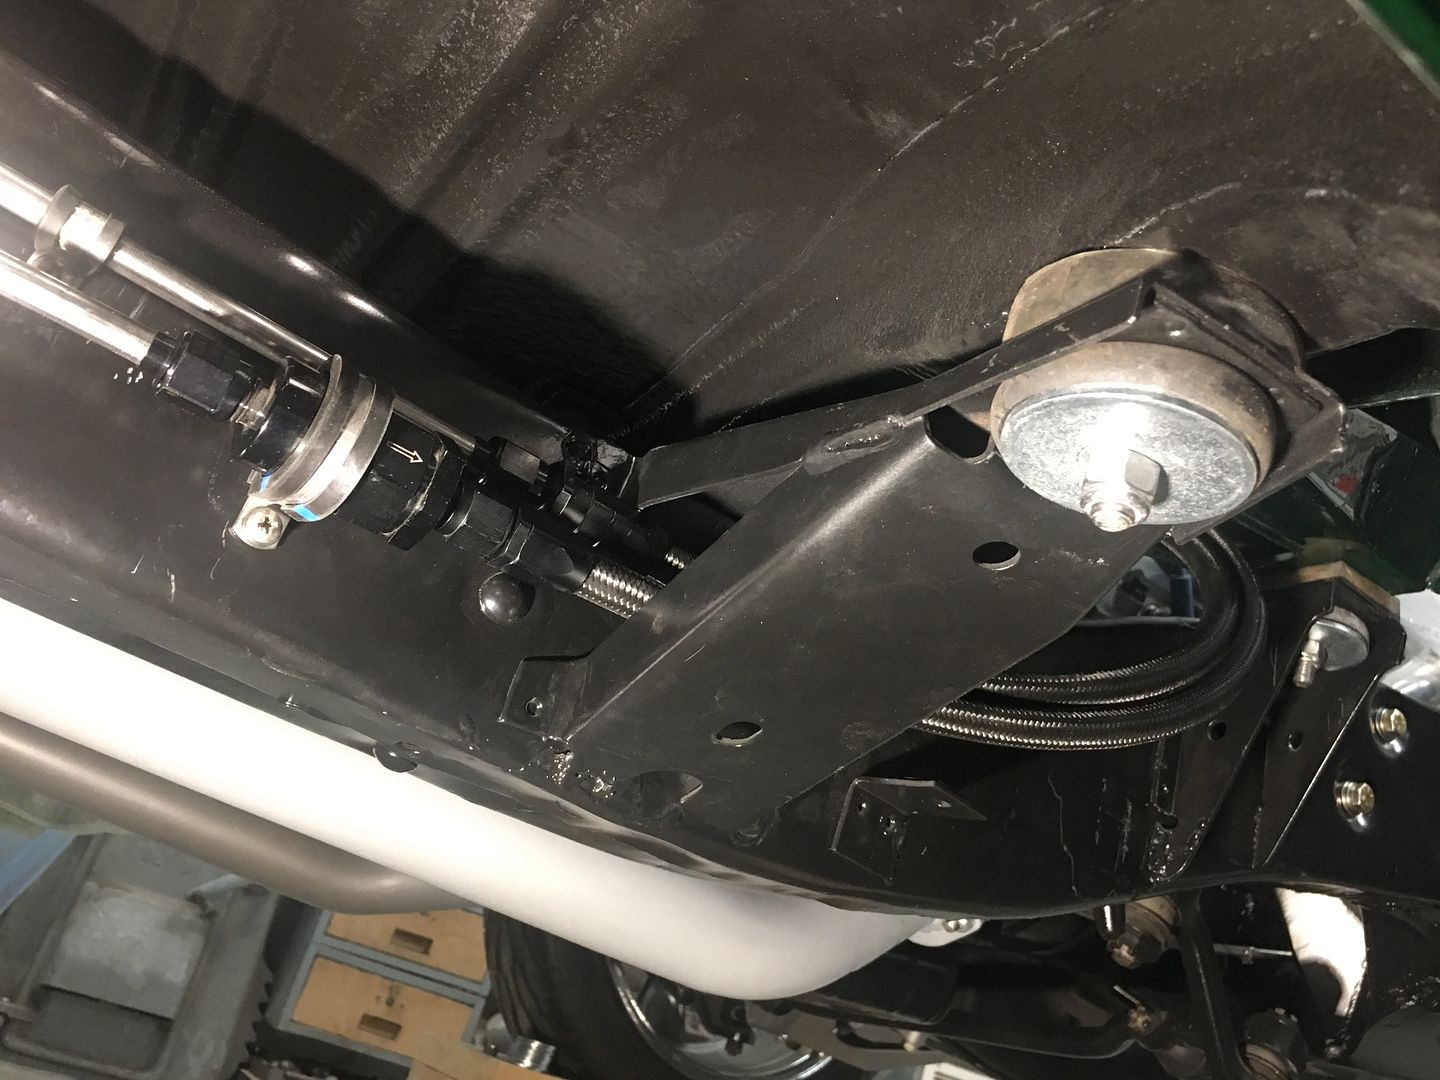
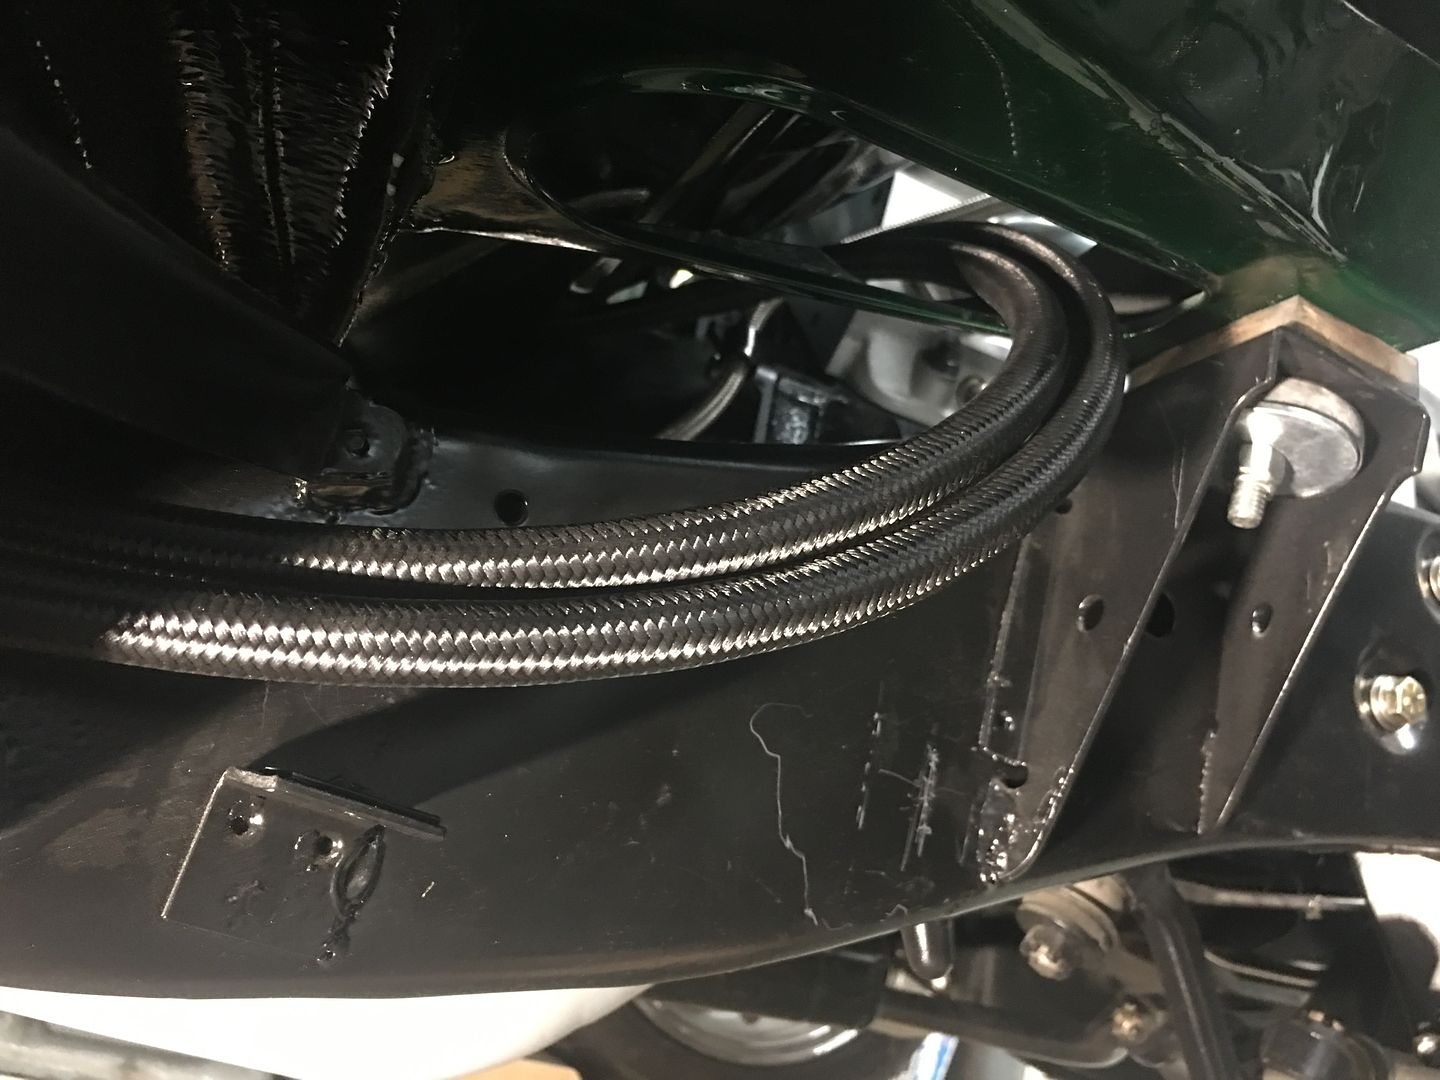
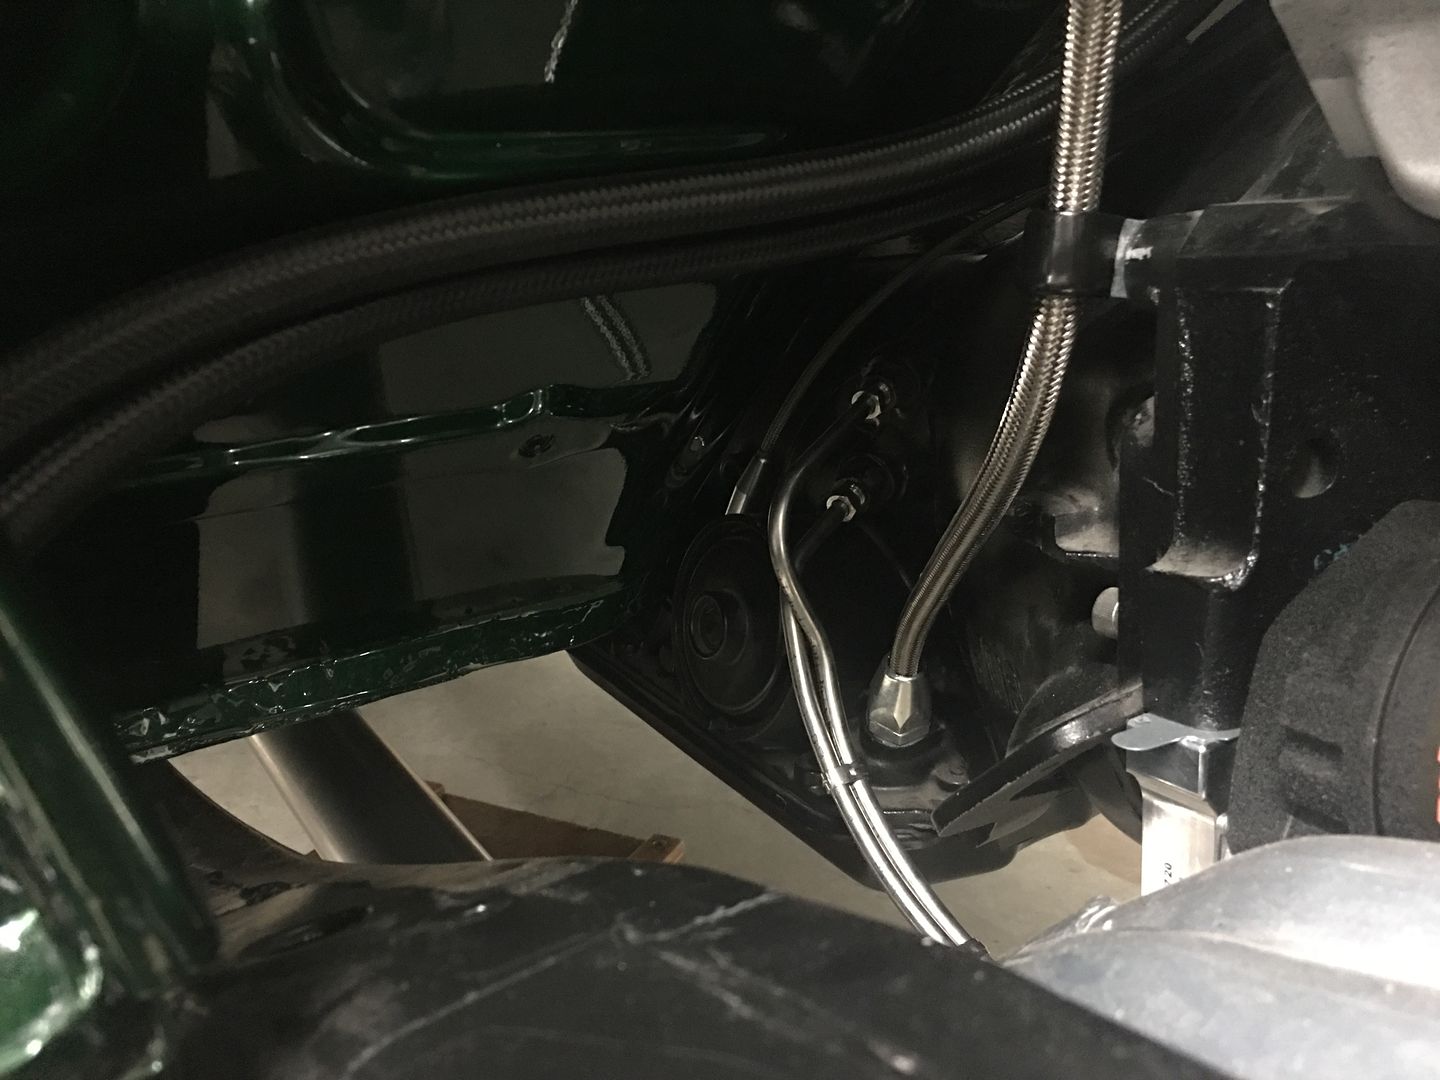
We still have clamps to install.. Up at the EFI, 30* fittings were used to give us a downward trajectory but yet high enough to keep off the heat of the intake (that the 45* would have done).
Robert
-
Advertising

- Google Adsense
- REGISTERED USERS DO NOT SEE THIS AD
-
11-09-2020 10:40 AM #1562
CHR Member
- Join Date
- Oct 2007
- Location
- Petaluma
- Car Year, Make, Model: 48 Ford F1
- Posts
- 9,795
looks nice and clean"  "No matter where you go, there you are!" Steve.
-
11-10-2020 02:51 PM #1563
CHR Member
- Join Date
- Apr 2011
- Location
- Prairie City
- Car Year, Make, Model: 40 Ford Deluxe, 68 Corvette, 72&76 K30
- Posts
- 7,301
- Blog Entries
- 1
Very nice! Do you get the press studs from McMaster, or?
.Ryan
1940 Ford Deluxe Tudor 354 Hemi 46RH Electric Blue w/multi-color flames, Ford 9" Residing in multiple pieces
1968 Corvette Coupe 5.9 Cummins Drag Car 11.43@130mph No stall leaving the line with 1250 rpm's and poor 2.2 60'
1972 Chevy K30 Longhorn P-pumped 24v Compound Turbos 47RH Just another money pit
1971 Camaro RS 5.3 BTR Stage 3 cam, SuperT10
Tire Sizes
-
11-10-2020 03:33 PM #1564
CHR Member
- Join Date
- Jun 2008
- Location
- Leonardtown
- Car Year, Make, Model: Walking
- Posts
- 1,228
Thanks guys! Ryan, they deliver here about every other week if not more.. Yup, got them from McMaster.Robert
-
11-12-2020 06:35 AM #1565
CHR Member
- Join Date
- Jun 2008
- Location
- Leonardtown
- Car Year, Make, Model: Walking
- Posts
- 1,228
A while back I picked up some used body tools, including this bumper puller/straightener (red handle).
This tool works by placing the pad against the bumper face, hooking the top or bottom back edge (depending on direction of pull needed) and prying to twist back into shape.. The rubber pad was about falling off, with exposed rivets, but since I was just hanging it up as wall art, didn't think much past that..
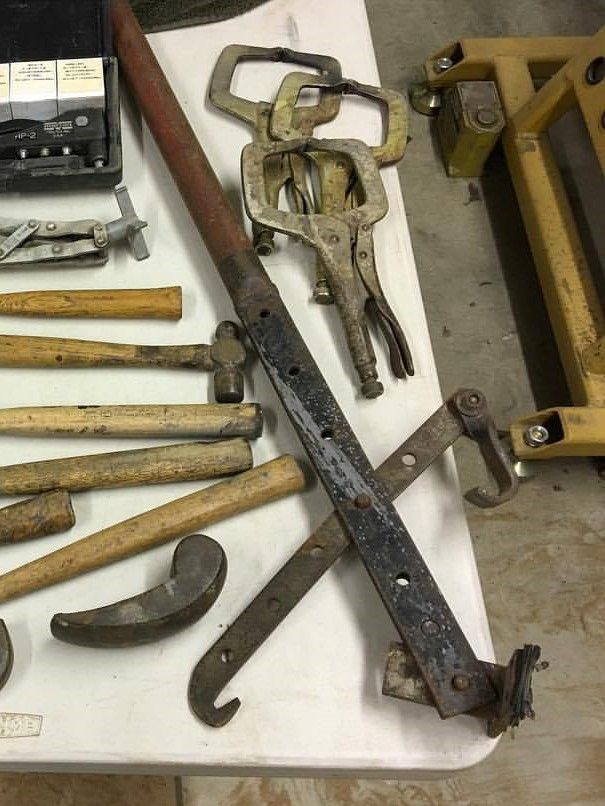
Fast forward to last weekend, and a square body 4WD stopped by, which has the typical bumper ears not parallel to the ground. So I pulled the tool out to show the owner that there was indeed a way to repair that. And then decided we need to go ahead and repair the tool so it could be put back in service for when the next time the truck stopped by...
First order of business was to remove the old fender bolt and nut and replace with a machine bolt and lock nut.
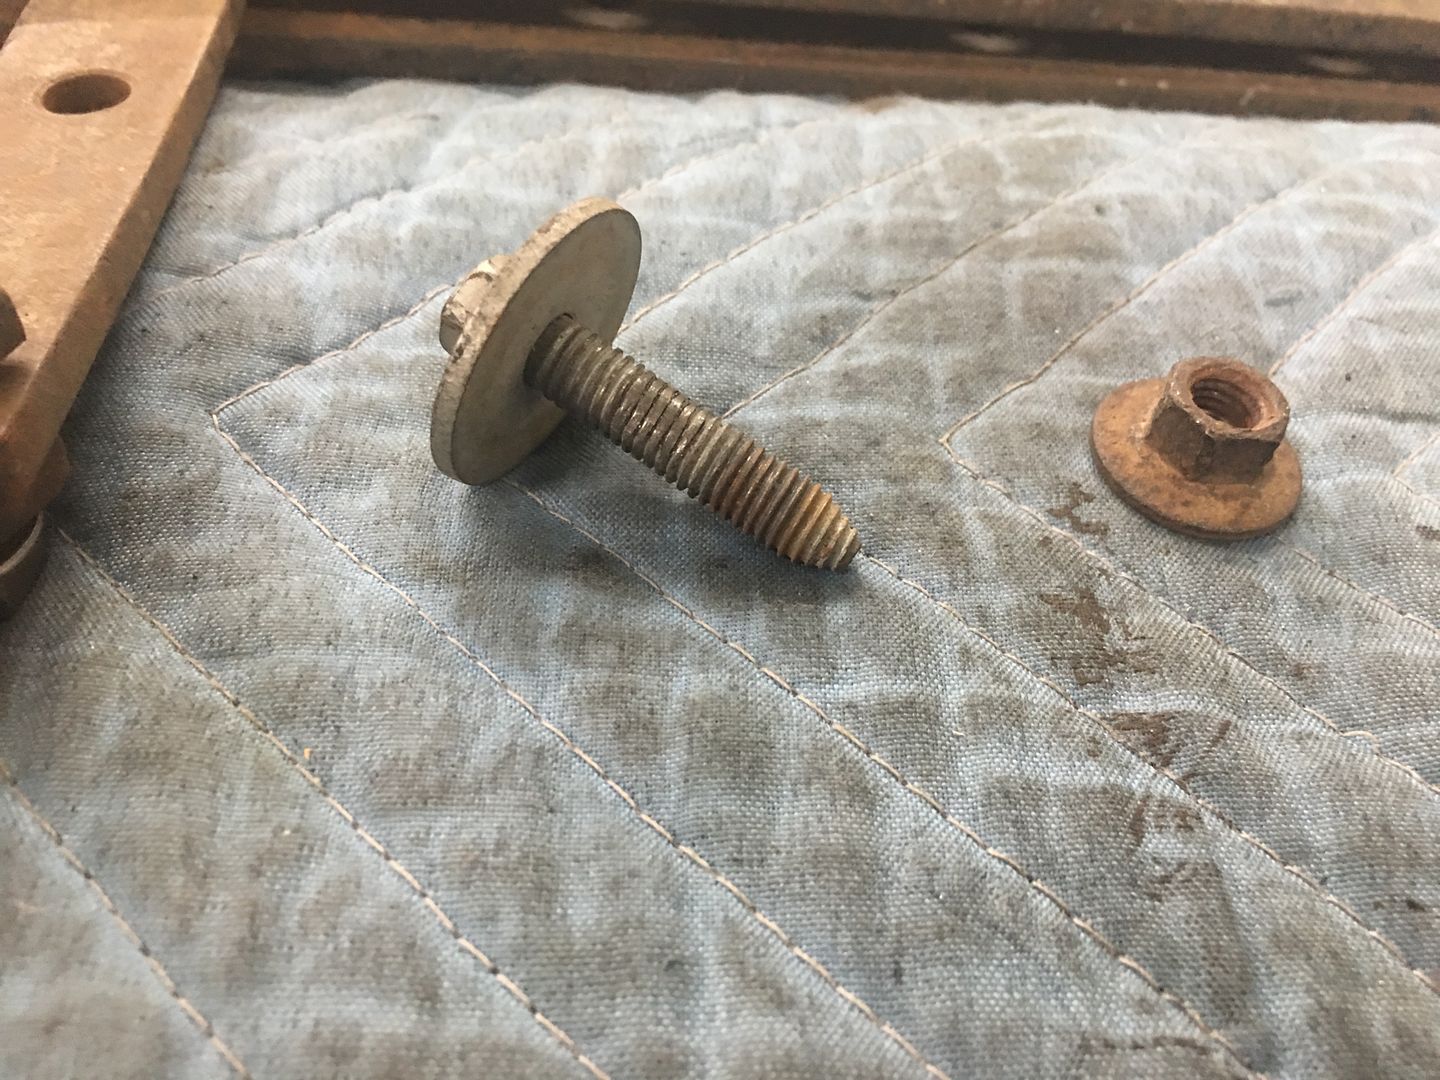
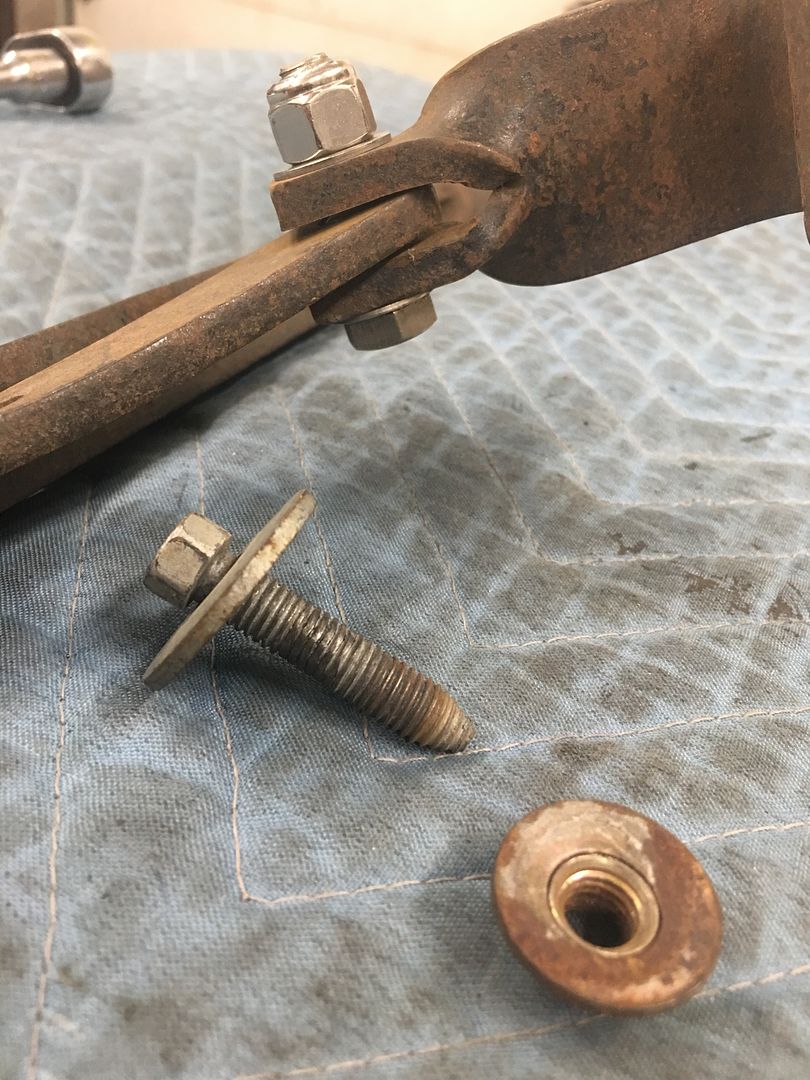
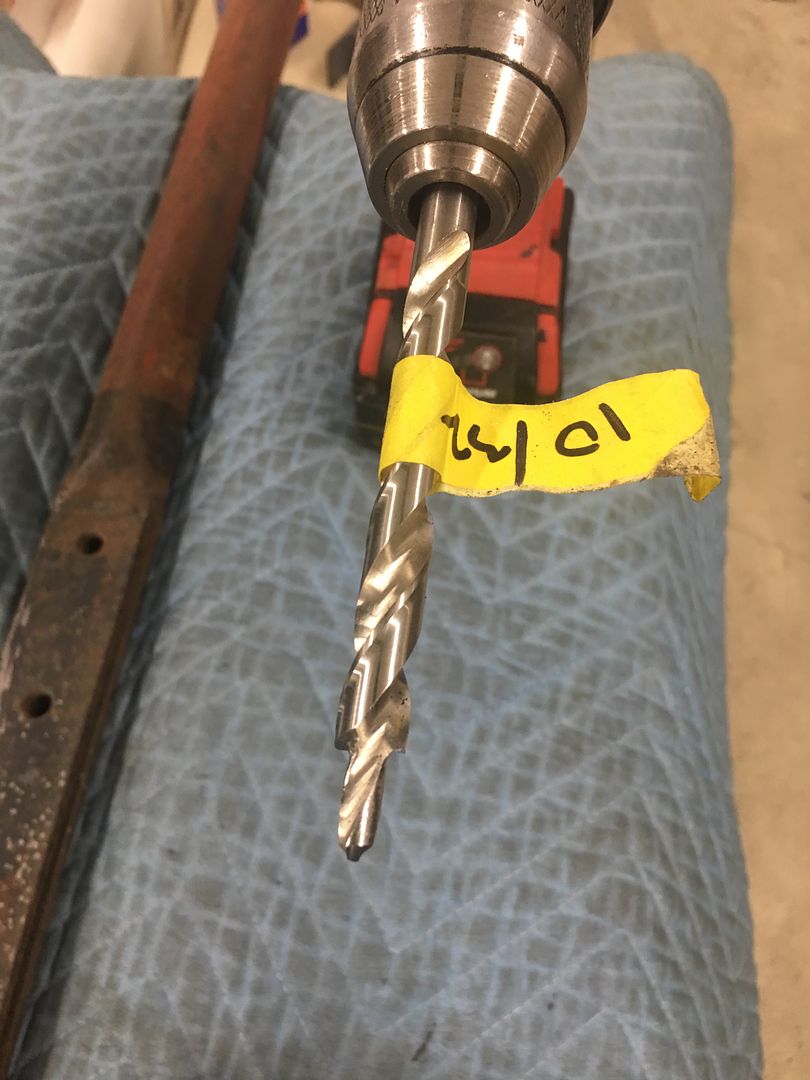
Next, for our "replacement" pad, we had a small piece of horse mat we could cut it out of, and one of our counterbore bits was used to get the screw heads below the surface..
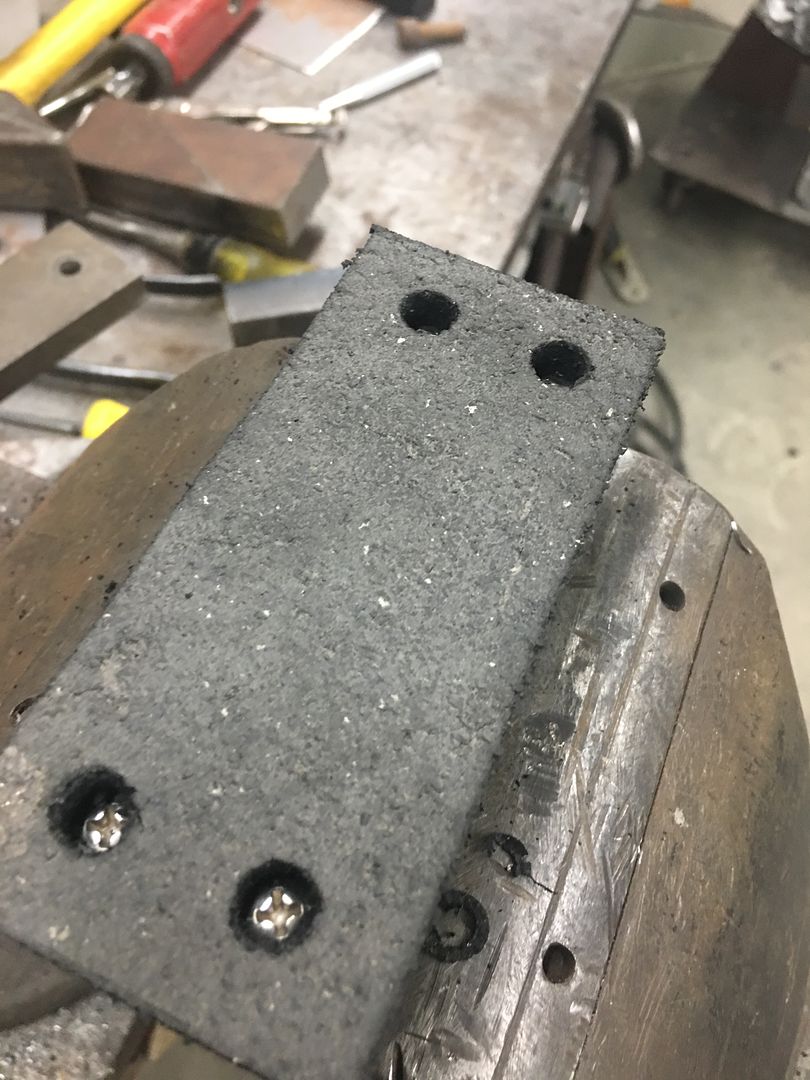
The pad was held in place using 10-32 pan head screws and lock nuts.

So now our wall art is all ready for next time...Robert
-
11-15-2020 09:38 PM #1566
CHR Member
- Join Date
- Jun 2008
- Location
- Leonardtown
- Car Year, Make, Model: Walking
- Posts
- 1,228
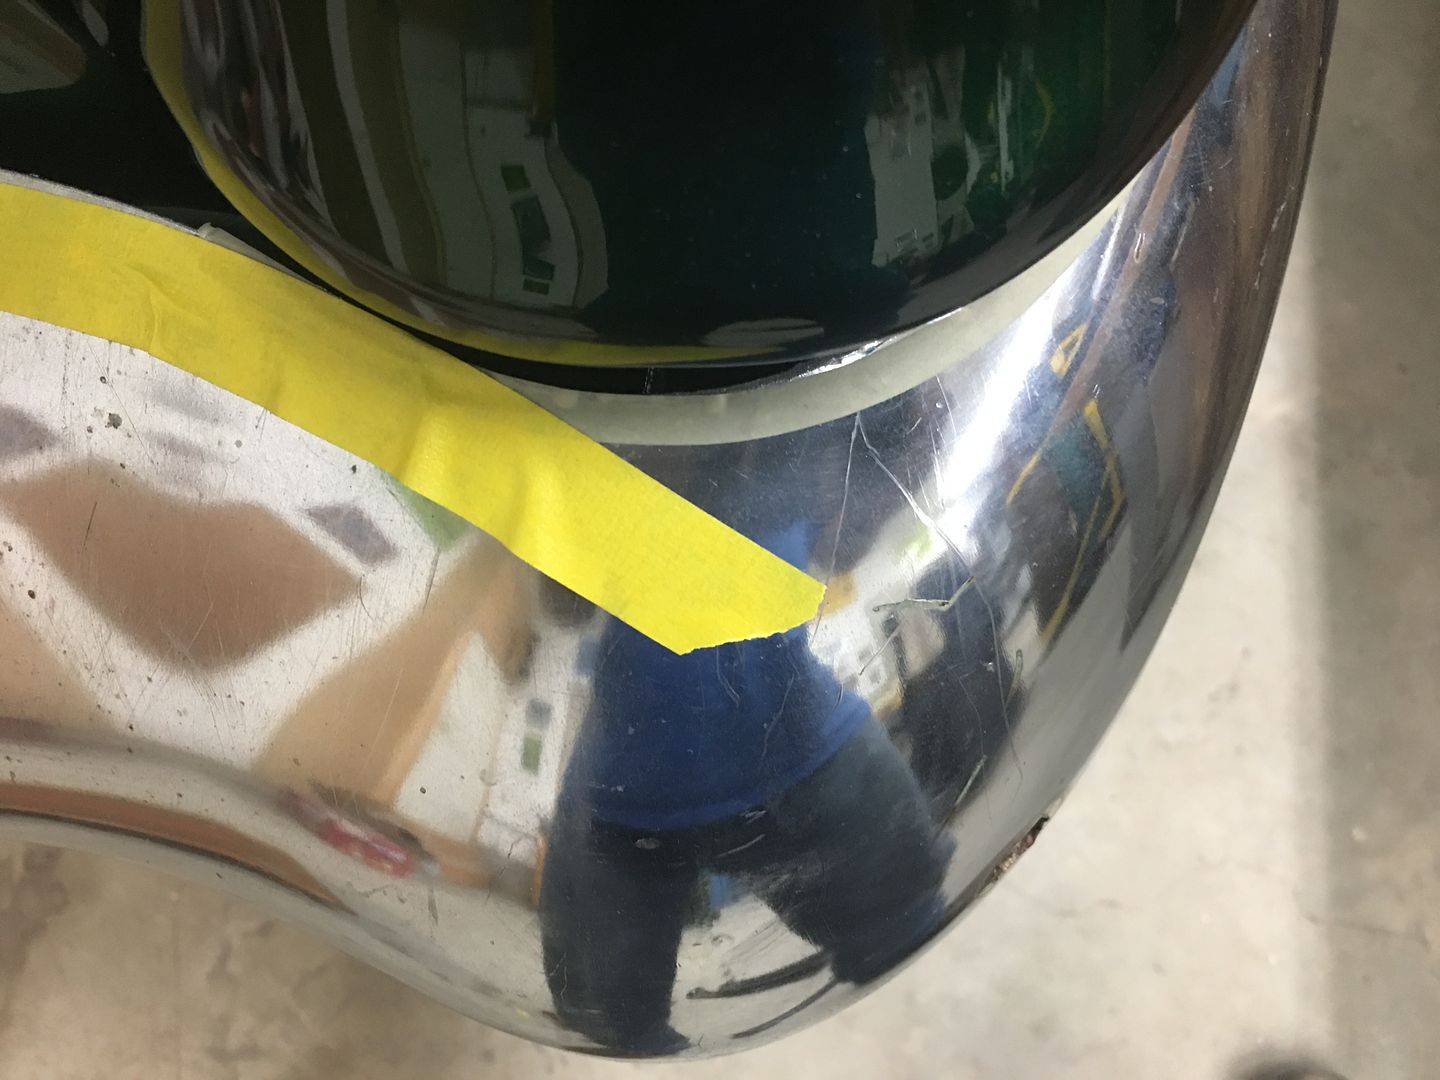
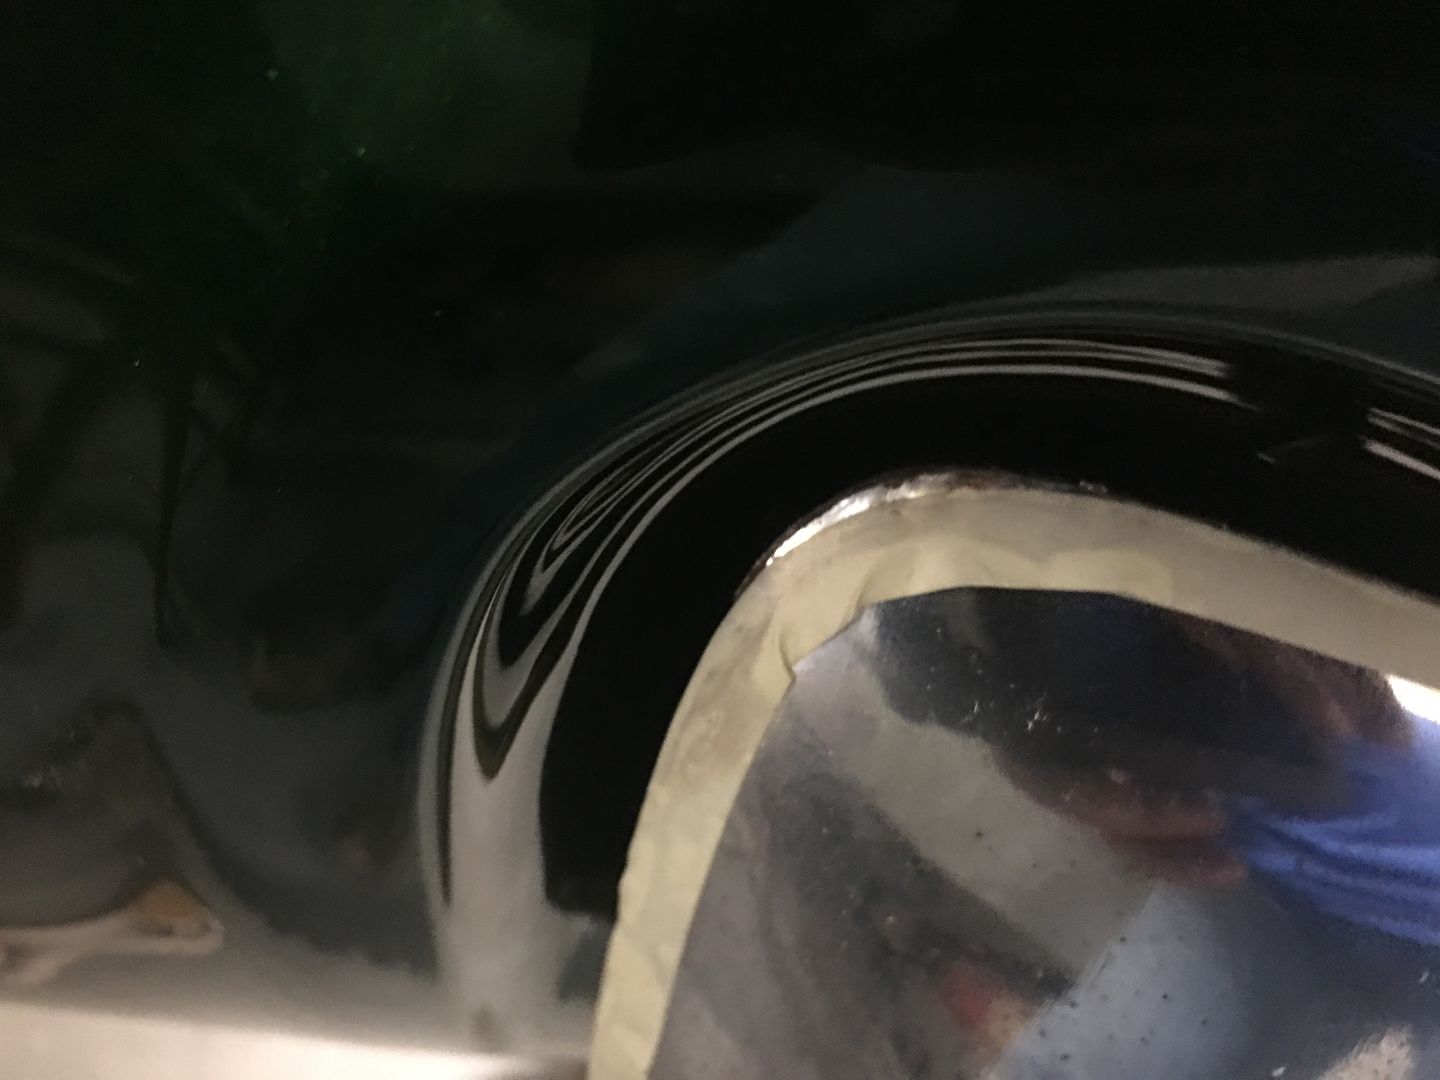
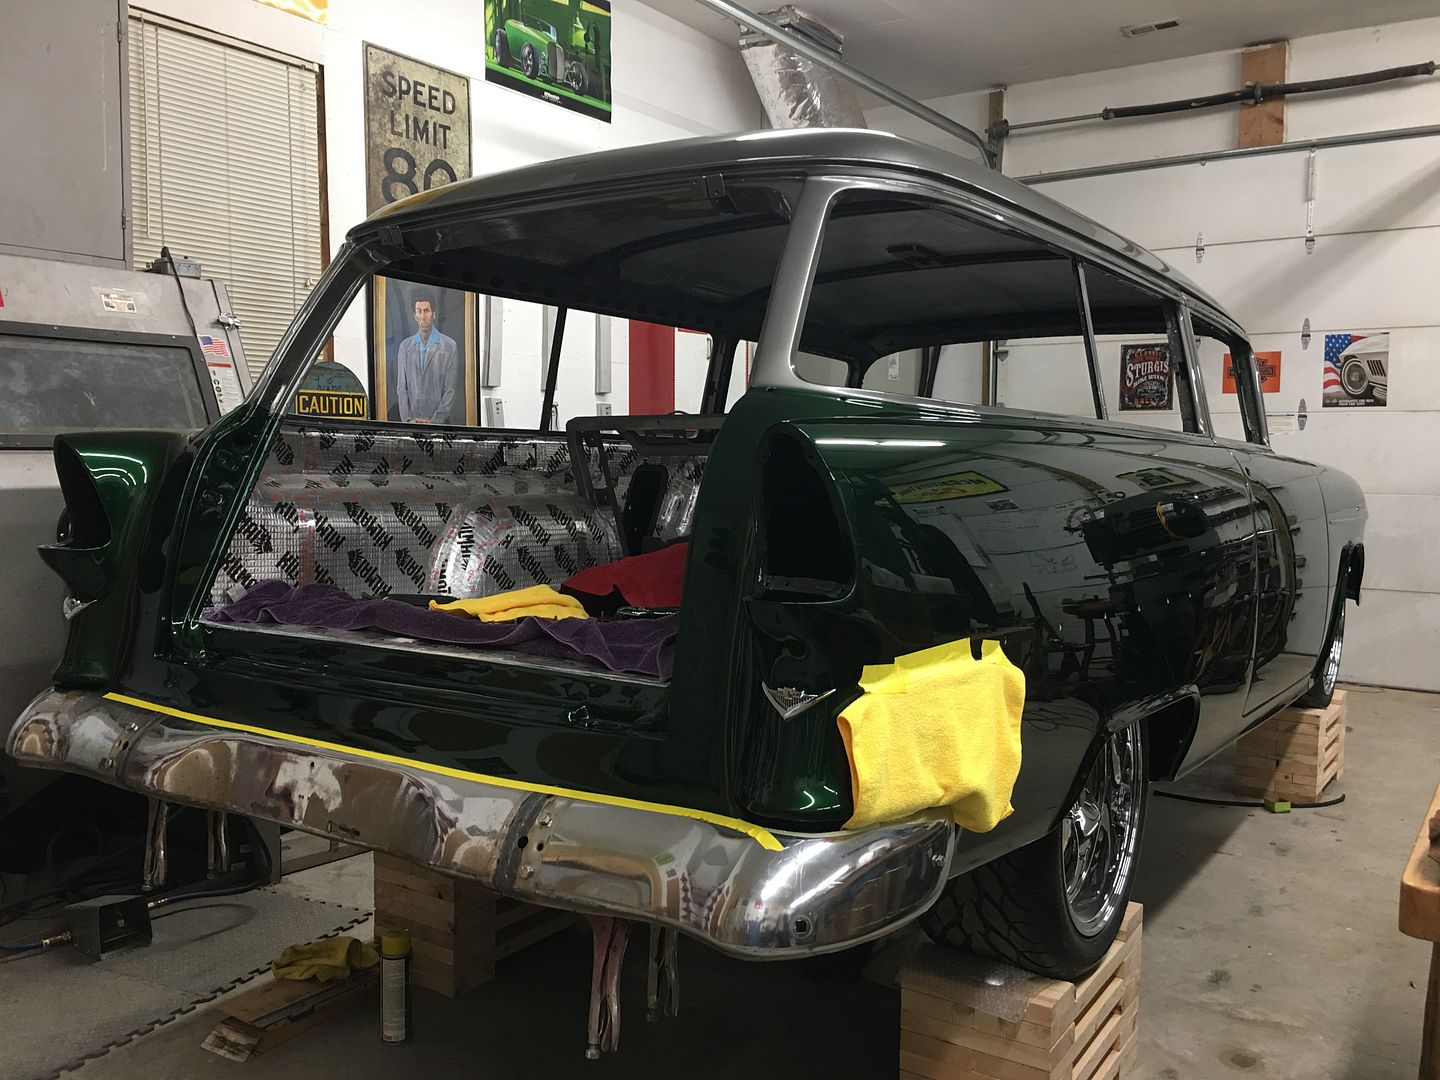
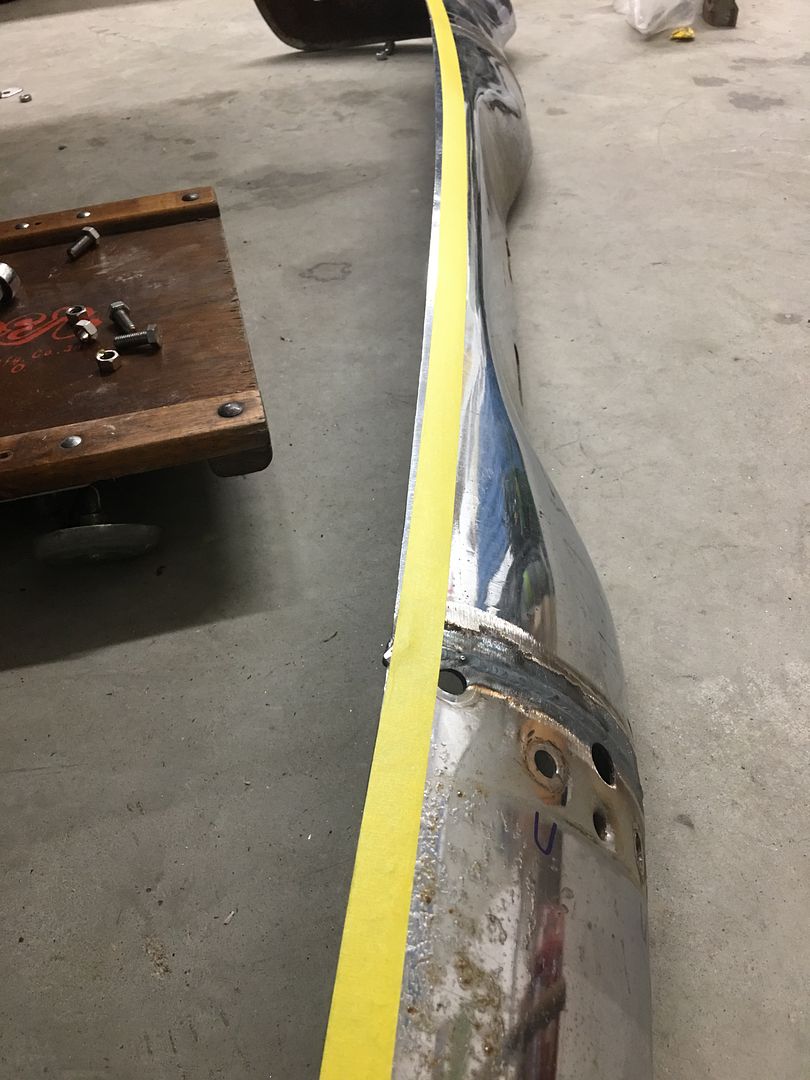
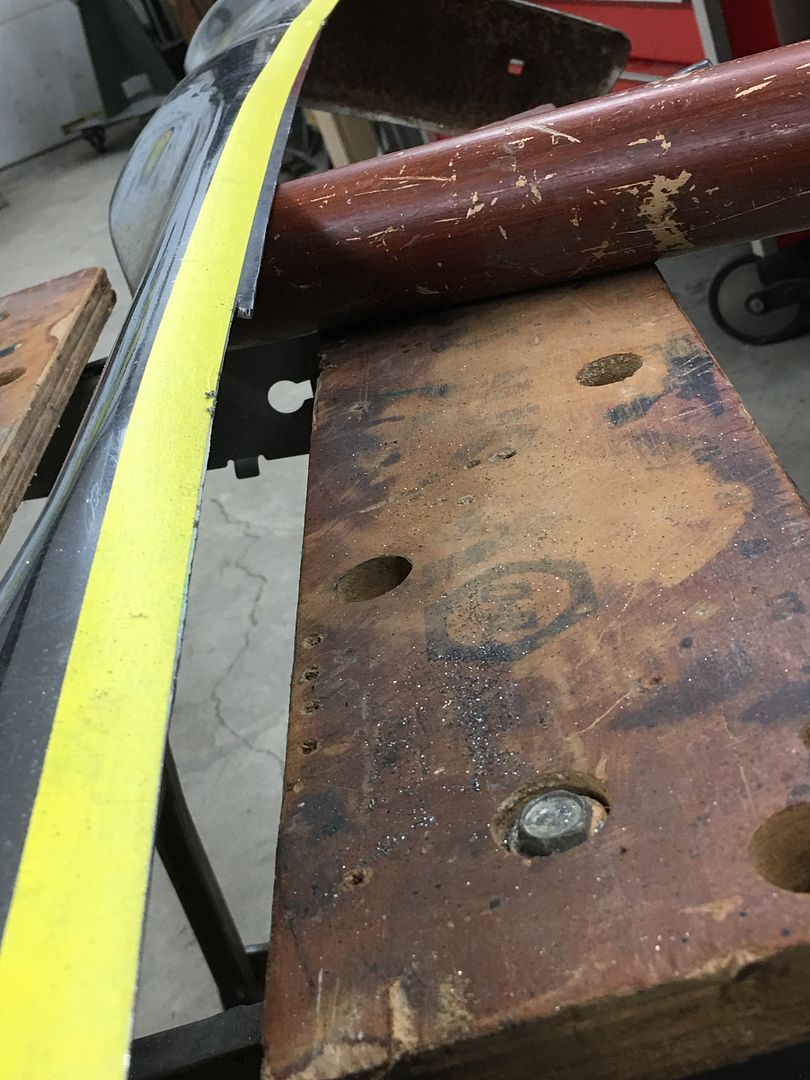
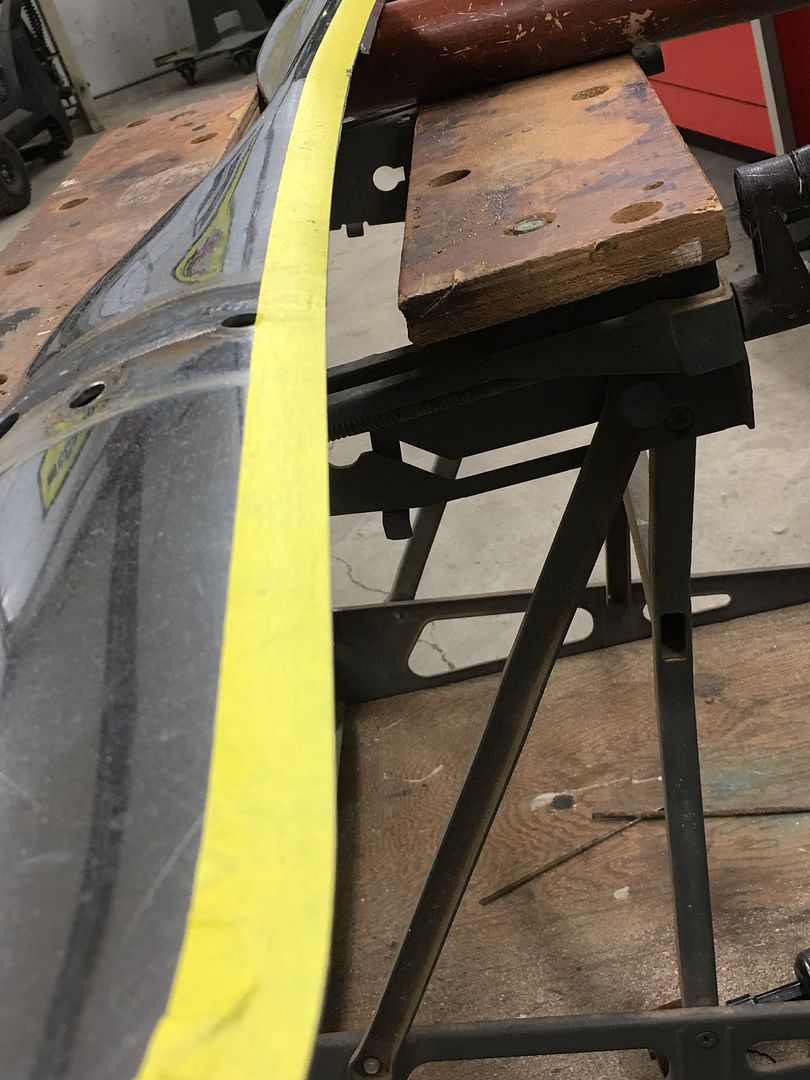
Some weekend progress... Fine tuning the rear bumper fitment.
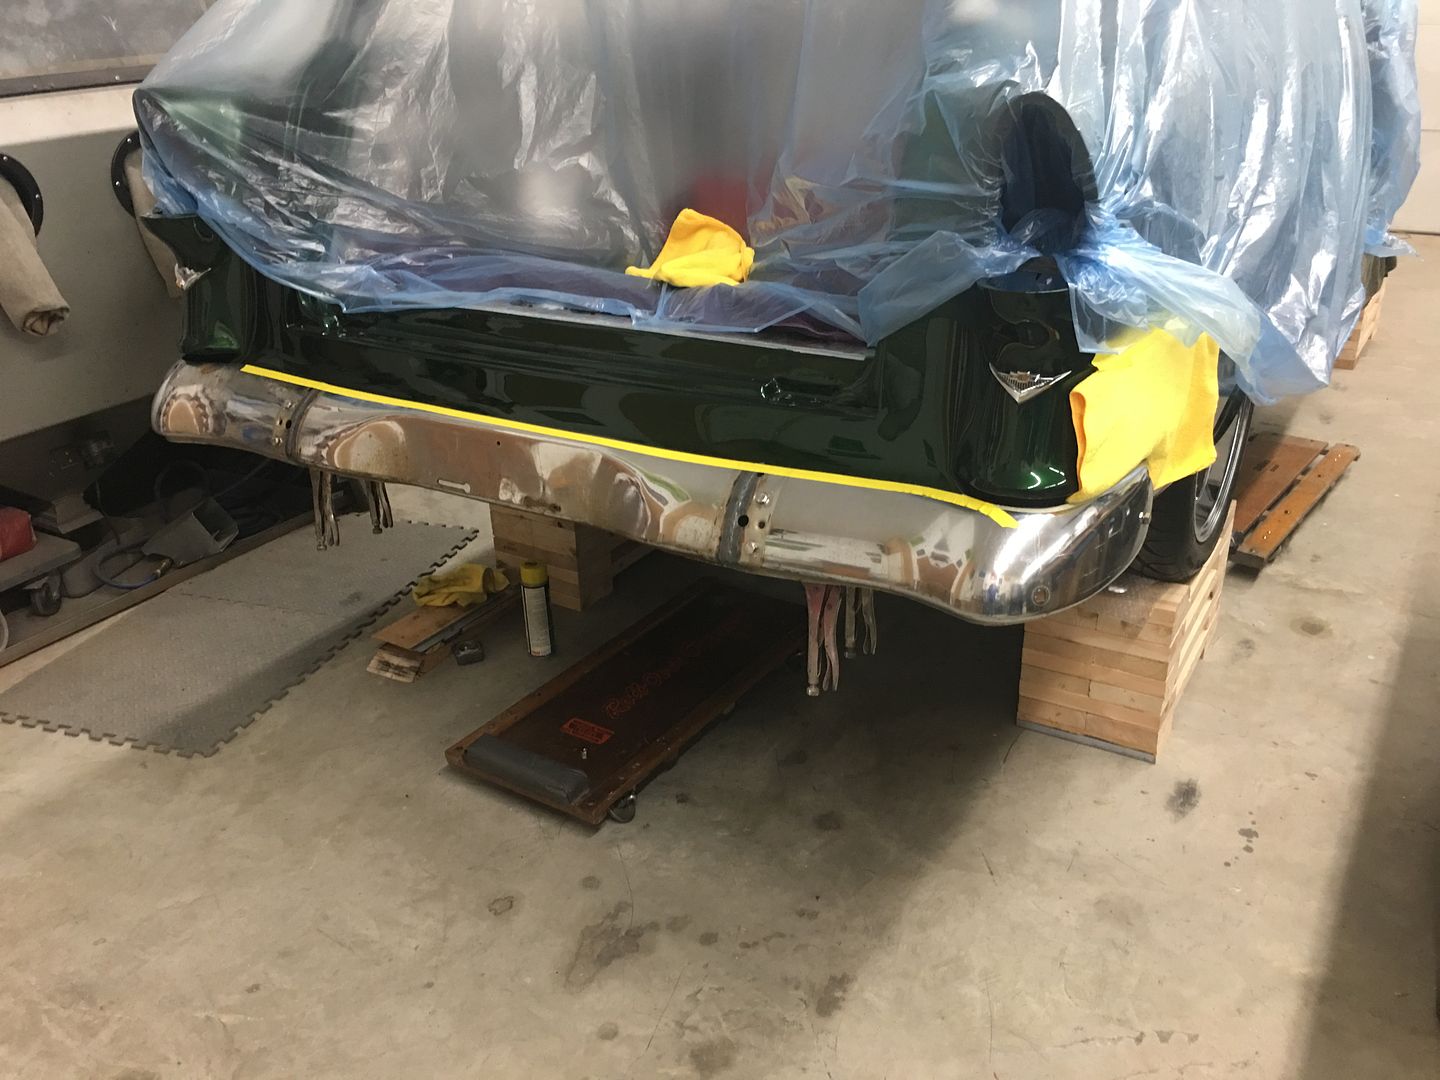
Driver's side fits well to the profile of the rear of the quarter...
Passenger side not so much, so the bumper is marked with some fineline tape for where we will sand down the edge to better match..
Leading edge of drivers side needs some trimming...
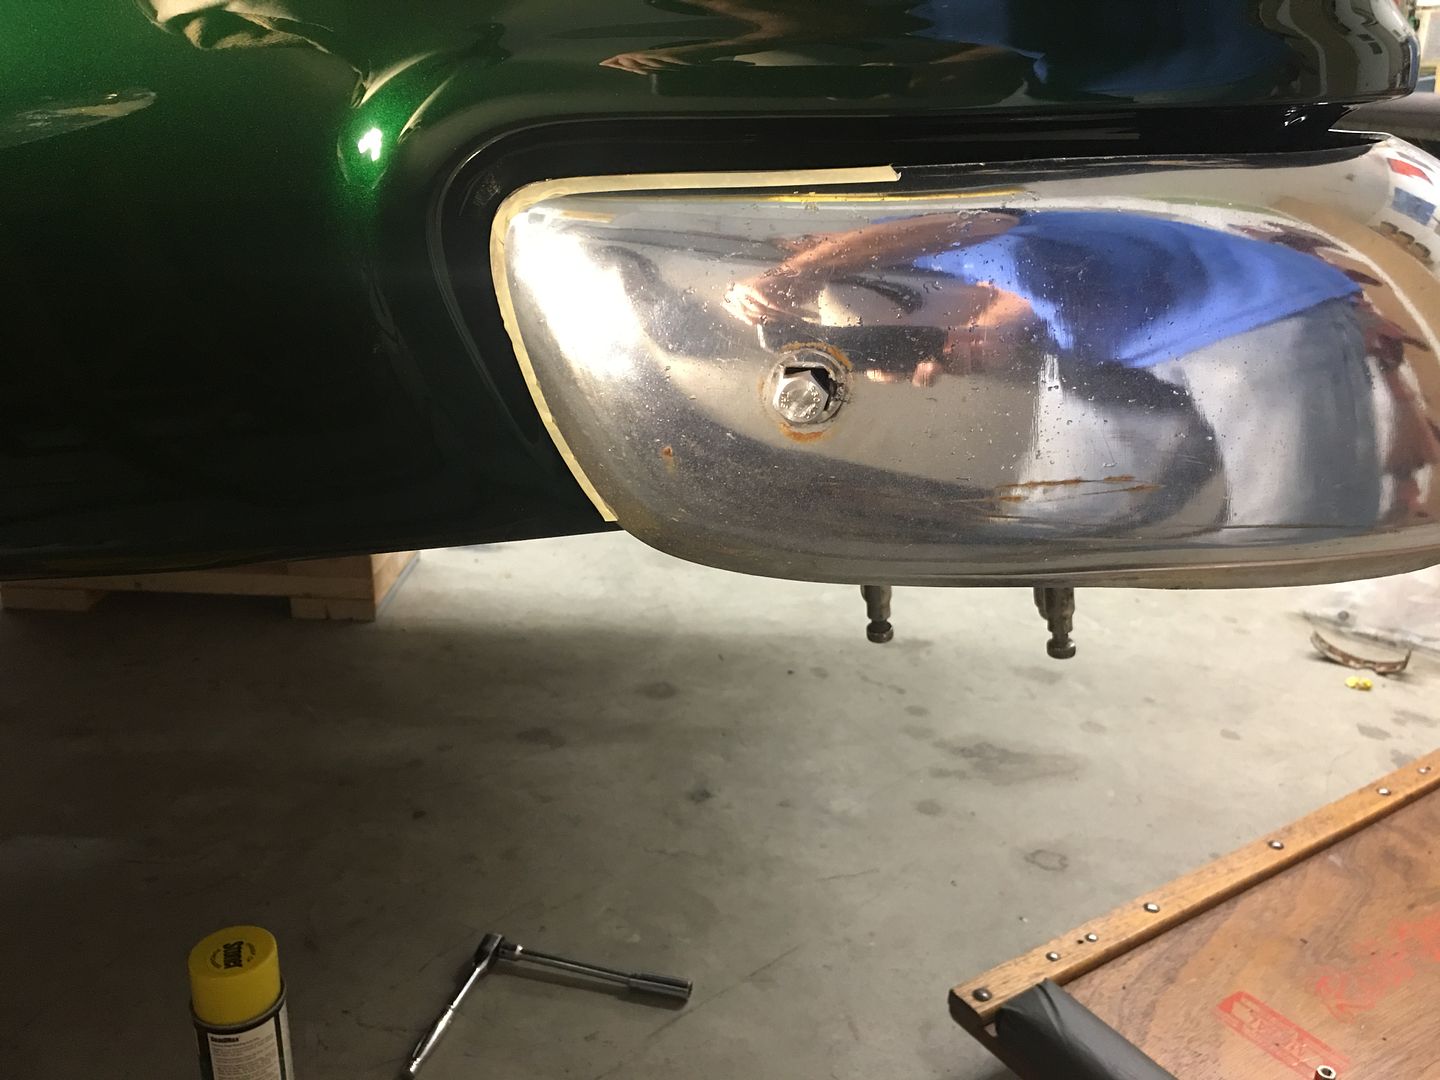
….as does the center section behind the tail pan..
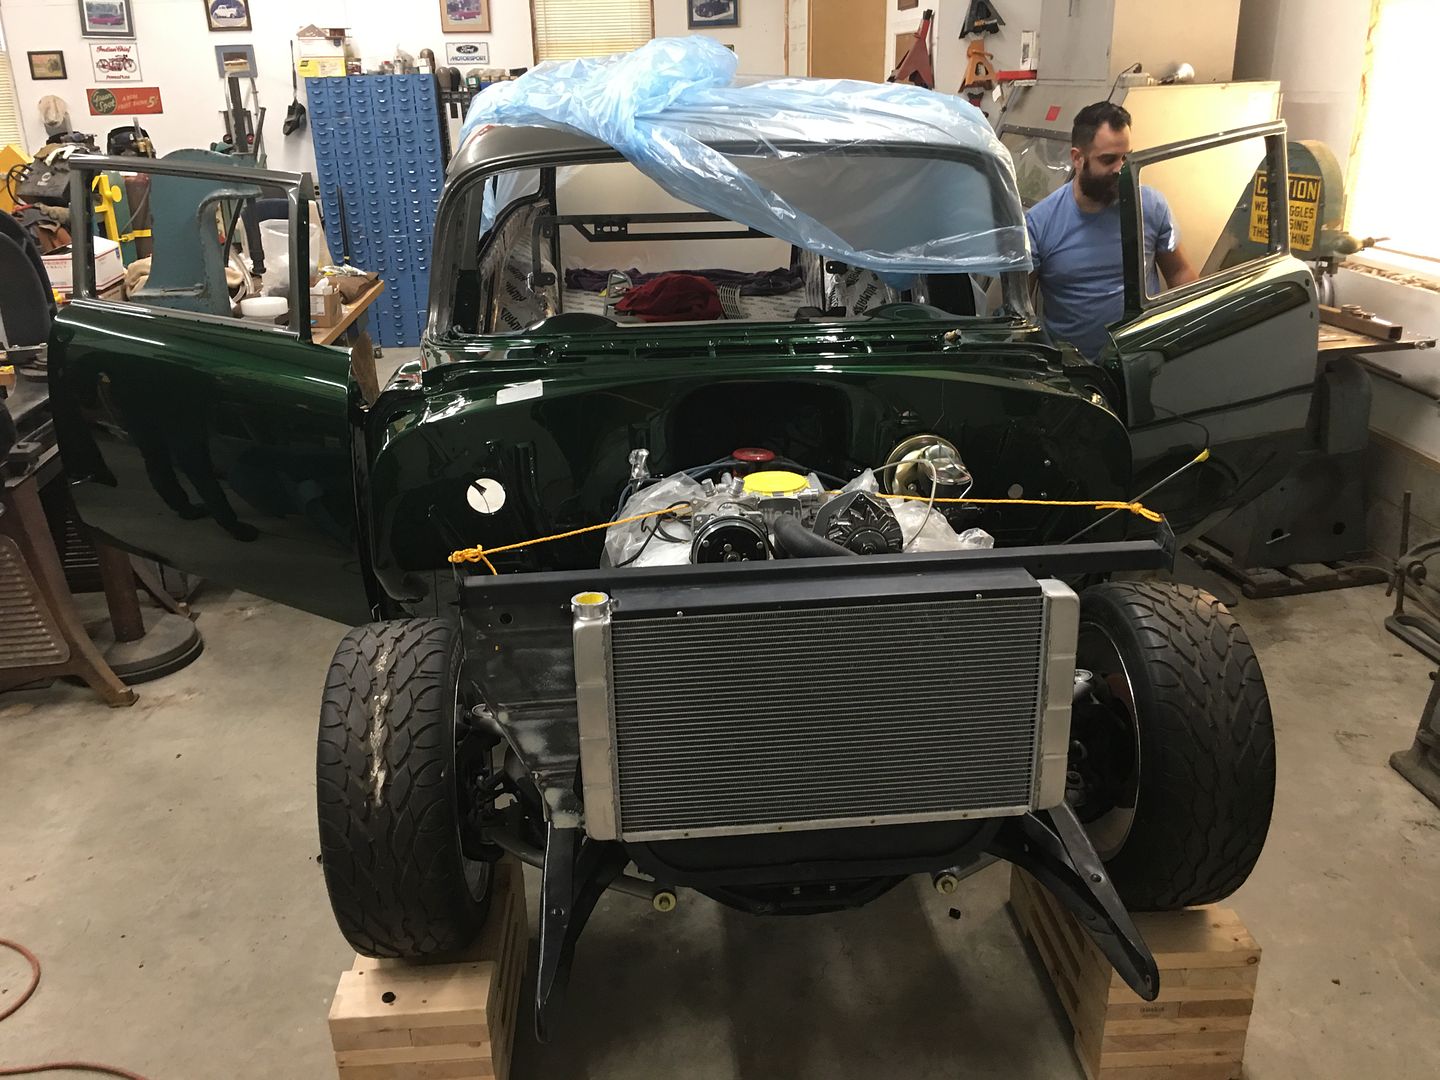
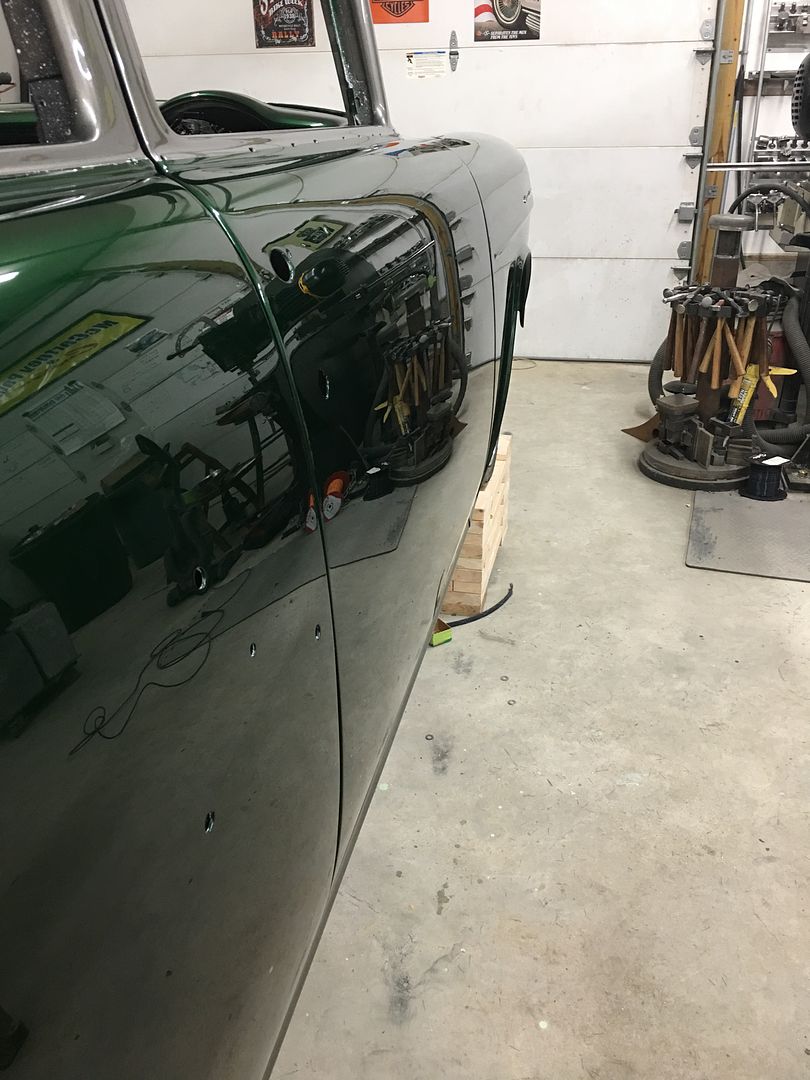
Next, in order to test fit the front bumper and provide the same "trim fitting" we will need to install the doors and front fenders. So our hinges got some new braid loom and a pull wire installed for the hidden wiring..
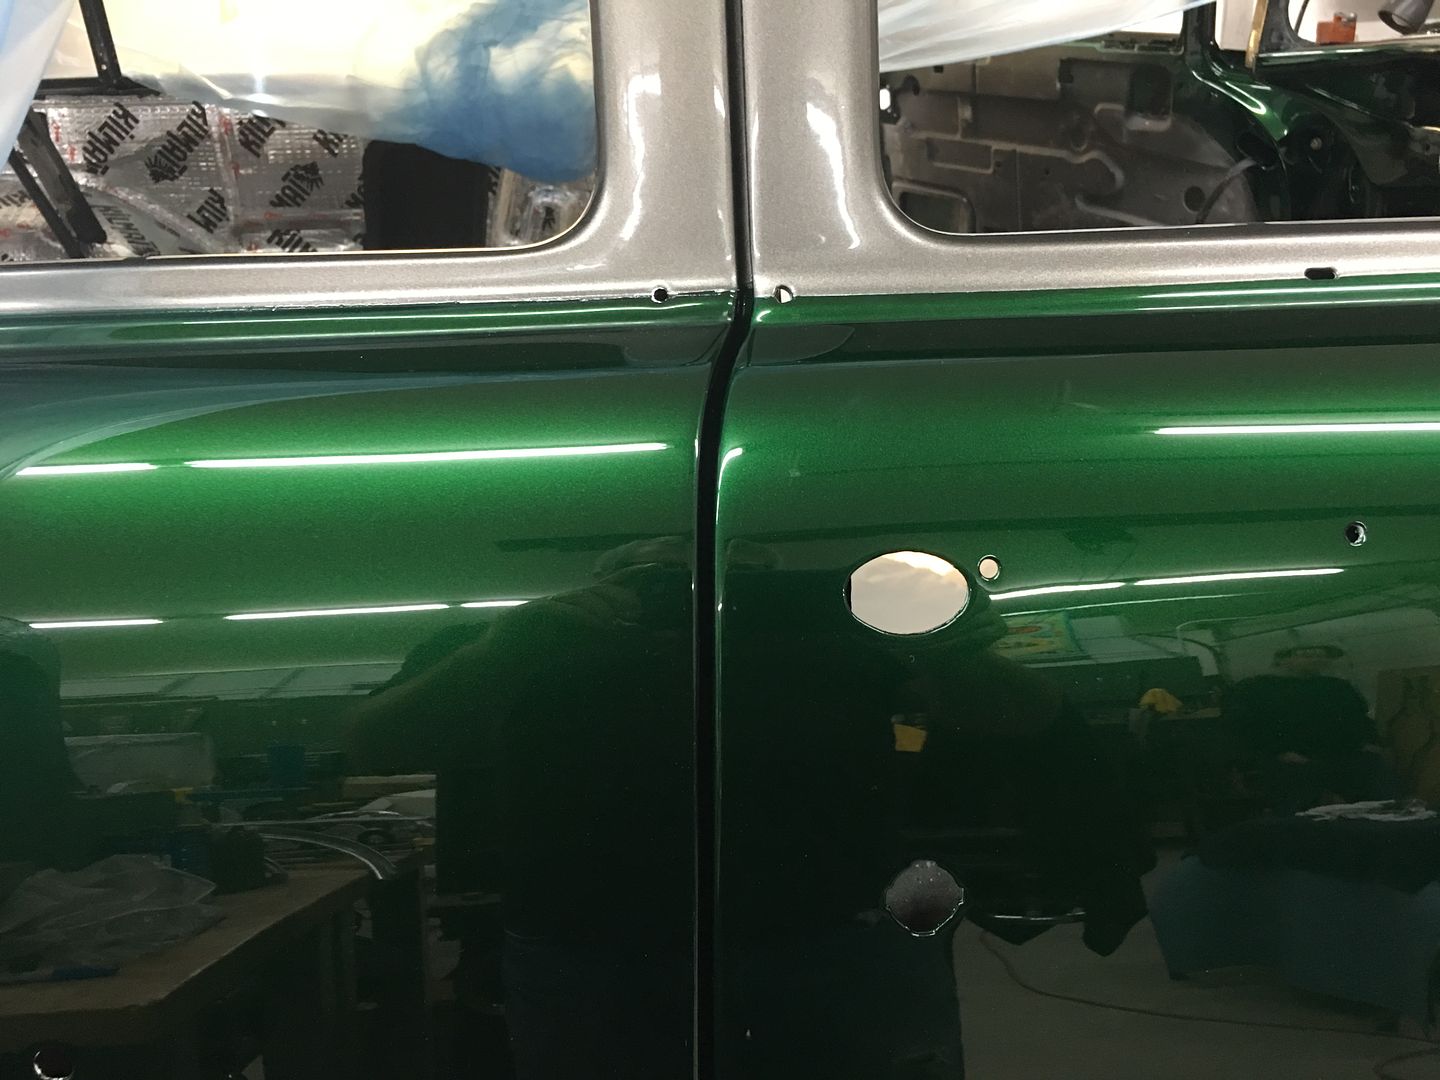
The tapped holes in the door's nut plates were chased to insure the fresh paint did not interfere with the bolts..
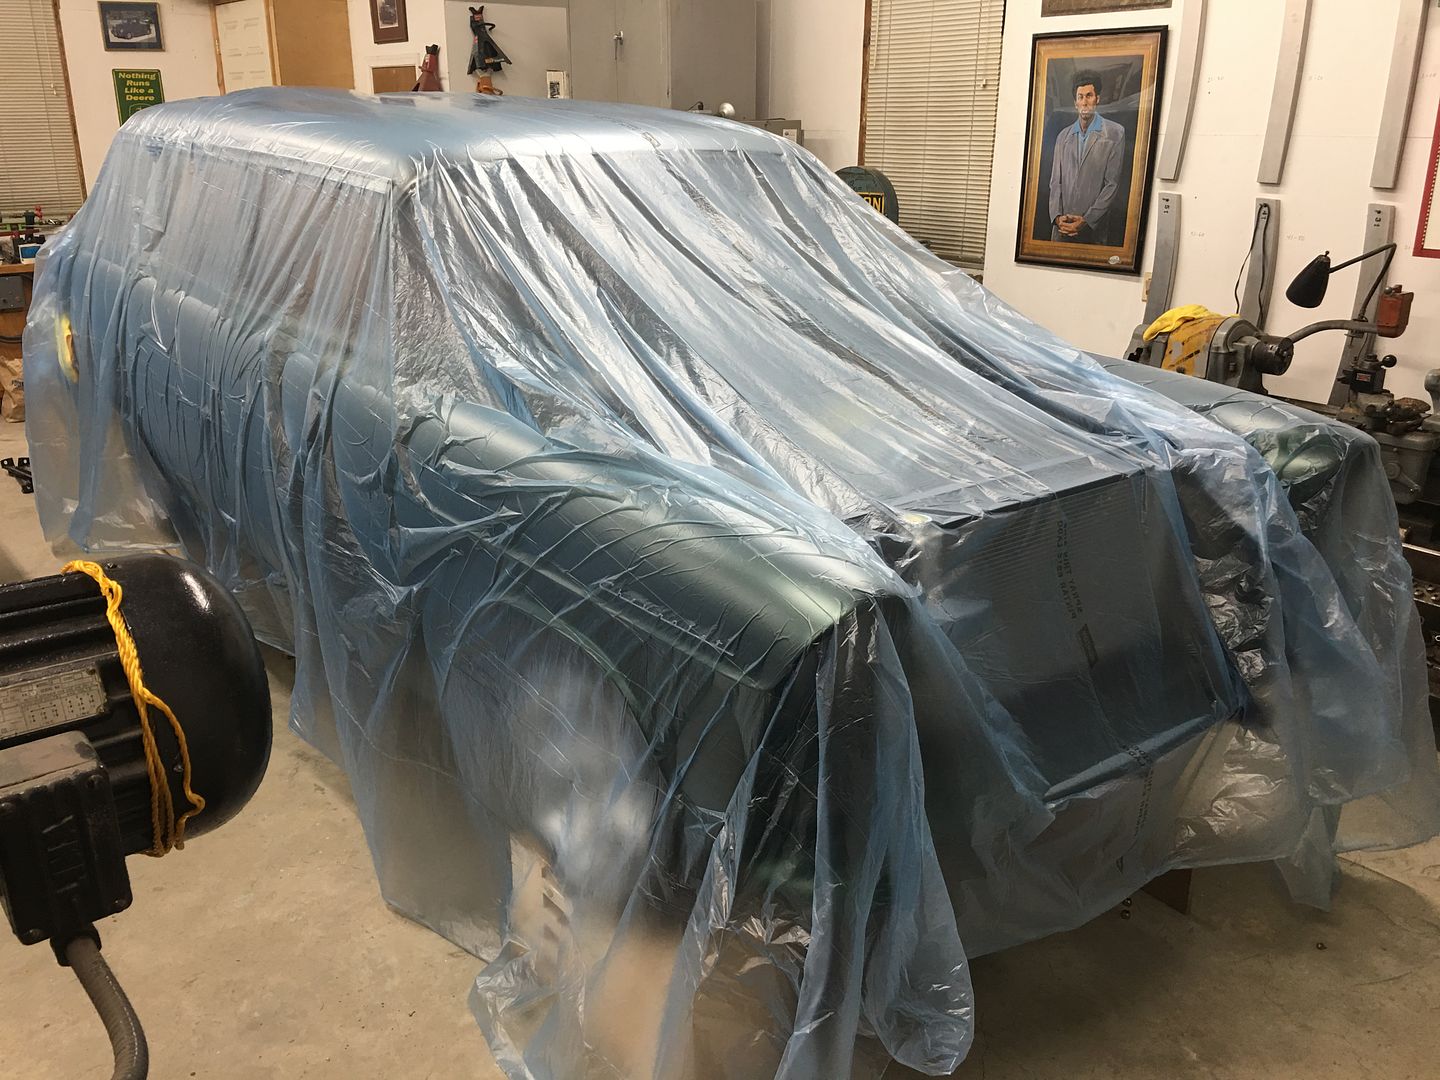
All buttoned up for the day, and under Kramer's watchful eye..
Robert
-
11-16-2020 08:02 AM #1567
CHR Member
- Join Date
- Nov 2016
- Location
- rocklin
- Posts
- 656
That is going to one nice car.
-
11-16-2020 08:03 PM #1568
CHR Member
- Join Date
- Apr 2011
- Location
- Prairie City
- Car Year, Make, Model: 40 Ford Deluxe, 68 Corvette, 72&76 K30
- Posts
- 7,301
- Blog Entries
- 1
It is looking so nice! That rear bumper is going to be mint!!!
.Ryan
1940 Ford Deluxe Tudor 354 Hemi 46RH Electric Blue w/multi-color flames, Ford 9" Residing in multiple pieces
1968 Corvette Coupe 5.9 Cummins Drag Car 11.43@130mph No stall leaving the line with 1250 rpm's and poor 2.2 60'
1972 Chevy K30 Longhorn P-pumped 24v Compound Turbos 47RH Just another money pit
1971 Camaro RS 5.3 BTR Stage 3 cam, SuperT10
Tire Sizes
-
11-22-2020 08:29 PM #1569
CHR Member
- Join Date
- Jun 2008
- Location
- Leonardtown
- Car Year, Make, Model: Walking
- Posts
- 1,228
So a few months back when we bought the Powell Hammer there was this tubing notcher sitting there. It was for sale as well and I knew exactly who needed it. One phone call and it was sold minutes later to my buddy Mike Phillips in Downingtown PA. I brought it to my shop to hold it until he had a chance to come pick it up..
.PNG)
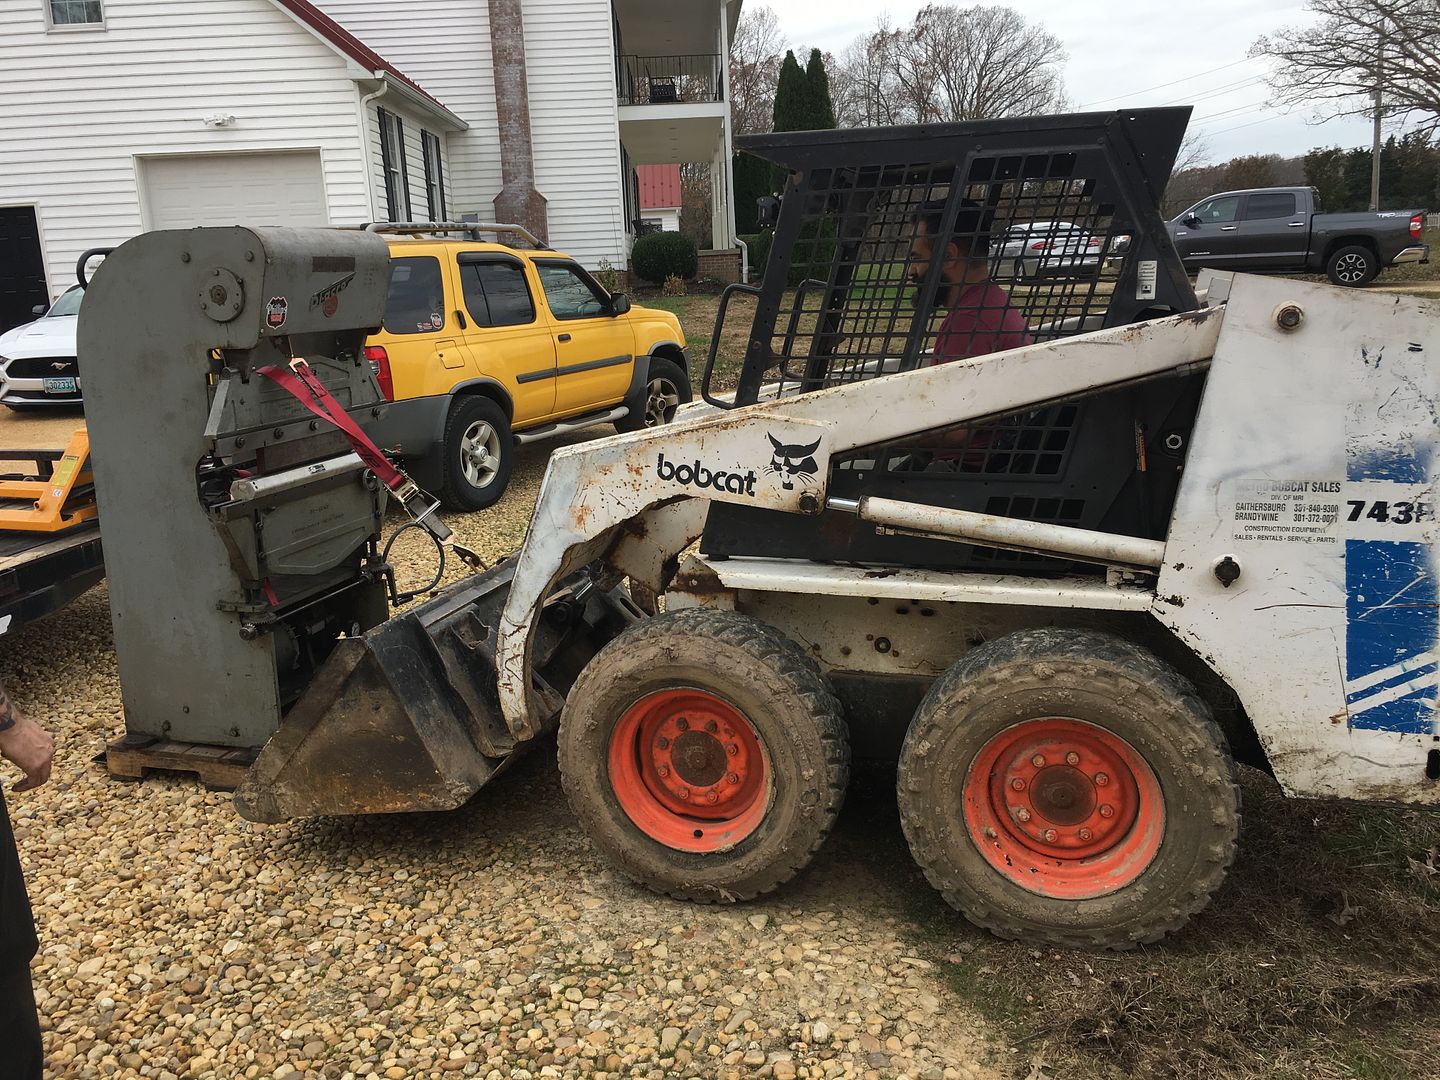
In the meantime, Mike had some equipment he was selling. I had my eye on a press brake and Cousin JB (upholster in Fairfax SC) could use his jump shear. So Saturday was the day for equipment delivery/swap, Mike and his wife Stacy made the trek to Southern Maryland to the shop and dropped off my new press brake, dropped off JB‘s new foot shear (until it can make it to SC) and picked up the tubing notcher that I’m sure will be a welcome addition at Phillips Hot Rod & Customs for the next cage install.
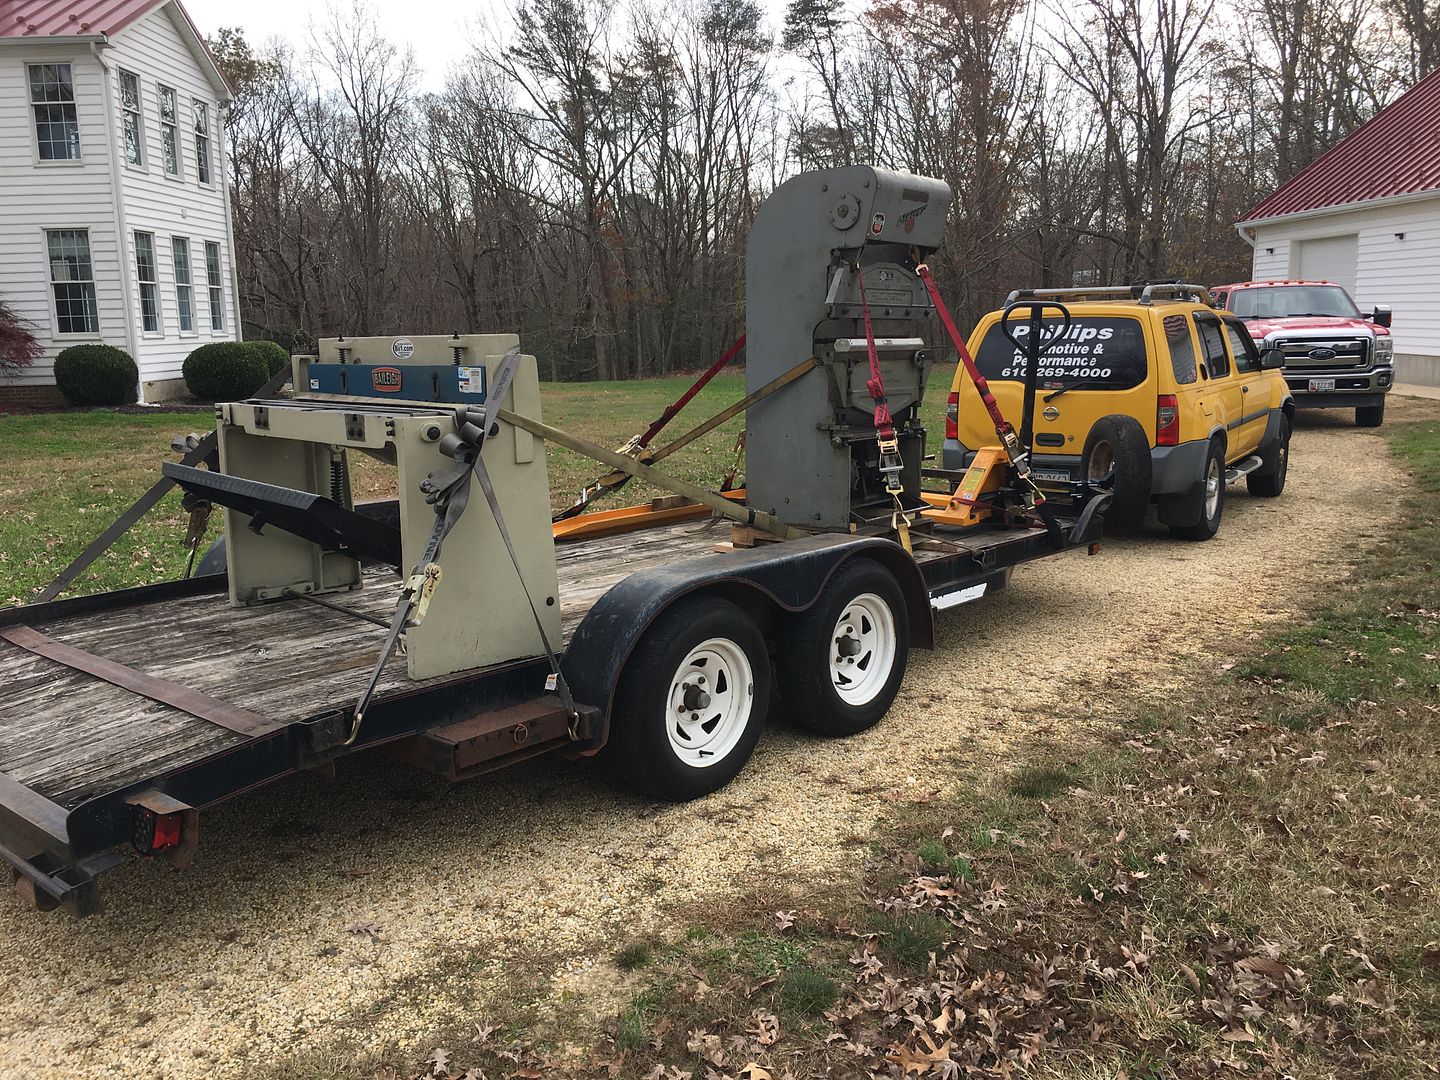
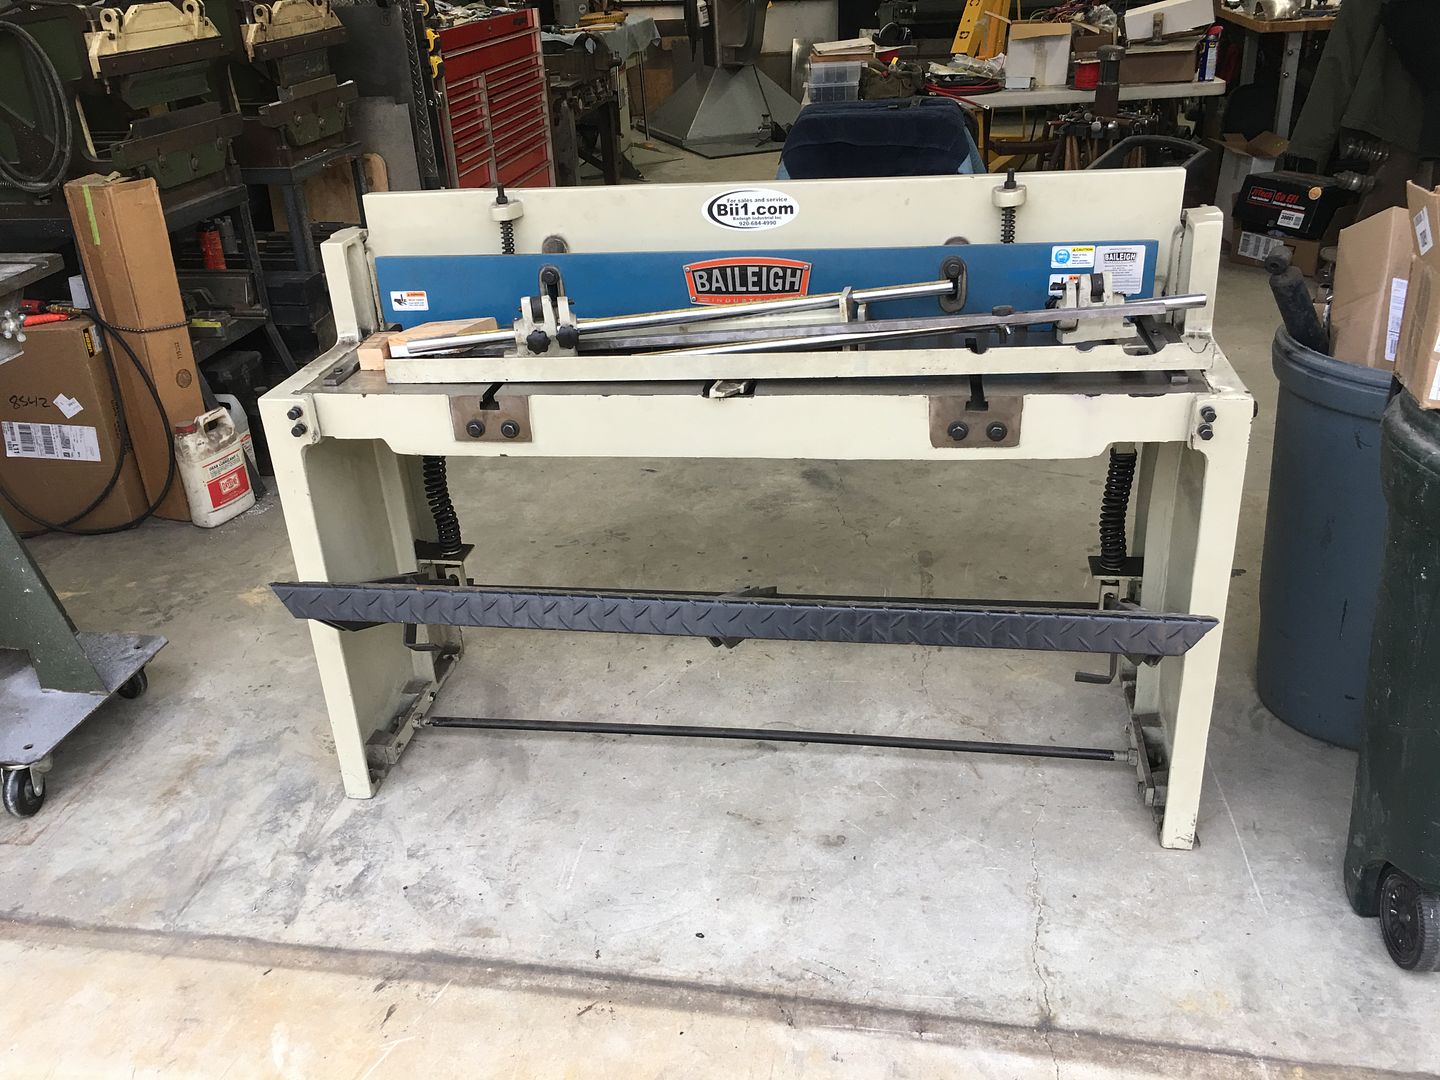
So once we get the new press brake hooked up we will likely have one or both of these leaving...
.Robert
-
11-23-2020 04:58 AM #1570
CHR Member
- Join Date
- Apr 2001
- Location
- Salado
- Car Year, Make, Model: 32, 40 Fords,
- Posts
- 10,898
And the world keeps turning. "New" equipment is always a fun event/feeling.Your Uncle Bob, Senior Geezer Curmudgeon
It's much easier to promise someone a "free" ride on the wagon than to urge them to pull it.
Luck occurs when preparation and opportunity converge.
-
12-03-2020 09:14 AM #1571
CHR Member
- Join Date
- Jun 2008
- Location
- Leonardtown
- Car Year, Make, Model: Walking
- Posts
- 1,228
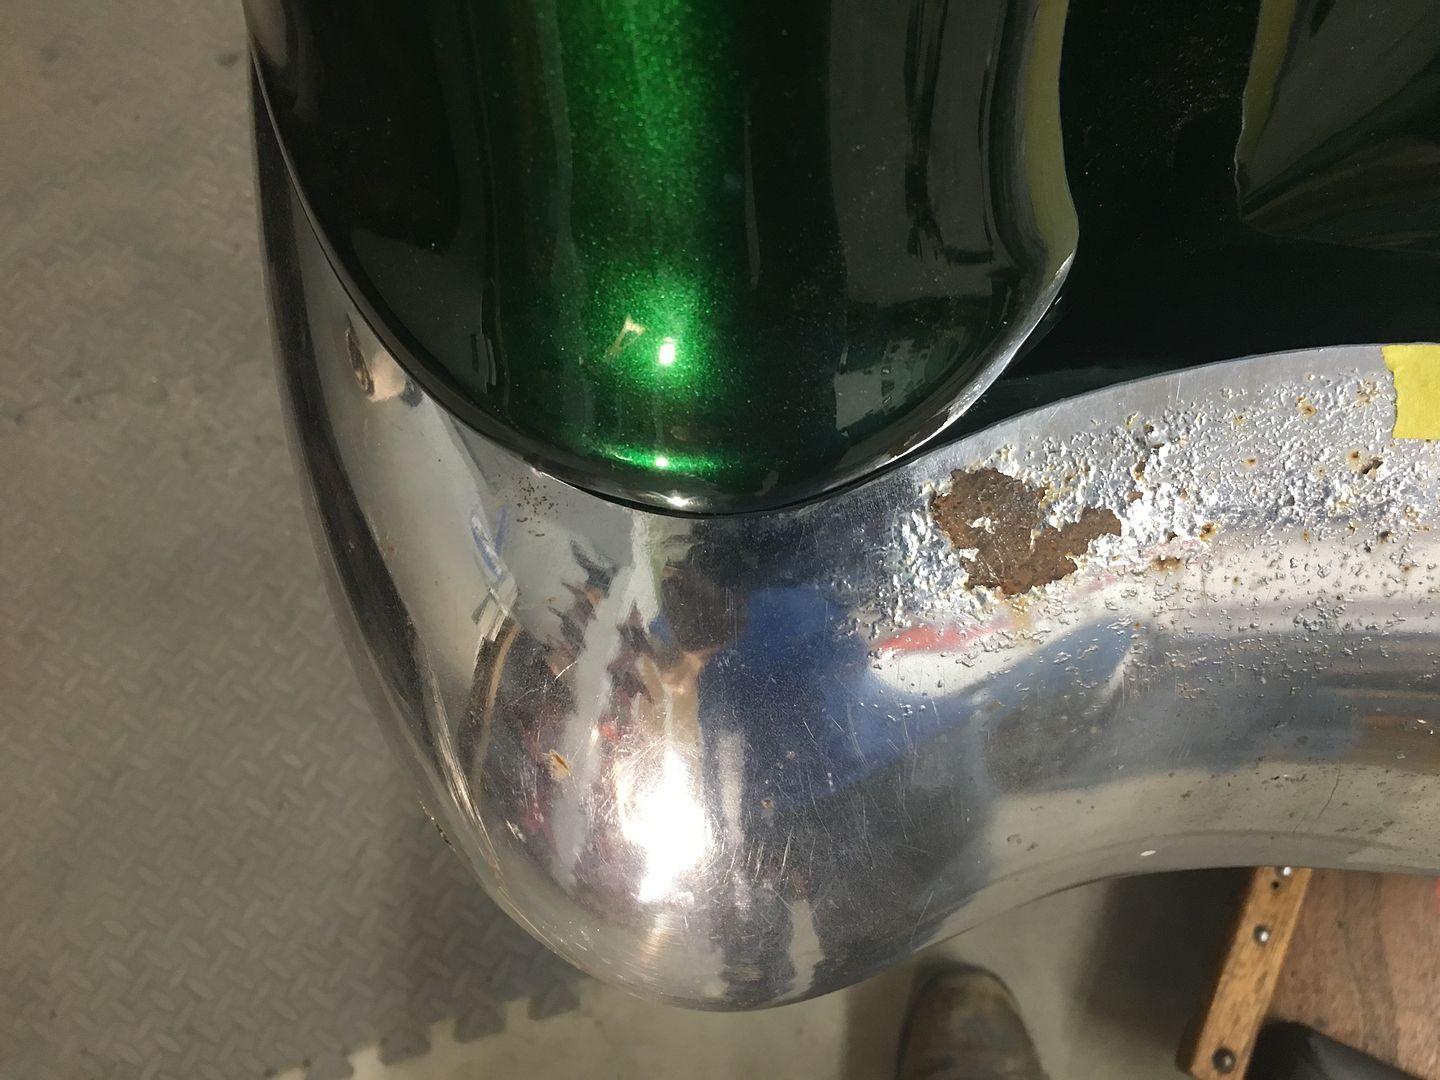
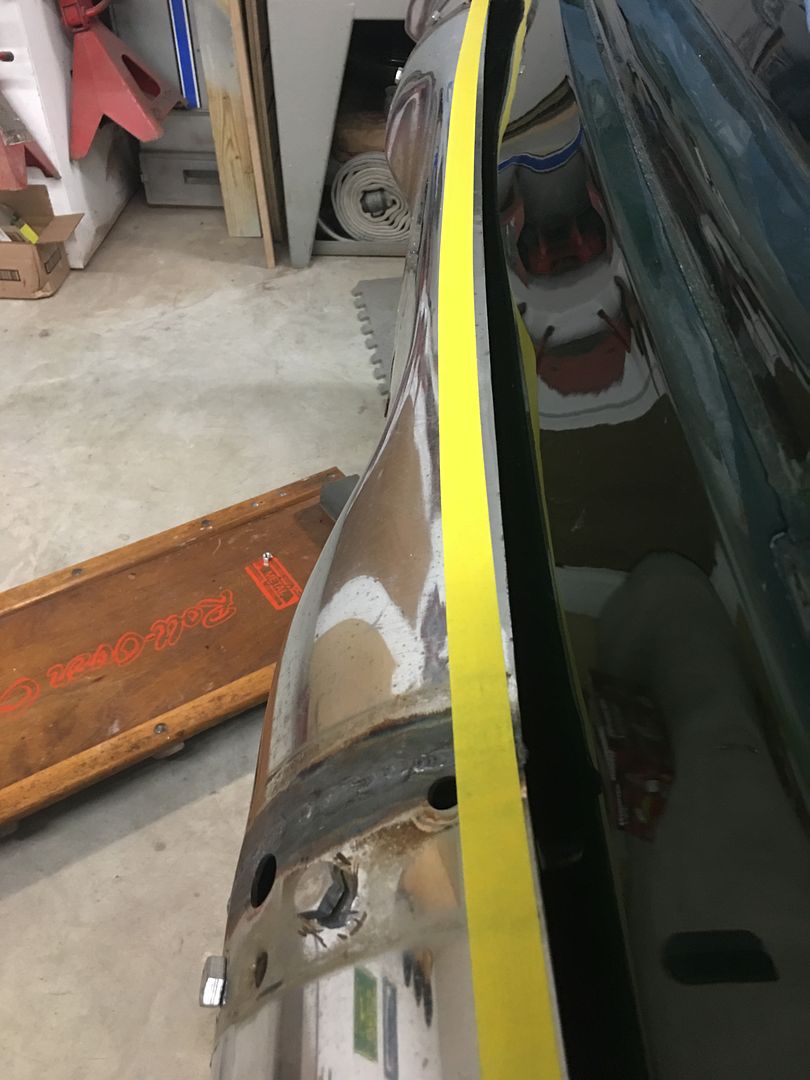
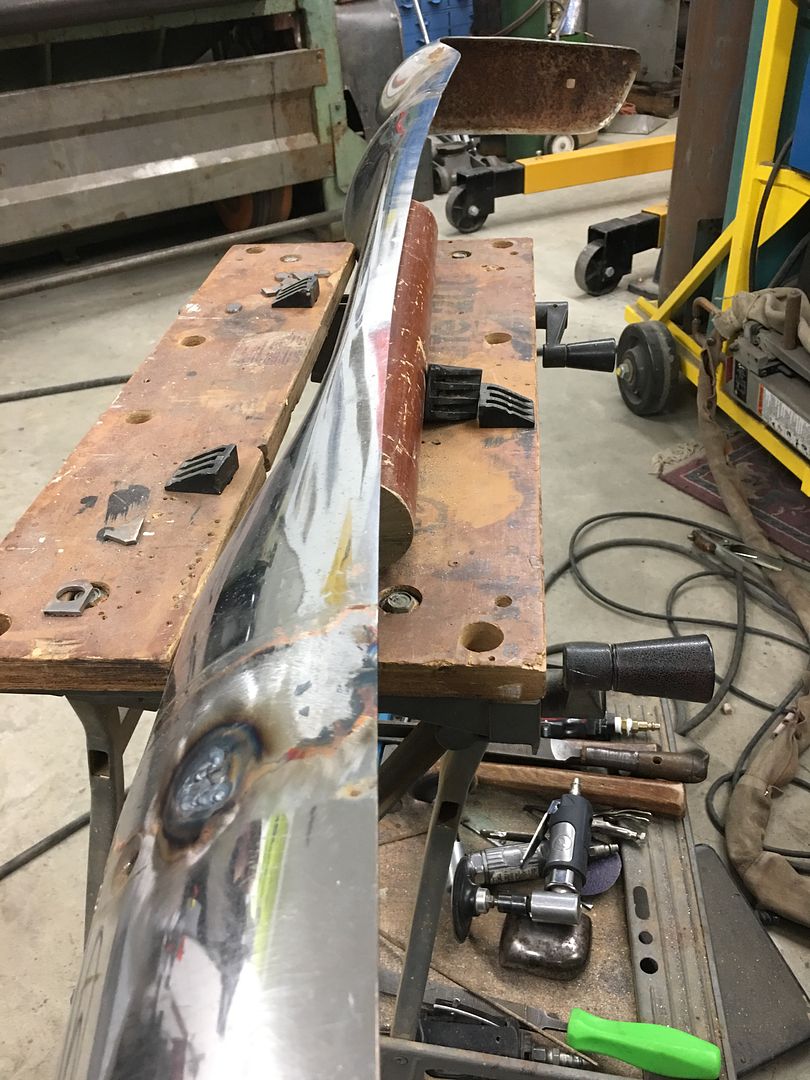
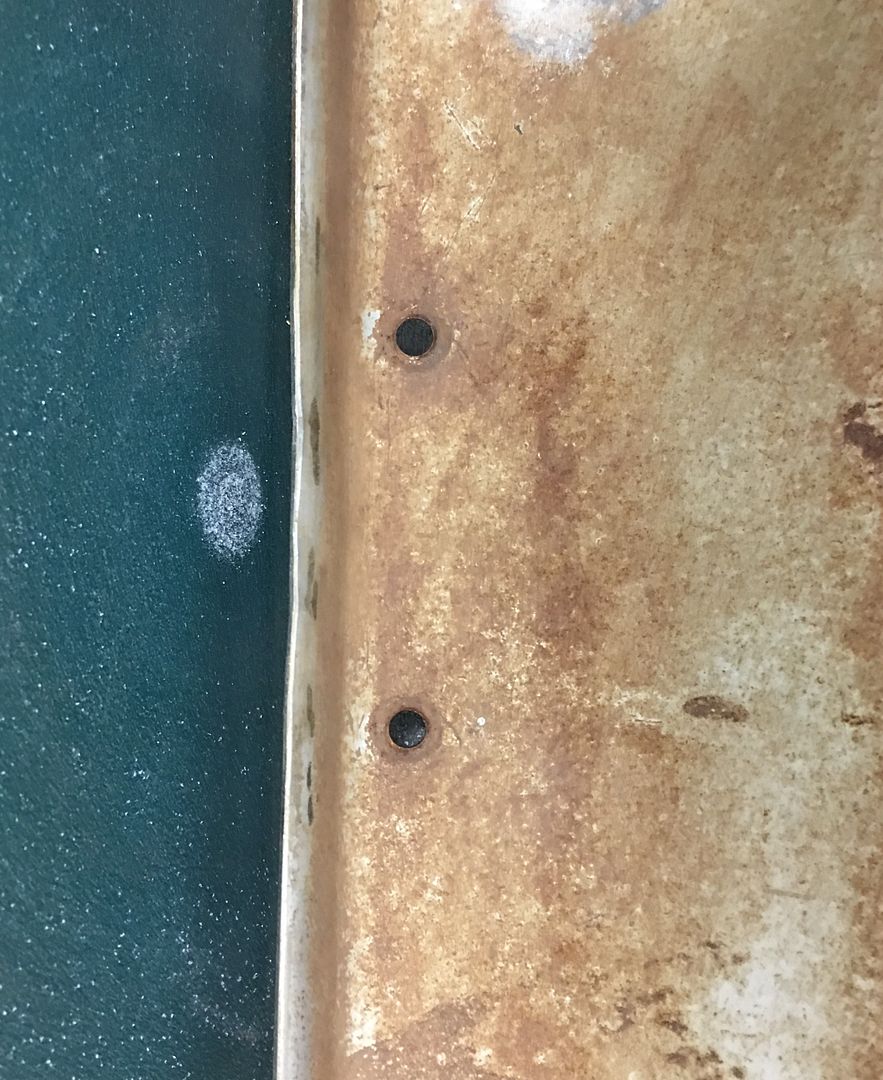
More progress on the wagon, more bumper action. Part of the problem with using three pieces to form the bumper with a nice wide bumper guard to hide the overlaps, is there is less of a smooth transition from end to end. So in using those individual parts to make a single bumper, we need to trim to correct this. While on the car, painters tape is used to lay out a smooth transition from end to end.
An air body saw is used to cut off the bulk and roloc sander for cleanup afterward...
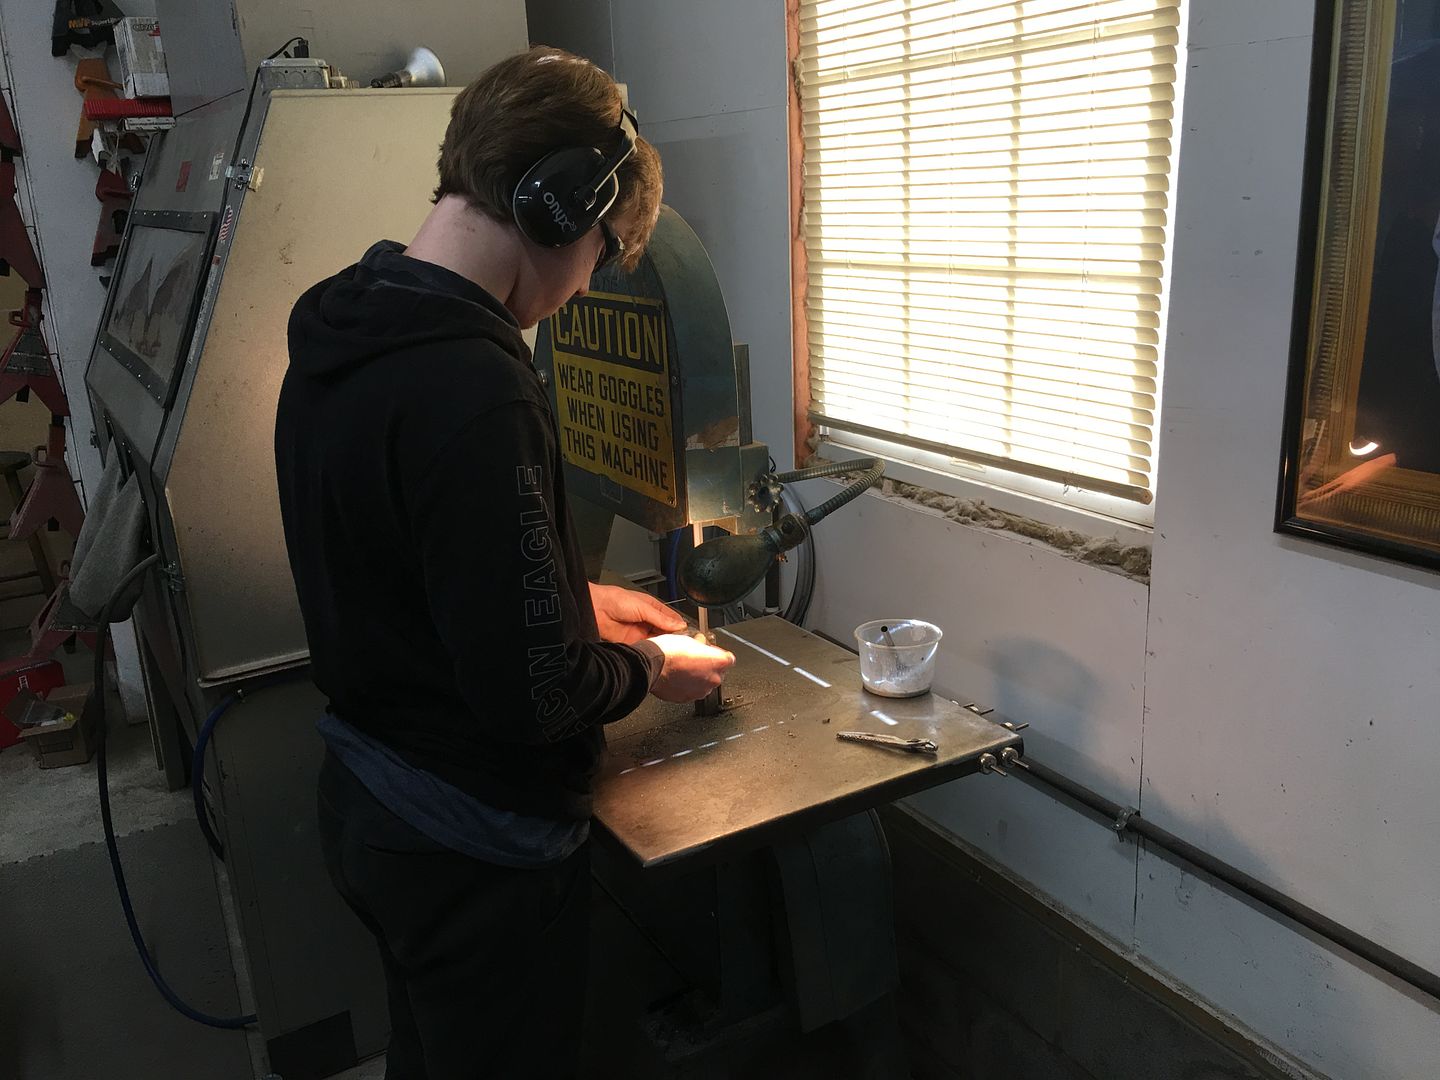
Jared has been helping out with the bumpers, here making tight fitting plugs to fill in the old bolt holes for a smooth look on the outside.
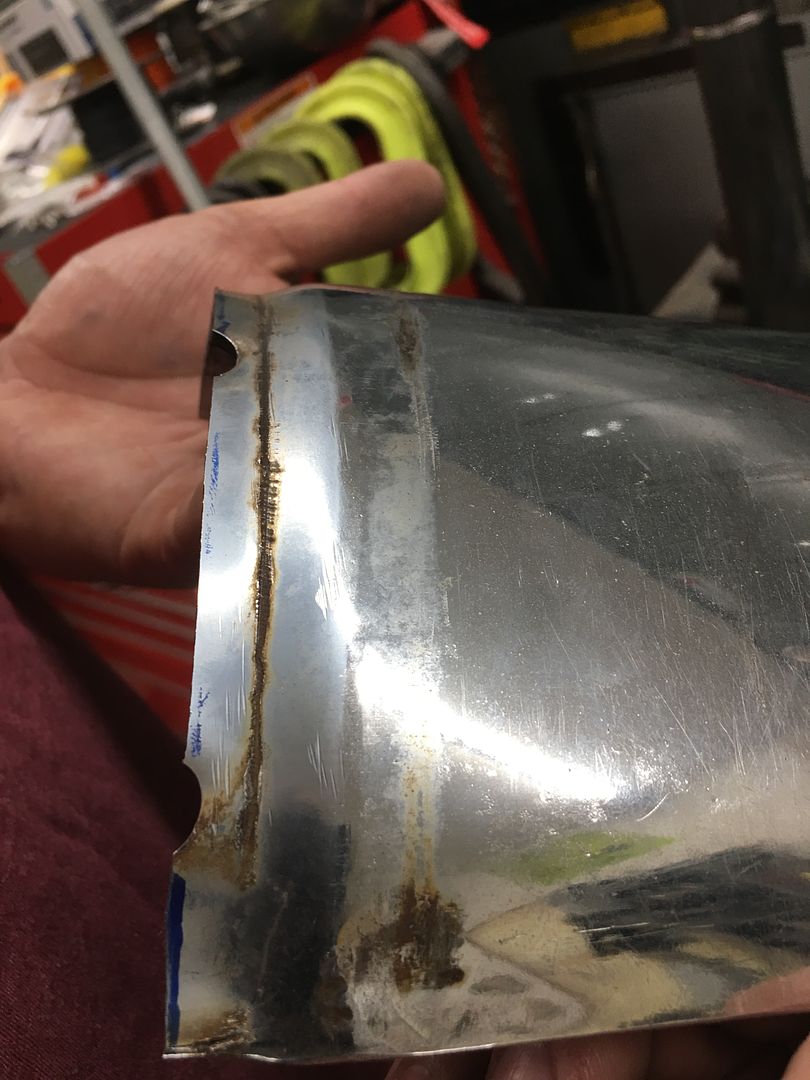
Our front bumper center section had a bit more damage to repair, the center section showed it had been used to pull/tow/?? in a previous life... As the car was pulled, it added some creases as the center pulled outward..
A bit of off-dolly with a rather large hammer and we're much better now.
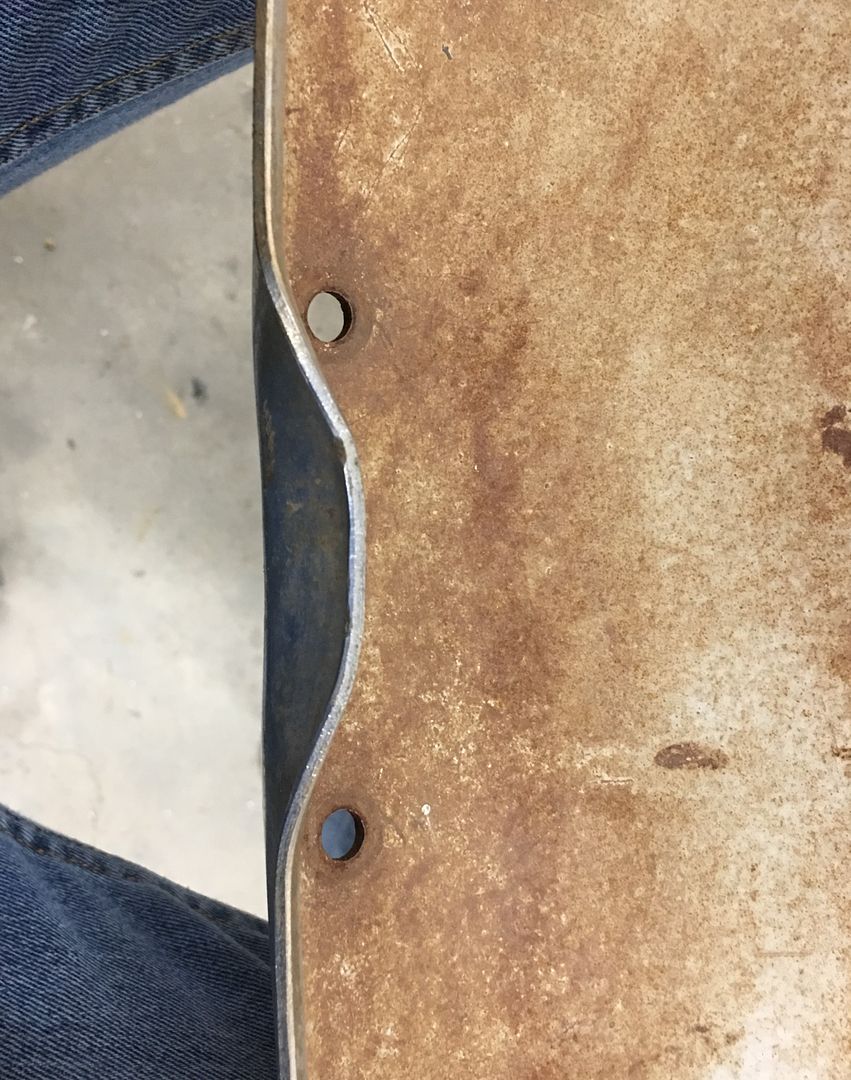
The center section also had a stepped flange on either end so the outer pieces would be flush when mounted. As we are making one-piece bumpers, the step is trimmed to length and the step is flattened using a precision flattening device..
Video version:
https://www.youtube.com/watch?v=DCuKjivvr7Q
Next, we wanted shaved fasteners but also still wanted some fine-tune adjustability. So that eliminates the old weld bolts on the back side caper.. Next option was a bracket that accepted the carriage bolt but also allowed some adjustment side to side. This design was graciously shared with us by Laszlo Nobi (aka Chevynut) as he had done on his 56 Nomad build (see here: https://www.trifivechevys.com/showth...final-assembly ). So we started with 2 x 2 x 1/4" thick square tubing. The 1/4" thickness allows for the height of the "square" of the carriage bolt, and we cut down on the width to just enough for the carriage bolt diameter, both to minimize size of the bracket and also to minimize the tendency for the center of the bracket to pull outward.
Square tubing is cut to length and sliced and diced as shown...
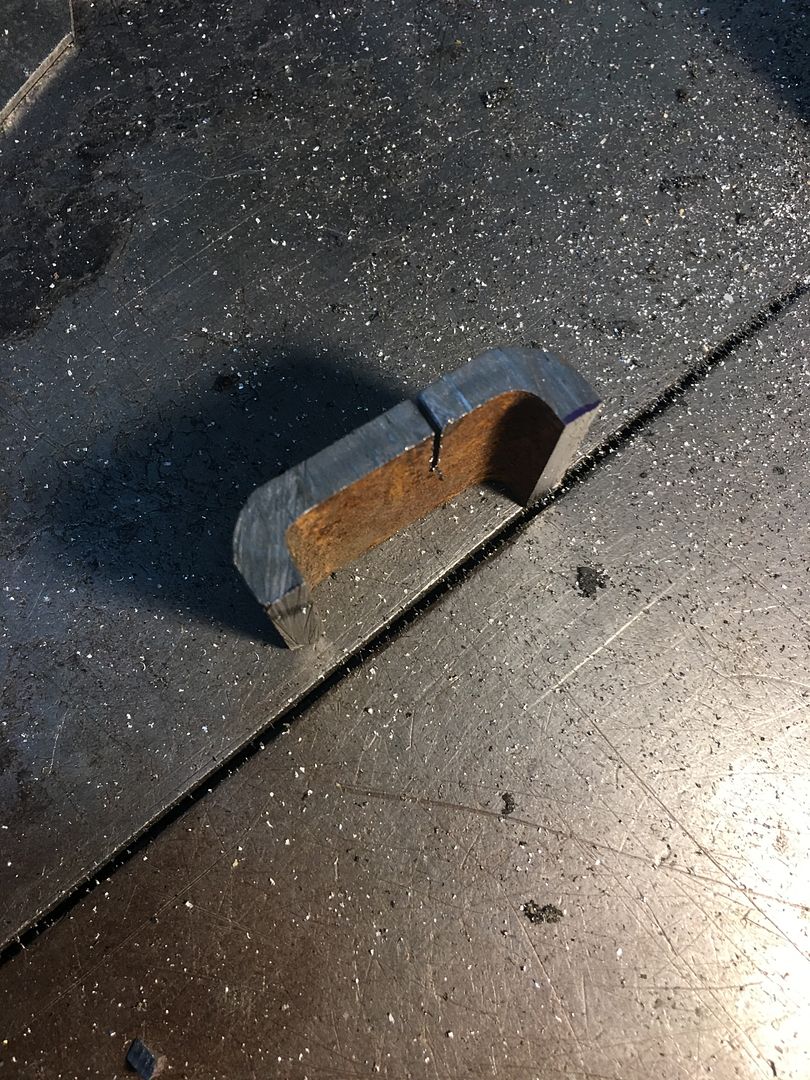
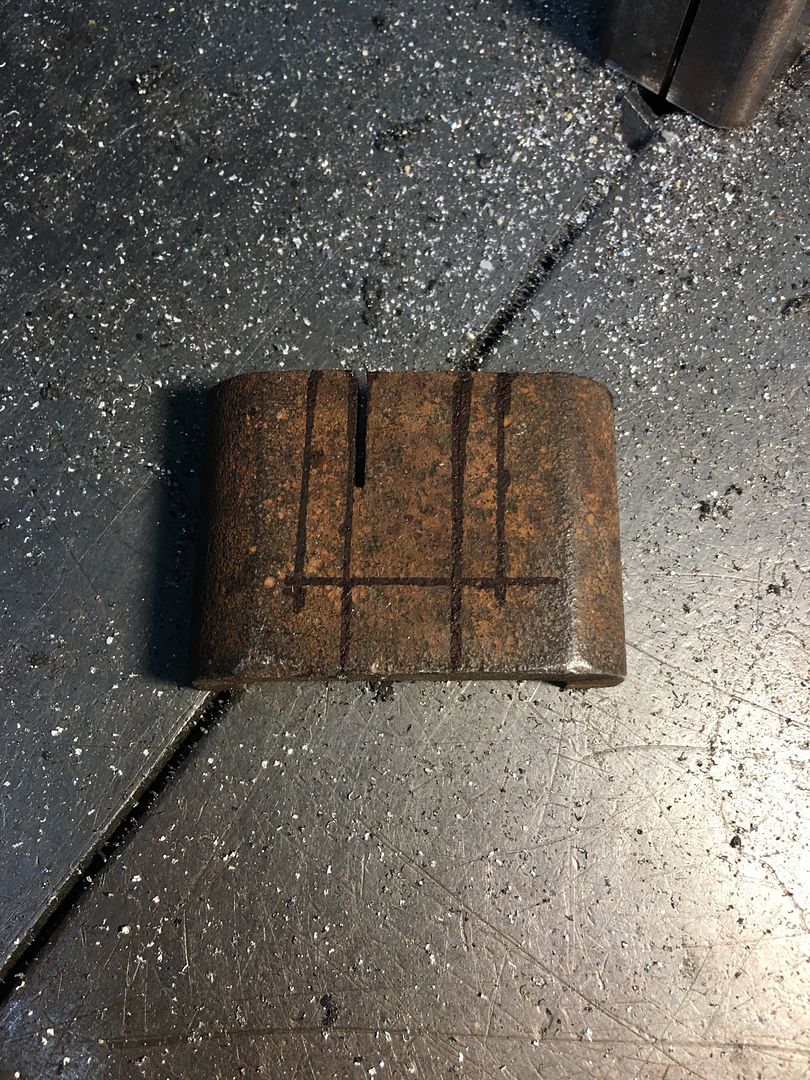
Adjacent parts are beveled to insure full penetration on the 1/4" thick material..
A 7/16 hex nut is used to maintain the 3/8 width so our weld does not close up the slot when the weld shrinks while cooling..
The part is then cleaned up, here is our finished part that will weld to the back side of the bumper...
https://www.youtube.com/watch?v=WFZePcoMK-U
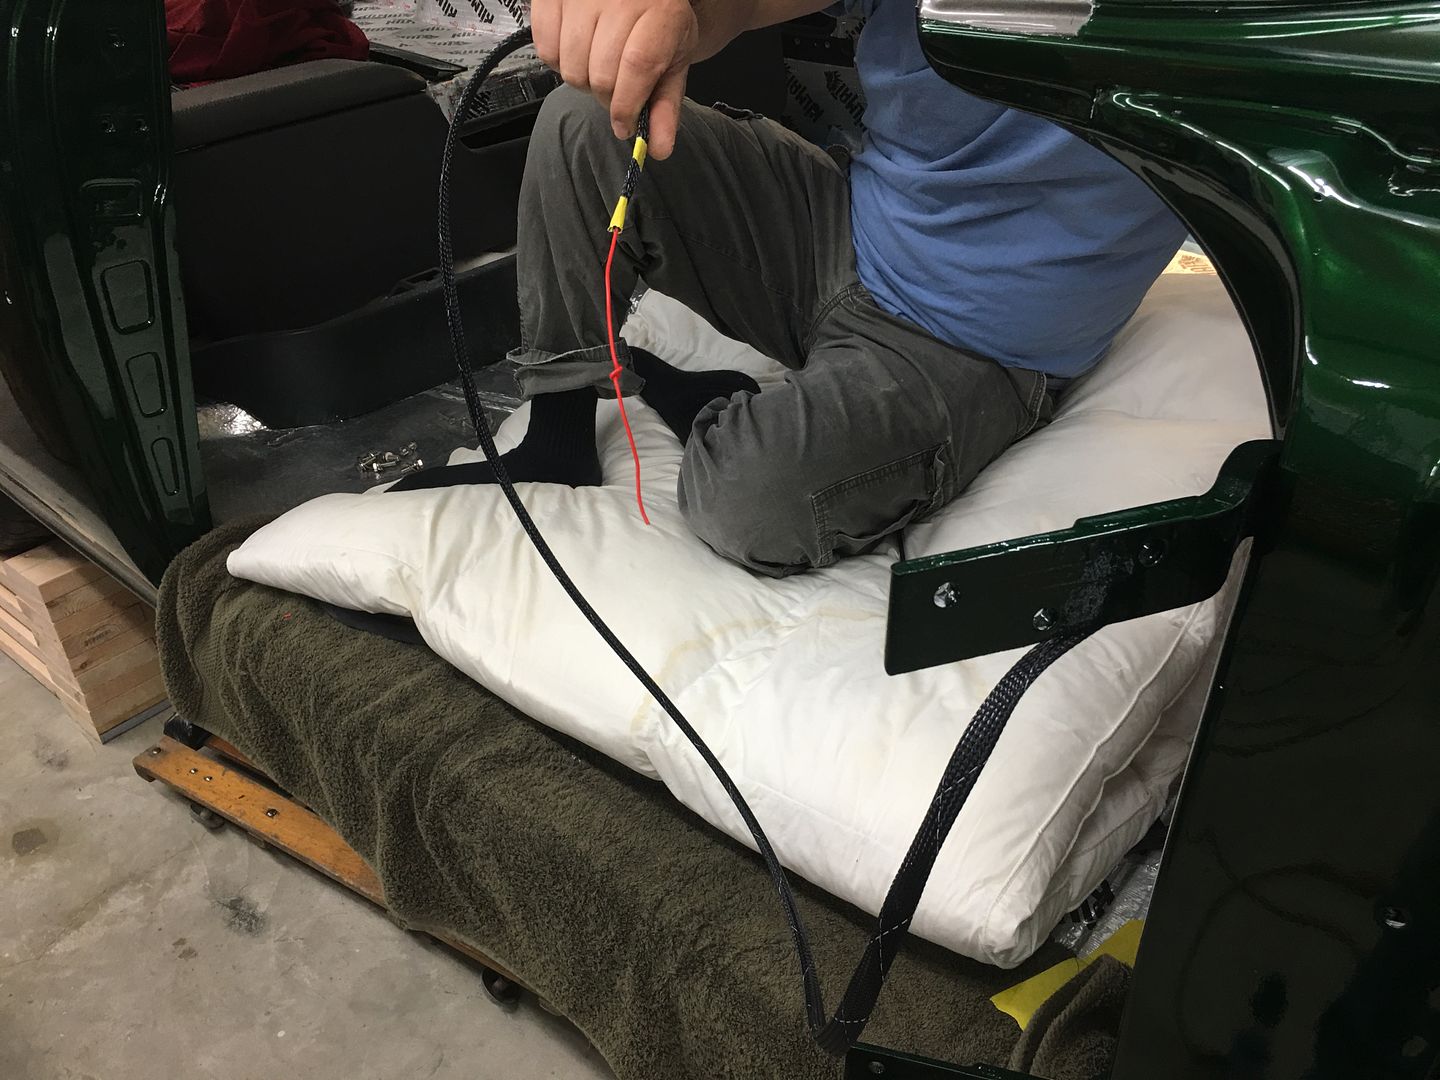
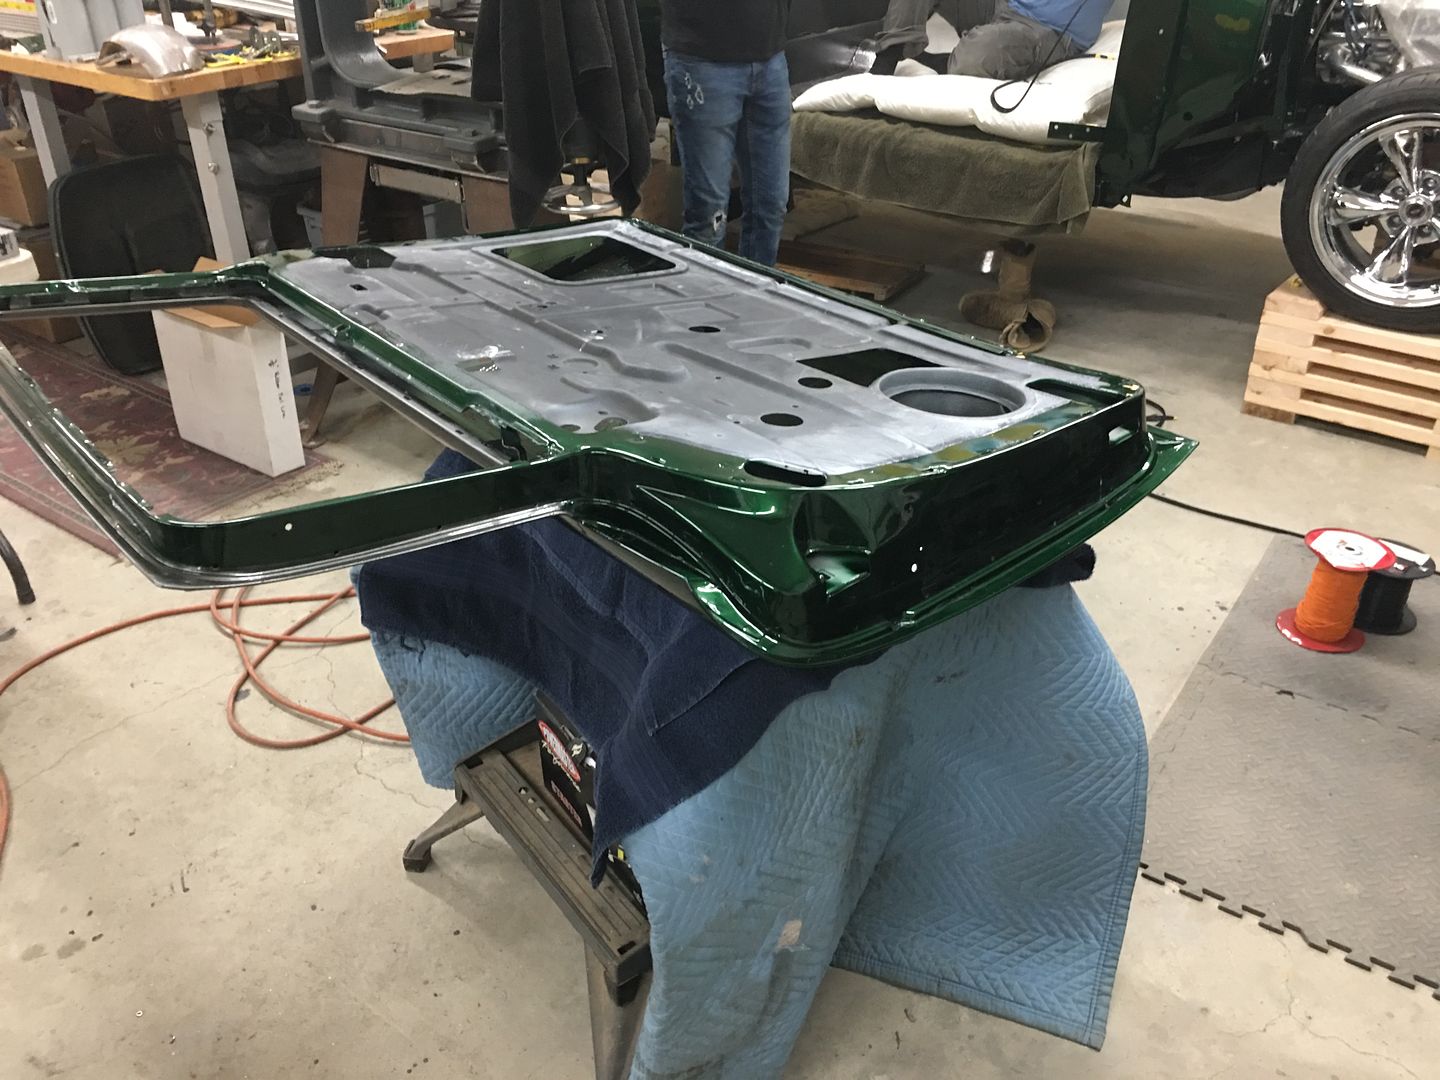
Meanwhile Mike has been working on electrical wiring, here getting the interior light wiring in place so we can load up and take to the upholsterer for headliner installation..
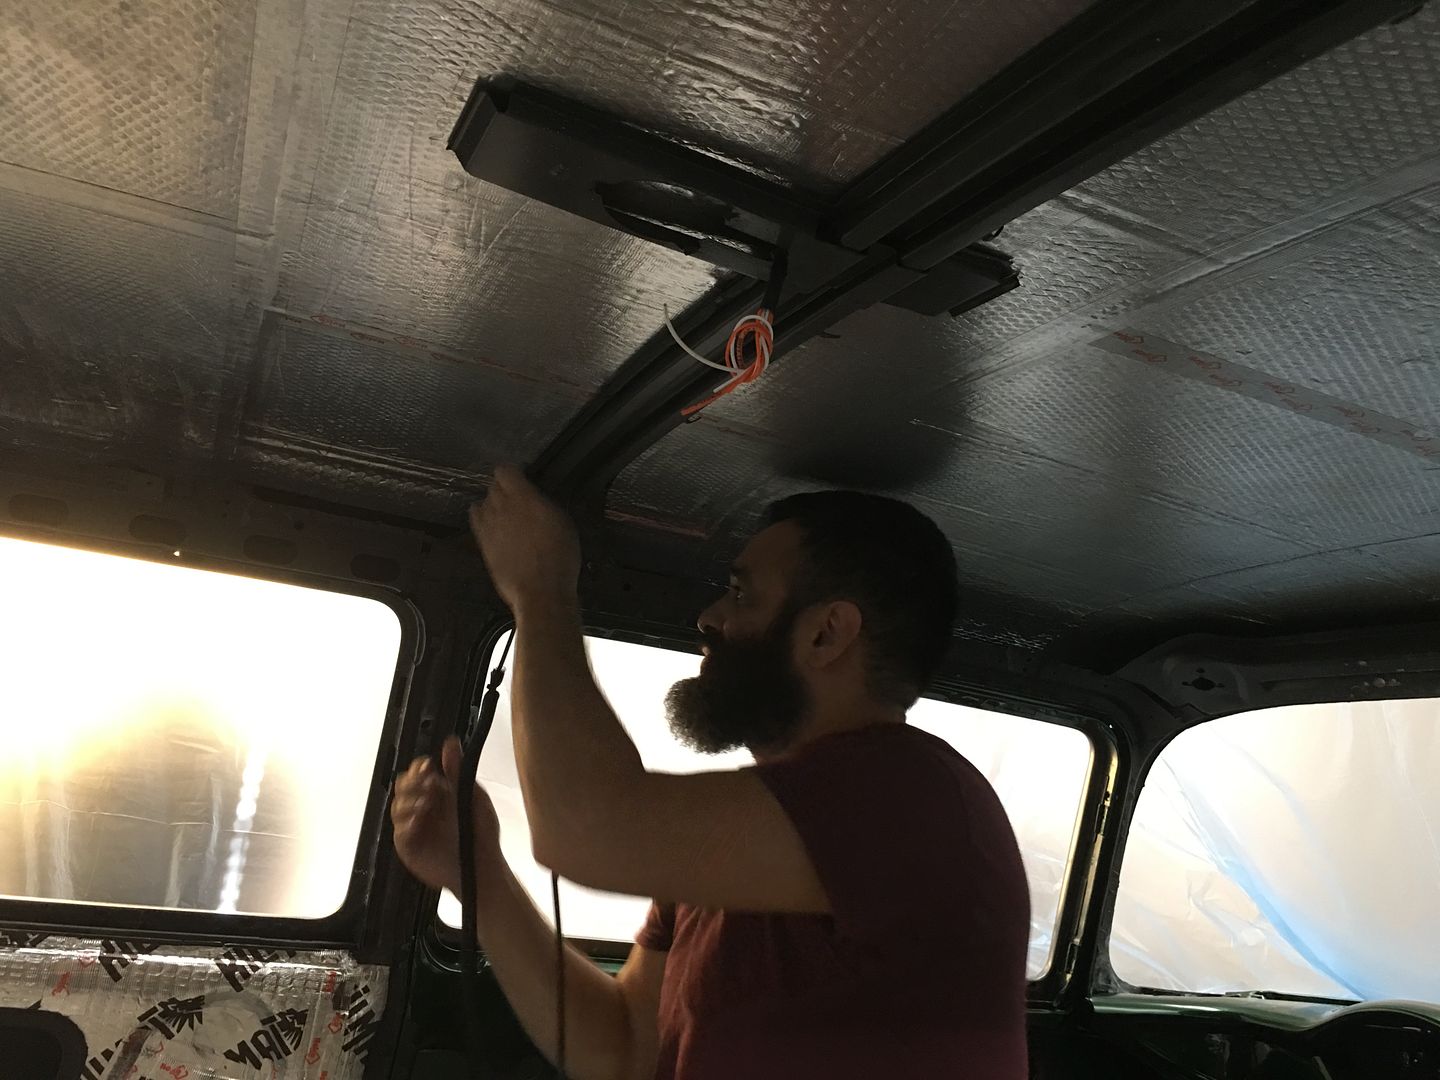
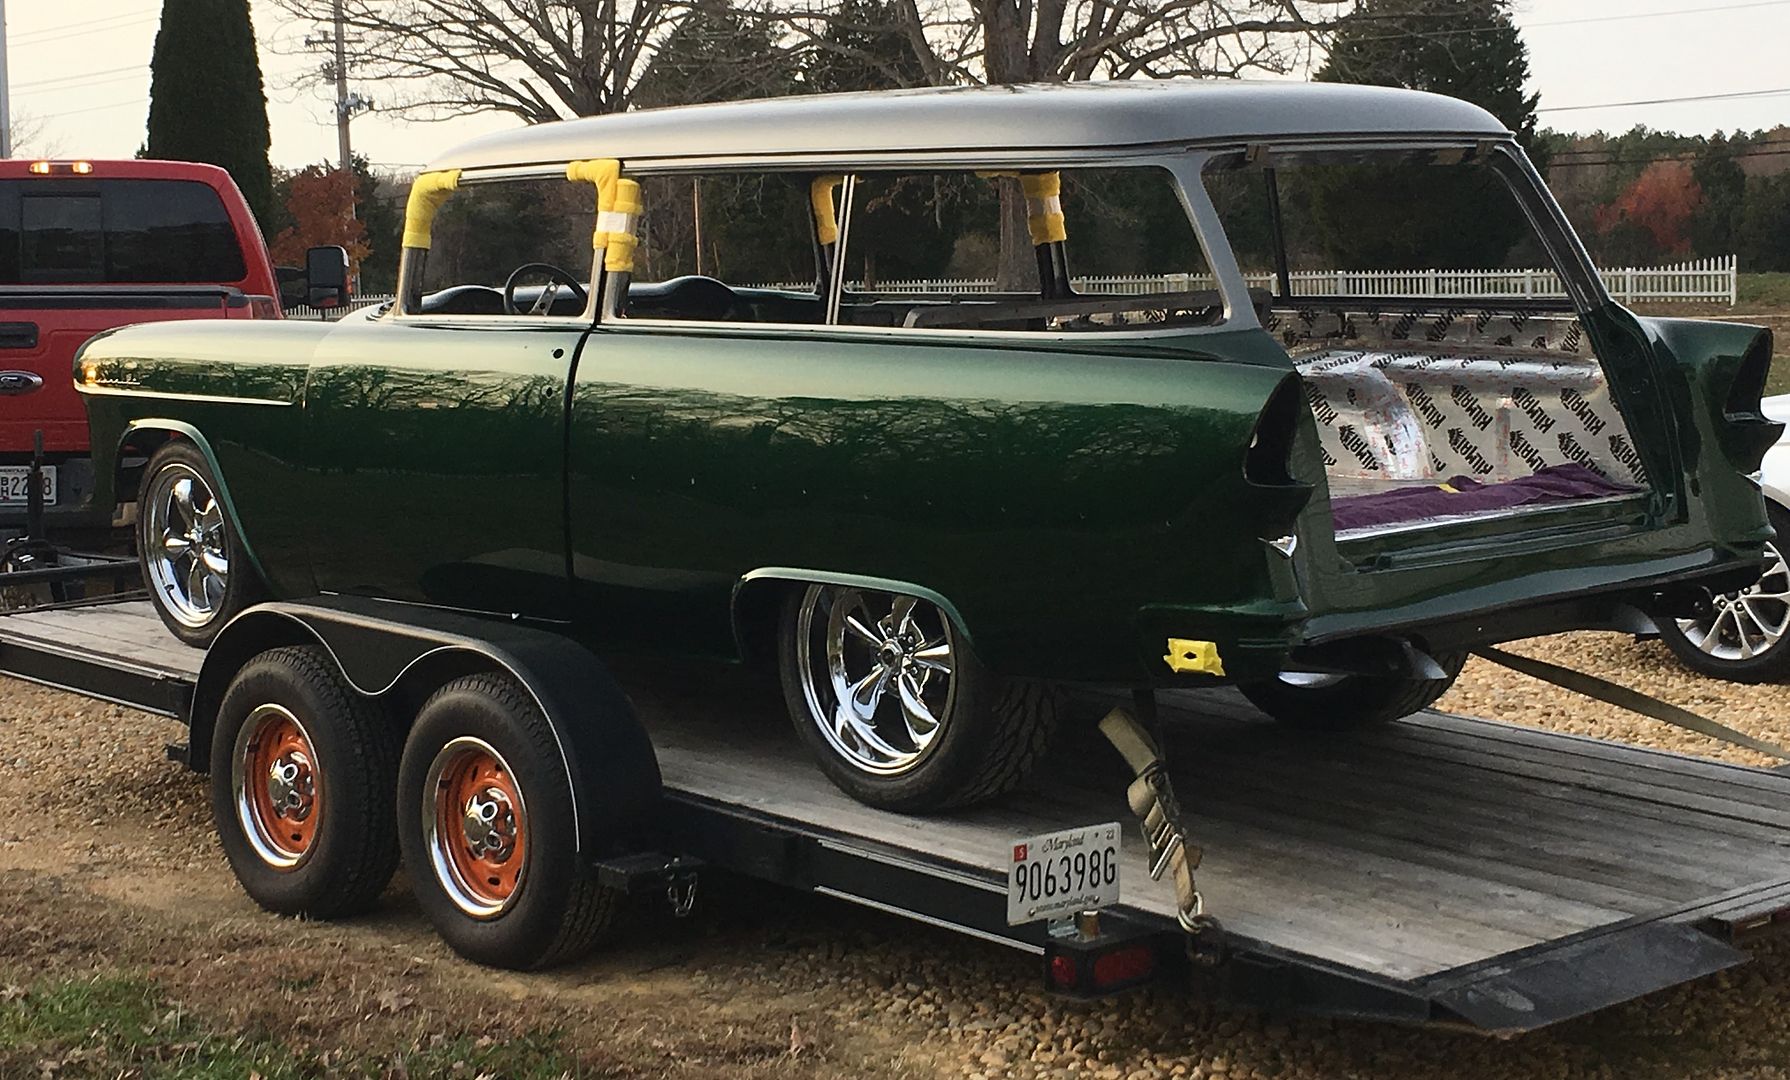
Robert
-
12-20-2020 07:57 AM #1572
CHR Member
- Join Date
- Jun 2008
- Location
- Leonardtown
- Car Year, Make, Model: Walking
- Posts
- 1,228
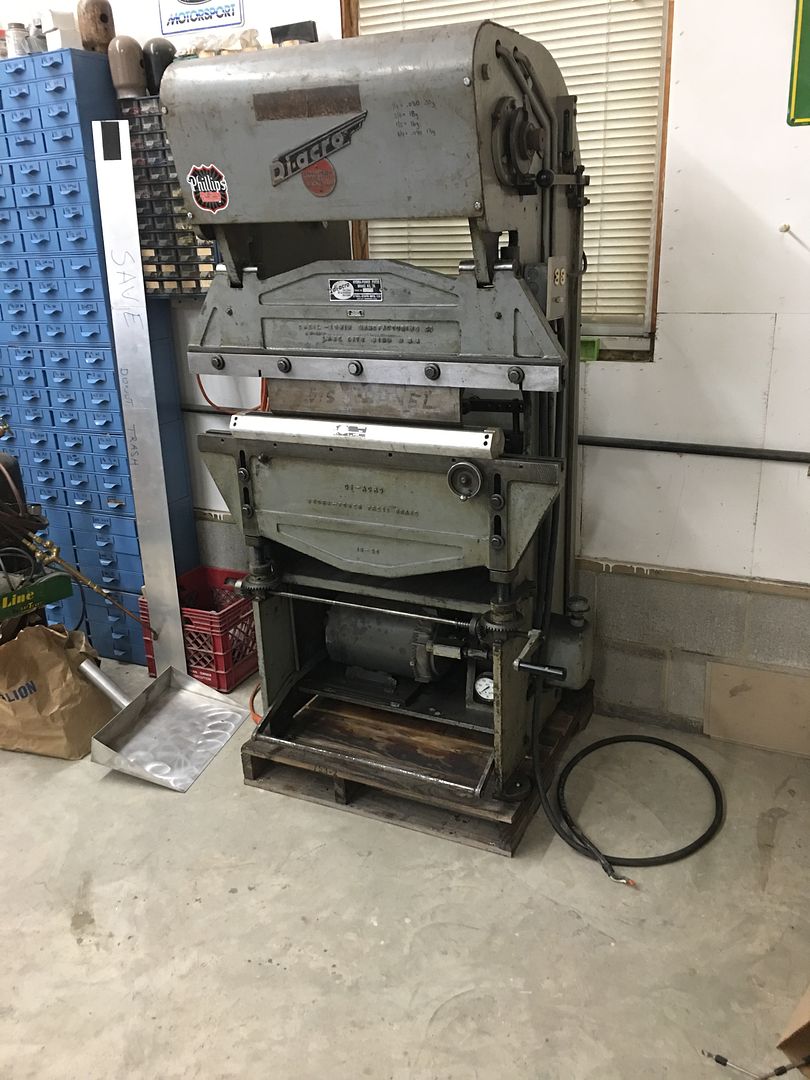
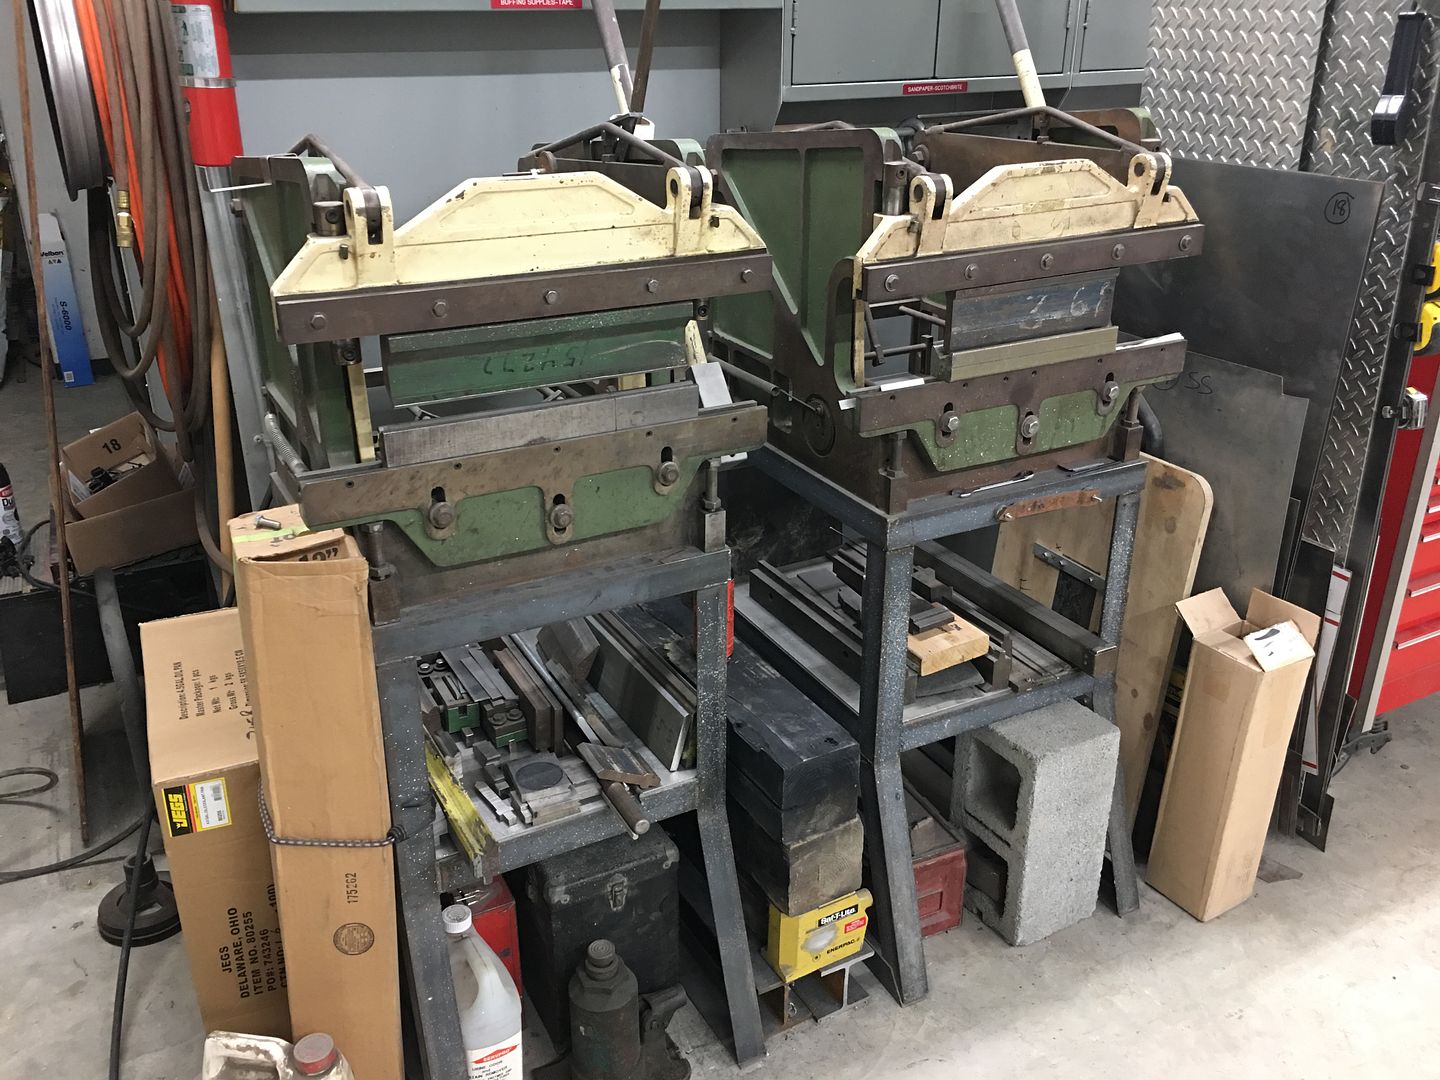
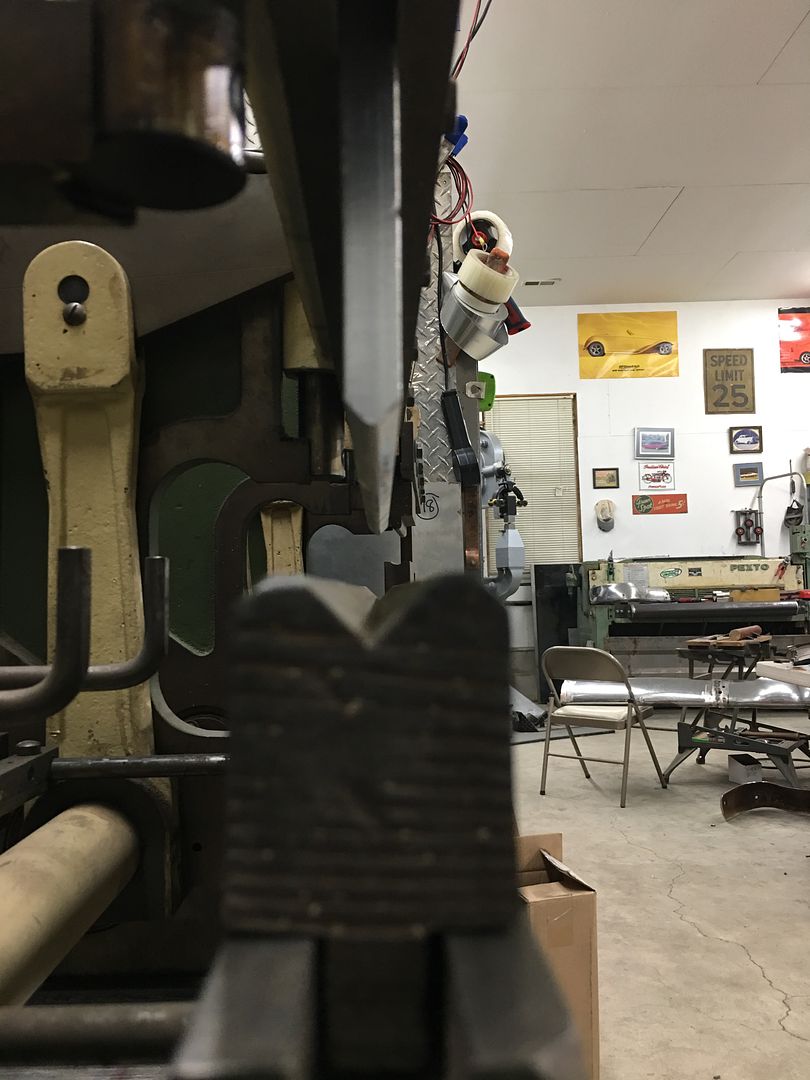
Well the new press brake is all powered up and operational. So I've got two press brakes in the shop available if anyone needs to do last minute Christmas shopping for the wife/girlfriend..
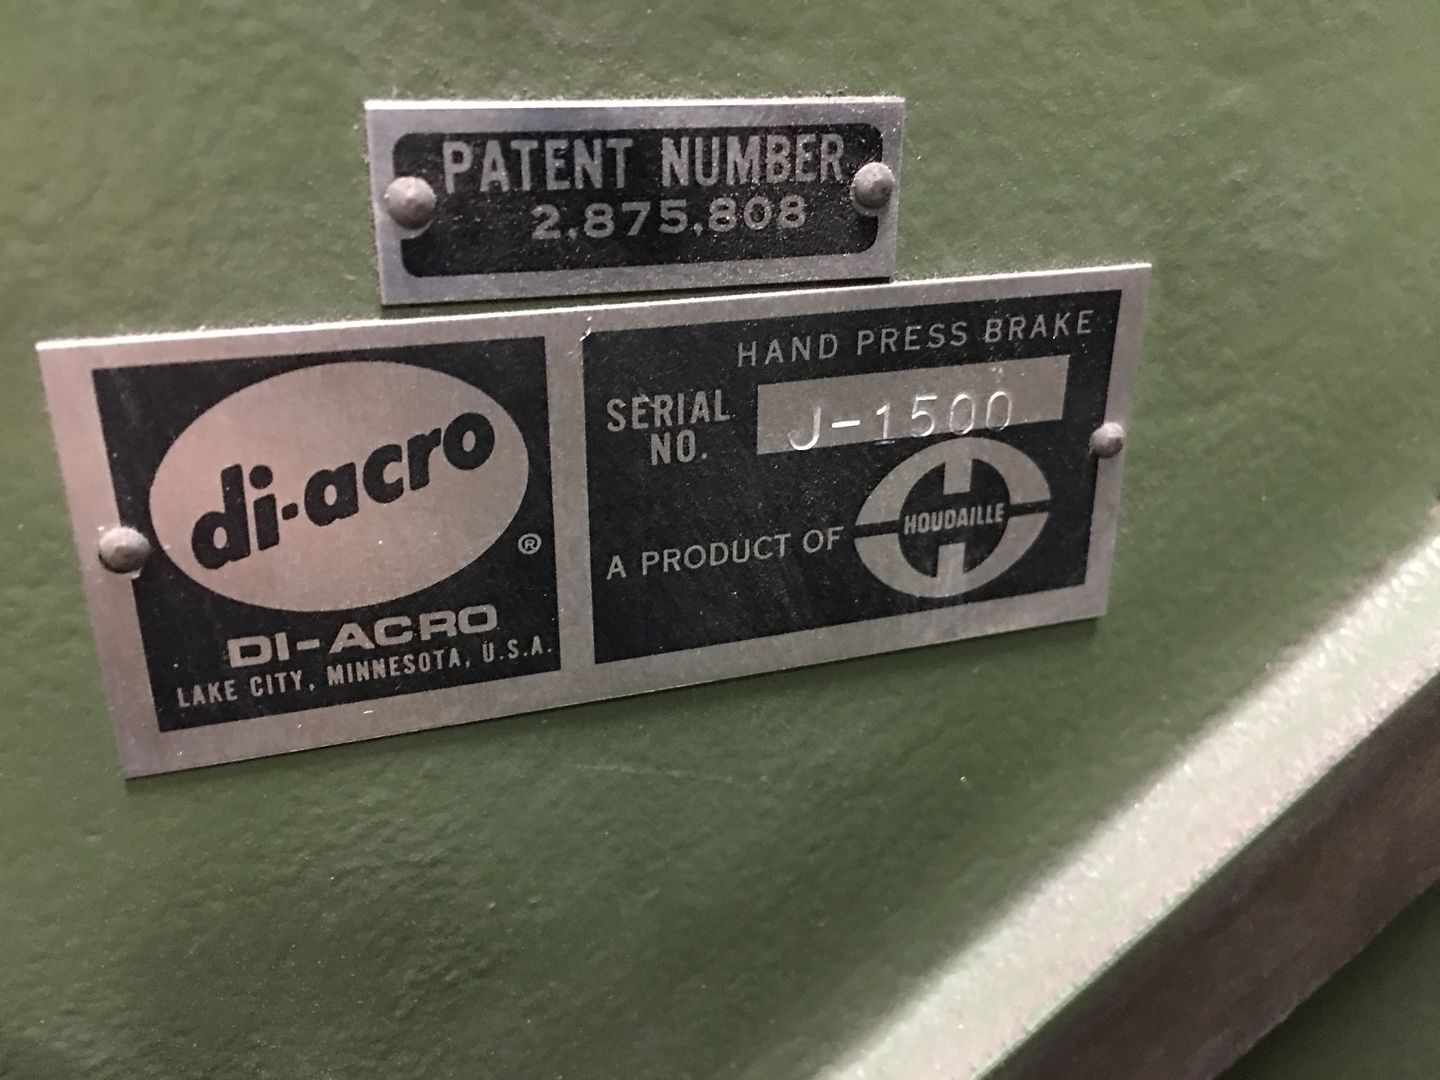
Brake #1 is Diacro 16-24 MANUAL press brake, 8 ton, SN J-1500. Comes with the home-made stand you see it on, and the dies that are installed. This one has the fully functioning back gauge, a must have for repeat bends. None of the junk laying under or next to it is part of the dealio. Modestly priced at 2100, about half of what they're on eBay for. Diacro makes good product and they hold their value.
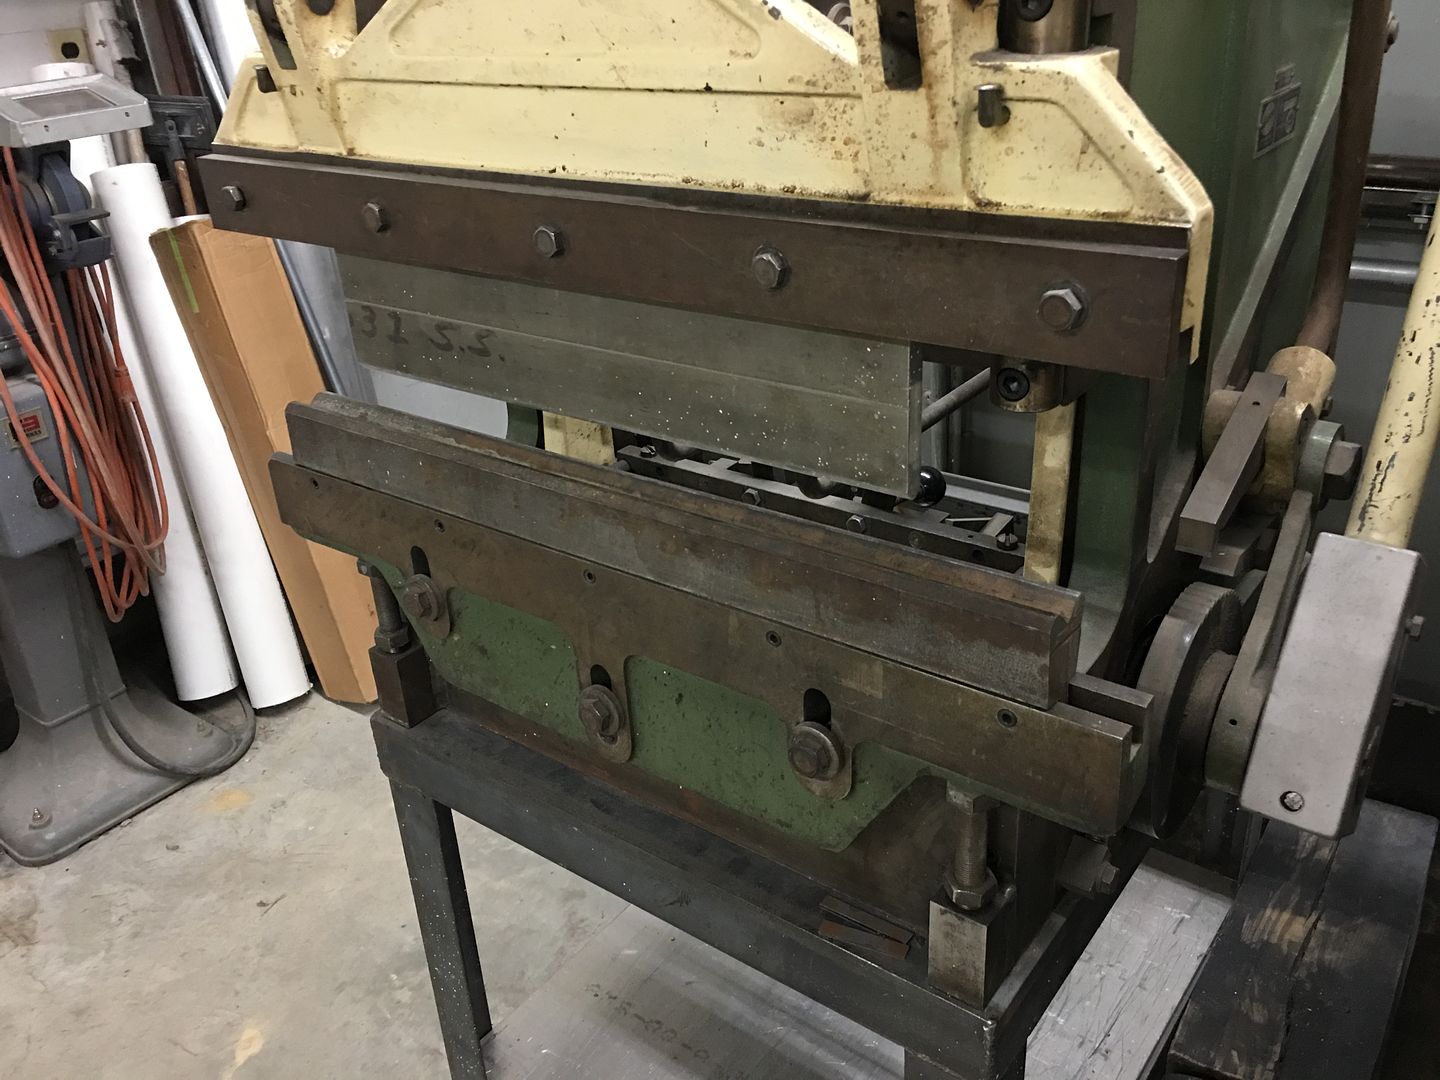
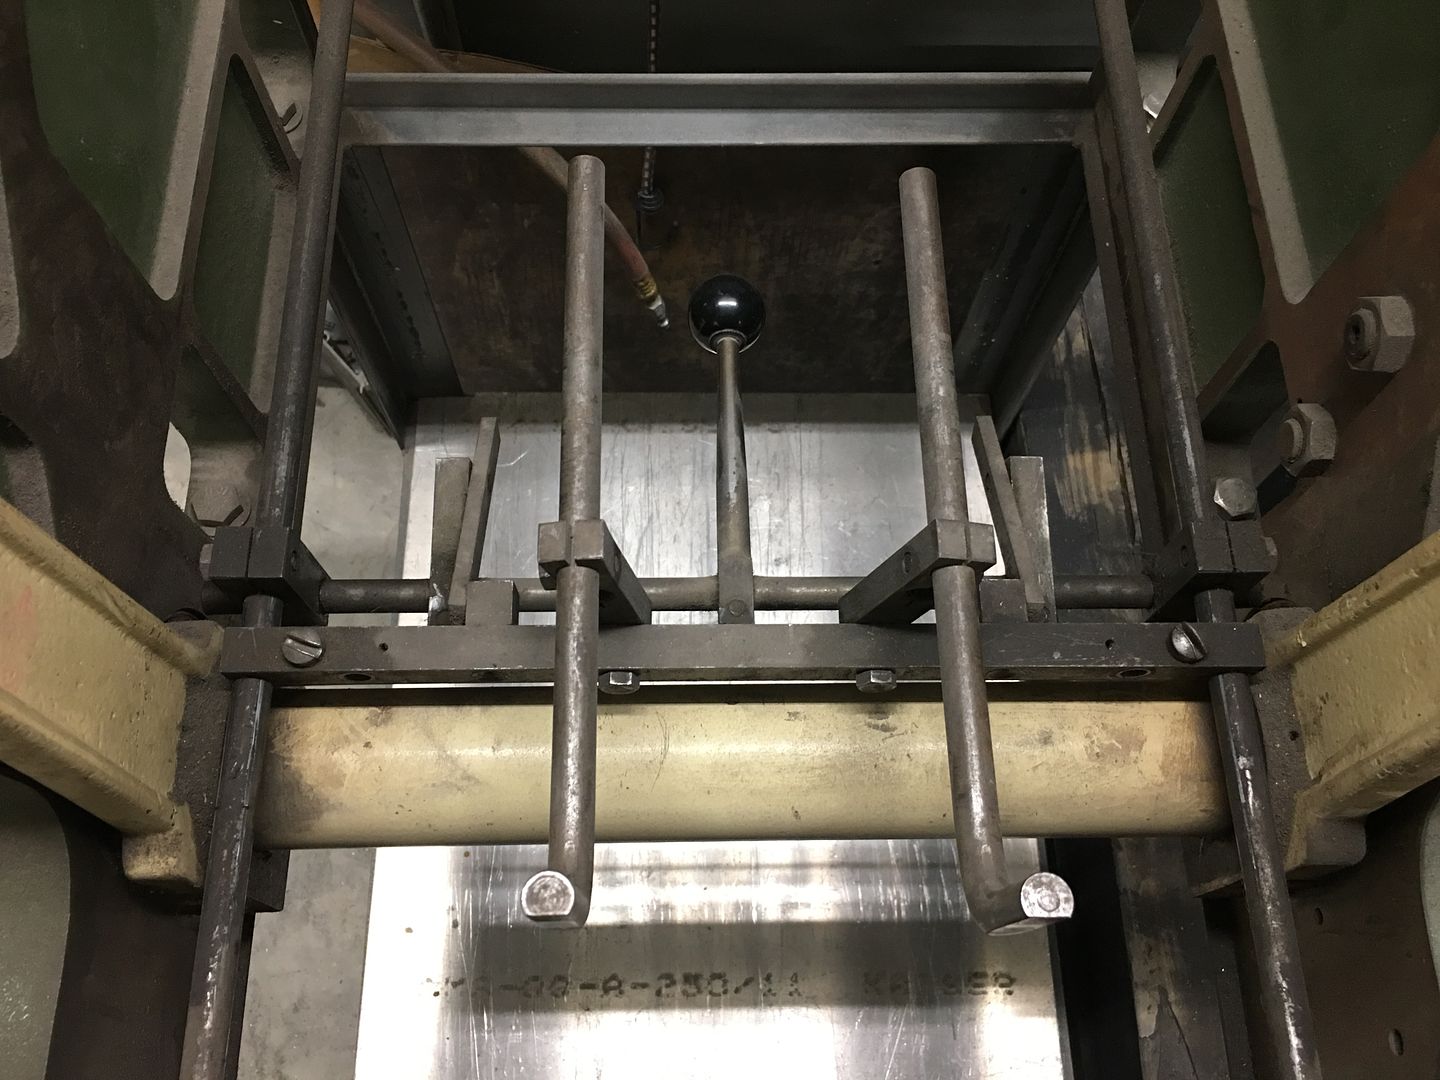
Back gauge in operation:
https://www.youtube.com/watch?v=NiSnrZCJC_g
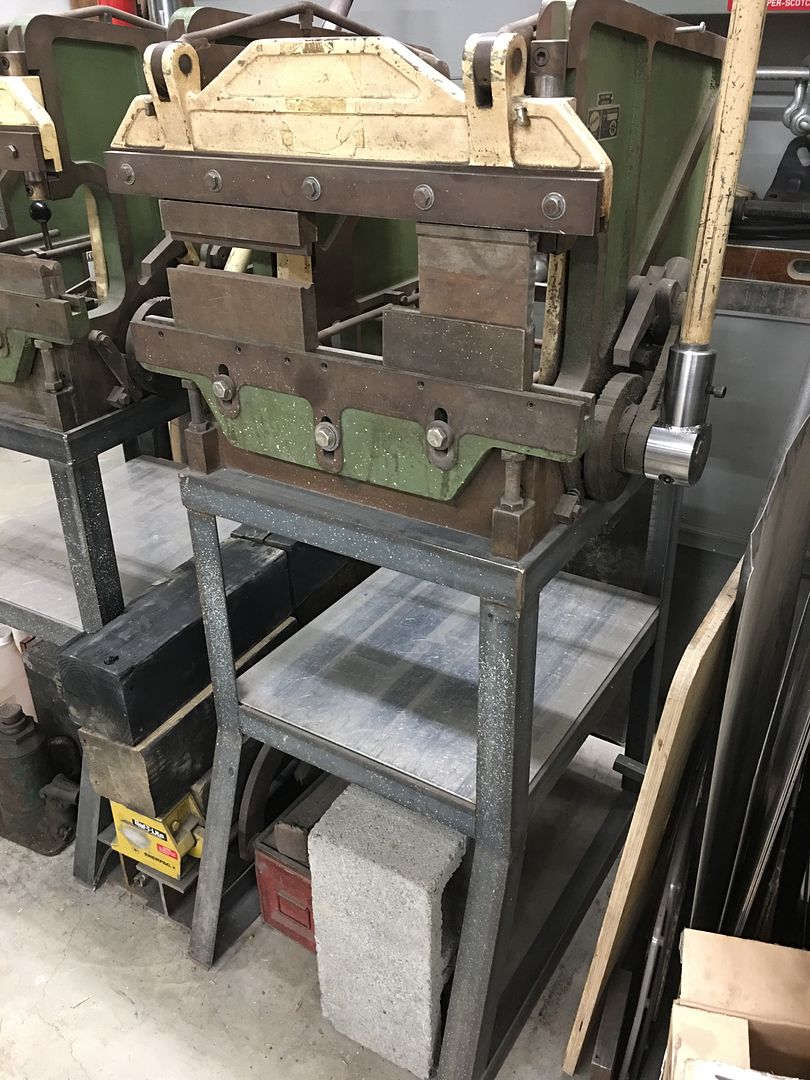
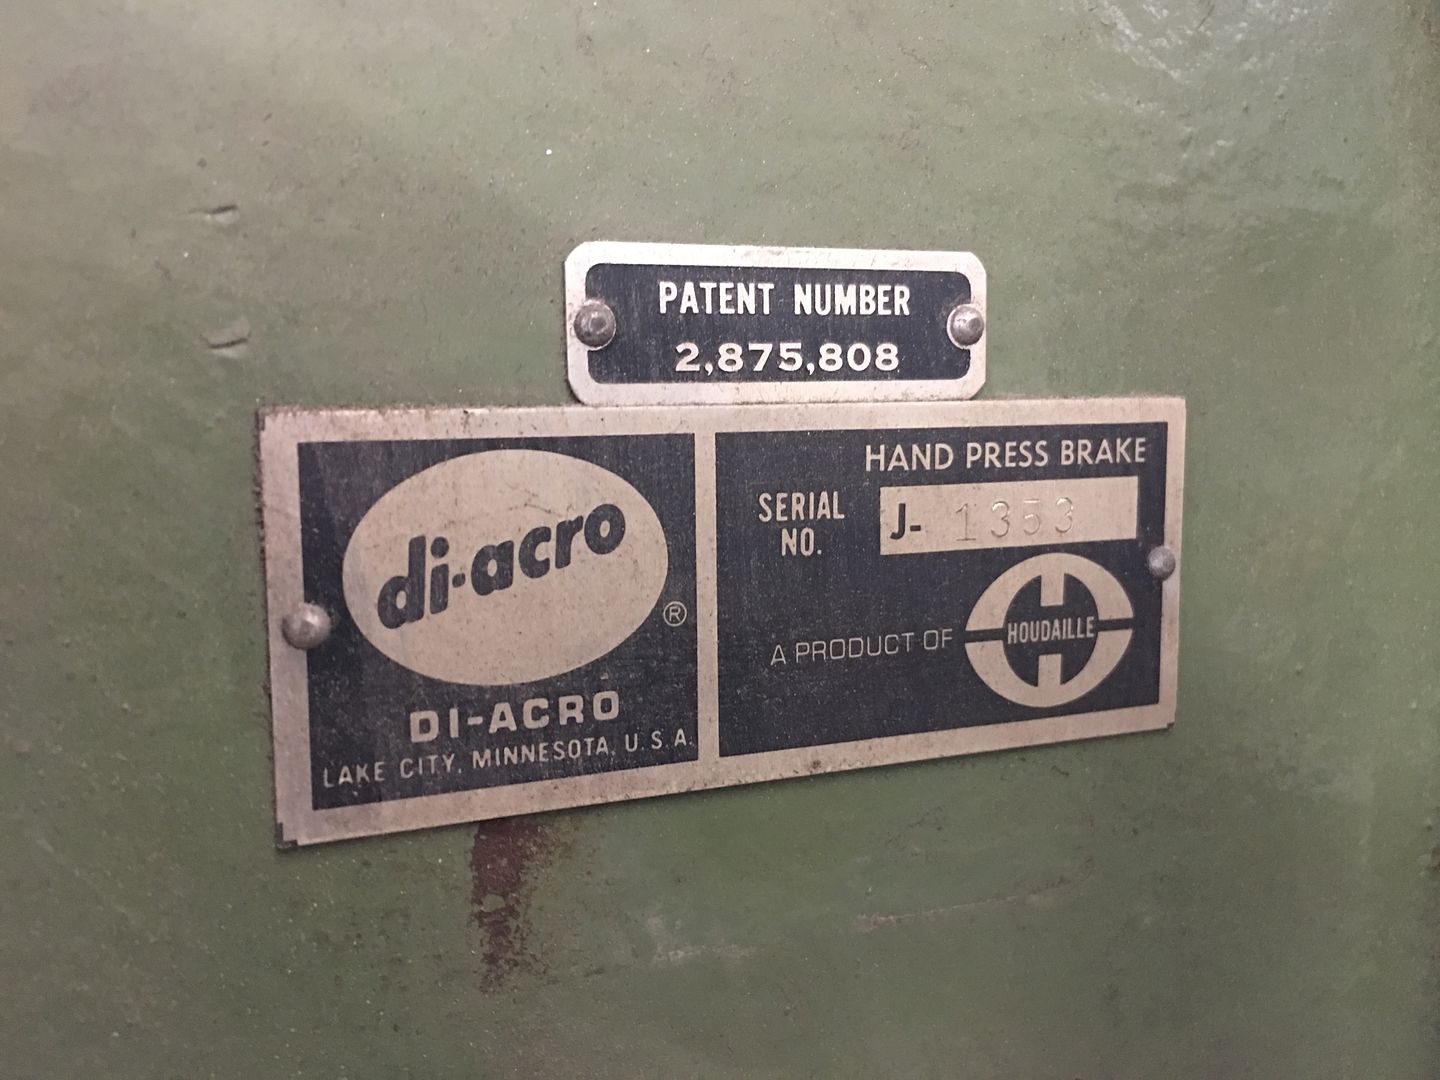
Brake #2 is Diacro 16-24 MANUAL press brake, 8 ton, SN J-1353. Comes with the home-made stand you see it on, and the dies that are installed. These are radius dies, two sets. Yes they are different heights, just installed both sets to show them. This one is missing some parts to the back gauge. None of the junk laying under or next to it is part of the dealio. Modestly priced at 1800, about half of what they're on eBay for. Diacro makes good product and they hold their value.
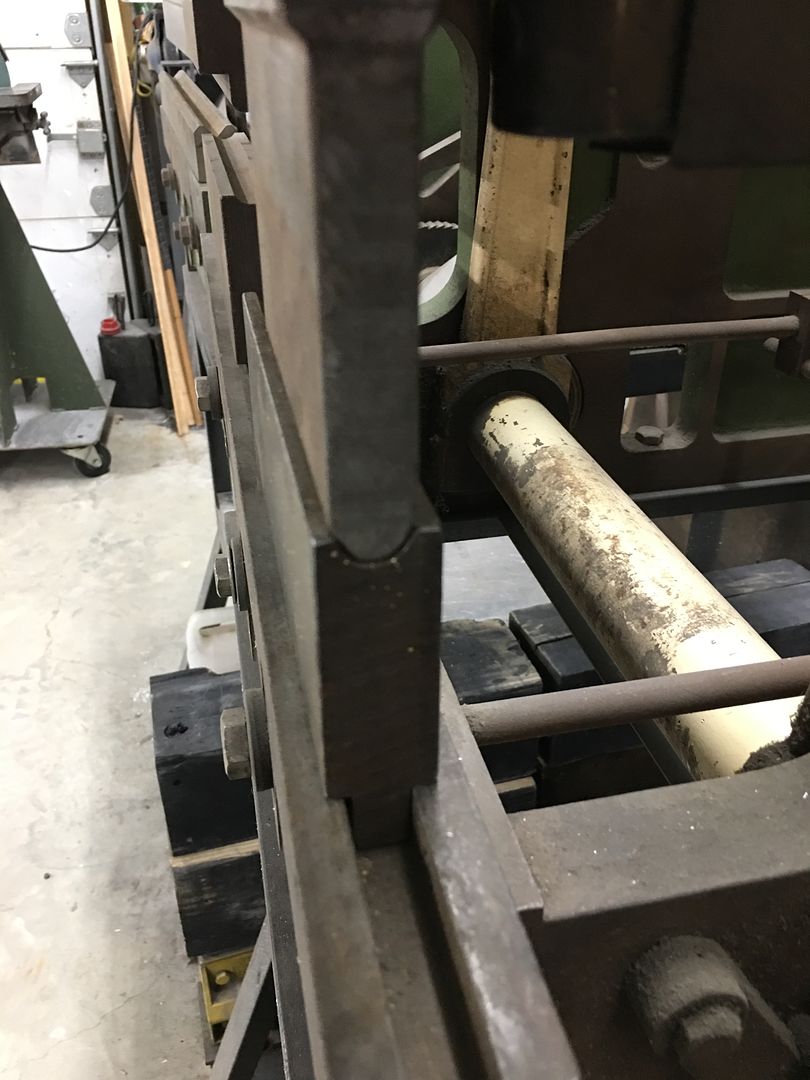
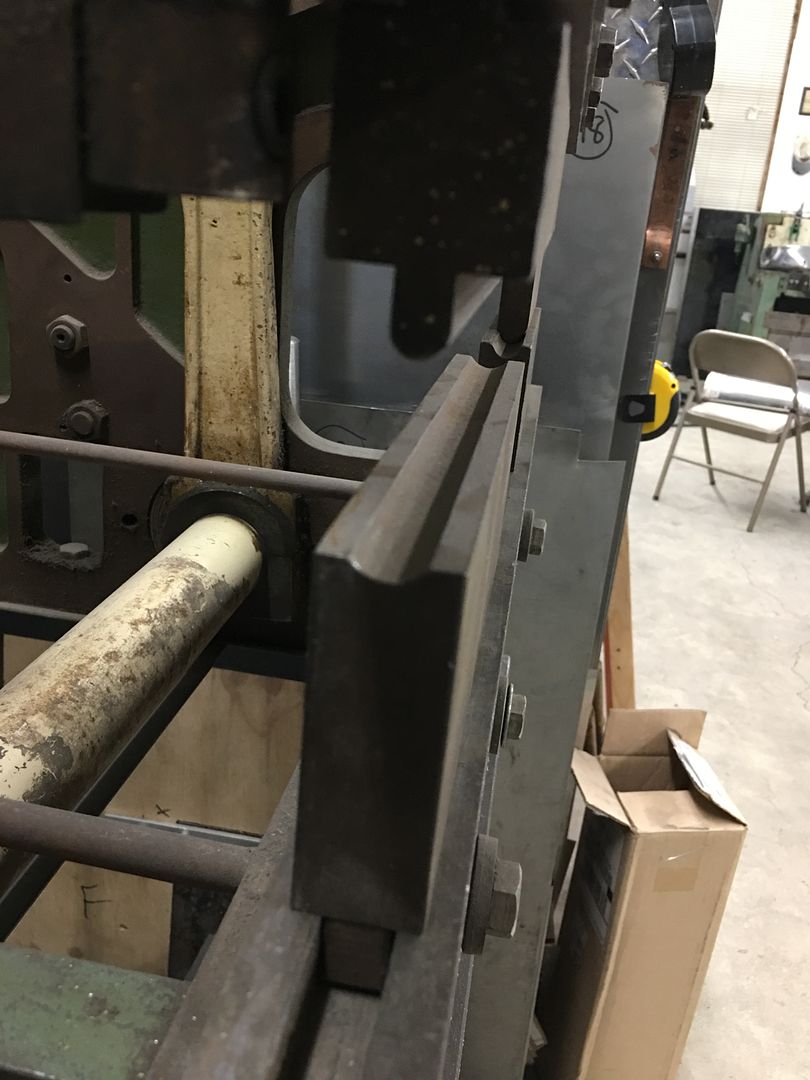
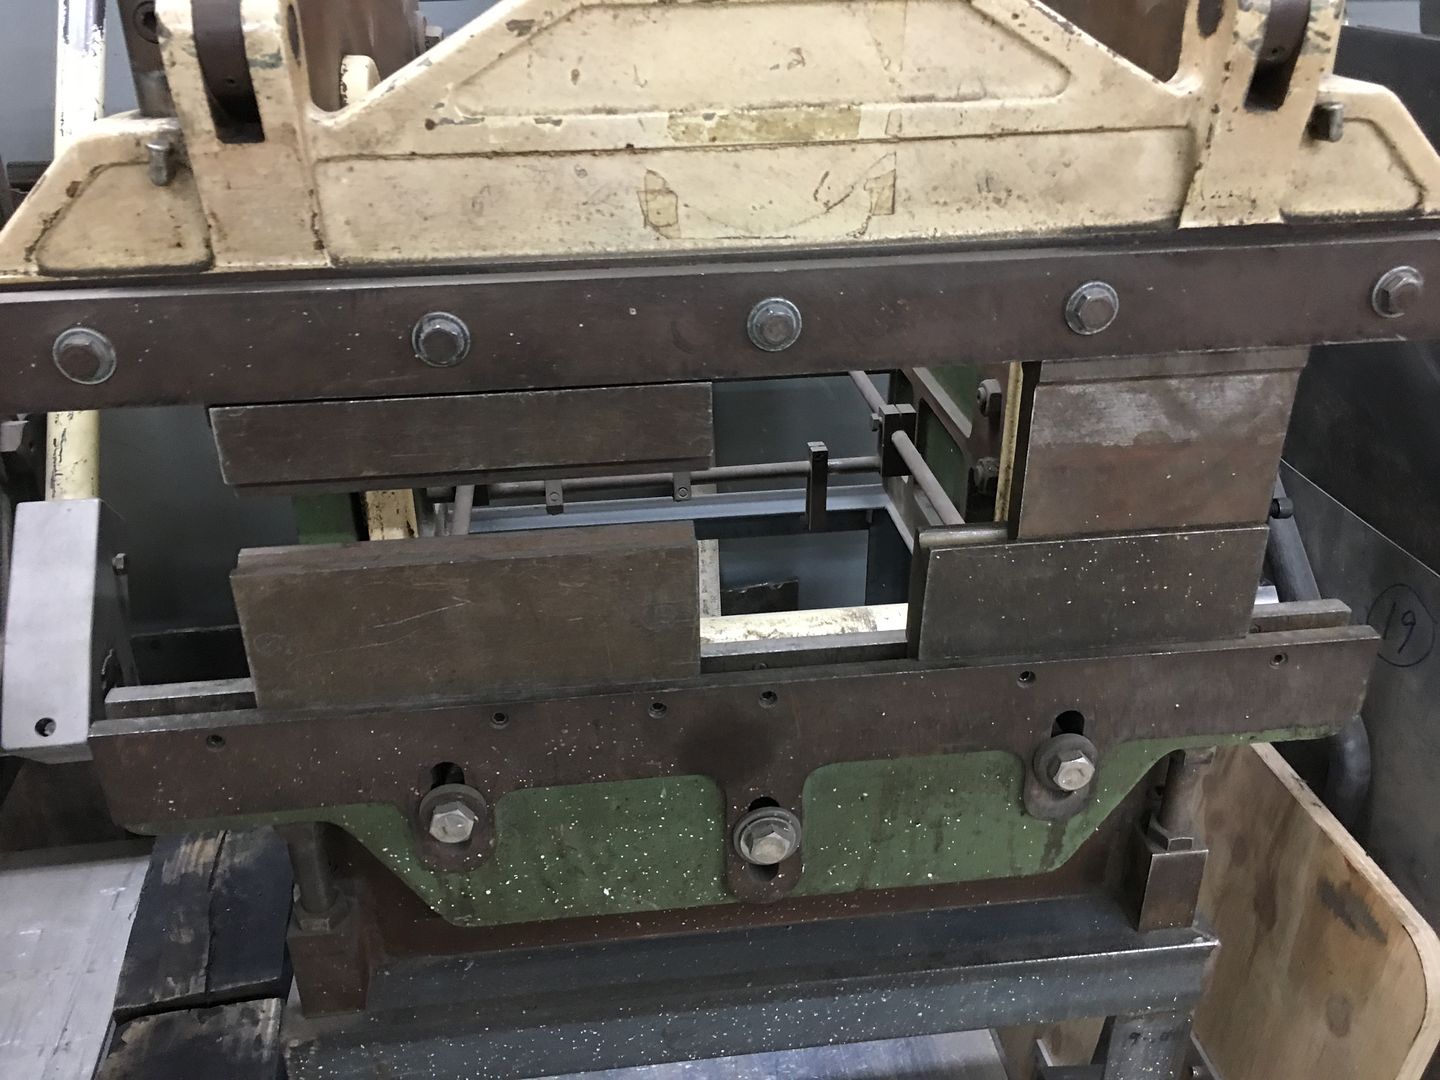
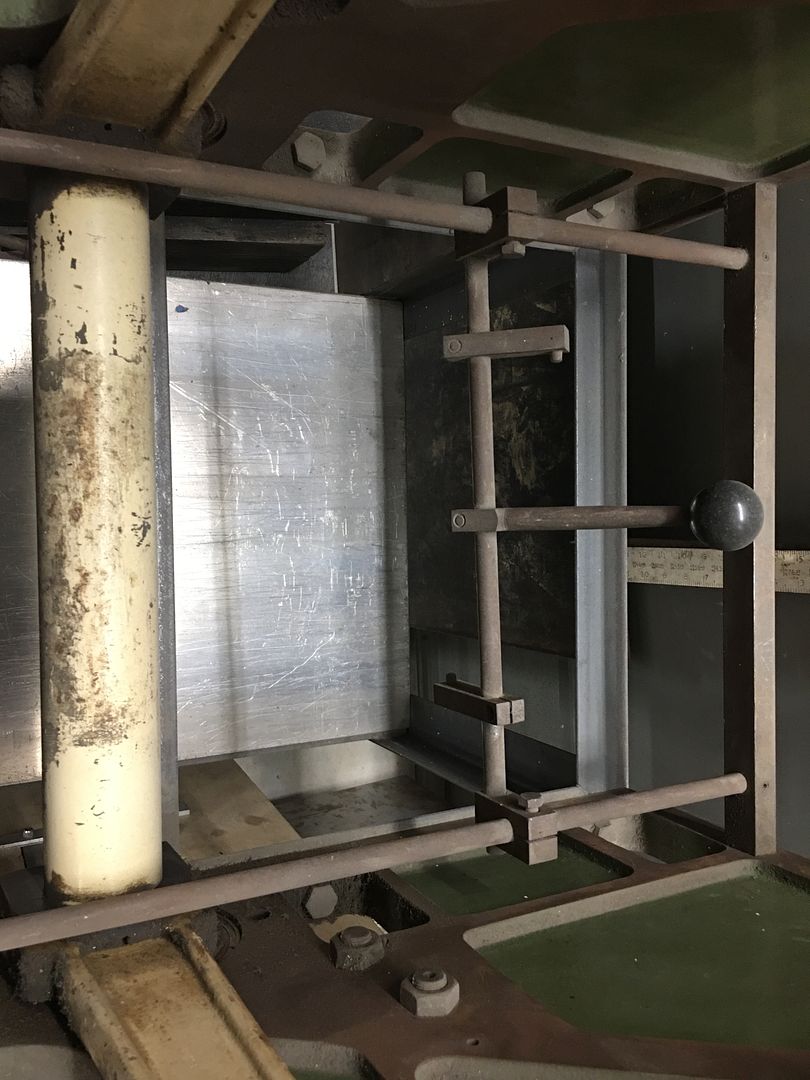
If someone would want both, which would assist in fabricating the rest of the backstop for the second brake, package deal for 3750. No shipping, prefer you come and kick the tires. We can load onto your truck/trailer. Located in Leonardtown MDRobert
-
12-21-2020 05:04 AM #1573
CHR Member
- Join Date
- Apr 2001
- Location
- Salado
- Car Year, Make, Model: 32, 40 Fords,
- Posts
- 10,898
A little side note for you Robert. The company that manufactured those brakes, Houdaille, supplied shock absorbers for Fords made through the '30s and '40sYour Uncle Bob, Senior Geezer Curmudgeon
It's much easier to promise someone a "free" ride on the wagon than to urge them to pull it.
Luck occurs when preparation and opportunity converge.
-
12-23-2020 06:23 AM #1574
CHR Member
- Join Date
- Sep 2005
- Location
- Walton
- Posts
- 14
i have been reading your post and am trying to access video 232 and 233 on the photobucket link you posted. i can only see stills. any help or suggestions on how to see these two videos. thanks for any help you can give me.
-
12-23-2020 07:58 AM #1575
CHR Member
- Join Date
- Jun 2008
- Location
- Leonardtown
- Car Year, Make, Model: Walking
- Posts
- 1,228
Can you quote the post they are in so I can see which one you're talking about? Originally Posted by BBB

Robert
 Reply With Quote

Posting Permissions
- You may not post new threads
- You may not post replies
- You may not post attachments
- You may not edit your posts

i've enjoyed the years here . made a lot of friends. most who have left. i see no reason to continue with this so hope to see you somewhere else. i dont think this site will ever be back. it's lived...
Dead!