


 3390Likes
Thread: 55 Wagon Progress


Results 541 to 555 of 1865
 LinkBack URL
 About LinkBacks
-
06-17-2015 12:37 PM #541
 CHR Member

- Join Date
- Apr 2011
- Location
- Prairie City
- Car Year, Make, Model: 40 Ford Deluxe, 68 Corvette, 72&76 K30
- Posts
- 7,301
- Blog Entries
- 1
Sorry to hear of the bad crimps and switch. That actuator seems to work really nice though! That's pretty cool!Ryan
1940 Ford Deluxe Tudor 354 Hemi 46RH Electric Blue w/multi-color flames, Ford 9" Residing in multiple pieces
1968 Corvette Coupe 5.9 Cummins Drag Car 11.43@130mph No stall leaving the line with 1250 rpm's and poor 2.2 60'
1972 Chevy K30 Longhorn P-pumped 24v Compound Turbos 47RH Just another money pit
1971 Camaro RS 5.3 BTR Stage 3 cam, SuperT10
Tire Sizes
-
Advertising

- Google Adsense
- REGISTERED USERS DO NOT SEE THIS AD
-
06-17-2015 05:20 PM #542
CHR Member
- Join Date
- Sep 2007
- Location
- New Bedford
- Car Year, Make, Model: 34 Ford 3W Coupe Replica
- Posts
- 14,754
I can't really decide if I like it or not! I guess it's like most things in life.. different strokes for different folks.
I do appreciate the engineering involved, and as expected your installation is second to none!
And I certainly thank you for making time for all the pics / write-up AND videos to boot! You're to kind!
-
06-17-2015 05:26 PM #543
CHR Member/Contributor
- Join Date
- Sep 2007
- Location
- Gardner, KS
- Car Year, Make, Model: '33 HiBoy Coupe, '32 HiBoy Roadster
- Posts
- 11,245
I've gotta admit, my first reaction was "Why does this need to be powered?", but then I thought about the option, having it spring loaded closed and the spring weakening over time so that he bezel assembly doesn't close tight. Powered seems to be a good idea for firm closure. For sure it will slow down the kids wanting to siphon gasoline..... Originally Posted by 34_40

Roger
Enjoy the little things in life, and you may look back one day and realize that they were really the BIG things.
-
06-19-2015 08:44 PM #544
CHR Member
- Join Date
- Jun 2008
- Location
- Leonardtown
- Car Year, Make, Model: Walking
- Posts
- 1,228
TBH, I'm not sure if I like it either. It will look real good leaving the driveway..
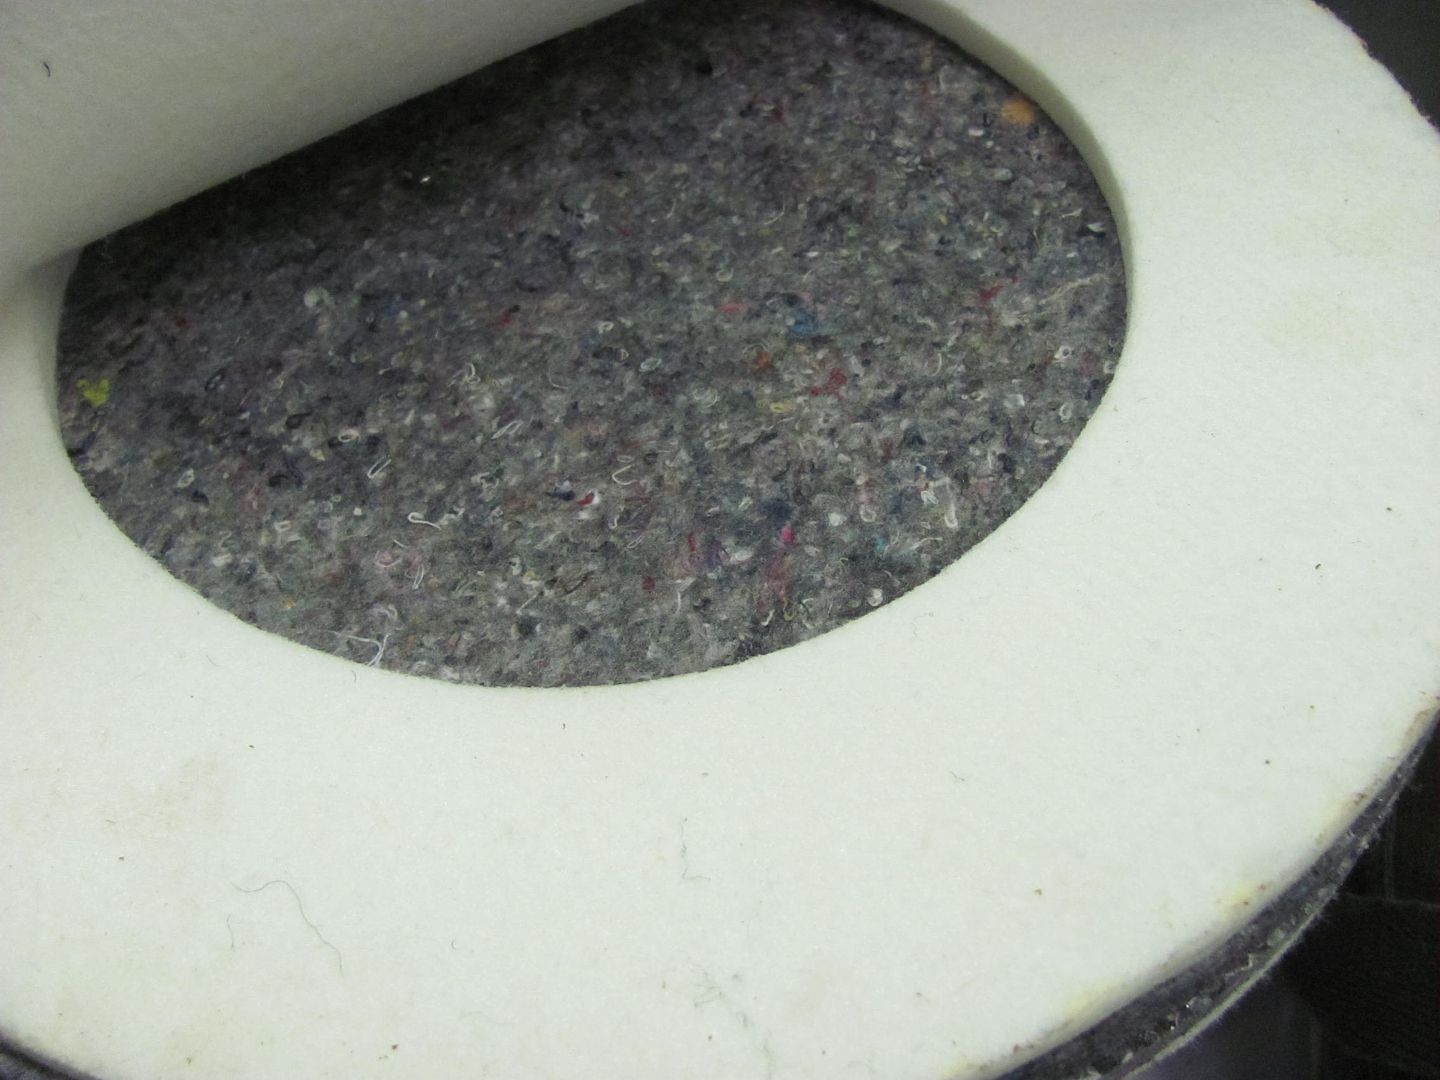
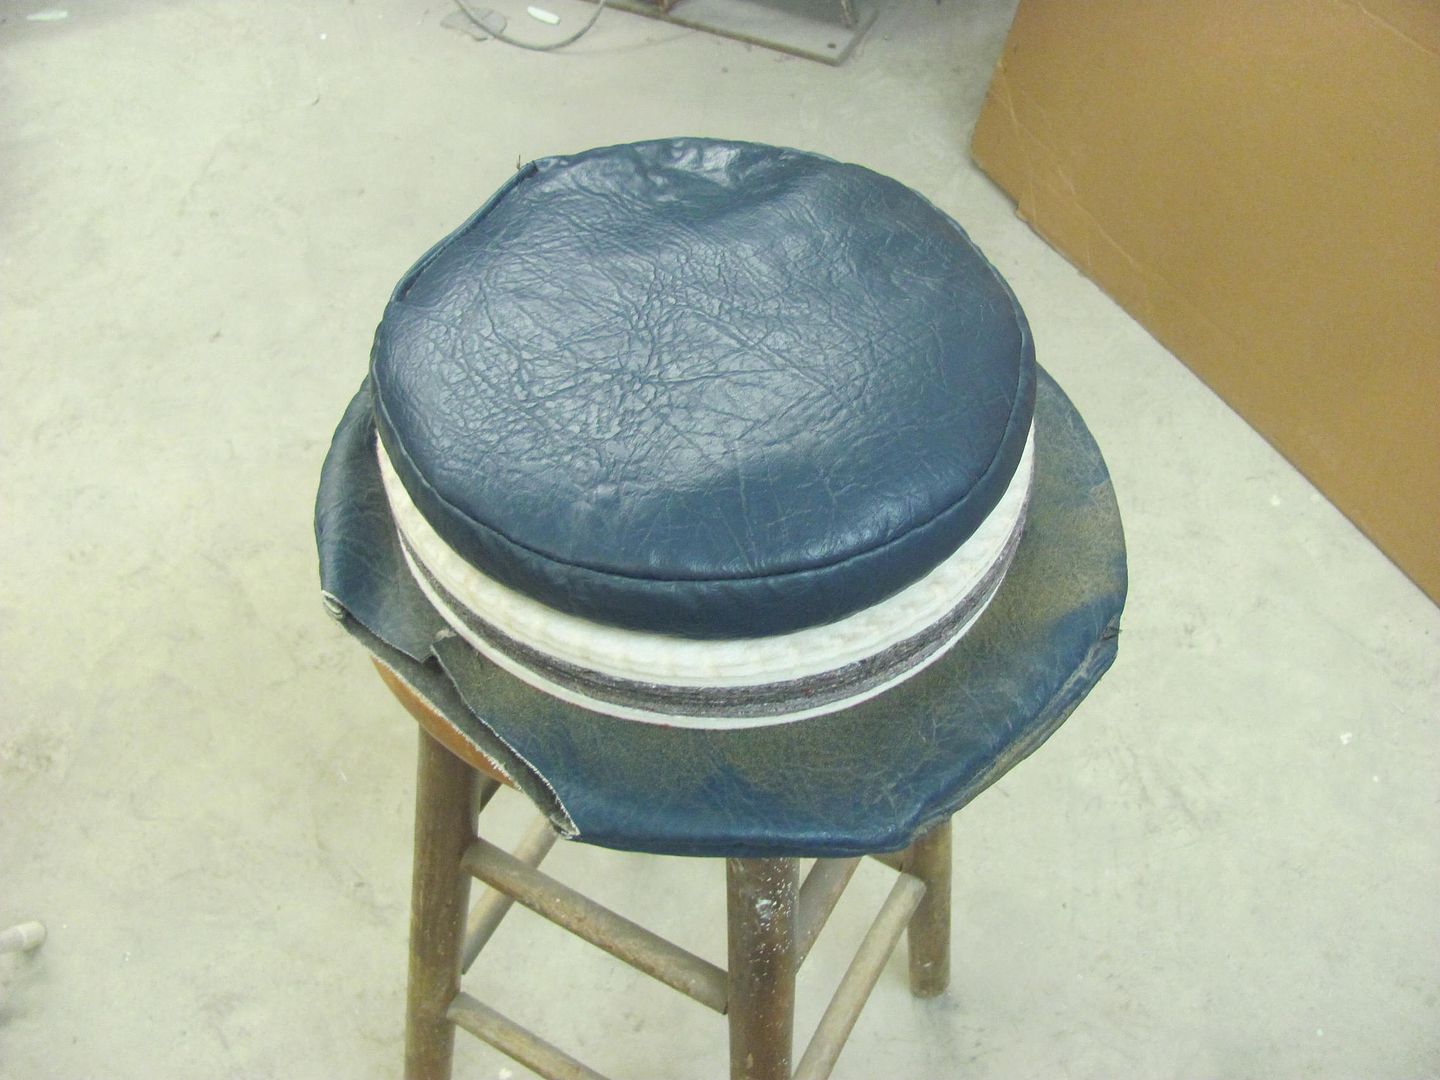
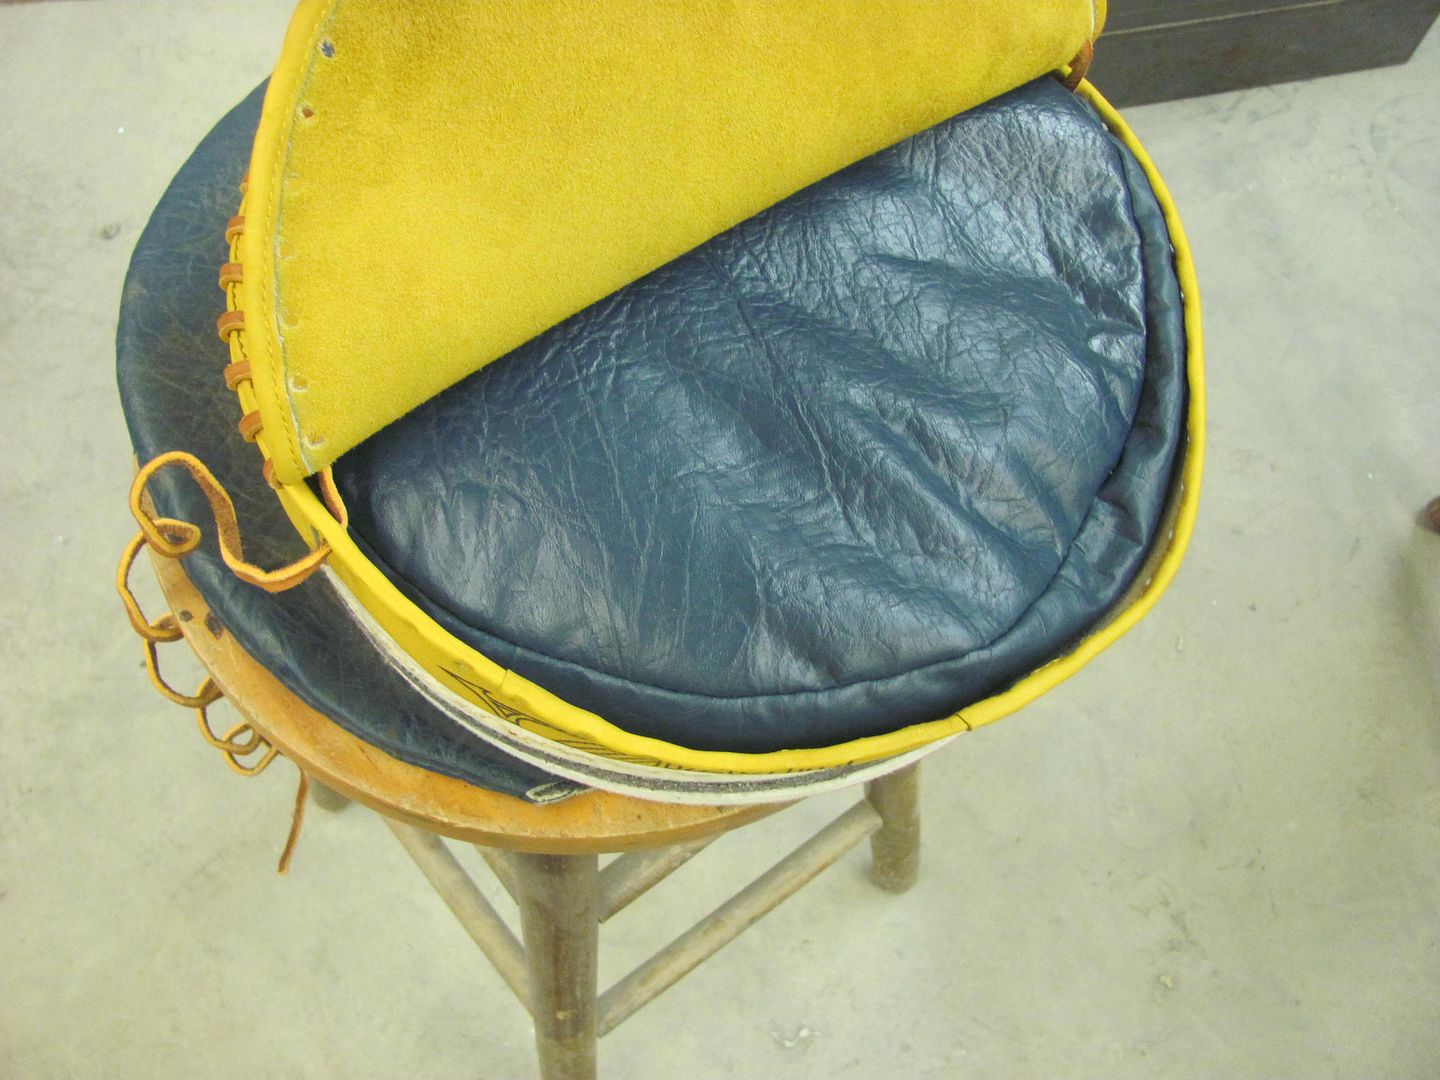
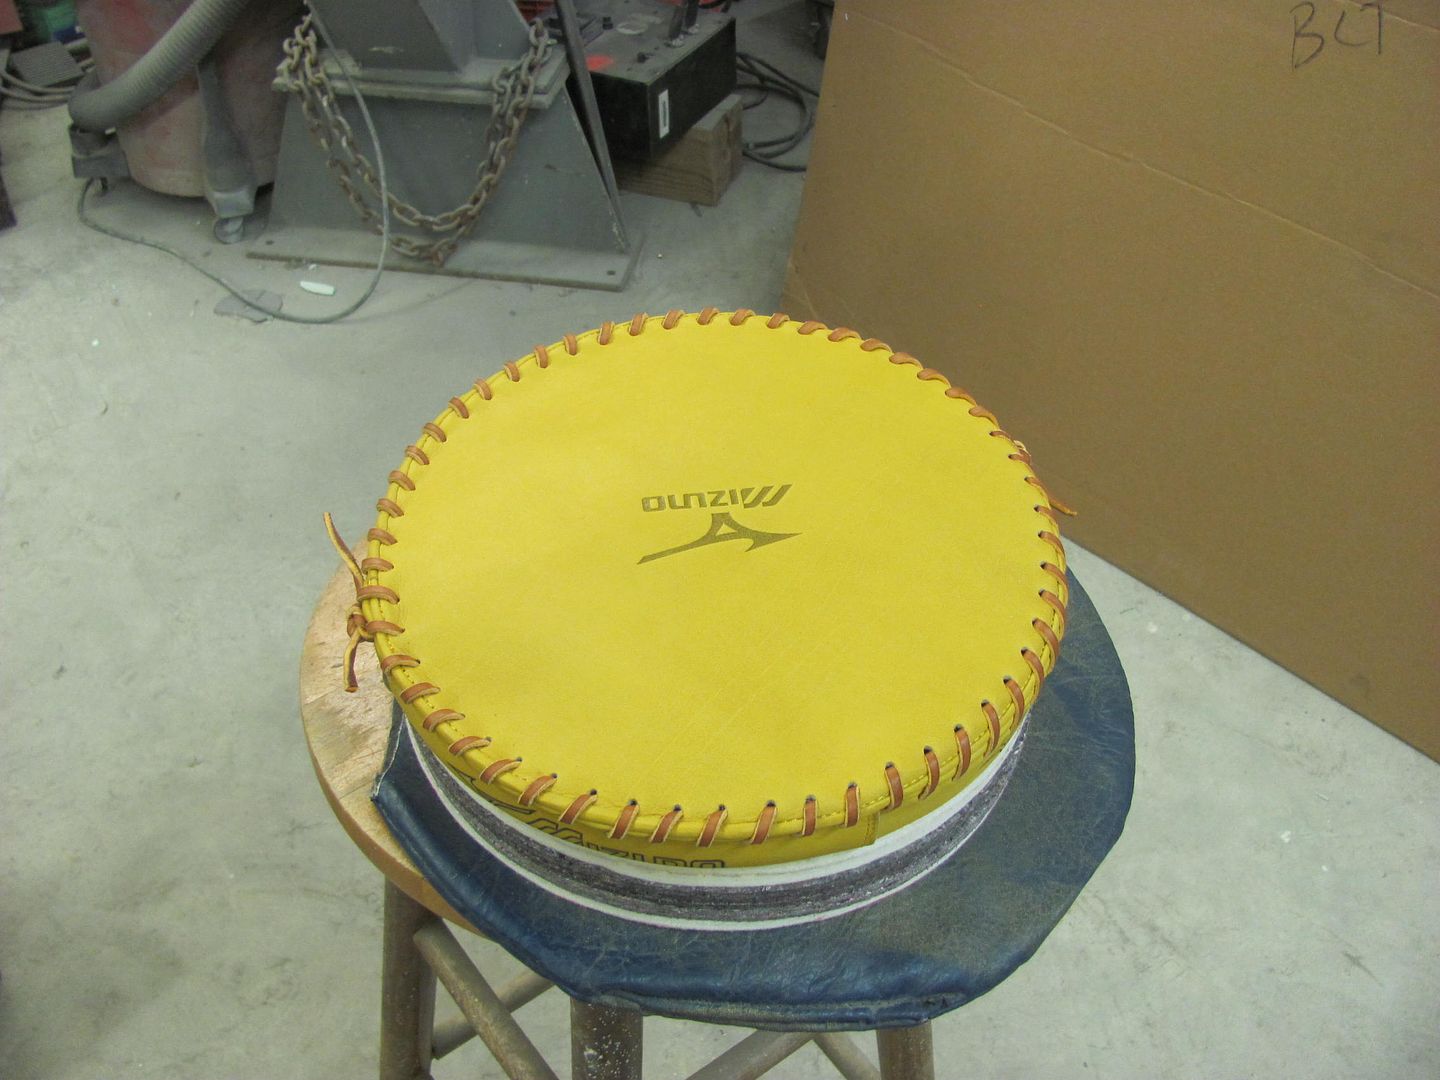
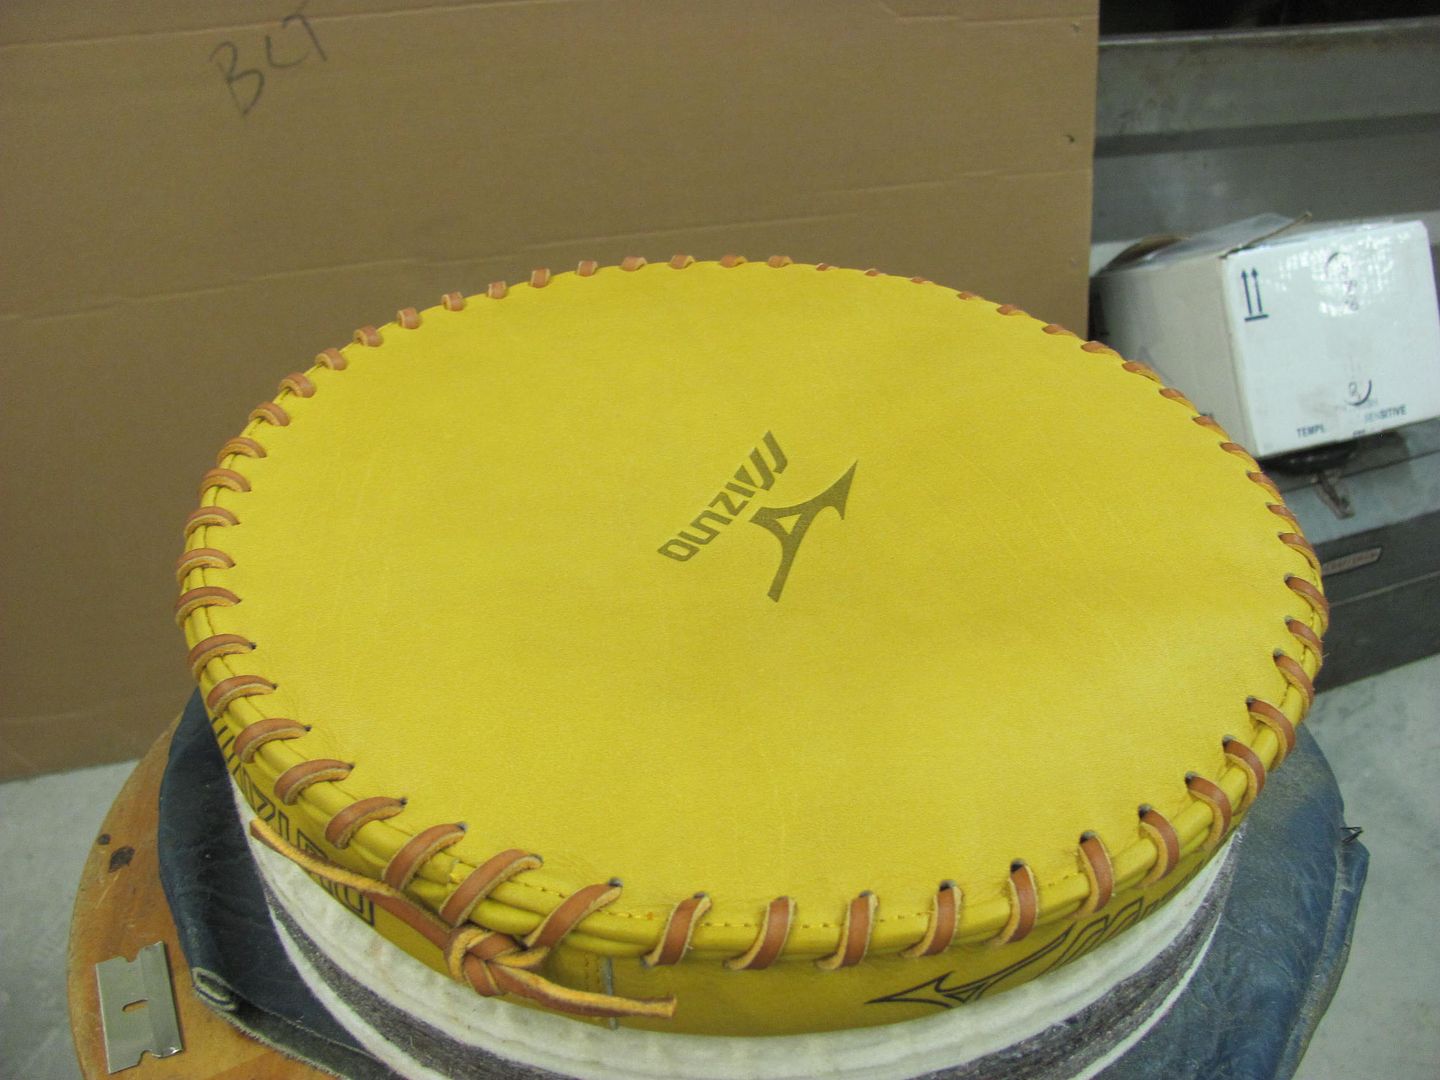
Recently I took delivery of a ball glove pounding pad, $39 on Amazon per a link posted by Johnny Arial on AllMetalShaping. It was very light, and where I did not give it a go with a sheet metal test sample, something in me wanted to see what was inside the bag. So here we go, can't leave well enough alone...
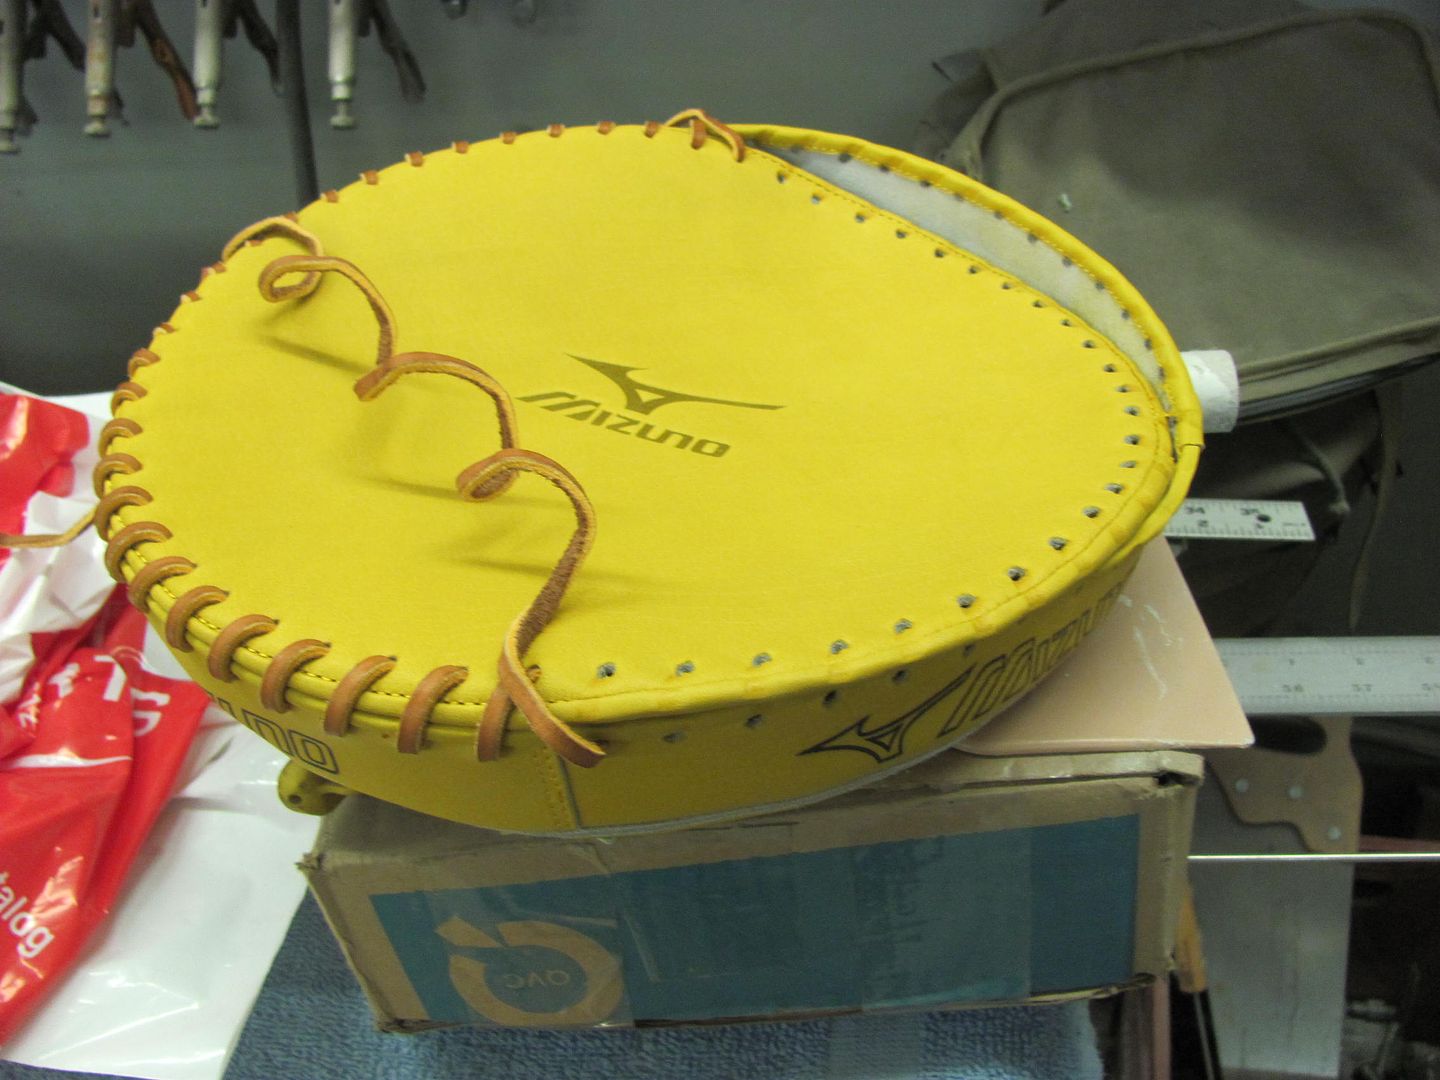
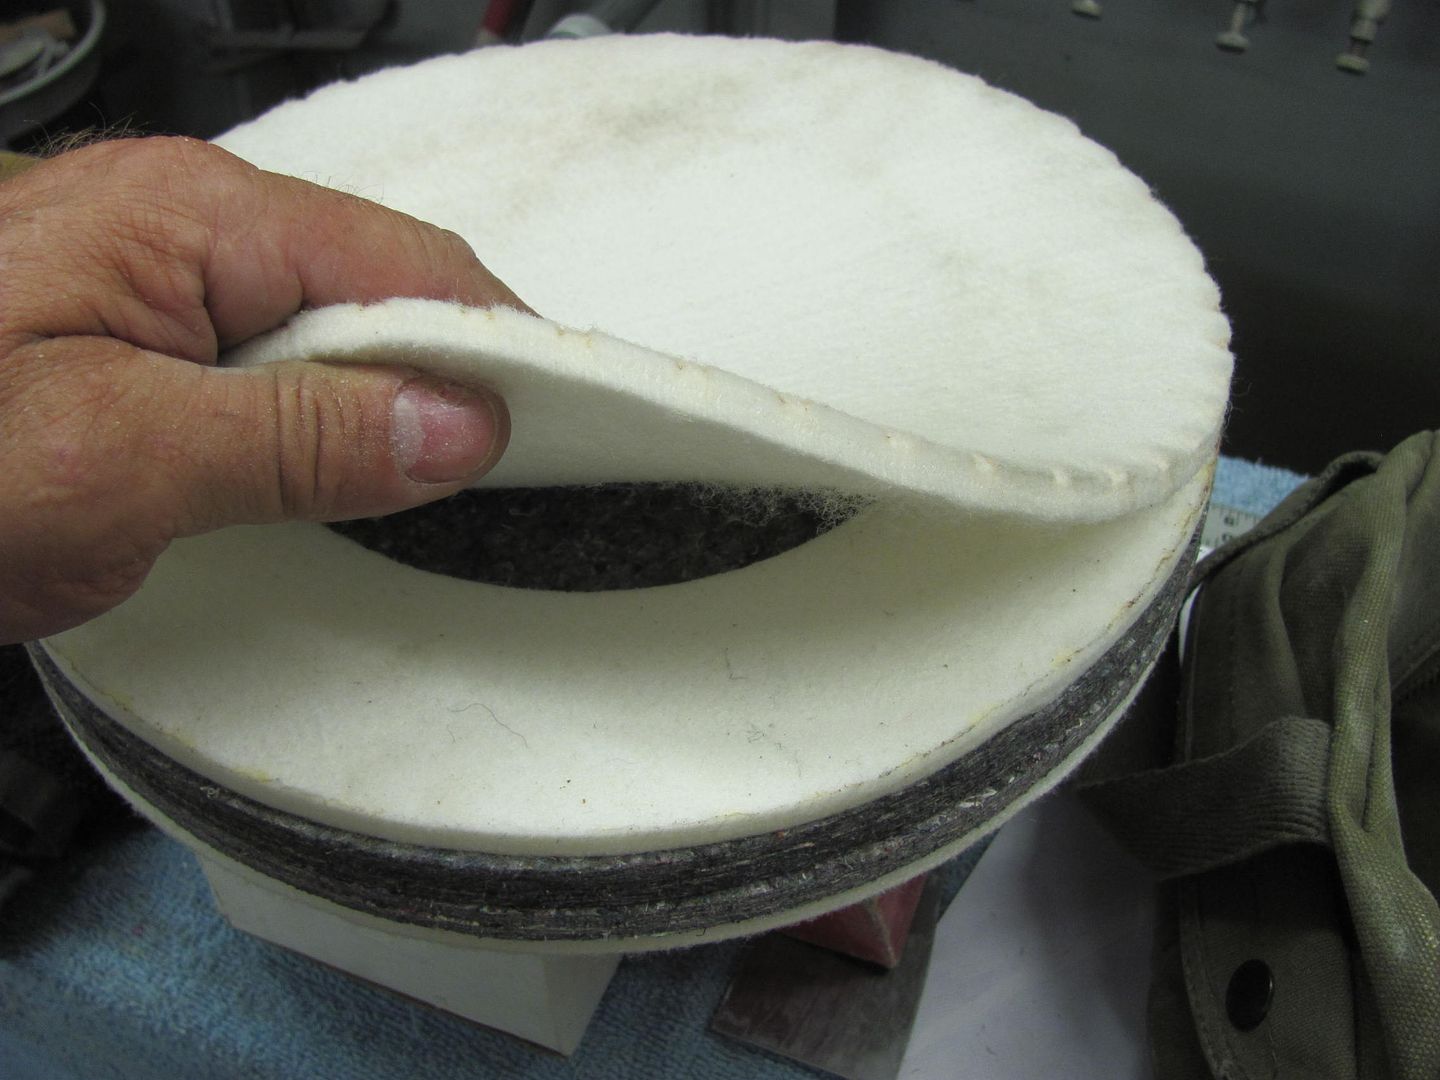
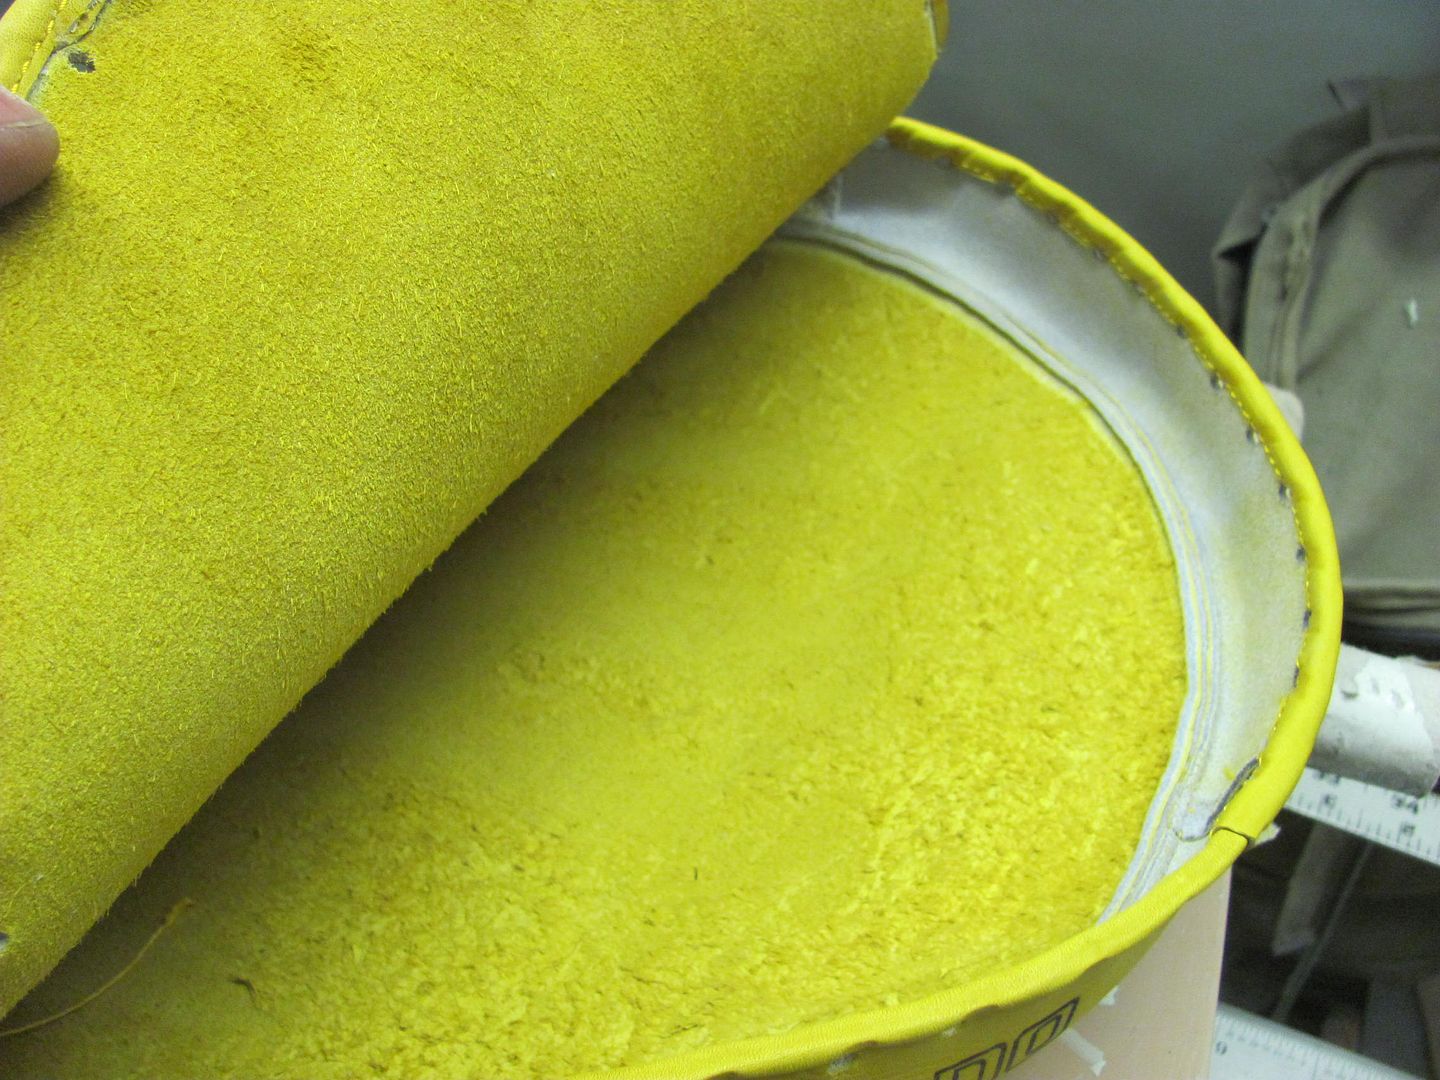
Looks like a high density felt pad...
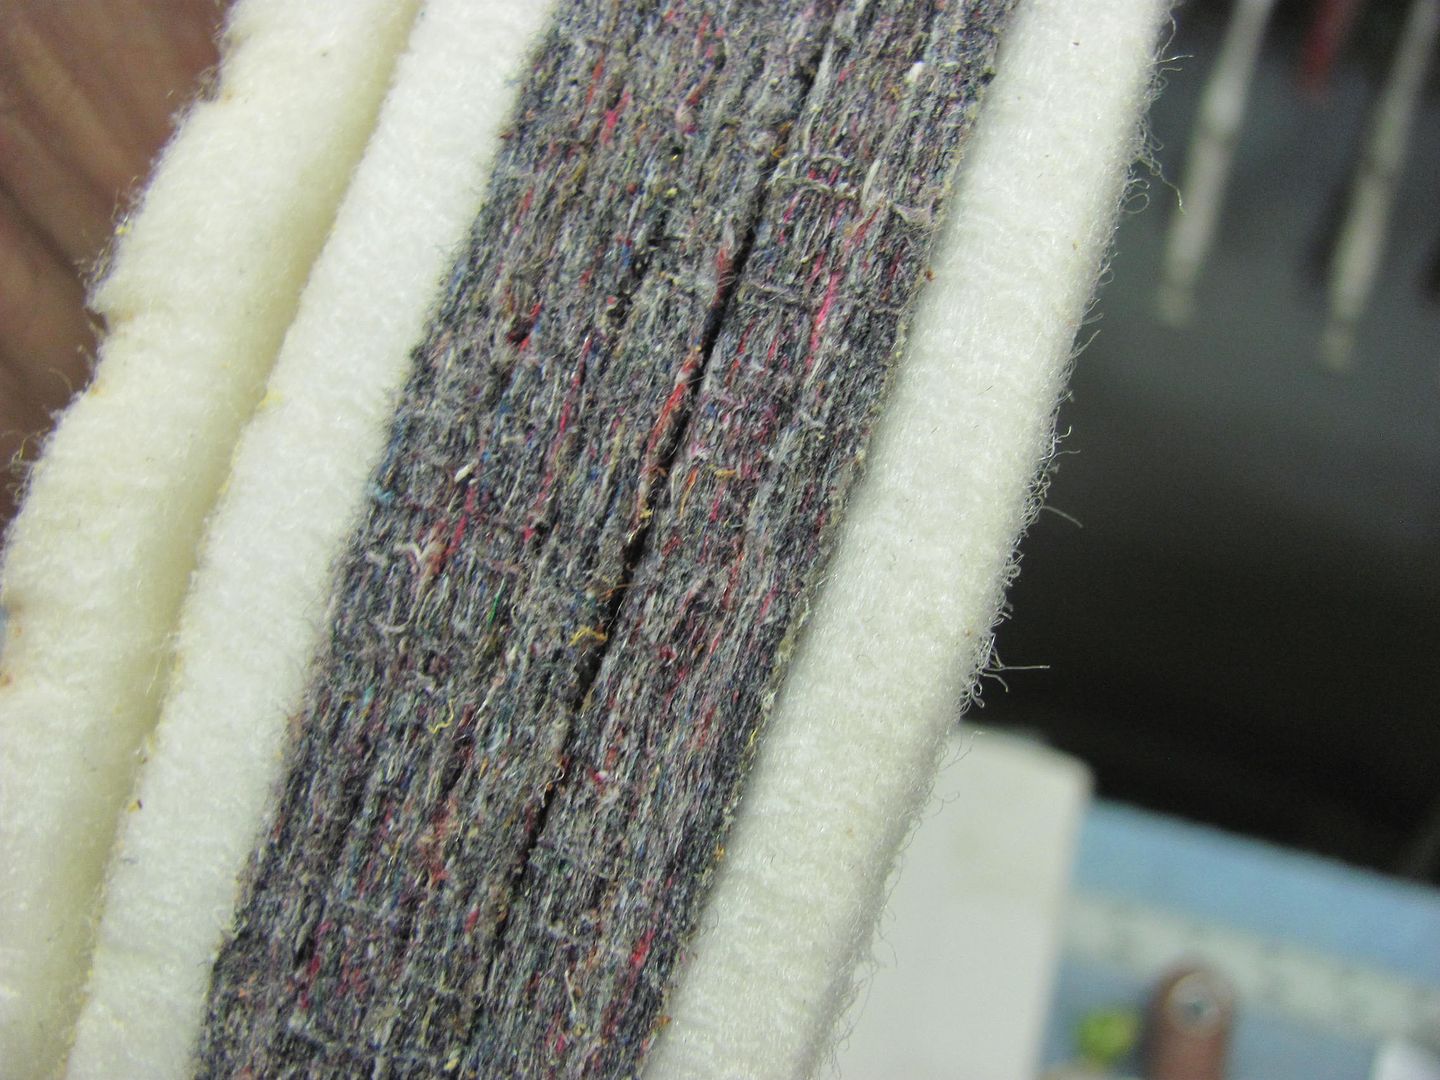
My previous shot bag had become a casualty inside of a quarter panel when using it as a dolly... It found a sharp piece of metal which caused the tear... and I caused the cut so I could empty it out and pull it out of the cavity it was in.. It had approx. 50 lbs or better of lead shot in it at the time, and for some reason I didn't think about removal when I was dropping it in the hole.
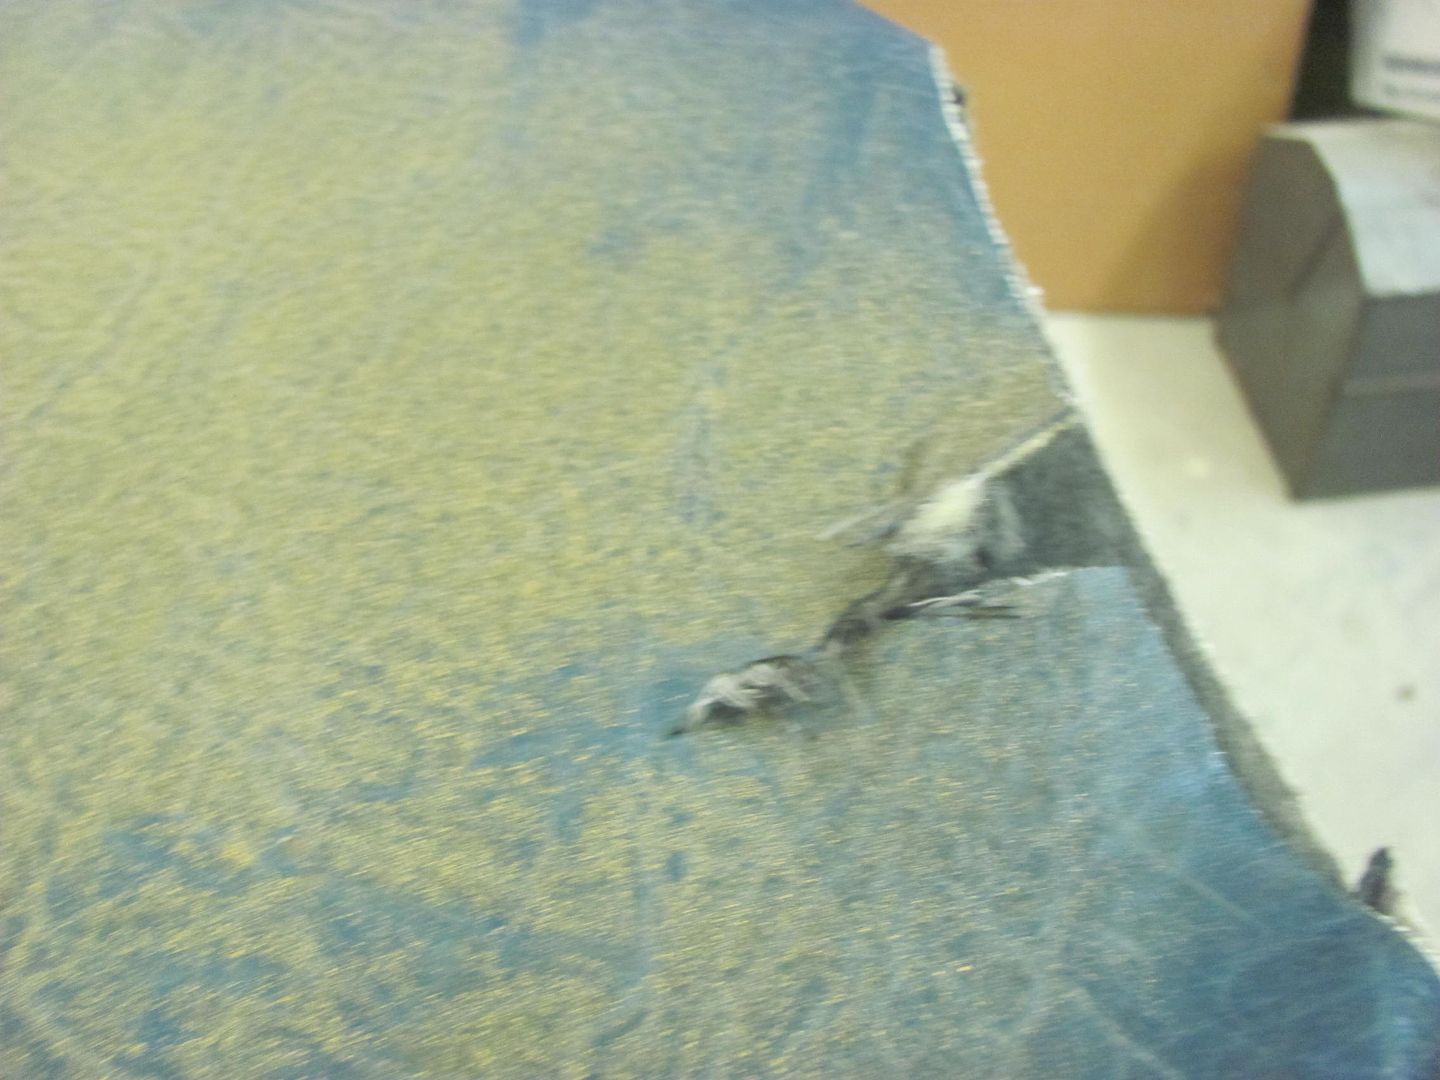
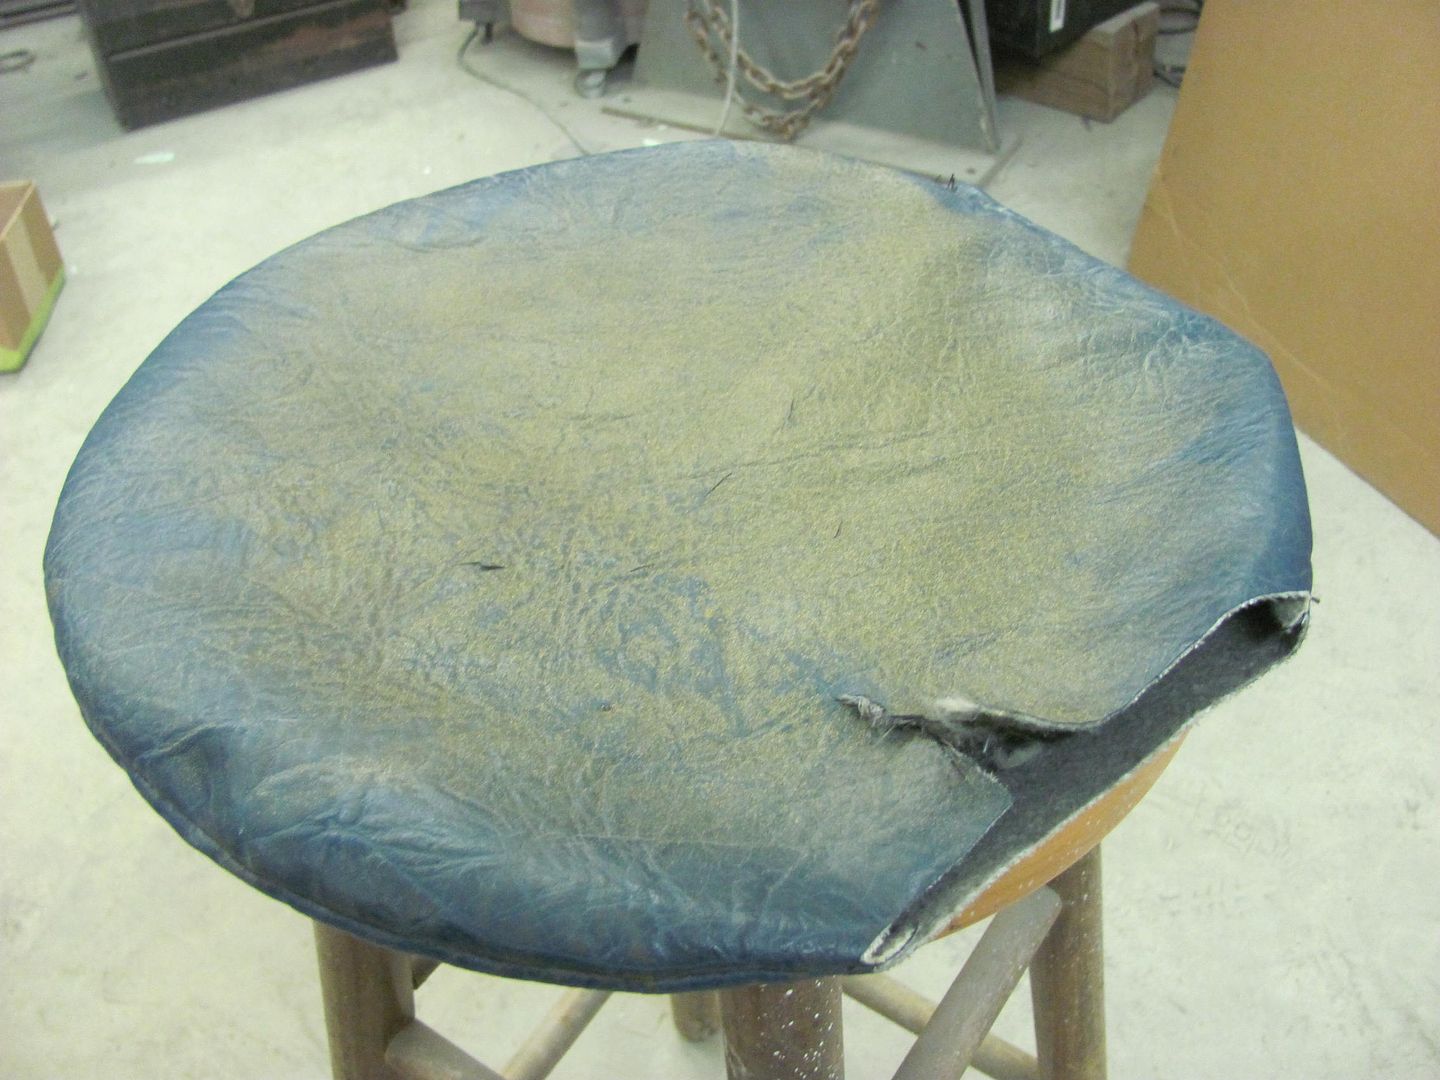
So I had put in an order last night for another bus seat cover (Kevlar material) and took it today with all the pieces to Anthony's Upholstery. This one is a bit smaller, so also more manageable. I think I had about 1/3 of the 50 lbs left over, so may have to make another smaller shot bag..
Comparison, the old to the new one..
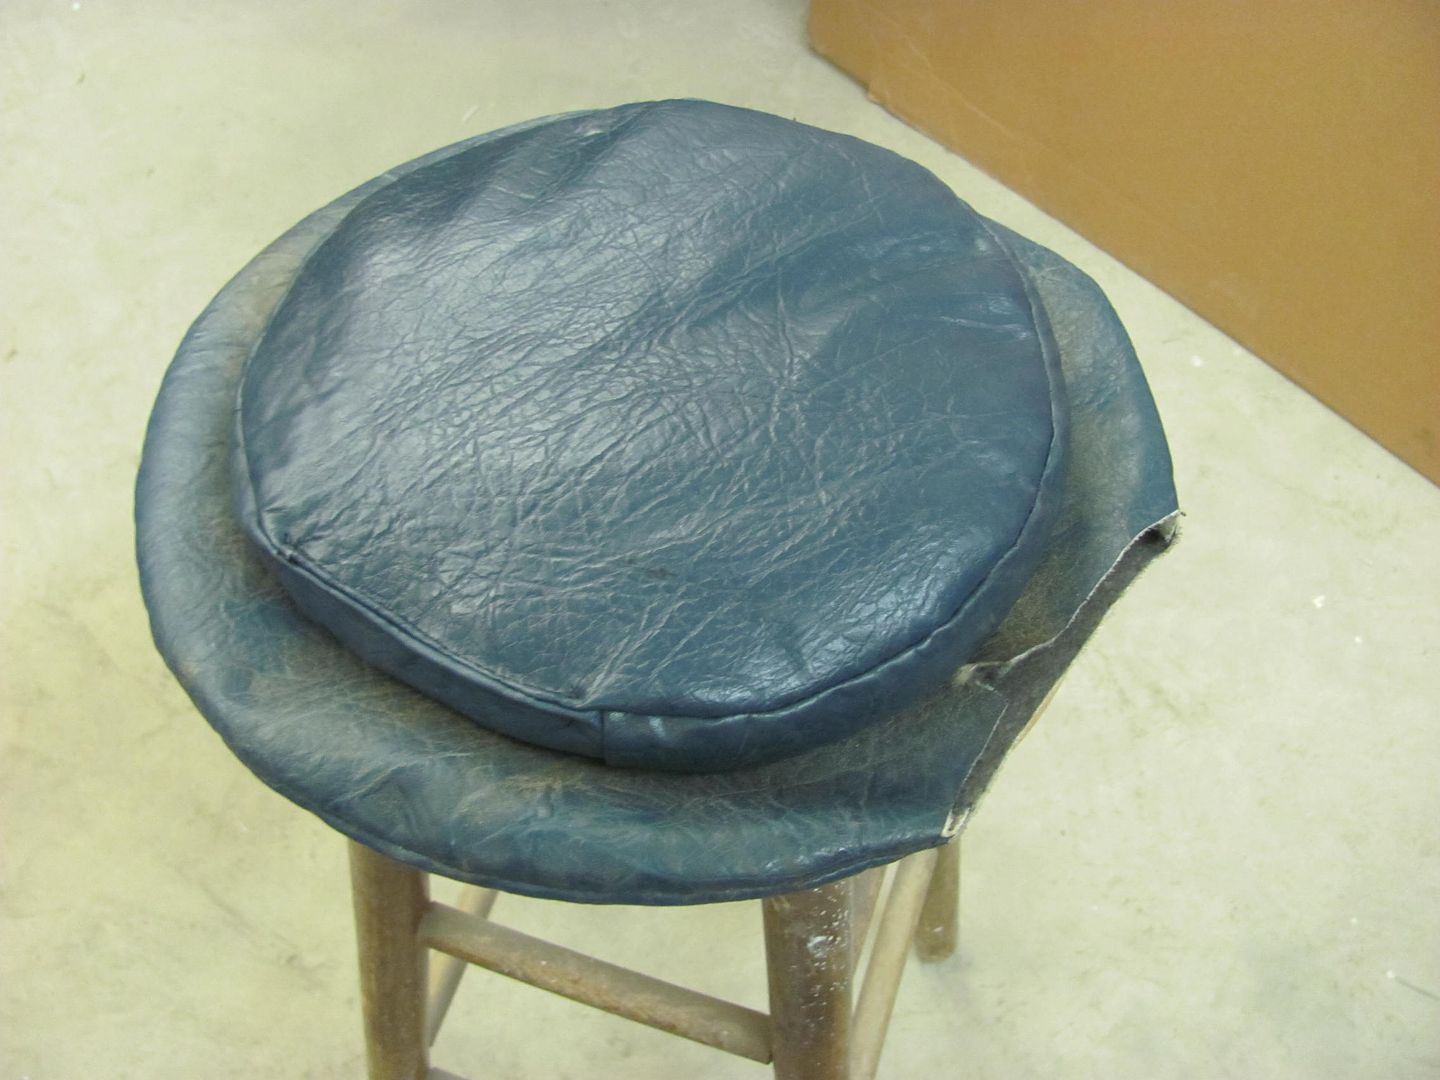
Something told me when that Amazon order was placed that this thing would have lead shot inside before all was said and done.. It does make a nice shot bag, and has a nice look.
Robert
-
06-19-2015 08:58 PM #545
CHR Member
- Join Date
- Feb 2007
- Location
- Santa Monica
- Car Year, Make, Model: 37 Ford tudor humpback
- Posts
- 1,988
Originally Posted by rspears
Do kids today even know how to siphon gasoline?? Even if they did, what are the odds that this thing will ever be parked where they could get to it?
"It is not much good thinking of a thing unless you think it out." - H.G. Wells
-
06-28-2015 06:59 PM #546
CHR Member
- Join Date
- Jun 2008
- Location
- Leonardtown
- Car Year, Make, Model: Walking
- Posts
- 1,228
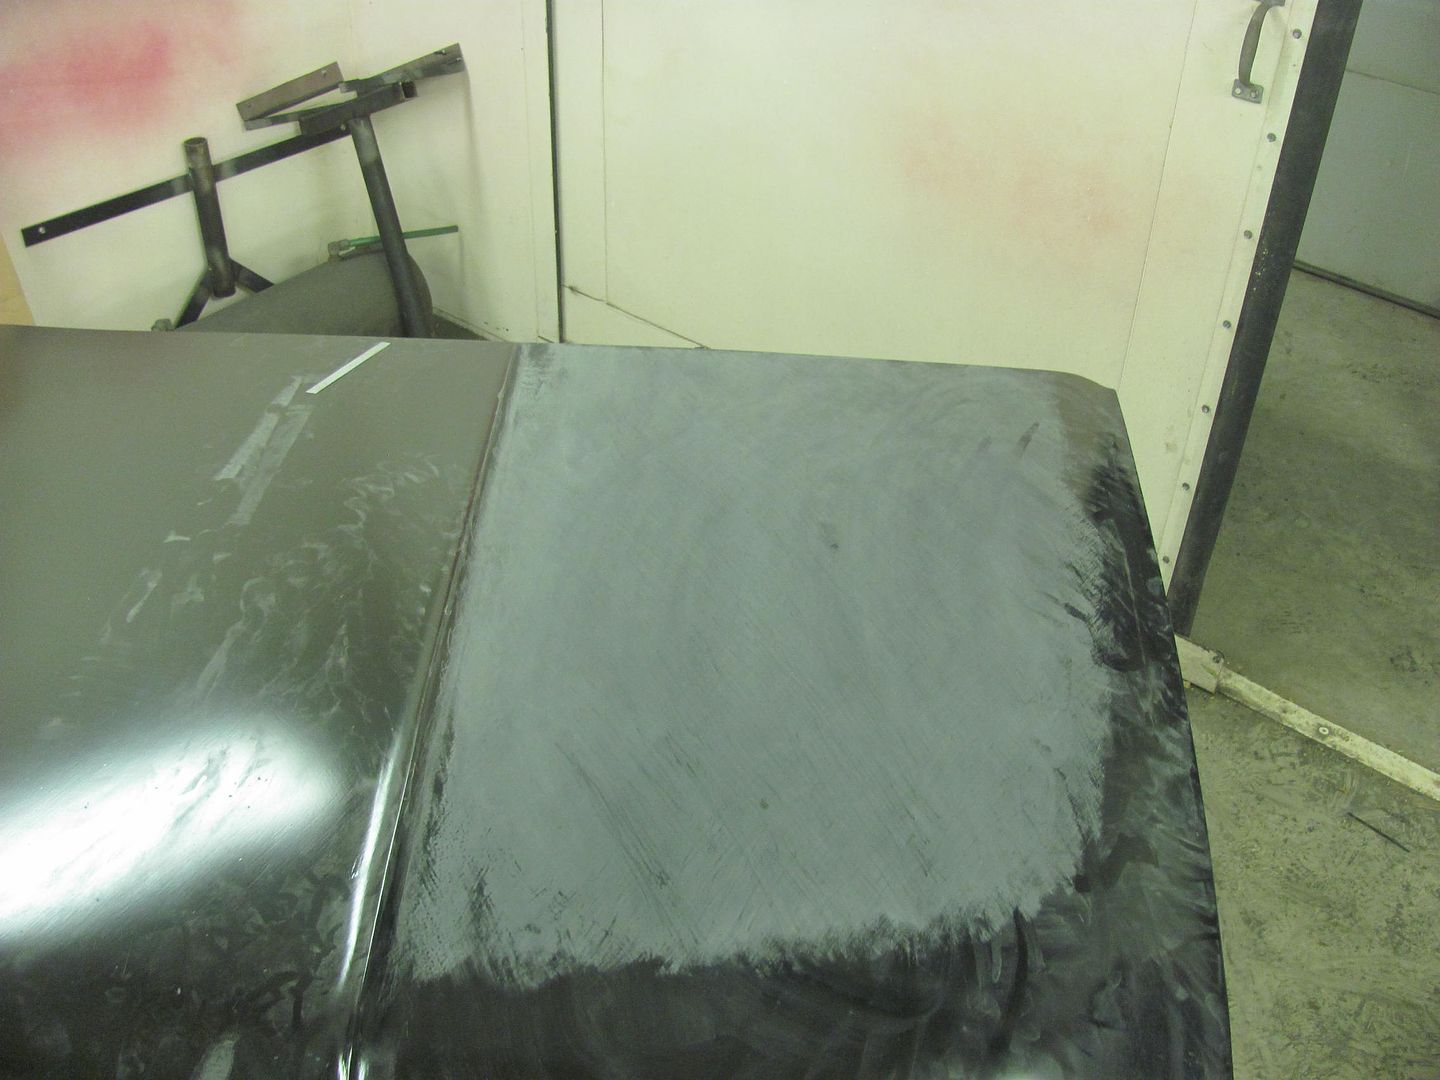
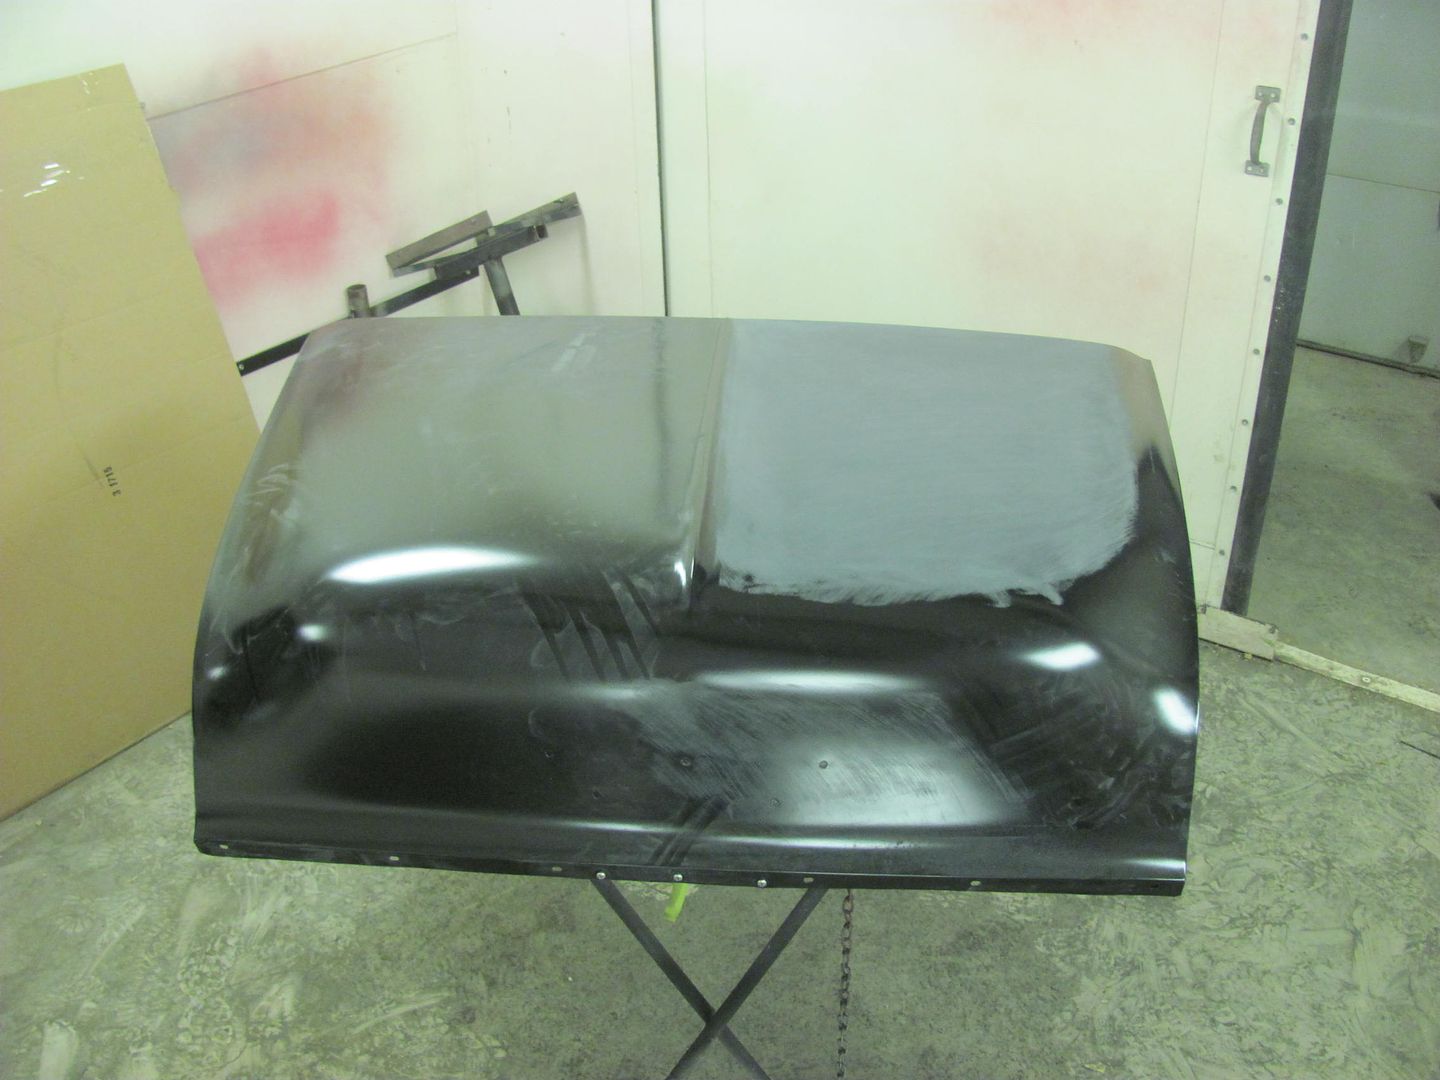
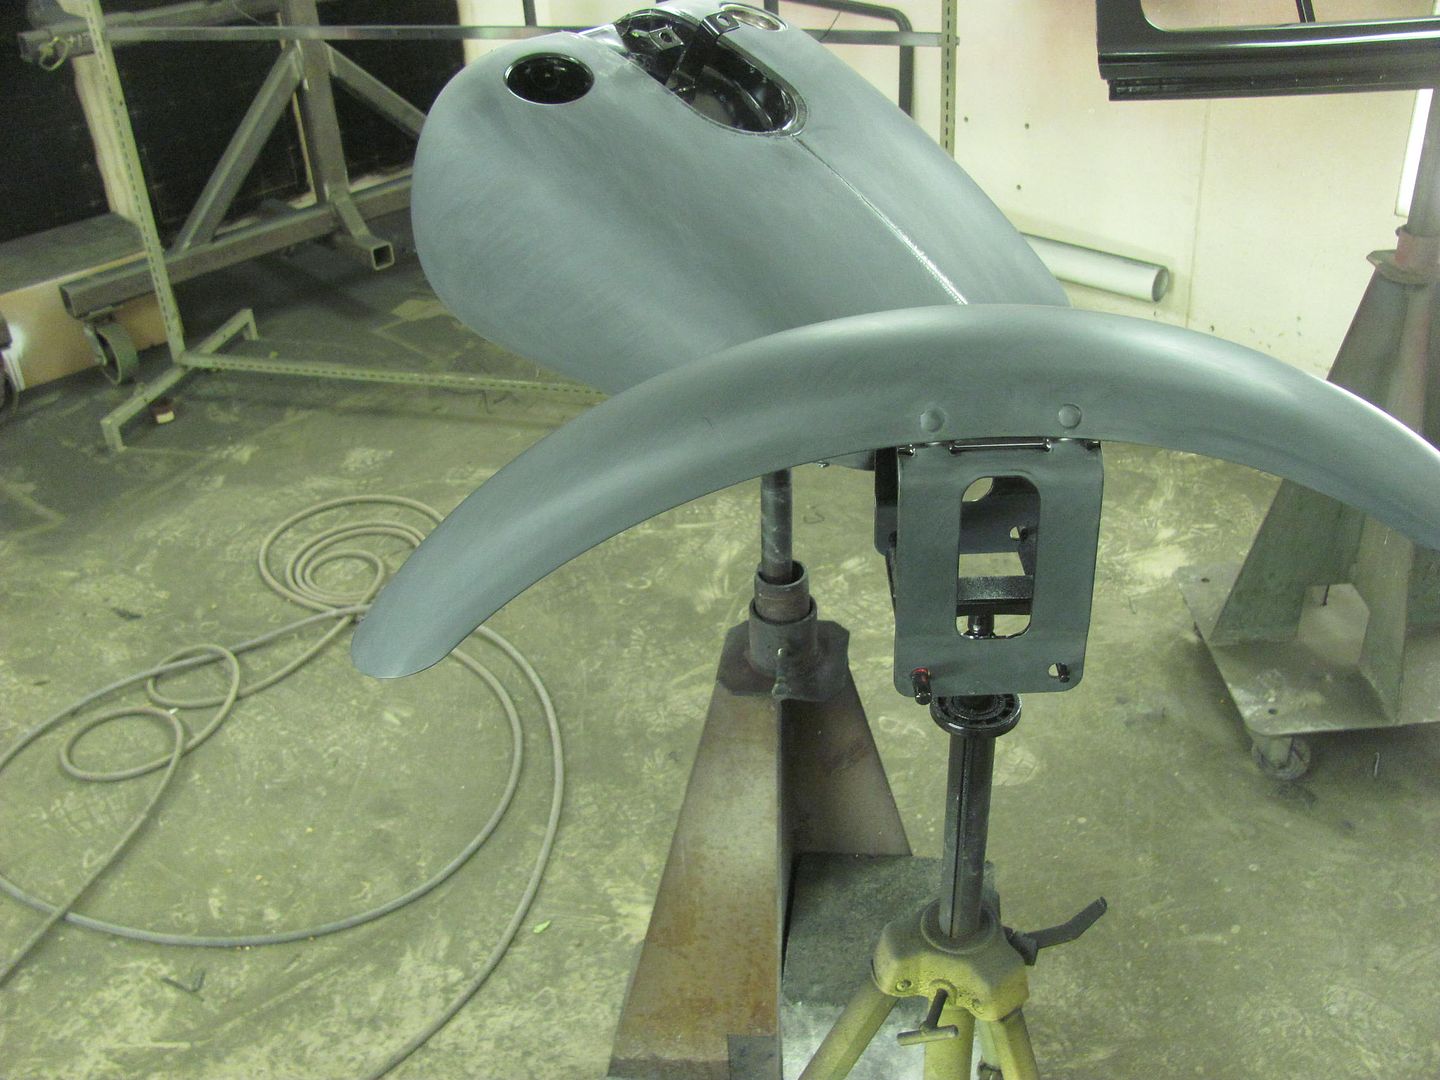
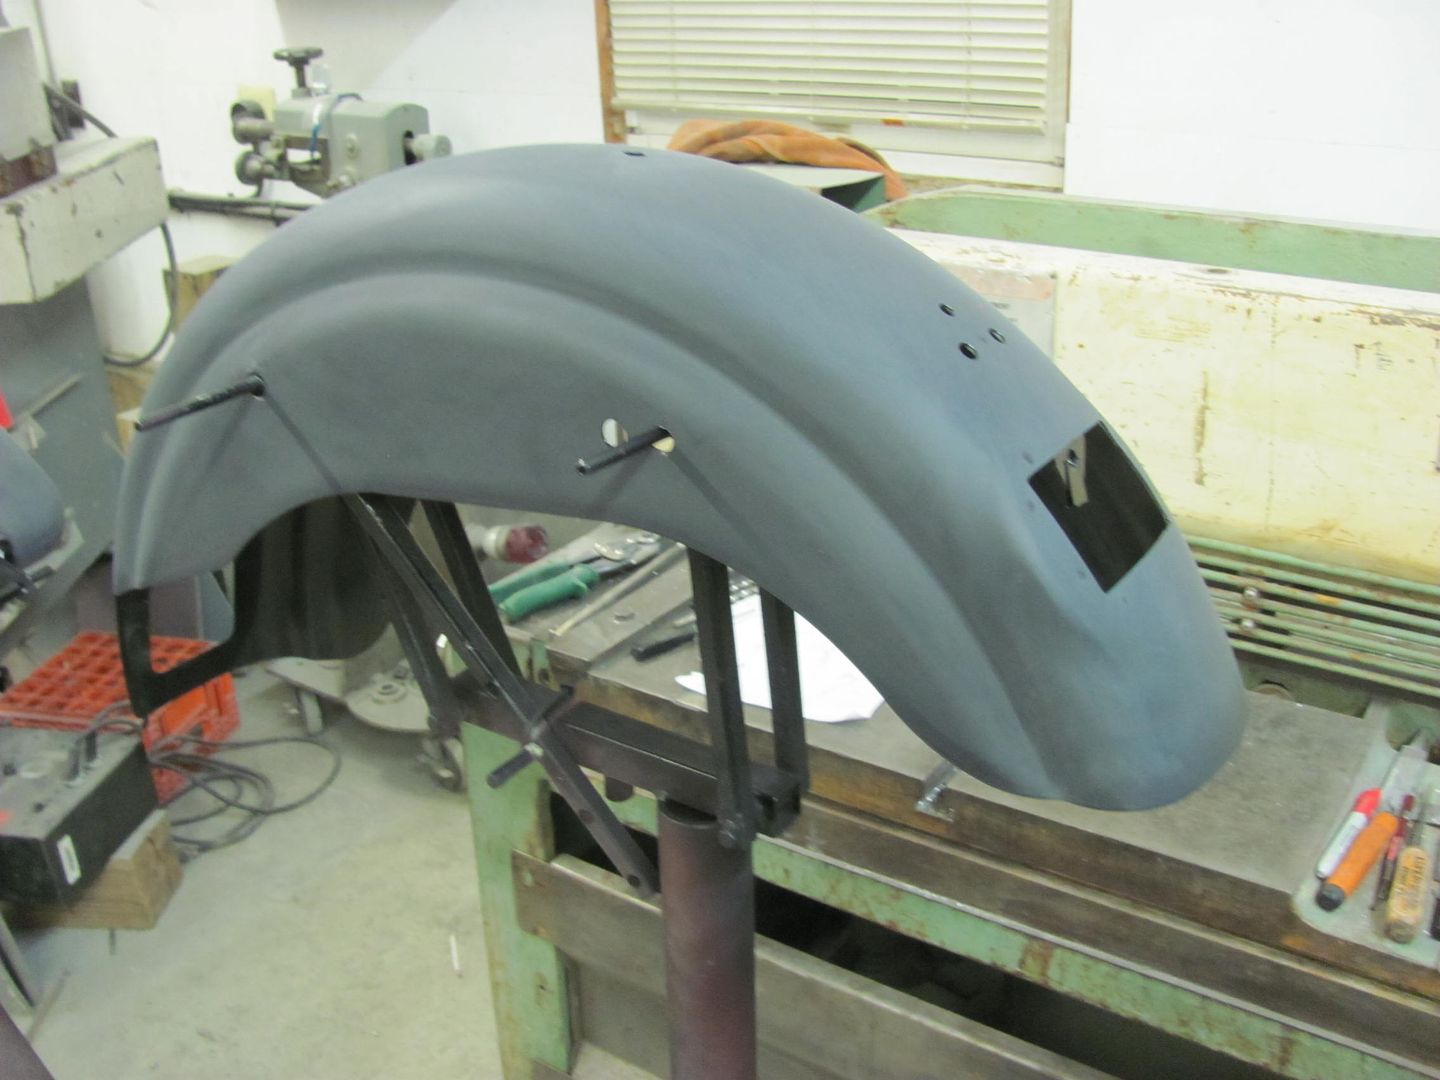
More progress on the wagon, got some SPI epoxy sprayed, hopefully this will wet sand out and be ready for BC/CC.
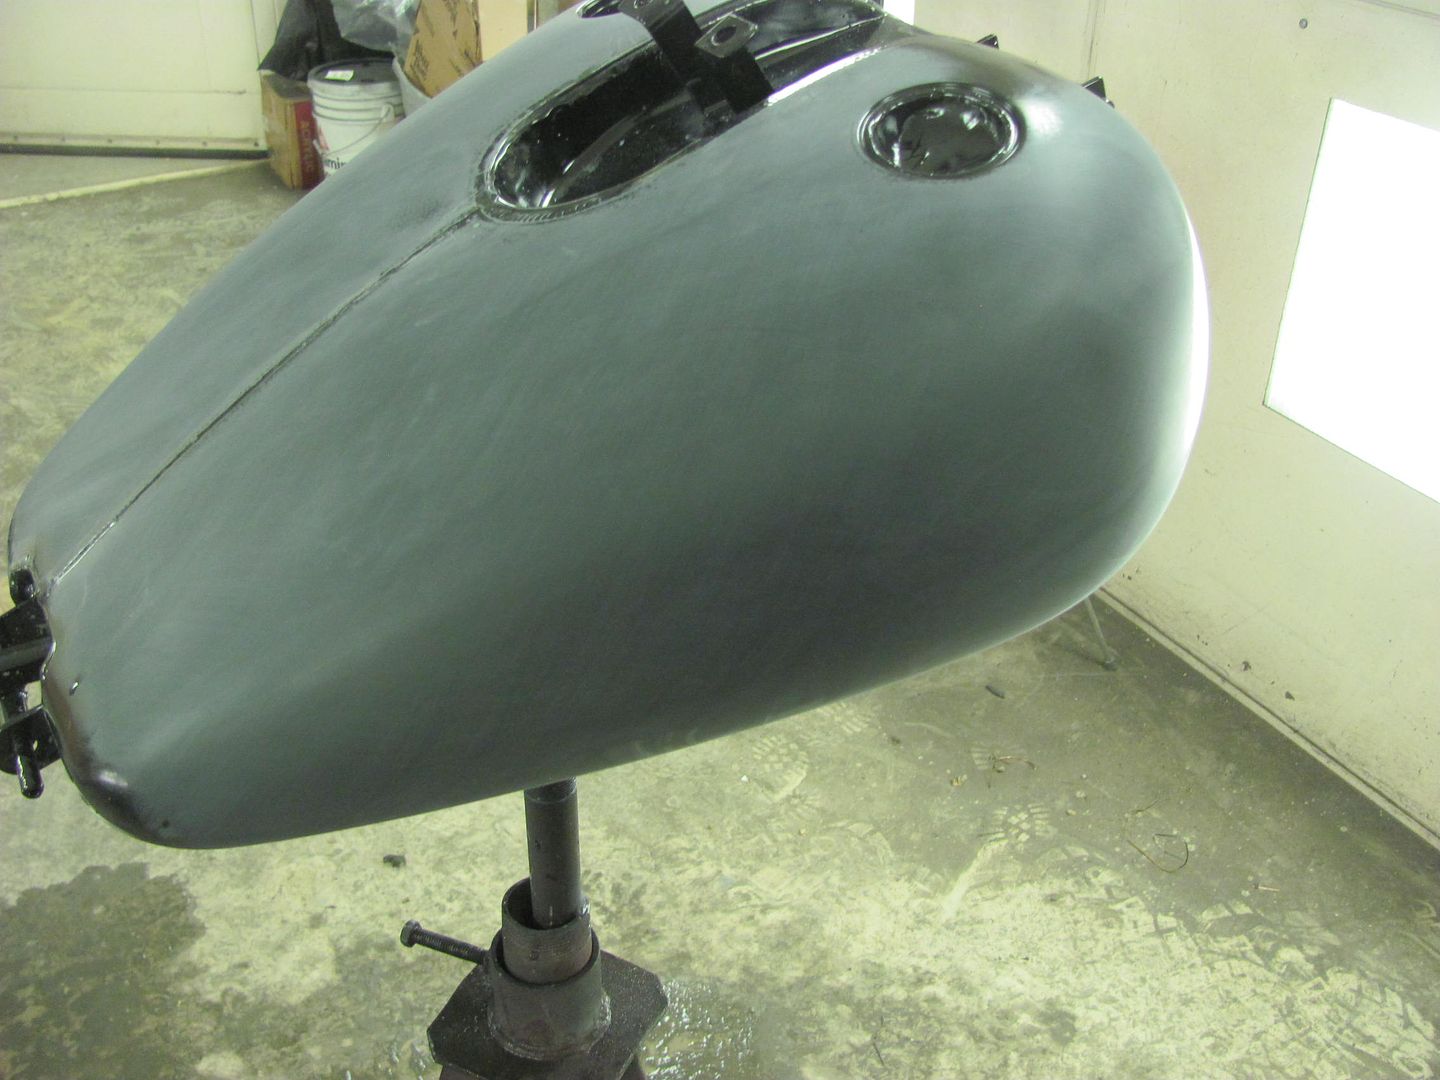
Also got some primer on the sheetmetal for an 01 Dyna
Look Scott, the dent's gone...
Robert
-
06-29-2015 08:01 AM #547
CHR Member
- Join Date
- Oct 2007
- Location
- Petaluma
- Car Year, Make, Model: 48 Ford F1
- Posts
- 9,795
Looks great. What is the sanding process between coats, and how many coats do you apply of color and clear? Thanks, Steve."  "No matter where you go, there you are!" Steve.
-
06-29-2015 01:18 PM #548
CHR Member
- Join Date
- Apr 2011
- Location
- Prairie City
- Car Year, Make, Model: 40 Ford Deluxe, 68 Corvette, 72&76 K30
- Posts
- 7,301
- Blog Entries
- 1
Great work! That epoxy lays down so nice it looks like paint!Ryan
1940 Ford Deluxe Tudor 354 Hemi 46RH Electric Blue w/multi-color flames, Ford 9" Residing in multiple pieces
1968 Corvette Coupe 5.9 Cummins Drag Car 11.43@130mph No stall leaving the line with 1250 rpm's and poor 2.2 60'
1972 Chevy K30 Longhorn P-pumped 24v Compound Turbos 47RH Just another money pit
1971 Camaro RS 5.3 BTR Stage 3 cam, SuperT10
Tire Sizes
-
06-30-2015 09:22 PM #549
CHR Member
- Join Date
- Jun 2008
- Location
- Leonardtown
- Car Year, Make, Model: Walking
- Posts
- 1,228
Kyle learning the fine art of blocking....
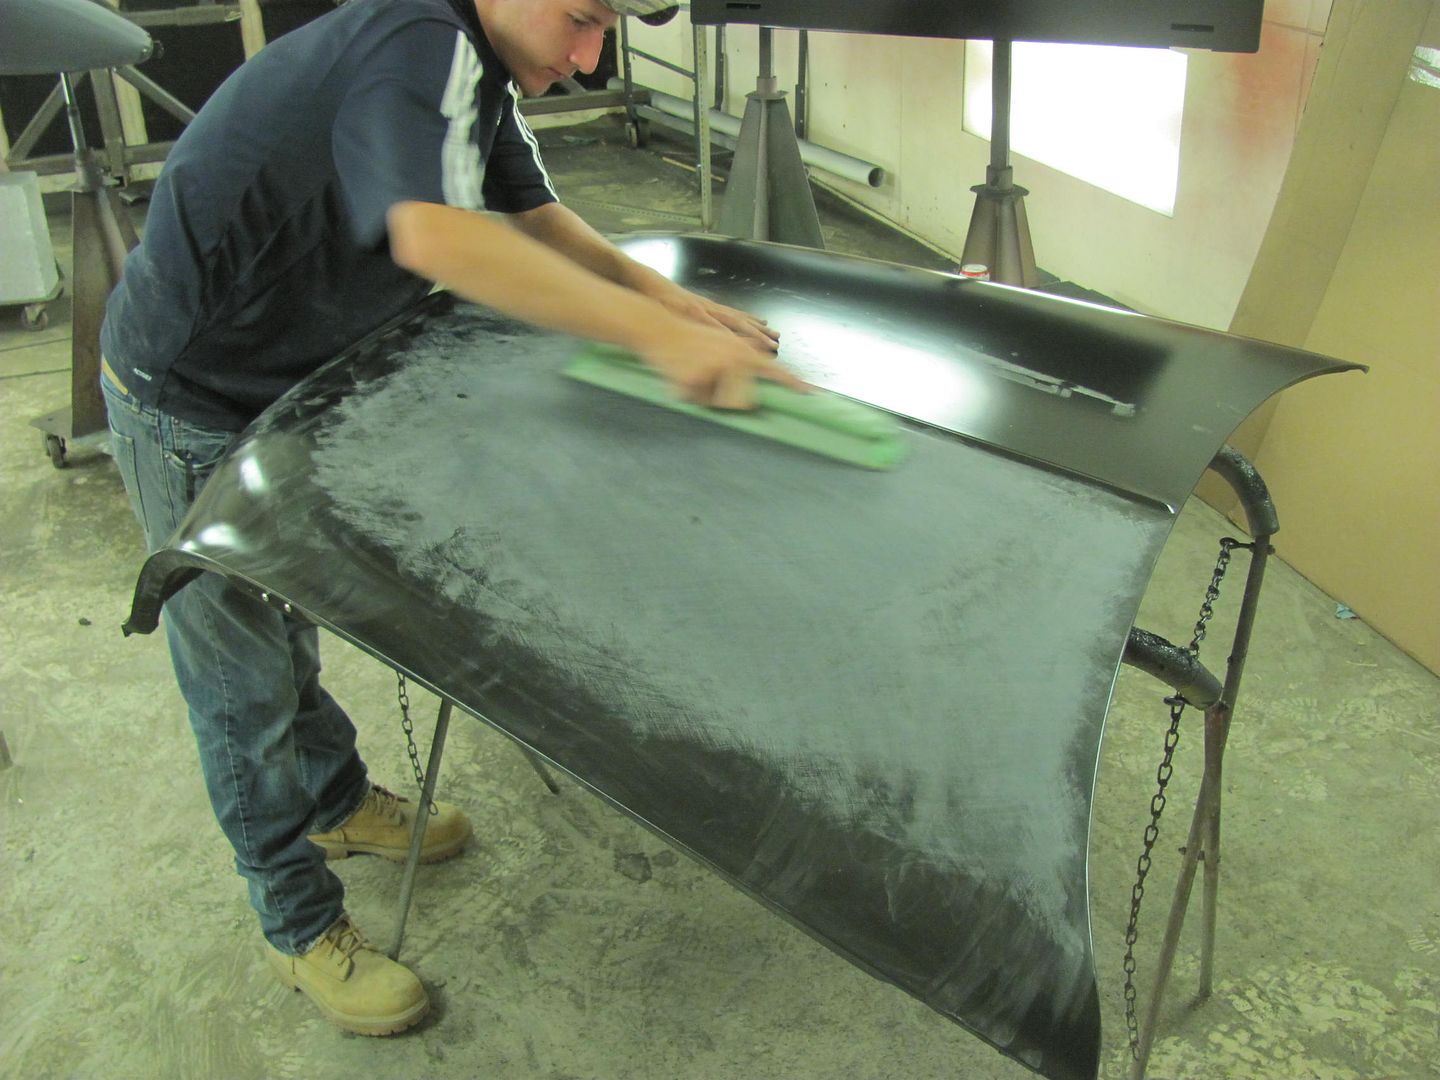
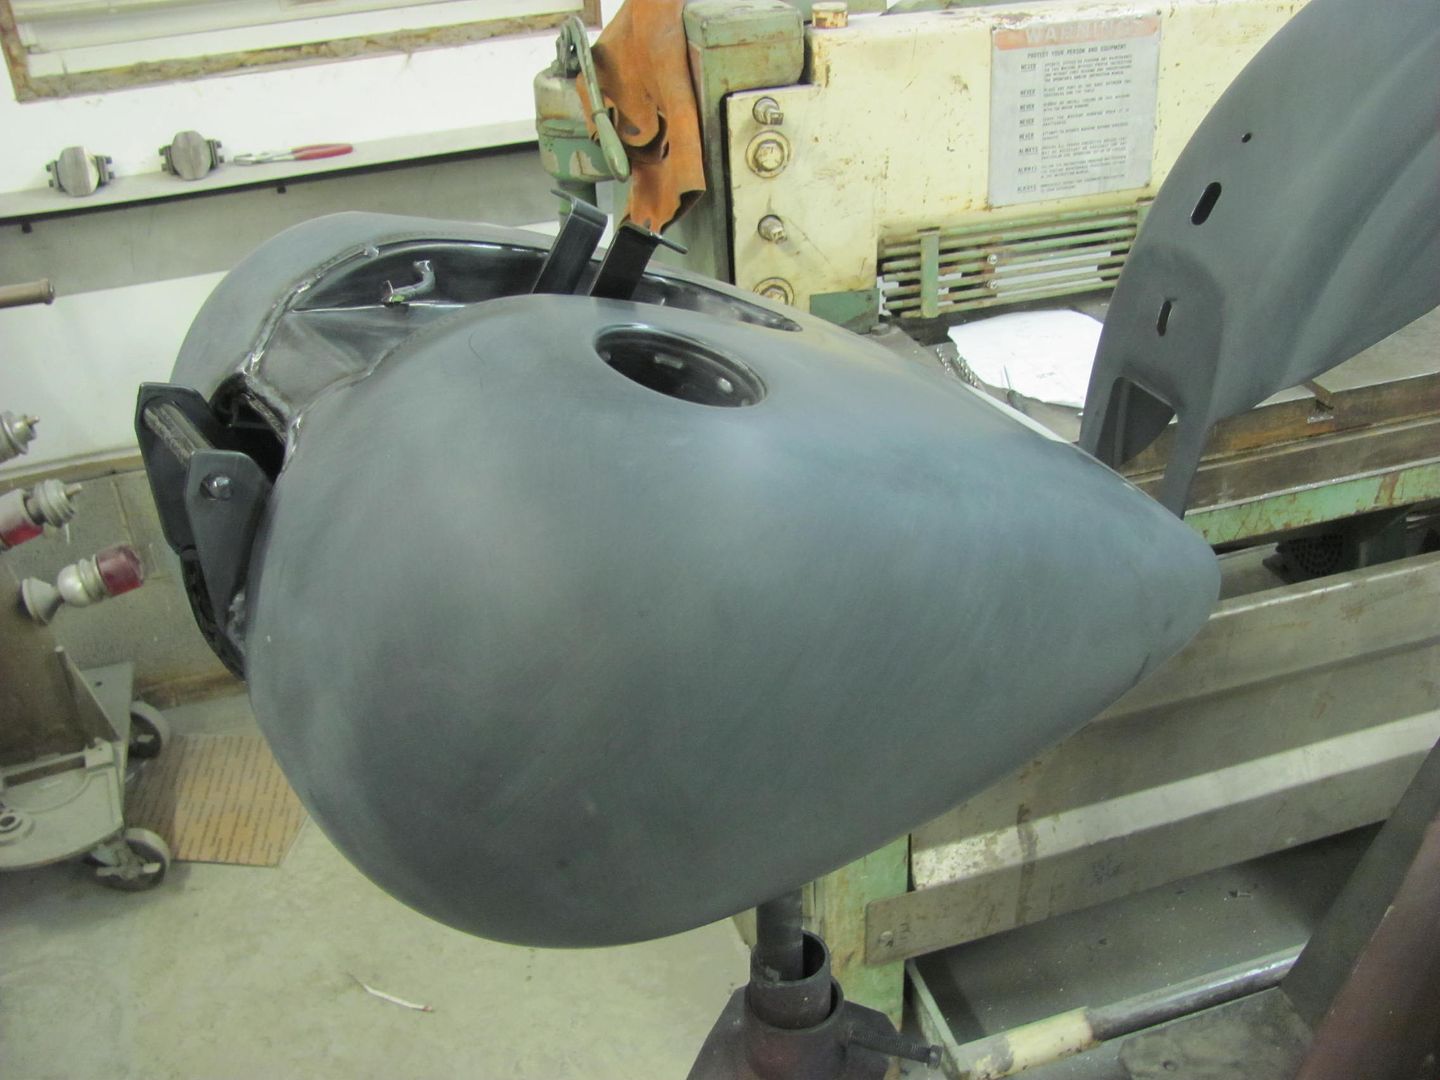
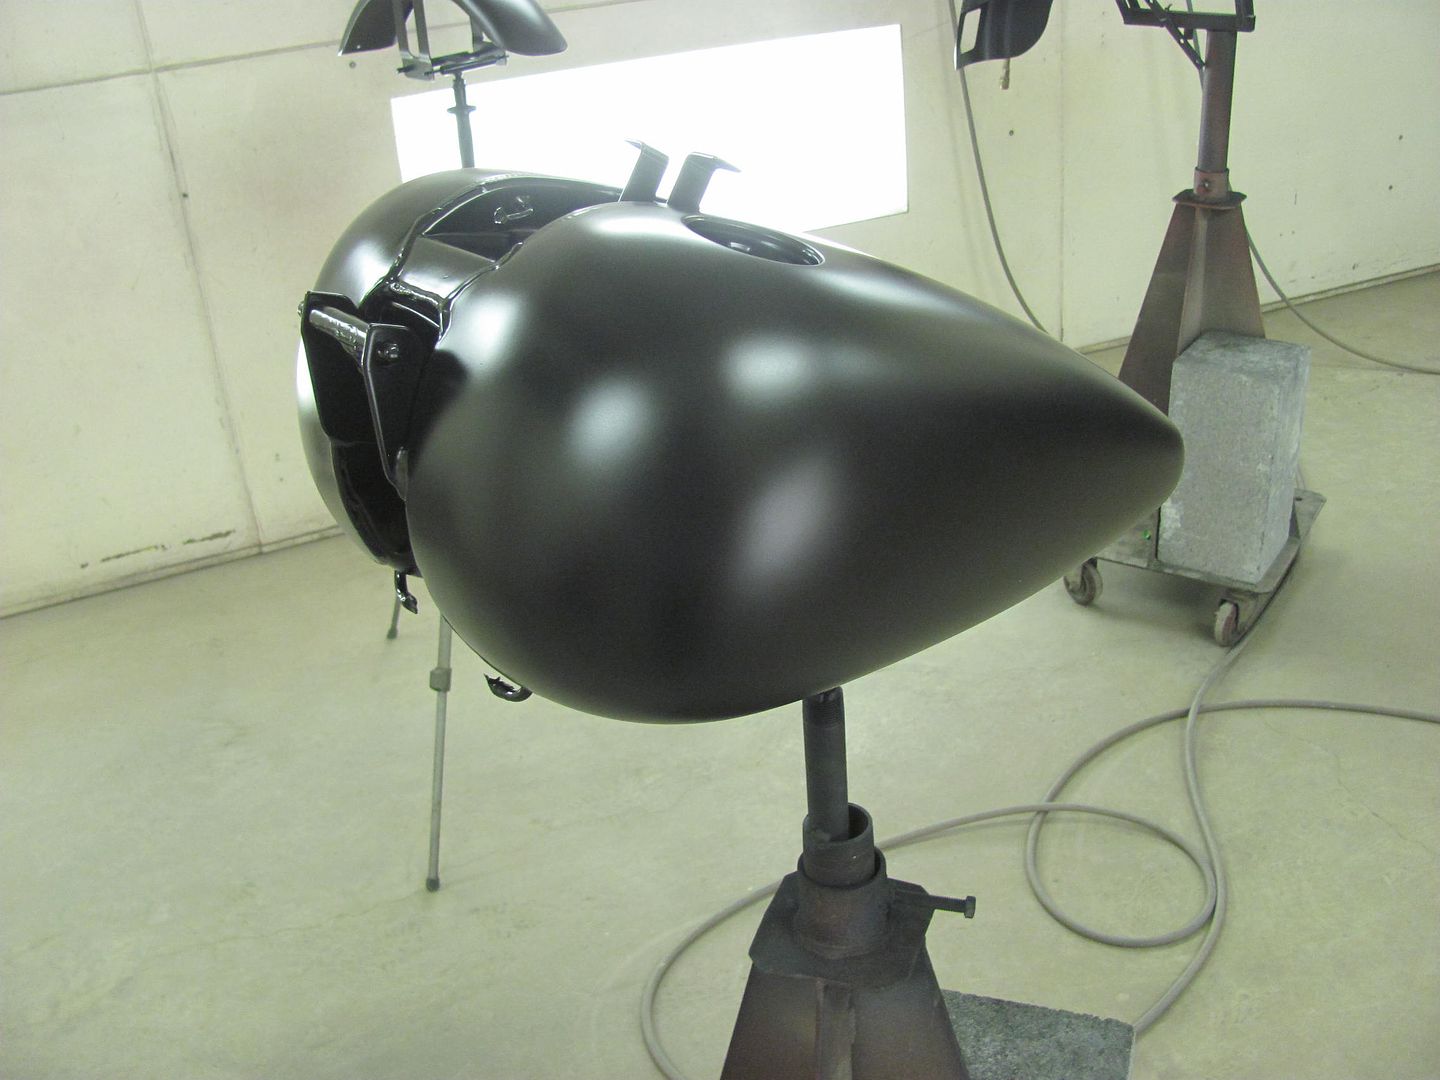
Meanwhile, I was wet sanding the motorcycle parts...
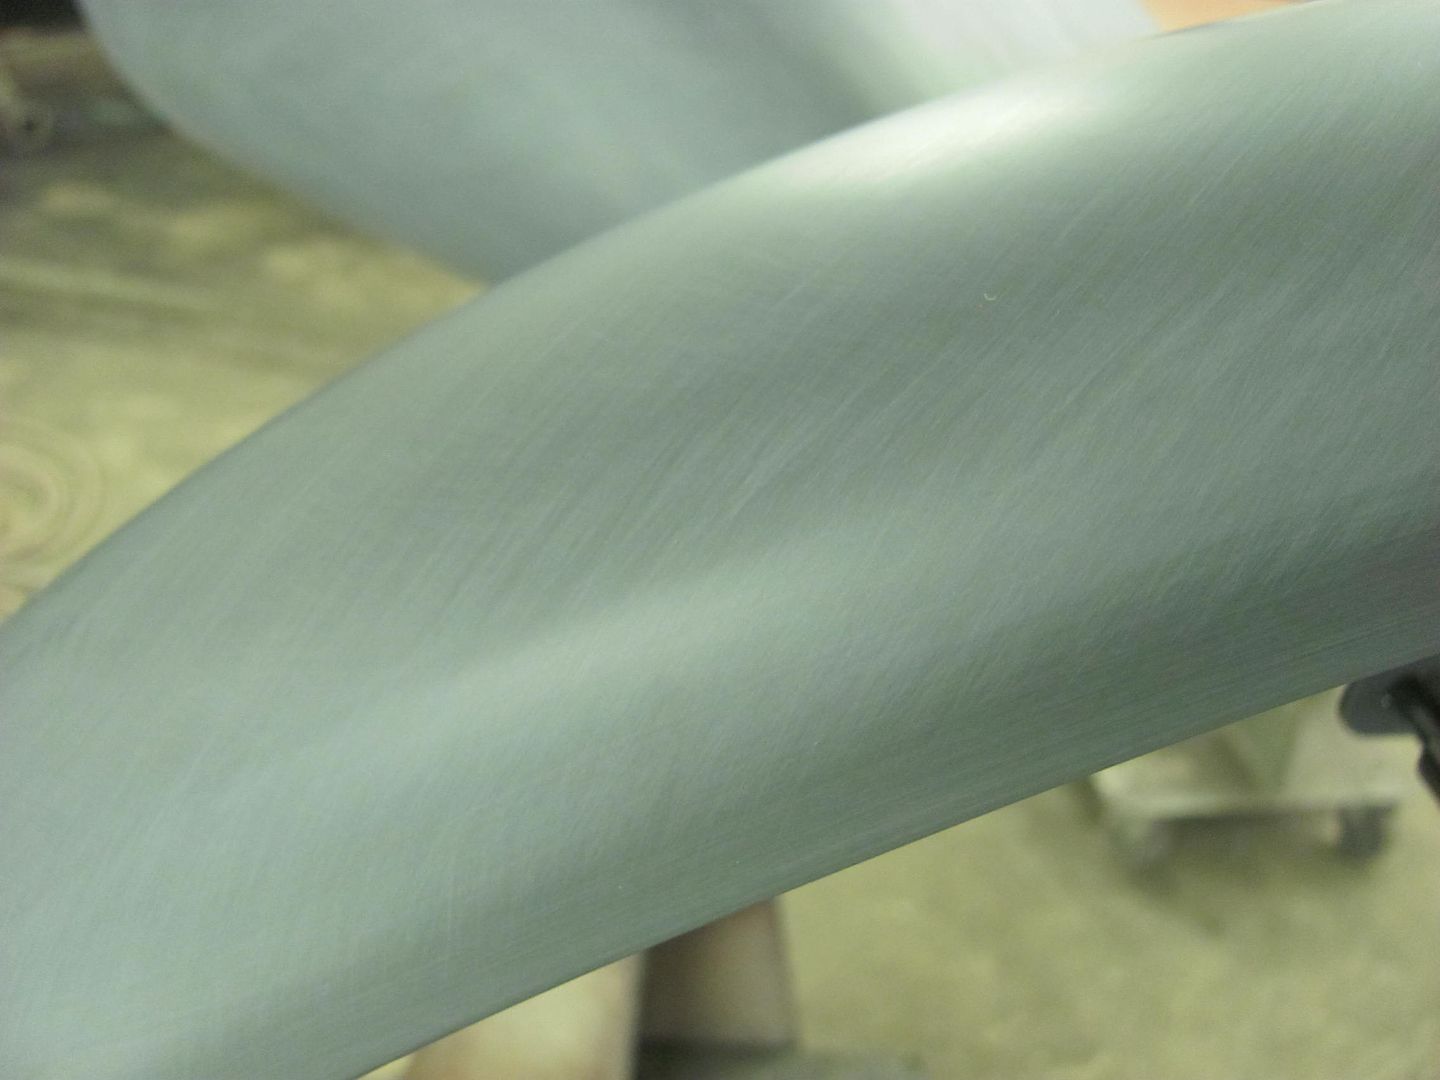
This SPI epoxy sure is nice sanding!
Steve, Kyle started with 180 grit psa on the AFS long board shown, then 400 grit, both dry. Then we'll do 600 wet, mix epoxy as a sealer, then paint..Robert
-
07-01-2015 08:43 AM #550
CHR Member
- Join Date
- Oct 2007
- Location
- Petaluma
- Car Year, Make, Model: 48 Ford F1
- Posts
- 9,795
Thanks for the sanding info, not sure what you mean by mix epoxy as a sealer, before color coat?" "No matter where you go, there you are!" Steve.
-
07-01-2015 12:11 PM #551
CHR Member
- Join Date
- Apr 2004
- Location
- Little Elm
- Car Year, Make, Model: 34 Ford Low Boy w/ZZ430 Clone
- Posts
- 3,890
He's using SPI epoxy sealer. This LINK explains it all. Originally Posted by stovens
Jack
Gone to Texas
-
07-01-2015 12:22 PM #552
CHR Member
- Join Date
- Oct 2007
- Location
- Petaluma
- Car Year, Make, Model: 48 Ford F1
- Posts
- 9,795
Thanks Jack most excellent article!" "No matter where you go, there you are!" Steve.
-
07-05-2015 03:48 PM #553
CHR Member
- Join Date
- Jun 2008
- Location
- Leonardtown
- Car Year, Make, Model: Walking
- Posts
- 1,228
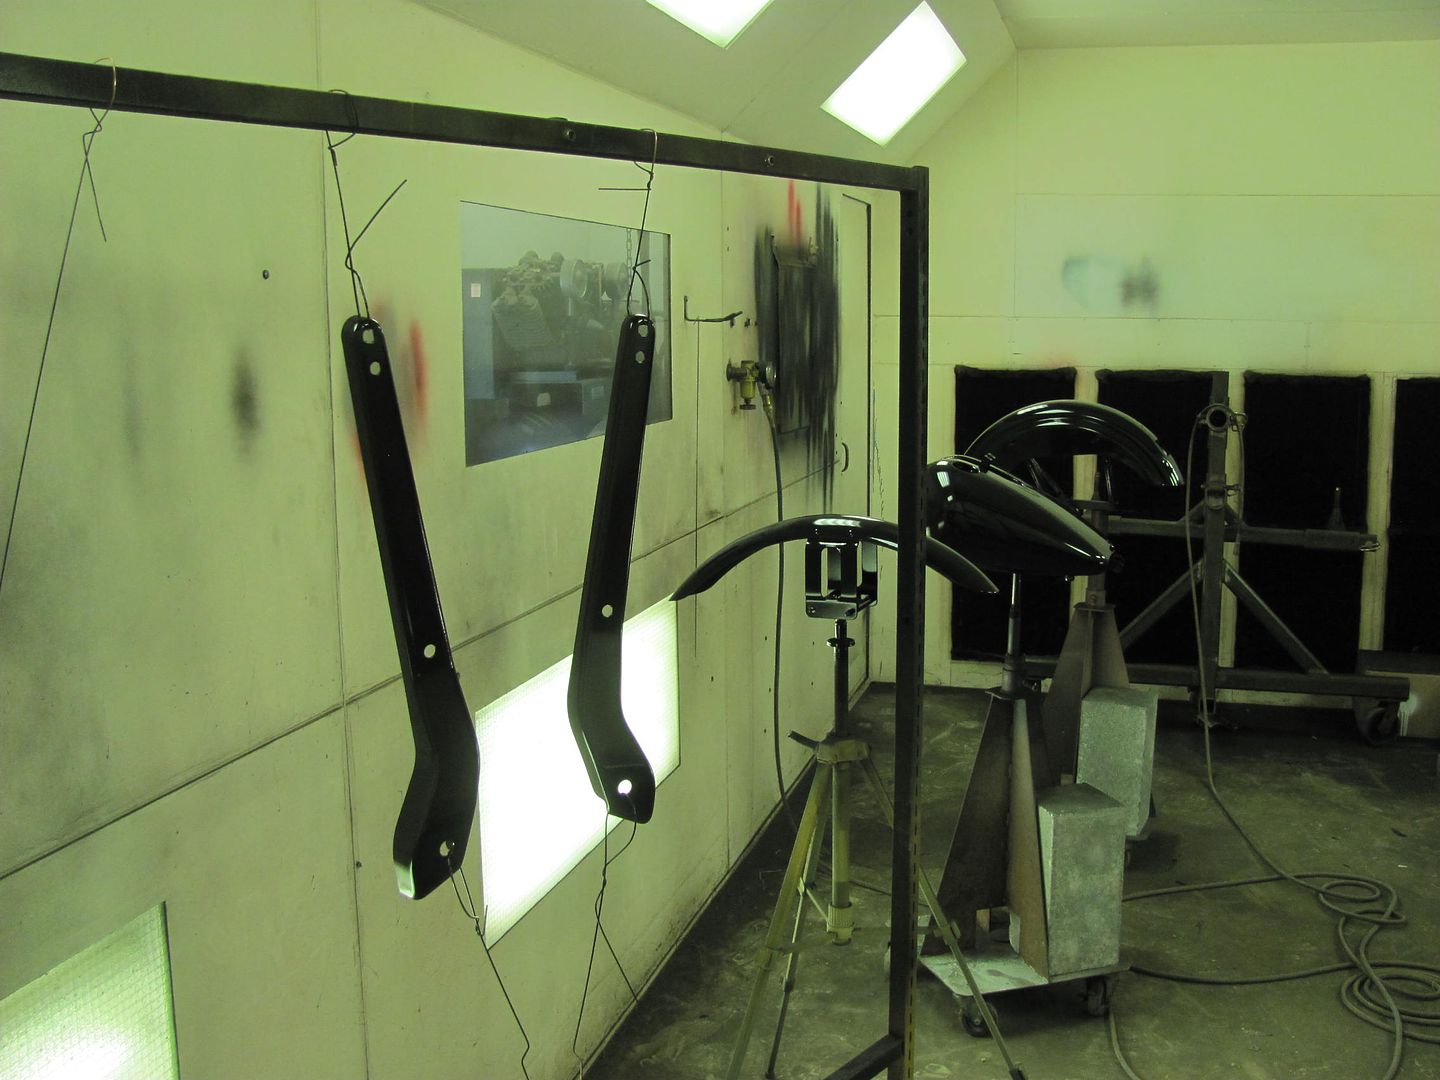
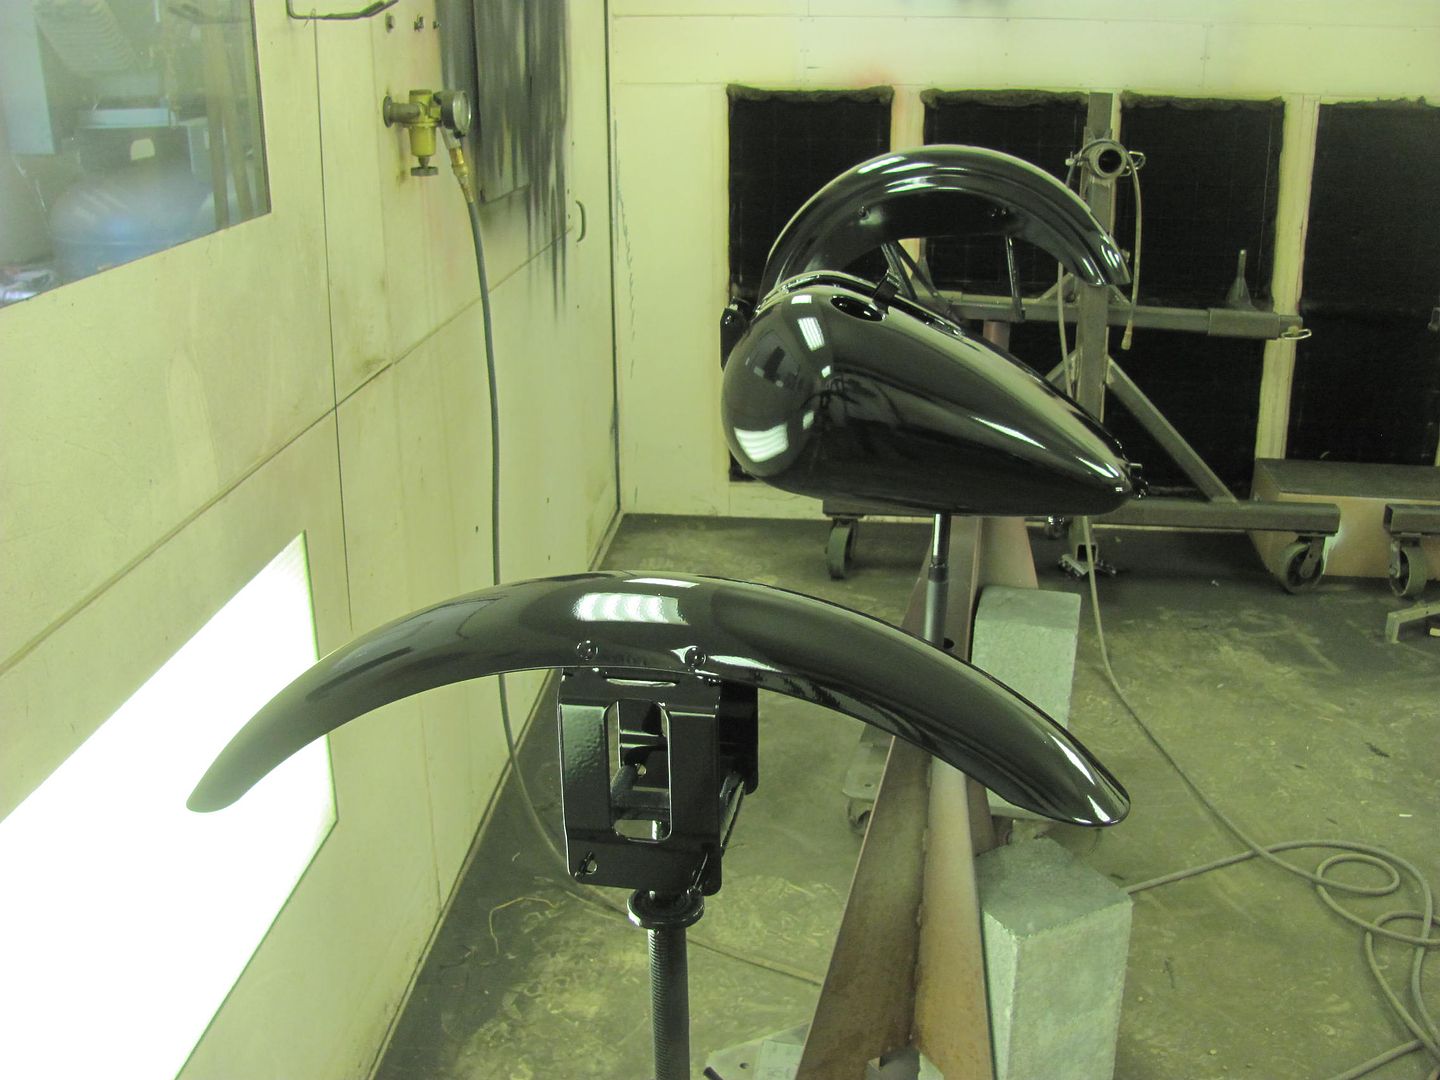
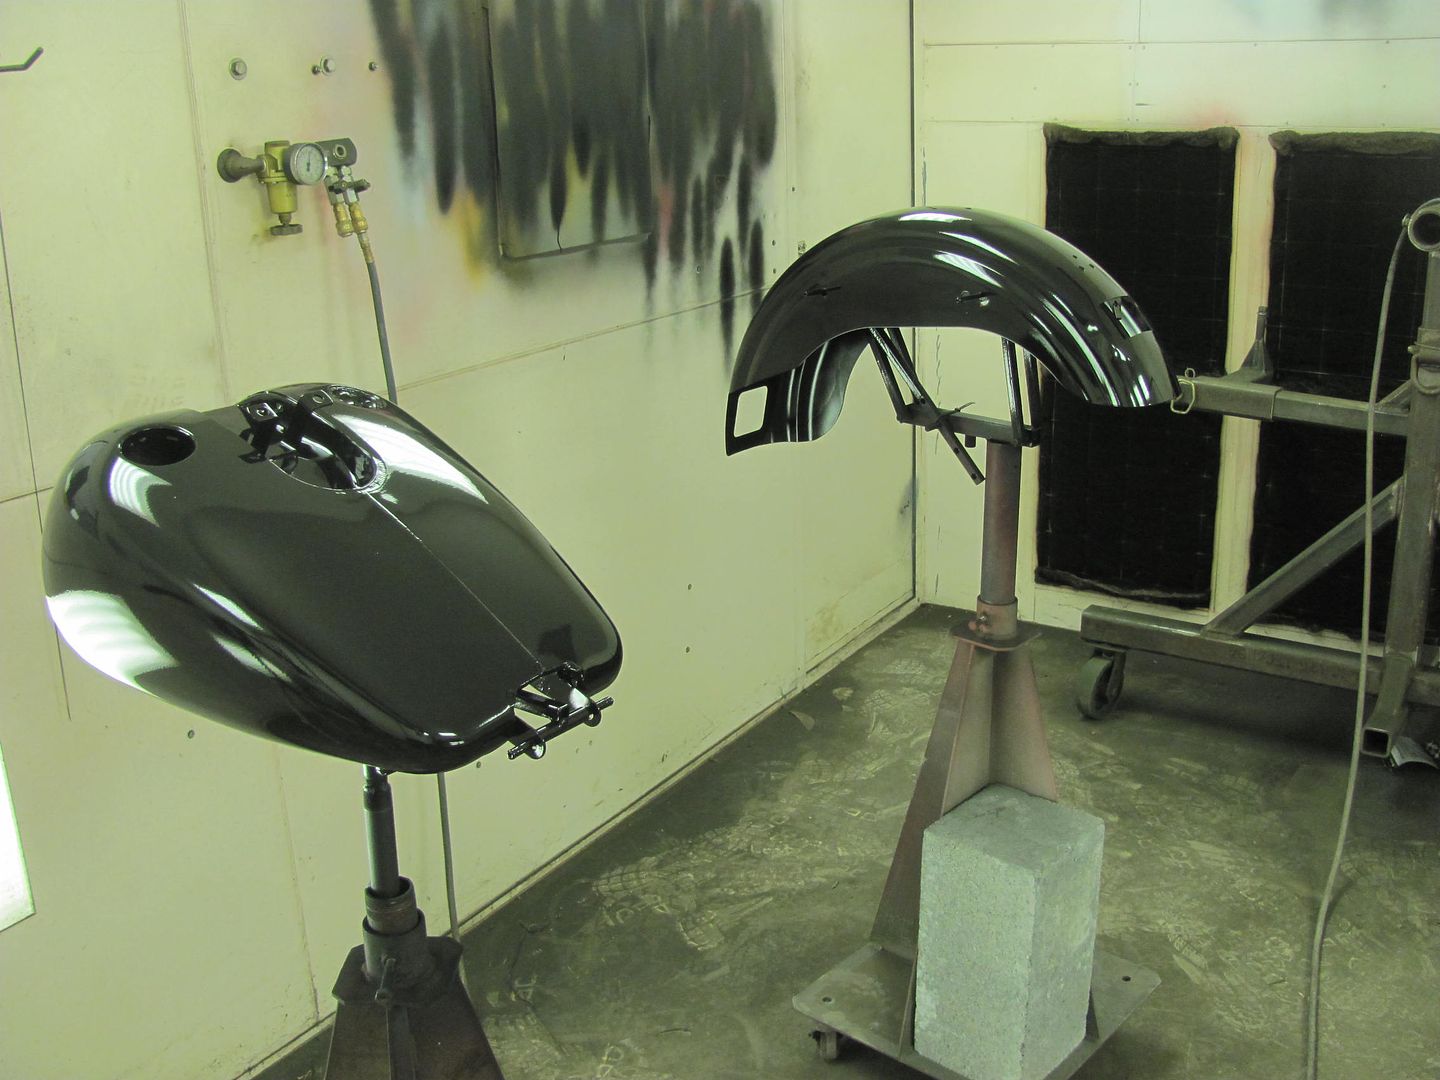
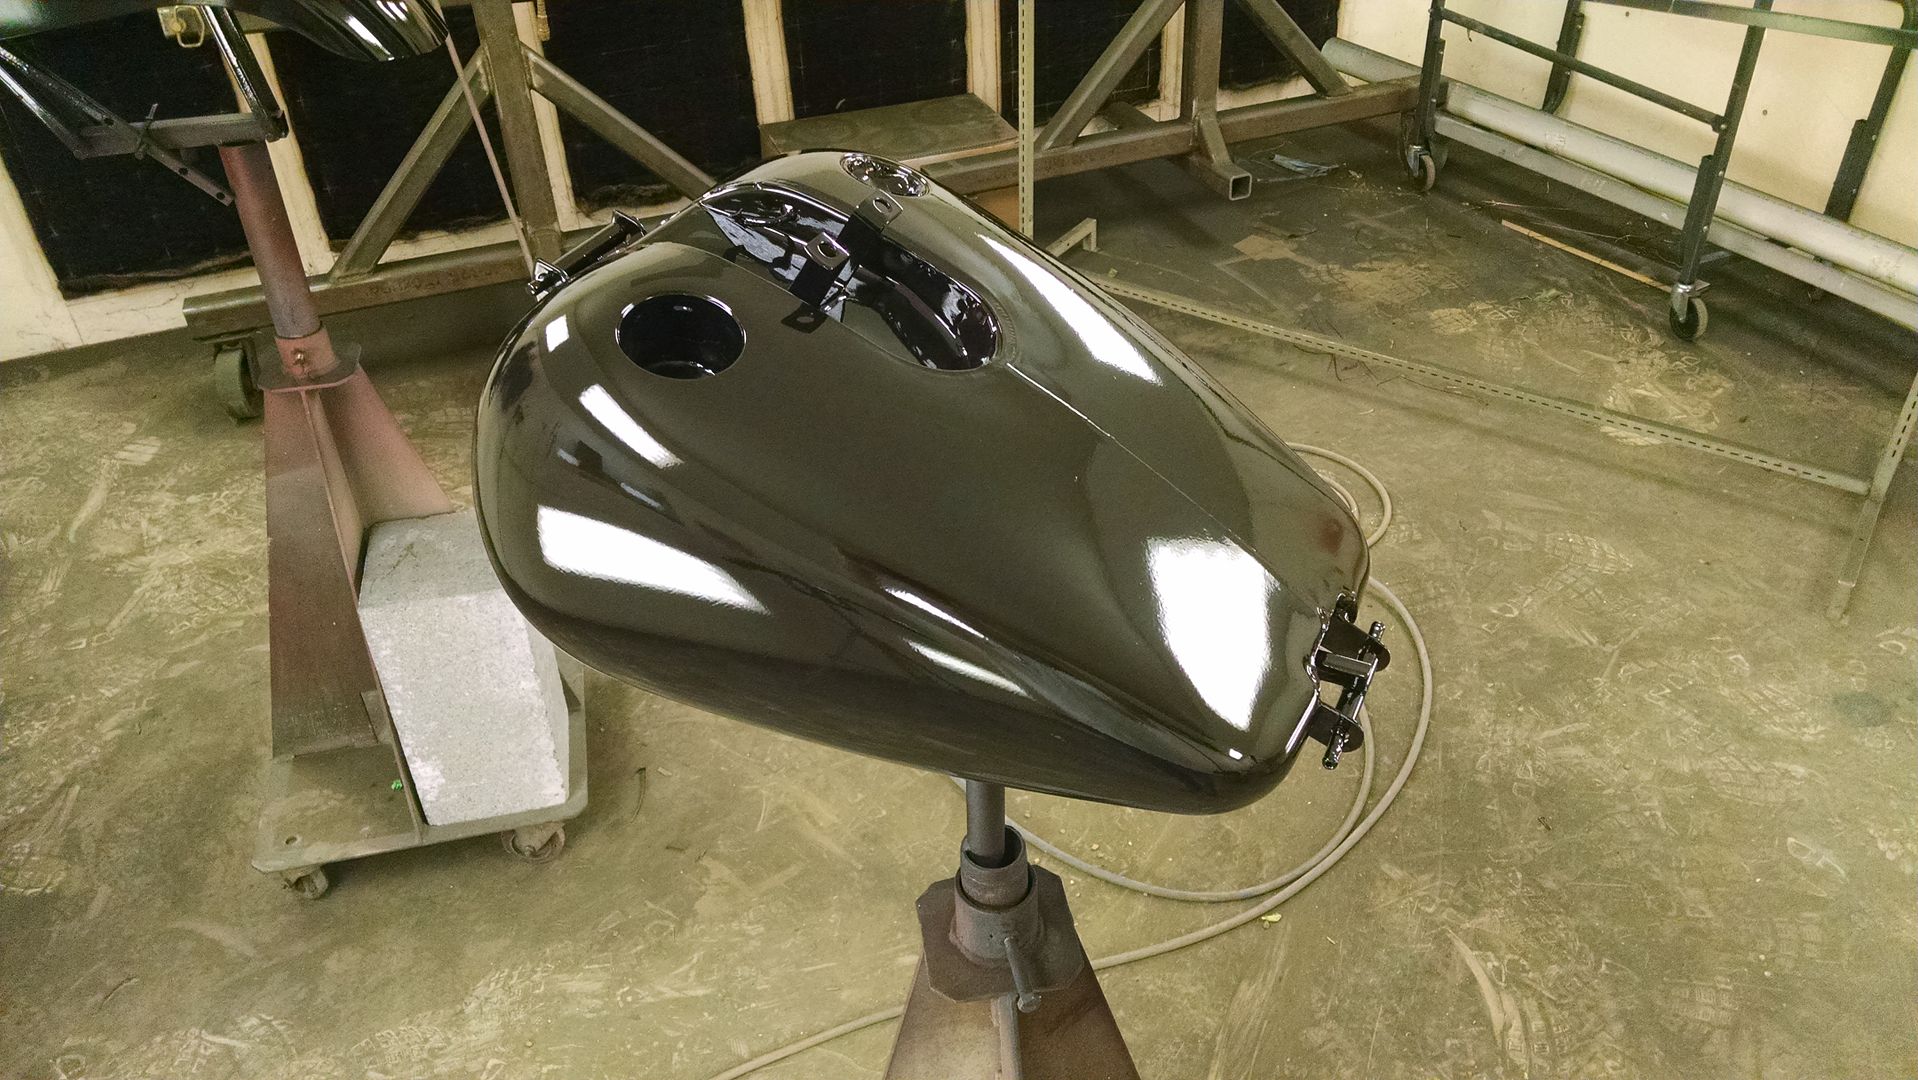
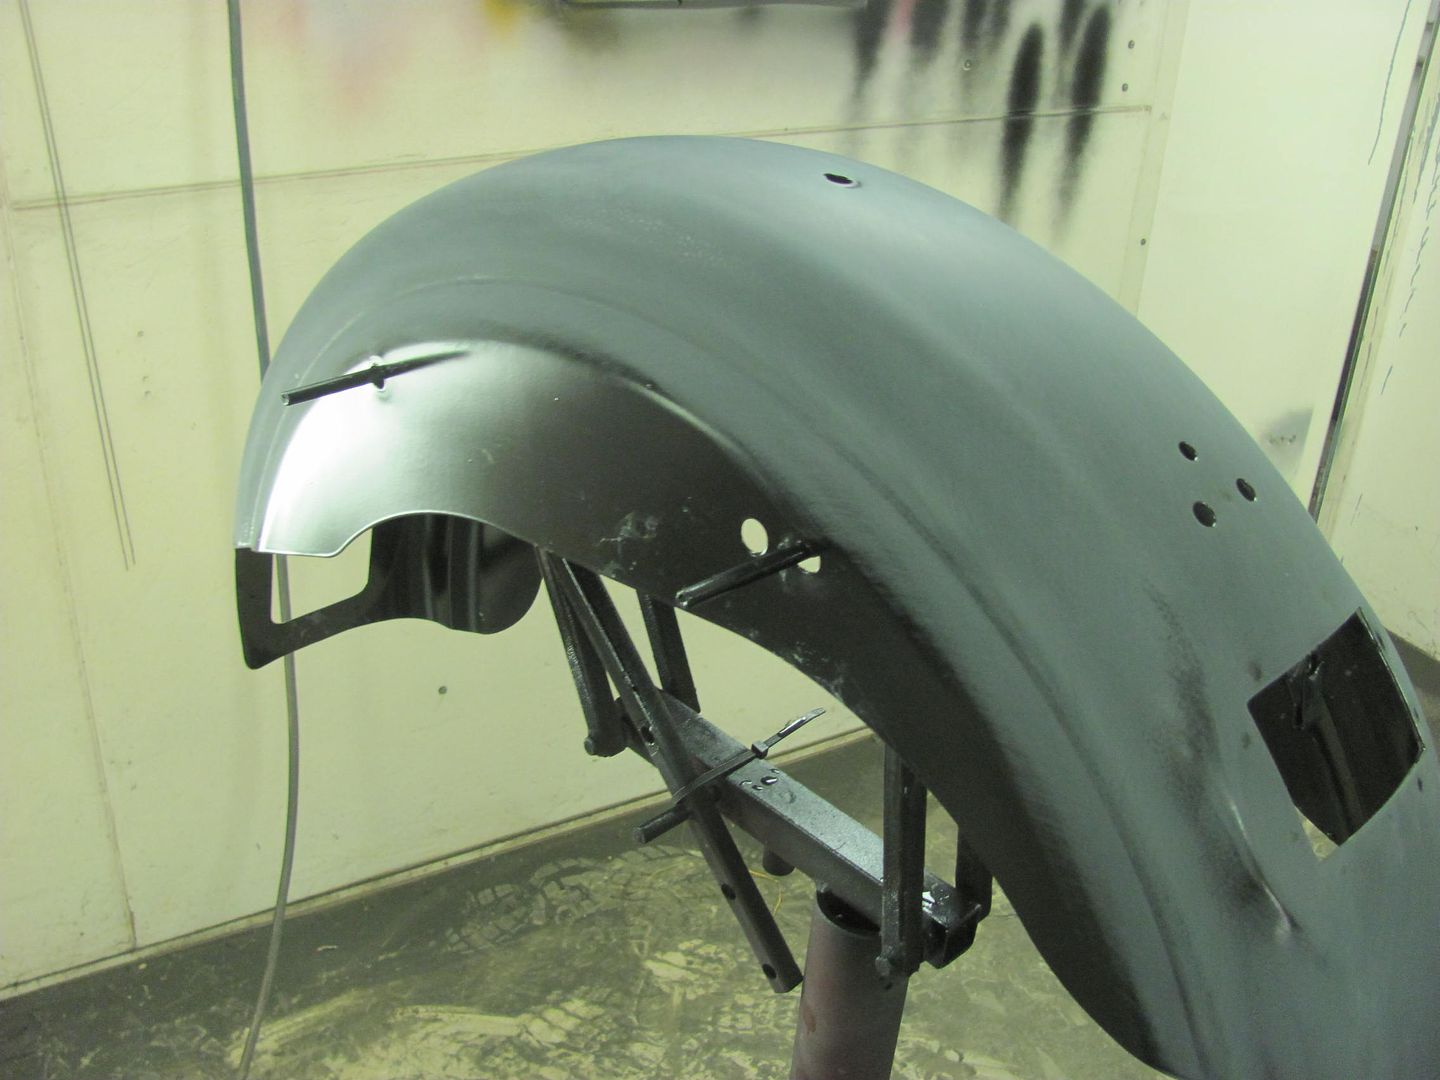
Wet sanded with 600
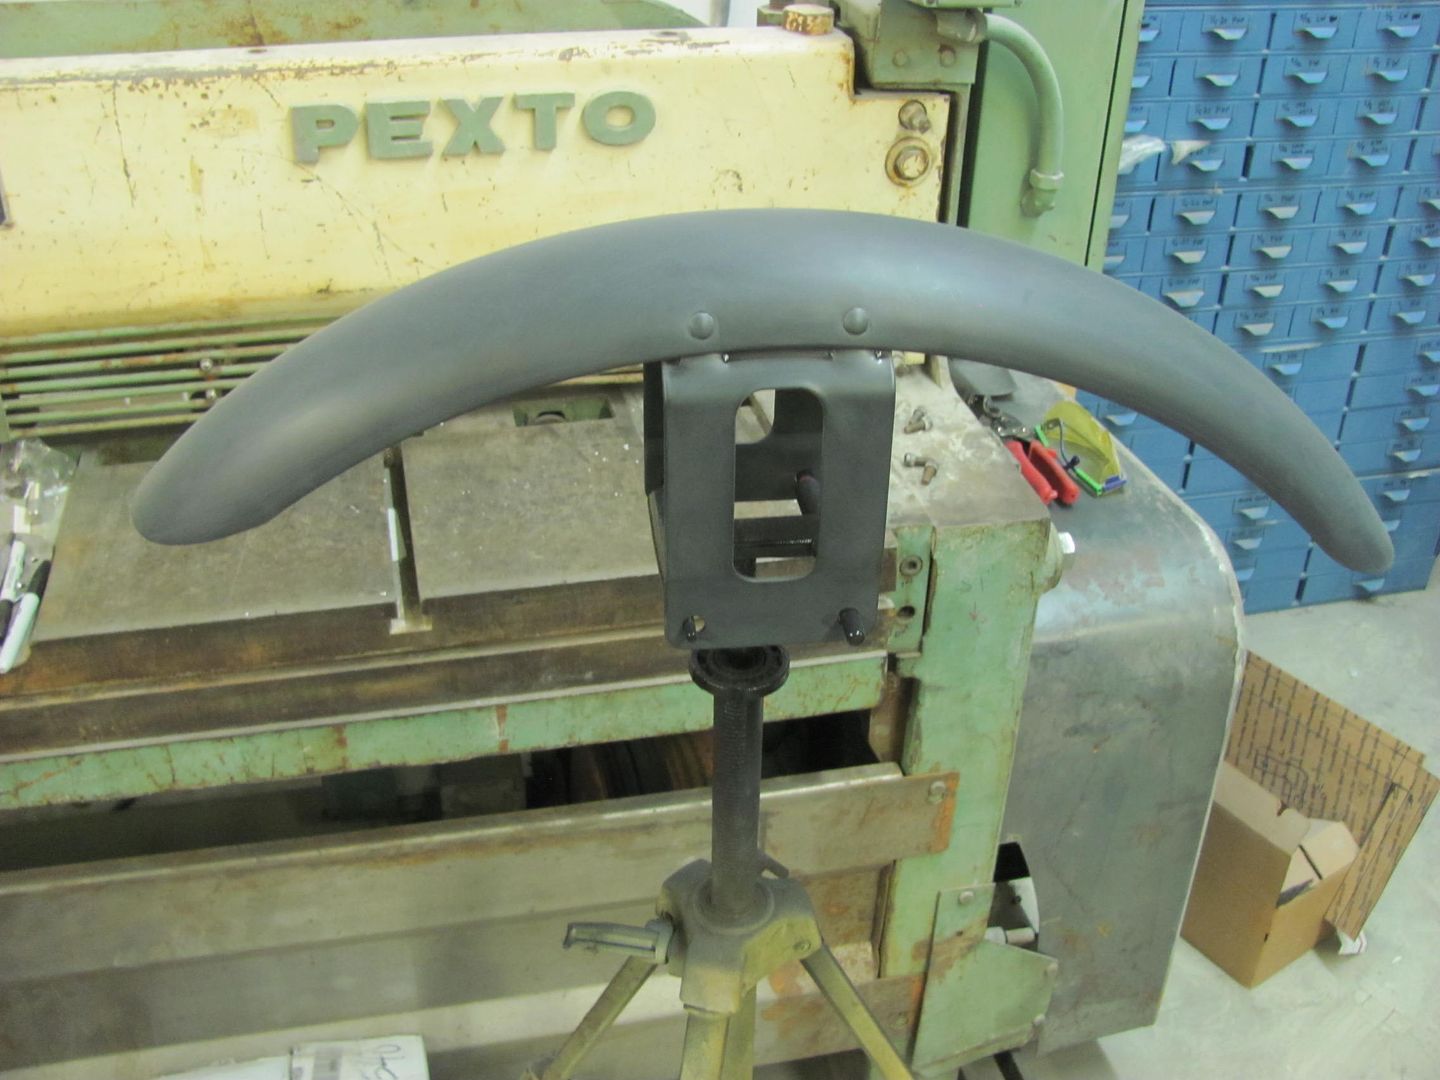
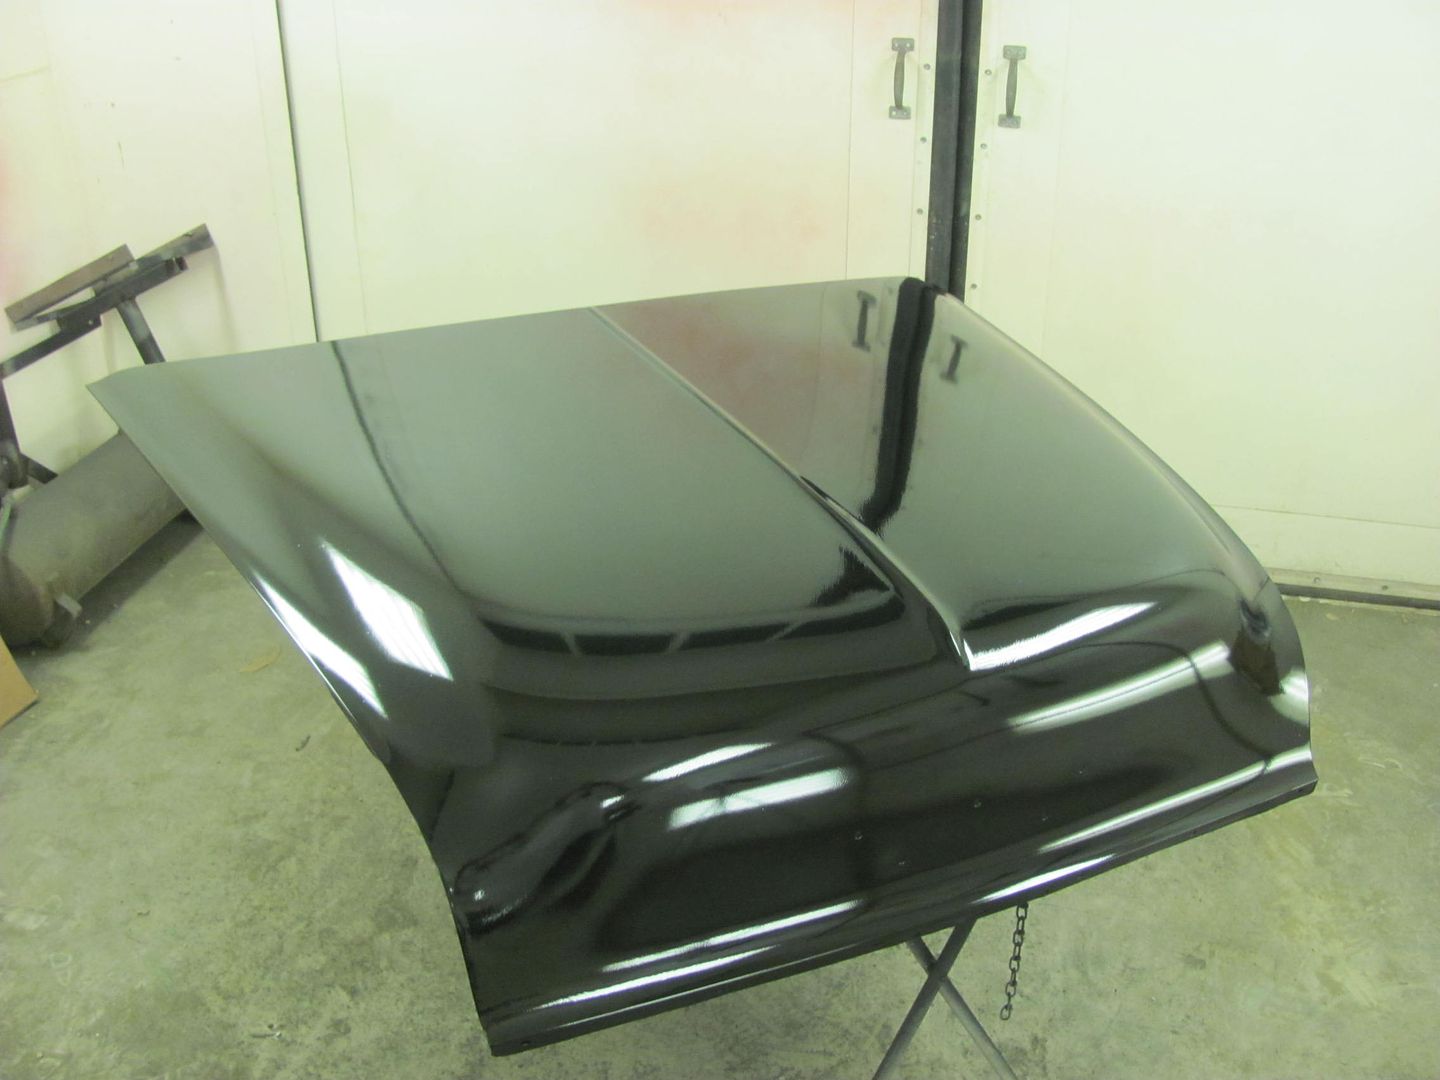
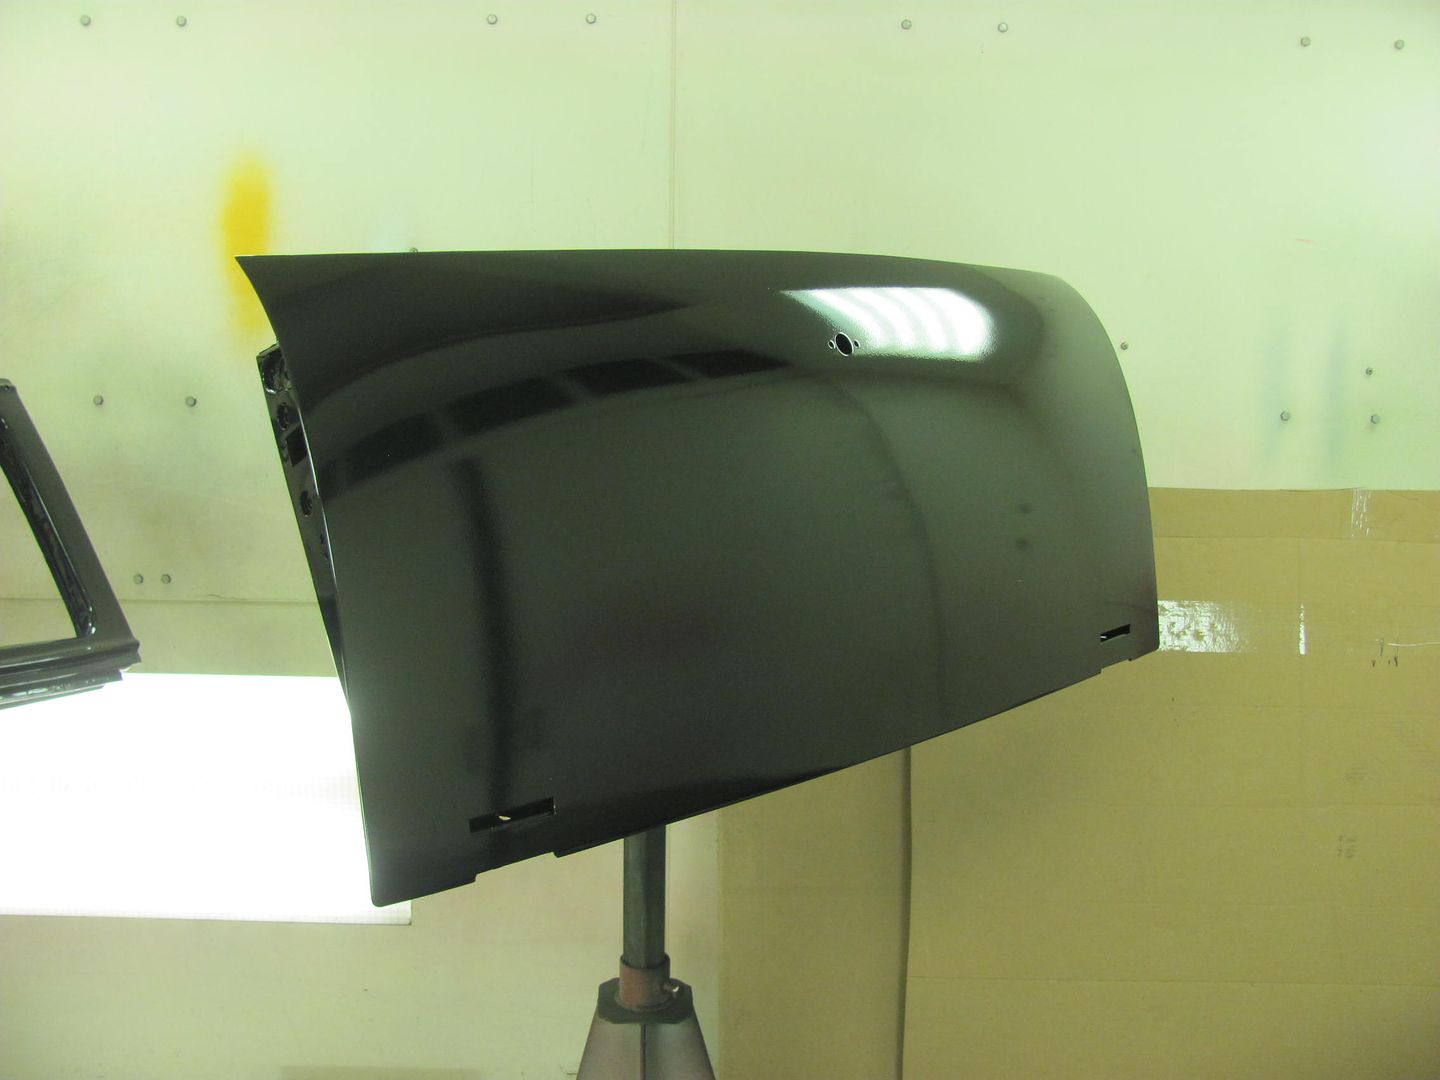
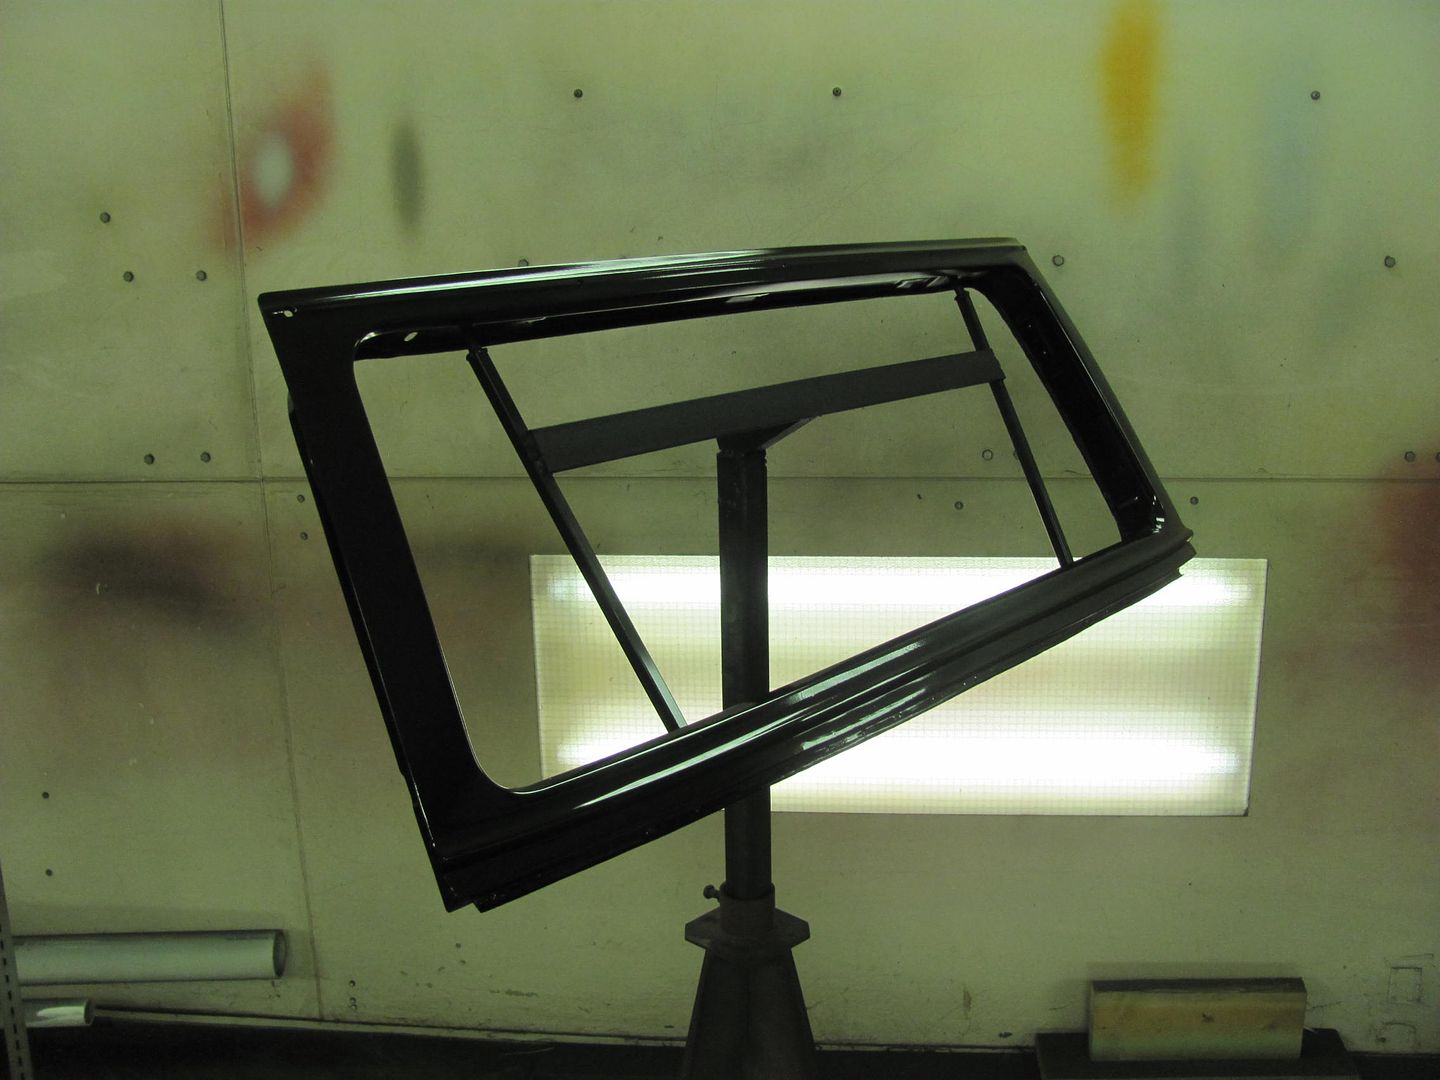
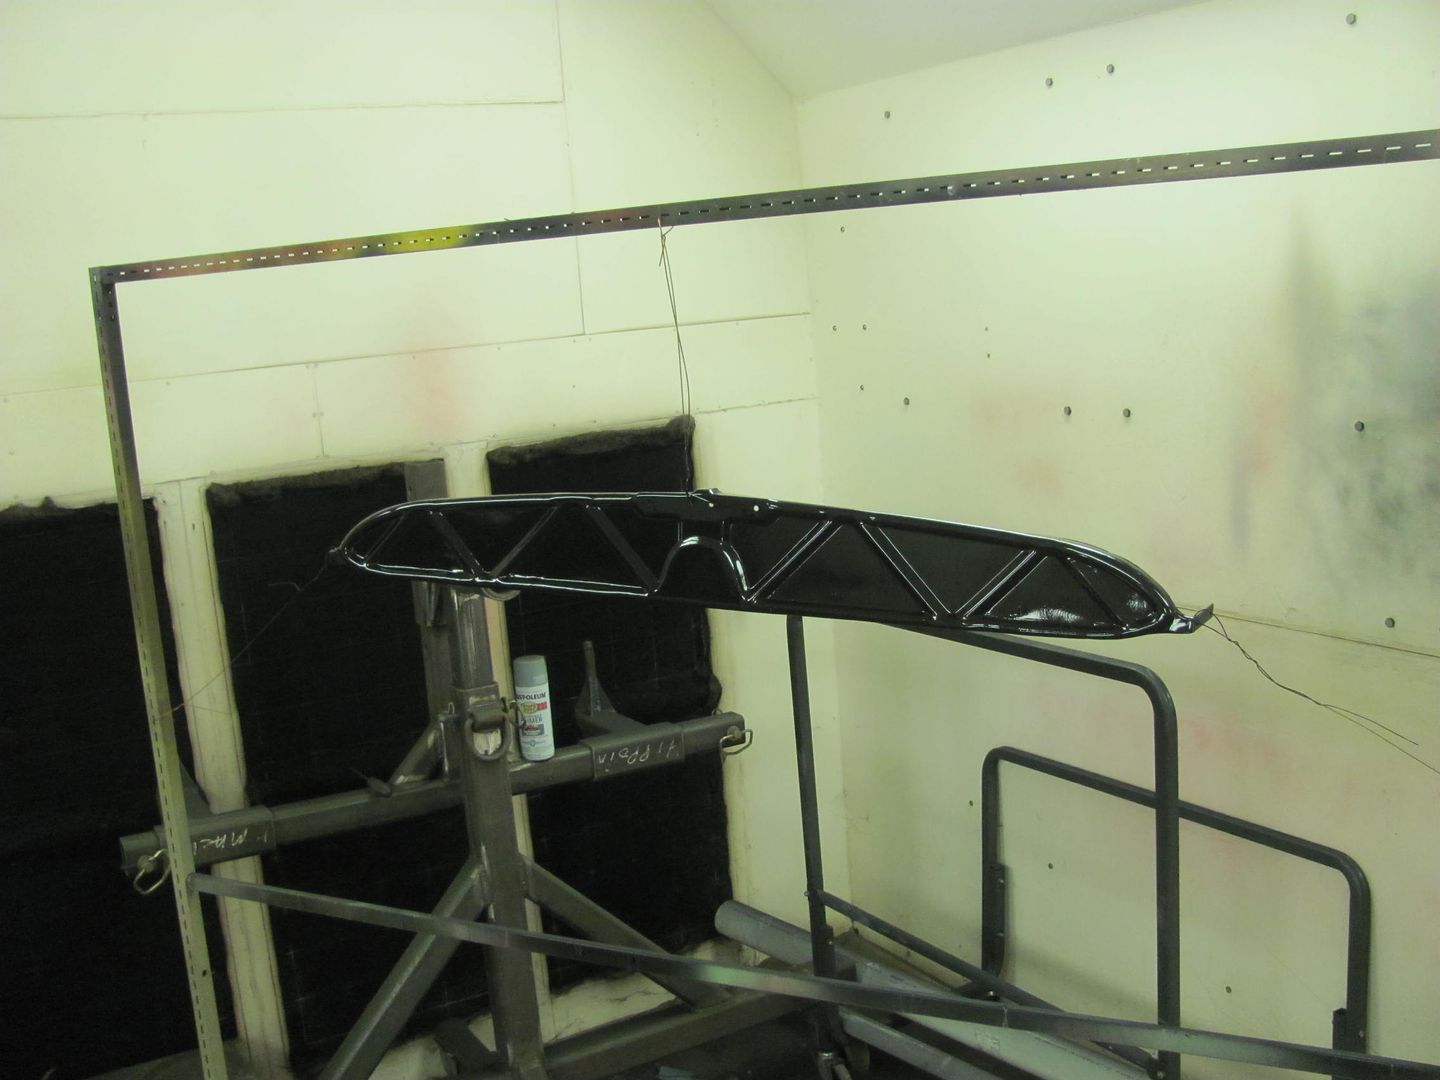
SPI Epoxy seal coat
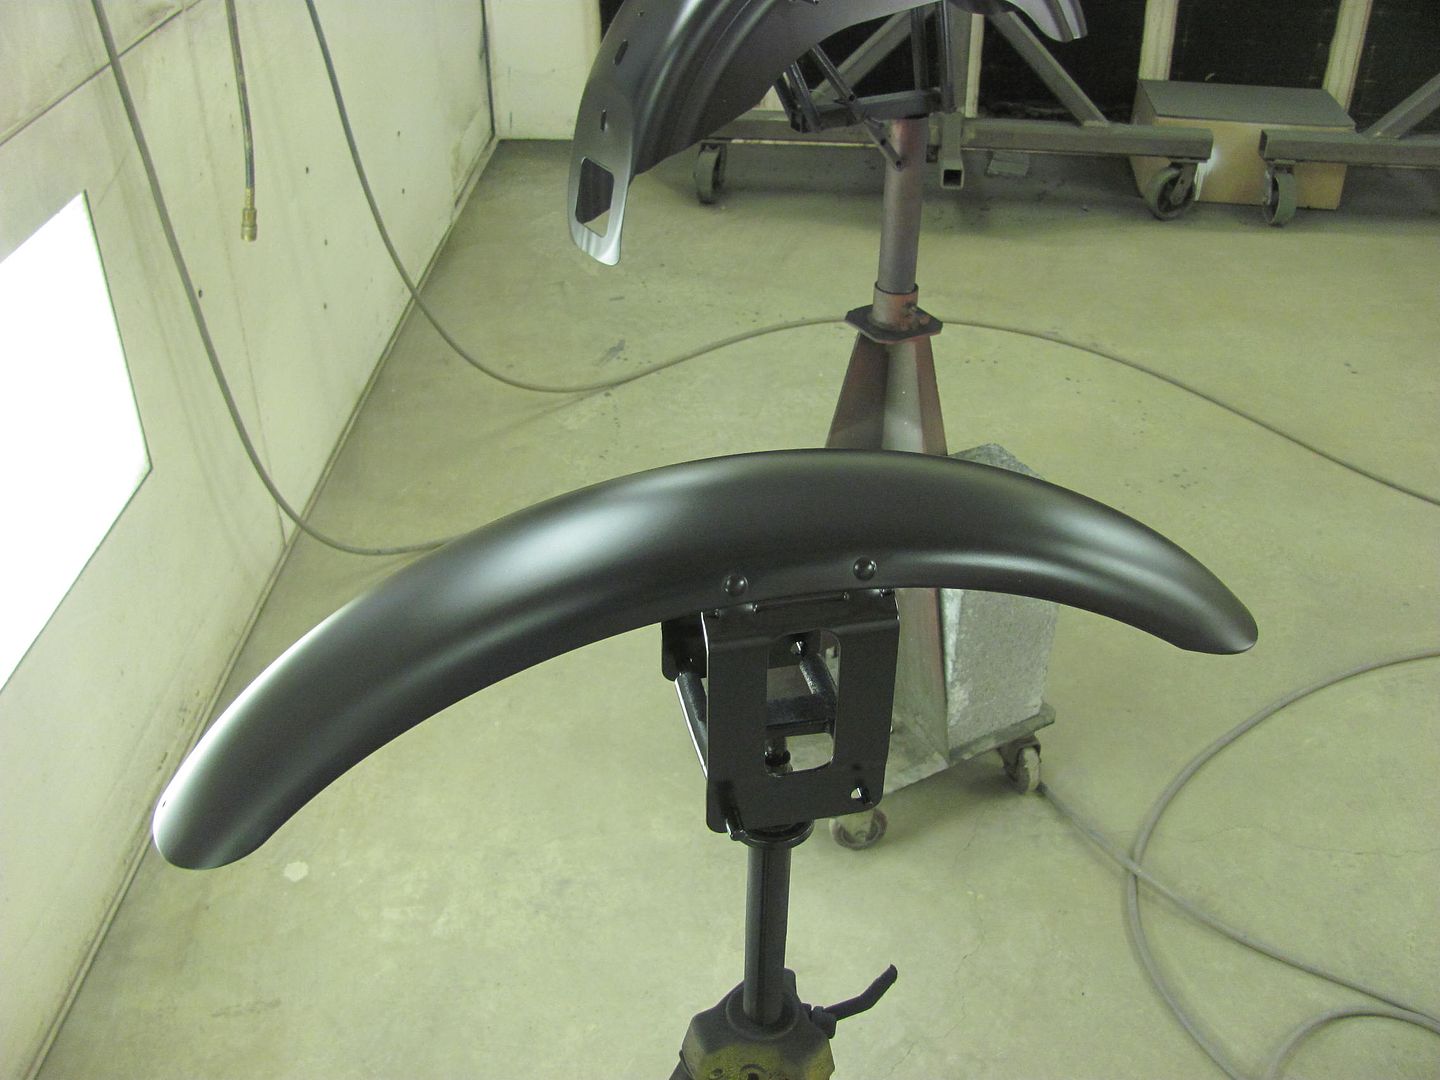
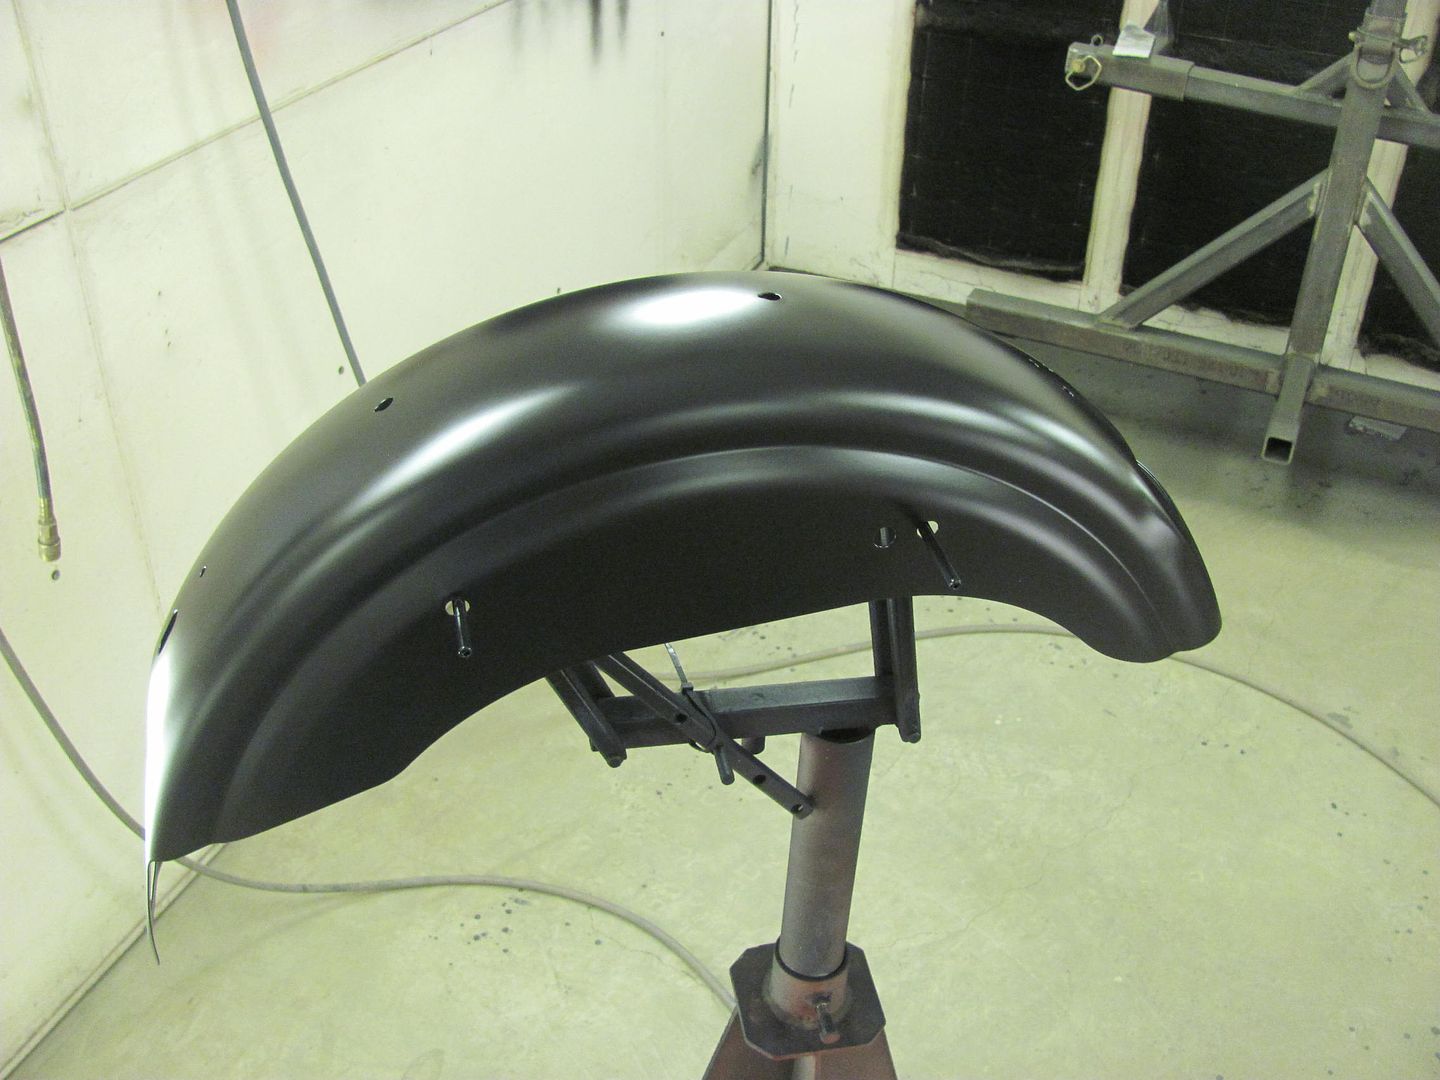
Dupont Cromax Black Diamond and clear
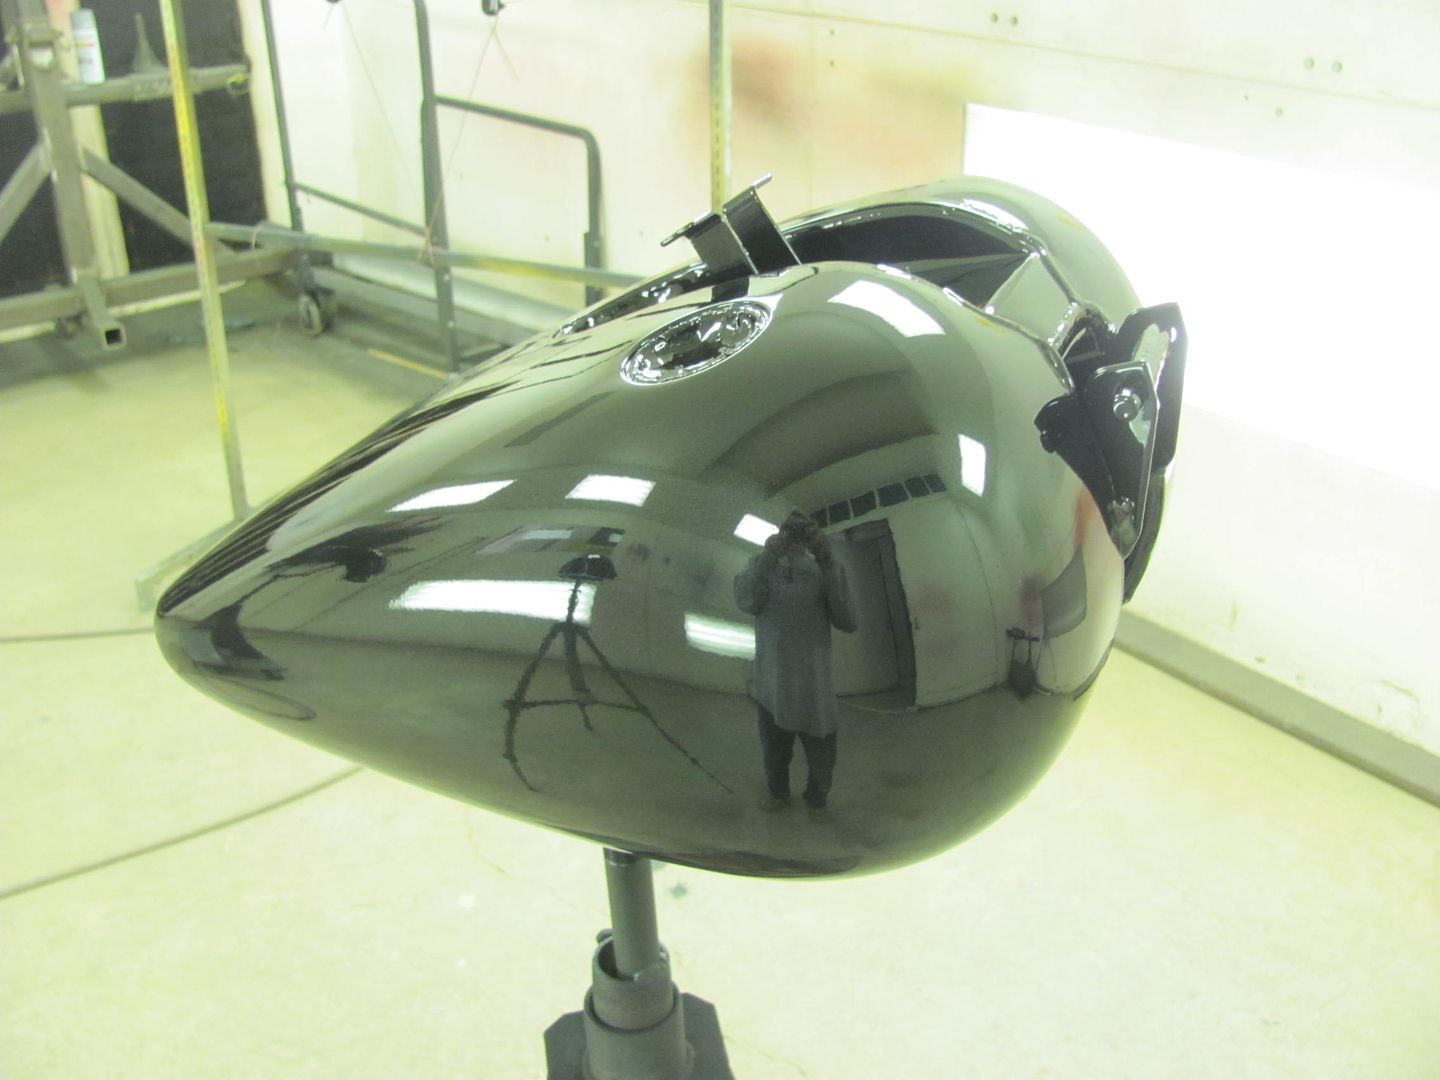
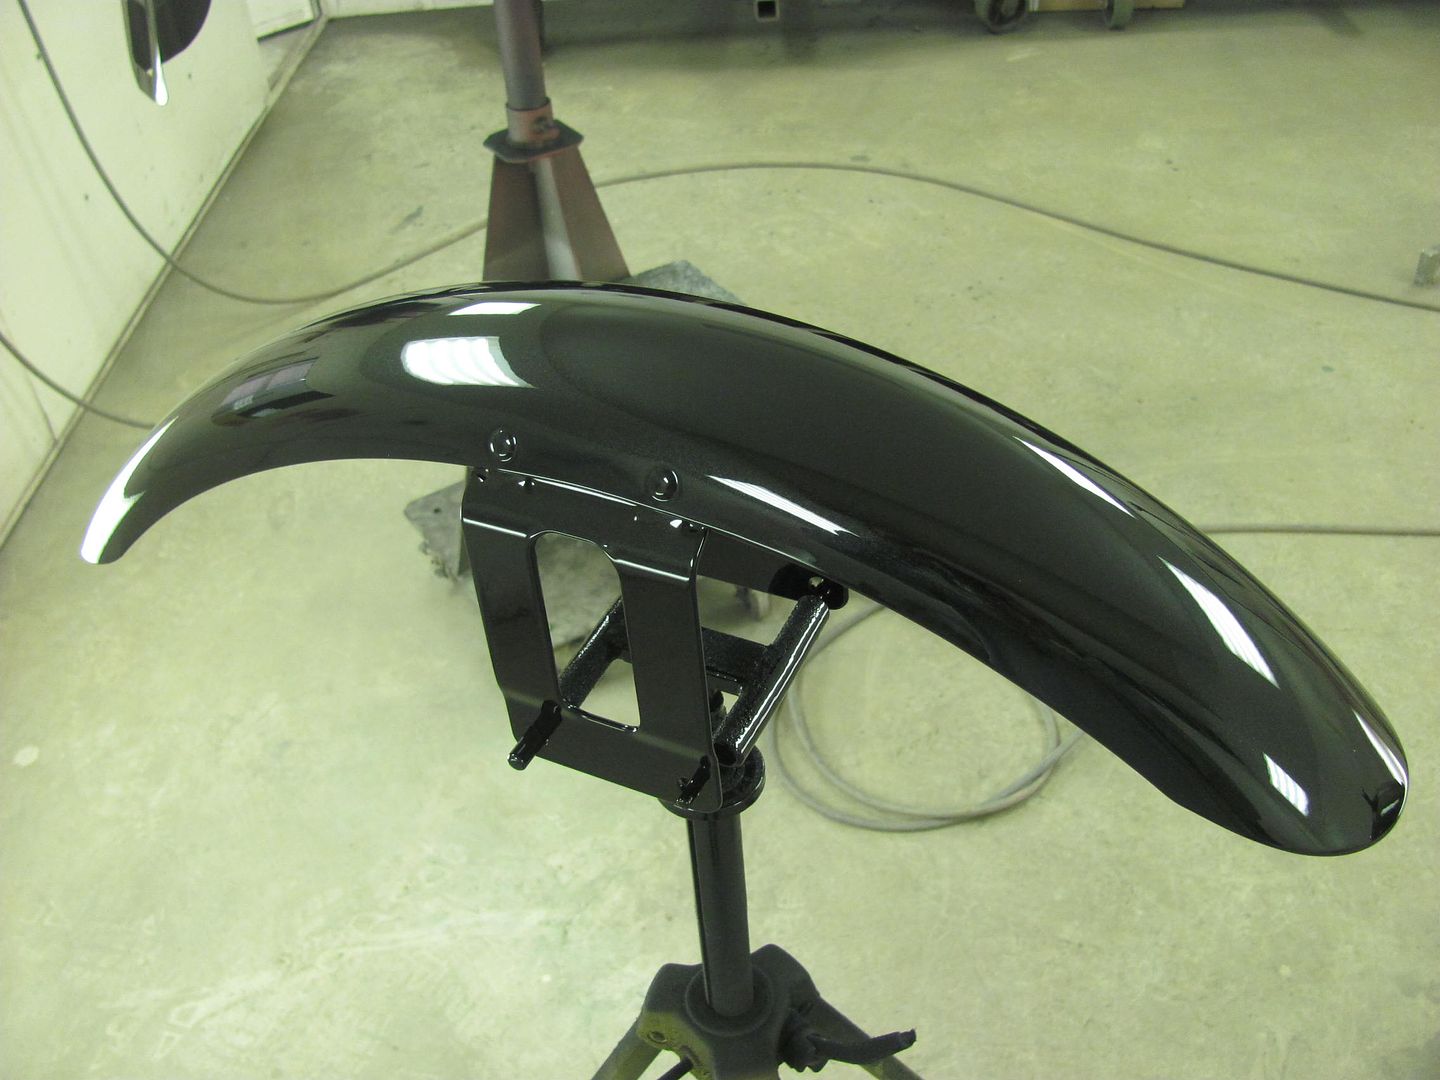
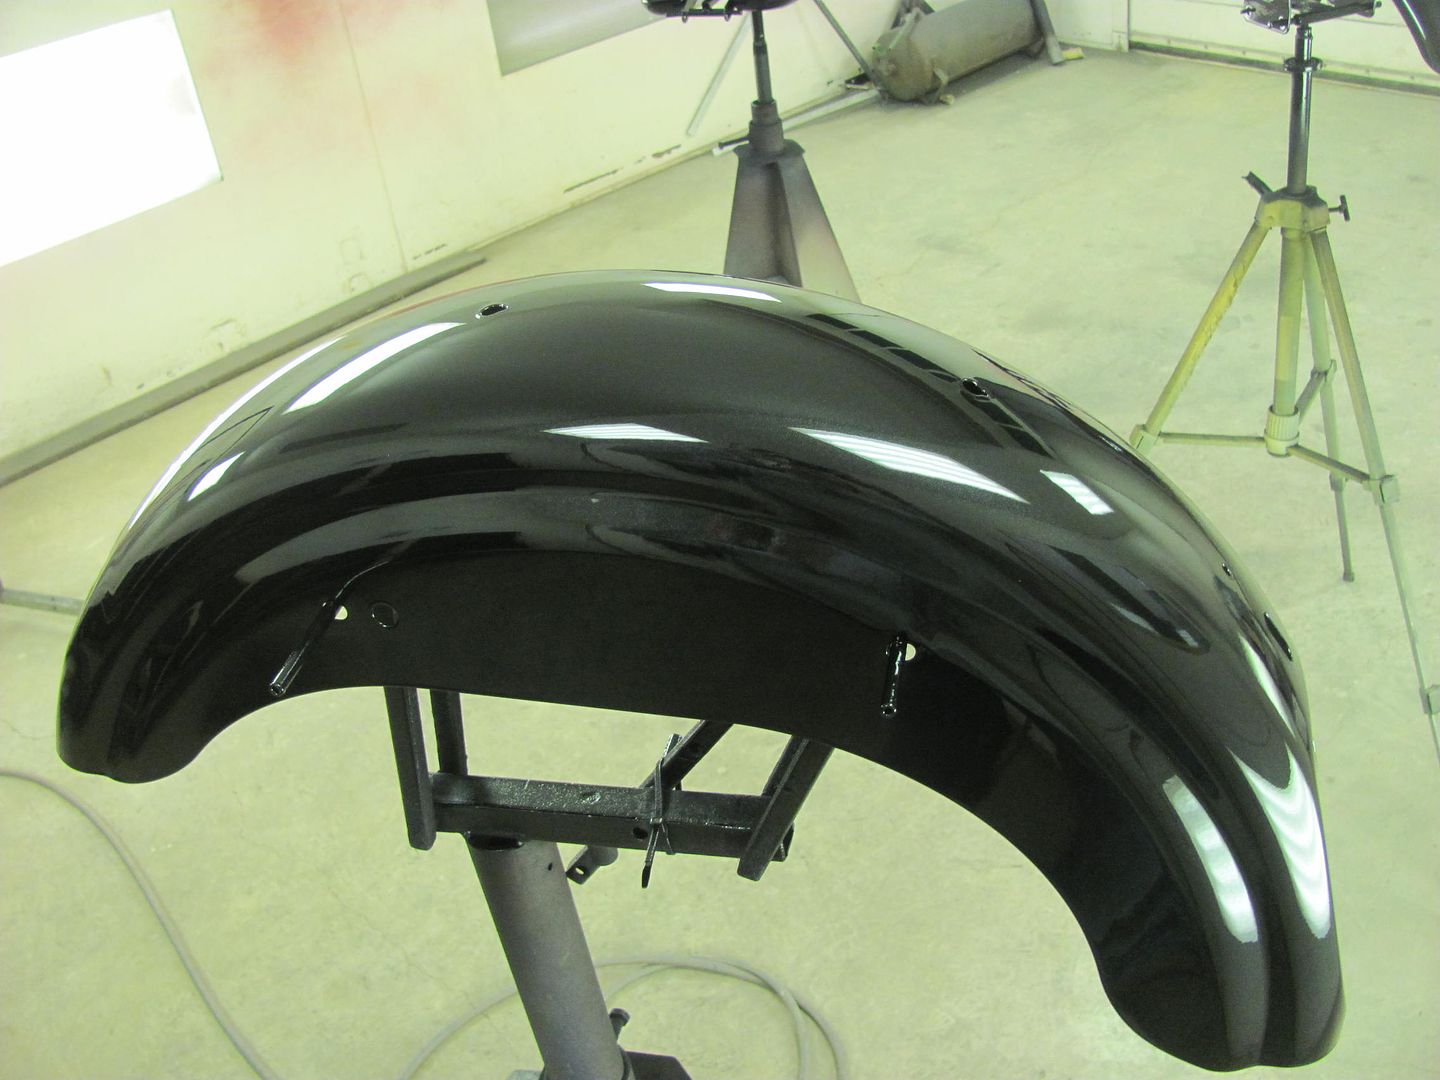
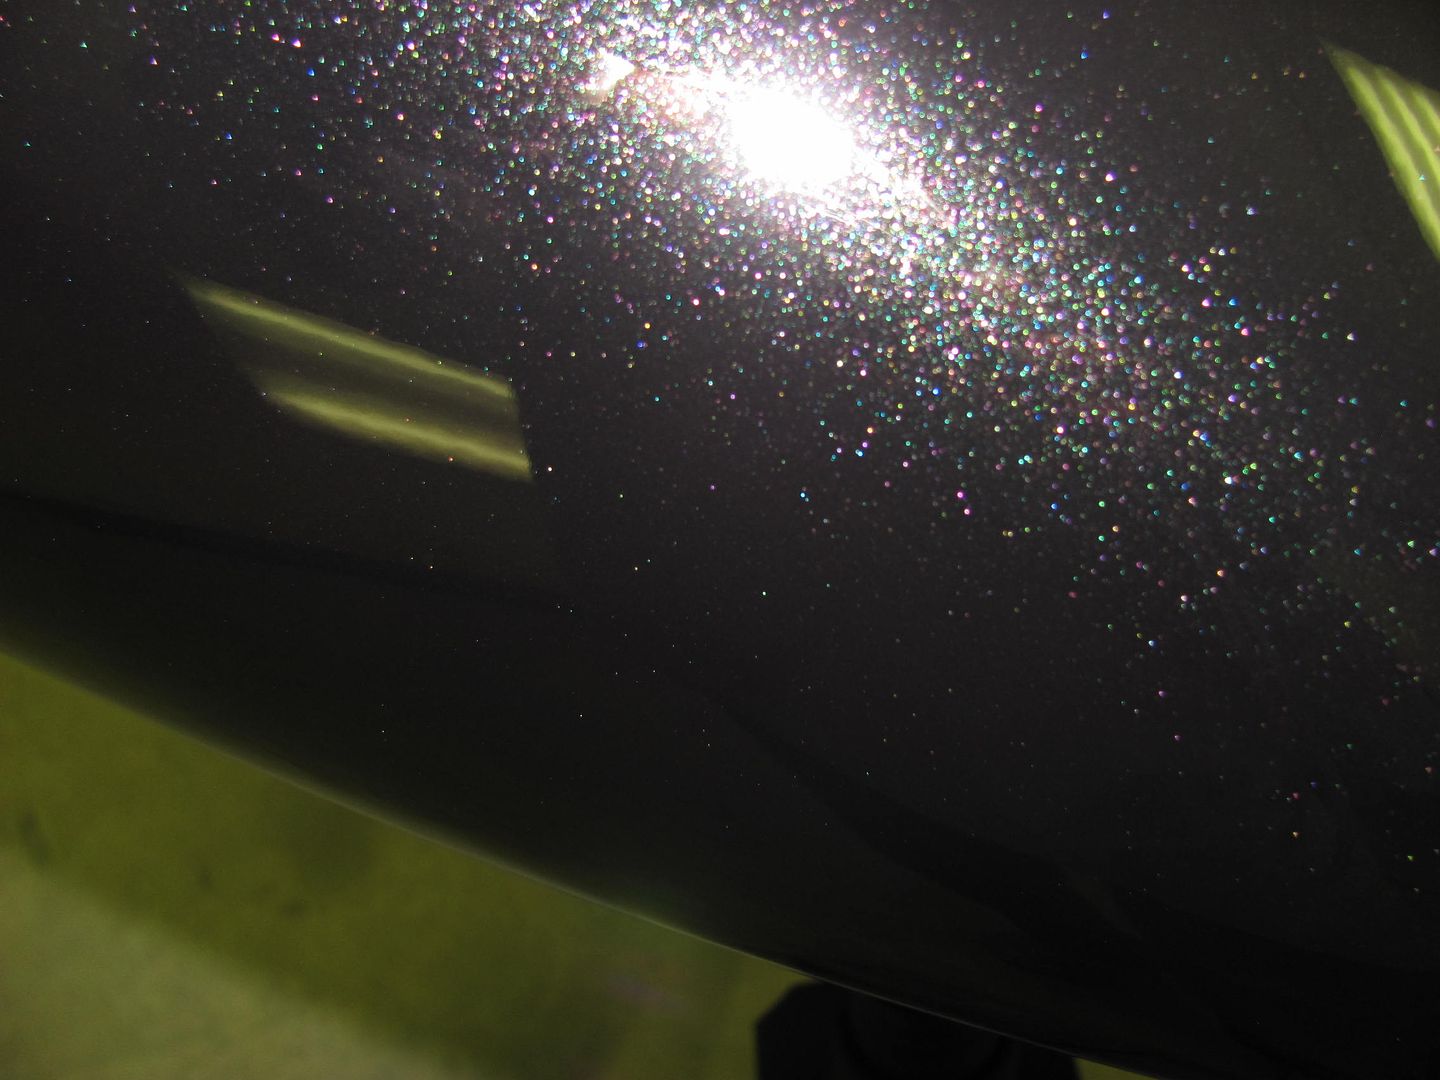
Robert
-
07-05-2015 04:34 PM #554
CHR Member
- Join Date
- Oct 2007
- Location
- Petaluma
- Car Year, Make, Model: 48 Ford F1
- Posts
- 9,795
Awesome finish!" "No matter where you go, there you are!" Steve.
-
07-05-2015 10:53 PM #555
CHR Member
- Join Date
- May 2005
- Location
- Tataraimaka NZ
- Car Year, Make, Model: `47 Ford sedan, A.C.Cobra replica.
- Posts
- 2,895
What he said x 2 Originally Posted by stovens
johnboy
Mountain man. (Retired.)
Some mistakes are too much fun to be made only once.
I don't know everything about anything, and I don't know anything about lots of things.
'47 Ford sedan. 350 -- 350, Jaguar irs + ifs.
'49 Morris Minor. Datsun 1500cc, 5sp manual, Marina front axle, Nissan rear axle.
'51 Ford school bus. Chev 400 ci Vortec 5 sp manual + Gearvendors 2sp, 2000 Chev lwb dually chassis and axles.
'64 A.C. Cobra replica. Ford 429, C6 auto, Torana ifs, Jaguar irs.
 Reply With Quote

Posting Permissions
- You may not post new threads
- You may not post replies
- You may not post attachments
- You may not edit your posts

Even though I know he won't see this, I still want to wish a Happy Birthday to my best friend, Richard Moore aka techinspector1
Happy Birthday techinspector1