


 3390Likes
Thread: 55 Wagon Progress


Results 496 to 510 of 1865
 LinkBack URL
 About LinkBacks
-
04-25-2015 09:57 PM #496
 CHR Member

- Join Date
- Jun 2008
- Location
- Leonardtown
- Car Year, Make, Model: Walking
- Posts
- 1,228
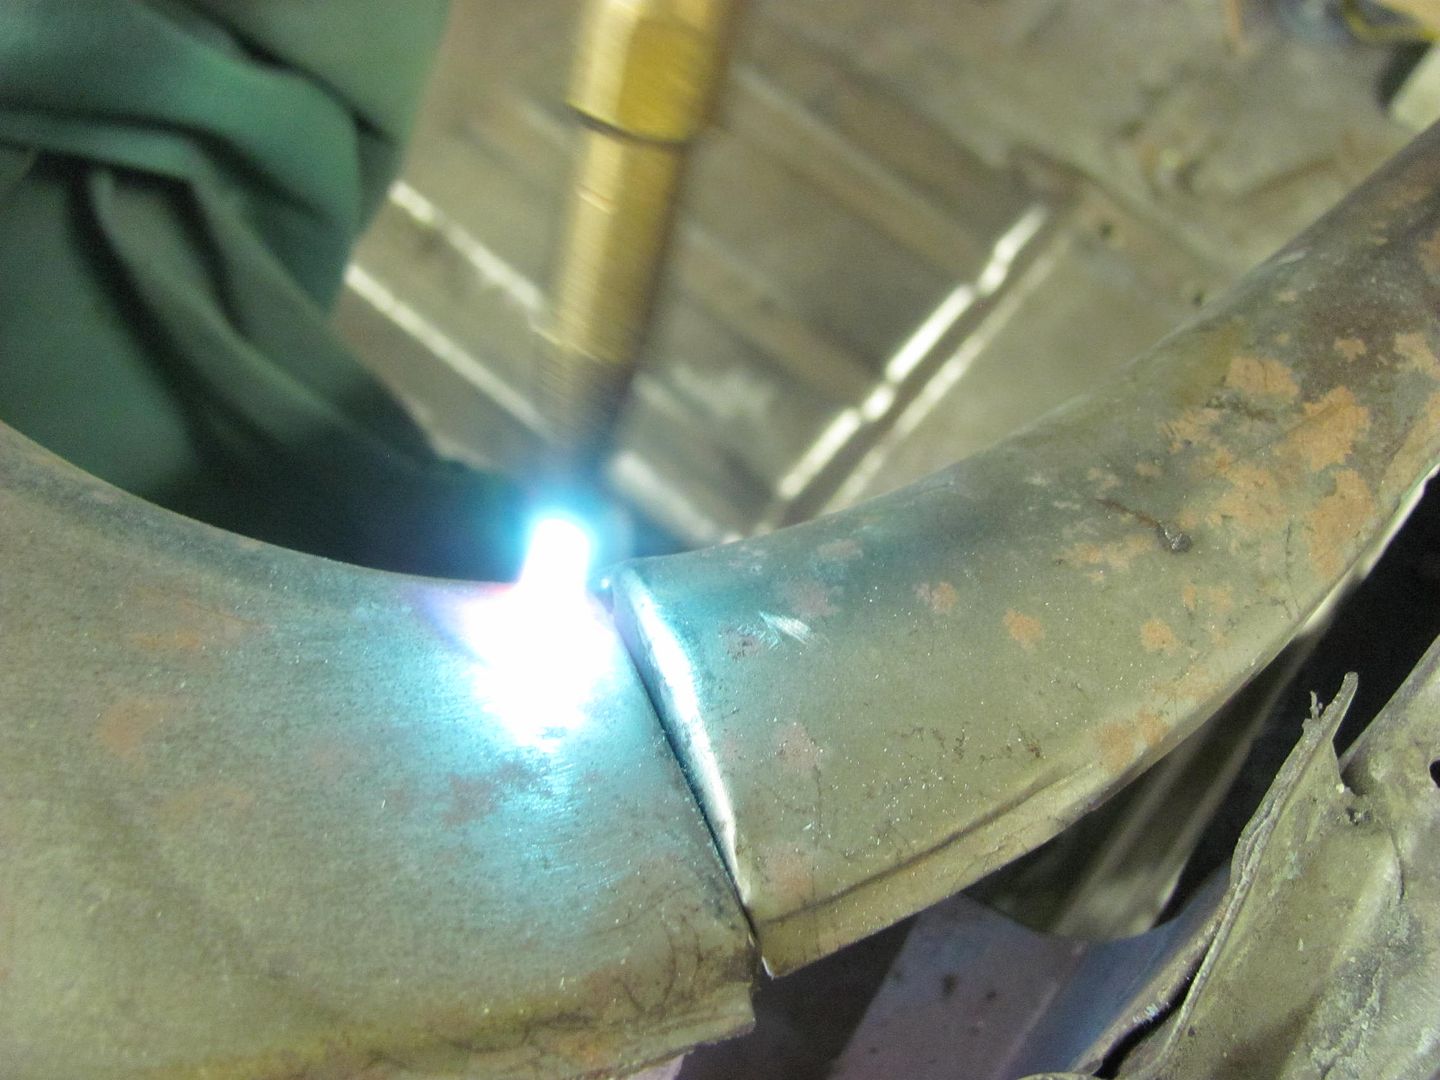
Finishing up on the radio holes...
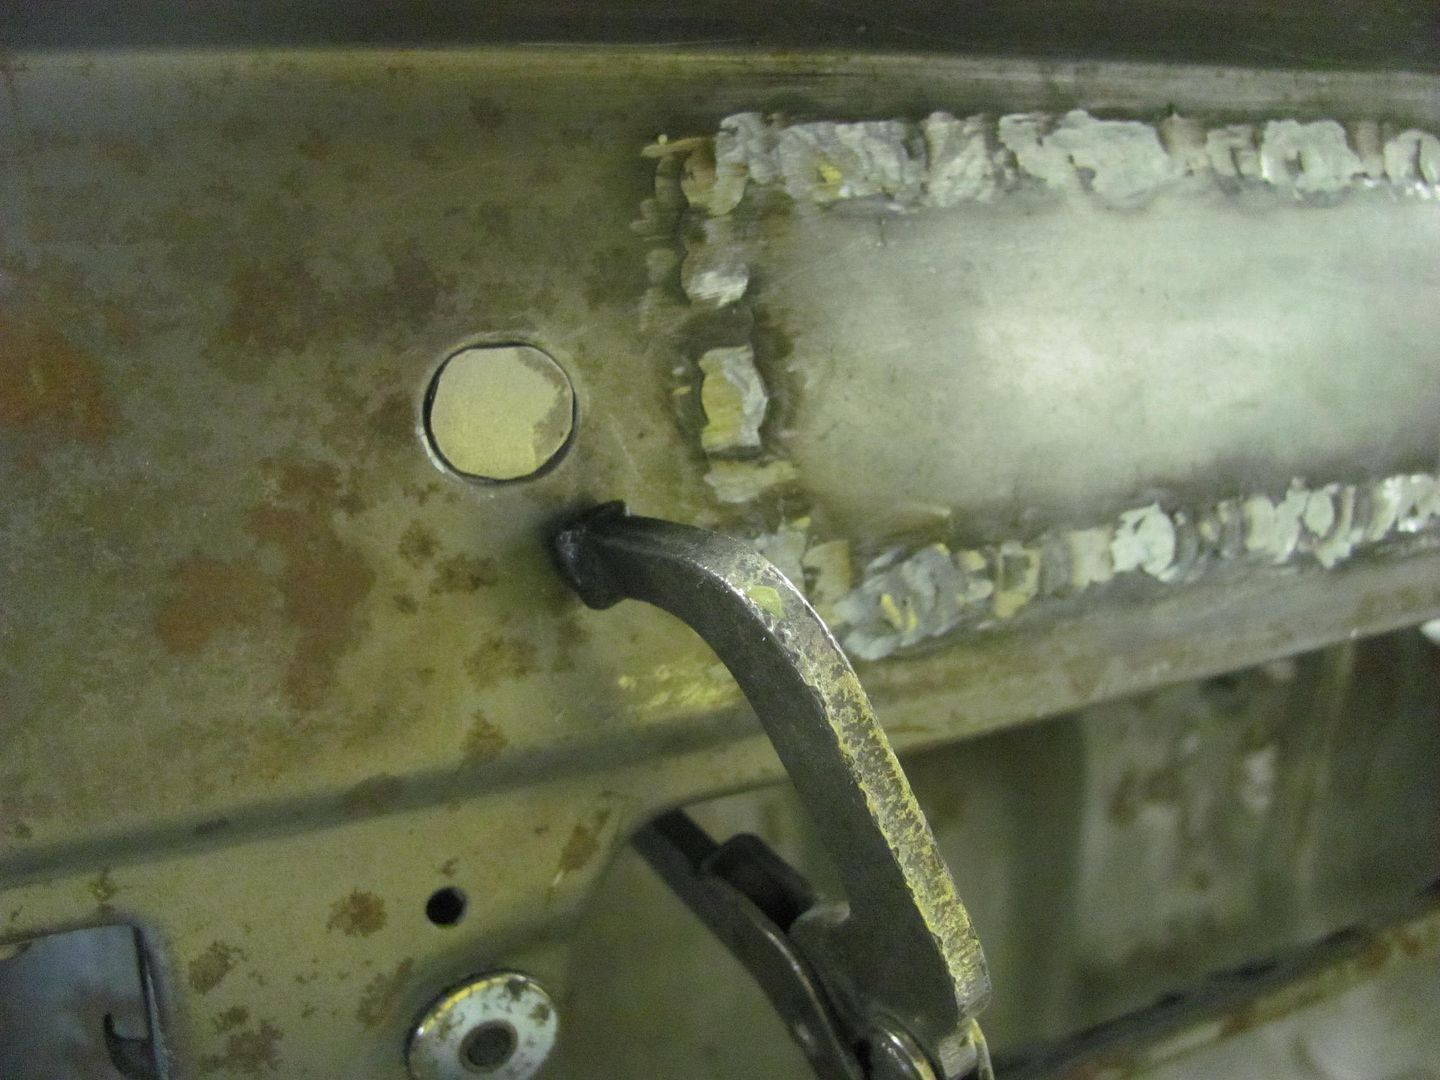


Shaving the other seam, here bumping the panels to get a consistent height across the front...
The upper section would prove to need a bit more persuasion...
Tool modification...
A chunk of 3/4 square stock laid in dash void to use as fulcrum...

Heat applied...
Results... before..
After...


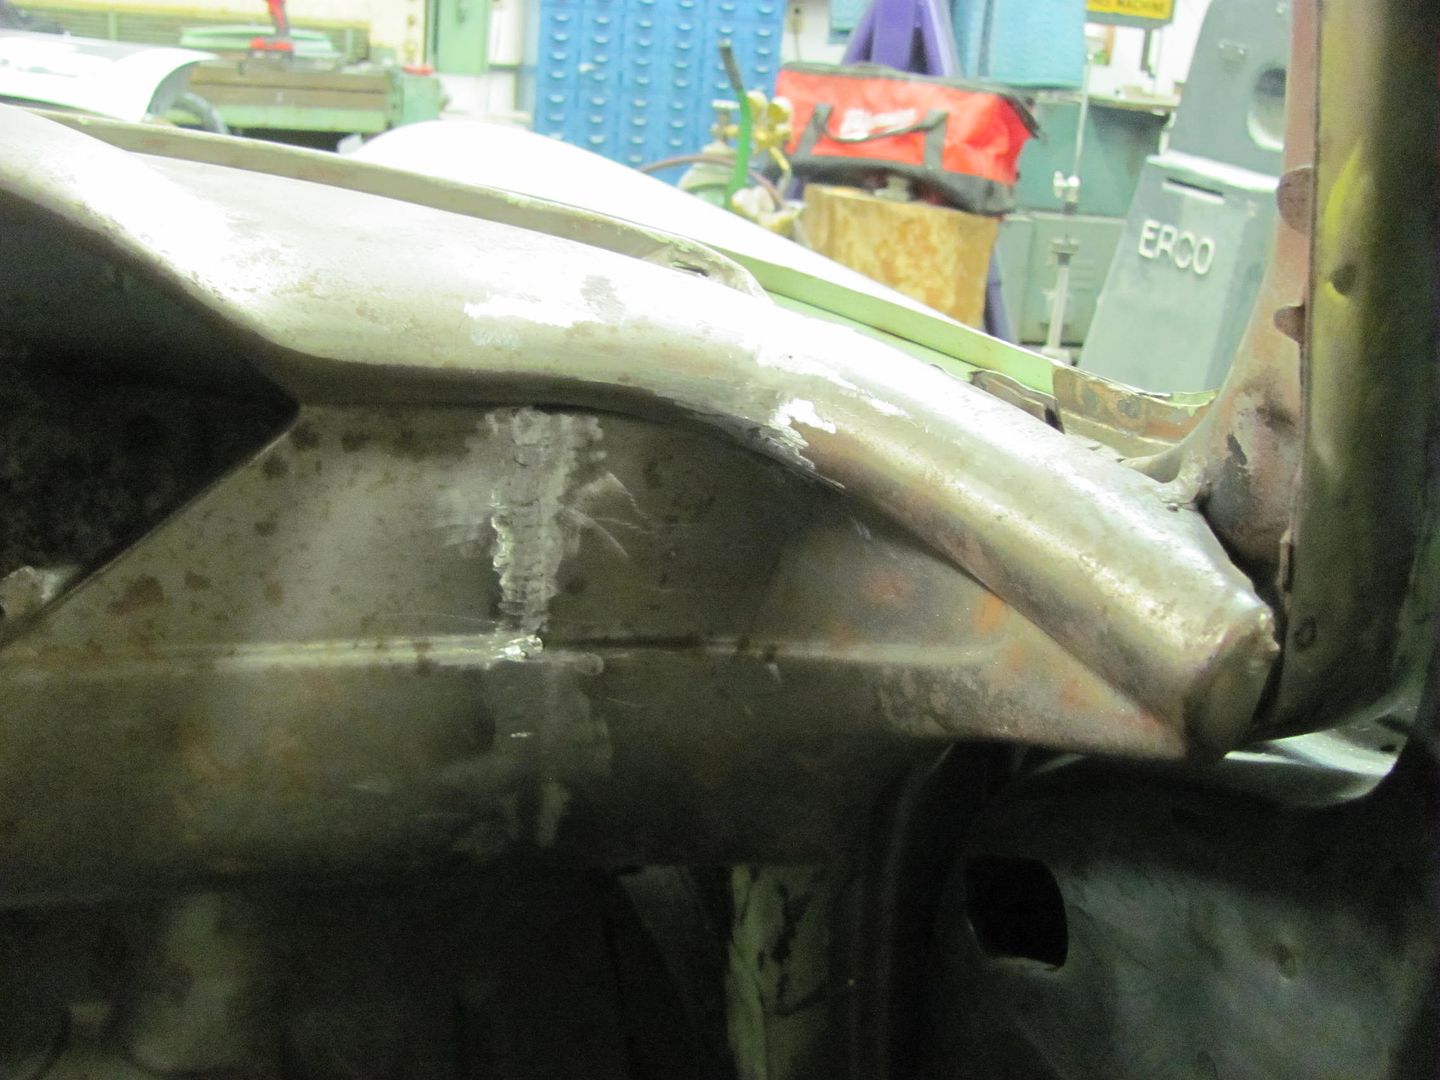
This view from the back side of weld dot penetration shows Kyle has pretty good consistency in weld dot sizing.

Robert
-
Advertising

- Google Adsense
- REGISTERED USERS DO NOT SEE THIS AD
-
04-26-2015 01:47 AM #497
CHR Member
- Join Date
- Sep 2007
- Location
- New Bedford
- Car Year, Make, Model: 34 Ford 3W Coupe Replica
- Posts
- 14,754
Ah.. thanks for the info.. Originally Posted by MP&C

-
04-26-2015 09:13 PM #498
CHR Member
- Join Date
- Jun 2008
- Location
- Leonardtown
- Car Year, Make, Model: Walking
- Posts
- 1,228
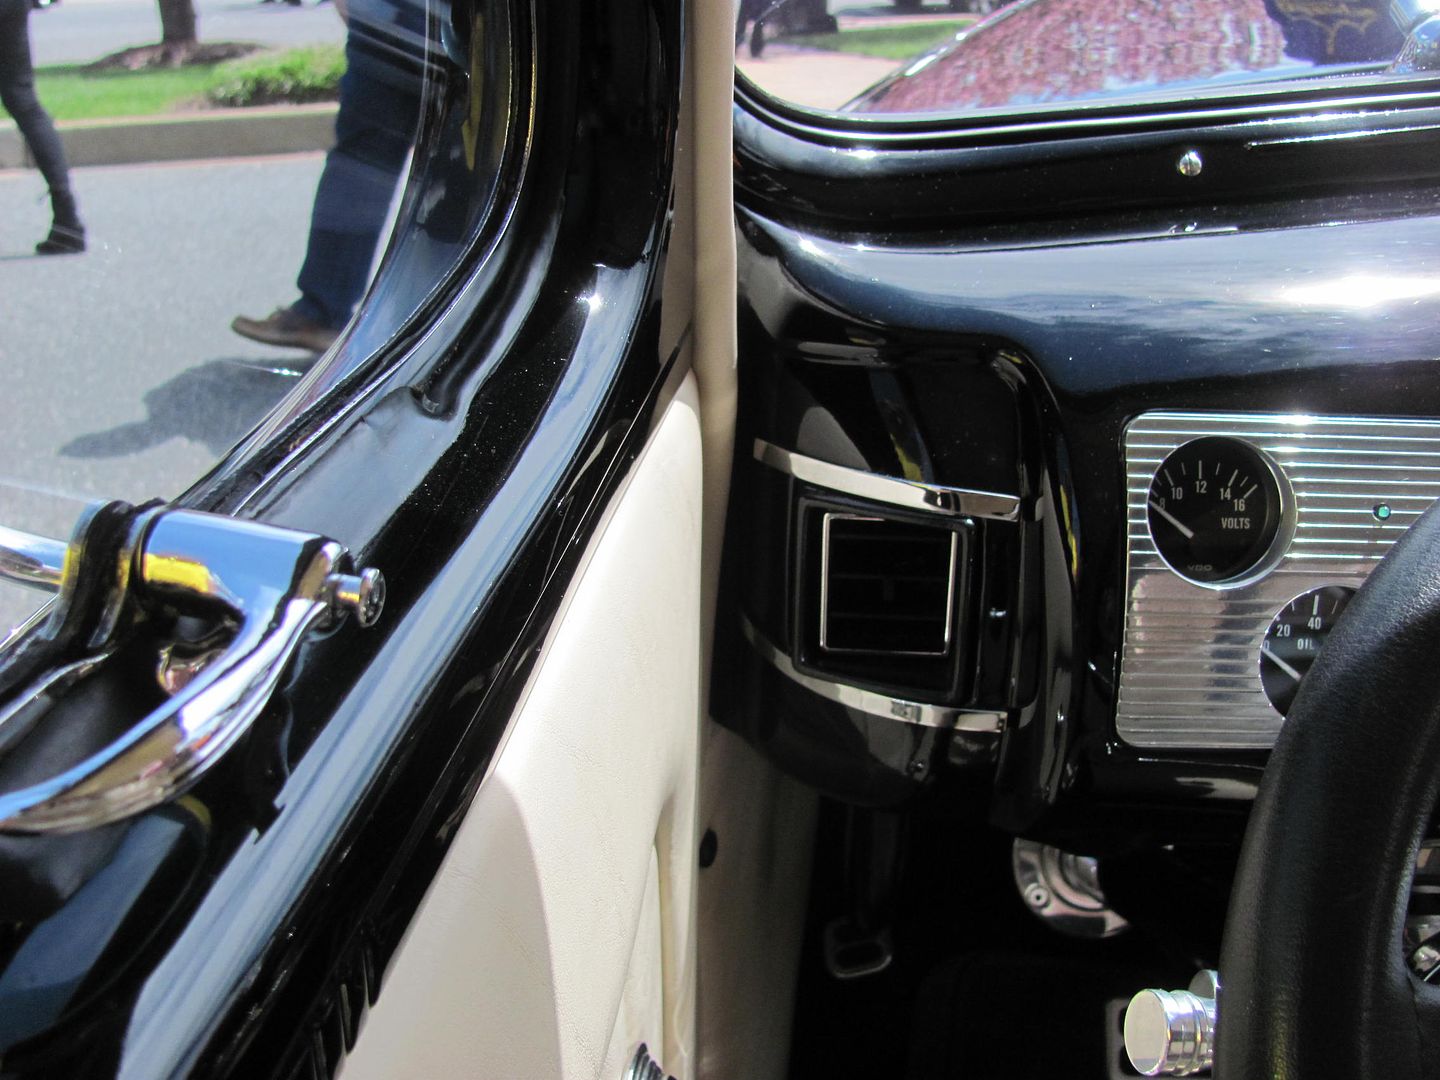
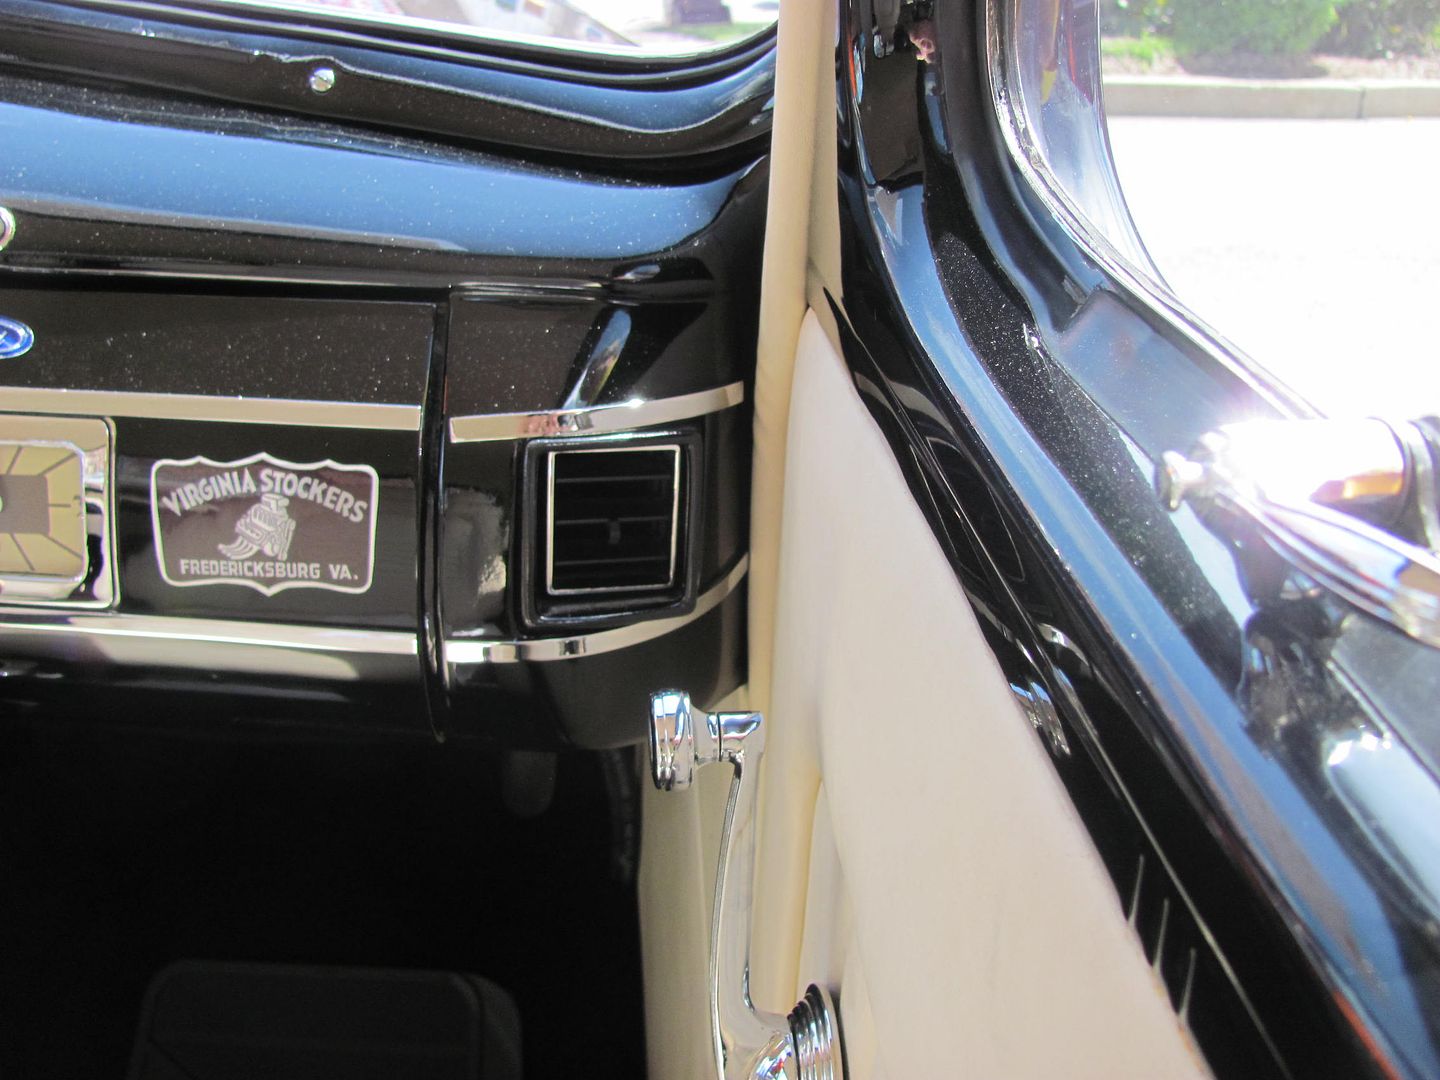
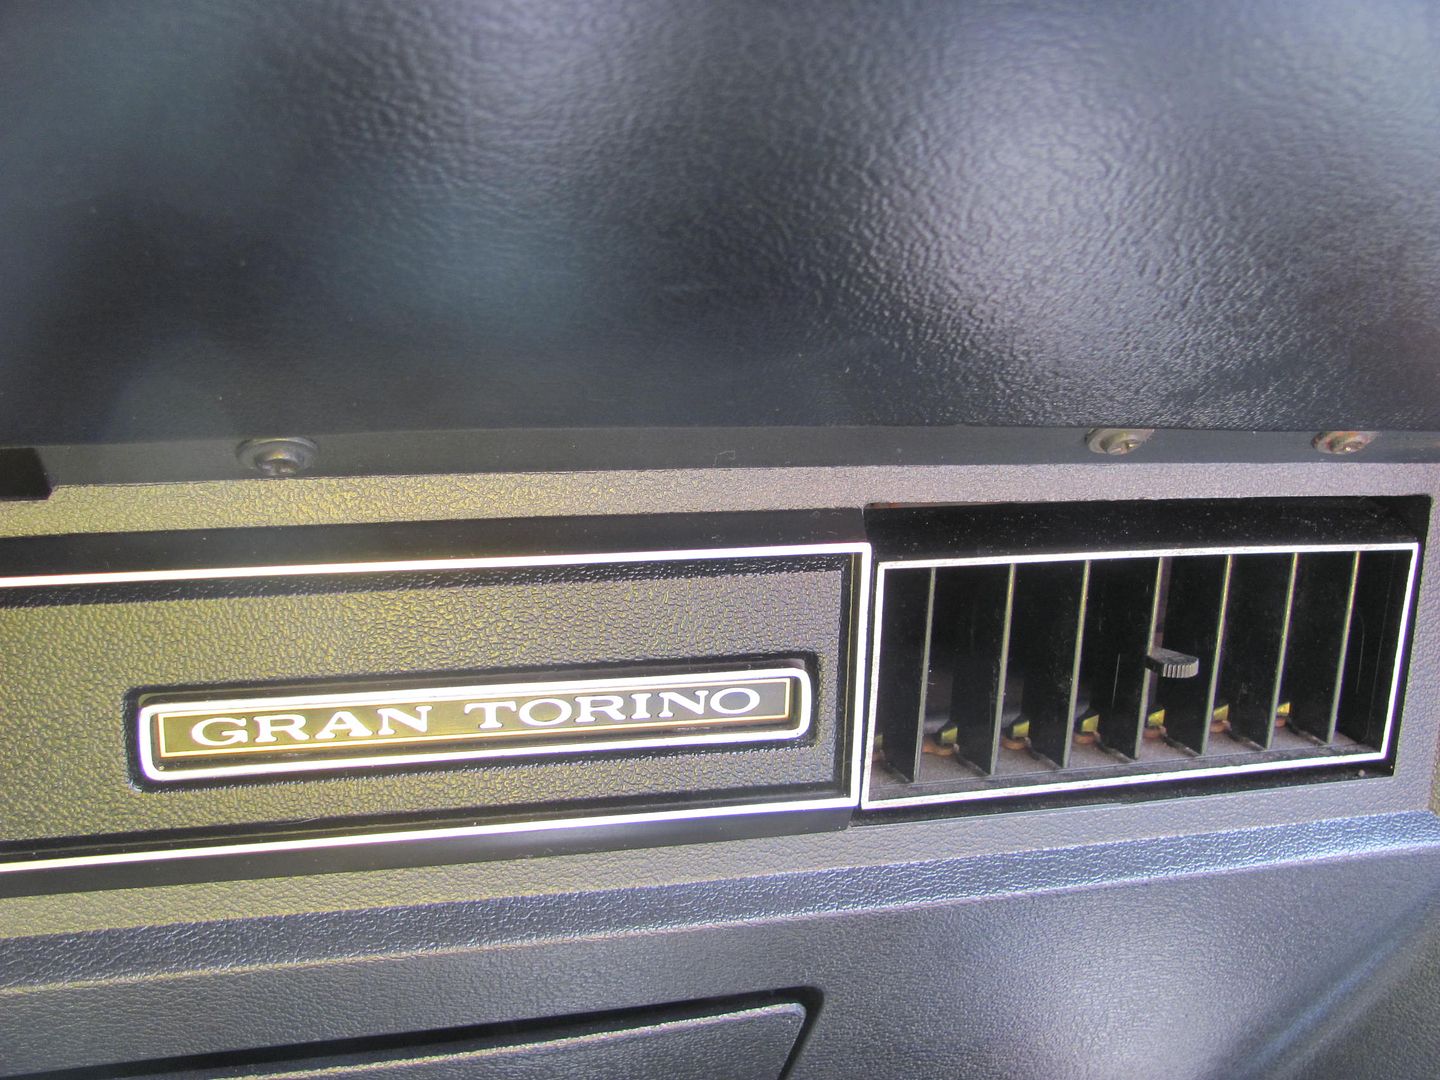
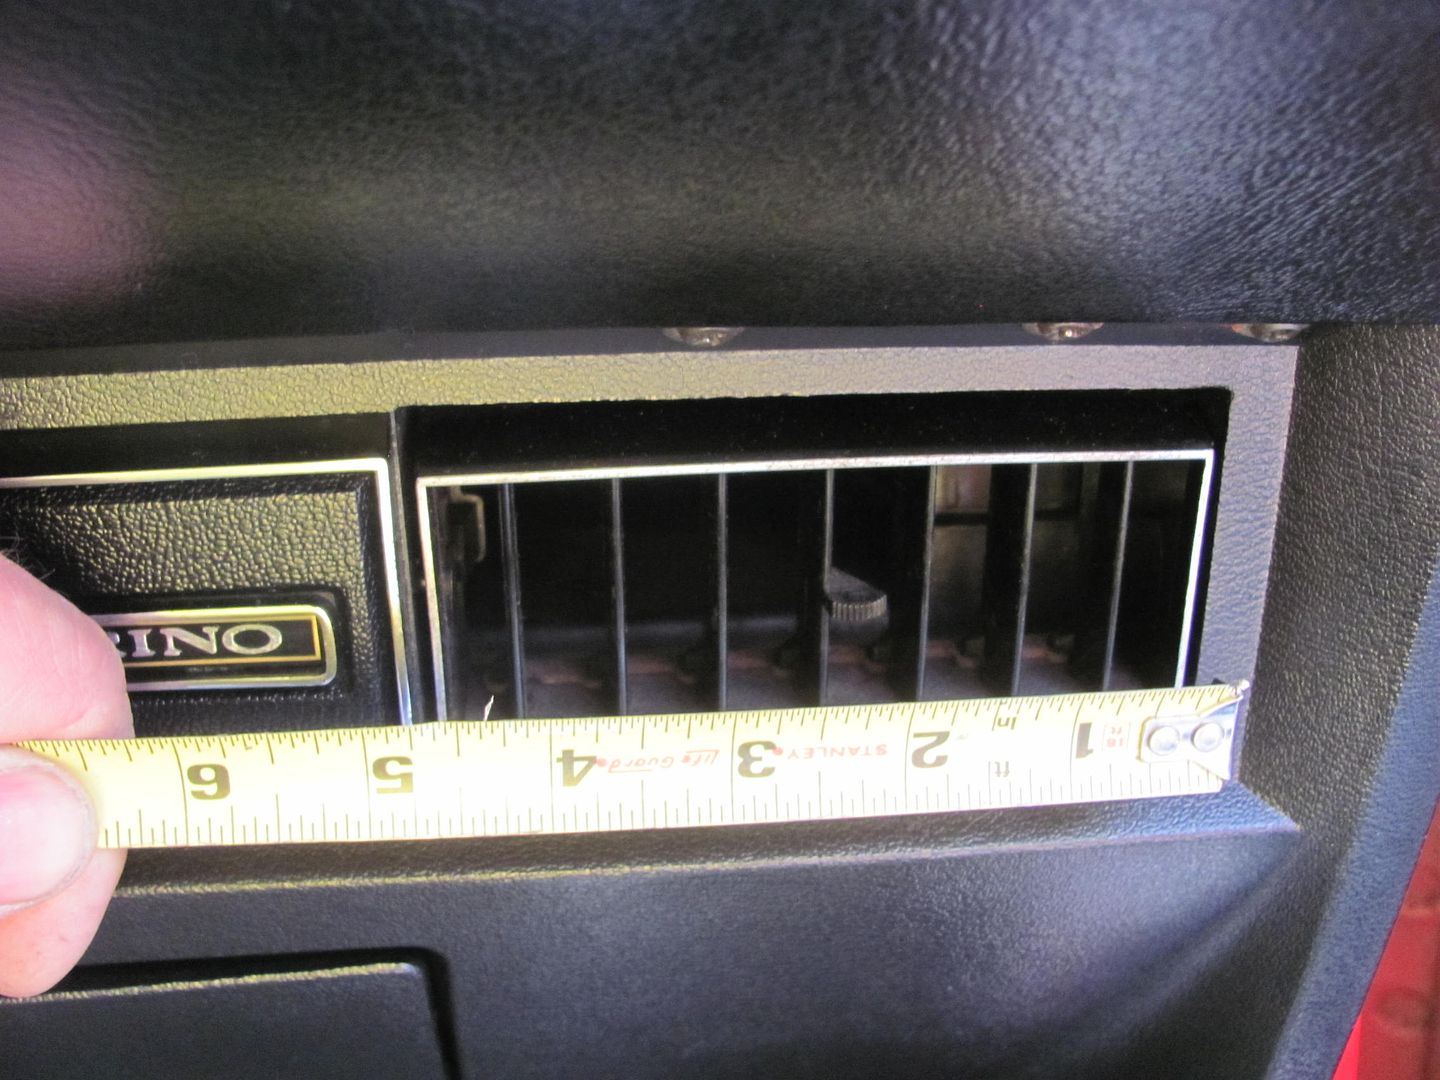
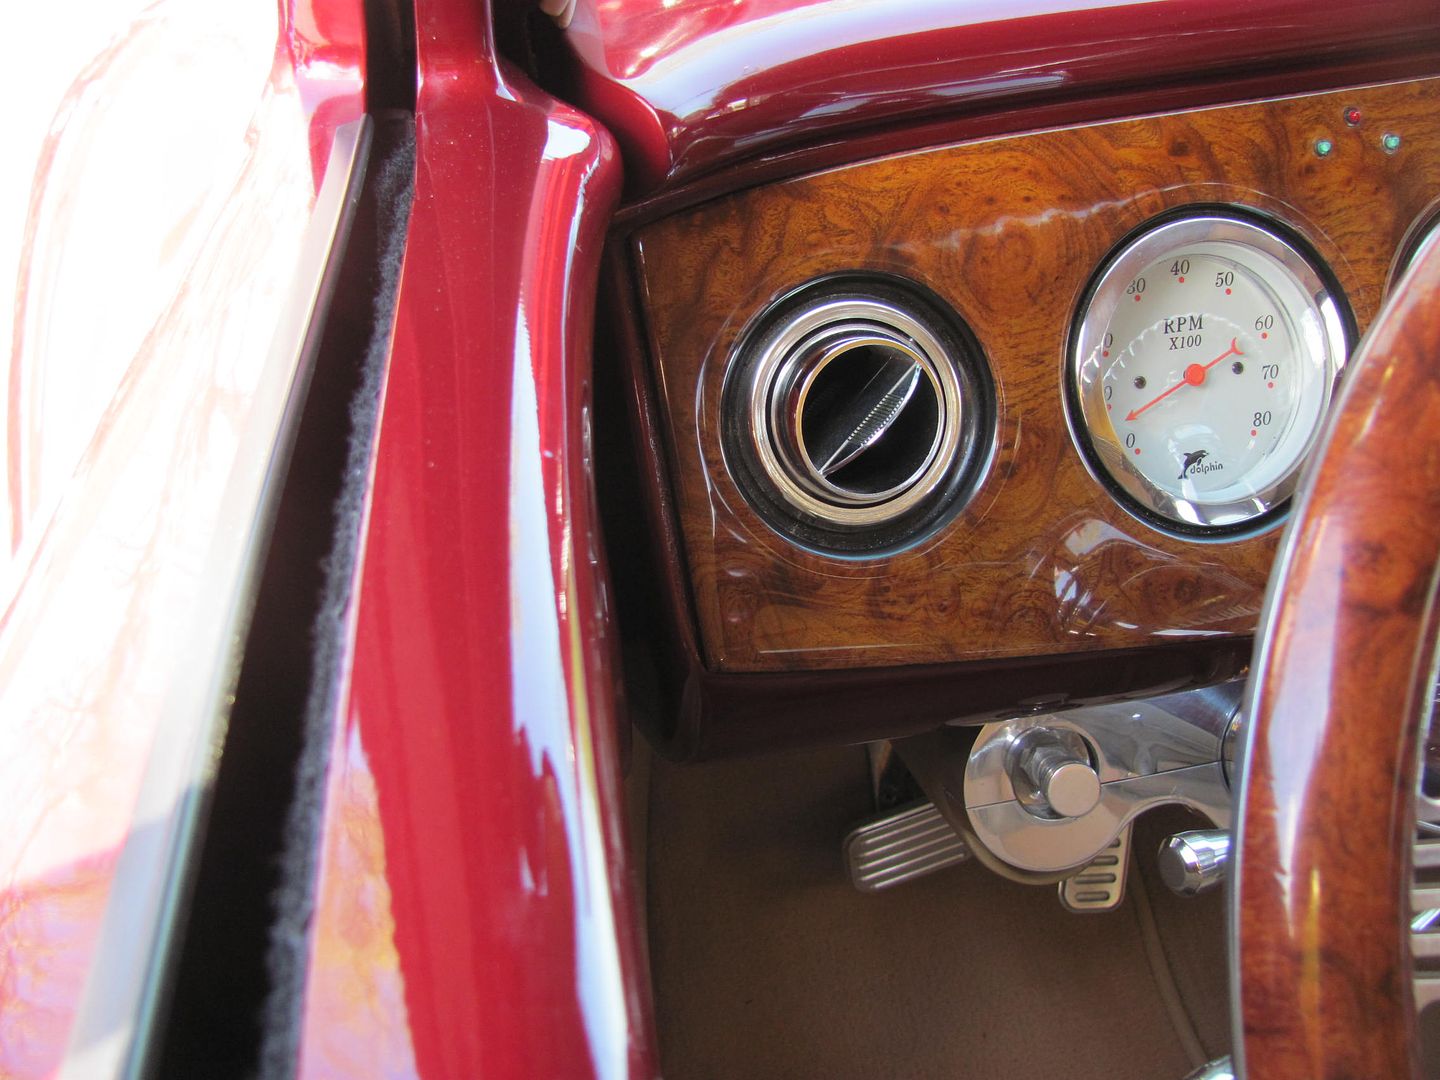
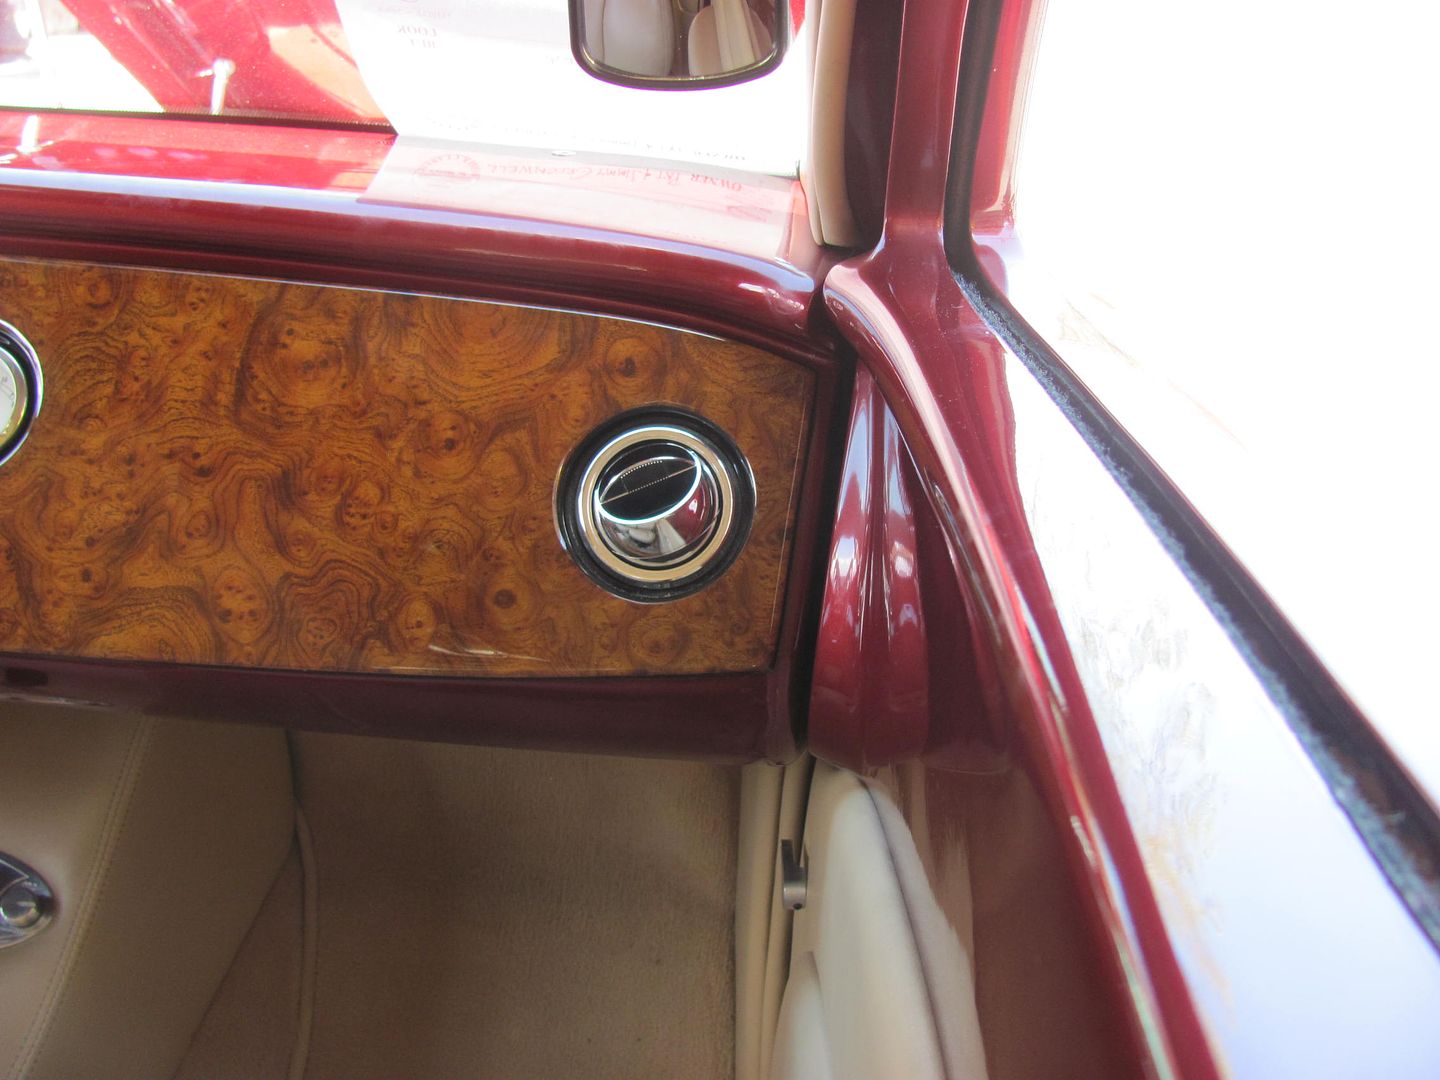
Today was the Spring Fling car show in Leonardtown so we took the opportunity to do some "window shopping" for vents to fit in the dashboard. With all this nice real estate now:
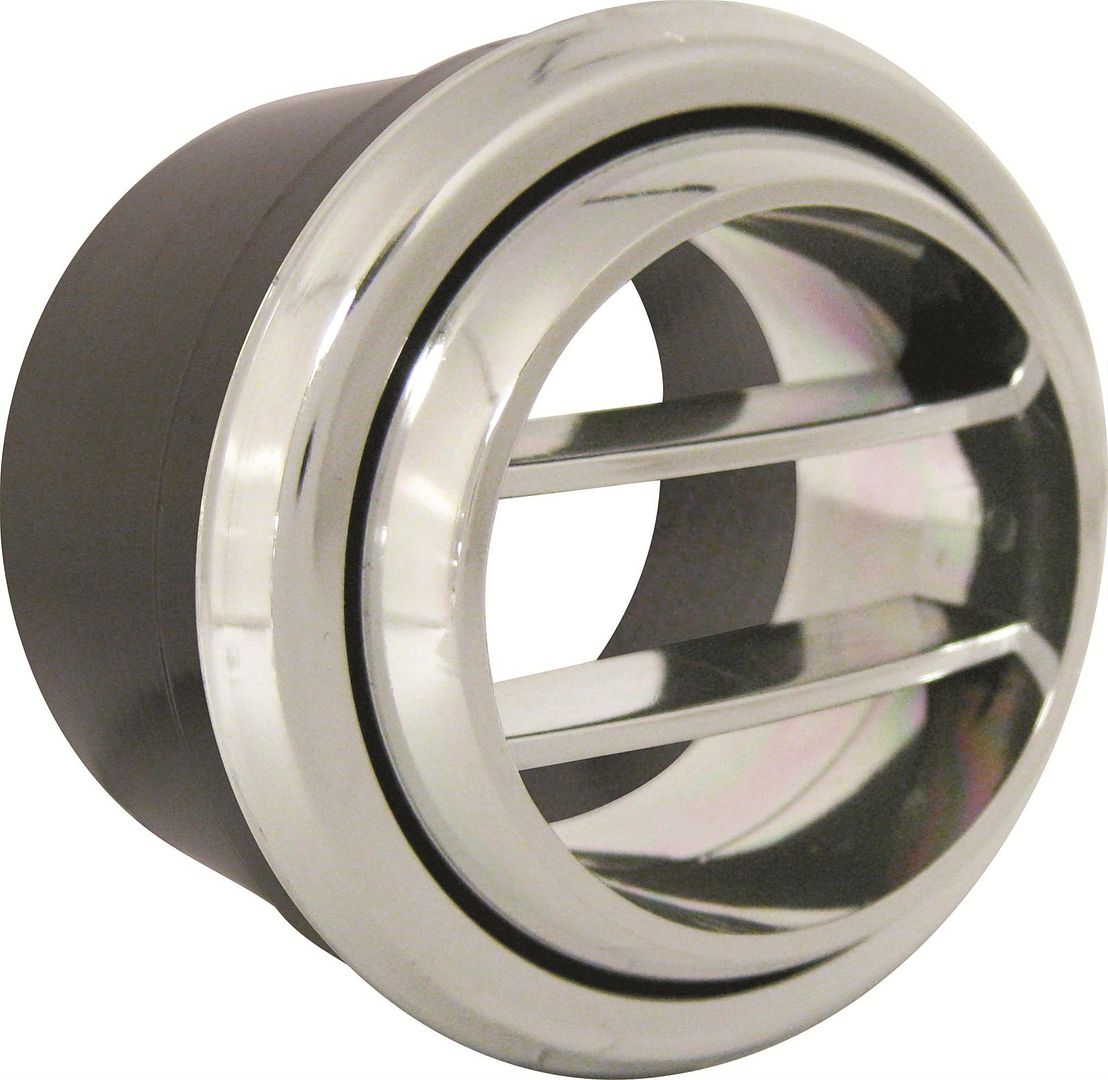
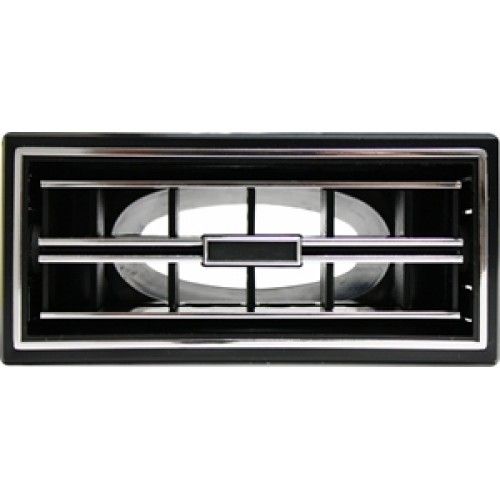
.....our plans are for some rectangular AC vents in the radio's original place. I always thought the "up in your face" vents do a better job of keeping you cool than the under dash ones that freeze the knees. So in no particular order, here are some sample vents..
1940 Ford "ashtray replacements" by VA... Although small, thought these may work toward the outside in the same "band" area of the dash...

Grand National...
Lower dash vents for a 65 Impala...
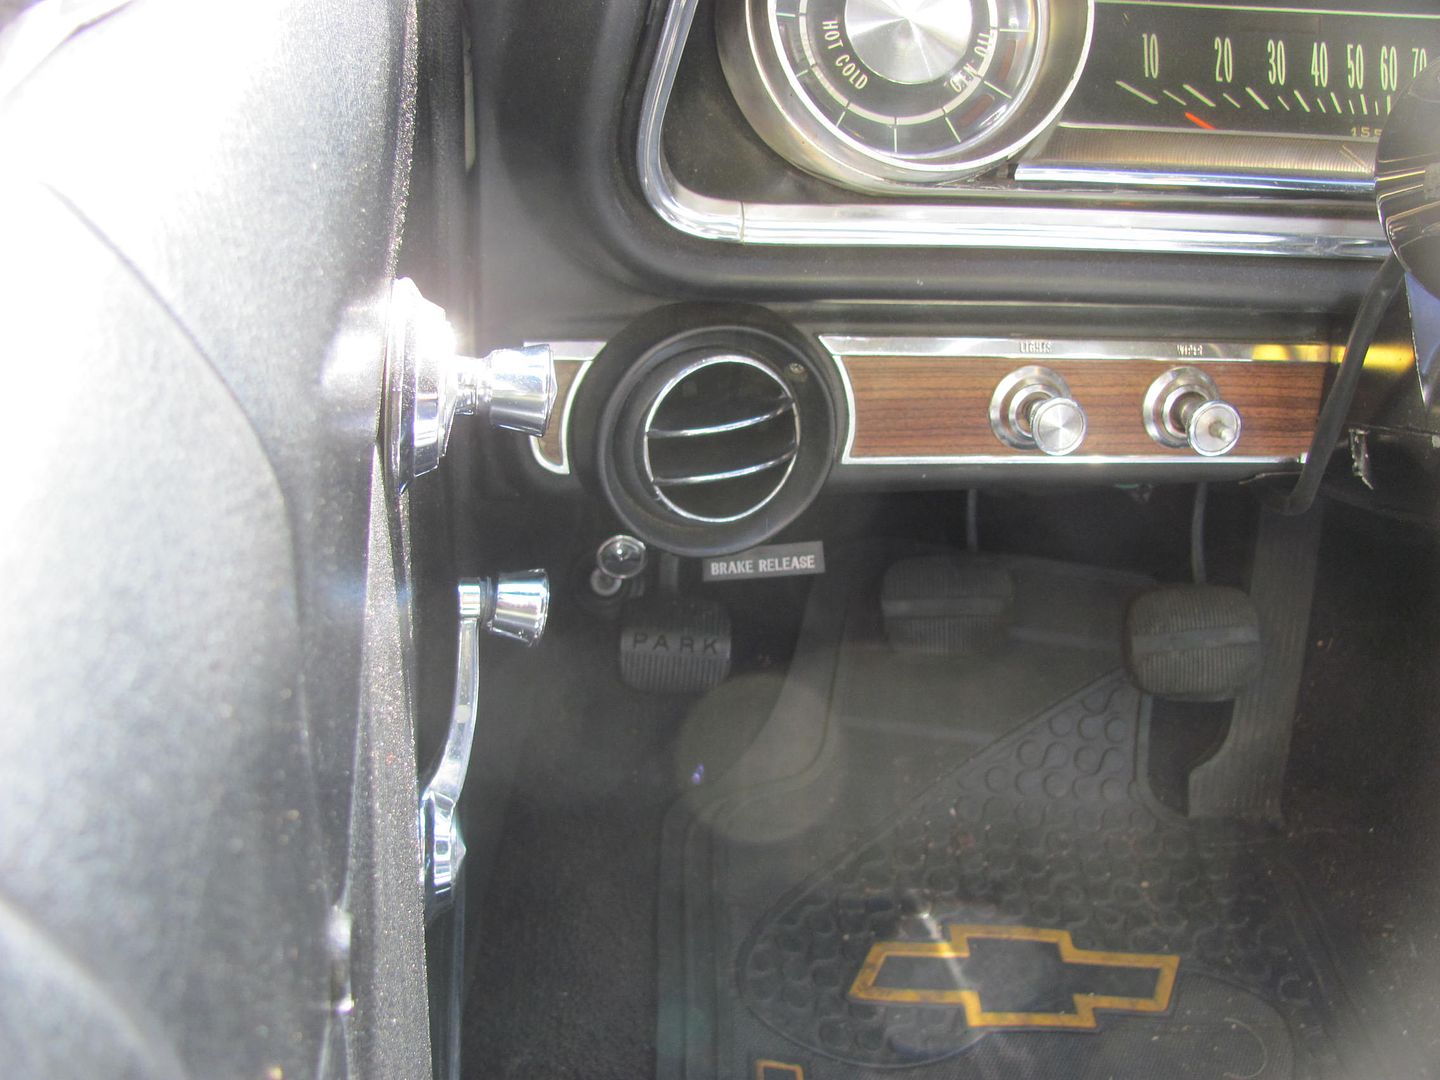
I like these and the dual parallel deflector vanes over the 55 factory, which is a ball vent with a wide open hole.
These next ones are the ones I'm leaning toward for the dash center as they are an easier install than most of the GM ones of the era. The GM vents have a solid pivot shaft at either end that would require making a saddle and clamp deal to hold it in place. The Fomoco style shown here has the pivot pin on a tab that springs inward for installation/removal, so it requires two simple holes. A much easier fabrication of needed ducting.. if we need to fabricate..
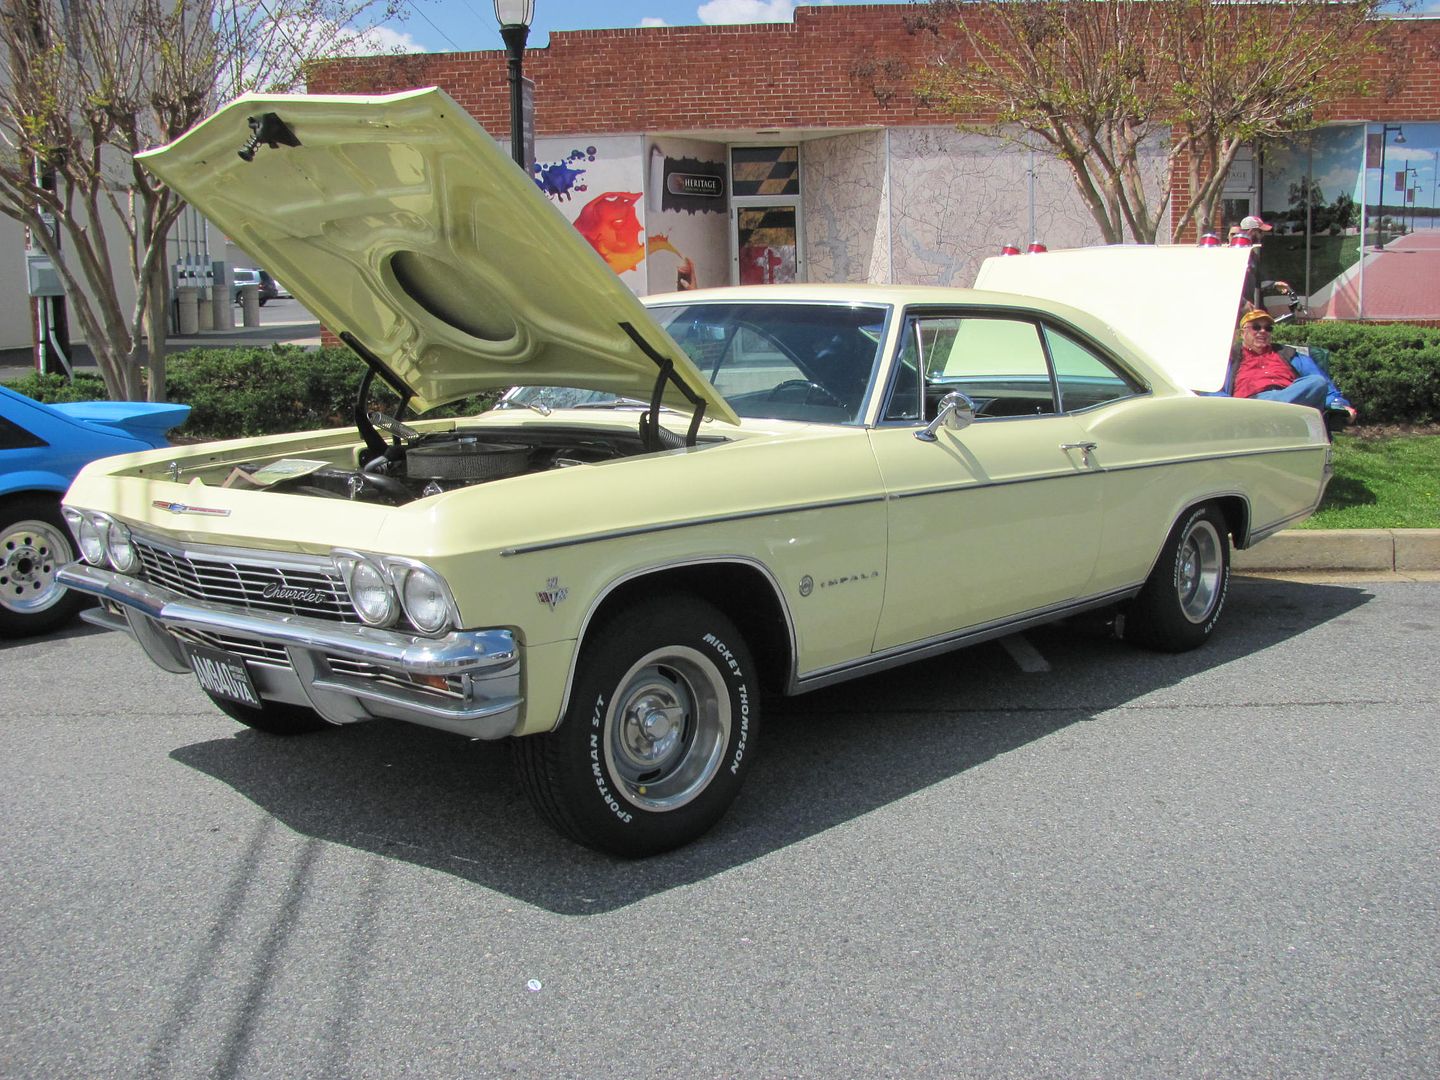
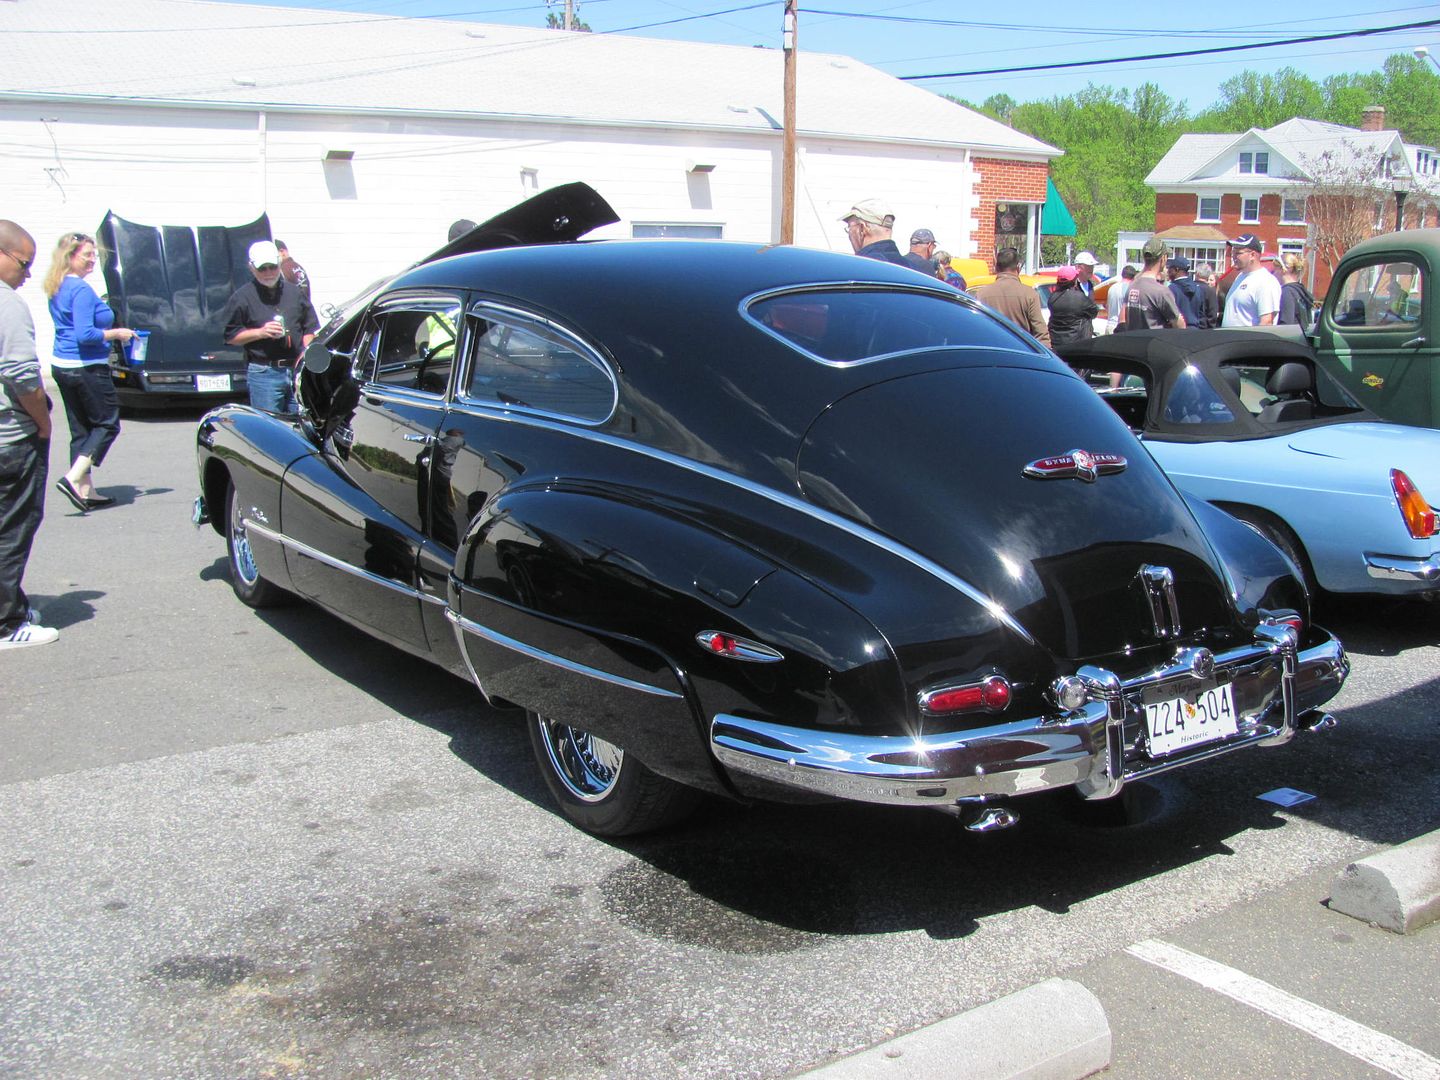
This had no AC vents, but was a super clean ride, and still sported the Straight 8 under the hood, so consider this complimentary eye candy!
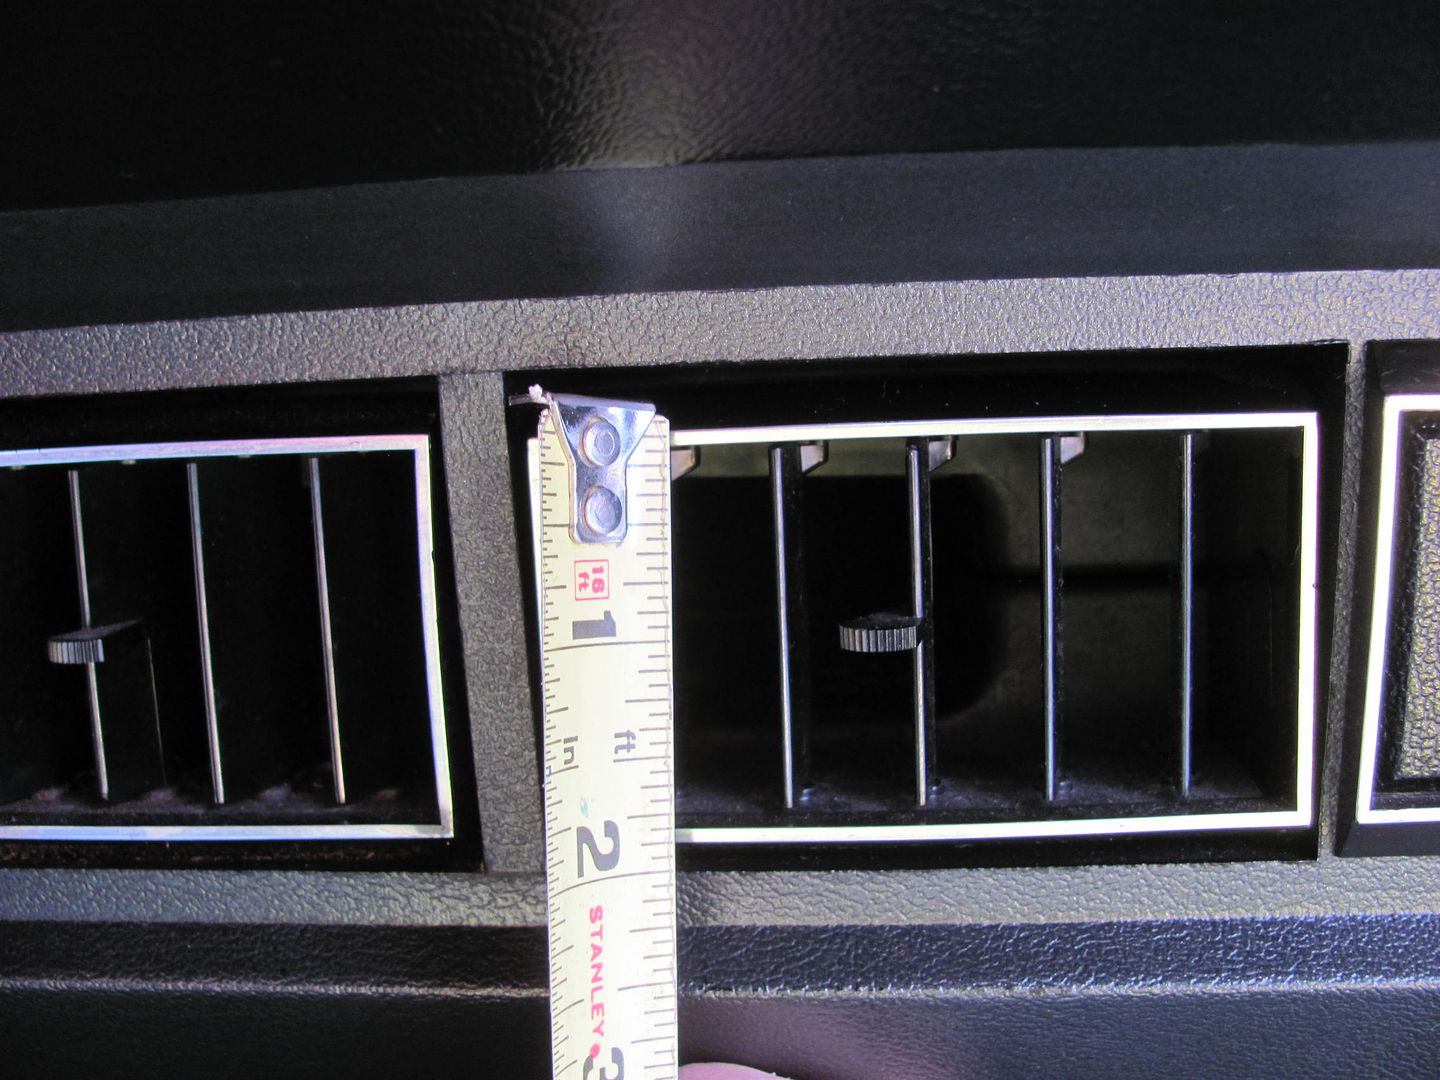
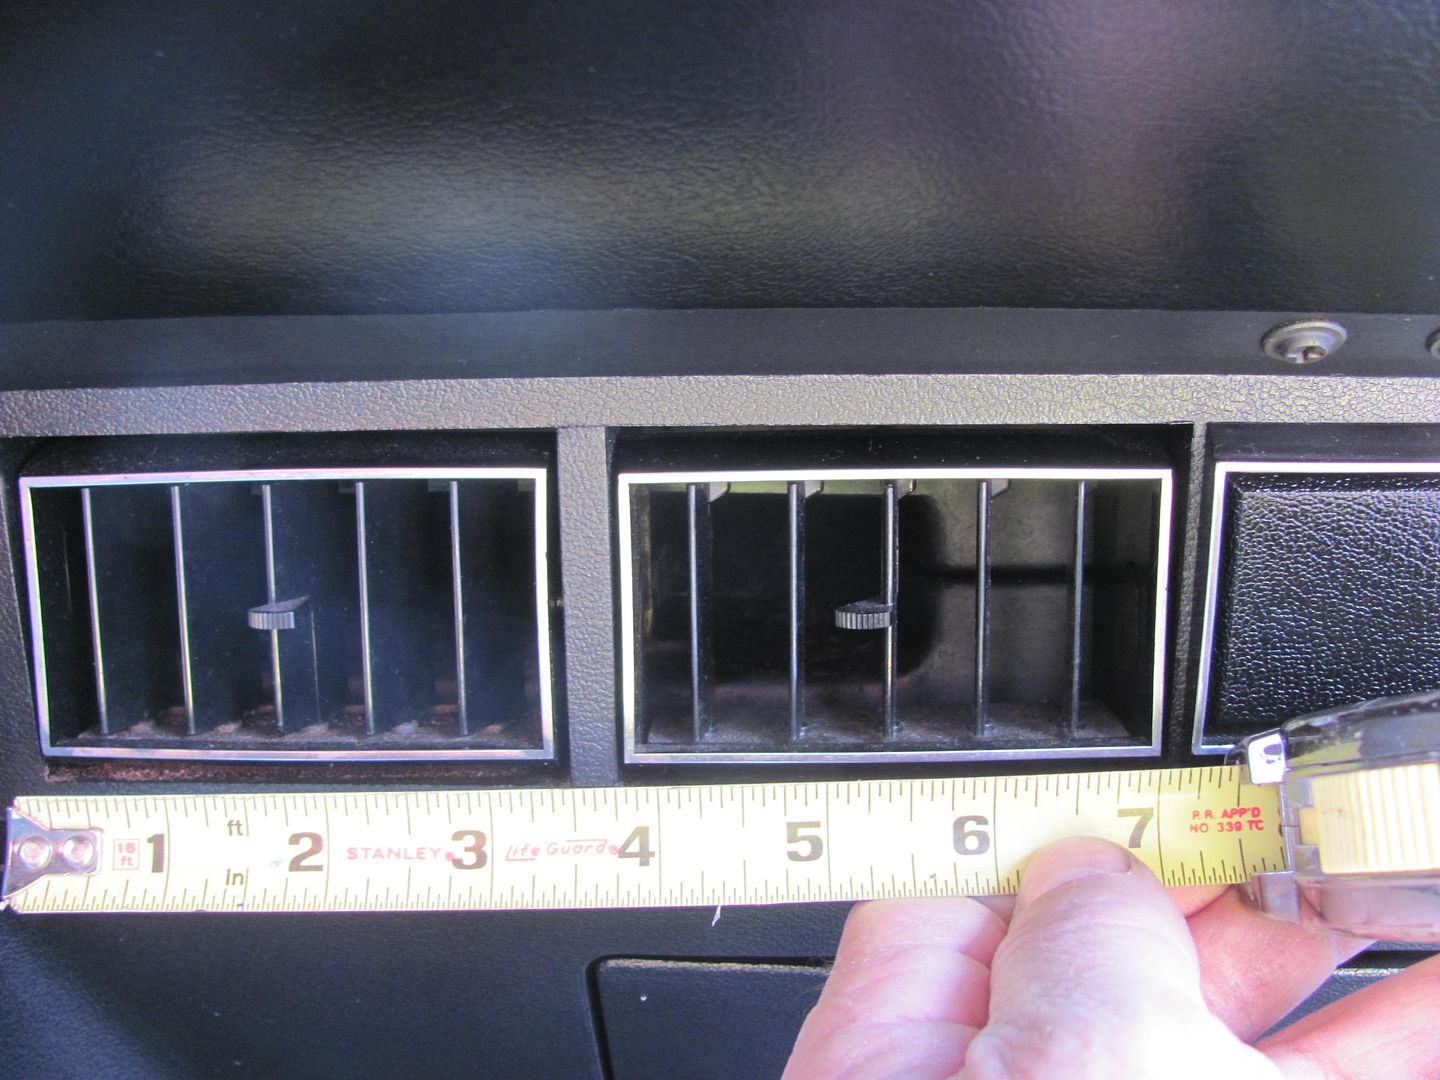
More VA pieces, these are nice and compact
I like the rectangular for the center of the dash but worry these round style vents may "clash" with rectangular ones. So the 40's small rectangular may be a good option for the side vents. Thoughts, personal choices, ones we haven't shown (with pictures) are welcome. This build really isn't a billet type, so black and chrome are a preferred option. Thanks in advance for any advice/pointers..Robert
-
04-27-2015 11:09 AM #499
CHR Member
- Join Date
- Oct 2007
- Location
- Petaluma
- Car Year, Make, Model: 48 Ford F1
- Posts
- 9,795
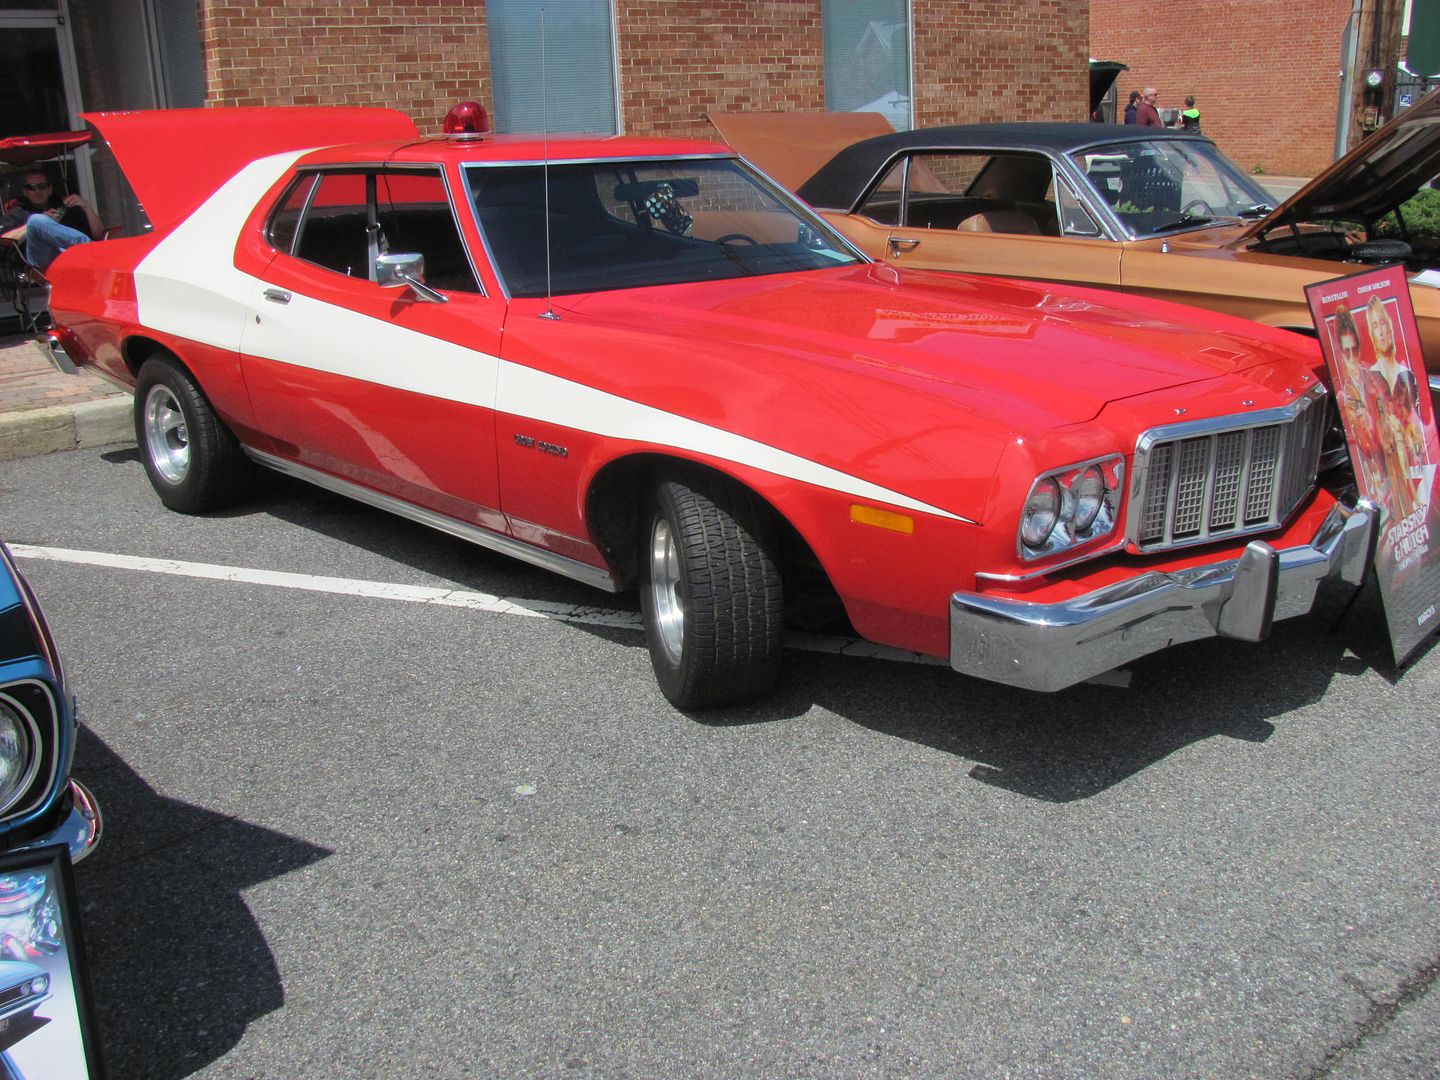
Love the Tomatoe strippped Sarsky and Hutch Gran Torino!"  "No matter where you go, there you are!" Steve.
-
04-27-2015 05:09 PM #500
CHR Member
- Join Date
- Sep 2007
- Location
- New Bedford
- Car Year, Make, Model: 34 Ford 3W Coupe Replica
- Posts
- 14,754
I agree with you, the outer ones on the 40 would work well with either of the rectangular units.
The rounds won't look "right" imo..
-
04-27-2015 05:13 PM #501
CHR Member
- Join Date
- Aug 2003
- Location
- Springfield
- Car Year, Make, Model: '66 Mustang, 76 Corvette
- Posts
- 5,444
FWIW, my 76 Vette has round ones in the bottom corners of the dash and 2 horizontal ones above the center instrument panel, looks fine to me.Ken Thomas
NoT FaDe AwaY and the music didn't die
The simplest road is usually the last one sought
Wild Willie & AA/FA's The greatest show in drag racing
-
04-27-2015 06:29 PM #502
CHR Member
- Join Date
- Jan 2006
- Location
- Constantine
- Car Year, Make, Model: 57 chevy 2 dr wagon
- Posts
- 9,476
My 72 C10 has a horizontal one top center in dash and round ones on each end.Charlie
Lovin' what I do and doing what I love
Some guys can fix broken NO ONE can fix STUPID
W8AMR
http://fishertrains94.webs.com/
Christian in training
-
04-28-2015 06:41 AM #503
CHR Member
- Join Date
- Feb 2007
- Location
- Santa Monica
- Car Year, Make, Model: 37 Ford tudor humpback
- Posts
- 1,988
While I agree with the concept of "up in your face" AC vents, the idea of cutting holes of any shape in that newly shaved and smoothed dash would be hard for me....

"It is not much good thinking of a thing unless you think it out." - H.G. Wells
-
04-28-2015 07:29 AM #504
CHR Member/Contributor
- Join Date
- Sep 2007
- Location
- Gardner, KS
- Car Year, Make, Model: '33 HiBoy Coupe, '32 HiBoy Roadster
- Posts
- 11,245
Wasn't that pretty much a standard design feature for Chevrolet/GM through much of the '60's through most of the '70's? Their round, infinite spin, no stops vents were used on the ends of many dashboards, with a variety of vertical or horizontal vents in the center, seems to me? Of course, CRS arises too often...... Originally Posted by NTFDAY
Roger
Enjoy the little things in life, and you may look back one day and realize that they were really the BIG things.
-
04-28-2015 08:23 AM #505
CHR Member
- Join Date
- Sep 2005
- Location
- Hamilton
- Car Year, Make, Model: 69 nomad, 73 charger, 74 vega
- Posts
- 3,900
My 69 chevelle nomad has the rounds and rectangular..
Education is expensive. Keep that in mind, and you'll never be terribly upset when a project goes awry.
EG
-
04-29-2015 04:24 AM #506
CHR Member
- Join Date
- Jun 2008
- Location
- Leonardtown
- Car Year, Make, Model: Walking
- Posts
- 1,228
First, thanks to all for their input on dash vents. I'll have to agree that these shoebox cars lend themselves more to curves, but given the long, flat, rectangular mounting surface in the center of the dash, it seemed that two round vents would not begin to fill the void. Thus we were leaning toward the rectangular vents to fill the space. Dana wanted to keep the outside vents round, and mount below in the factory location. So these are the ones decided on, Vintage Air pieces...
for the corner locations.....
for the center of the dash.......
Of course, something told me to keep looking, and as someone had suggested to do the Google image search on "dash vents", I skipped the catalogs this time and looked at installed vents. Then it hit me, how could I have not seen this before.....
Three wide in the round vents vs. only two did a better job of filling out the dash and would give us matching vents all around. So, with only two round on order (and two rectangular that will likely go back), we plan to see how "tight" these 2-5/8 round bezels look on a 2-3/4 high flat area, and make the final decision from there.. The saga continues..
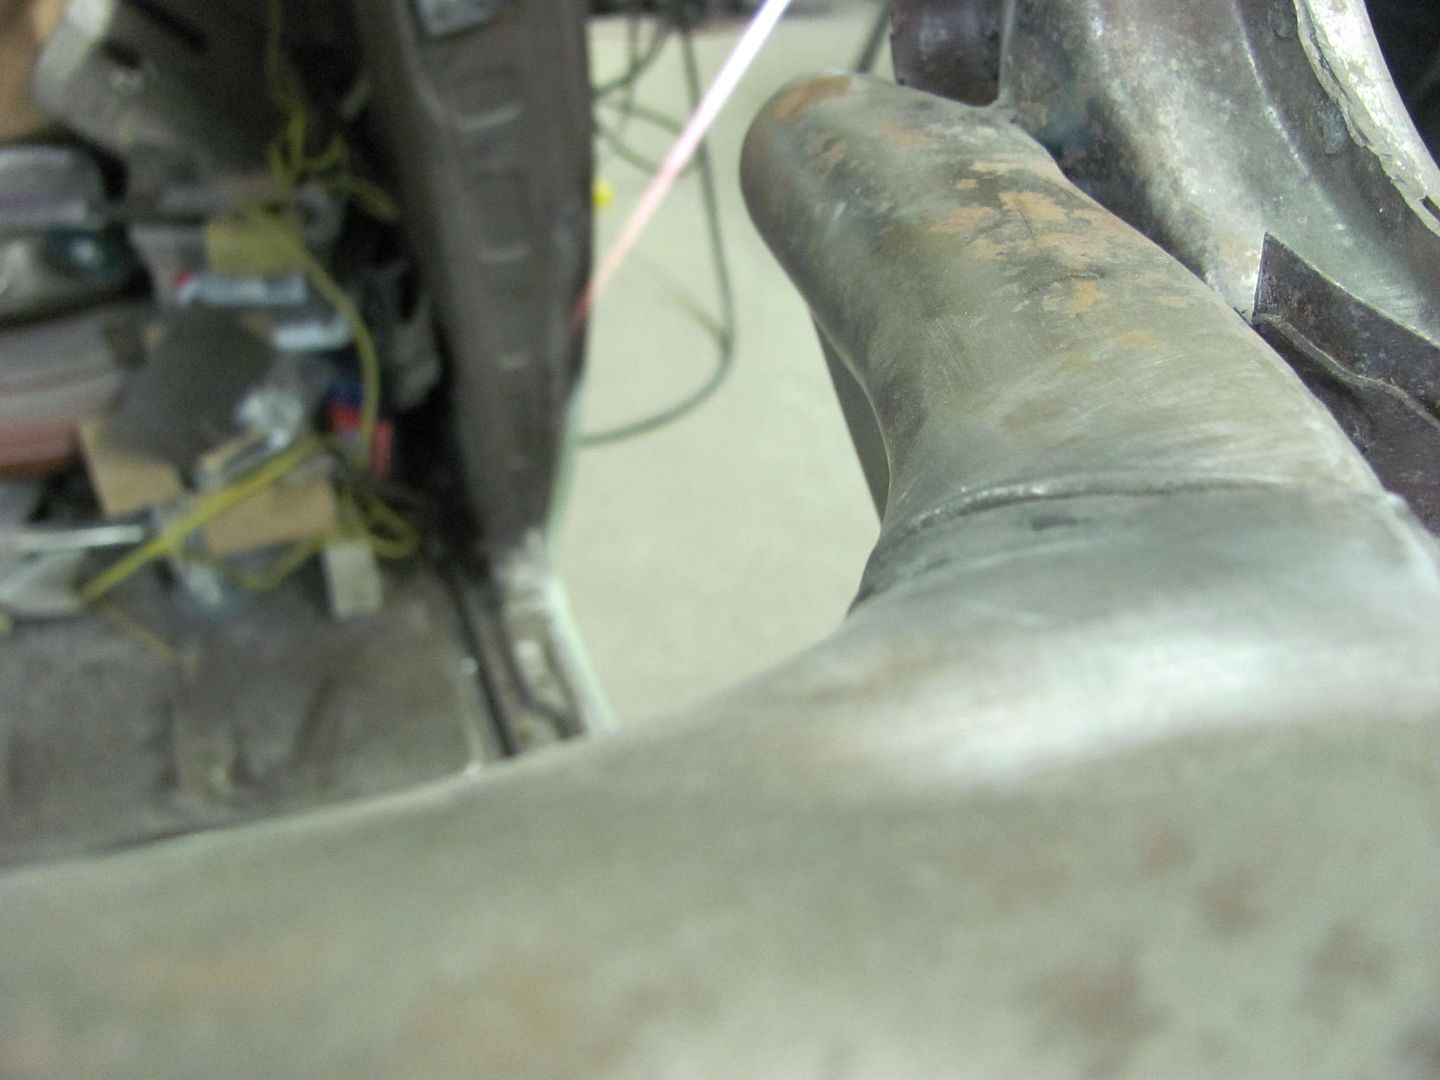
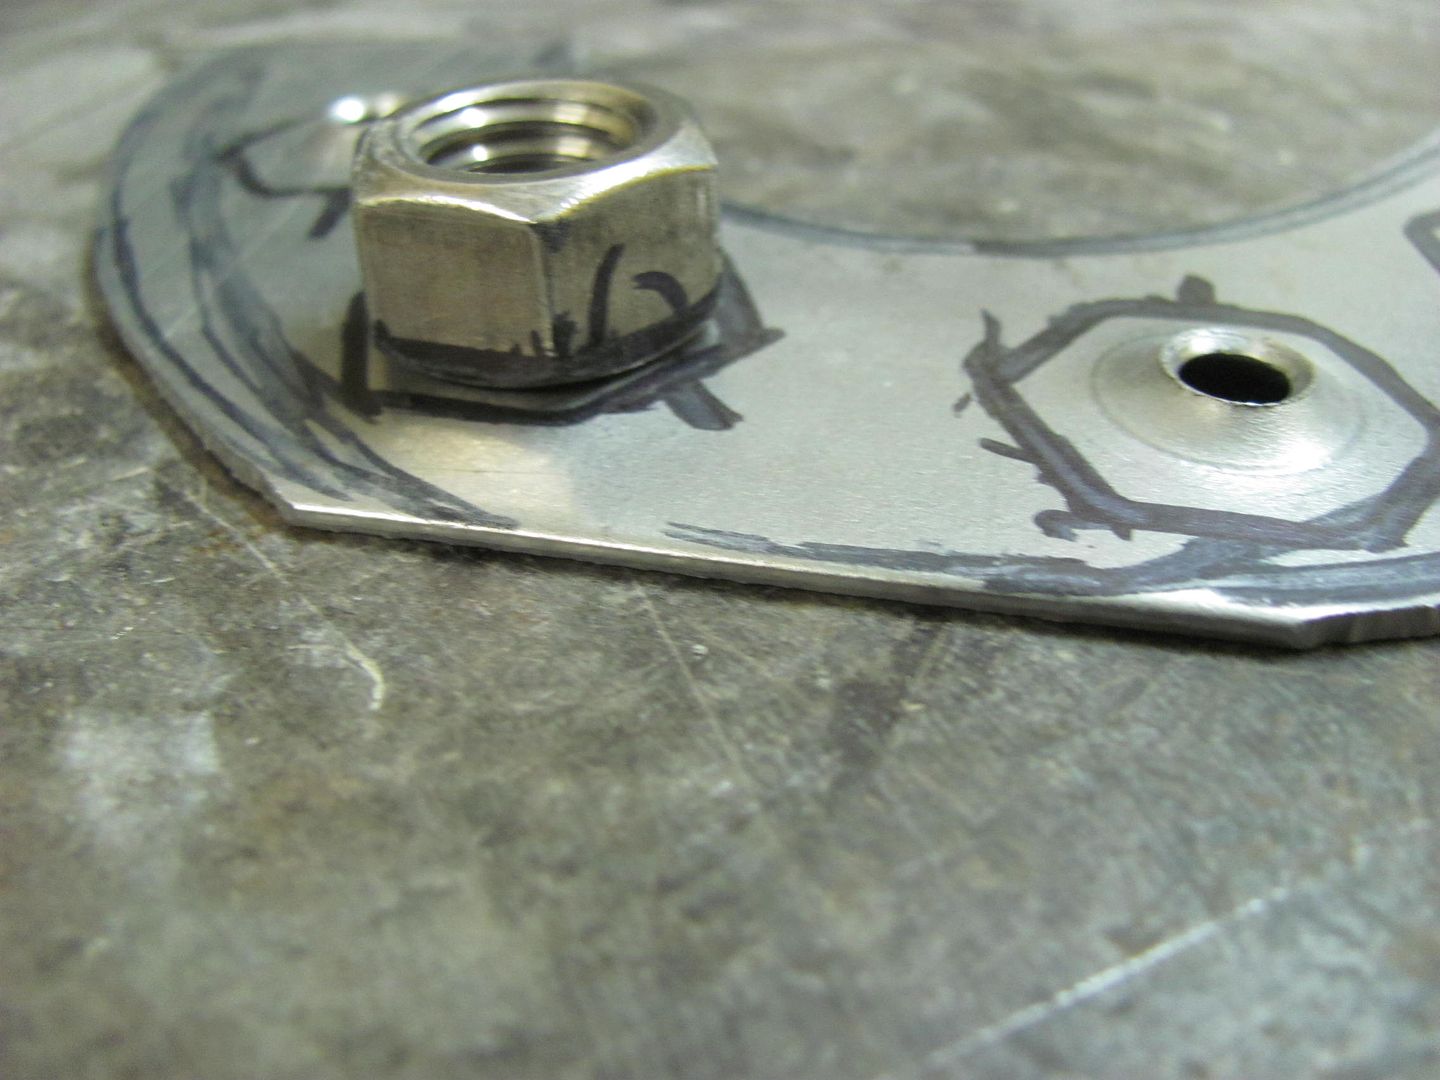
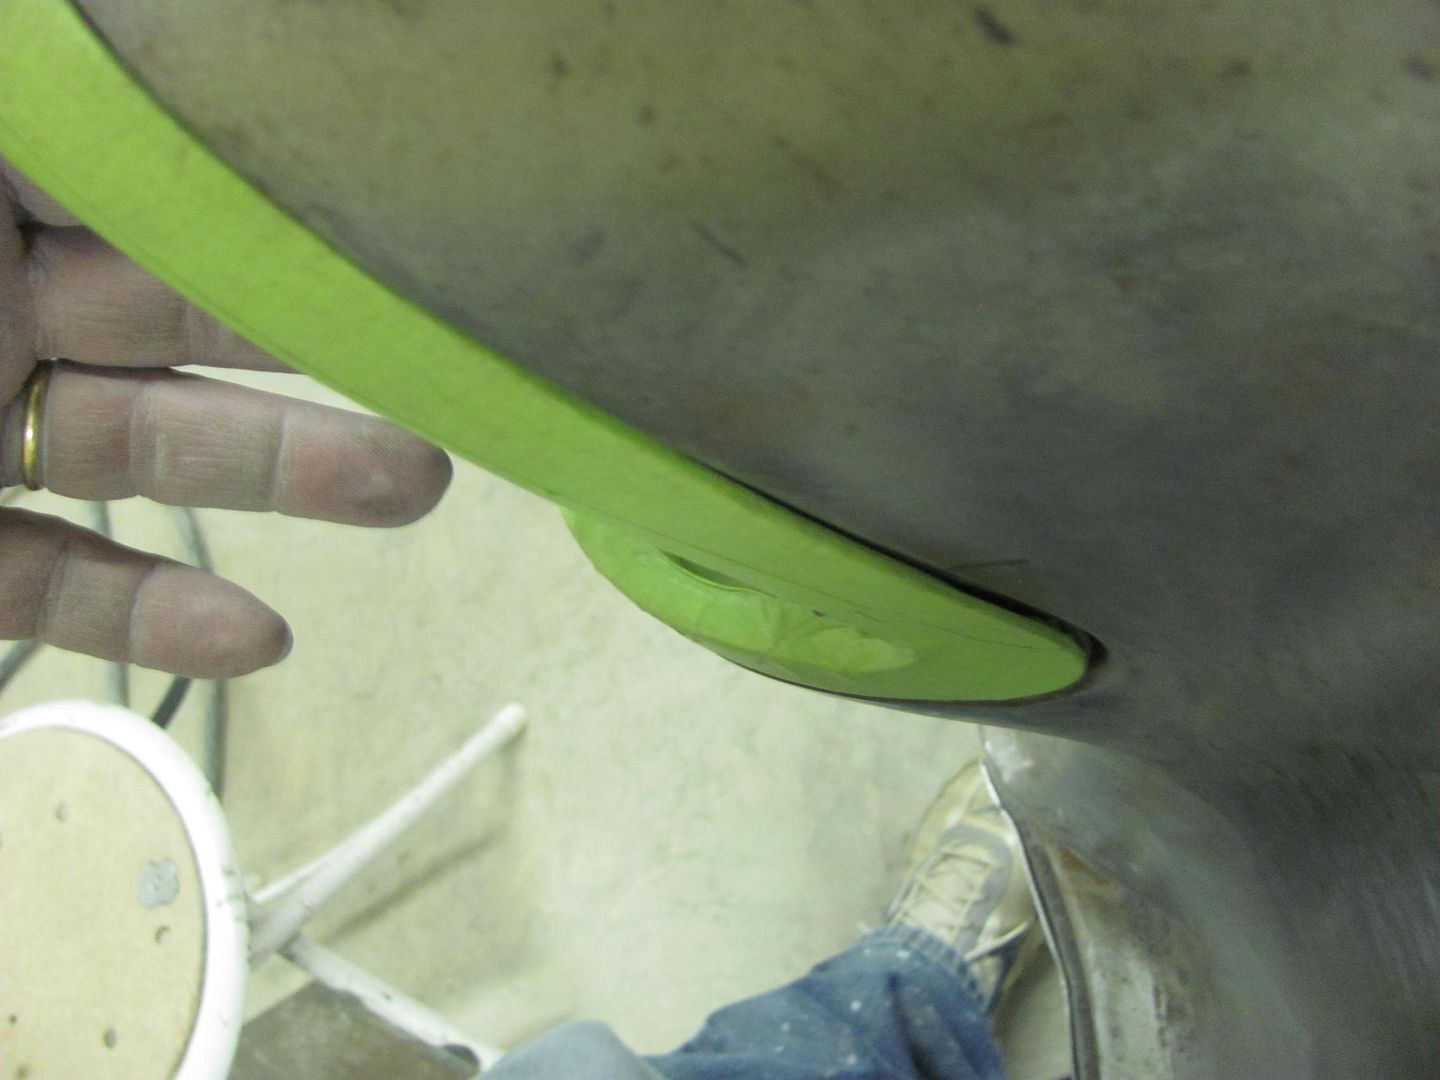
Now with the dash seams all welded and waiting for gauges to be delivered, the moment I've been dreading. Installing the Rocky Hinge fuel "door". First thing noticed was that some of the holes on the weld-in mounting plate were off by half a hole..
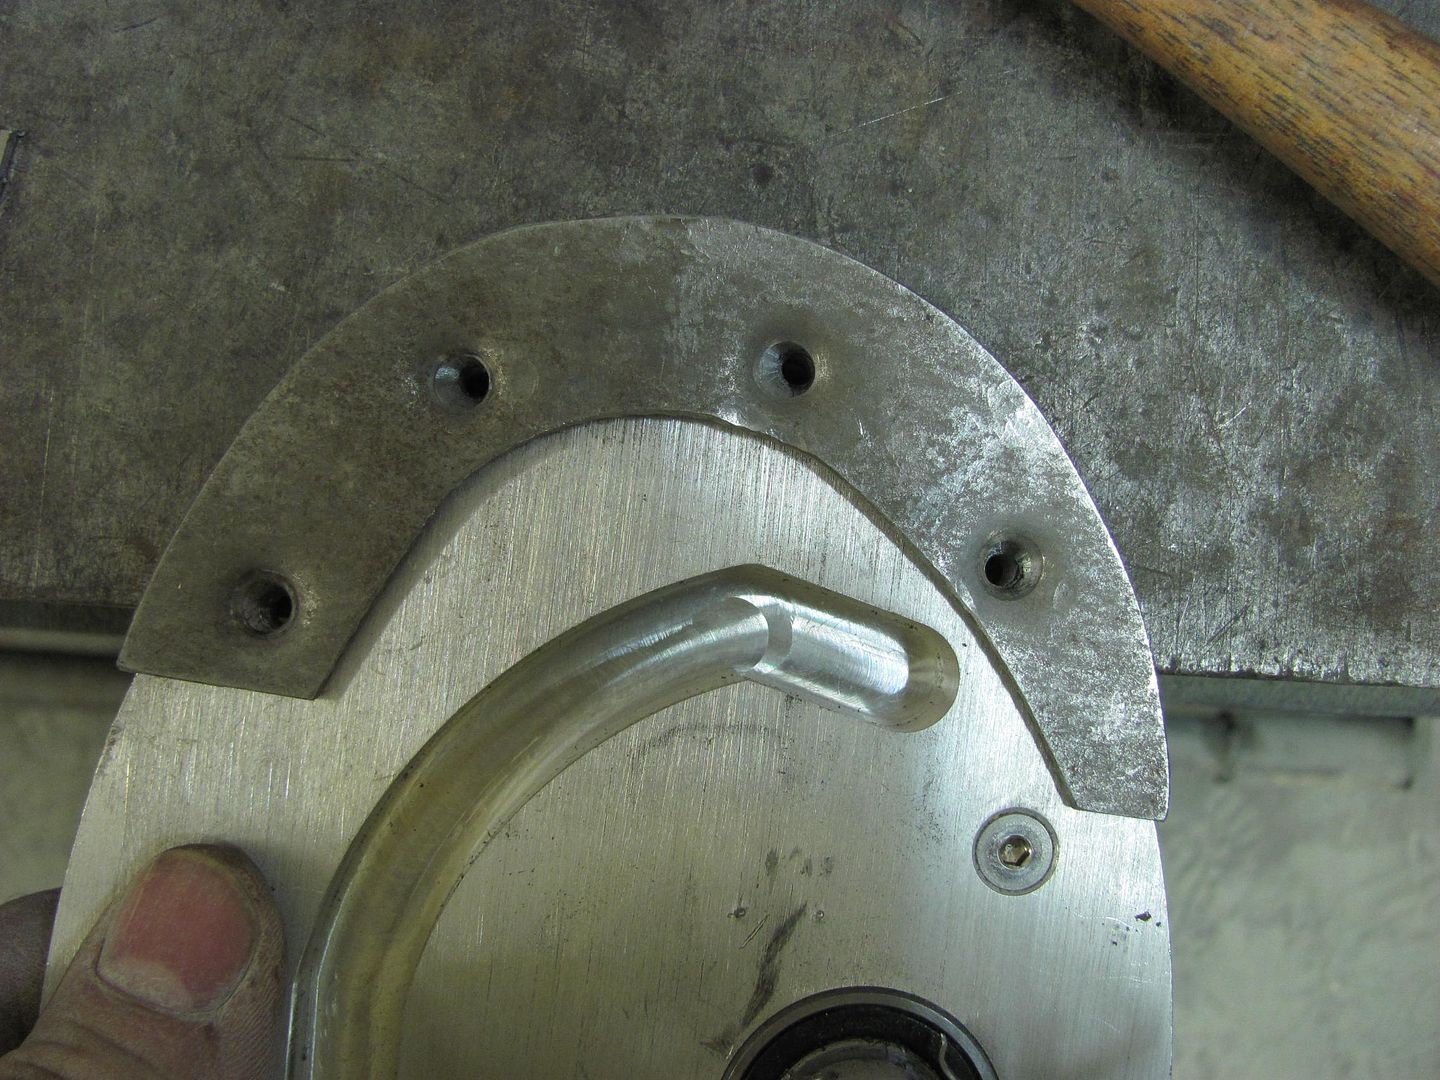
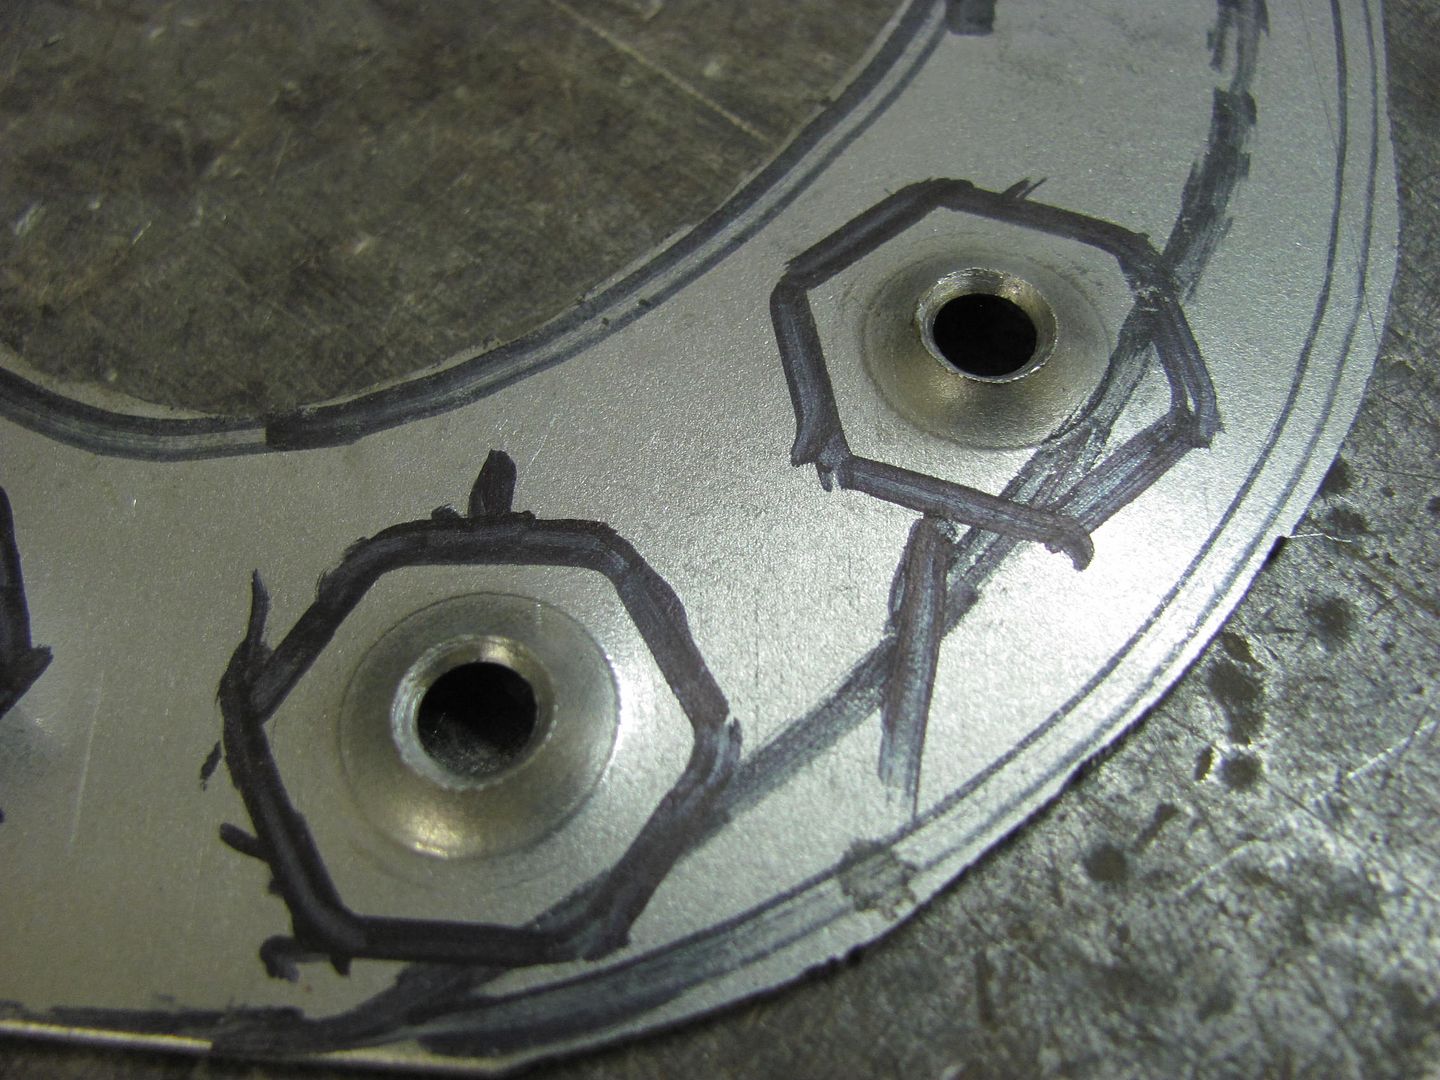
So Kyle cut out a fresh piece of 14 ga crs to make a new one, a bit oversized to trim later. Used some transfer punches to get the bolt holes lined up a bit better on our version of the weld-in plate..
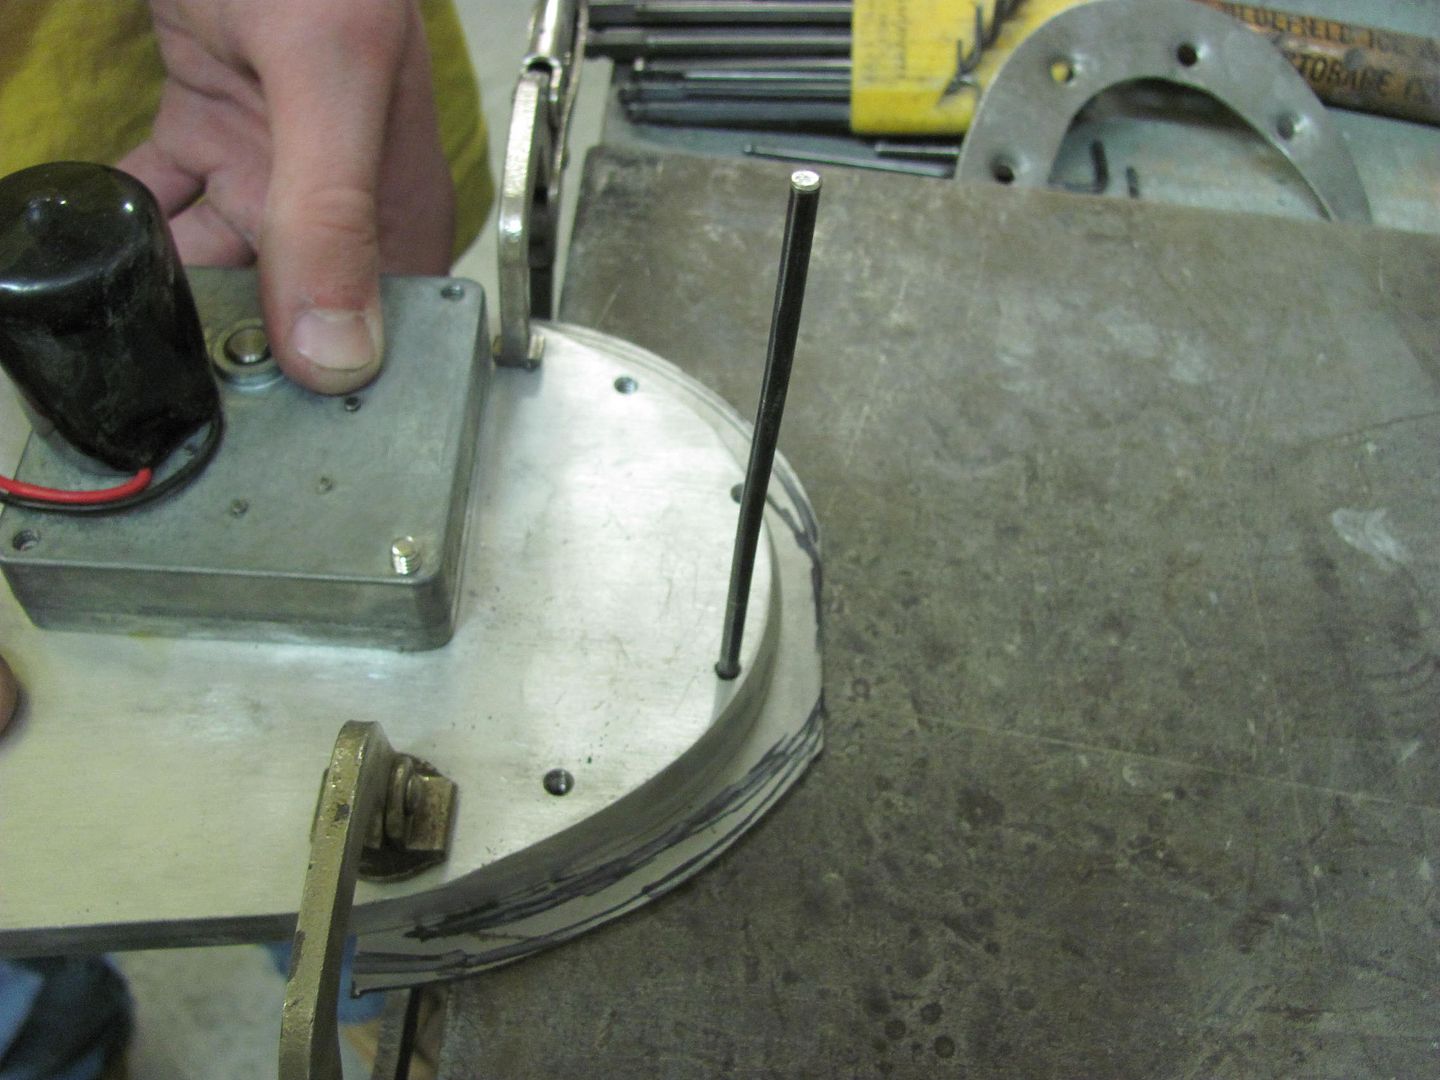
Attachment screws fitting better already....
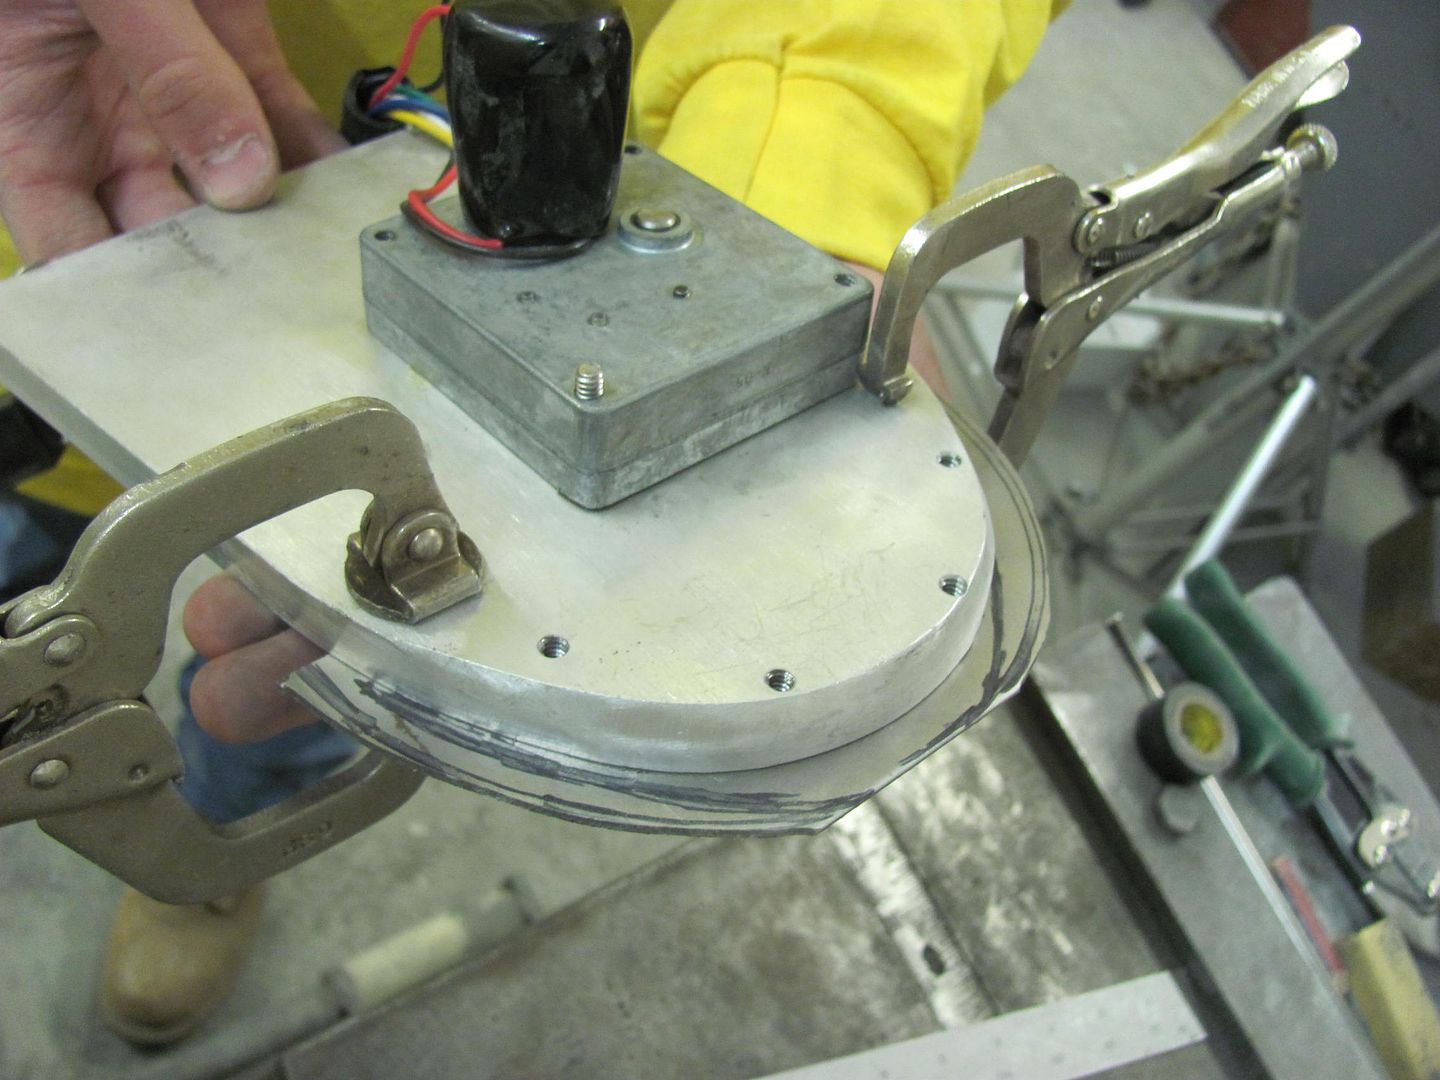
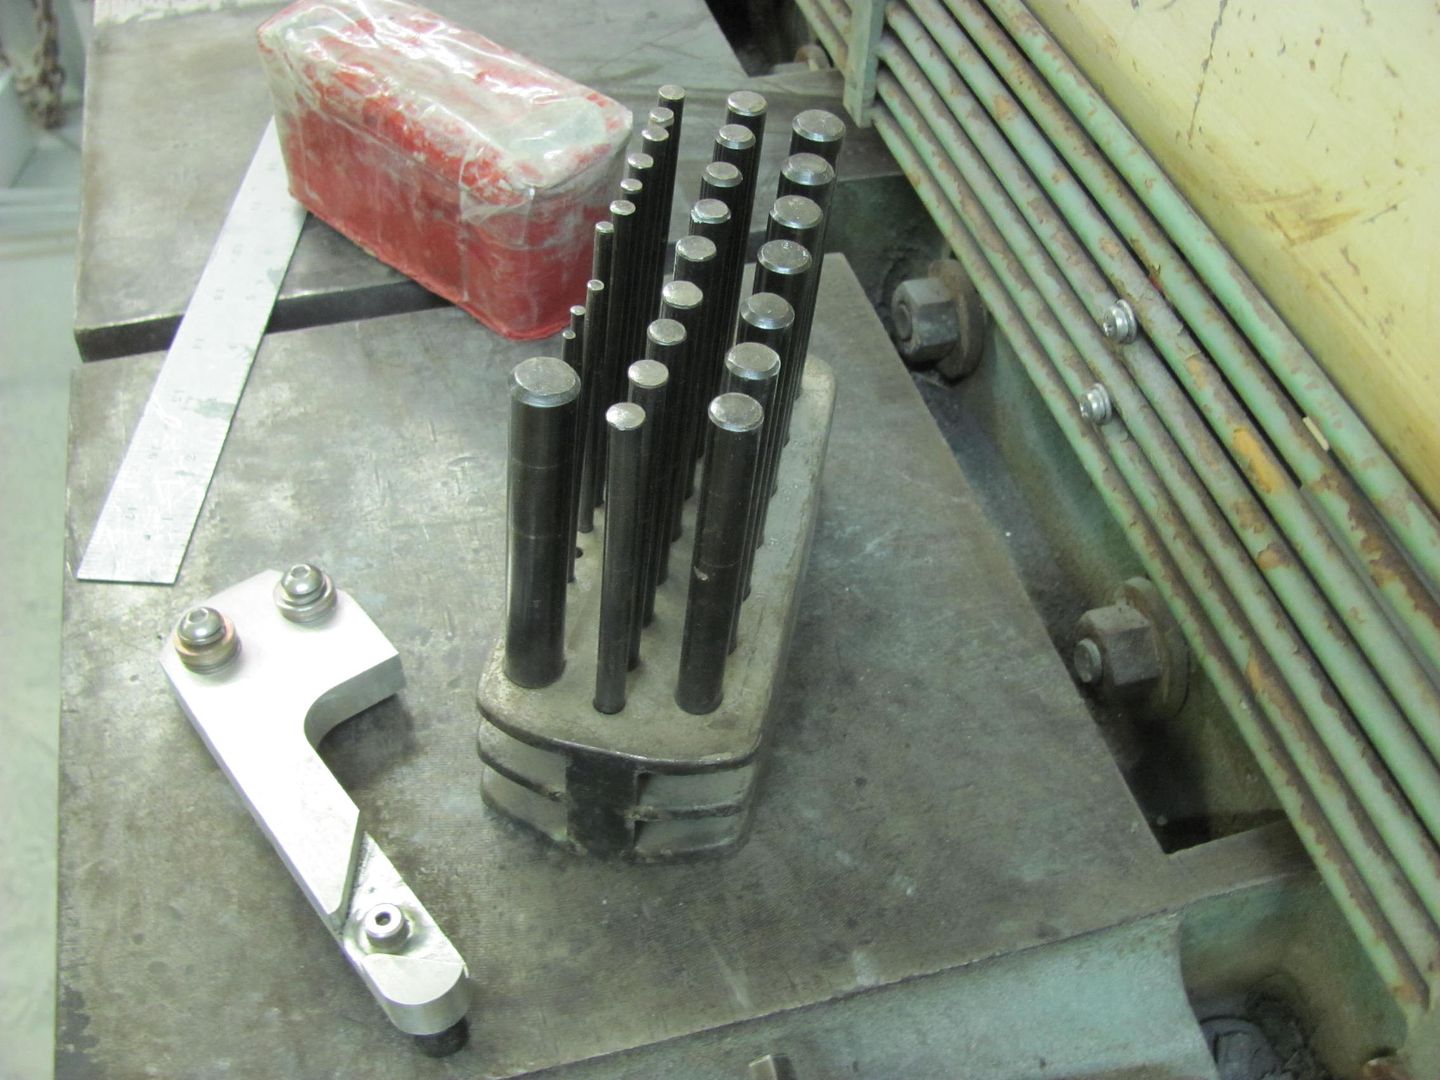
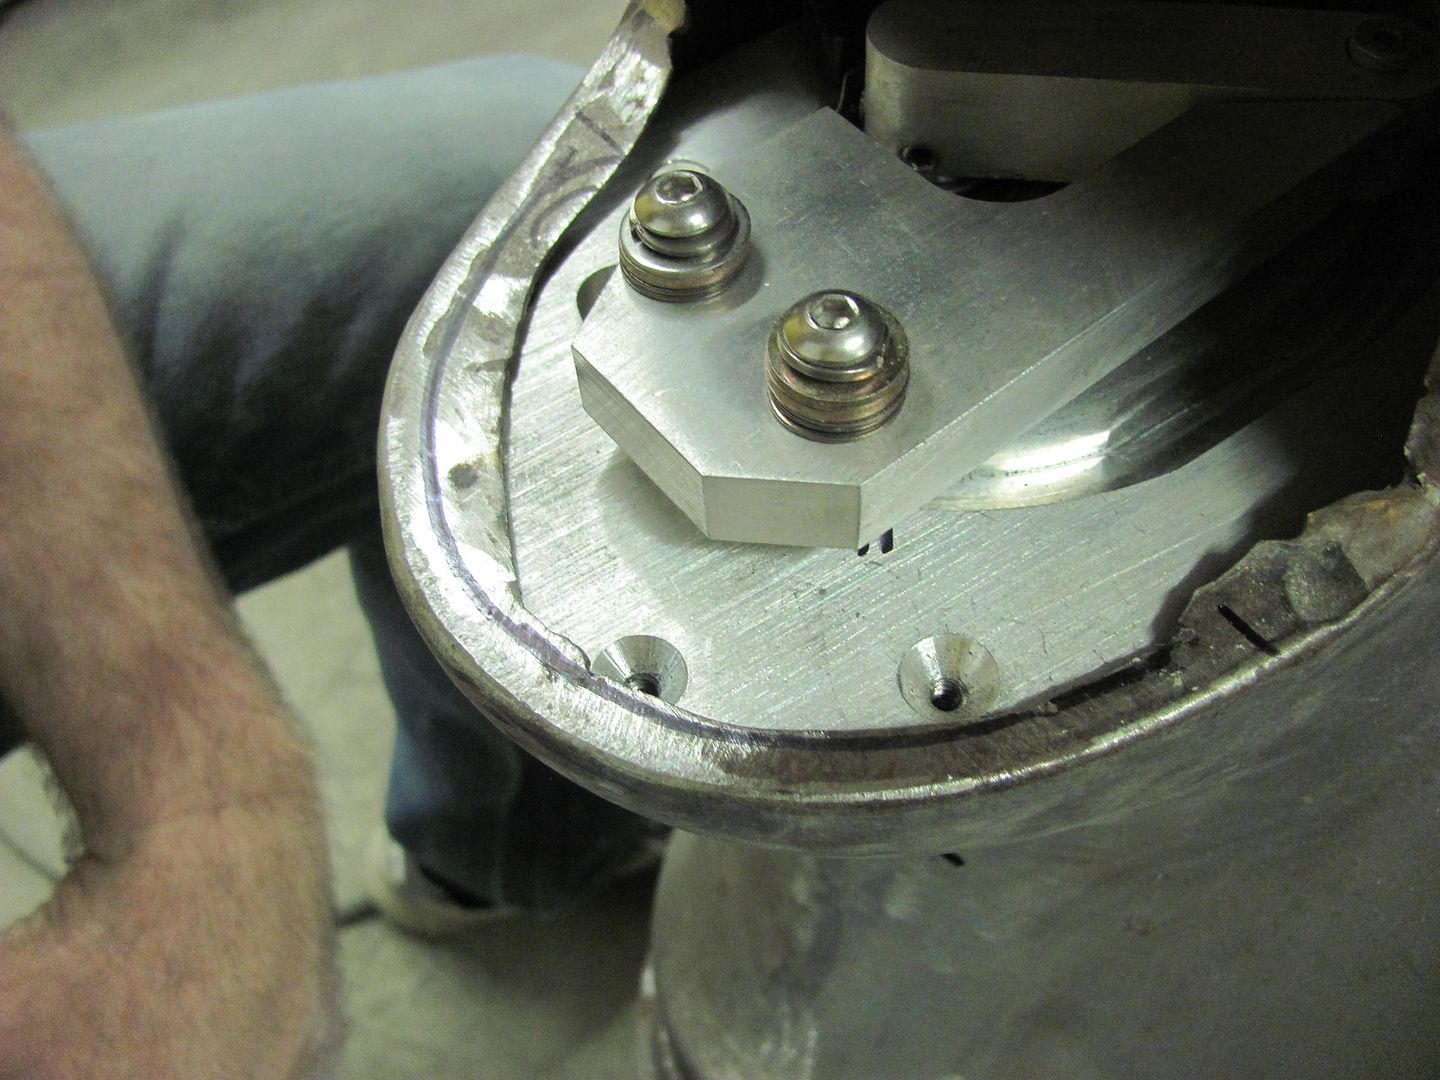
To provide the proper "pressed" countersink, we broke out the tubing flare kit...
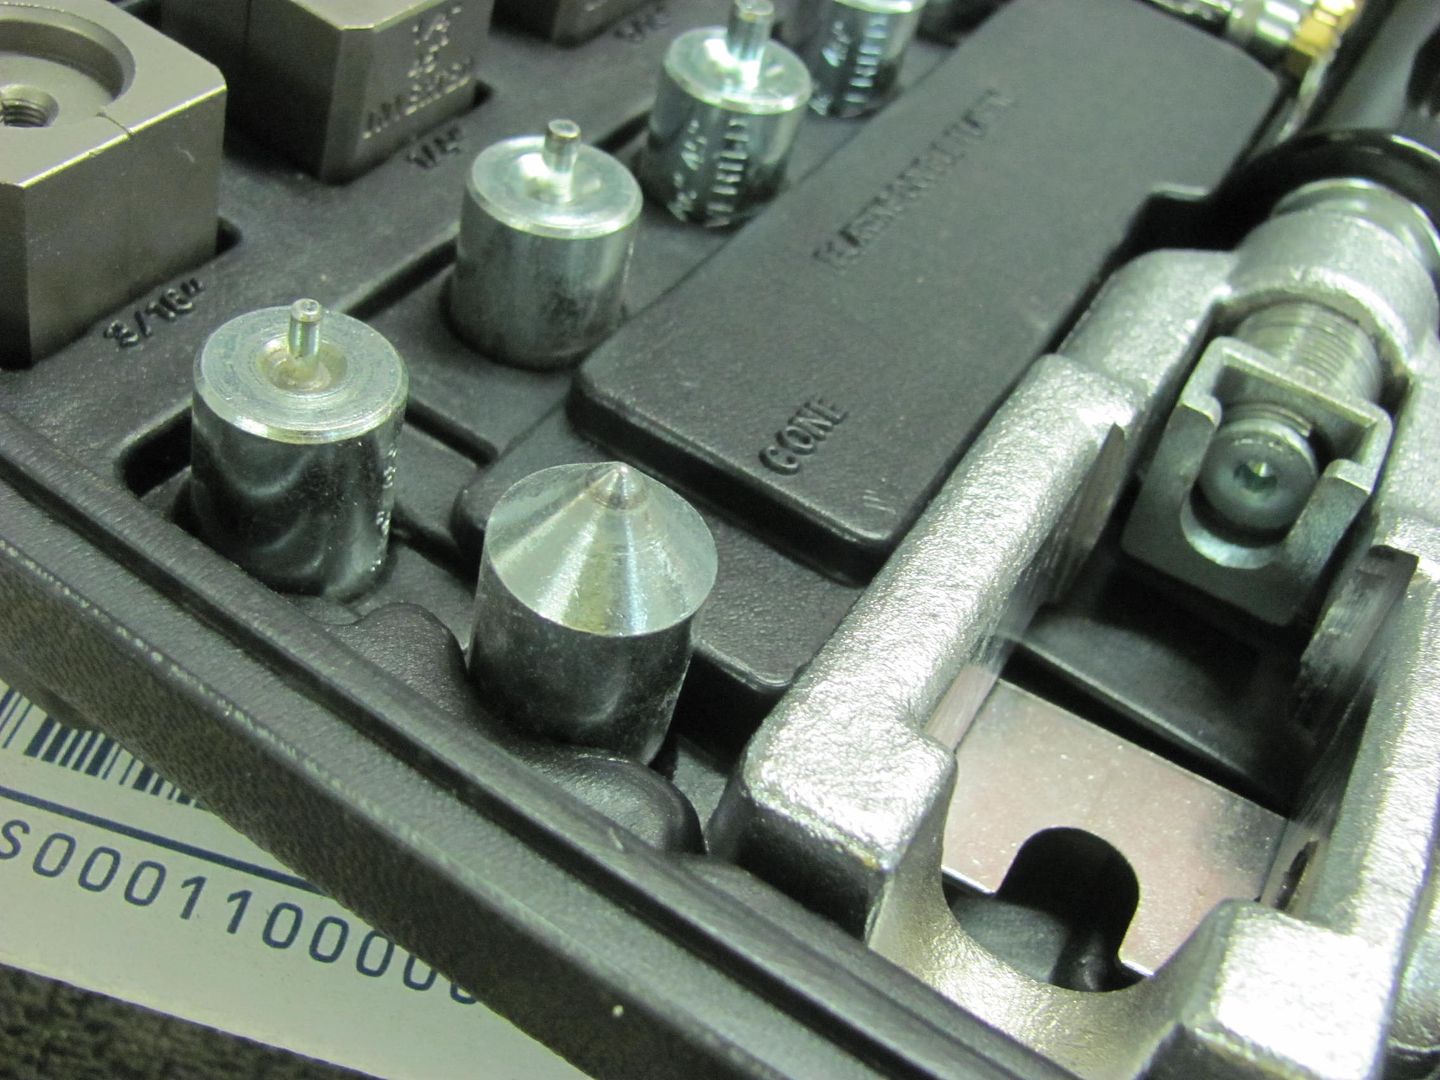
Redneck press...
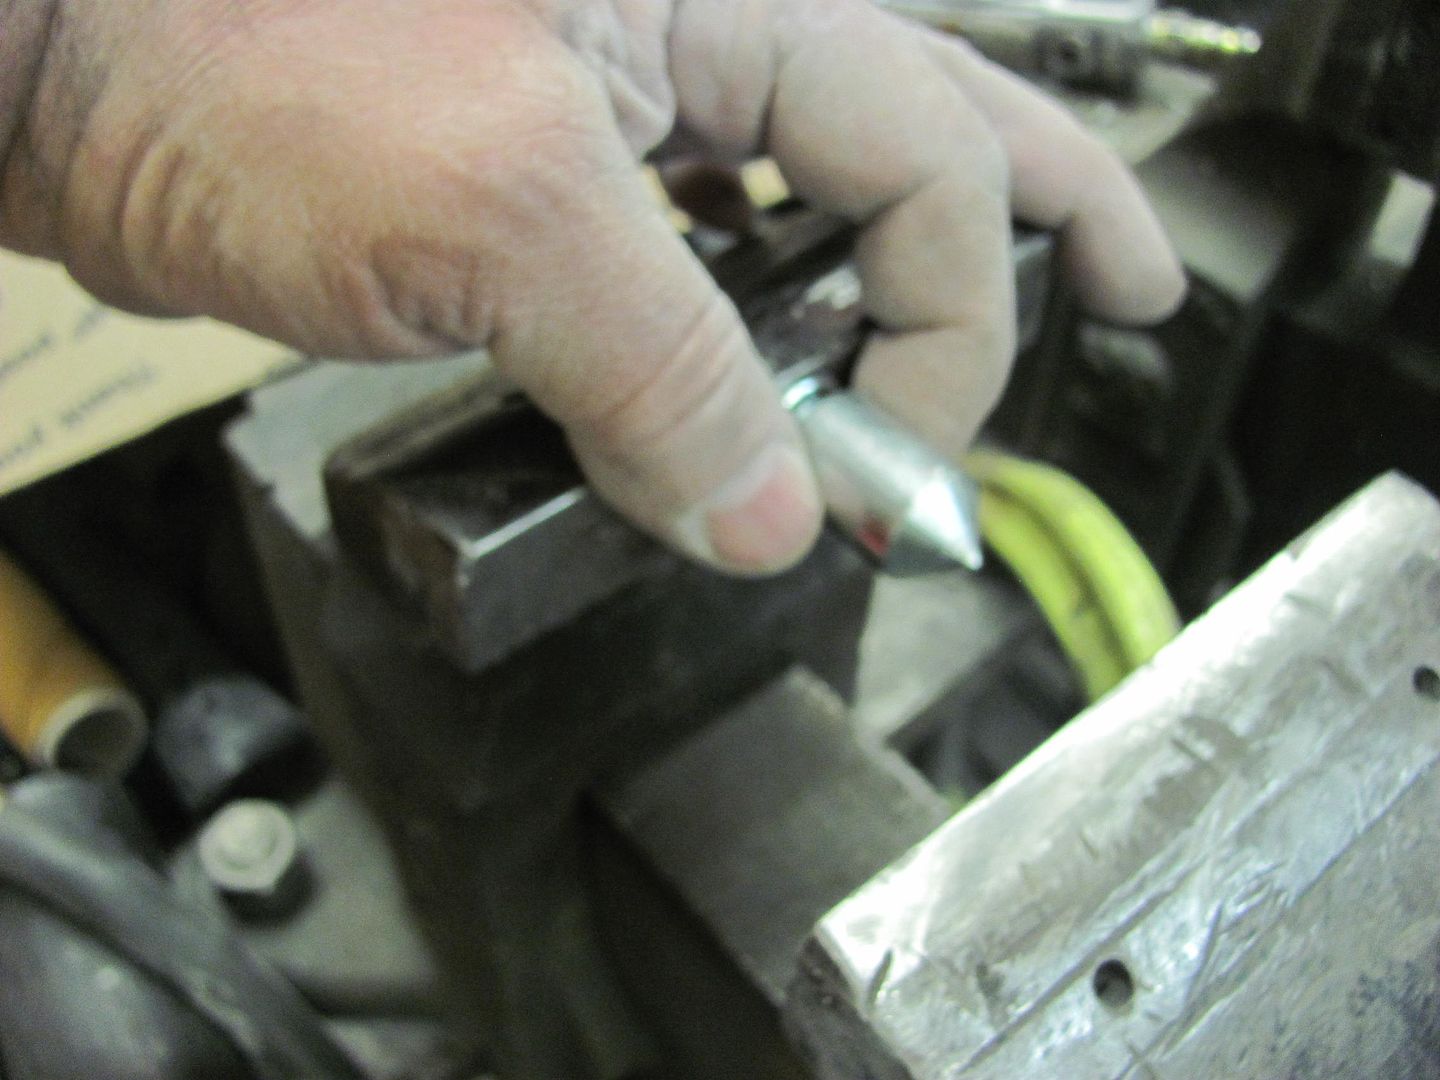
Our lower "die" was a 1/2-13 nut, centered over the hole, perimeter marked, and then taped in place before locating this into the press. Hey, it wasn't pretty, but it worked!
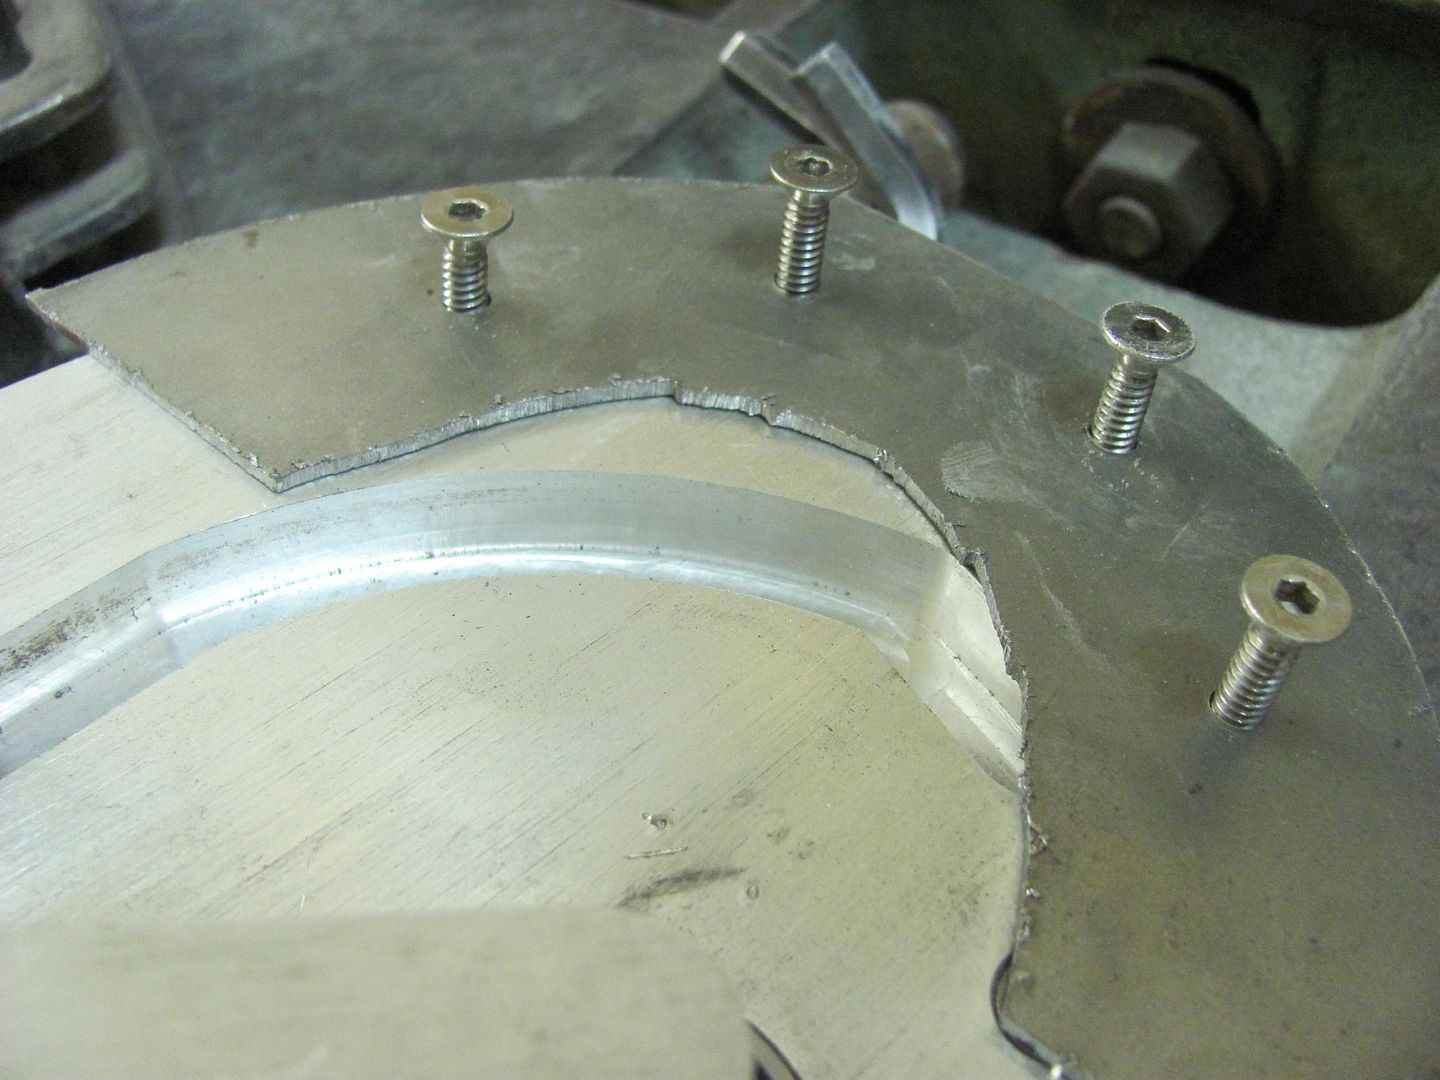
Some trimming of the hole to provide room for the weld-in mounting plate....
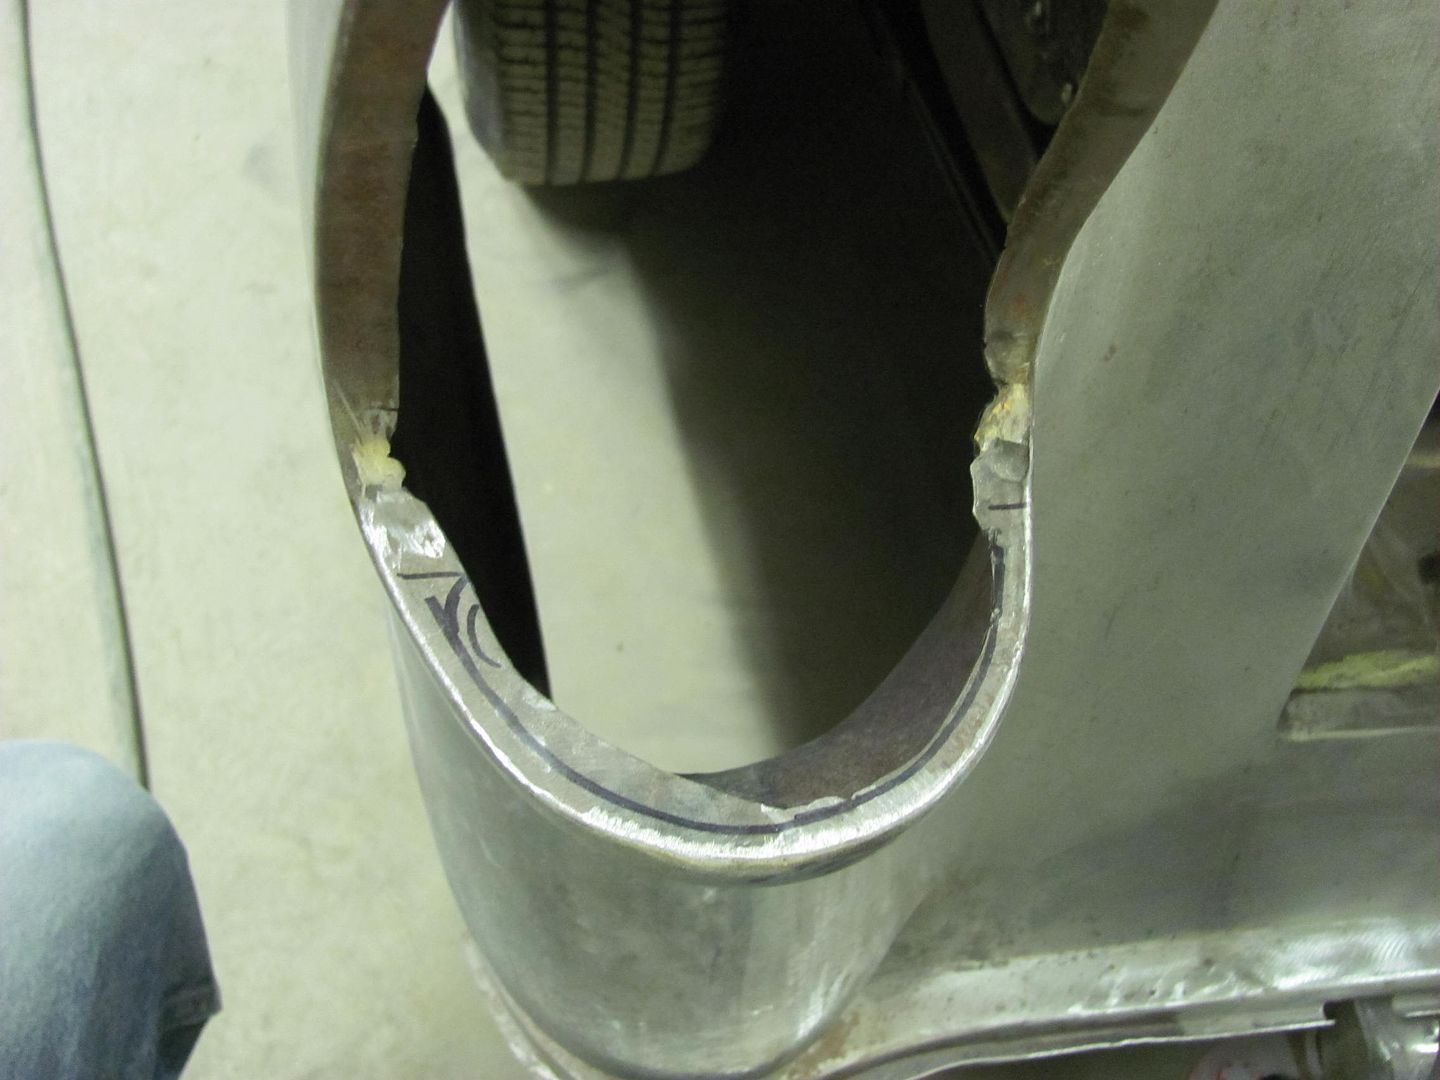
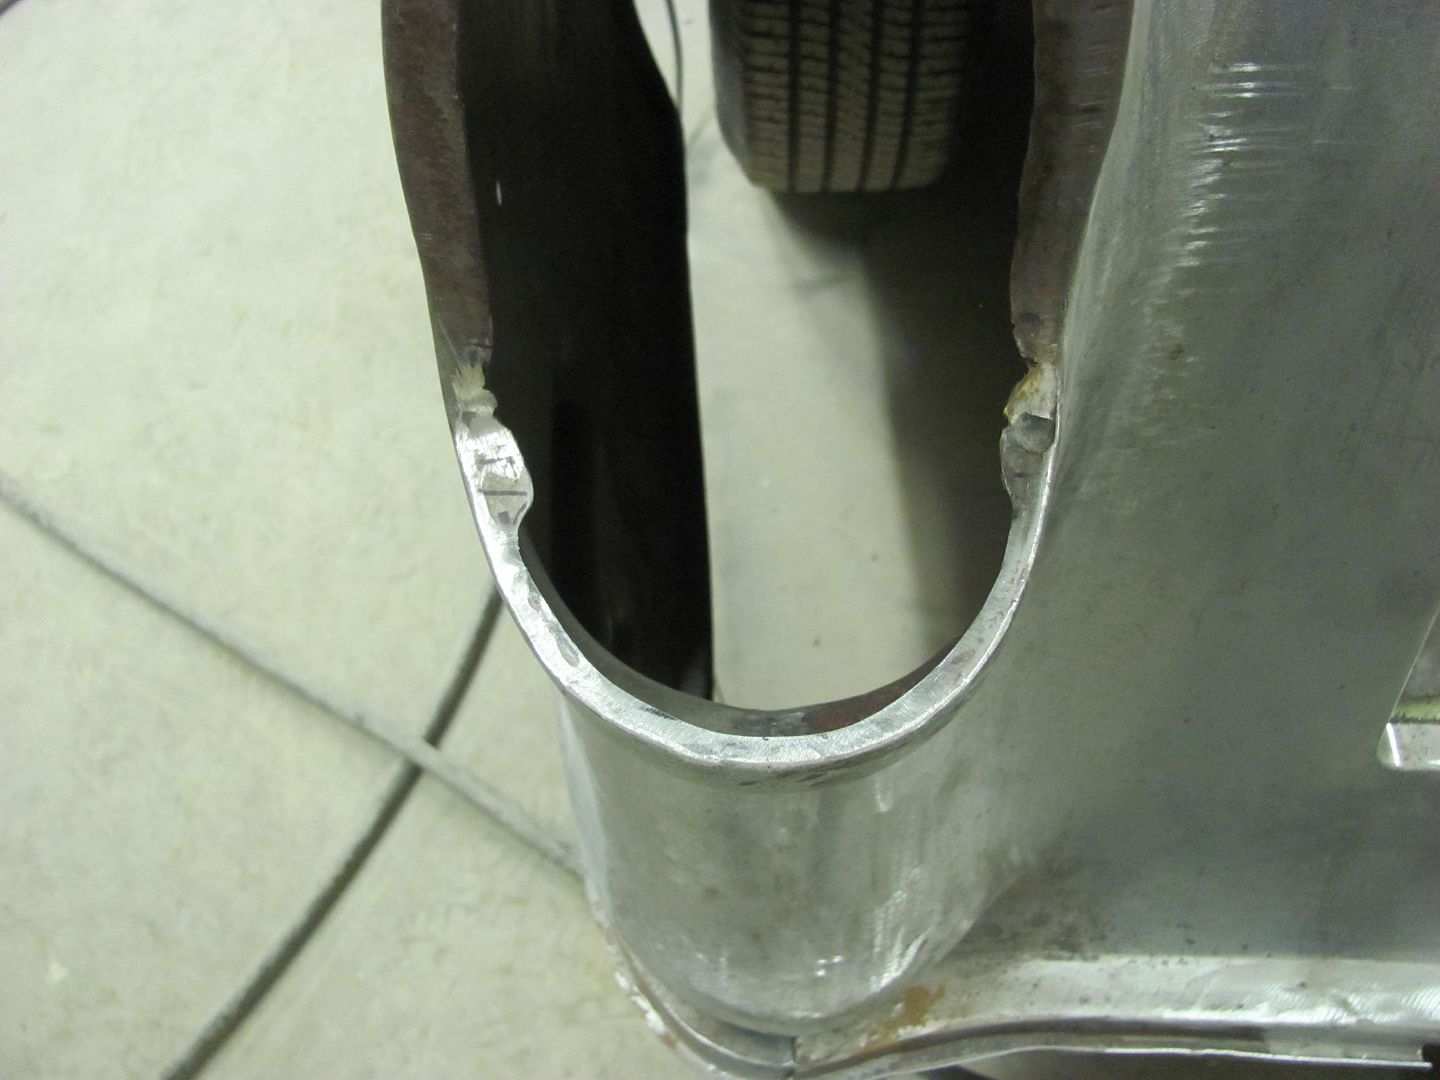
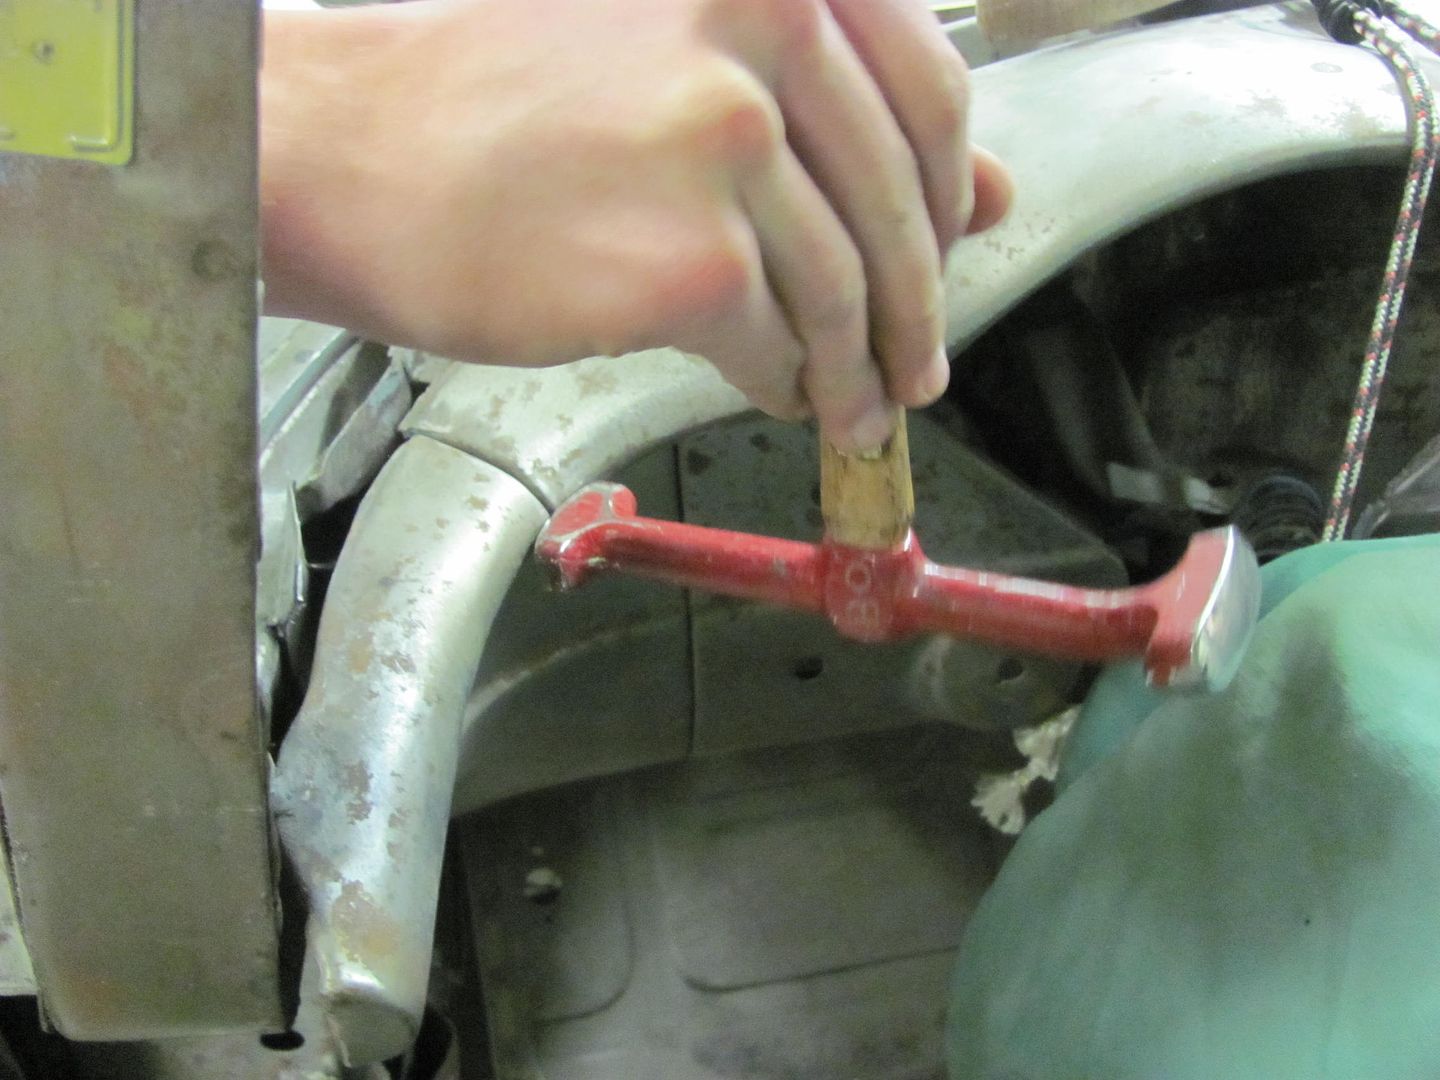
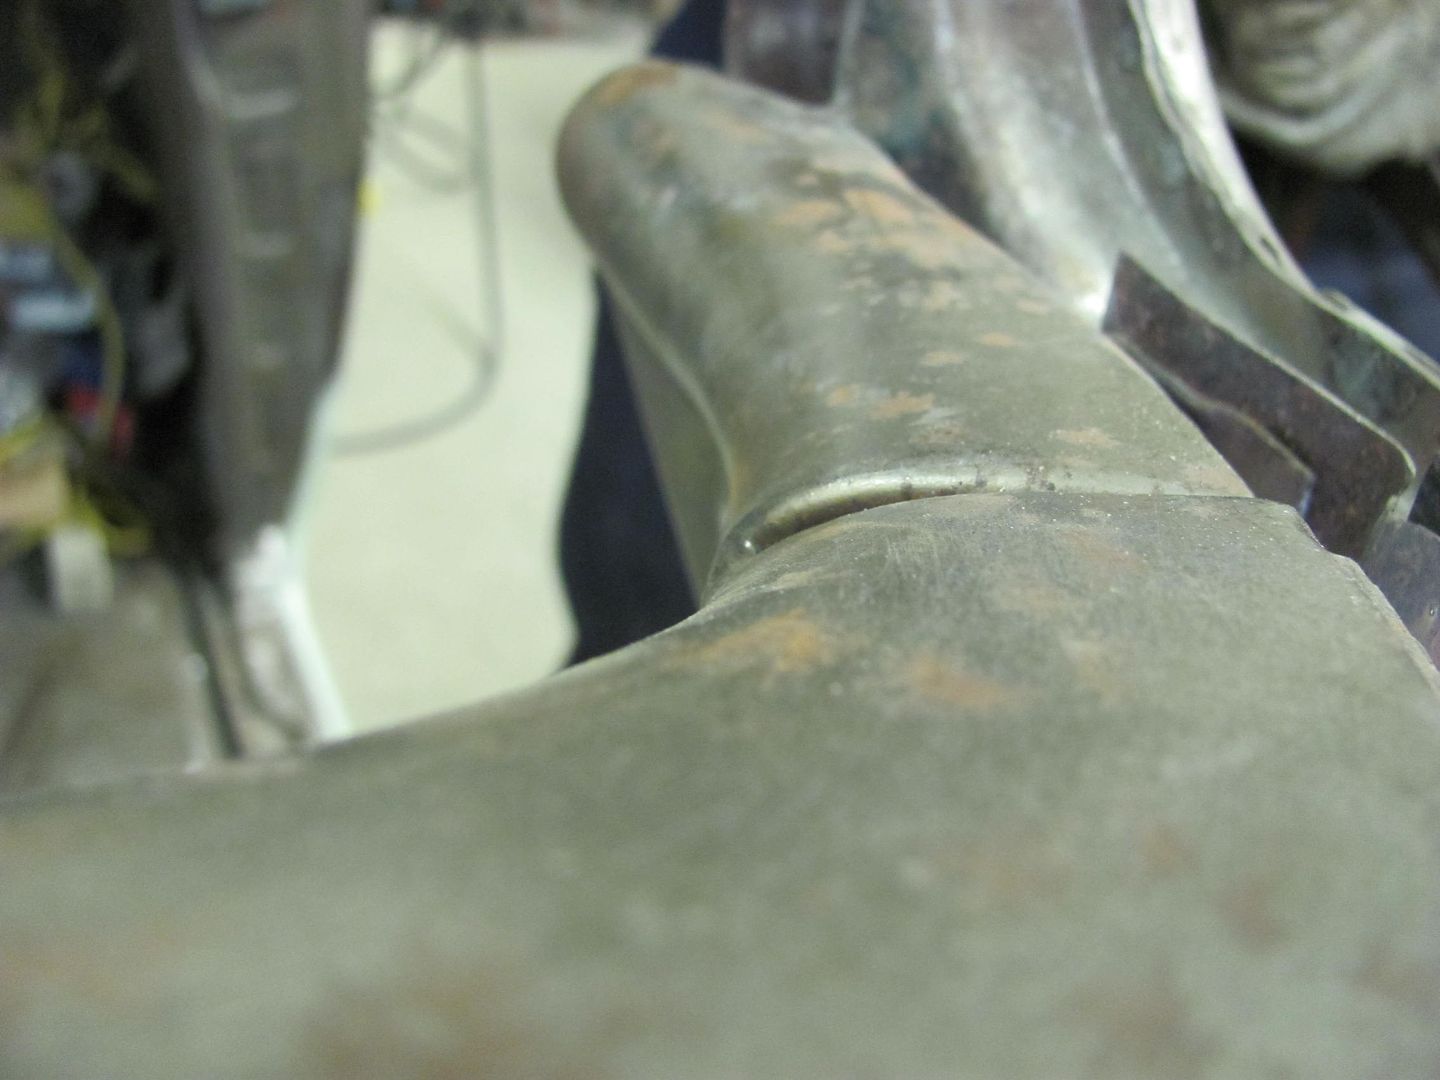
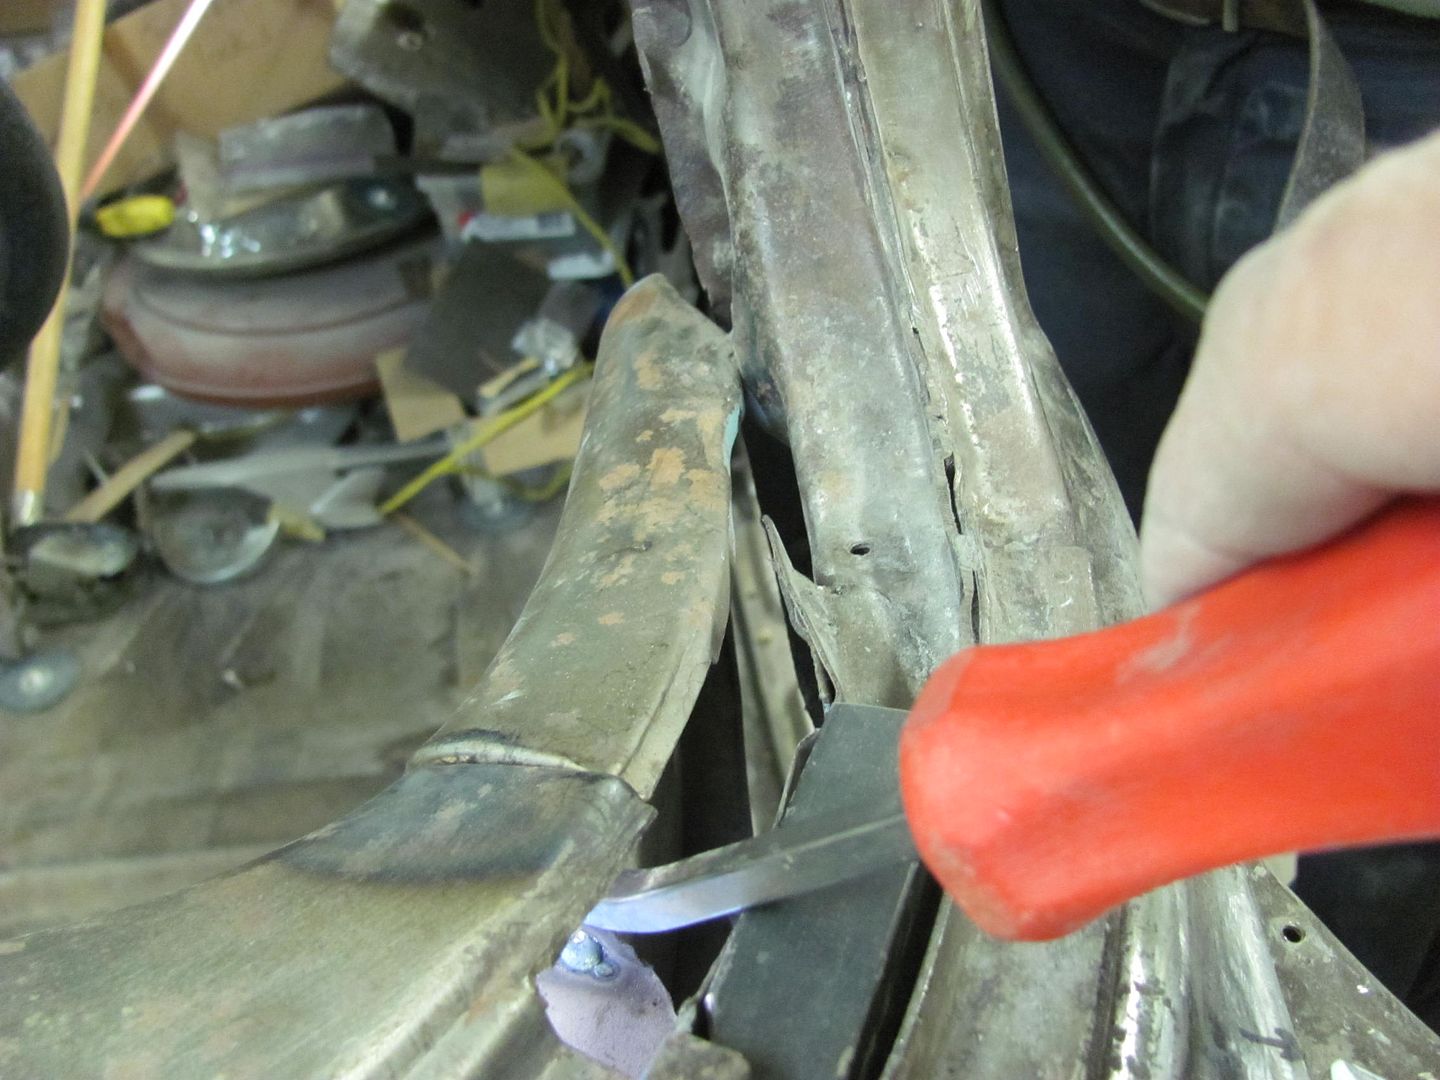
Test fit of the tail light housing showed the opening was a bit wide, especially to the inside towards the tailgate. So some glancing blows with too large a hammer provided a bit of stretch in this inner valley to persuade the panel over to the left, tightening up the opening....
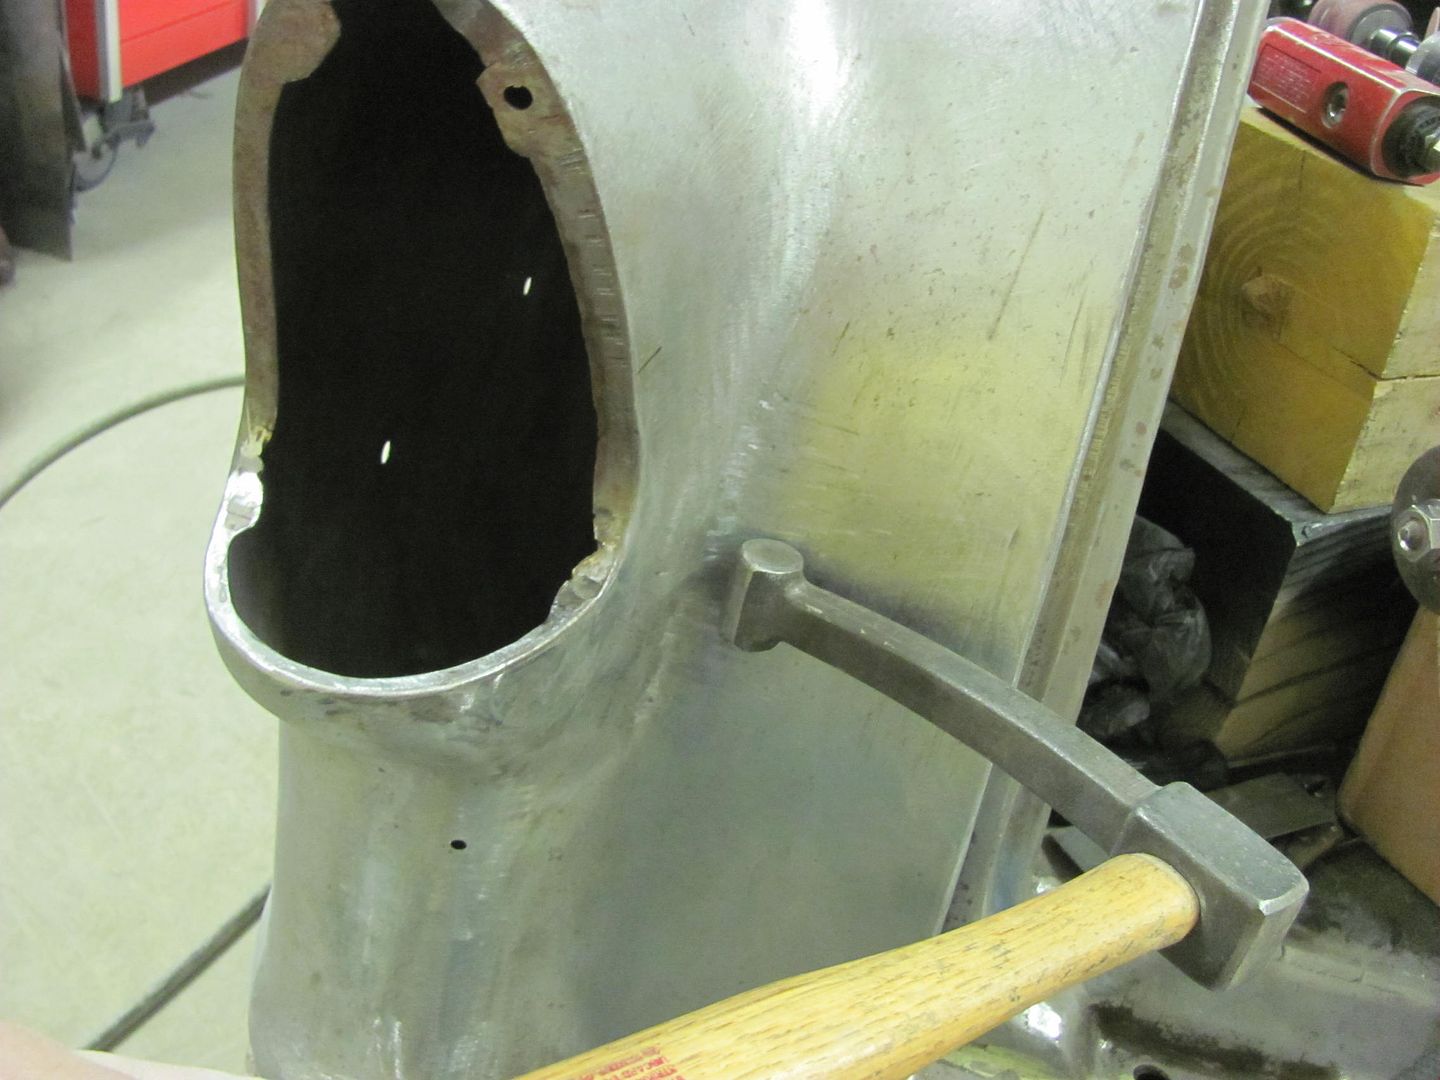
A bit better here, but more tweaking will be needed on the outside before the mounting plate gets welded in place..
Robert
-
04-29-2015 05:14 AM #507
CHR Member/Contributor
- Join Date
- Sep 2007
- Location
- Gardner, KS
- Car Year, Make, Model: '33 HiBoy Coupe, '32 HiBoy Roadster
- Posts
- 11,245
More excellent work, and excellent photos/explanations of the steps. I especially appreciate your "redneck press" explanation, which gives a very efficient method of getting the job done using items on hand in unique ways. Thanks for that.Roger
Enjoy the little things in life, and you may look back one day and realize that they were really the BIG things.
-
04-29-2015 07:31 AM #508
CHR Member
- Join Date
- Nov 2012
- Location
- Southern
- Posts
- 116
I noticed Kyle's weld penetration photo in post #496. I think this young man may have a bright future in auto body work. The combination of youth and experience is very evident in this build. A great teacher and a willing student at work here.
-
04-29-2015 10:02 AM #509
CHR Member/Contributor
- Join Date
- Mar 2005
- Location
- Tigard
- Car Year, Make, Model: 63 Nova SS
- Posts
- 2,591
Every time I read through this thread I'm impressed adn amazed - great work and transferring skills to a young man while spending quality time in the garage. I'm sure the conversations include a lot of "life-lessons" as well. You, sir, are an encouragement to all of us dads and granddads!
Glenn"Where the people fear the government you have tyranny. Where the government fears the people you have liberty." John Basil Barnhil
-
04-30-2015 08:03 PM #510
CHR Member
- Join Date
- Jun 2008
- Location
- Leonardtown
- Car Year, Make, Model: Walking
- Posts
- 1,228
Thanks for the kind words fellas. This weekend we're headed to a metal shaping workshop and plan to use the time to make some pods for the corner AC vents. Should be a good day..
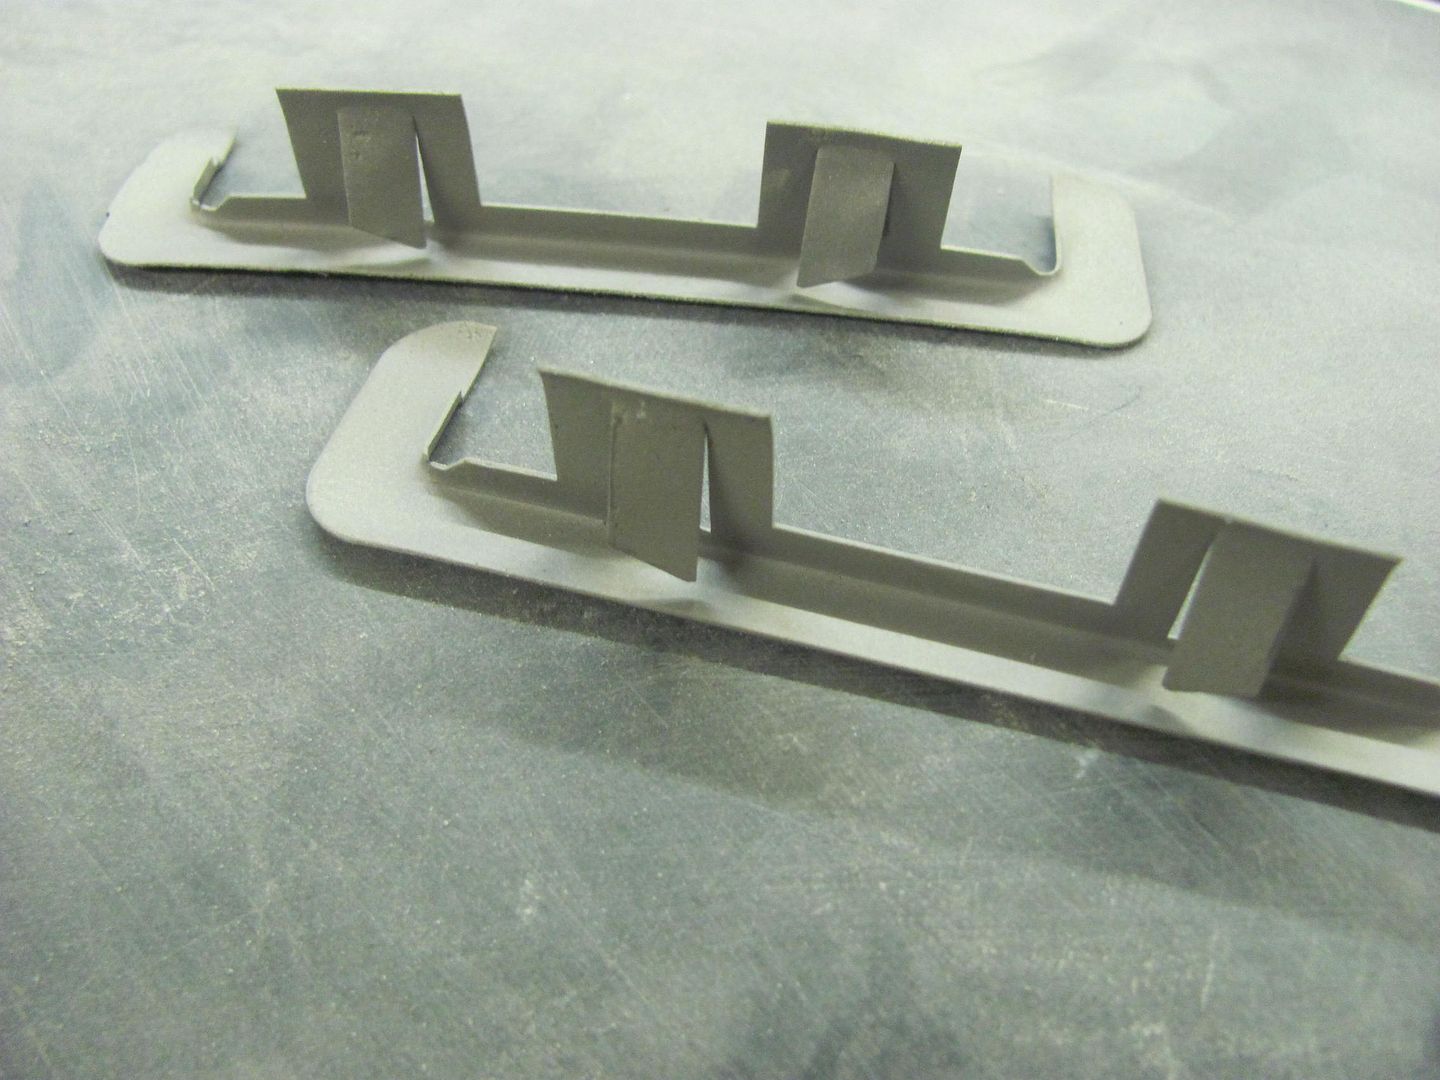
Received a couple of care packages today, first was some of the tailgate hinge trim rings, shown here after Kyle media blasted them. So to all the guys that were watching the ebay auction for these, sorry..
Next, we got our AC vent samples in.. Here is the test fit with tape... Only have two of the round ones to show, but if we go with these there will be three in a row here in the center of the dash.
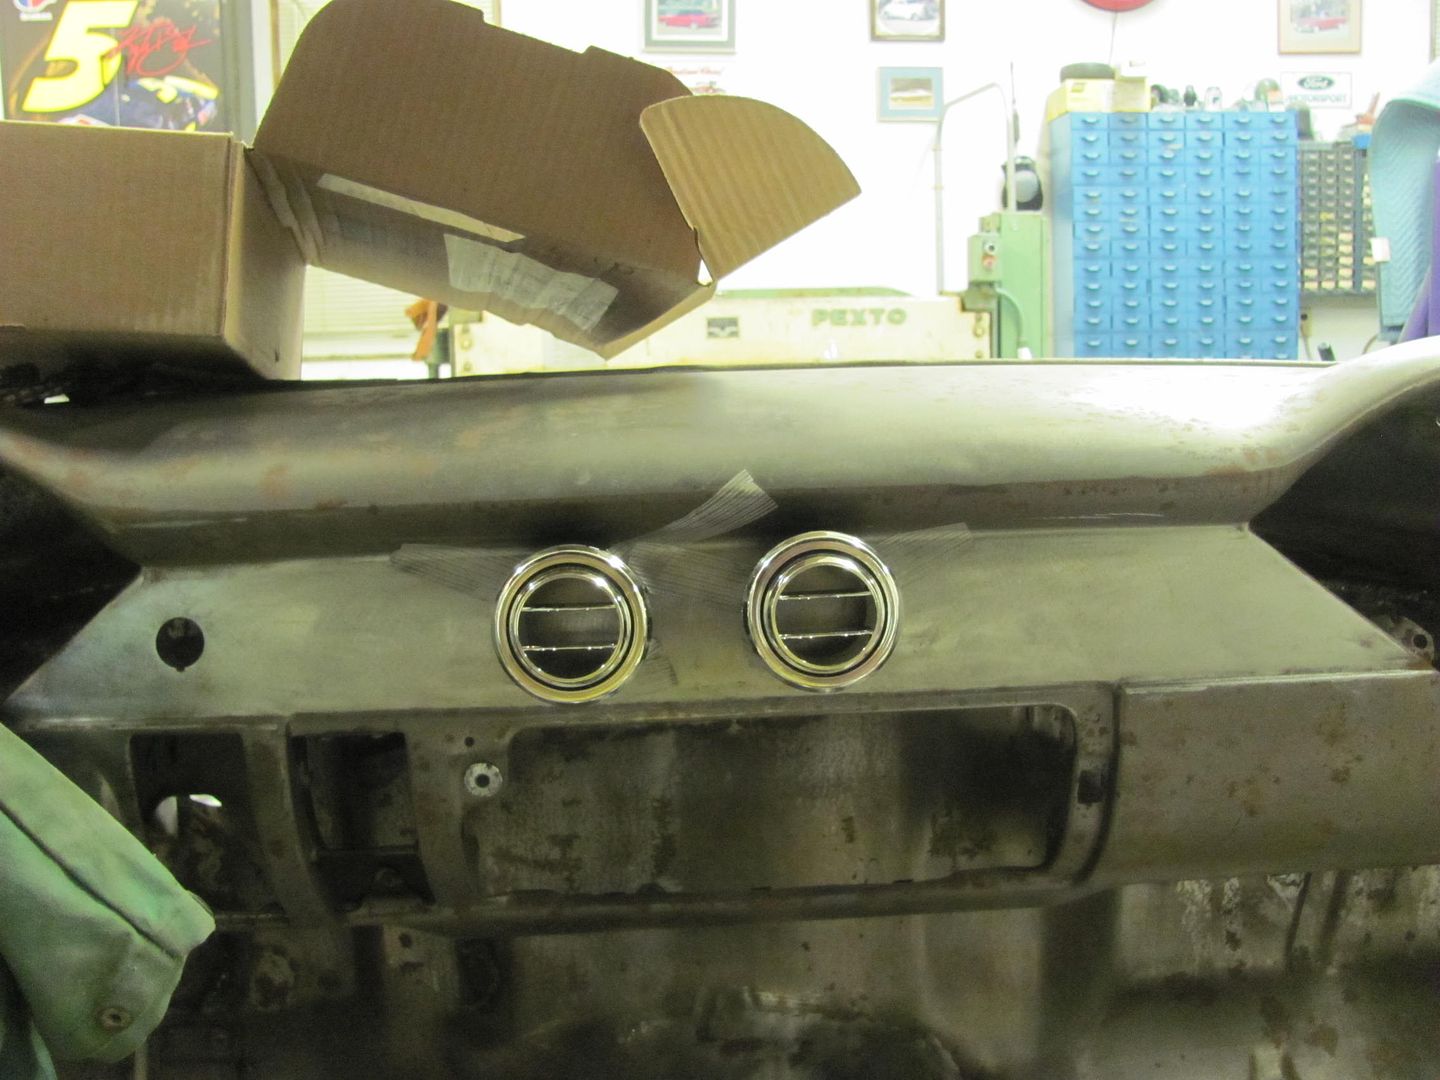
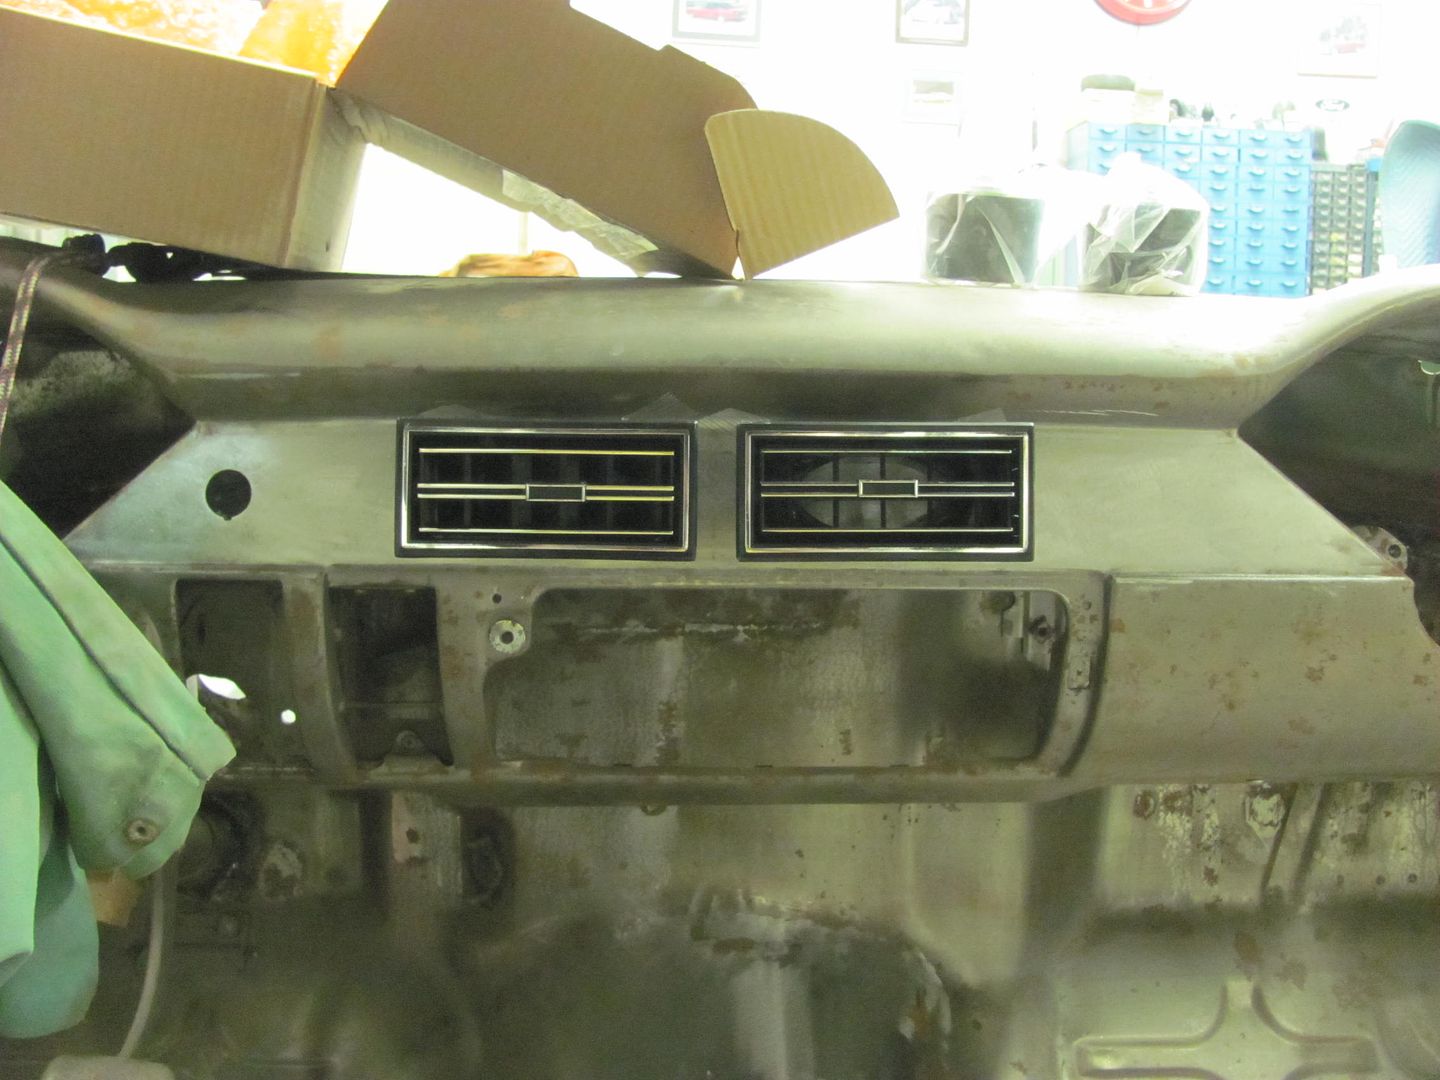
Any thoughts on the vents now with them mocked up?
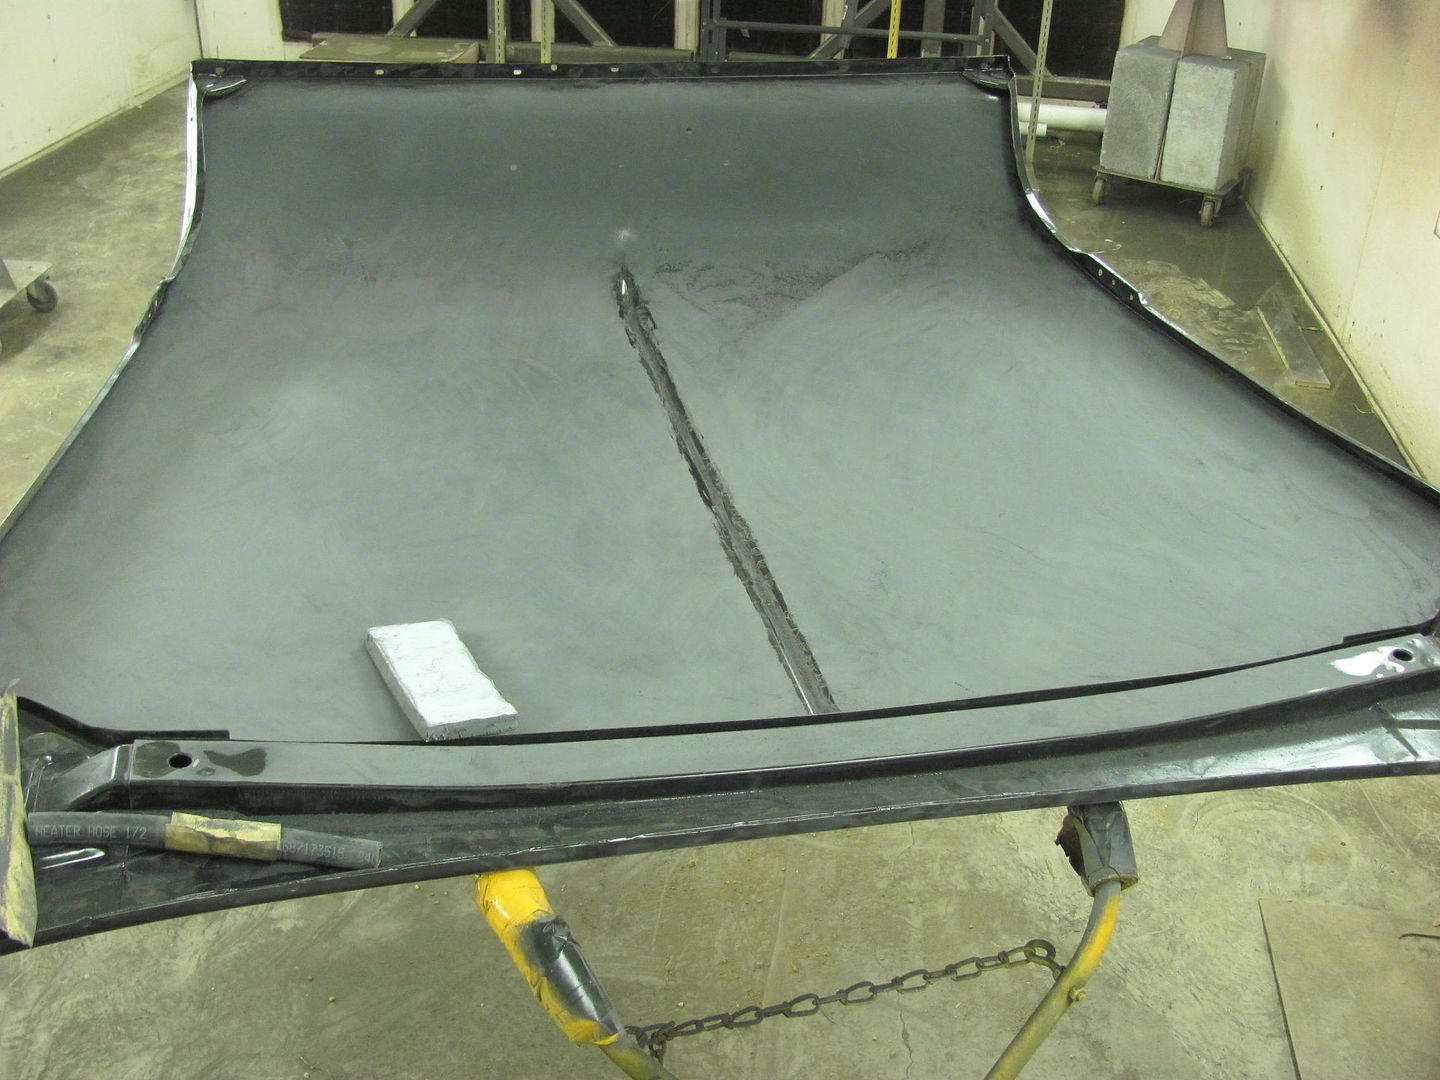
Then Kyle tried his hand at block sanding epoxy on the inside of the hood..
Robert
 Reply With Quote

Posting Permissions
- You may not post new threads
- You may not post replies
- You may not post attachments
- You may not edit your posts

Even though I know he won't see this, I still want to wish a Happy Birthday to my best friend, Richard Moore aka techinspector1
Happy Birthday techinspector1