


 3390Likes
Thread: 55 Wagon Progress


Results 481 to 495 of 1865
 LinkBack URL
 About LinkBacks
-
04-14-2015 01:44 PM #481
 CHR Member

- Join Date
- Apr 2011
- Location
- Prairie City
- Car Year, Make, Model: 40 Ford Deluxe, 68 Corvette, 72&76 K30
- Posts
- 7,301
- Blog Entries
- 1
Great work! It seems those tail light housings are just plain off. We did a 56 at my last job and it had the same issues. None of the aftermarket parts we got fit worth a snot on that car!Ryan
1940 Ford Deluxe Tudor 354 Hemi 46RH Electric Blue w/multi-color flames, Ford 9" Residing in multiple pieces
1968 Corvette Coupe 5.9 Cummins Drag Car 11.43@130mph No stall leaving the line with 1250 rpm's and poor 2.2 60'
1972 Chevy K30 Longhorn P-pumped 24v Compound Turbos 47RH Just another money pit
1971 Camaro RS 5.3 BTR Stage 3 cam, SuperT10
Tire Sizes
-
Advertising

- Google Adsense
- REGISTERED USERS DO NOT SEE THIS AD
-
04-14-2015 02:51 PM #482
CHR Member/Contributor
- Join Date
- Jul 2007
- Location
- Decatur
- Car Year, Make, Model: 32 Chevy coupe 34 & 36 chevy sedan
- Posts
- 119
I love your attention to detail. I have been following this for a long time. Can I bring my build to you when you get thru with this one. Ha ha
by watching your build I am hoping to eliminate a lot of mud from my build. Great work. Jonathan
-
04-15-2015 04:15 AM #483
CHR Member
- Join Date
- Jun 2008
- Location
- Leonardtown
- Car Year, Make, Model: Walking
- Posts
- 1,228
Thanks for the comments guys. Jonathan, Unfortunately I have a waiting list. I've got an insurance job next to fix some Tornado damage..
Well, it's that time of year again, and the local Arby's Wednesday night car shows are in full swing, so we've changed the shop nights from Mon & Wed to Tues & Thurs so that we'd have Wednesday free to stop by the shows. We plan on taking Brad's Fairlane to a couple of the events this year, Arby's is just over a mile away from the shop, so his 4 gallon tank may just make the trip..

This is one of those cars that you'll feel and hear well before you see it, so it should draw a nice crowd
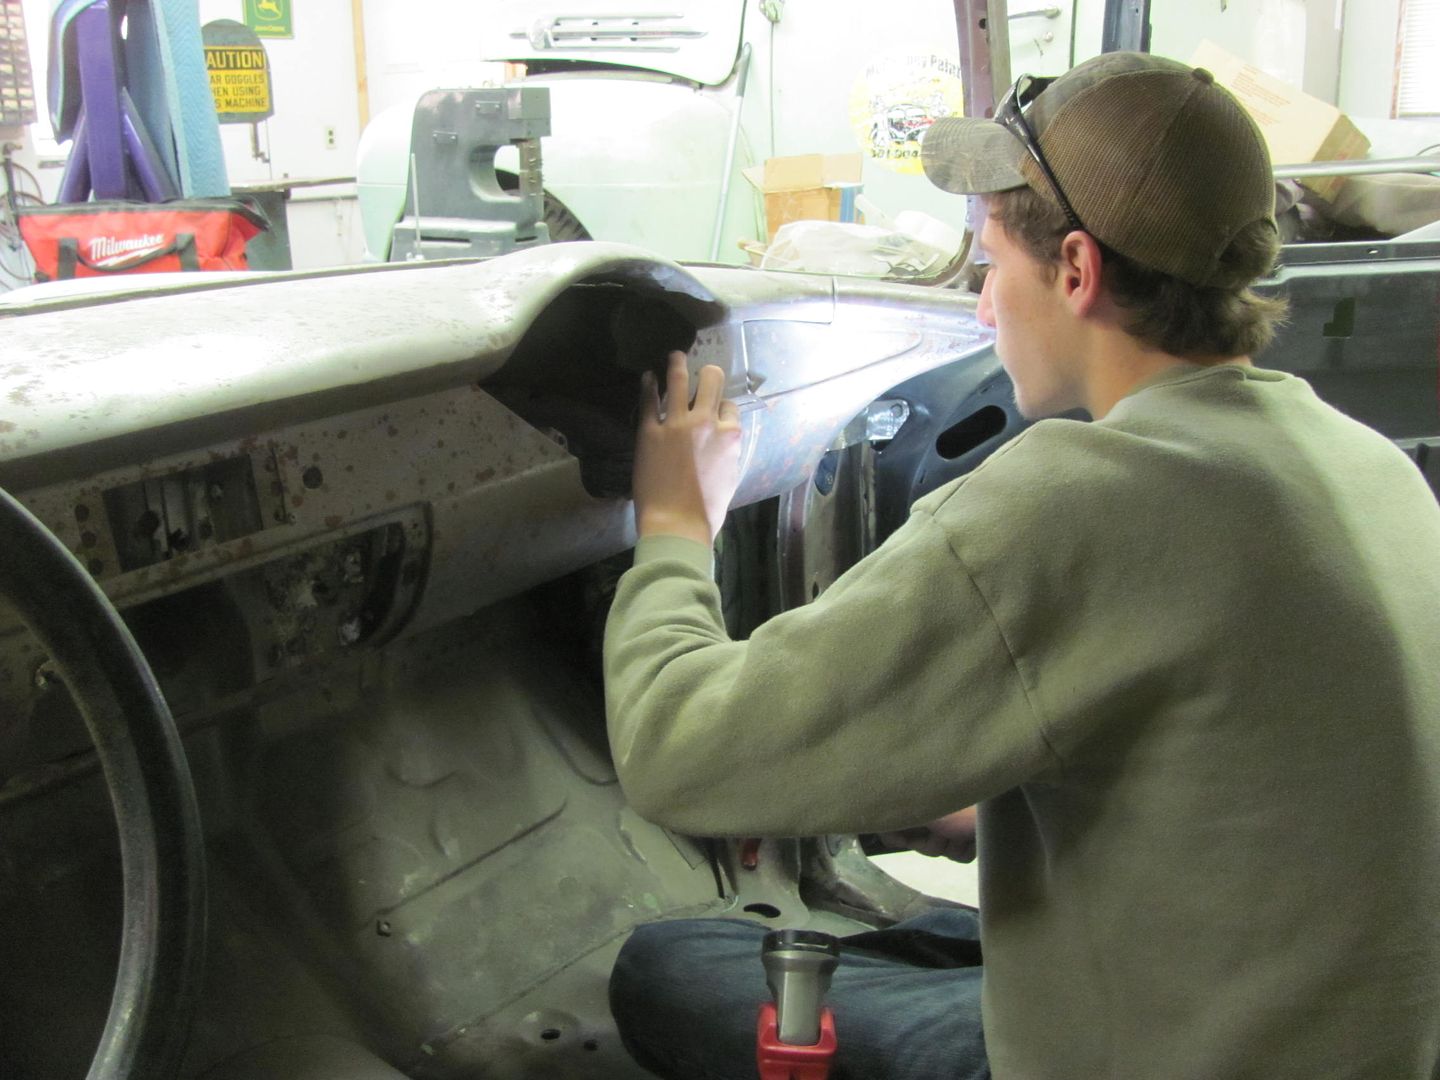
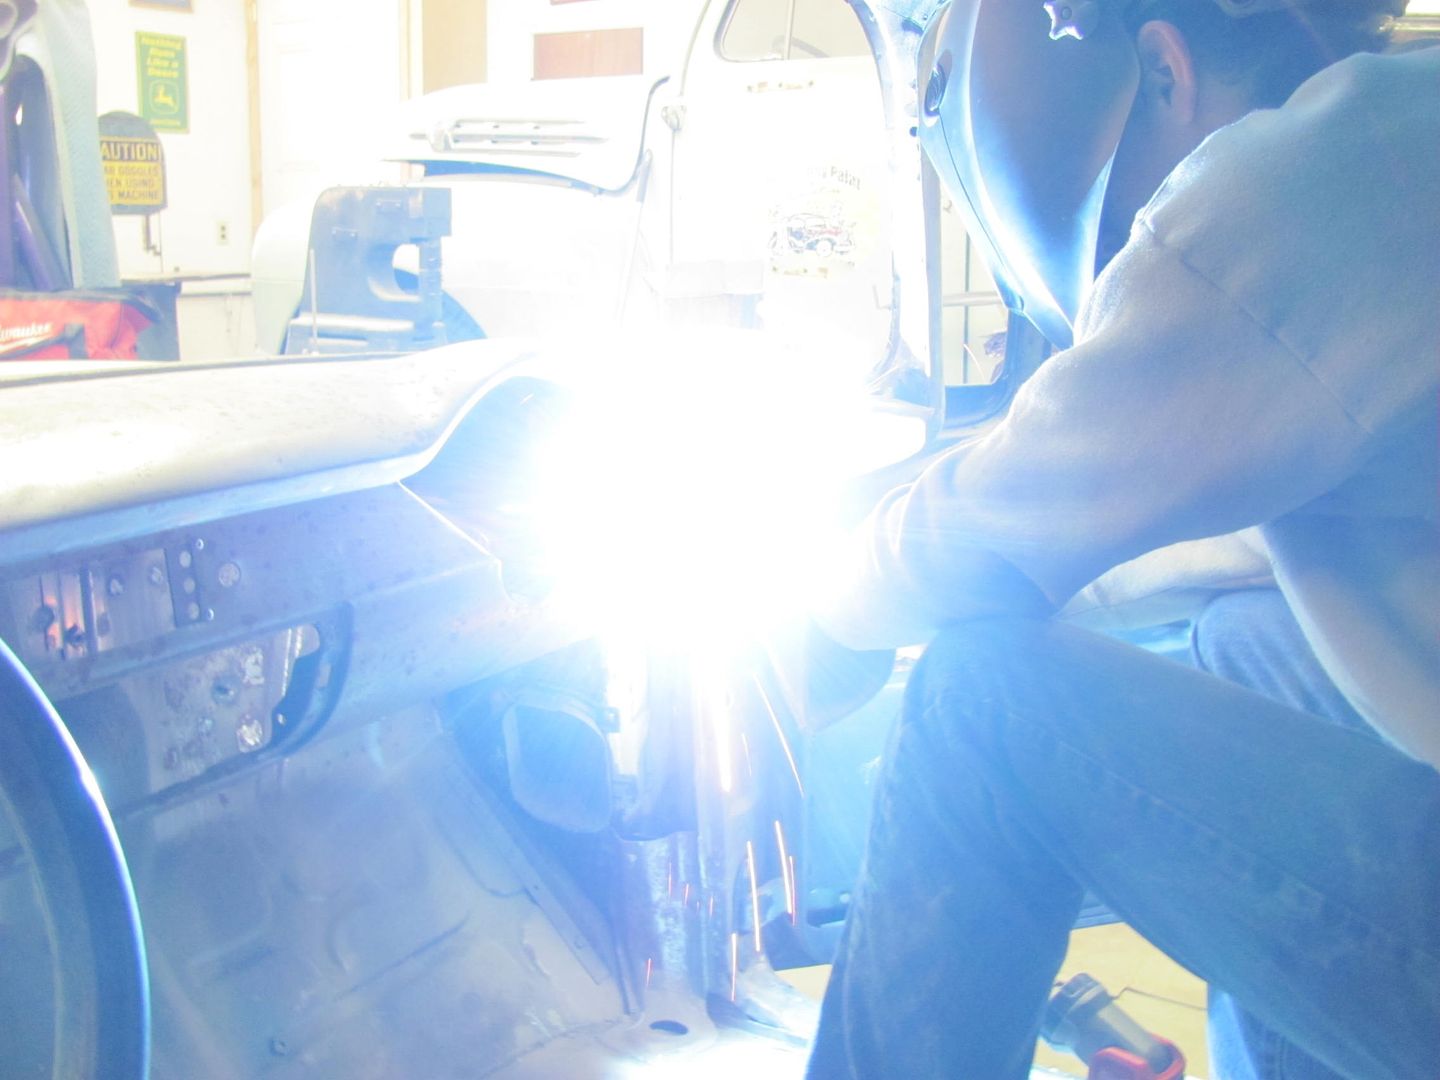
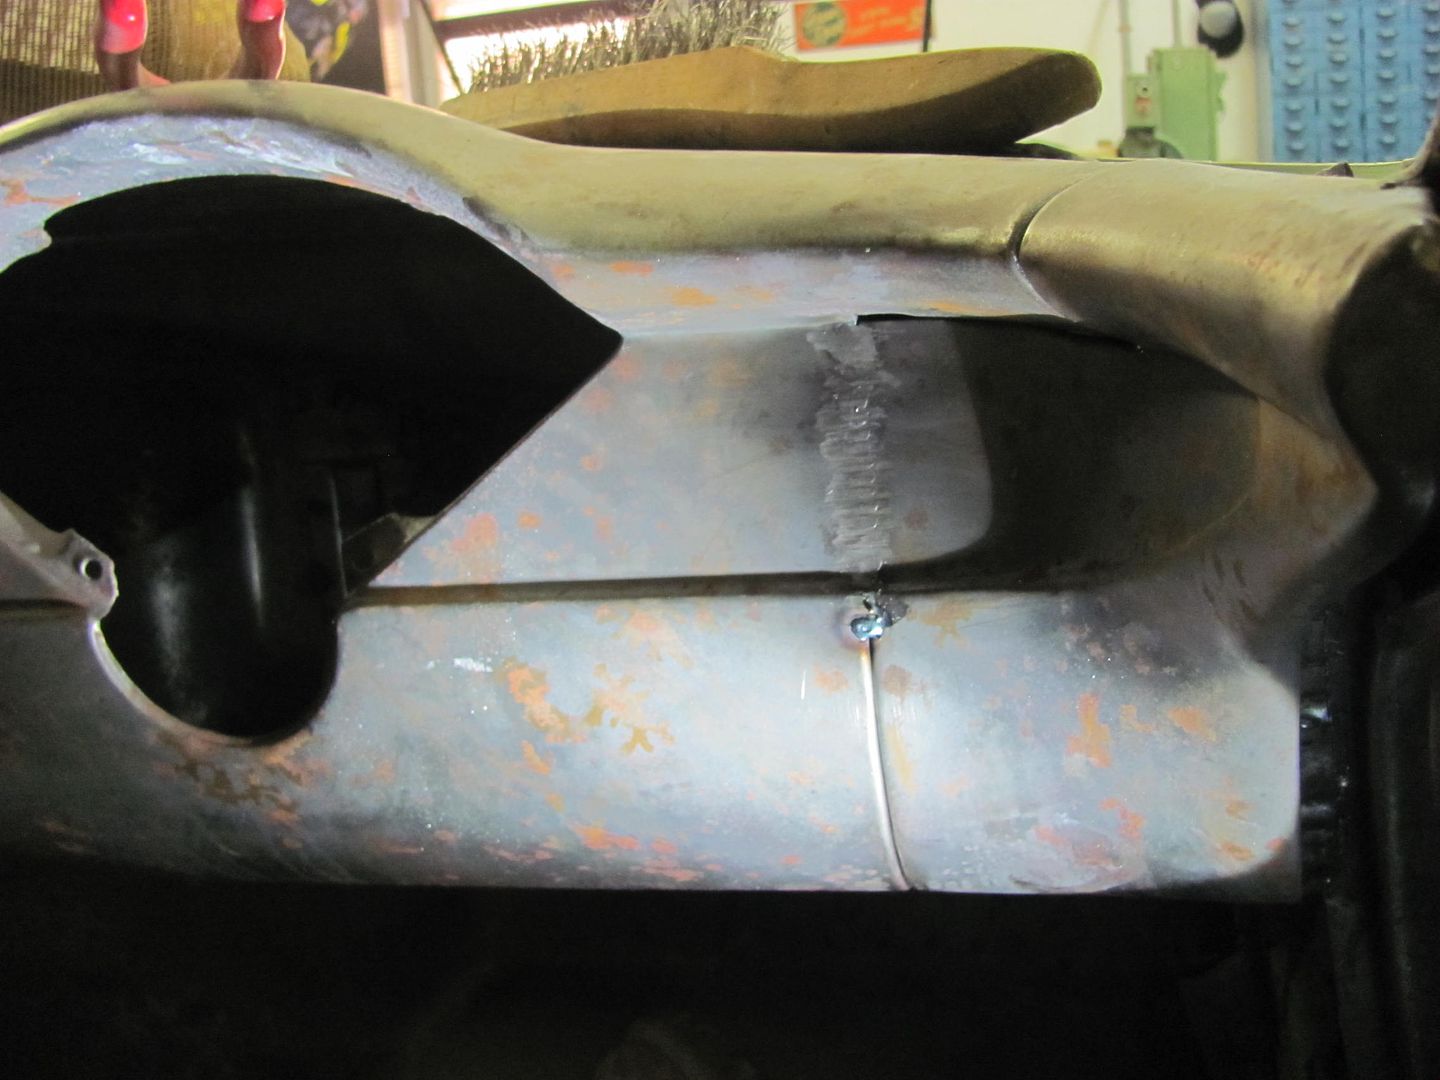
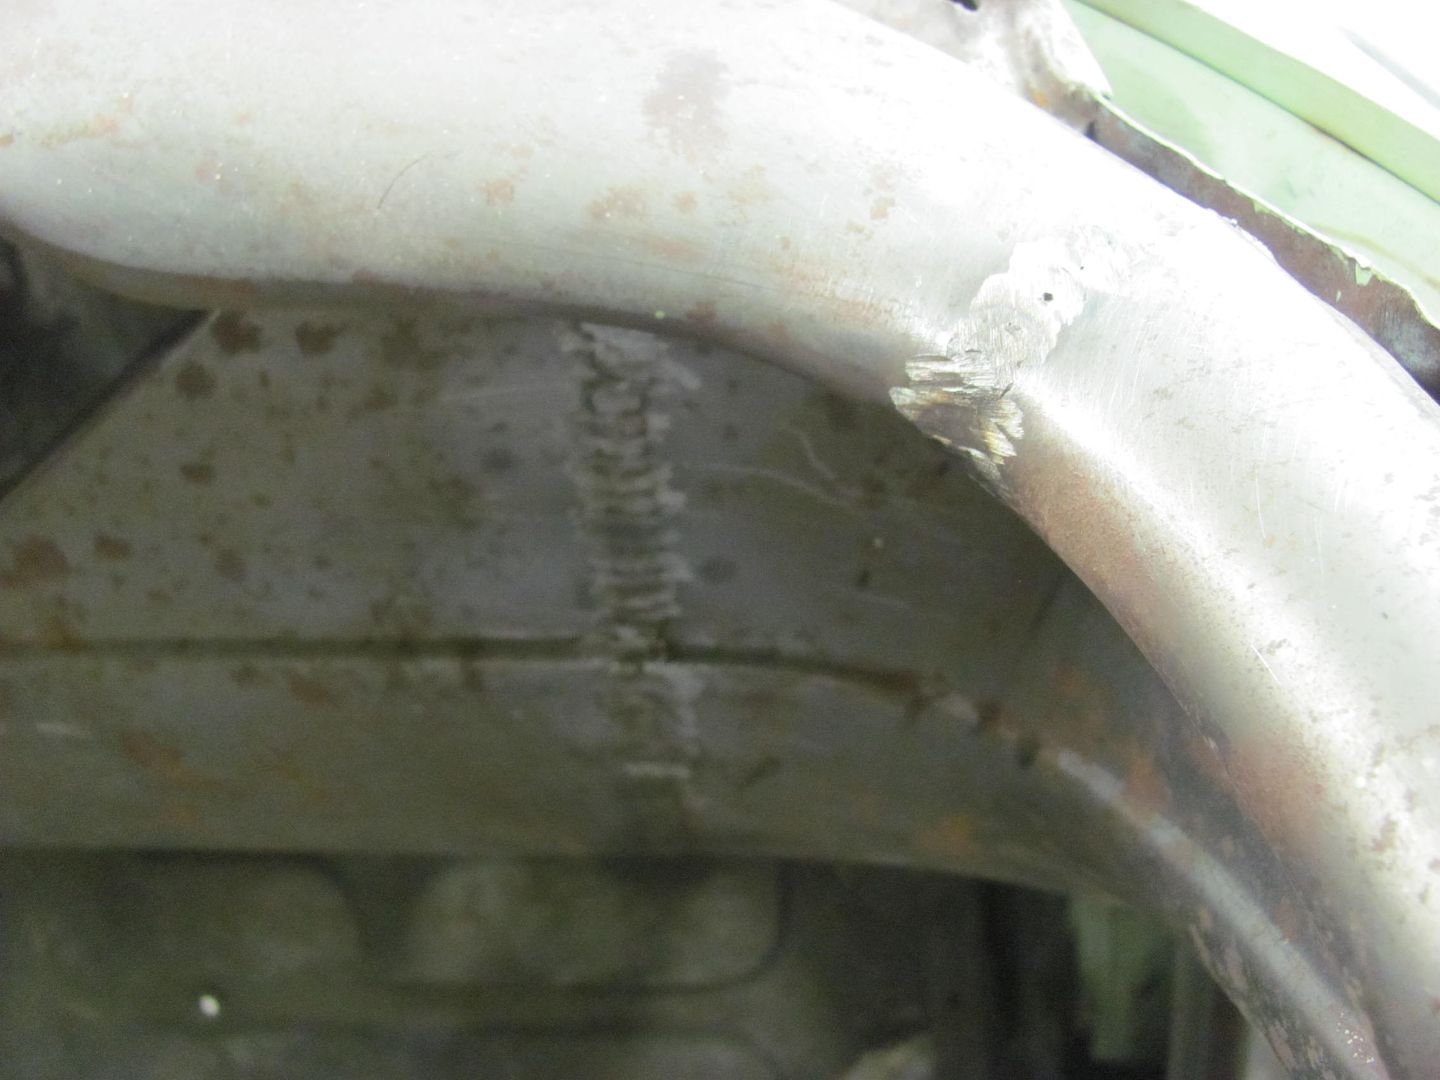
Last night's shop progress had me doing more block sanding, and Kyle continued on the rear quarter seam shave. The top weld is about done (except at the edge), other than final bumping and planishing. The weld through the middle of the mounting bracket was dressed out. The final weld seam that travels over to the gate opening will be addressed once the body is on the rotisserie, the planishing is a bit cumbersome working around a corner, so with the car up on it's side it will make the task a bit easier.
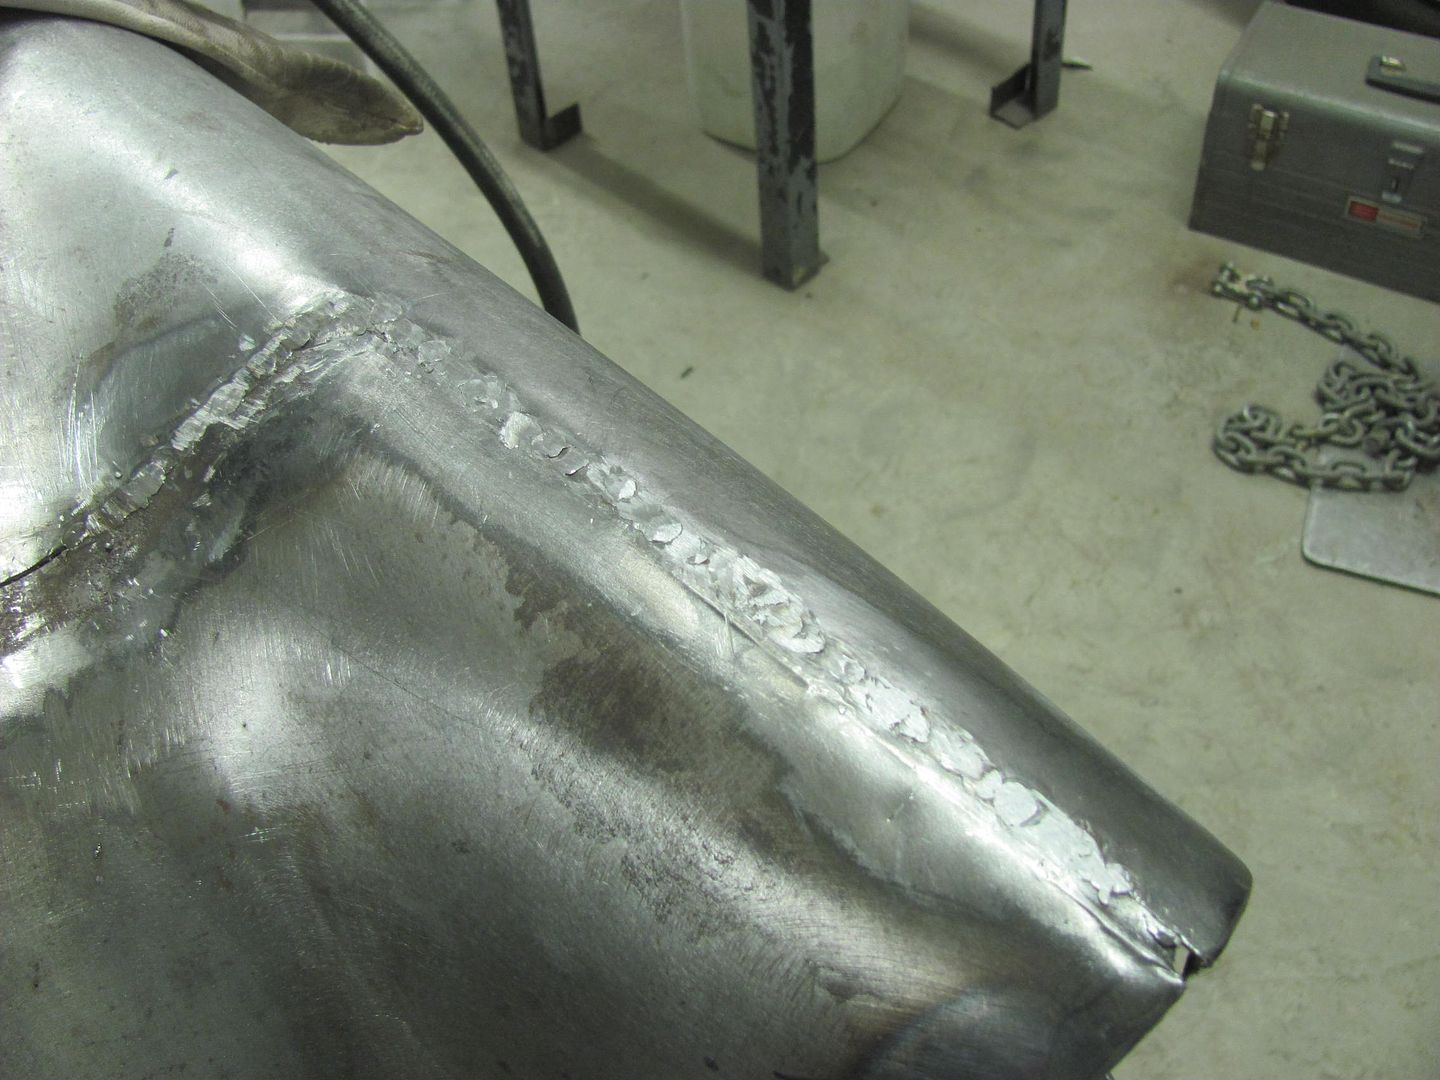

The tail light fits much better but some final tweaking will be done after the gap at the top edge is completed..
Robert
-
04-15-2015 06:20 PM #484
CHR Member
- Join Date
- Sep 2007
- Location
- New Bedford
- Car Year, Make, Model: 34 Ford 3W Coupe Replica
- Posts
- 14,754
Please give Brad 2 thumbs up on the Fairlane.. he probably hears it all the time but that is one sweet ride.
So after all your work to date you then need to put the car on a rotiseree?? (SIC) I think I'm feeling faint...
-
04-16-2015 04:33 AM #485
CHR Member
- Join Date
- Jun 2008
- Location
- Leonardtown
- Car Year, Make, Model: Walking
- Posts
- 1,228
This shows a more accurate color for Brad's car, the camera I used in the other picture was overwhelmed by the sun's reflection...
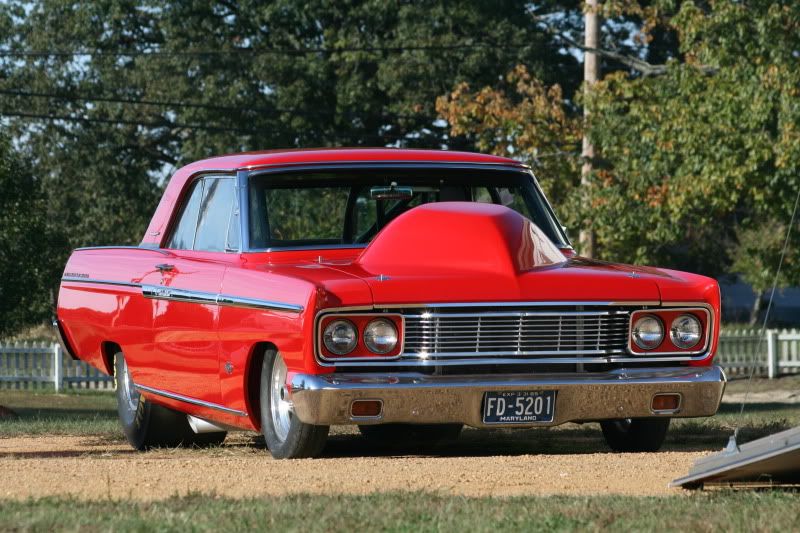
BTW, here's the build thread on the Fairlane.................
1965 Fairlane build
Yes on the rotisserie, the bottom of the car is bare and in need of paint, and it's also easier to paint the inside with the car rolled on the side. Then you walk (step) through the side windows or door opening to the shop floor, and the ceiling and floor boards are to either side, easier painting.Last edited by MP&C; 04-16-2015 at 04:44 AM.
Robert
-
04-16-2015 10:50 AM #486
CHR Member
- Join Date
- Apr 2011
- Location
- Prairie City
- Car Year, Make, Model: 40 Ford Deluxe, 68 Corvette, 72&76 K30
- Posts
- 7,301
- Blog Entries
- 1
Brad's car is awesome! I got the loud sound in my head when you said that's a car you hear before you see it. I love that!
Ryan
1940 Ford Deluxe Tudor 354 Hemi 46RH Electric Blue w/multi-color flames, Ford 9" Residing in multiple pieces
1968 Corvette Coupe 5.9 Cummins Drag Car 11.43@130mph No stall leaving the line with 1250 rpm's and poor 2.2 60'
1972 Chevy K30 Longhorn P-pumped 24v Compound Turbos 47RH Just another money pit
1971 Camaro RS 5.3 BTR Stage 3 cam, SuperT10
Tire Sizes
-
04-16-2015 07:46 PM #487
CHR Member
- Join Date
- Jun 2008
- Location
- Leonardtown
- Car Year, Make, Model: Walking
- Posts
- 1,228
I'll have to get a video done when we take it down there..
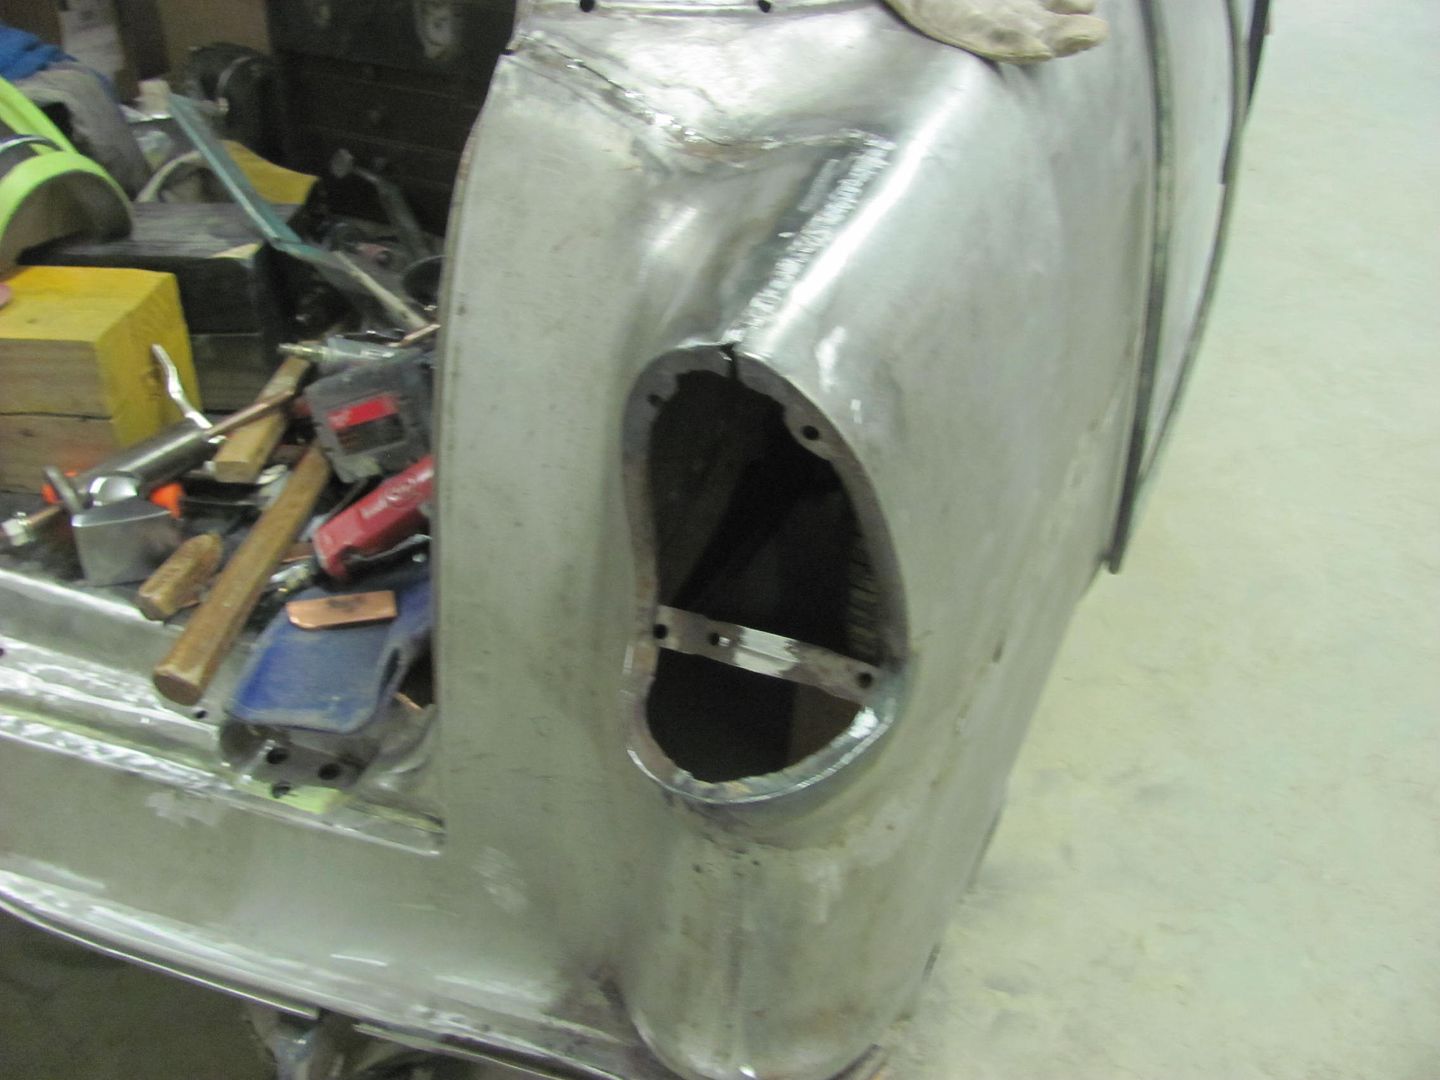
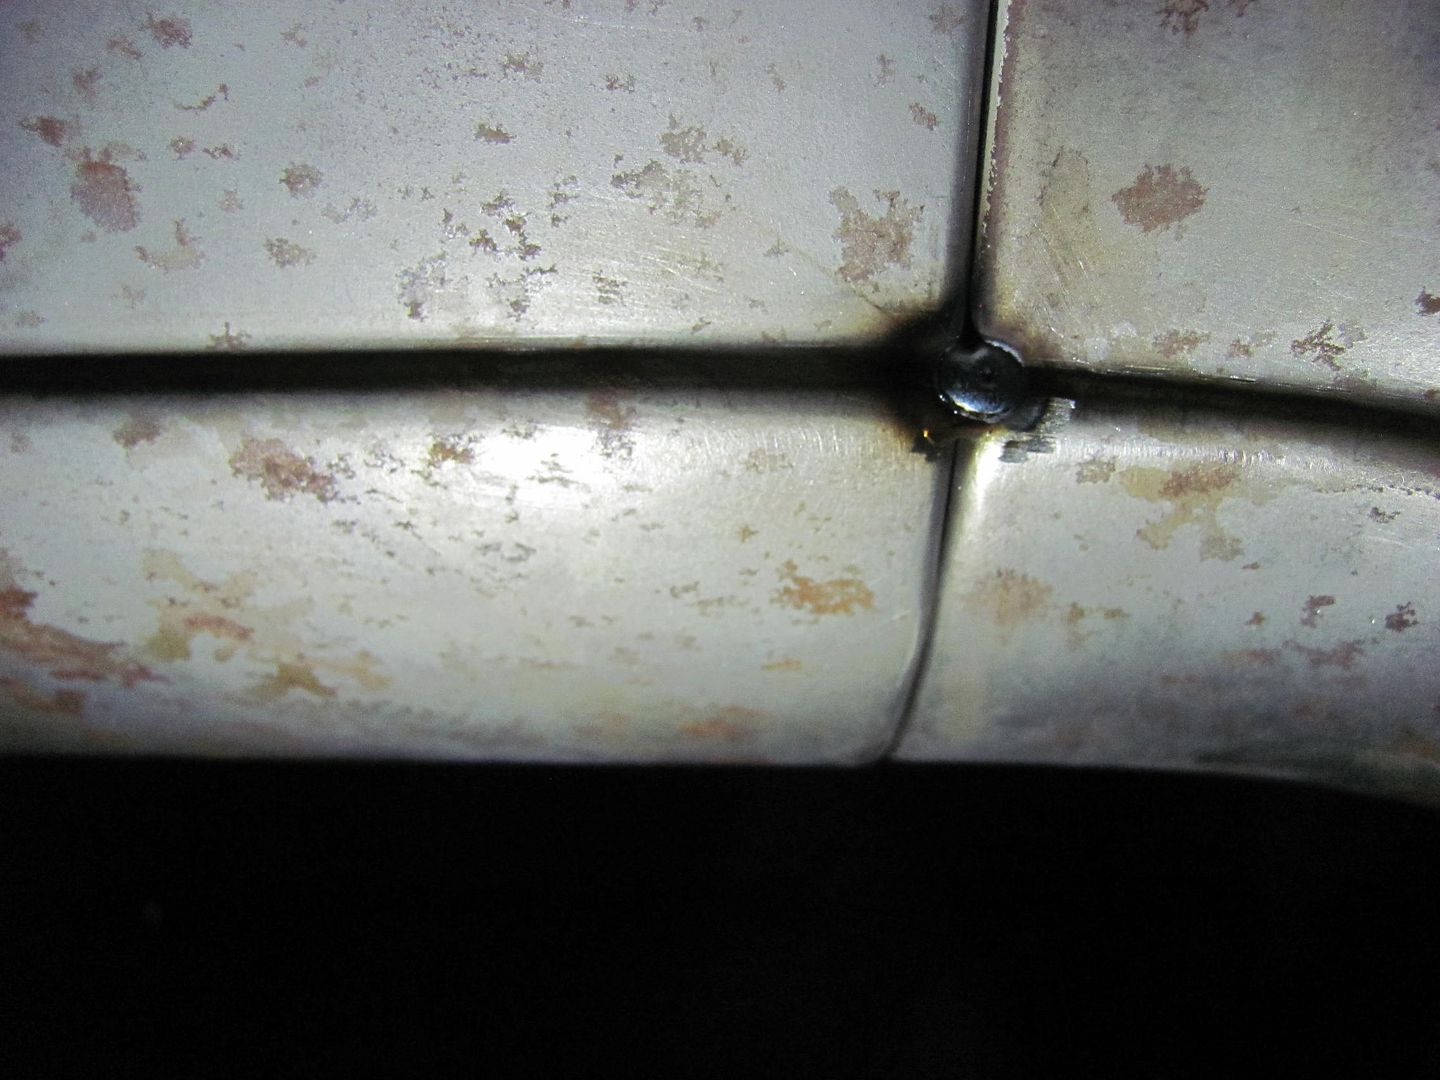
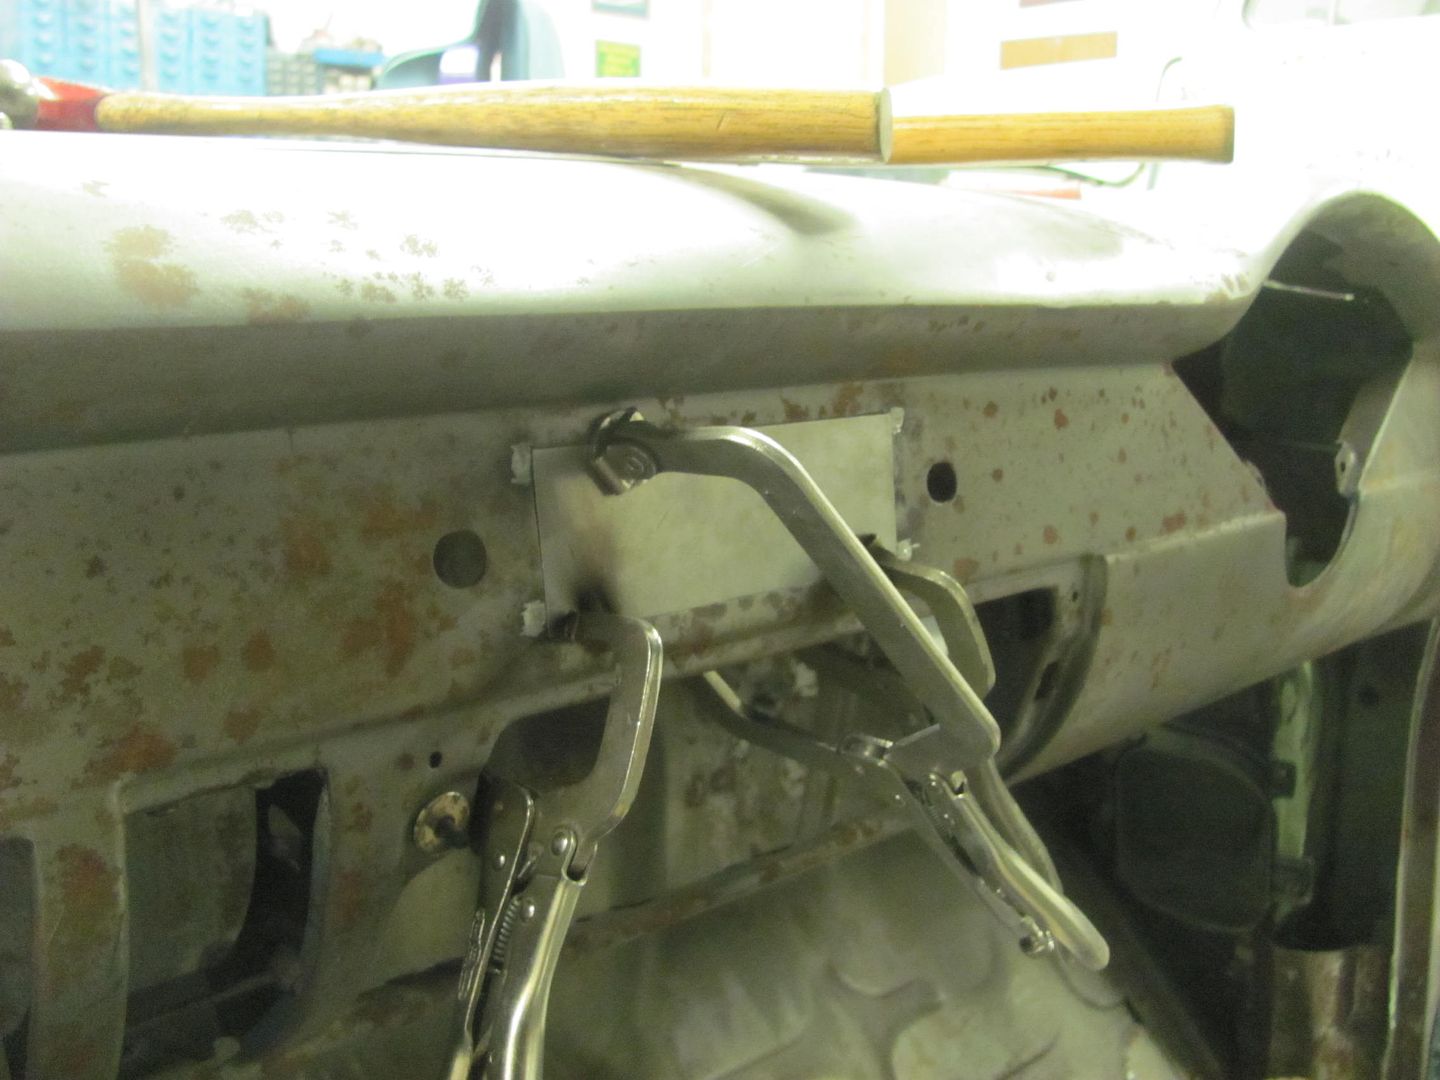
Well since Kyle has the top weld all the way back to the tail light opening, we checked the top crown and found a low spot by the 90* in the weld seam. We had to change the hoop on the Watervliet but since this one fit in the tail light opening so well, this will make short work of raising the low area..
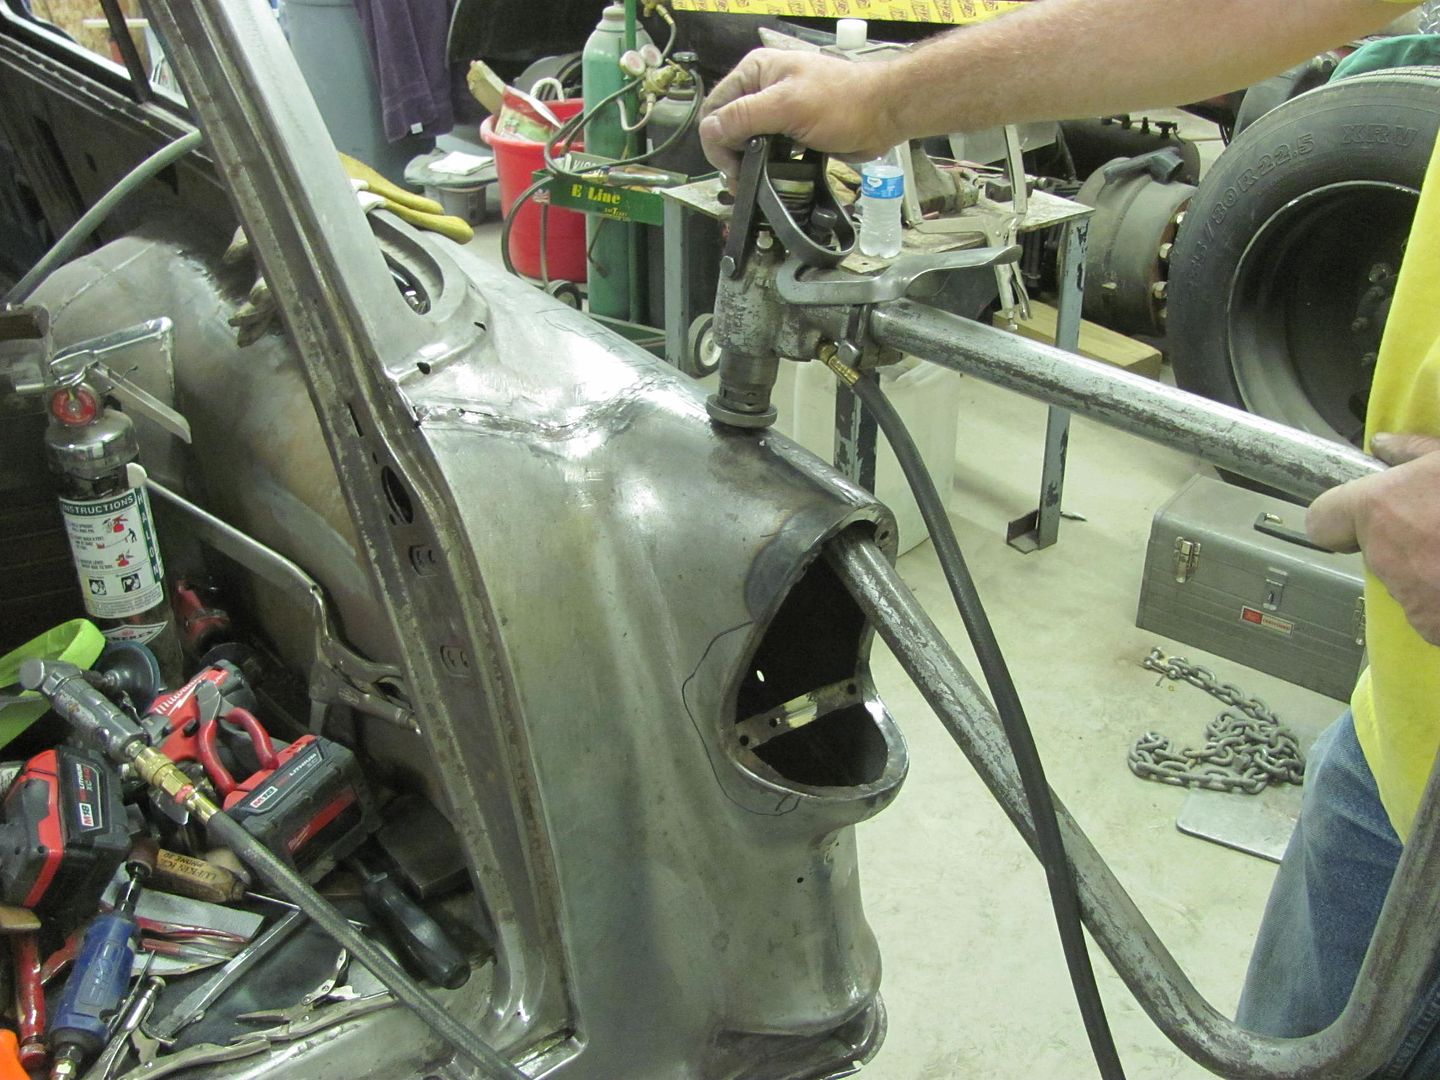

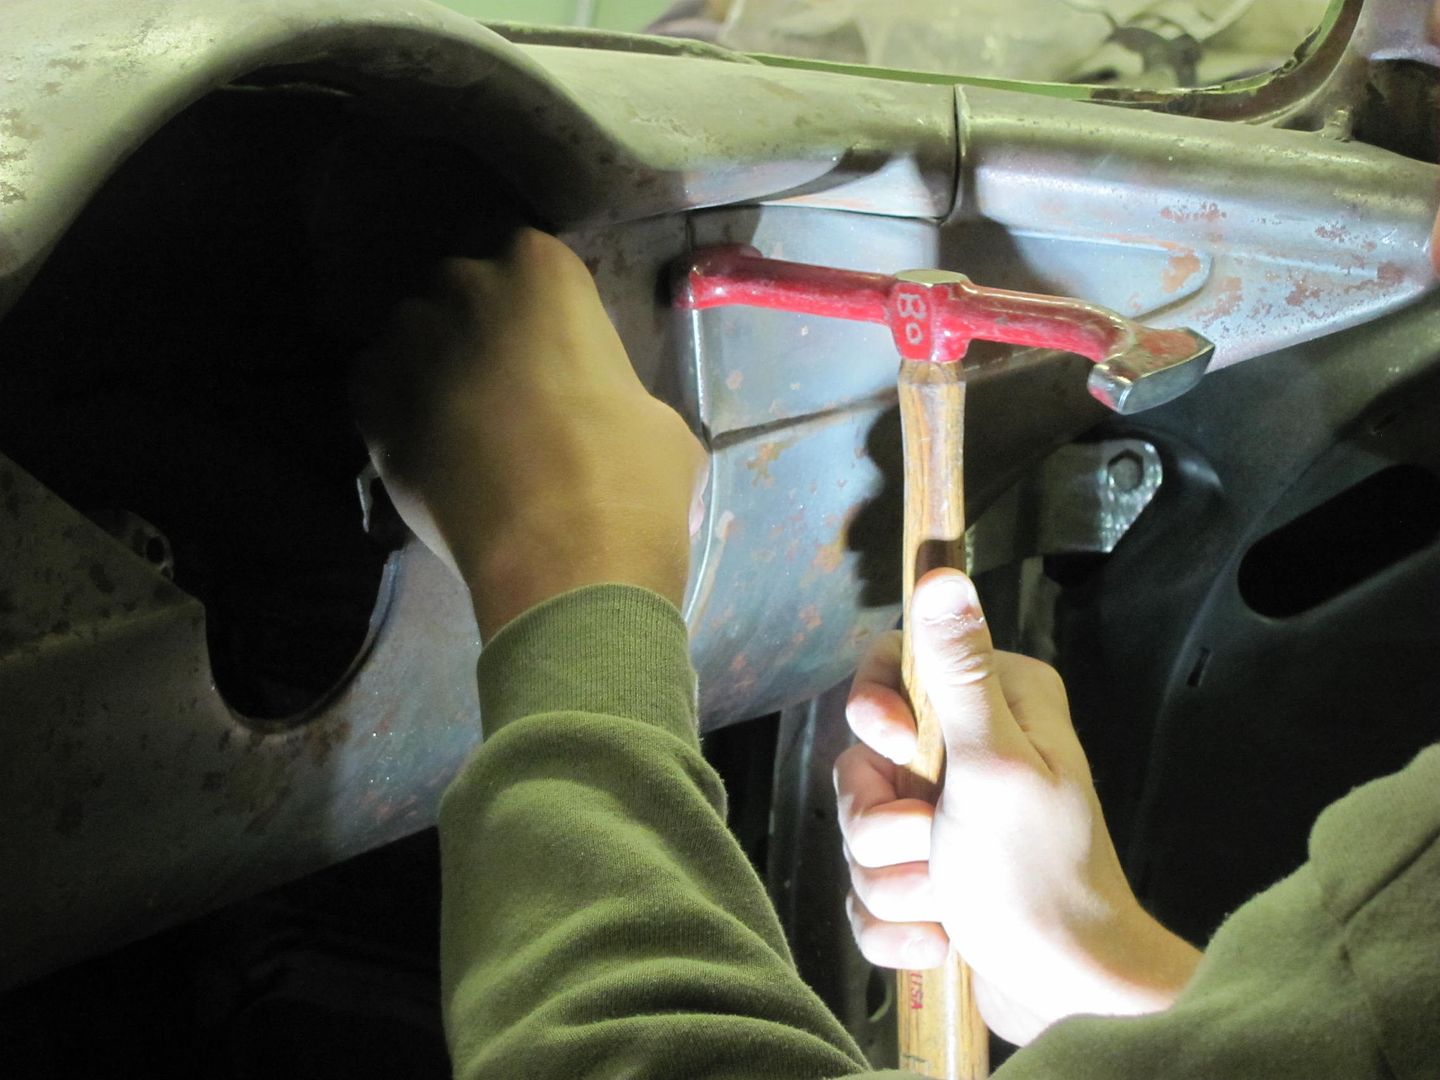
We decided to go ahead and work on the opening a bit more, it was wide in spots as shown here...
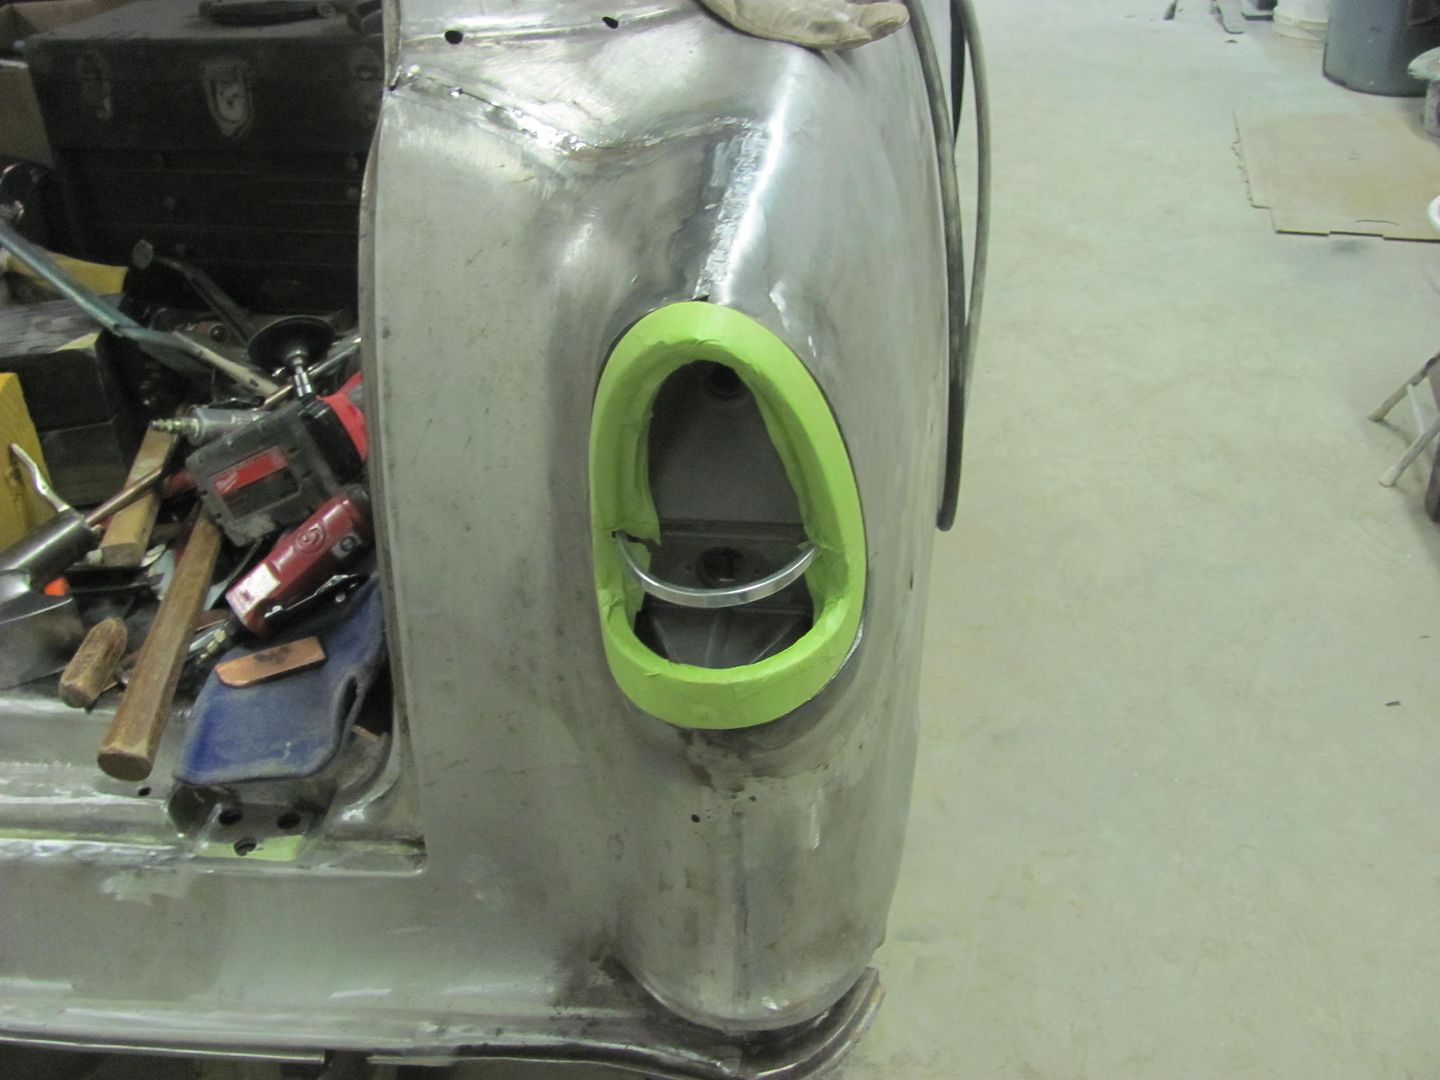
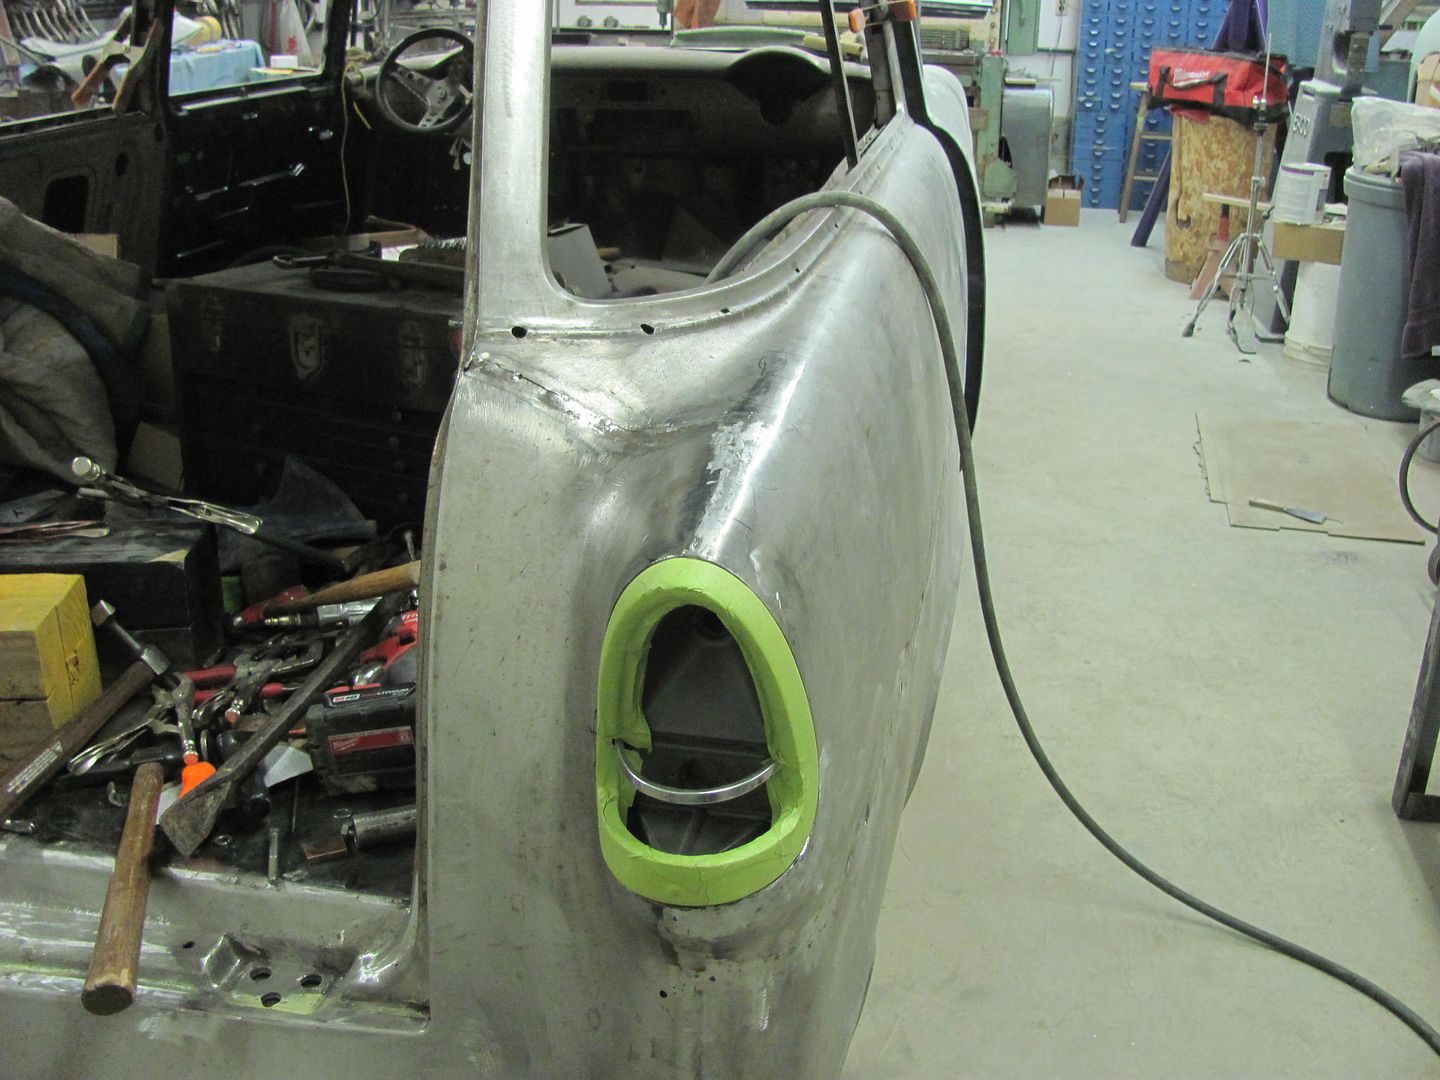
Some "friendly" persuasion...
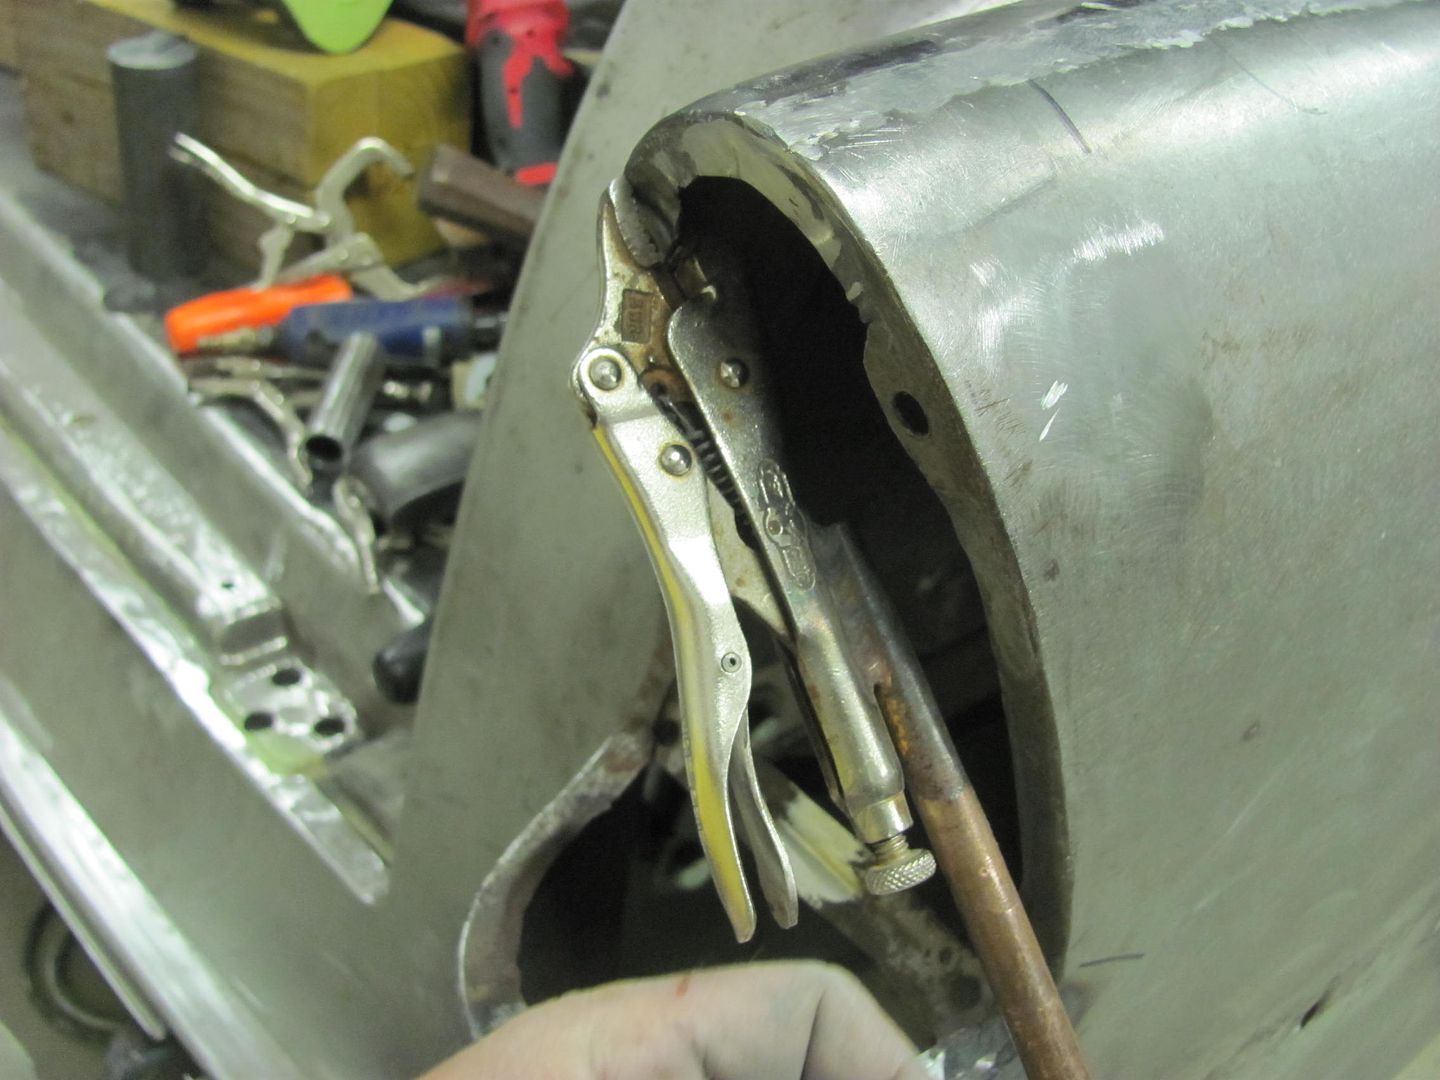
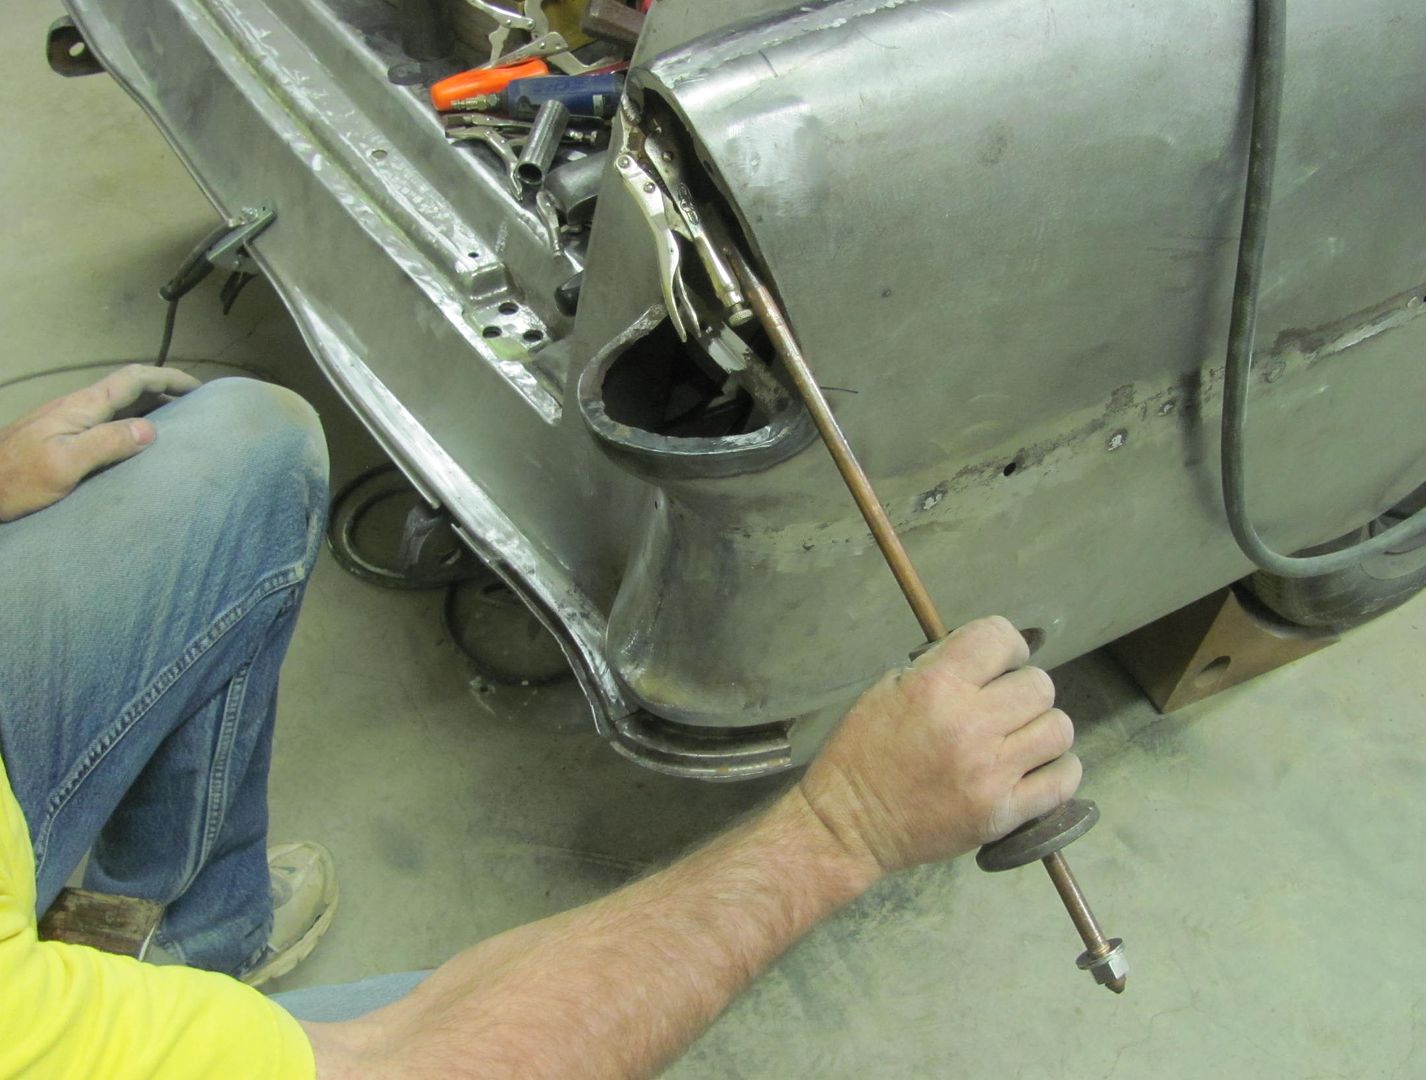
Much better fit....


Robert
-
04-18-2015 08:47 PM #488
CHR Member
- Join Date
- Jun 2008
- Location
- Leonardtown
- Car Year, Make, Model: Walking
- Posts
- 1,228
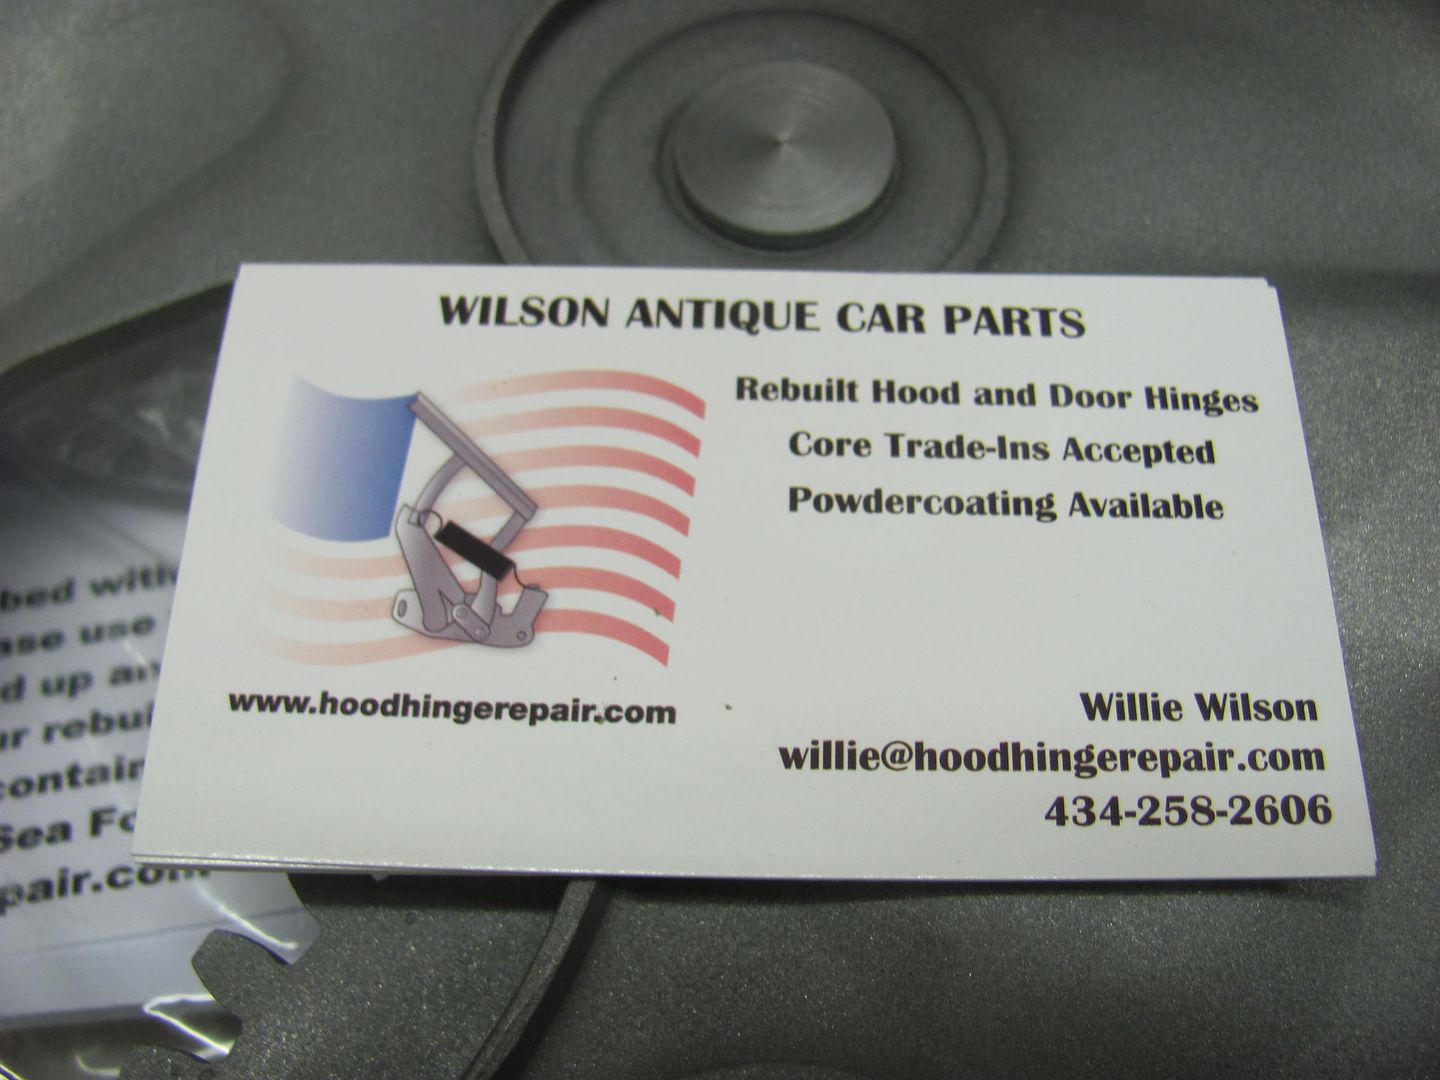
Got a care package in the mail yesterday, we had the hood hinges rebuilt at Wilson's Antique Car Parts....

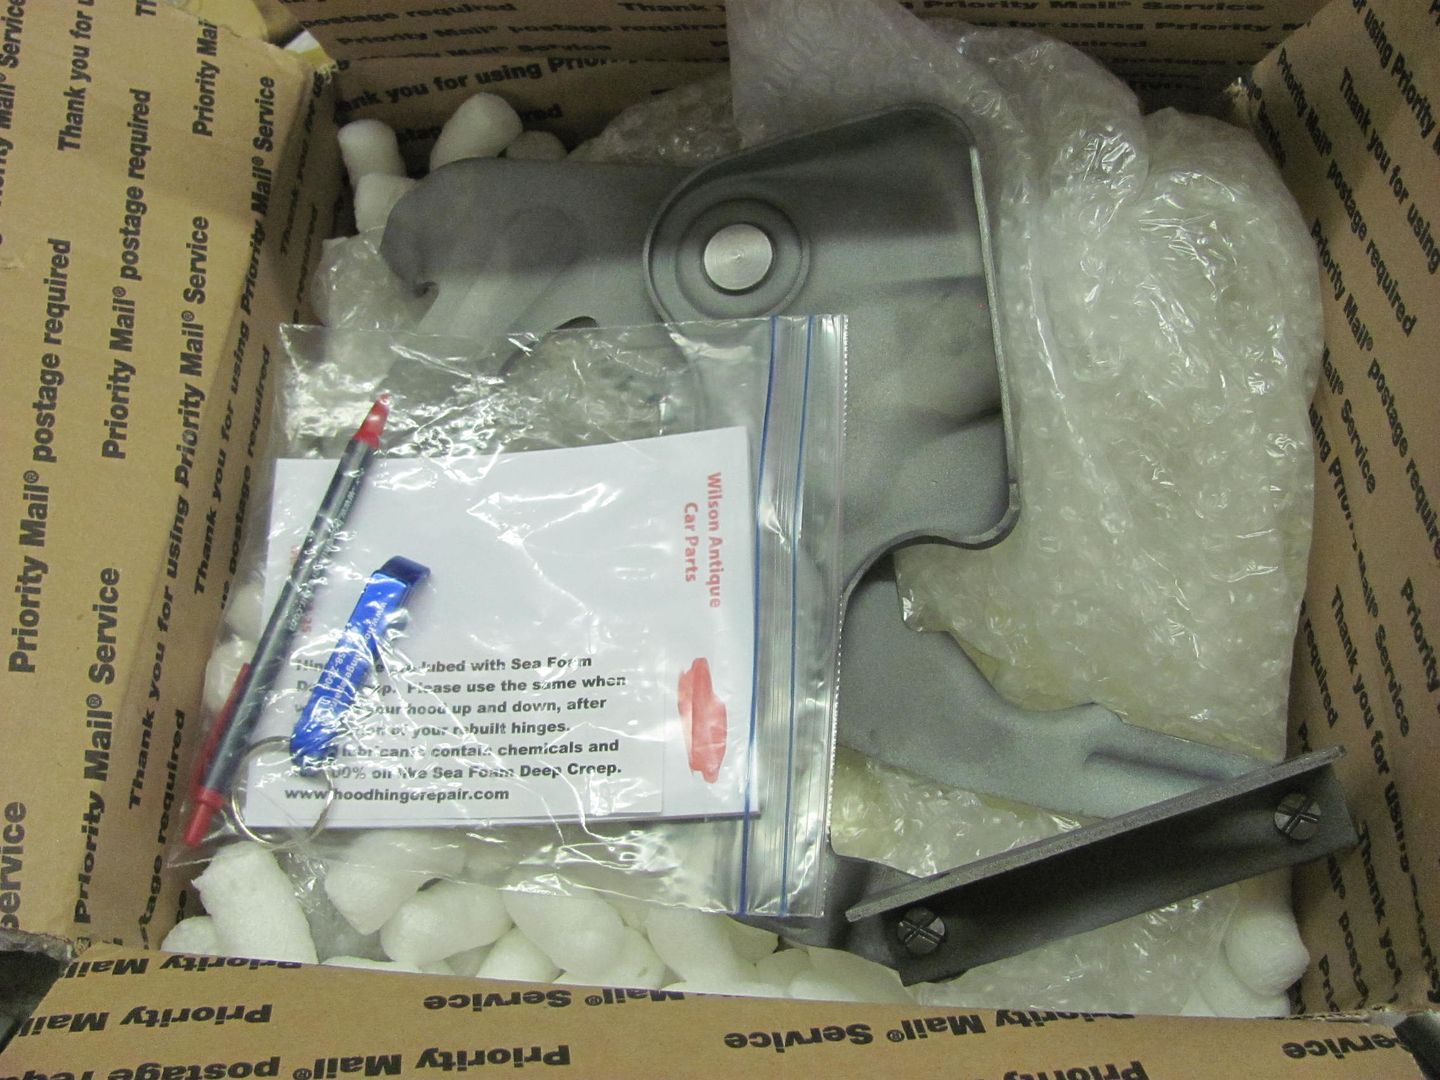
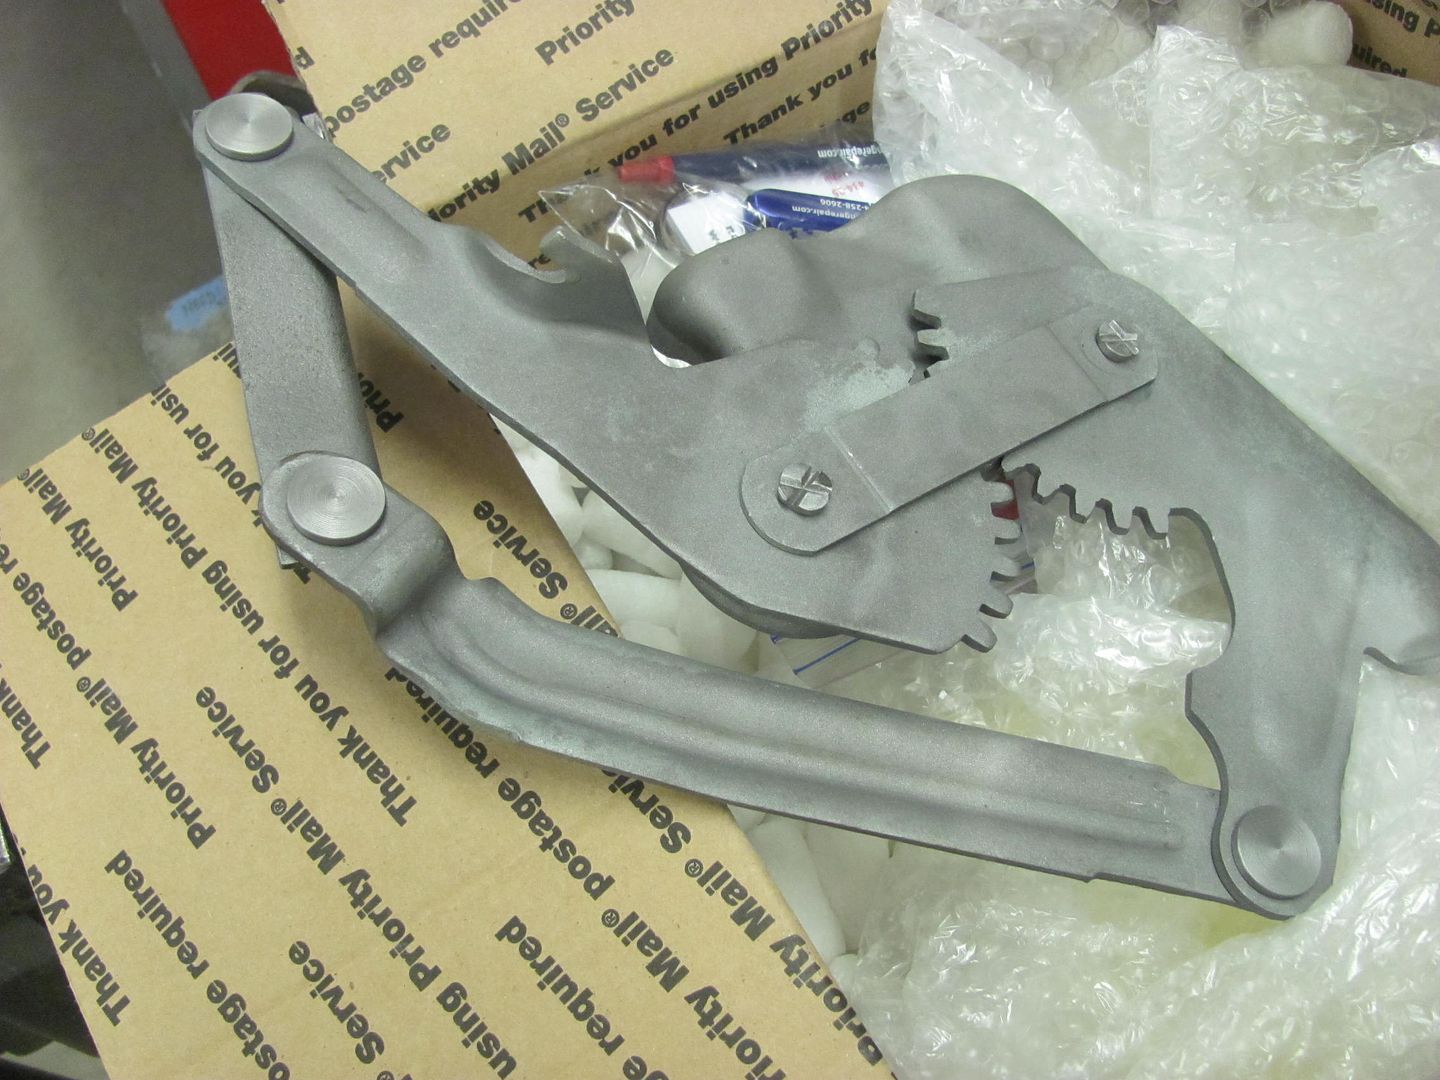

I had talked to a couple dealers about the reproduction hinges and did not hear good things, they indicated they had replaced a few sets due to the gears jumping teeth from being too loose. A member on one of the forums had recommended Wilson's rebuilding service, and I gotta say, this is top notch work. If you're having hood hinge issues, I highly recommend their services..
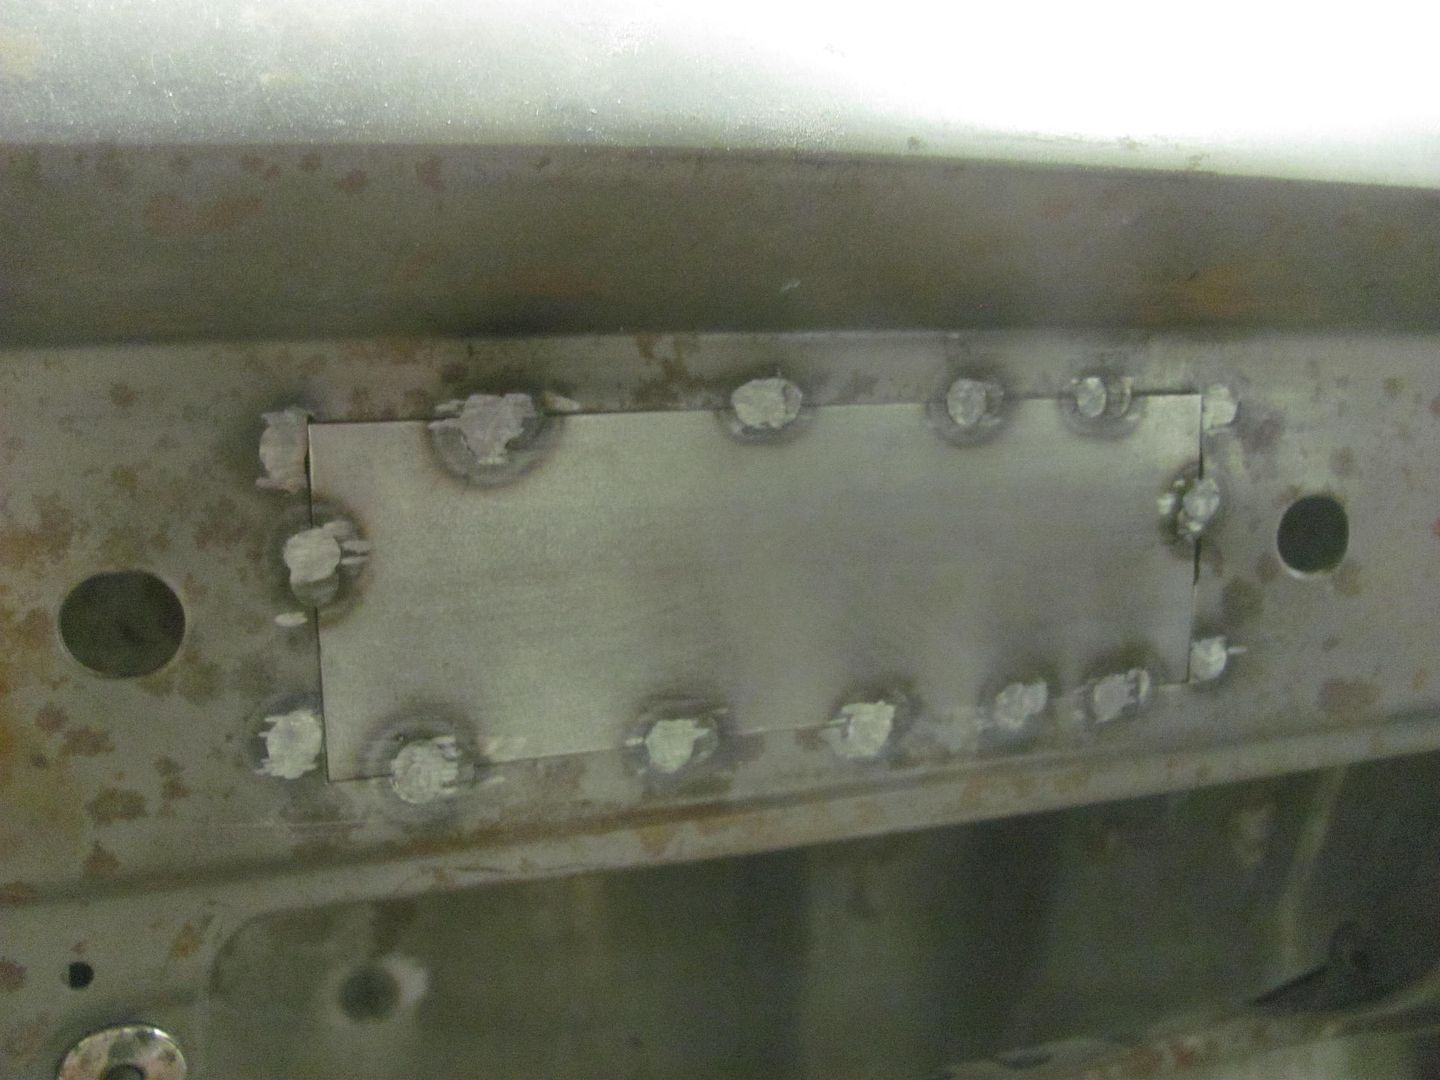
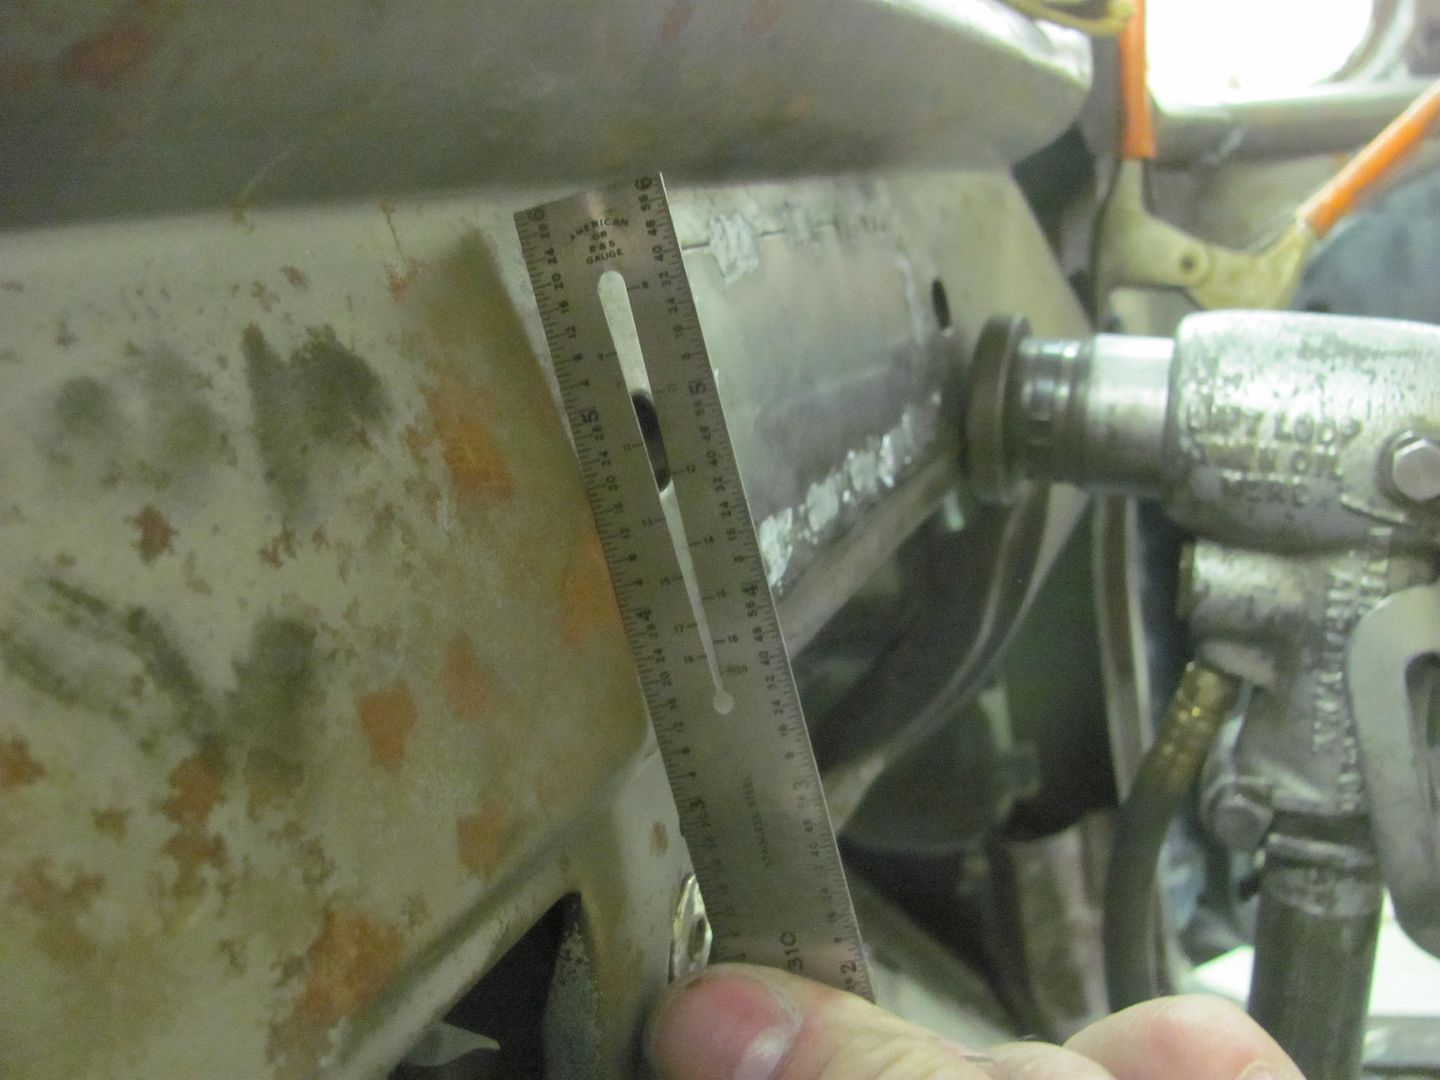
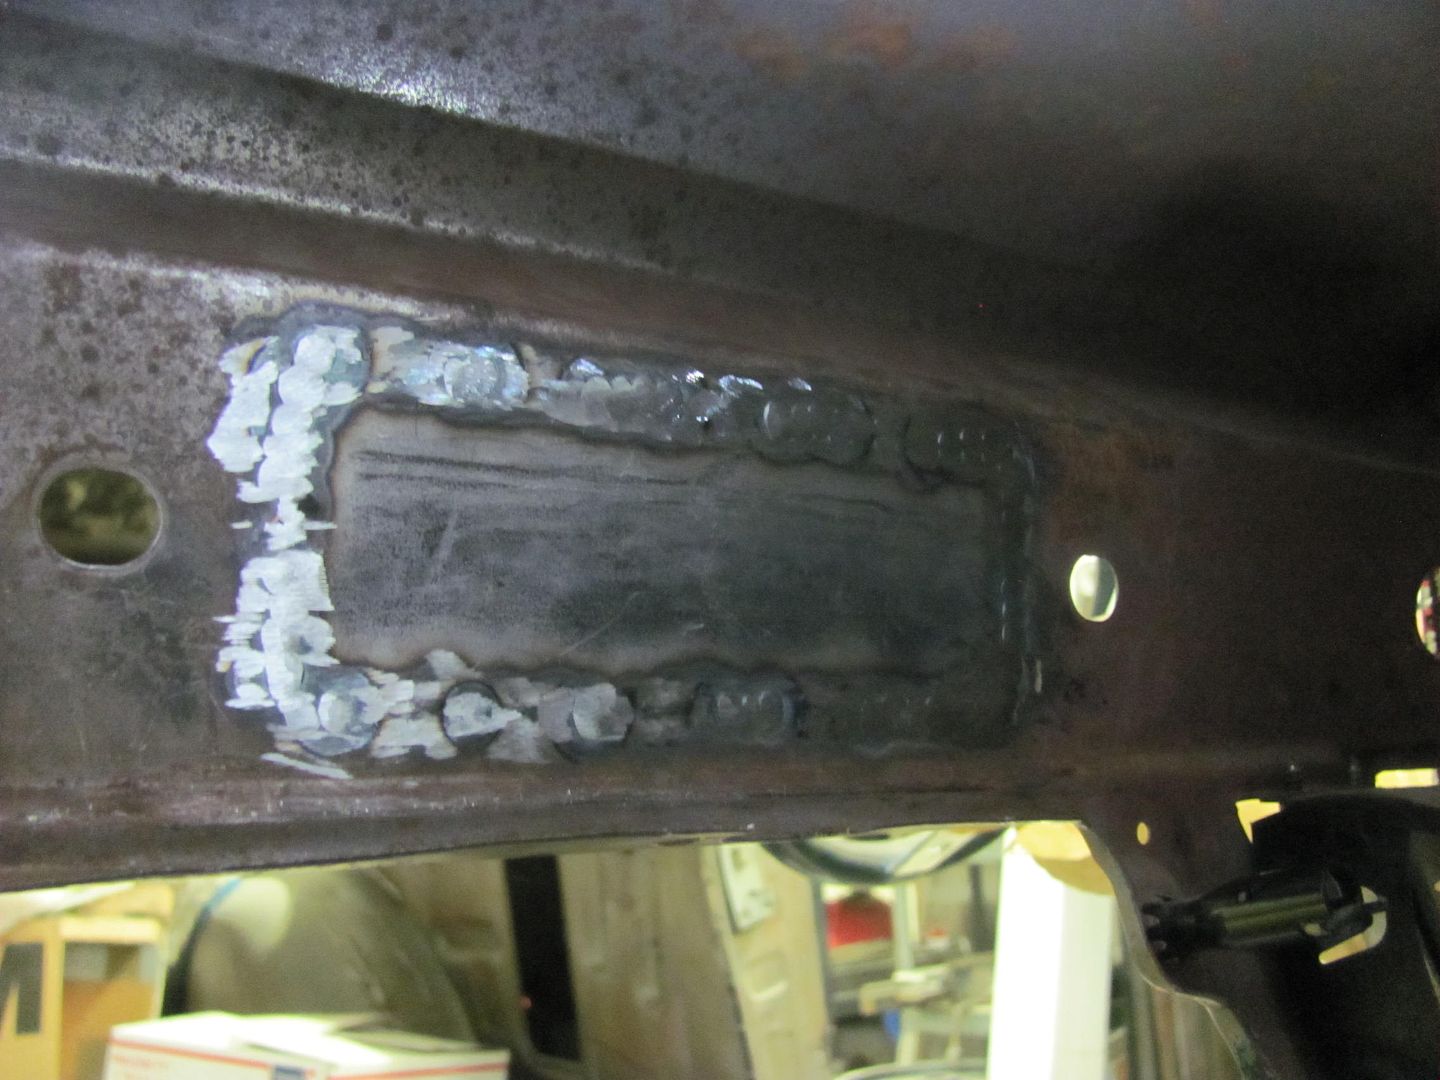
Kyle was looking for something else to weld, so on to the dash. Here he's prepping for welding the seam, bumping the panels a bit for better alignment before welding....
Checking across the gap using a 6" rule...
Next on the agenda was to shave the radio holes...
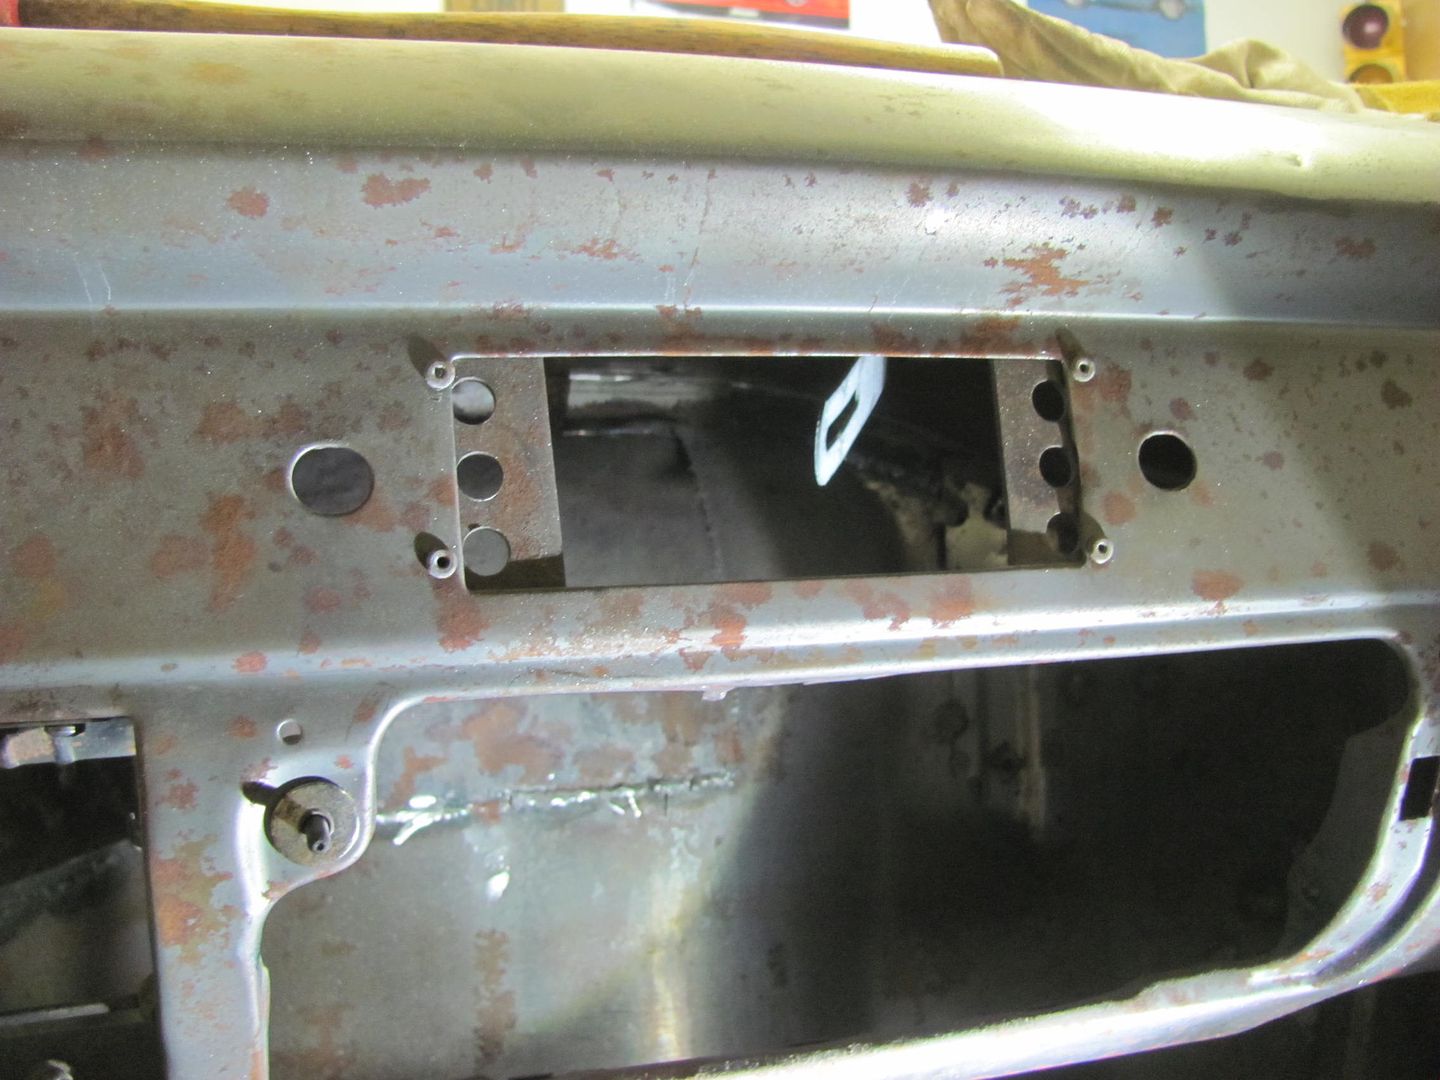

Weld, planish, grind, repeat...
Robert
-
04-19-2015 07:15 AM #489
CHR Member
- Join Date
- Sep 2013
- Location
- Portage
- Car Year, Make, Model: 31 A Coupe
- Posts
- 567
Good stuff as always, Thanks for the the Fairlane link, what a great build!!
Richhttp://www.clubhotrod.com/hot-rod-bu...del-coupe.html
-
04-21-2015 08:06 PM #490
CHR Member
- Join Date
- Jun 2008
- Location
- Leonardtown
- Car Year, Make, Model: Walking
- Posts
- 1,228
Thanks Rich!
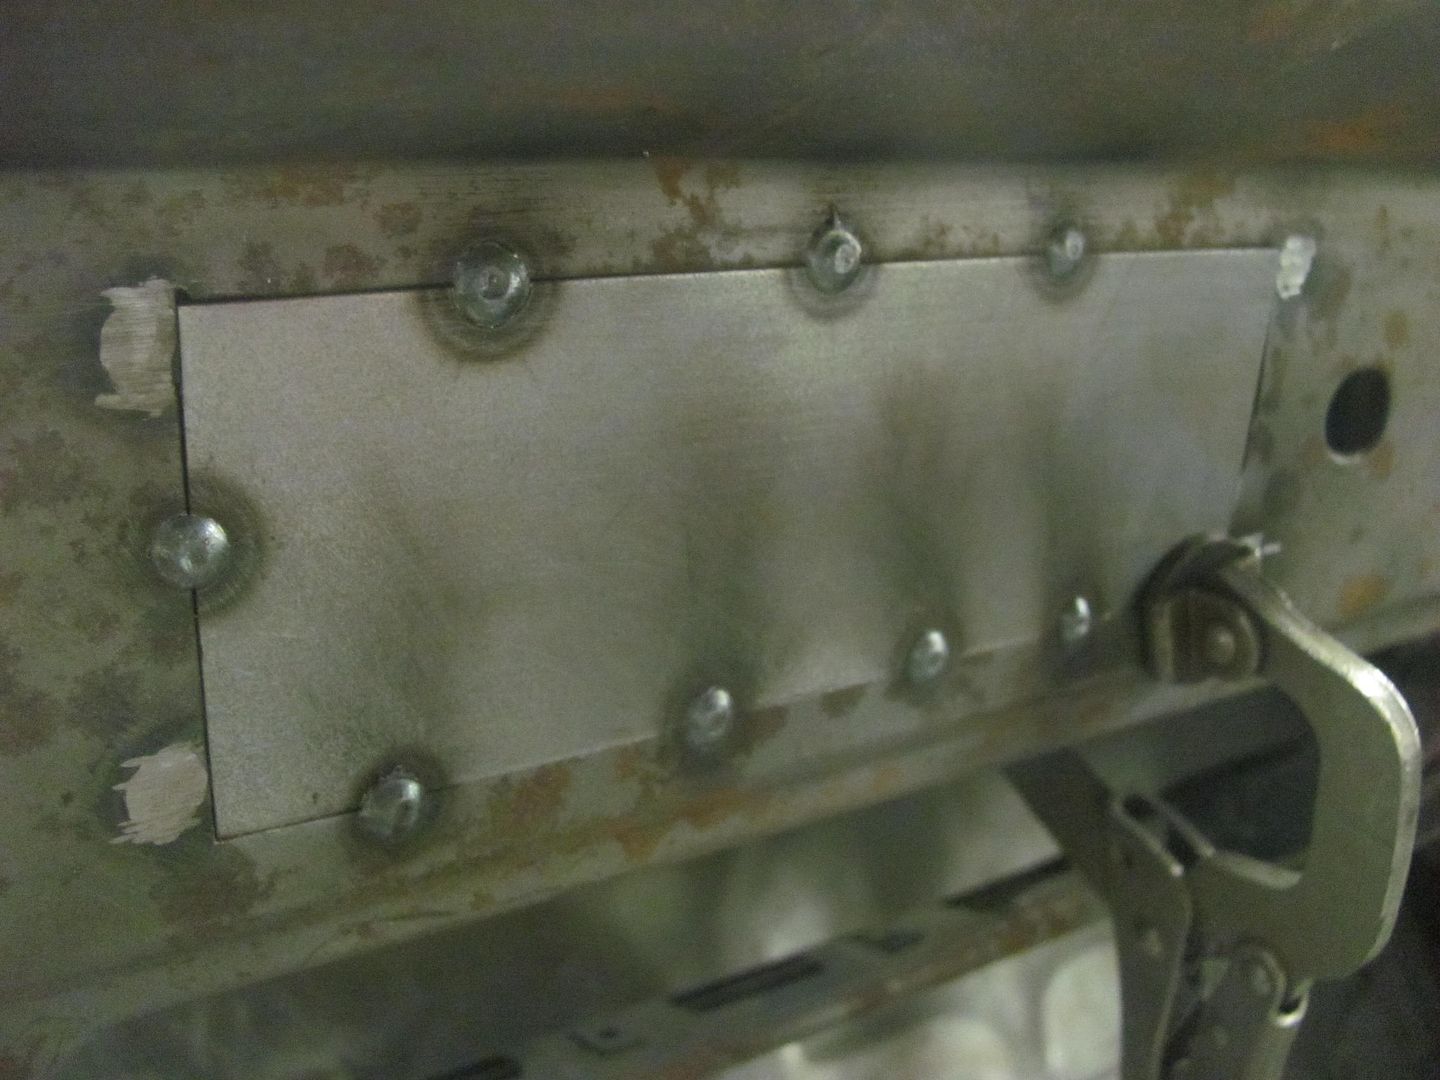
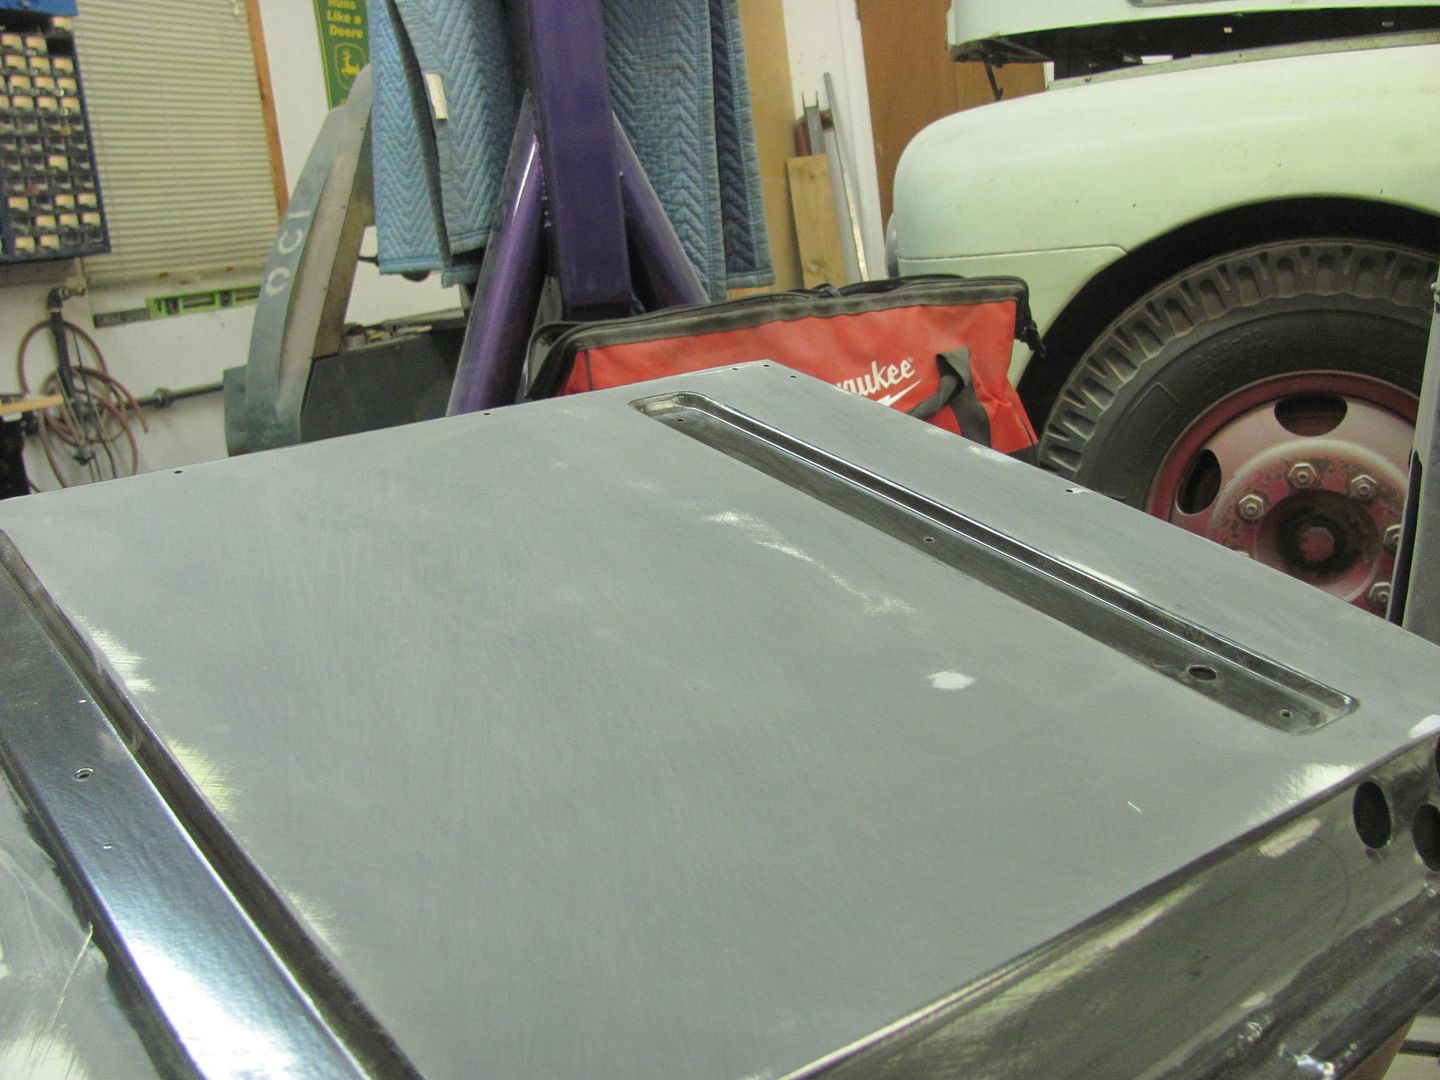
Kyle got some more welding done and we noticed the patch he made didn't quite have the same crown as the dash next to it. He had left the patch flat, so the difference was becoming more noticeable the more it was welded.
So the Watervliet planishing hammer was used to add some crown to the panel, and also to planish some of the weld while we were at it..
An 8" radius lower die worked nicely to duplicate the crown:
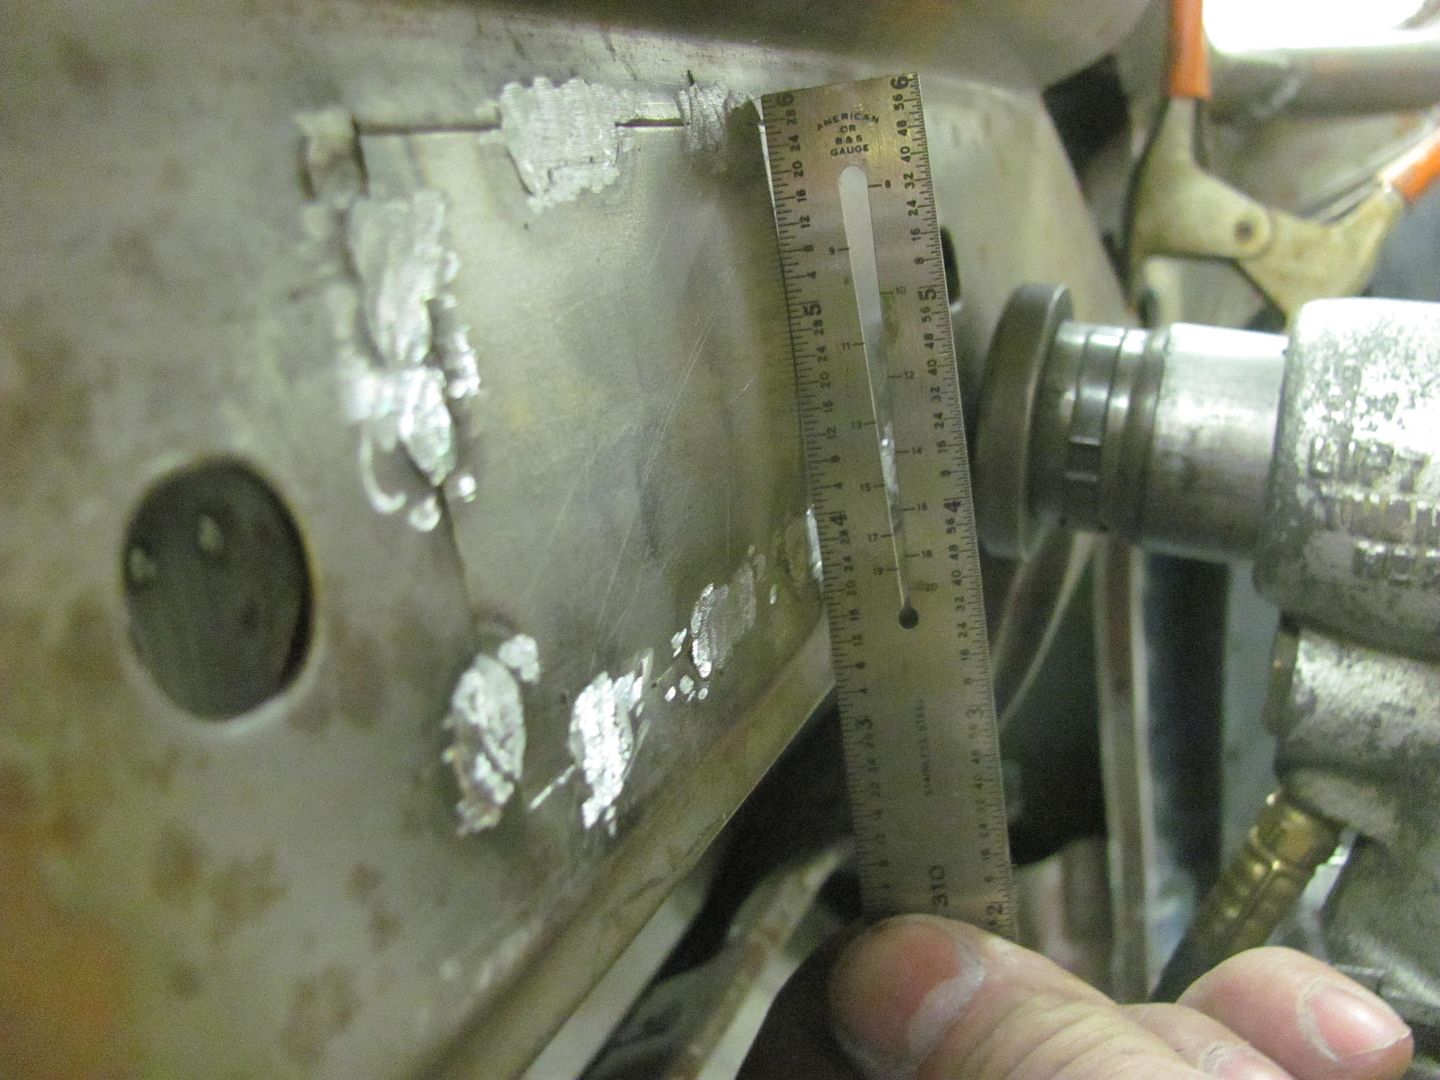
Planishing welds...
https://youtu.be/fAnfqtw-C6I
Two holes to go..
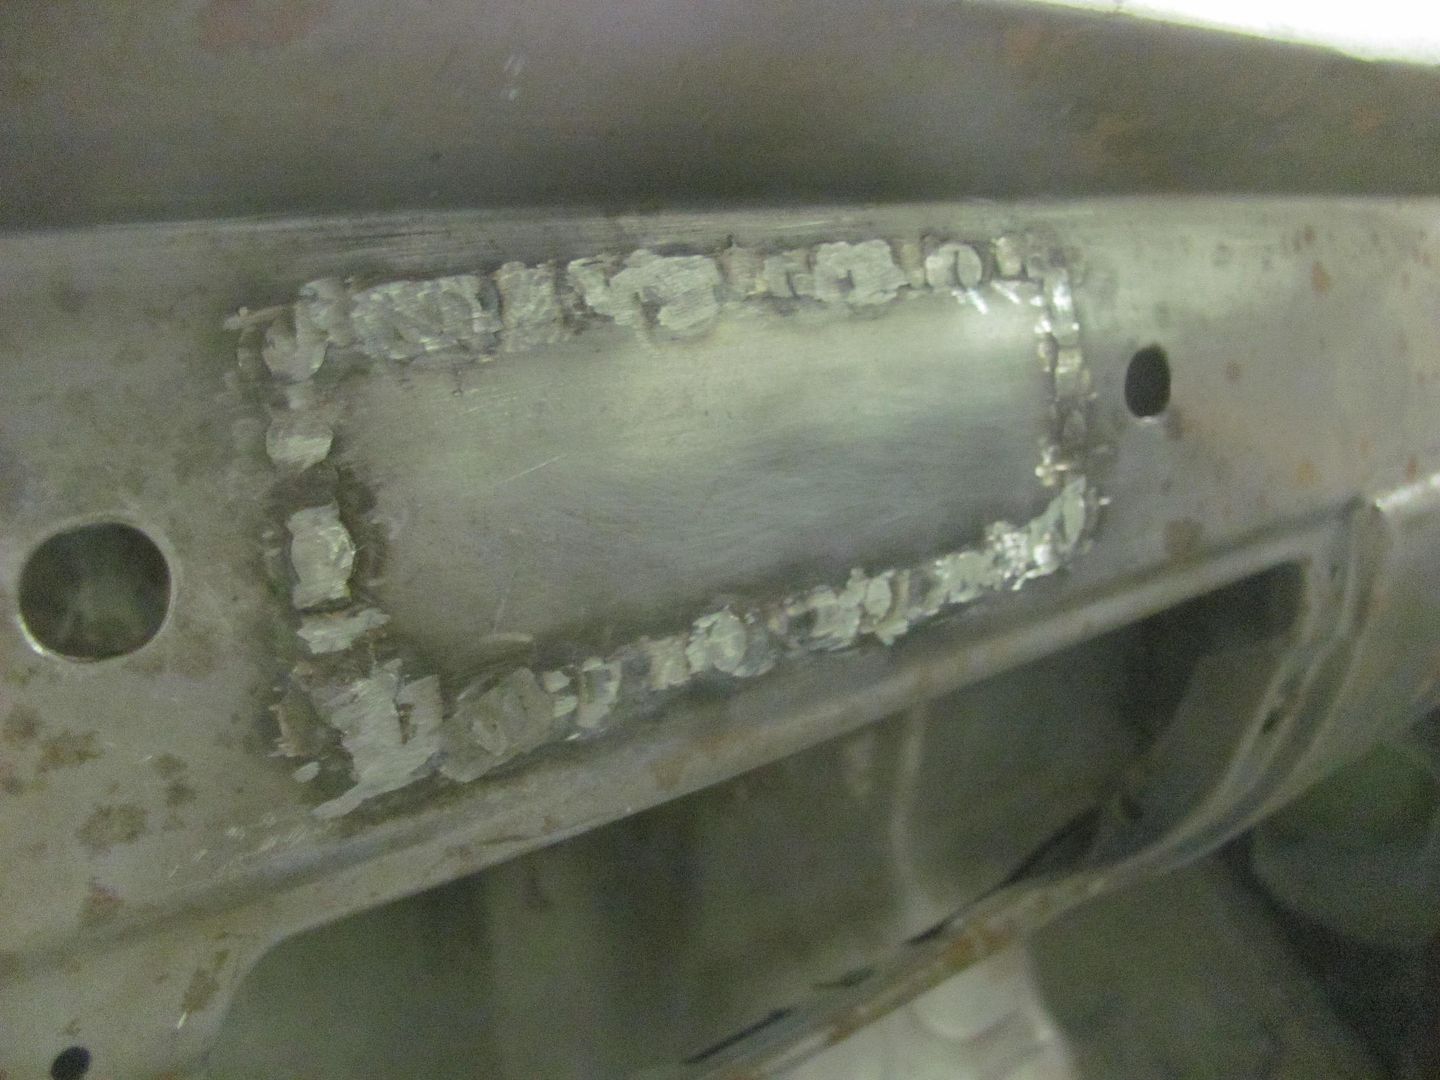
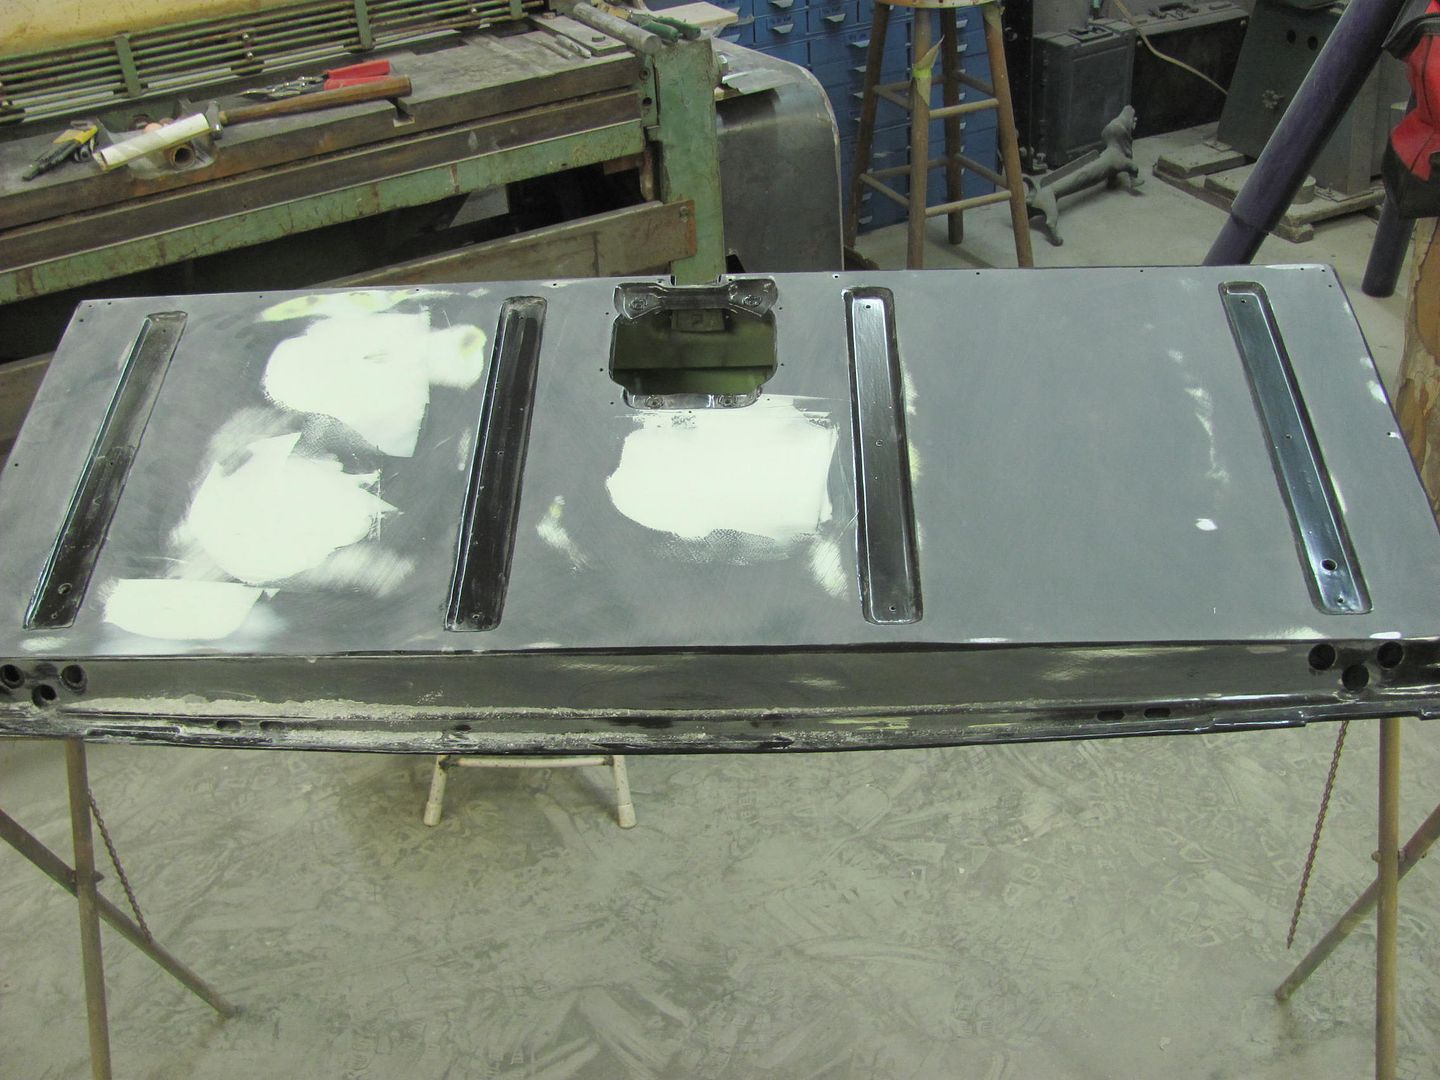
rear view... both sides still need sanding with the roloc, we'll get that once the radio knob holes are done and ready for sanding as well.
Tailgate is blocking out pretty nice, did have a few low spots to address that still need feathering out....
Robert
-
04-22-2015 06:32 AM #491
CHR Member
- Join Date
- May 2014
- Location
- Lafayette
- Car Year, Make, Model: 35 Ford, 67 Jeep Gladiator
- Posts
- 258
You need to start your own (reality TV) build show! All the current shows would have to bring their game to a new level.The truth is incontrovertible. Malice may attack it, ignorance may deride it, but in the end, there it is.
Winston Churchill
-
04-22-2015 06:36 AM #492
CHR Member
- Join Date
- Apr 2012
- Location
- american canyon
- Car Year, Make, Model: 36 Ford Sedan, 23 T Bucket
- Posts
- 1,899
Great idea! But, the producer would ruin it by adding some goofy actors and whole lotta fake drama...
No question about the talent here though!!!
-
04-22-2015 10:11 AM #493
CHR Member
- Join Date
- Oct 2007
- Location
- Petaluma
- Car Year, Make, Model: 48 Ford F1
- Posts
- 9,795
Not to mention that you weren't moving fast enough for idiot TV. Best to stay away from the tv types!Your patience and attention to detail is outstanding."  "No matter where you go, there you are!" Steve.
-
04-22-2015 03:45 PM #494
CHR Member
- Join Date
- Sep 2007
- Location
- New Bedford
- Car Year, Make, Model: 34 Ford 3W Coupe Replica
- Posts
- 14,754
Maybe a silly question but???? Why all the fill work for the dash? Loosing the seams I can get, but the radio?
-
04-22-2015 05:51 PM #495
CHR Member
- Join Date
- Jun 2008
- Location
- Leonardtown
- Car Year, Make, Model: Walking
- Posts
- 1,228
Com'on, it's getting 40 series flowmasters on a 383, won't be able to hear a radio anyhow....
It's getting either a DIN or 2 DIN, neither of which belong in the dash. We will likely locate some AC vents there to get the cool air on the face... Need to source some good rectangular vents at a U-pull-it..Robert
 Reply With Quote

Posting Permissions
- You may not post new threads
- You may not post replies
- You may not post attachments
- You may not edit your posts

i've enjoyed the years here . made a lot of friends. most who have left. i see no reason to continue with this so hope to see you somewhere else. i dont think this site will ever be back. it's lived...
Dead!