


 3390Likes
Thread: 55 Wagon Progress


Results 421 to 435 of 1865
 LinkBack URL
 About LinkBacks
-
02-02-2015 07:55 PM #421
 CHR Member

- Join Date
- Jun 2008
- Location
- Leonardtown
- Car Year, Make, Model: Walking
- Posts
- 1,228
We noticed the driver's side hood gap was a bit tight and then noticed a difference in the end plates on the core support. The driver's side appears bent straight, so some hammer action made them more consistent and helped out the gap issue..
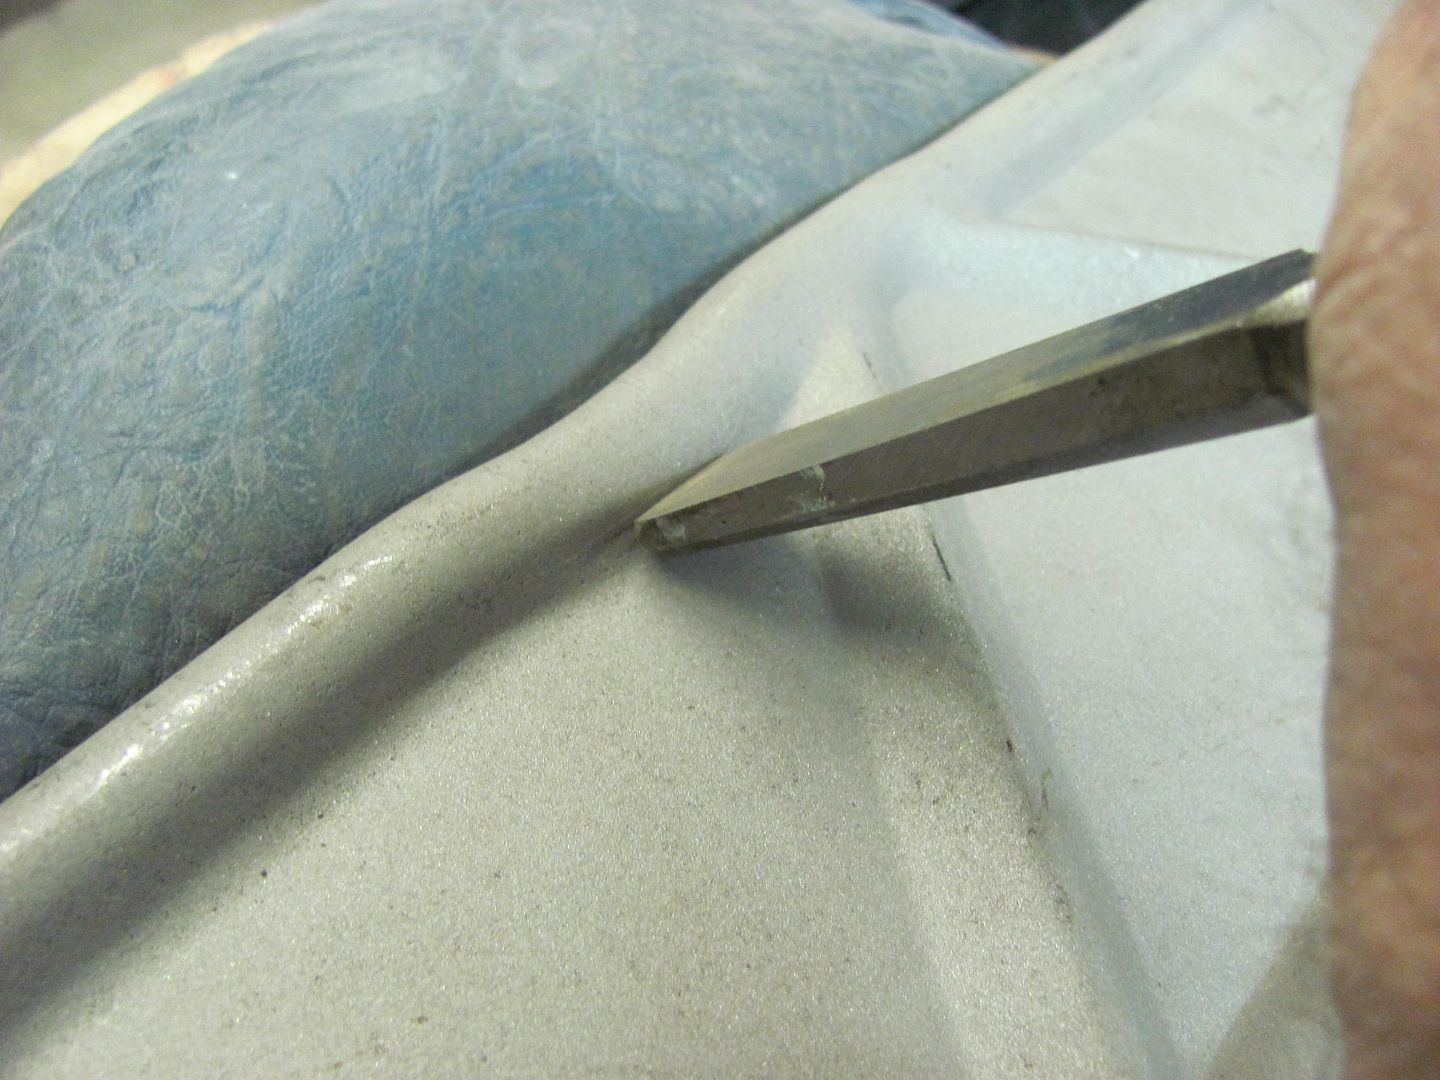
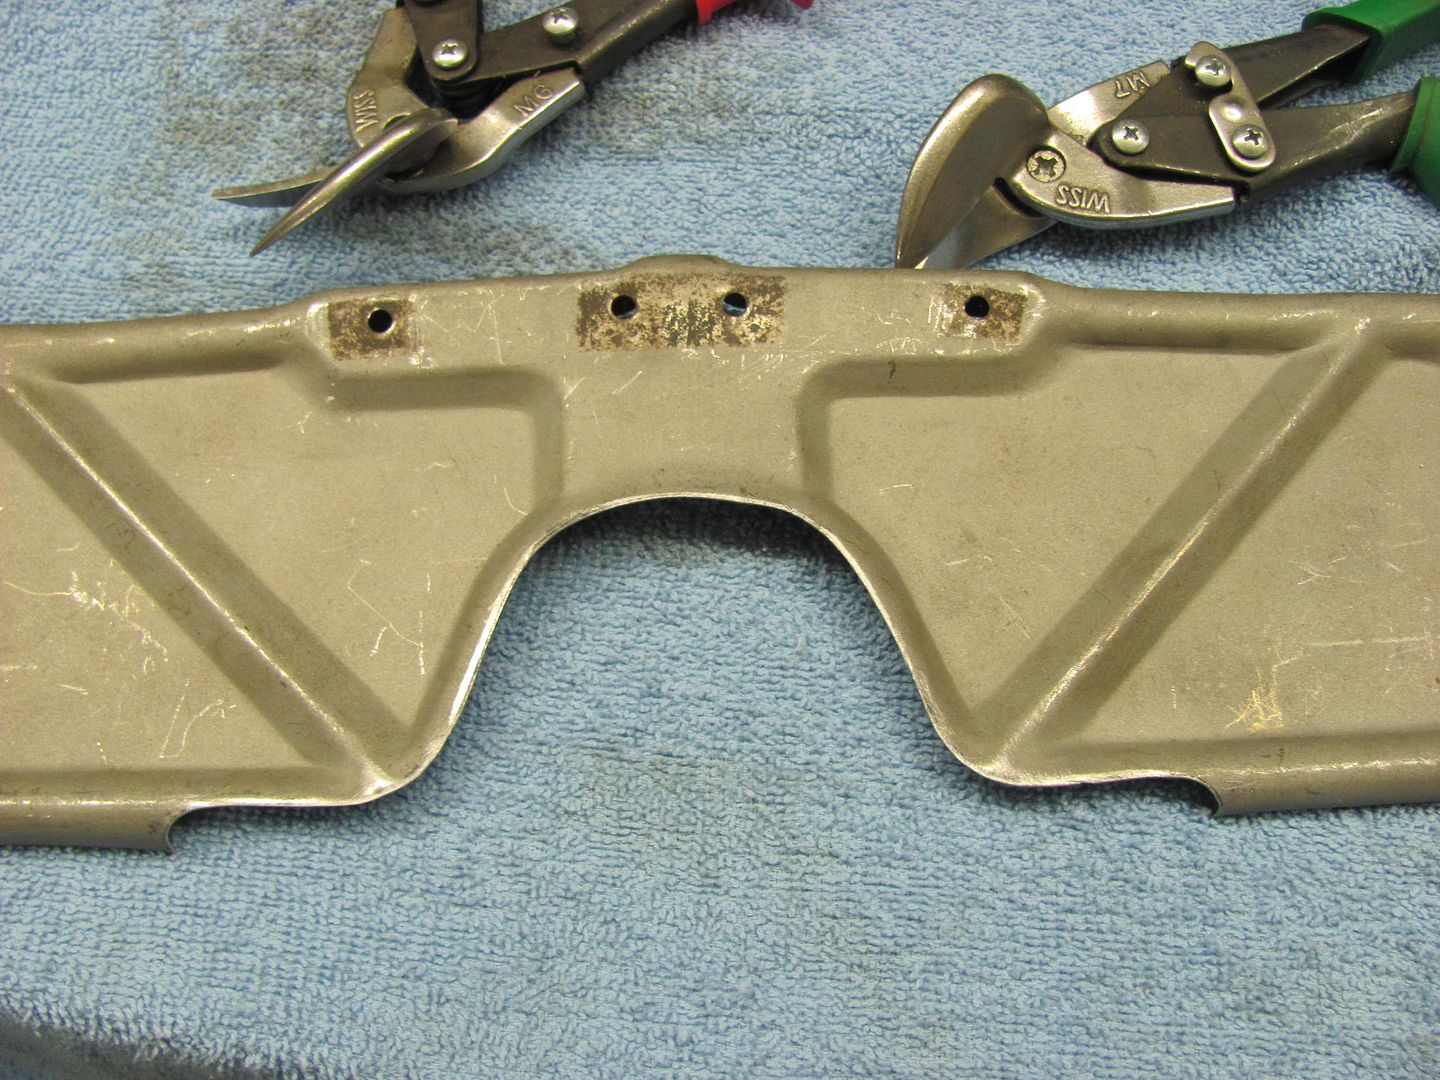
After checking the hood brace to core support for any fitment issues, we noticed some cutouts that will allow the air around the radiator. This opening, although minimal, was re-formed with a couple of fancy chisels..
The excess metal ruffles were addressed easily with the kick shrinker...
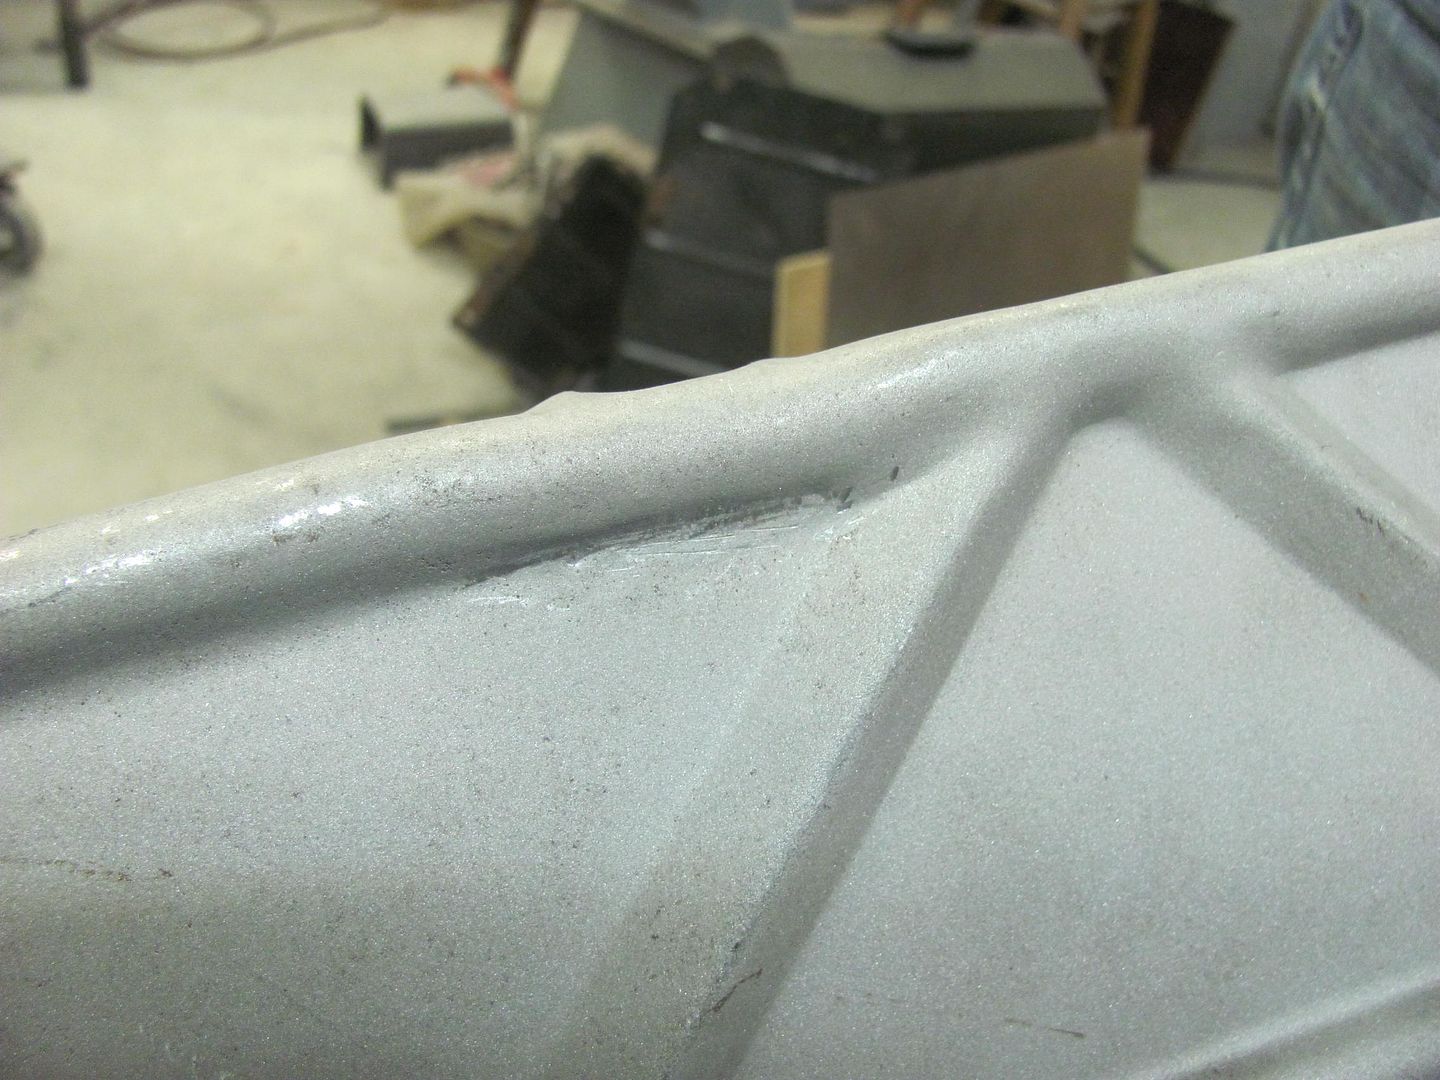
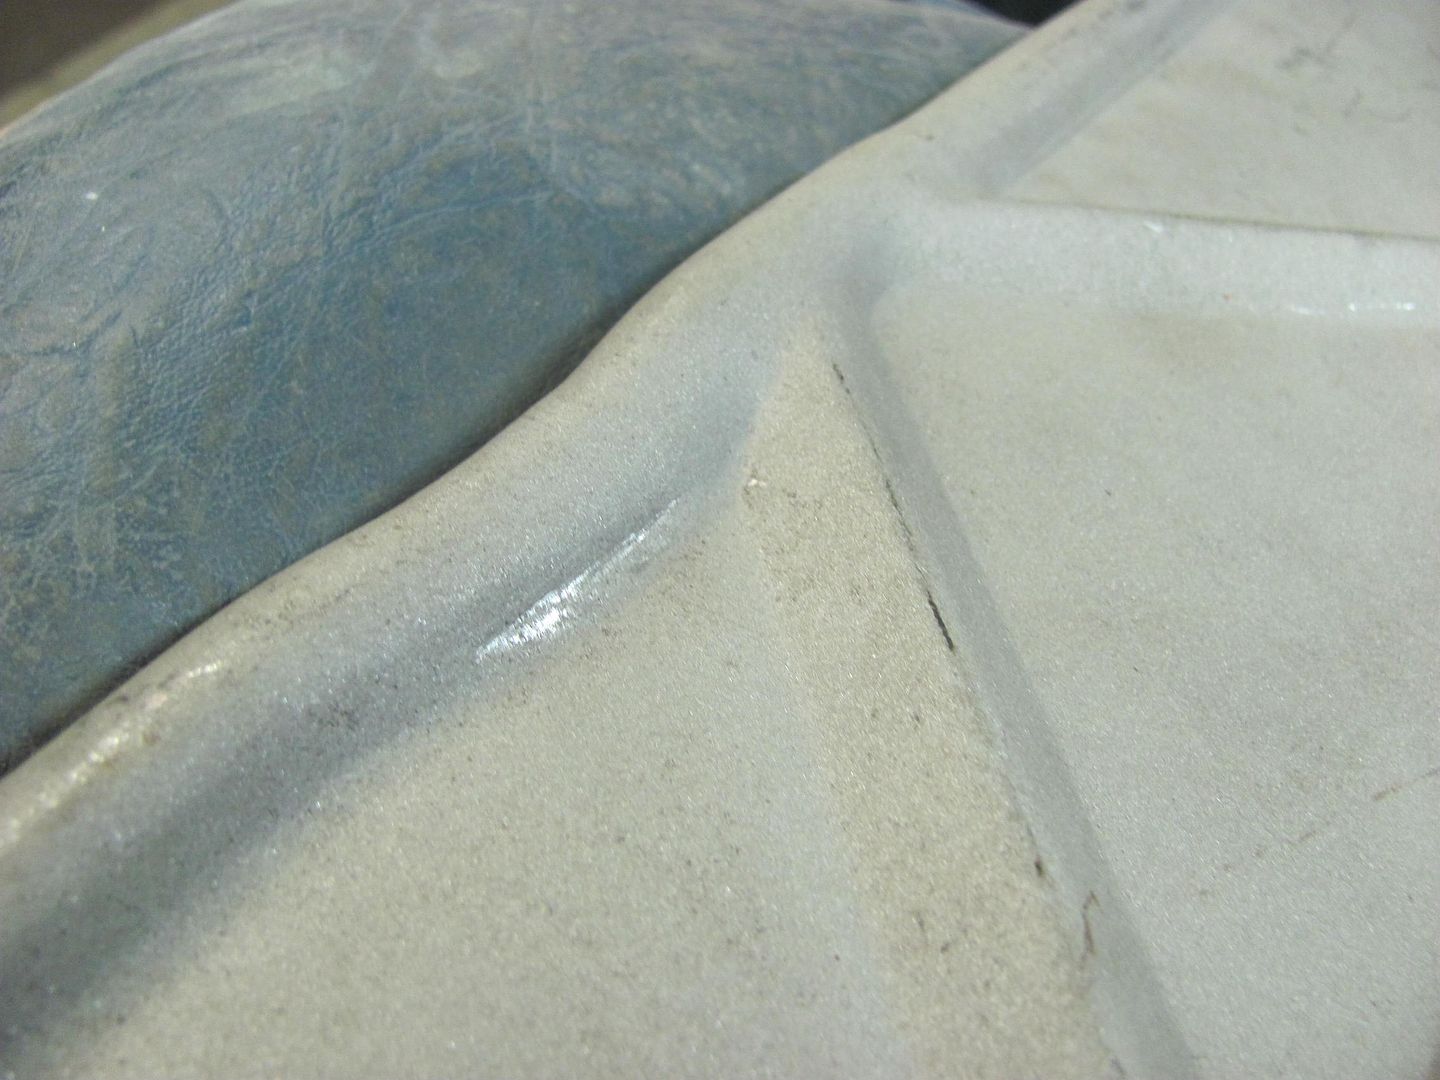
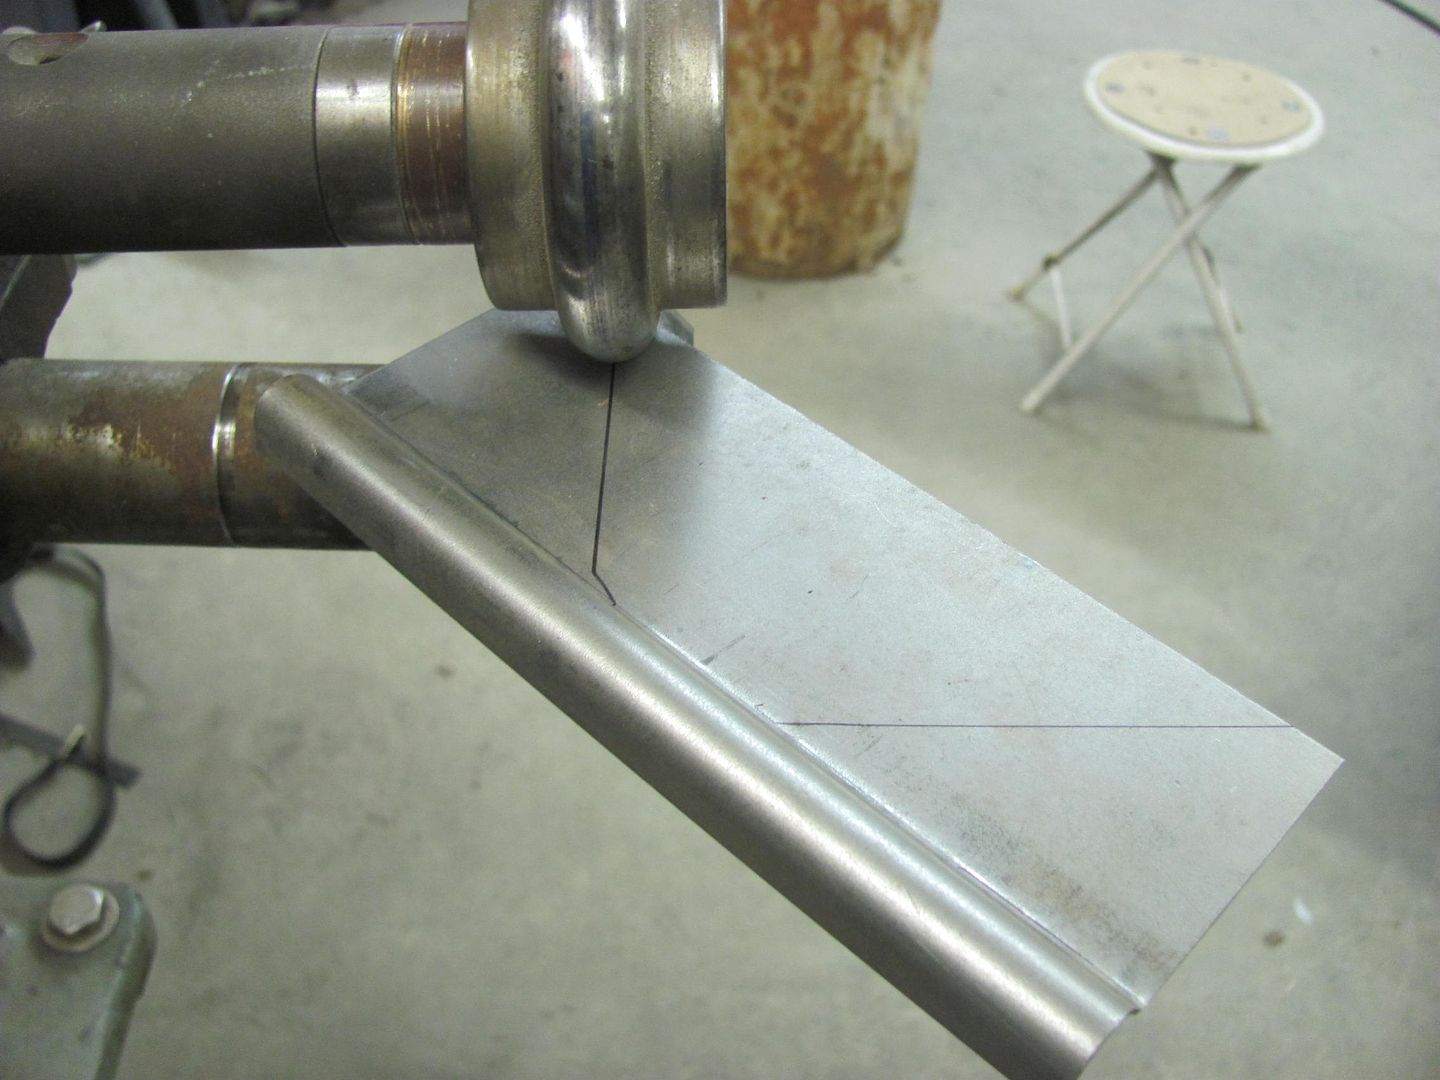
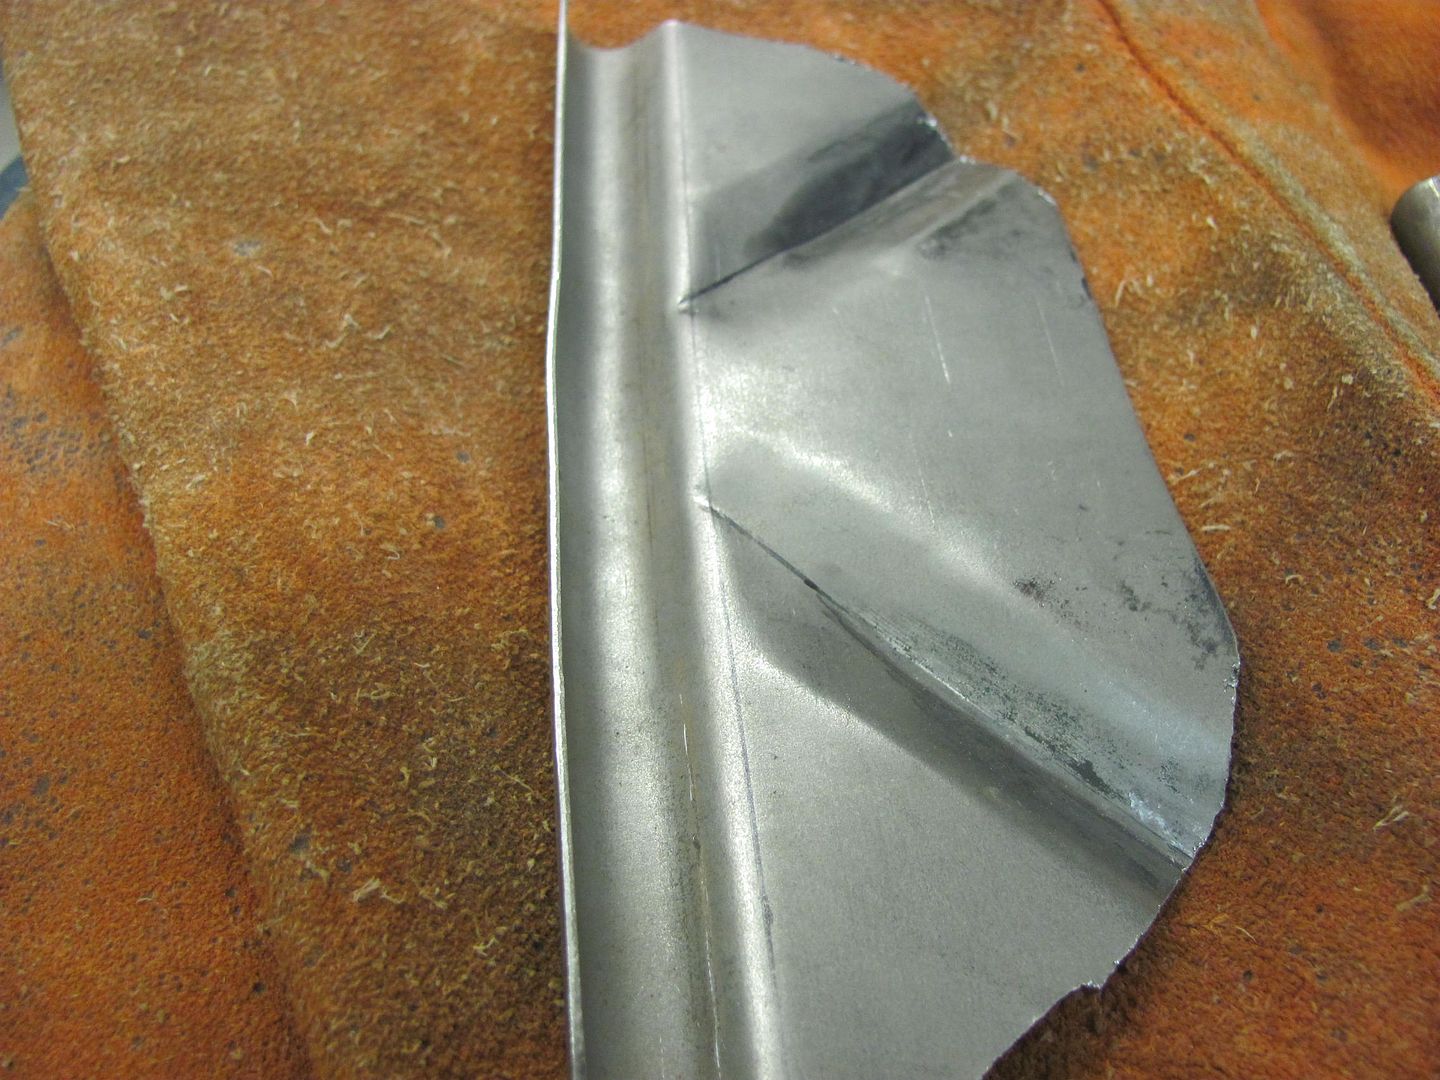
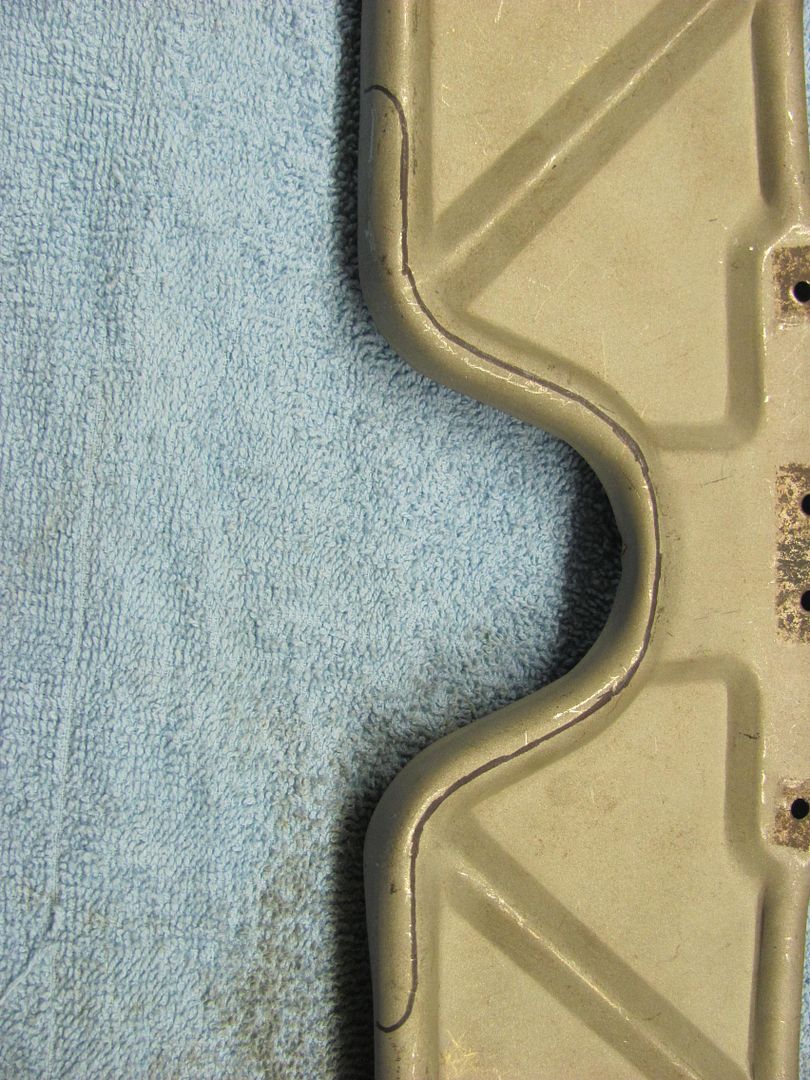
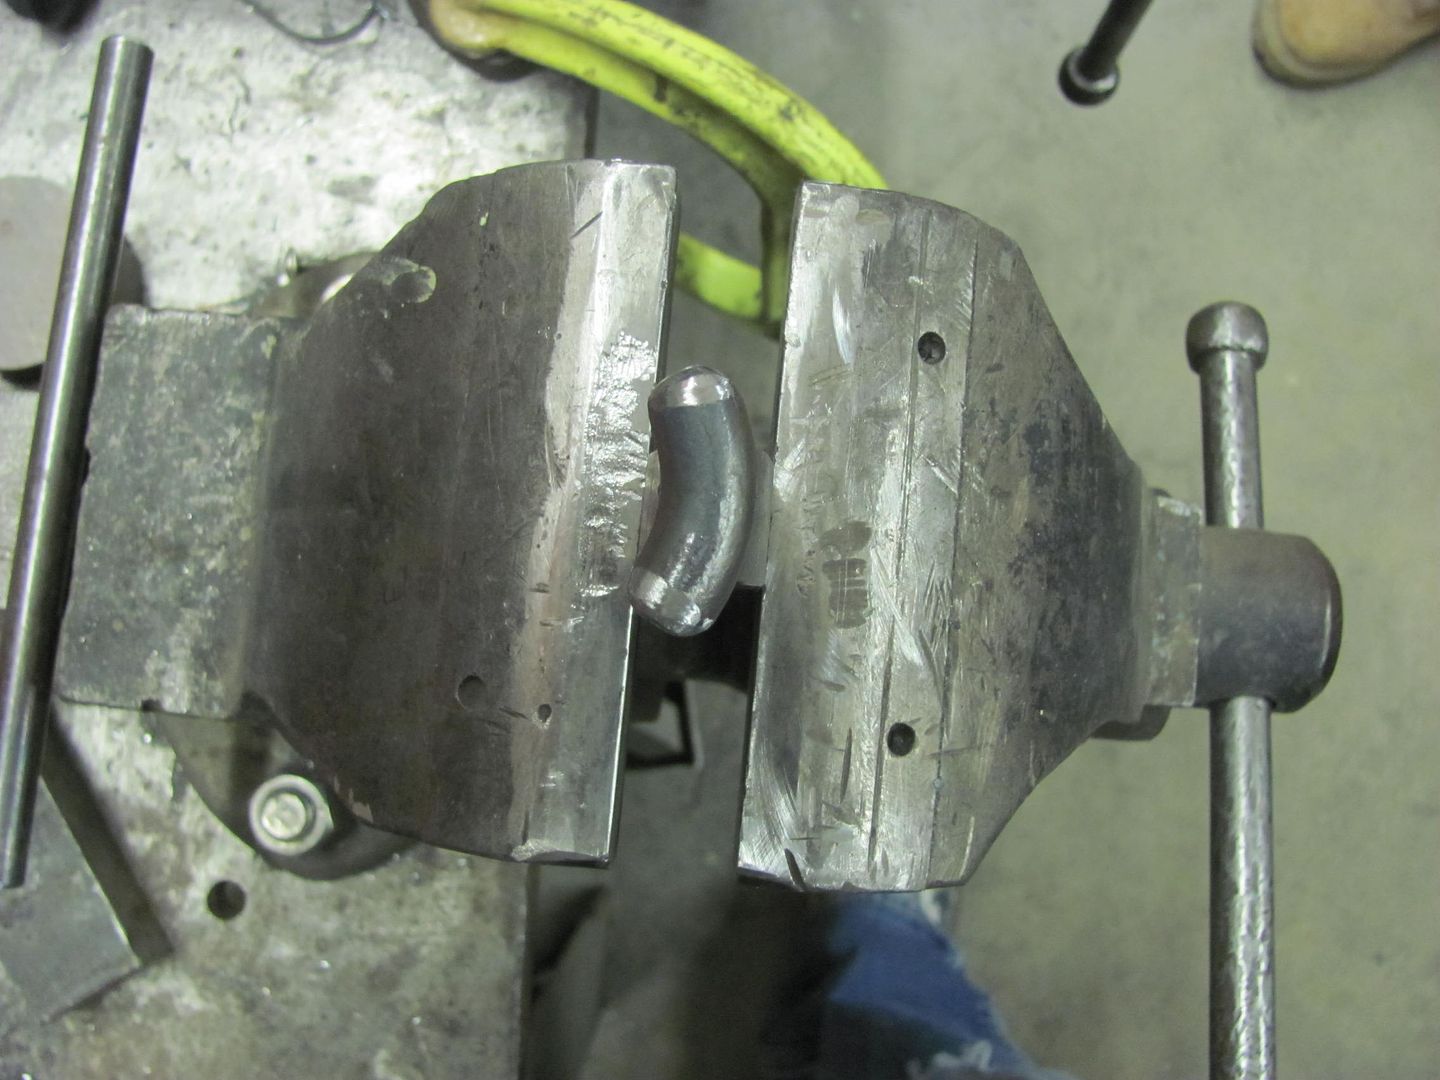
The next opening was a bit more substantial, and would require some replacement metal. Here was our first attempt at a bead along the edge of the panel..
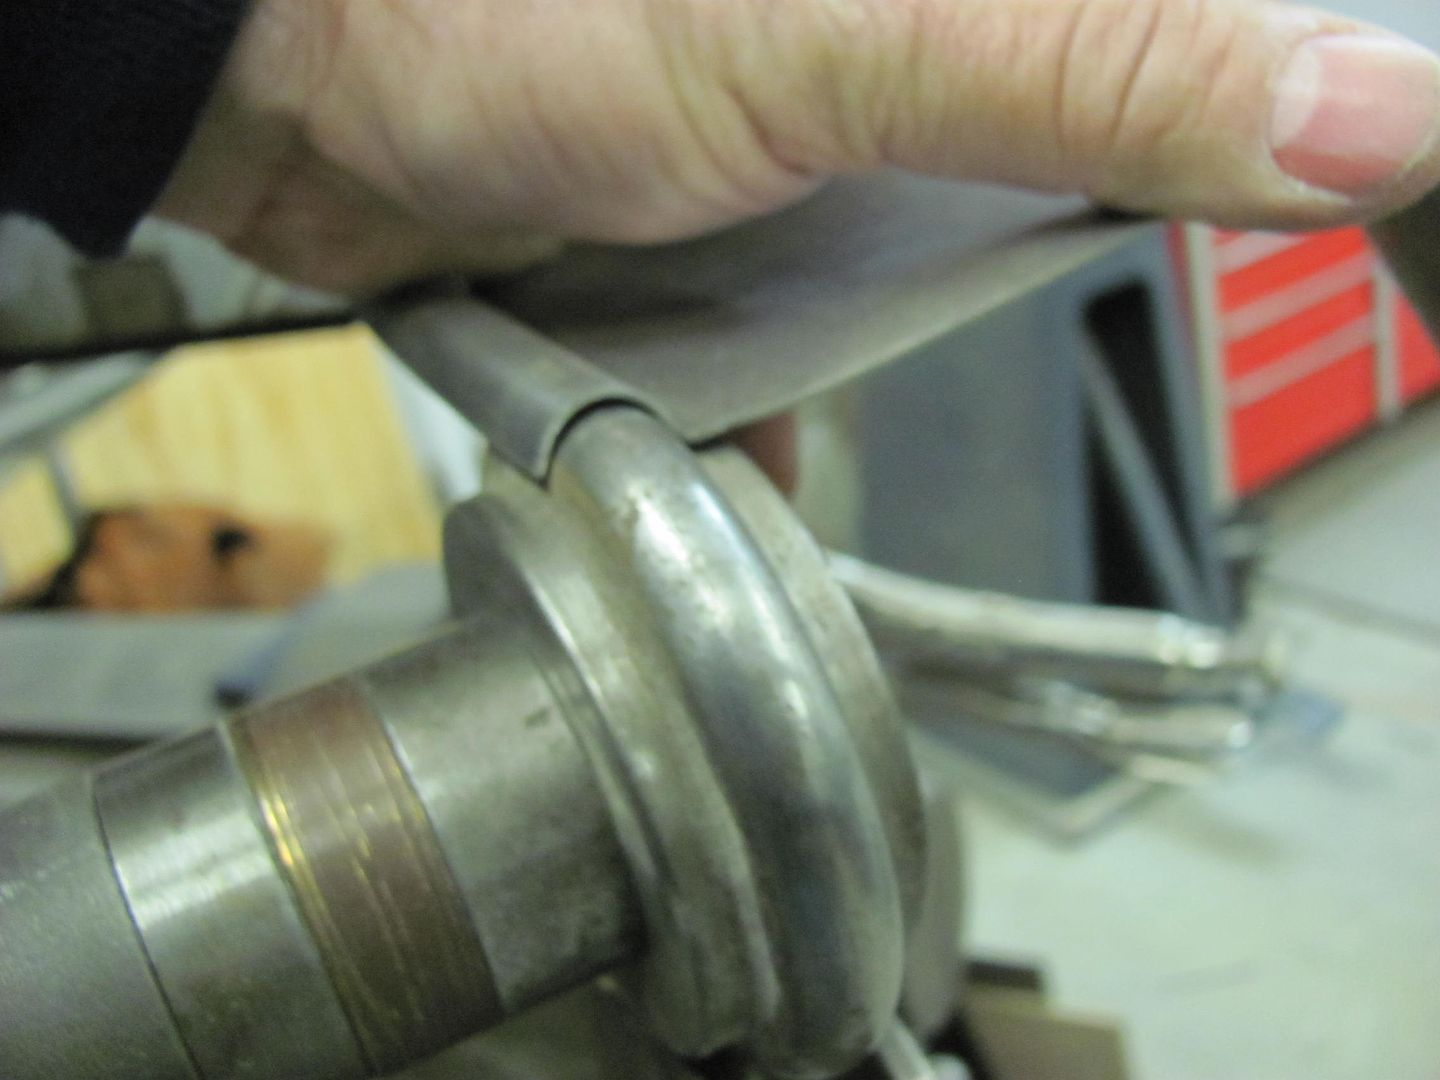
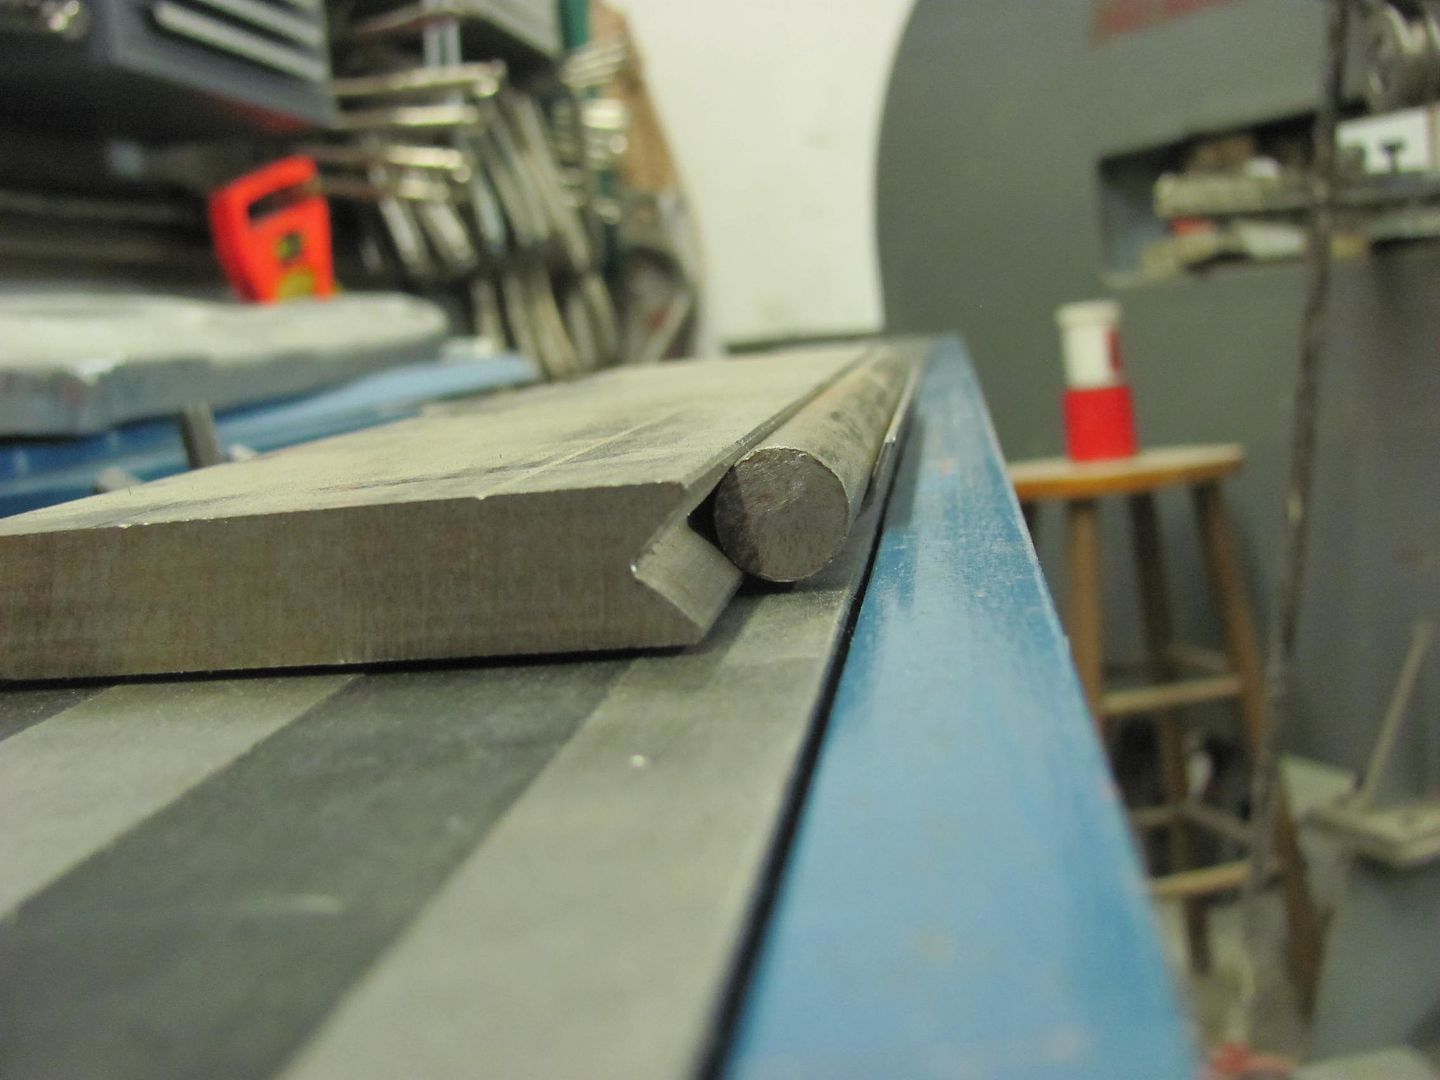
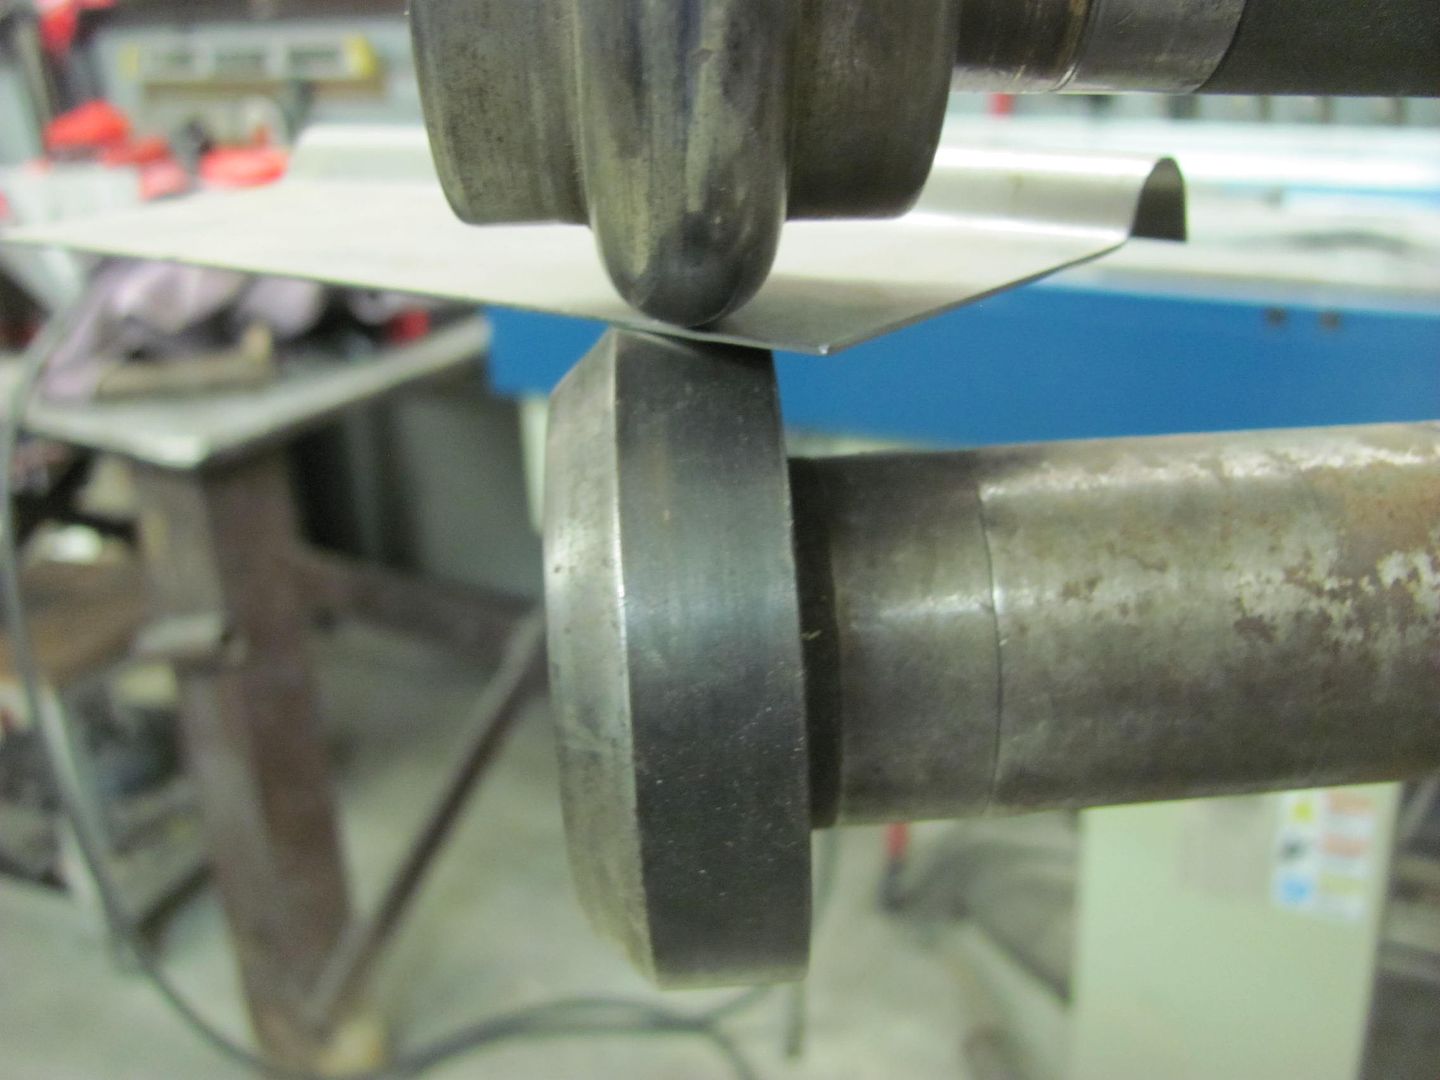
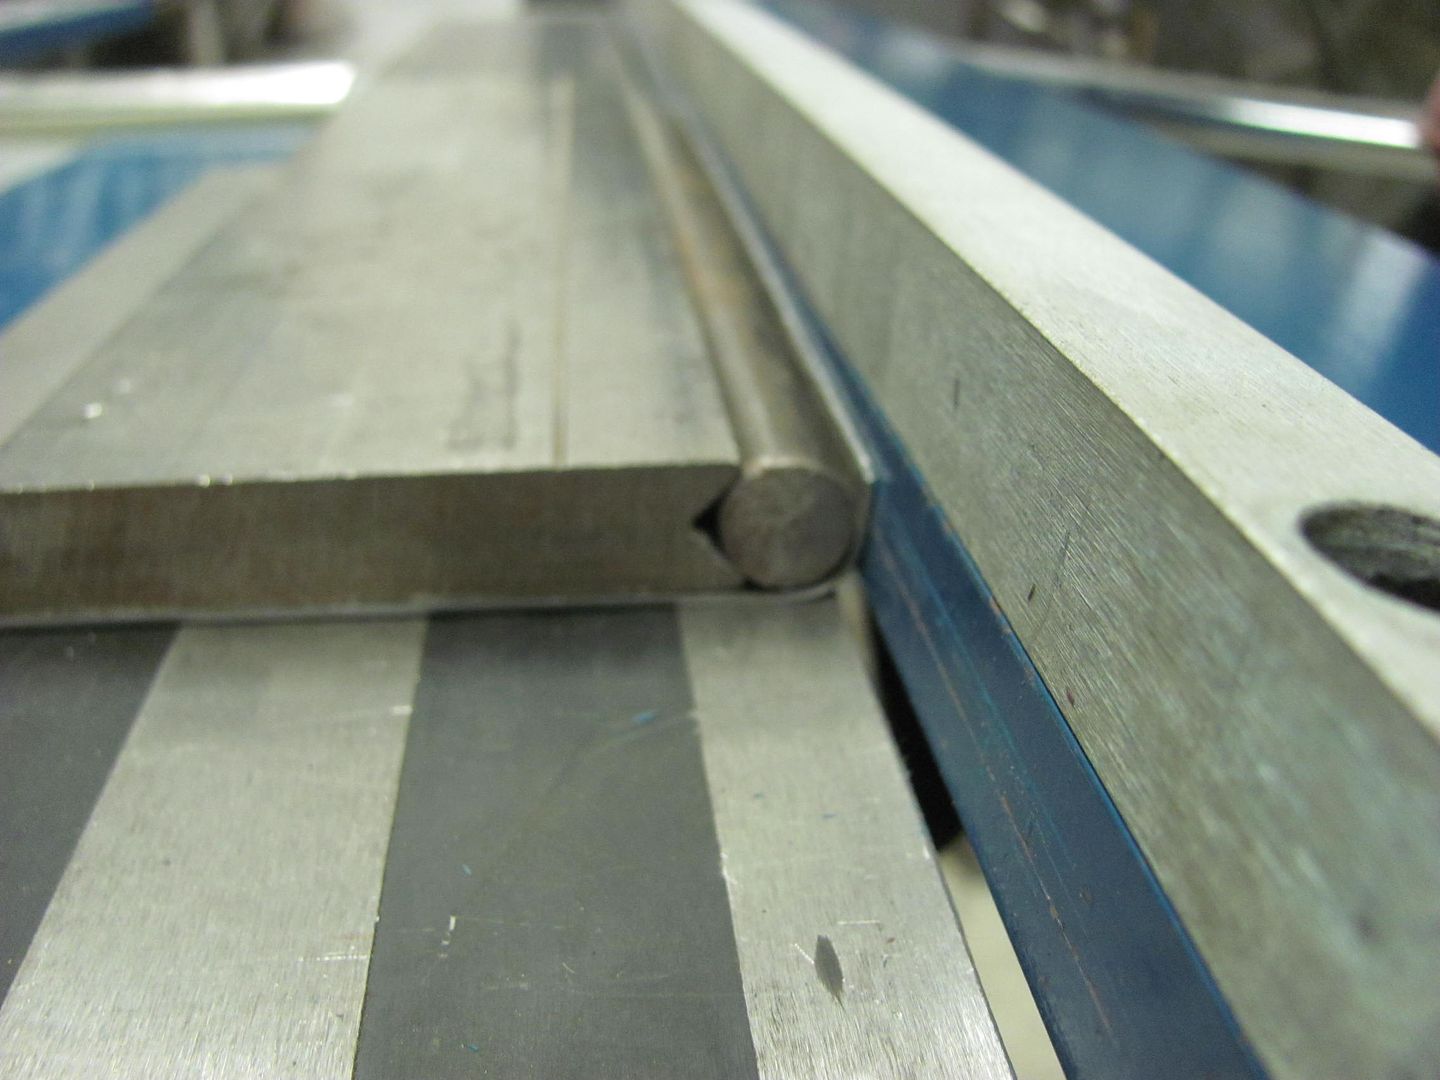
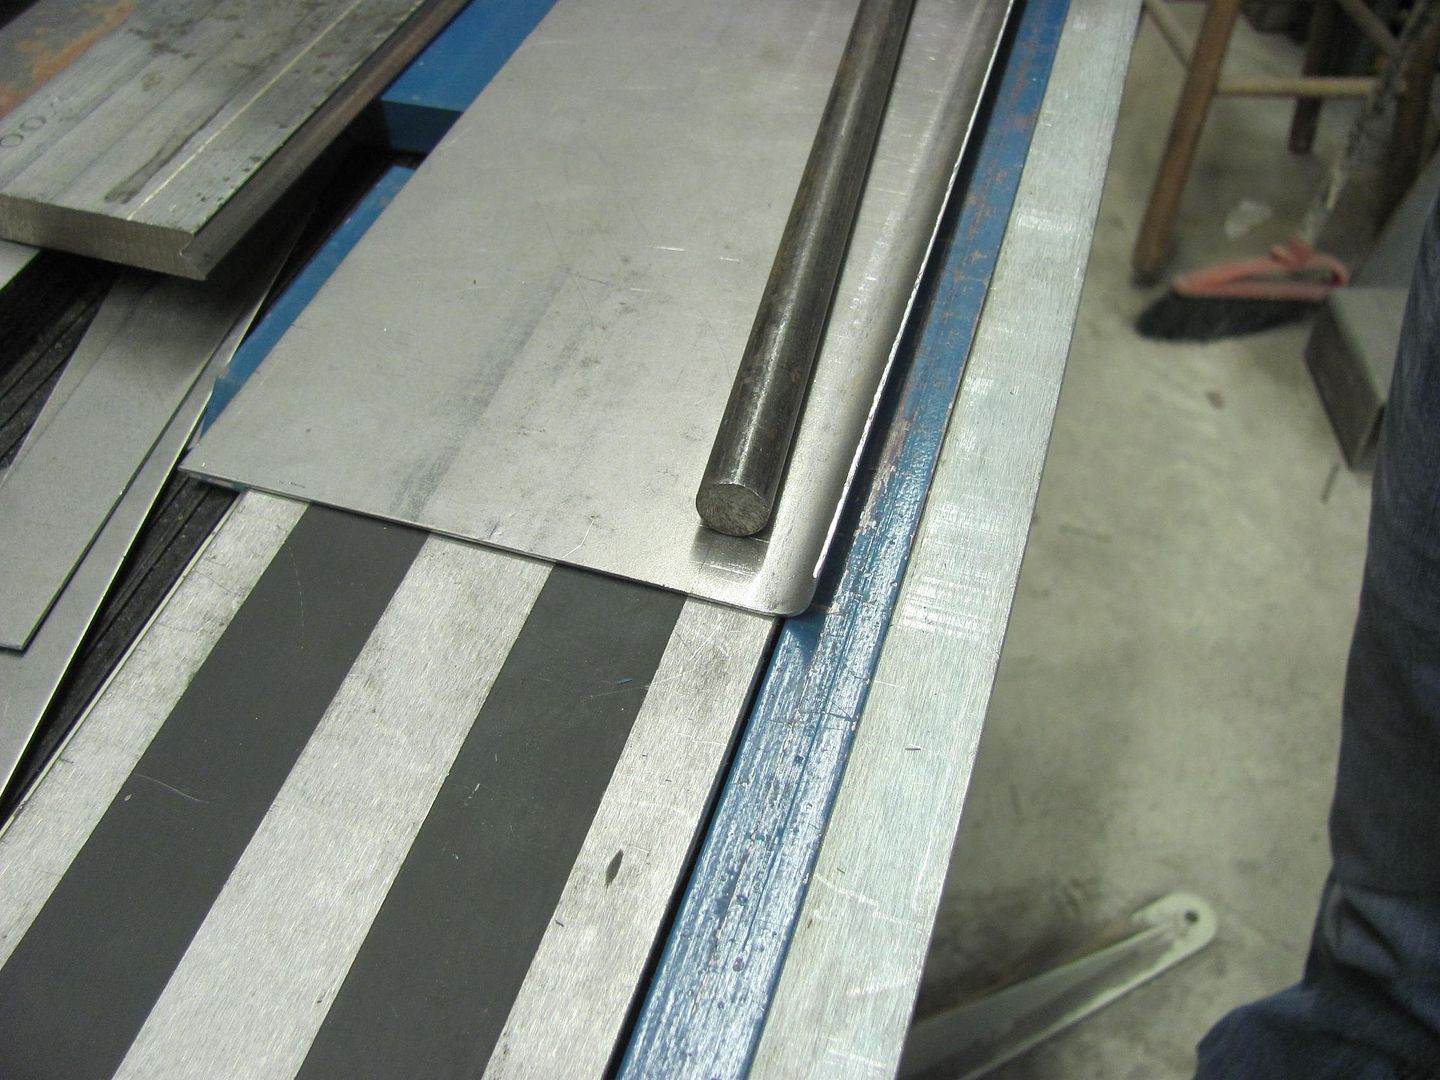
The dies would not permit quite enough length, so we used a vee die off the press brake and a 1/2" steel rod to make a radius die for the mag brake..
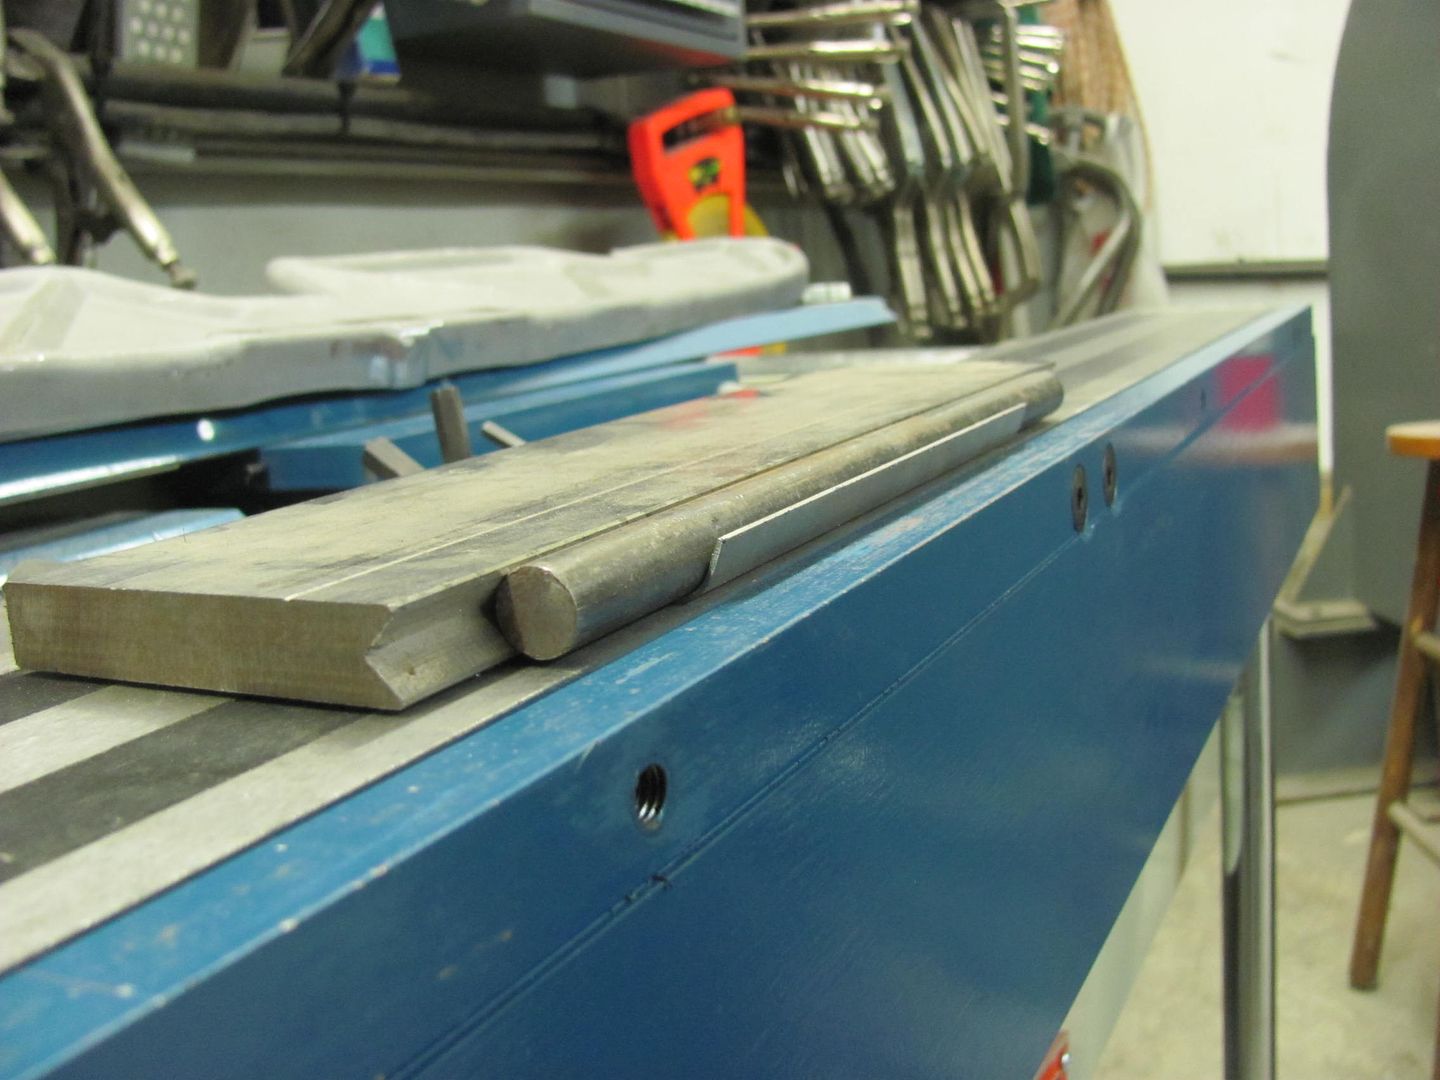
...and between that and a straight die in the press brake, the edge bead was formed...
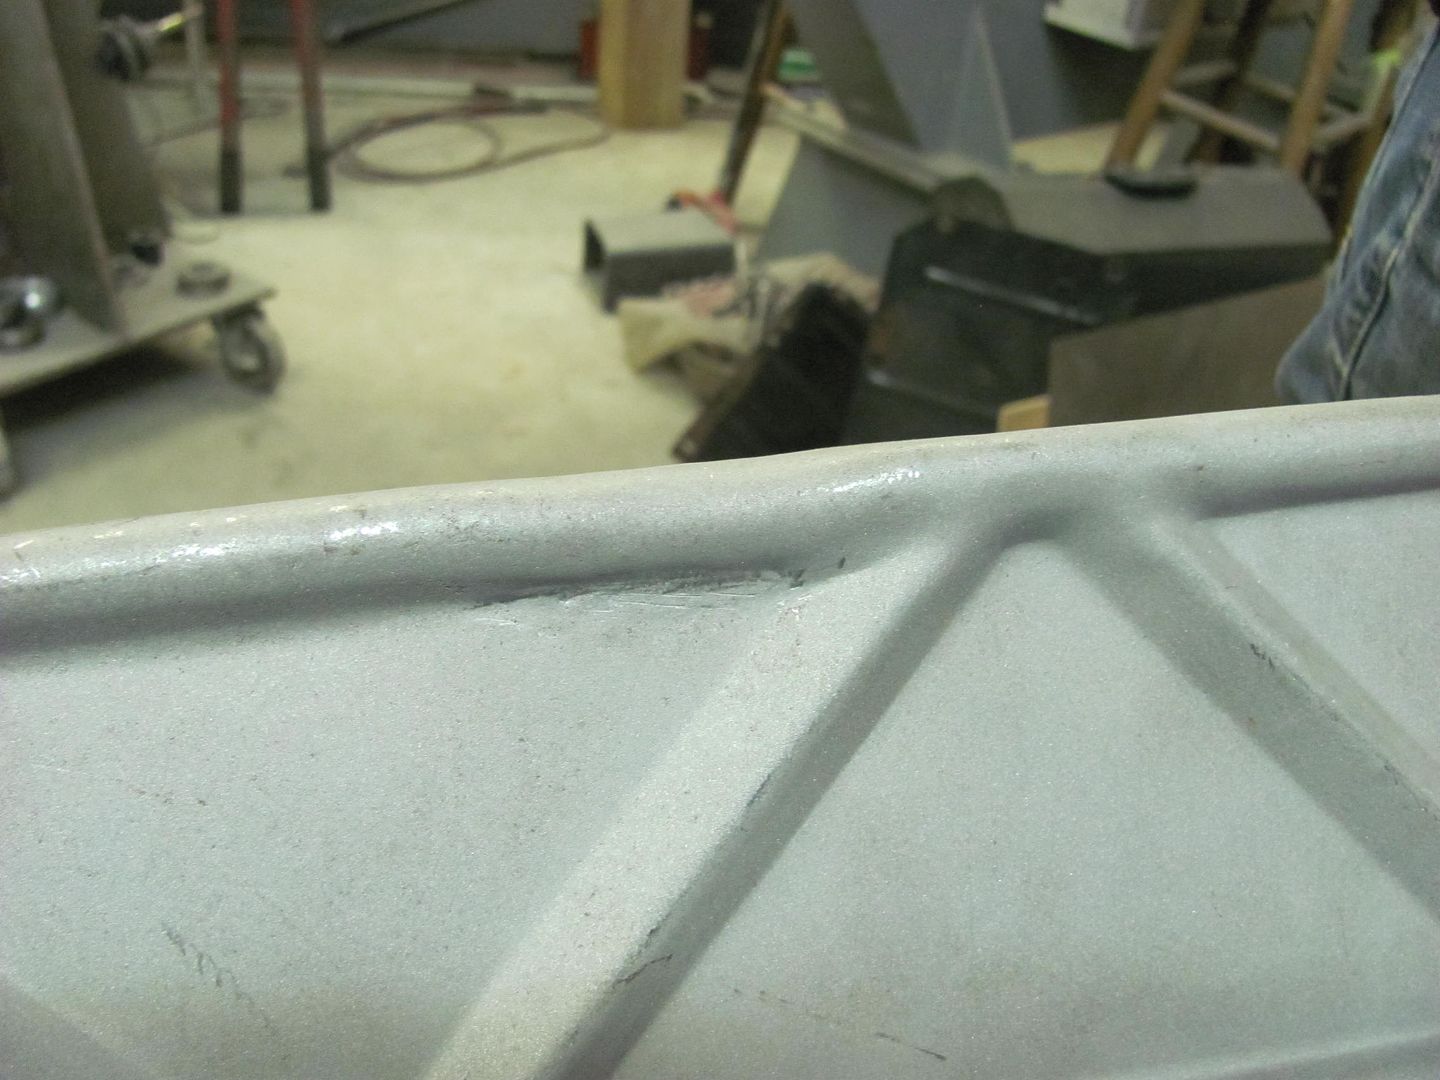
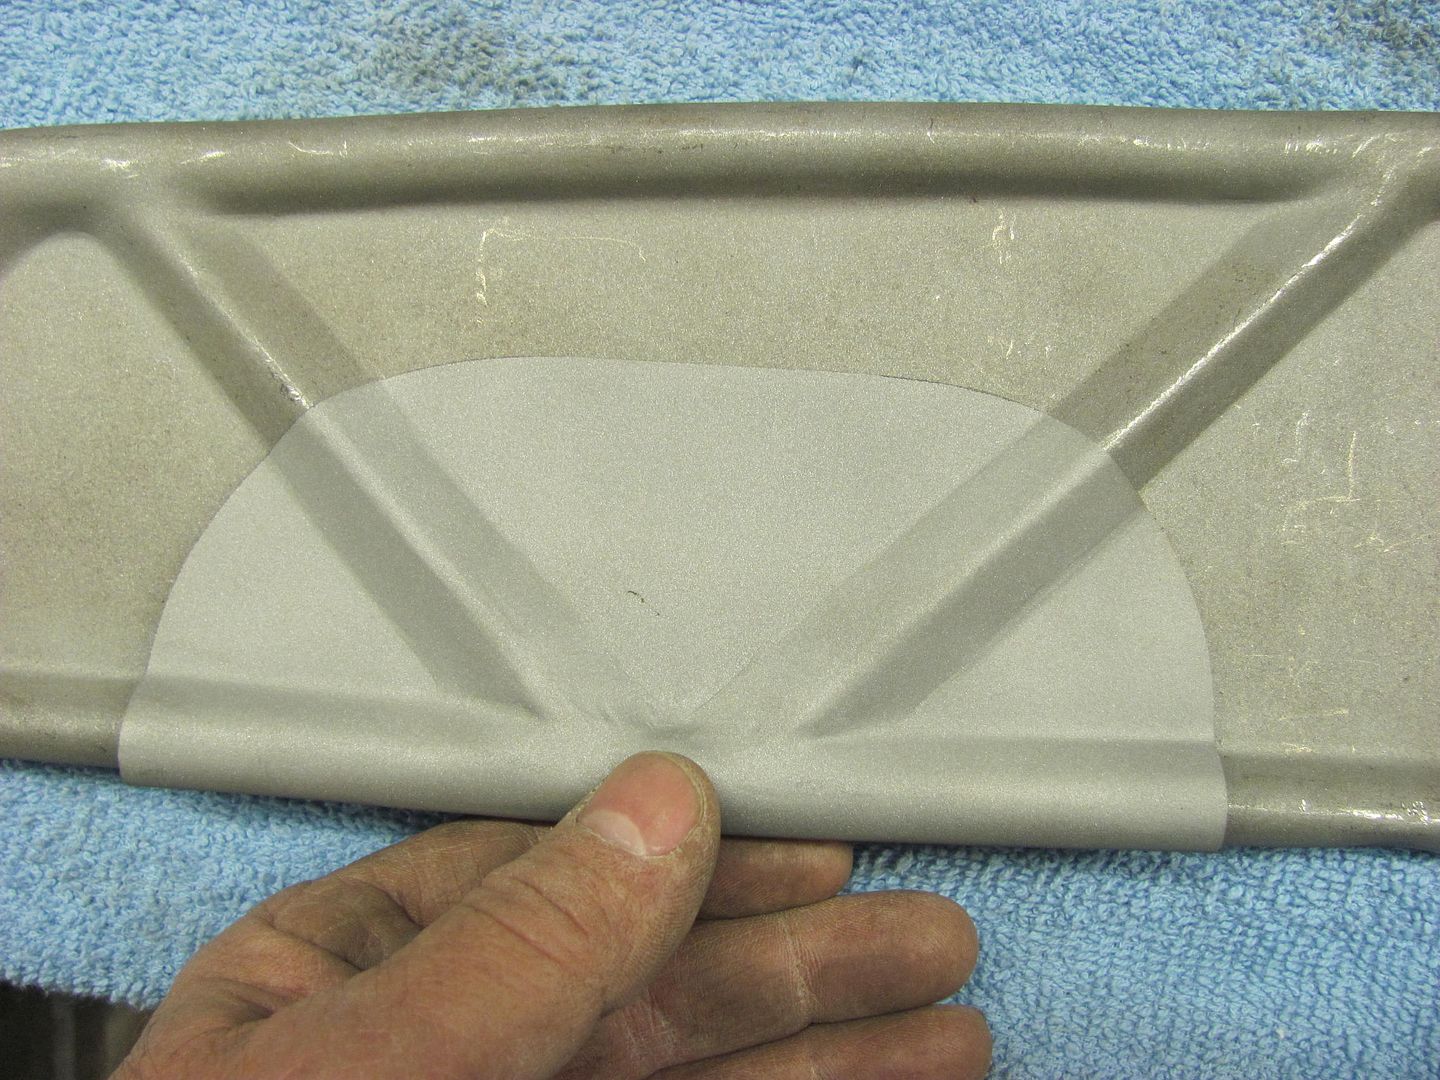
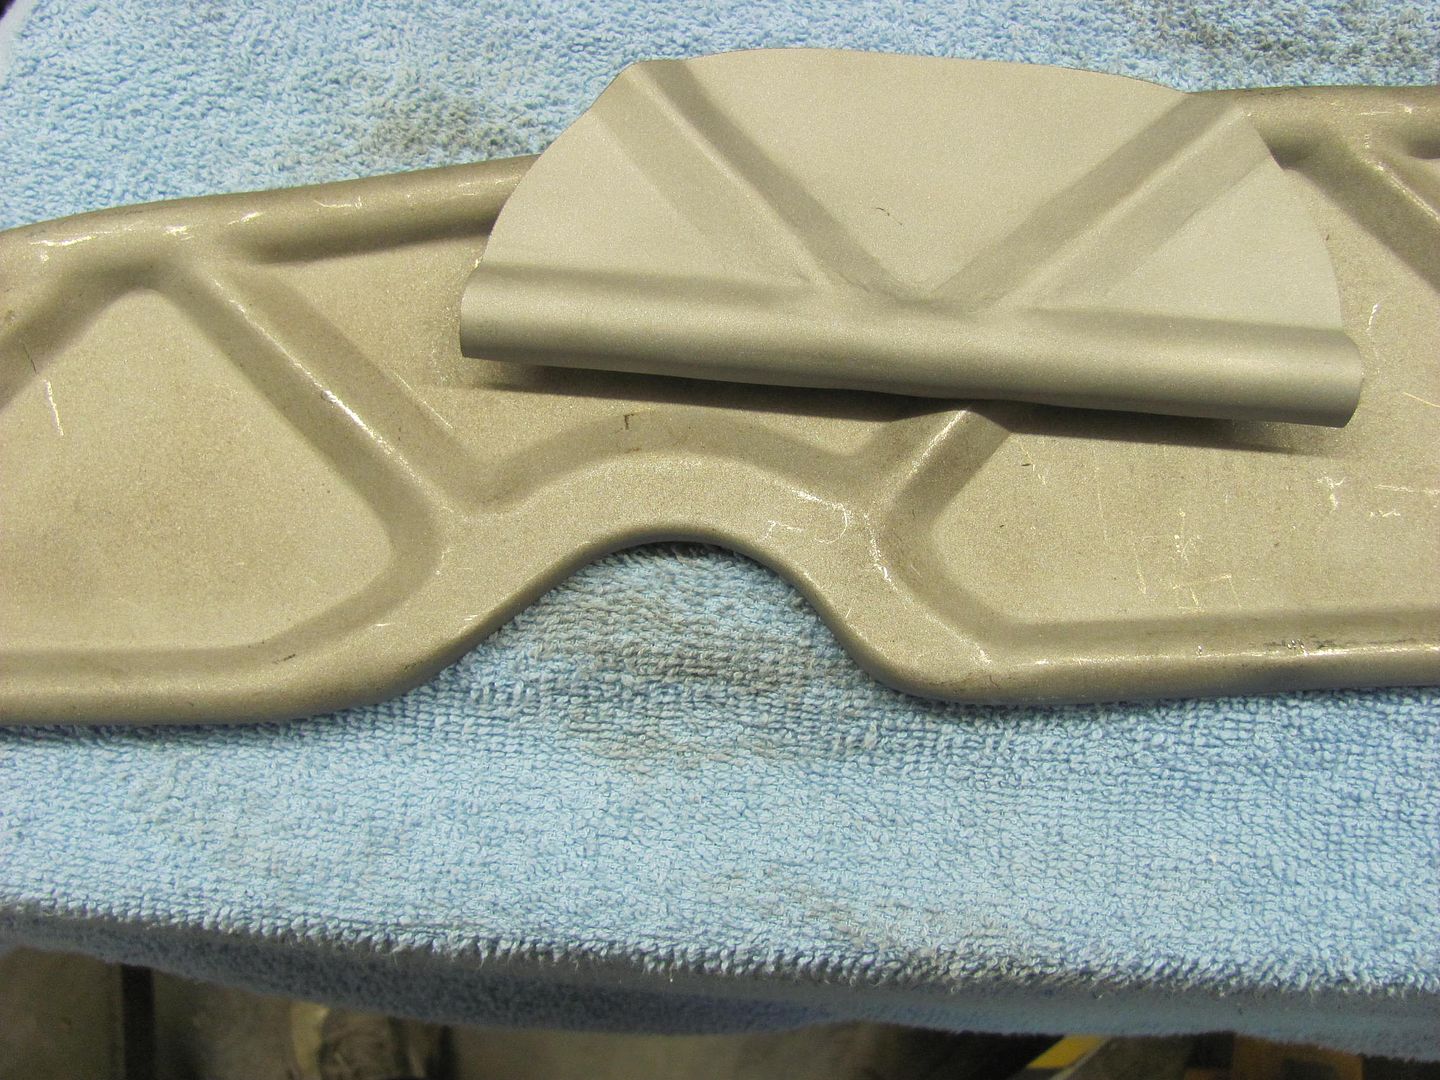
...here transposing the crease locations...
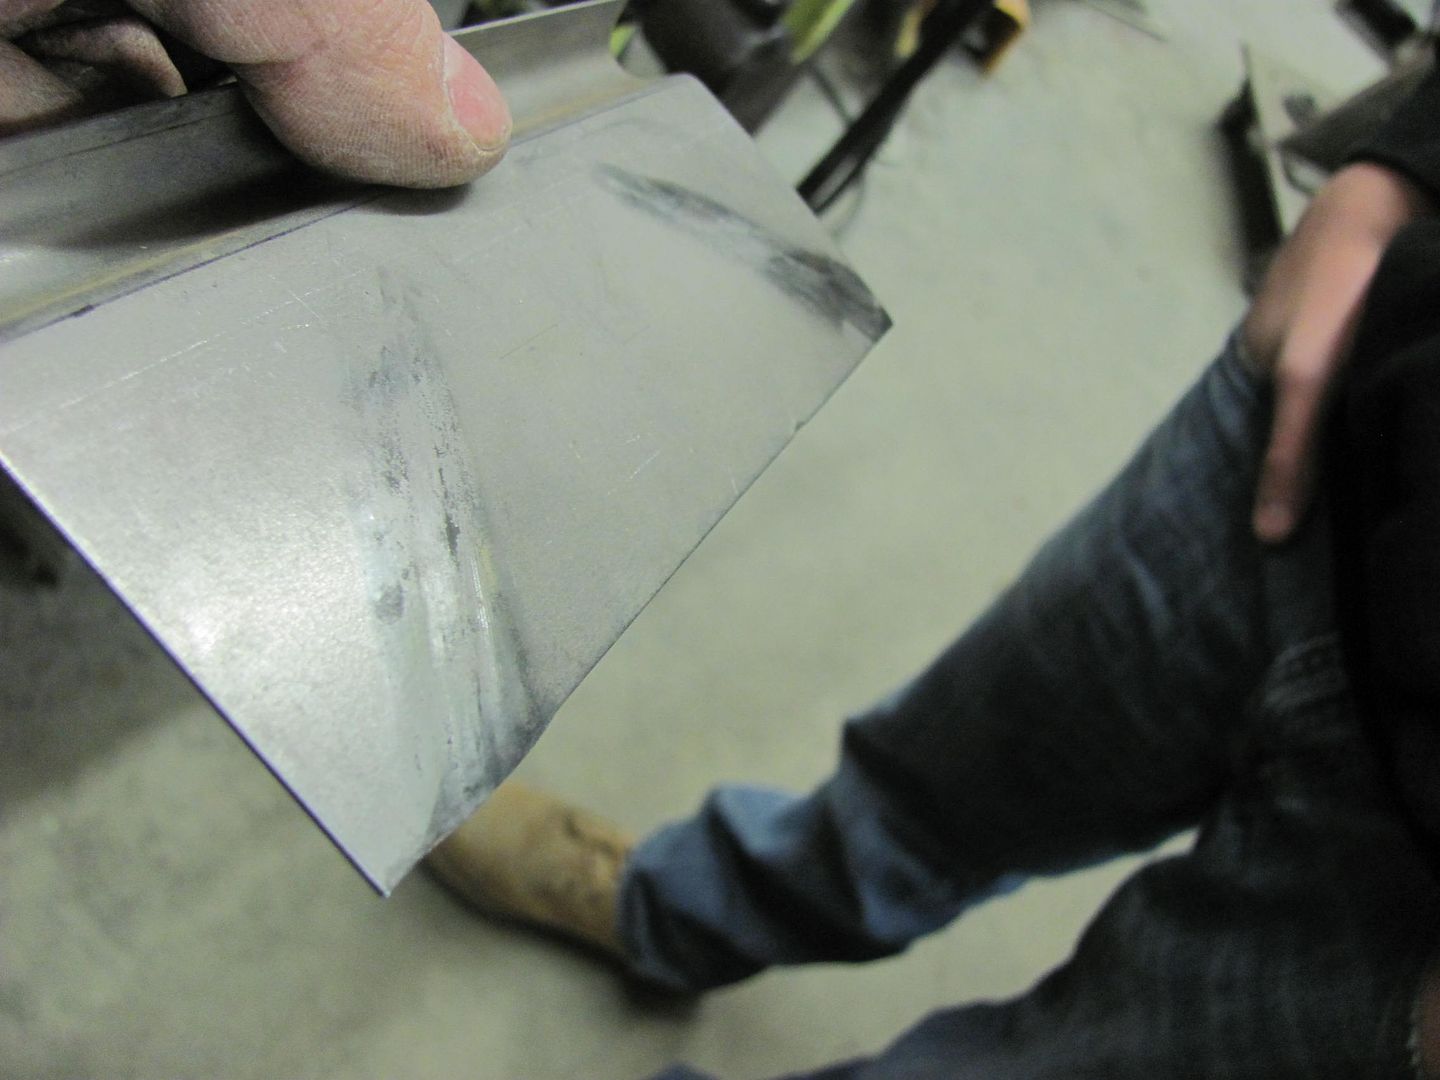
To pre-stretch the areas for the diagonal vee beads, we loaded these in the bead roller....
This didn't appear to add enough stretch, so the linear stretch die was used in the Watervliet planishing hammer....

Vee was added using 3/4 wide female bead die and a narrow tipping die..
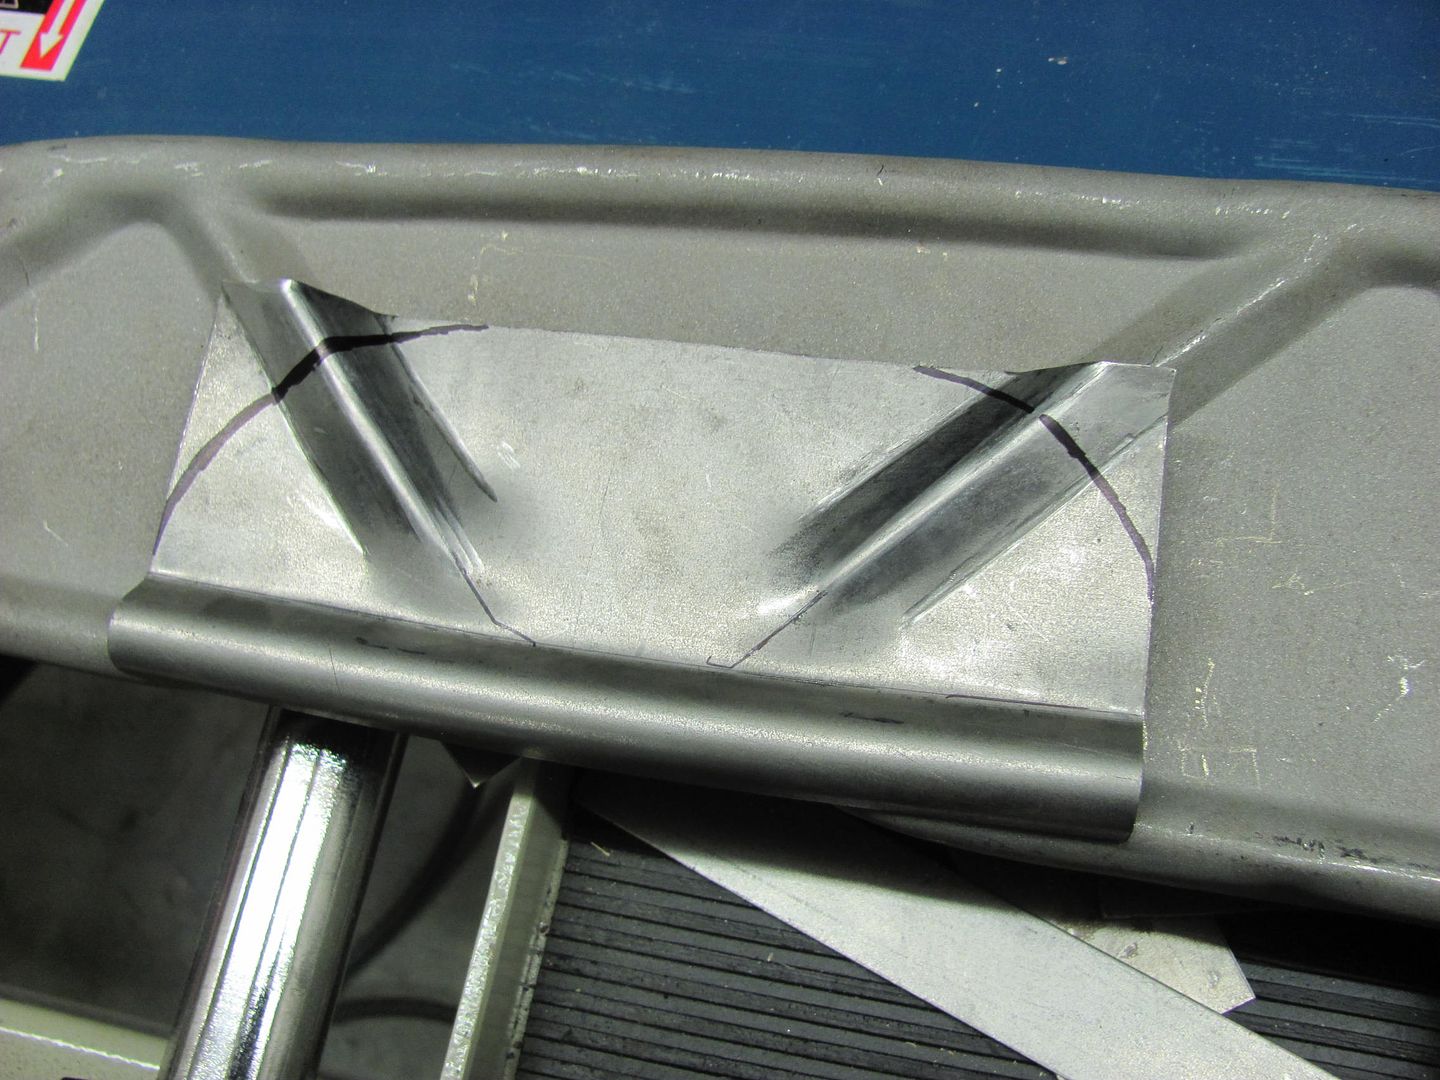
A bit of heat was added to make it a bit easier to transition the round and vee beads together...
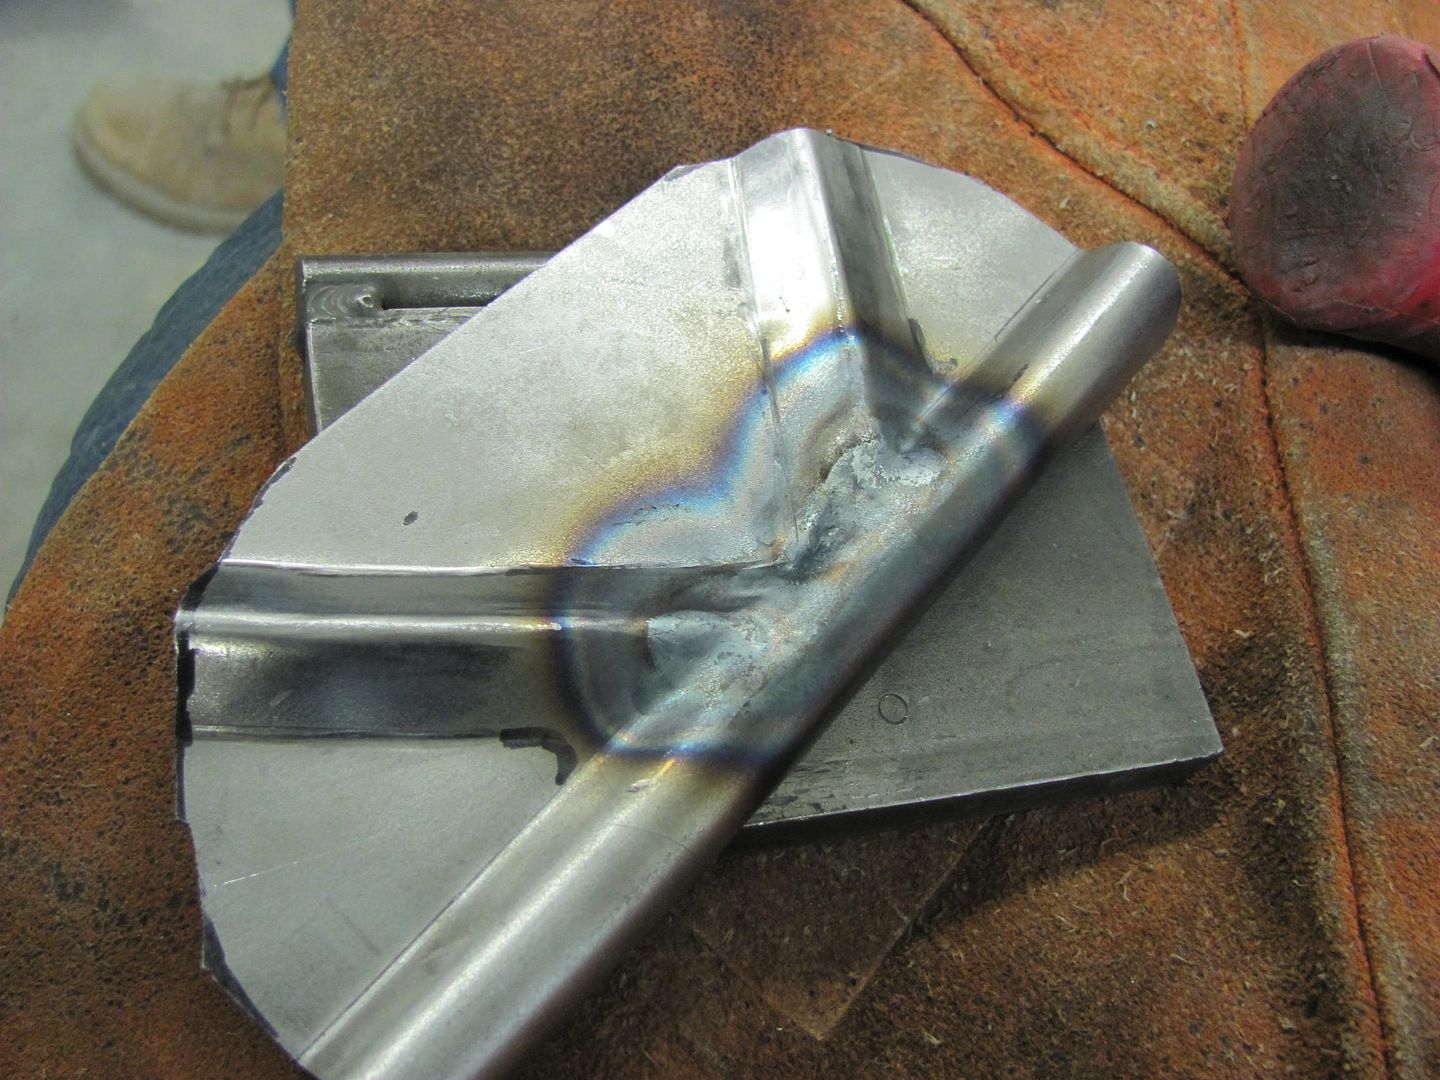
....and this one we'll get formed up on Wednesday night and get both welded in place...
Robert
-
Advertising

- Google Adsense
- REGISTERED USERS DO NOT SEE THIS AD
-
02-03-2015 06:12 AM #422
CHR Member
- Join Date
- Sep 2013
- Location
- Portage
- Car Year, Make, Model: 31 A Coupe
- Posts
- 567
Great work as usual!
Rich
-
02-03-2015 11:07 AM #423
CHR Member
- Join Date
- Oct 2007
- Location
- Petaluma
- Car Year, Make, Model: 48 Ford F1
- Posts
- 9,795
Ditto above"  "No matter where you go, there you are!" Steve.
-
02-03-2015 08:43 PM #424
CHR Member
- Join Date
- May 2005
- Location
- Tataraimaka NZ
- Car Year, Make, Model: `47 Ford sedan, A.C.Cobra replica.
- Posts
- 2,895
Yep.
What they said.johnboy
Mountain man. (Retired.)
Some mistakes are too much fun to be made only once.
I don't know everything about anything, and I don't know anything about lots of things.
'47 Ford sedan. 350 -- 350, Jaguar irs + ifs.
'49 Morris Minor. Datsun 1500cc, 5sp manual, Marina front axle, Nissan rear axle.
'51 Ford school bus. Chev 400 ci Vortec 5 sp manual + Gearvendors 2sp, 2000 Chev lwb dually chassis and axles.
'64 A.C. Cobra replica. Ford 429, C6 auto, Torana ifs, Jaguar irs.
-
02-04-2015 02:08 PM #425
CHR Member
- Join Date
- Apr 2011
- Location
- Prairie City
- Car Year, Make, Model: 40 Ford Deluxe, 68 Corvette, 72&76 K30
- Posts
- 7,301
- Blog Entries
- 1
Great work. It's pieces like this that a real tri 5 guy will have to know aren't stock to notice something isn't right because your work looks better than factory.Ryan
1940 Ford Deluxe Tudor 354 Hemi 46RH Electric Blue w/multi-color flames, Ford 9" Residing in multiple pieces
1968 Corvette Coupe 5.9 Cummins Drag Car 11.43@130mph No stall leaving the line with 1250 rpm's and poor 2.2 60'
1972 Chevy K30 Longhorn P-pumped 24v Compound Turbos 47RH Just another money pit
1971 Camaro RS 5.3 BTR Stage 3 cam, SuperT10
Tire Sizes
-
02-04-2015 08:40 PM #426
CHR Member
- Join Date
- Jun 2008
- Location
- Leonardtown
- Car Year, Make, Model: Walking
- Posts
- 1,228
Thanks fellas!
I had a bit of a short night as I had to pick up the young'n from after school activities, so most of the progress this evening was Kyle's efforts.
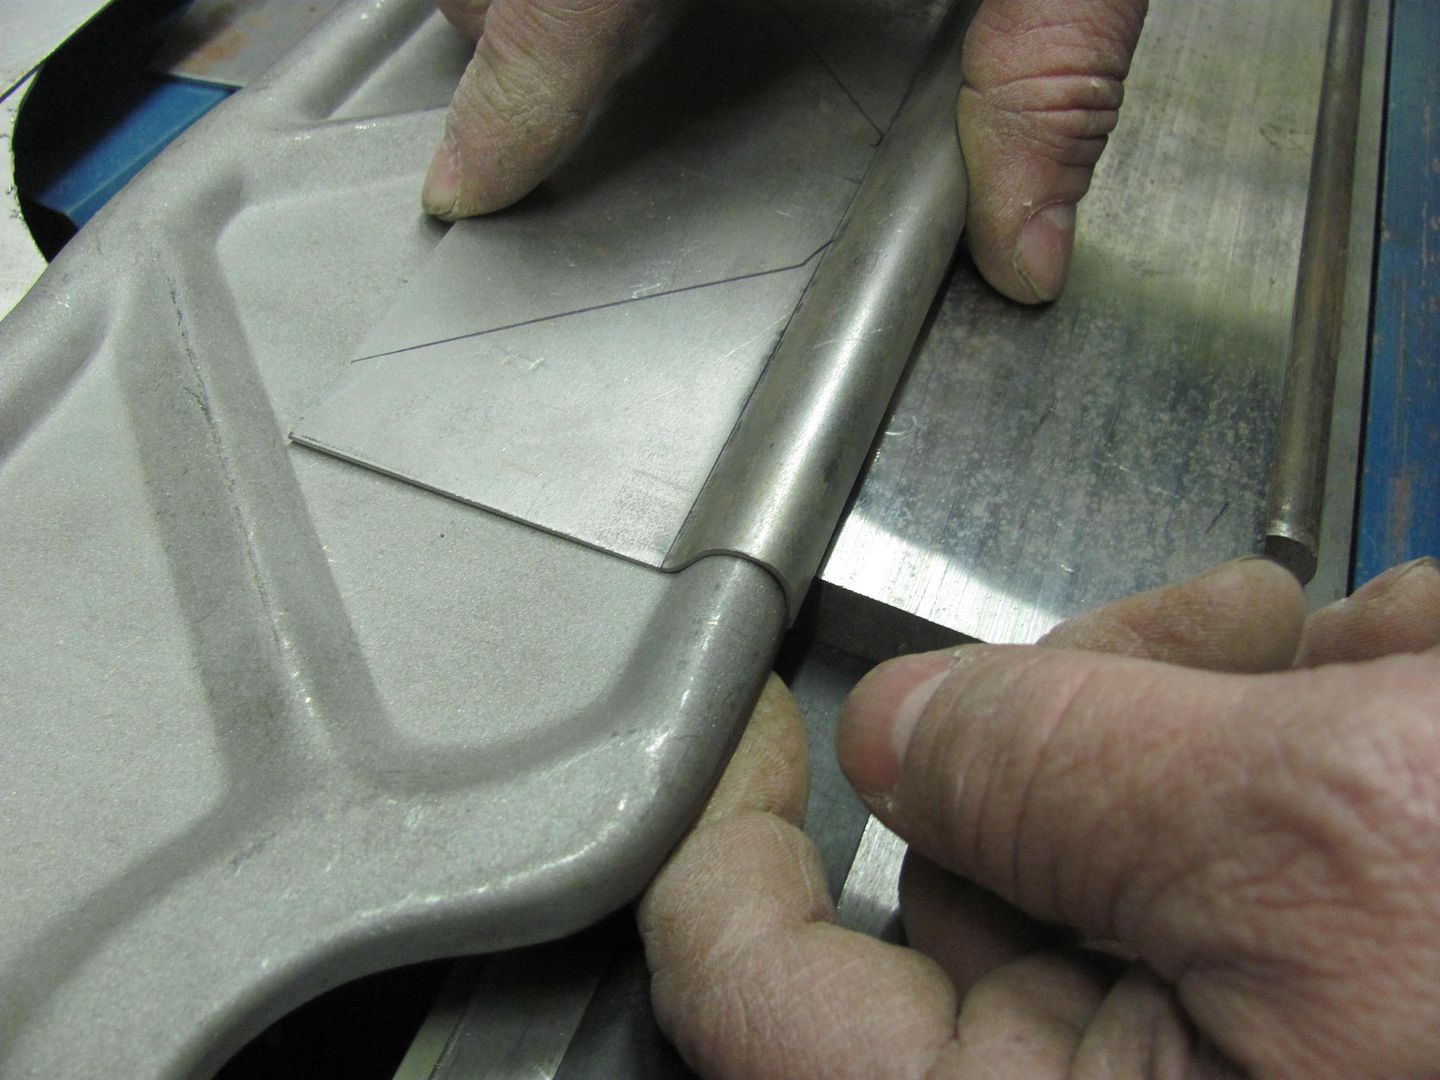
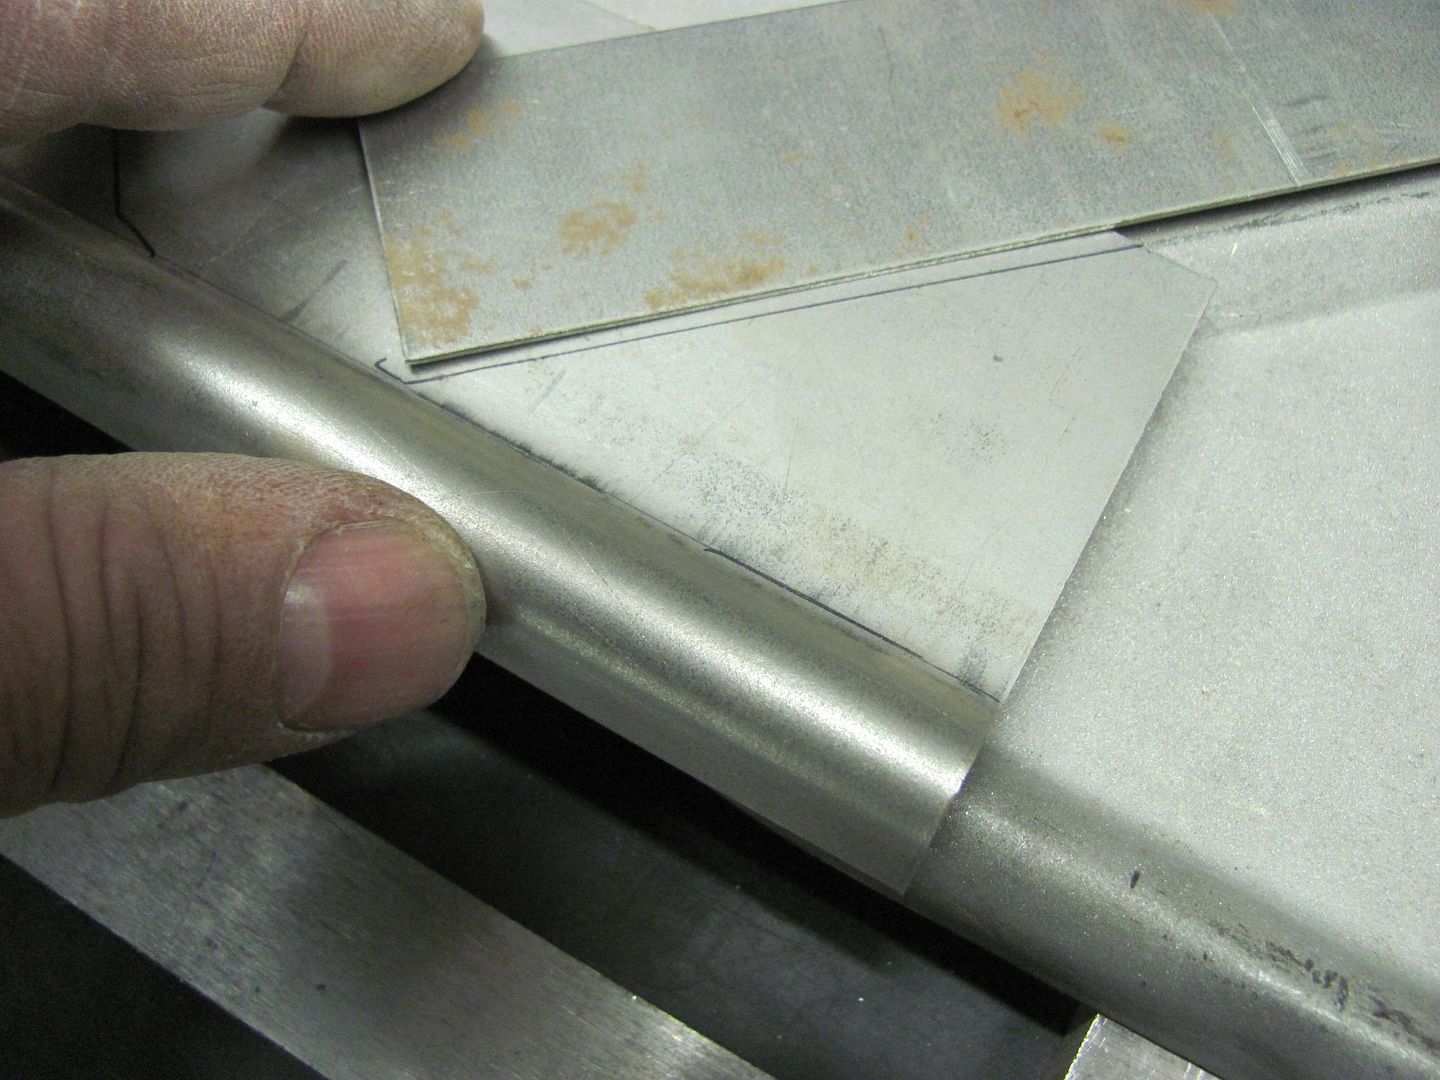
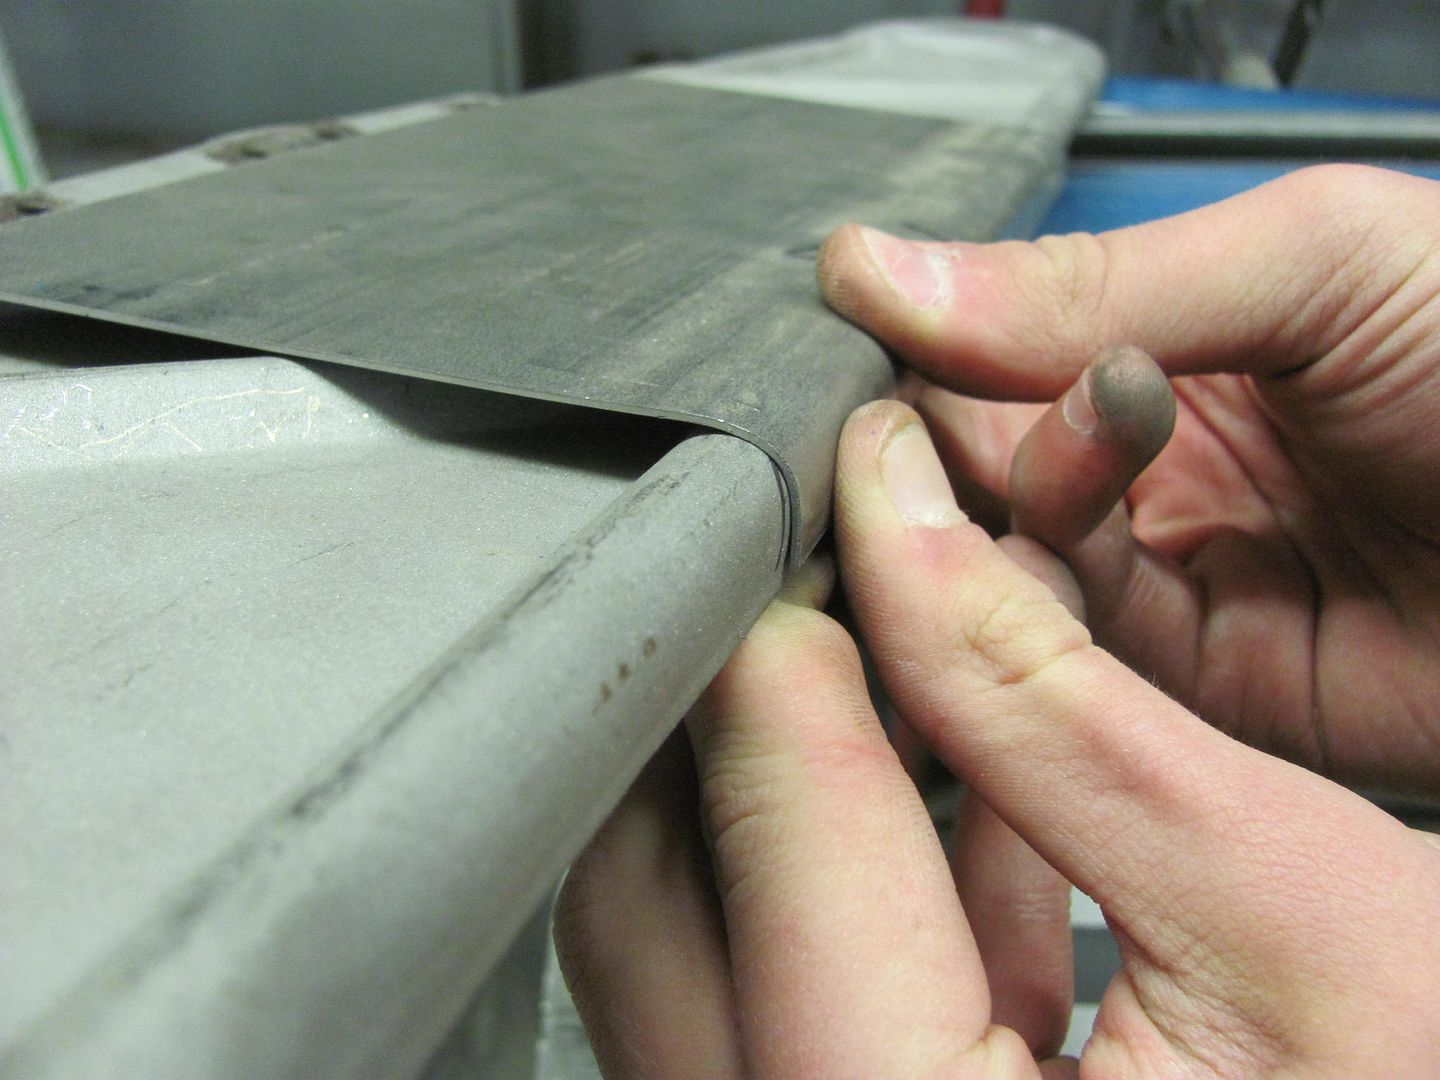
Making the patch for the center relief, starting with adding the radius to the bottom edge... This uses a bottom vee die from the Diacro and a 1/2" rod to form the radius..
Test fit of the radius...
Trimming out the hood brace...
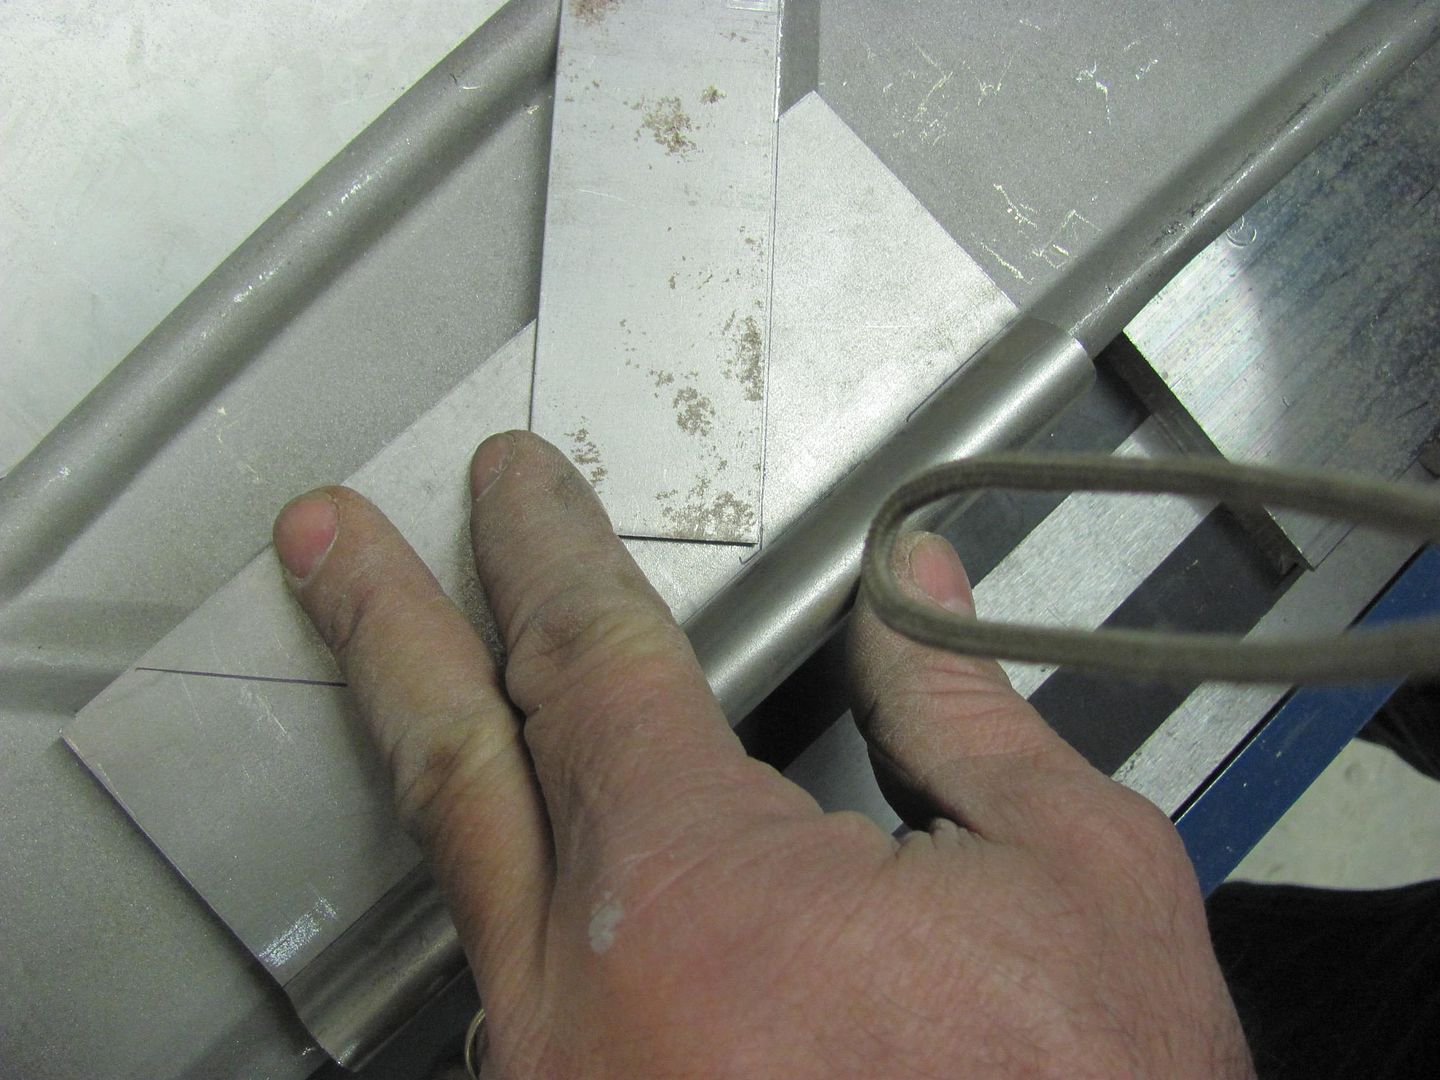
Scribing the patch....
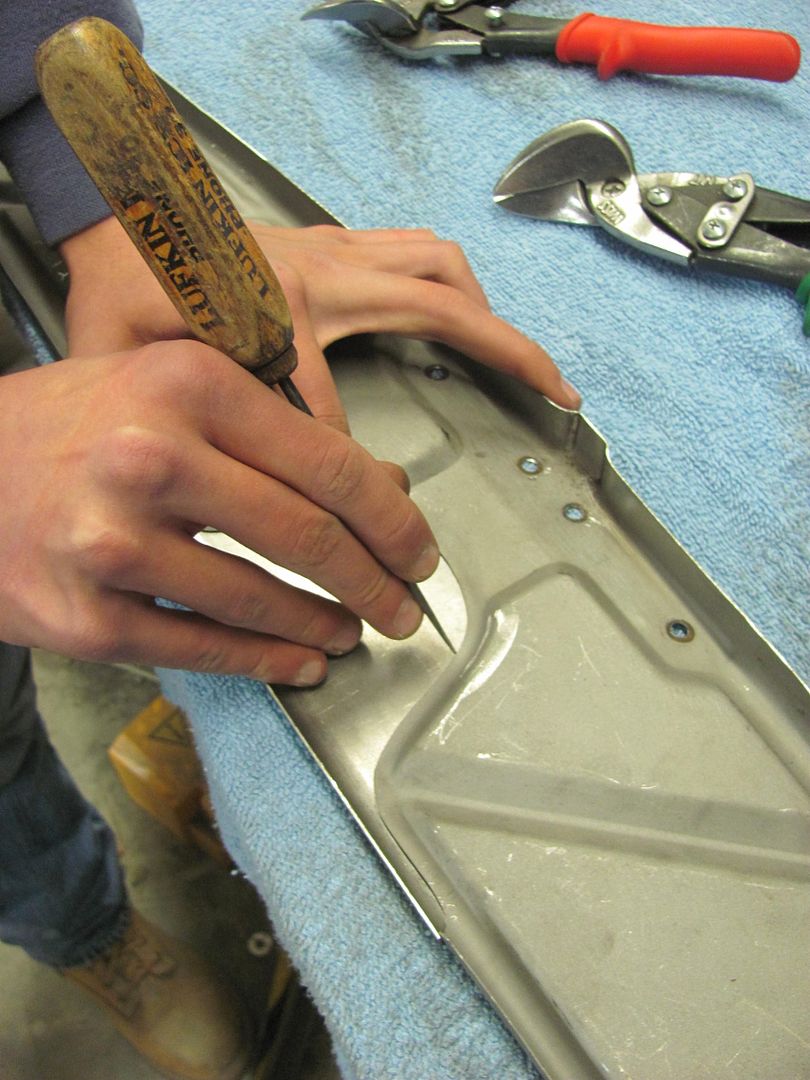
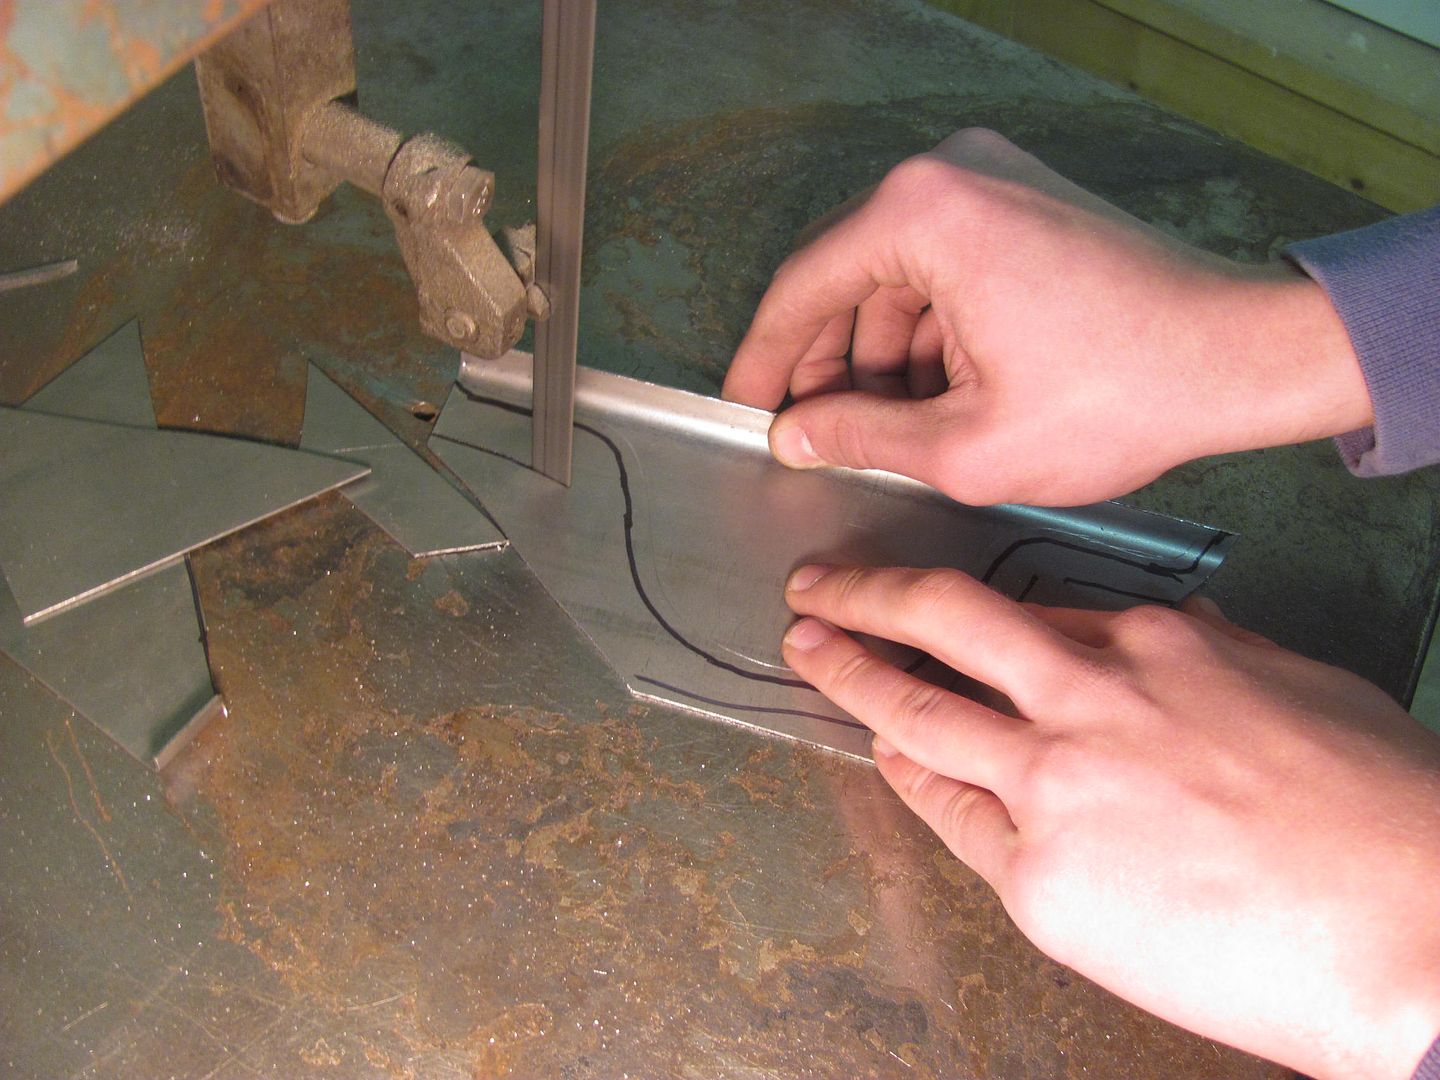
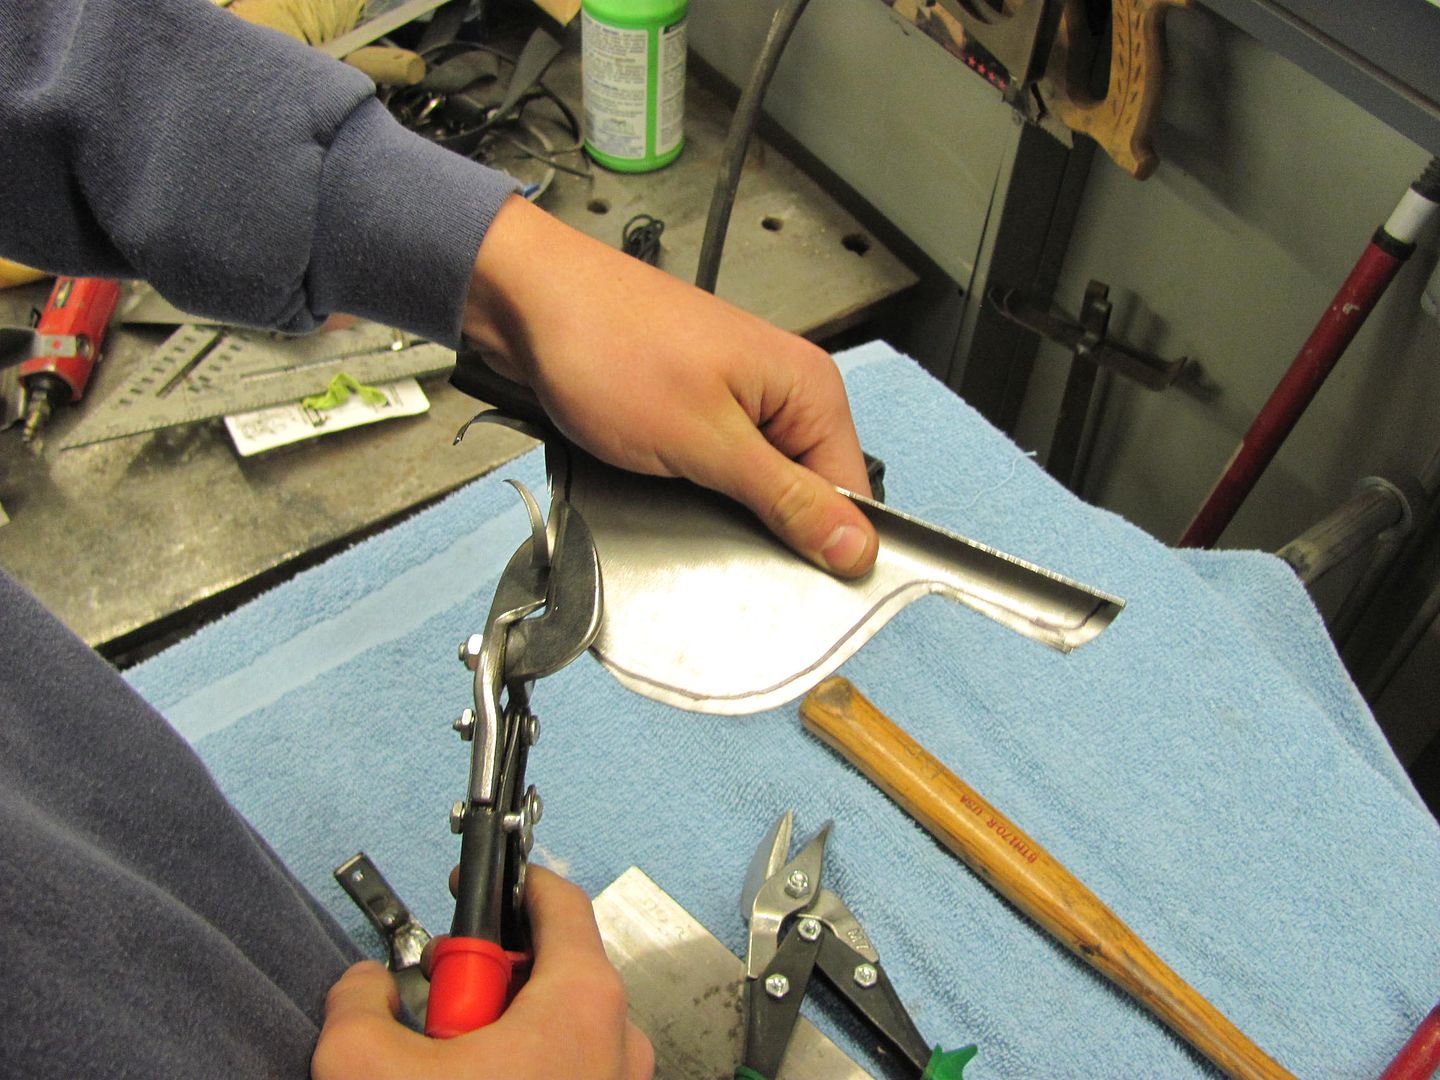
Trimming some of the excess on the bandsaw, and then fine tuning with the snips....
I did work a bit more on hood gaps.. an official gap gauge shown here....
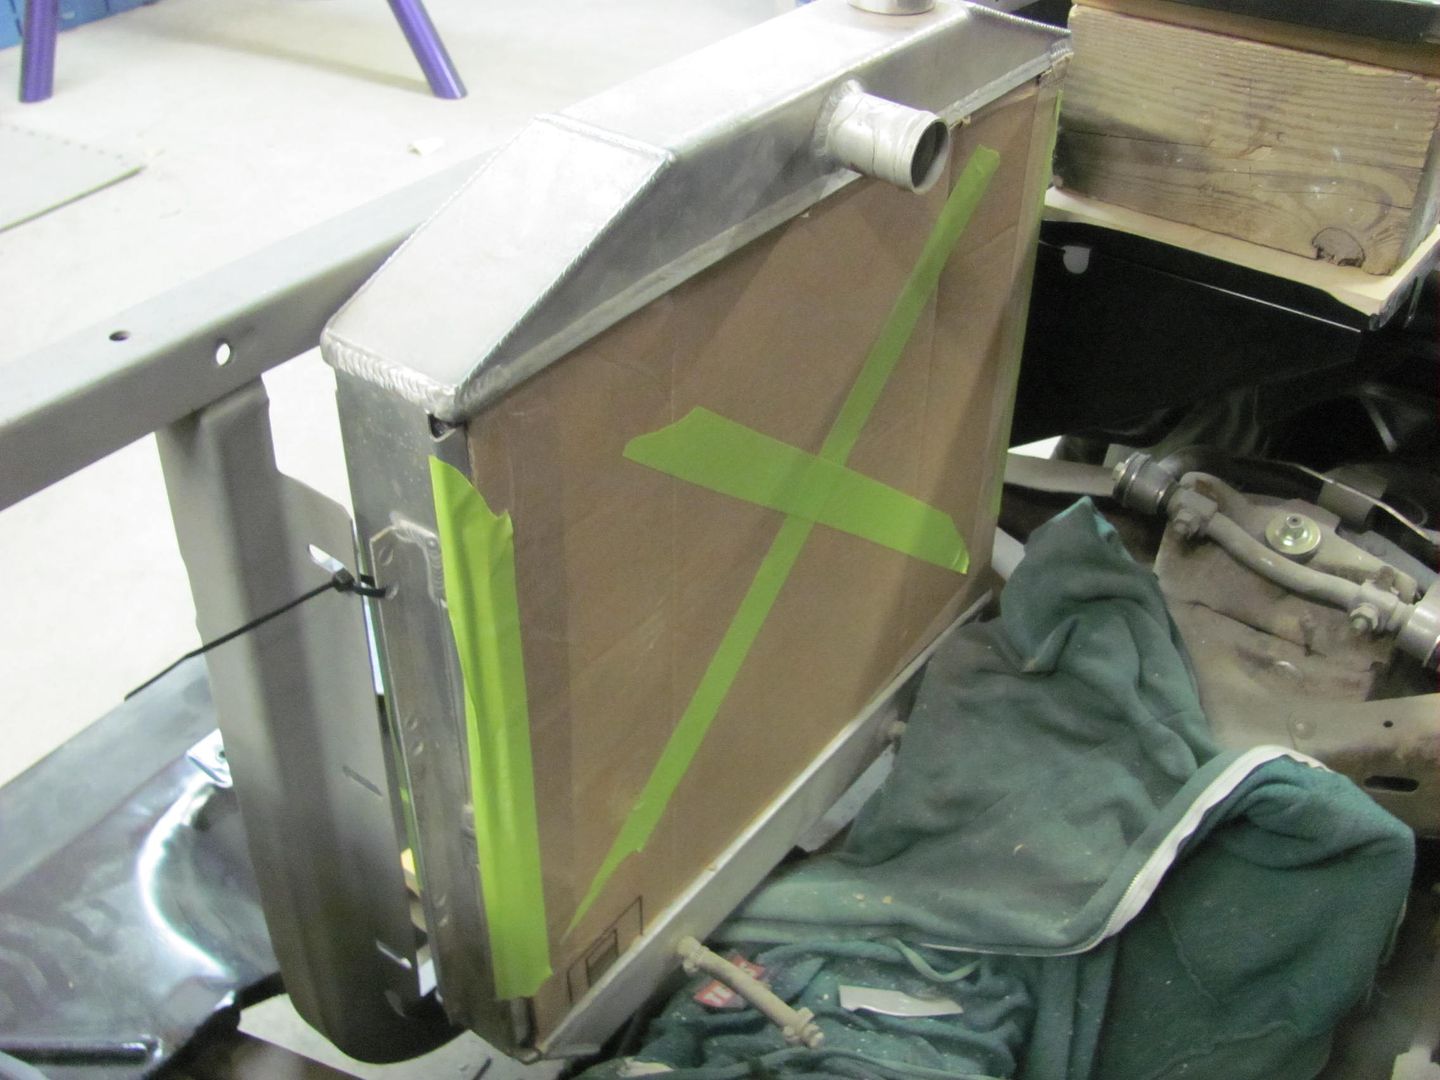
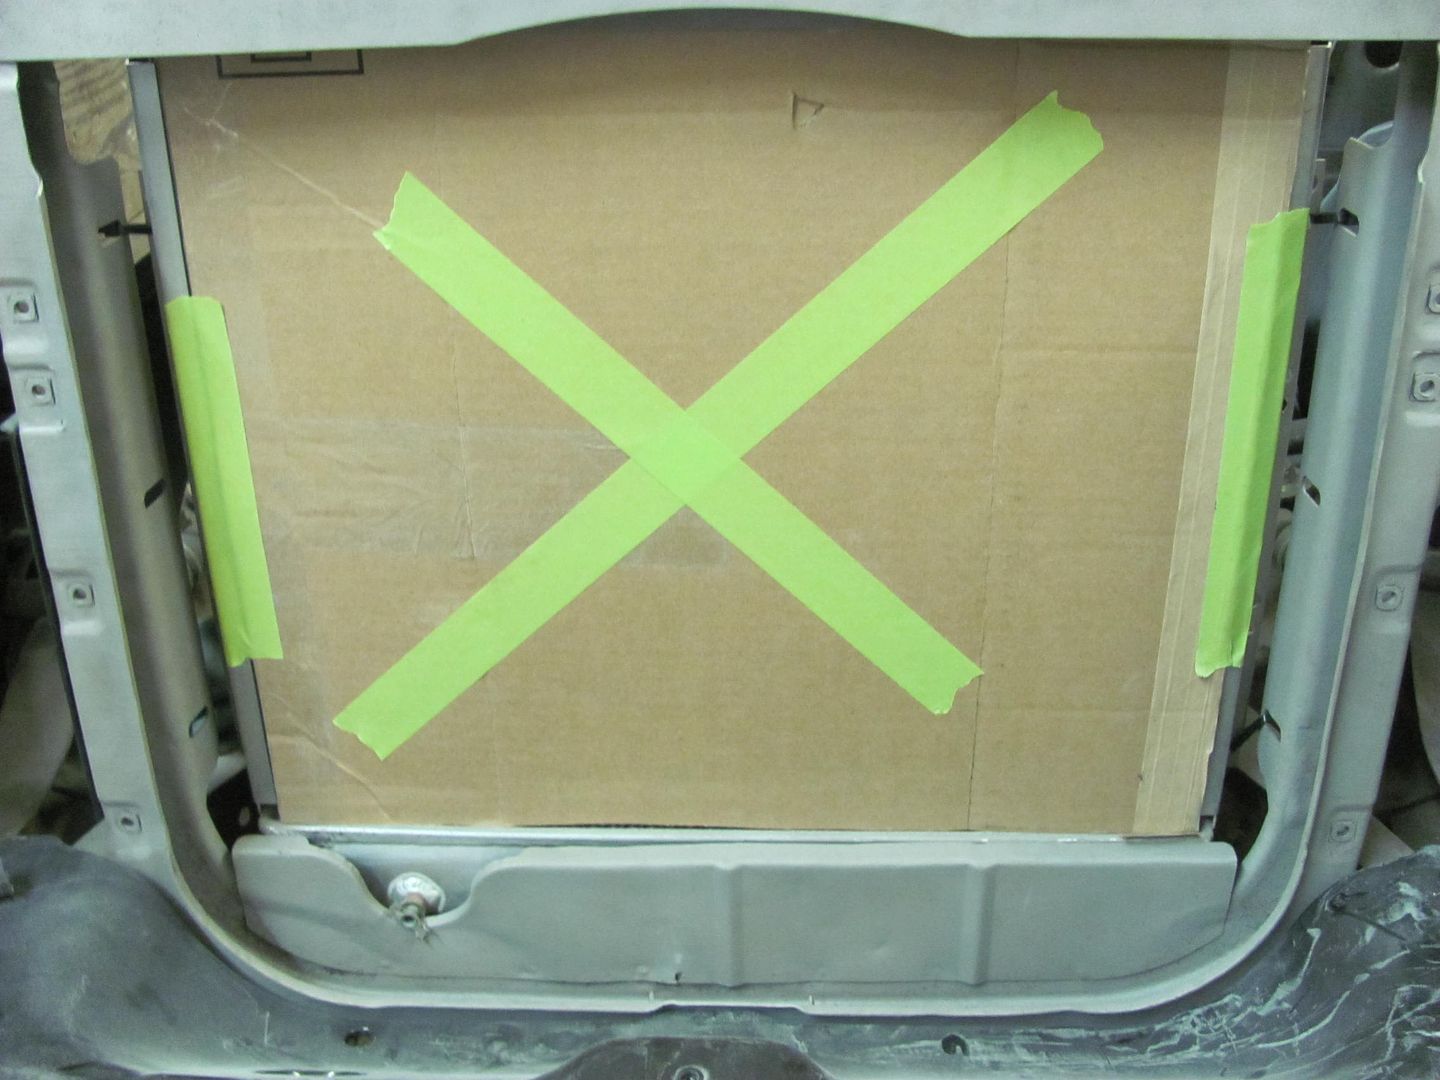
Also took some radiator leak preventative measures....
Trimming the other patch for the hood brace....
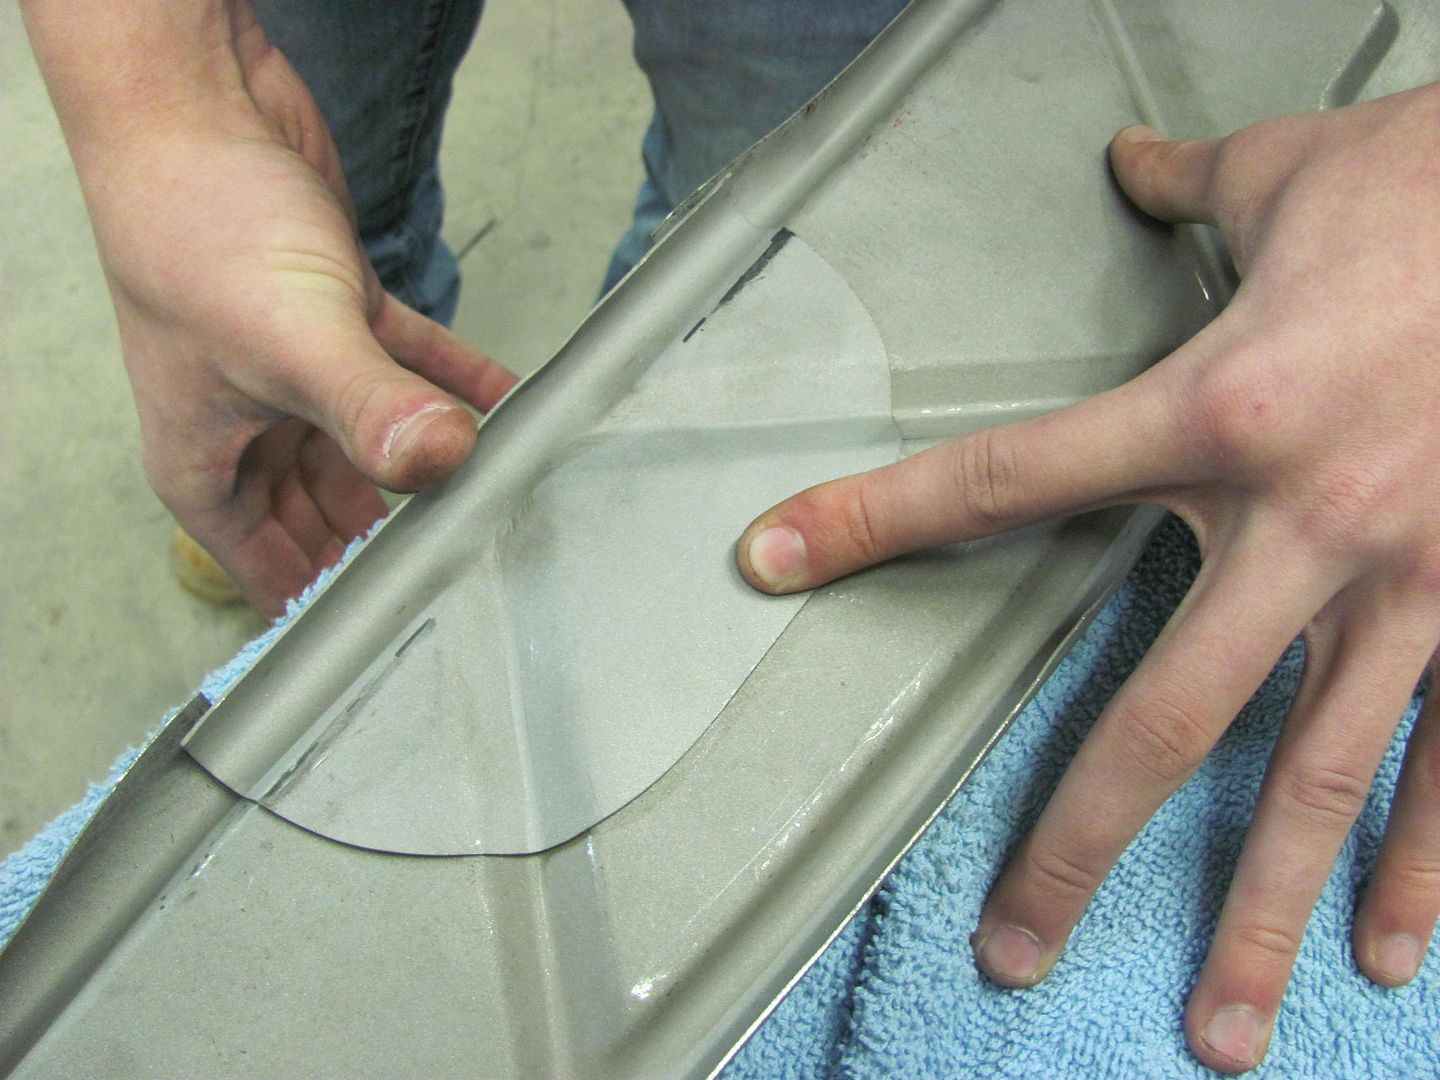
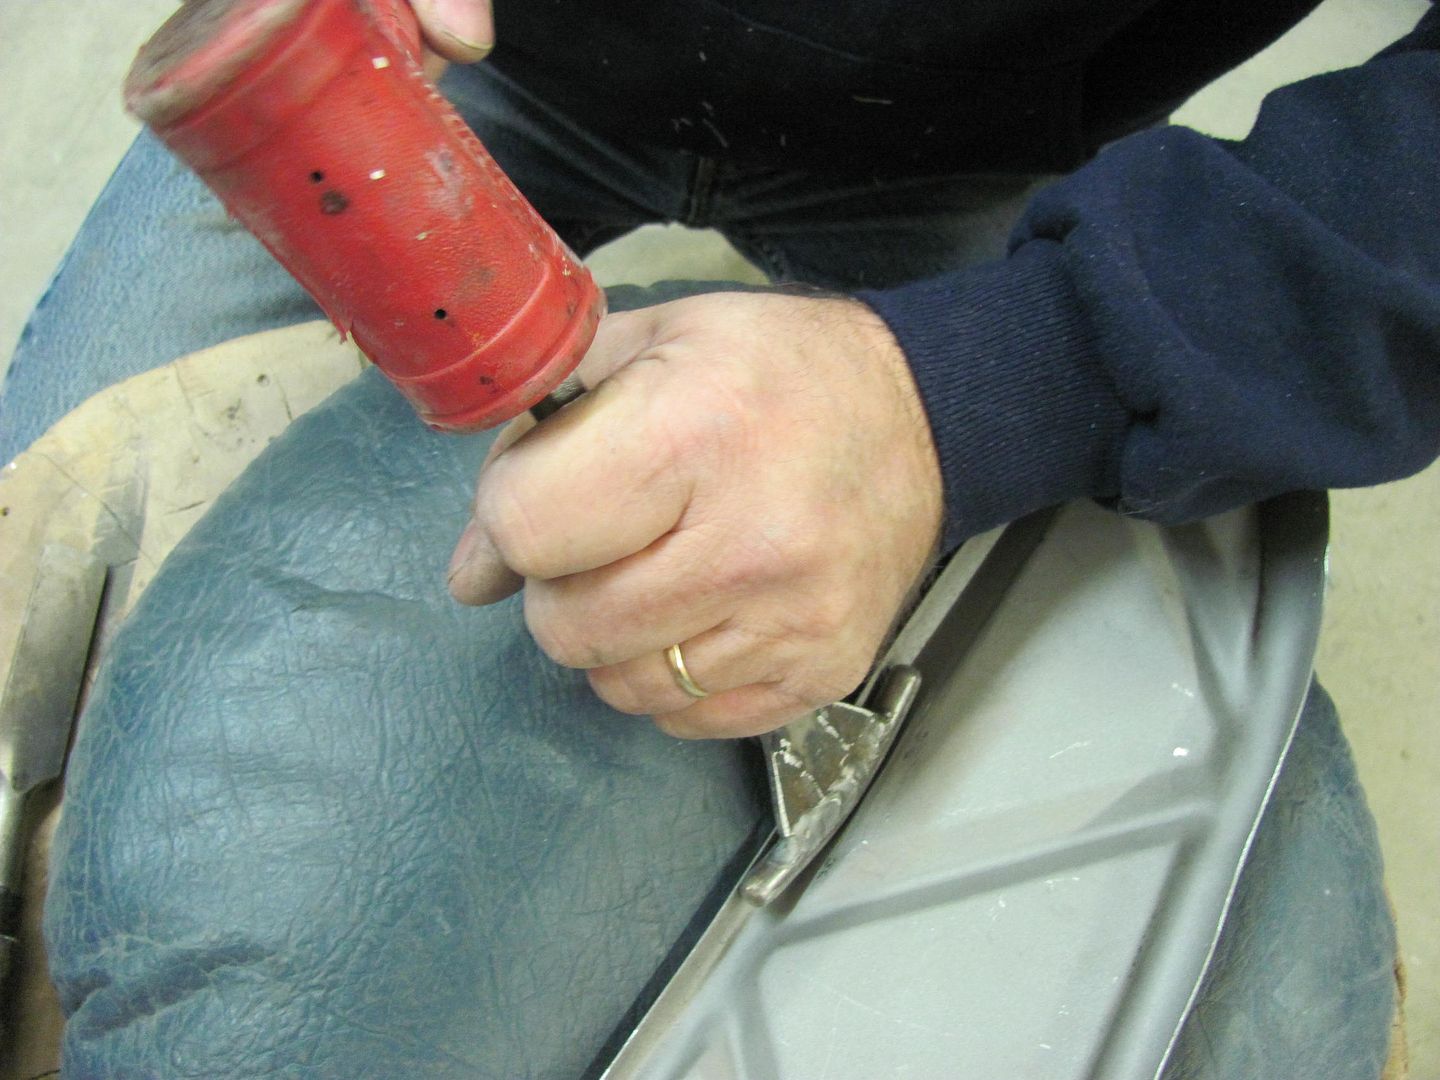
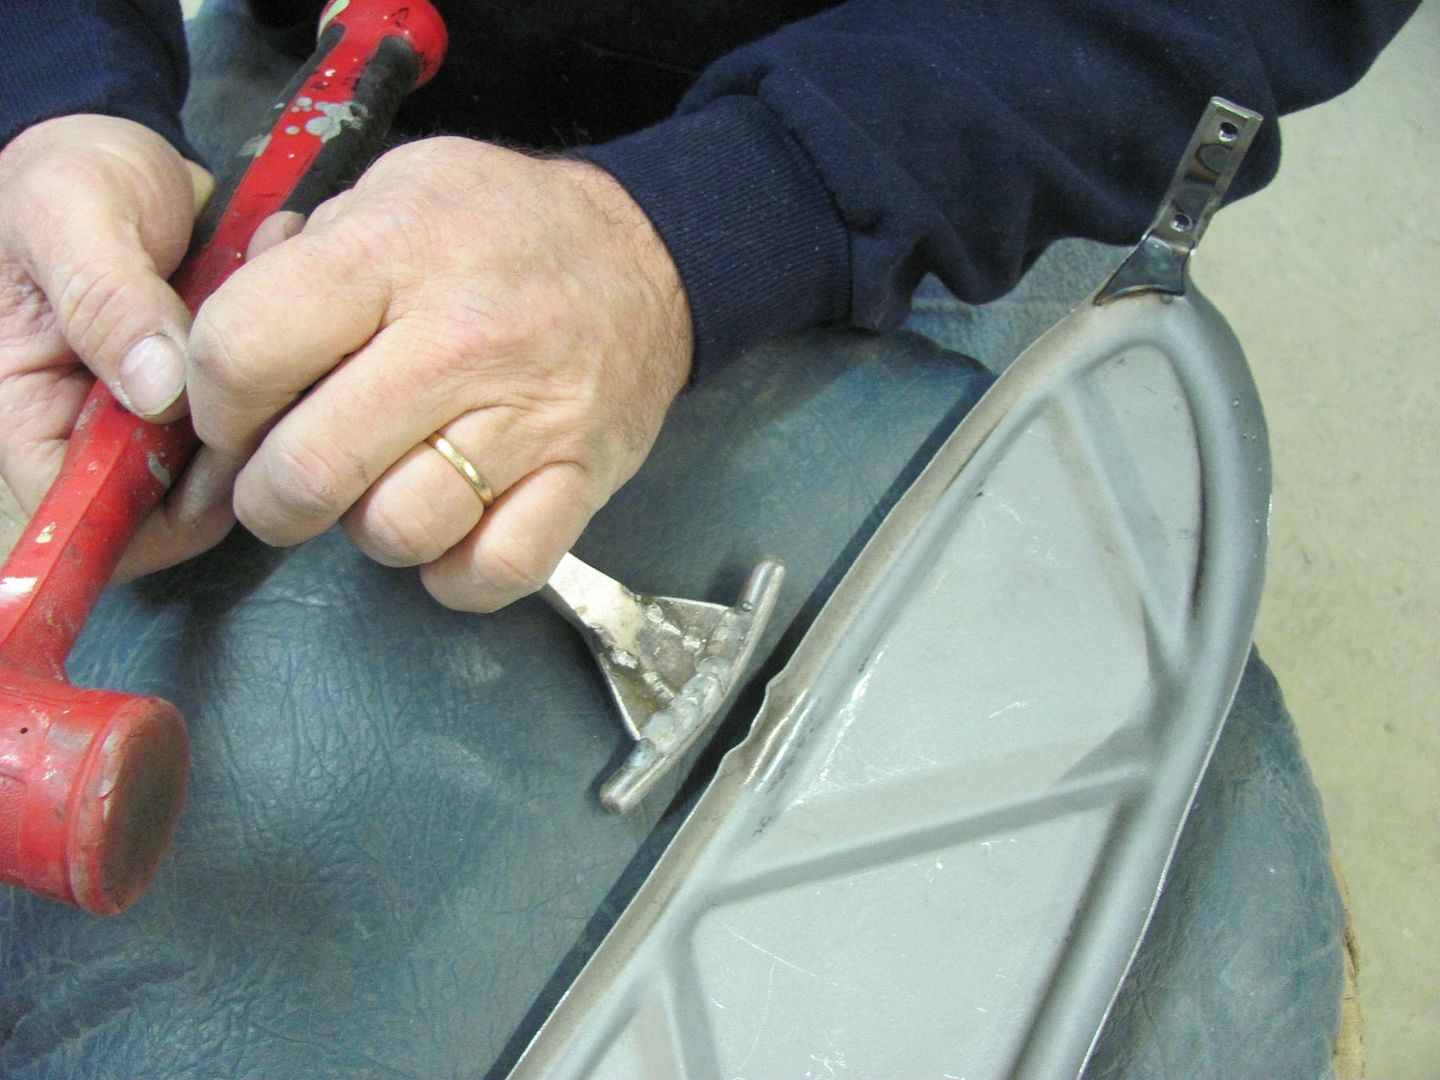
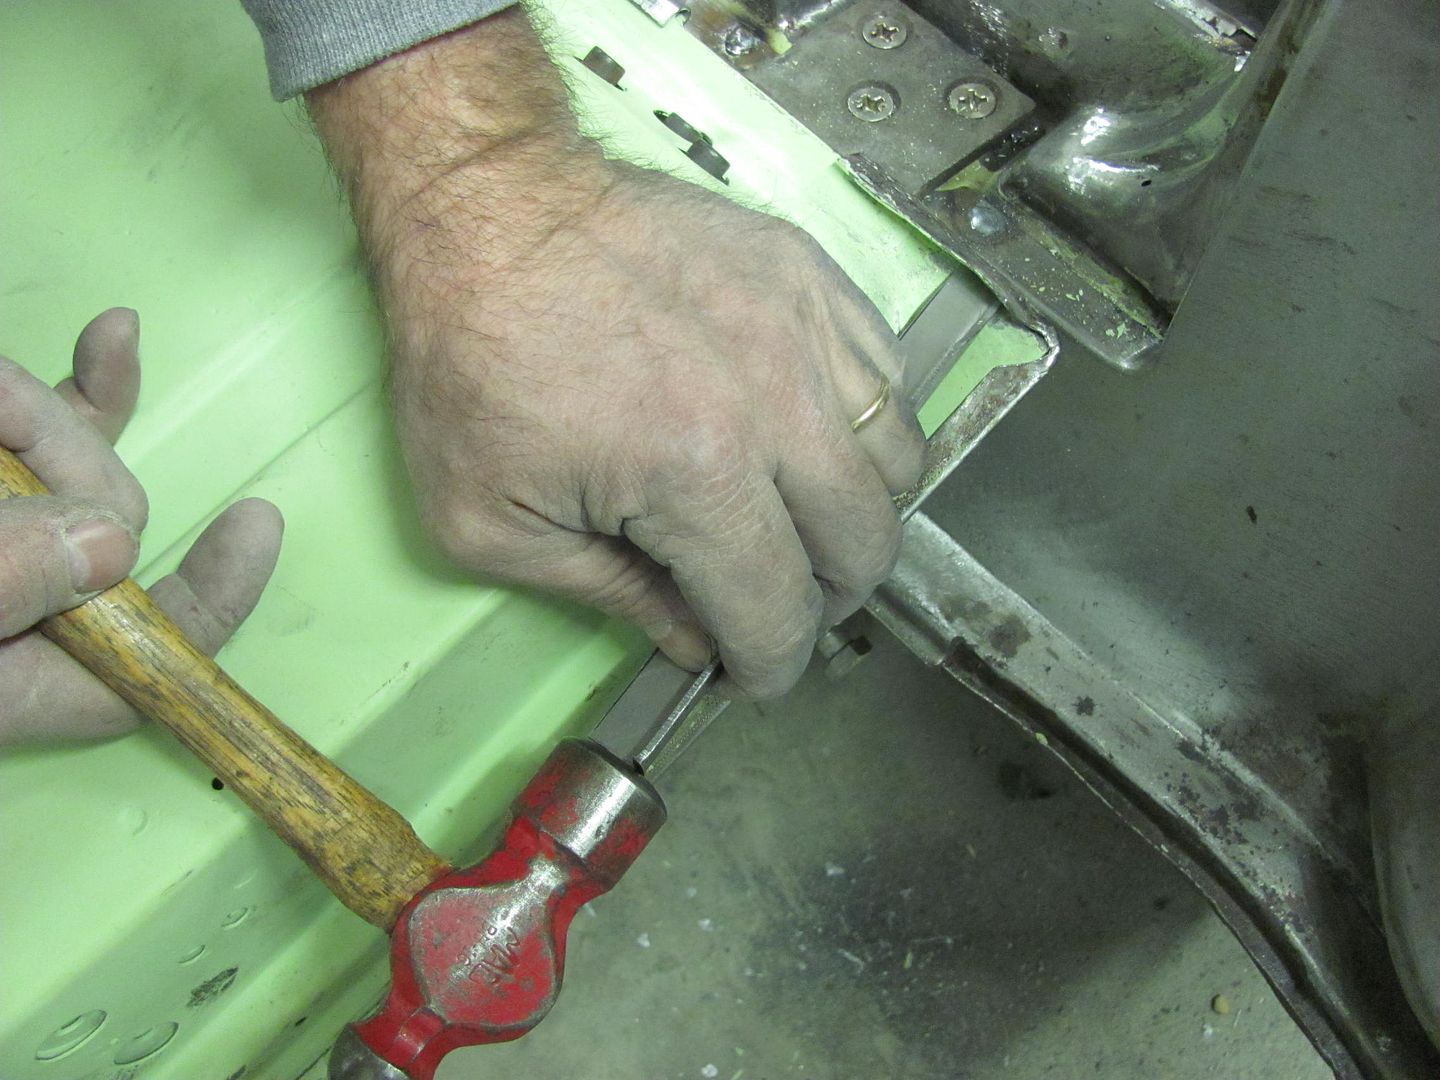
Kyle persuading the patch's crease over a bit. This uses a glancing blow to keep the crease's new location from sliding down on the anvil...
Both pieces clamped in place, we'll get some welding done on Saturday...

Last edited by MP&C; 02-05-2015 at 03:33 AM.
Robert
-
02-07-2015 05:09 PM #427
CHR Member
- Join Date
- Jun 2008
- Location
- Leonardtown
- Car Year, Make, Model: Walking
- Posts
- 1,228
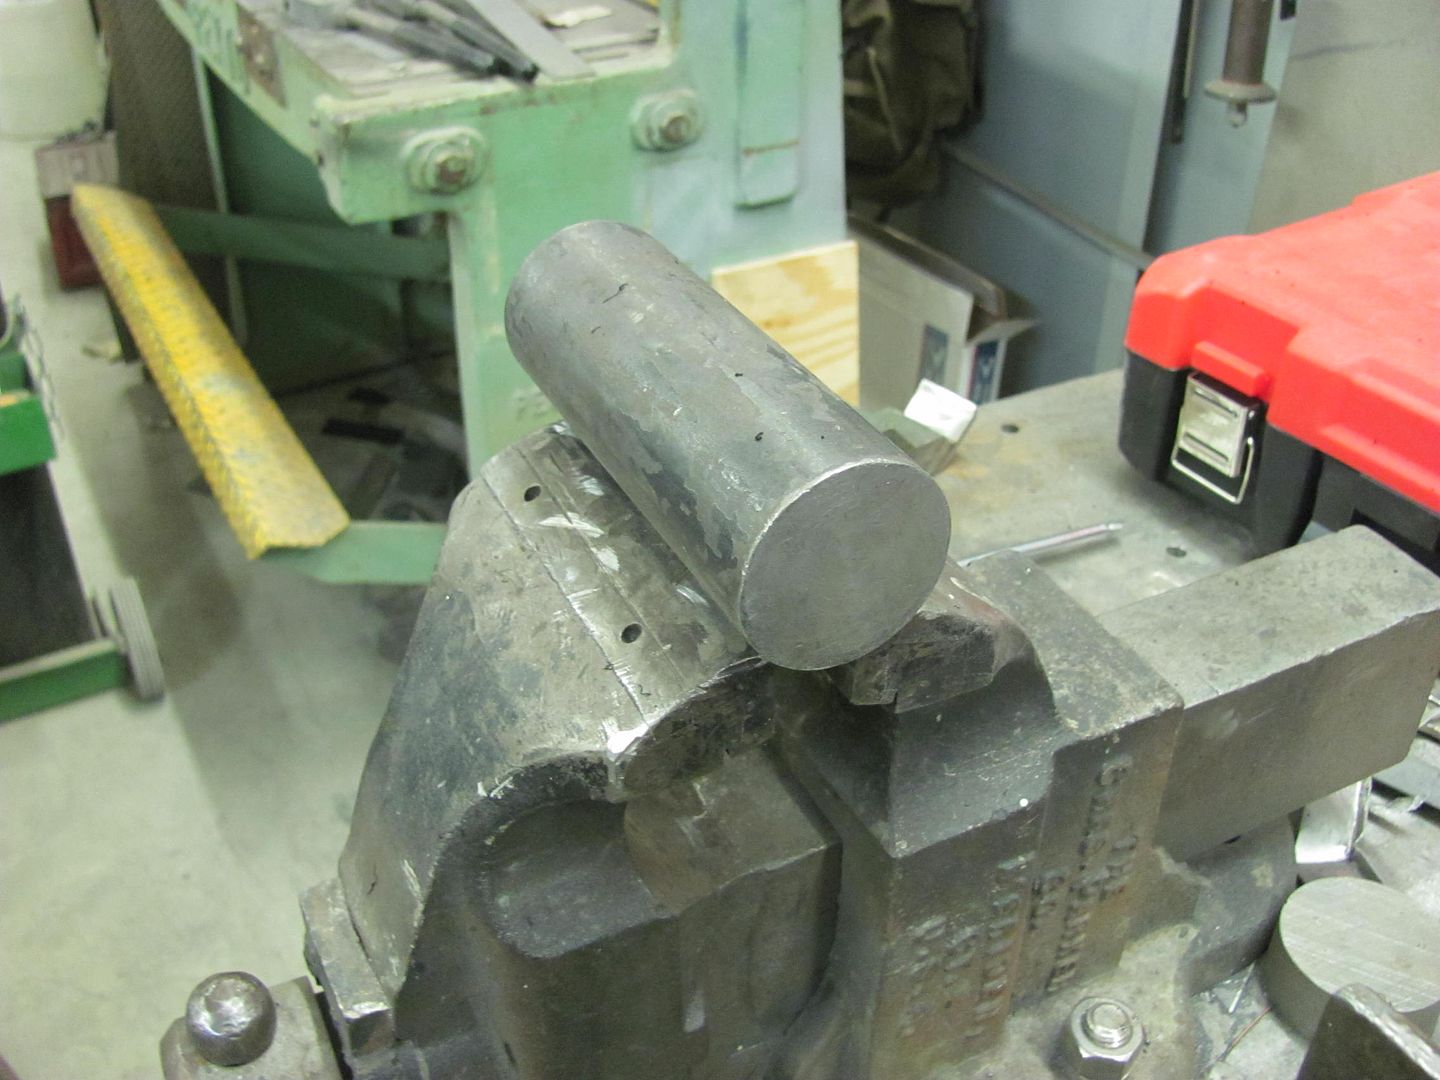
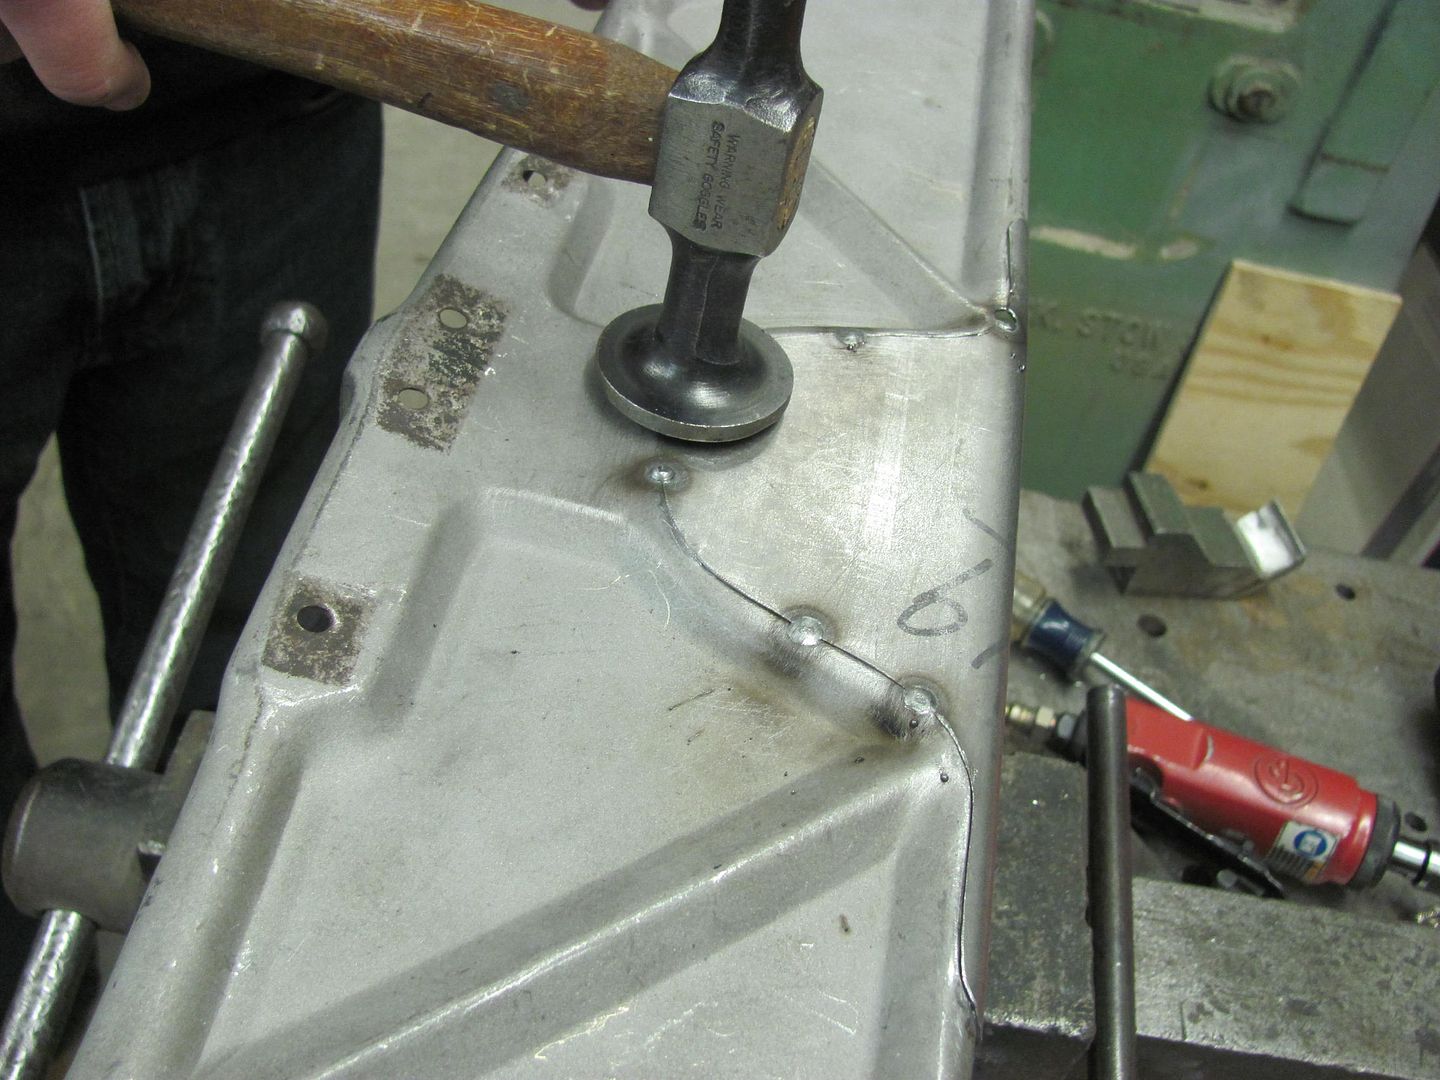
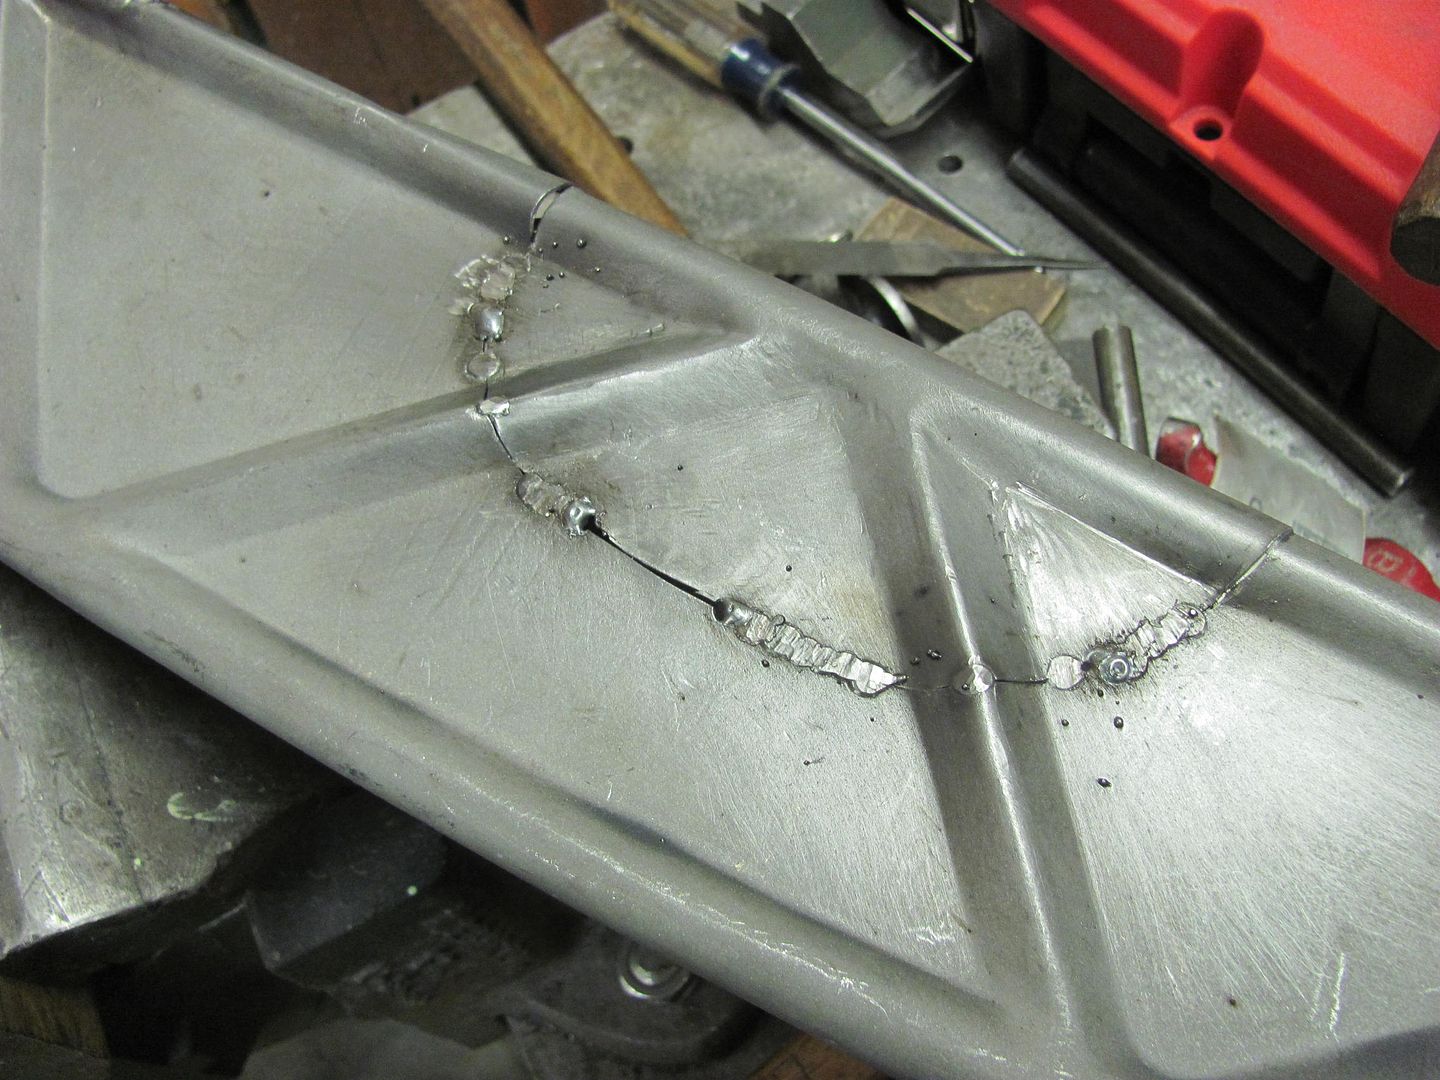
Today Kyle needed to start some welding on the hood brace, so while he was getting set up with the welder, I started making him an anvil that he could use to planish the weld dots inside the radius voids..
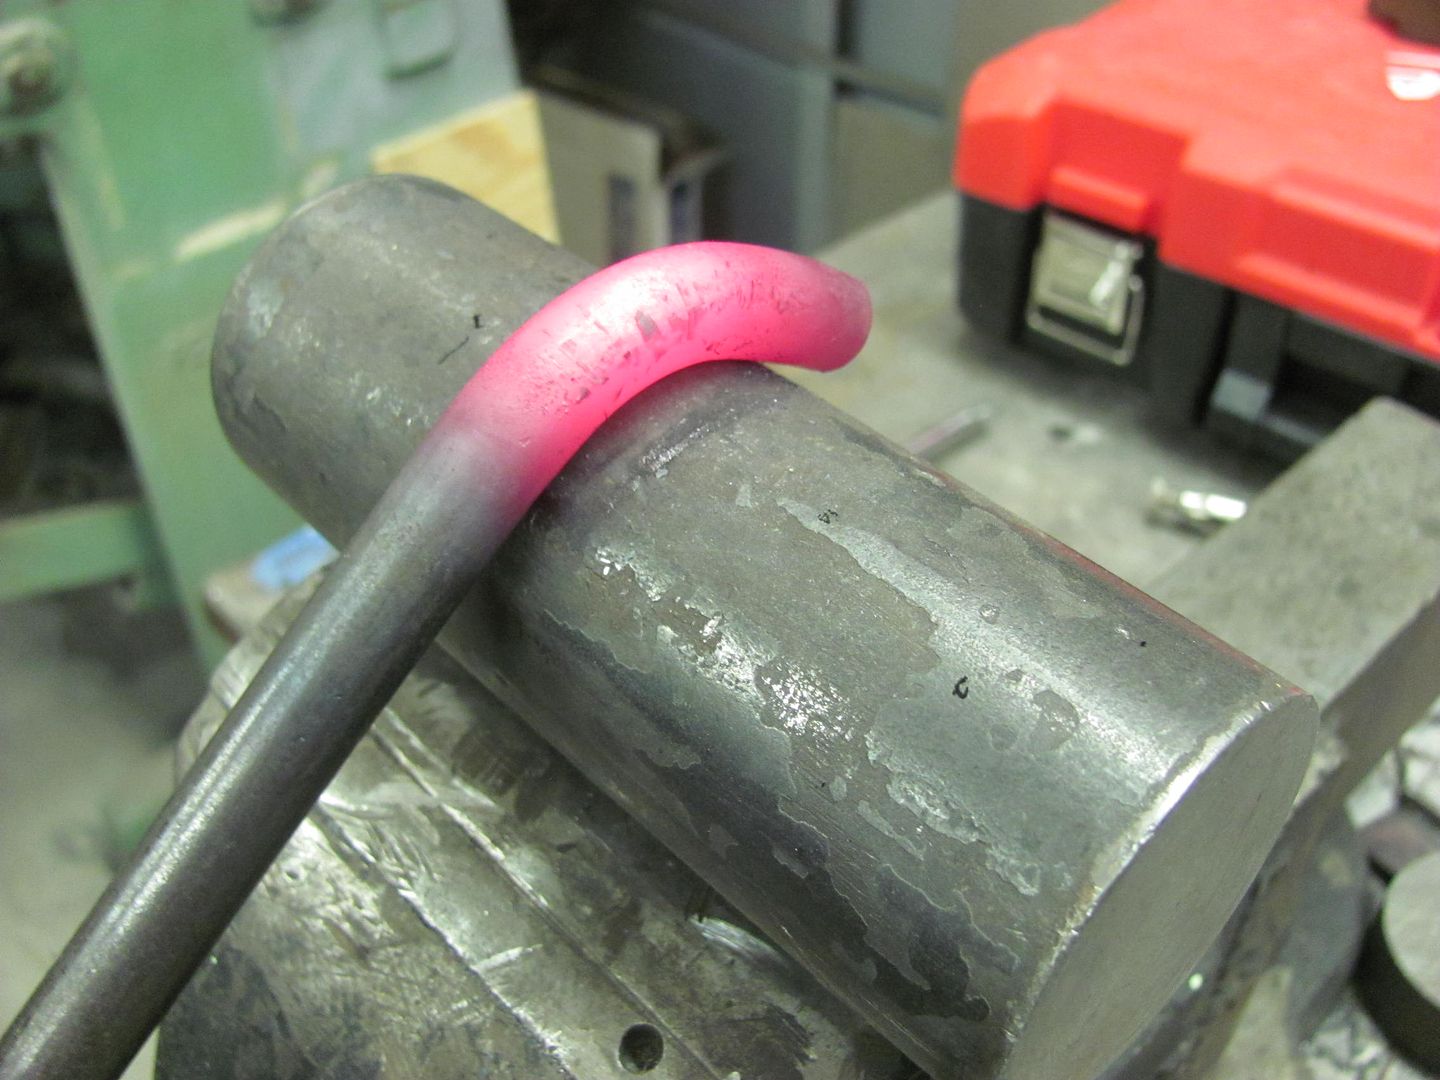
Heat applied...
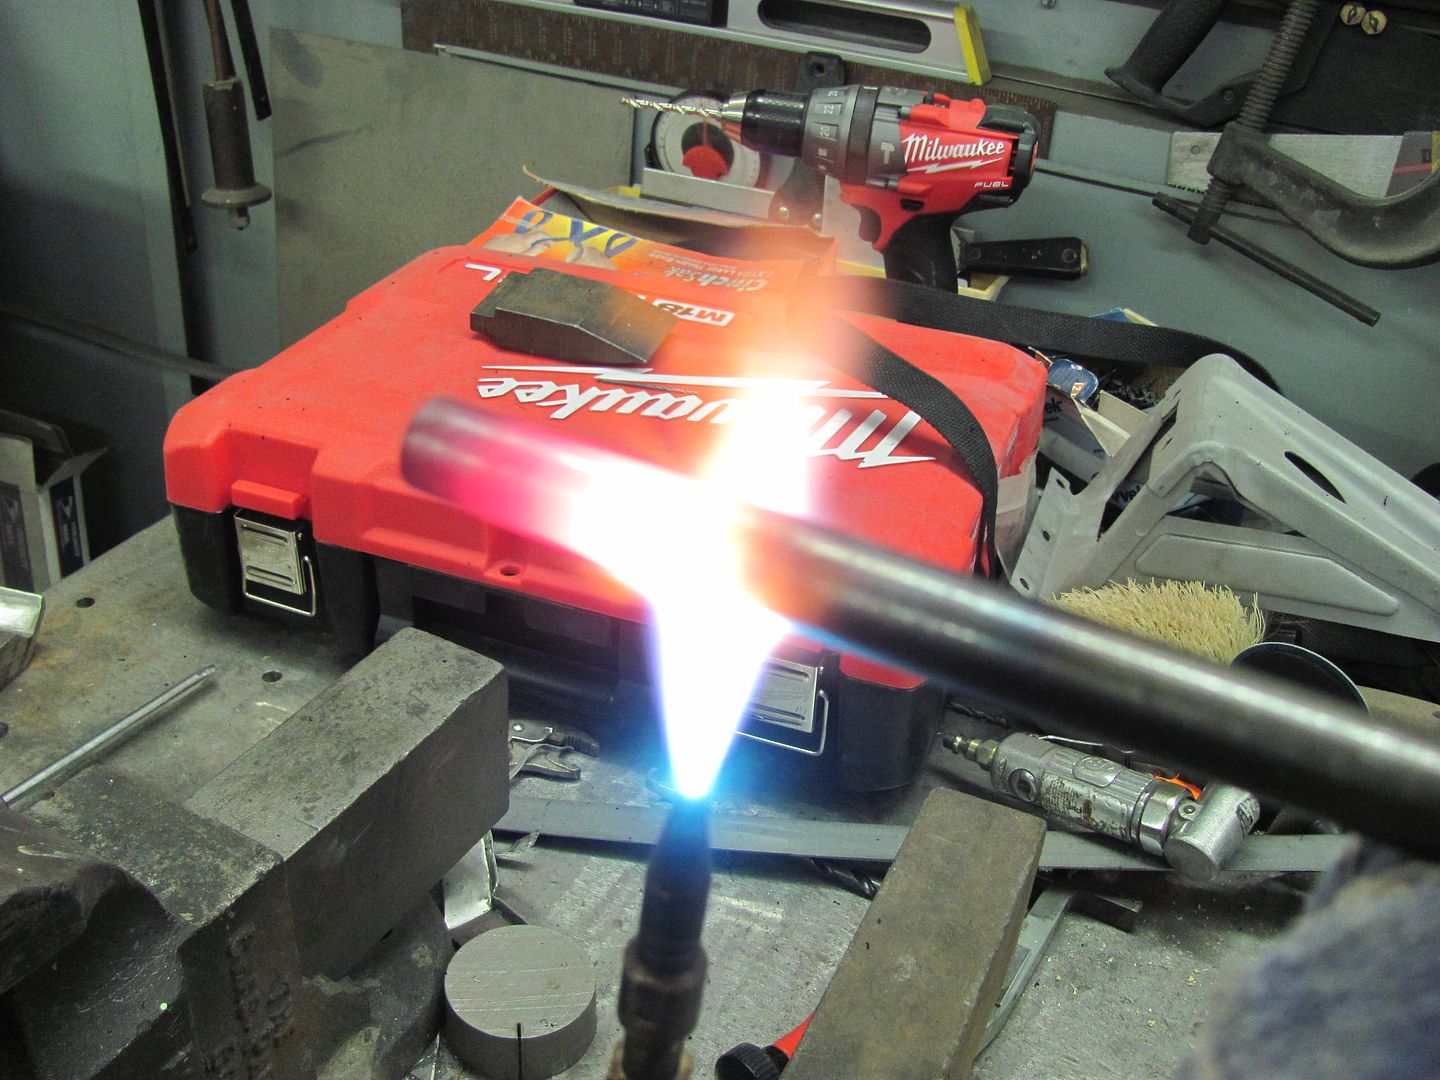
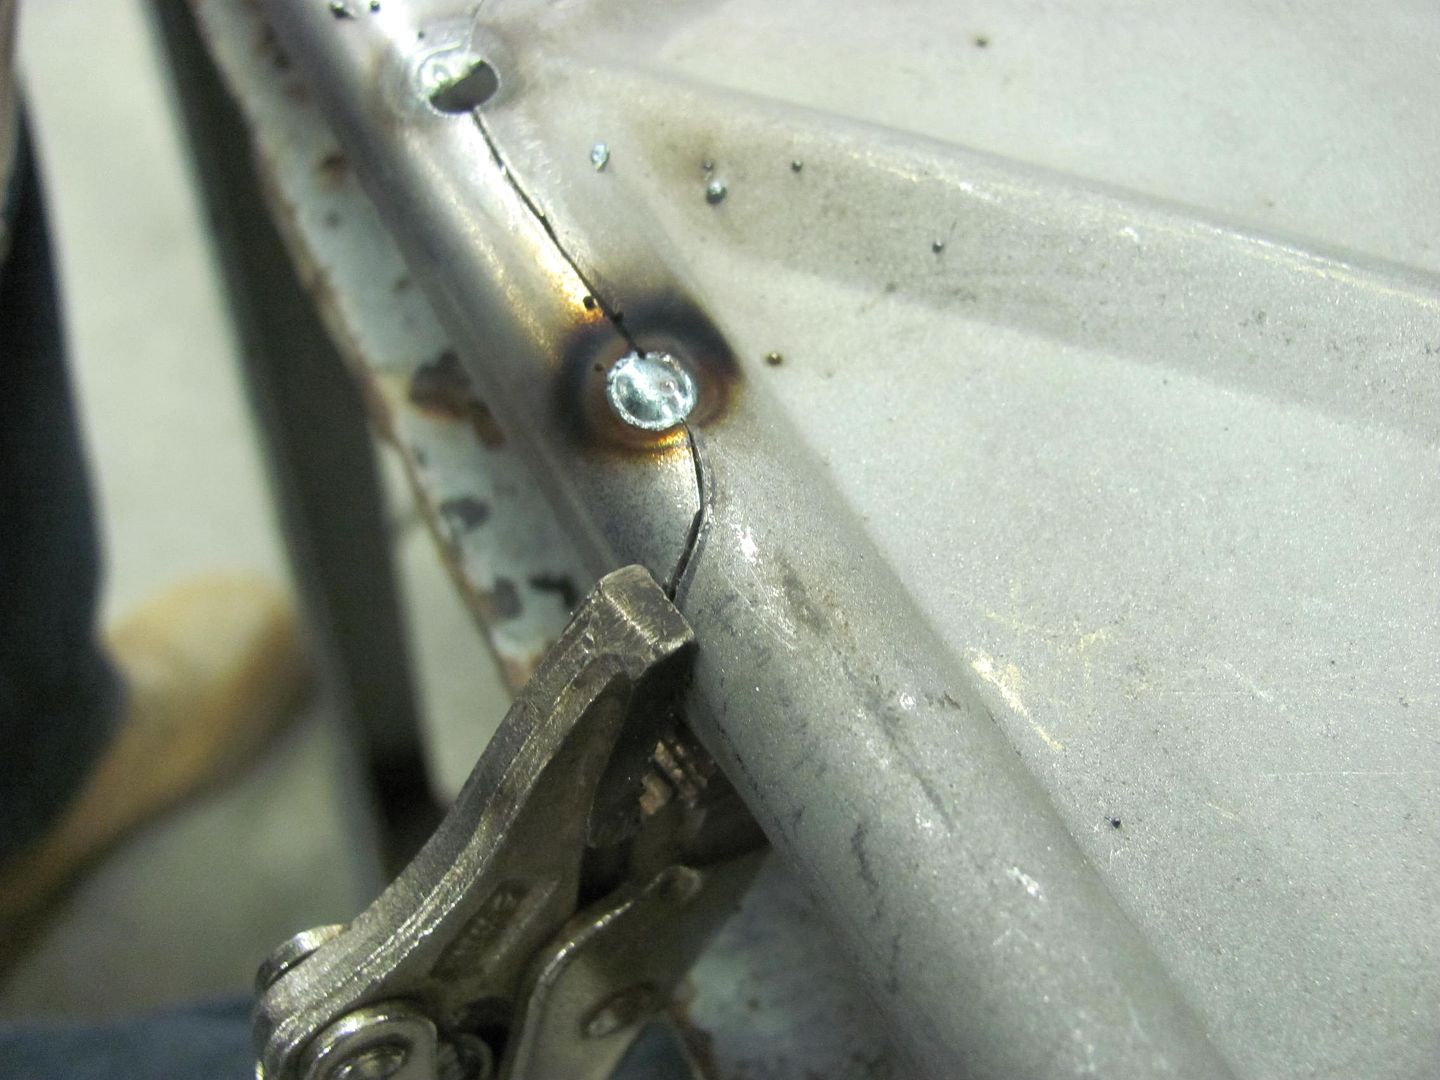
Kyle's first job at welding sheet metal, he's a quick learner. He did have a couple spots that didn't like the heat and blew a hole, but he did a real nice job in getting those fixed as well.
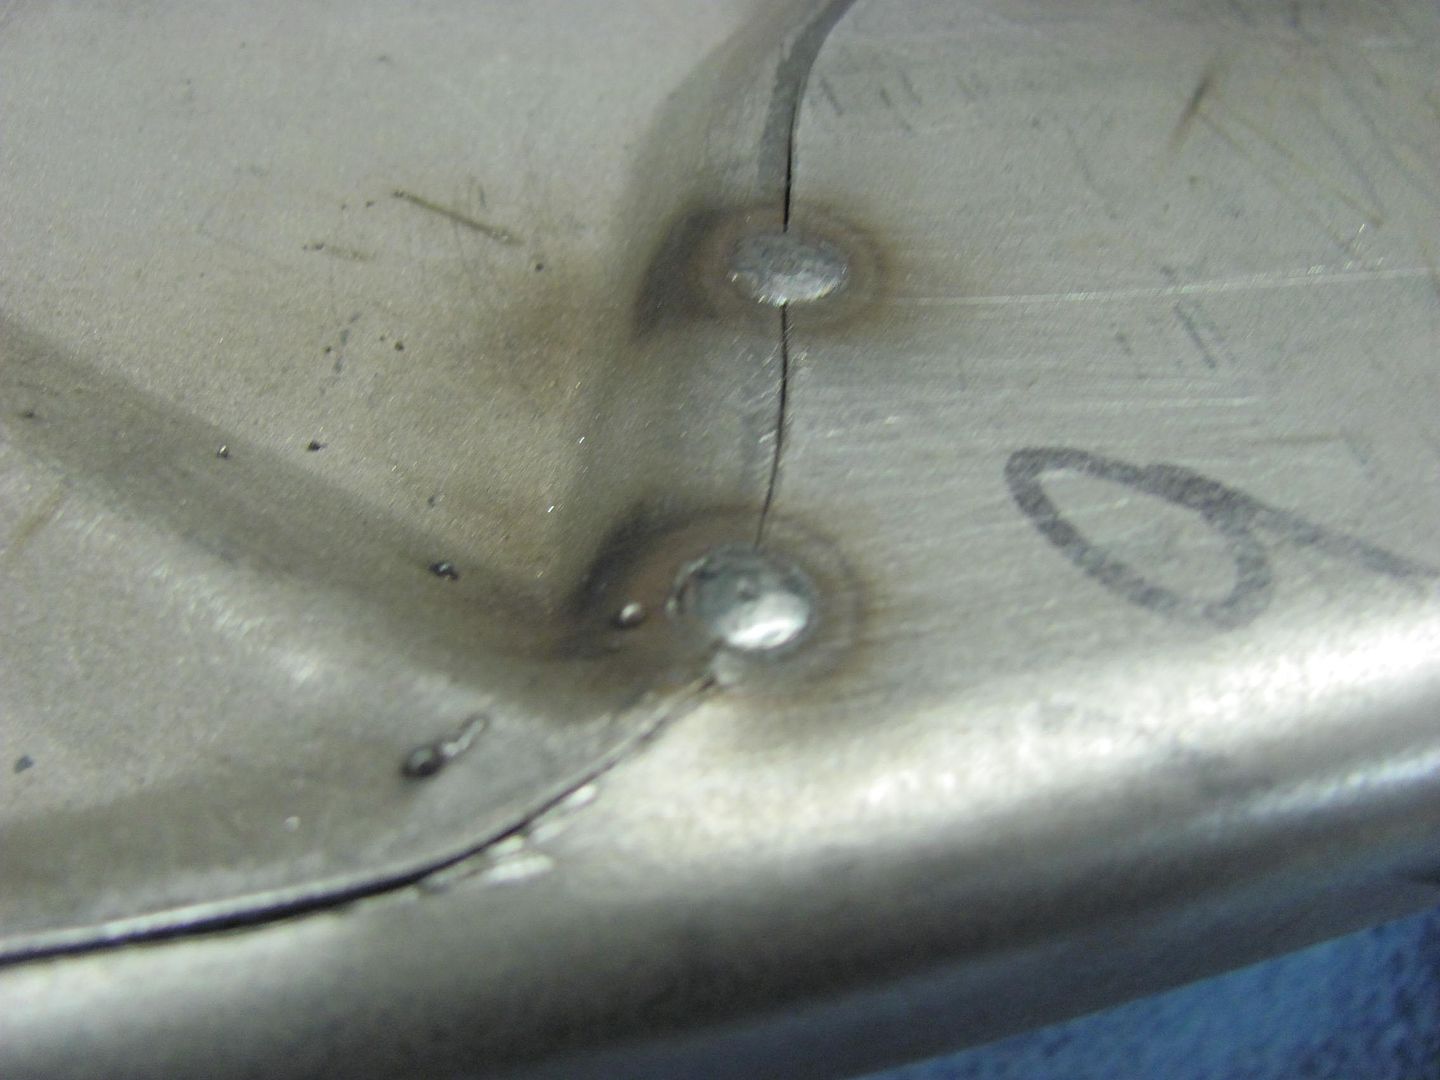
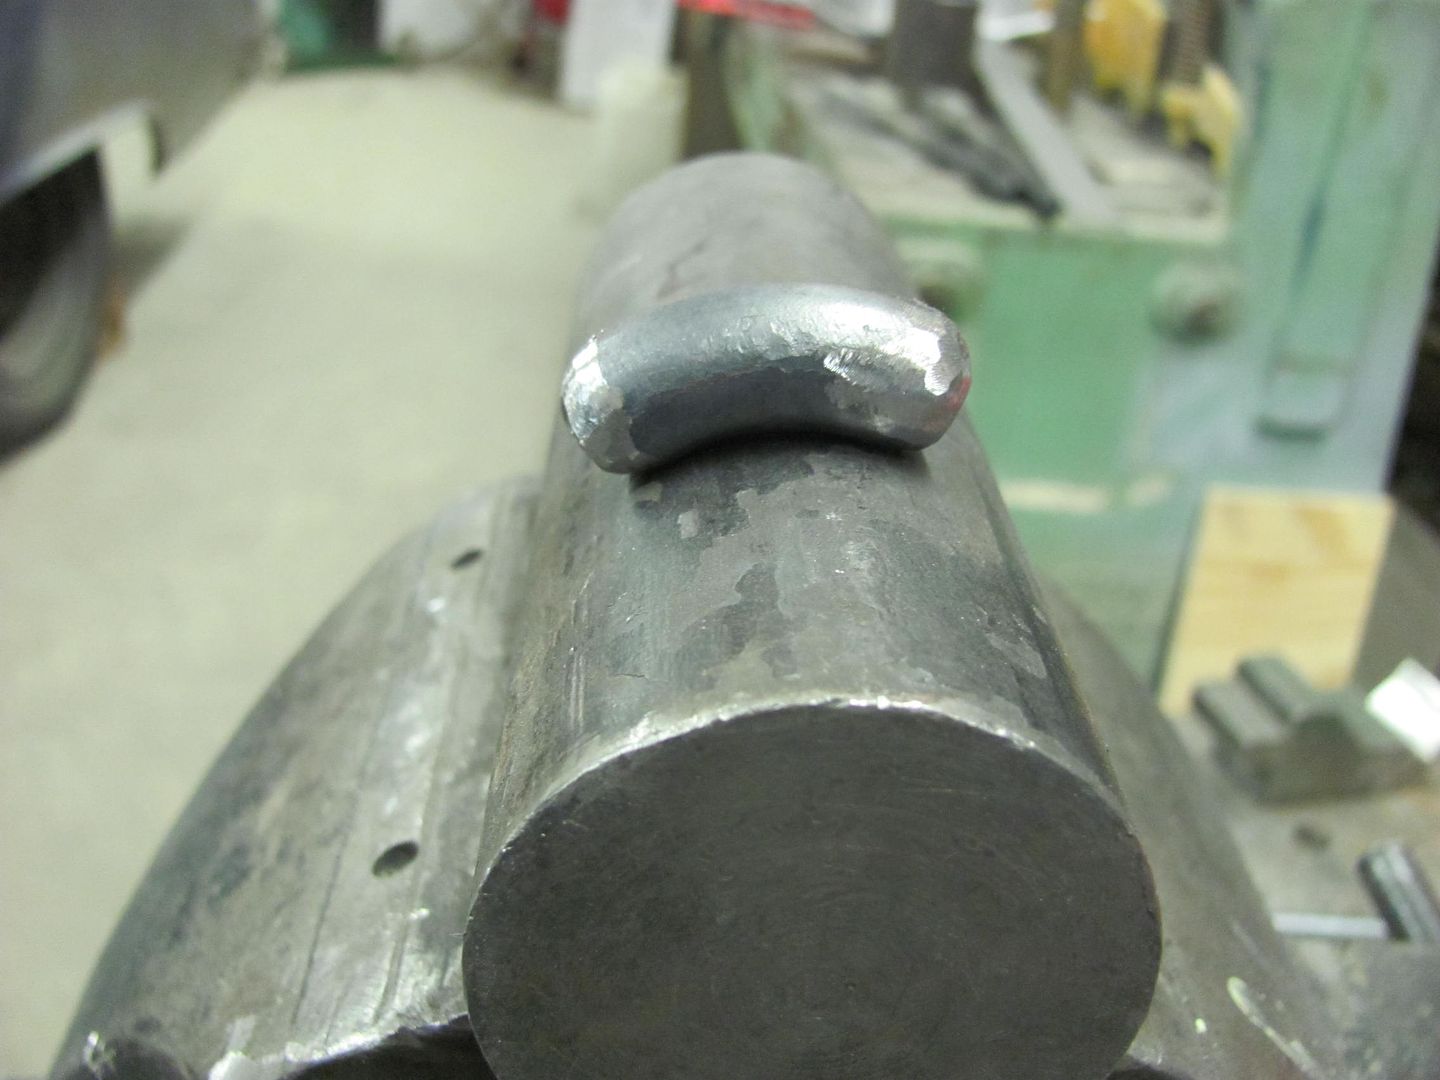
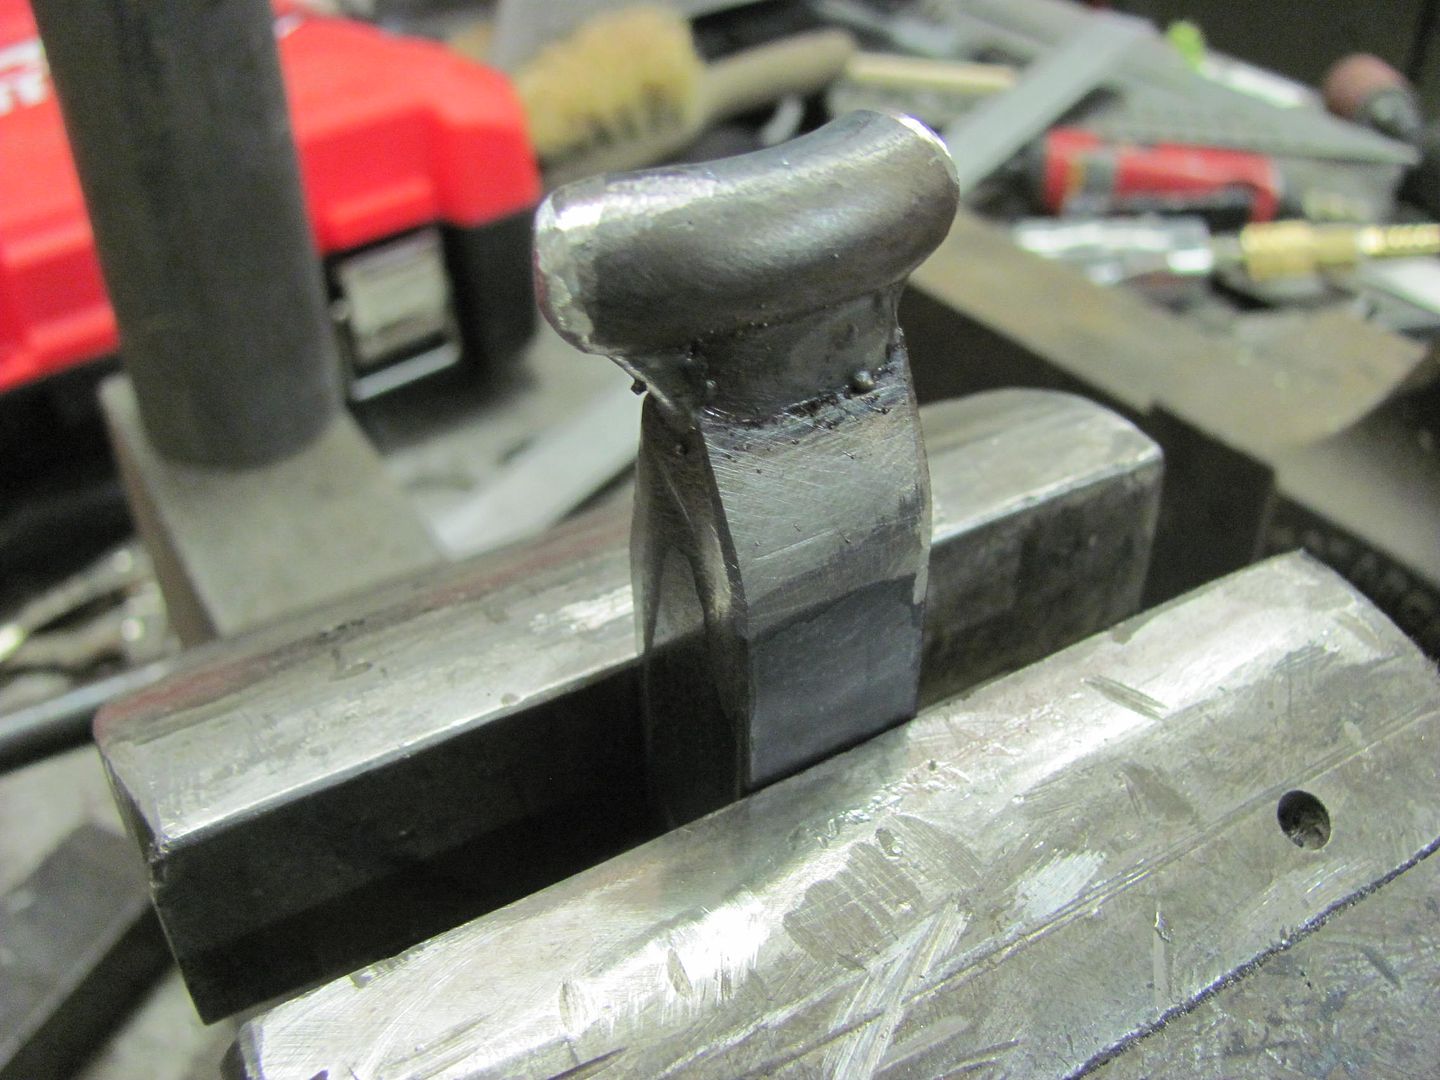
Planishing weld dots on the new "anvil"..
Full weld penetration...
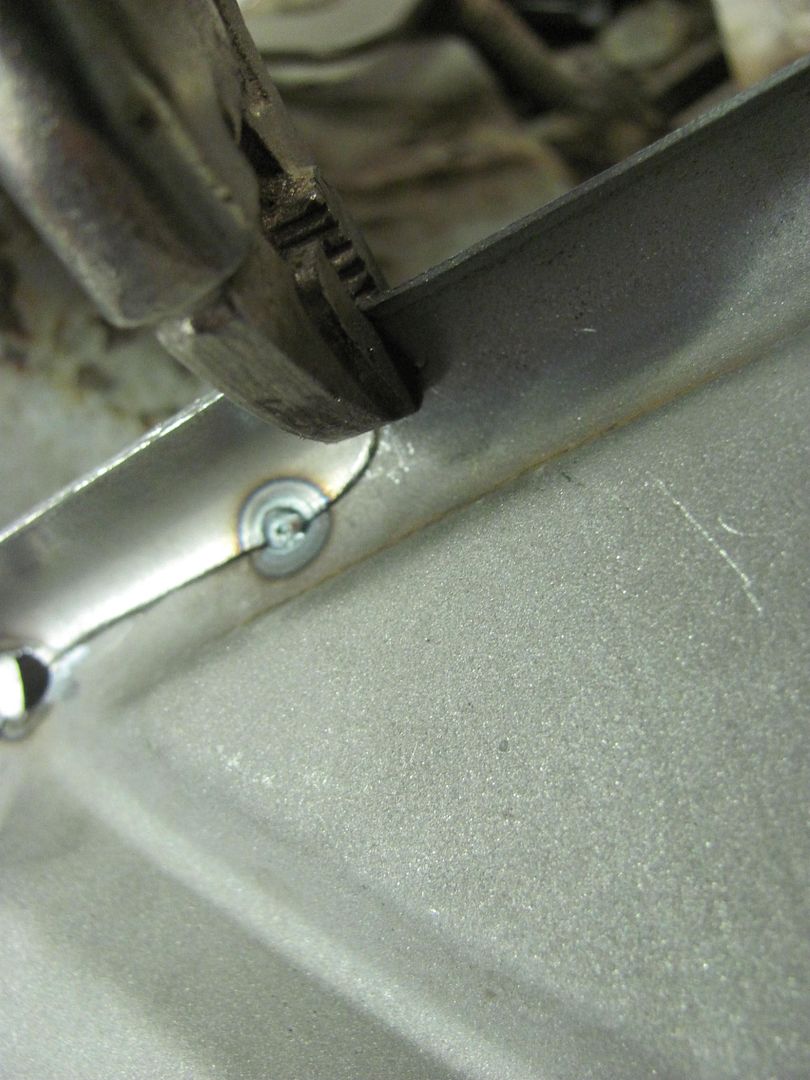
While he welded away, I turned my attention to the front end. The passenger door had a bit of a tight spot to the rear edge of the fender while opening.. Using a hack saw blade as a "feeler gauge", it was tight in one area. To help out the situation, time for another tool. I have a dent puller with a small pair of vise grips permanently attached, so we just need an adapter kit...
This was some leftover square tubing scraps...
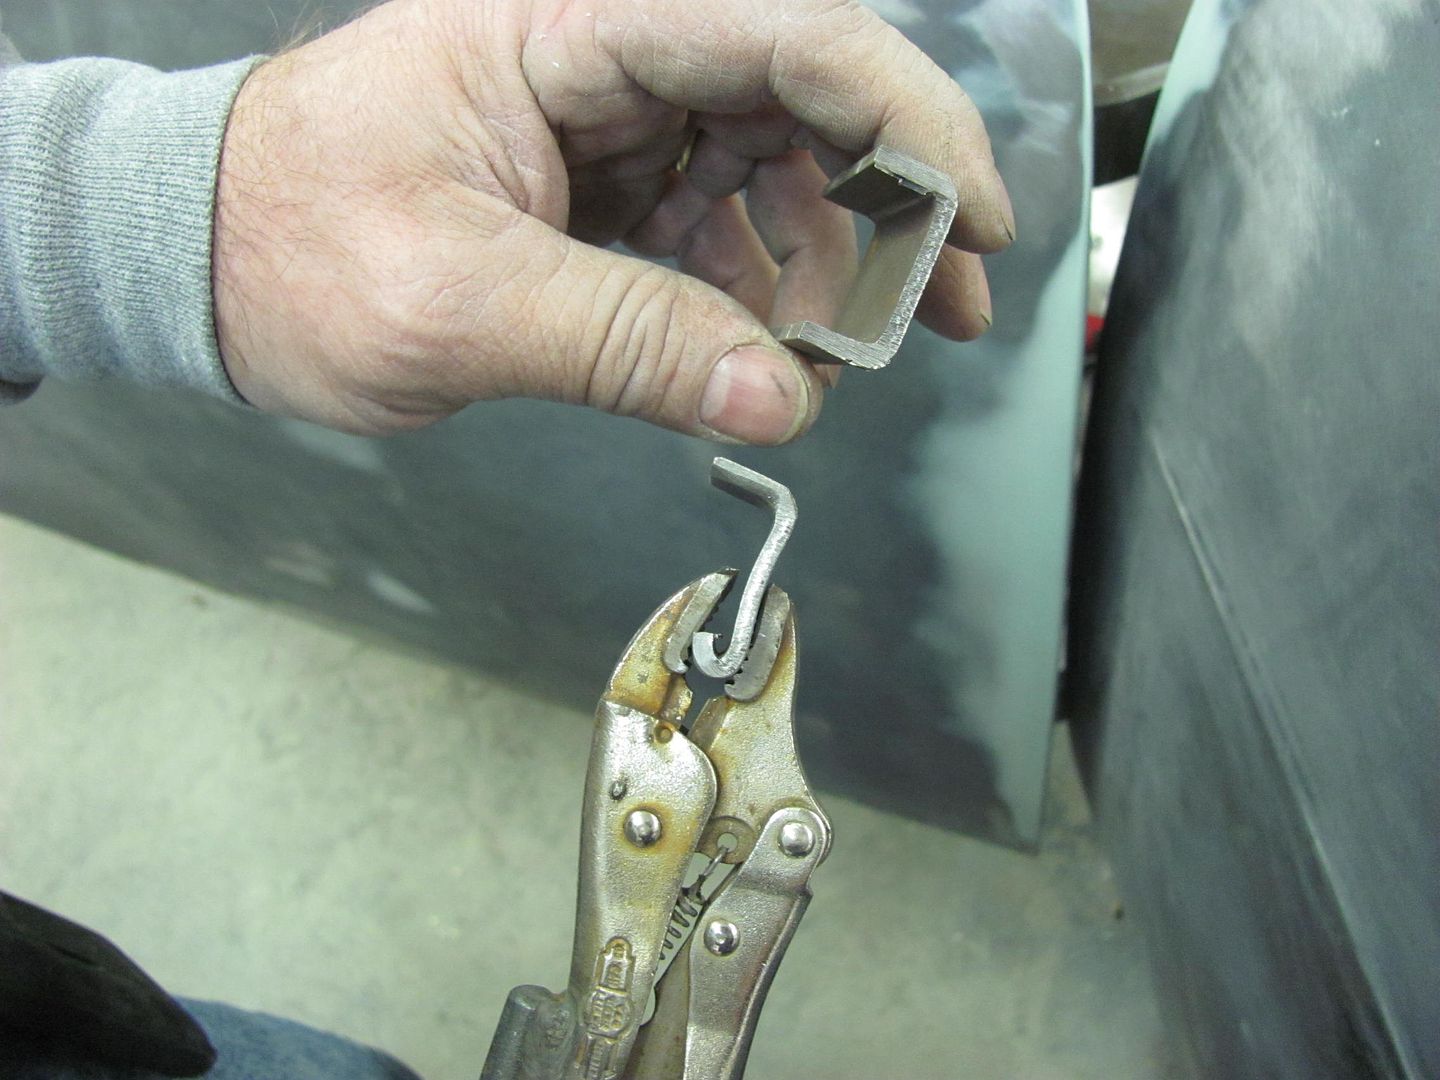
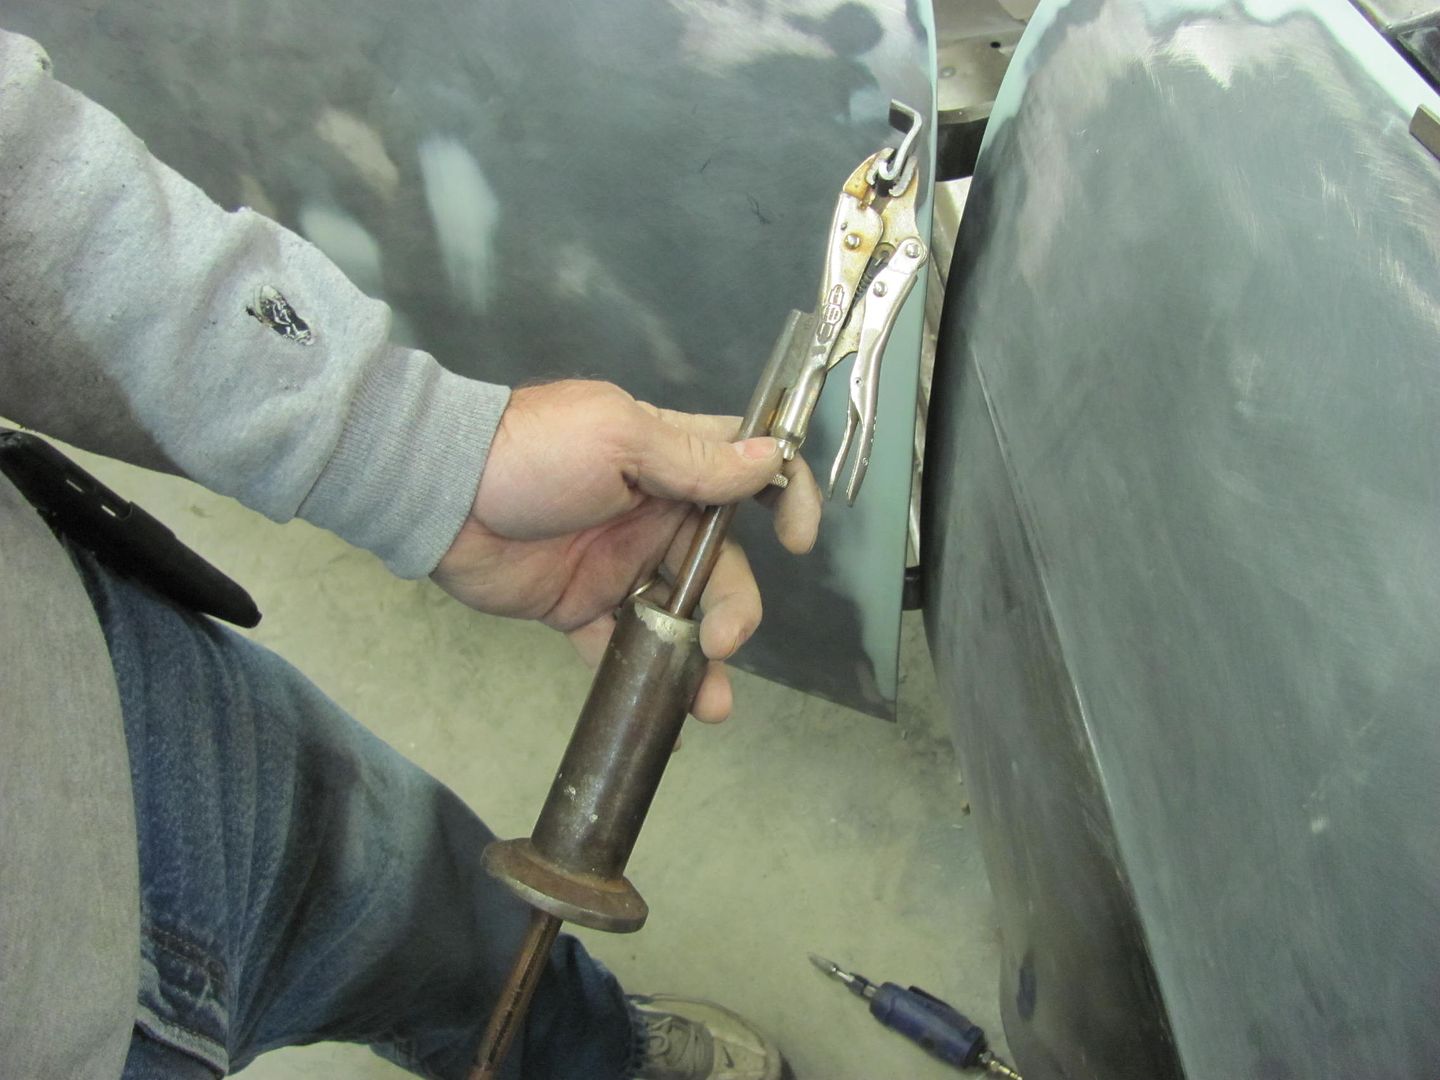
In use..
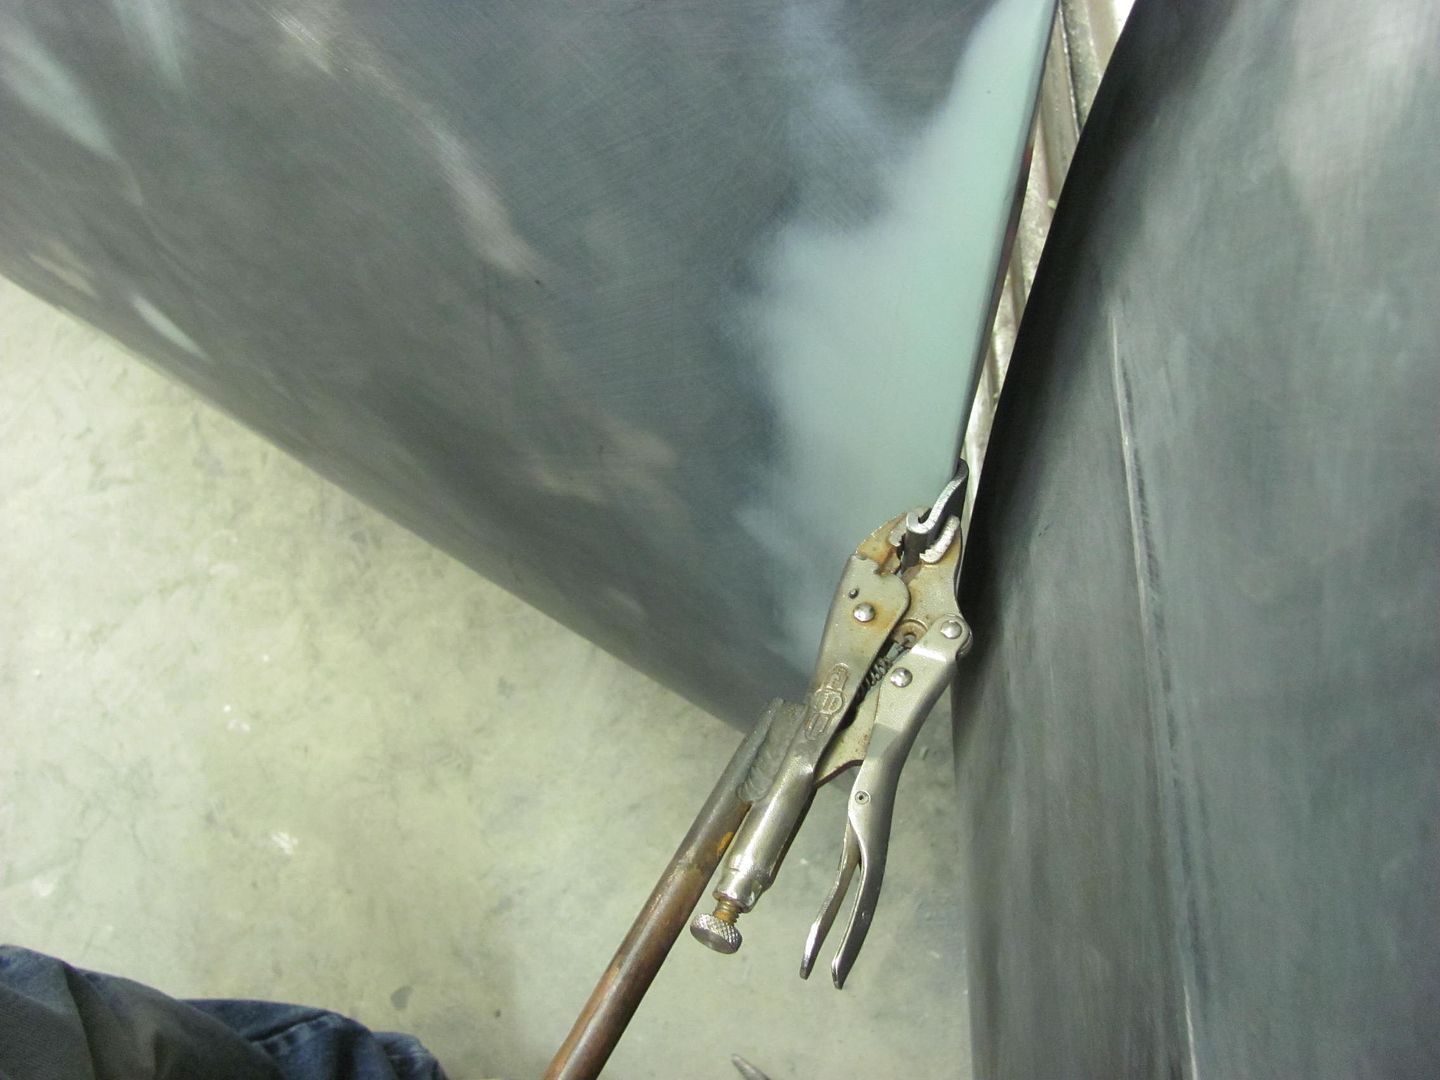
After the pulling effort, the tight gap was well over two HSB thicknesses.

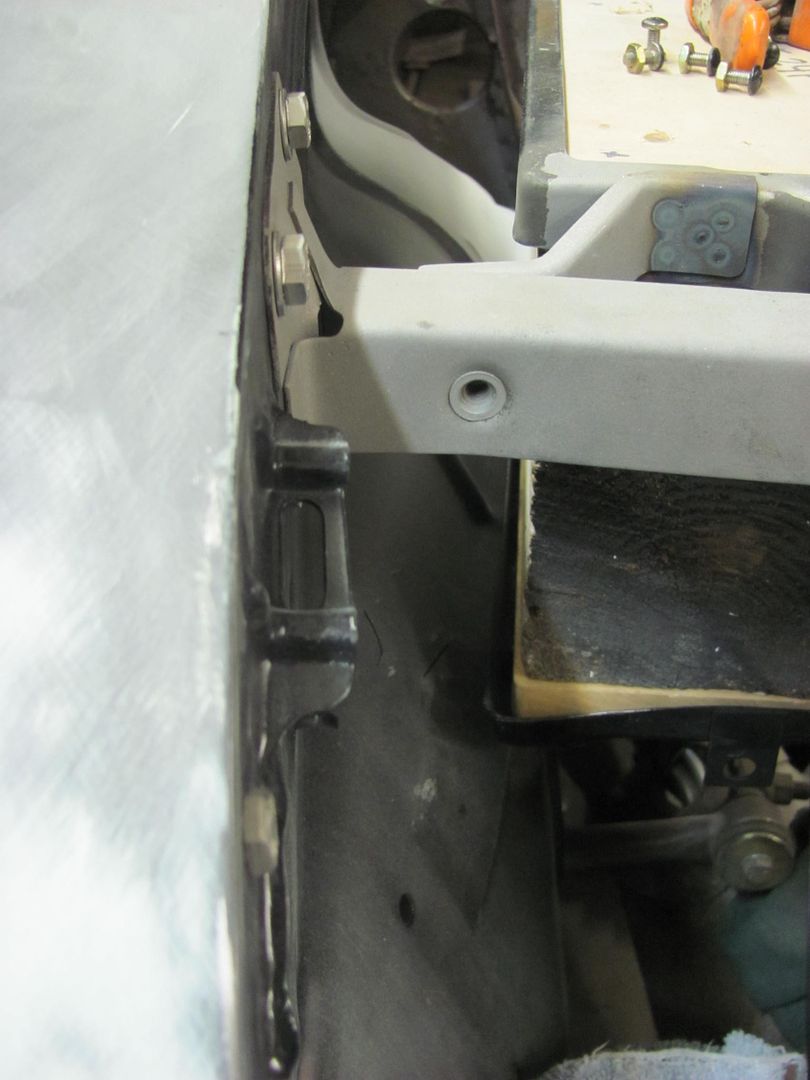
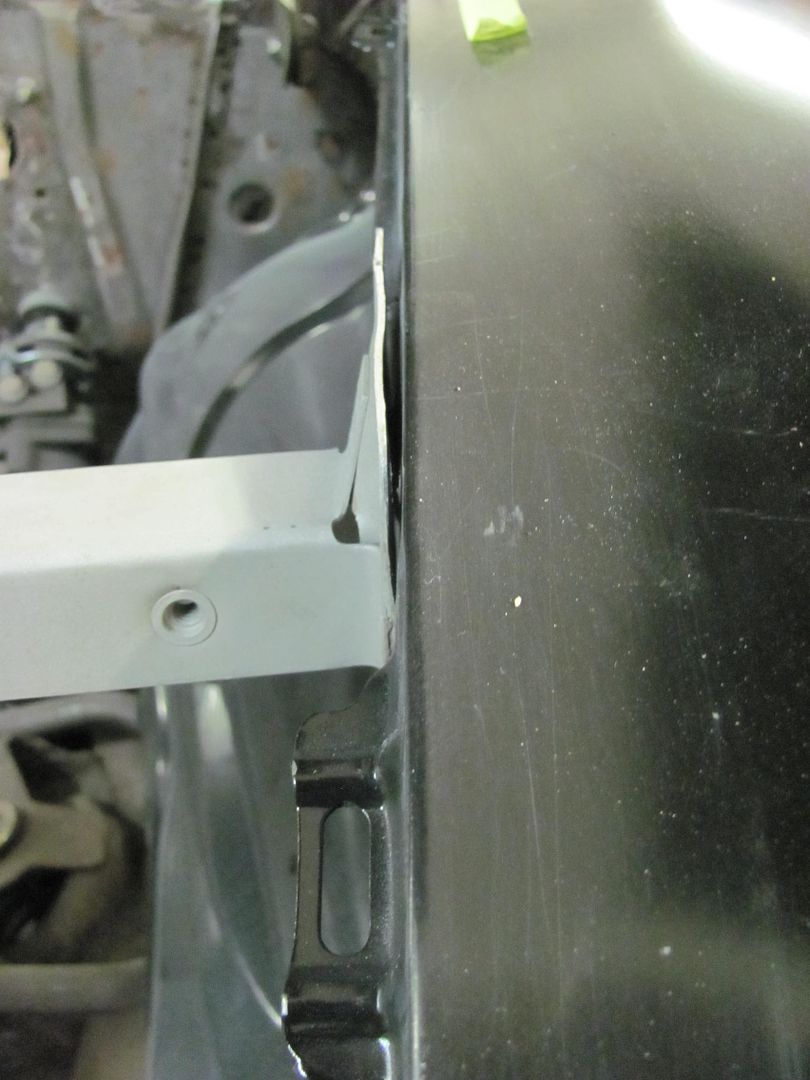
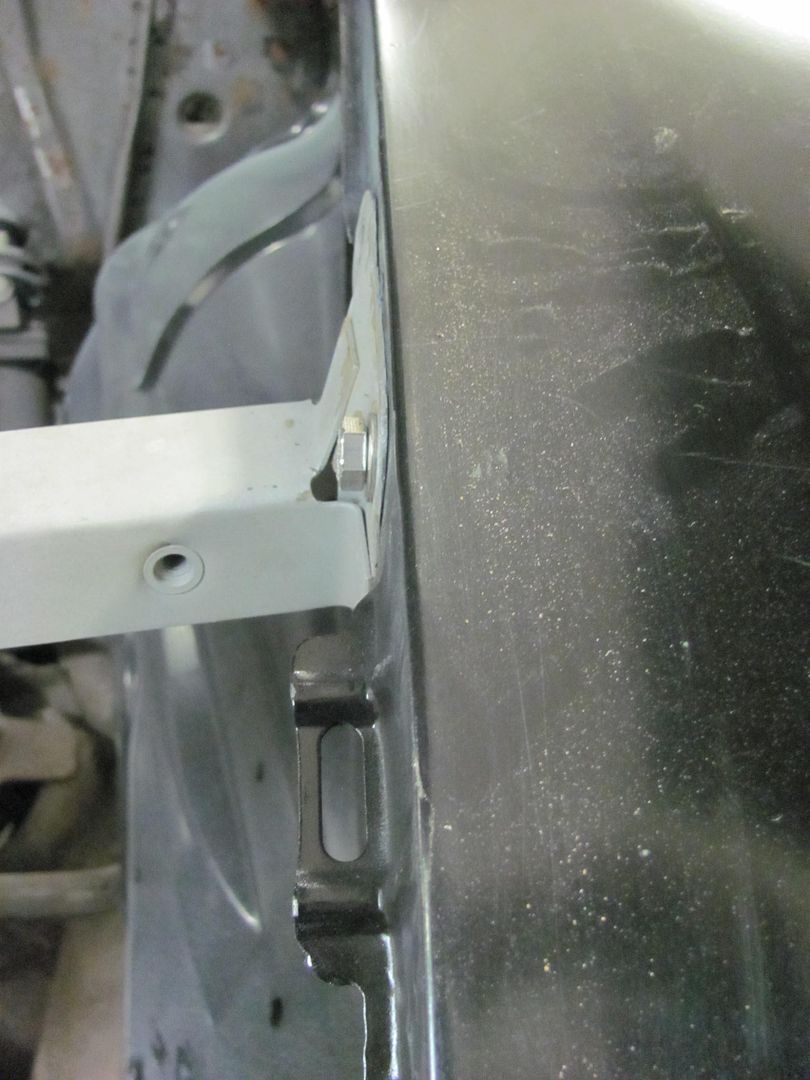
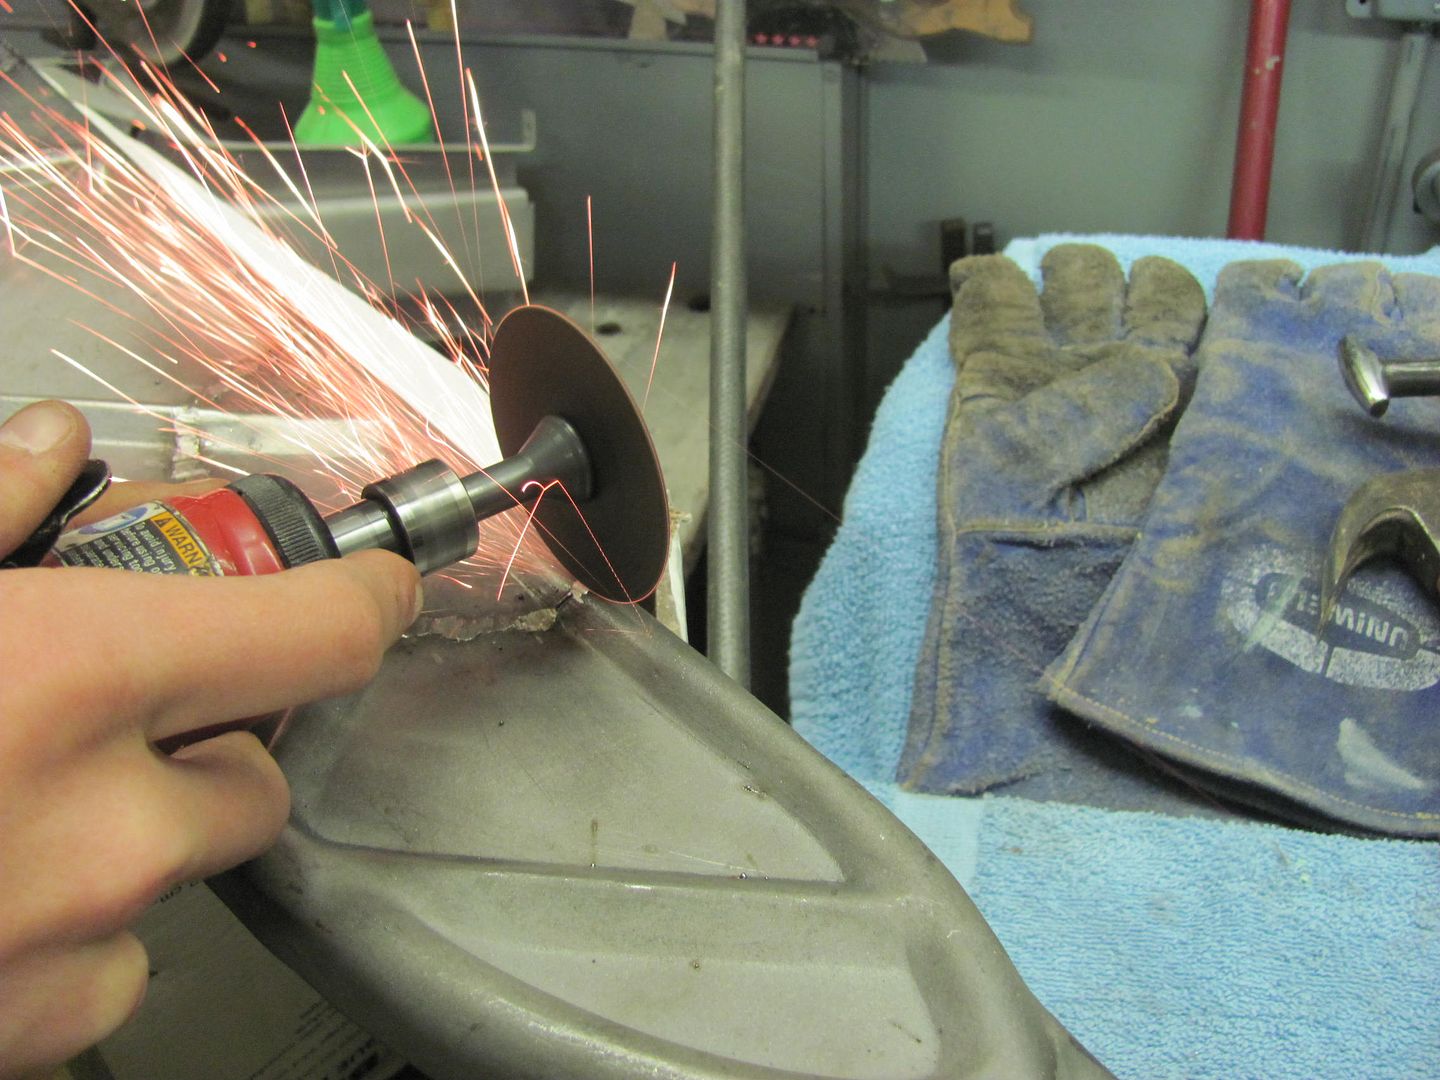
Moving on to other fender fitment, the bottom edge of the fender was higher than the adjacent rocker. Any adjustment was futile as the bolt was at the bottom of the adjustment hole. Time for some die grinder action to bring the hole downward and also flatten the bottom edge of the hole so any movement forward or backward doesn't push the bolt upward..... This was done on both fenders..

Test fit shows much better alignment.. This may be why the 57 went to a square hole..
Kyle done with his welding on the center patch, just needs to be dressed with the sanding disc. We'll save that for after the other patch gets welded in place..
Front:
Rear:
And I was also busy making more dust... Can't wait for springtime and the leaf blower

Last edited by MP&C; 02-07-2015 at 05:12 PM.
Robert
-
02-10-2015 06:56 AM #428
CHR Member
- Join Date
- Jun 2008
- Location
- Leonardtown
- Car Year, Make, Model: Walking
- Posts
- 1,228
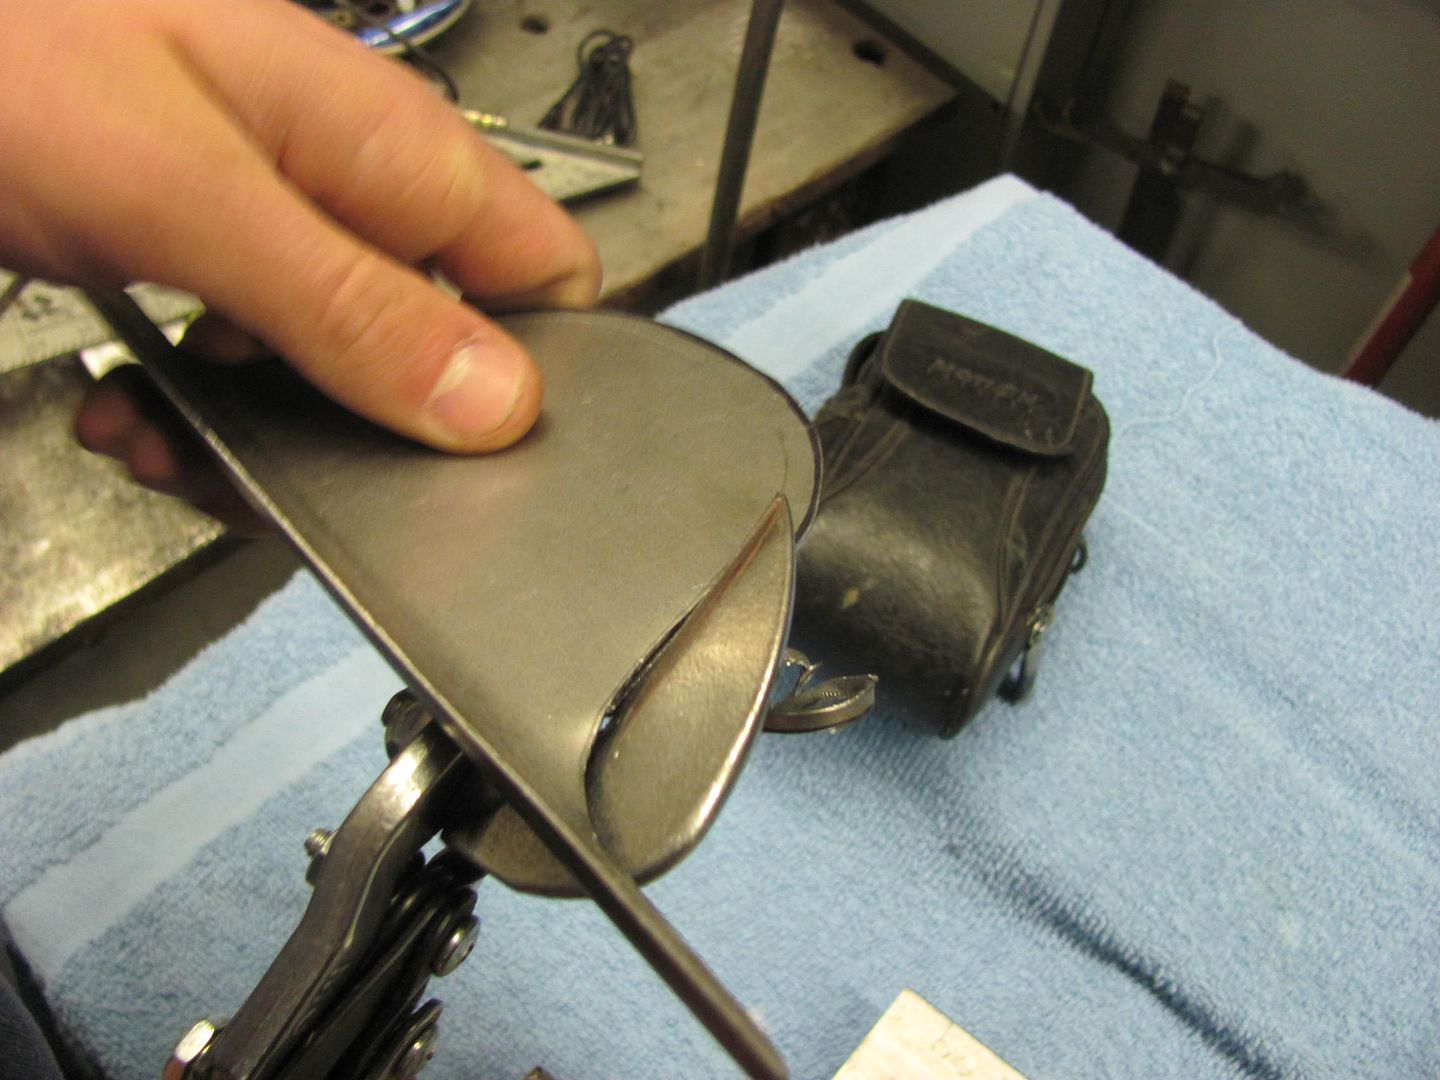
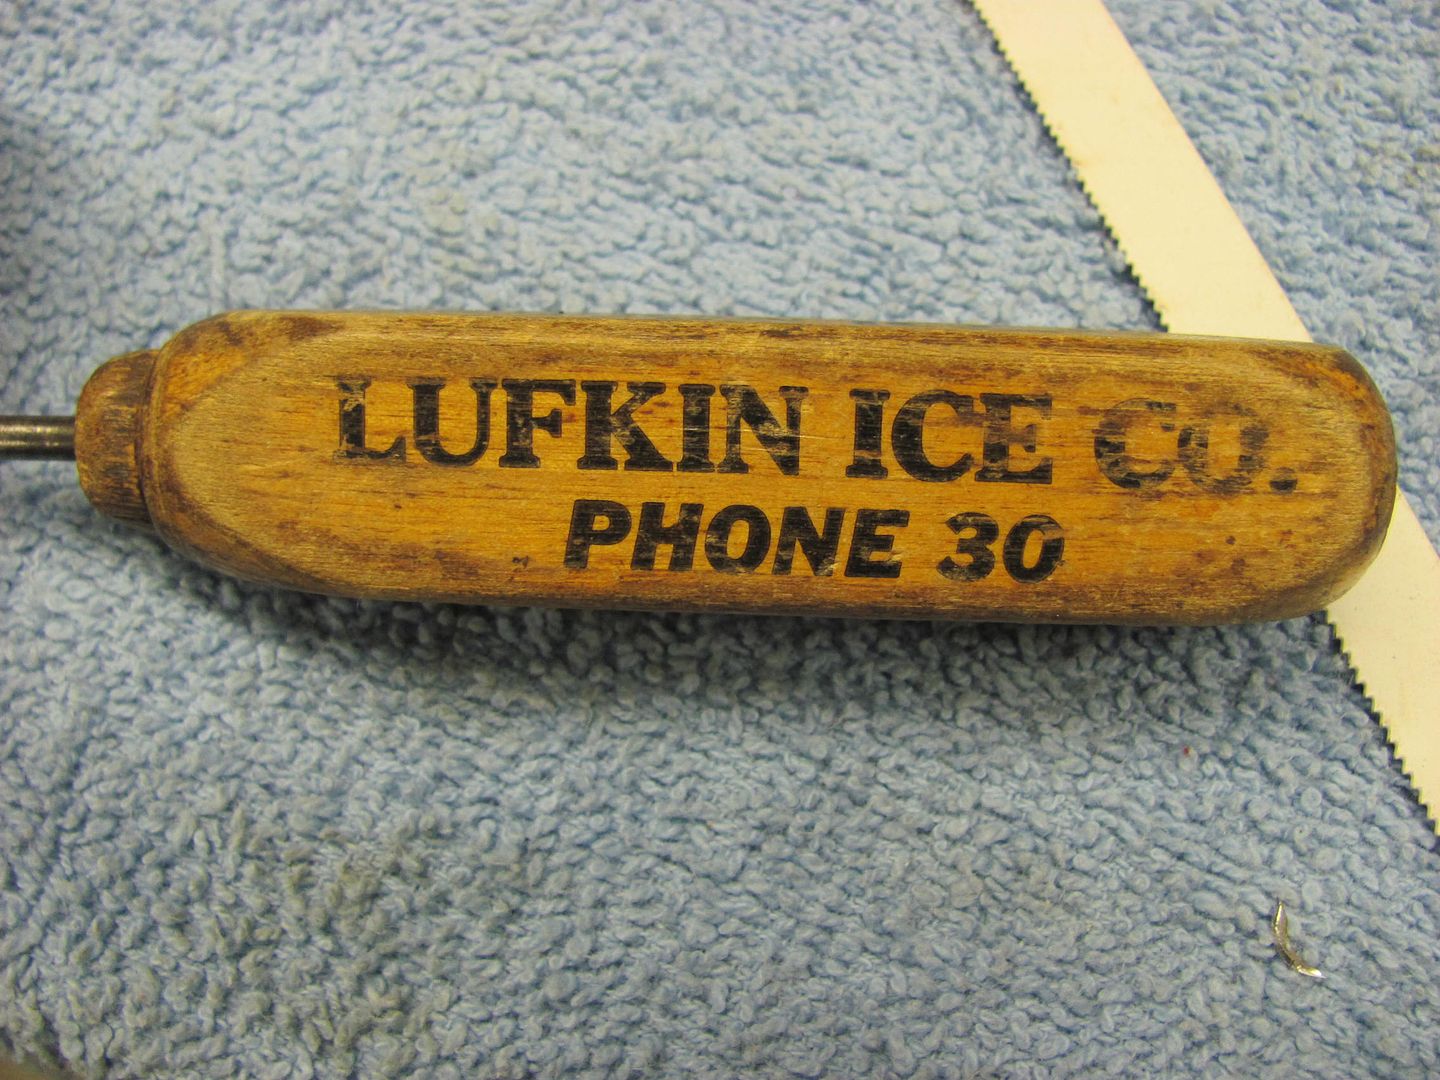
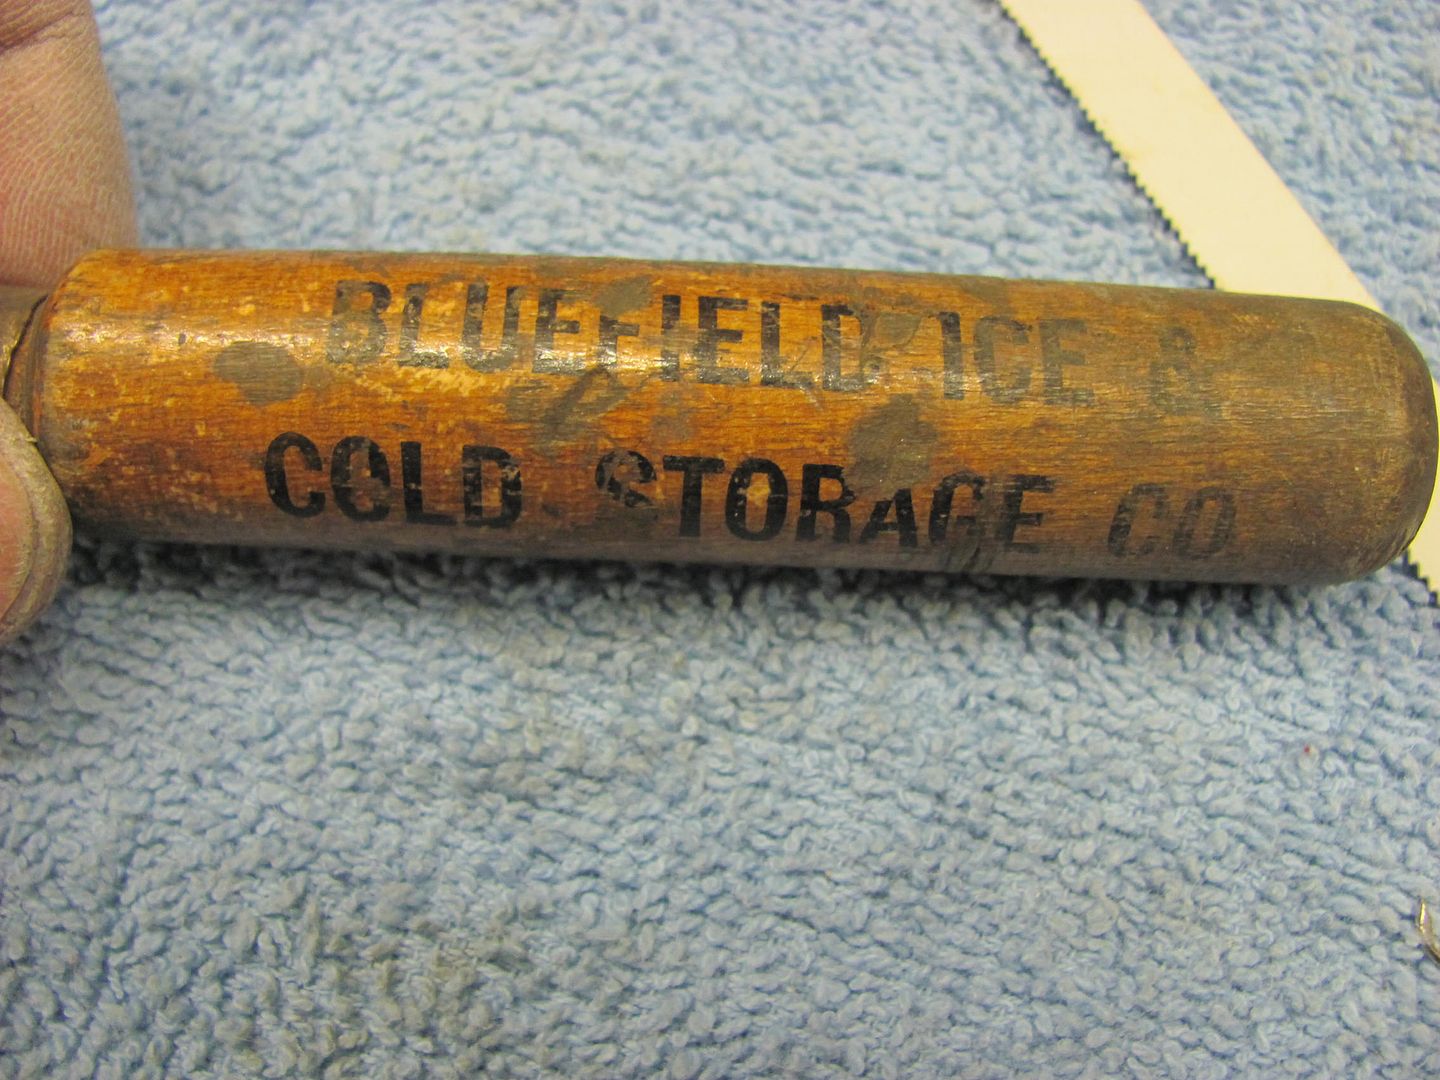
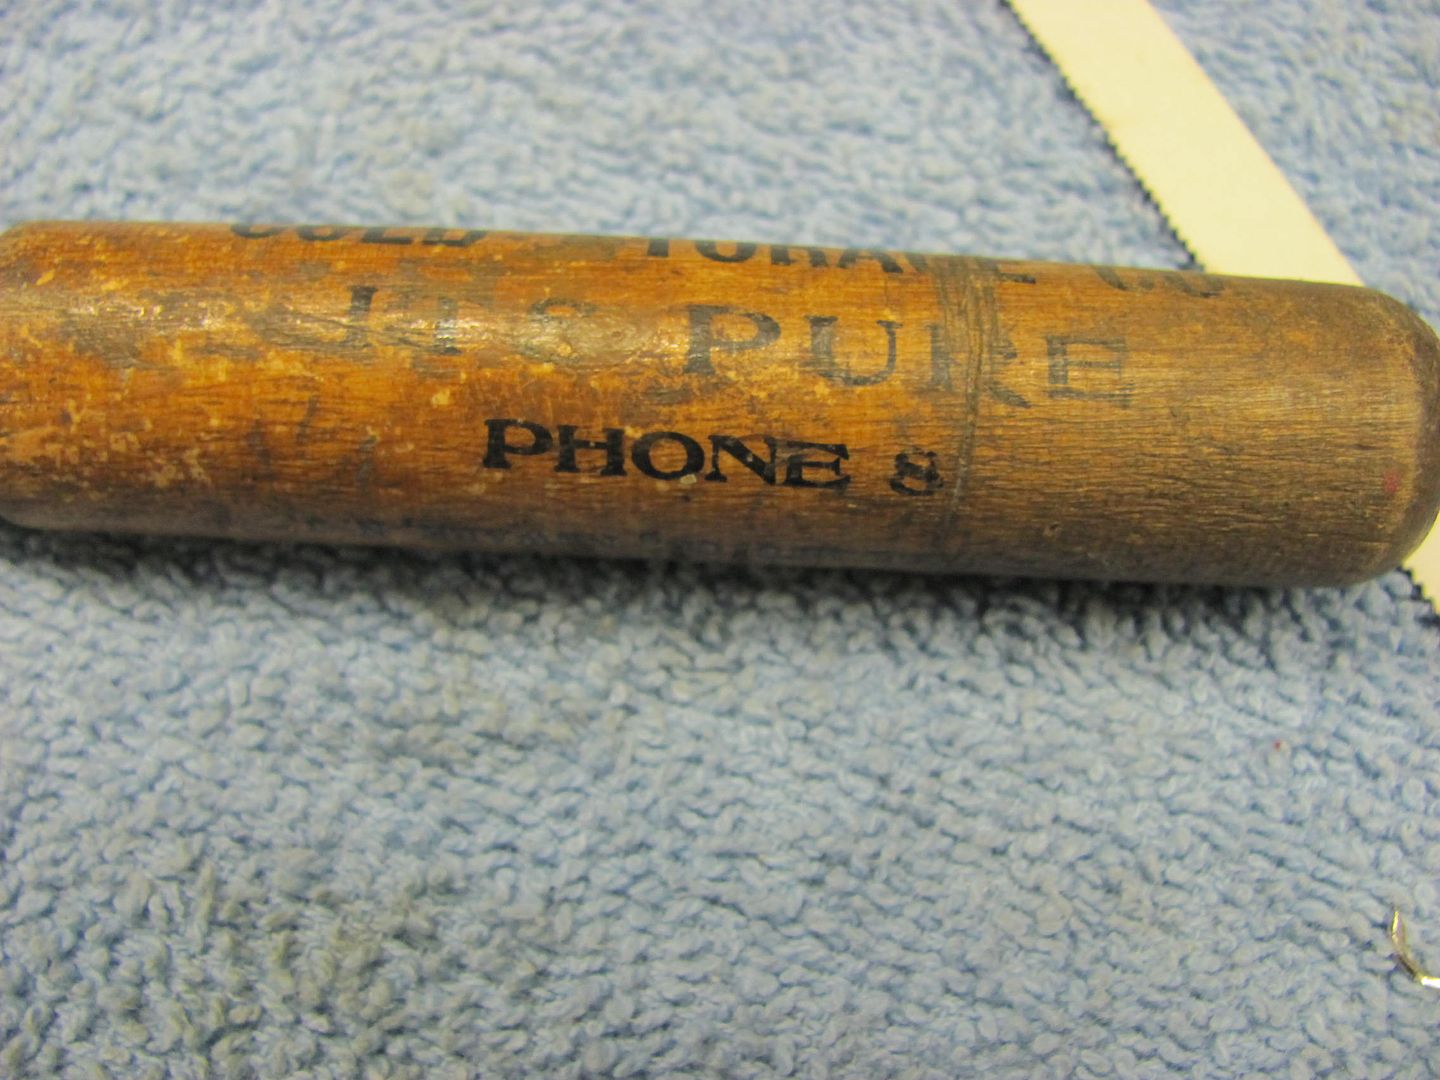
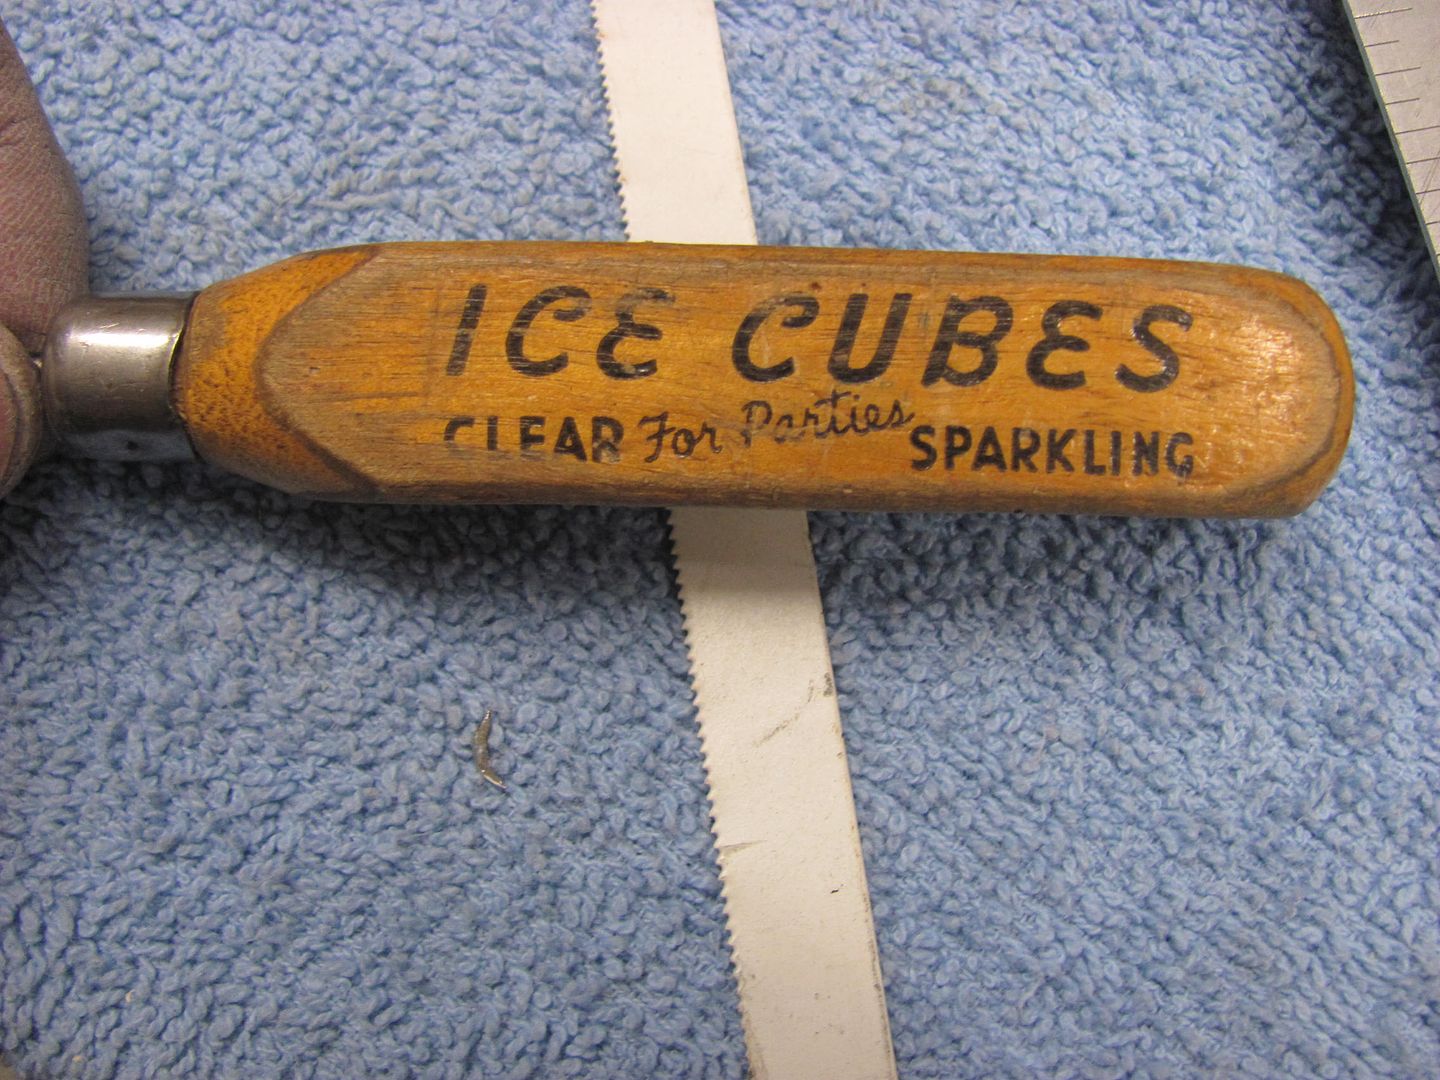
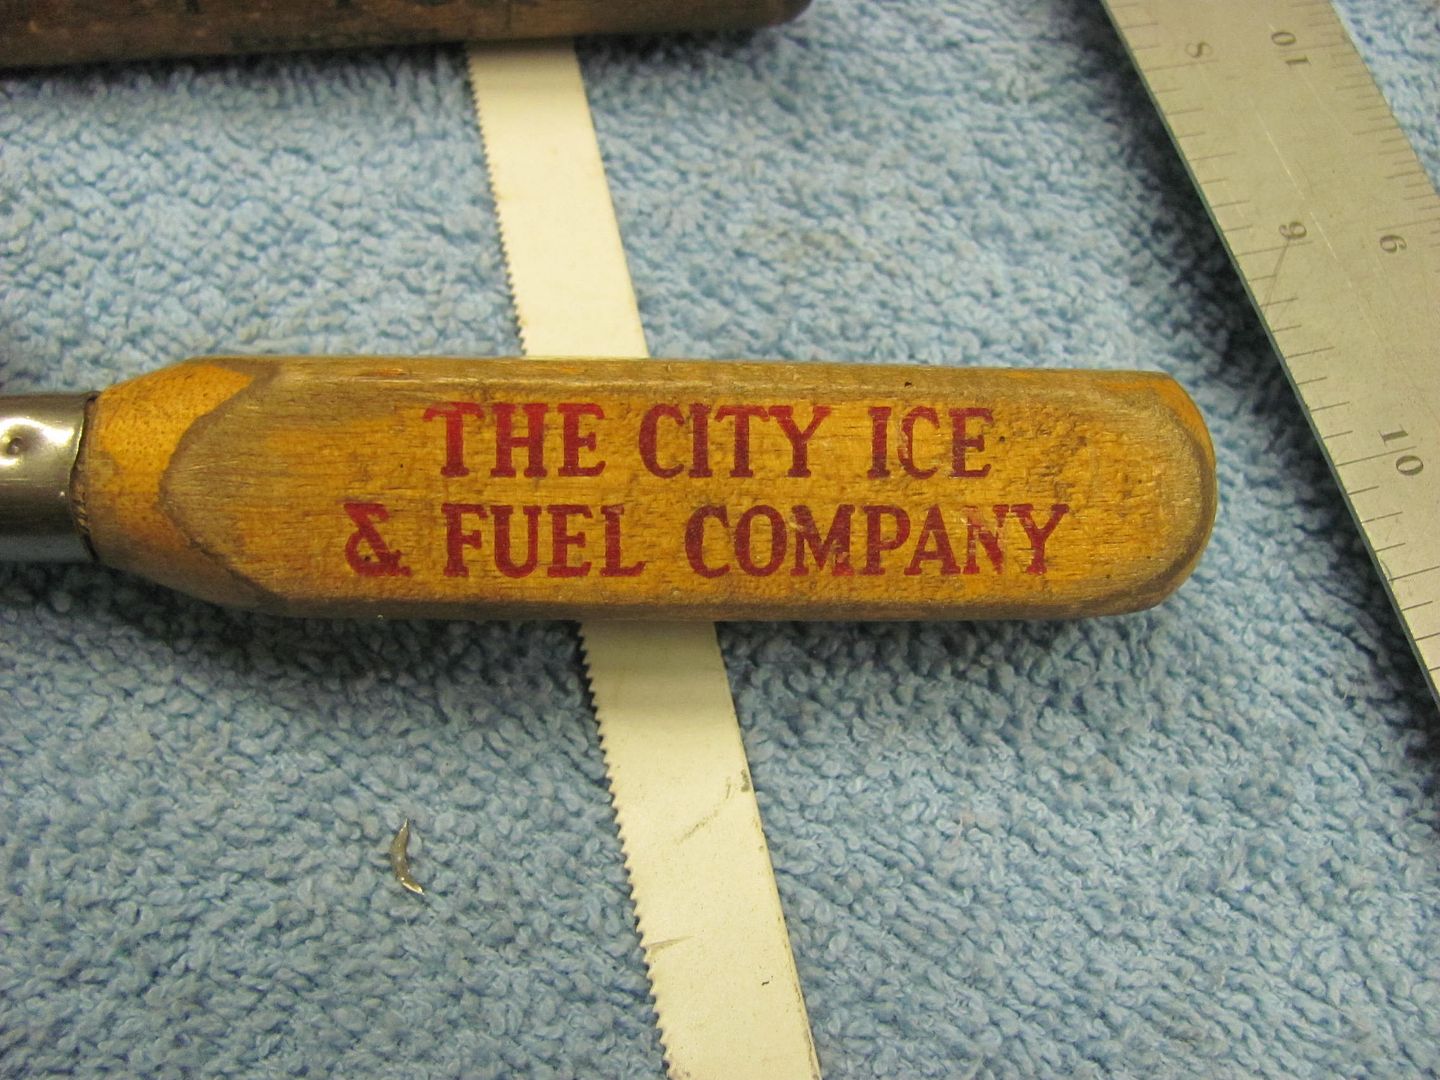
Someone noticed we use some rather "vintage" ice picks as scribes for metalwork, and asked to see a closer look.. I had picked these up a few years ago at an auction as my wife looks at me with that "and why do we need those" looks... The one came shorter as shown, but to prolong the life of the picks, sharpen with a very fine file, never use a grinder
The auction was in Fredericksburg VA, if anyone recognizes any of the old ice plants, be sure to chime in so we can all get a history lesson. I tried calling them but nobody answered 8 or 30..

Robert
-
02-10-2015 10:33 AM #429
CHR Member
- Join Date
- Oct 2007
- Location
- Petaluma
- Car Year, Make, Model: 48 Ford F1
- Posts
- 9,795
Great finds. I too use some older tools in the shop. Lately at estate sales the kids and grand kids practically give away heirloom tools because they have no concept of quality or history, and probably never turned a wrench in their lives! My gain, but I always feel sad for the departed ones who spent a lifetime using and caring for these!" "No matter where you go, there you are!" Steve.
-
02-11-2015 06:10 PM #430
CHR Member
- Join Date
- Apr 2011
- Location
- Prairie City
- Car Year, Make, Model: 40 Ford Deluxe, 68 Corvette, 72&76 K30
- Posts
- 7,301
- Blog Entries
- 1
Great work! It's looking nice and tight!
Ryan
1940 Ford Deluxe Tudor 354 Hemi 46RH Electric Blue w/multi-color flames, Ford 9" Residing in multiple pieces
1968 Corvette Coupe 5.9 Cummins Drag Car 11.43@130mph No stall leaving the line with 1250 rpm's and poor 2.2 60'
1972 Chevy K30 Longhorn P-pumped 24v Compound Turbos 47RH Just another money pit
1971 Camaro RS 5.3 BTR Stage 3 cam, SuperT10
Tire Sizes
-
02-11-2015 07:40 PM #431
CHR Member
- Join Date
- Jun 2008
- Location
- Leonardtown
- Car Year, Make, Model: Walking
- Posts
- 1,228
Thanks for the comments!
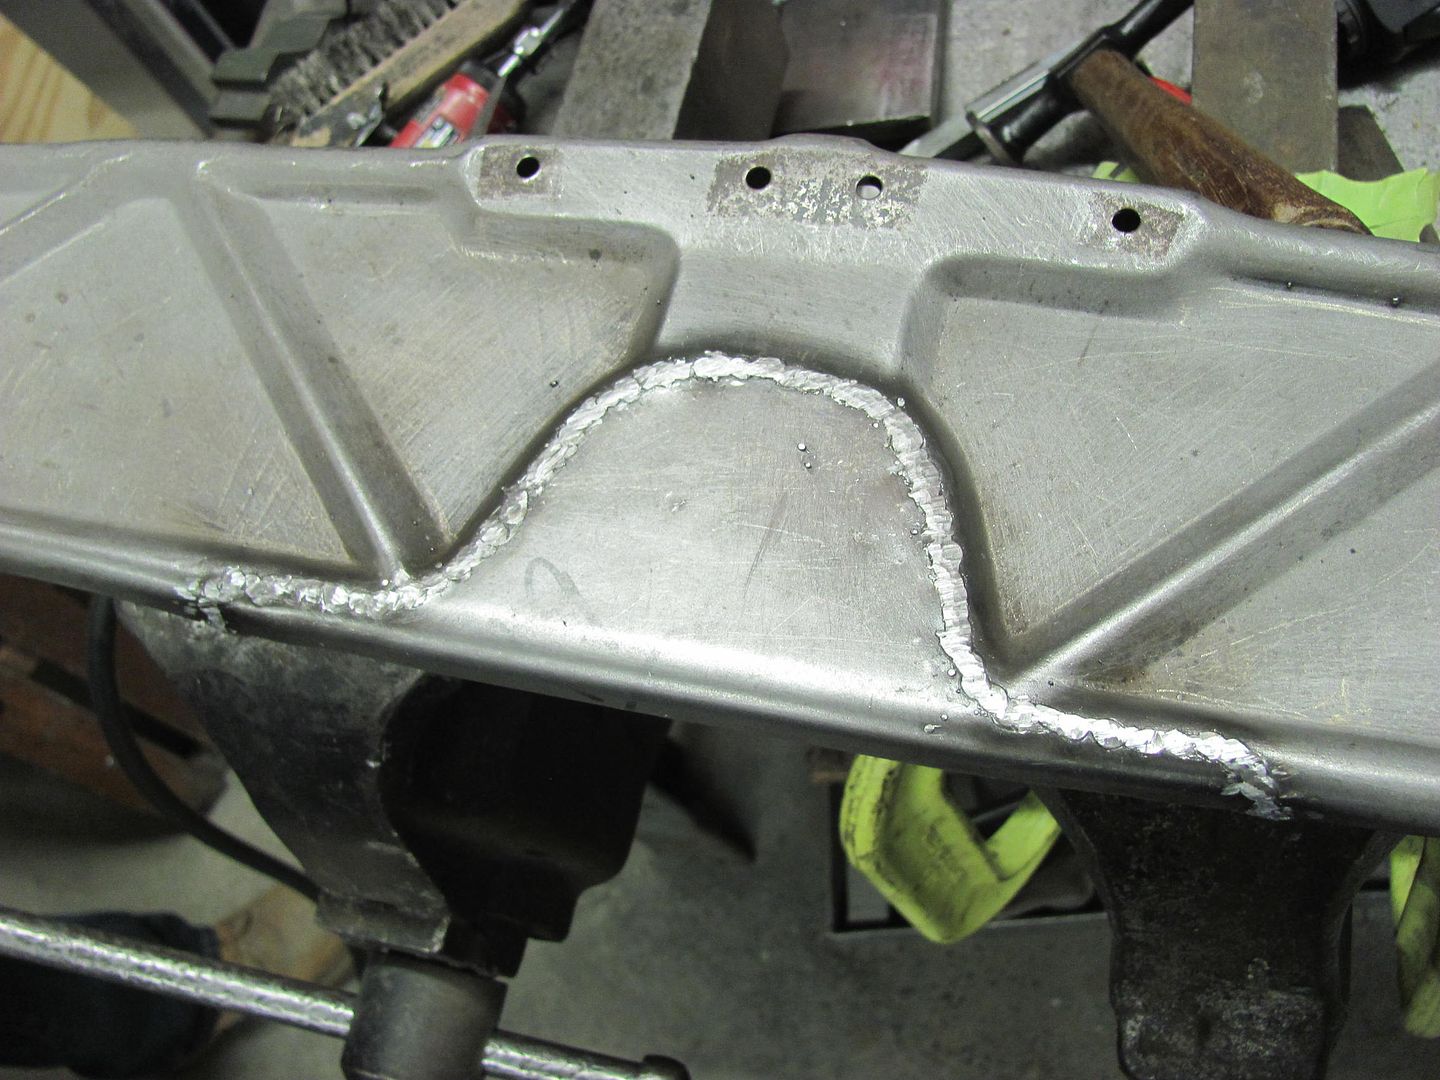
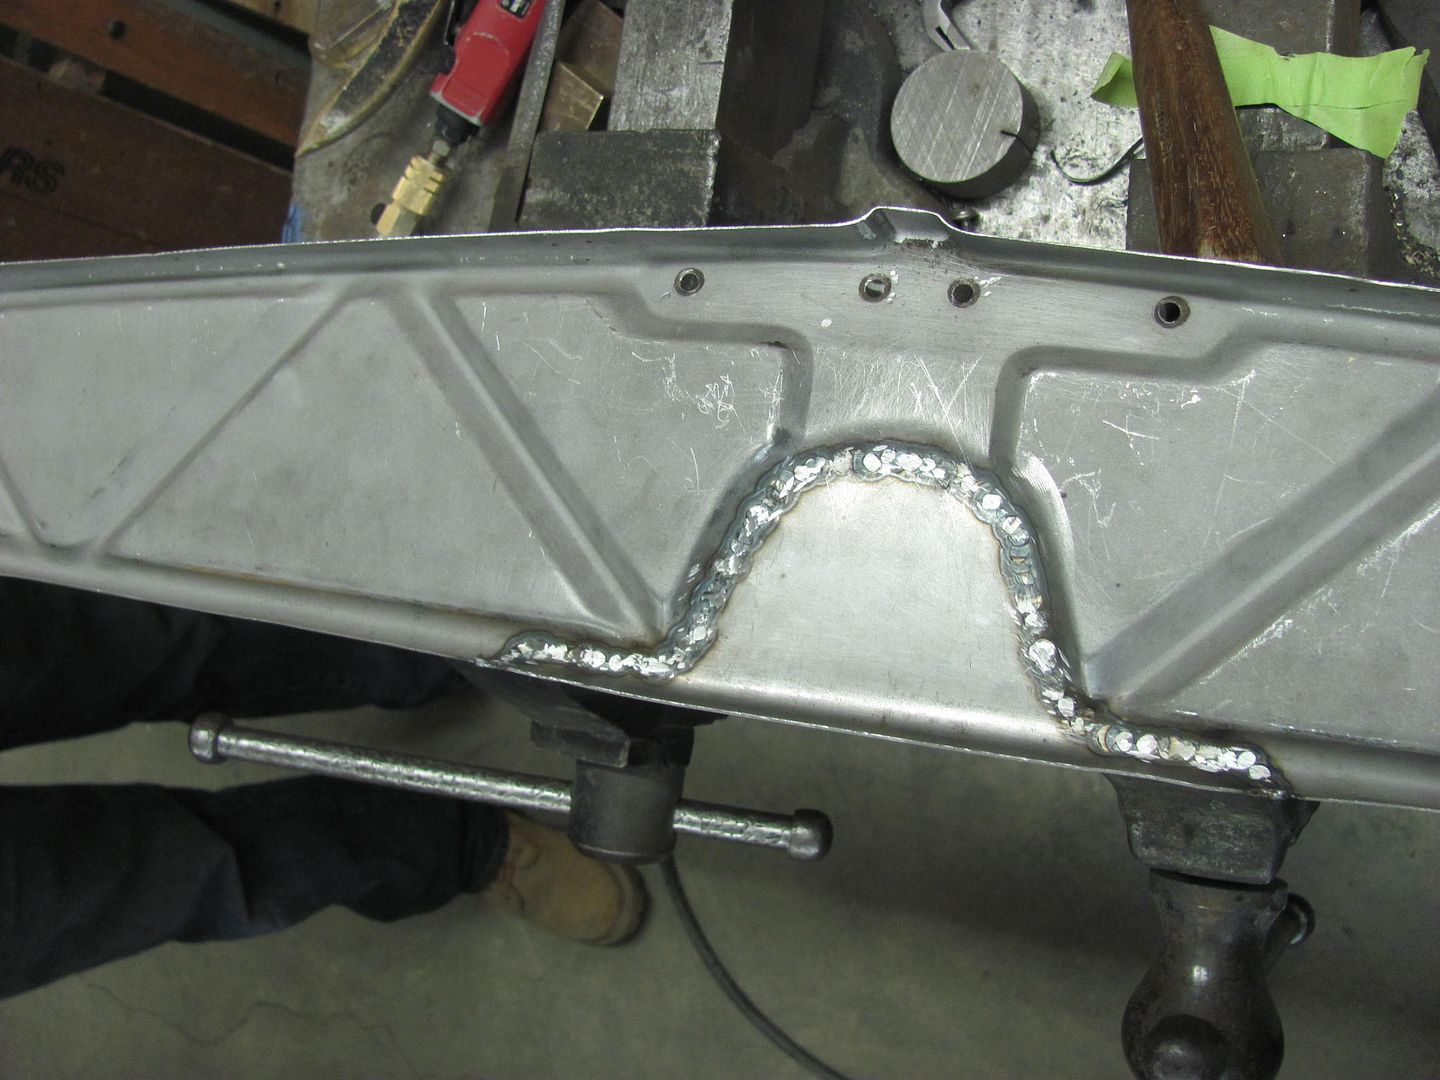
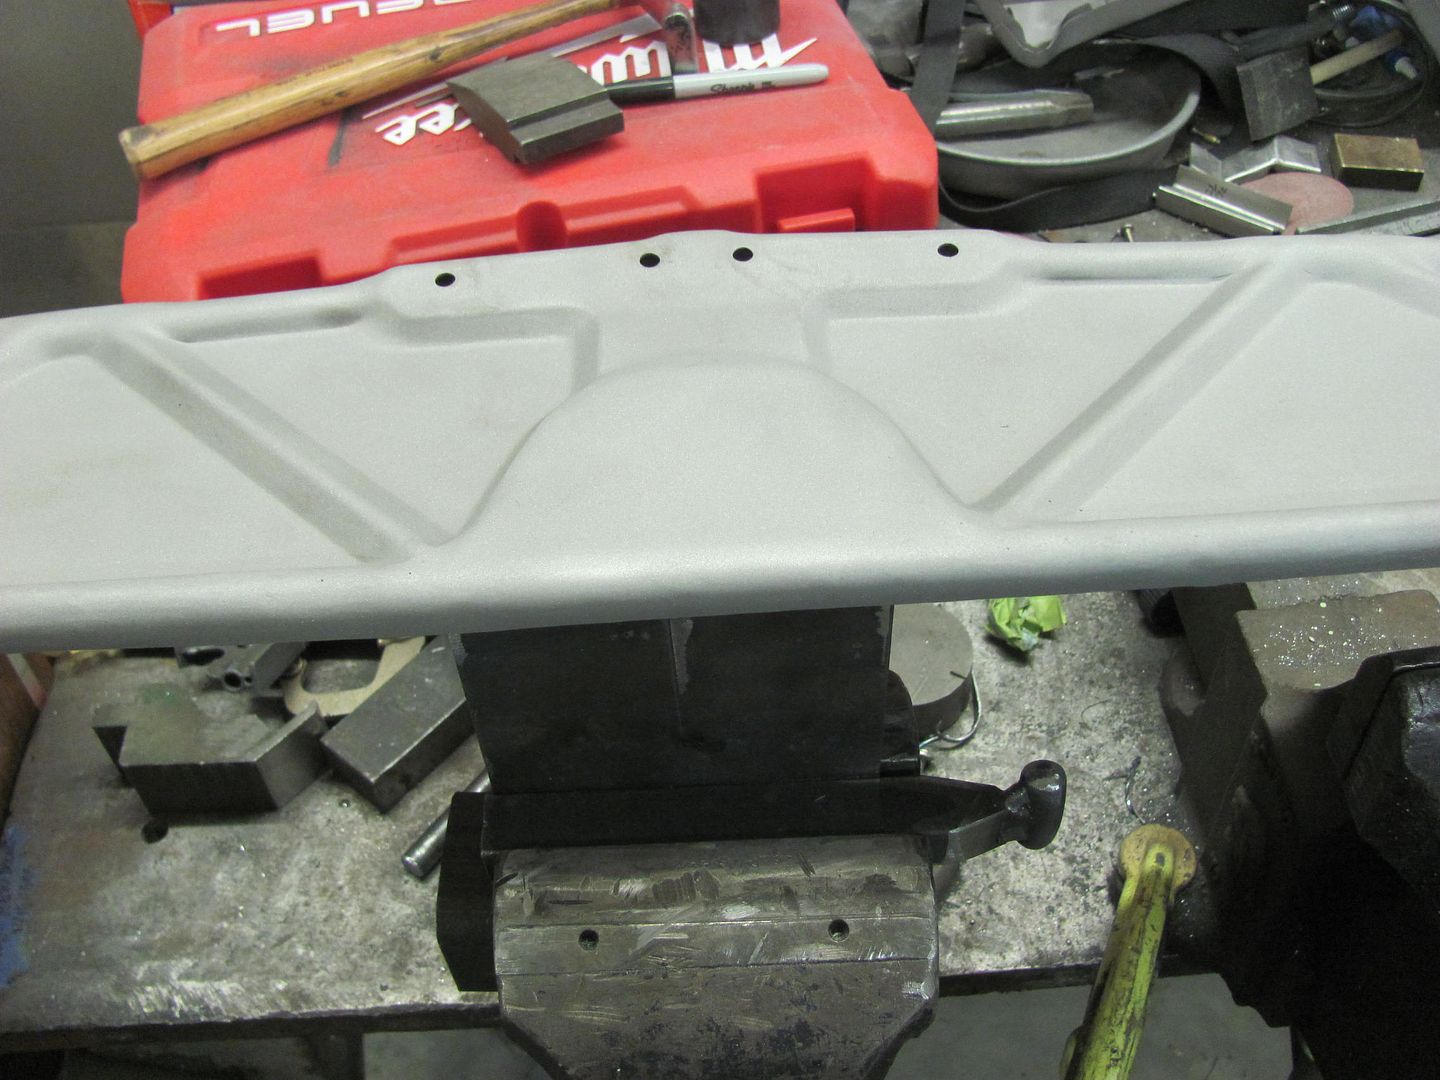
Kyle finishing up on the hood brace....
Because he had gaps to contend with, we used some copper to insure less chance of blow outs. A piece of 1/2" copper pipe was flattened and bent in the press brake to make a fitted backing for the vee bead detail..
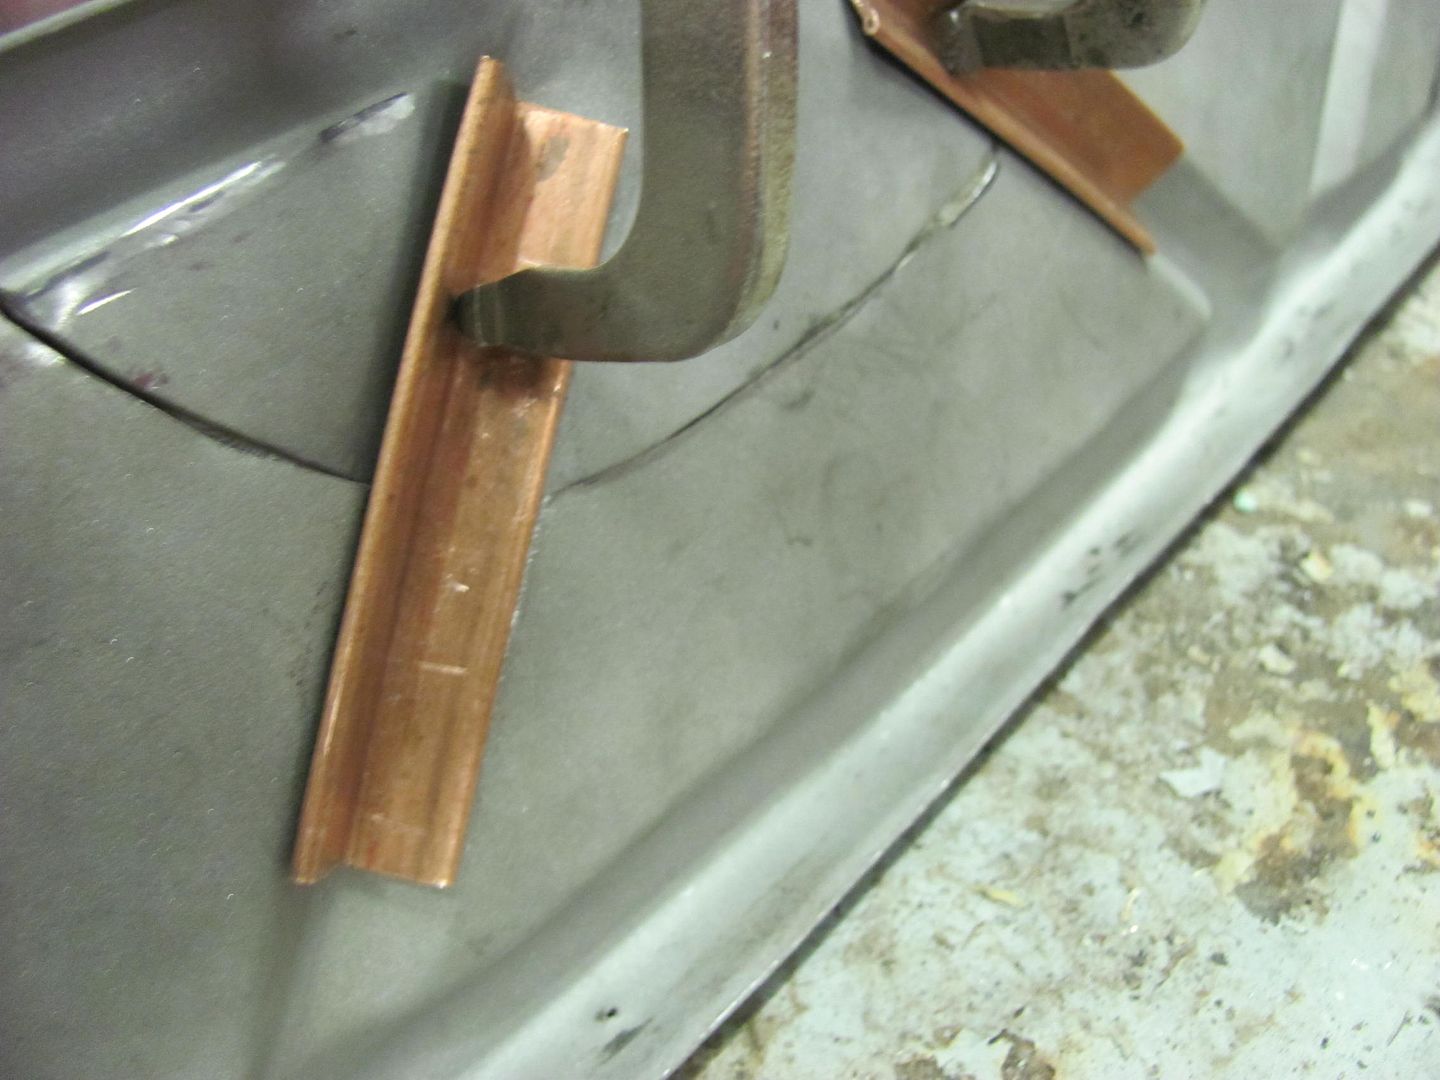
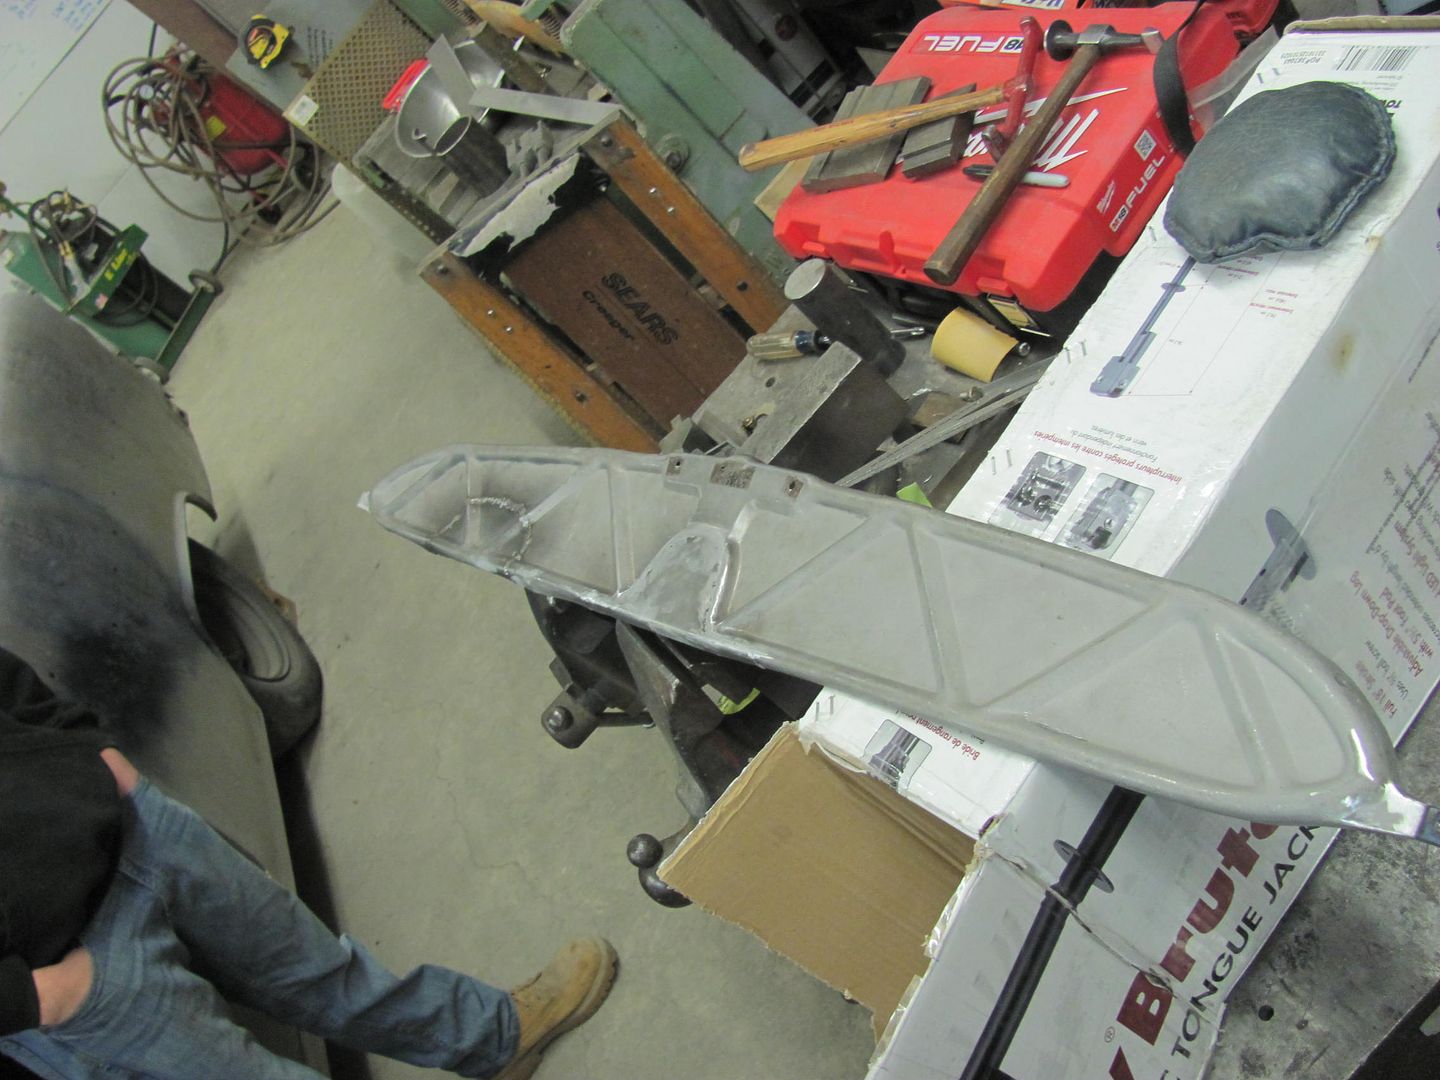
Just a bit of work with the sander and this part should be done. Like the new look without all the gaping holes..
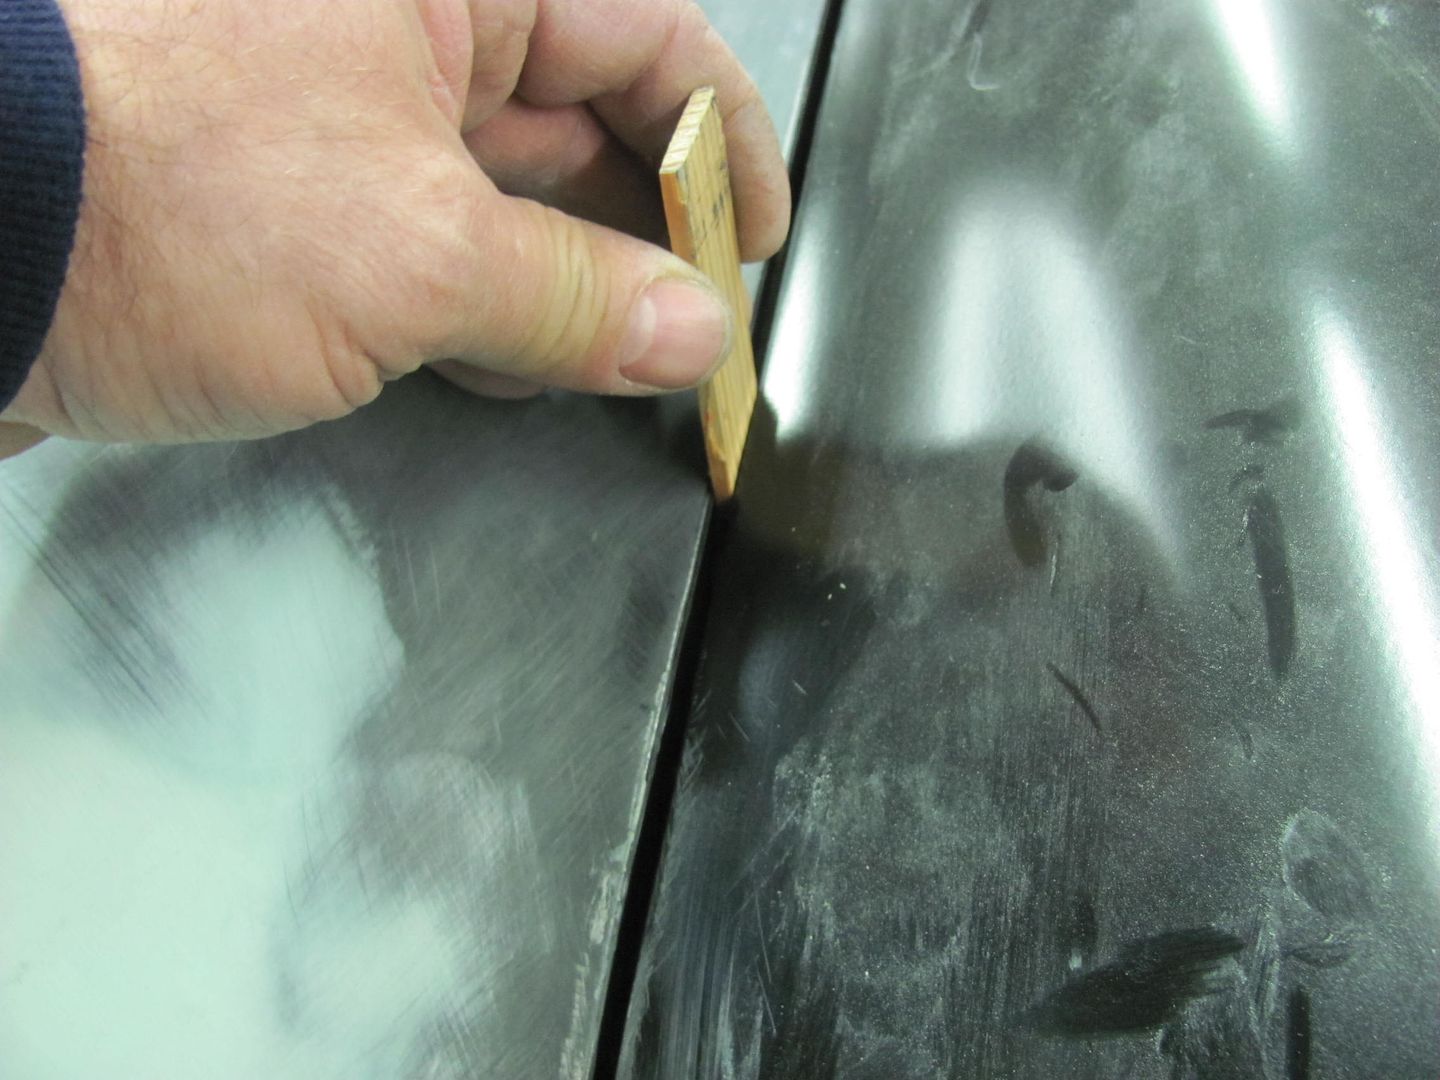
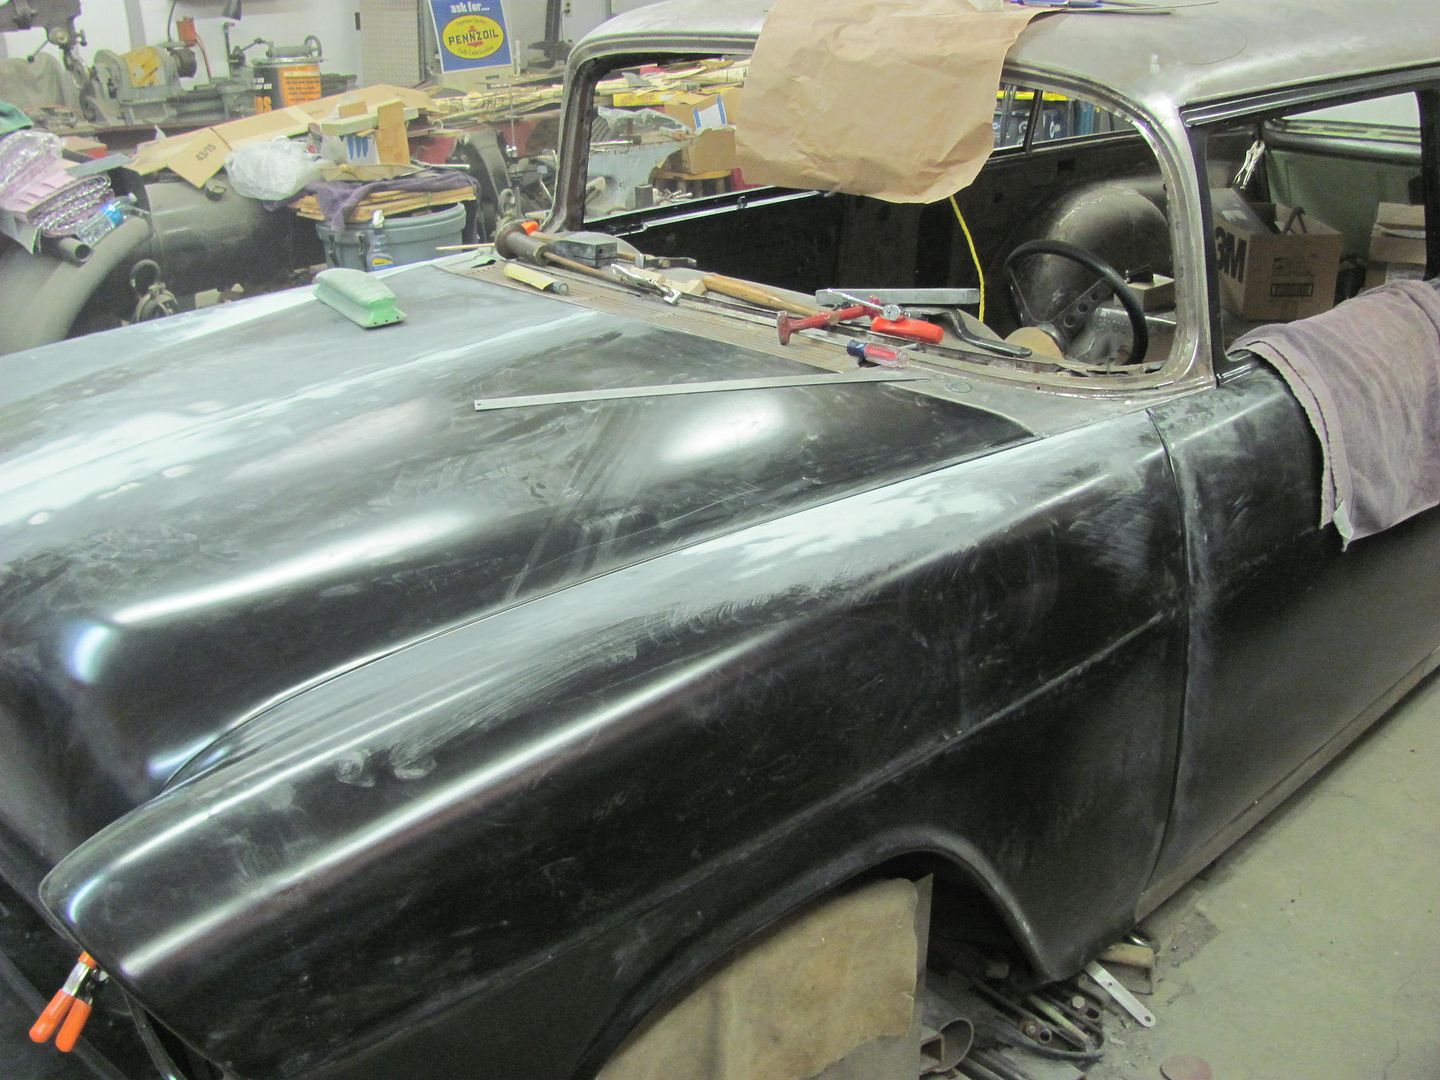
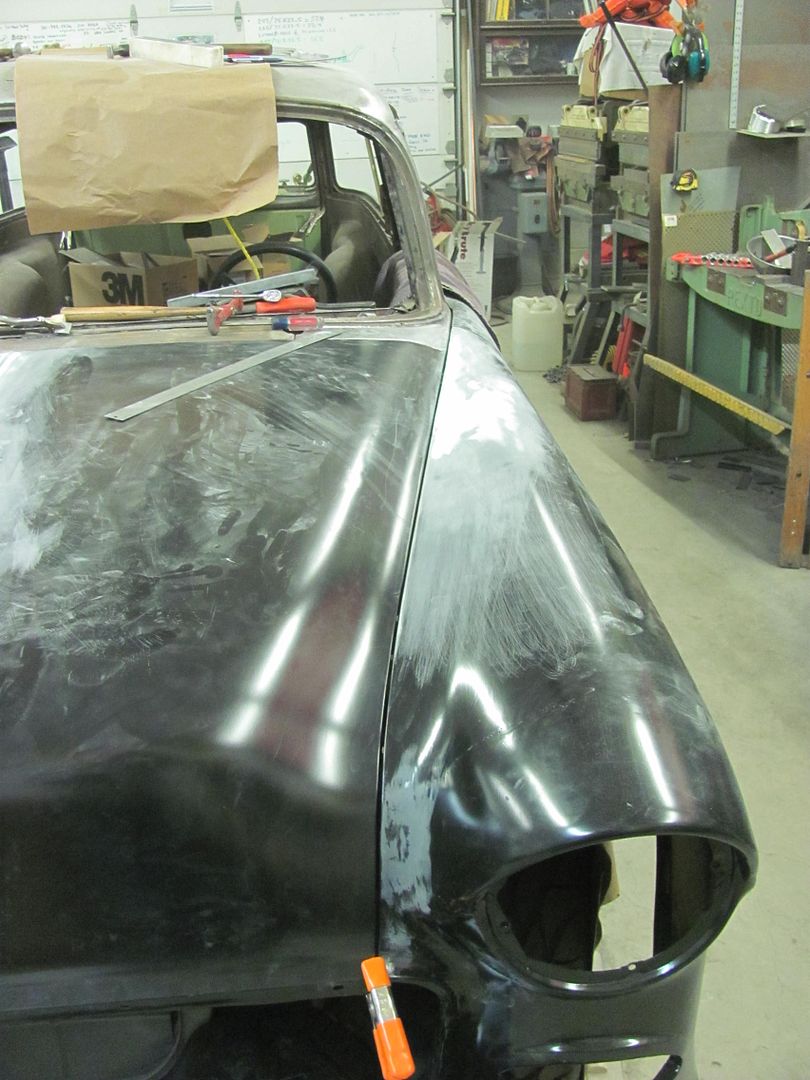
Meanwhile, I continued to make dust. Here's a good view of the built in "guide coat" feature of the SPI. Blocking on the top of the hood shows a low spot.....
And with just a couple scuffs from the bottom, the low shows up there as well
Just a few bumps with the hammer from the bottom into the small shot bag on top and the low is gone.
And the rest looks pretty much the same other than the piles of dust on the floor moving around..
Robert
-
02-12-2015 07:22 PM #432
CHR Member
- Join Date
- Jun 2008
- Location
- Leonardtown
- Car Year, Make, Model: Walking
- Posts
- 1,228
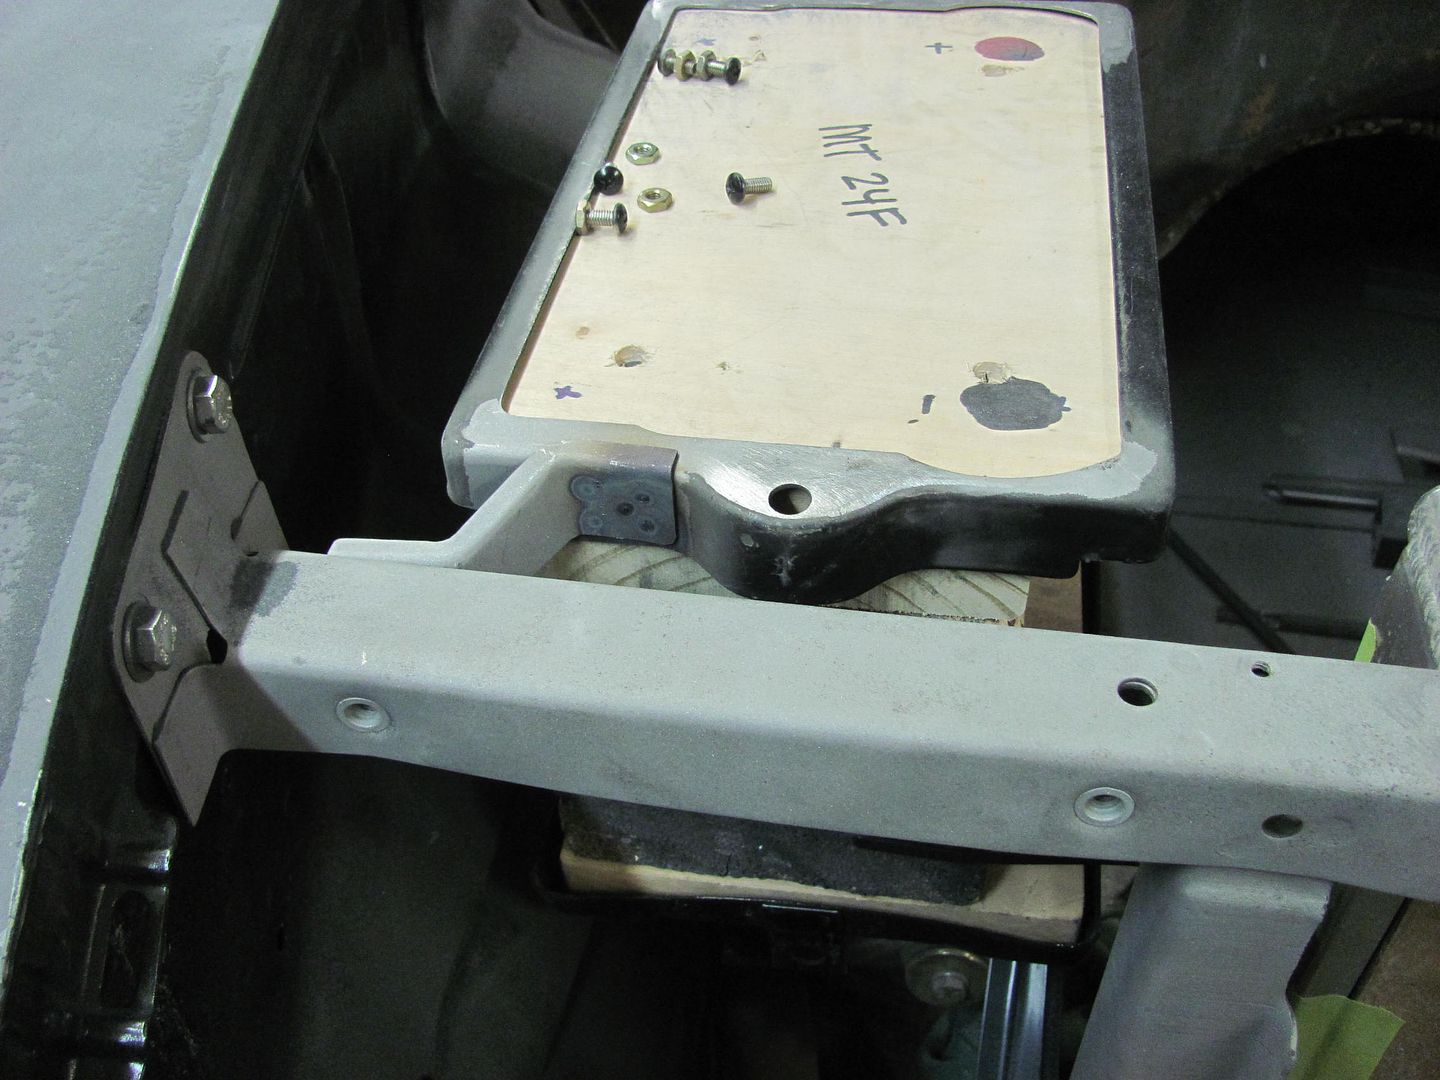
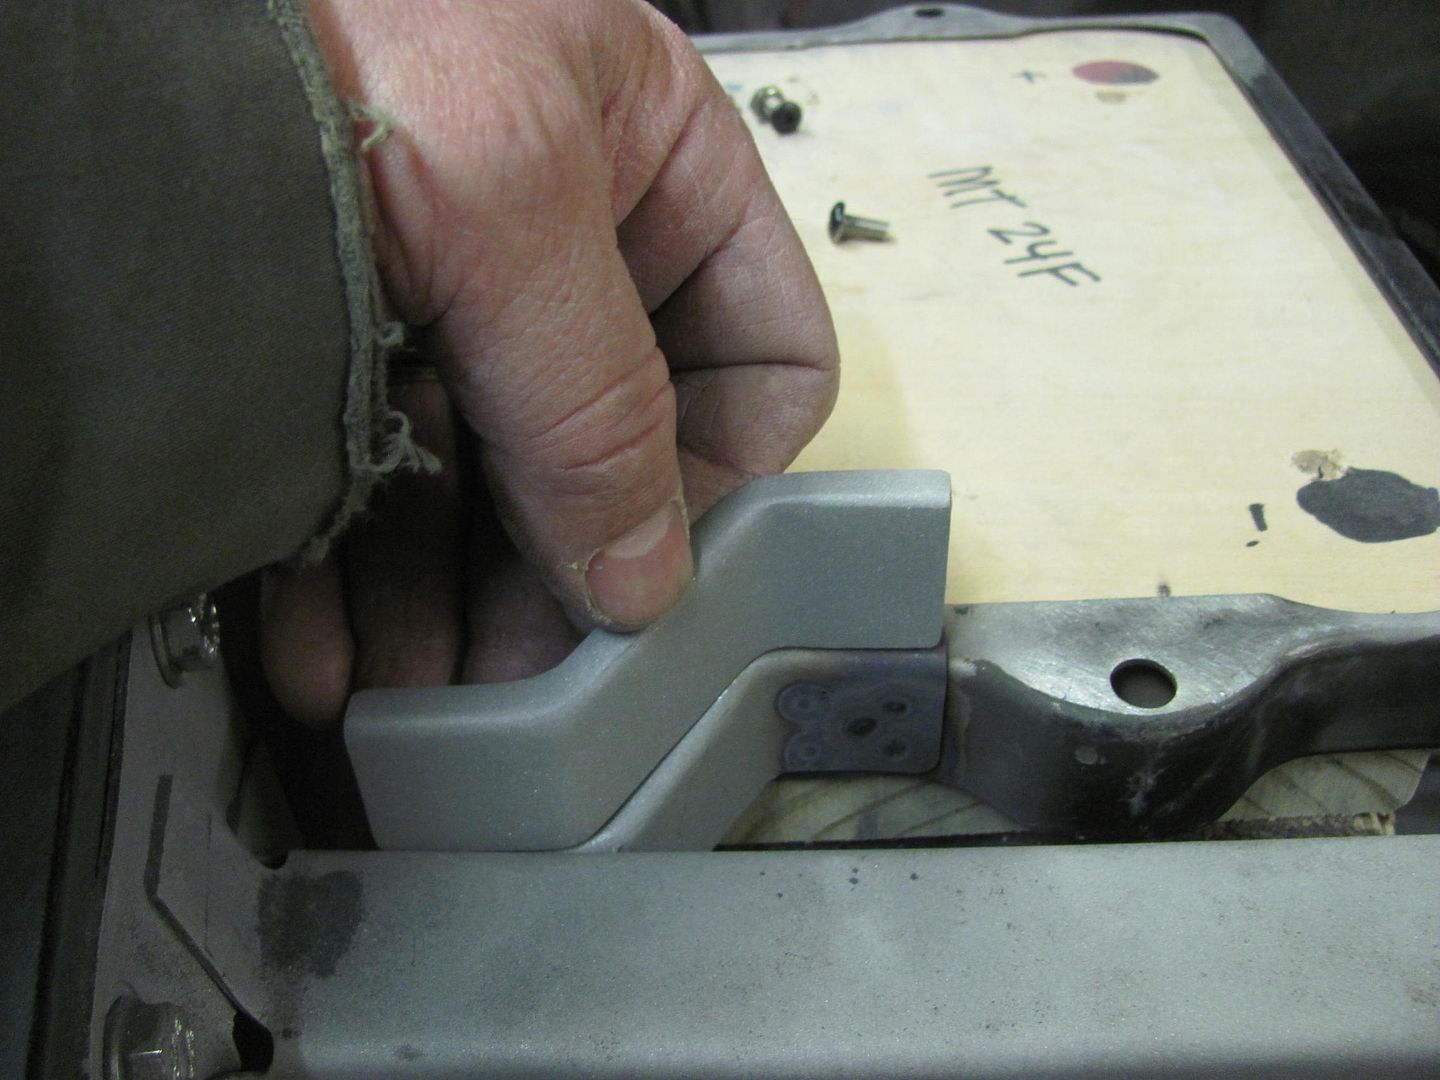
A while back we had made the brackets to make up three "reproduction" battery trays based on a 1955 Chevy factory air conditioned car.
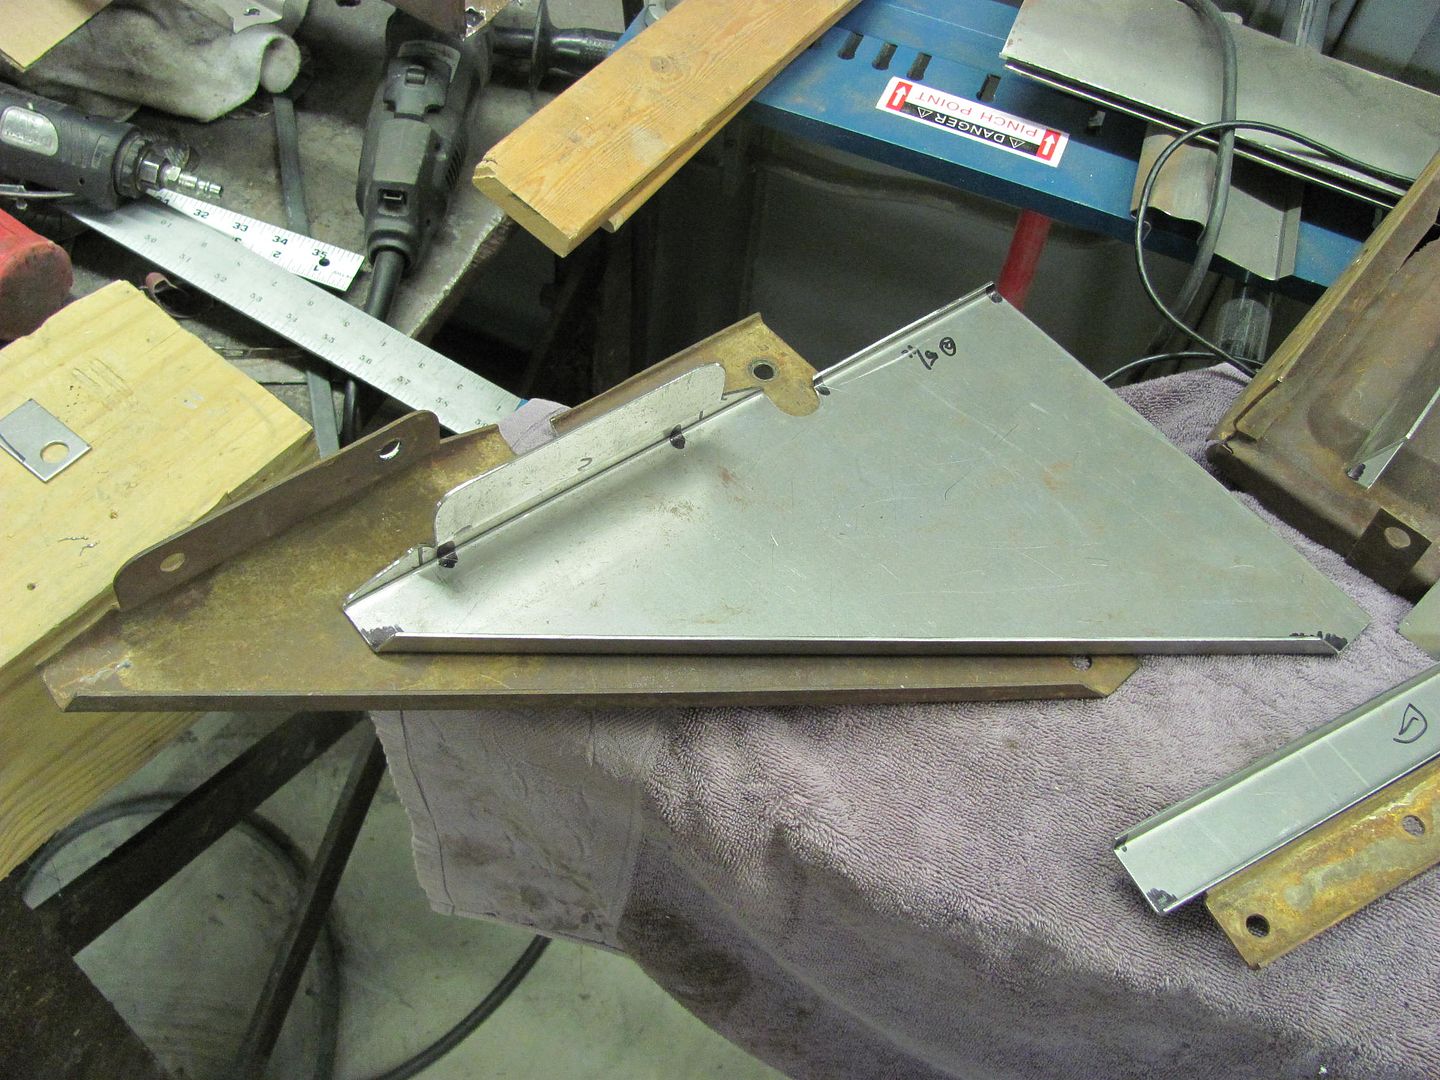
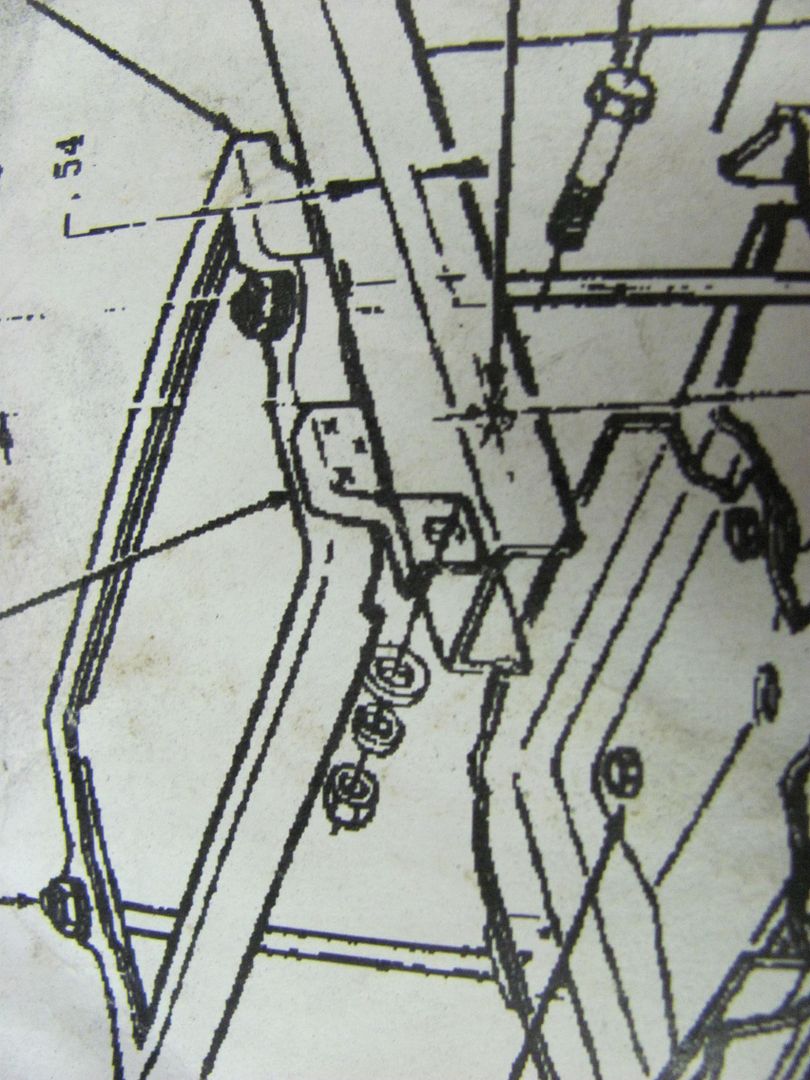
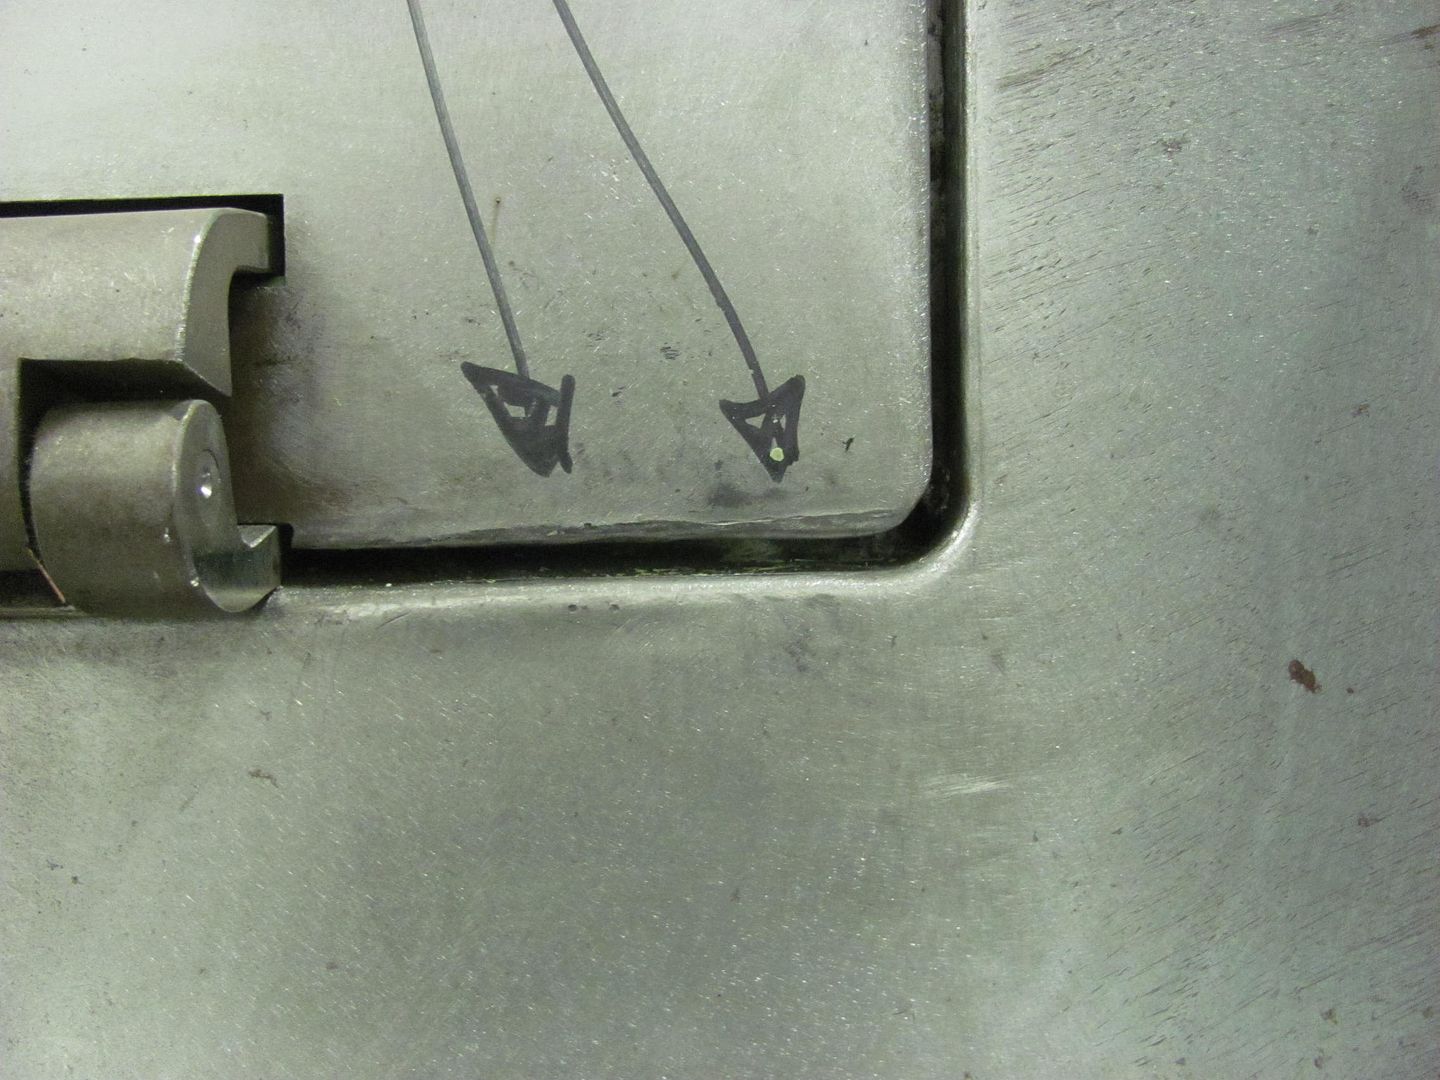
The only part that did not come with the used original pieces we had as patterns was the factory hold down with it's attached "zee" bracket that secures the battery hold down to the rear of the core support, as seen here in the factory assembly bulletin.
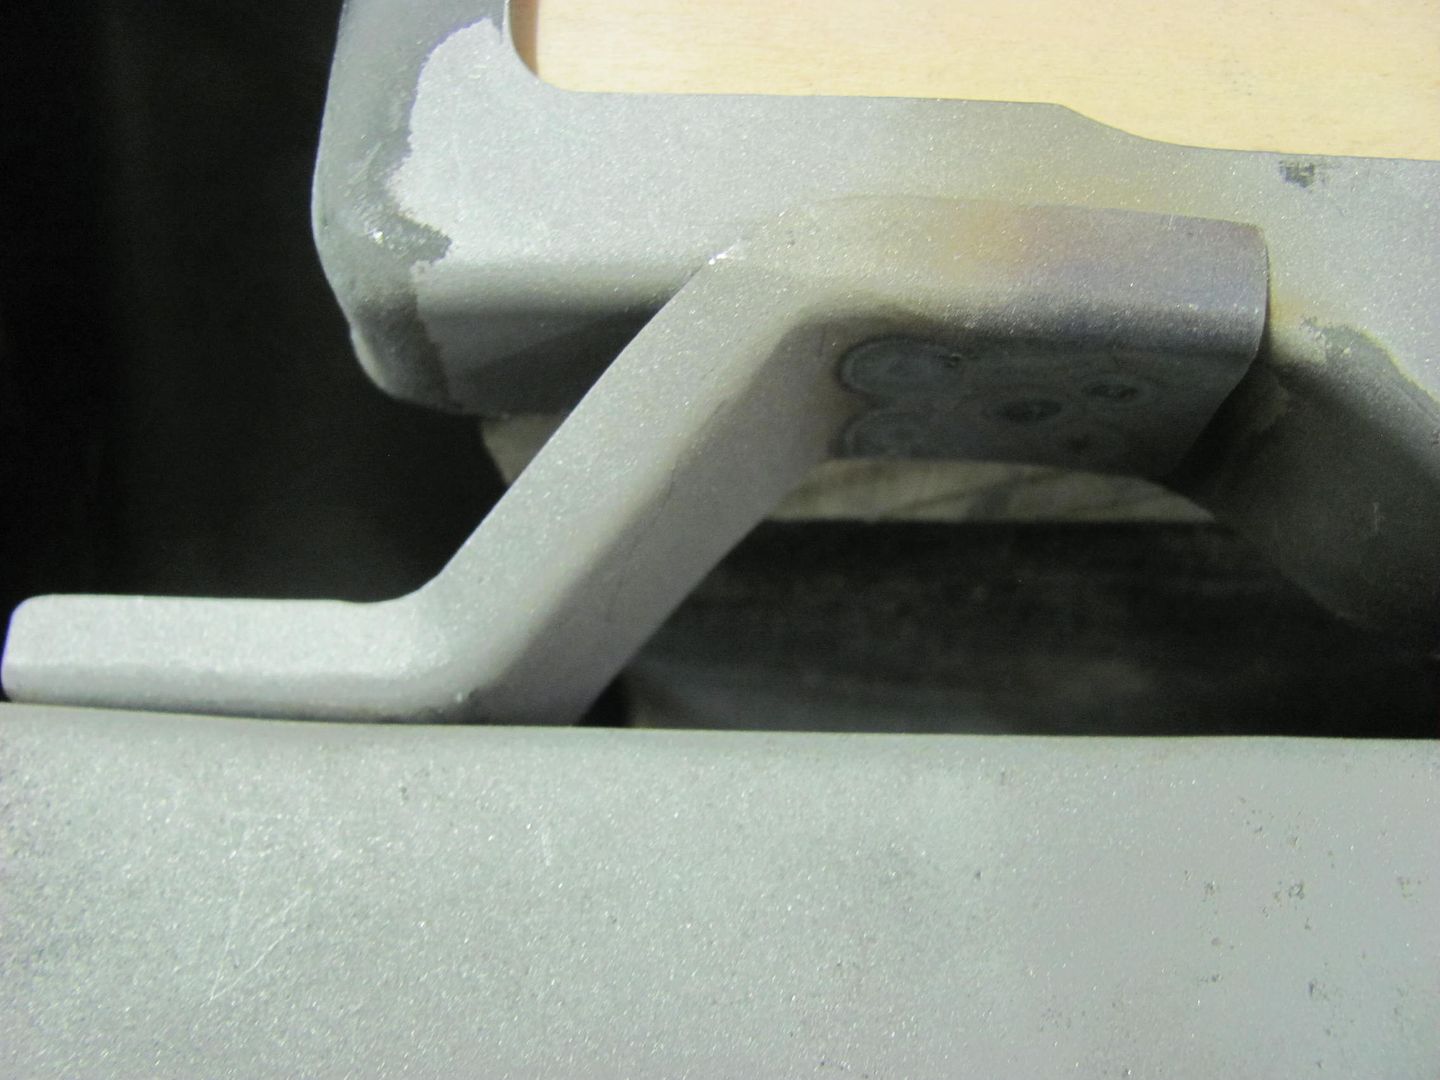
We recently mocked up the battery location, and made a zee bracket based on the picture and the dimensions we had in front of us.
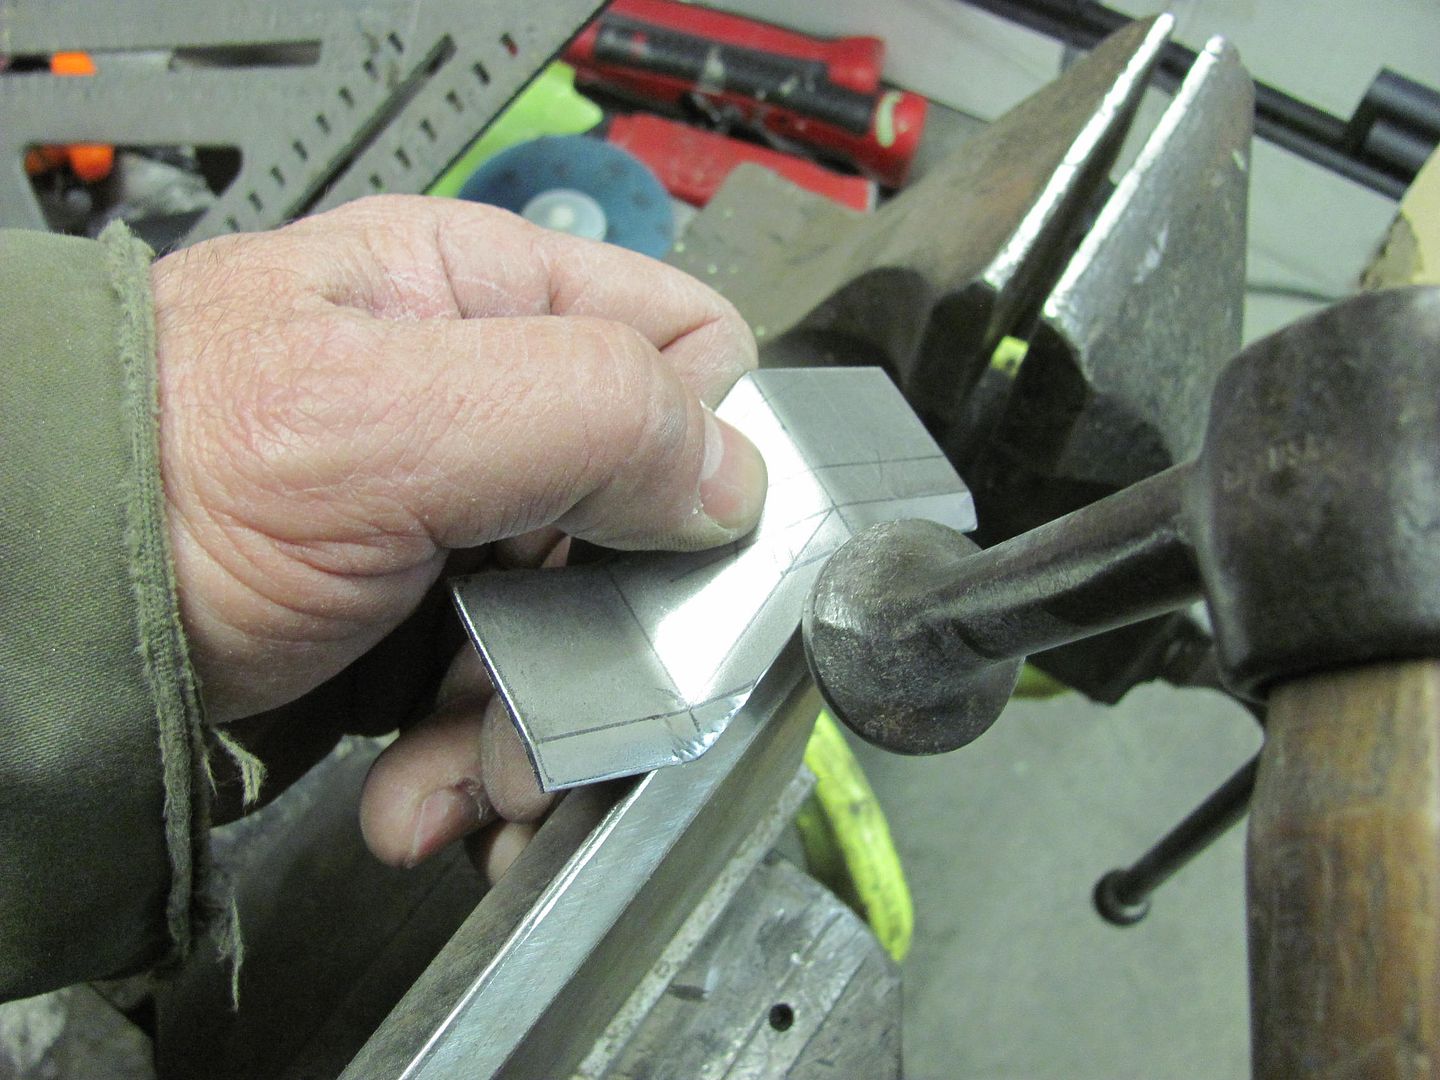
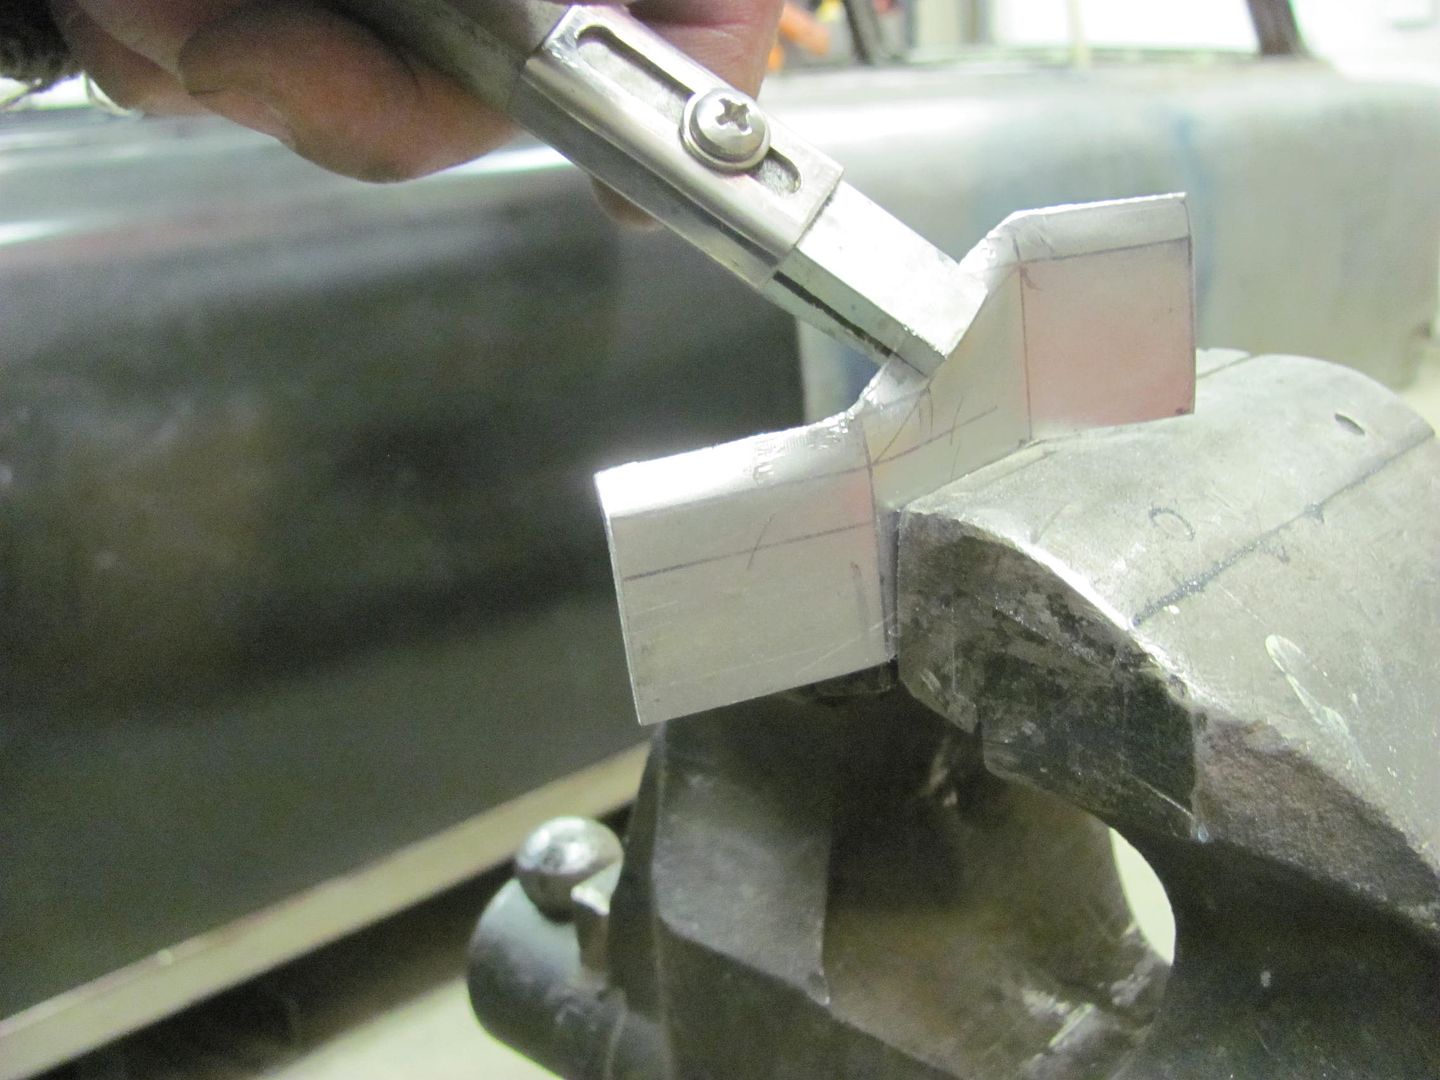
Now to make the remaining two brackets for the other two battery trays.. A roll former die in the press brake was used to make the vertical bends.
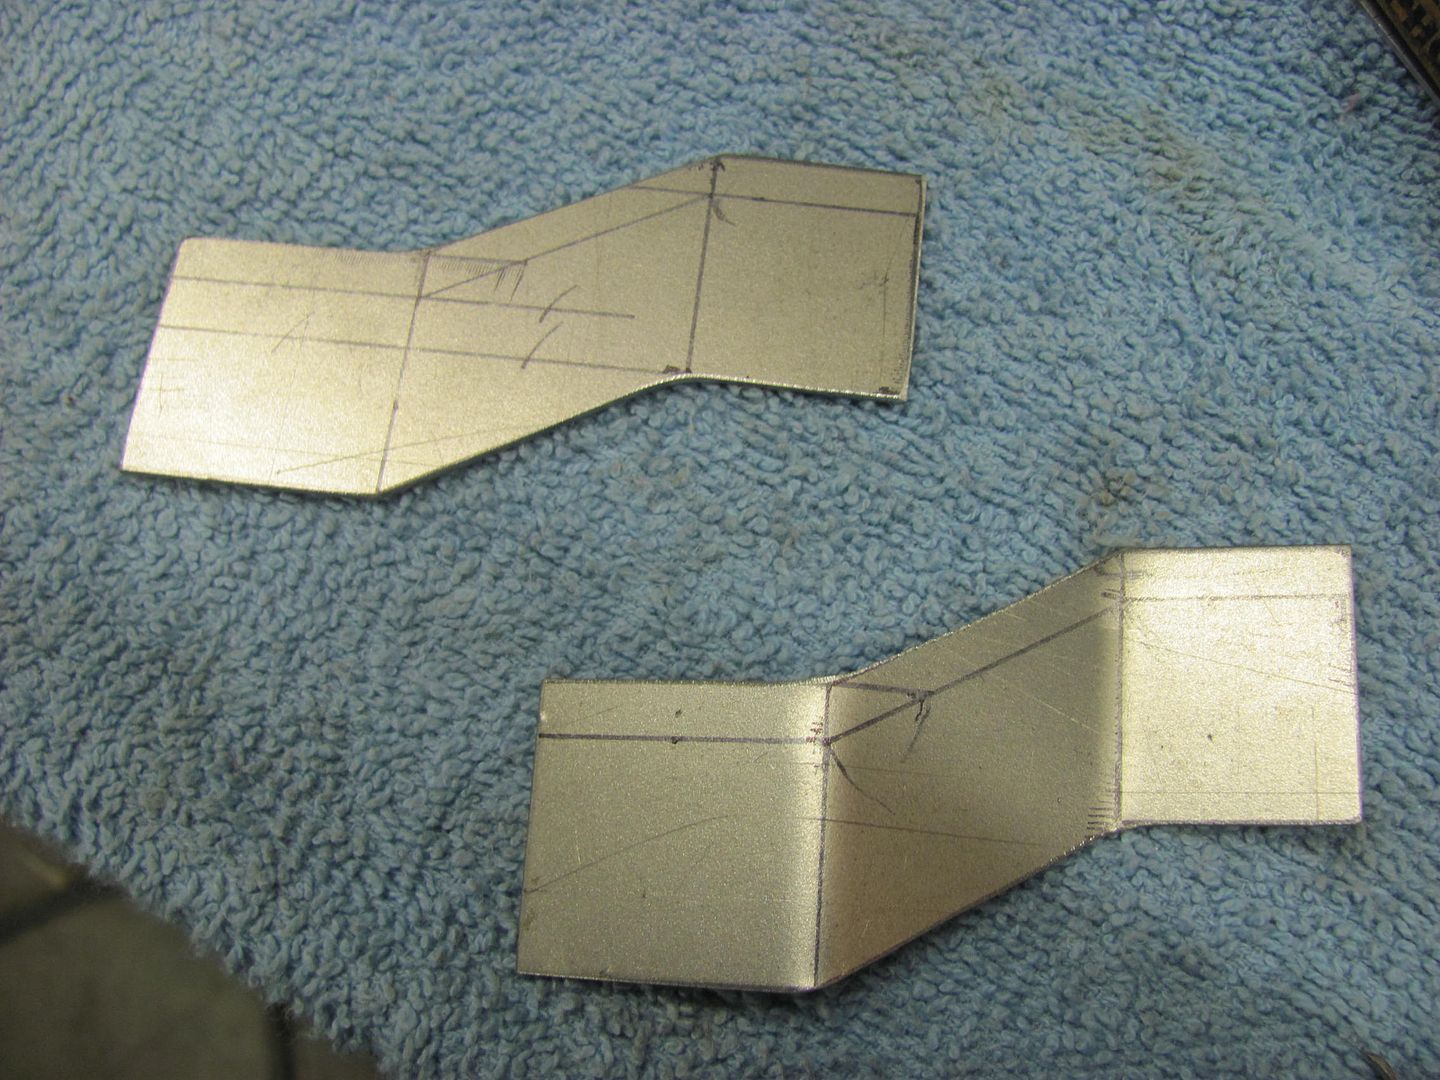
A bit of tipping using a press brake die as an anvil, and then using the tipping tool...
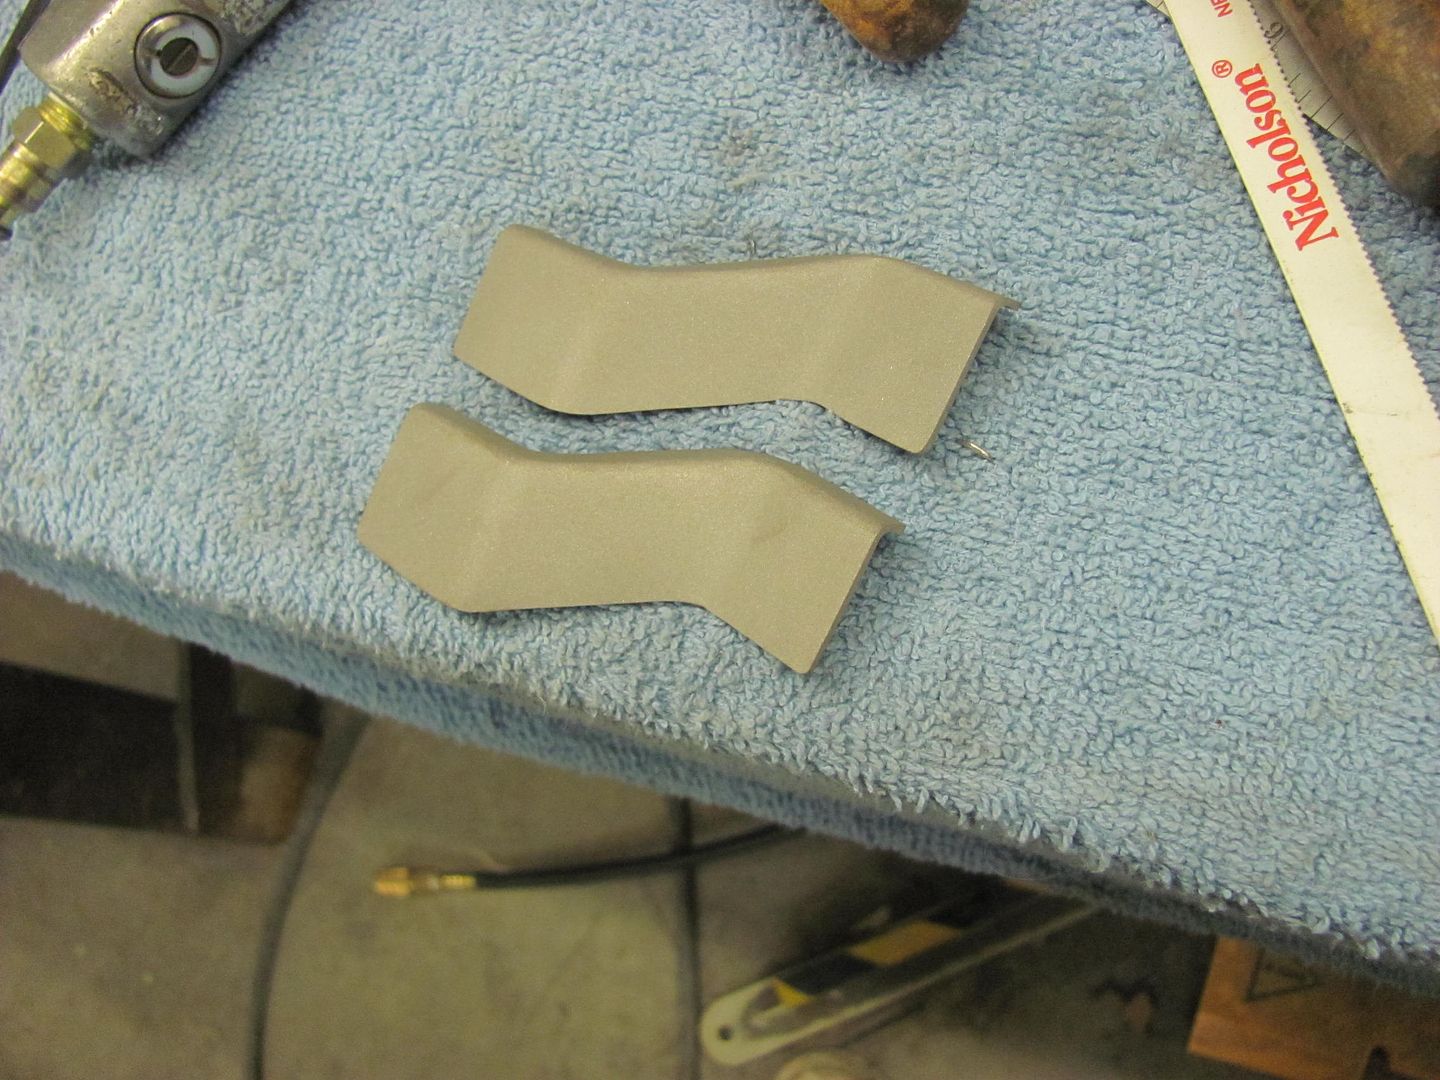
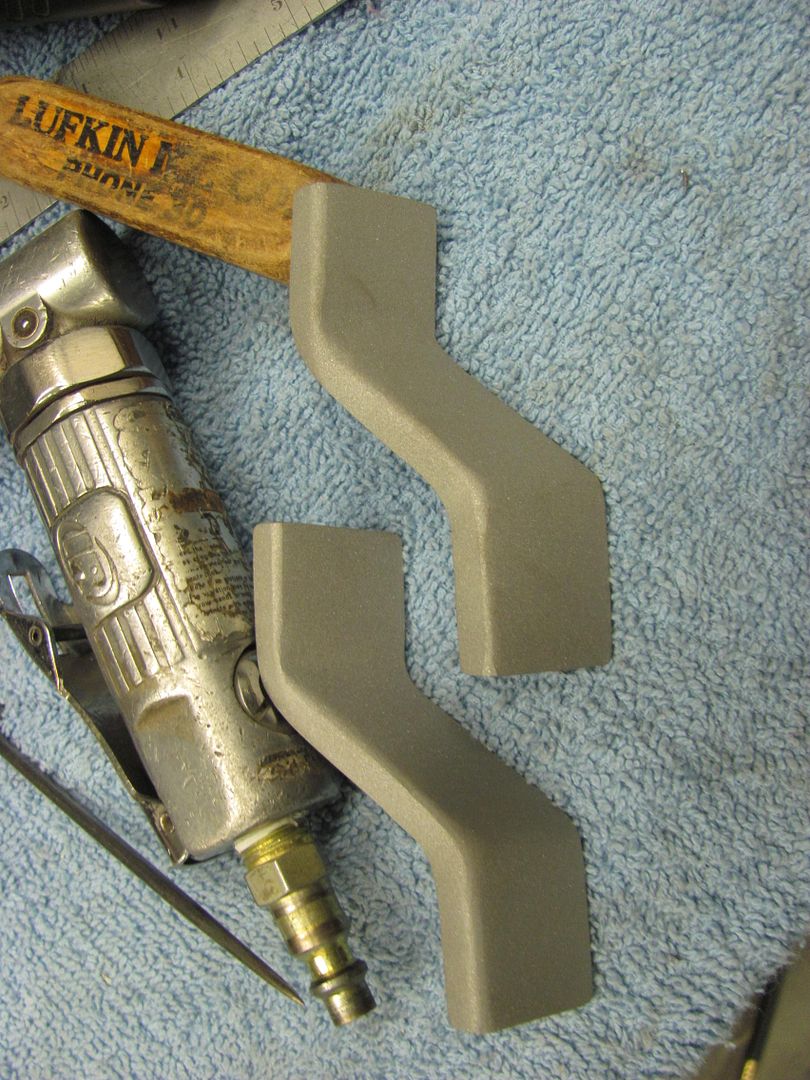
The finished brackets and a comparison....

Robert
-
02-14-2015 06:27 PM #433
CHR Member
- Join Date
- Jun 2008
- Location
- Leonardtown
- Car Year, Make, Model: Walking
- Posts
- 1,228
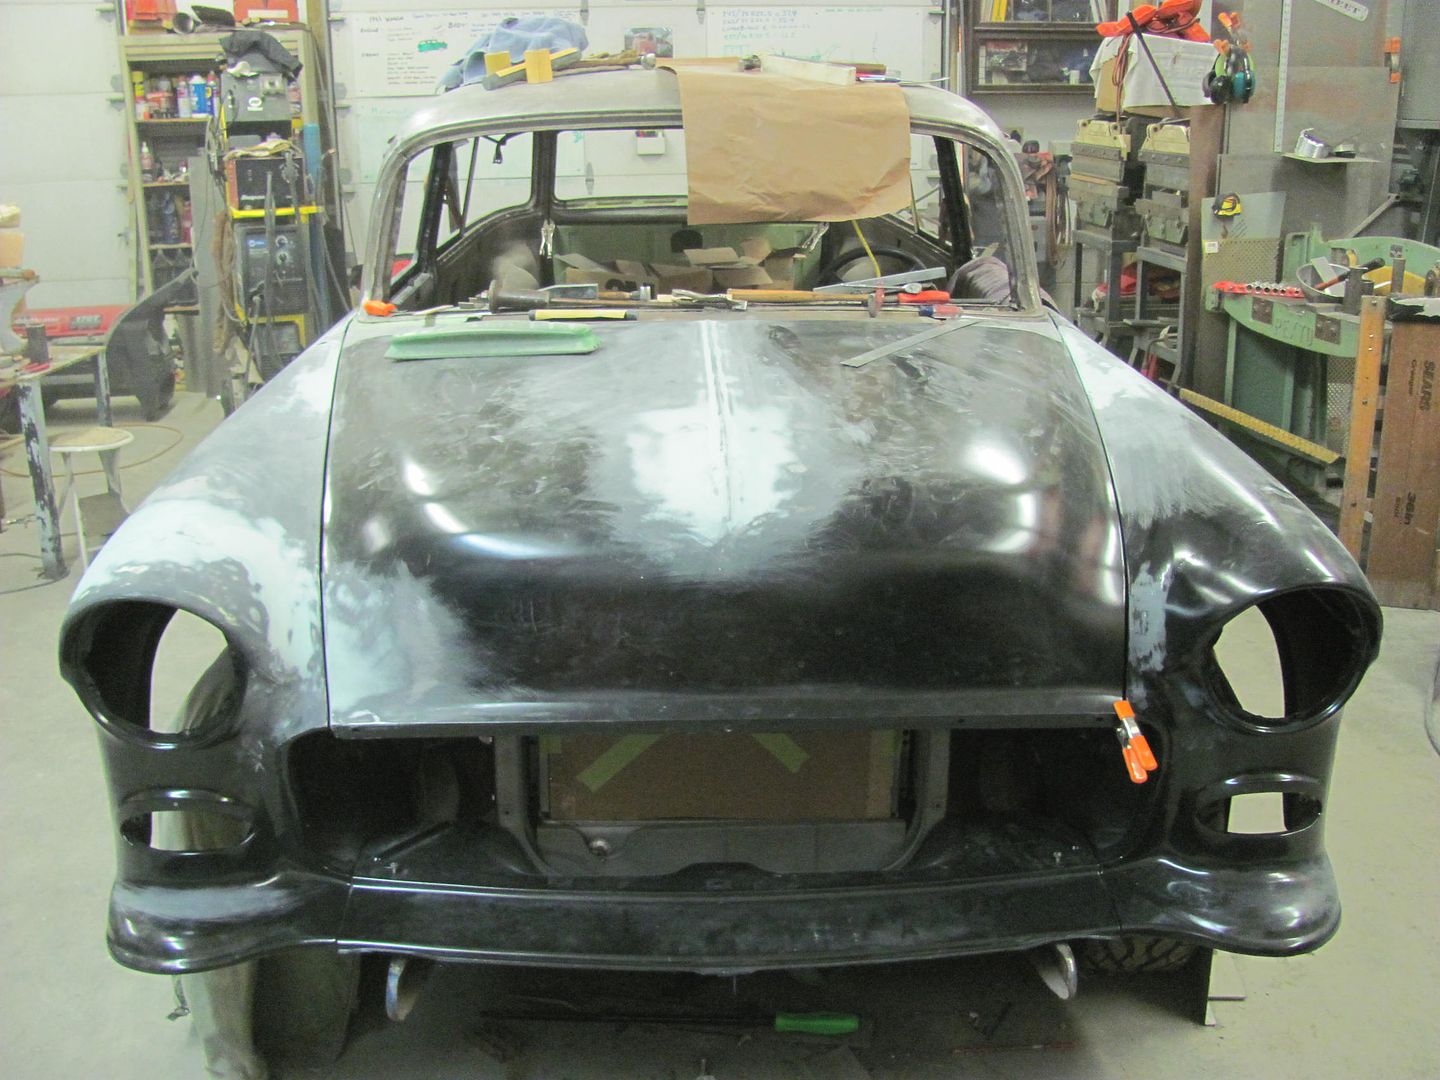
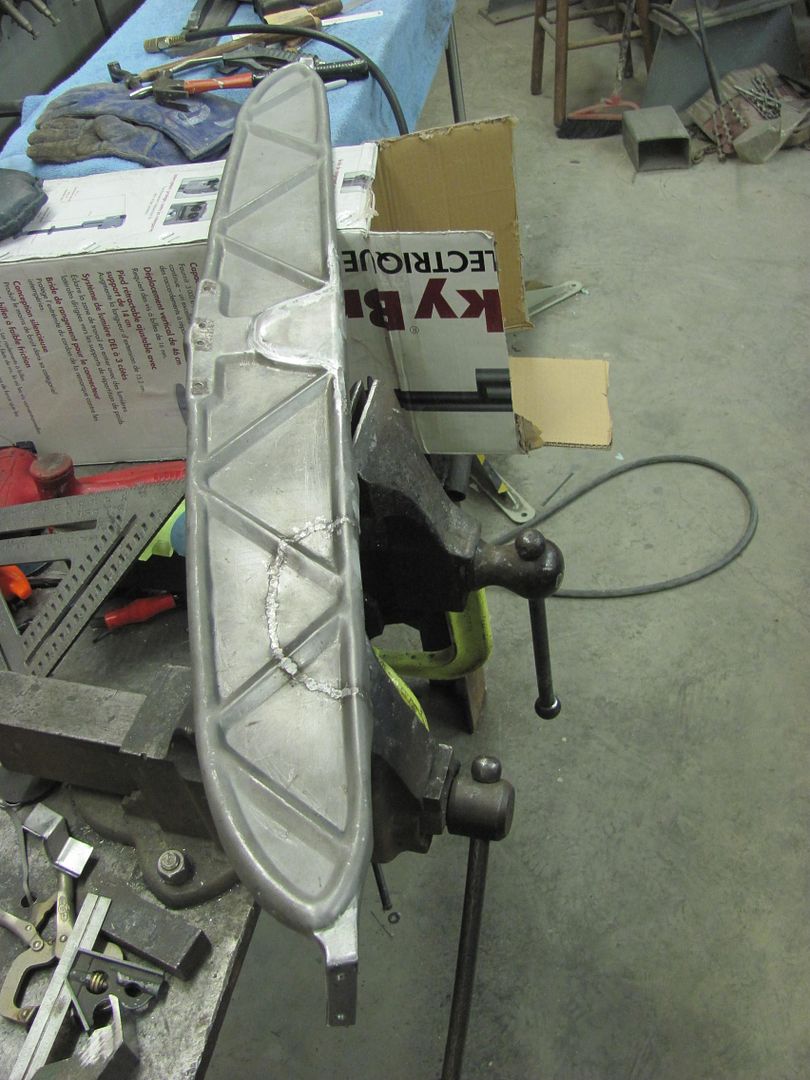
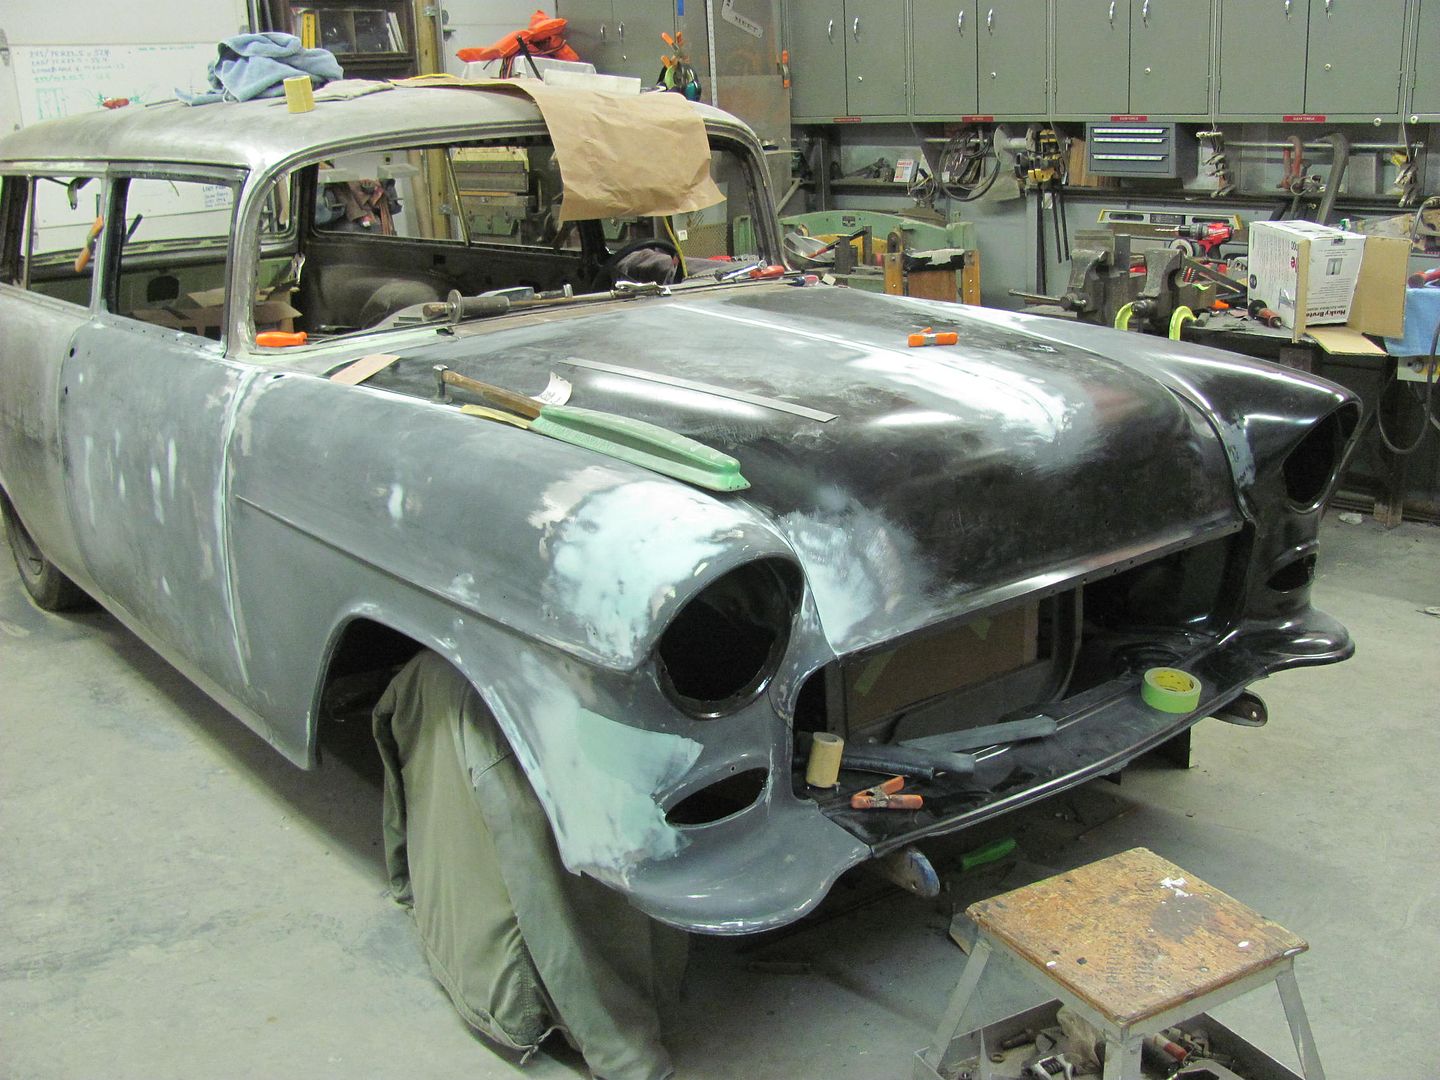
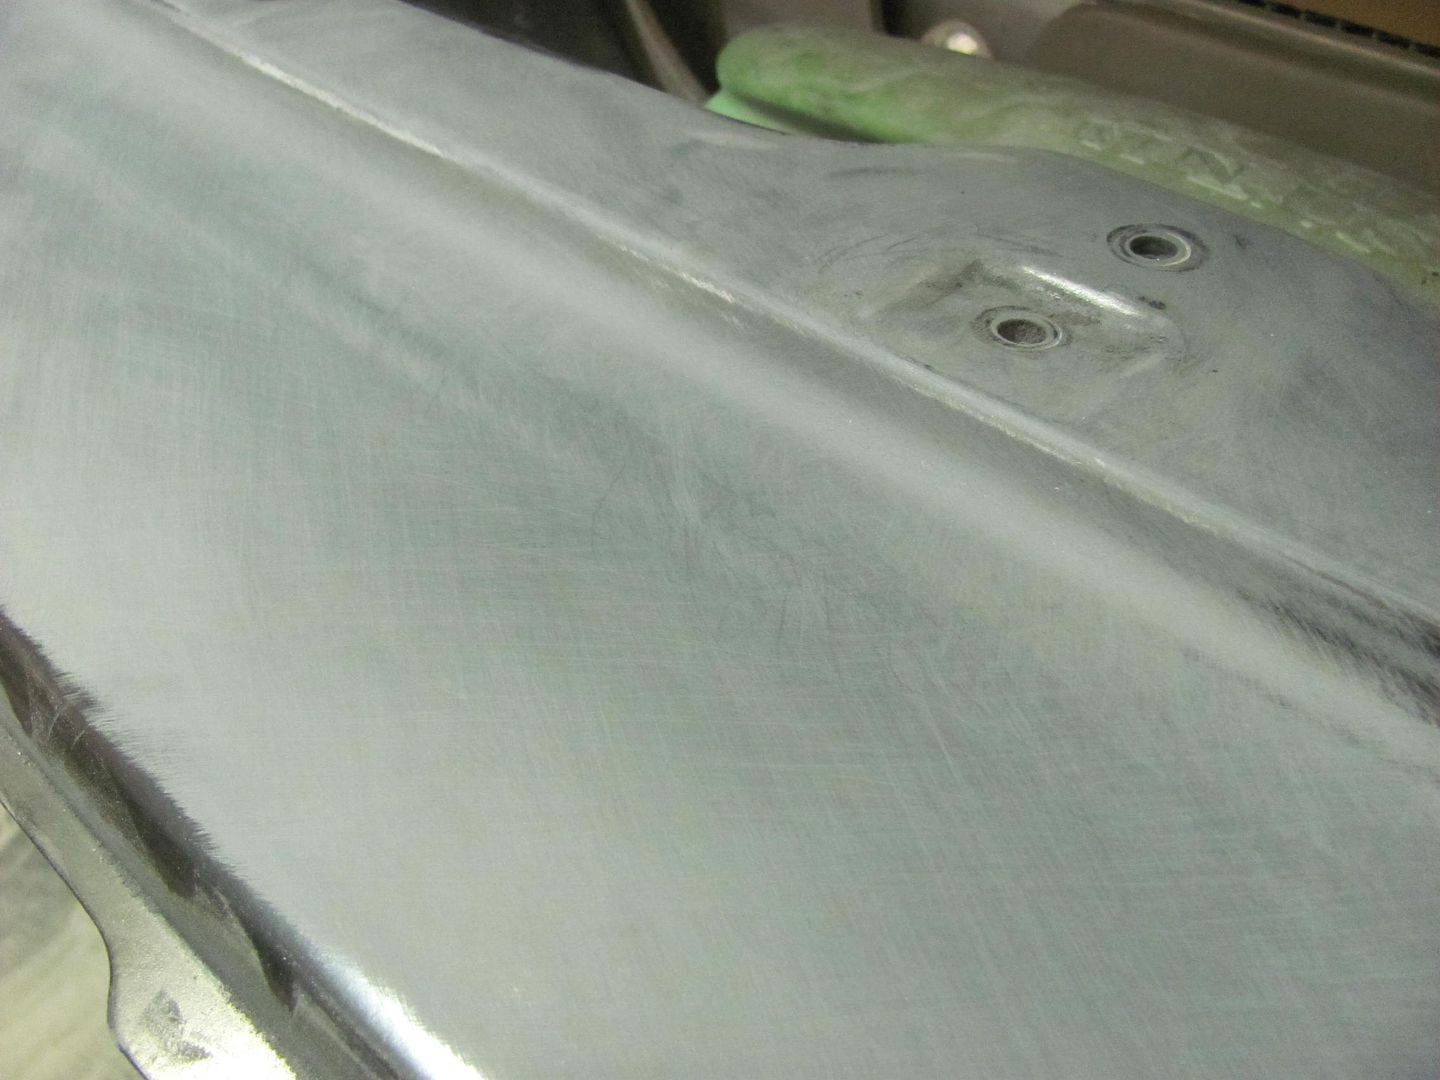
Not much to show on our progress today, but here's Kyle finishing up the hood brace..
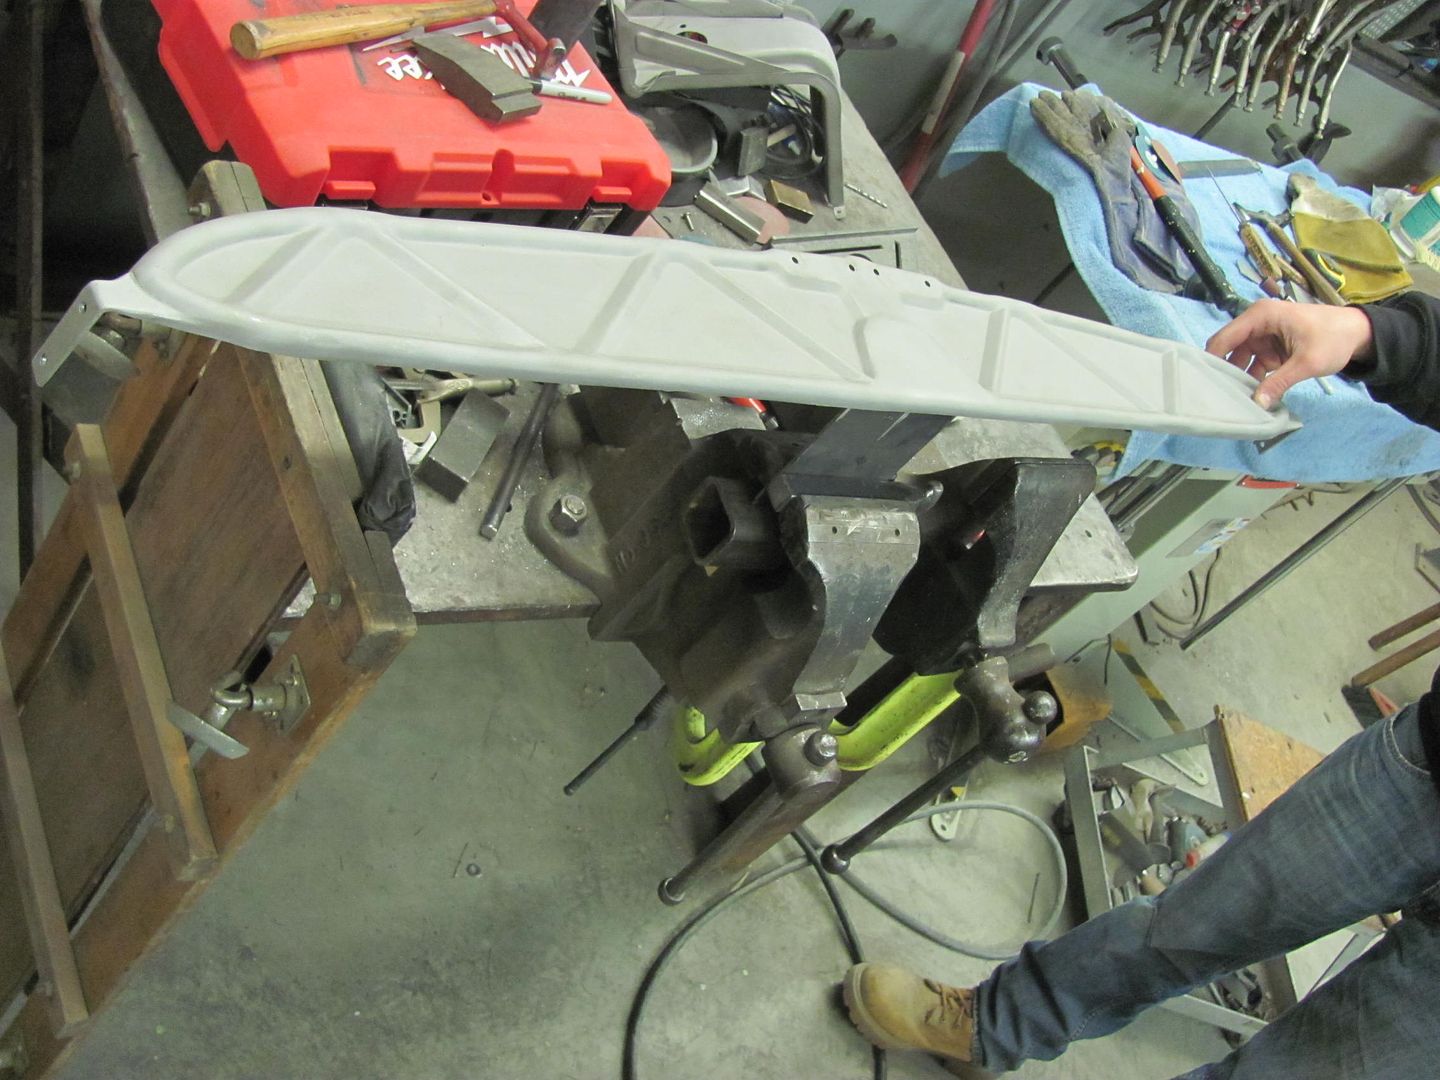
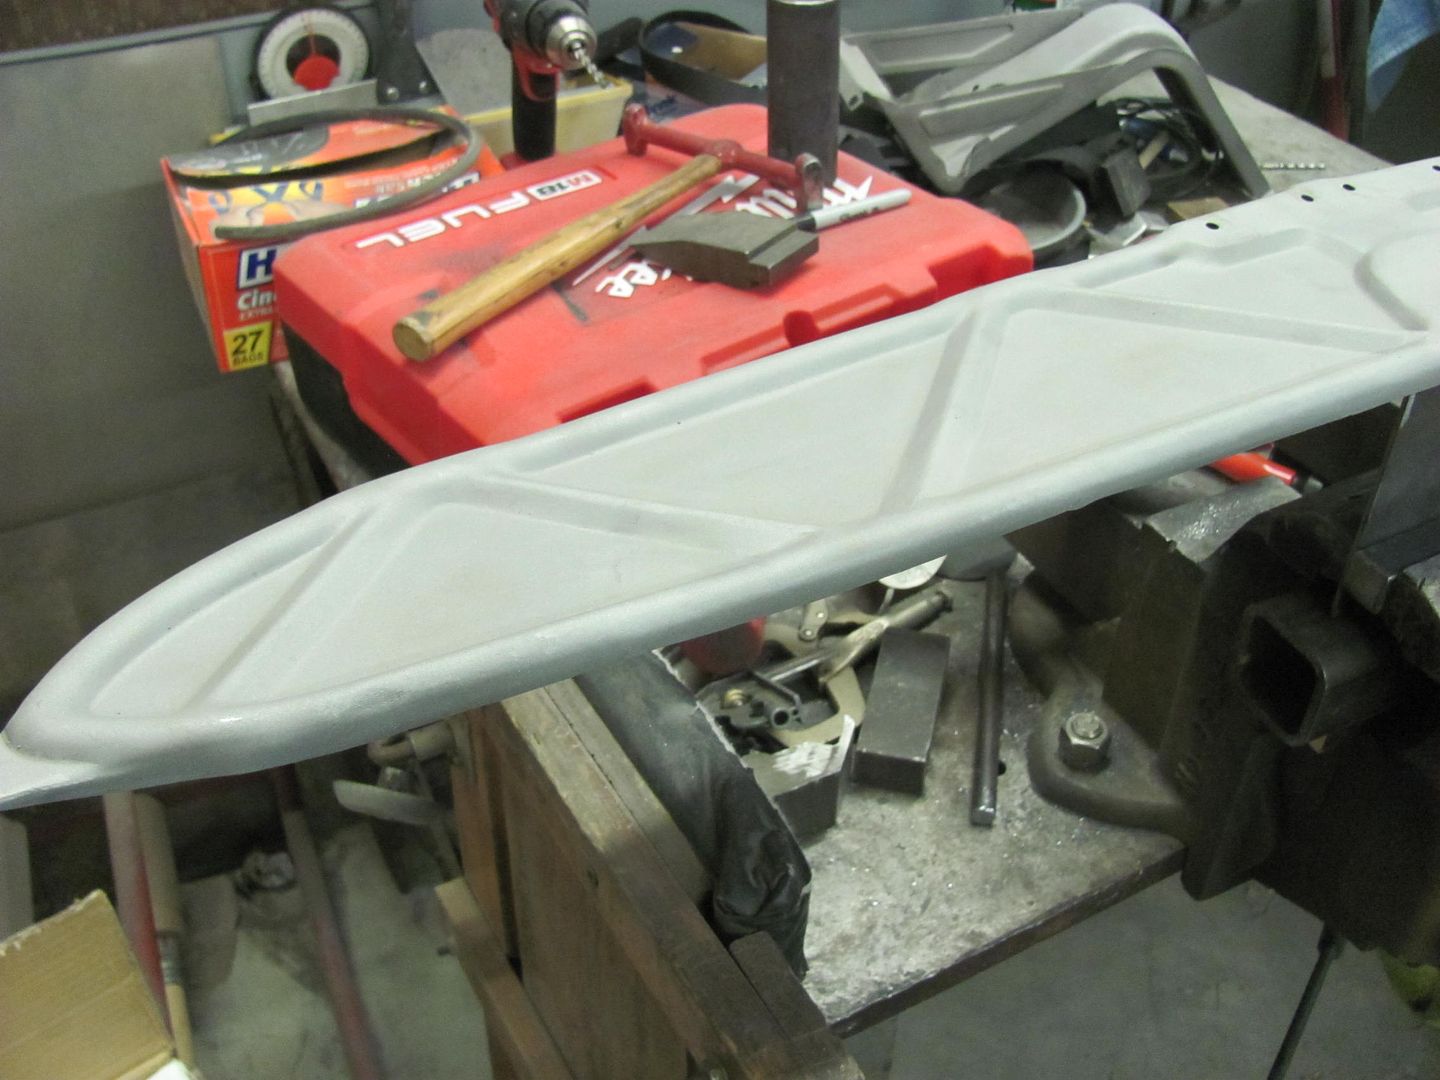
While I continue to generate dust on the floor...
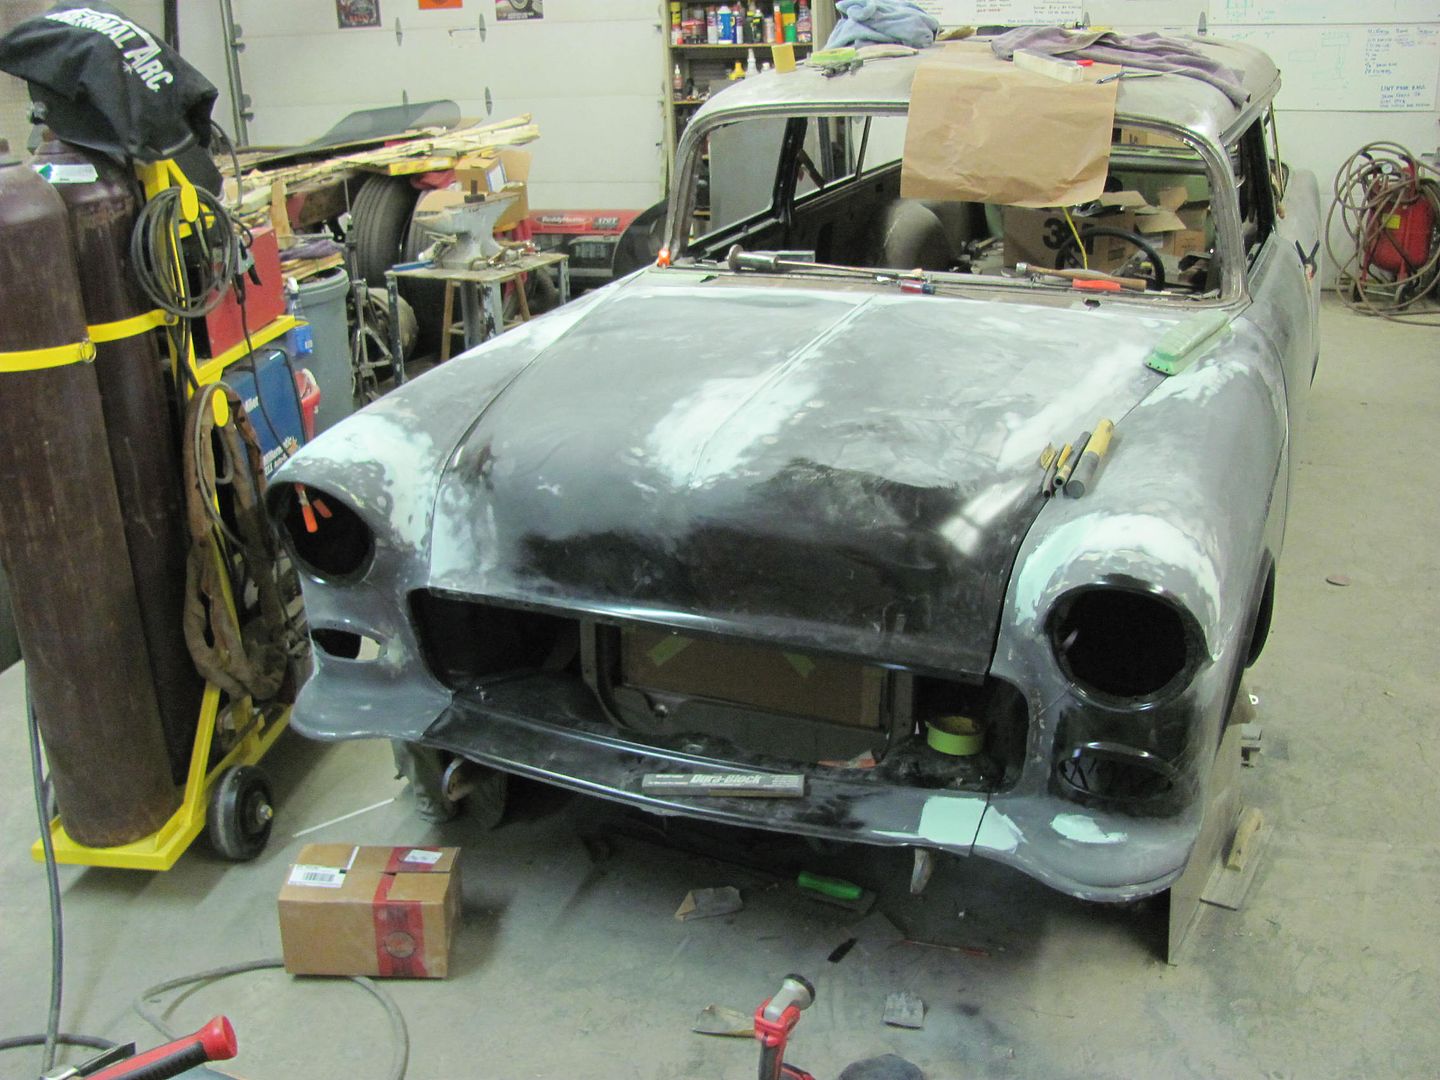
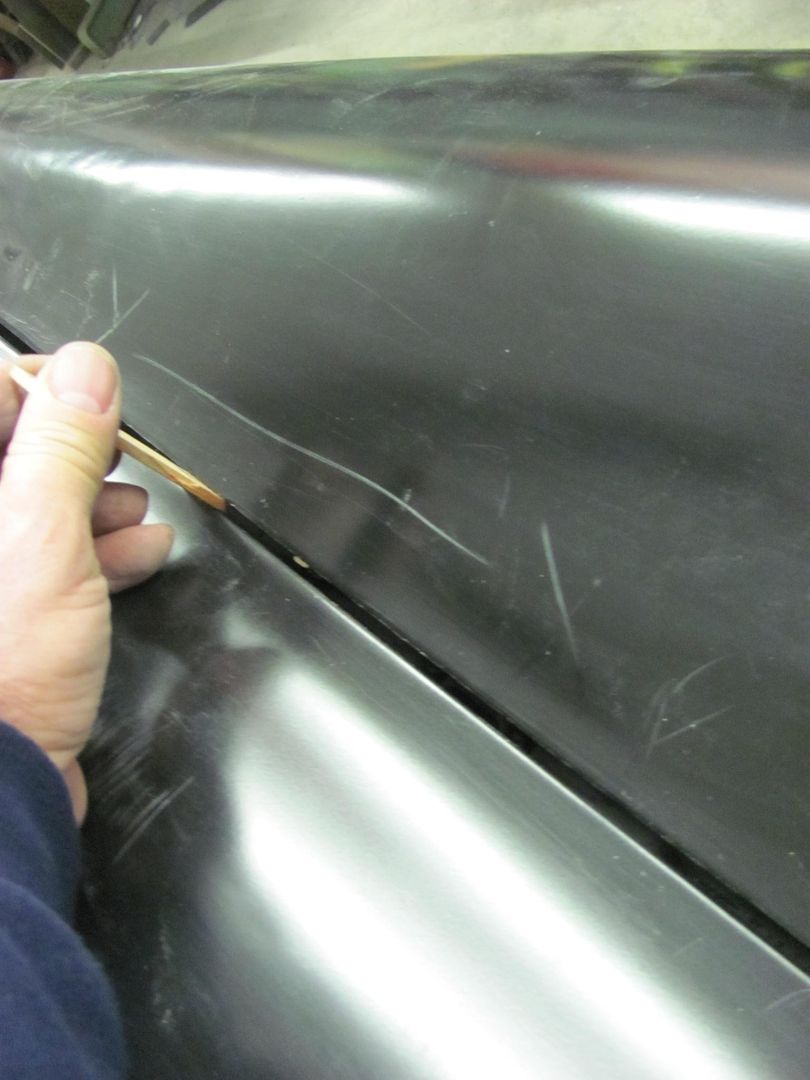
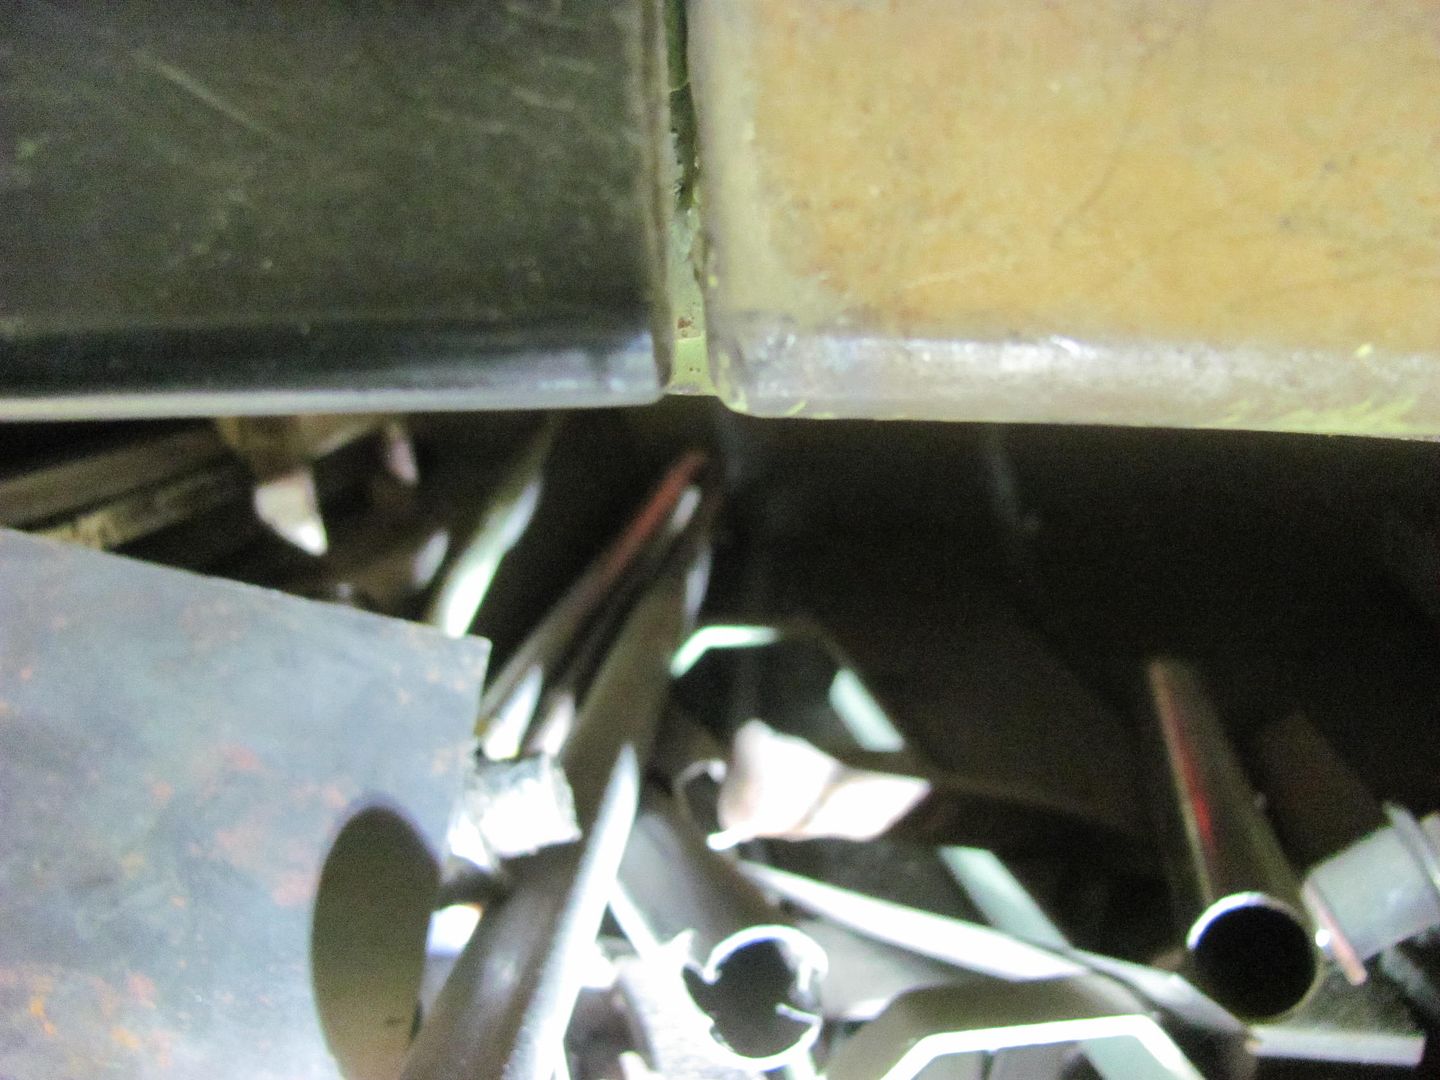
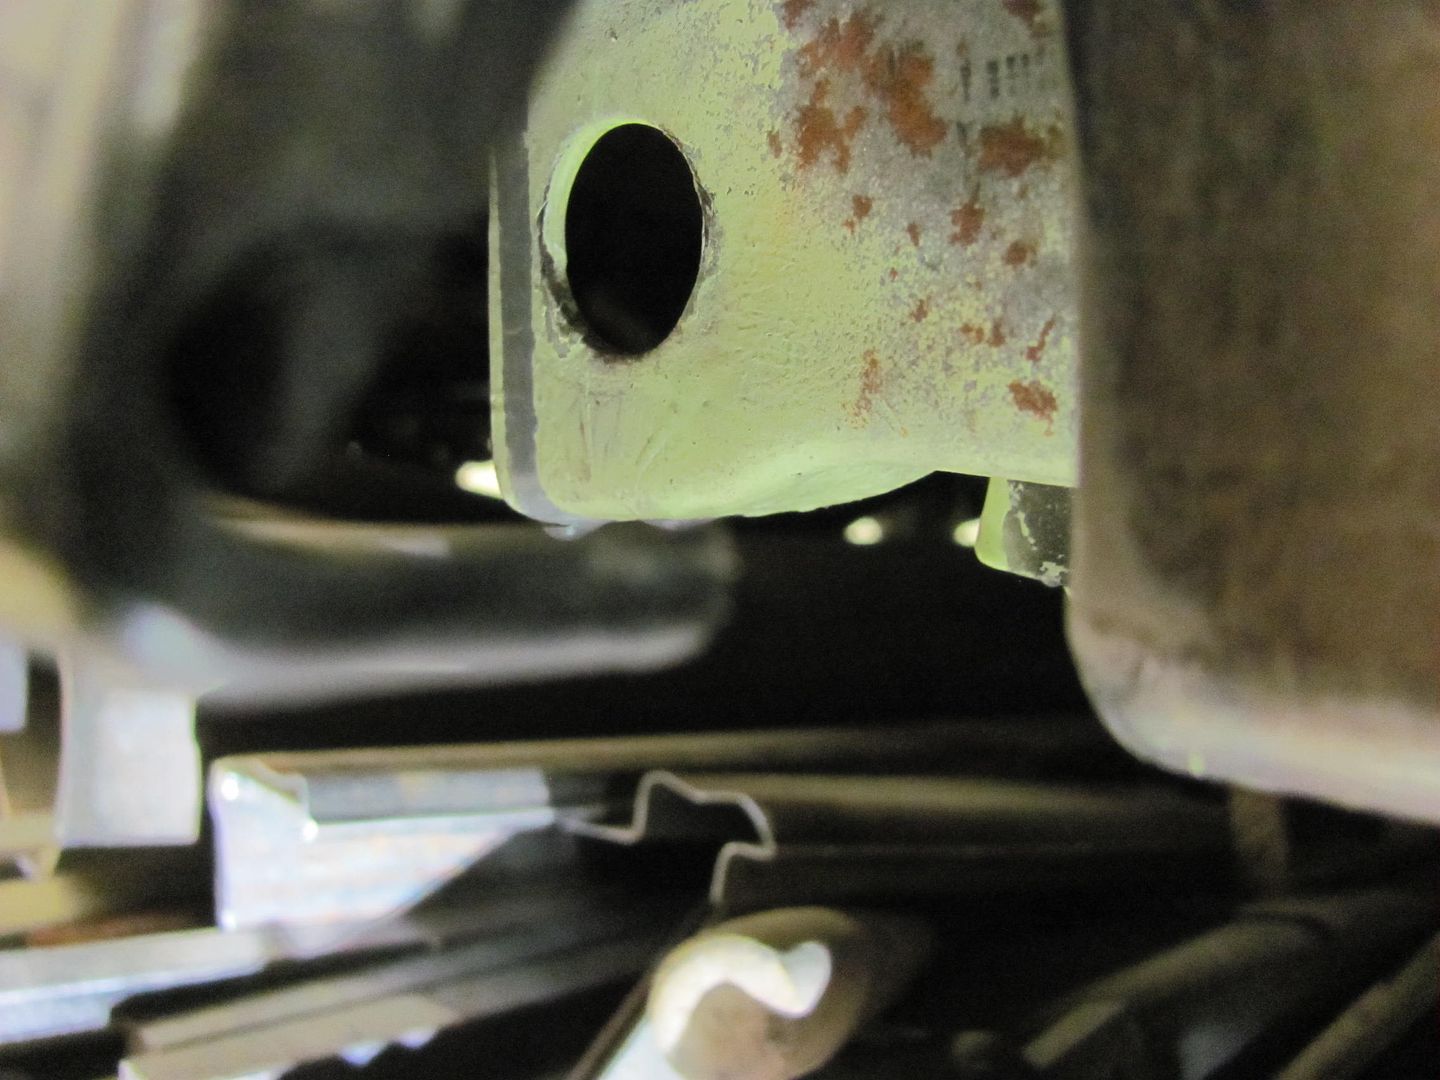
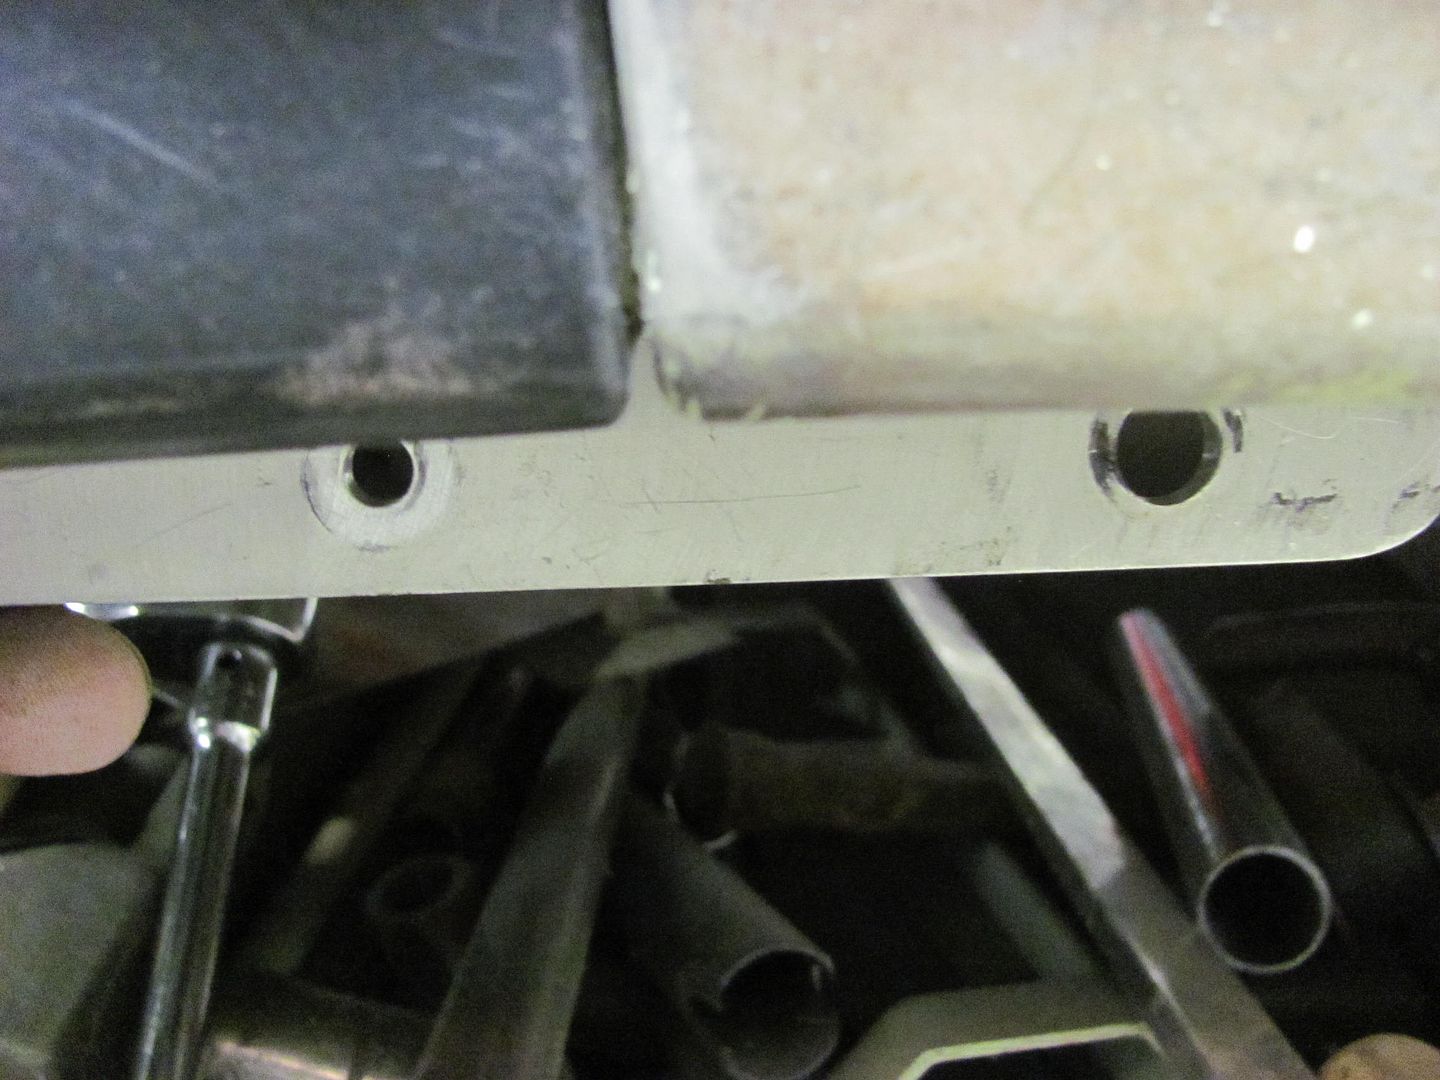
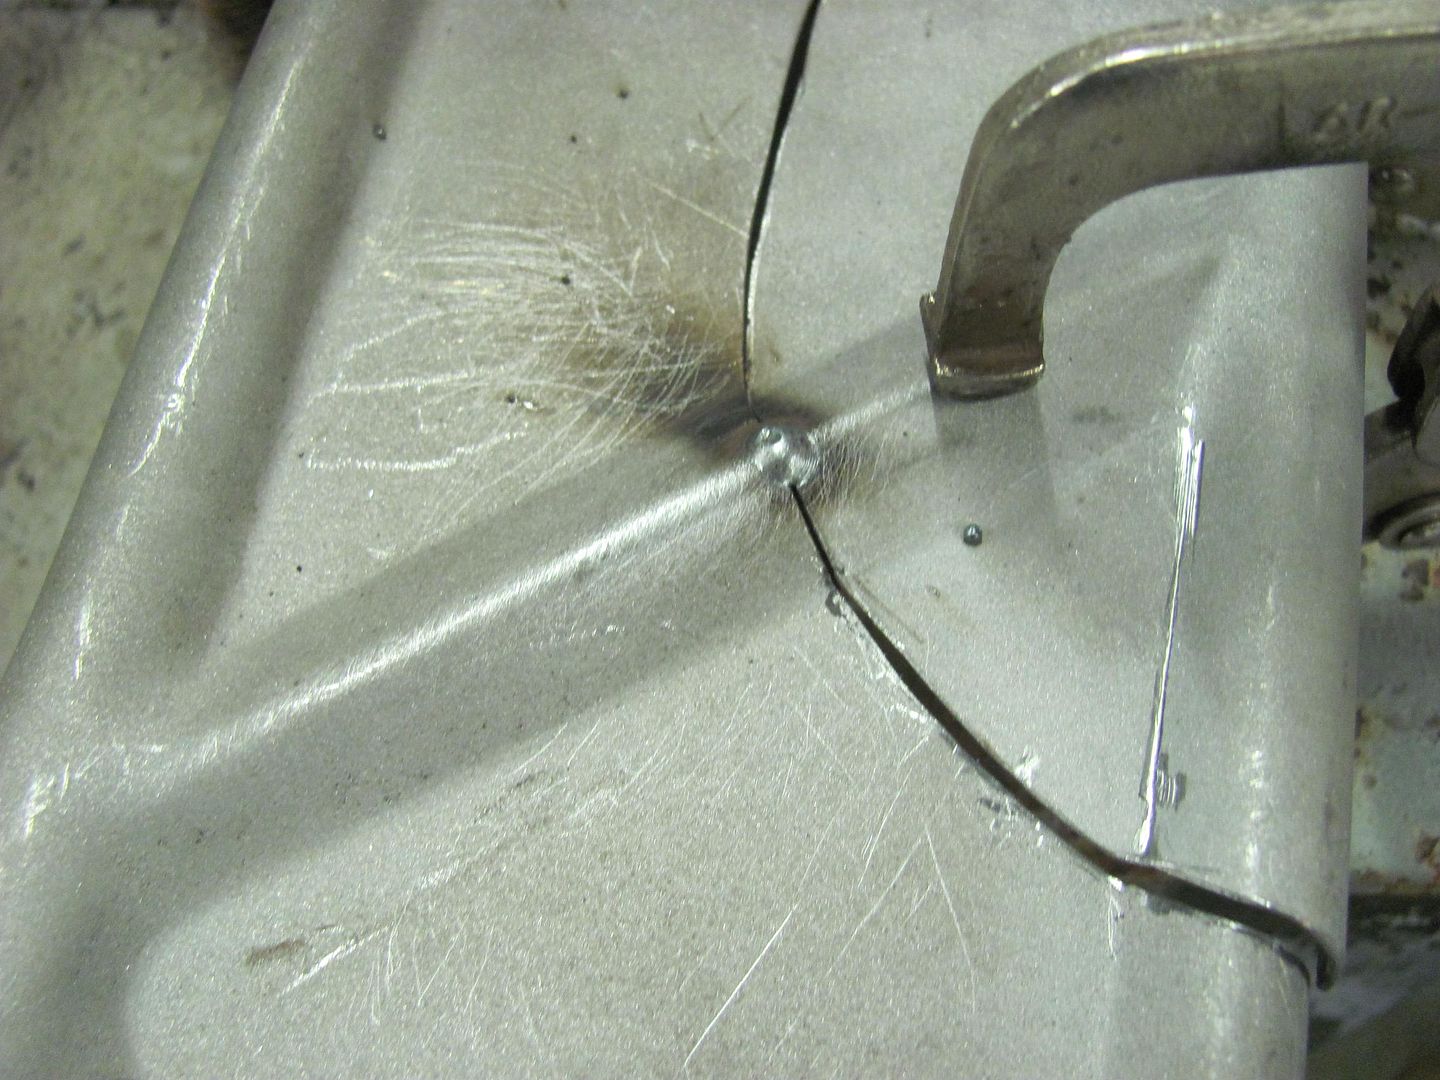
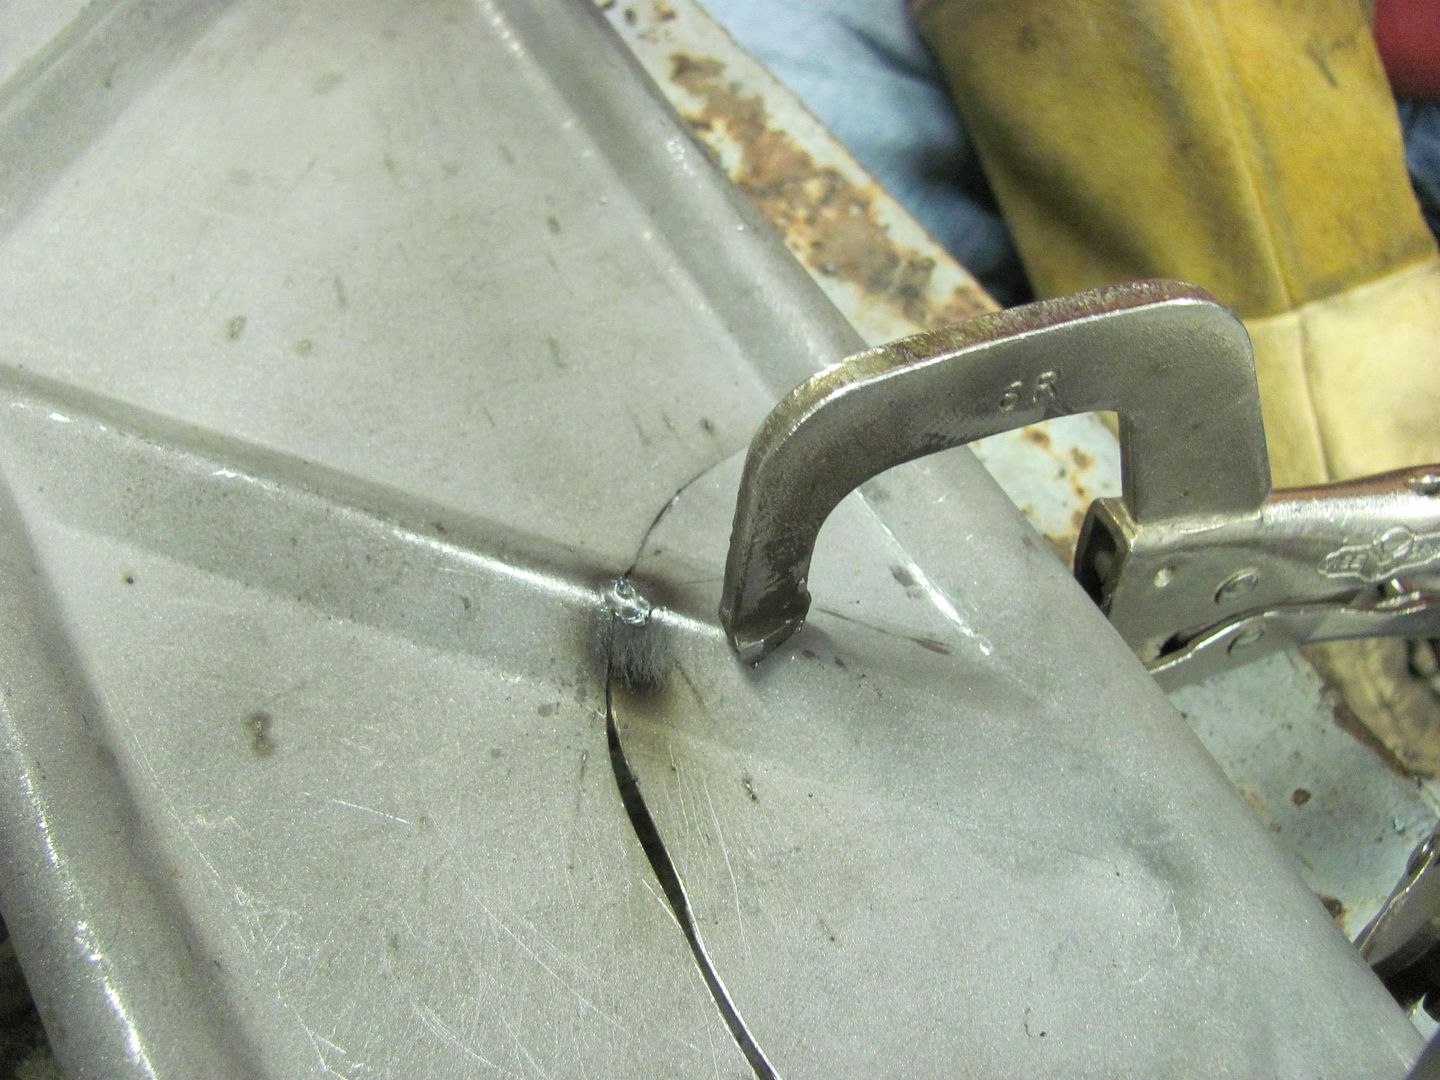
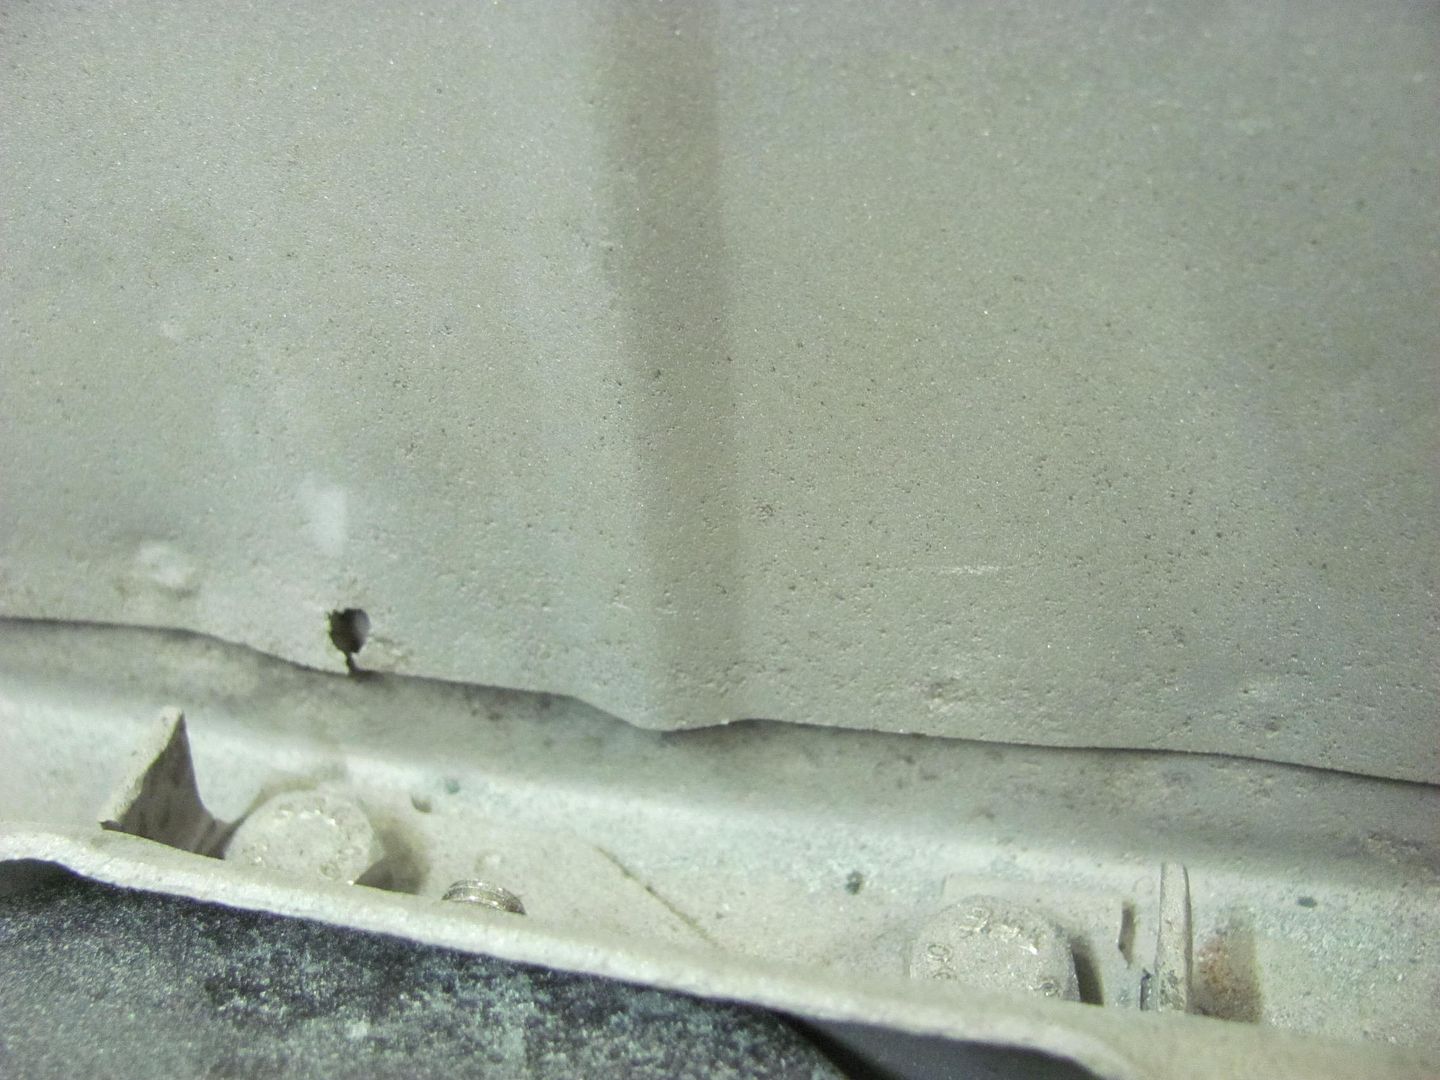
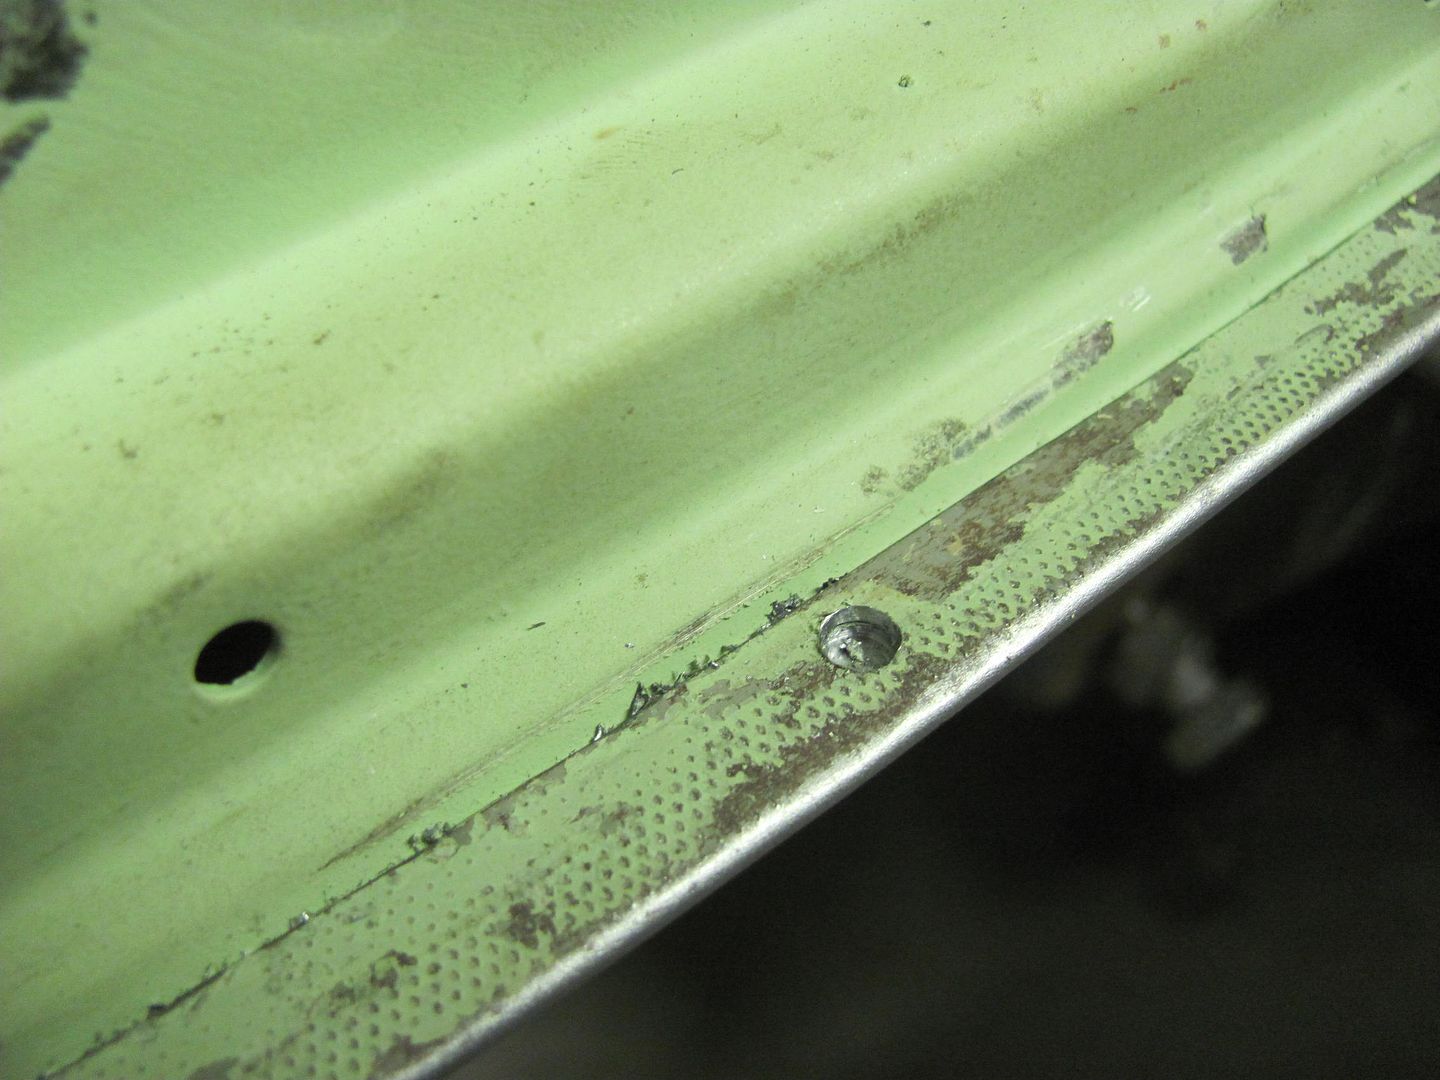
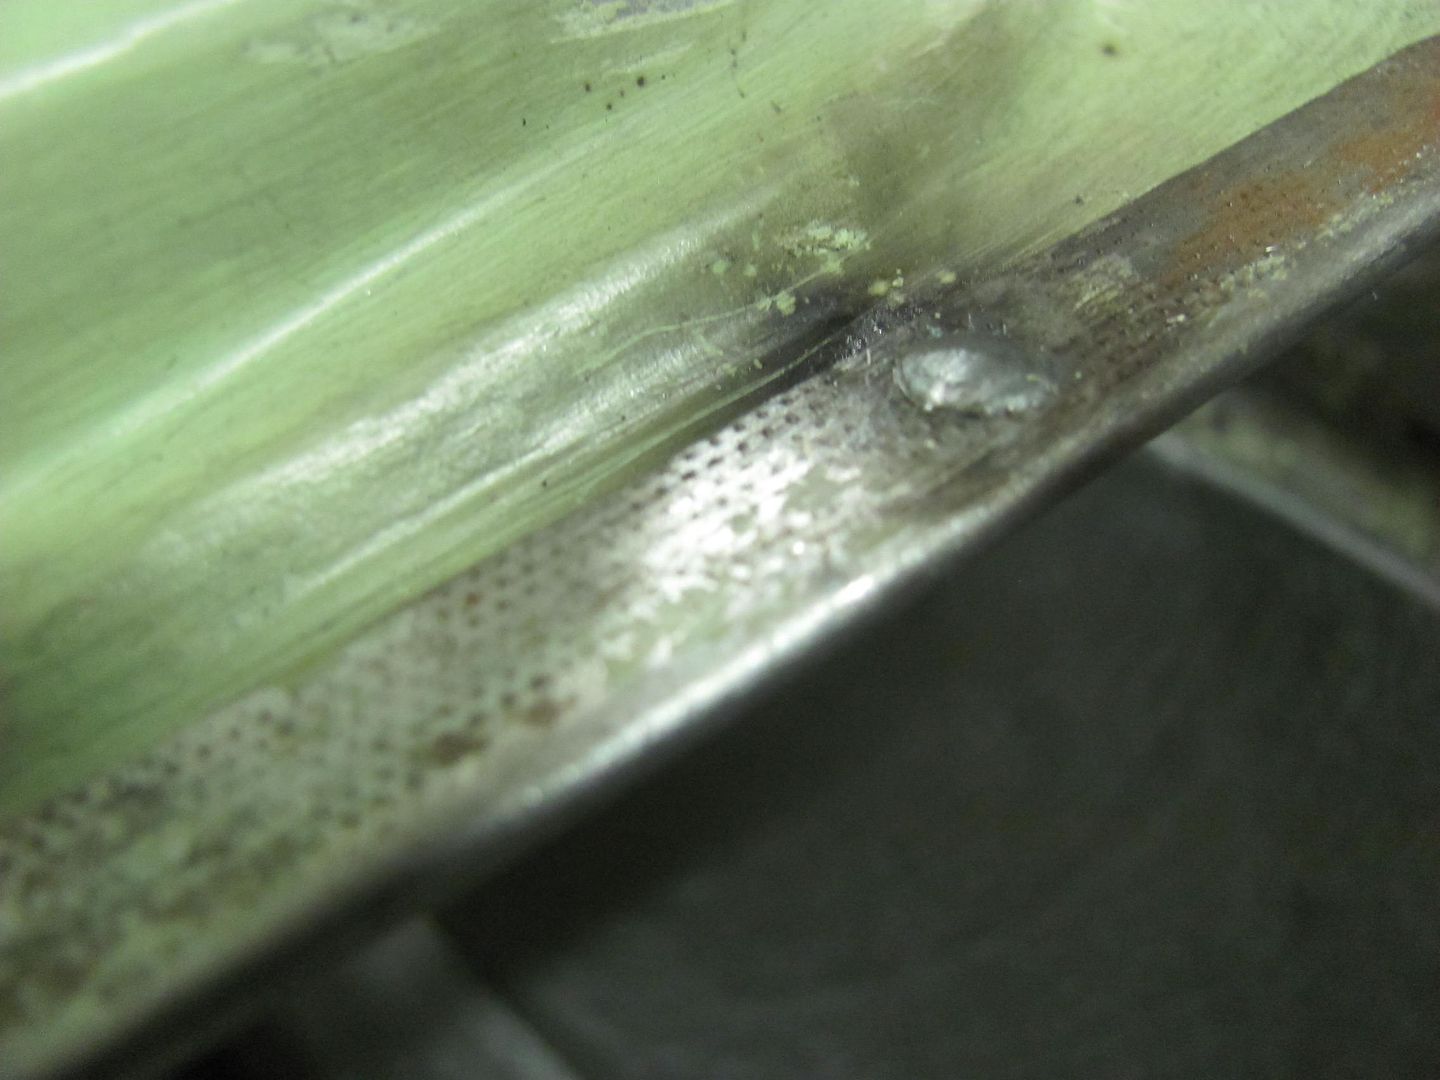
Recently we installed a used core support that was quite a bit nicer than our original, but still showed some issues...
Here we see some rust...
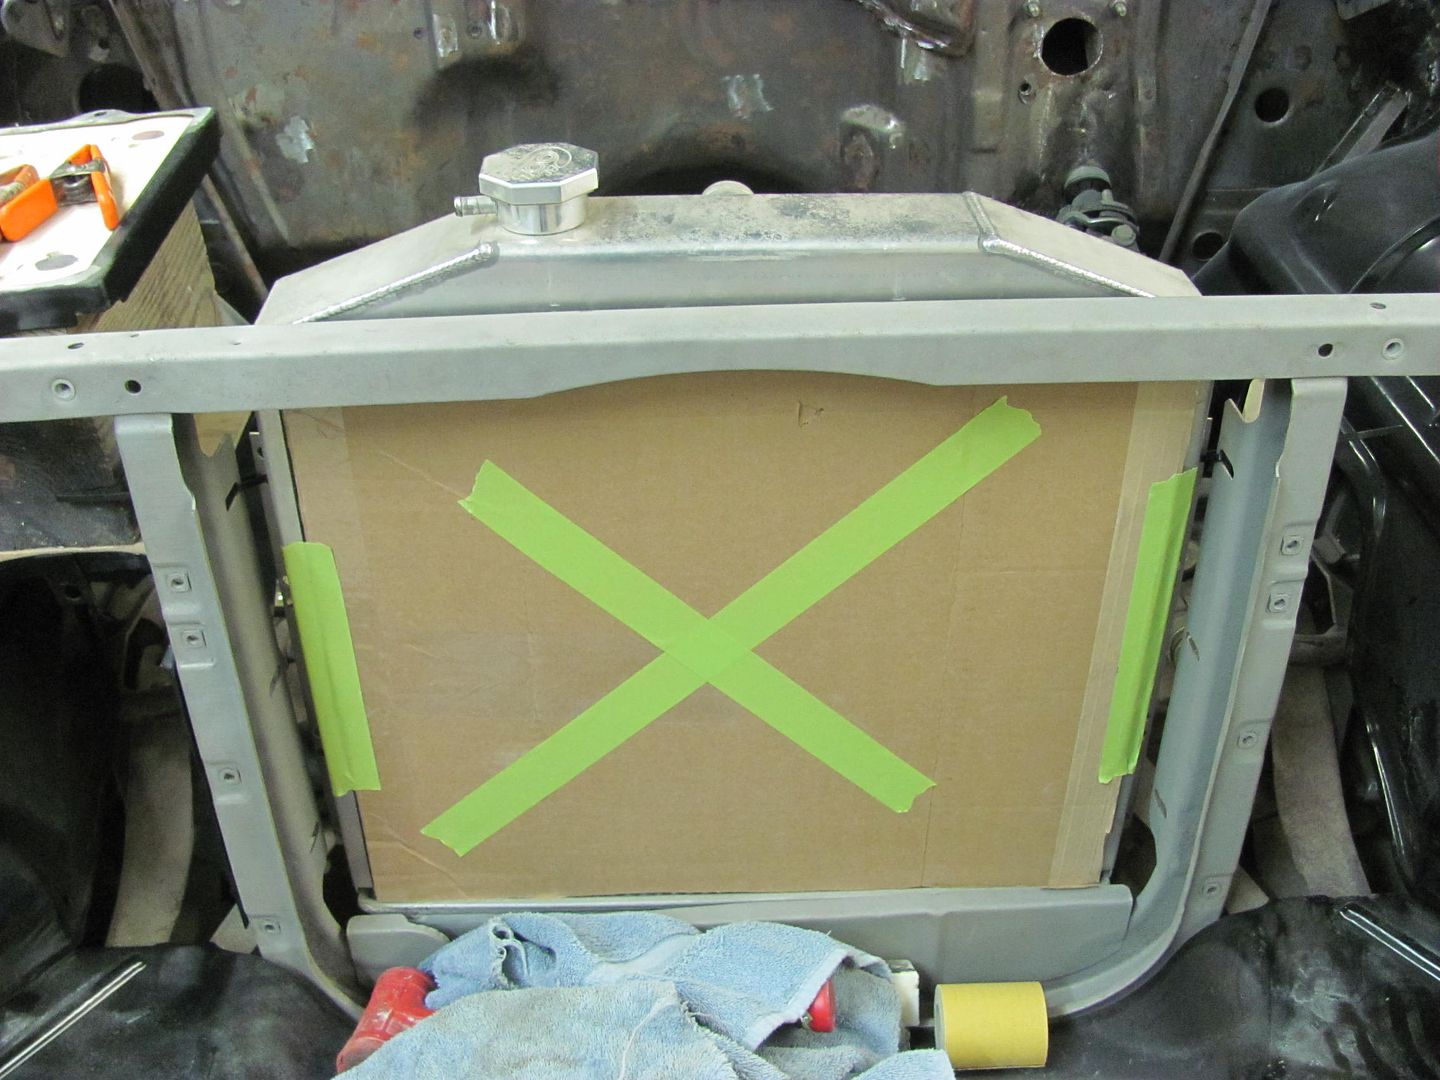
And not quite enough clearance to the petcock..
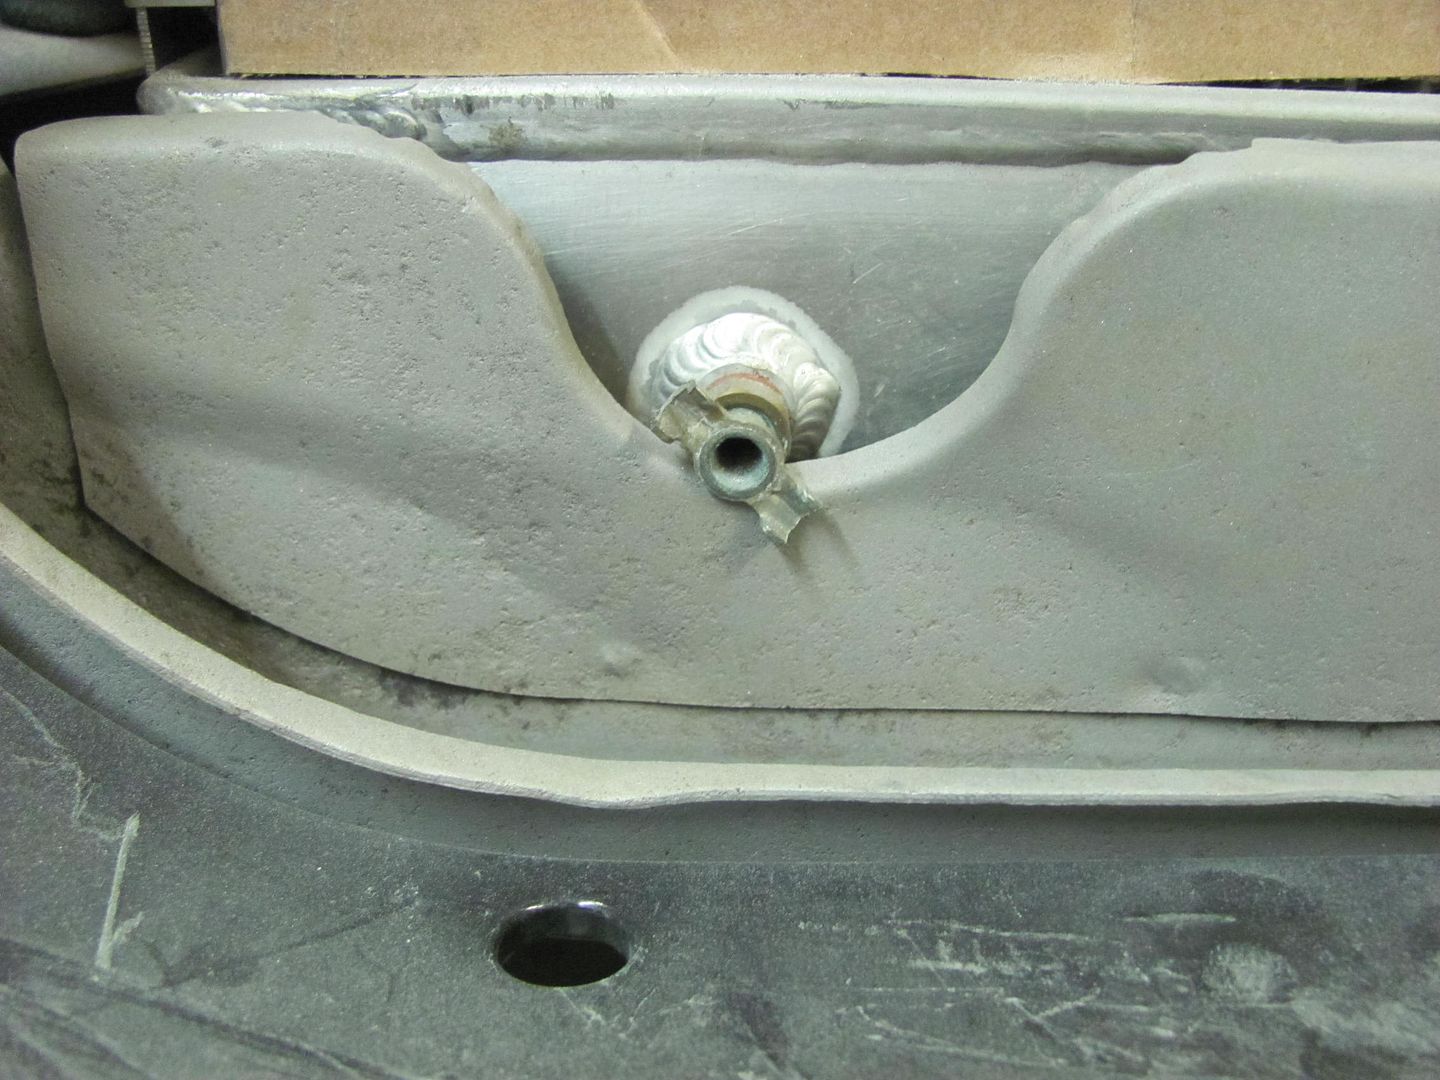
So this will be next on the list, cutting out a new one with a bit better fitment.Robert
-
02-16-2015 04:47 PM #434
CHR Member
- Join Date
- Jun 2008
- Location
- Leonardtown
- Car Year, Make, Model: Walking
- Posts
- 1,228
We had an early schedule today to try and miss the weather.. As I still hadn't finished blocking the front end, rather than pull the core support just yet, Kyle will start on the rear of the wagon in wrapping up some details there. Before pulling the tailgate, there was one gap that was inconsistent, so I gave him a hand with the rework before he got welding..
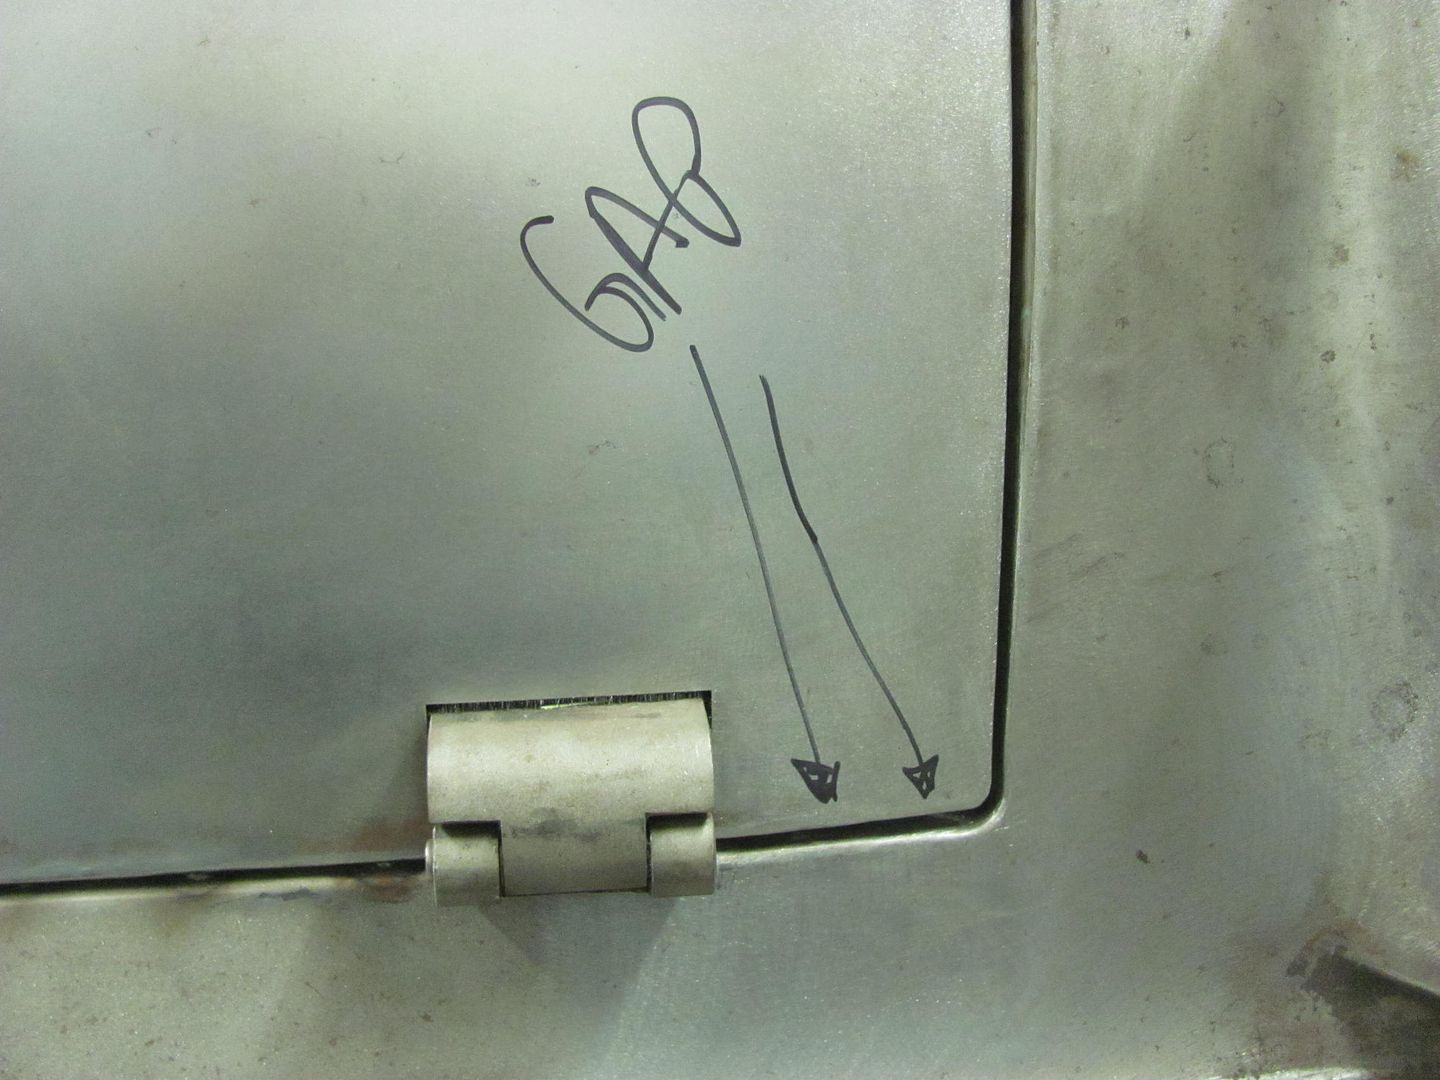
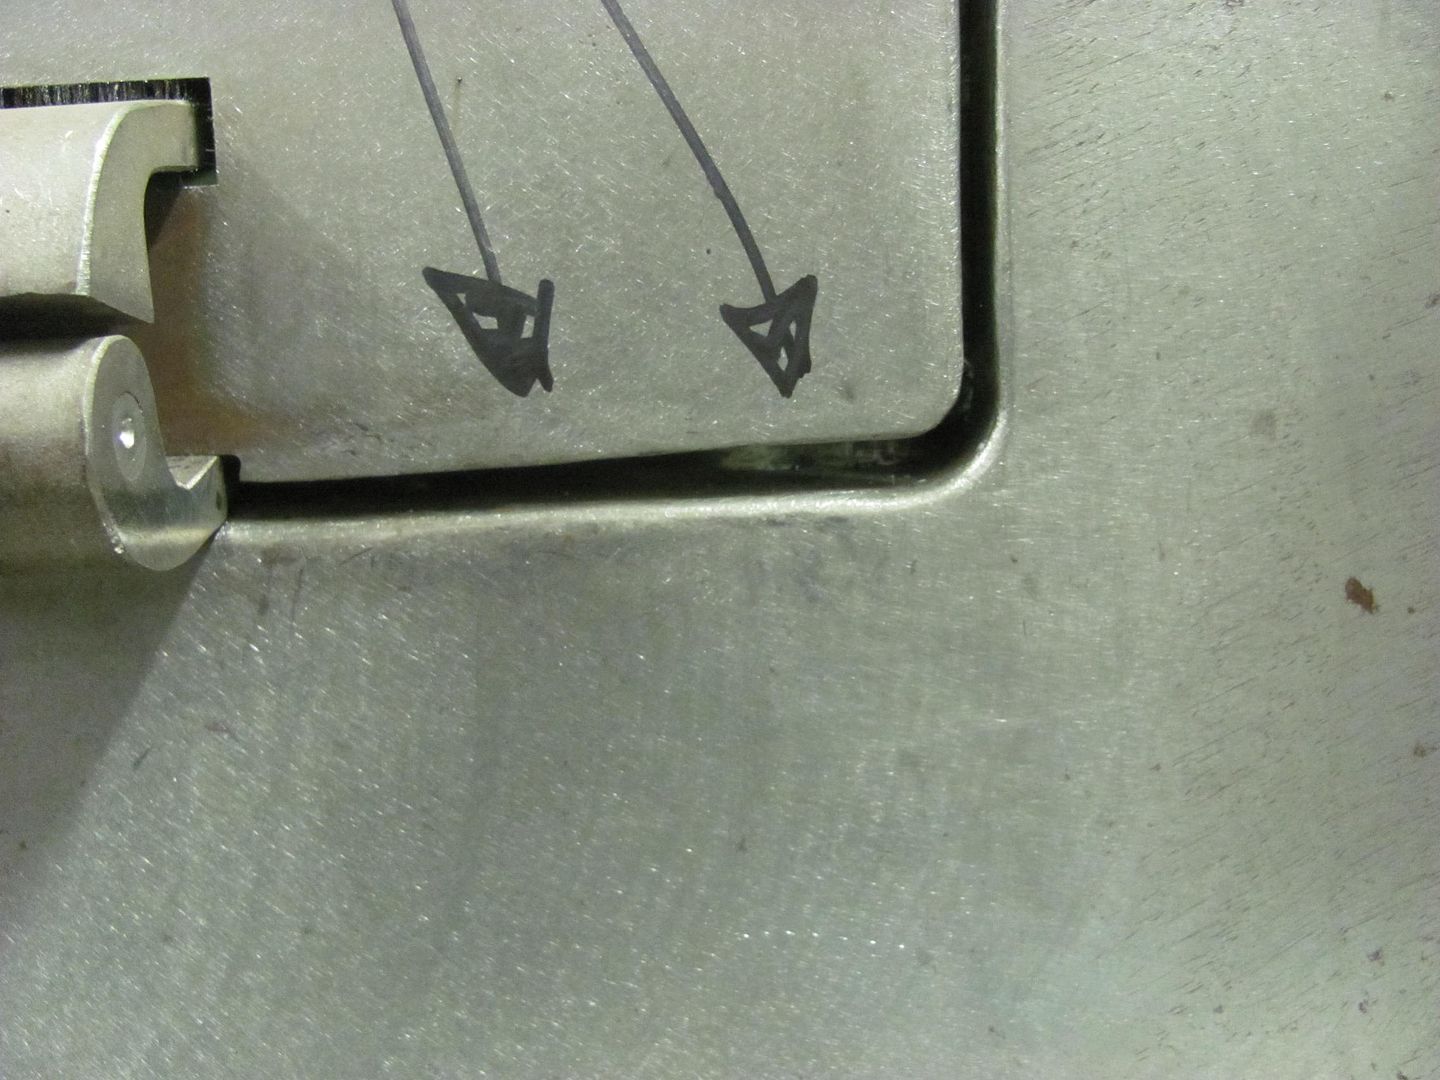
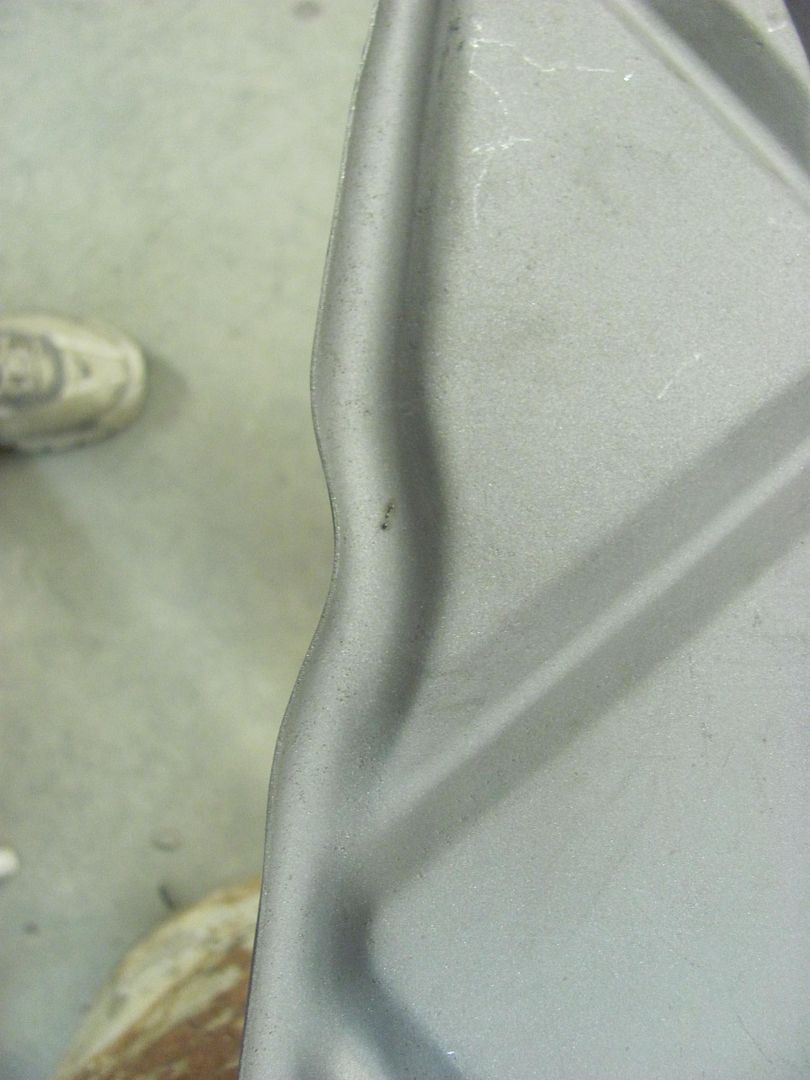
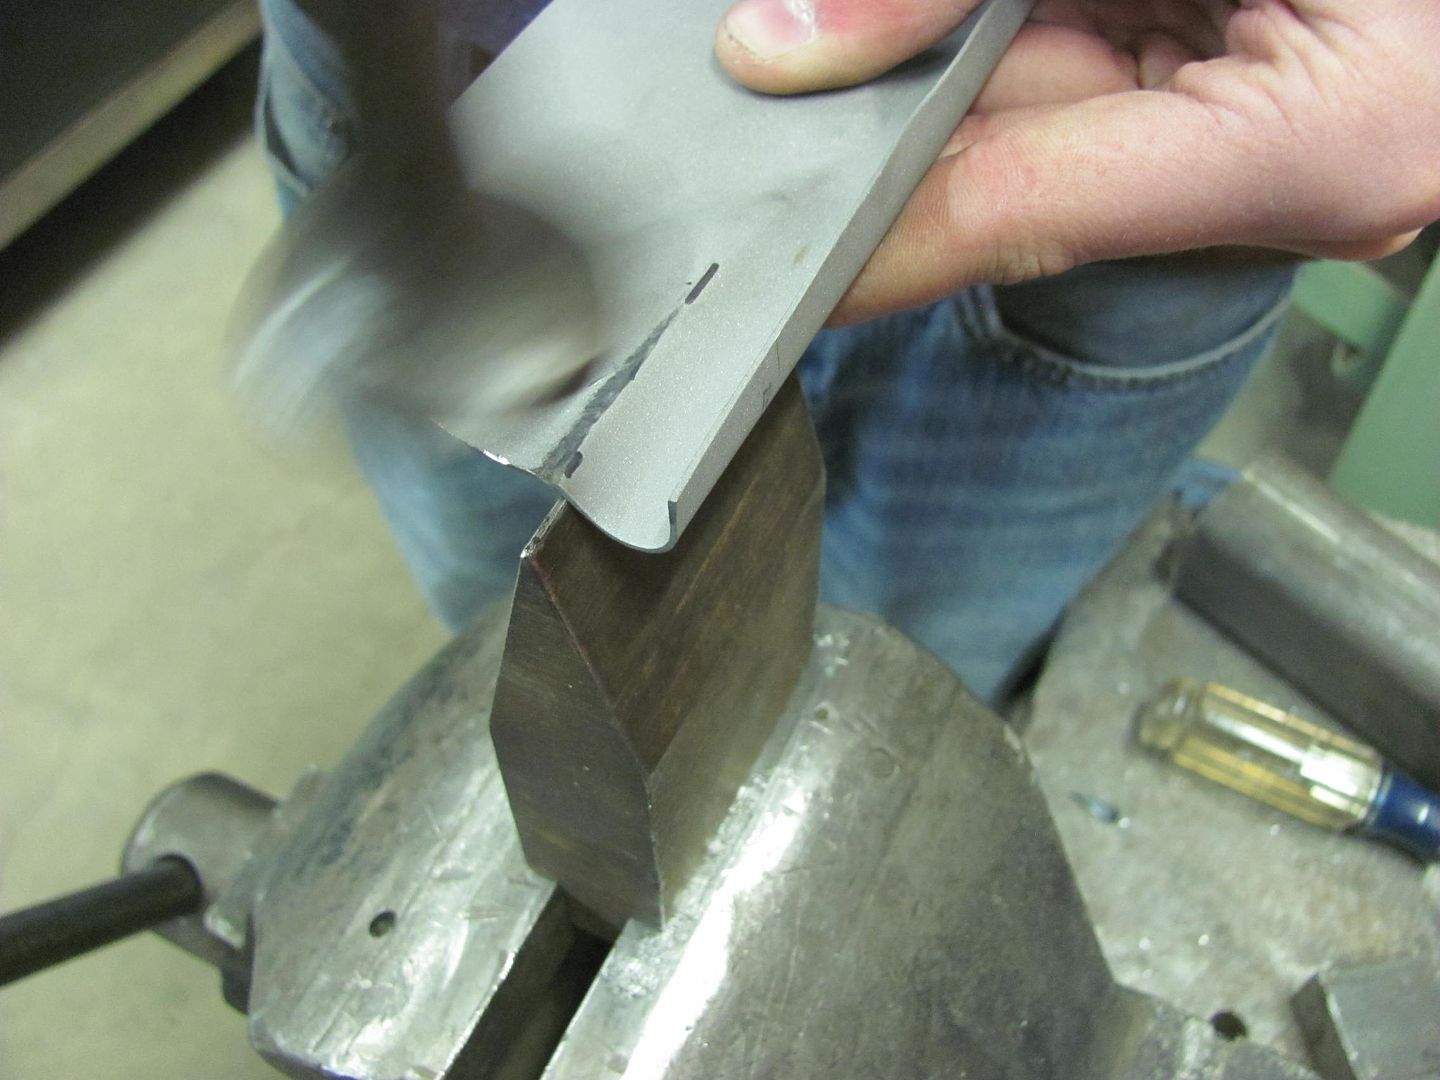
First to unfold the flange a bit...
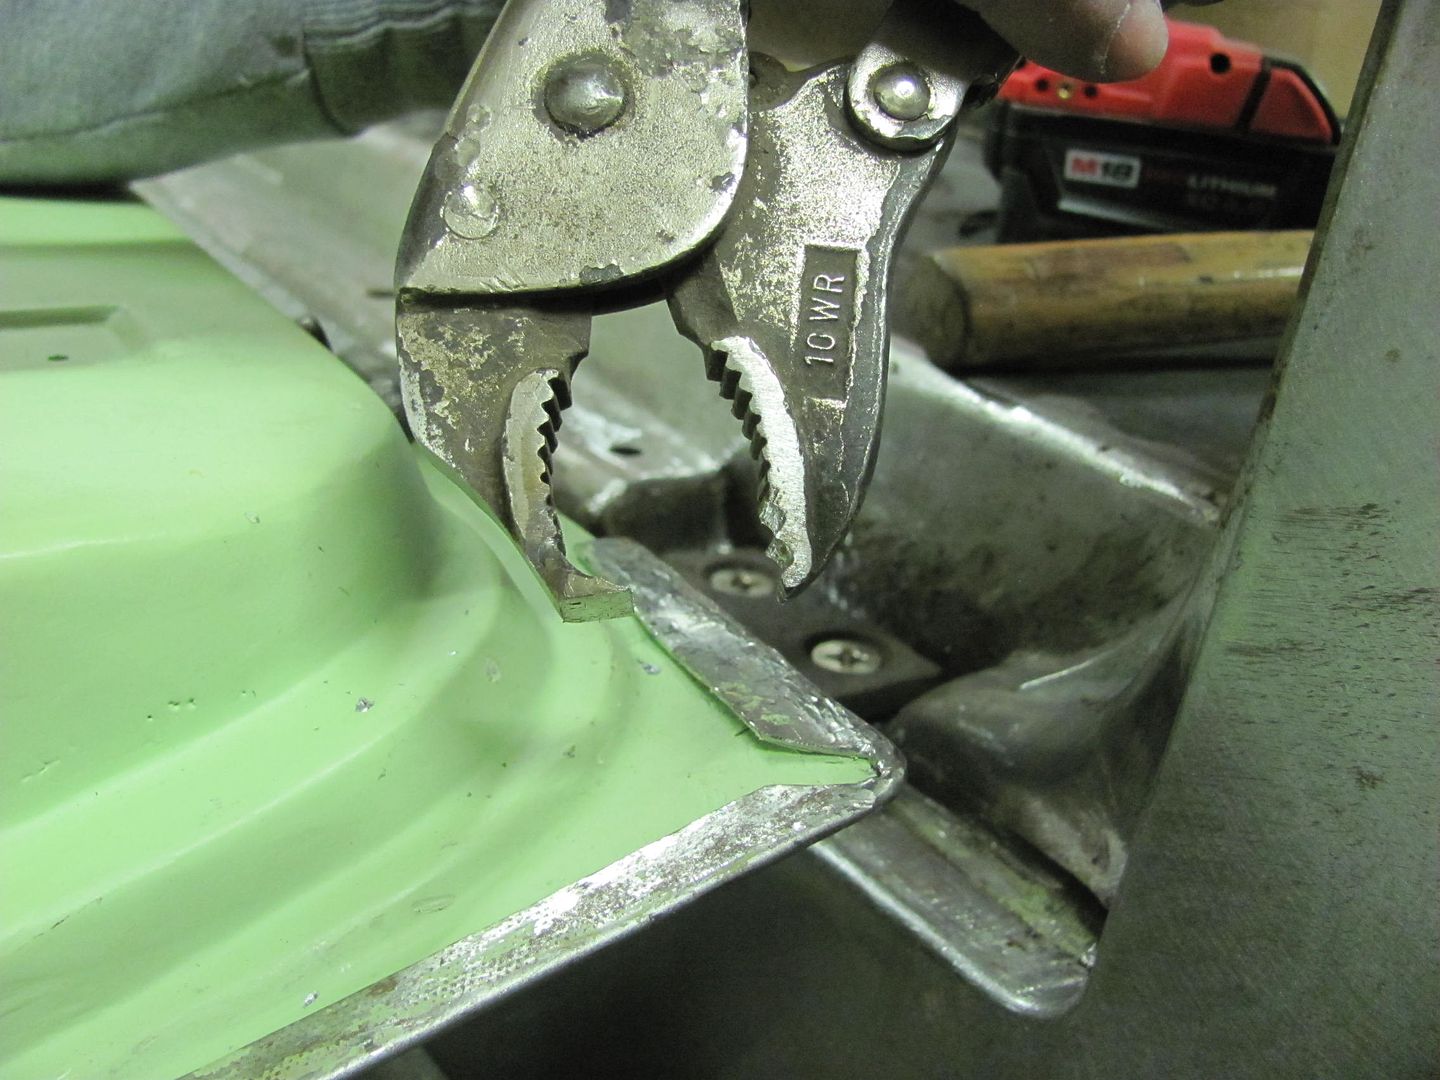
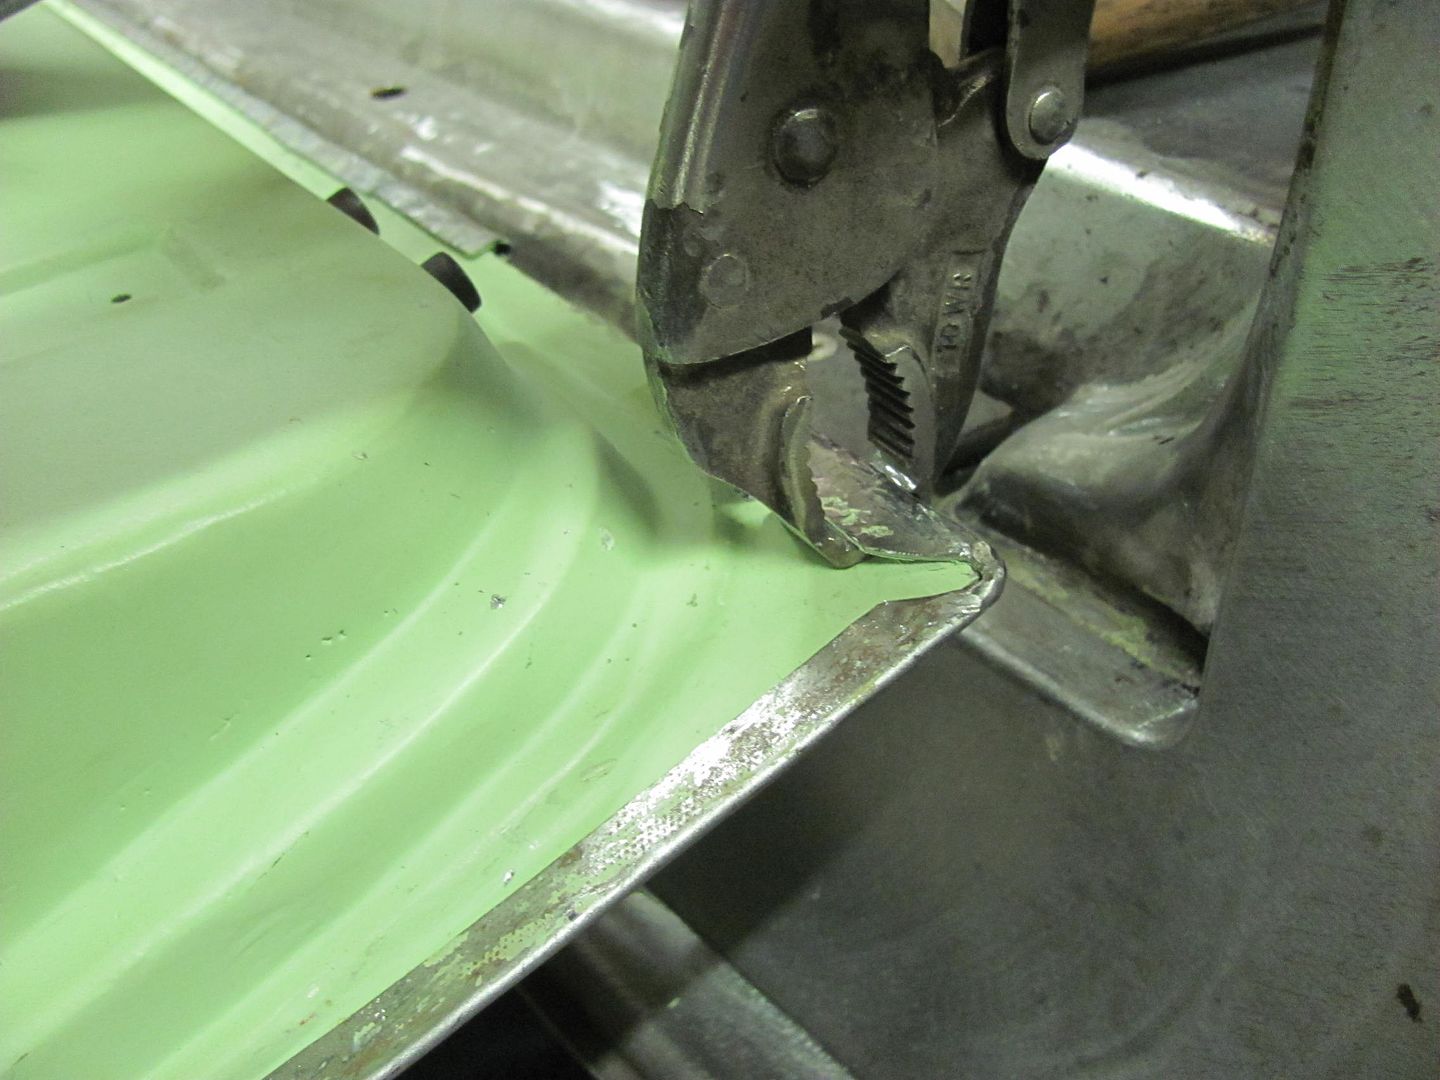
Next, some 14 gauge steel was cut out and a strengthening bend added to use for some friendly persuasion..
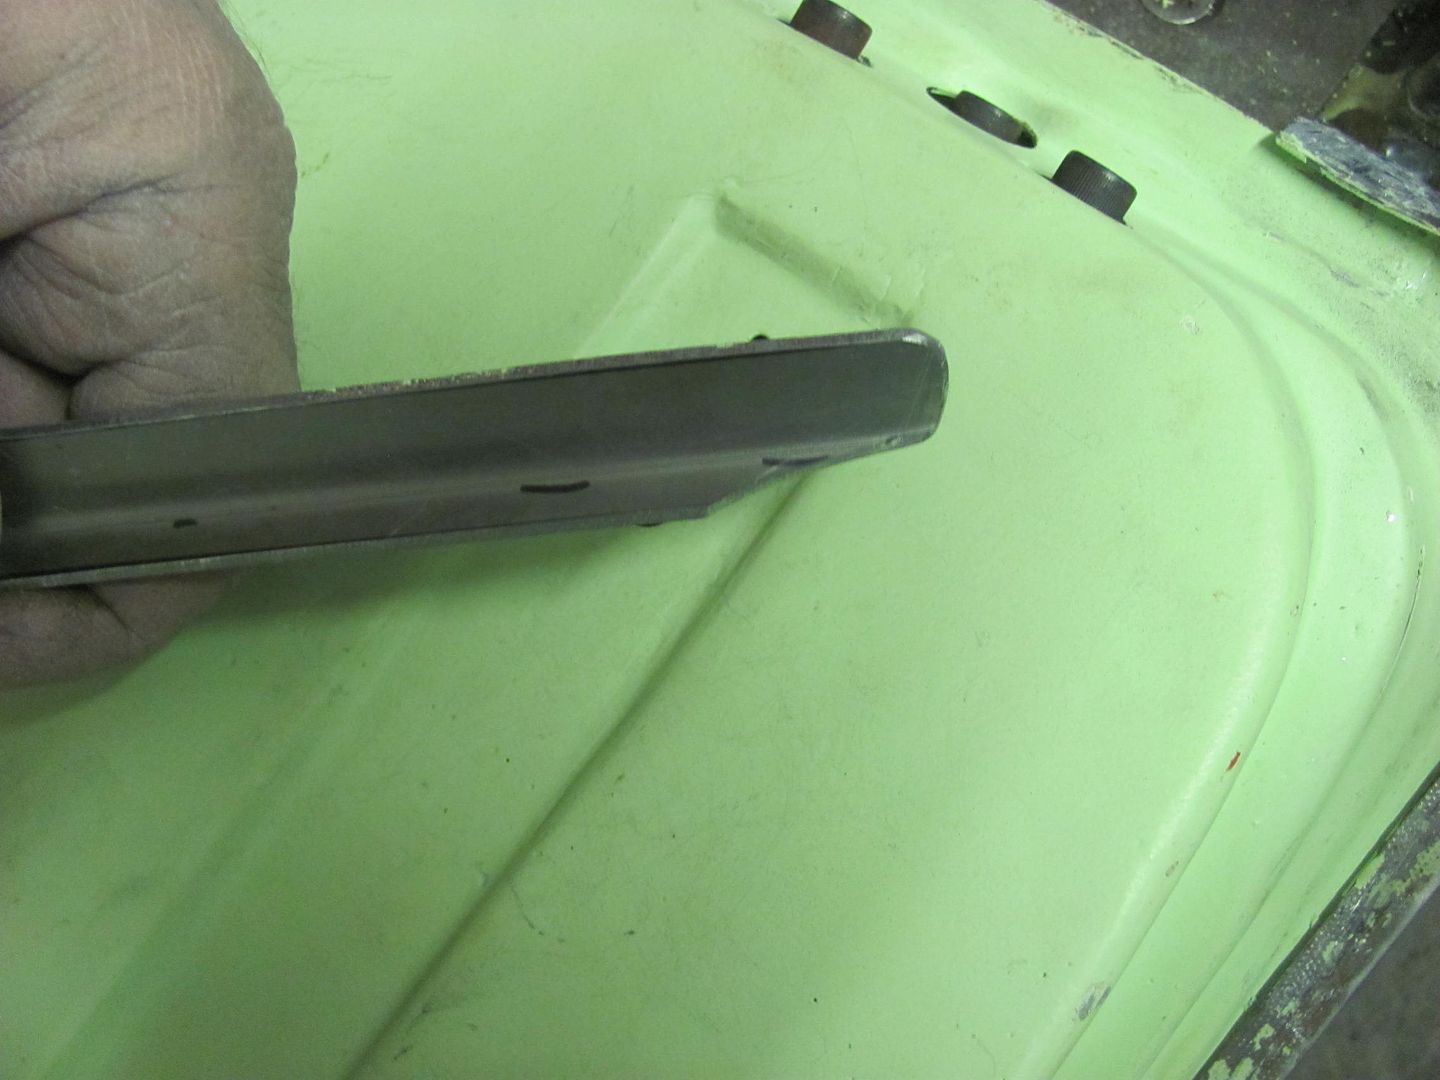
Refolded...
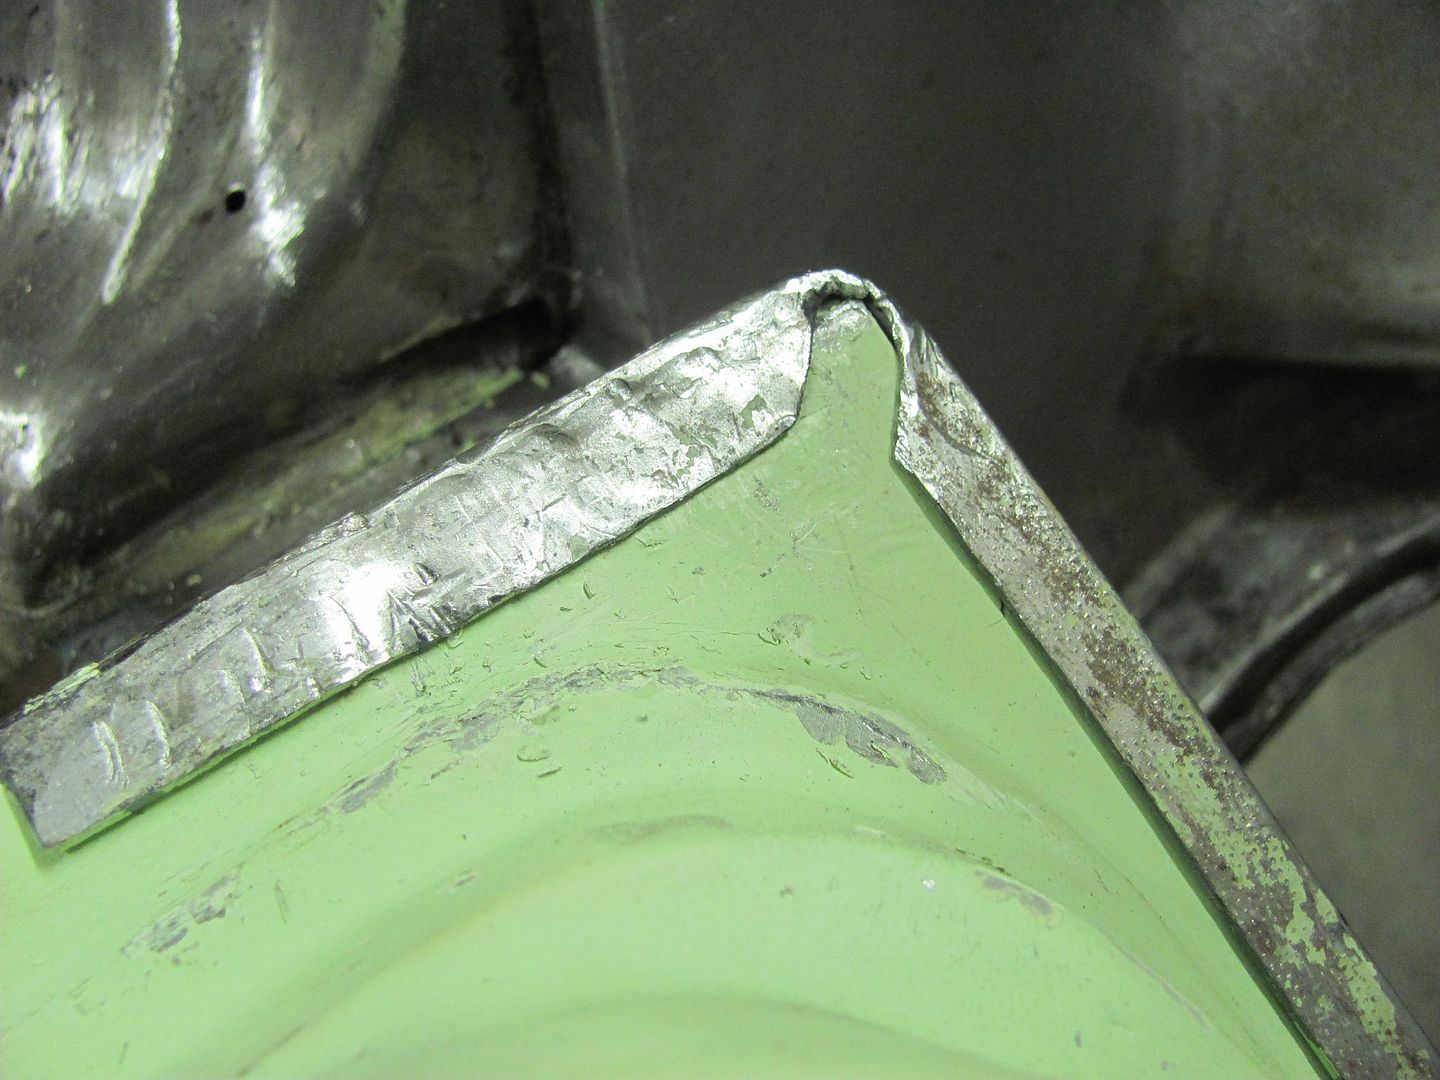
For comparison, before:
After:
Then we tweaked the twist of the tailgate for good fitment to the opening and Kyle added three plug welds down each side to lock the skin to the inner tail gate.
...Then we removed the tail gate so he could finish the plug welds for the top flange of the tail pan, I had only tacked it in place when the tailpan was installed, so this should help check off another item from the list......
Meanwhile I continued blocking out the front end..

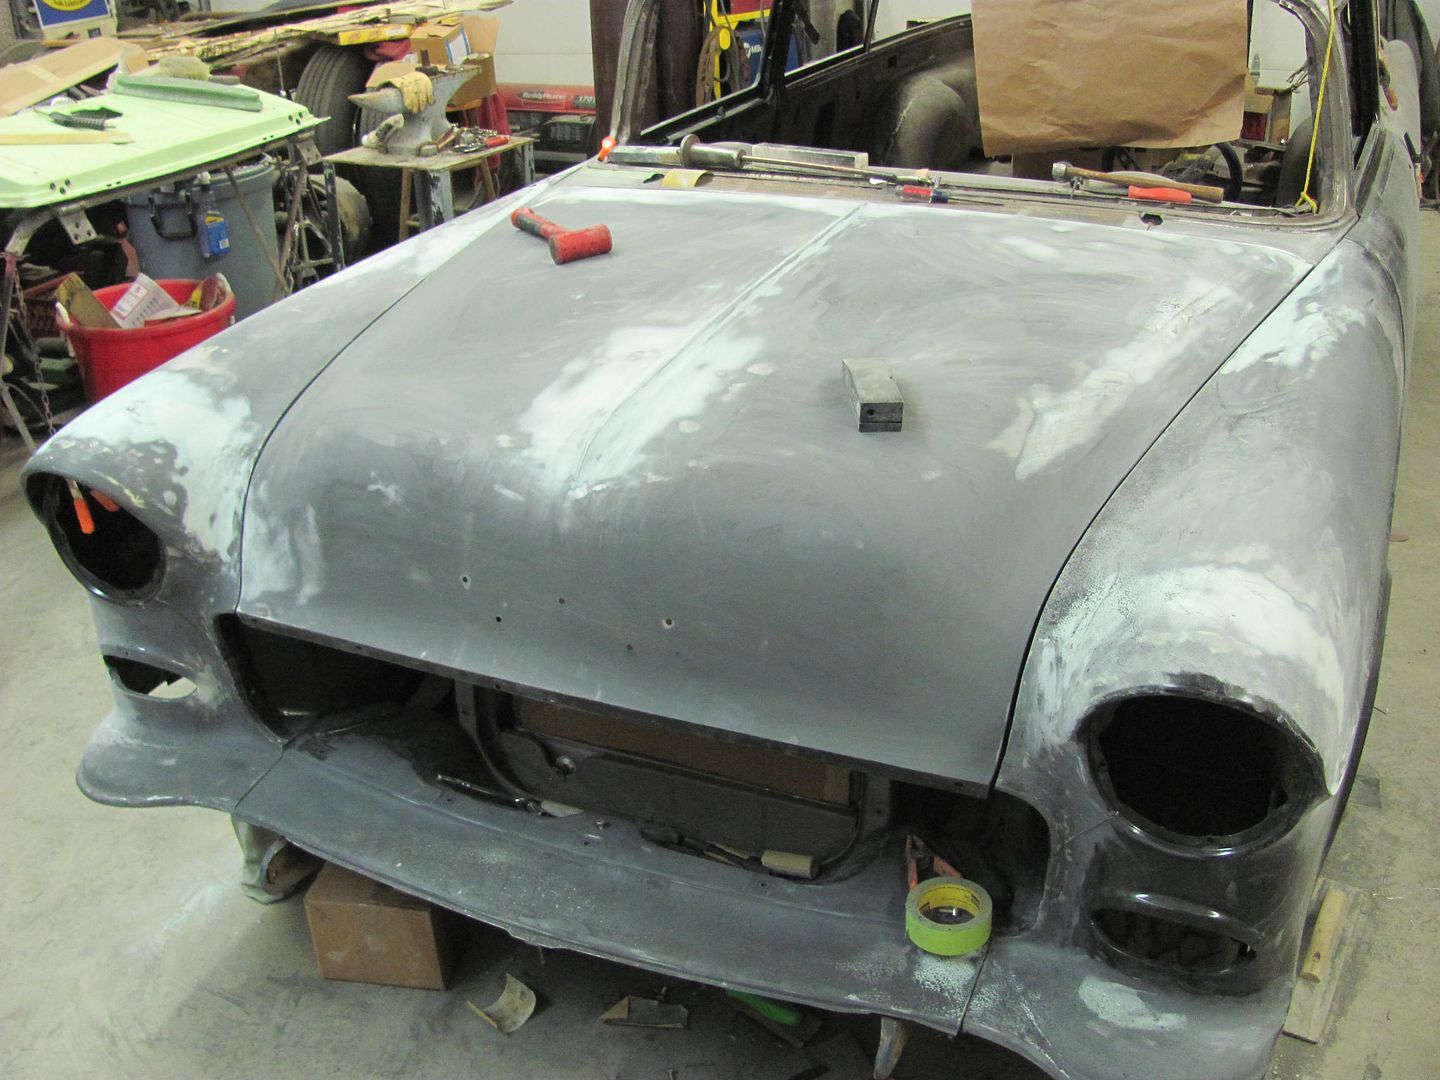

Robert
-
02-17-2015 02:45 PM #435
CHR Member
- Join Date
- Apr 2011
- Location
- Prairie City
- Car Year, Make, Model: 40 Ford Deluxe, 68 Corvette, 72&76 K30
- Posts
- 7,301
- Blog Entries
- 1
Nice work. Mr.Customer should love this thing.Ryan
1940 Ford Deluxe Tudor 354 Hemi 46RH Electric Blue w/multi-color flames, Ford 9" Residing in multiple pieces
1968 Corvette Coupe 5.9 Cummins Drag Car 11.43@130mph No stall leaving the line with 1250 rpm's and poor 2.2 60'
1972 Chevy K30 Longhorn P-pumped 24v Compound Turbos 47RH Just another money pit
1971 Camaro RS 5.3 BTR Stage 3 cam, SuperT10
Tire Sizes
 Reply With Quote

Posting Permissions
- You may not post new threads
- You may not post replies
- You may not post attachments
- You may not edit your posts

i've enjoyed the years here . made a lot of friends. most who have left. i see no reason to continue with this so hope to see you somewhere else. i dont think this site will ever be back. it's lived...
Dead!