


 815Likes
Thread: 1940 Ford Pickup


Results 361 to 375 of 1085
 LinkBack URL
 About LinkBacks
-
02-12-2014 07:36 PM #361
 CHR Member

- Join Date
- Mar 2013
- Location
- Seguin
- Car Year, Make, Model: 1940 Ford p/u 1937 Caddy Coupe
- Posts
- 782
30-40, Mike P and Jerry thanks for your reply's. PCV valve it will be.
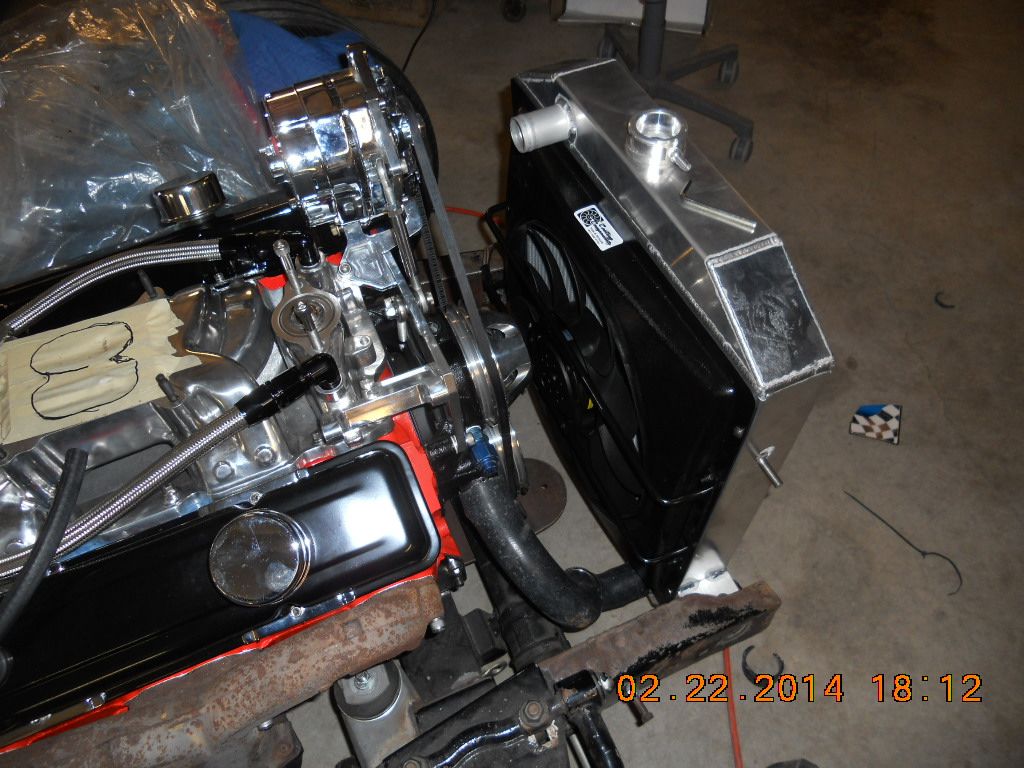
Jerry: The reason I have the coolant hoses in the manifold is that the whole manifold set up was a gift from a close friend. Its supposed to aid in cooling the engine more evenly. If had to buy a manifold it'd be just a plain jane but I like gifts !
-
Advertising

- Google Adsense
- REGISTERED USERS DO NOT SEE THIS AD
-
02-22-2014 05:16 PM #362
CHR Member
- Join Date
- Mar 2013
- Location
- Seguin
- Car Year, Make, Model: 1940 Ford p/u 1937 Caddy Coupe
- Posts
- 782
Getting ready to fire my new engine. Have a few things to work out.
-
02-23-2014 03:36 PM #363
CHR Member
- Join Date
- Mar 2013
- Location
- Seguin
- Car Year, Make, Model: 1940 Ford p/u 1937 Caddy Coupe
- Posts
- 782
Plug wire troubles. Any body have a suggestion as to plug wires I need. I have a set of chevy BB wires and there to short to use with the wire looms I want to use as pictured below. Some body make extra long for this type set up ? Make my own ?

-
02-23-2014 03:42 PM #364
CHR Member/Contributor
- Join Date
- Sep 2007
- Location
- Gardner, KS
- Car Year, Make, Model: '33 HiBoy Coupe, '32 HiBoy Roadster
- Posts
- 11,245
I used Taylor's that had the plug boot fixed, distributor end cut-to-length. Mine were plenty long, and my routing was very similar to yours but dropped down below the headers with the group, and of course they went toward the correct end of the motor instead of being buried in the back.... Originally Posted by Navy7797


Roger
Enjoy the little things in life, and you may look back one day and realize that they were really the BIG things.
-
02-23-2014 04:26 PM #365
CHR Member
- Join Date
- Sep 2005
- Location
- Hamilton
- Car Year, Make, Model: 69 nomad, 73 charger, 74 vega
- Posts
- 3,900
That's a pretty loom set up.
I'd lean towards making your own so they'll be perfect.
Education is expensive. Keep that in mind, and you'll never be terribly upset when a project goes awry.
EG
-
02-23-2014 04:33 PM #366
CHR Member
- Join Date
- Sep 2007
- Location
- New Bedford
- Car Year, Make, Model: 34 Ford 3W Coupe Replica
- Posts
- 14,754
Times 3... get a "universal" style et and do the cap end yourself, then you can make the length to what you need.
-
02-23-2014 09:33 PM #367
CHR Member
- Join Date
- Mar 2013
- Location
- Seguin
- Car Year, Make, Model: 1940 Ford p/u 1937 Caddy Coupe
- Posts
- 782
Just ordered a set of Taylor's, thanks for the input !
-
02-24-2014 05:01 AM #368
CHR Member/Contributor
- Join Date
- Sep 2007
- Location
- Gardner, KS
- Car Year, Make, Model: '33 HiBoy Coupe, '32 HiBoy Roadster
- Posts
- 11,245
That set should come with a nifty plastic tool that's both an insulation cutting tool, to get the right amount of electrode exposed; and a crimping tool, to get the ends on just right.
A_Taylor Tool.jpg
If one doesn't come in the package you should pick one up because they make the job of installing ends an easy, repetitive task with good results. I think I've got two or three of them out in the shop if you don't get one and want to wait for snail mail.Roger
Enjoy the little things in life, and you may look back one day and realize that they were really the BIG things.
-
02-24-2014 05:53 AM #369
CHR Member
- Join Date
- Sep 2007
- Location
- New Bedford
- Car Year, Make, Model: 34 Ford 3W Coupe Replica
- Posts
- 14,754
Dang thats a nifty tool.. I picked up a set of pliers made for the task ( also from Taylors ) but are a PITA! They are clumbsy and hard to use and rarely give a clean decent looking crimp!
-
02-24-2014 06:16 AM #370
CHR Member/Contributor
- Join Date
- Sep 2007
- Location
- Gardner, KS
- Car Year, Make, Model: '33 HiBoy Coupe, '32 HiBoy Roadster
- Posts
- 11,245
Mike, I bought a separately packaged tool at the recommendation of the old counter guy at the performance shop, saying that I would be glad I had it after doing one wire, and then found that there was one packed in the box of the Taylor Universal wire set that I had purchased. Originally Posted by 34_40
 The packaged one got hung on a nail to go back but never made the trip
")

The two pieces form a solid block about 1.5" square with ears on top to catch on the jaws of the vise. A nifty cutting guide is provided where you set the wire in place at your marked finished length and cut off the excess, leaving the right length "extra". Set the wire in place, then put a razor blade/knife at the "step" and rotate the wire, taking away the right length of insulation to leave a perfect, fully intact center conductor. Put the boot over the end, put the terminal in place, put the two halves of the block together and a turn or two on the vise handle makes a perfect crimp every time. Soooo much easier than anything I ever used before!!Roger
Enjoy the little things in life, and you may look back one day and realize that they were really the BIG things.
-
02-25-2014 04:56 AM #371
CHR Member
- Join Date
- Mar 2013
- Location
- Seguin
- Car Year, Make, Model: 1940 Ford p/u 1937 Caddy Coupe
- Posts
- 782
Roger: Thanks thats most gracious of you to offer, I hope one will come with the wires. Thanks for the inputs. Originally Posted by rspears
-
02-25-2014 05:08 PM #372
CHR Member
- Join Date
- Mar 2013
- Location
- Seguin
- Car Year, Make, Model: 1940 Ford p/u 1937 Caddy Coupe
- Posts
- 782
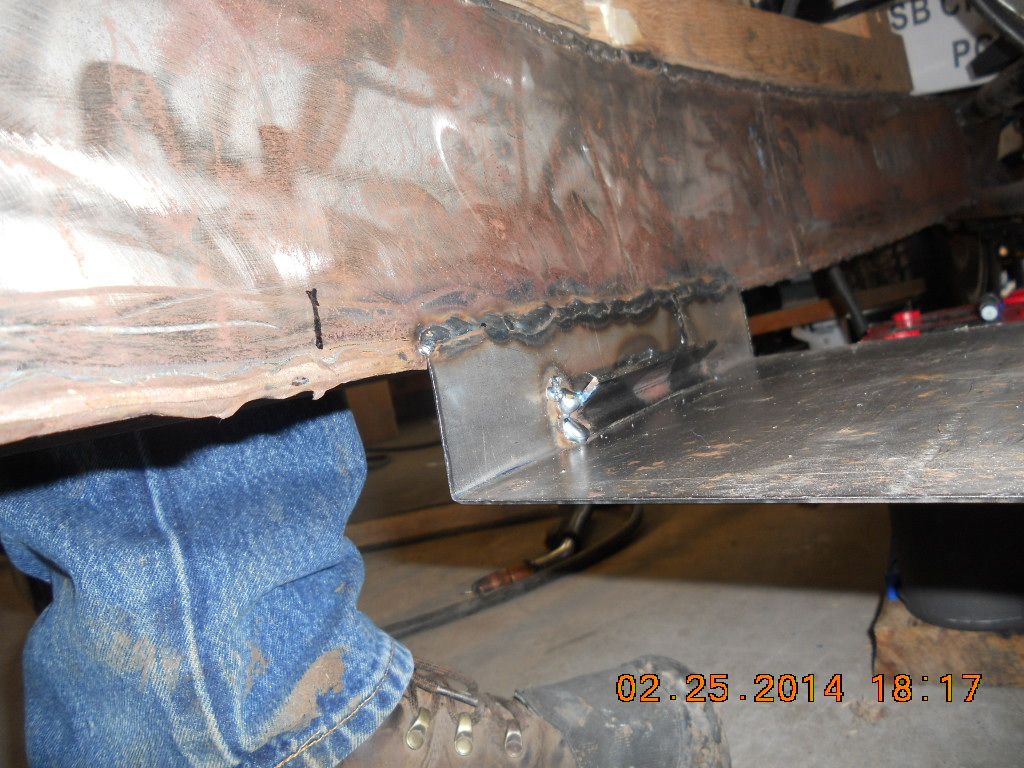
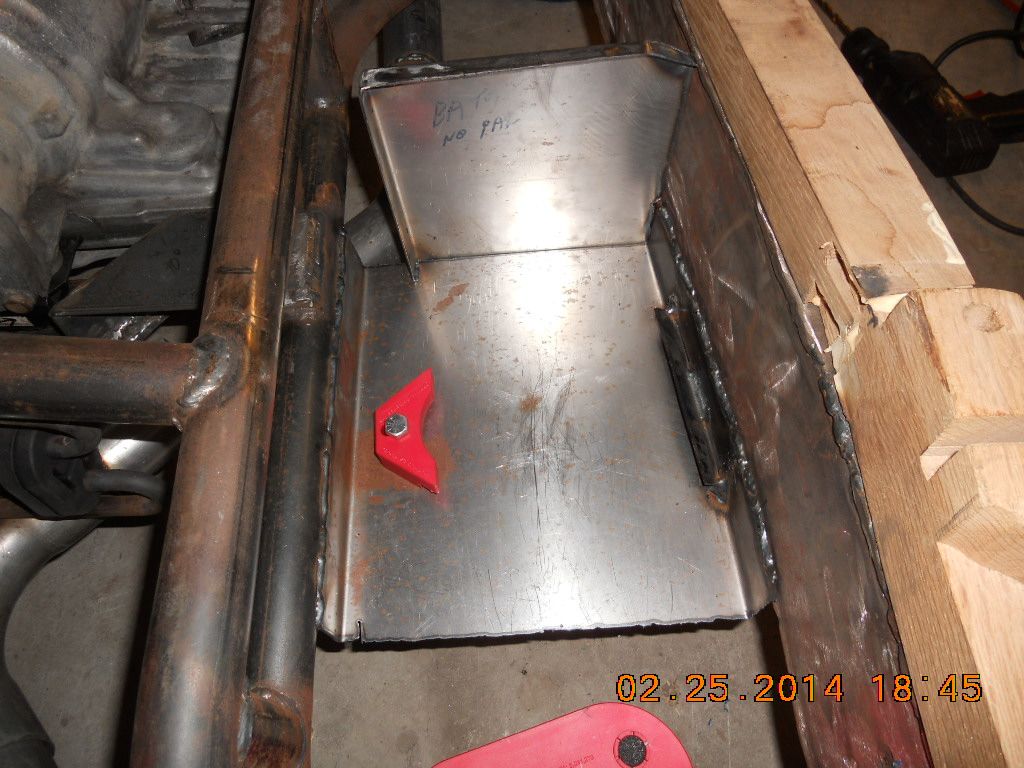
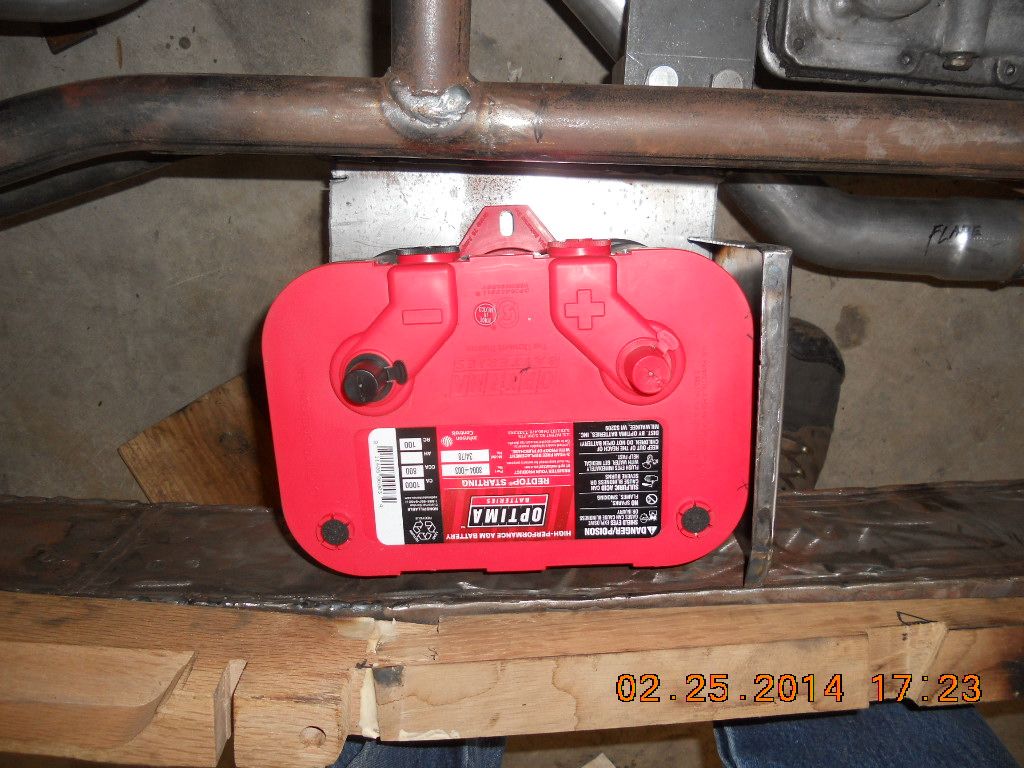
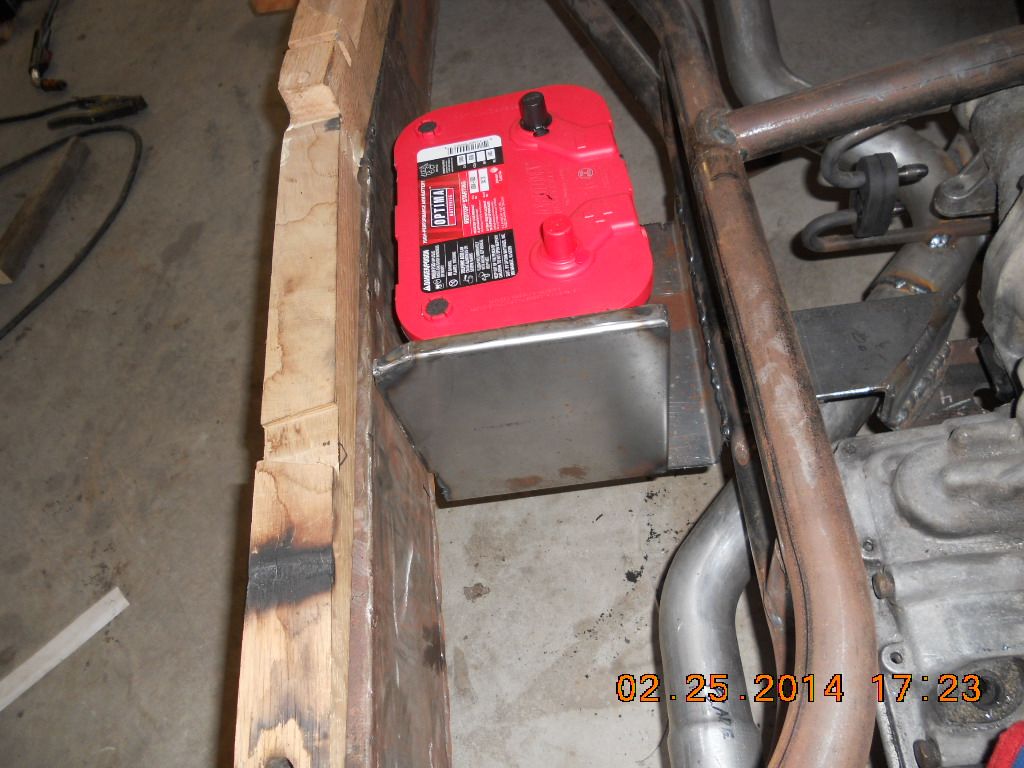
Today was battery box day. I fabed the box from 16 gauge sheet, angle iron and restrains that came with the battery. Still a little more to do but this is the bulk of it. Inputs welcome .
-
02-25-2014 05:27 PM #373
CHR Member
- Join Date
- Feb 2007
- Location
- Santa Monica
- Car Year, Make, Model: 37 Ford tudor humpback
- Posts
- 1,988
Will you have a removable panel in the floor for access? If so, does it interfere with the seat location? Since it's a dry cell battery you could mount it on it's side for easier access to the terminals if there's no hole in the floor. Sorta like the pic in post #299."It is not much good thinking of a thing unless you think it out." - H.G. Wells
-
02-25-2014 05:41 PM #374
CHR Member
- Join Date
- Mar 2013
- Location
- Seguin
- Car Year, Make, Model: 1940 Ford p/u 1937 Caddy Coupe
- Posts
- 782
Battery slides in from the back, connections are on the side towards the tranny. I don't worry about access other than installing and removal. If I need a jump I'll go straight to the on-off switch that will be on the fire wall or someplace that has easy access. Originally Posted by randyr
-
02-28-2014 05:03 PM #375
CHR Member
- Join Date
- Mar 2013
- Location
- Seguin
- Car Year, Make, Model: 1940 Ford p/u 1937 Caddy Coupe
- Posts
- 782
Today I fired up my new engine. sbc 283 +.060. I set the timing a 10* as per the engine builders instructions prior to starting. It took a couple crankings to keep it running. Got it running steady @ 2000 rpm for the 1st 17 minutes and than ran out of gas. Got more gas and than started adjusting the carb using a vacuum gauge. Then I played with the timing using a t-light and ended up at 12* @ 900-1000 rpm with smooth running engine, vacuum advance disconnected. First video is the initial start up, 2nd is after I adjusted carb and timing.
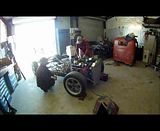
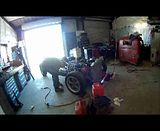
inputs welcomeLast edited by Navy7797; 02-28-2014 at 05:14 PM.
 Reply With Quote


Posting Permissions
- You may not post new threads
- You may not post replies
- You may not post attachments
- You may not edit your posts

i've enjoyed the years here . made a lot of friends. most who have left. i see no reason to continue with this so hope to see you somewhere else. i dont think this site will ever be back. it's lived...
Dead!