


 815Likes
Thread: 1940 Ford Pickup
Results 361 to 375 of 1085
 LinkBack URL
 About LinkBacks
Threaded View
-
03-25-2013 07:39 PM #1
 CHR Member

- Join Date
- Mar 2013
- Location
- Seguin
- Car Year, Make, Model: 1940 Ford p/u 1937 Caddy Coupe
- Posts
- 782
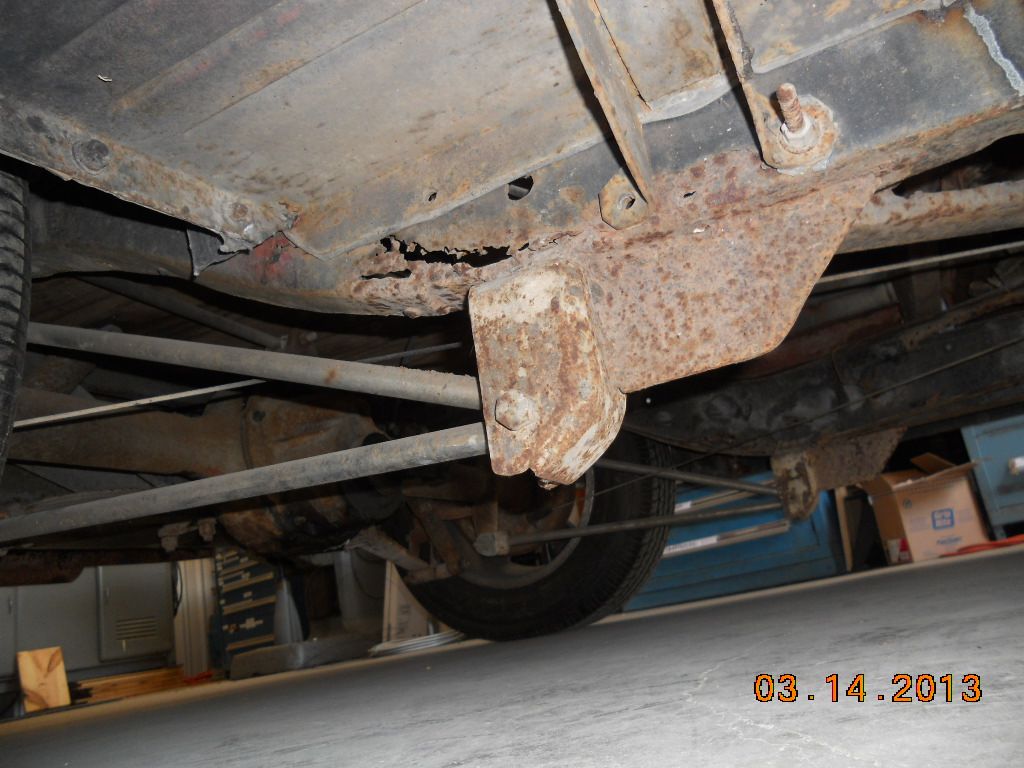
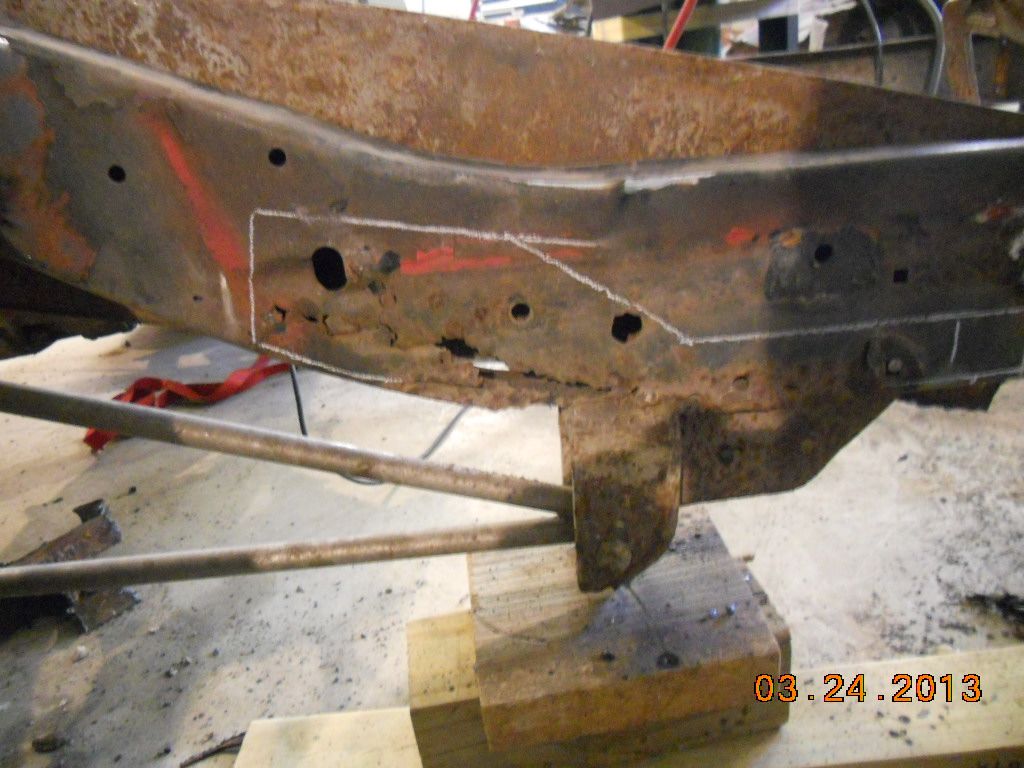
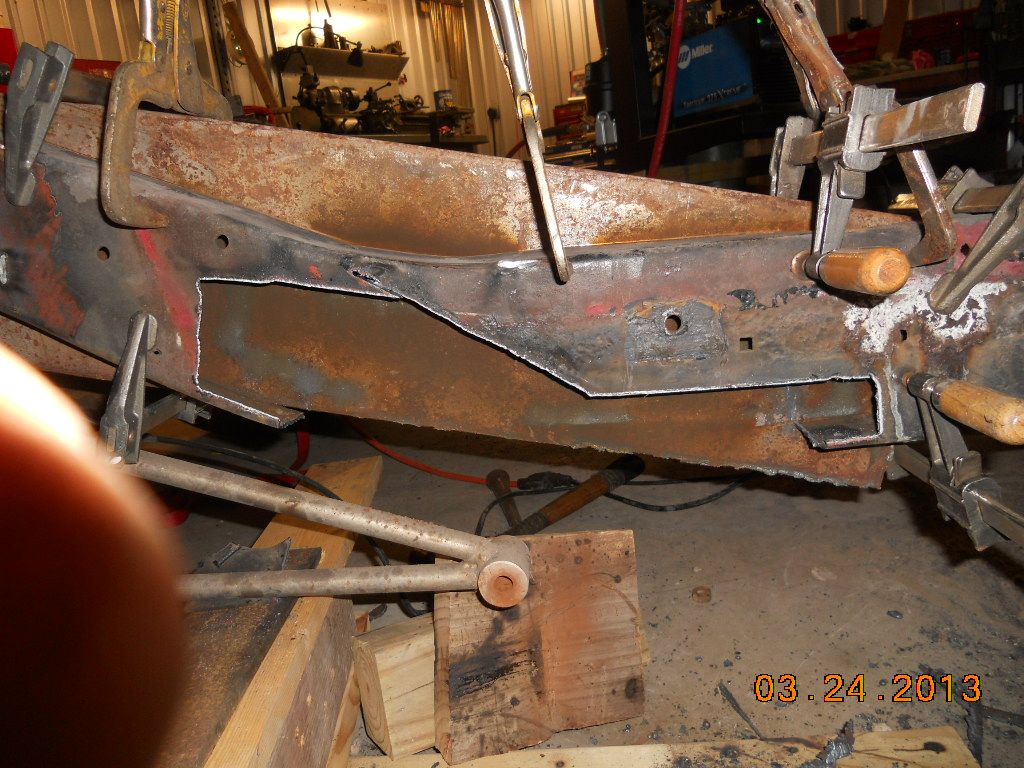
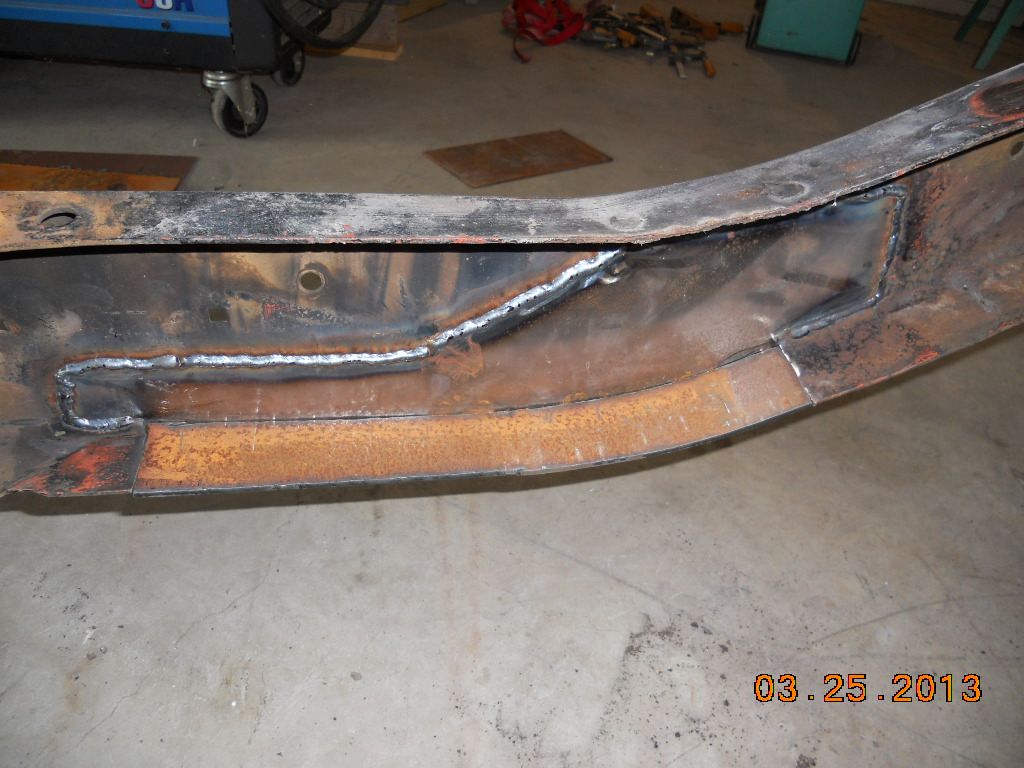
1940 Ford Pickup
Here's the start of my new project. Picked this truck up a few weeks ago and now have it down to the frame to start the repairs. See anything I'm doing wrong let me know.


 Reply With Quote
Posting Permissions
- You may not post new threads
- You may not post replies
- You may not post attachments
- You may not edit your posts

i've enjoyed the years here . made a lot of friends. most who have left. i see no reason to continue with this so hope to see you somewhere else. i dont think this site will ever be back. it's lived...
Dead!