


 3390Likes
Thread: 55 Wagon Progress


Results 976 to 990 of 1865
 LinkBack URL
 About LinkBacks
-
02-21-2017 06:47 PM #976
 CHR Member

- Join Date
- Jun 2008
- Location
- Leonardtown
- Car Year, Make, Model: Walking
- Posts
- 1,228
 Dang, my secret's out!
Robert
-
Advertising

- Google Adsense
- REGISTERED USERS DO NOT SEE THIS AD
-
02-22-2017 08:13 PM #977
CHR Member
- Join Date
- Jun 2008
- Location
- Leonardtown
- Car Year, Make, Model: Walking
- Posts
- 1,228
Got a new apprentice that started this past Saturday.. Her mom even thought it was a good idea!
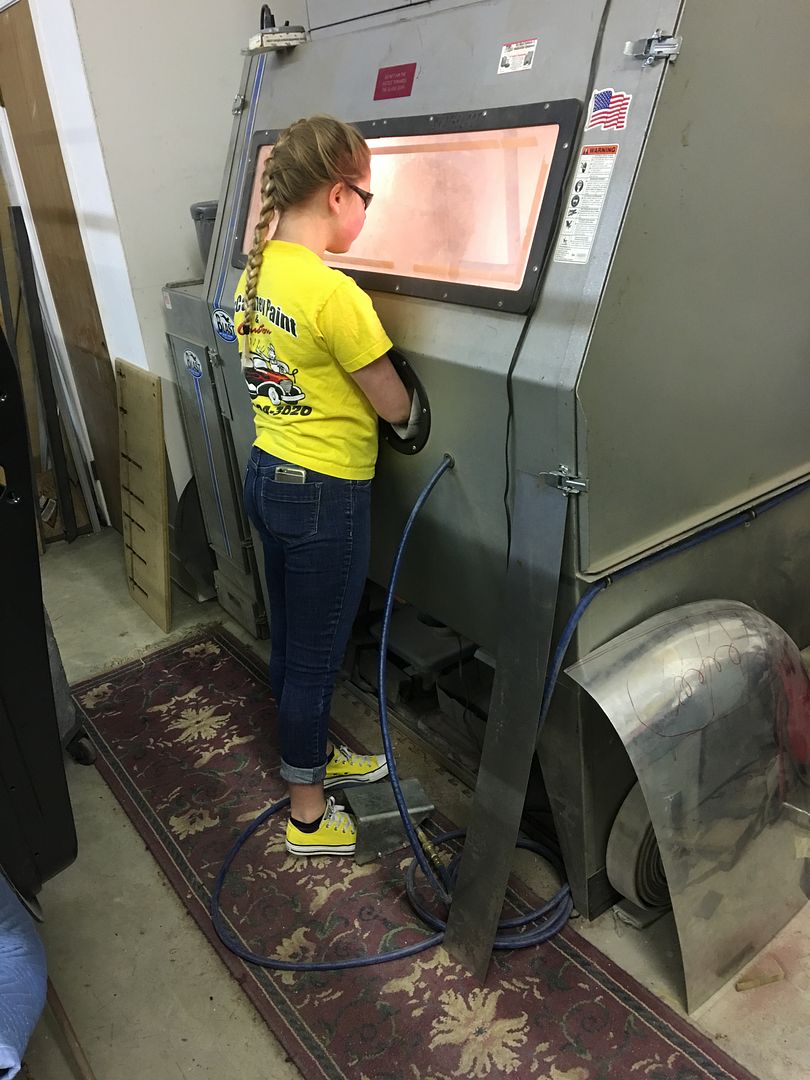
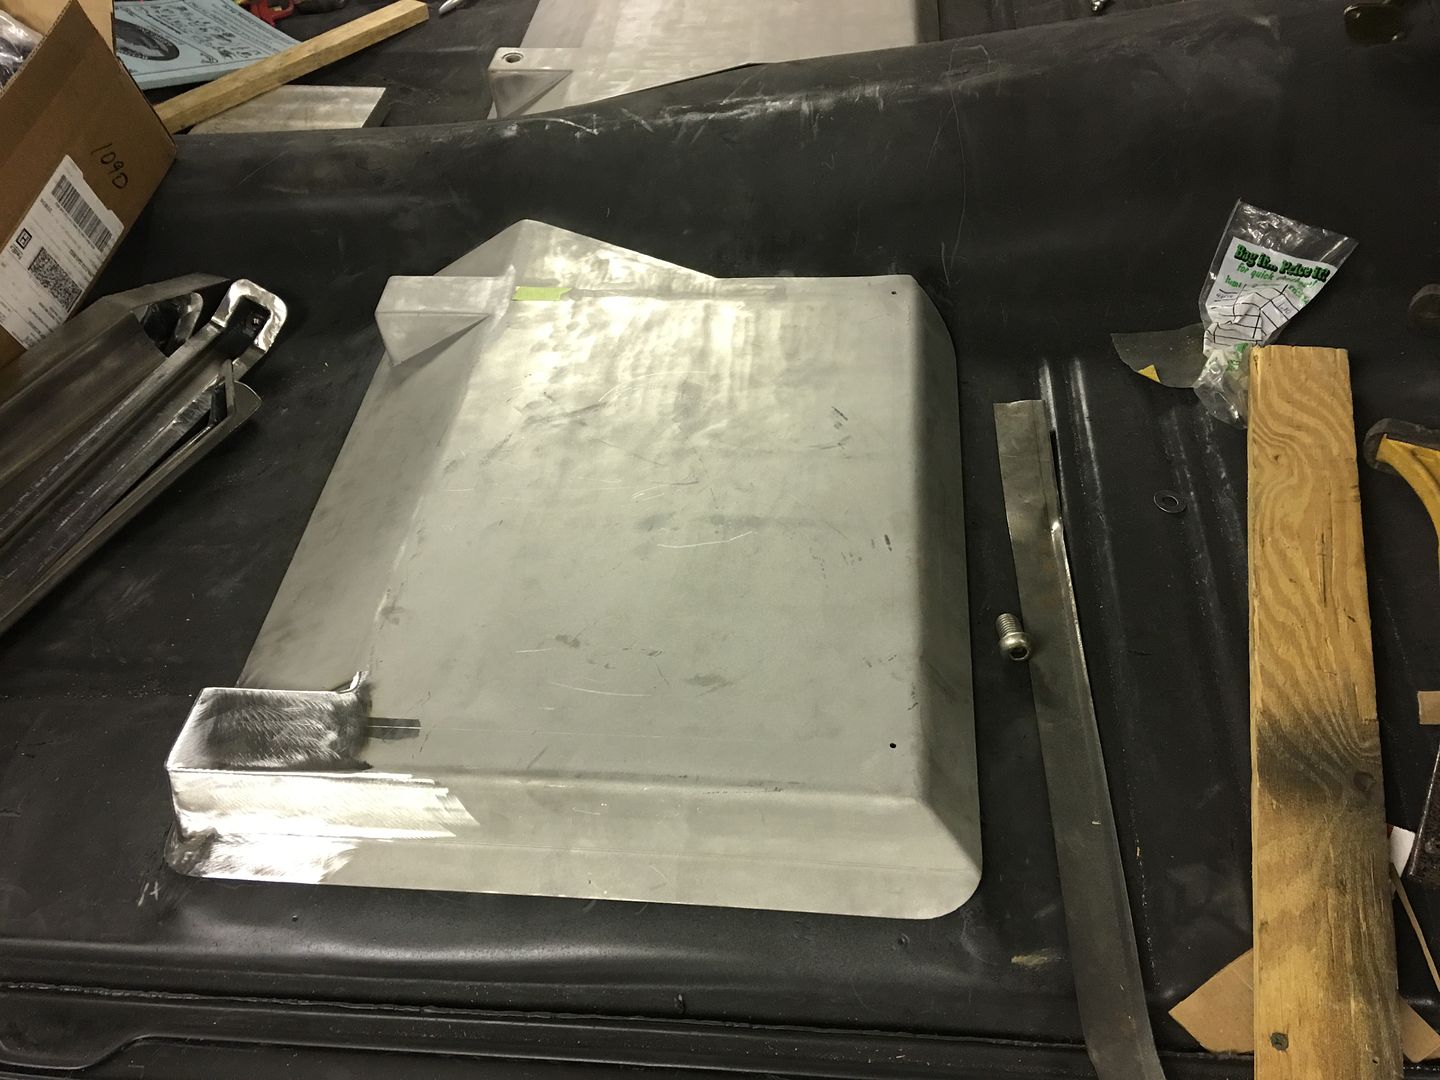
She's getting the driver's seat bracket all prepped for SPI epoxy primer, while I worked on finishing the passenger bracket..
Robert
-
02-25-2017 02:11 PM #978
CHR Member
- Join Date
- Jun 2008
- Location
- Leonardtown
- Car Year, Make, Model: Walking
- Posts
- 1,228
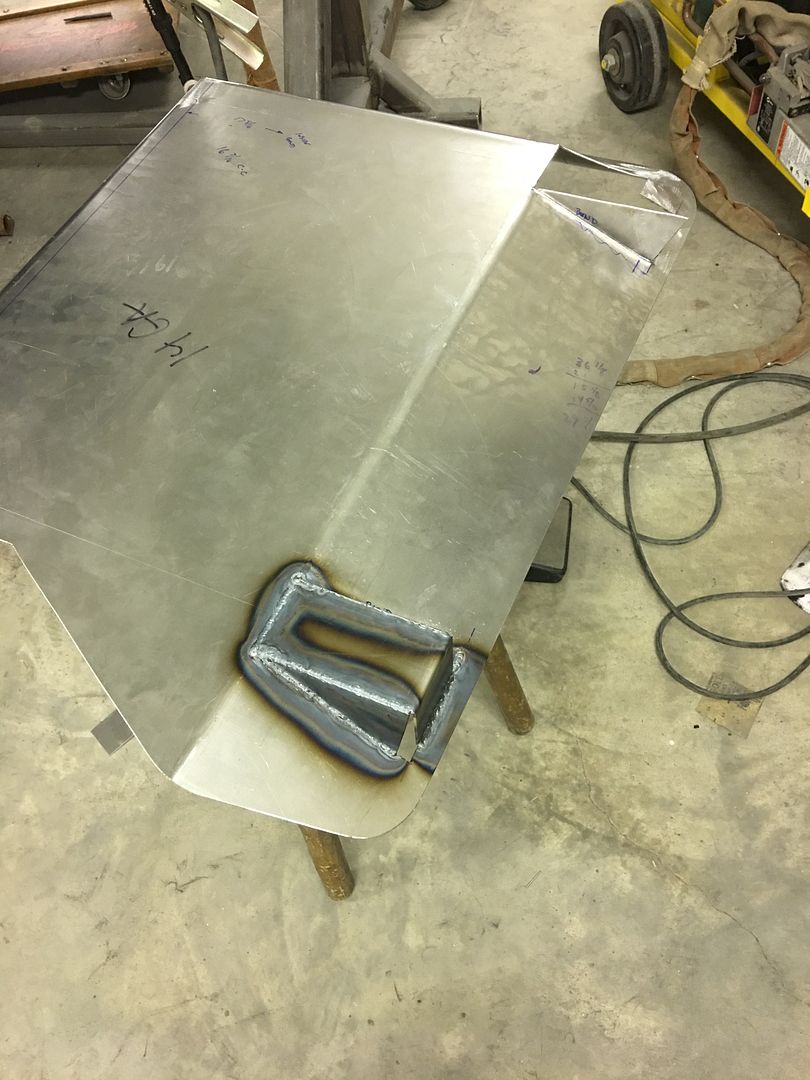
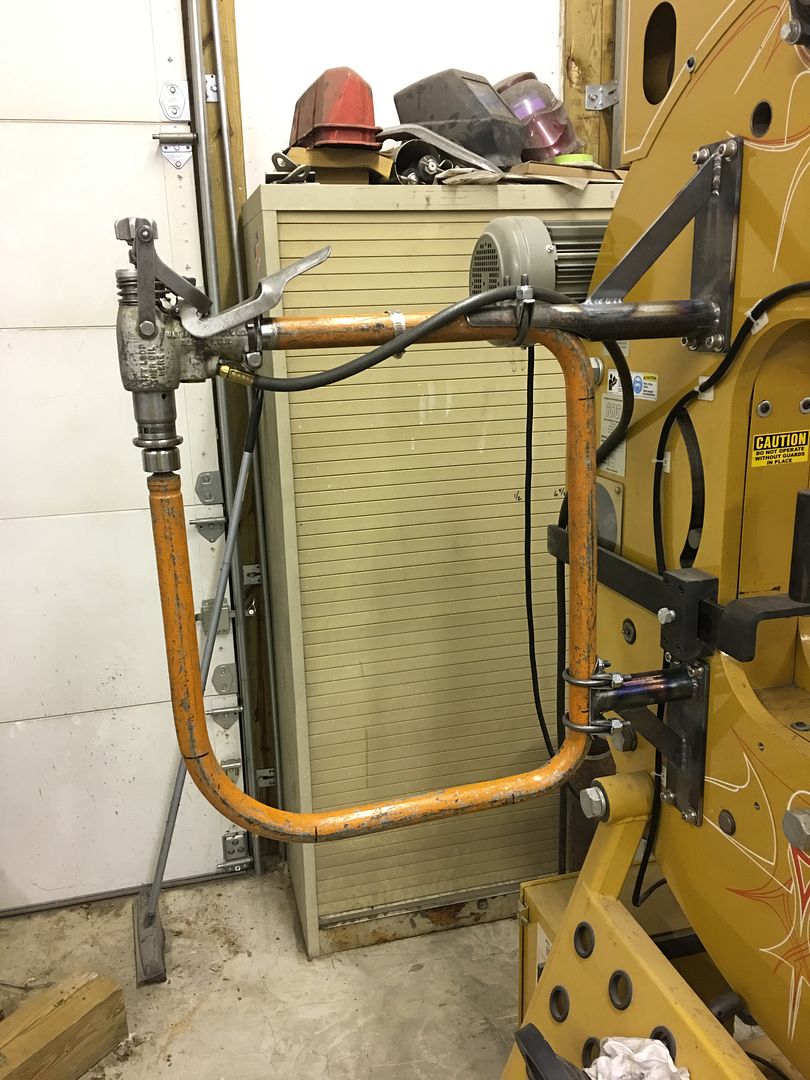
Sometimes you just need to screw off in the shop all day. So while the new hire continued with media blasting, I turned my attention to this "new" hoop for the Watervliet planishing hammer that just showed up.. This square version is somewhat rare, ie: hard to find, but I had a particular location in mind..
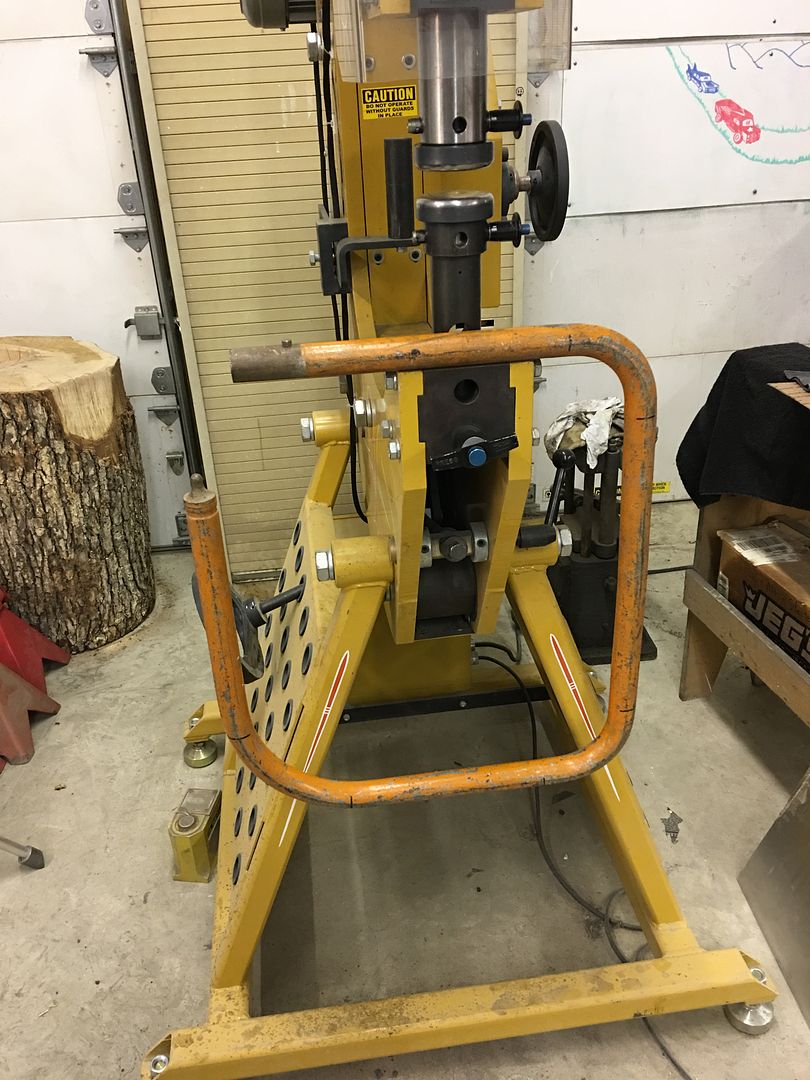
The Baileigh power hammer has some threaded holes on the left side for their own version of a planishing hammer mount, but I just didn't have the funds laying around for their version. So lets see what we can do with Old Faithful...
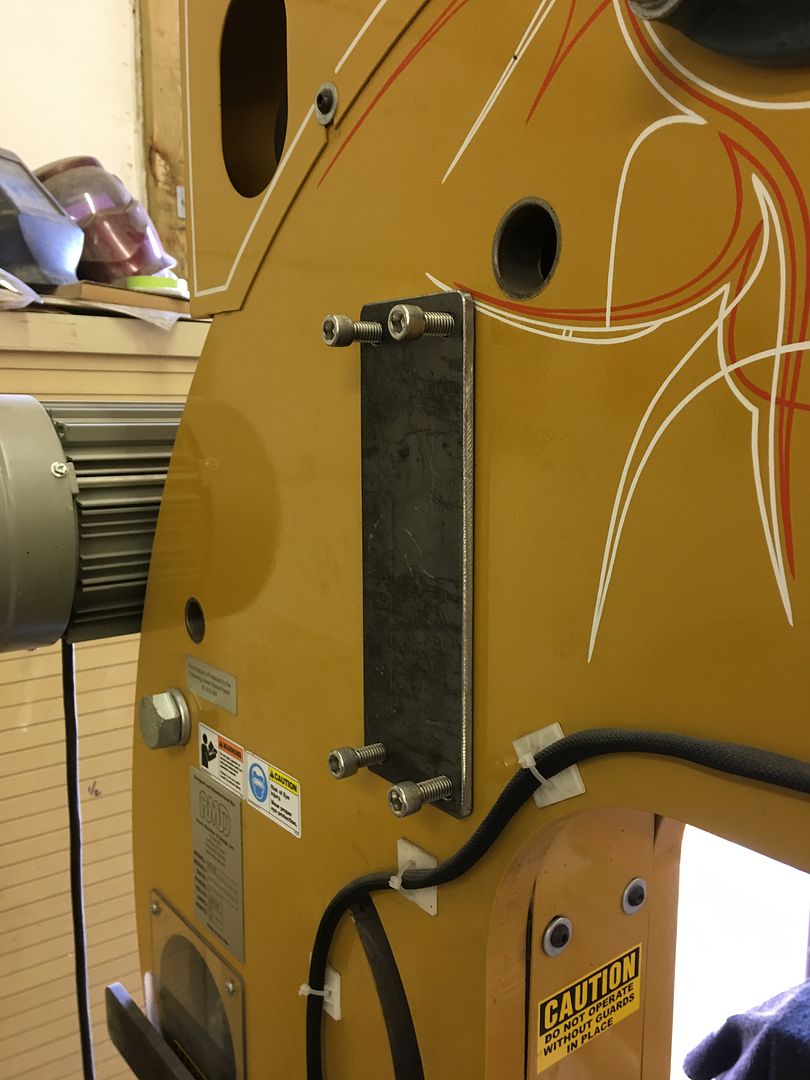
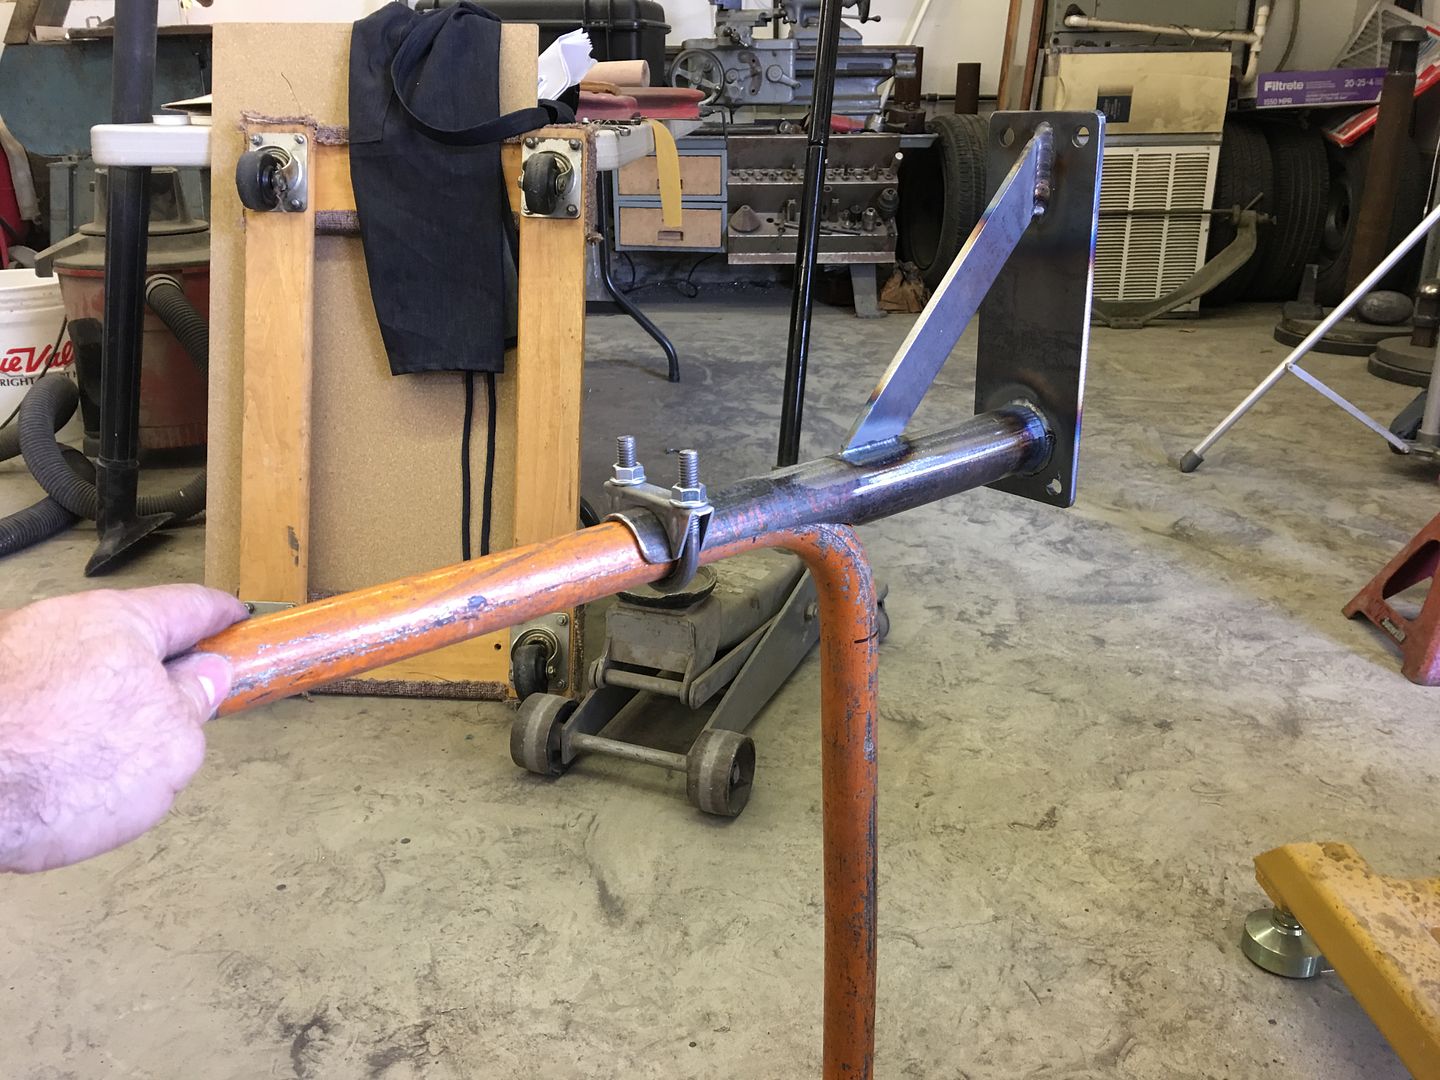
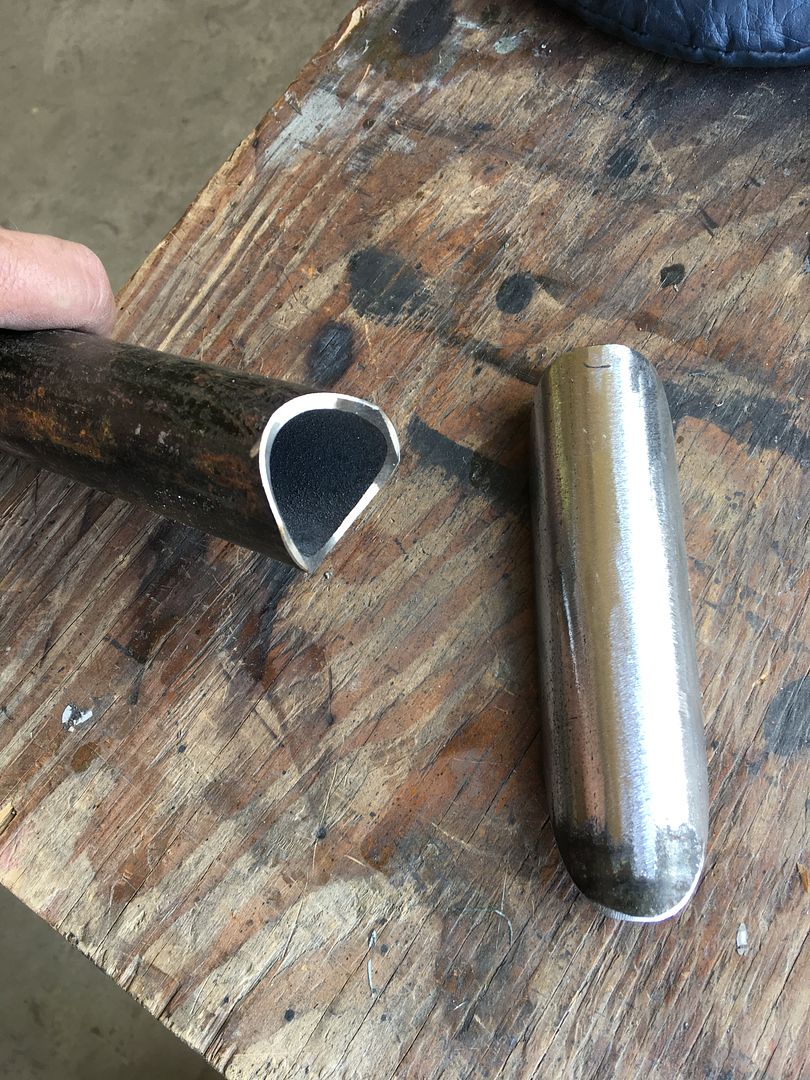
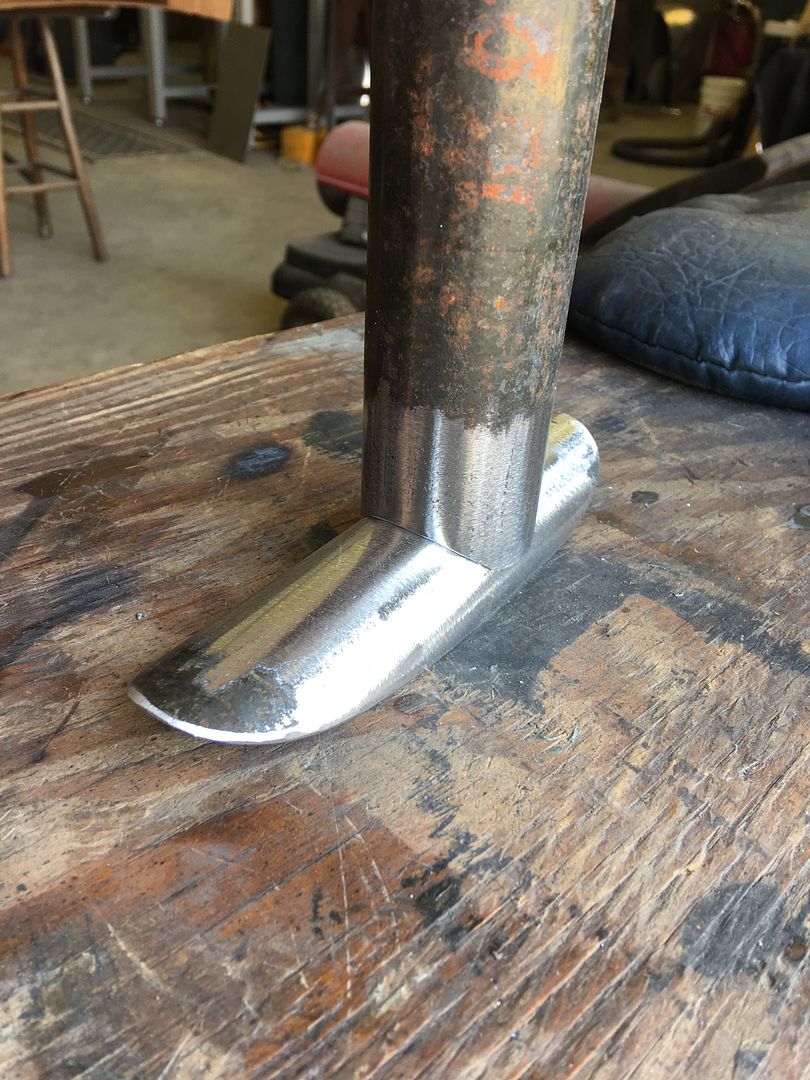
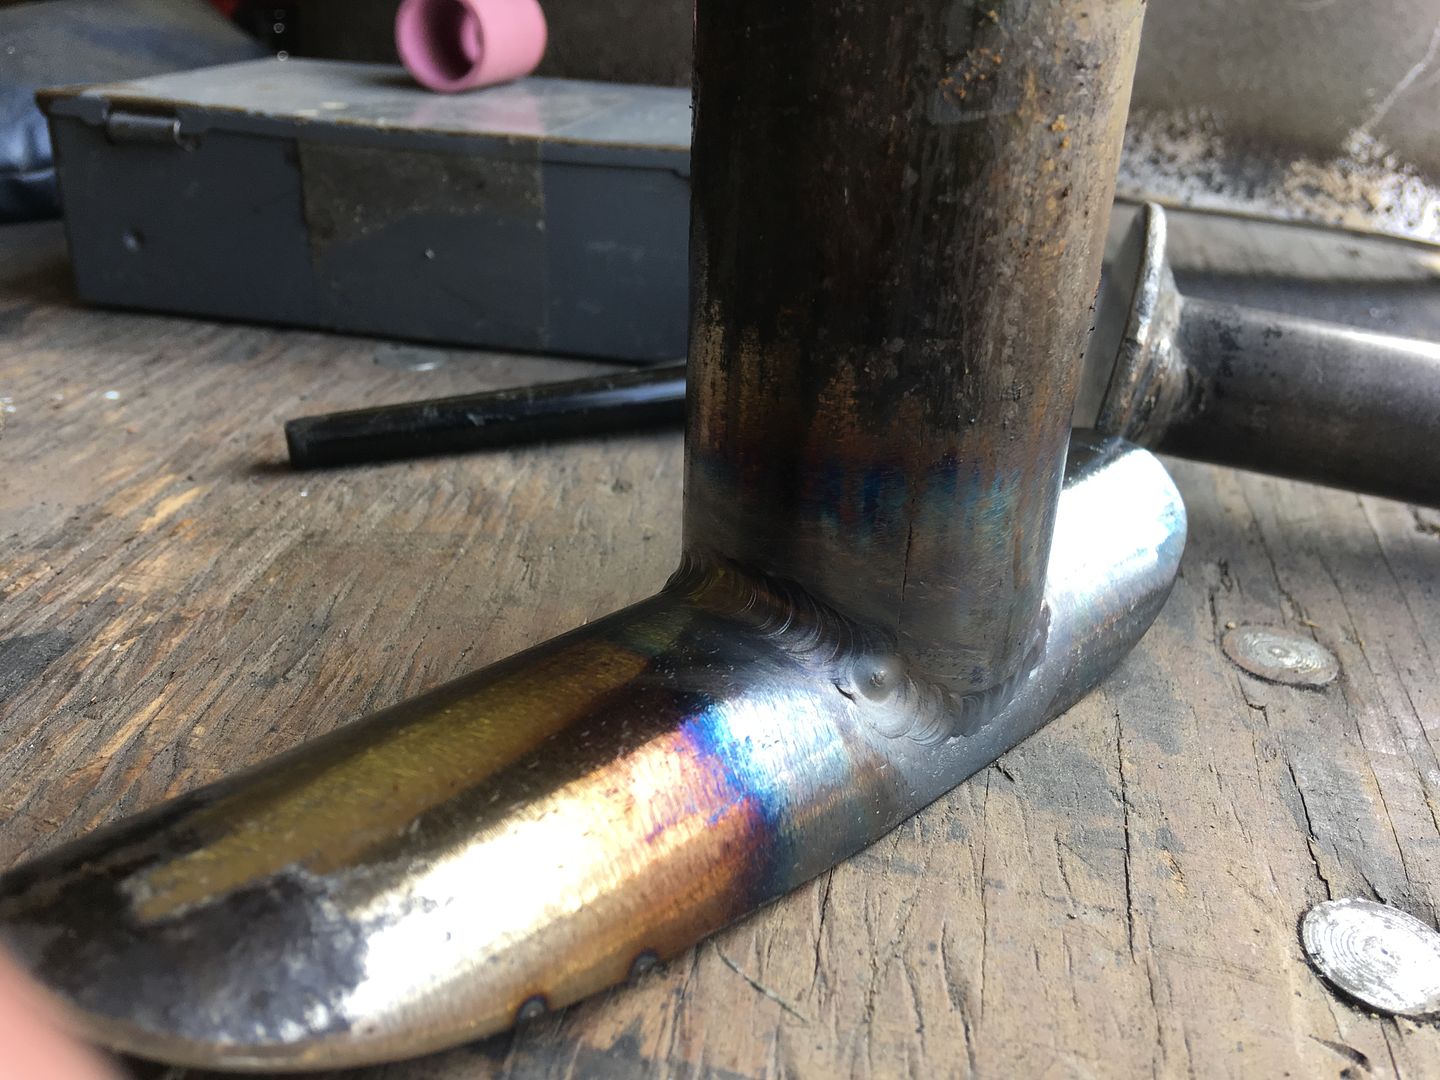
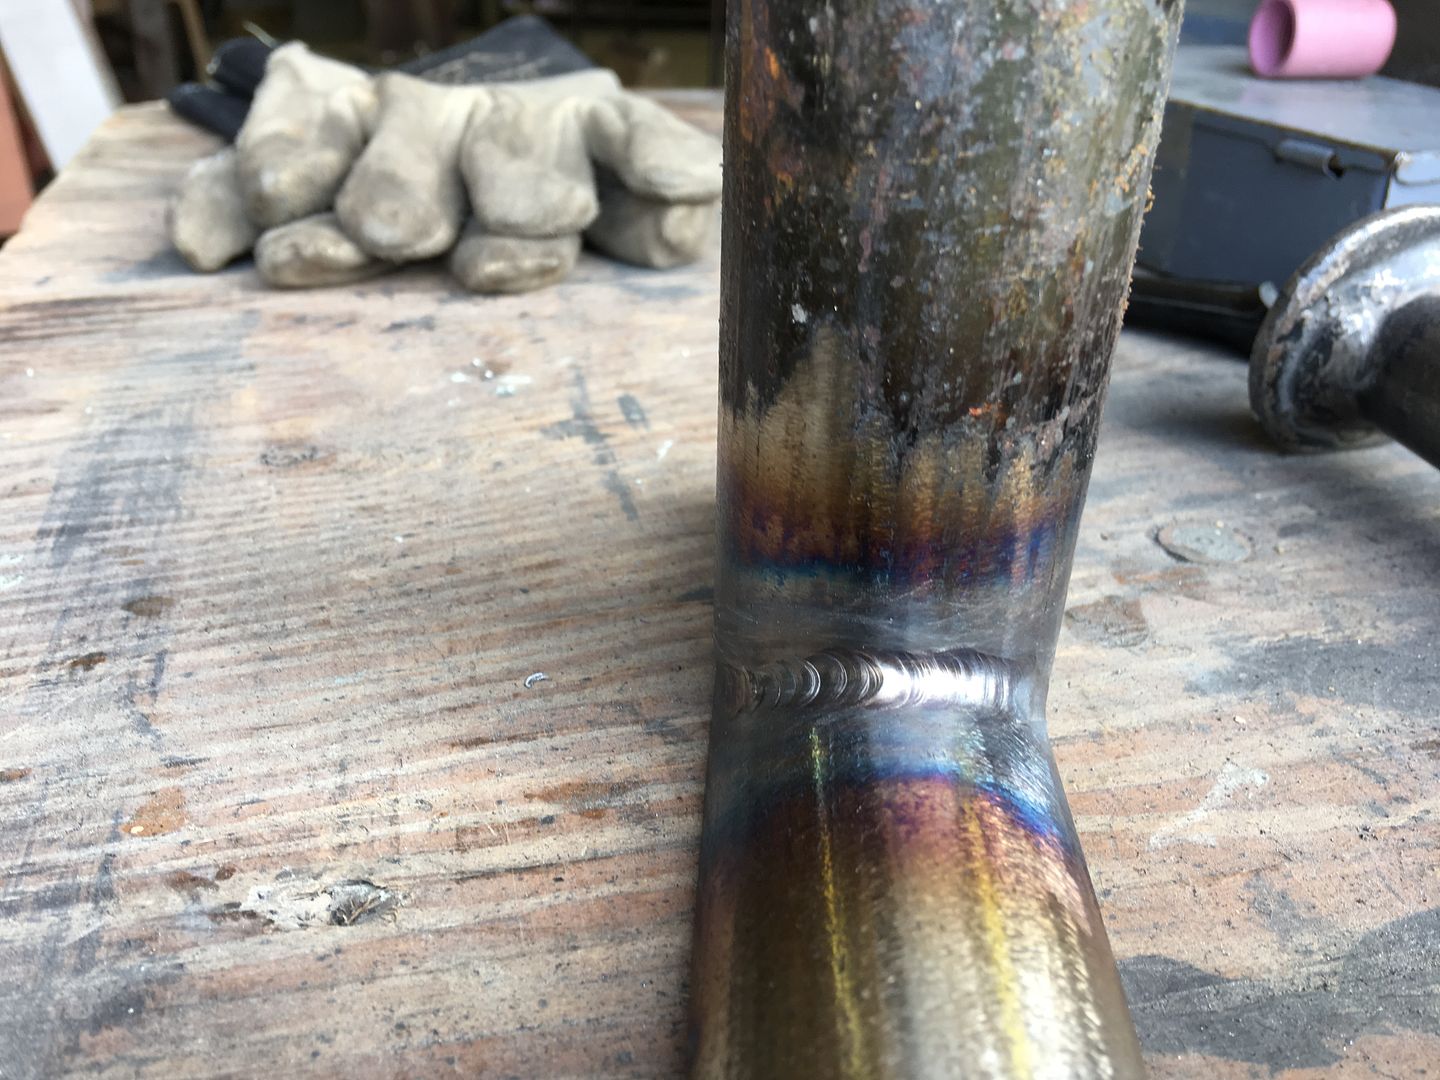
Drum sander does wonders in pipe fitment, and it sure was easier to TIG with a nice tight fit...
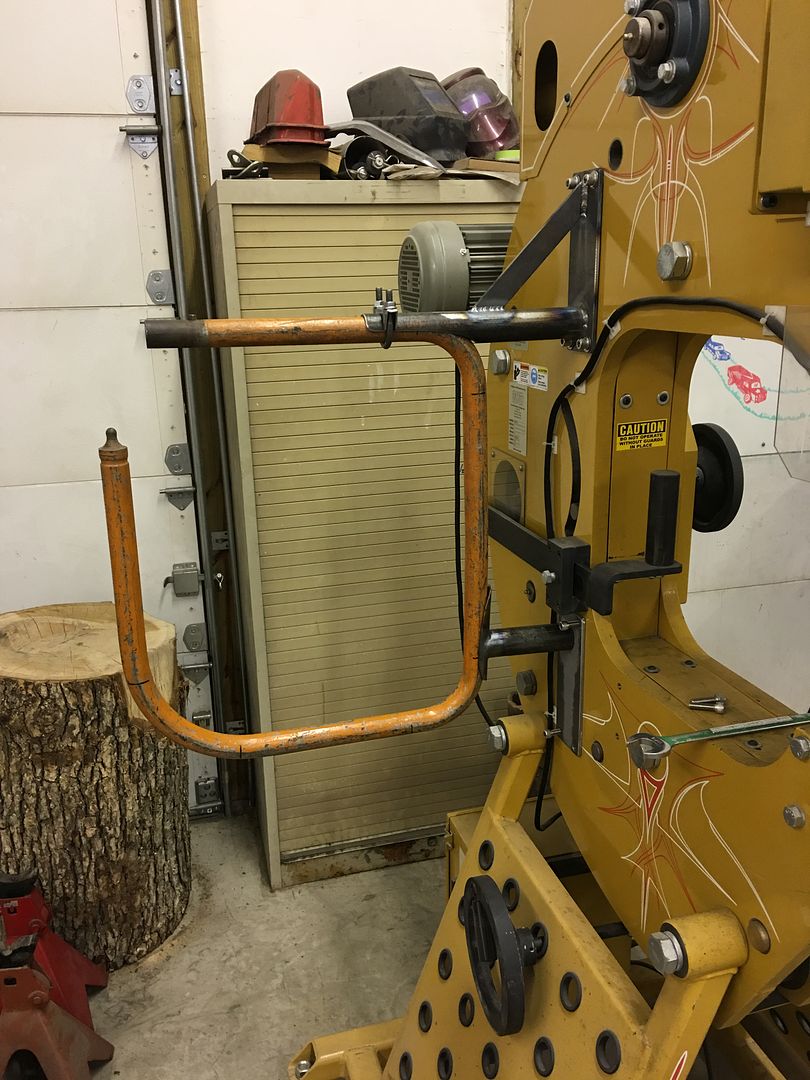

All we need now is paint and a pedal..
https://www.youtube.com/watch?v=_evAUjqr-5Q
.Robert
-
03-02-2017 03:52 AM #979
CHR Member
- Join Date
- Jun 2008
- Location
- Leonardtown
- Car Year, Make, Model: Walking
- Posts
- 1,228
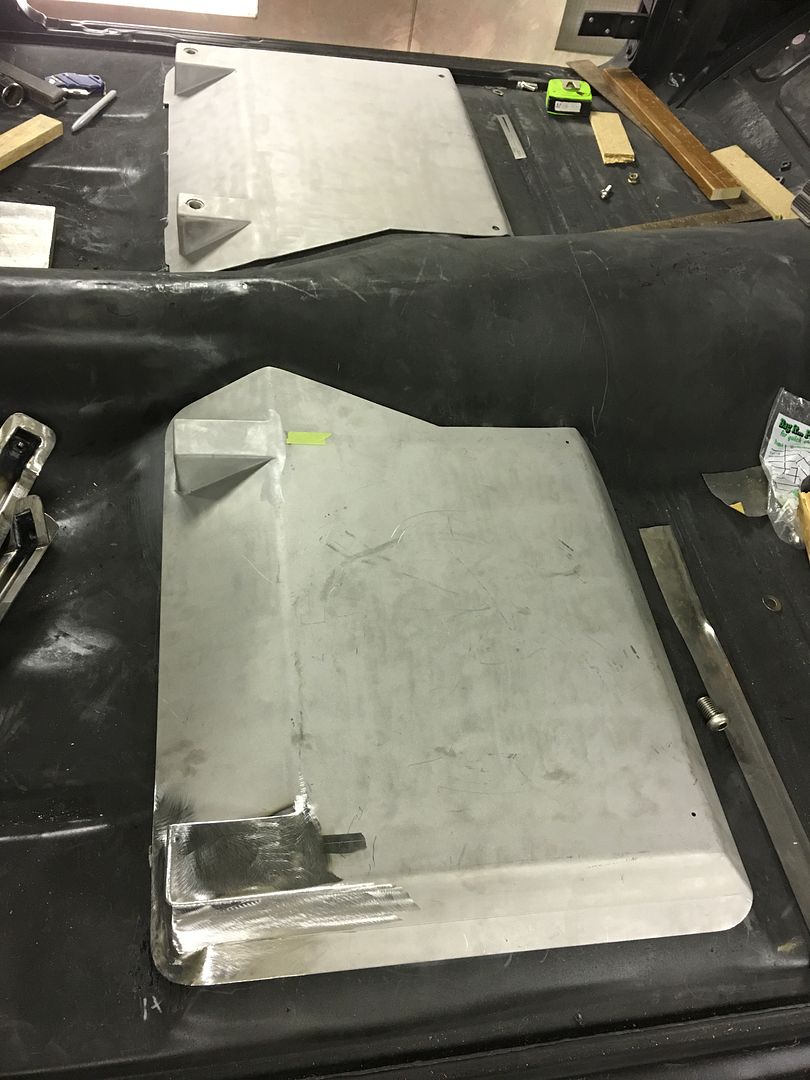
Getting down to the nitty gritty on the seat brackets, number two is all but done, need to weld in three hex nuts and touch up some media blasting. Hoping for good weather this weekend so we can spray some epoxy primer on them and get these installed...
And the last two pipe clamps came in at Napa (installed with lock nuts), so we can now throw some air to the planishing hammer and try out the new fixture..
Robert
-
03-02-2017 11:48 AM #980
CHR Member
- Join Date
- Apr 2011
- Location
- Prairie City
- Car Year, Make, Model: 40 Ford Deluxe, 68 Corvette, 72&76 K30
- Posts
- 7,301
- Blog Entries
- 1
More great work and nice tube notching/fitting. How old is the new hire? She looks too young to have a cell phone. Haha I only say that because I'm not ready for my daughter to have one.
Ryan
1940 Ford Deluxe Tudor 354 Hemi 46RH Electric Blue w/multi-color flames, Ford 9" Residing in multiple pieces
1968 Corvette Coupe 5.9 Cummins Drag Car 11.43@130mph No stall leaving the line with 1250 rpm's and poor 2.2 60'
1972 Chevy K30 Longhorn P-pumped 24v Compound Turbos 47RH Just another money pit
1971 Camaro RS 5.3 BTR Stage 3 cam, SuperT10
Tire Sizes
-
03-02-2017 12:09 PM #981
CHR Member
- Join Date
- Jun 2008
- Location
- Leonardtown
- Car Year, Make, Model: Walking
- Posts
- 1,228
She's 15 and has carried a cell phone for a few years now, she's type 1 diabetic so it was deemed necessary by my better half..Robert
-
03-02-2017 02:47 PM #982
CHR Member
- Join Date
- Jan 2006
- Location
- Constantine
- Car Year, Make, Model: 57 chevy 2 dr wagon
- Posts
- 9,476
You could always use the pedal off the sand blaster while she is on break HAHAHACharlie
Lovin' what I do and doing what I love
Some guys can fix broken NO ONE can fix STUPID
W8AMR
http://fishertrains94.webs.com/
Christian in training
-
03-02-2017 04:08 PM #983
CHR Member
- Join Date
- Jun 2008
- Location
- Leonardtown
- Car Year, Make, Model: Walking
- Posts
- 1,228
It does have a quick disconnect on it so that will be the temporary solutionRobert
-
03-02-2017 04:18 PM #984
CHR Member
- Join Date
- Sep 2007
- Location
- New Bedford
- Car Year, Make, Model: 34 Ford 3W Coupe Replica
- Posts
- 14,754
I'm still trying to wrap my head around the muffler clamps... and not your gorgeous welds, to secure that hammer.
OR.?.?
Are you also using it as a "portable" tool?
-
03-02-2017 05:57 PM #985
CHR Member
- Join Date
- Apr 2011
- Location
- Prairie City
- Car Year, Make, Model: 40 Ford Deluxe, 68 Corvette, 72&76 K30
- Posts
- 7,301
- Blog Entries
- 1
I don't blame her. Hate for something to happen and your daughter not be able to notify you or get help. I didn't think she was quite that old either. Originally Posted by MP&C

Ryan
1940 Ford Deluxe Tudor 354 Hemi 46RH Electric Blue w/multi-color flames, Ford 9" Residing in multiple pieces
1968 Corvette Coupe 5.9 Cummins Drag Car 11.43@130mph No stall leaving the line with 1250 rpm's and poor 2.2 60'
1972 Chevy K30 Longhorn P-pumped 24v Compound Turbos 47RH Just another money pit
1971 Camaro RS 5.3 BTR Stage 3 cam, SuperT10
Tire Sizes
-
03-02-2017 07:46 PM #986
CHR Member
- Join Date
- Jan 2005
- Location
- Doon, Ia
- Car Year, Make, Model: 53 Chevy 3100
- Posts
- 2,716
Looks like the young lady may enjoy metal work also, that's good to see.
-
03-06-2017 04:30 AM #987
CHR Member
- Join Date
- Jun 2008
- Location
- Leonardtown
- Car Year, Make, Model: Walking
- Posts
- 1,228
Originally Posted by 34_40
Keeping options open...
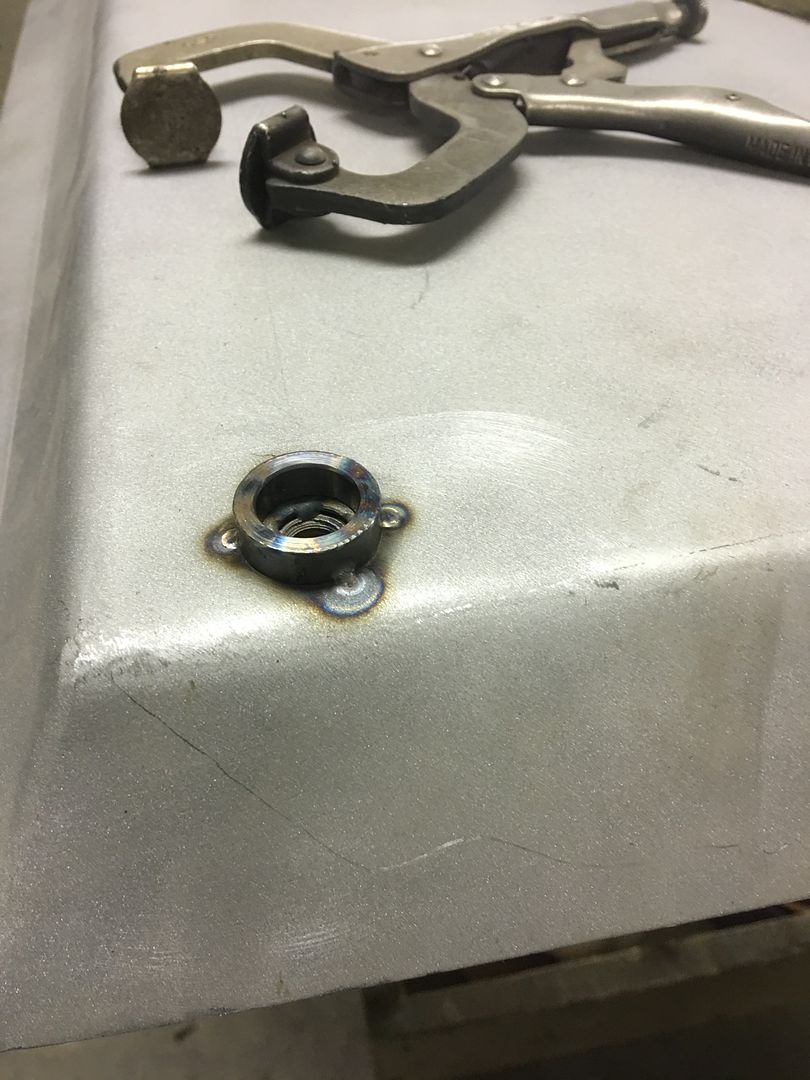
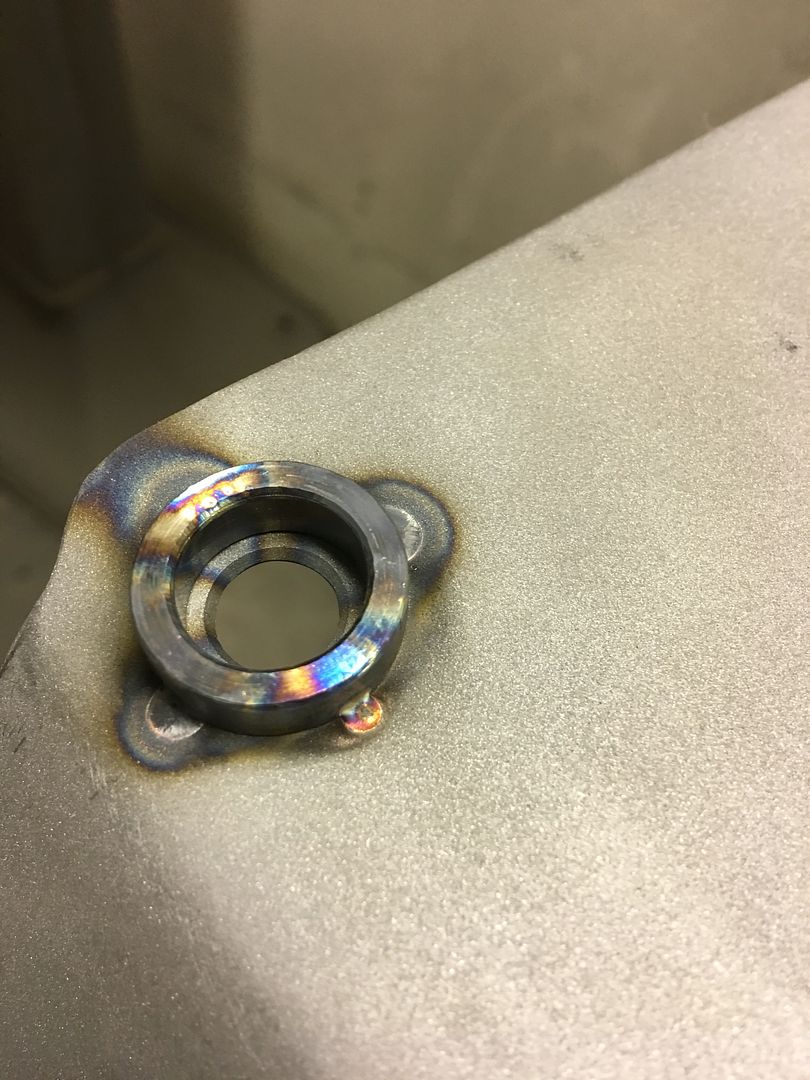
This weekend we got the three hex nuts welded underneath seat bracket number two, fourth hole is a bolt through......
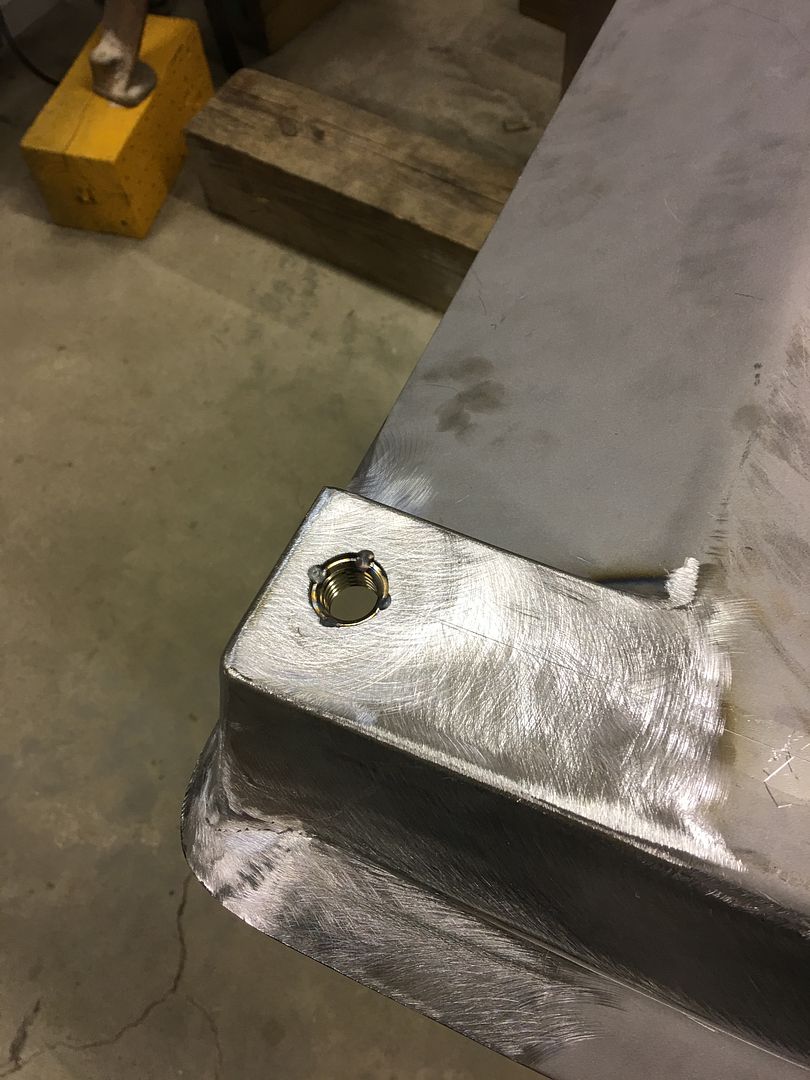
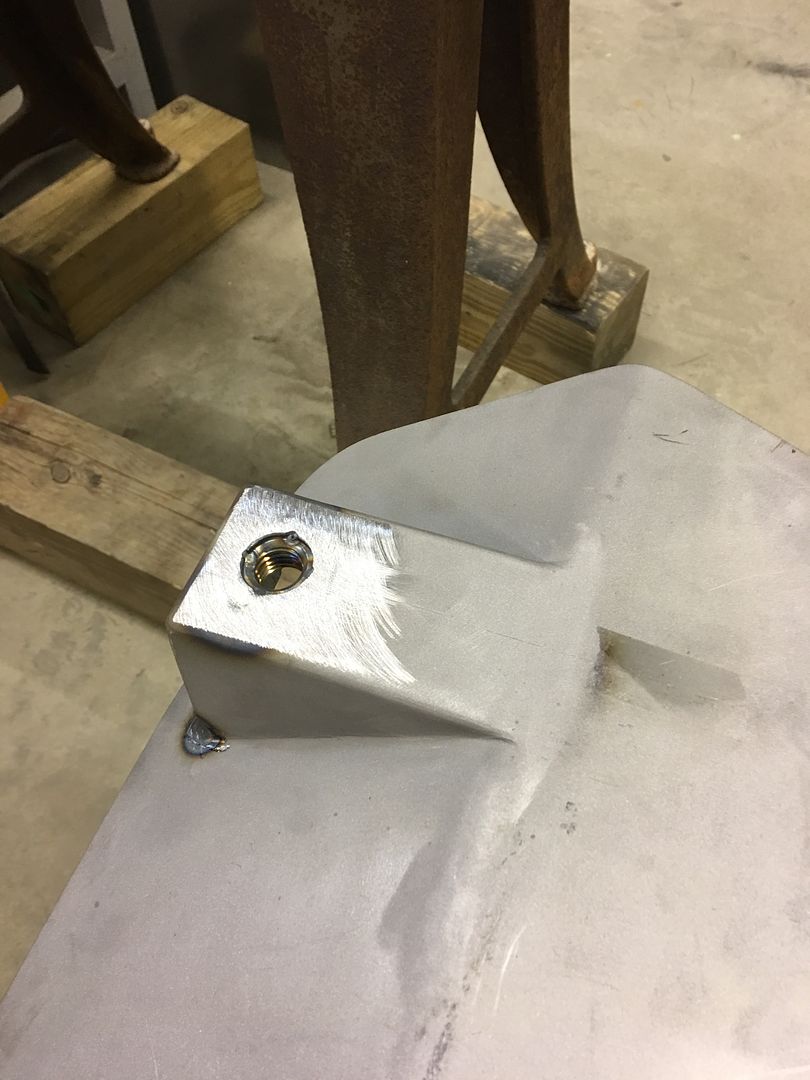
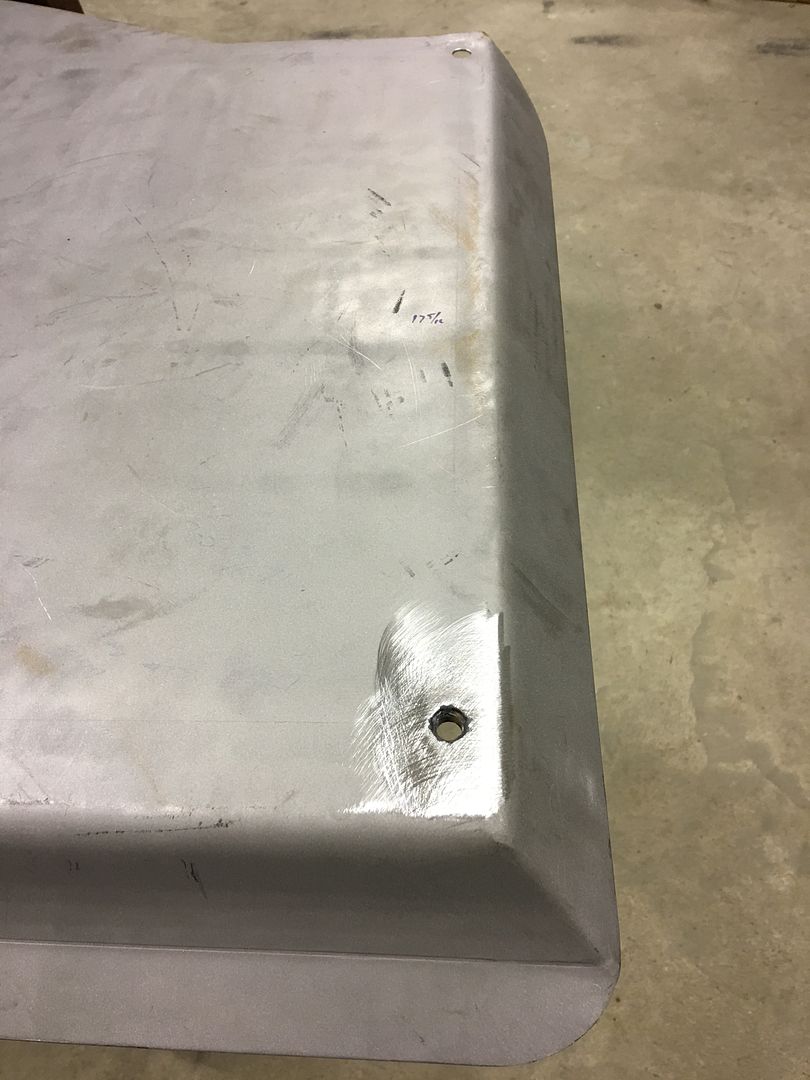
1/4" tall spacers fabricated to make the seat tracks level, then tacked in place on the front holes..

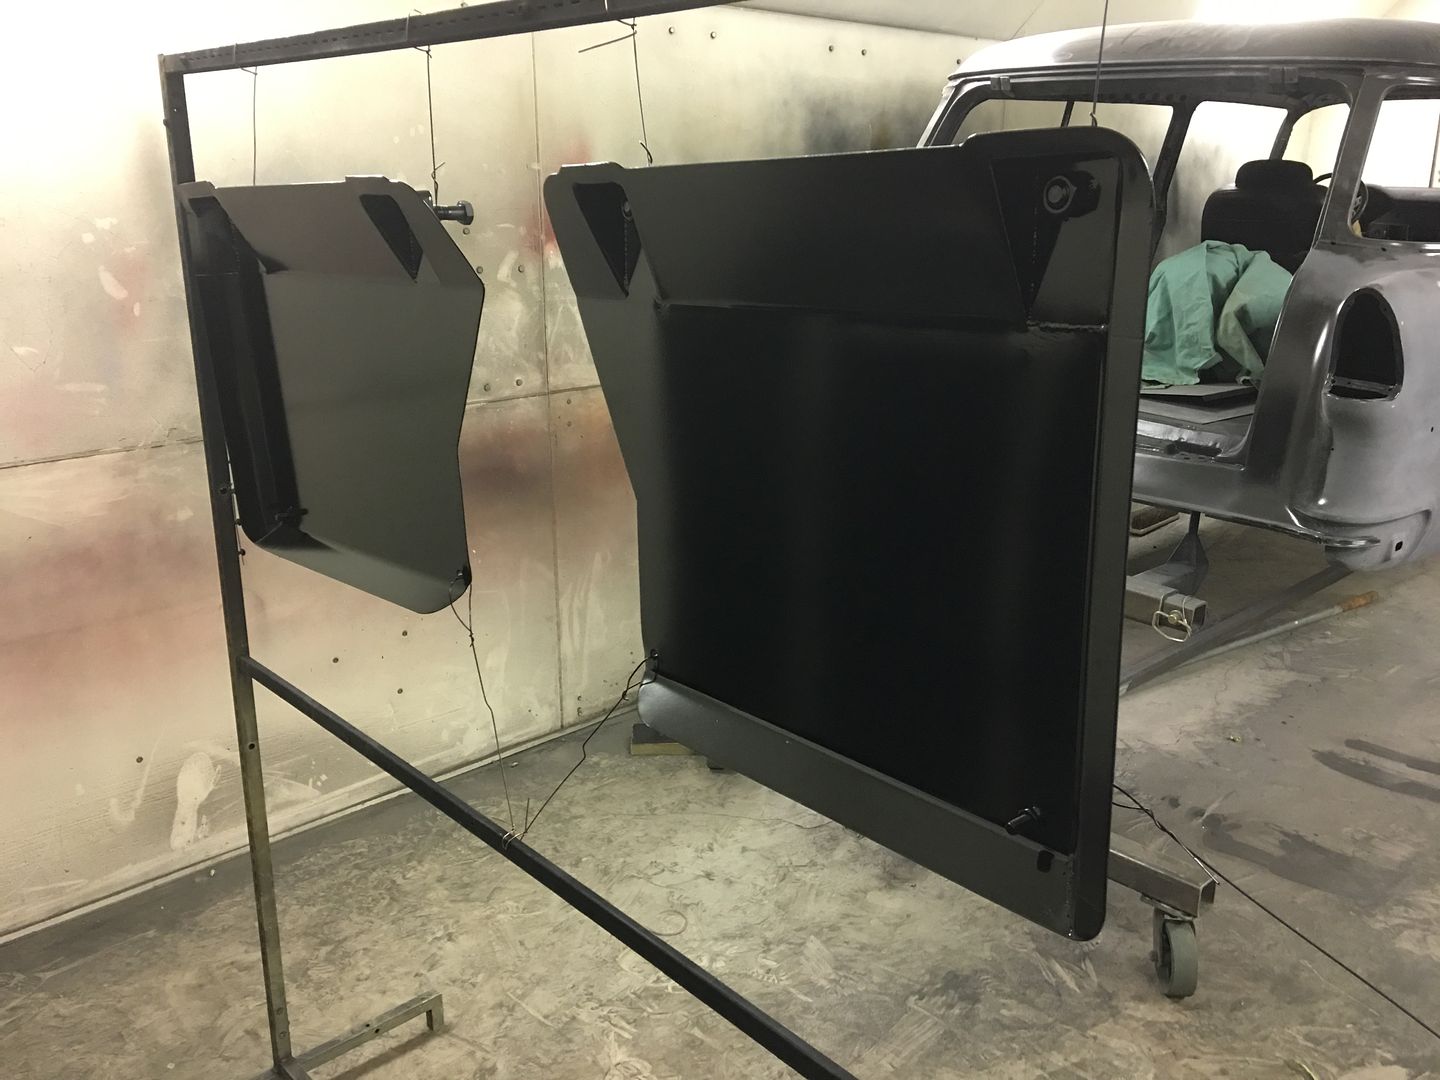
Prepped and hung up for epoxy primer...
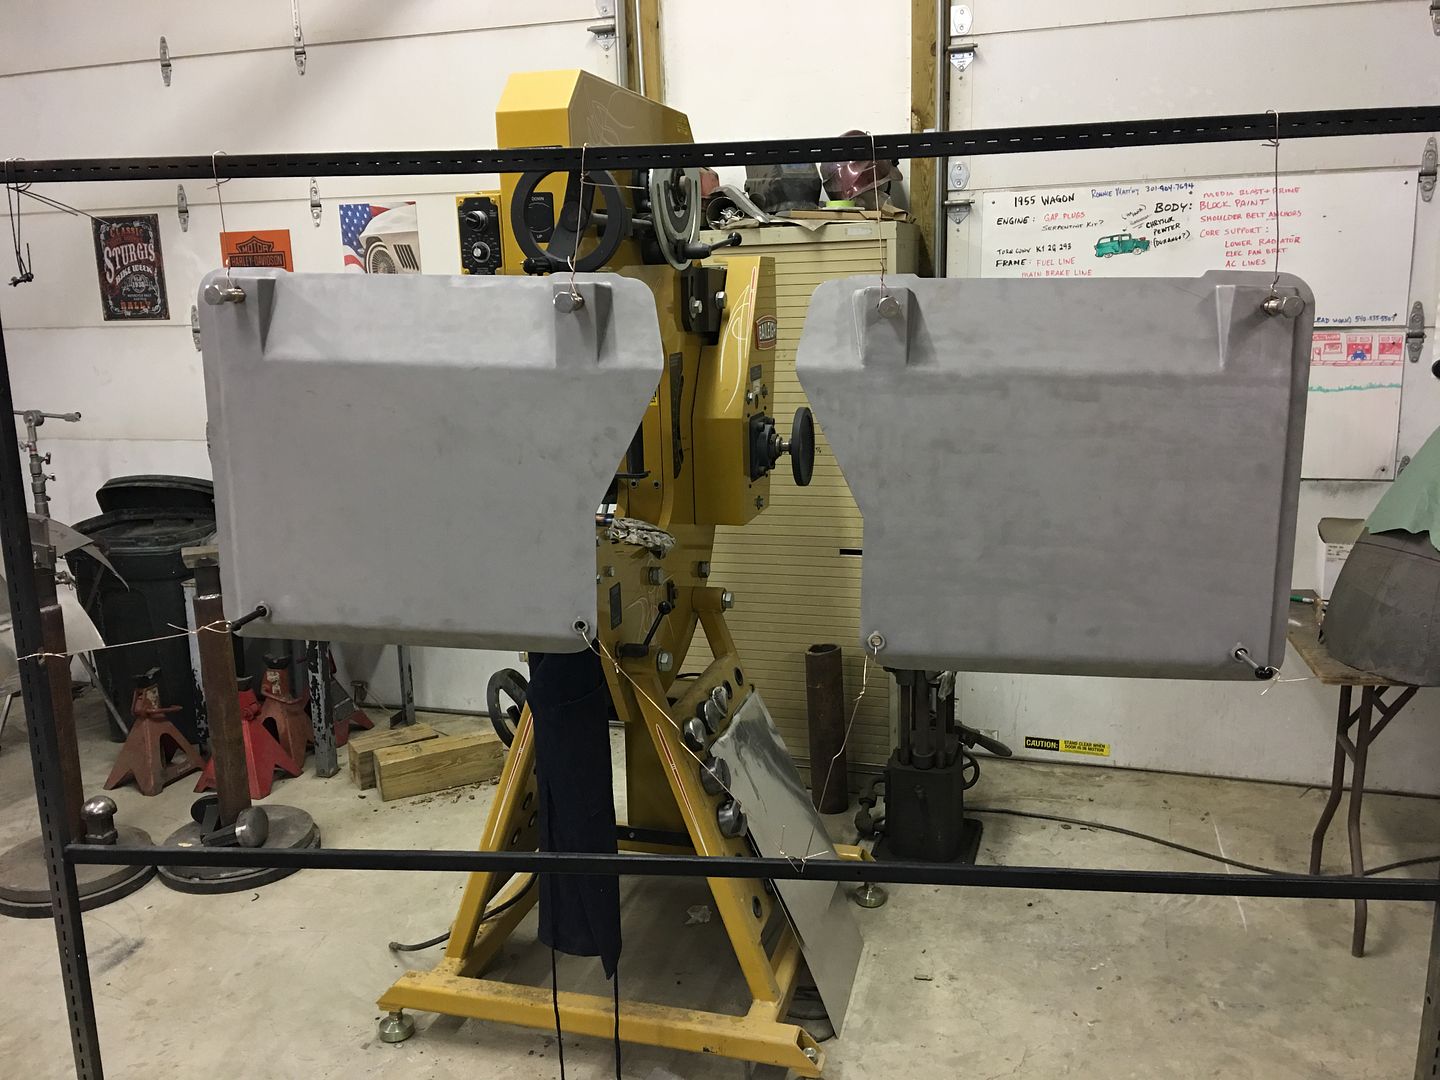
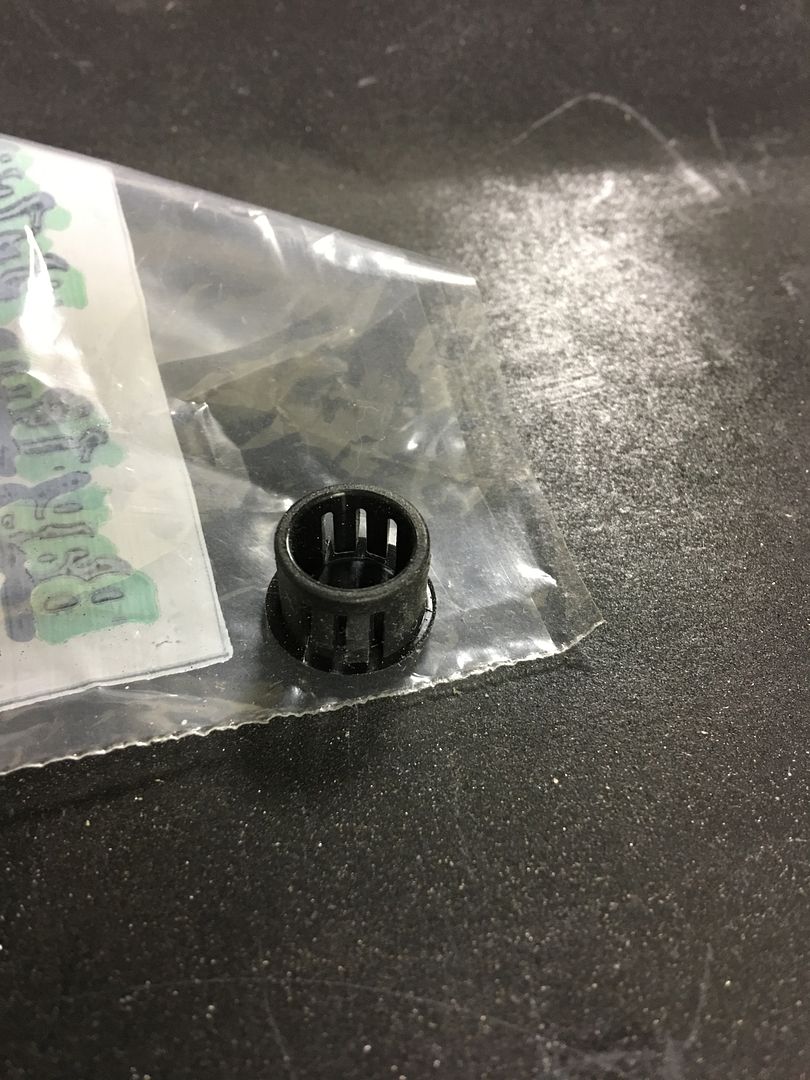
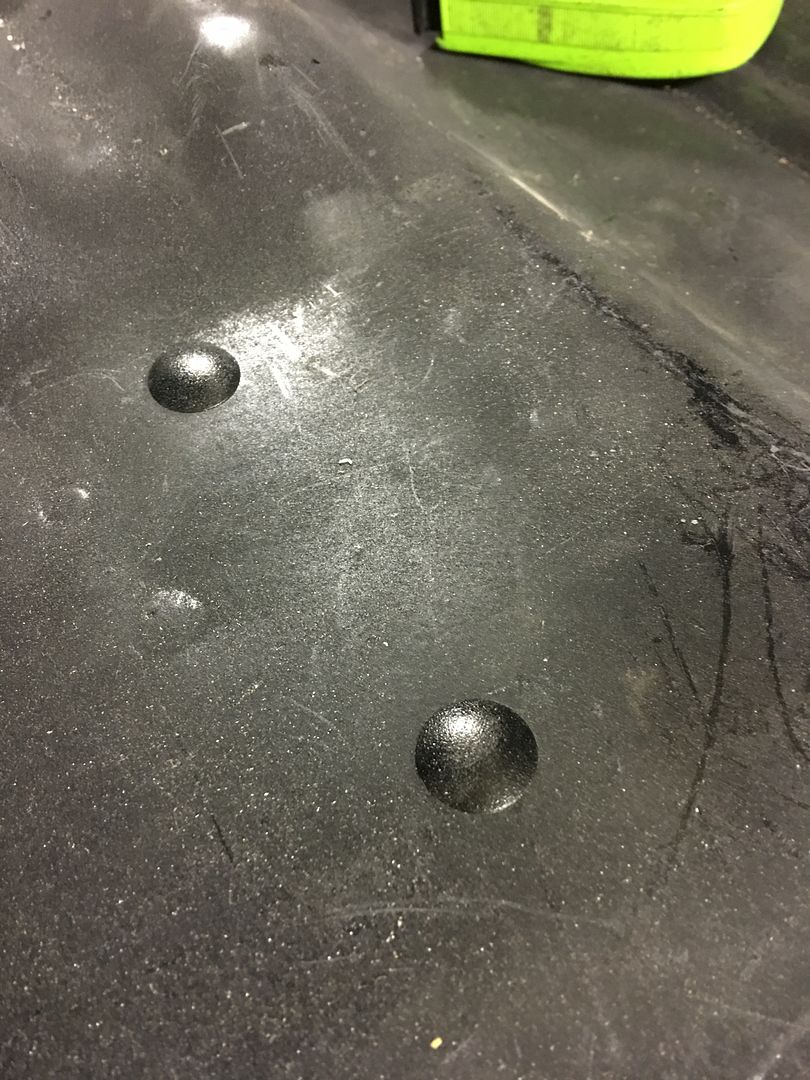
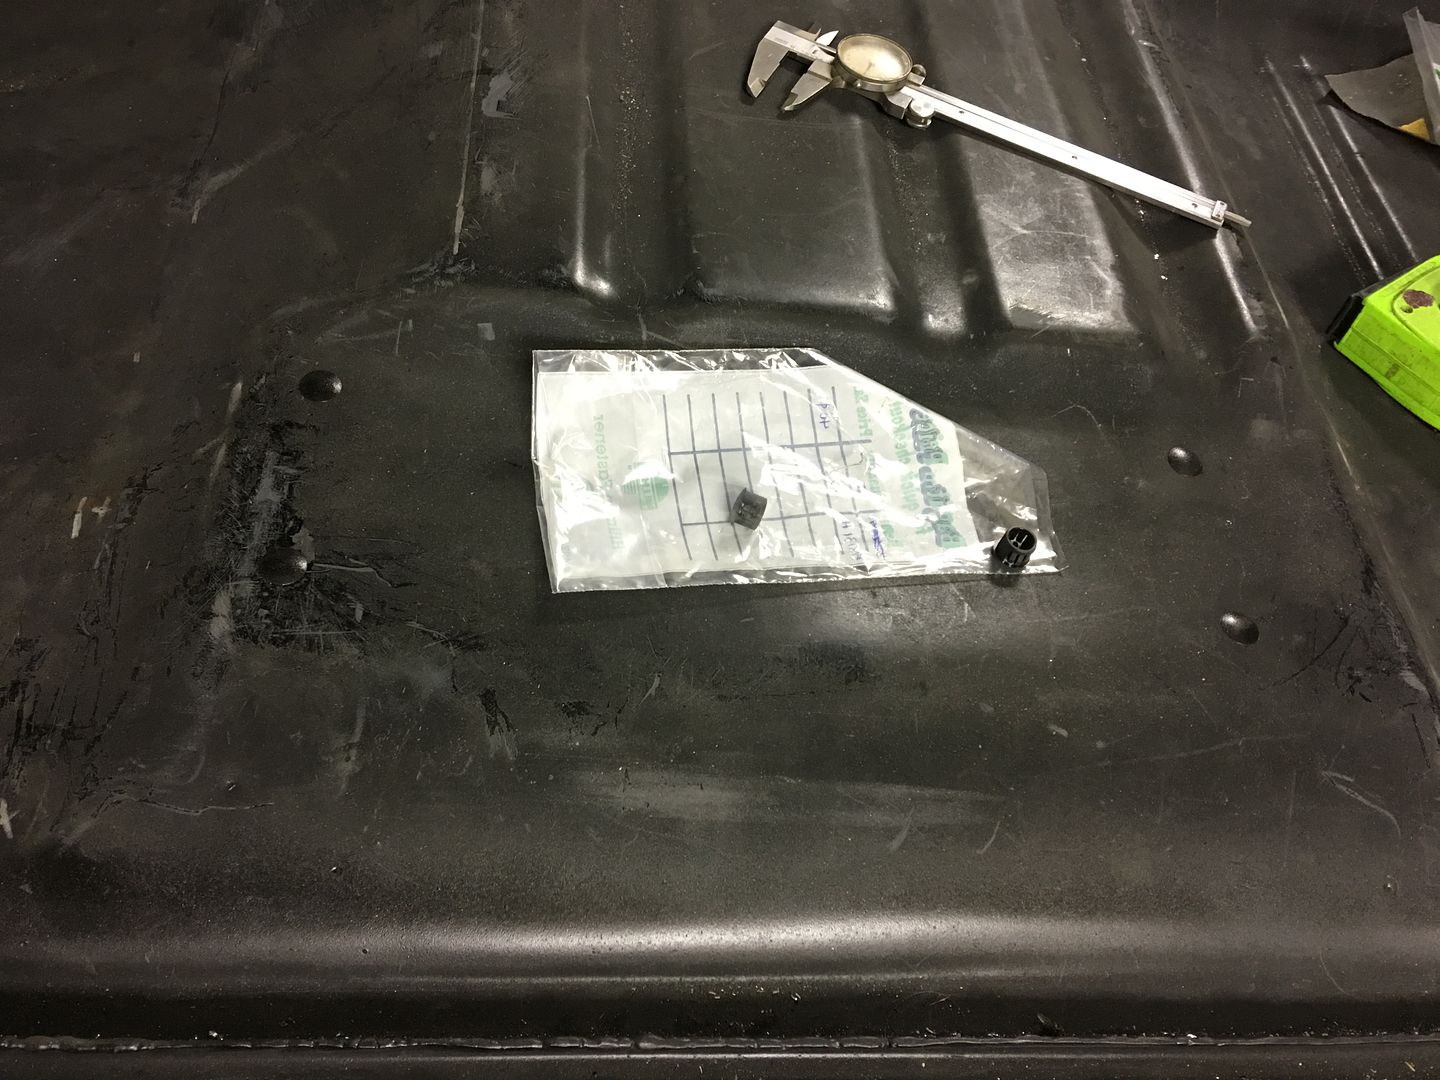
OEM seat bracket holes in the floor pans open to the inside of floor crossmembers. Rather than weld them closed and warp the floor pan, we opted for these fancy hole plugs.
SPI epoxy primer applied...
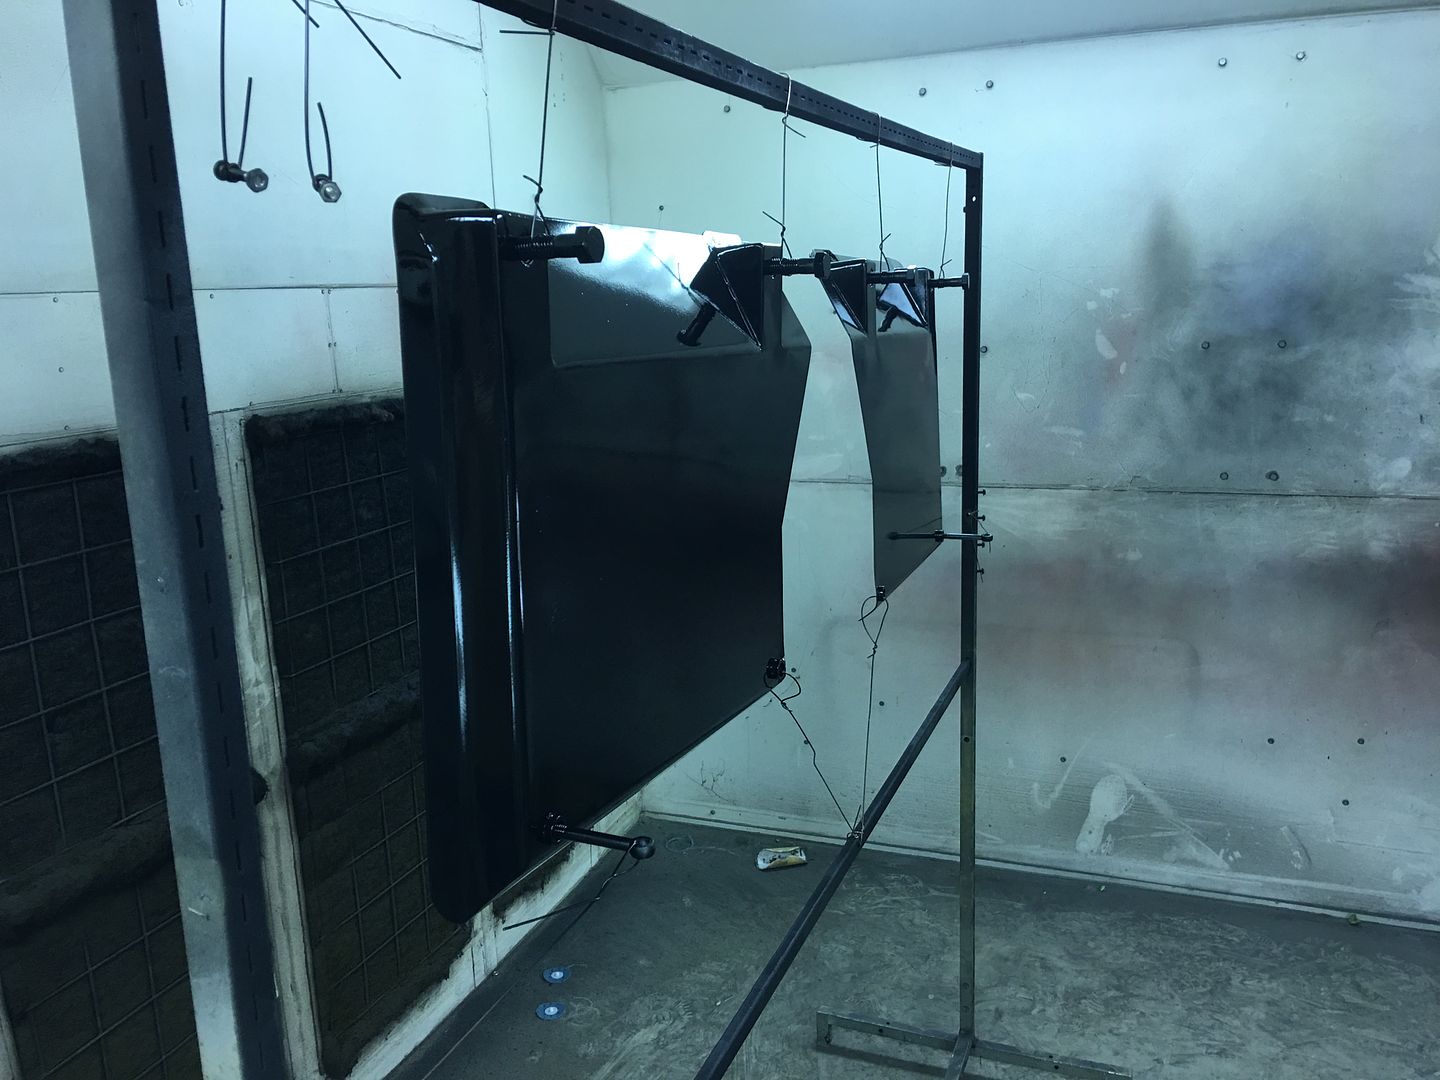
When it's 39* outside and the paint booth is sucking the heat out of the building, this is how you keep the temps up to a balmy 75* in the paint booth..
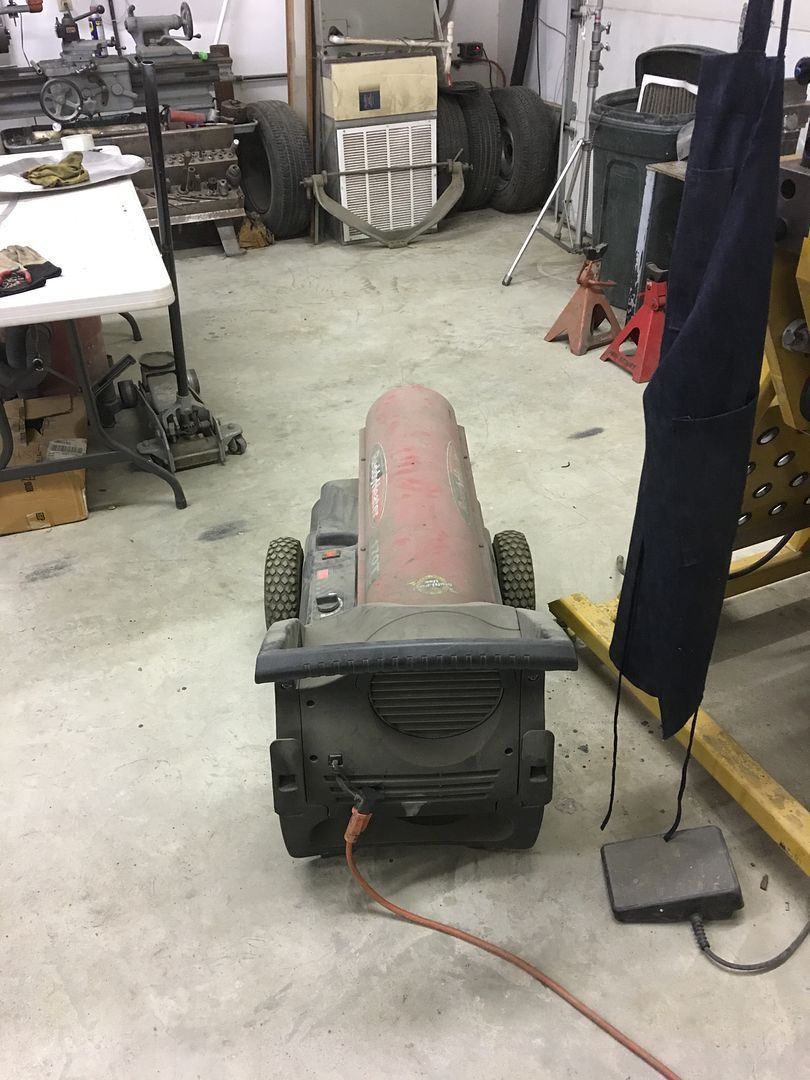
We'll let the seat brackets cure for a few days and then get started on plug welding them in place..
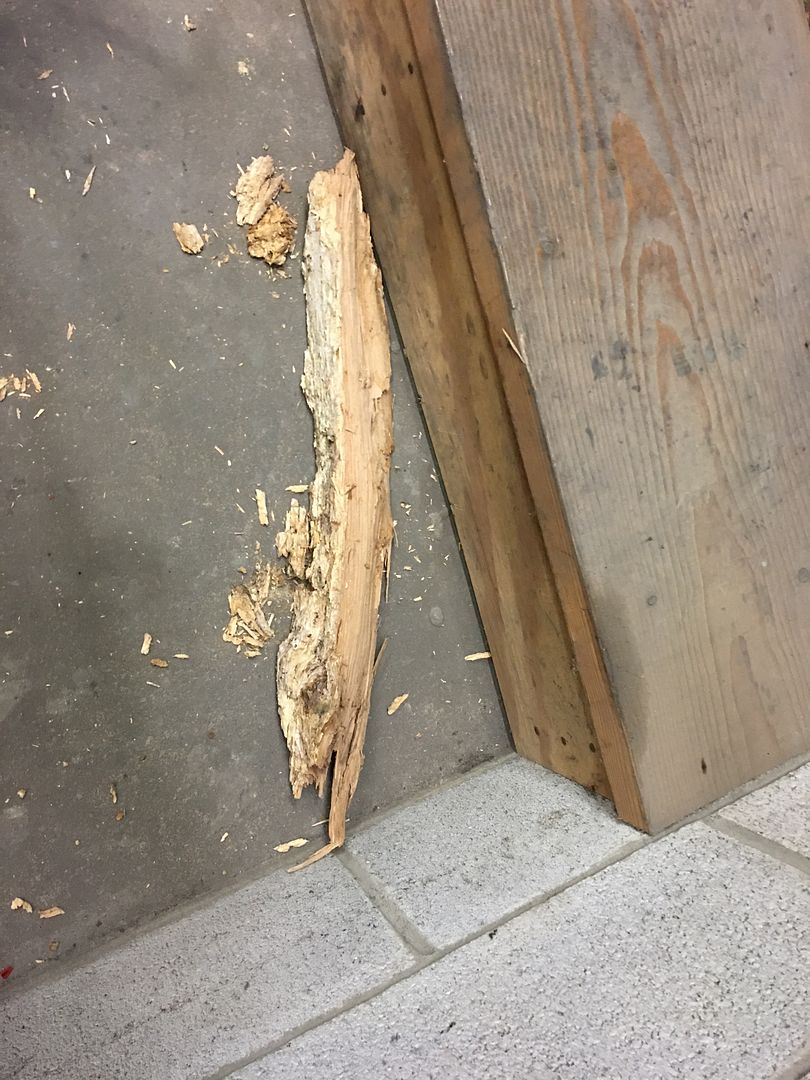
Stopped by to visit the next big yellow project...
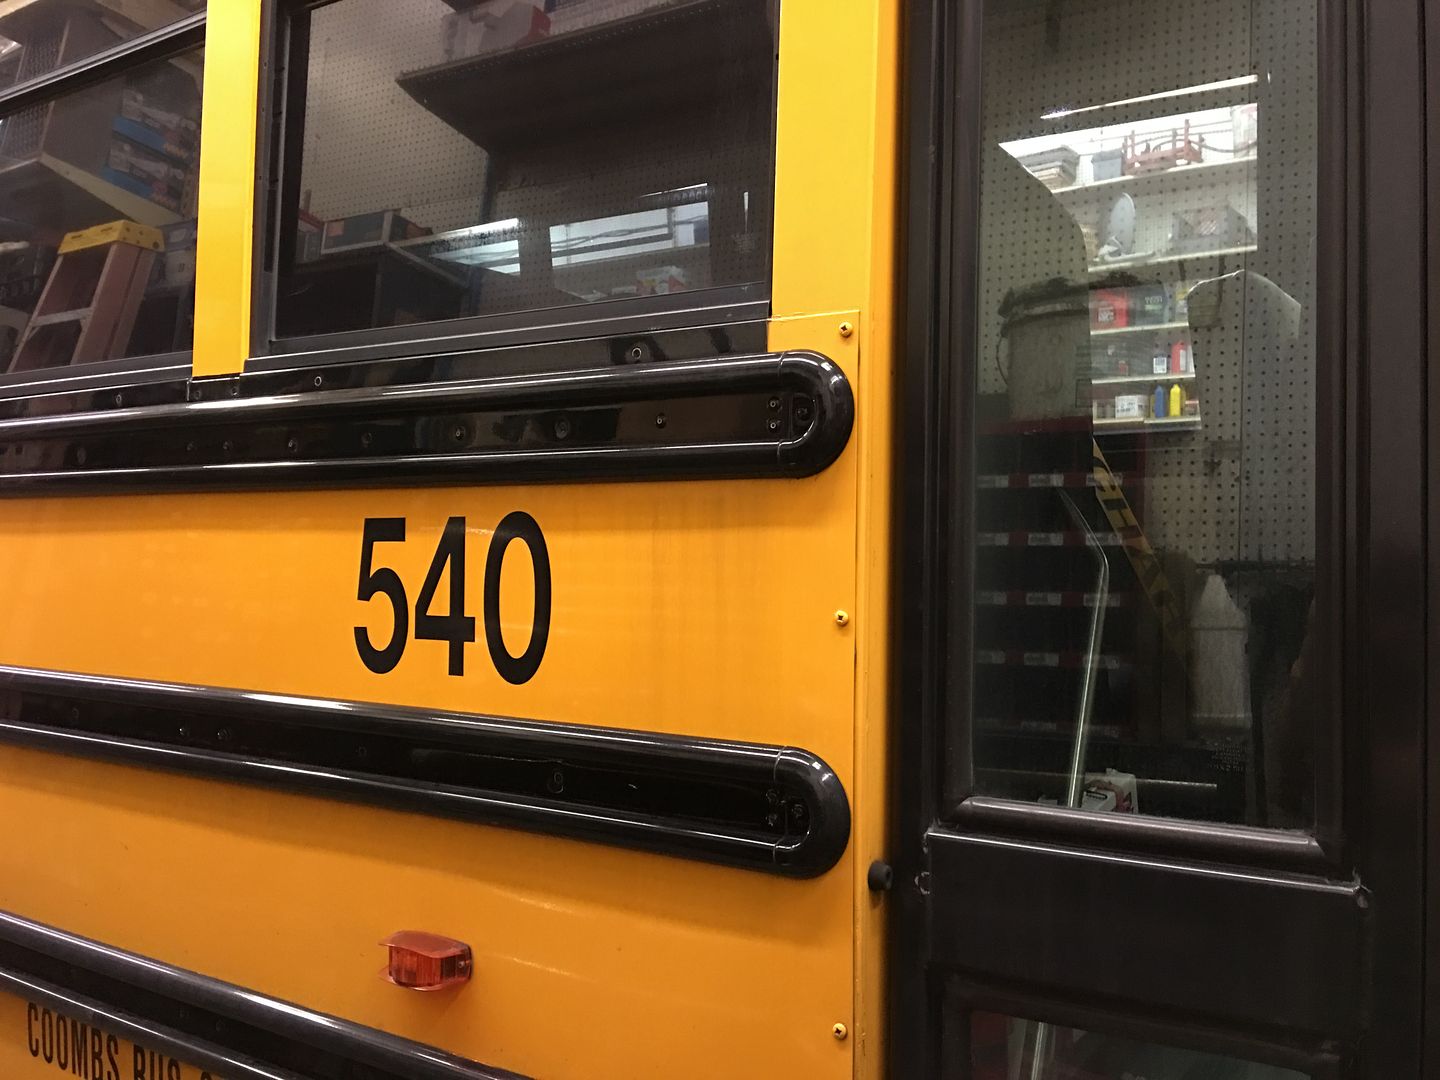
Got the larger bits of the oak tree removed, still some vacuuming to do for the remaining splinters..

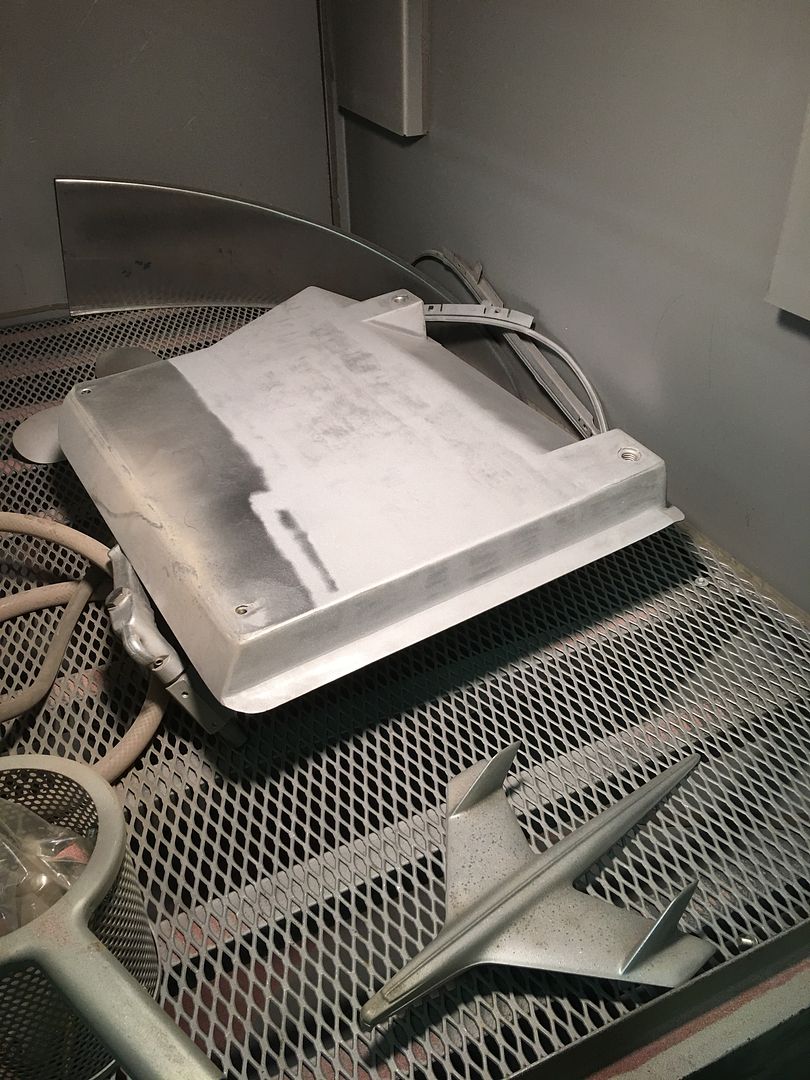
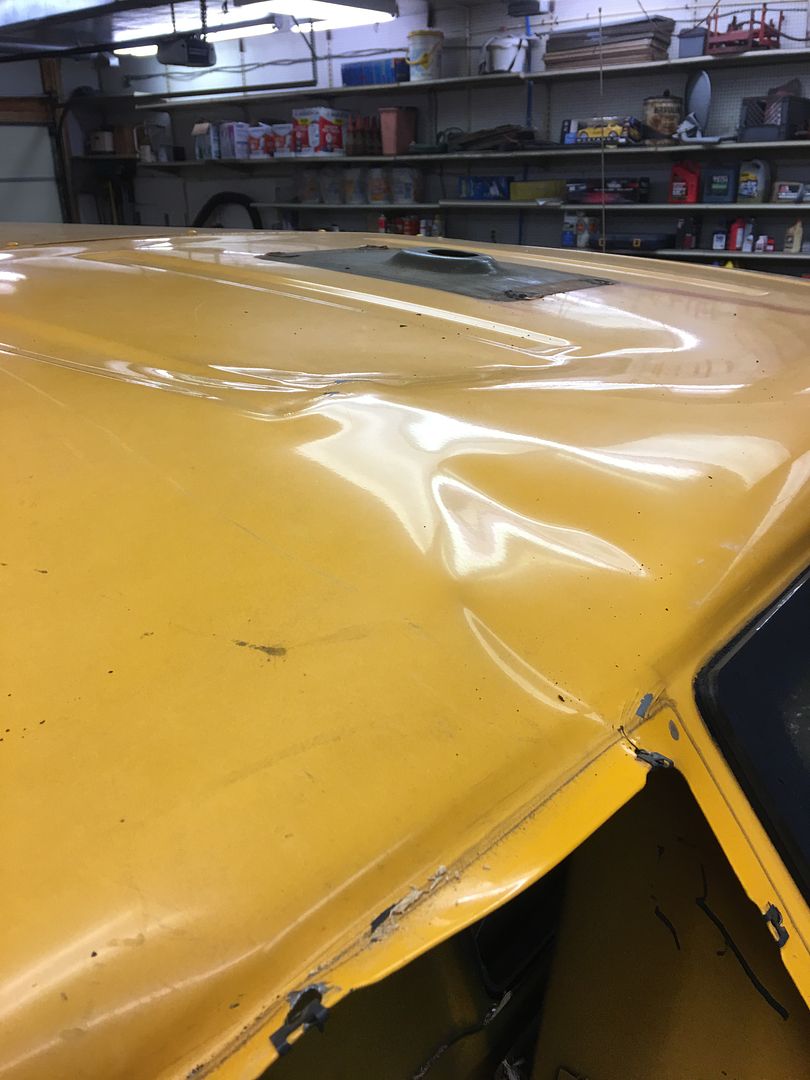
Looks like we have an electrical repair as well.. While we're fixing the Atlantic Ocean syndrome on the roof top, may as well clean up this rusty cover.....
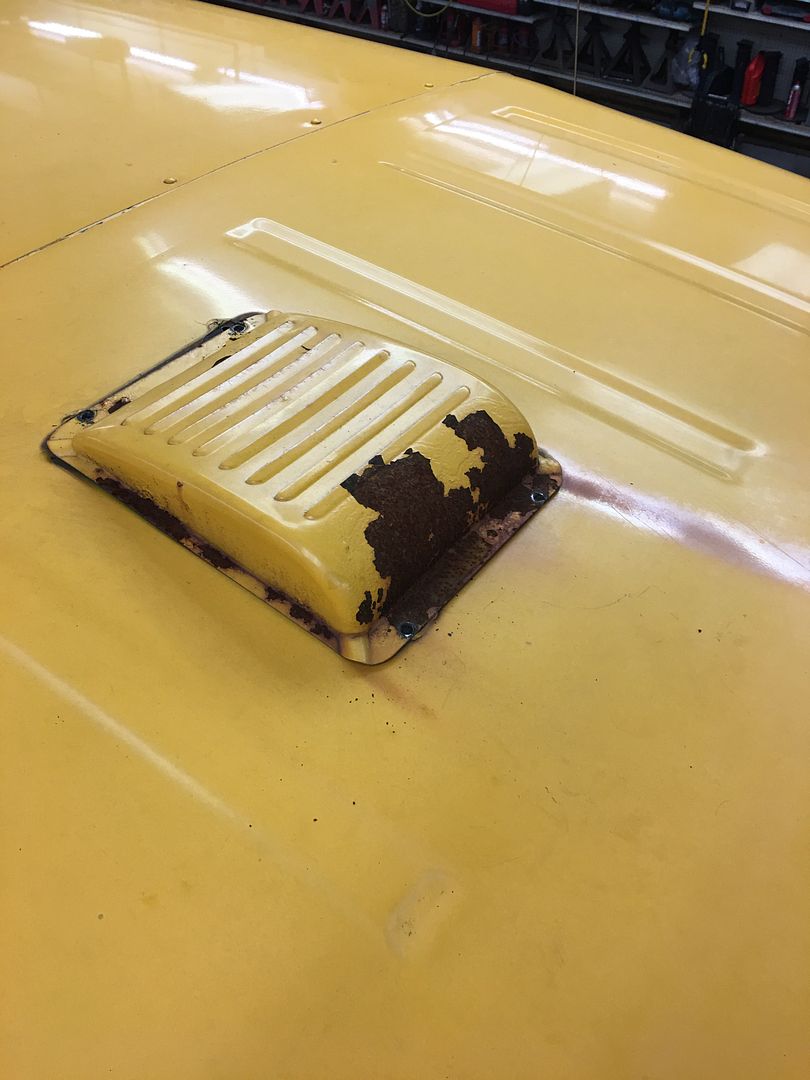
After a bit of media blasting, I think we'll change course and get a new vent cover. Too much ventilation in this one..


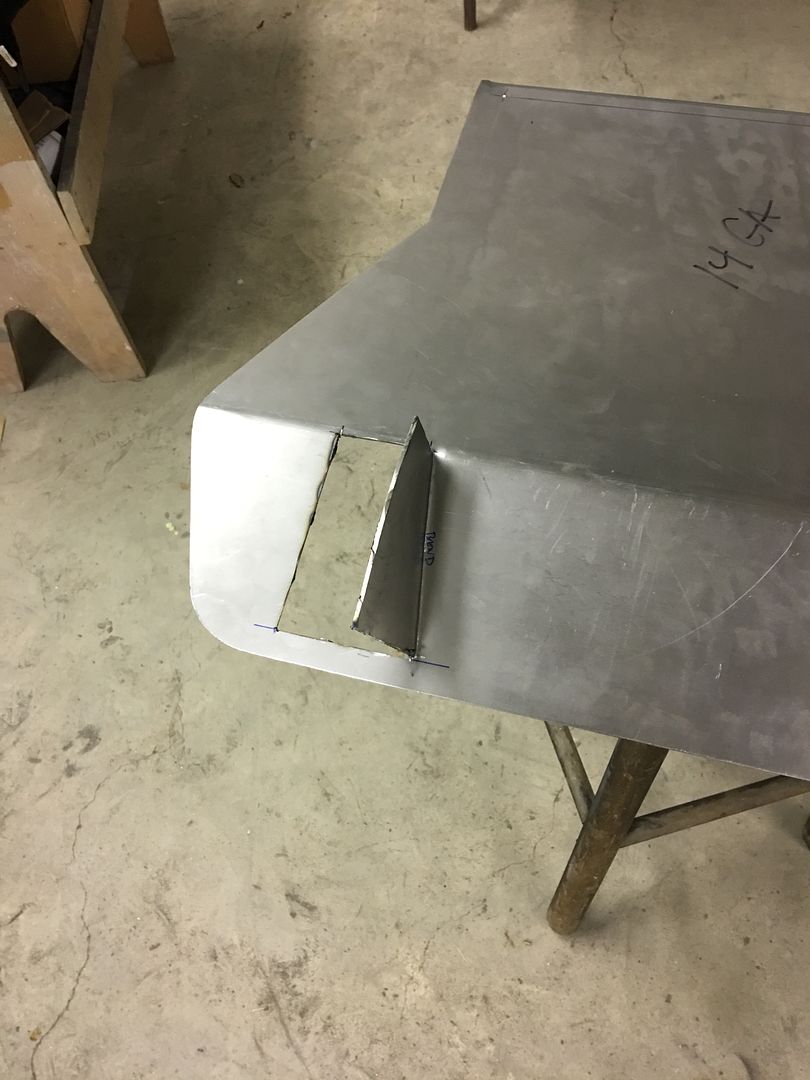
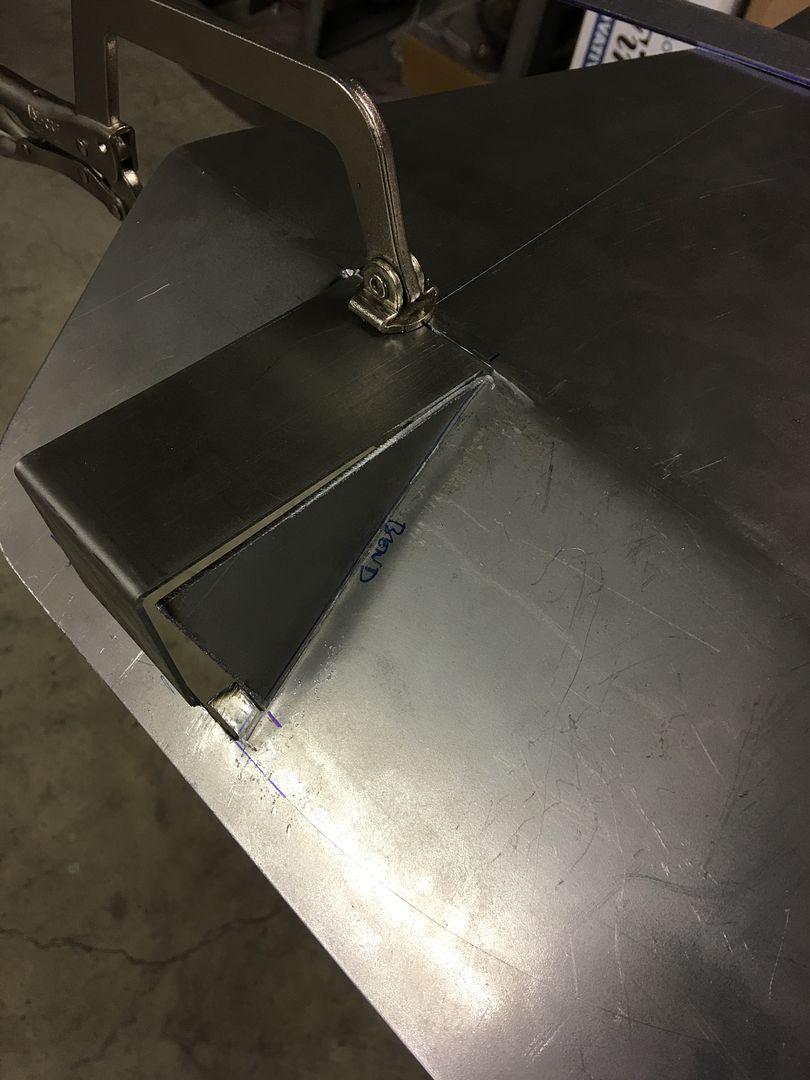
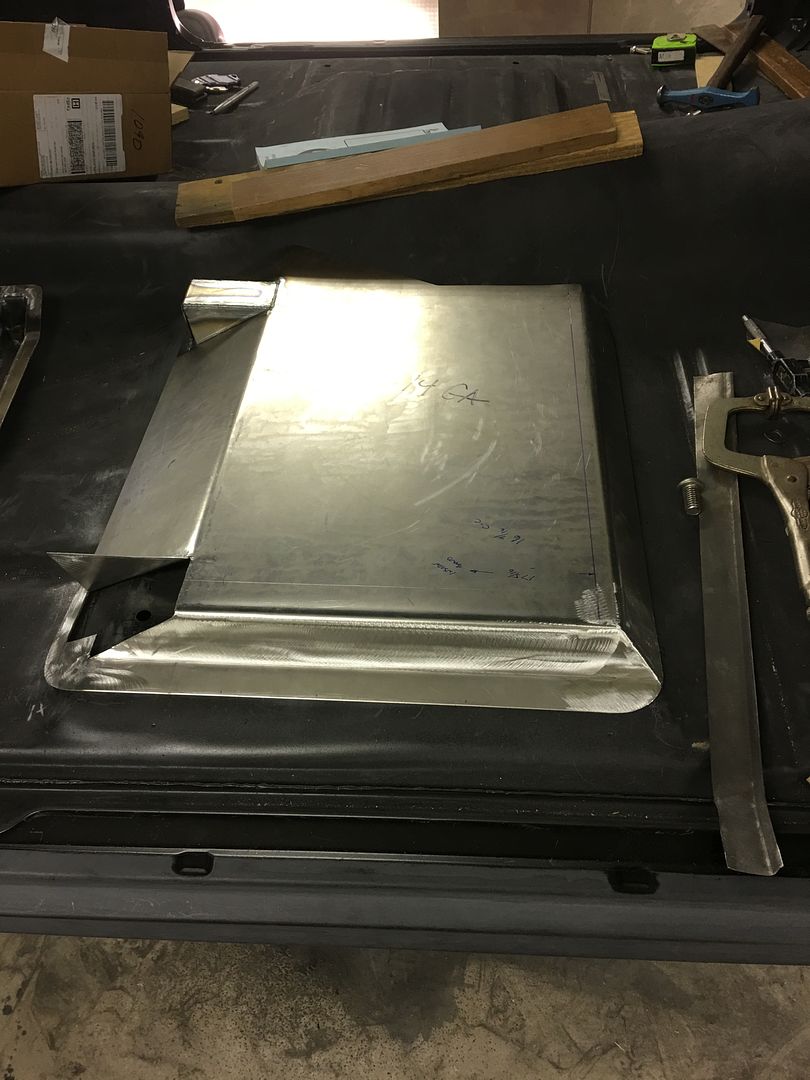
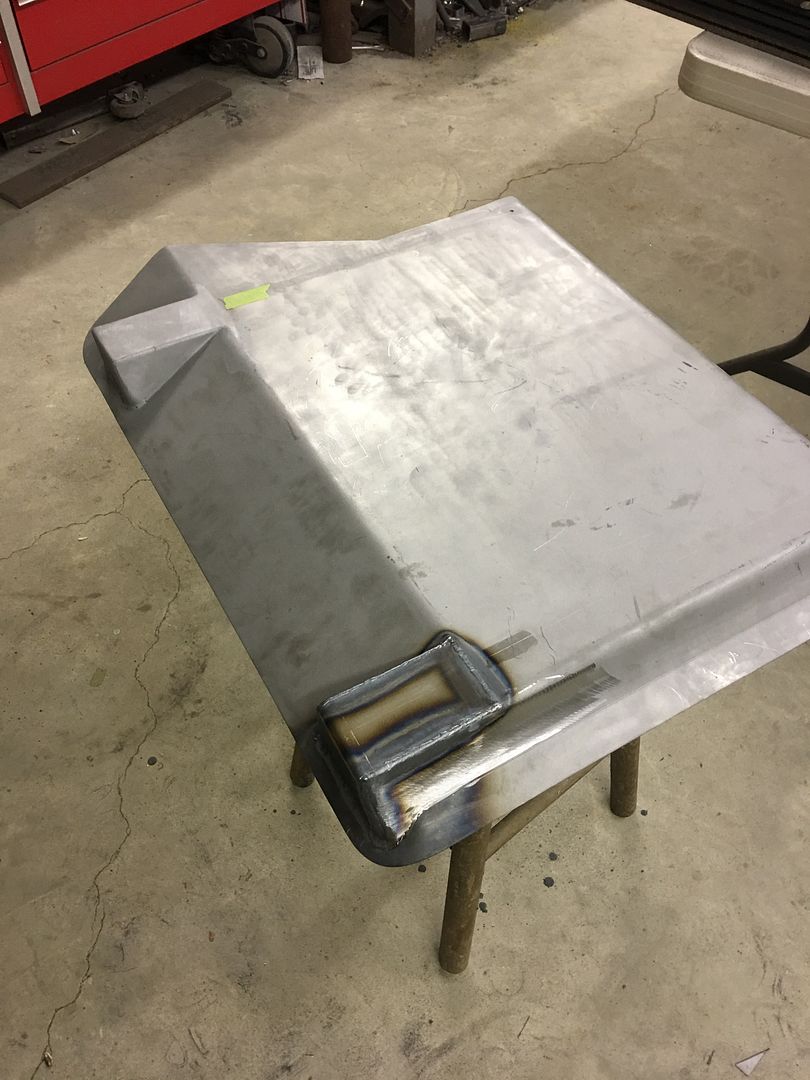
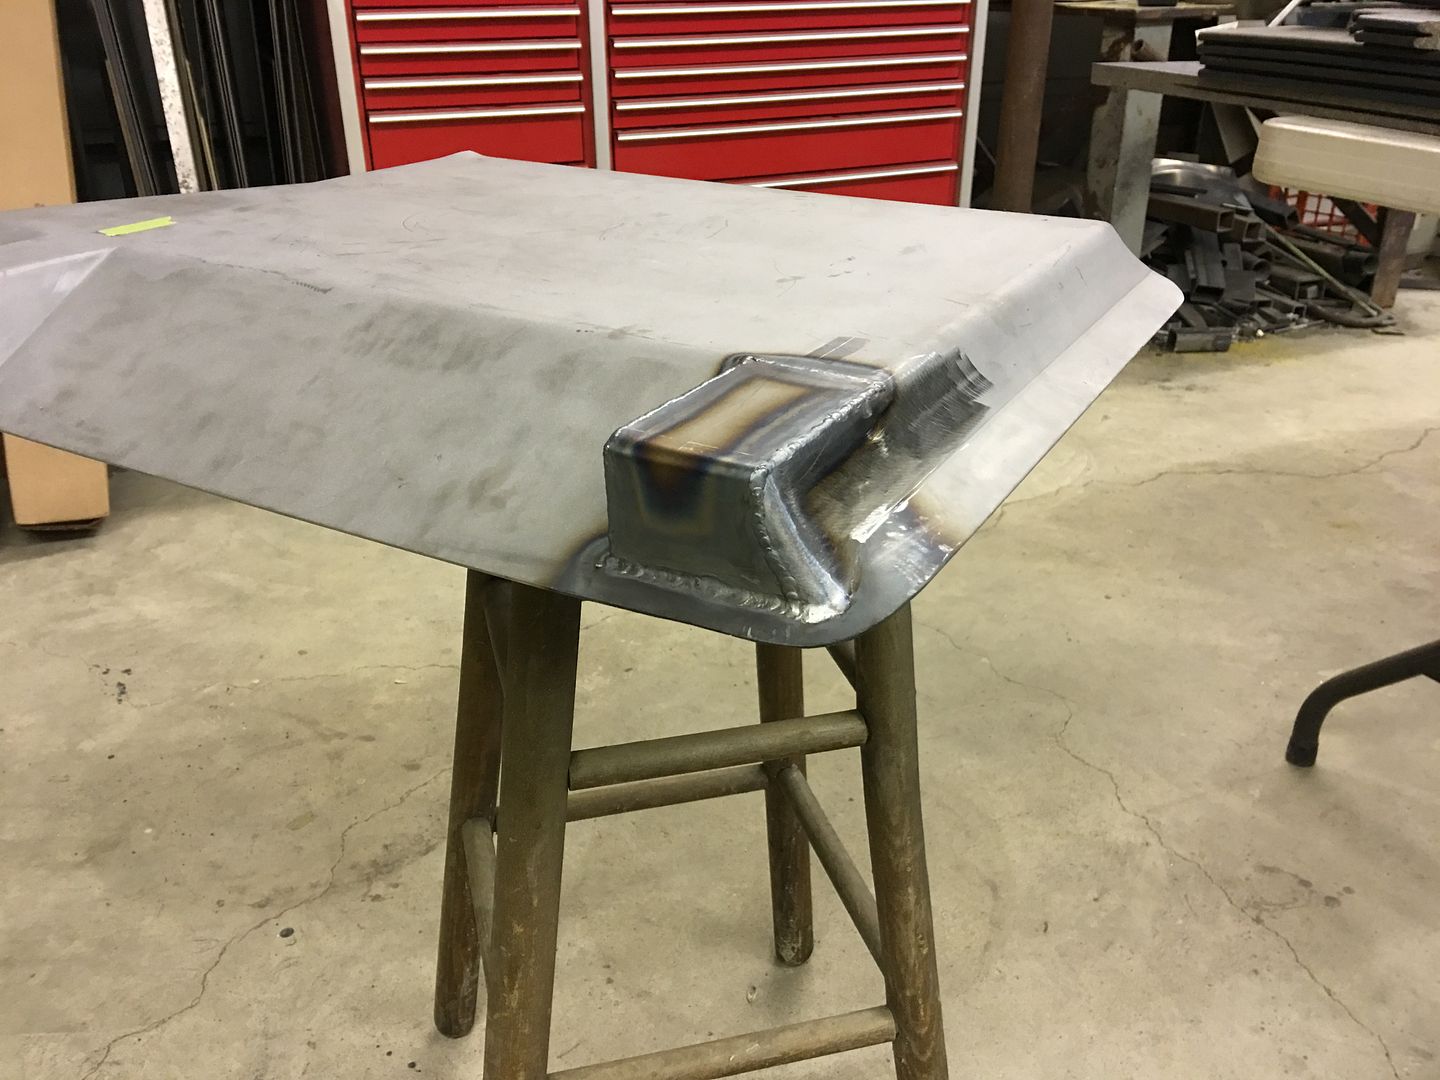
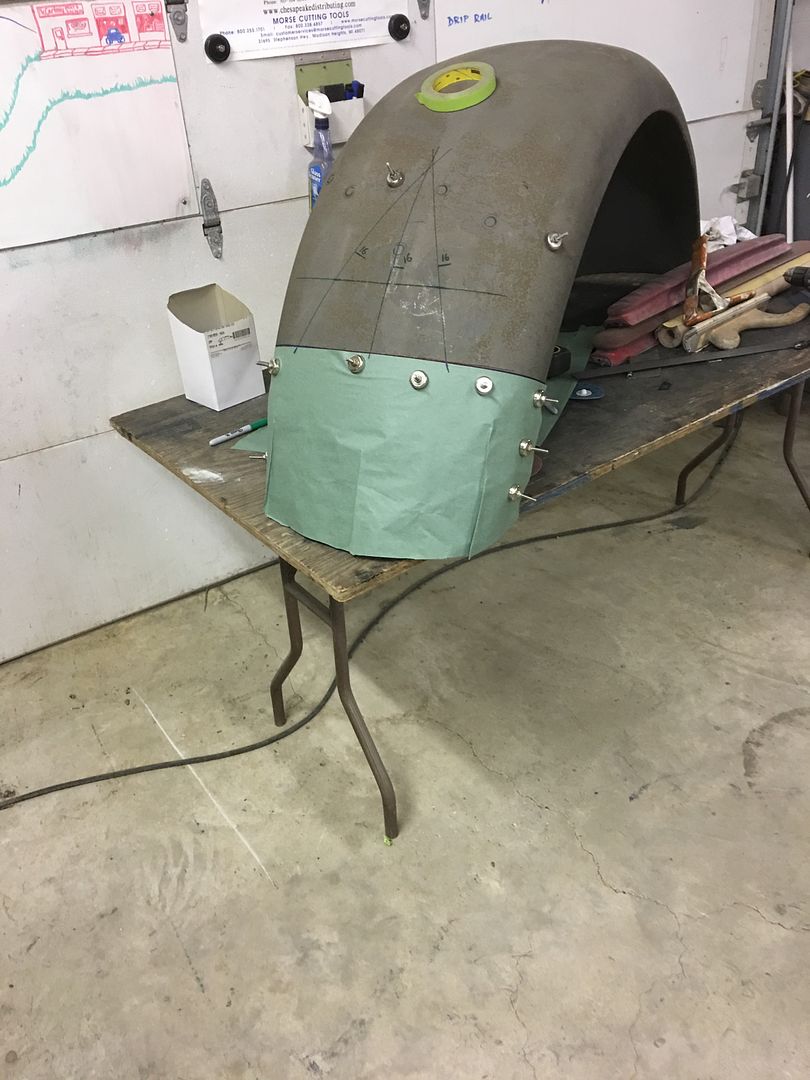
And let's not forget the Biederman.. Time to start the layout of fender repair number 2... Proposed horizontal cut line was added using our trusty Carpenter laser...
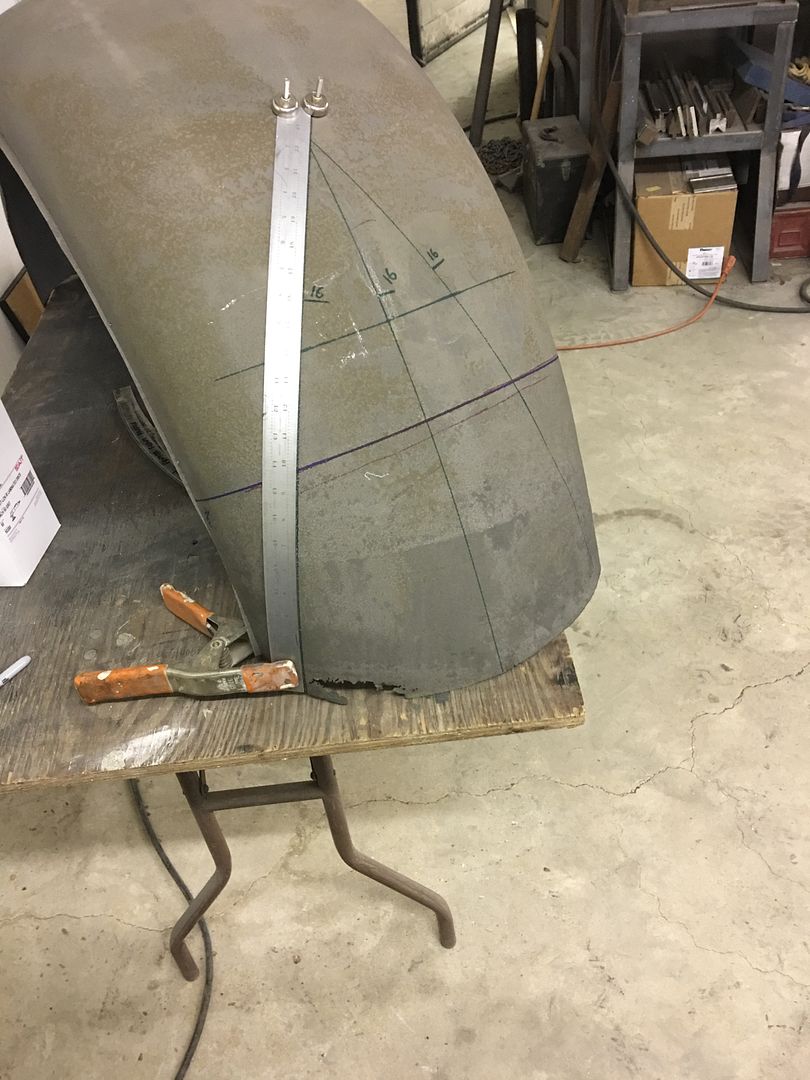
And some reference lines marked to locate the bottom edge after welding on the new patch..
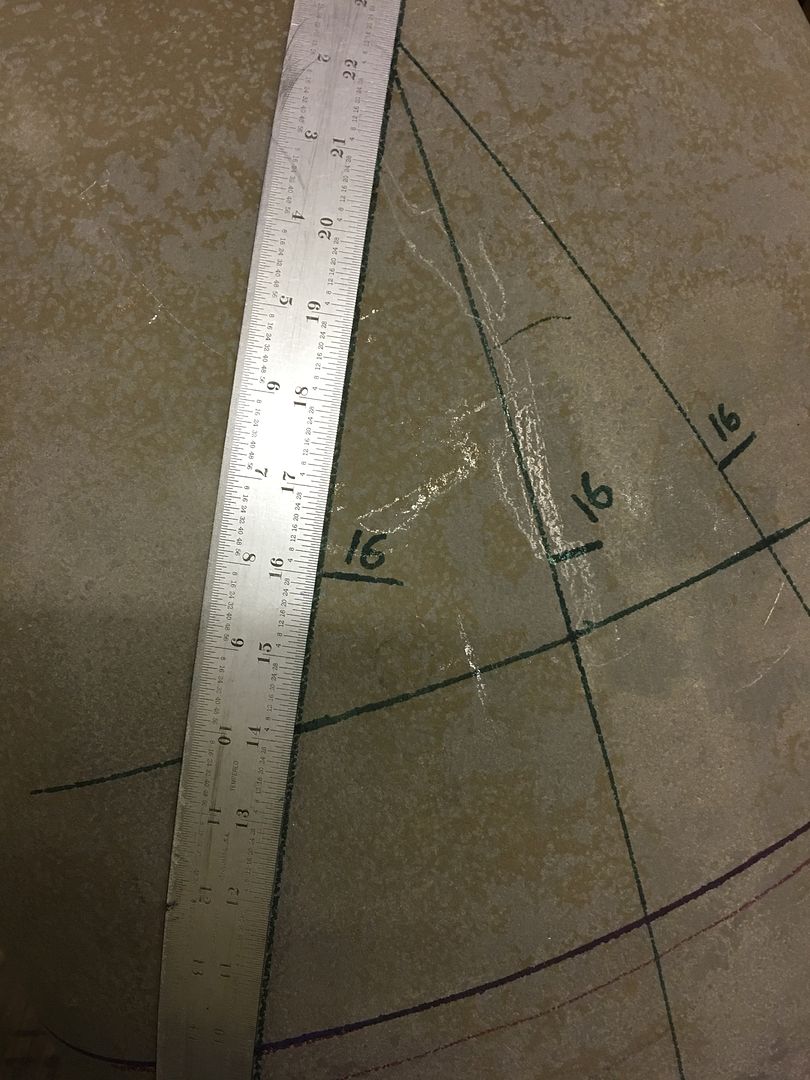
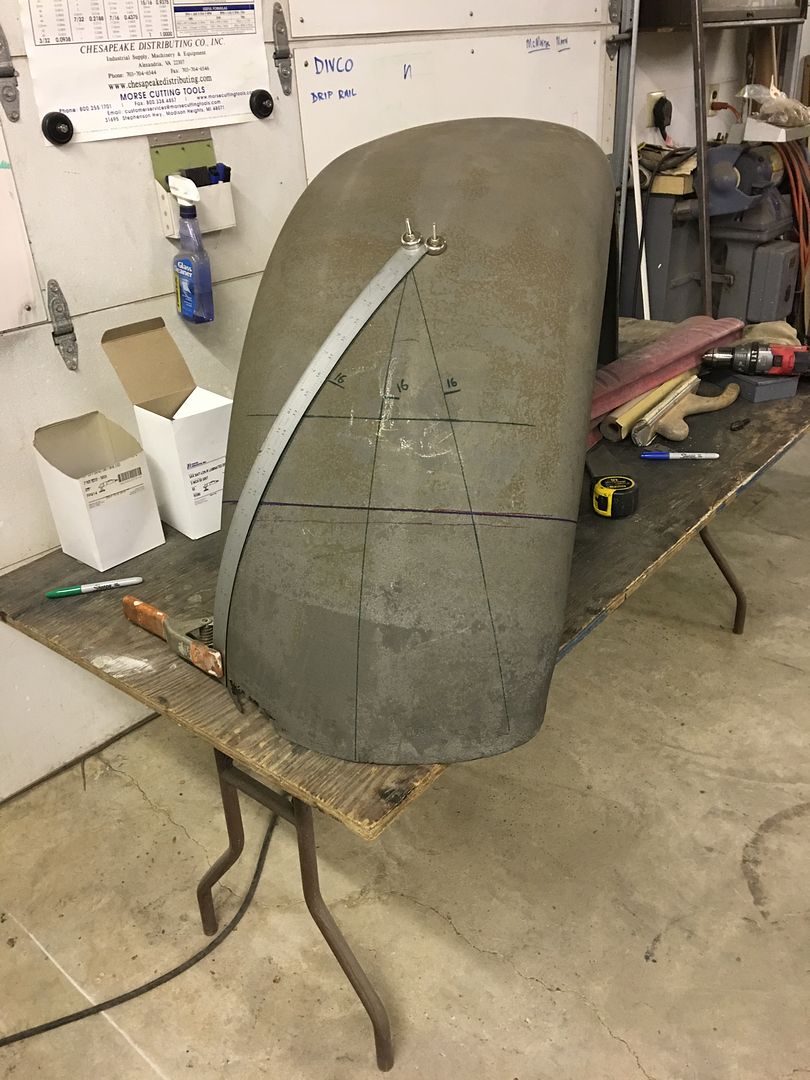
....and a paper pattern used to get the size we need for our patch.
Robert
-
03-06-2017 11:51 AM #988
CHR Member
- Join Date
- Apr 2011
- Location
- Prairie City
- Car Year, Make, Model: 40 Ford Deluxe, 68 Corvette, 72&76 K30
- Posts
- 7,301
- Blog Entries
- 1
More nice work! Hopefully 39* is the lowest we see for a while. We've been spoiled with warm weather here lately. Does that heater produce any odors? I've always been scared to turn mine on when painting since I have no paint booth/real fume filtering set up.Ryan
1940 Ford Deluxe Tudor 354 Hemi 46RH Electric Blue w/multi-color flames, Ford 9" Residing in multiple pieces
1968 Corvette Coupe 5.9 Cummins Drag Car 11.43@130mph No stall leaving the line with 1250 rpm's and poor 2.2 60'
1972 Chevy K30 Longhorn P-pumped 24v Compound Turbos 47RH Just another money pit
1971 Camaro RS 5.3 BTR Stage 3 cam, SuperT10
Tire Sizes
-
03-06-2017 08:01 PM #989
CHR Member
- Join Date
- Jan 2005
- Location
- Doon, Ia
- Car Year, Make, Model: 53 Chevy 3100
- Posts
- 2,716
"When it's 39* outside and the paint booth is sucking the heat out of the building, this is how you keep the temps up to a balmy 75* in the paint booth.."
You have that problem too? I try not to paint much below 40 deg either. I always try to find the balance between sucking out fumes and keeping the shed warm. I am thinking about mounting my exhaust fan down by the floor instead of up by the ceiling. I'm not sure it will make enough of a difference to do it though.
-
03-07-2017 01:35 AM #990
CHR Member
- Join Date
- Sep 2005
- Location
- Hamilton
- Car Year, Make, Model: 69 nomad, 73 charger, 74 vega
- Posts
- 3,900
Your shop can't exist in a vacuum.
The only real solution is to heat the incoming air..
Education is expensive. Keep that in mind, and you'll never be terribly upset when a project goes awry.
EG
 Reply With Quote

Posting Permissions
- You may not post new threads
- You may not post replies
- You may not post attachments
- You may not edit your posts

i've enjoyed the years here . made a lot of friends. most who have left. i see no reason to continue with this so hope to see you somewhere else. i dont think this site will ever be back. it's lived...
Dead!