Thread: 55 Wagon Progress
-
05-24-2017 10:49 AM #1036
Fun how stuff happens and the driver doesn't report it or may truely be oblivious, hmmm!"  "No matter where you go, there you are!" Steve.
-
Advertising

- Google Adsense
- REGISTERED USERS DO NOT SEE THIS AD
-
05-24-2017 12:59 PM #1037
- Join Date
- Apr 2011
- Location
- Prairie City
- Car Year, Make, Model: 40 Ford Deluxe, 68 Corvette, 72&76 K30
- Posts
- 7,301
- Blog Entries
- 1
Yeah, driver amnesia happens a lot where I work too. We had over $150k worth of unreported accidents last year alone among 100 trucks at 2 different locations. Crazy how these people keep their jobs.....Ryan
1940 Ford Deluxe Tudor 354 Hemi 46RH Electric Blue w/multi-color flames, Ford 9" Residing in multiple pieces
1968 Corvette Coupe 5.9 Cummins Drag Car 11.43@130mph No stall leaving the line with 1250 rpm's and poor 2.2 60'
1972 Chevy K30 Longhorn P-pumped 24v Compound Turbos 47RH Just another money pit
1971 Camaro RS 5.3 BTR Stage 3 cam, SuperT10
Tire Sizes
-
05-24-2017 09:45 PM #1038
I hate you as usual for making it look so easy, nice work as always.
Seth
God cannot give us a happiness and peace apart from Himself, because it is not there. There is no such thing. C.S.Lewis
-
05-25-2017 07:54 PM #1039
Let me guess. You guys probably fix fiberglas as good as you do metal work!
Well.. I guess another lesson is at hand, I'll sharpen my pencil!

-
05-26-2017 11:25 AM #1040
-
05-27-2017 09:33 PM #1041
Pilot hole drilled for the passenger B-Pillar.....
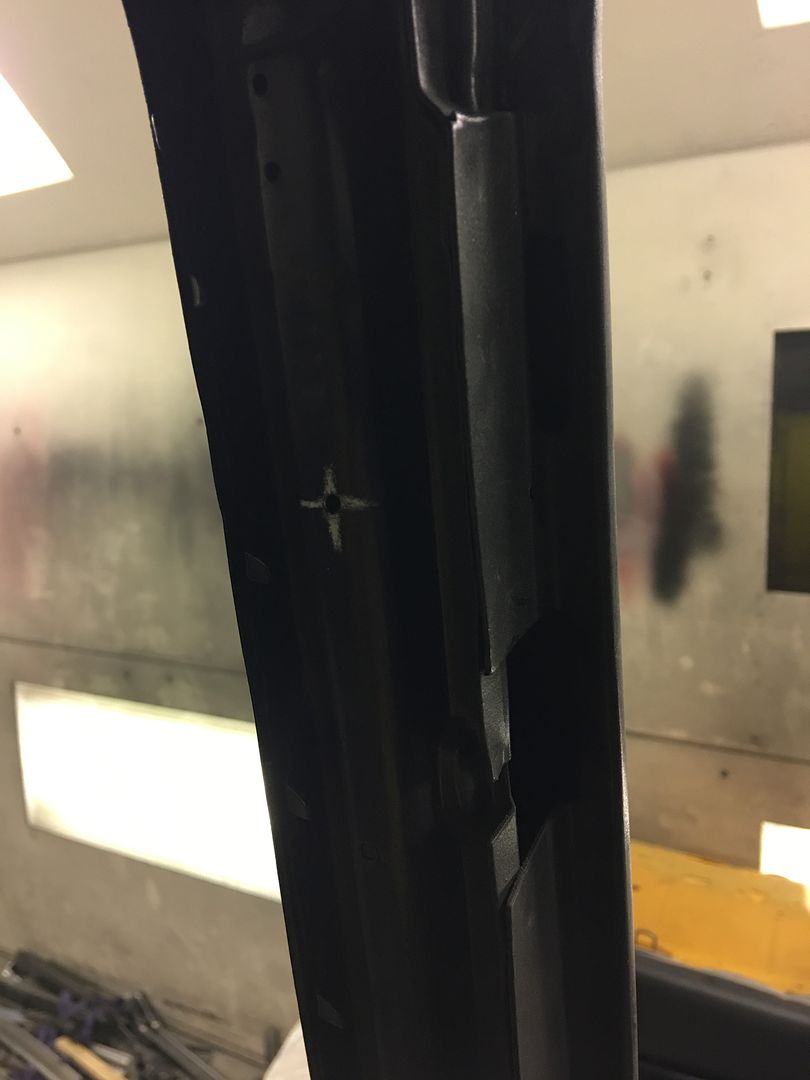
The center point is spring loaded, but they seem to locate better using a pilot hole vs. just a punch...
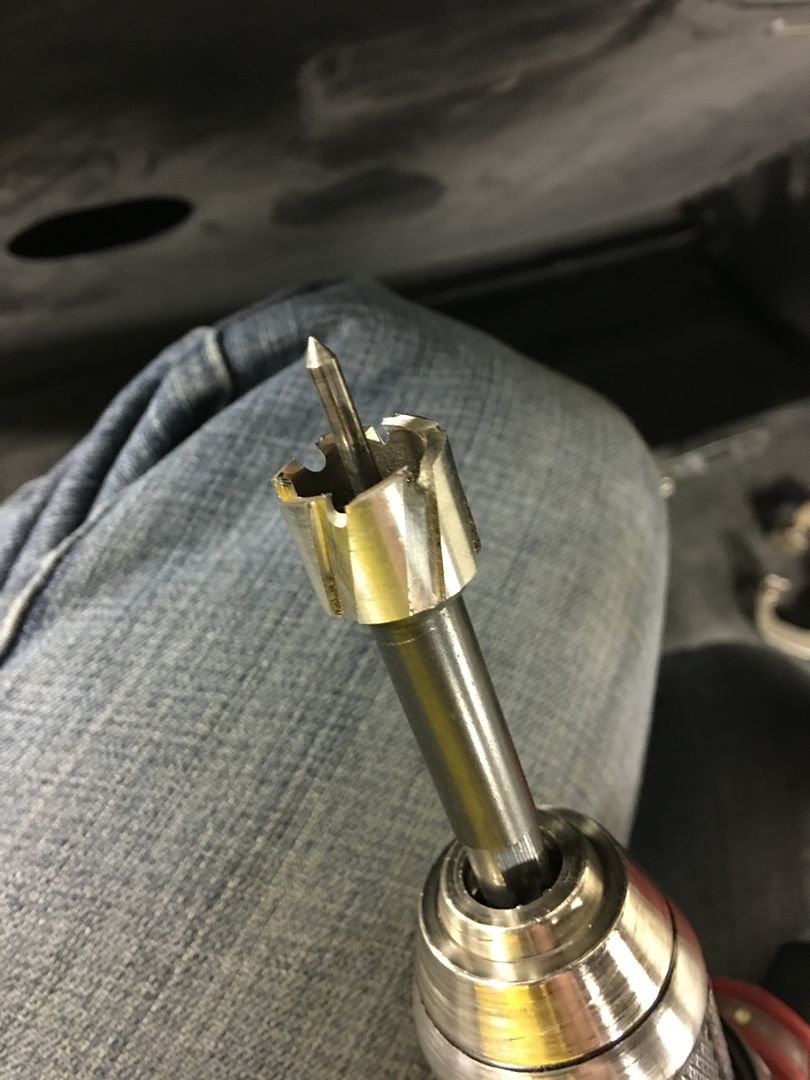

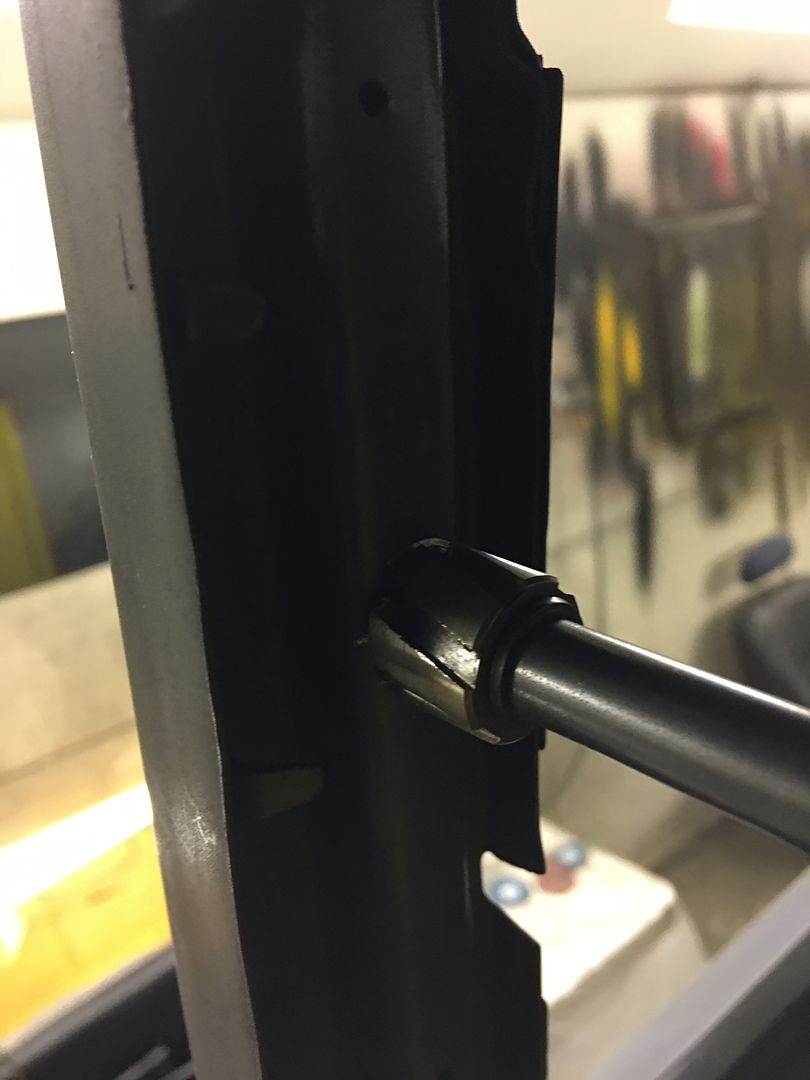
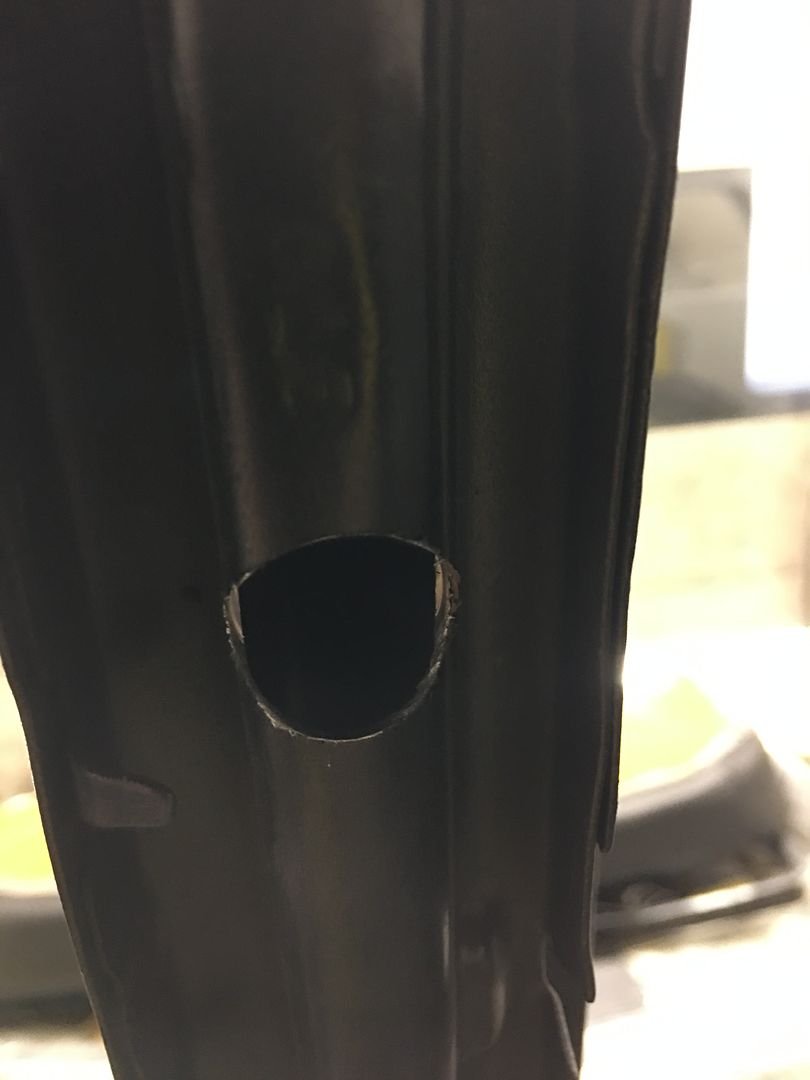
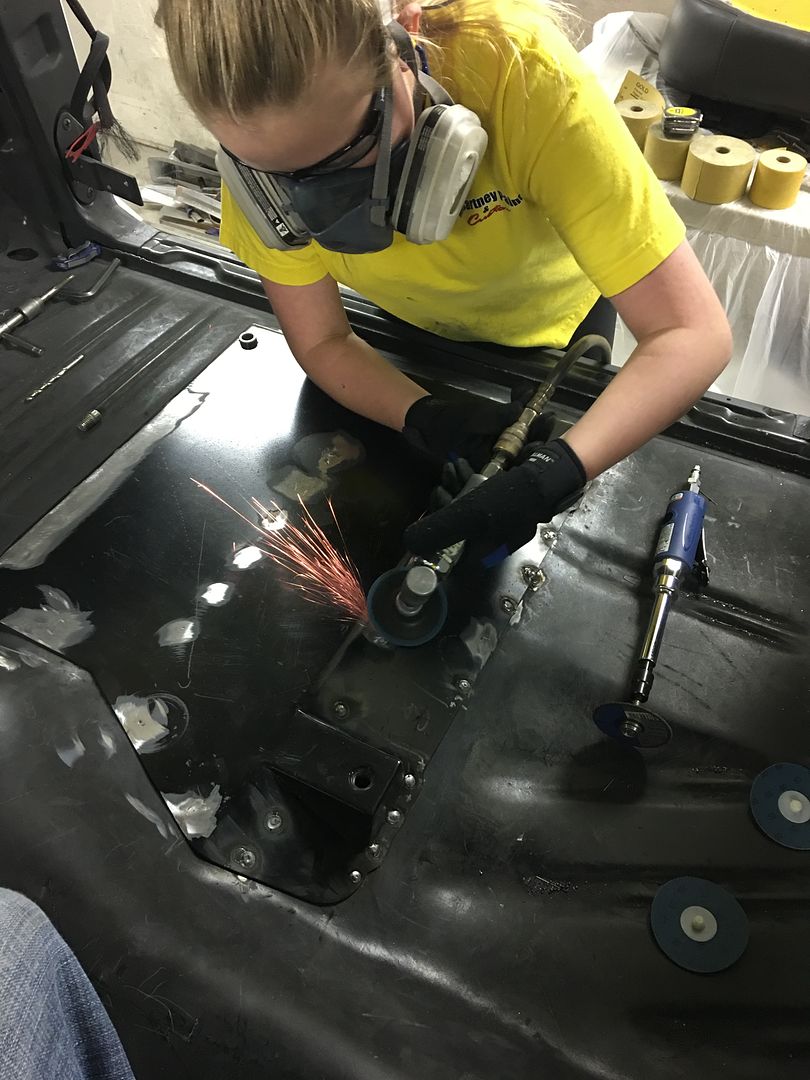
The plug weld holes drilled for the anchor and paint cleaned off in prep for welding..

Apprentice E worked on smoothing off the plug welds from last week..

Welding in the anchor .....
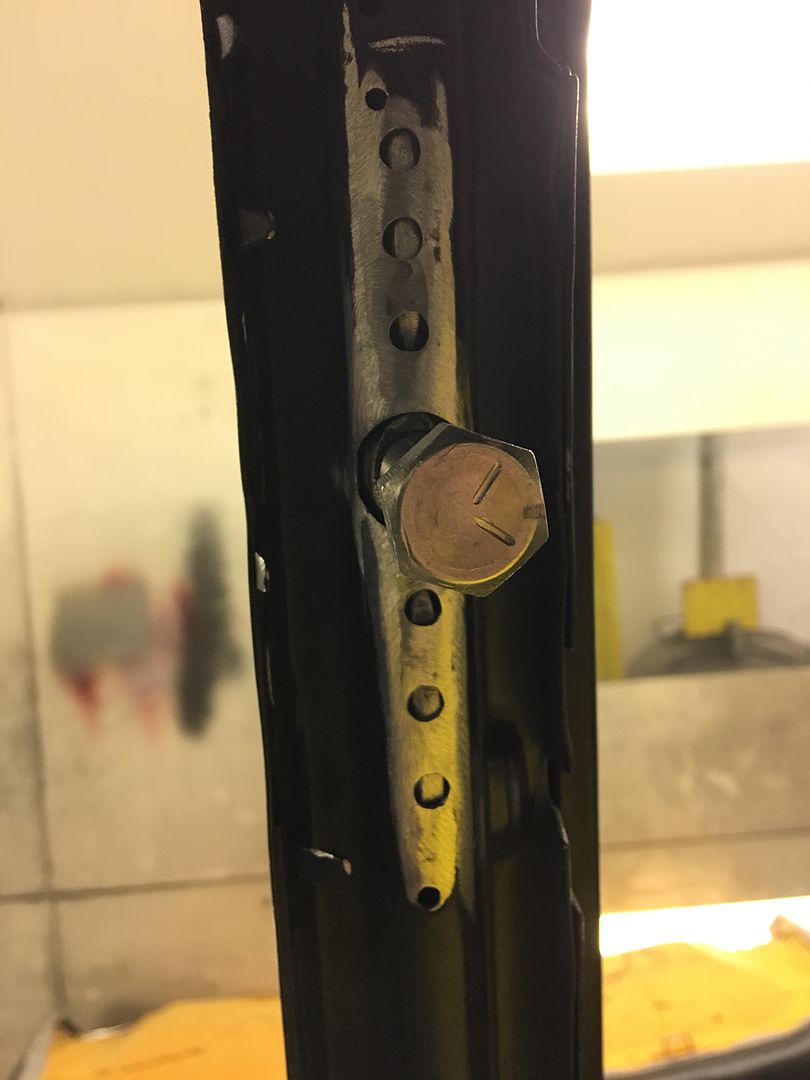

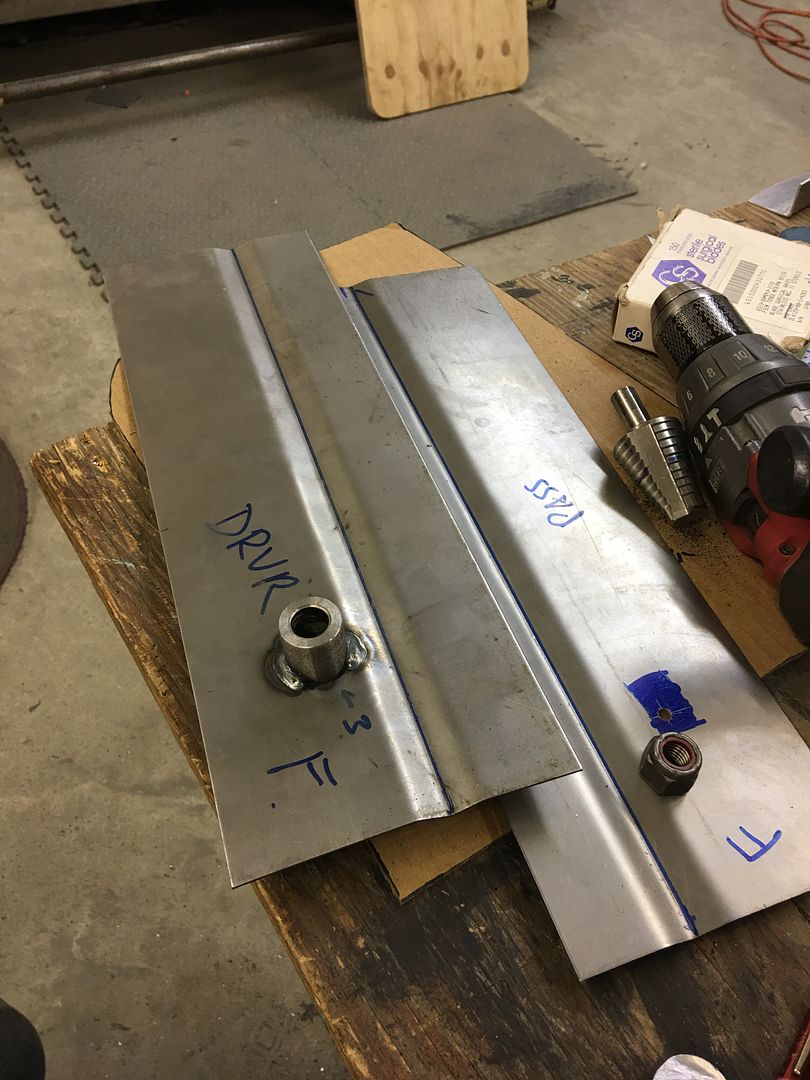
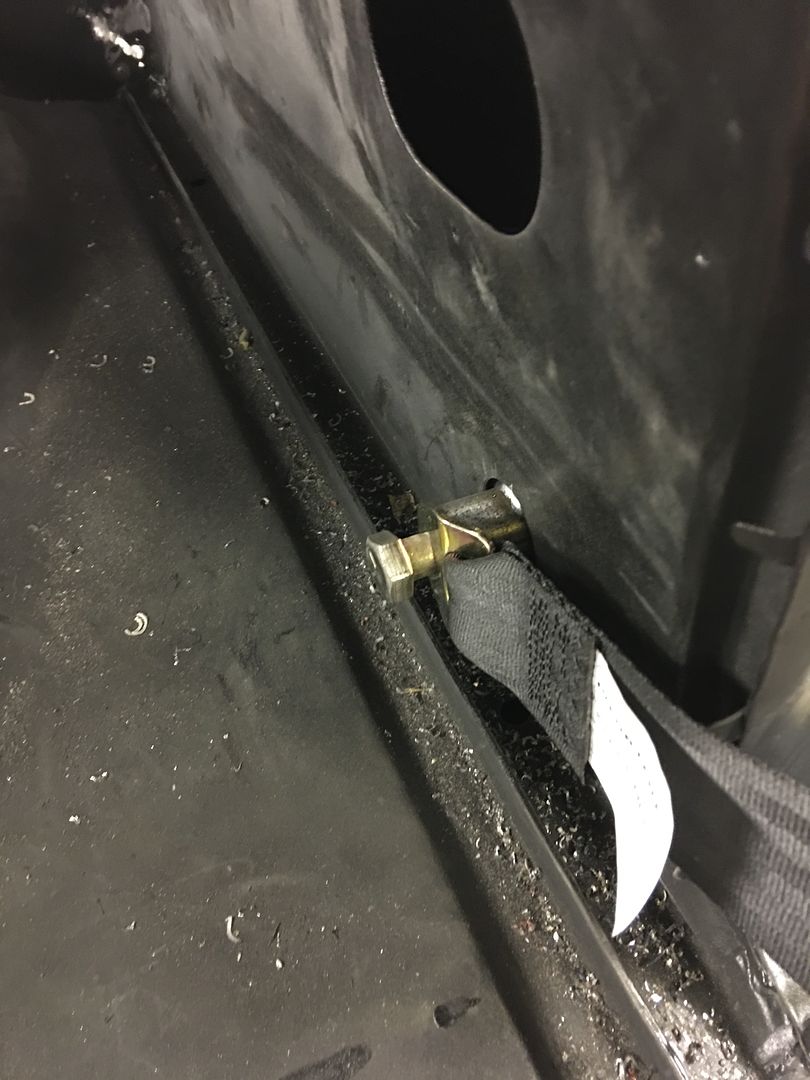
For the lower anchor point, which will hold both the retractor and the lap belt, we used some 14 ga that will be plug welded to the back side of the inner quarter panel just behind the B Pillar.. A 1/2" lock nut is welded to the back side, and a spacer added to the front side to keep the lap belt off the side wall.



Or the motion picture version....
https://www.youtube.com/watch?v=4na-...ature=youtu.beRobert
-
05-30-2017 08:40 PM #1042
Tonight we have both seat belt retractor anchor plates welded and waiting for apprentice E to media blast and epoxy prime..

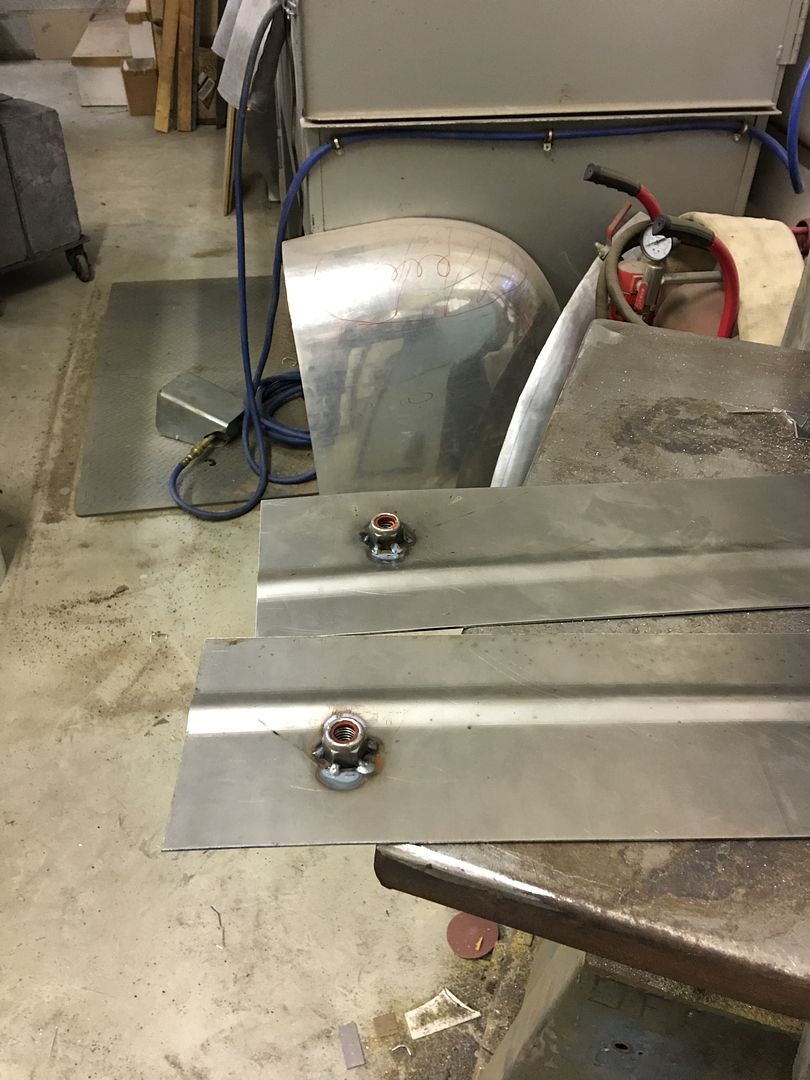
Next, we have the side filler panels to either side of the fold down rear seat that don't fit with those pesky wheel tubs in the way...
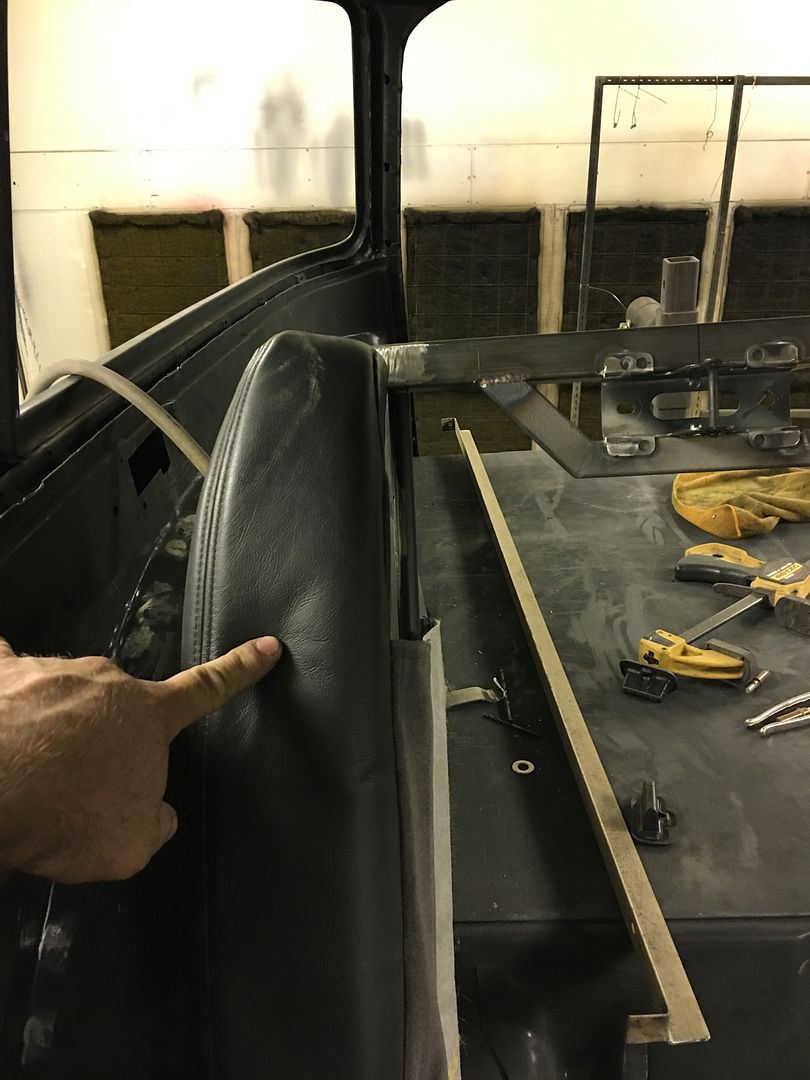
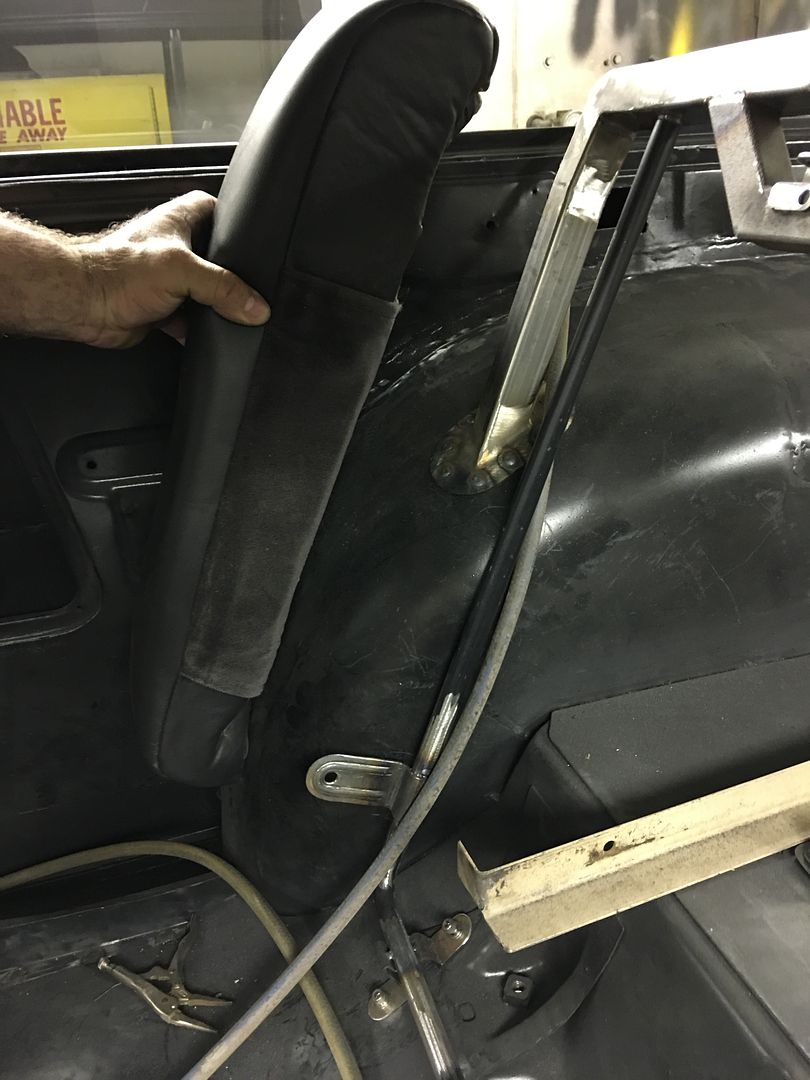
So we plan to make new ones, with a relief to fit snugly to the wheel tubs at the bottom end.. We used the Baileigh MH19 hammer and the shrinking dies to shape a piece of 14 gauge cold rolled to fit the wheel tub. Glad I didn't have to do all that shrinking by hand.


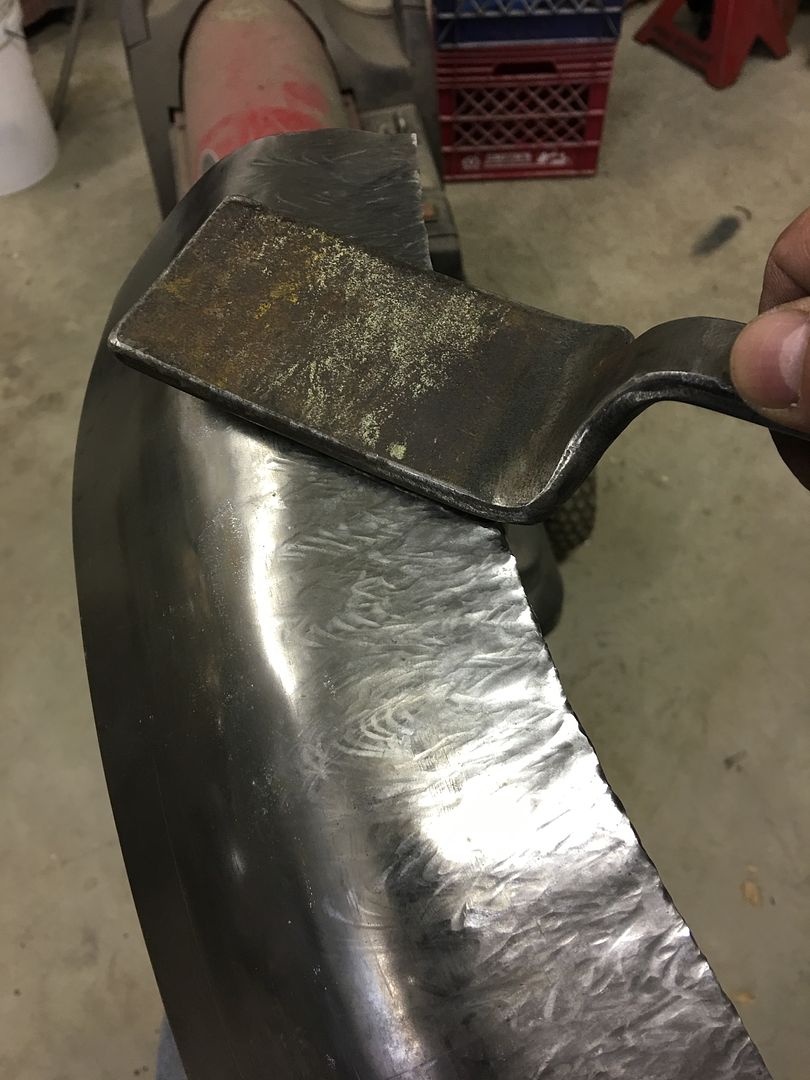
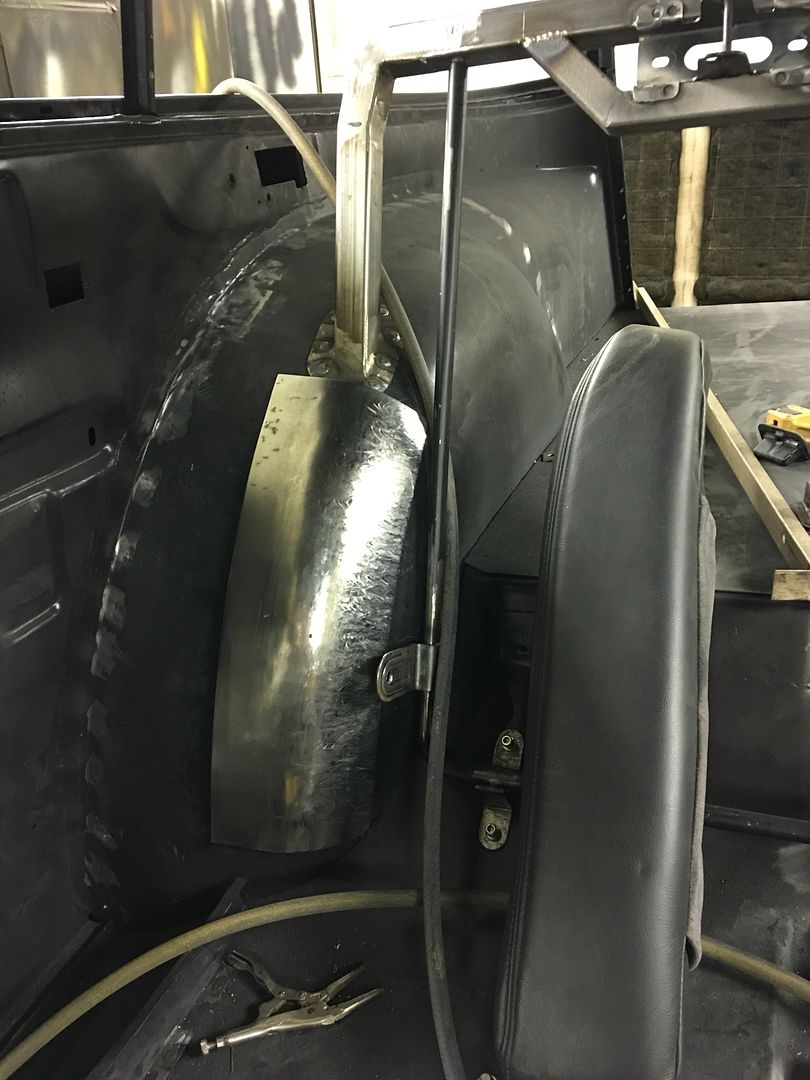
A flat piece from the top section will be welded to this piece, and then foam will be glued to the assembly and upholstered to match the seat..Robert
-
06-05-2017 09:39 AM #1043
To catch up on the wagon, the seat belt retractor anchor bracket will be located inside the quarter panel, here we are laying out for the plug weld holes that hold it in place...

Holes piloted, then use the burnishing brush to remove the paint from the weld area...

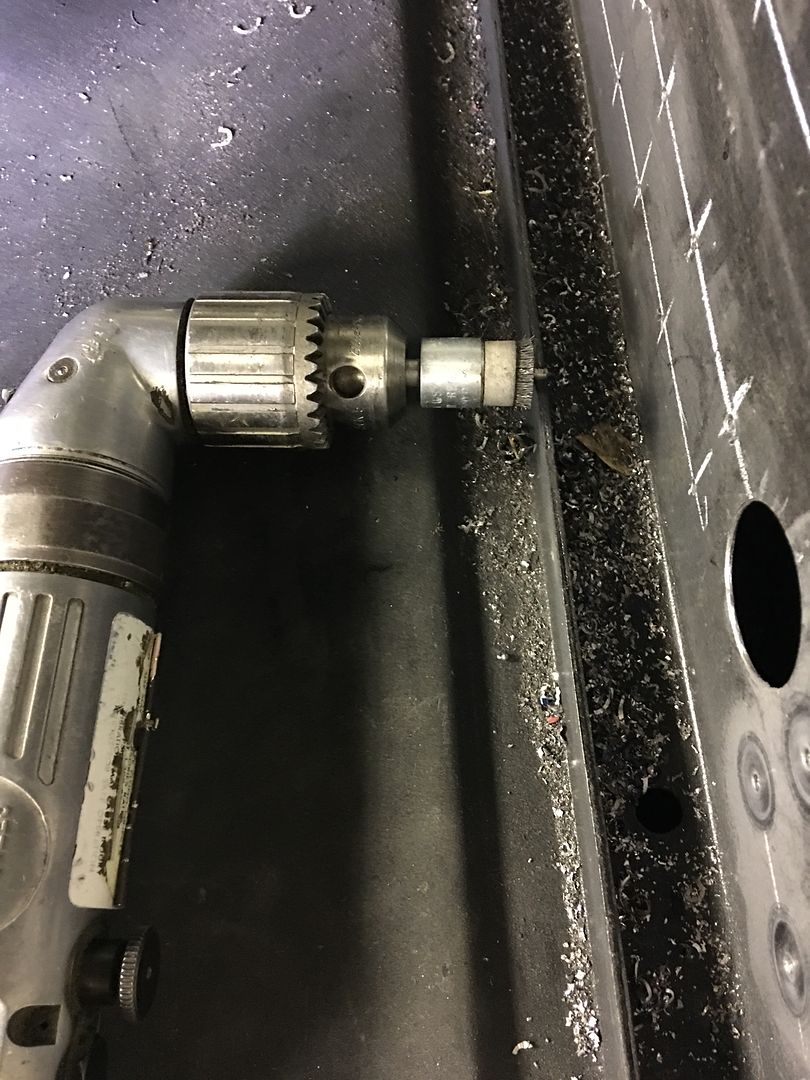
Then the holes are enlarged for plug weld size, I use a letter A and plenty of heat.

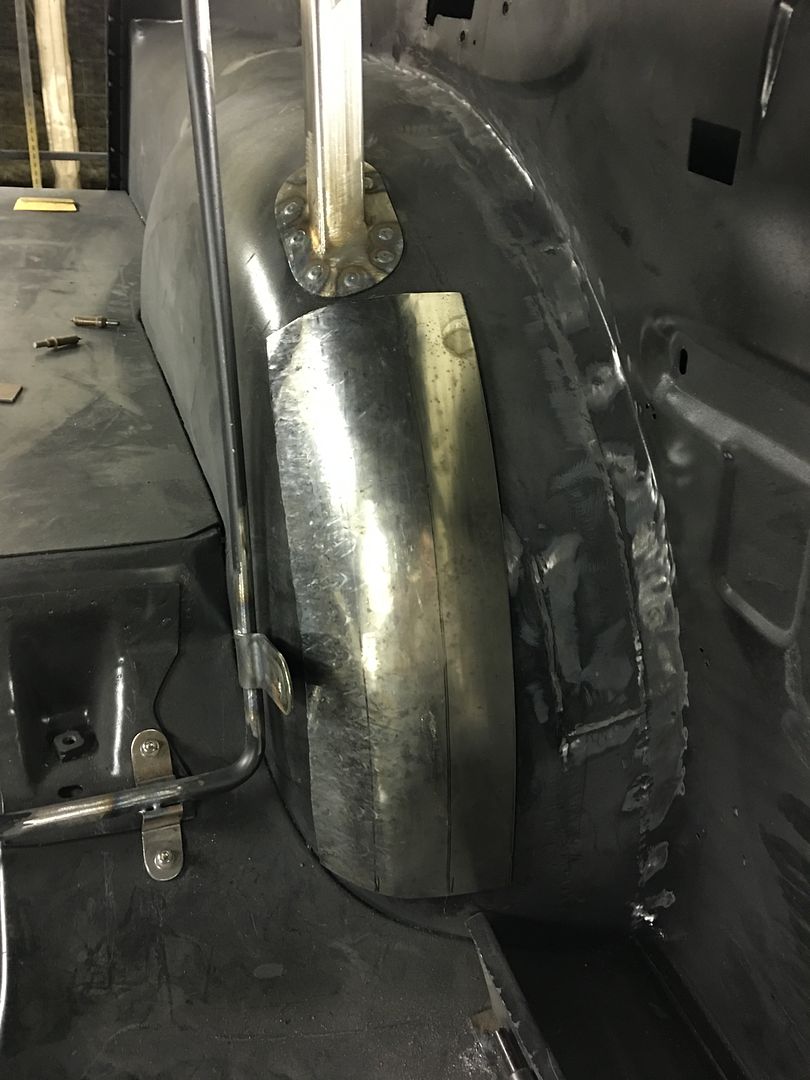
Back to our rear seat back modification, some 14 gauge steel is shrunk in the Baileigh MH19 to fit the driver's wheel well..
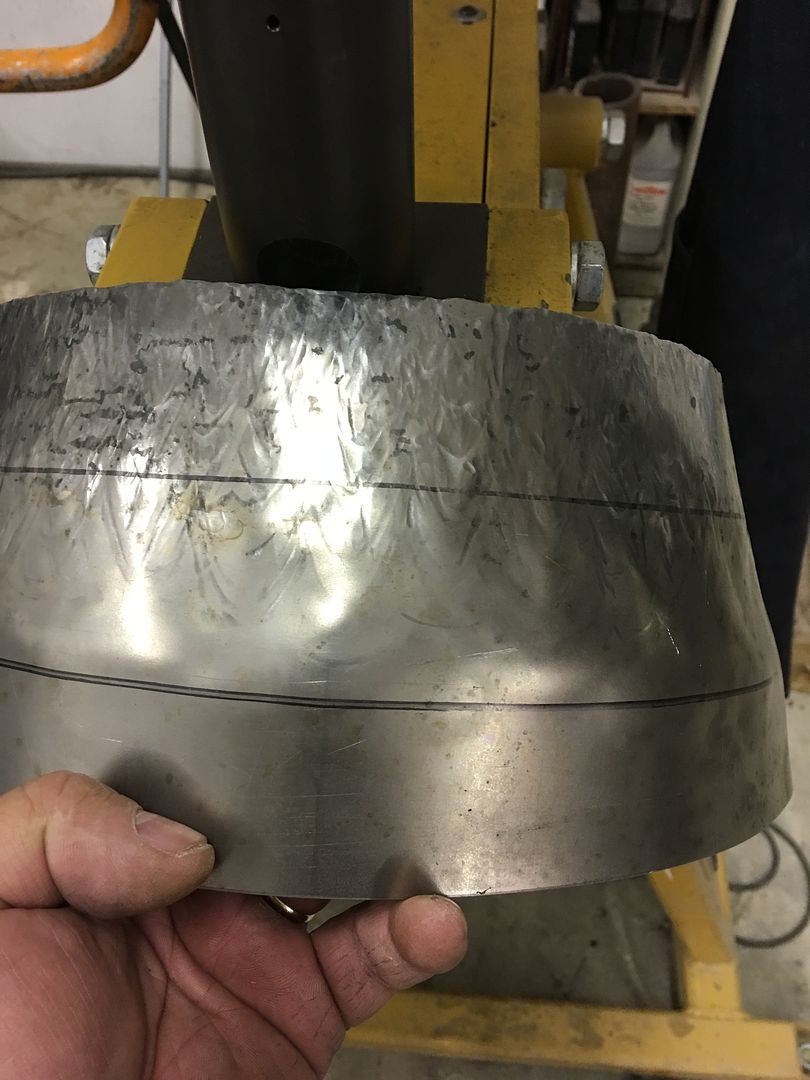
After some cleanup on the Tommasini cast wheeling machine...

Meanwhile, Mike has media blasted the anchor brackets and is here spraying them with SPI epoxy primer...
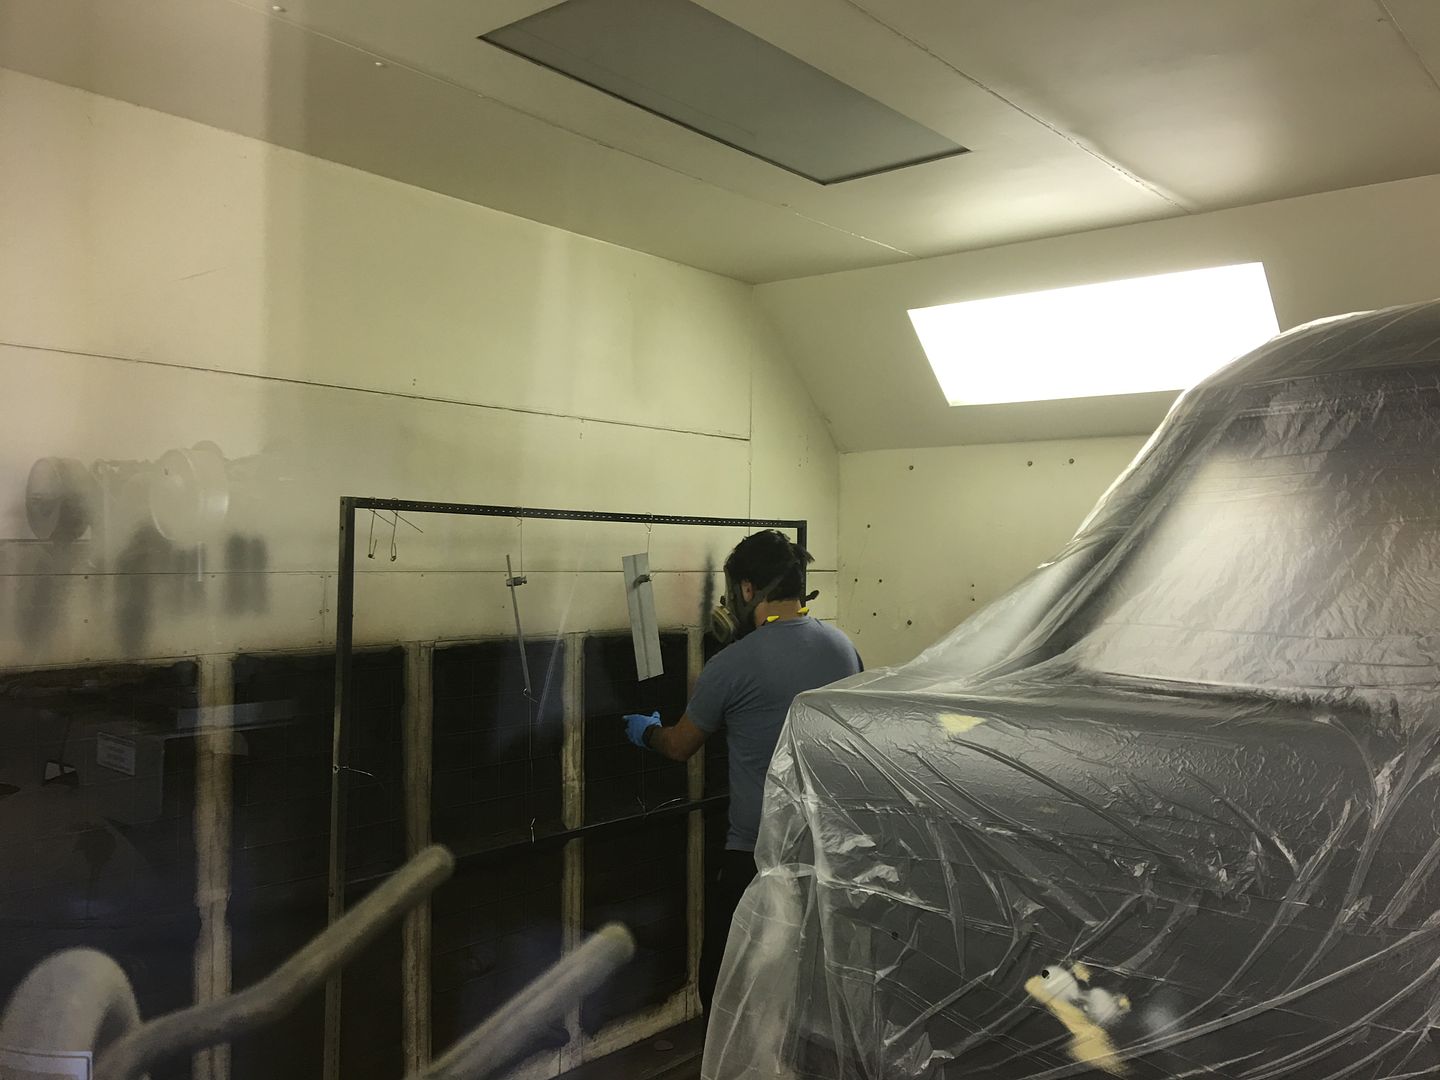
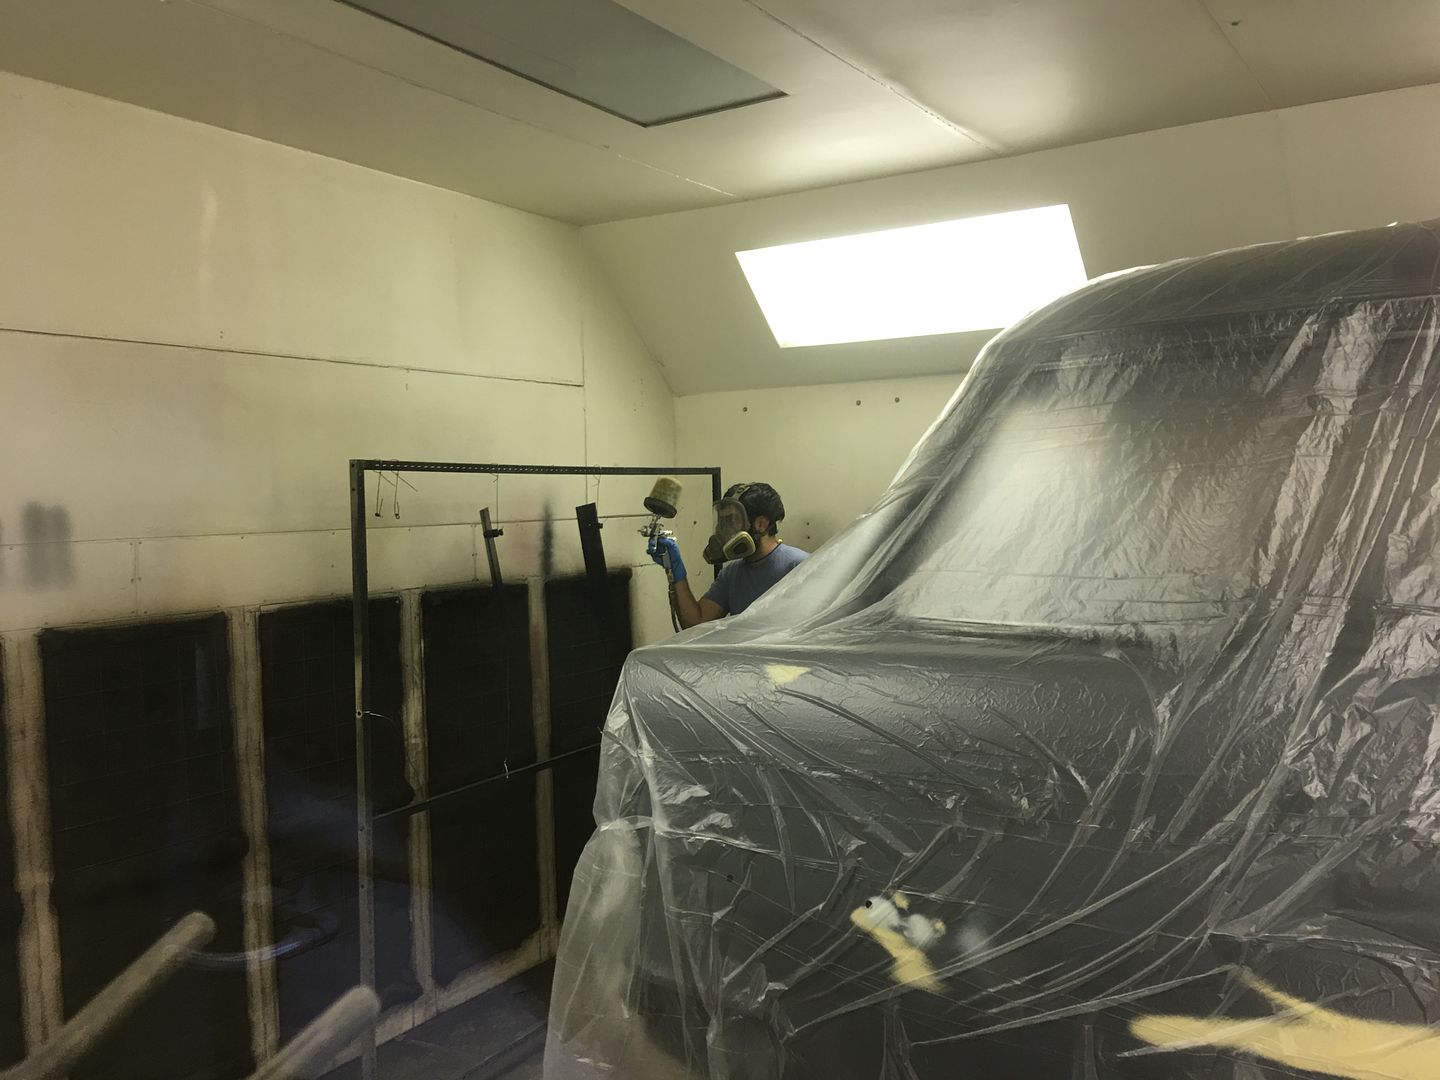
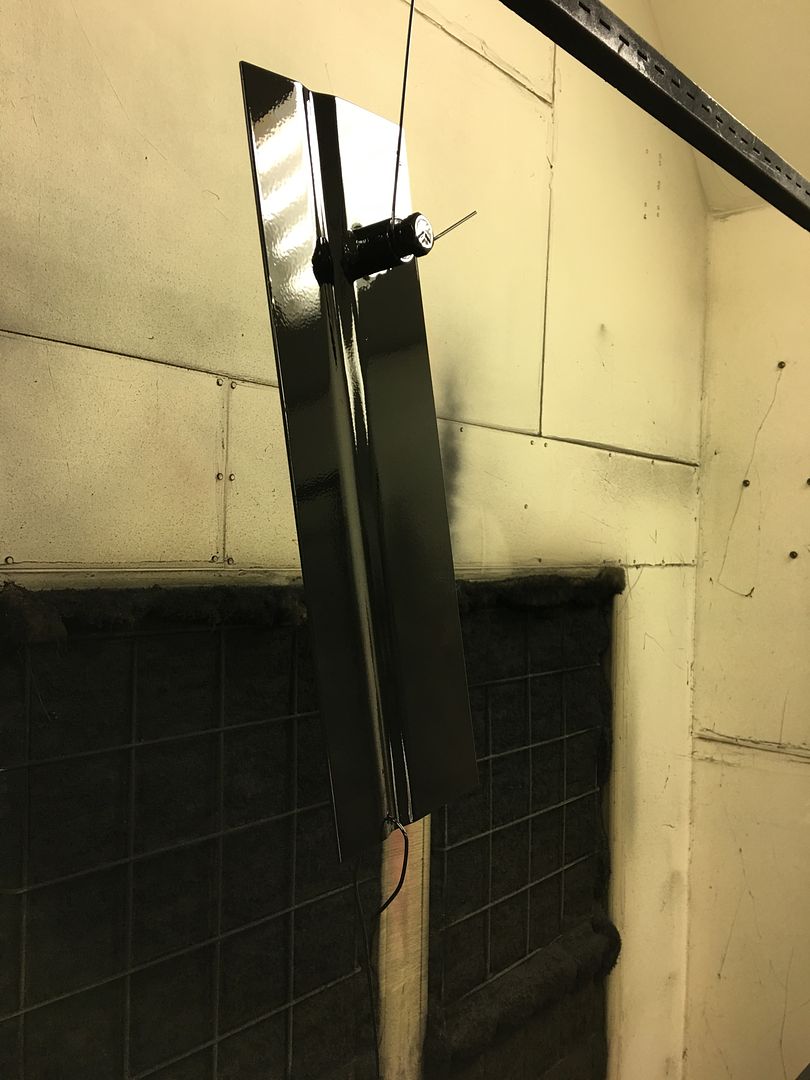
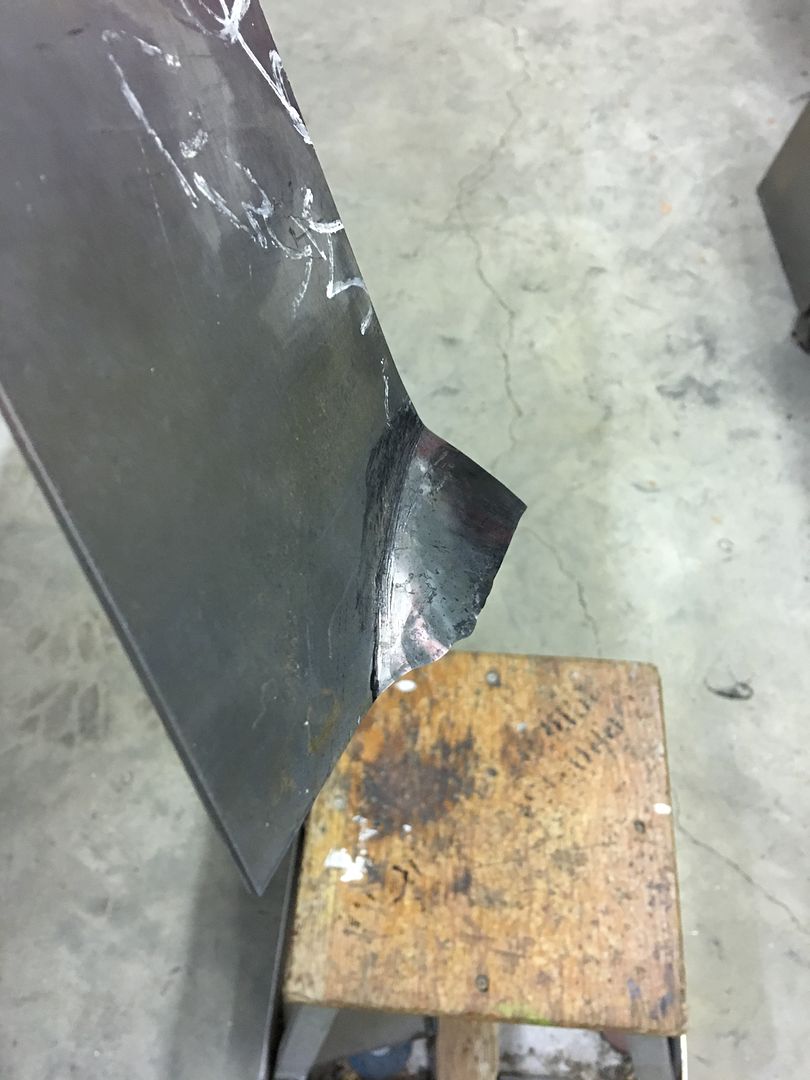
The 14 gauge is then held to the wheel wells and marked a line parallel to the seat frame. We'll use this line to start the transition to flat, using a linear stretch die in the MH19.
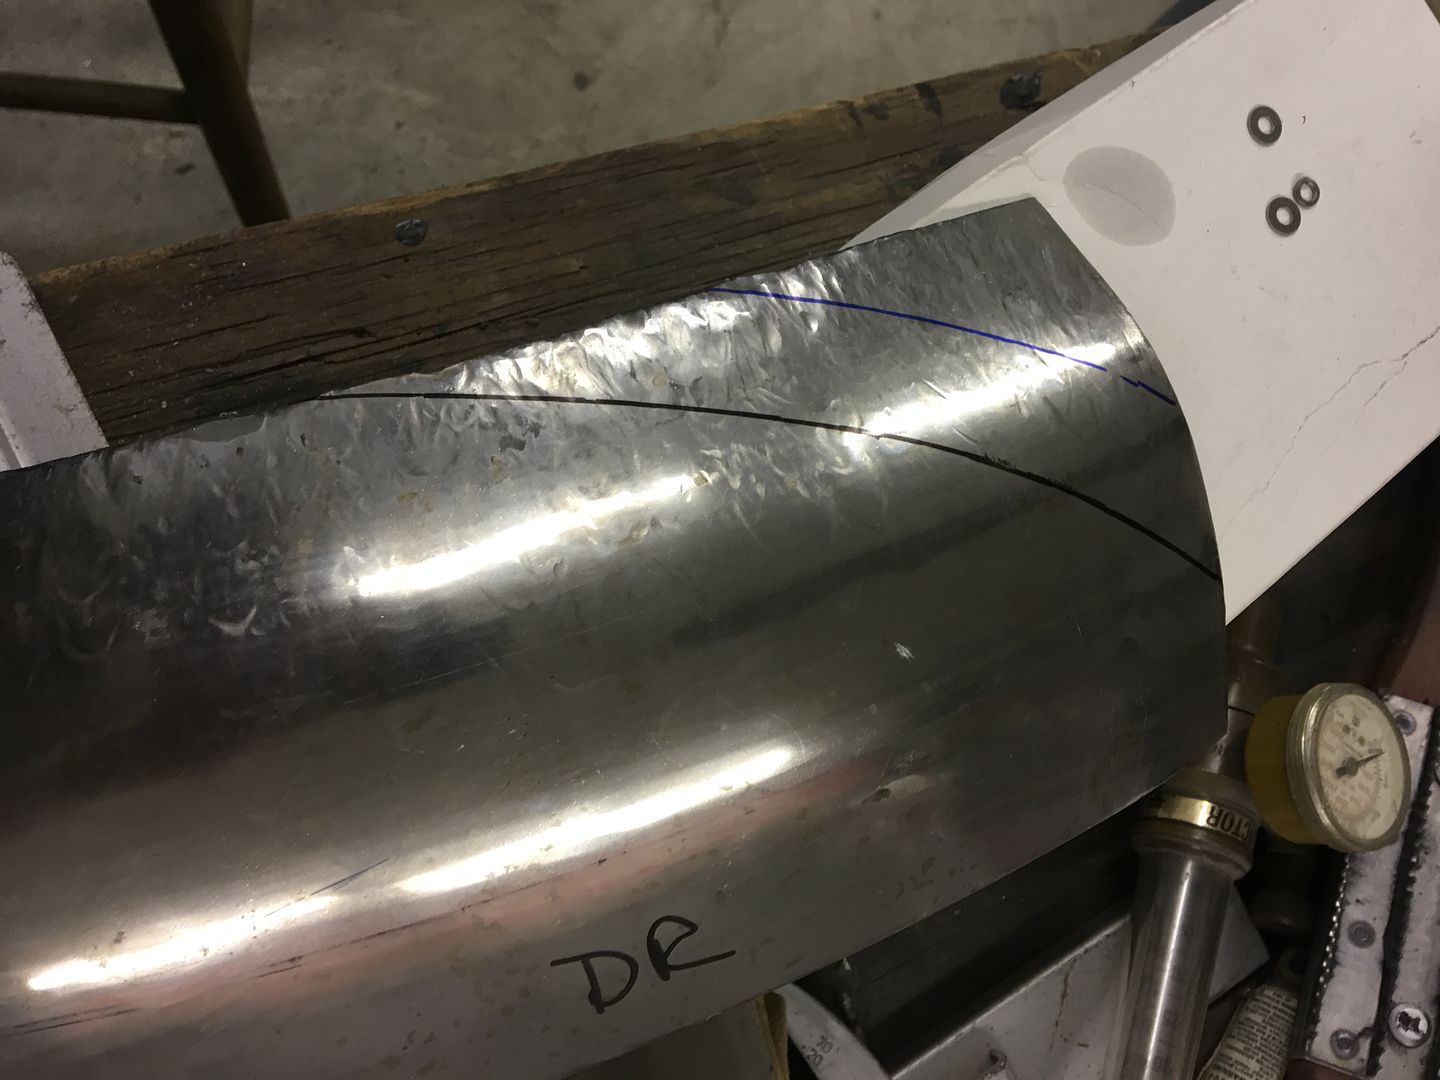

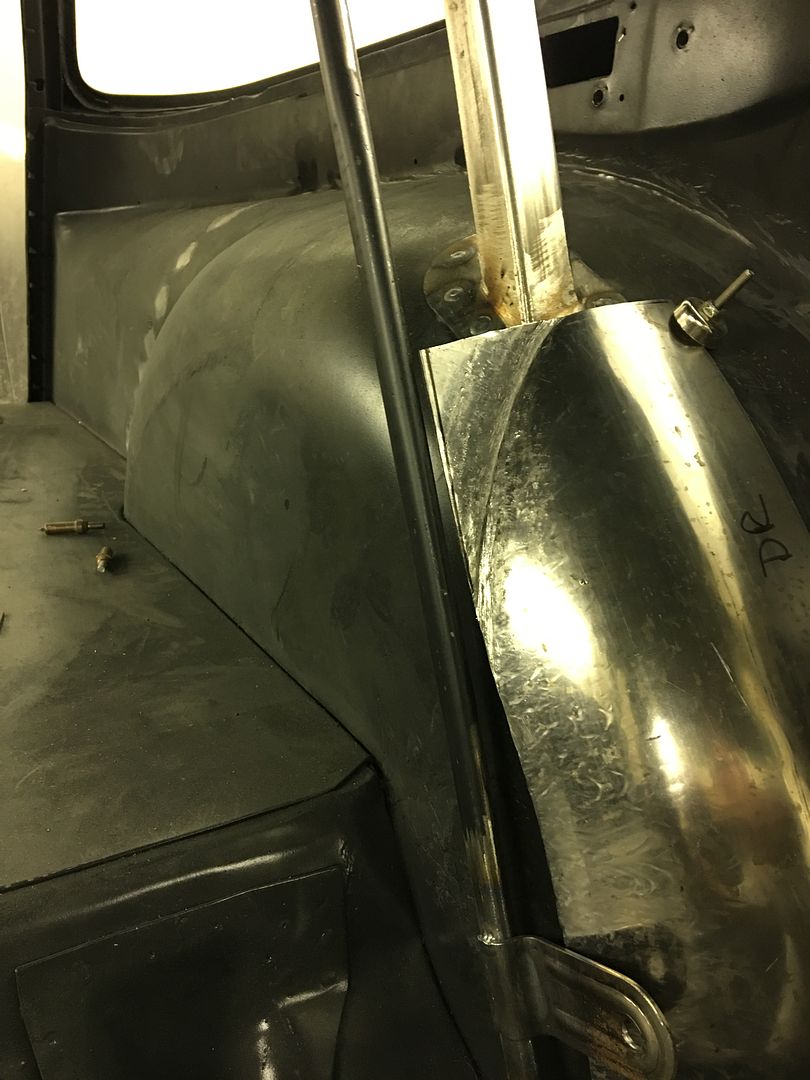
Linear stretch die also used to add this detail to blend into the bottom part...
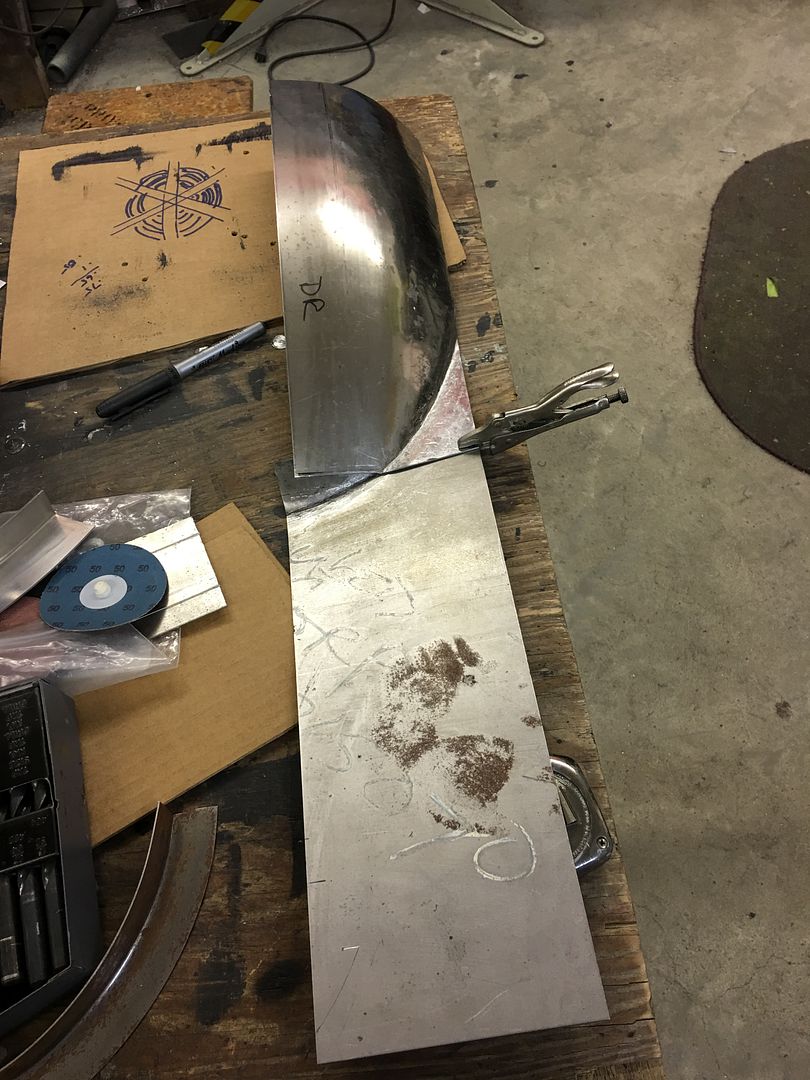
Tacked together and fitted....
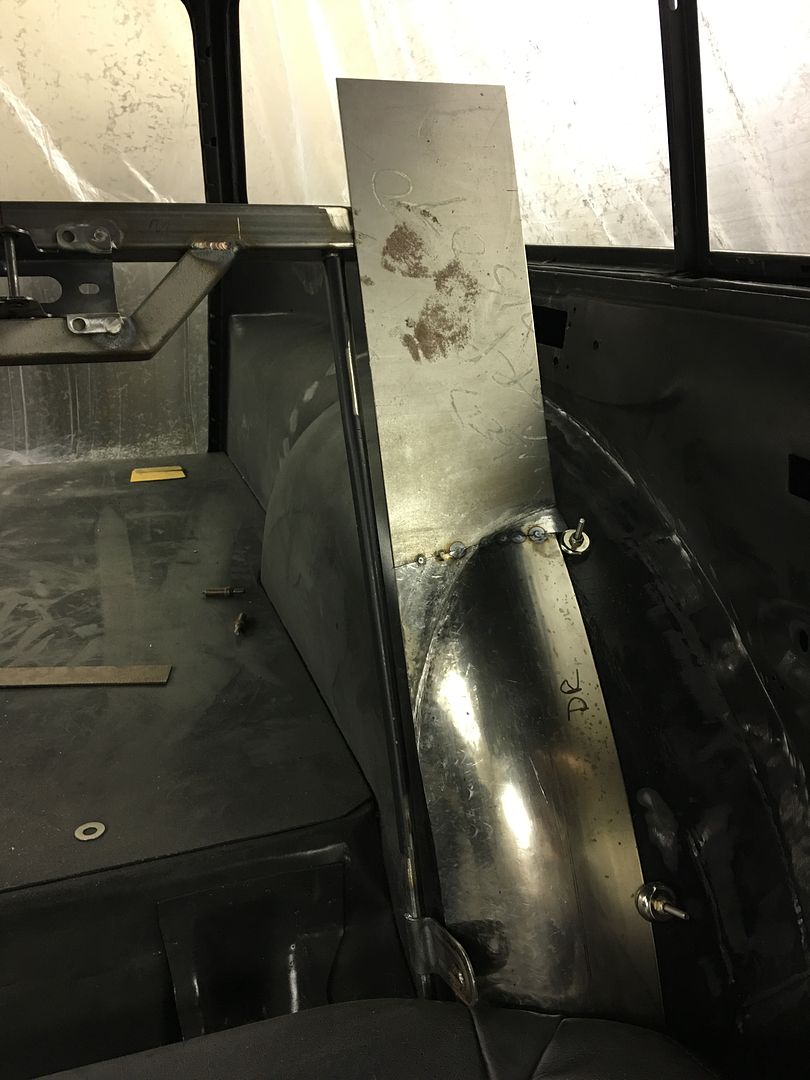
Tig welded....
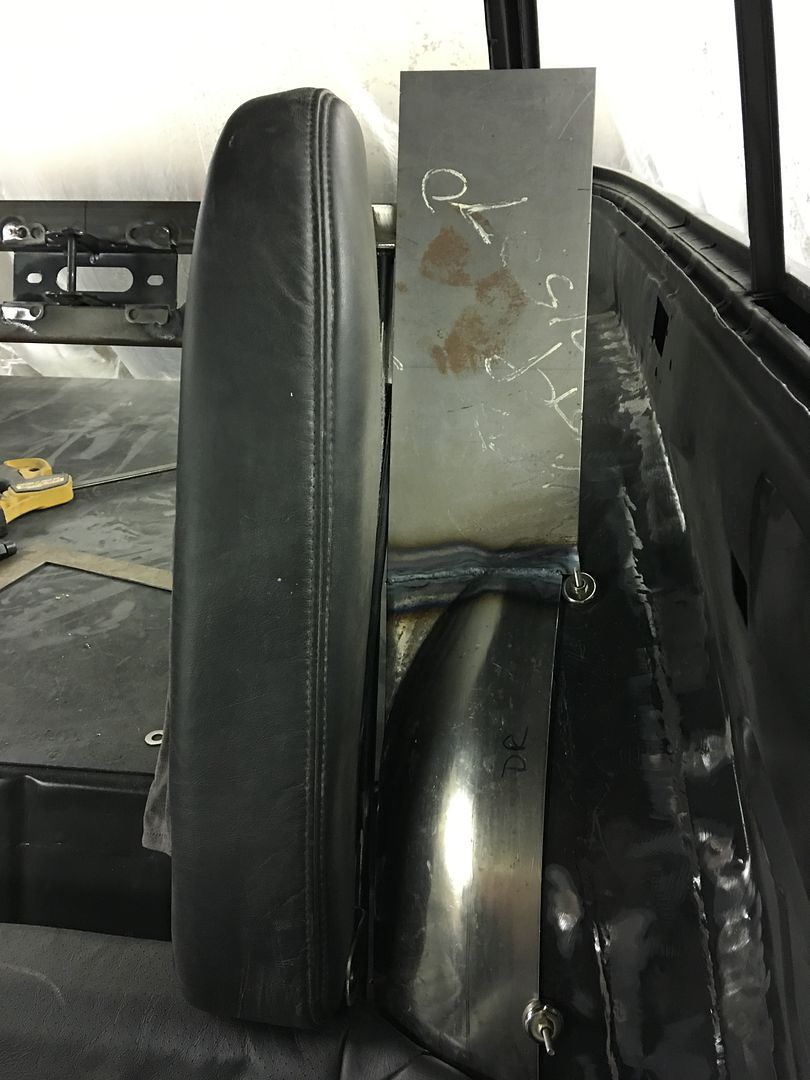
This should JUST hide the wheel well, but doesn't look like the foam will be all that thick at the bottom...
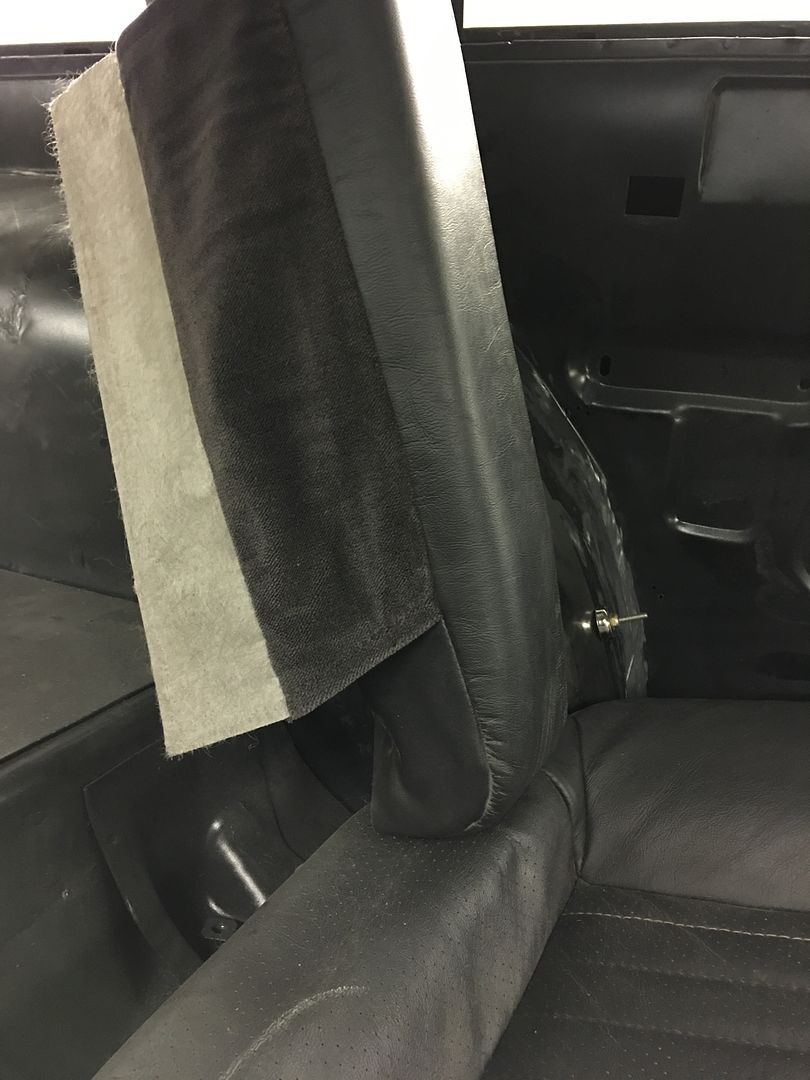
Weld dressed and another fit, I was going to trim the sides but we'll be adding some stiffener beads to the flat area, so we'll wait until after that process to trim the sides.
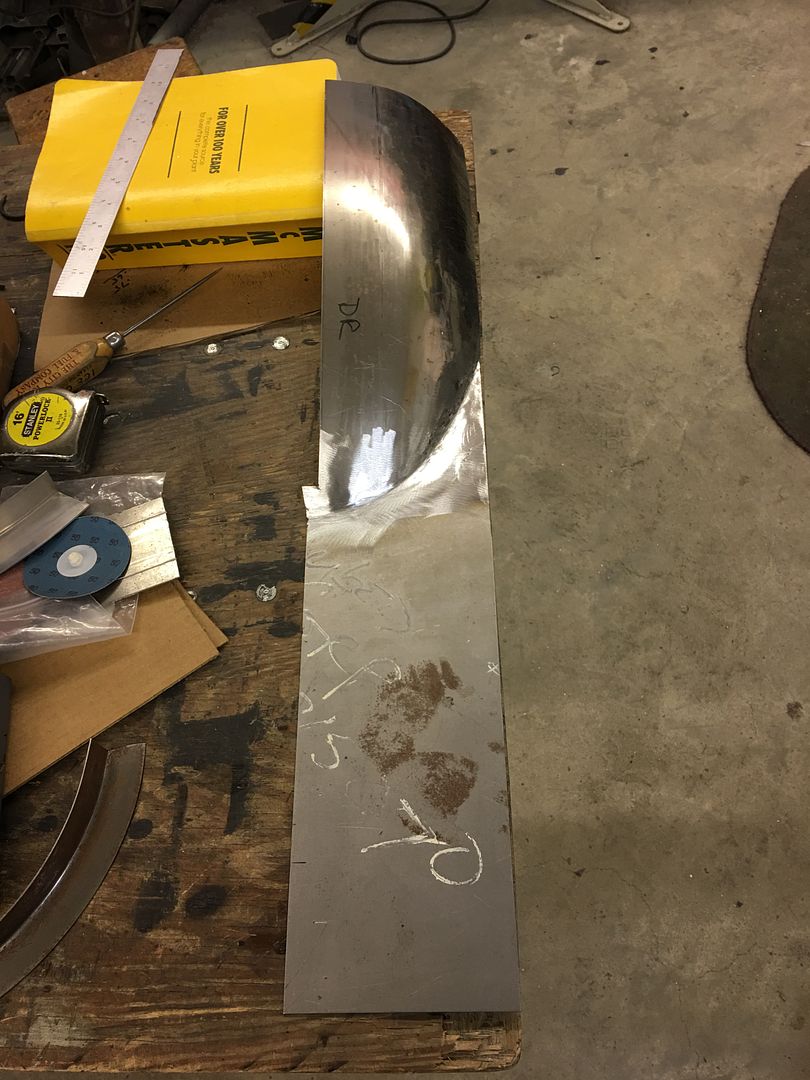
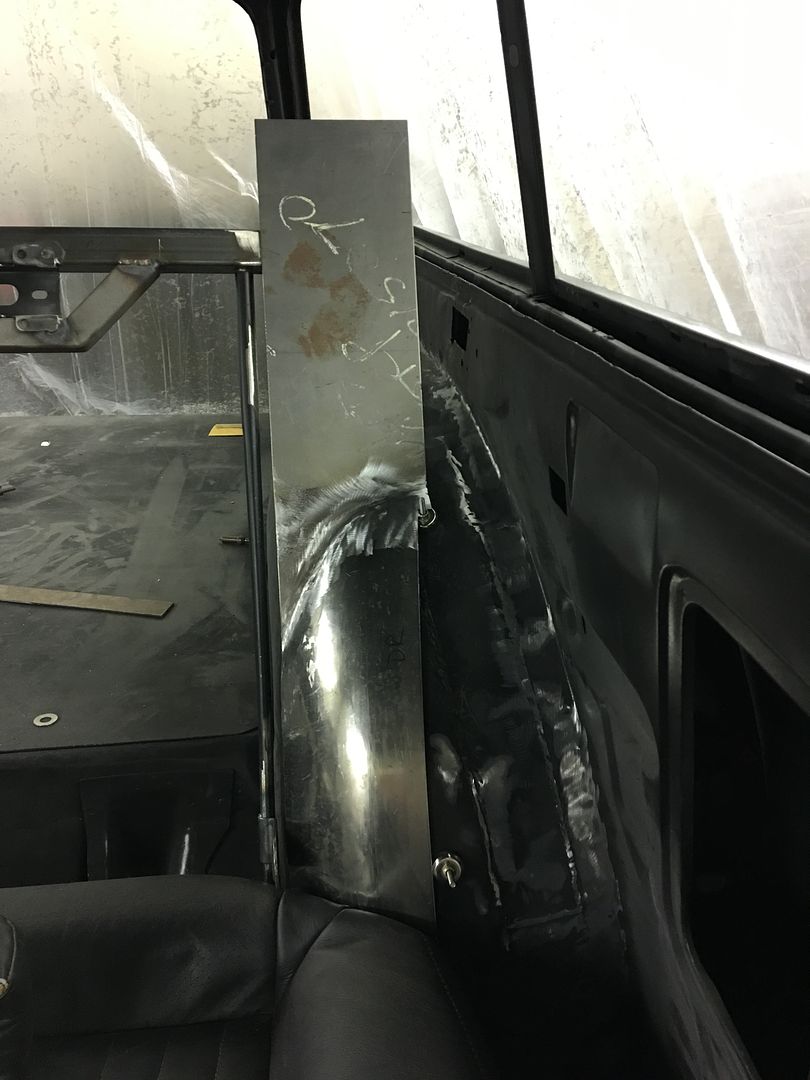
Robert
-
06-05-2017 10:08 AM #1044
Fantastic as usual!"  "No matter where you go, there you are!" Steve.
-
06-05-2017 10:25 AM #1045
Yesterday I rode up to York PA for the final day of the Street Rod Nationals.. I went to see the Dave Thomas 35 Chevy in person, now that is was all painted in it's full glory.
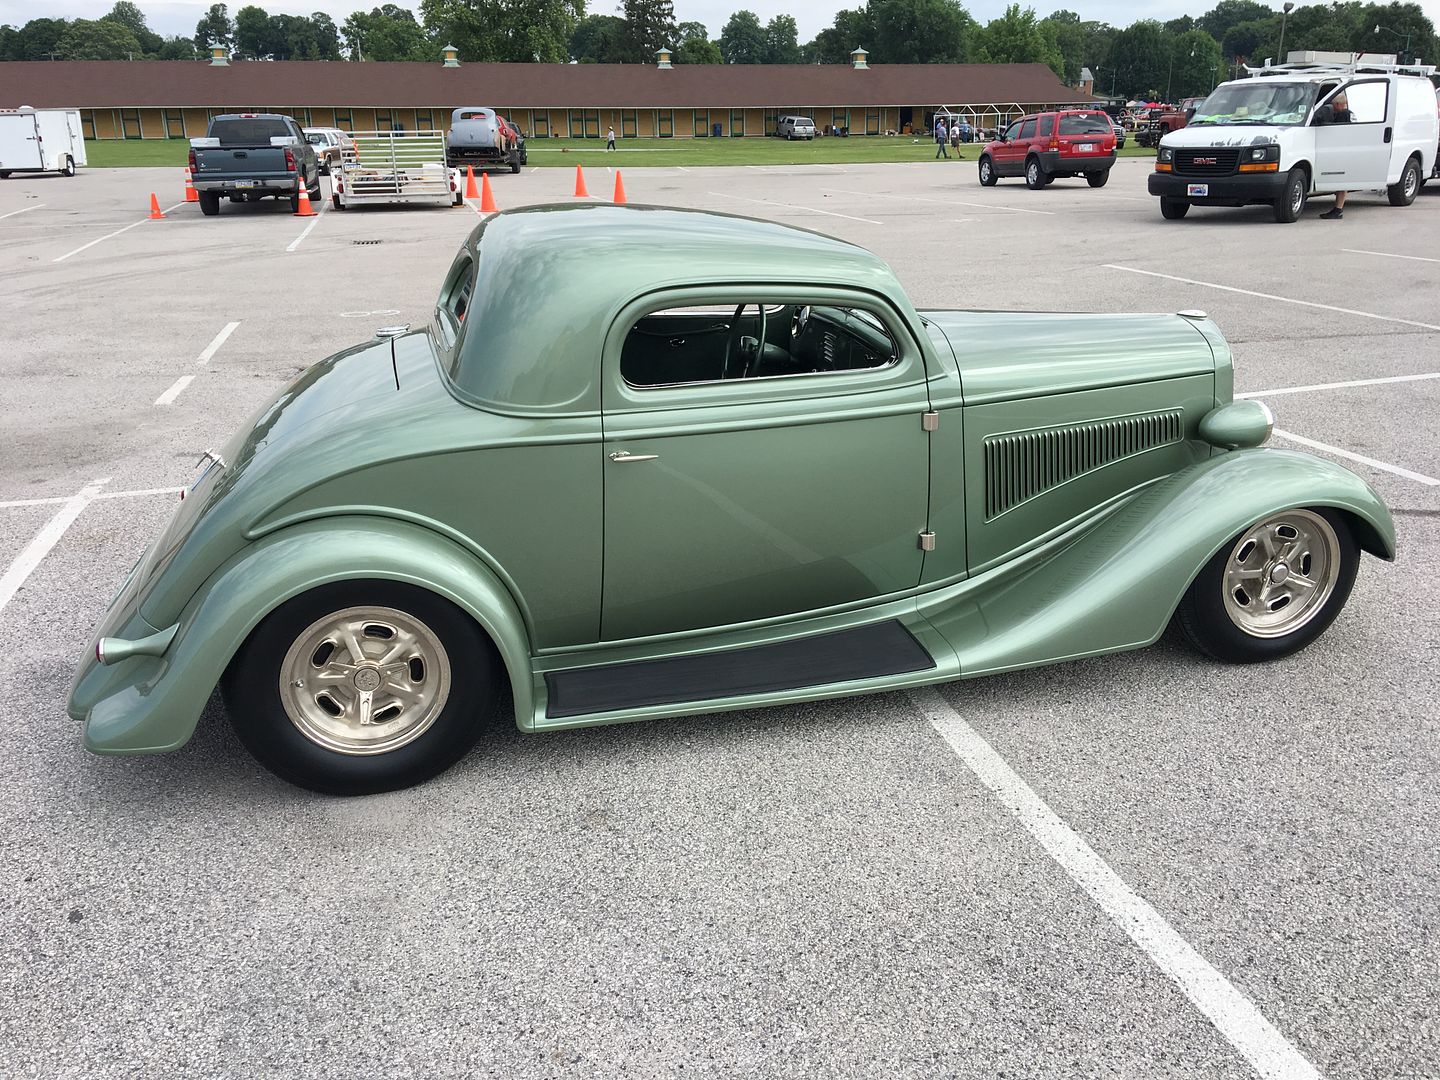
Front and back:
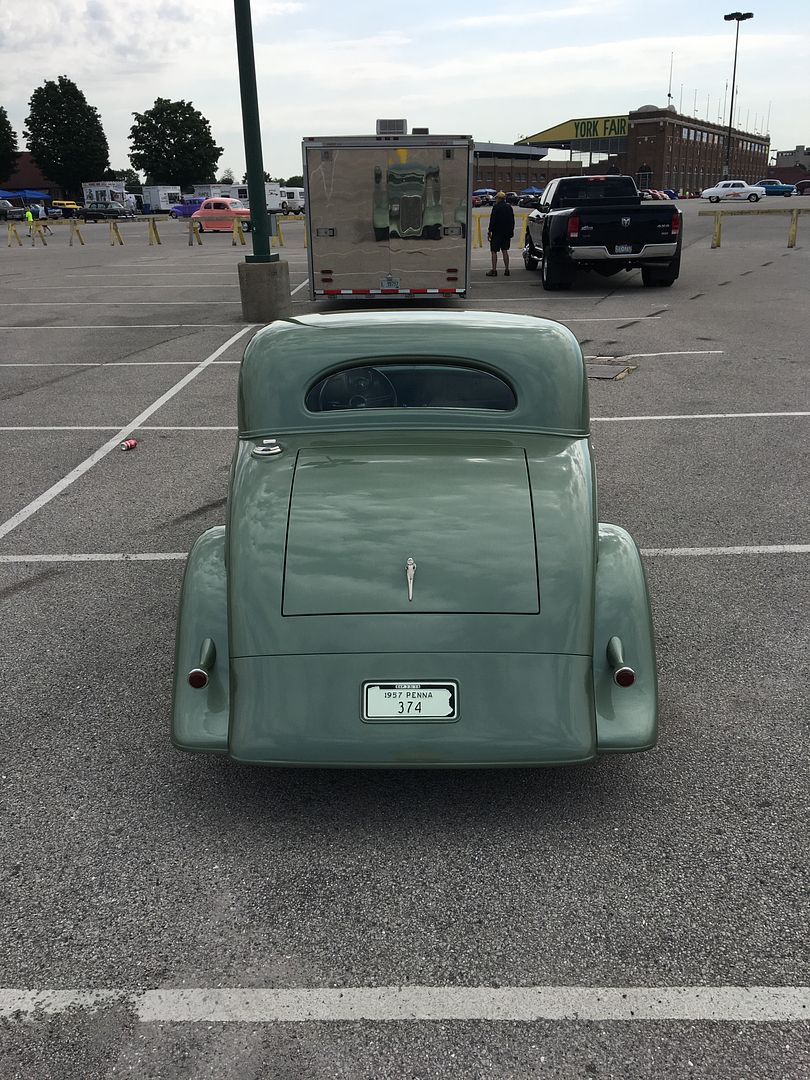

While I was there, Dave (the owner) got called up to the winners circle, the car received a Pro's Pick award..
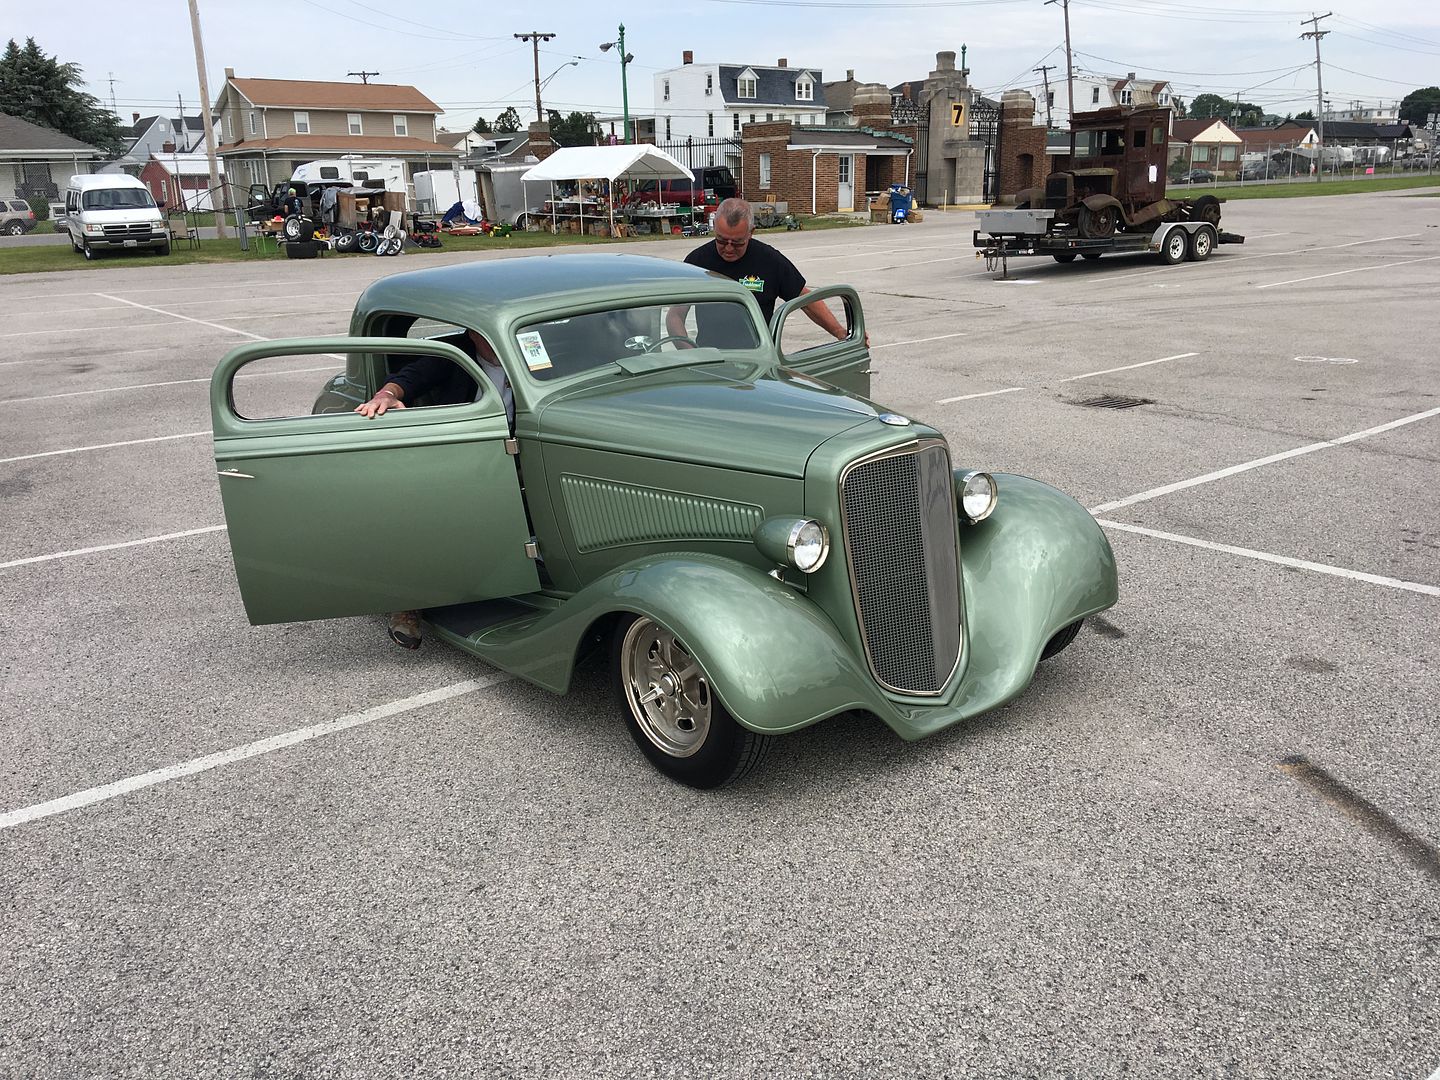
Just look at the fit, finish, gaps, panel alignment, etc. Cody Walls really hit a home run with this build.
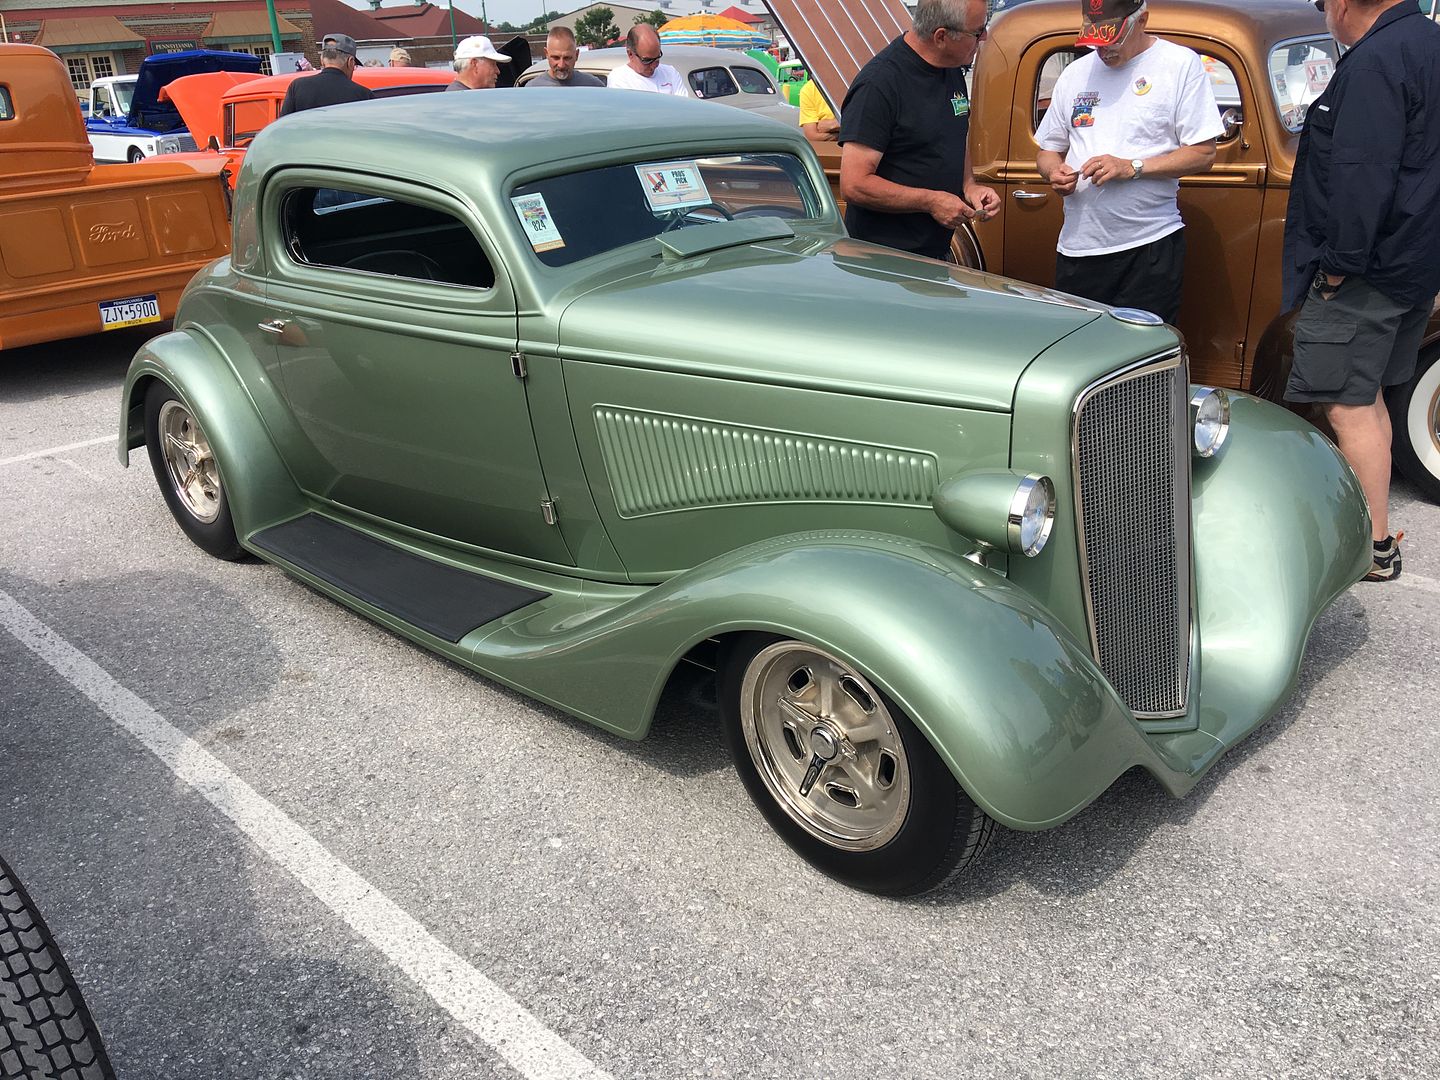

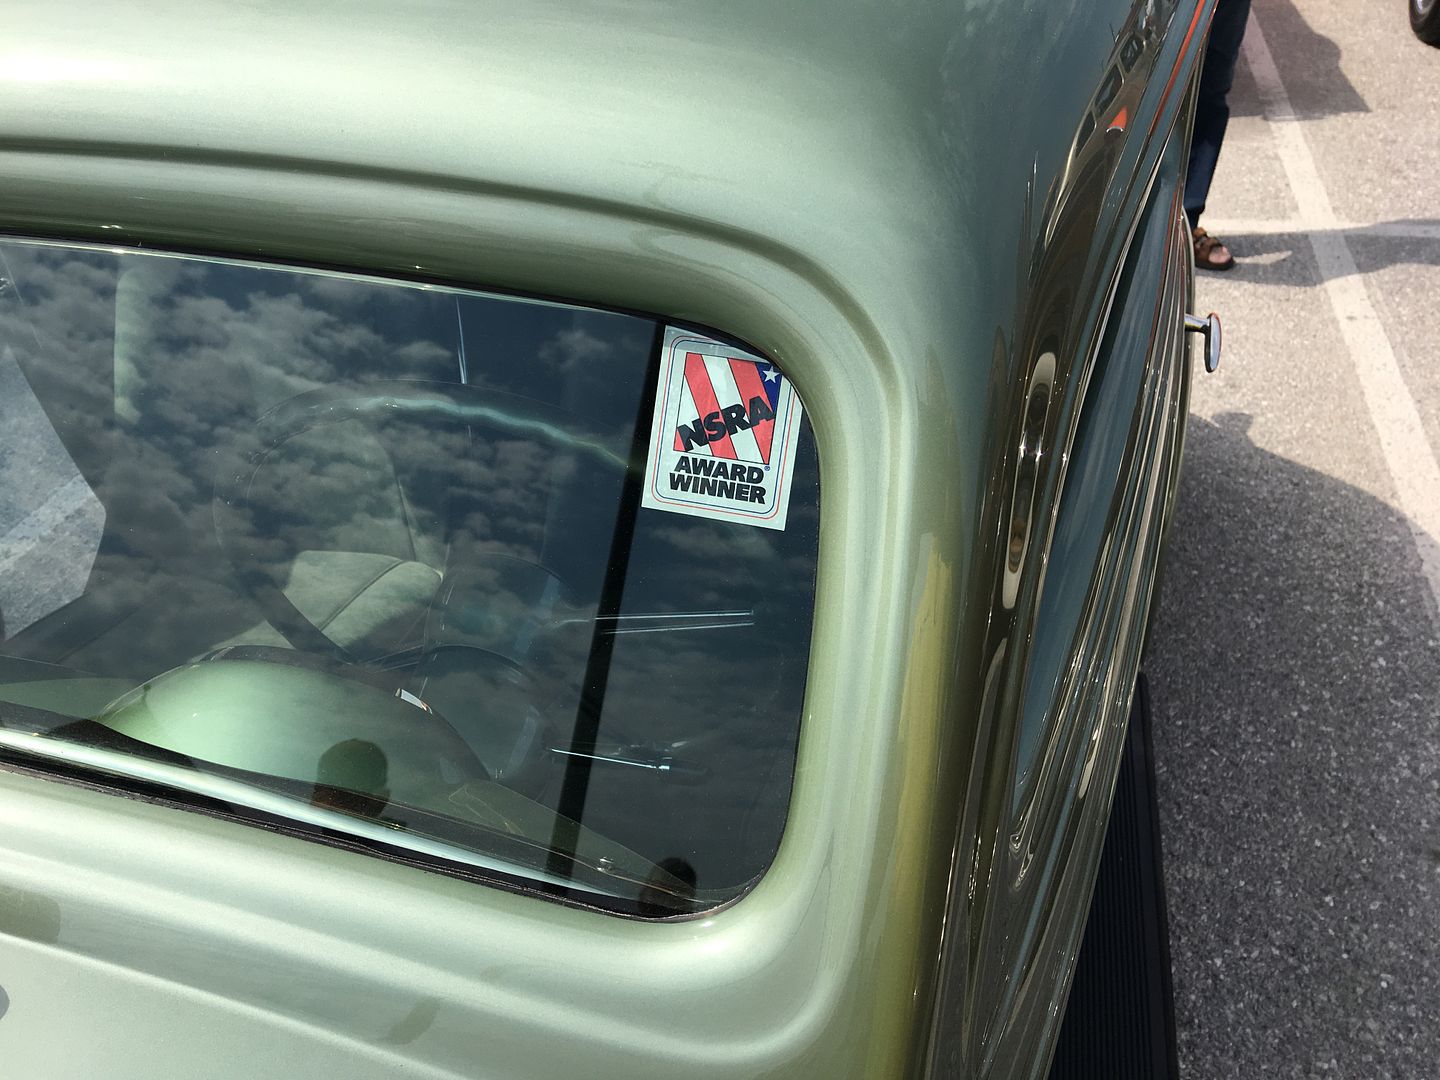
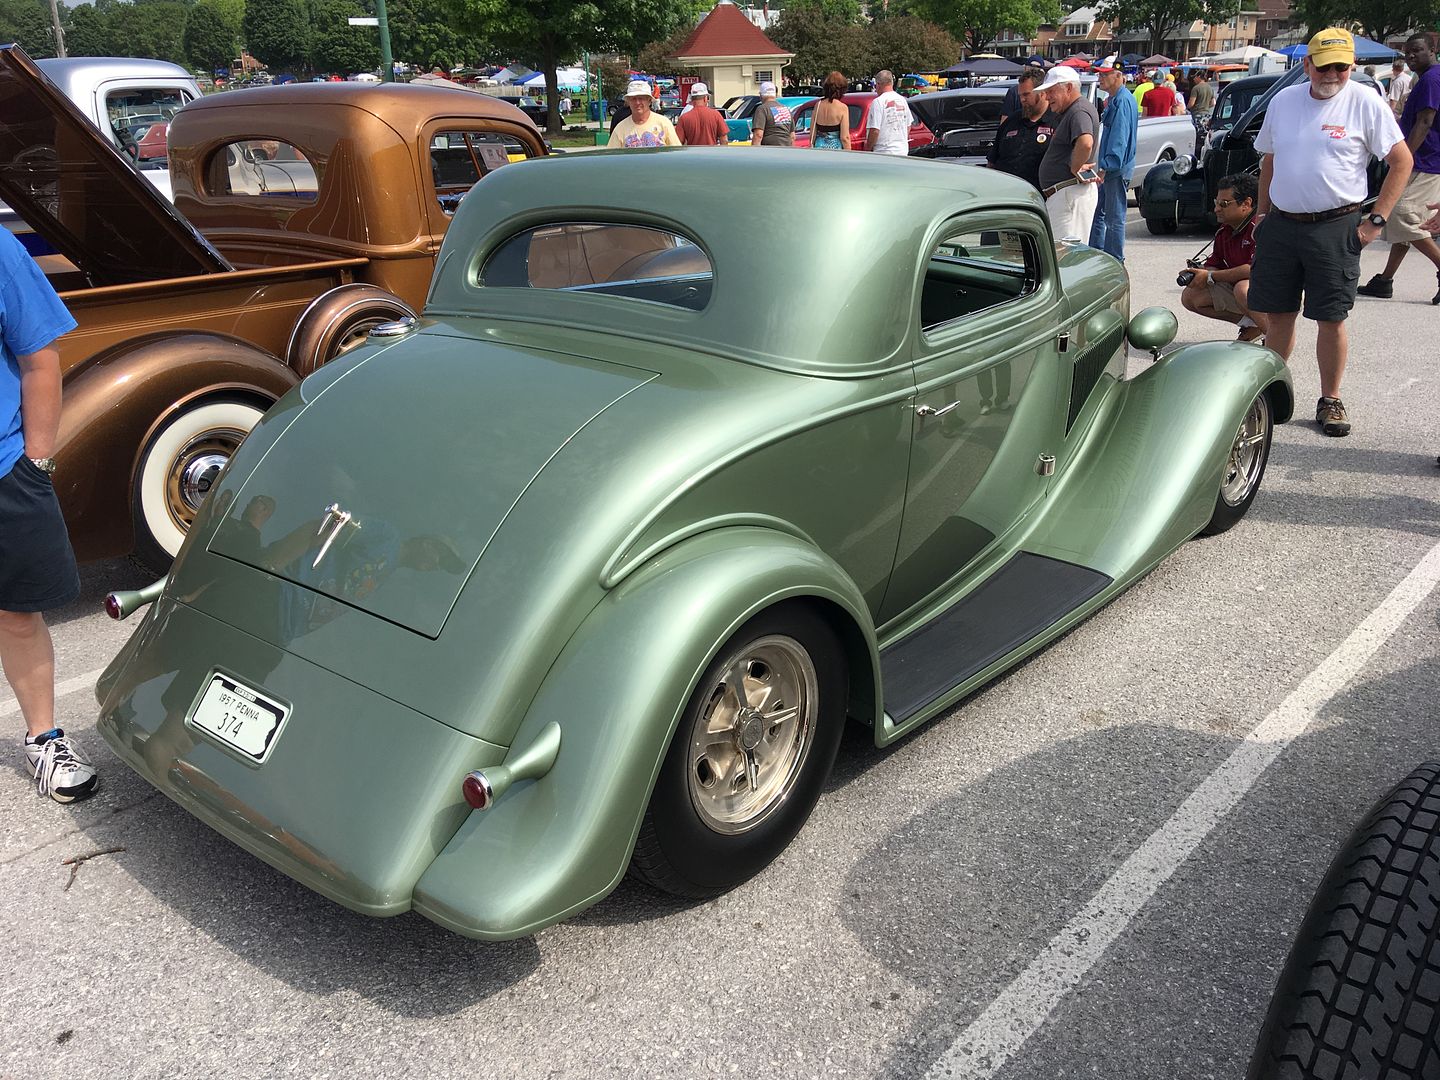
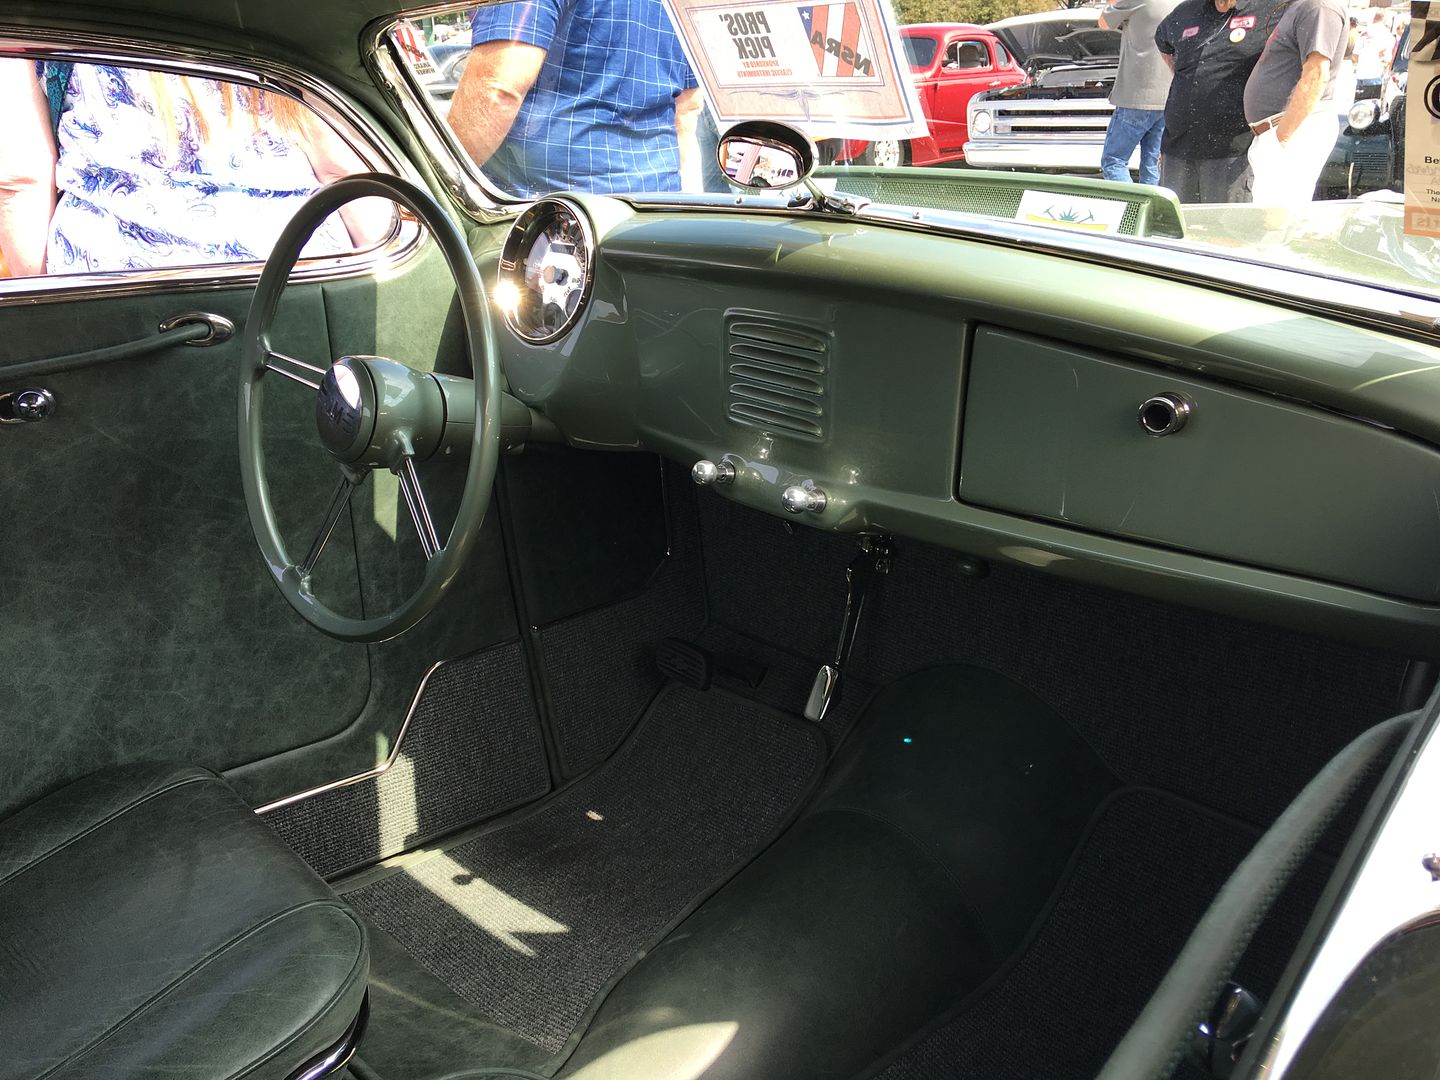
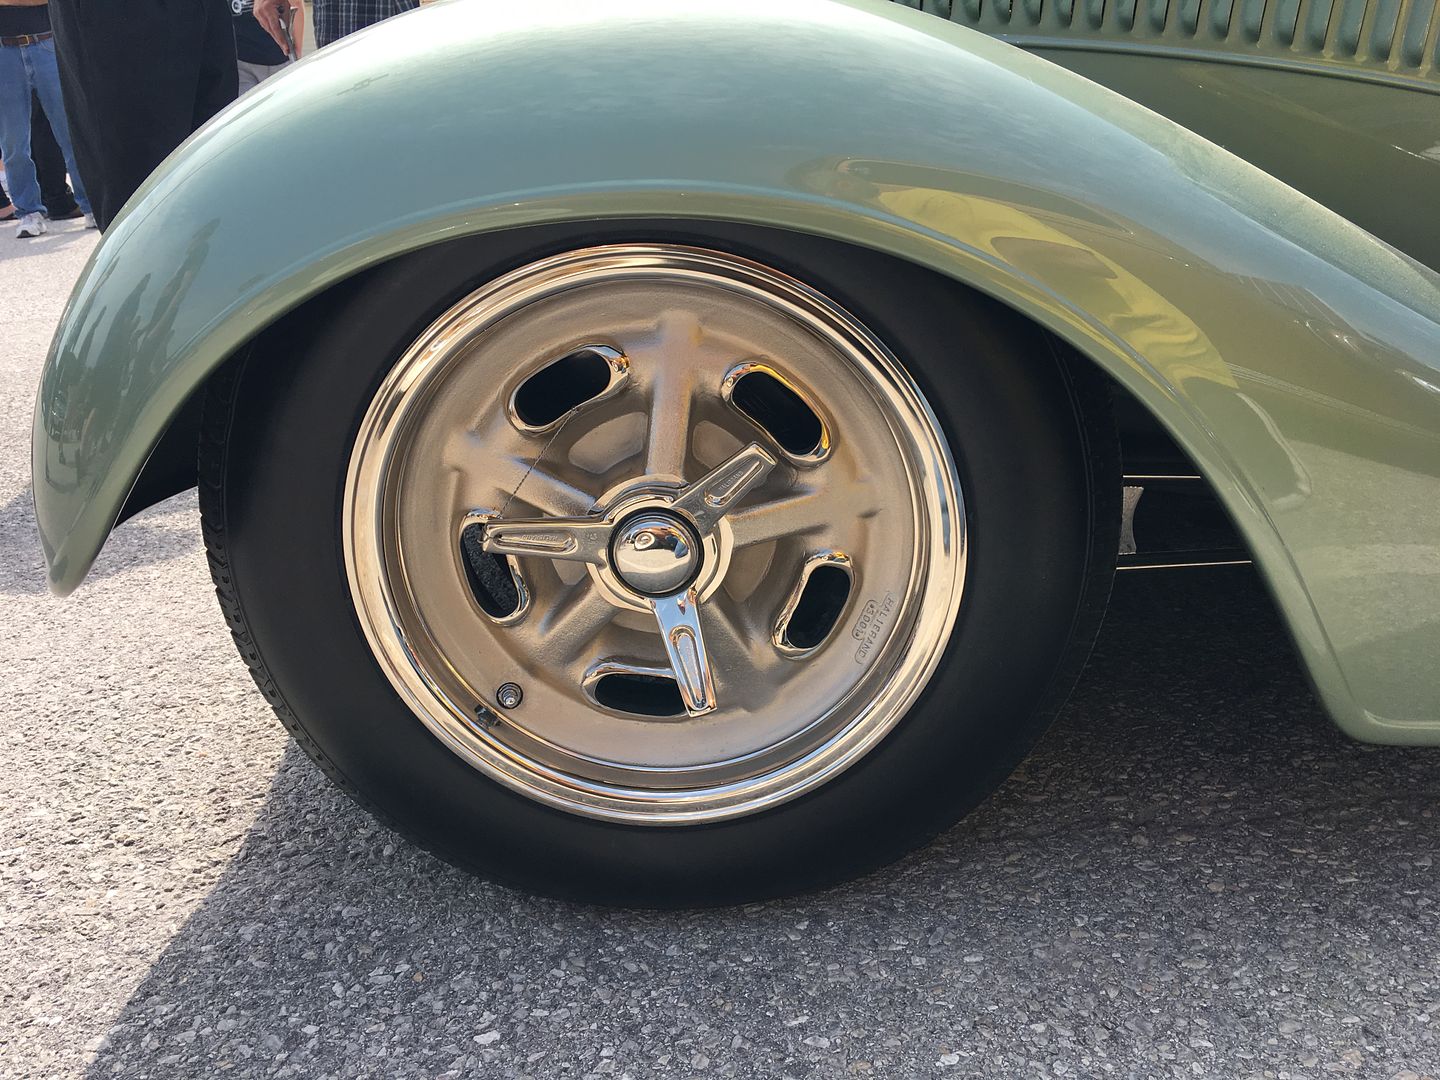
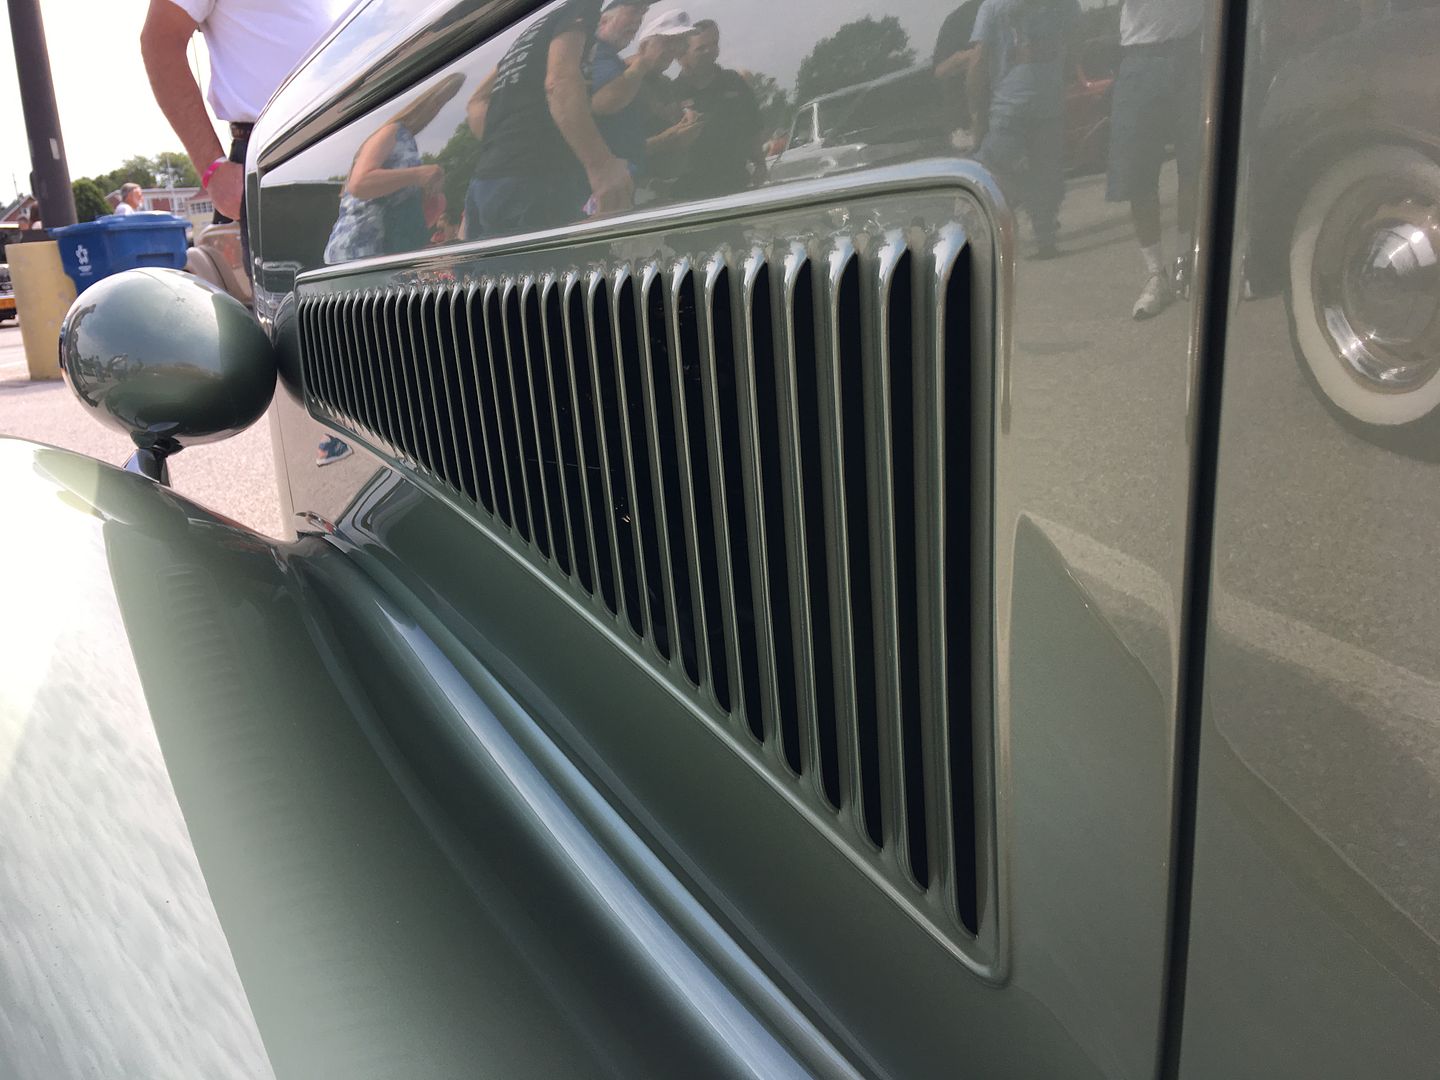
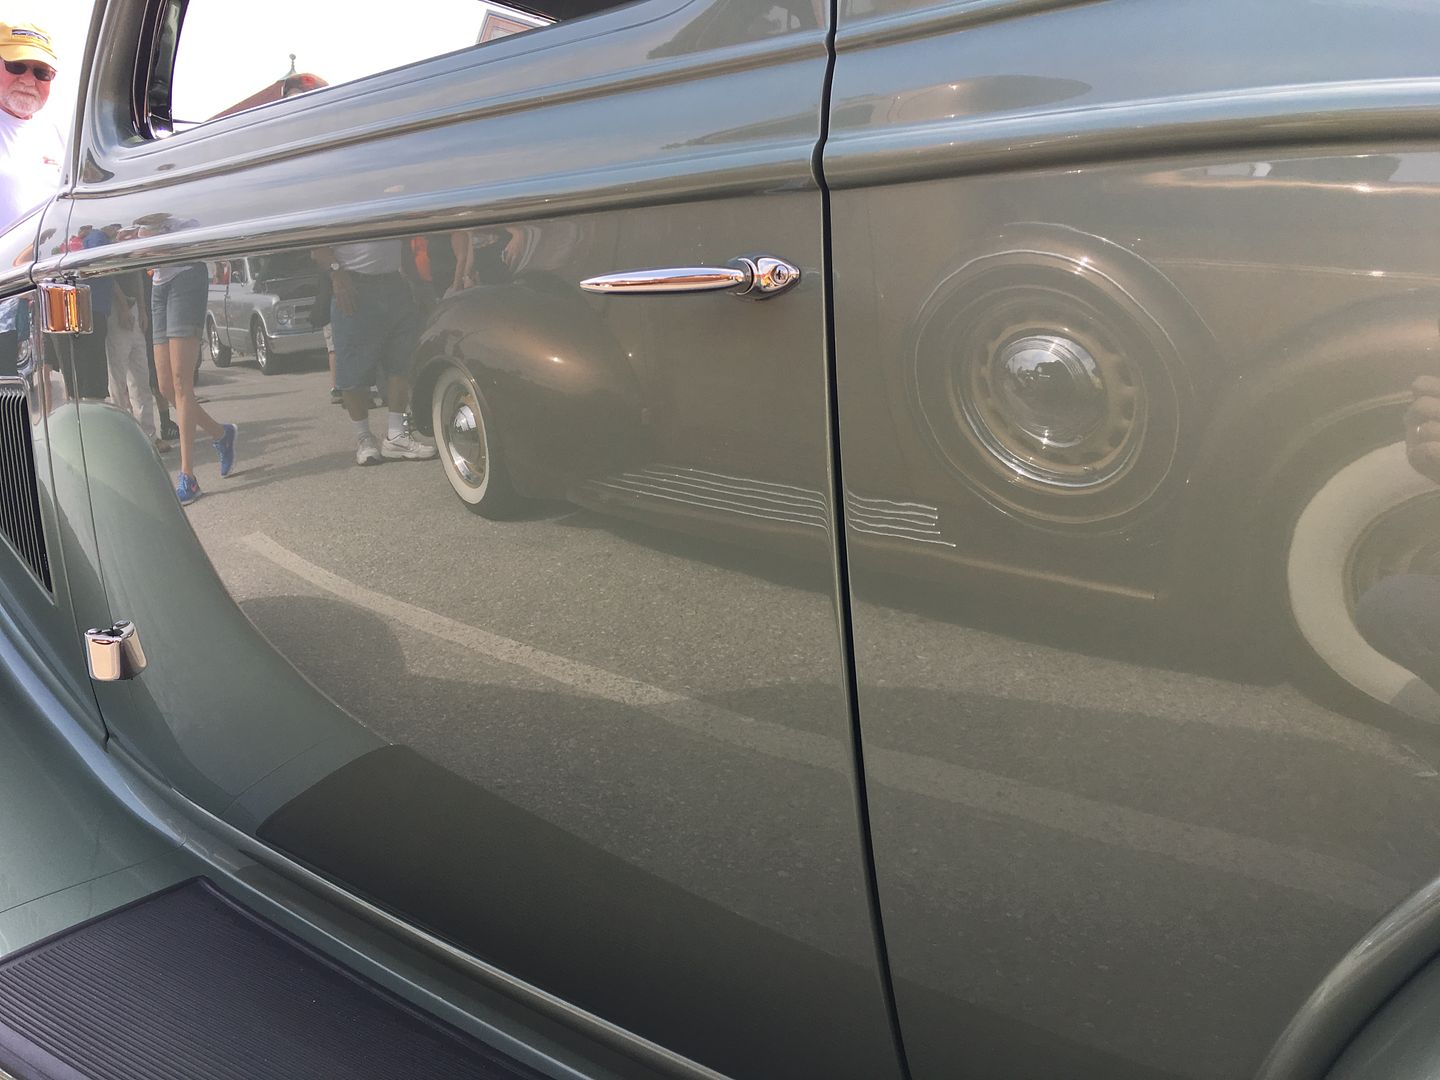
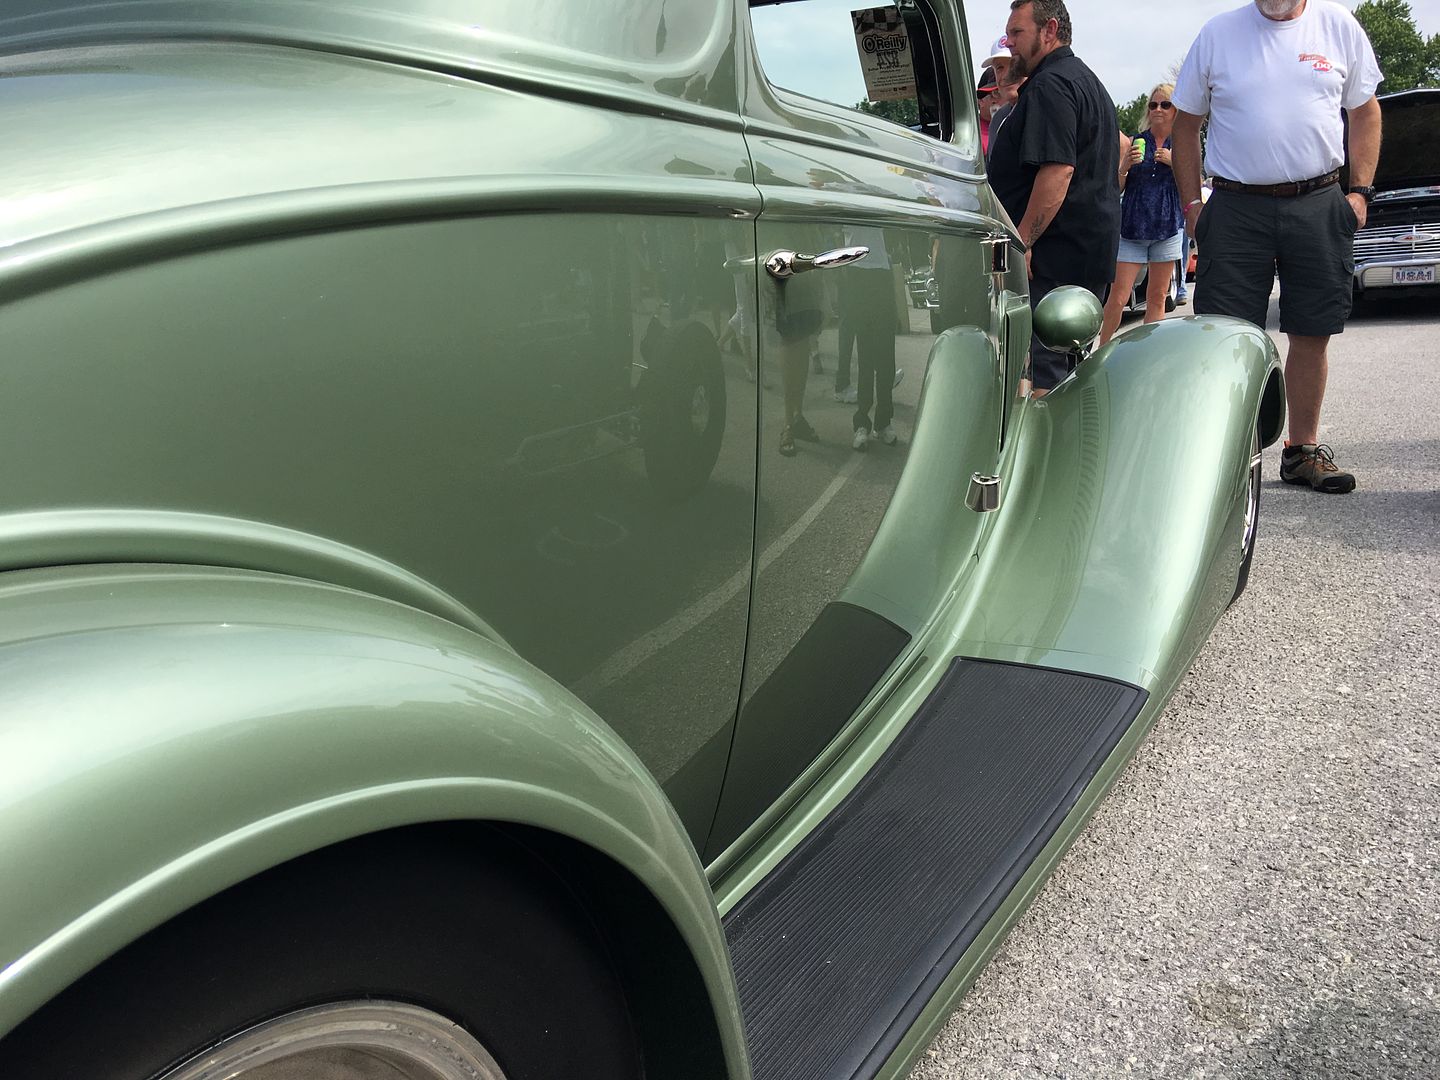
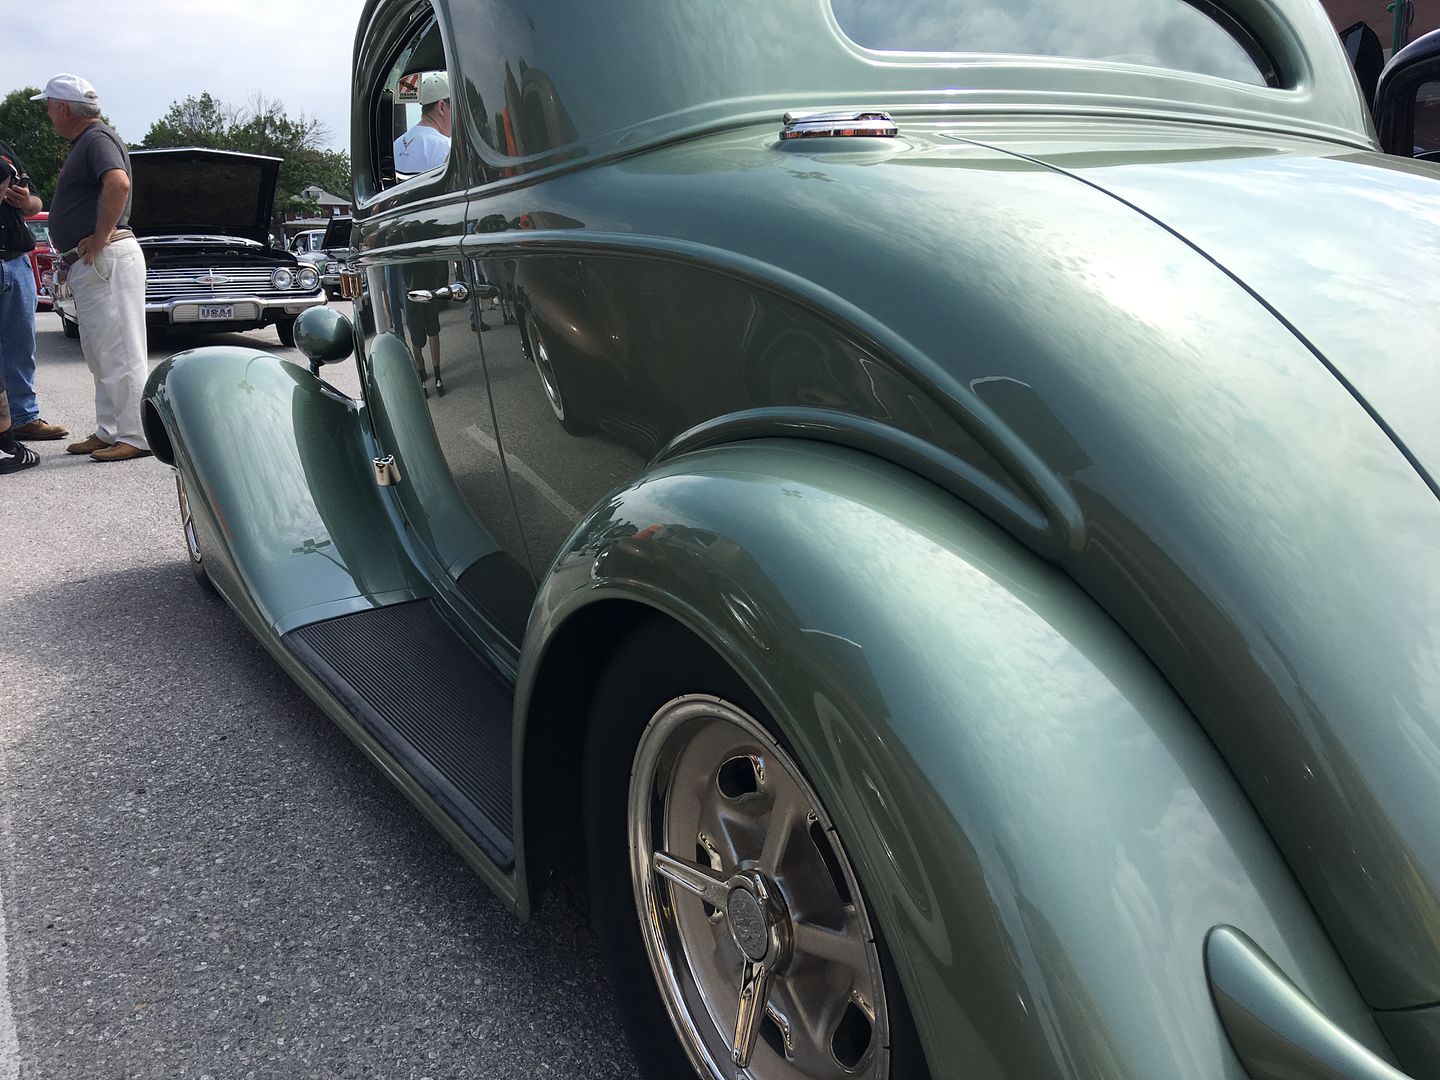
Pictures don't do it justice. I think the next show they're taking it to will be GoodGuys Columbus, if any of you are local there be sure to check it out!!Robert
-
06-05-2017 12:50 PM #1046
- Join Date
- Apr 2011
- Location
- Prairie City
- Car Year, Make, Model: 40 Ford Deluxe, 68 Corvette, 72&76 K30
- Posts
- 7,301
- Blog Entries
- 1
Very nice work! Those side panels look great. That 35 Chevy is a master piece!Ryan
1940 Ford Deluxe Tudor 354 Hemi 46RH Electric Blue w/multi-color flames, Ford 9" Residing in multiple pieces
1968 Corvette Coupe 5.9 Cummins Drag Car 11.43@130mph No stall leaving the line with 1250 rpm's and poor 2.2 60'
1972 Chevy K30 Longhorn P-pumped 24v Compound Turbos 47RH Just another money pit
1971 Camaro RS 5.3 BTR Stage 3 cam, SuperT10
Tire Sizes
-
06-05-2017 02:49 PM #1047
Amazing car, a real testament to all who contributed to the build!!
Richhttp://www.clubhotrod.com/hot-rod-bu...del-coupe.html
-
06-11-2017 10:15 PM #1048
Saturday Mike worked on the 55, with the seat belt retractor anchor plates now epoxied and cured for a week, they're ready to weld inside the quarters. He clamped them in place, scribed all the holes, removed them and cleaned paint off the hole locations....

clamped in, ready to plug weld.....
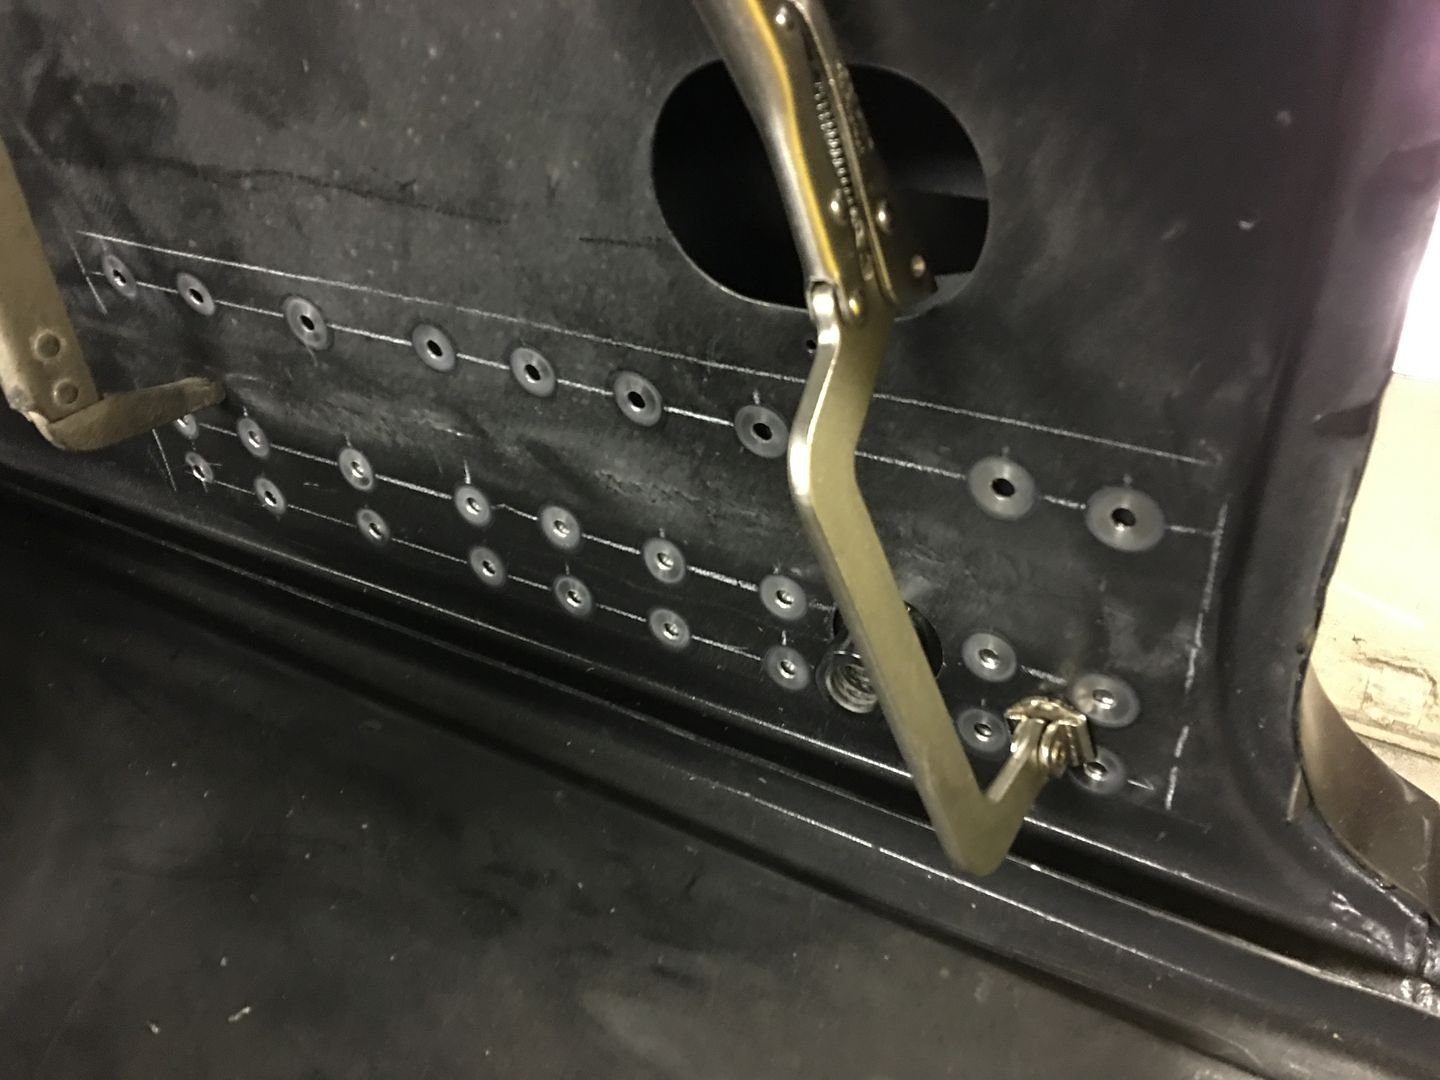
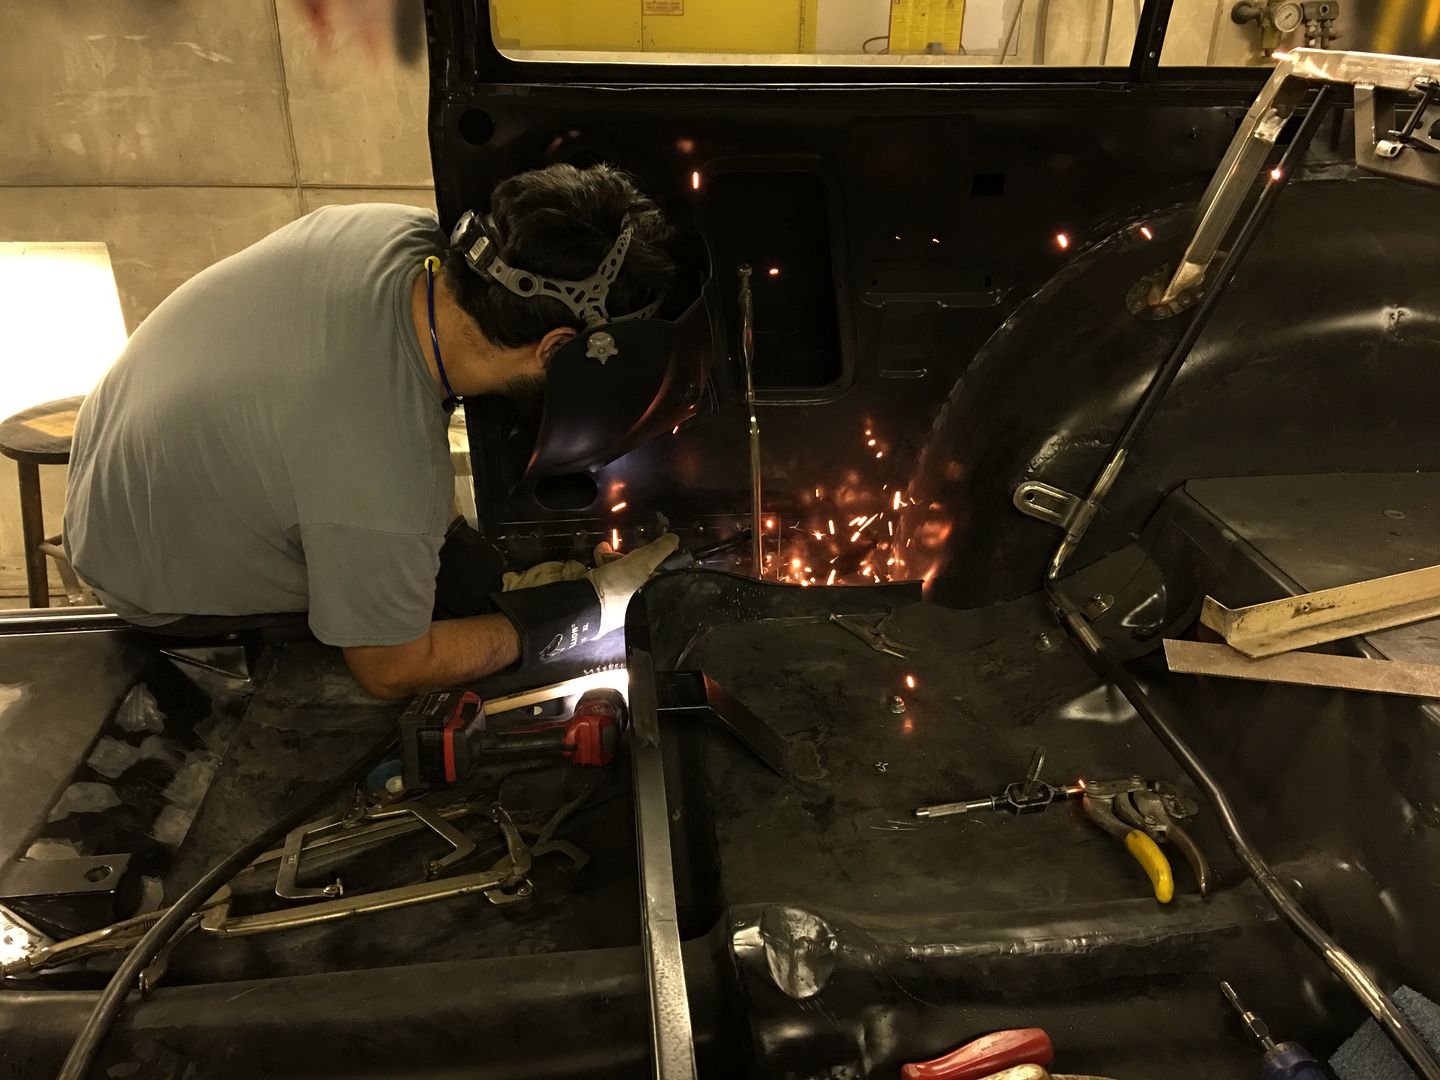
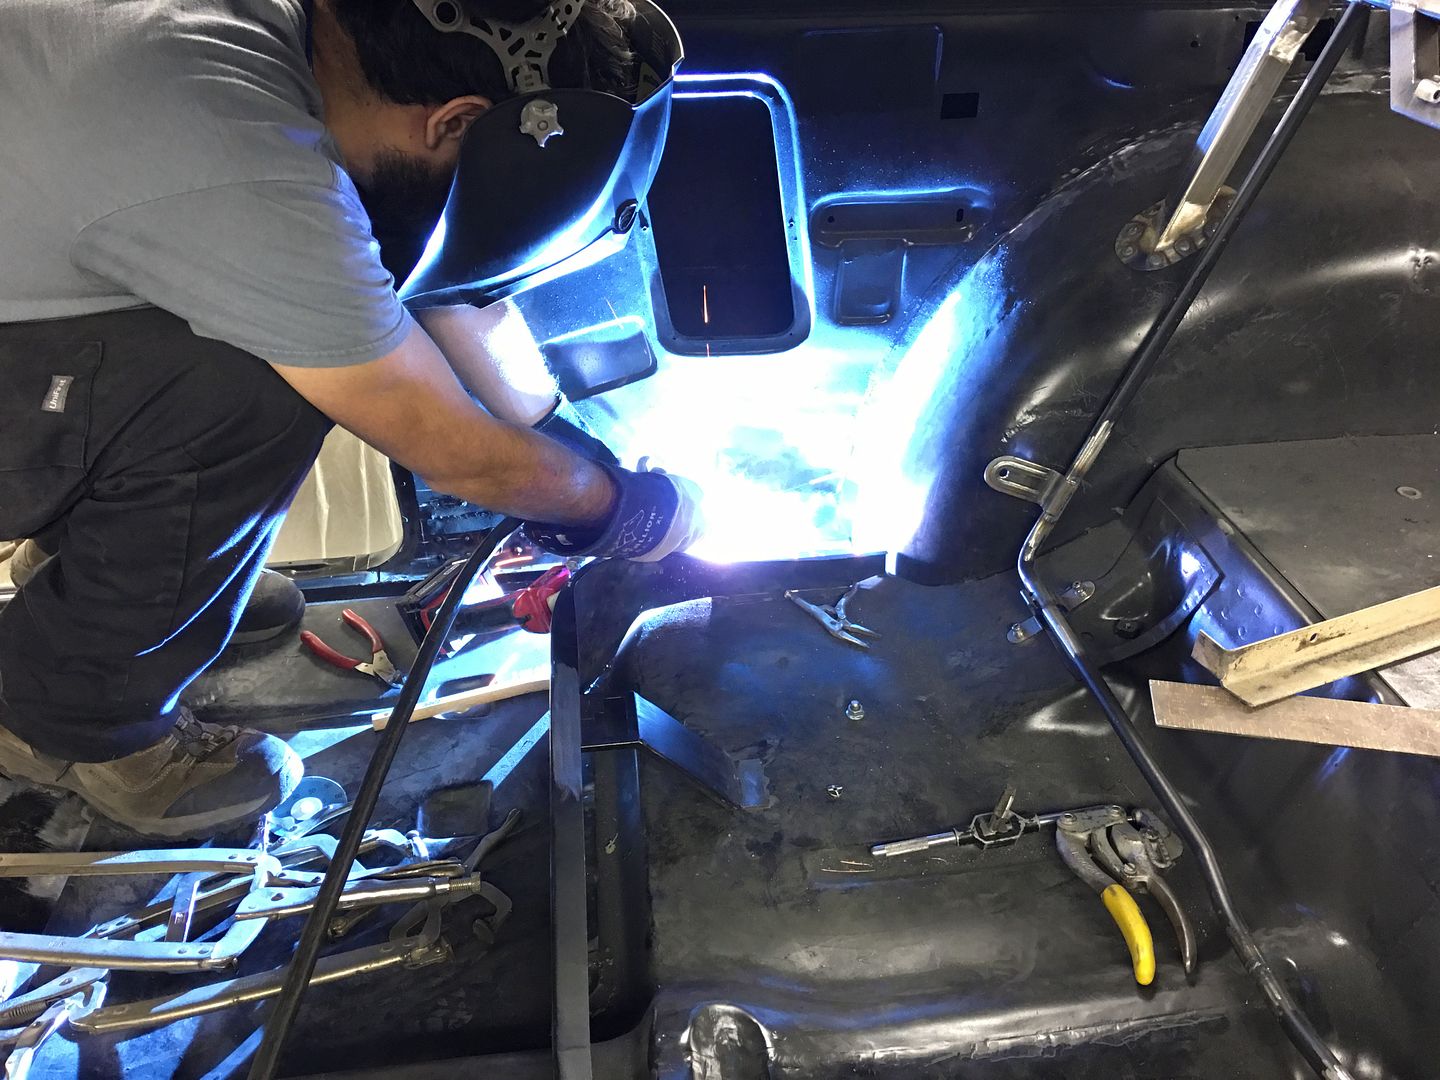
then he dressed the plug welds on the anchor plates as well as a few remaining ones on the drivers bucket seat pan. next on the list is to fabricate some arm rests for the rear seat area that will also serve to enclose the seat belt retractors.Robert
-
06-17-2017 08:34 PM #1049
With the Biederman fenders out of the building, its time to work on the 55's rear seat bolsters. Time to assemble the parts for the passenger side..
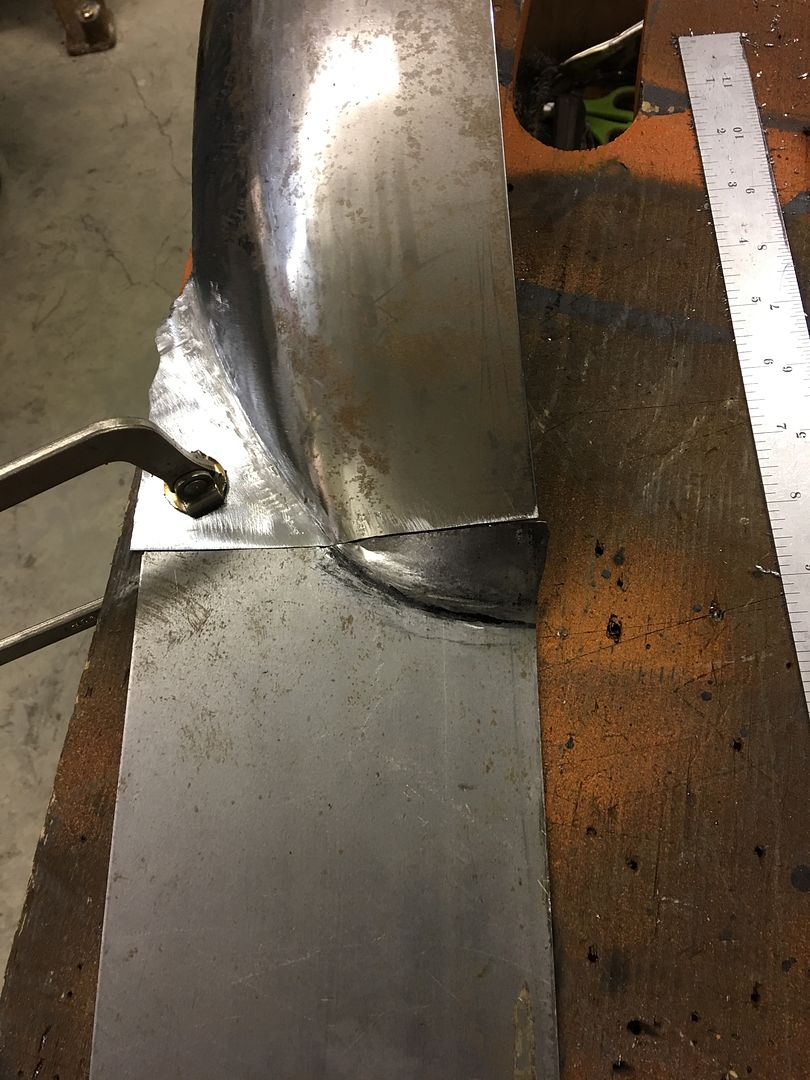

TIG welded together...
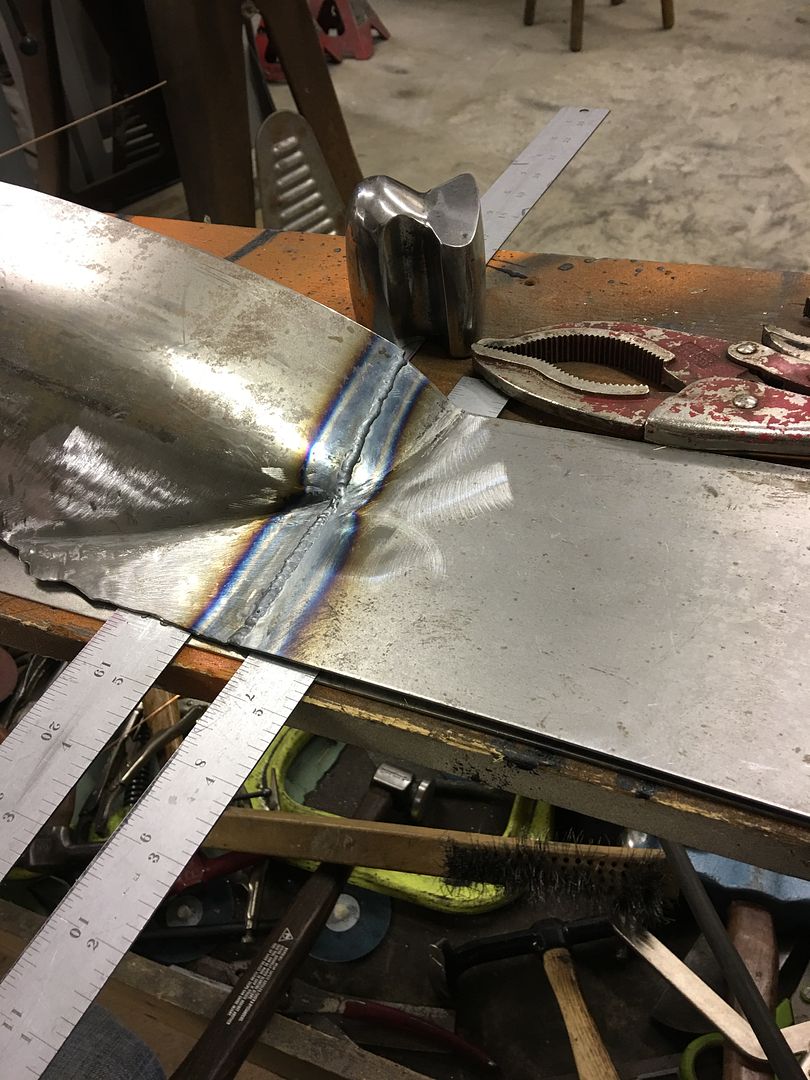
....and cleaned up....
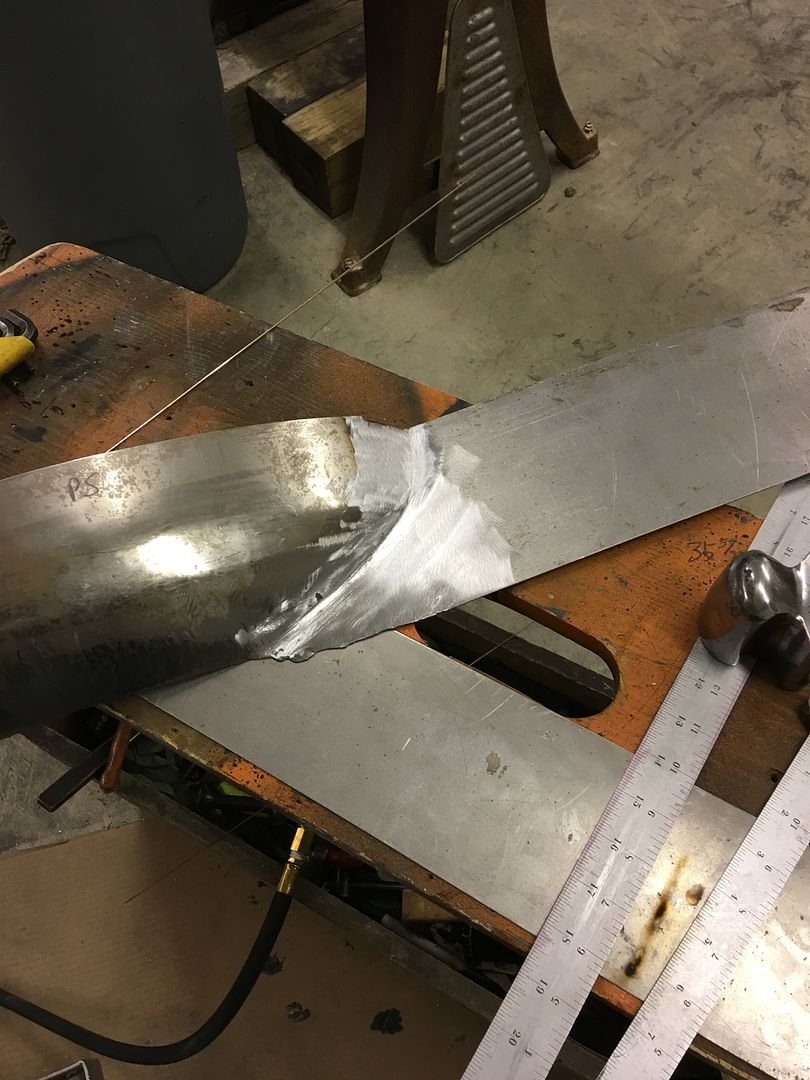
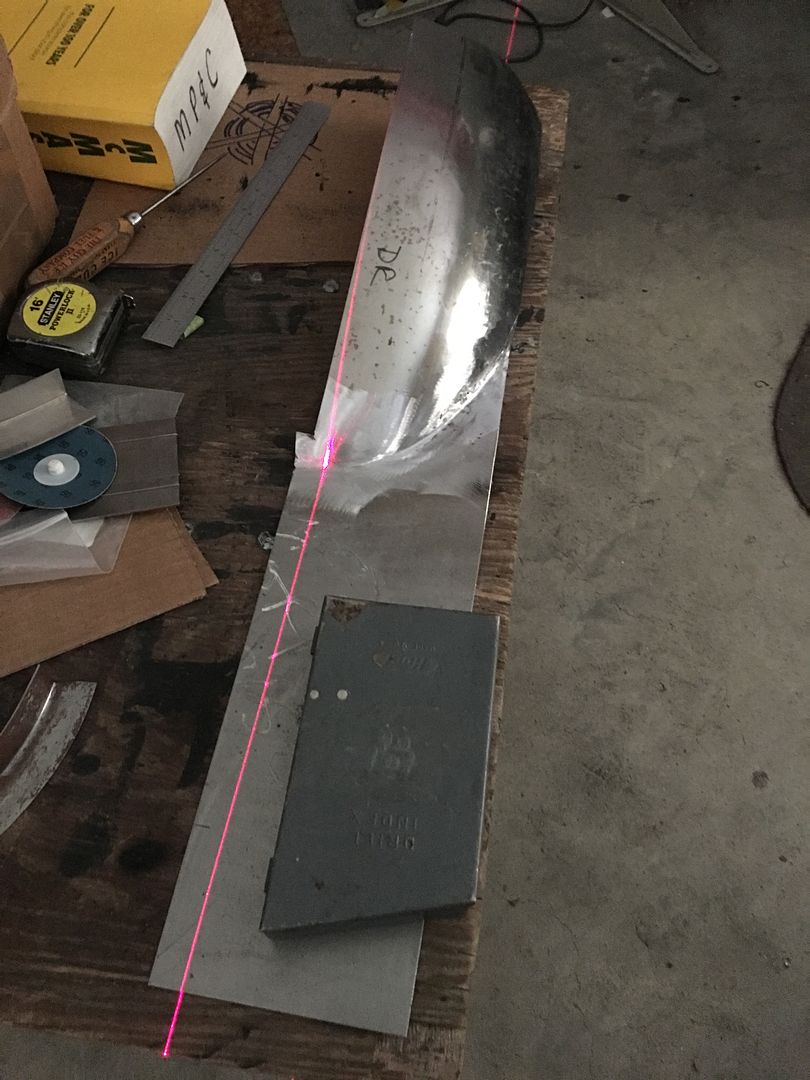
Back to the drivers side, all the edges will be tipped forward to eliminate the possibility of sharp edges cutting through the upholstery..
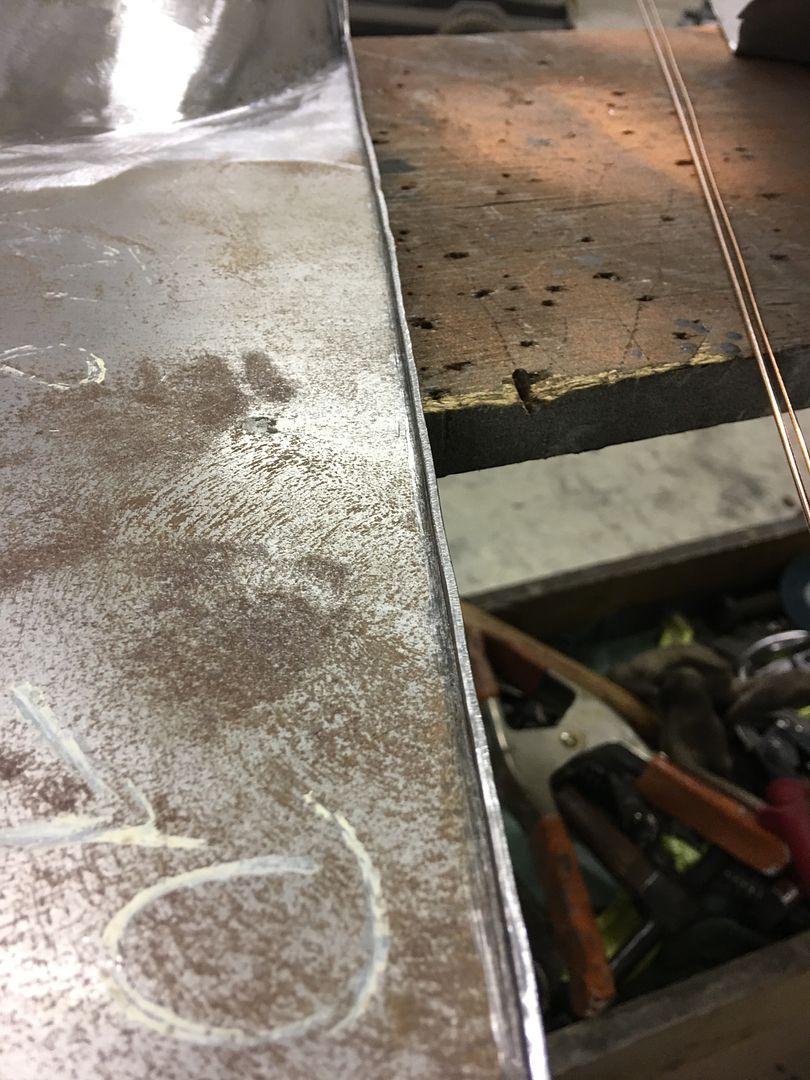
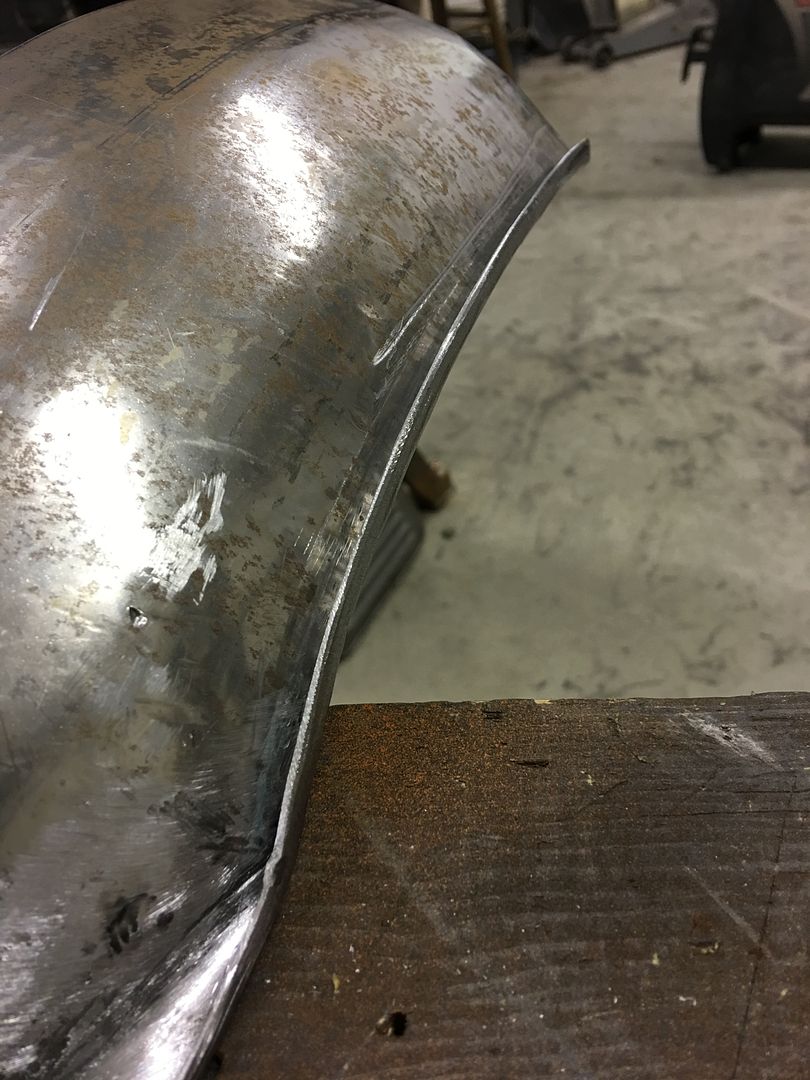
This is the edge adjacent to the center fold down seat, so we wanted it nice and straight..
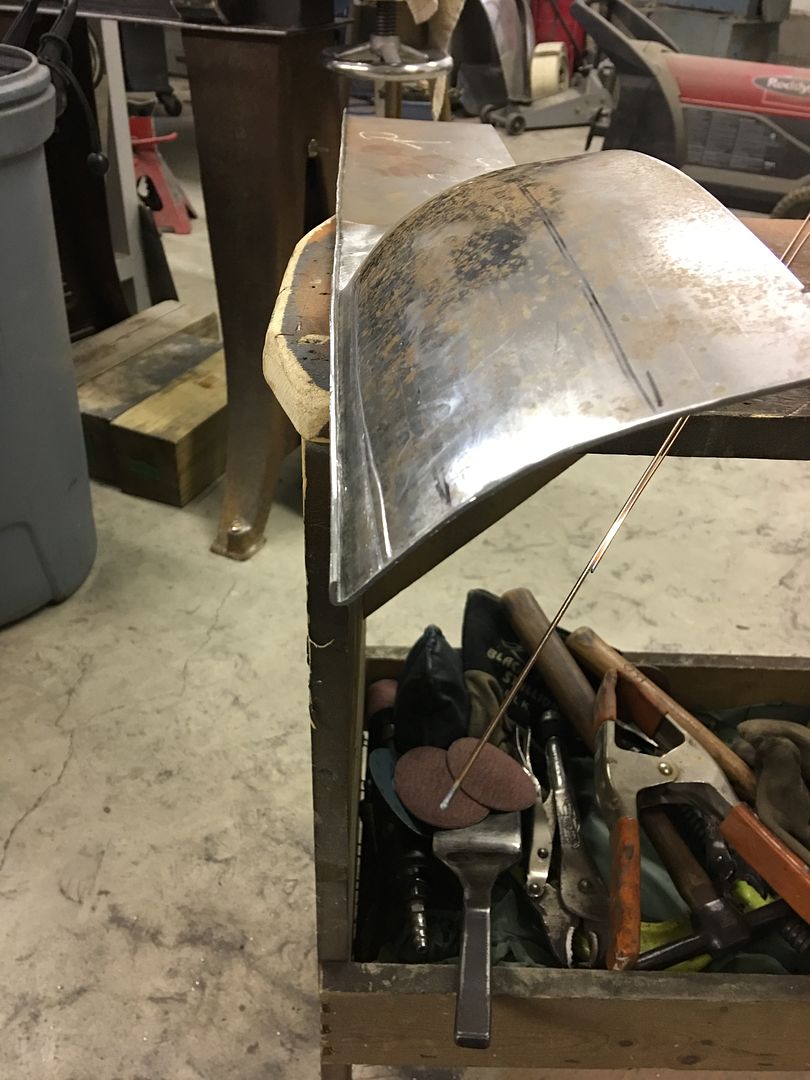
To better check that we were straight across the uneven surfaces, we used the laser again...
https://www.youtube.com/watch?v=s3TwP6NaCKU
Seats mocked up again.....
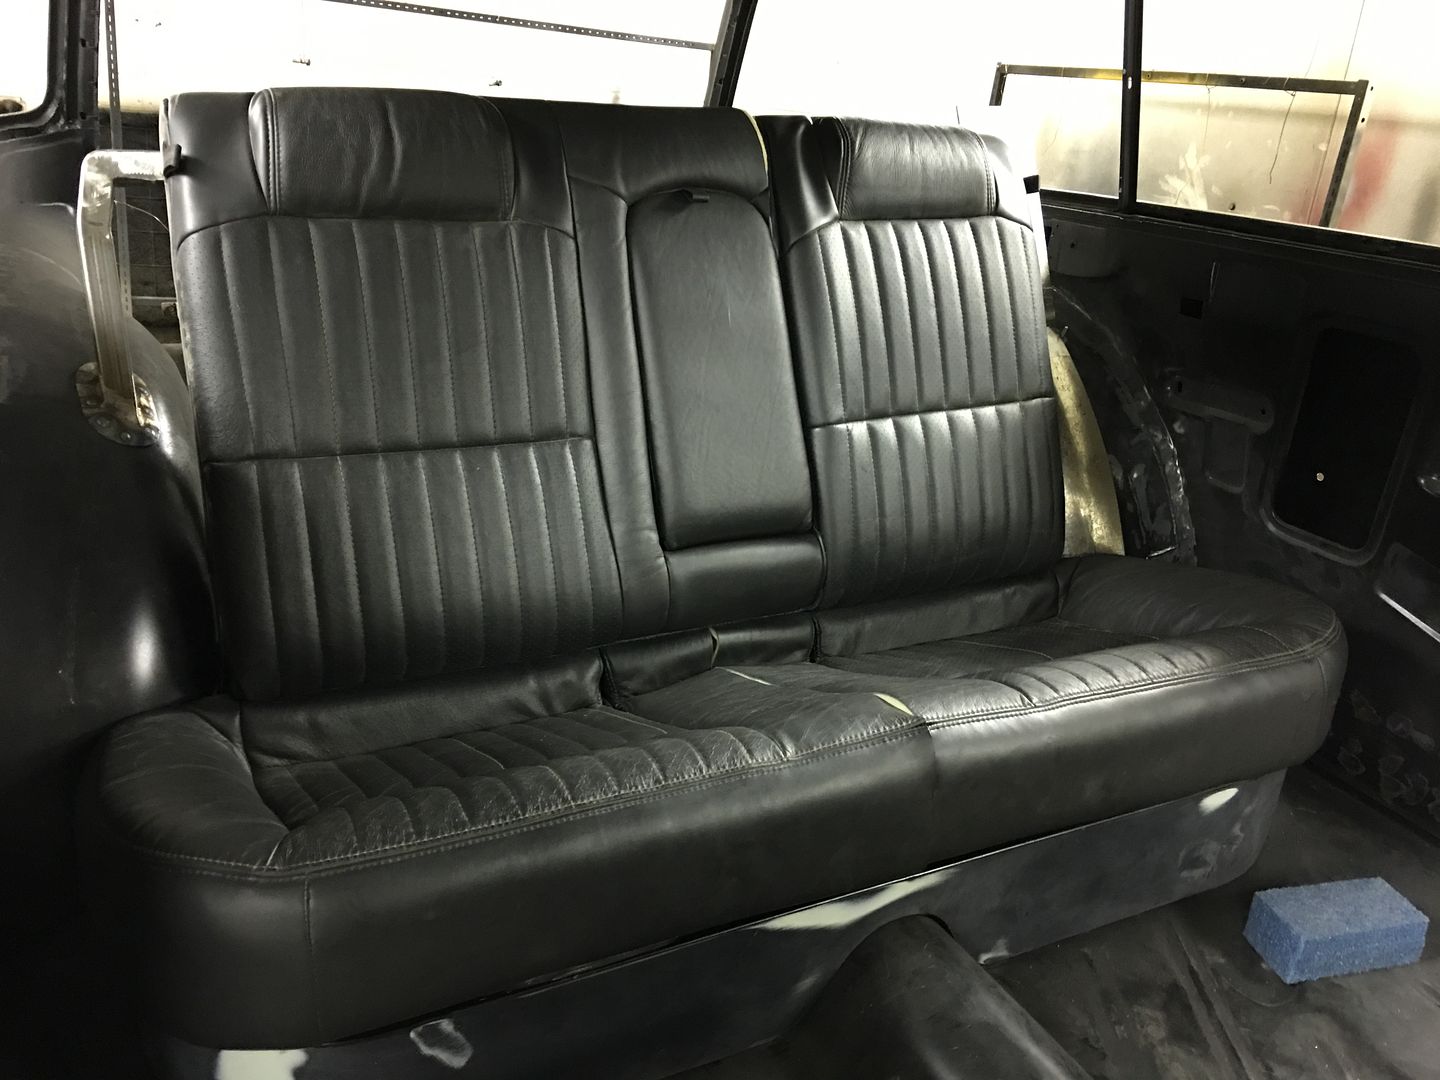
.....and laser used to get a straight edge on the outside..
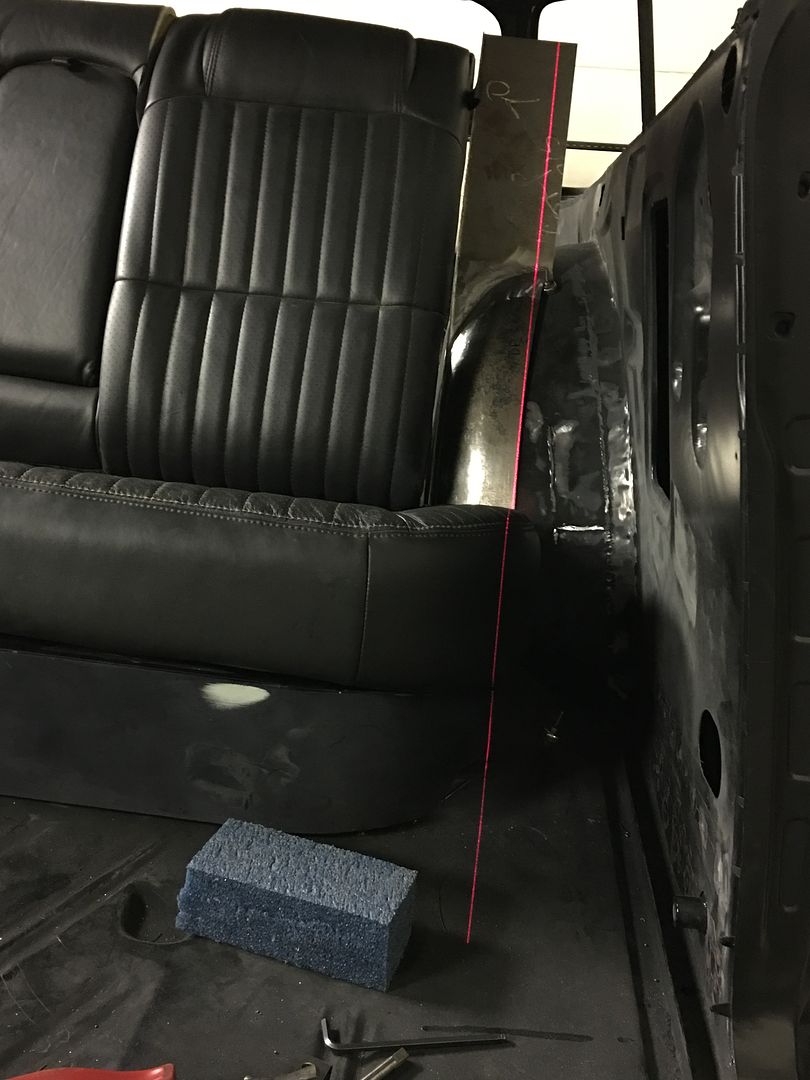
for more edge tipping....
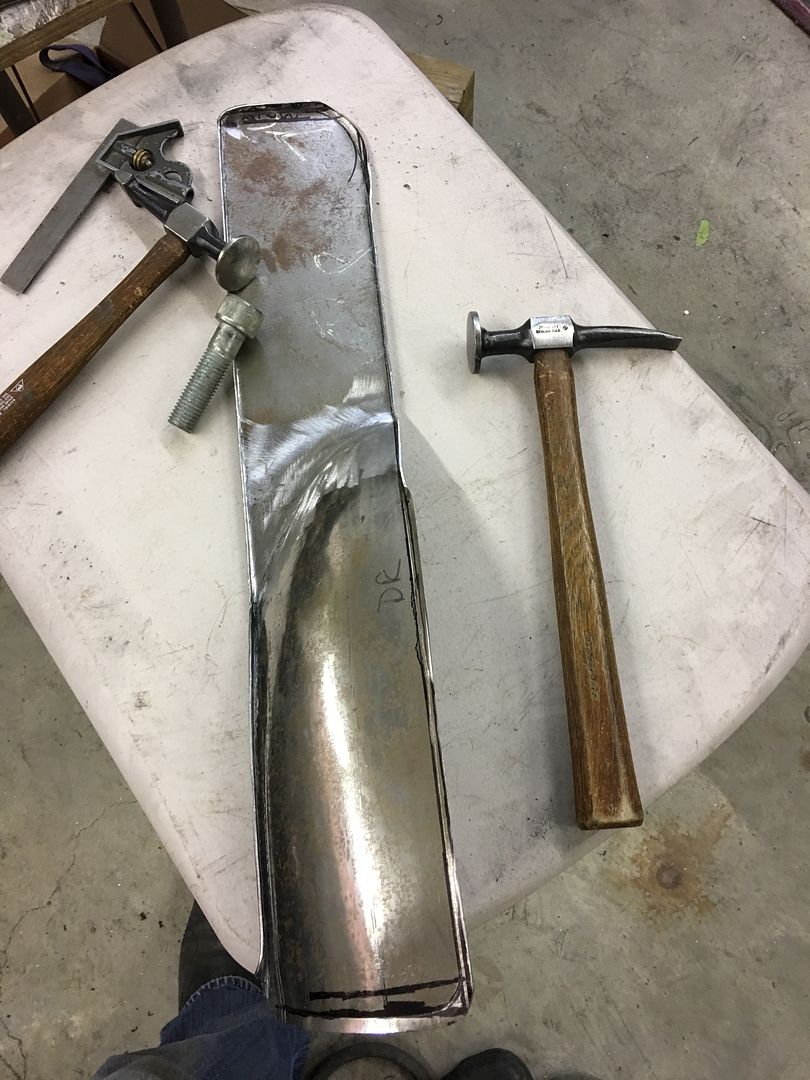
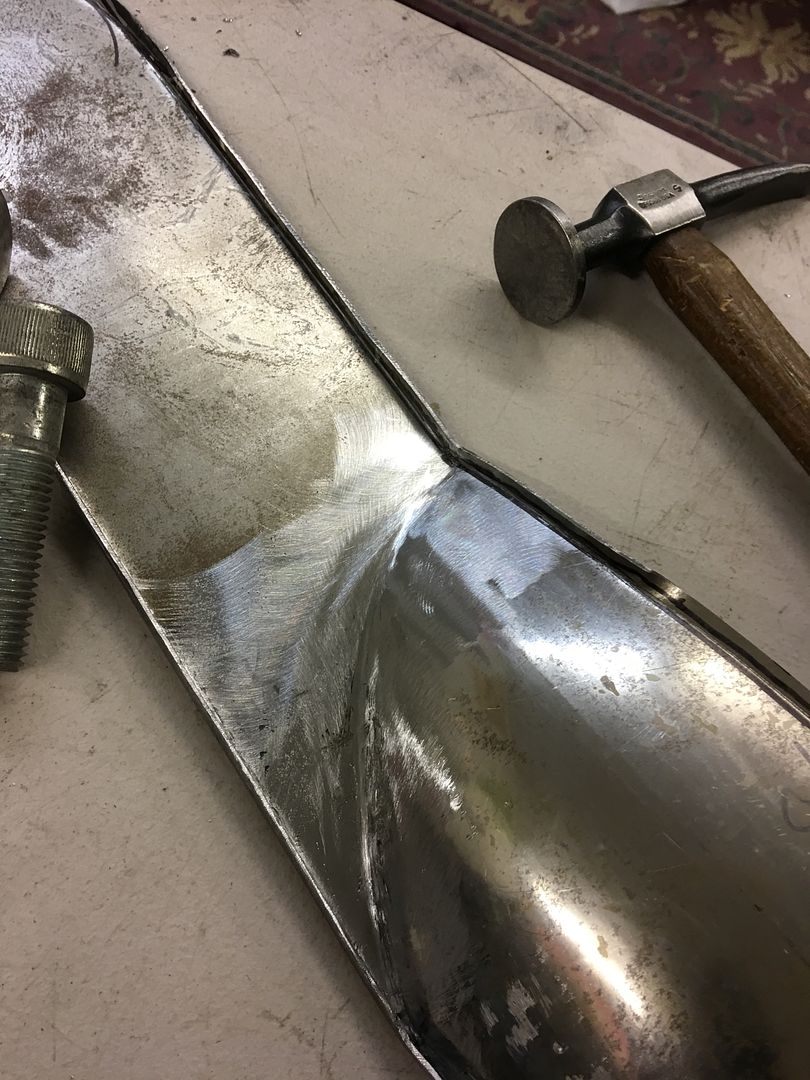
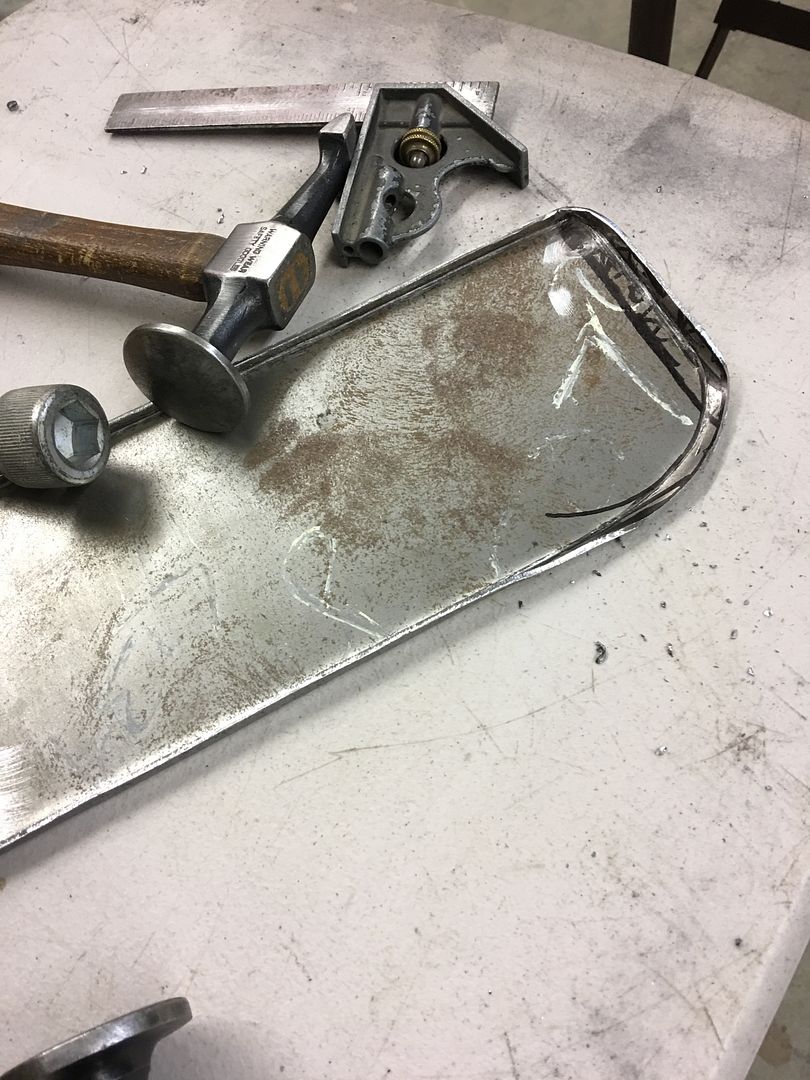
Hopefully we can finish this up in the morning and start cutting out the foam pad..
Here's the panel with all the edges tipped forward, clamped in place..
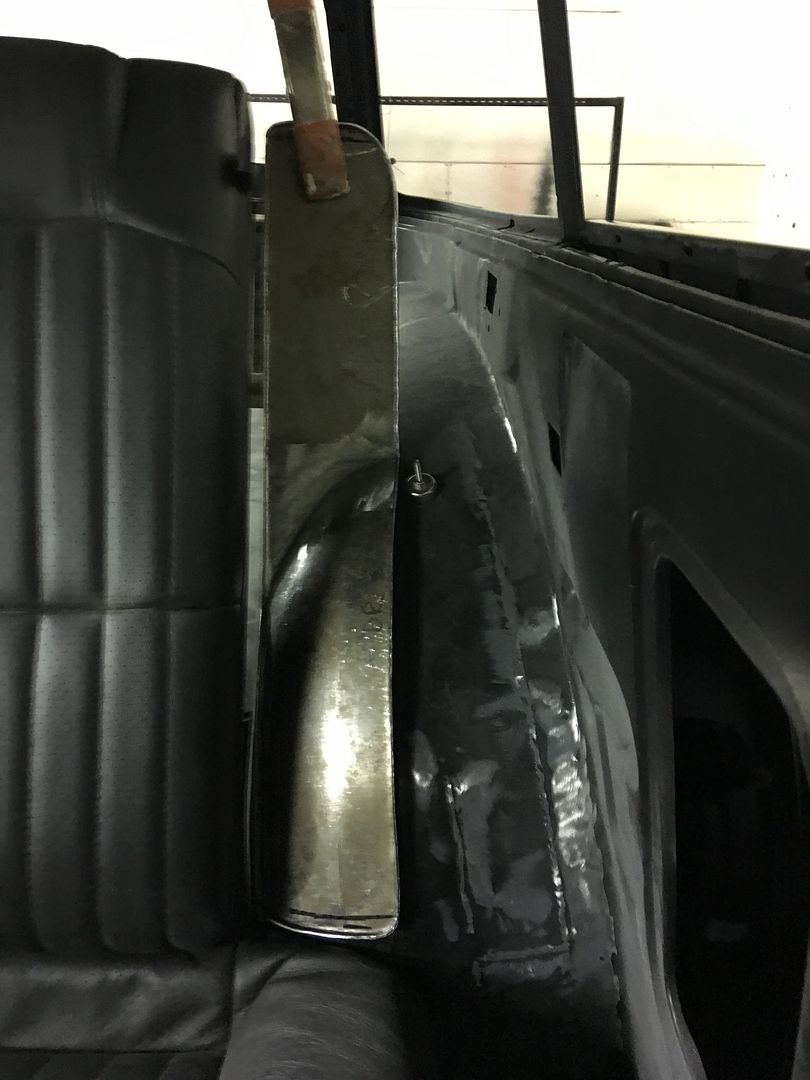
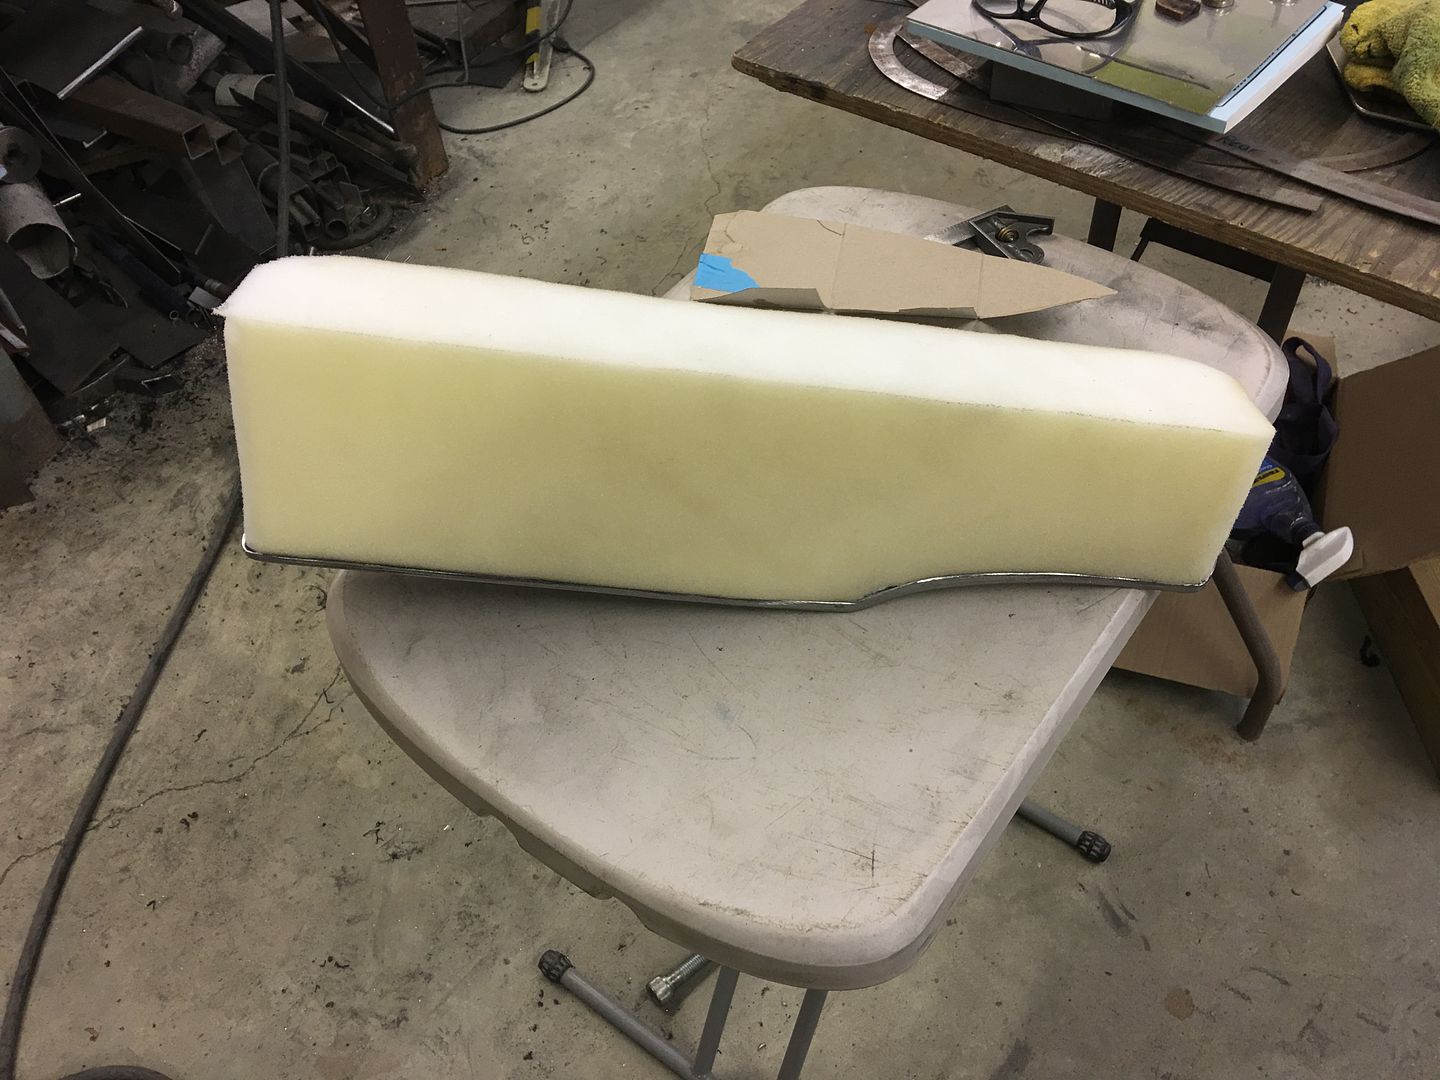
Some poster board templates were traced from the steel part, then trimmed out and transferred to the foam.

Used the electric bread knife from the kitchen (if anyone asks you haven't seen it...) to trim out the foam, makes short work of it...
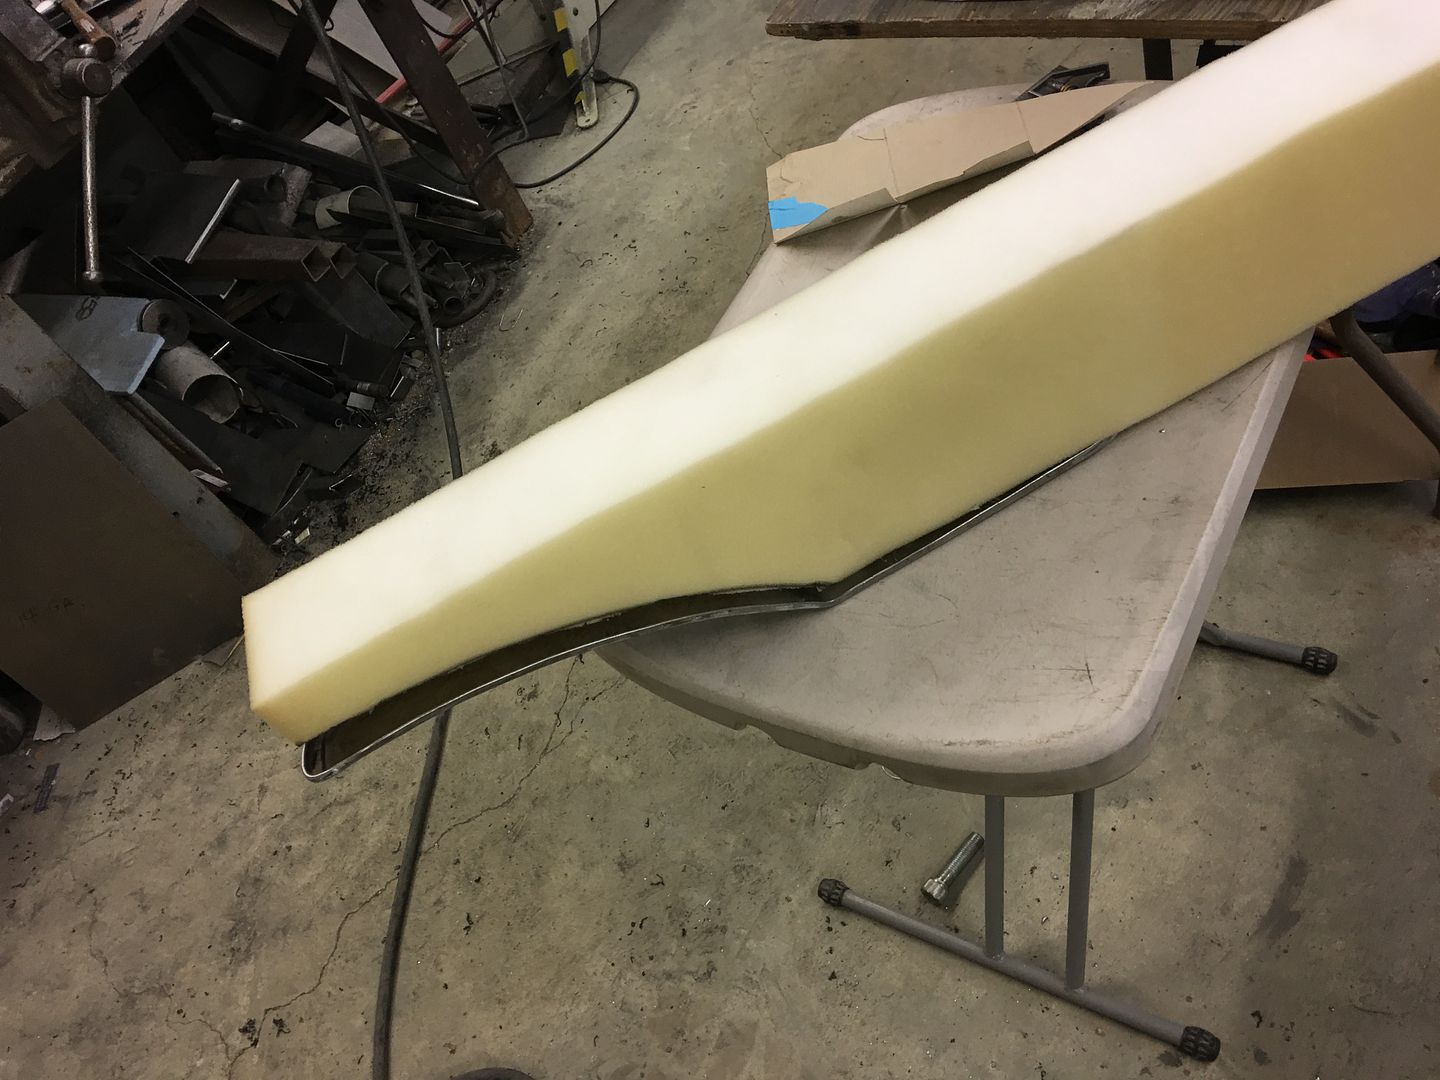
roughed out...
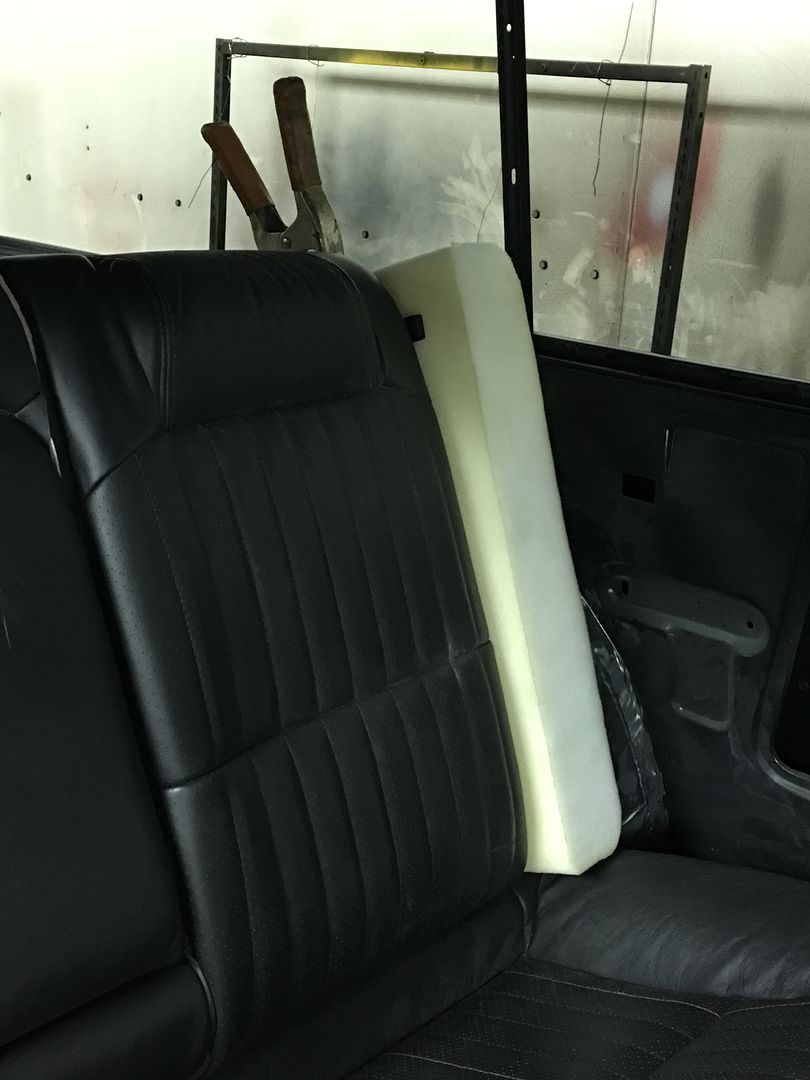
Test fit for marking the profile...
trimmed /sculpted to size with the bread knife and 3" roloc. Use a worn disc on the sander, the fresh ones tend to grab..
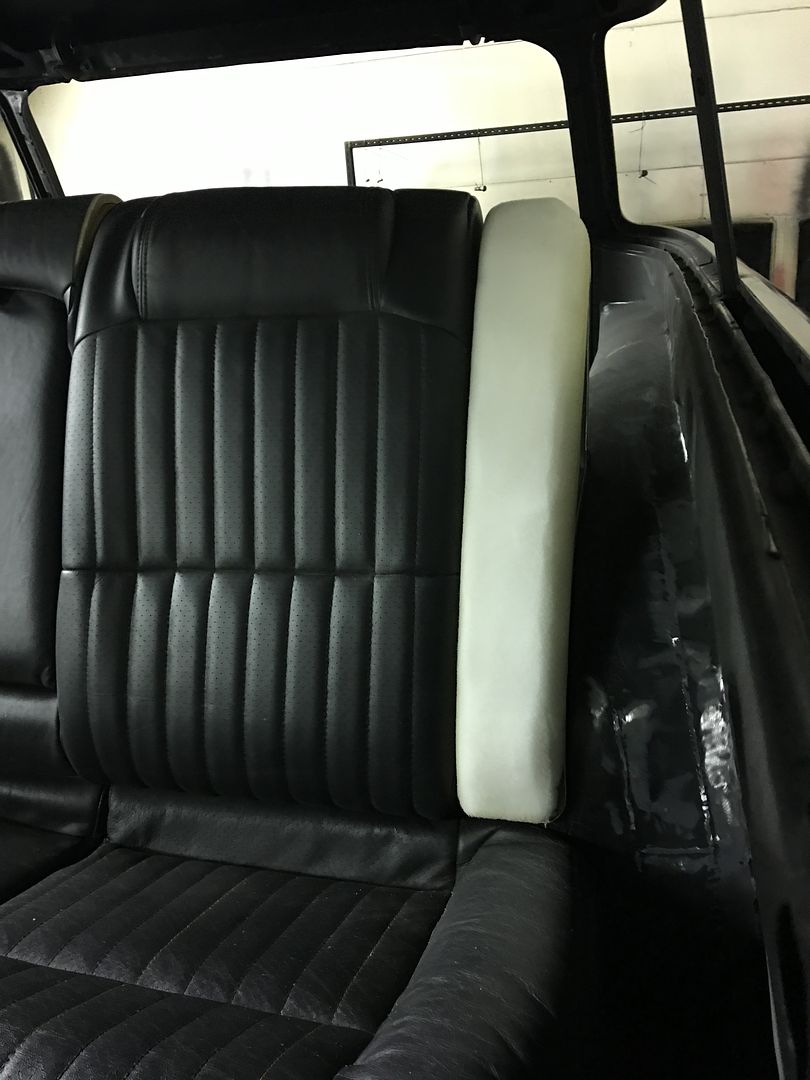

This fills out the seat pretty nicely and hides that wheel tub that protrudes into the back side of the seat.


Last edited by MP&C; 07-18-2017 at 06:19 AM.
Robert
-
06-19-2017 04:48 PM #1050
- Join Date
- Apr 2011
- Location
- Prairie City
- Car Year, Make, Model: 40 Ford Deluxe, 68 Corvette, 72&76 K30
- Posts
- 7,301
- Blog Entries
- 1
I really like the laser for a straight line reference. I wish I would have thought of that when I was trying to find the axle center lines in my wheel openings.
Ryan
1940 Ford Deluxe Tudor 354 Hemi 46RH Electric Blue w/multi-color flames, Ford 9" Residing in multiple pieces
1968 Corvette Coupe 5.9 Cummins Drag Car 11.43@130mph No stall leaving the line with 1250 rpm's and poor 2.2 60'
1972 Chevy K30 Longhorn P-pumped 24v Compound Turbos 47RH Just another money pit
1971 Camaro RS 5.3 BTR Stage 3 cam, SuperT10
Tire Sizes


 3390Likes

 LinkBack URL
 About LinkBacks
 Reply With Quote


Right after I posted yesterday it was down again, I don't think it's getting better.
Where is everybody?