


 3390Likes
Thread: 55 Wagon Progress


Results 226 to 240 of 1865
 LinkBack URL
 About LinkBacks
-
06-08-2014 08:43 PM #226
 CHR Member

- Join Date
- Jun 2008
- Location
- Leonardtown
- Car Year, Make, Model: Walking
- Posts
- 1,228
A few months ago, I had bought a 60" Starrett rule.
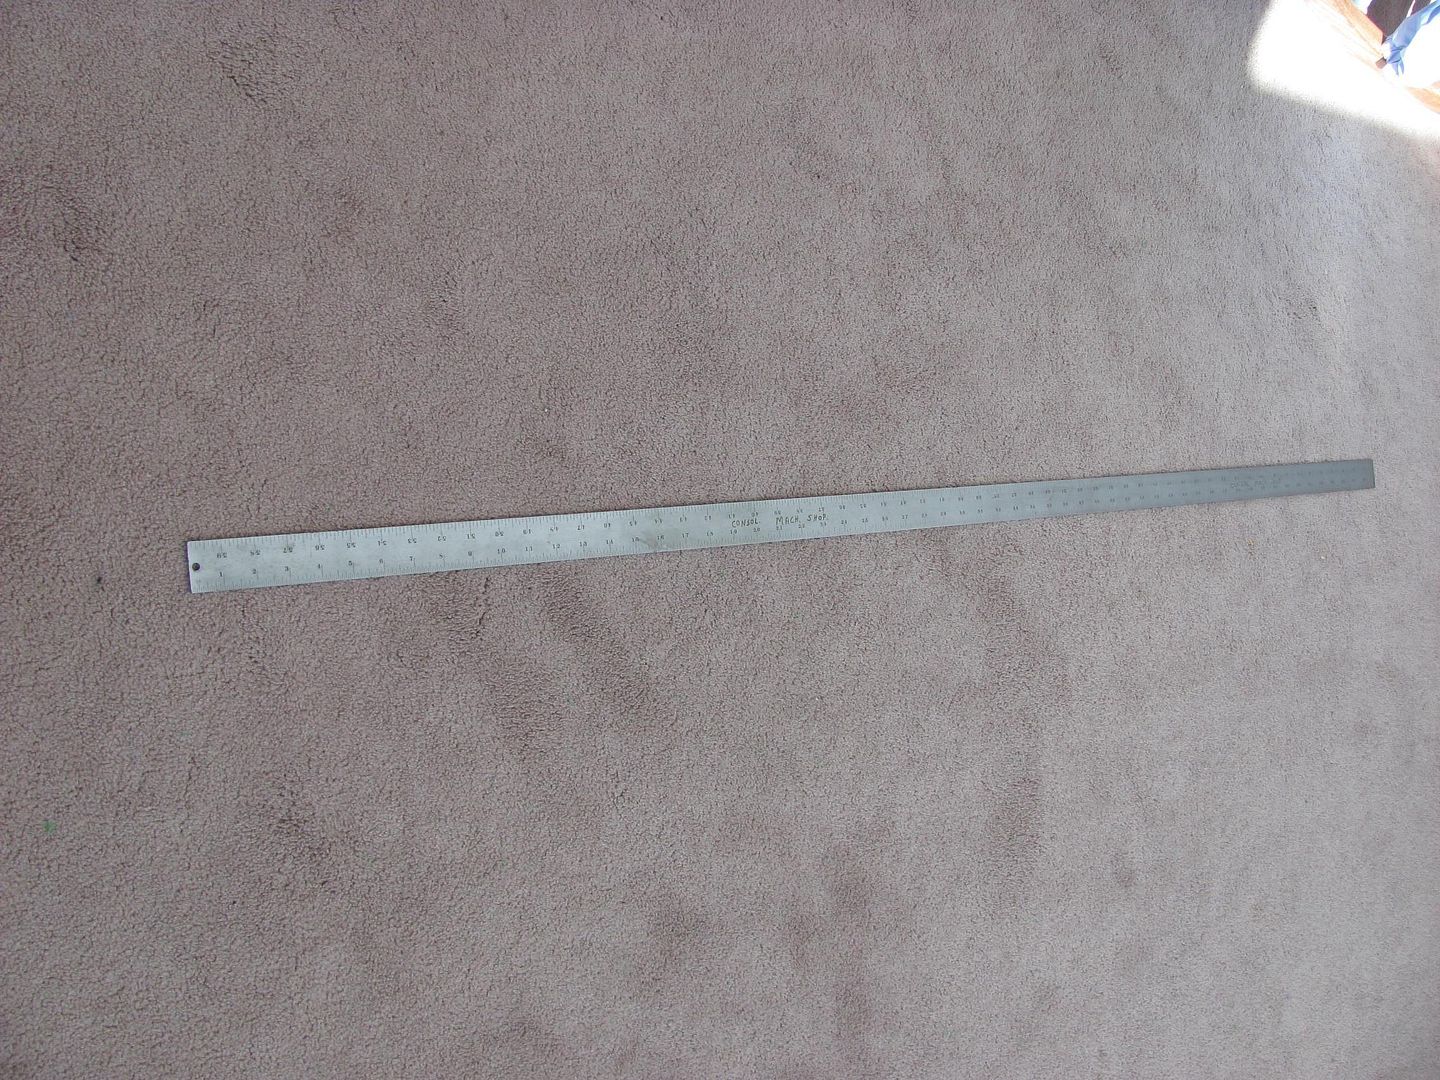
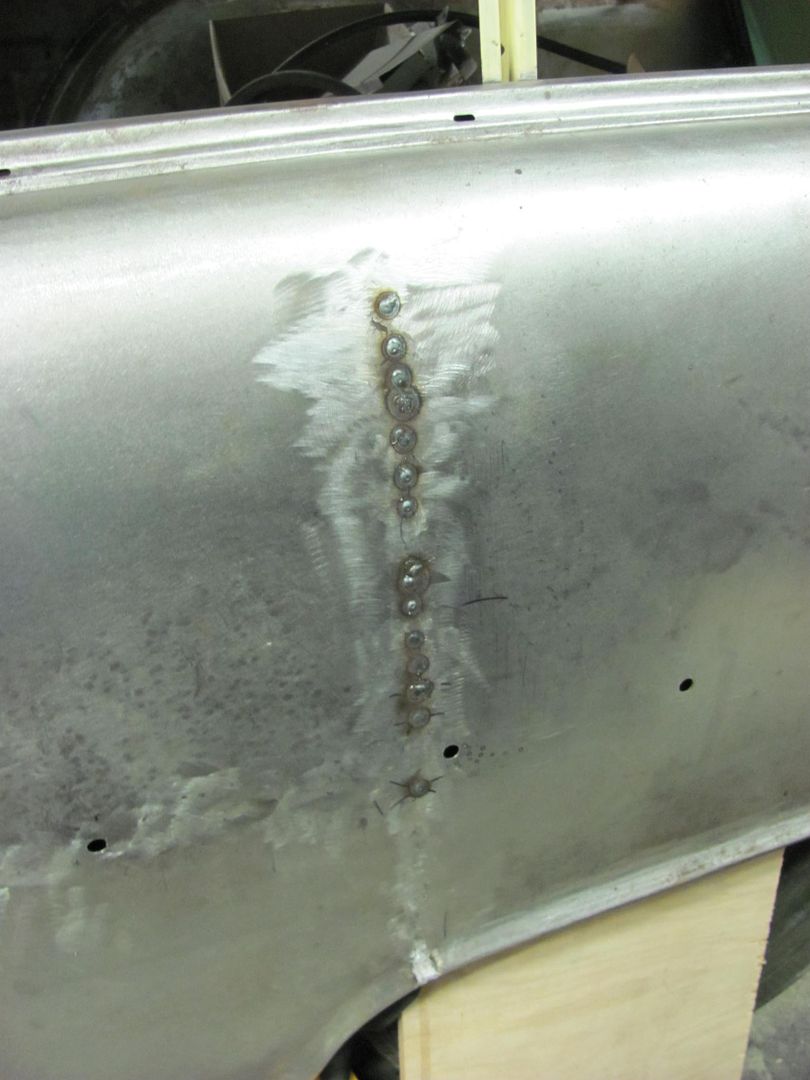
One of the first things I checked with it was the vertical weld that joined the 4 door NOS quarter on the drivers side of the 55. Previous to this the largest rule I had was a 24", which did not show the deflection as well. When the 60" rule spanned the joint, it showed a pronounced high spot at the vertical weld instead of the gradual crown that the panel should have. I'm not one to overload something with bondo to cover up something like this, so the vertical weld as well as part of the horizontal was sliced open to re-adjust the panel and get the correct contour.
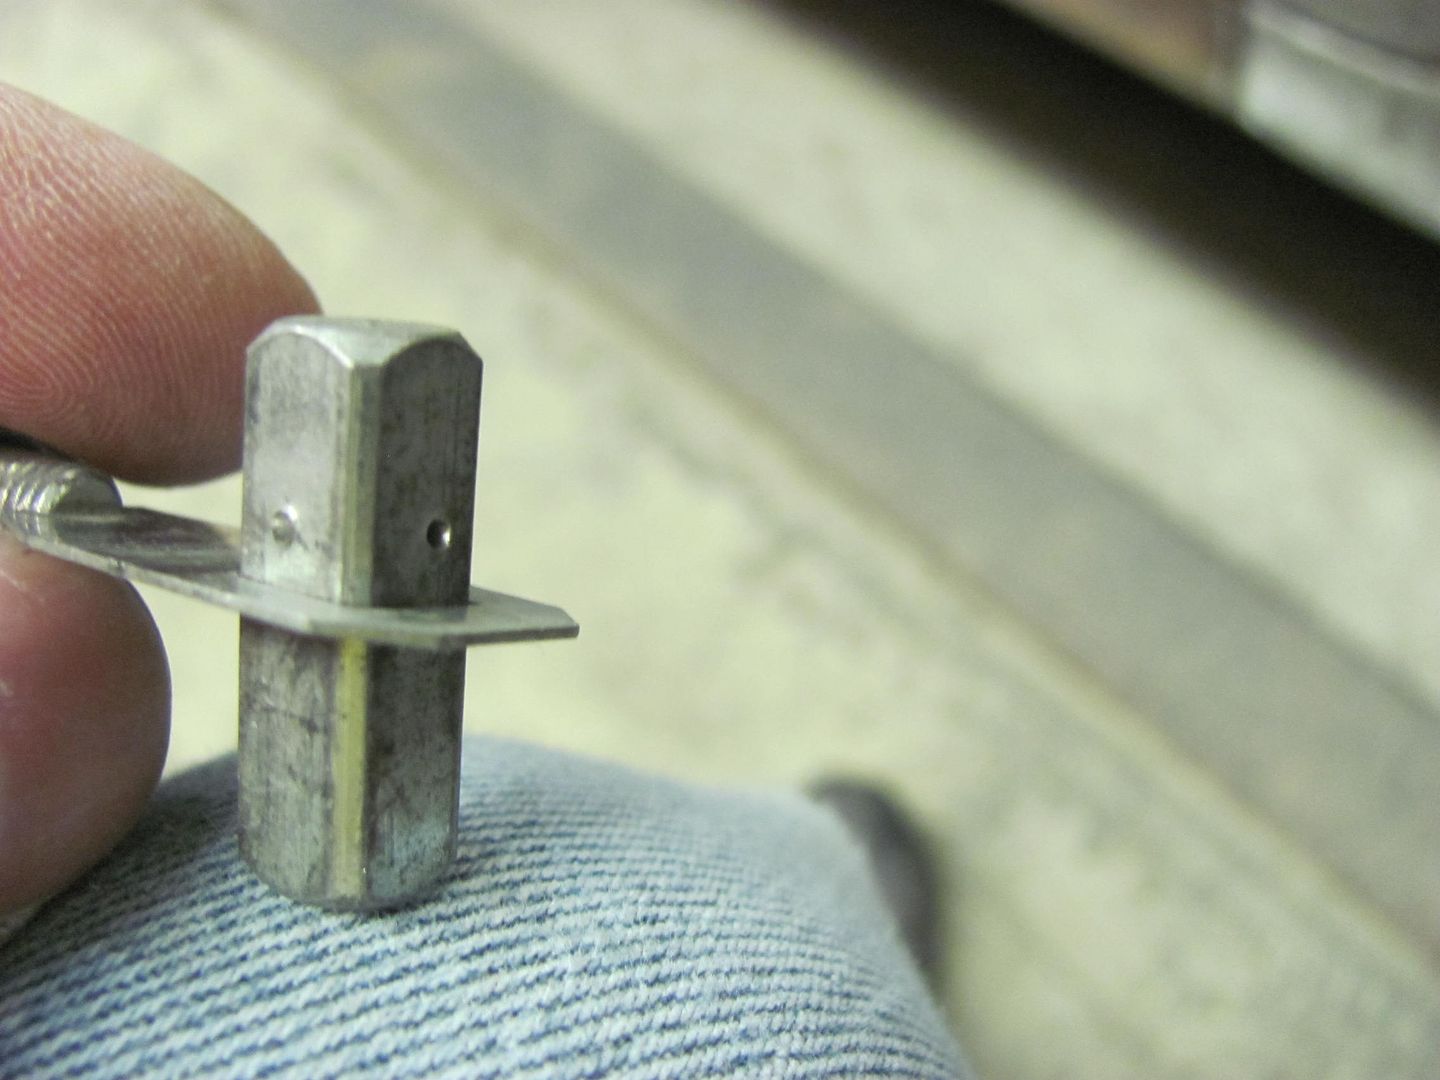
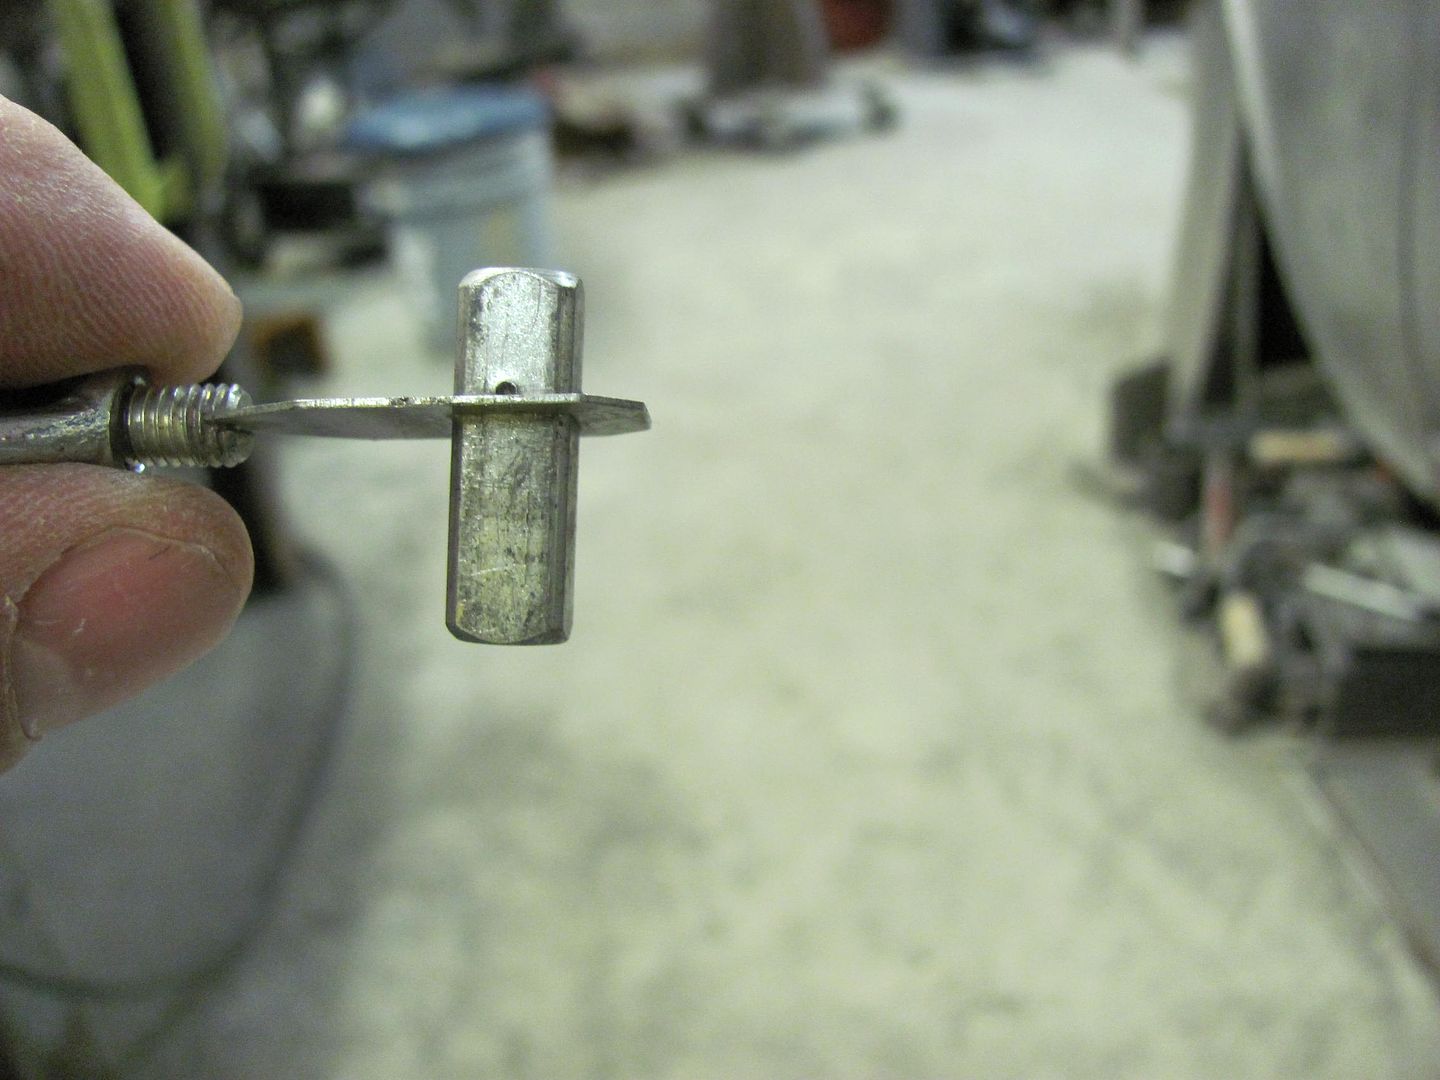
After the slicing was complete, despite the panels coming together slightly, the gap was slightly wider than the first time welded. The butt weld clamps did not work all that well in keeping the panels where they needed to be, and after about the third time of the square peg falling out of the hole, I made a slight modification to better keep the peg from falling out. About one third the way down, the peg was punched on all four sides to keep from falling out.
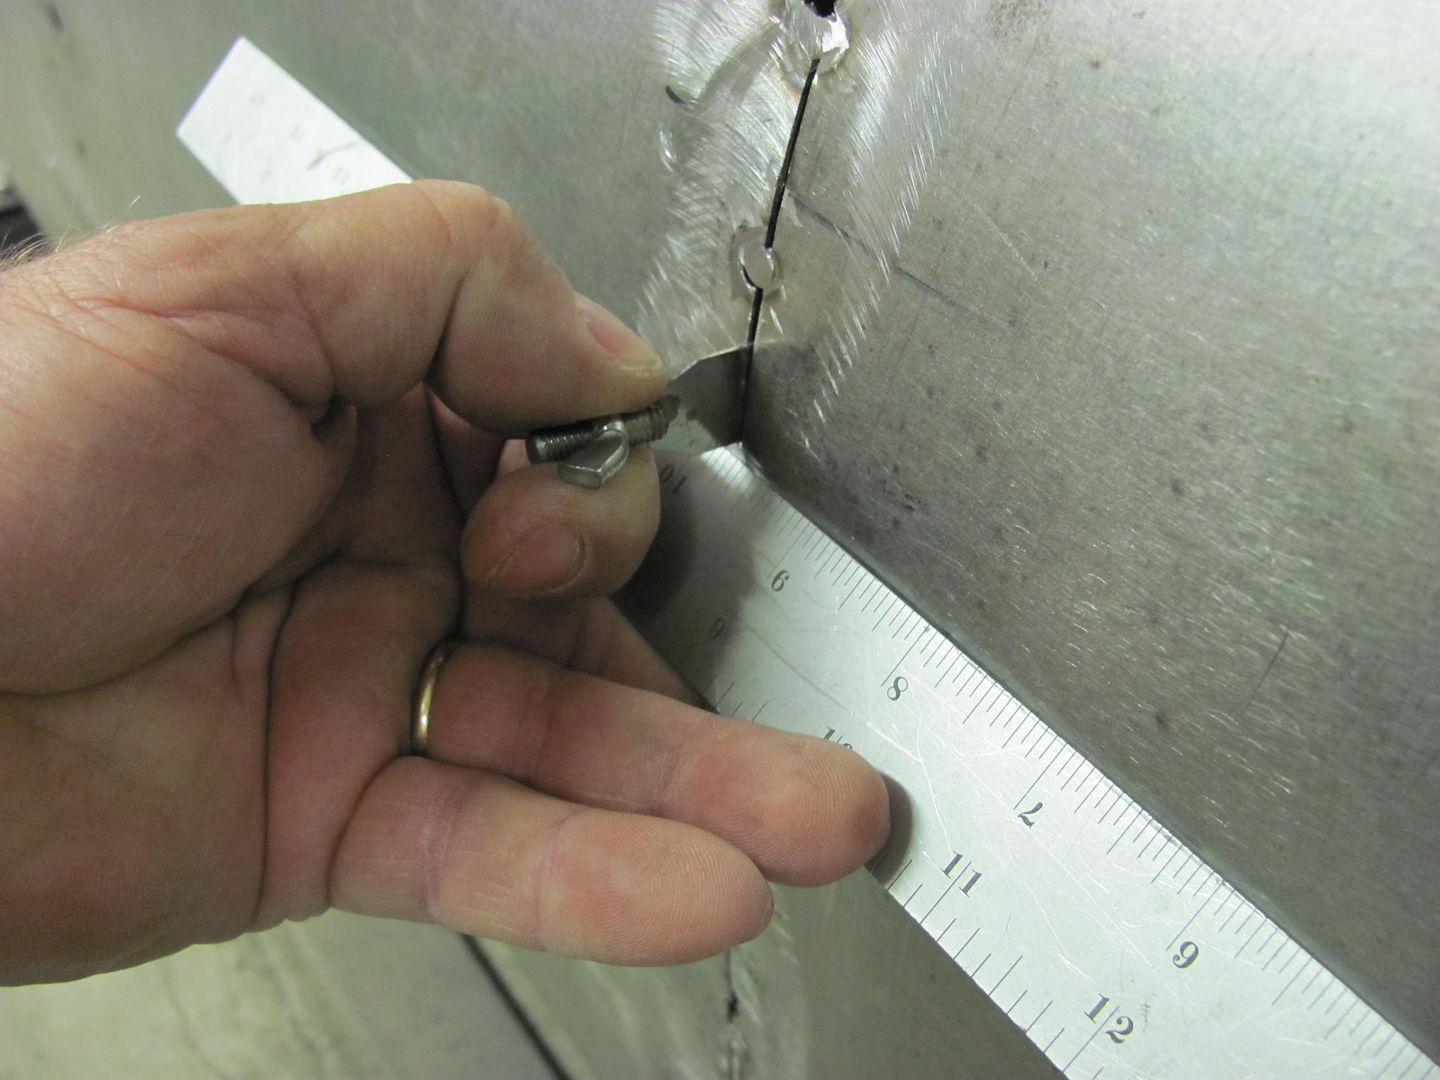
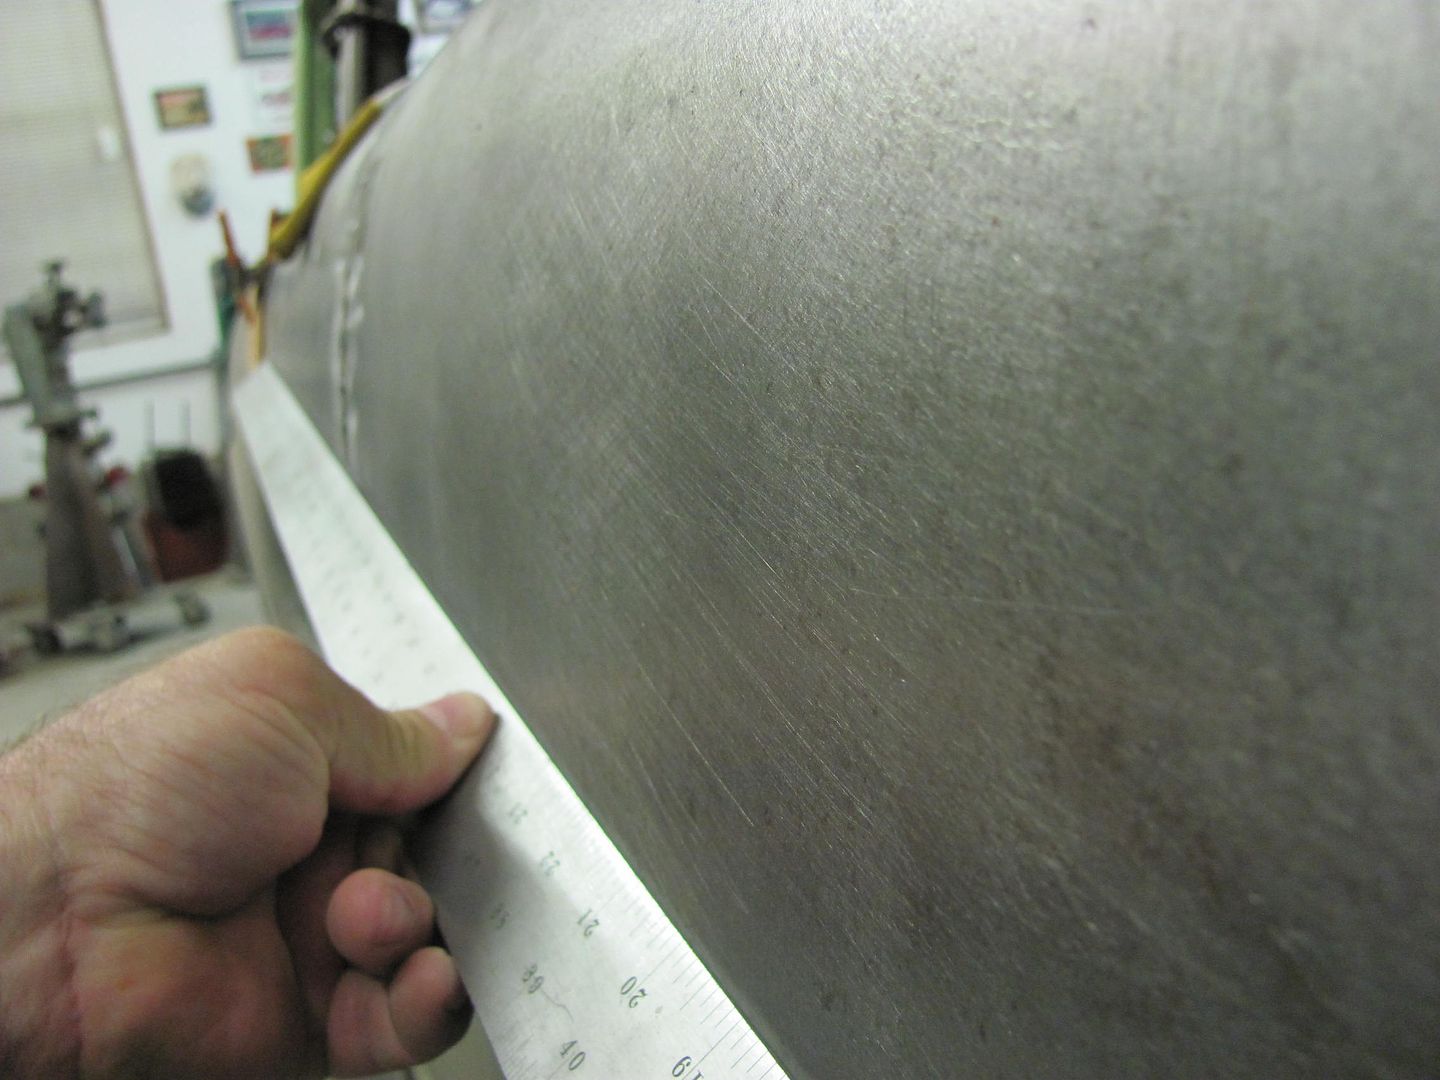
Although I didn't get pictures of this part, the modified clamp worked especially well in gapping the horizontal weld joint to better fit the profile template for the crown of the panel. Basically with the peg no longer falling out, the portion of the butt weld clamp shown above was used to pull out on the panel until it filled the profile template, then the panels were tacked at that point. Move another couple inches, repeat. This got the vertical crown back where it should be. This was process was repeated for the vertical weld to correct the horizontal crown along the length of the quarter, checking across the vertical seam with the 60" rule. This picture was taken afterwards with the smaller rule so I could hold all the components and the camera, but gives an idea how the "partial clamp" was used to get the panel's crown correct.
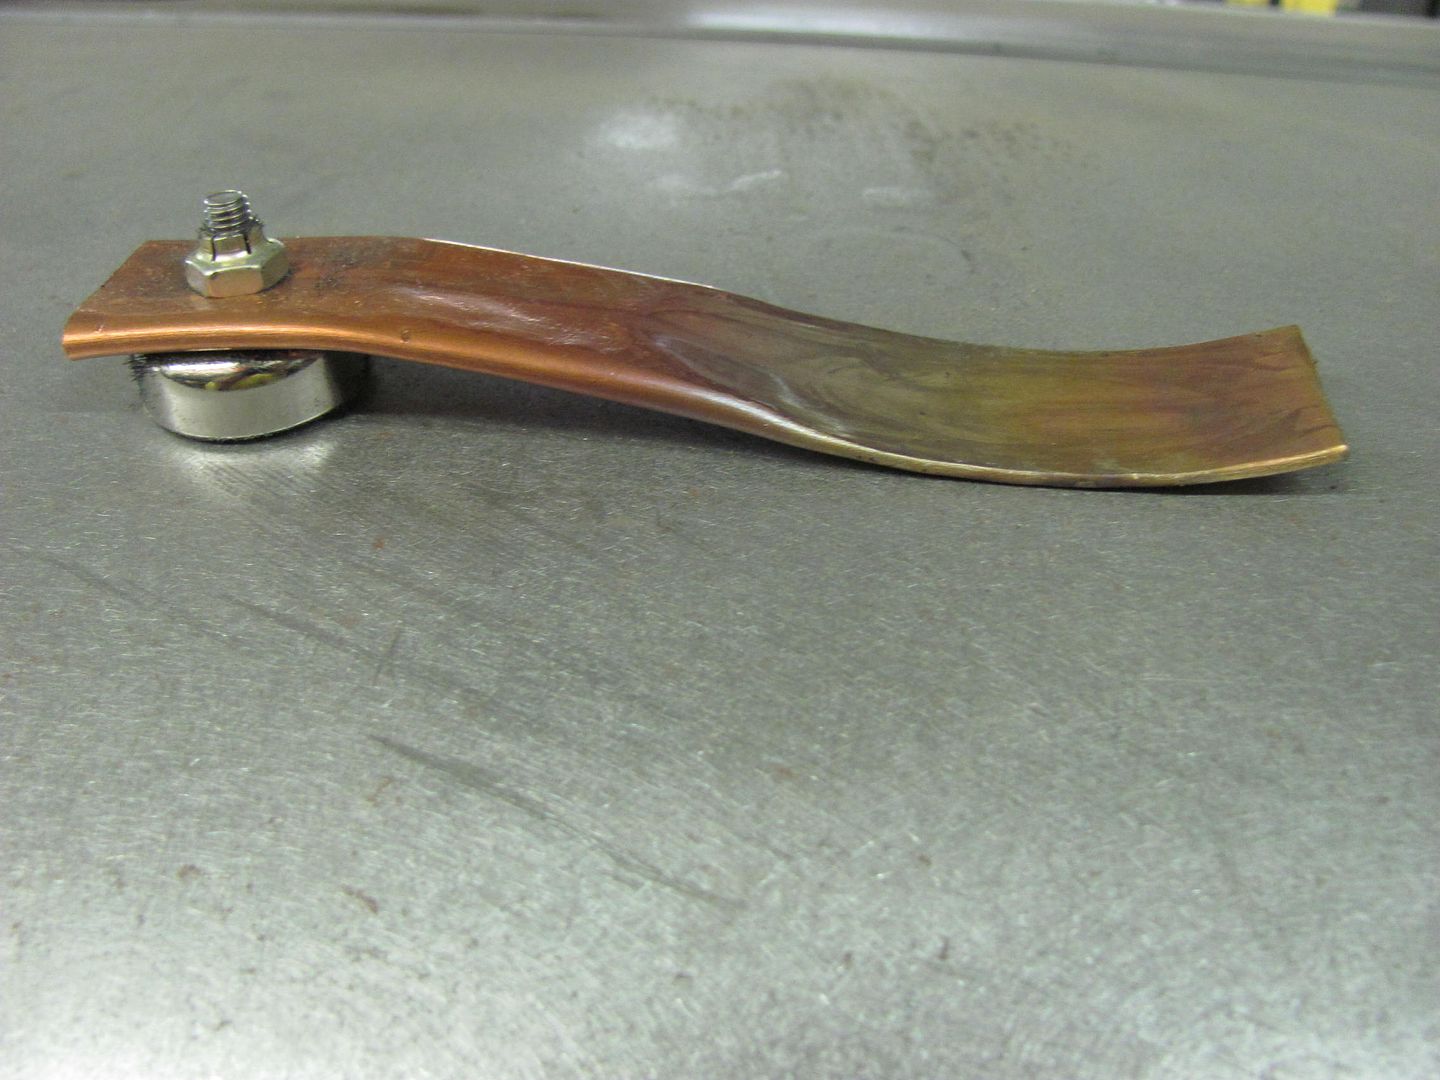
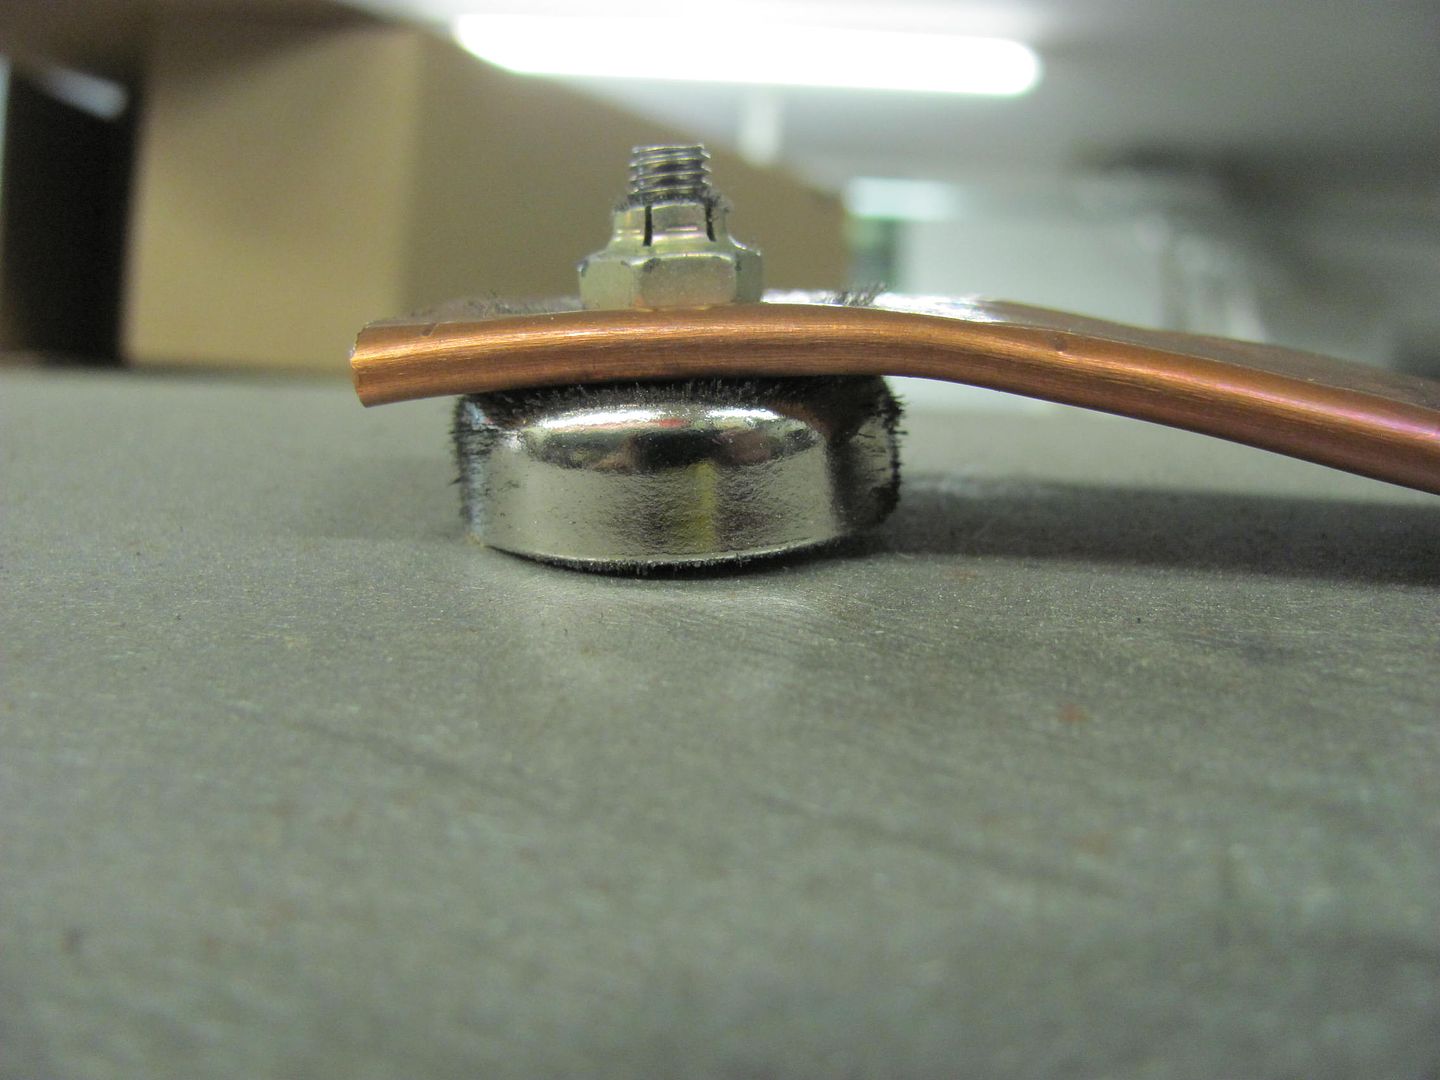
I don't typically used gaps in welding panels, was kinda forced into this to get the crown corrected, so I needed to make a copper backing tool. I had some rare earth magnets so I used one along with some flattened copper pipe. Note the magnet is ever so slightly raised to insure the copper is pulled good and snug to the panel..
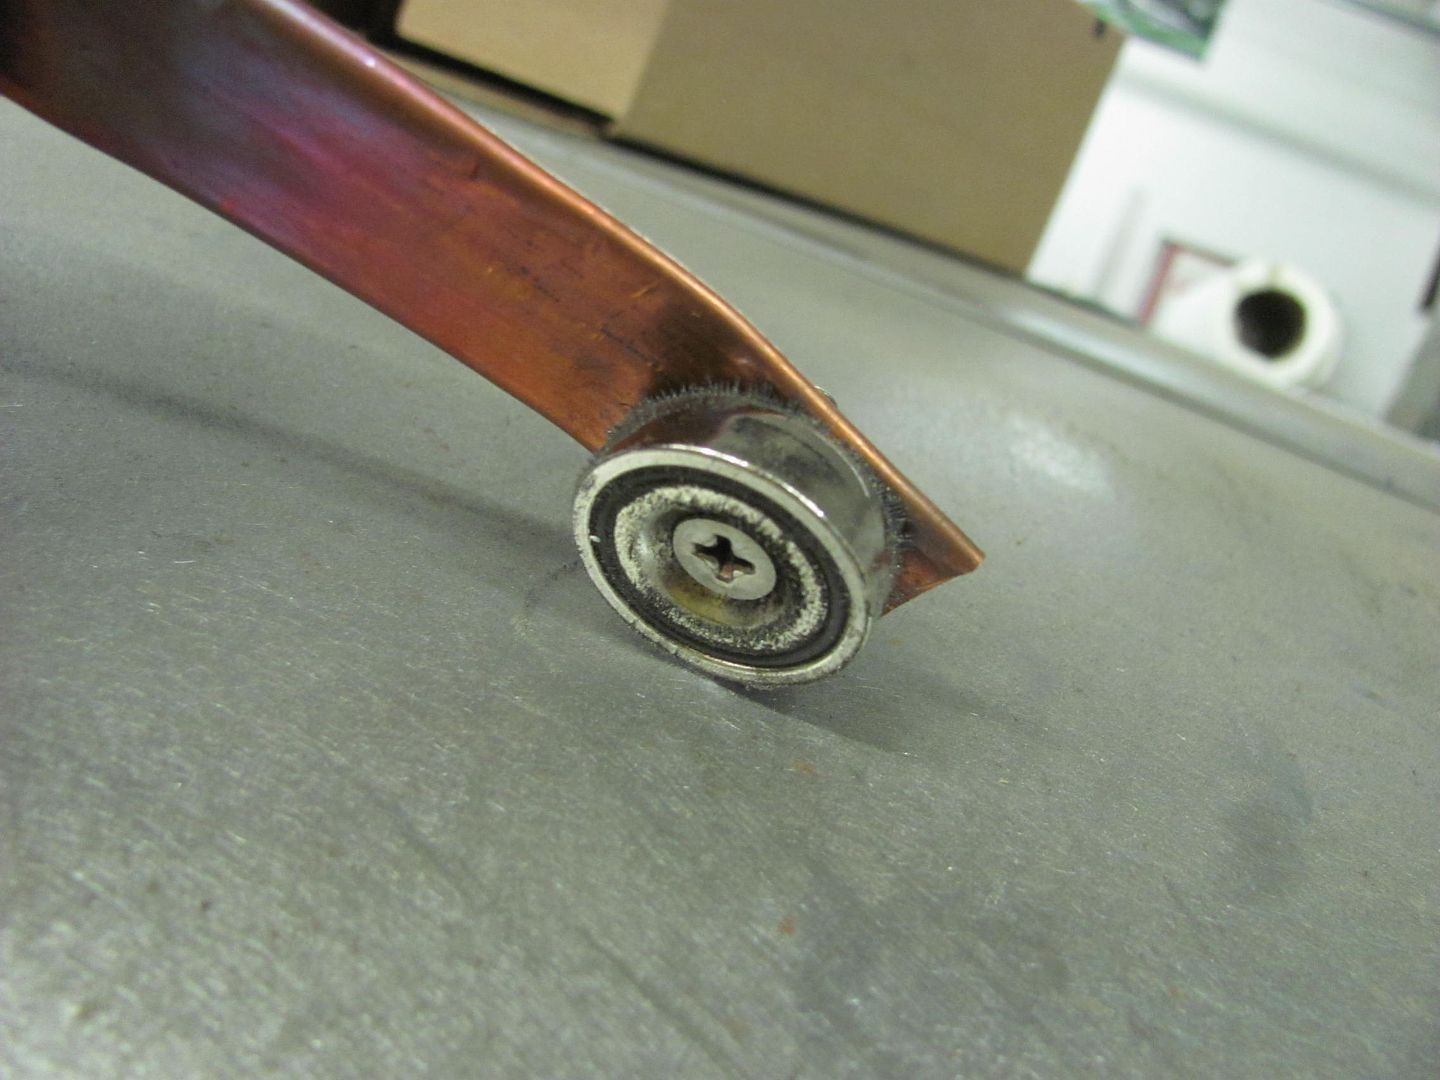
Each use will tend to leave the copper soot covered, so I used a welding brush to clean the copper between each weld.
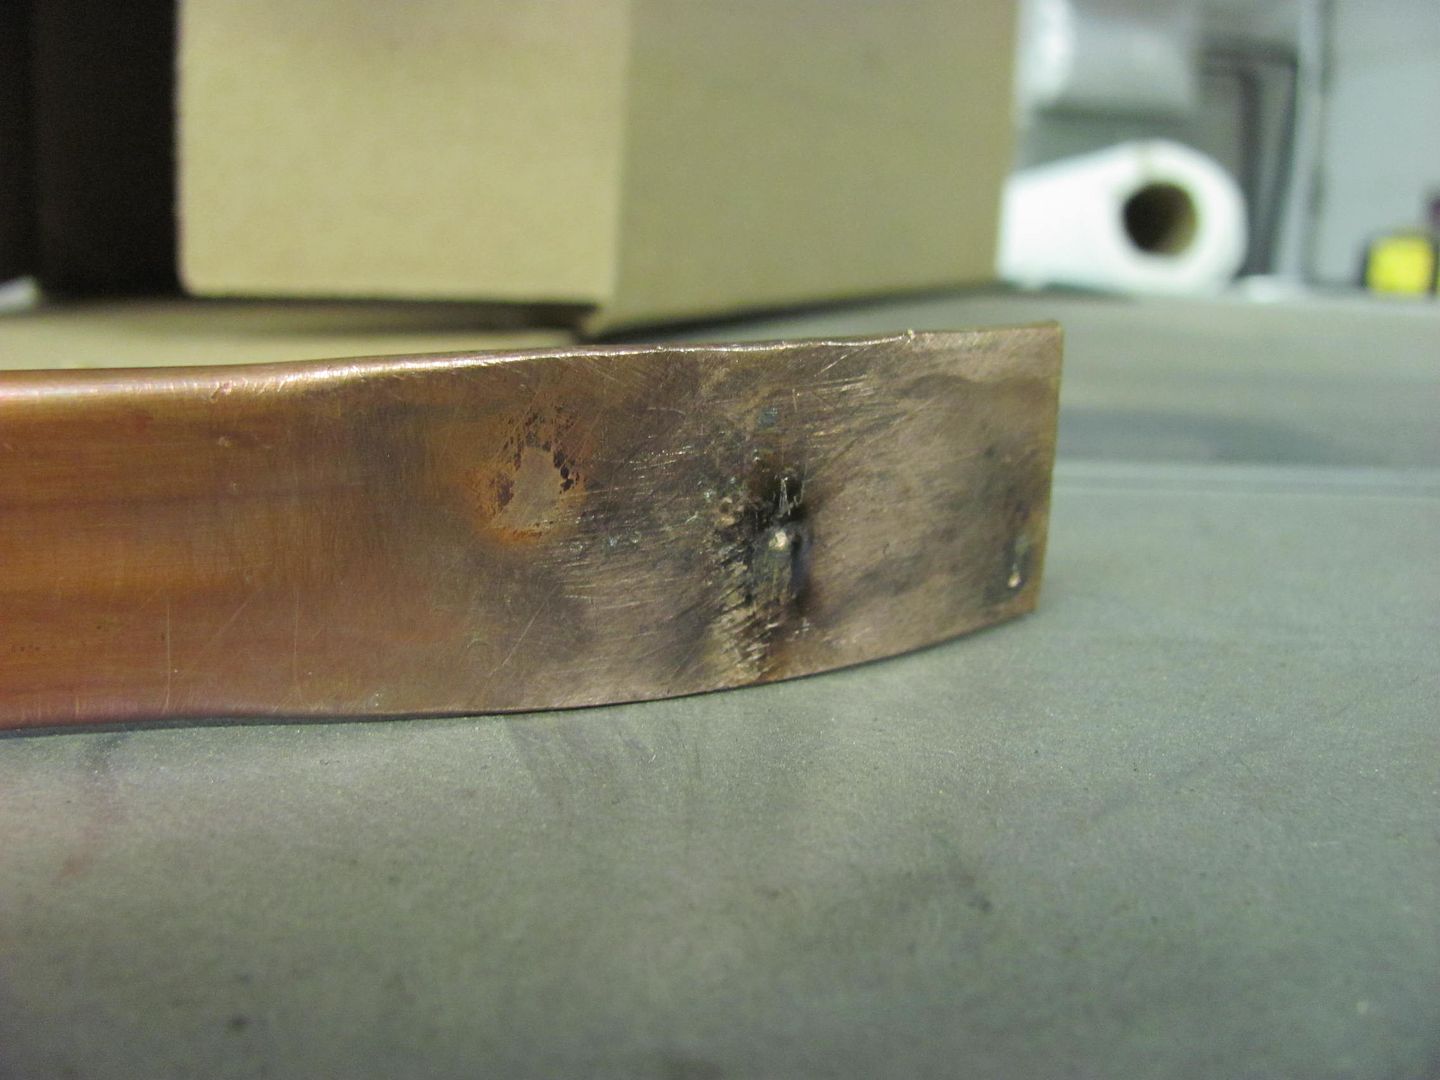
Welds all complete, just a few left to planish and dress, then some panel bumping and we should have one more thing crossed off the list..
Robert
-
Advertising

- Google Adsense
- REGISTERED USERS DO NOT SEE THIS AD
-
06-09-2014 04:38 AM #227
CHR Member/Contributor
- Join Date
- Sep 2007
- Location
- Gardner, KS
- Car Year, Make, Model: '33 HiBoy Coupe, '32 HiBoy Roadster
- Posts
- 11,245
Now that's Master Metalcrafting! I'd say 99/100 would have hit that panel with a skim coat of filler, sanded it smooth and shot it with Hi-Build primer.Roger
Enjoy the little things in life, and you may look back one day and realize that they were really the BIG things.
-
06-09-2014 04:55 AM #228
CHR Member
- Join Date
- May 2014
- Location
- Lafayette
- Car Year, Make, Model: 35 Ford, 67 Jeep Gladiator
- Posts
- 258
Thanks for taking the time to answer! Originally Posted by MP&C

The truth is incontrovertible. Malice may attack it, ignorance may deride it, but in the end, there it is.
Winston Churchill
-
06-09-2014 05:02 AM #229
CHR Member
- Join Date
- May 2014
- Location
- Lafayette
- Car Year, Make, Model: 35 Ford, 67 Jeep Gladiator
- Posts
- 258
I use to wonder what all the differences were between a $20K car and a $150K car. After years of building things I know I still lack the integrity, I would have filled and moved on. One day perhaps I will get myself to find that zone consistently. Great post! It has been like reading an advanced Auto-body text book, only with more information.The truth is incontrovertible. Malice may attack it, ignorance may deride it, but in the end, there it is.
Winston Churchill
-
06-09-2014 05:46 AM #230
CHR Member
- Join Date
- Jan 2006
- Location
- Constantine
- Car Year, Make, Model: 57 chevy 2 dr wagon
- Posts
- 9,476
I like the magnet on the copper that's a GREAT idea. I wind up proping something on the inside or get someone to hold it Again great idea ThanksCharlie
Lovin' what I do and doing what I love
Some guys can fix broken NO ONE can fix STUPID
W8AMR
http://fishertrains94.webs.com/
Christian in training
-
06-09-2014 09:03 AM #231
CHR Member
- Join Date
- Oct 2007
- Location
- Petaluma
- Car Year, Make, Model: 48 Ford F1
- Posts
- 9,795
Very nice work sir!" "No matter where you go, there you are!" Steve.
-
06-13-2014 04:23 AM #232
CHR Member
- Join Date
- Jun 2008
- Location
- Leonardtown
- Car Year, Make, Model: Walking
- Posts
- 1,228
Thanks for the comments guys. Charlie, that was a rare earth magnet, super strong. I'm sure one made for a cabinet door at the local hardware store would work equally as well.
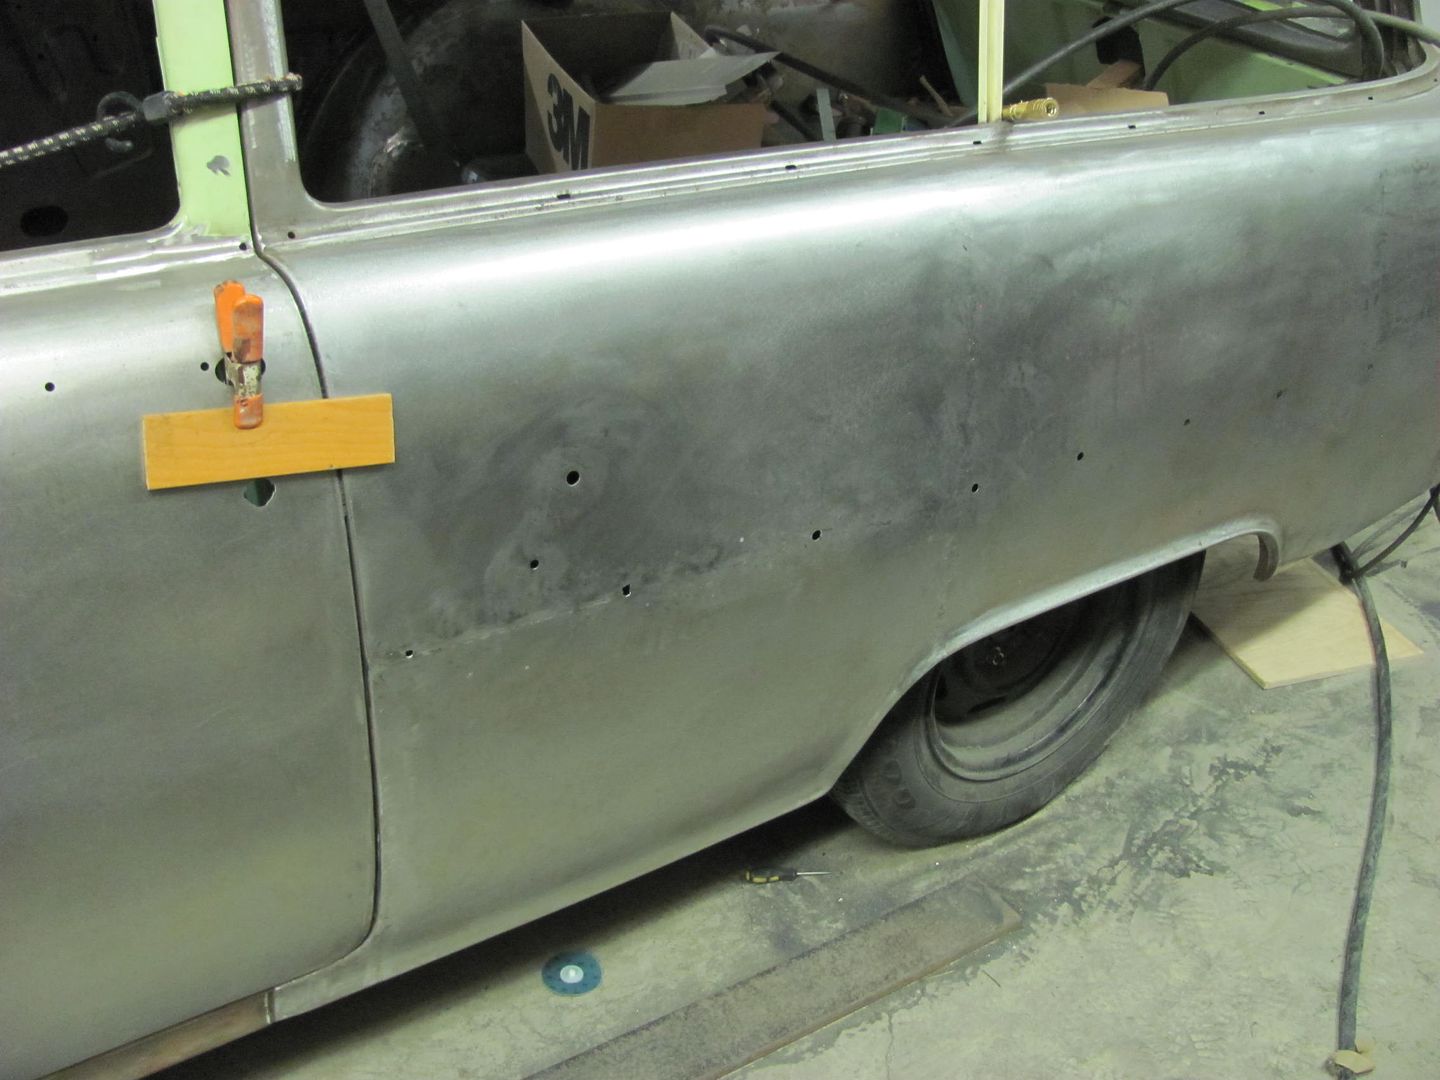
Back to some finish work on the driver's quarter, we do have a few low spots to address.
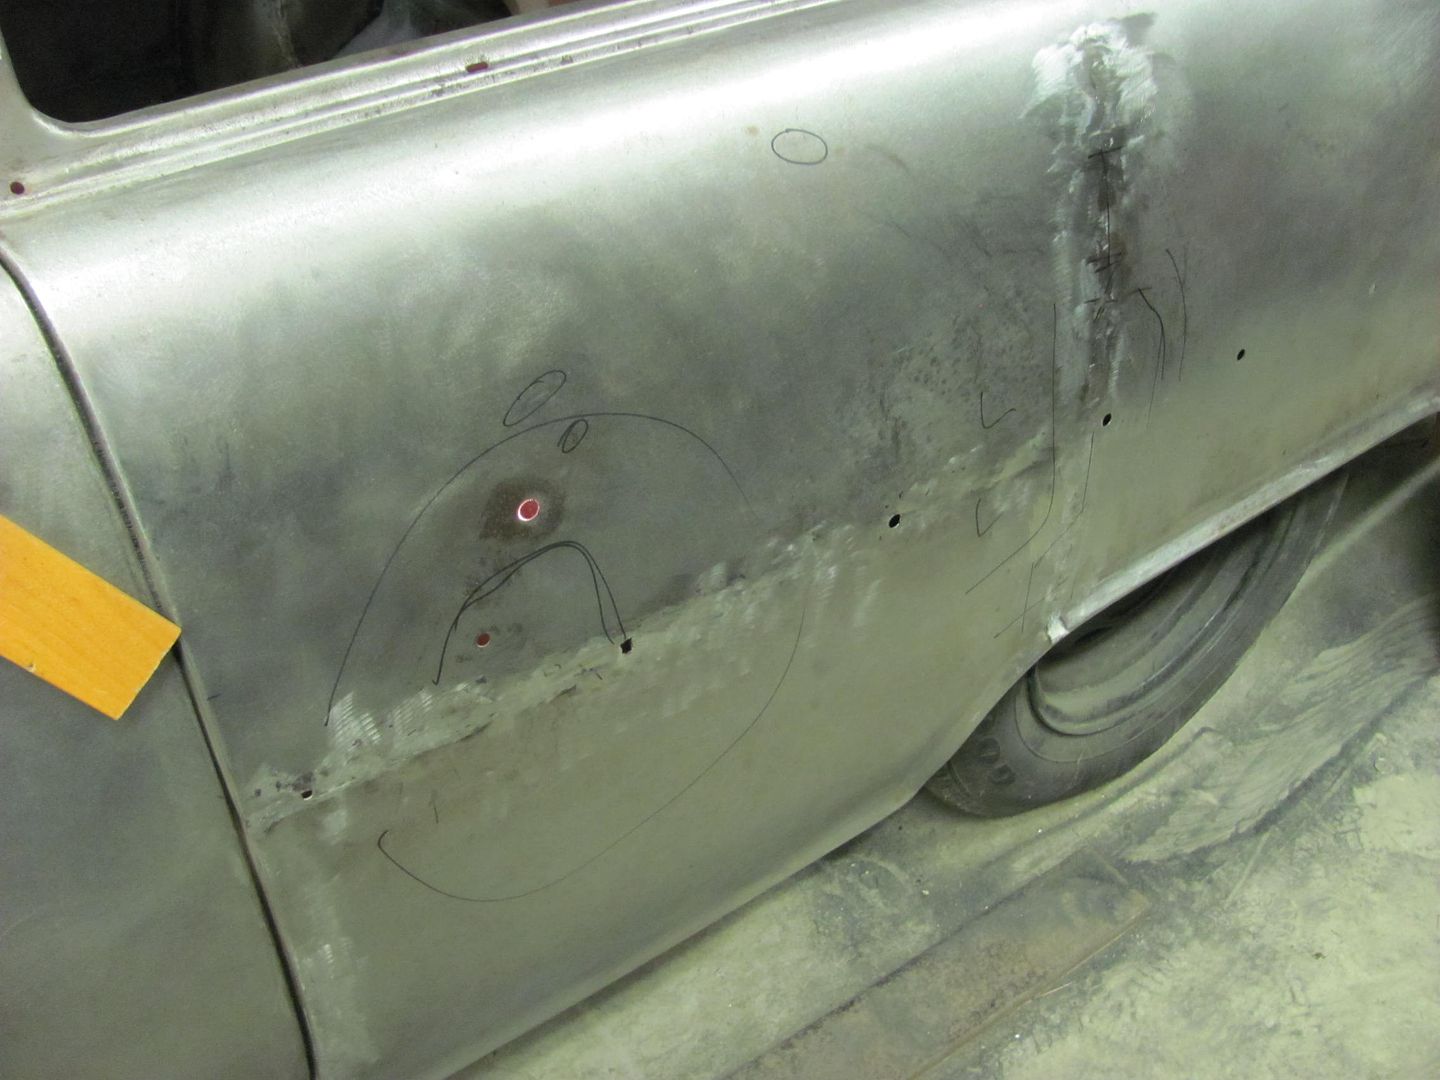
Where the wheelwell and rearward offers quite spacious accommodation for hammer work within the quarter, the window area forward of the rear wheel does not fall in the same category. So as much as it pains me, one of the Snap On body hammers was given a top chop..
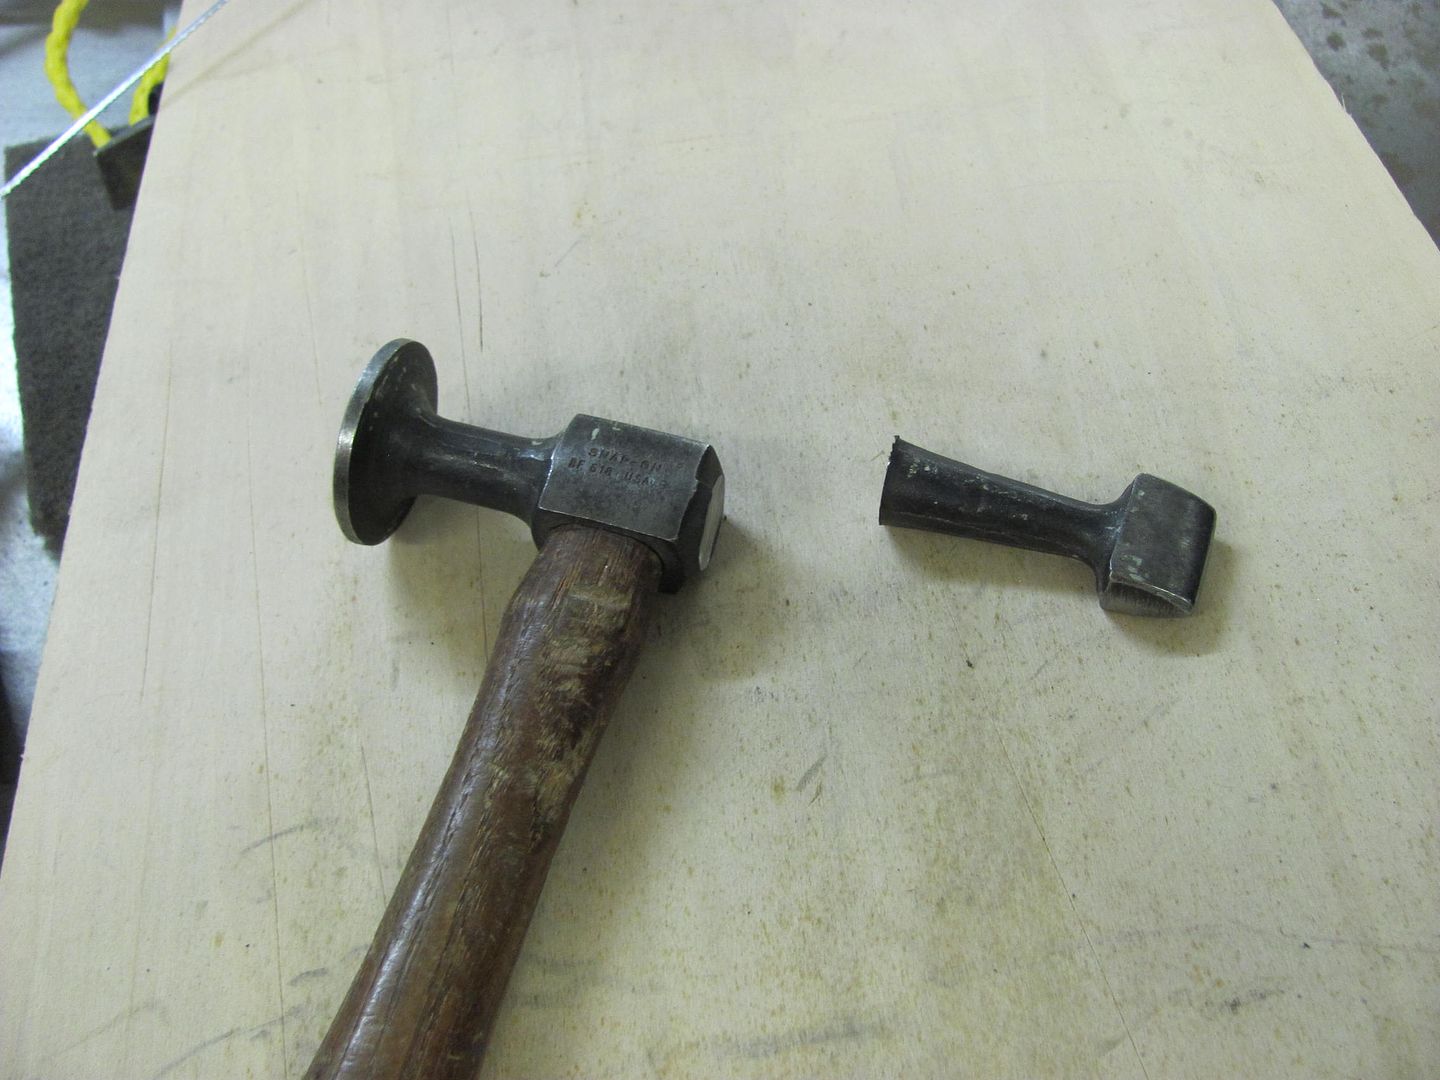
Yeah, this will do the trick...
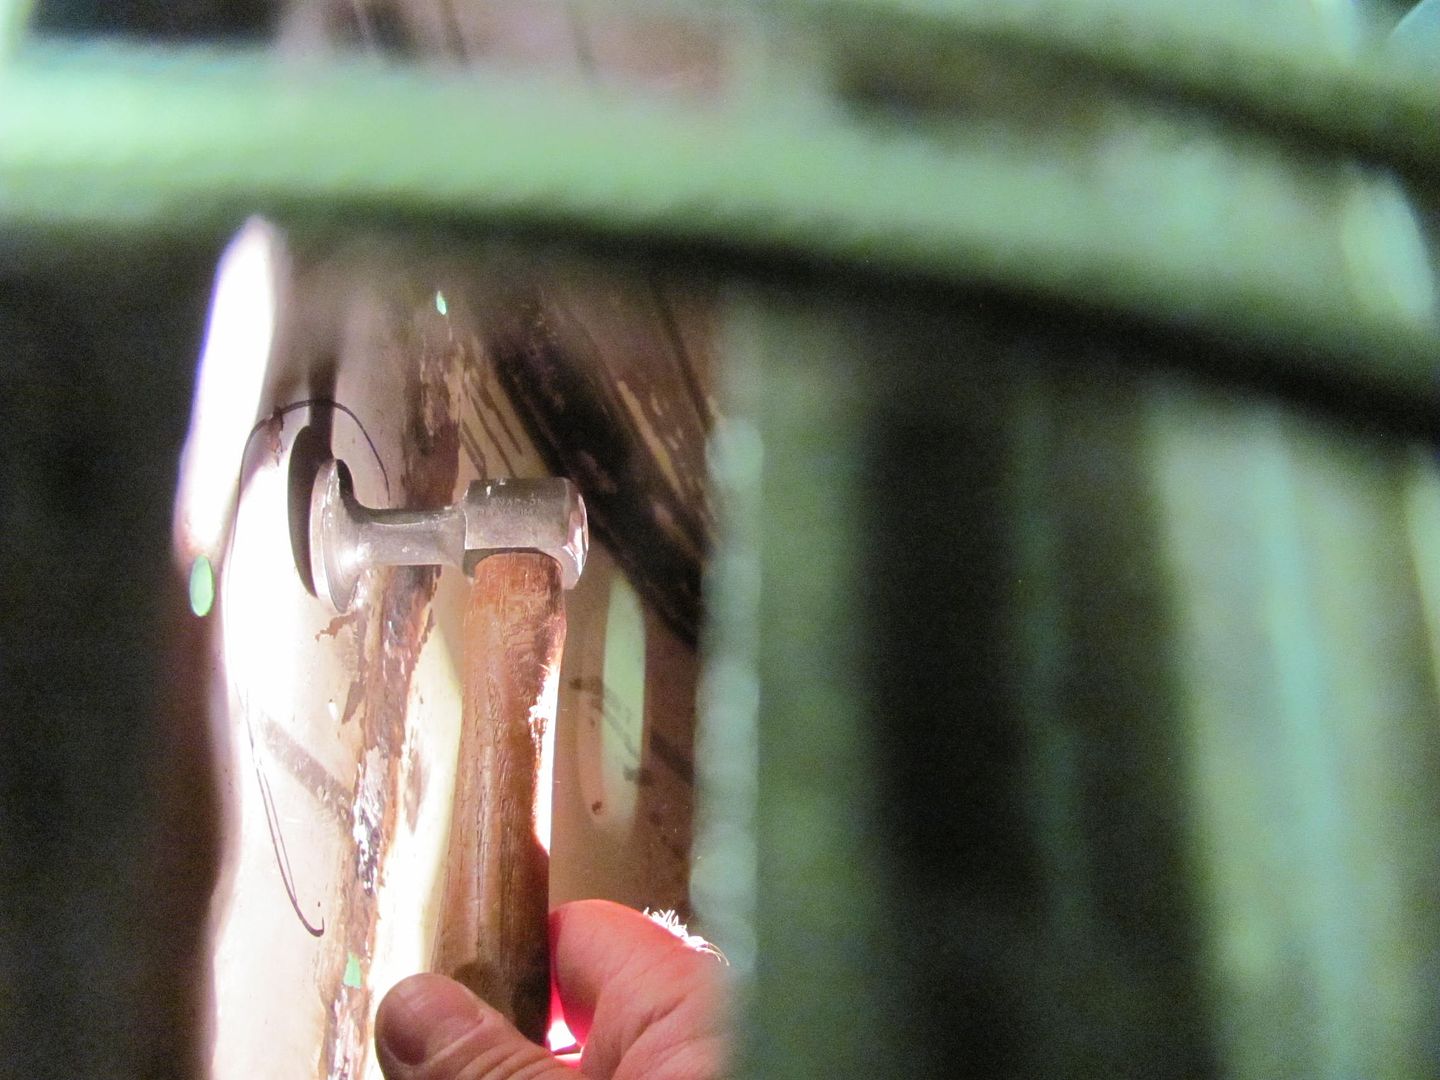
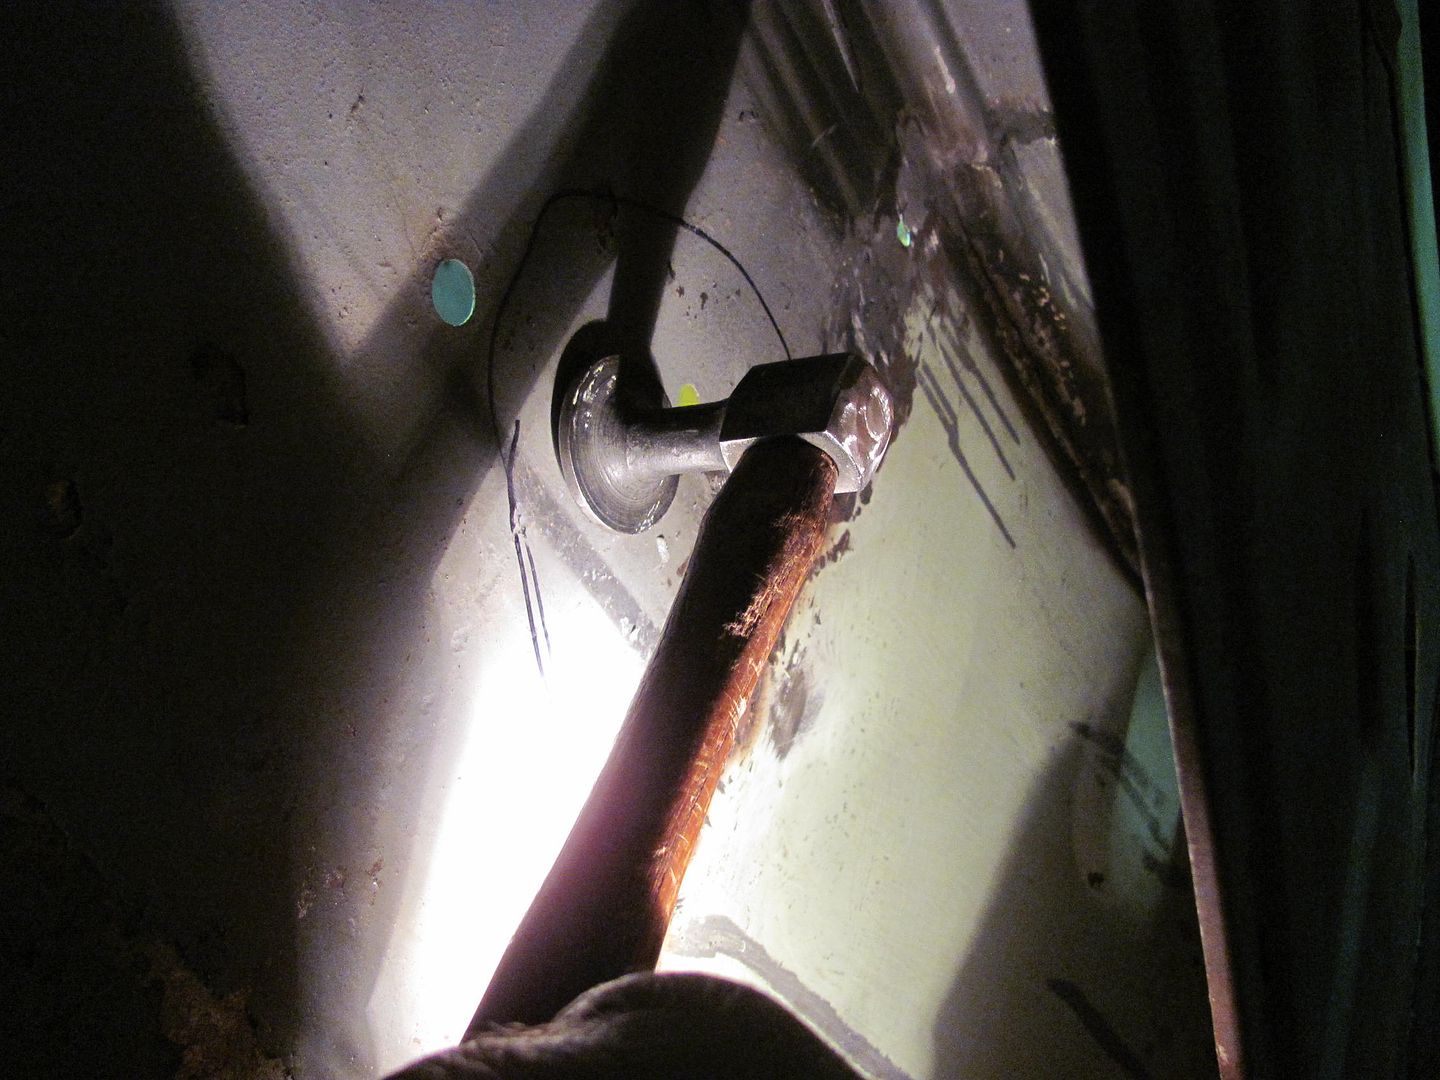
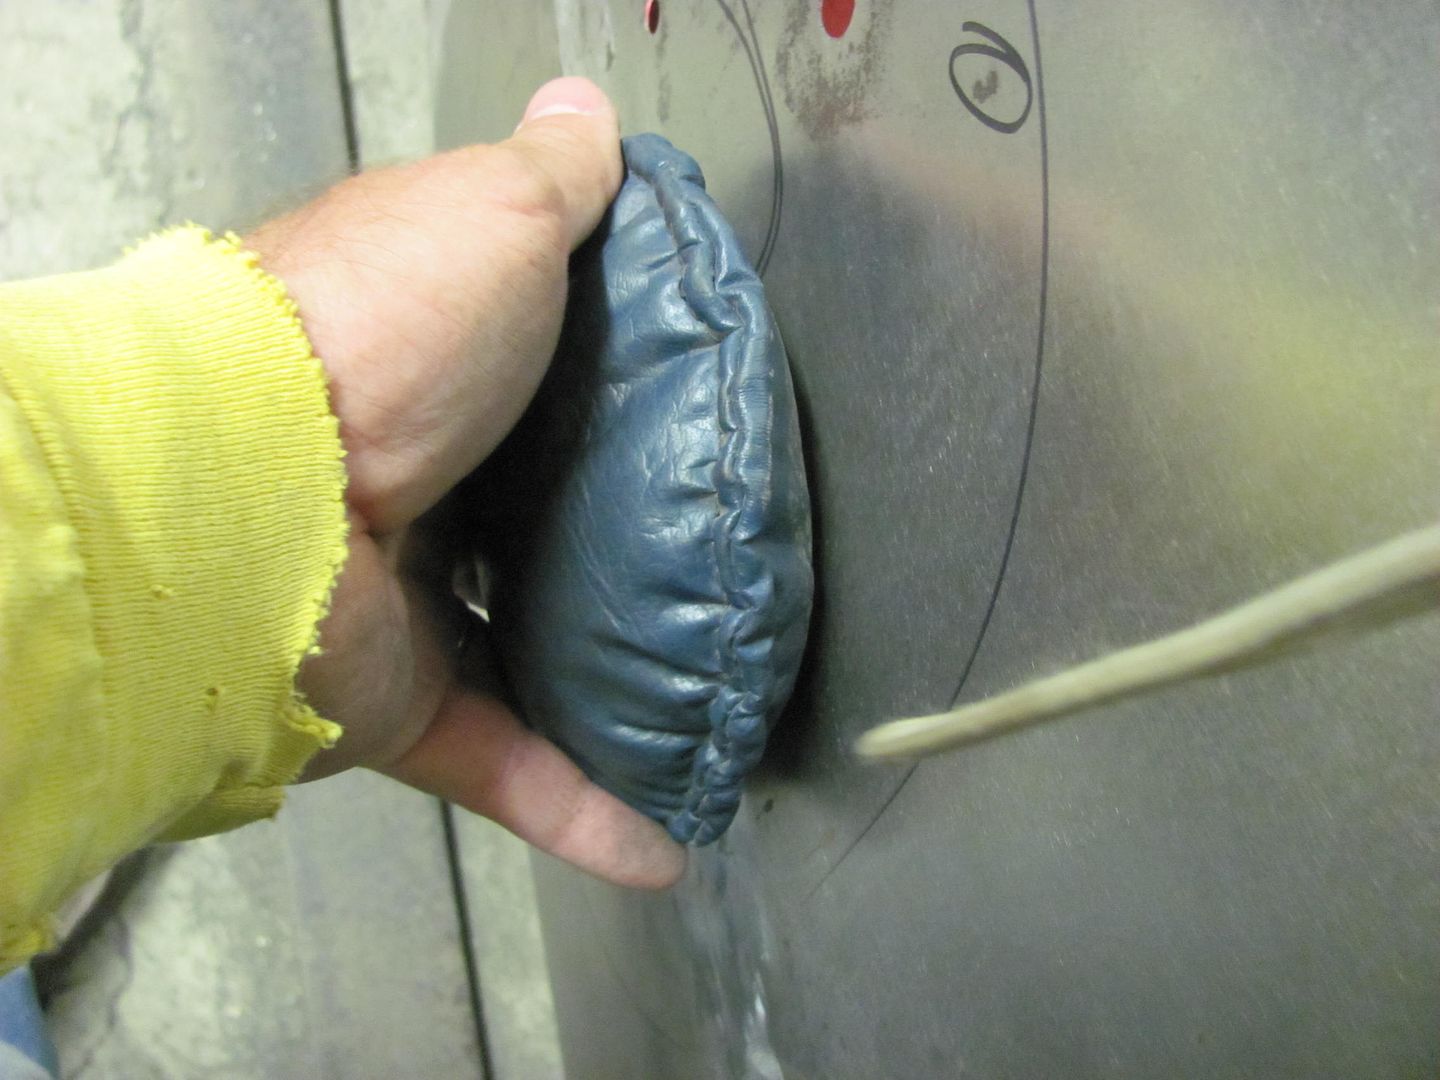
For a dolly on the outside, the small shot bag is used to promote small, controllable stretches.
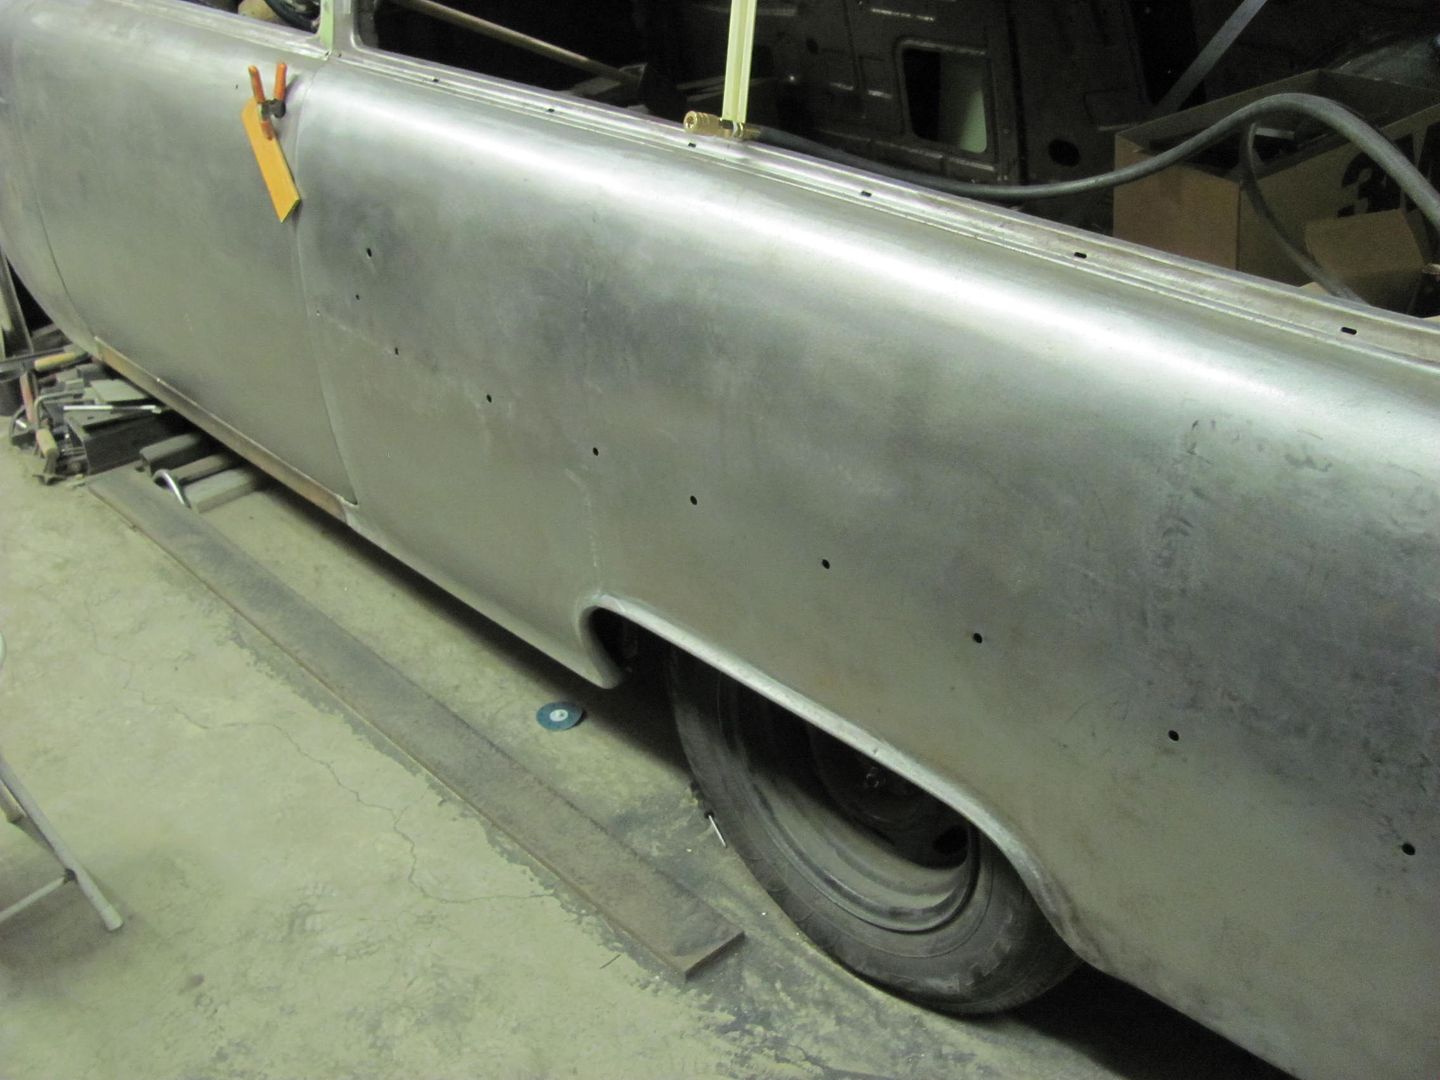
After the hammer work, placing the rule at a slight angle across the seam to use as a profile gauge, the area is much better than before.
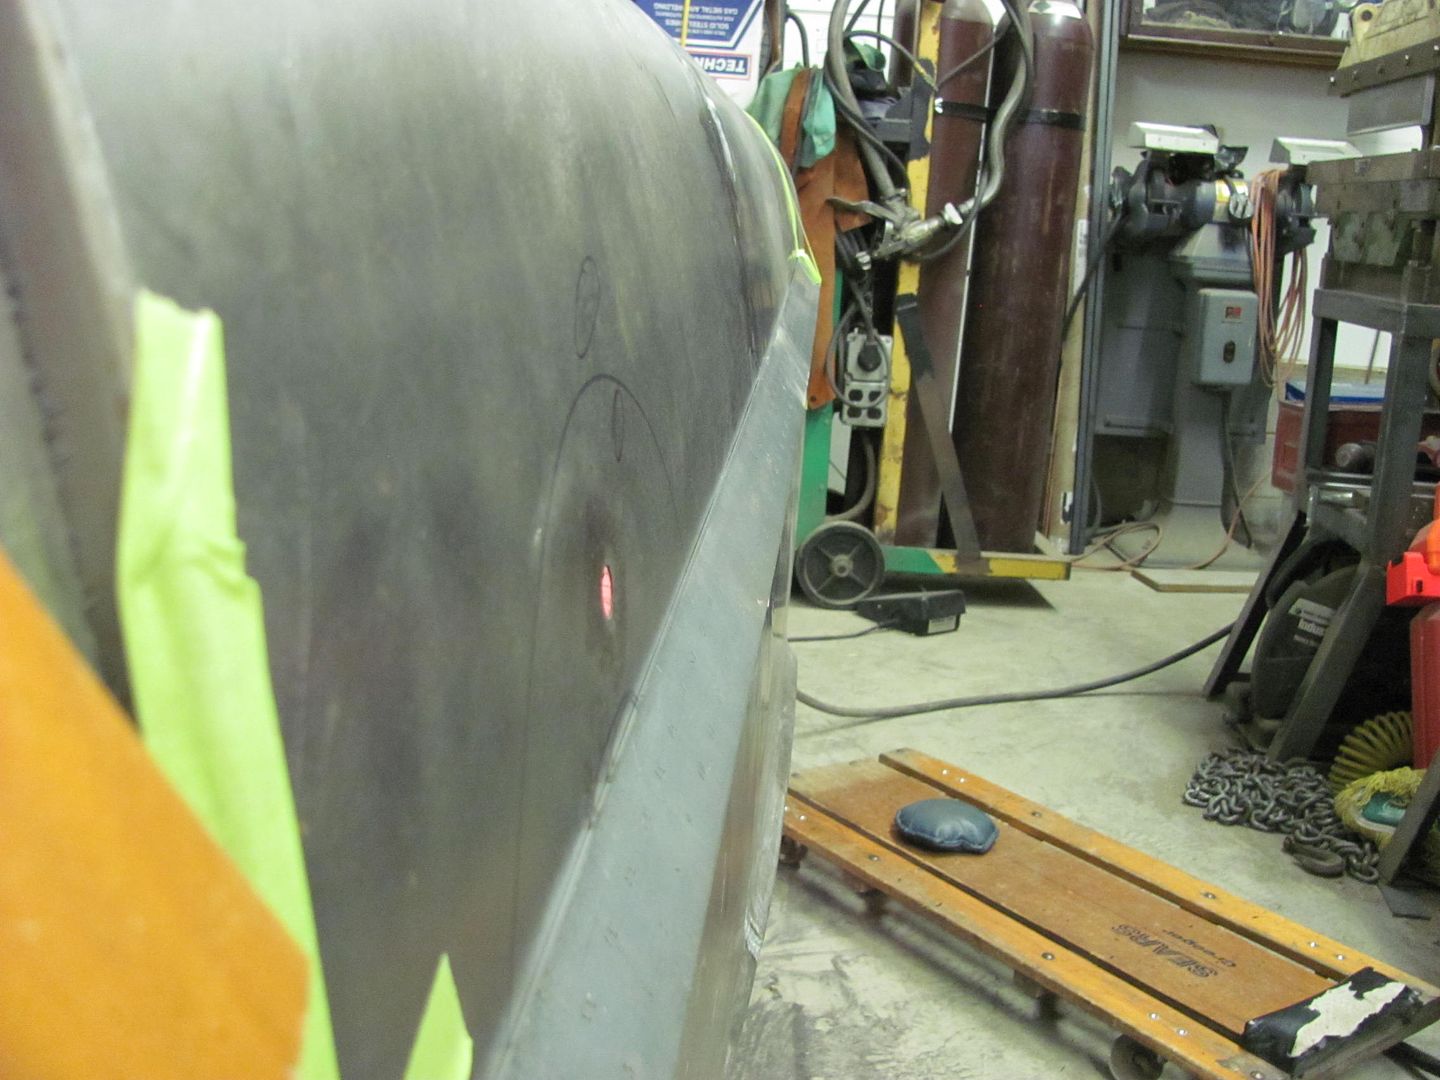
This should hold this spot until paint. For now, another item checked off the list...
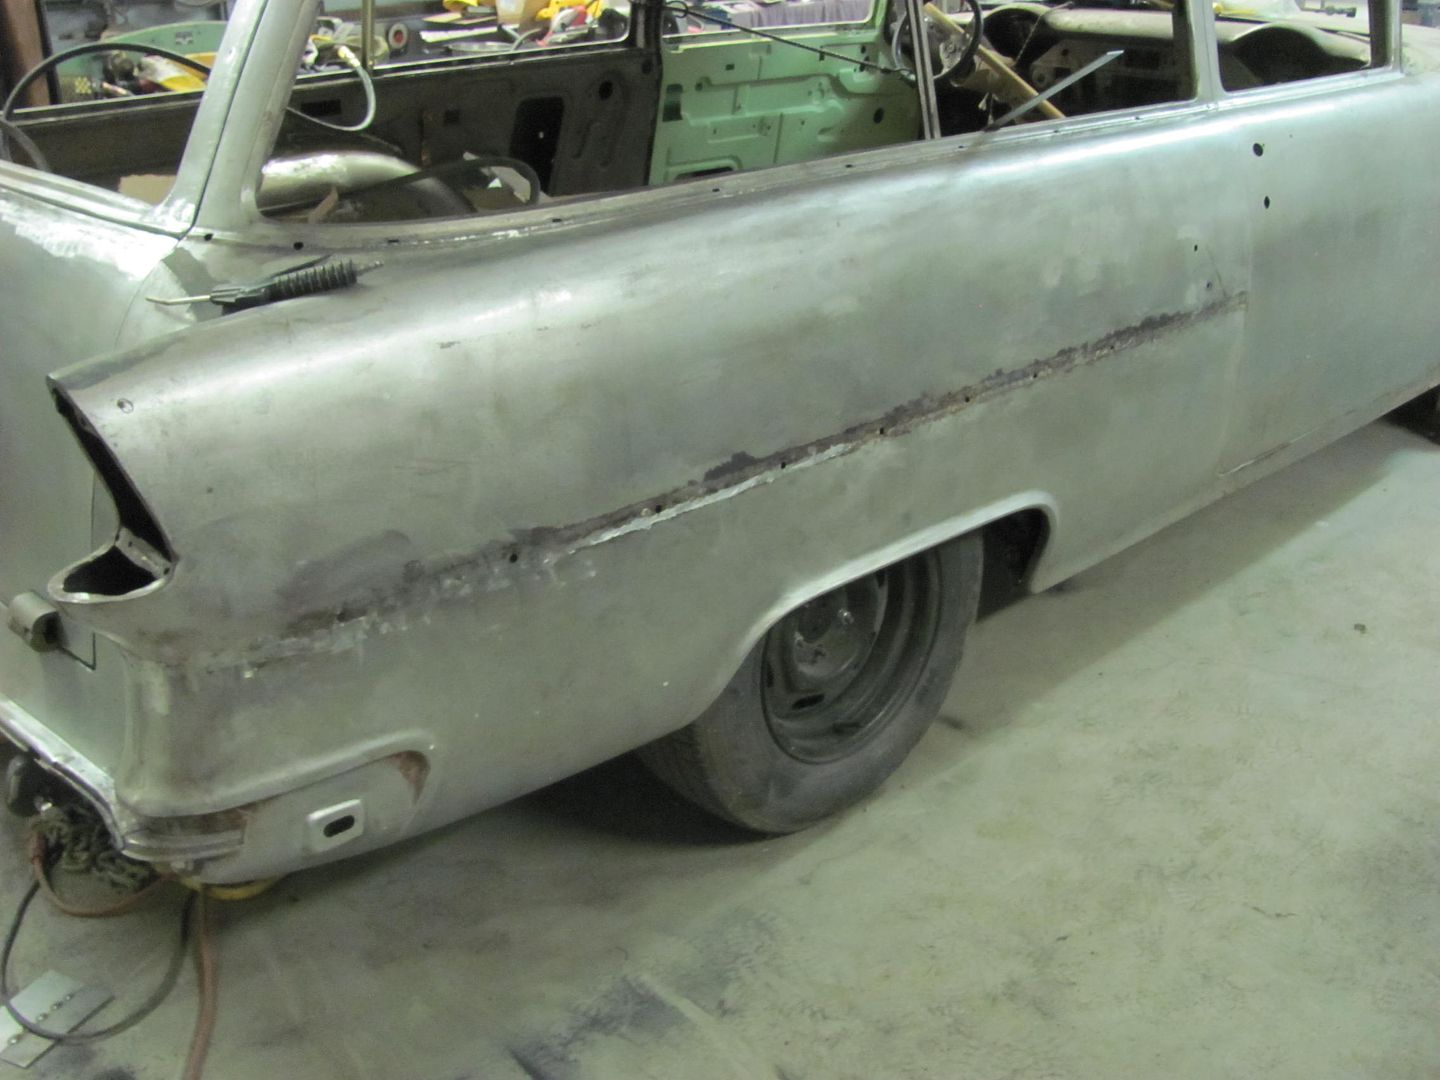
Moving to the other side, got about half of the quarter's weld seam ground flush on the outside, more to come.
Robert
-
06-13-2014 05:01 AM #233
CHR Member
- Join Date
- May 2014
- Location
- Lafayette
- Car Year, Make, Model: 35 Ford, 67 Jeep Gladiator
- Posts
- 258
Thanks for adding to your day's work all the detailed photos and posts.The truth is incontrovertible. Malice may attack it, ignorance may deride it, but in the end, there it is.
Winston Churchill
-
06-13-2014 01:12 PM #234
CHR Member
- Join Date
- Apr 2011
- Location
- Prairie City
- Car Year, Make, Model: 40 Ford Deluxe, 68 Corvette, 72&76 K30
- Posts
- 7,301
- Blog Entries
- 1
More great work sir! You make it look easy!Ryan
1940 Ford Deluxe Tudor 354 Hemi 46RH Electric Blue w/multi-color flames, Ford 9" Residing in multiple pieces
1968 Corvette Coupe 5.9 Cummins Drag Car 11.43@130mph No stall leaving the line with 1250 rpm's and poor 2.2 60'
1972 Chevy K30 Longhorn P-pumped 24v Compound Turbos 47RH Just another money pit
1971 Camaro RS 5.3 BTR Stage 3 cam, SuperT10
Tire Sizes
-
06-13-2014 06:05 PM #235
CHR Member
- Join Date
- Sep 2007
- Location
- New Bedford
- Car Year, Make, Model: 34 Ford 3W Coupe Replica
- Posts
- 14,754
Thank You Robert. It is appreciated!
-
06-14-2014 04:04 AM #236
CHR Member
- Join Date
- Sep 2005
- Location
- Hamilton
- Car Year, Make, Model: 69 nomad, 73 charger, 74 vega
- Posts
- 3,900
Ya might consider having some harbor freight hammers for future specialty tools, I know cutting on that snap-on hurt you almost as much as it hurt the hammer!.
Education is expensive. Keep that in mind, and you'll never be terribly upset when a project goes awry.
EG
-
06-14-2014 07:29 AM #237
CHR Member
- Join Date
- Feb 2008
- Location
- Caldwell
- Car Year, Make, Model: 34 ford 3 window/461 pontiac
- Posts
- 918
Just a guess here but I think the words harbor freight are not heard in Roberts' shop.


Jack.www.clubhotrod.com/forums/showthread.php?t=44081
-
06-14-2014 10:59 AM #238
CHR Member
- Join Date
- Jun 2008
- Location
- Leonardtown
- Car Year, Make, Model: Walking
- Posts
- 1,228
Nothing that I've bought...
Robert
-
06-14-2014 02:41 PM #239
CHR Member
- Join Date
- Jan 2006
- Location
- Constantine
- Car Year, Make, Model: 57 chevy 2 dr wagon
- Posts
- 9,476
Everyone has a drawer where they keep there "special tools"Charlie
Lovin' what I do and doing what I love
Some guys can fix broken NO ONE can fix STUPID
W8AMR
http://fishertrains94.webs.com/
Christian in training
-
06-15-2014 11:17 AM #240
CHR Member
- Join Date
- Oct 2007
- Location
- Petaluma
- Car Year, Make, Model: 48 Ford F1
- Posts
- 9,795
Yup! Got my retactable antennae magnet in there, and a wierd little snaking flashlight" "No matter where you go, there you are!" Steve.
 Reply With Quote

Posting Permissions
- You may not post new threads
- You may not post replies
- You may not post attachments
- You may not edit your posts

i've enjoyed the years here . made a lot of friends. most who have left. i see no reason to continue with this so hope to see you somewhere else. i dont think this site will ever be back. it's lived...
Dead!