Thread: 55 Wagon Progress
-
06-17-2014 06:51 AM #241
Out standing ! Thanks for the education. Fantastic metal smithing !
-
Advertising

- Google Adsense
- REGISTERED USERS DO NOT SEE THIS AD
-
06-17-2014 08:15 AM #242
I really am wondering how that ton of bare steel isn't developing surface rust? Did you treat it with something, or is your shop climate controlled to near zero humidity?.
Education is expensive. Keep that in mind, and you'll never be terribly upset when a project goes awry.
EG
-
06-17-2014 08:25 AM #243
It's got some starting where I've leaned on it, but typically in the summer the AC is on just a couple degrees cooler than outside, enough to keep the humidity under control.....Robert
-
06-17-2014 03:26 PM #244
That makes it more pleasant working too.Charlie
Lovin' what I do and doing what I love
Some guys can fix broken NO ONE can fix STUPID
W8AMR
http://fishertrains94.webs.com/
Christian in training
-
06-19-2014 06:50 AM #245
Yes, much!
Doesn't look like much progress but got more grinding done on the quarter panel seams, a little over 6' of weld length done. Here's where the stainless rated cutoff wheels work so well. When I was using the cheap discs (the brown cloud makers) this much weld would have taken well over two discs to grind. One stainless rated disc did this amount, and diameter went from 3" to 2-1/2, so still have quite a bit left in it..
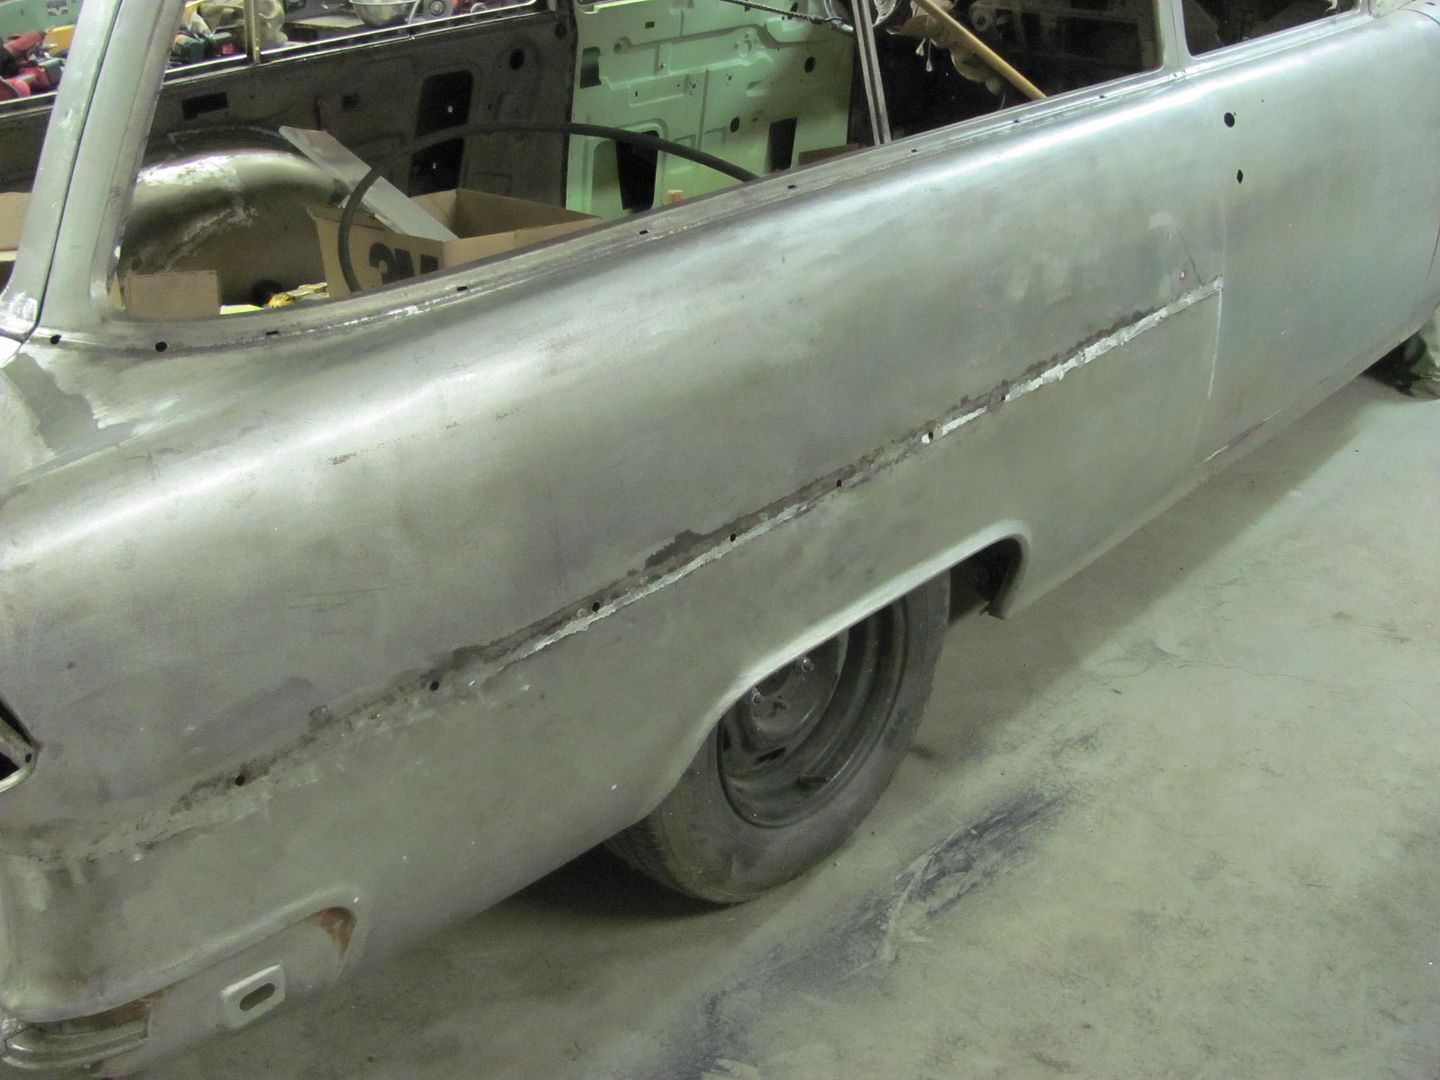
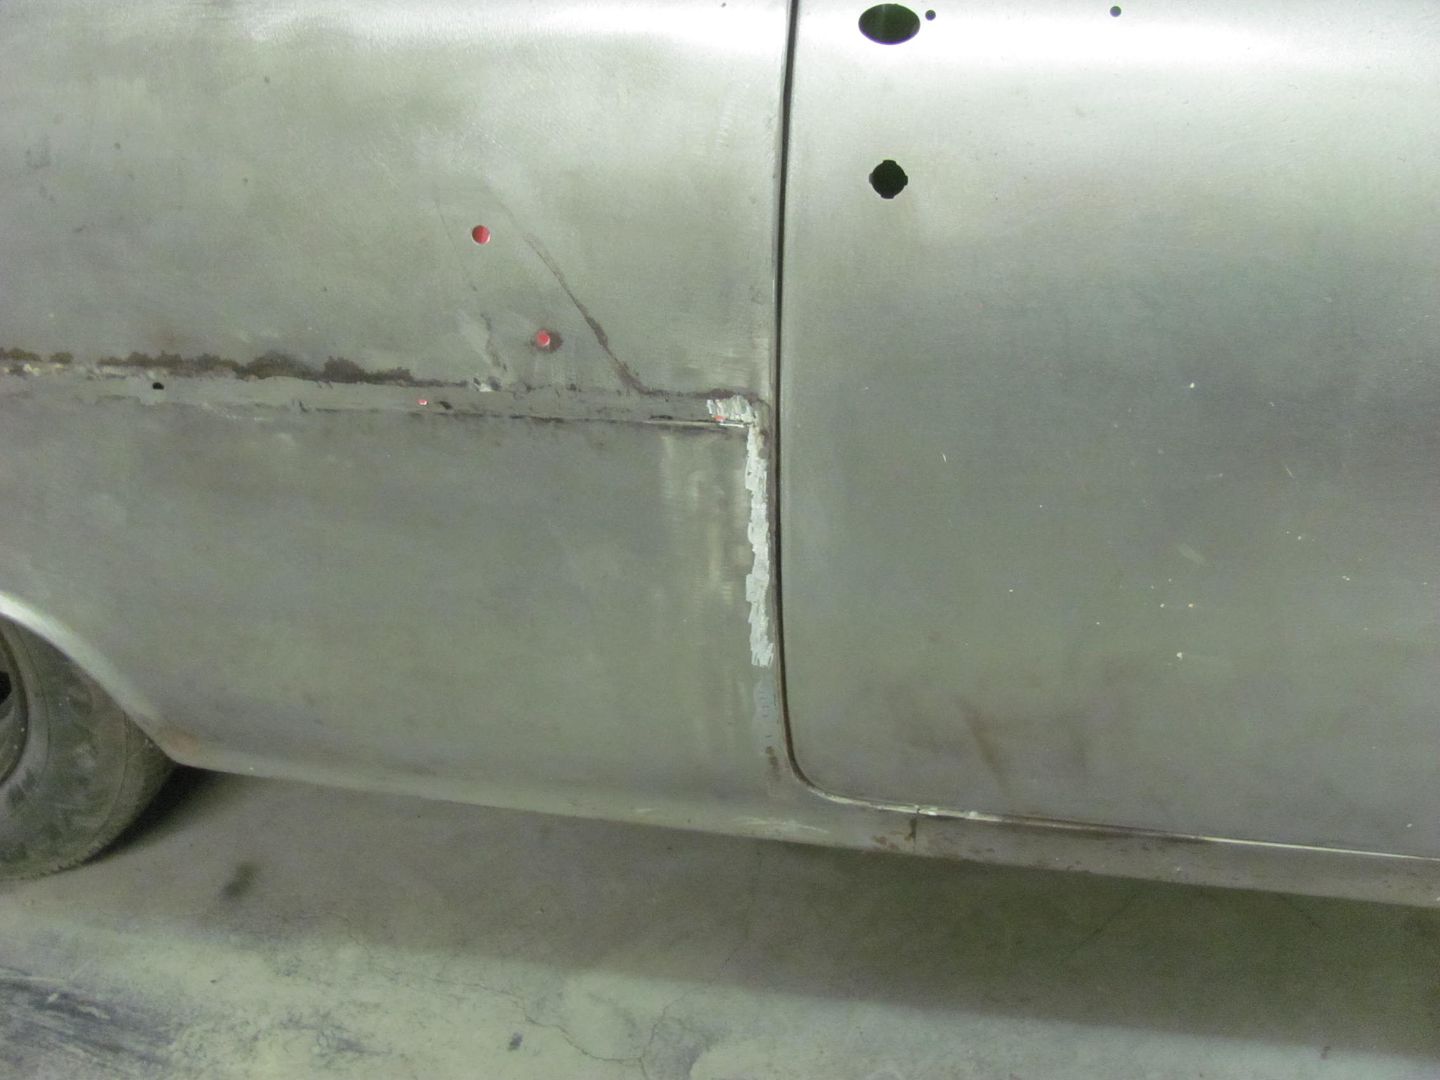
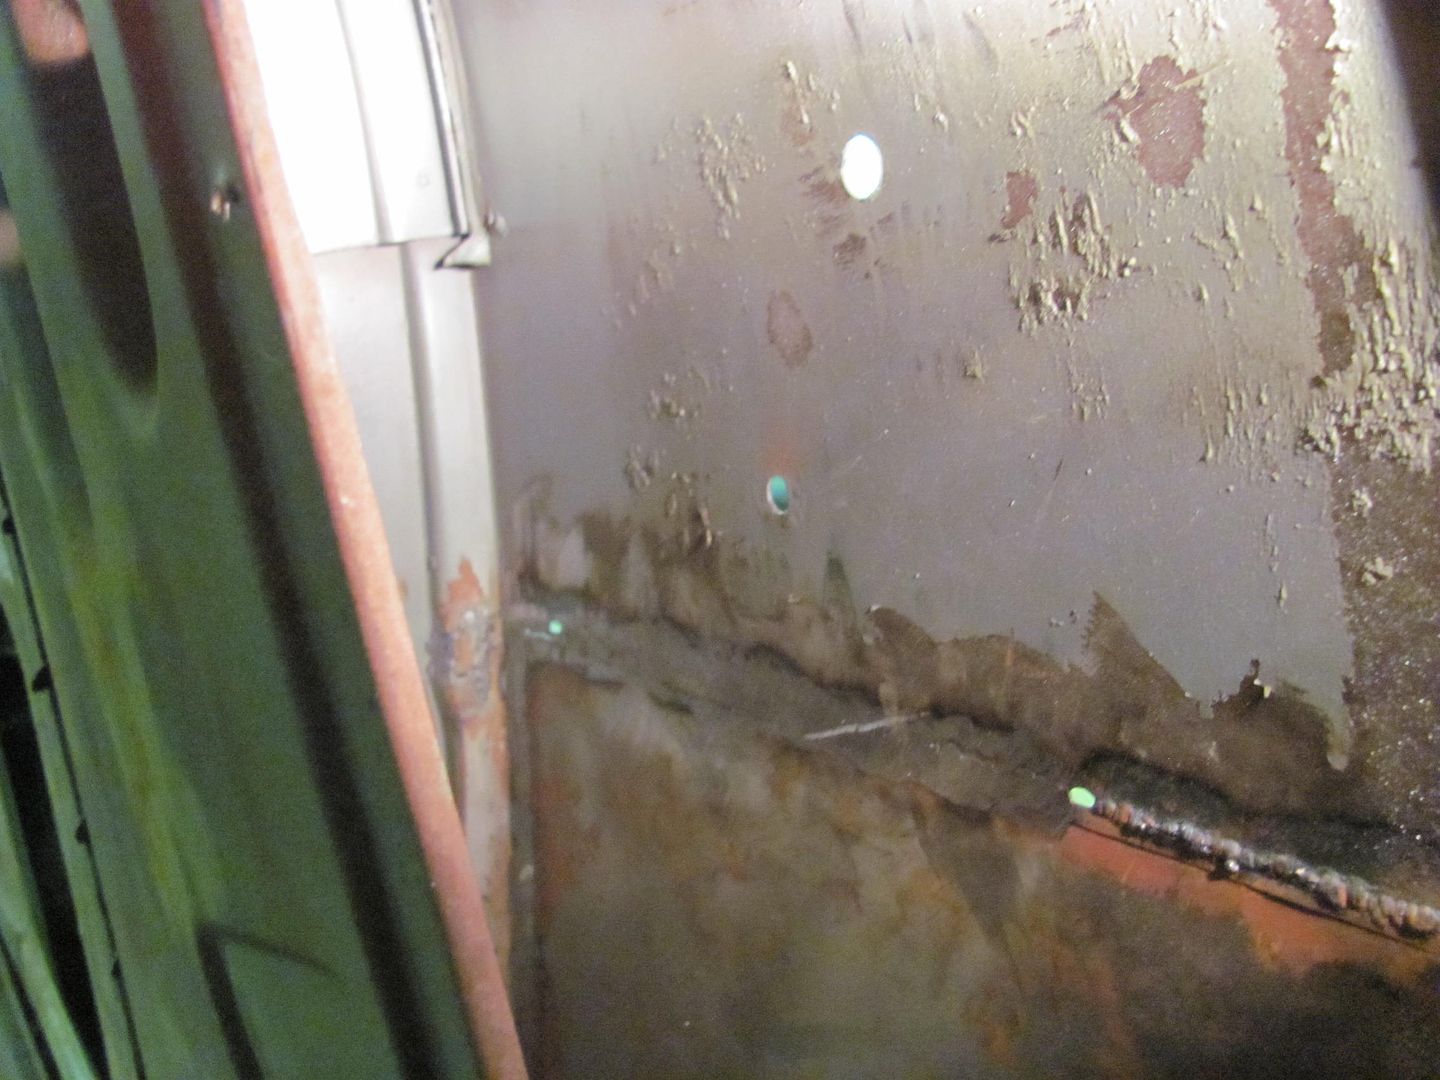
new disc
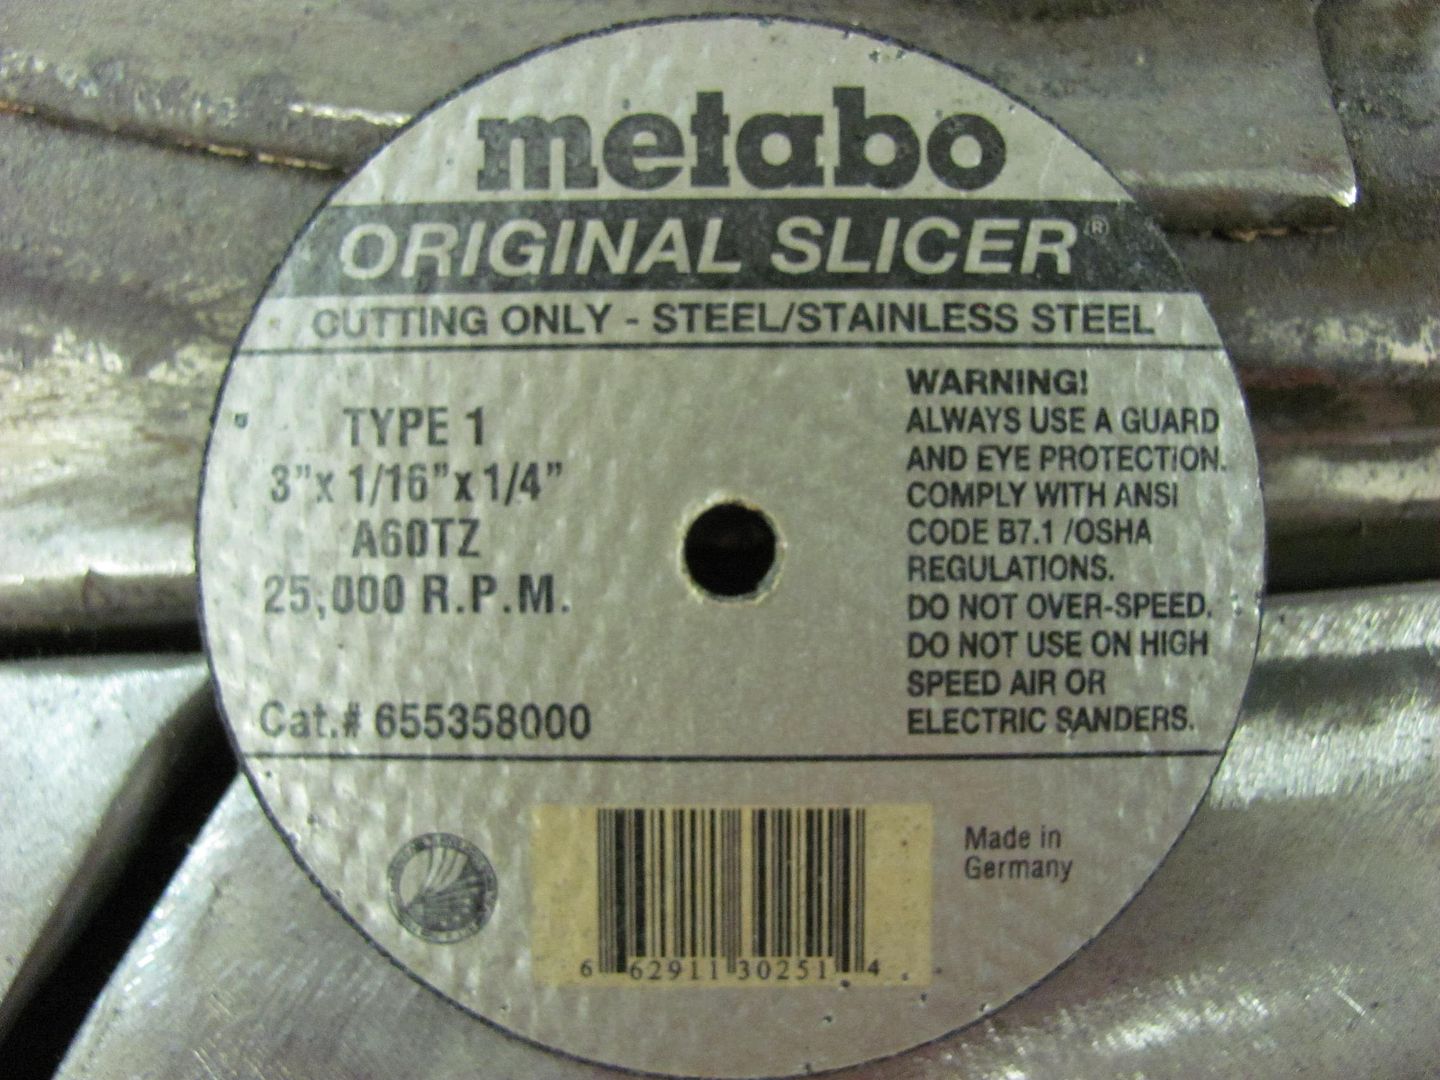
after tonight's grinding
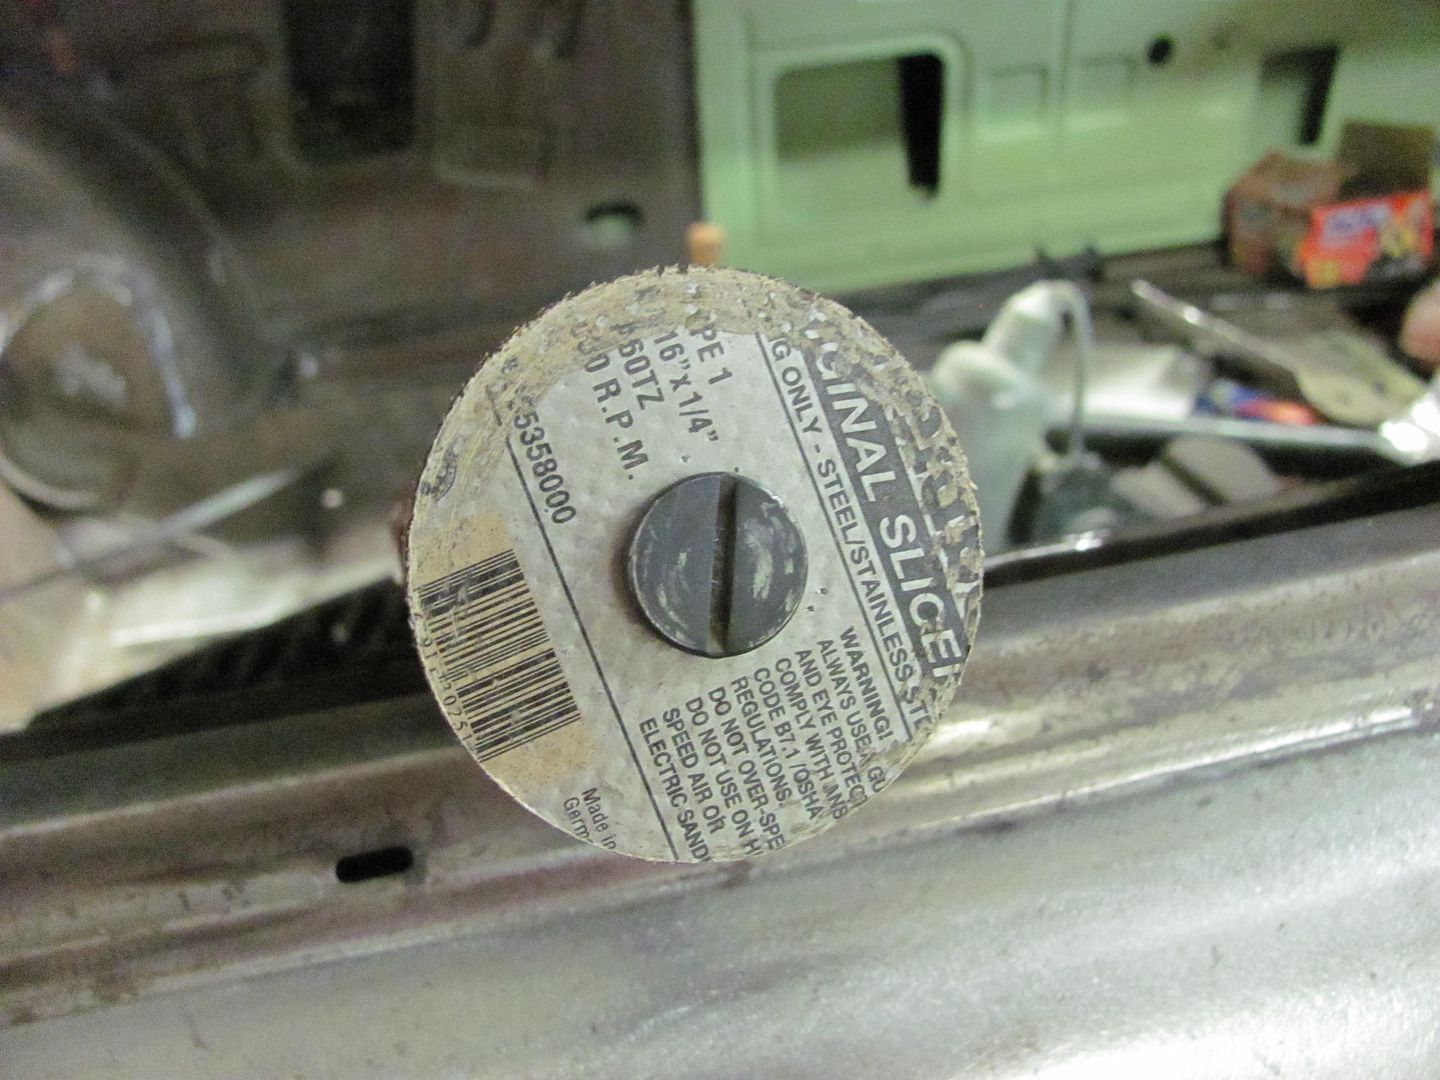
So despite how appealing those cheap cutoff wheels may be to those on a tight budget, cheap ain't always cheap. The stainless rated wheels are the only ones I buy anymore, money ahead.
Here's the weld grinding process...
https://www.youtube.com/watch?v=V2WHT_zMOE8Last edited by MP&C; 06-19-2014 at 07:35 AM.
Robert
-
06-20-2014 01:18 PM #246
- Join Date
- Apr 2011
- Location
- Prairie City
- Car Year, Make, Model: 40 Ford Deluxe, 68 Corvette, 72&76 K30
- Posts
- 7,301
- Blog Entries
- 1
Thanks for that link! It'd be cool to have a metal work sticky on thiss forum with all of your great links! I used a regular cheap o cut off wheel to cut off a stud on a freightliner last night. I barely got through it enough to break it off with a hammer because the wheel went away so fast!Ryan
1940 Ford Deluxe Tudor 354 Hemi 46RH Electric Blue w/multi-color flames, Ford 9" Residing in multiple pieces
1968 Corvette Coupe 5.9 Cummins Drag Car 11.43@130mph No stall leaving the line with 1250 rpm's and poor 2.2 60'
1972 Chevy K30 Longhorn P-pumped 24v Compound Turbos 47RH Just another money pit
1971 Camaro RS 5.3 BTR Stage 3 cam, SuperT10
Tire Sizes
-
06-20-2014 03:13 PM #247
Got my parts store getting me some Found them on ebay at $2.00 eachCharlie
Lovin' what I do and doing what I love
Some guys can fix broken NO ONE can fix STUPID
W8AMR
http://fishertrains94.webs.com/
Christian in training
-
07-13-2014 09:04 PM #248
A slight diversion from the norm, but thought this may help pass on some insight in some shrinking.
Have been swamped at the day job and a couple of rentals in need of repairs, so not much time in the shop. I did have some kitchen issues to resolve and thought that it was the perfect place for some metal shaping.
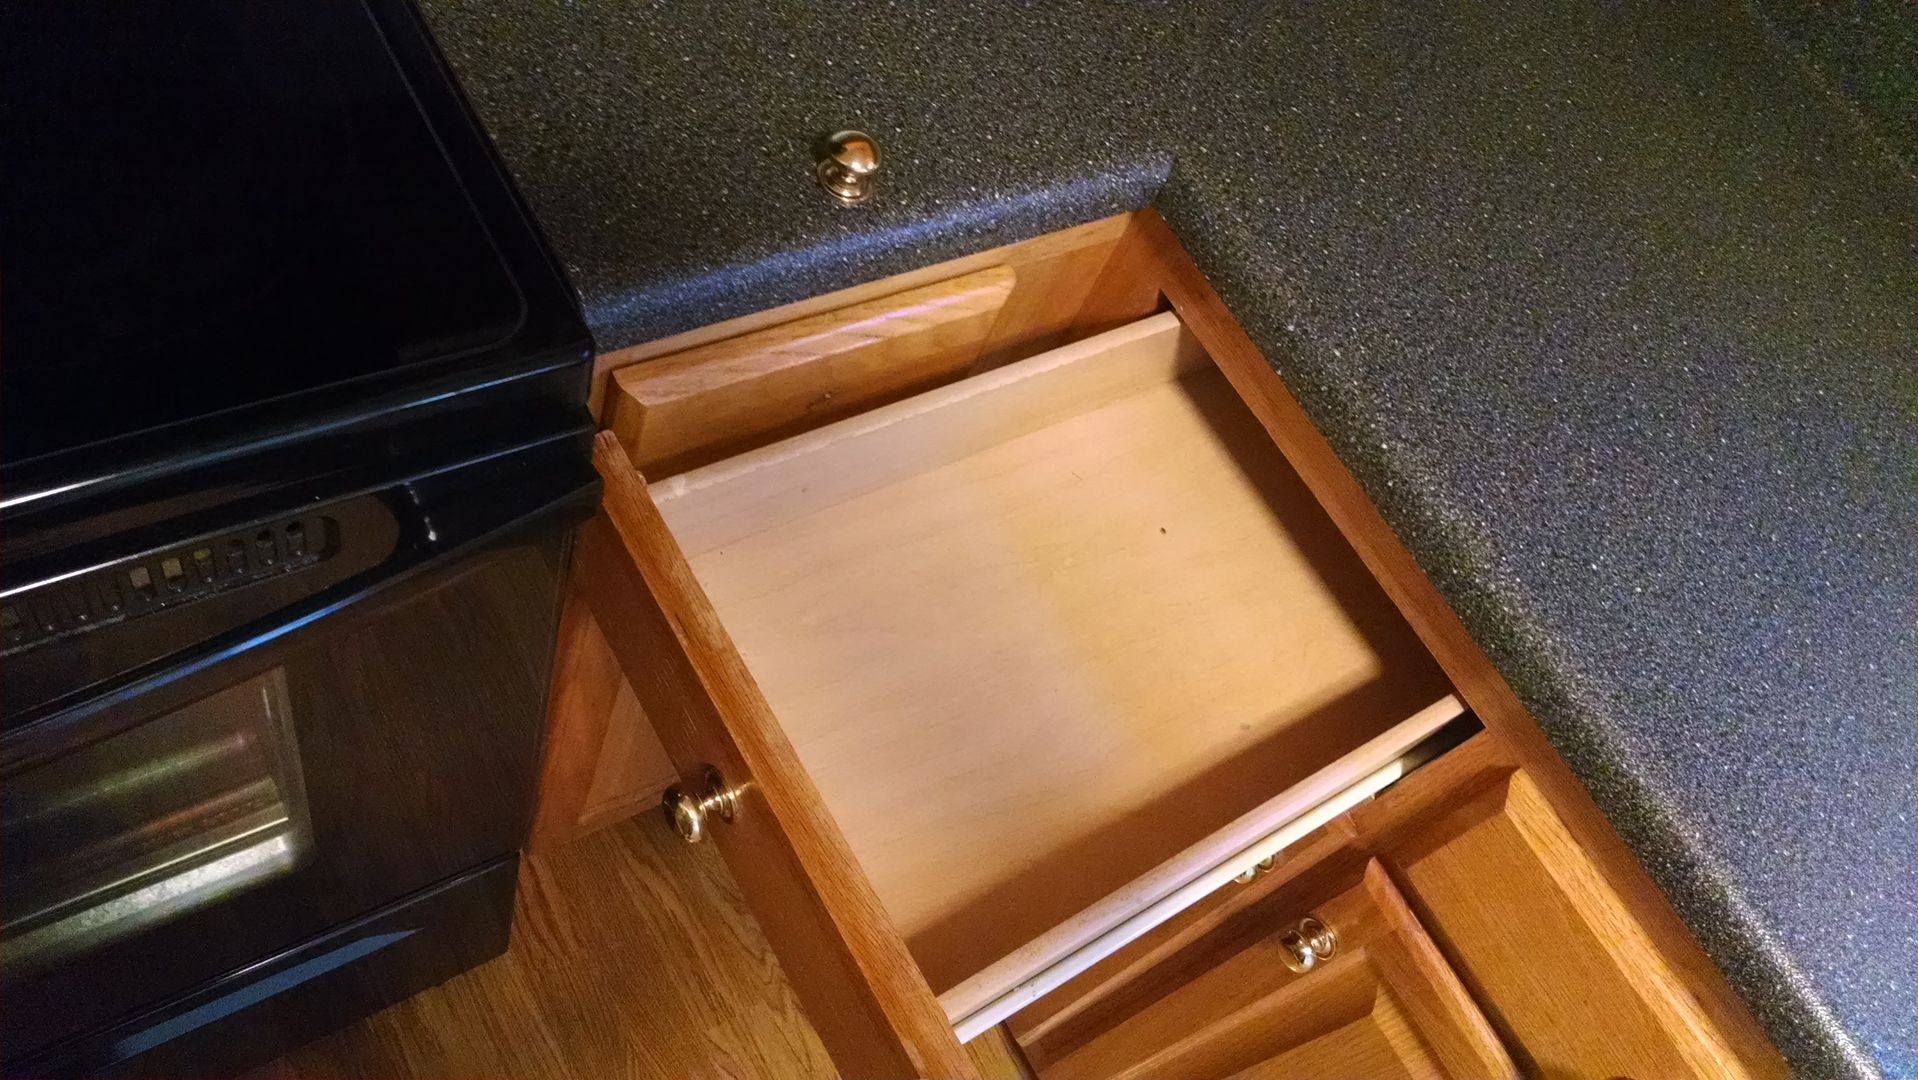
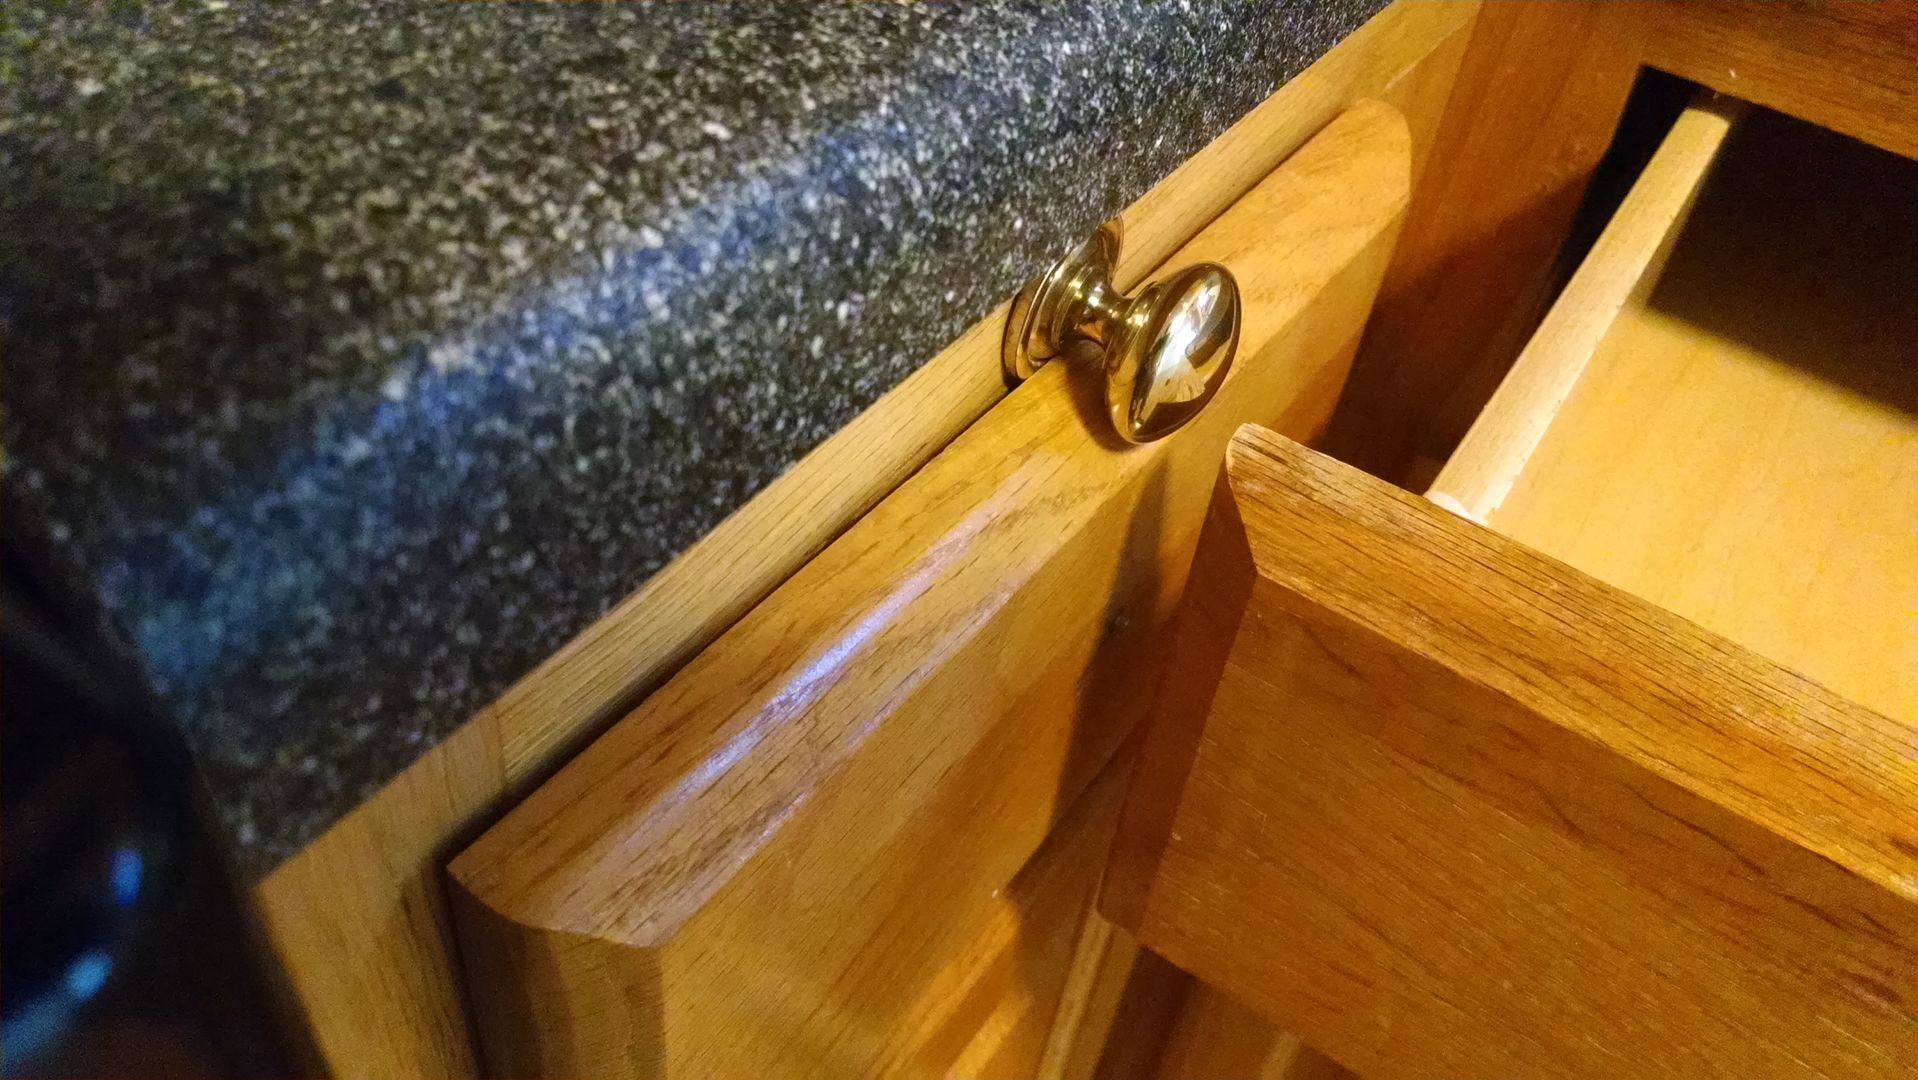
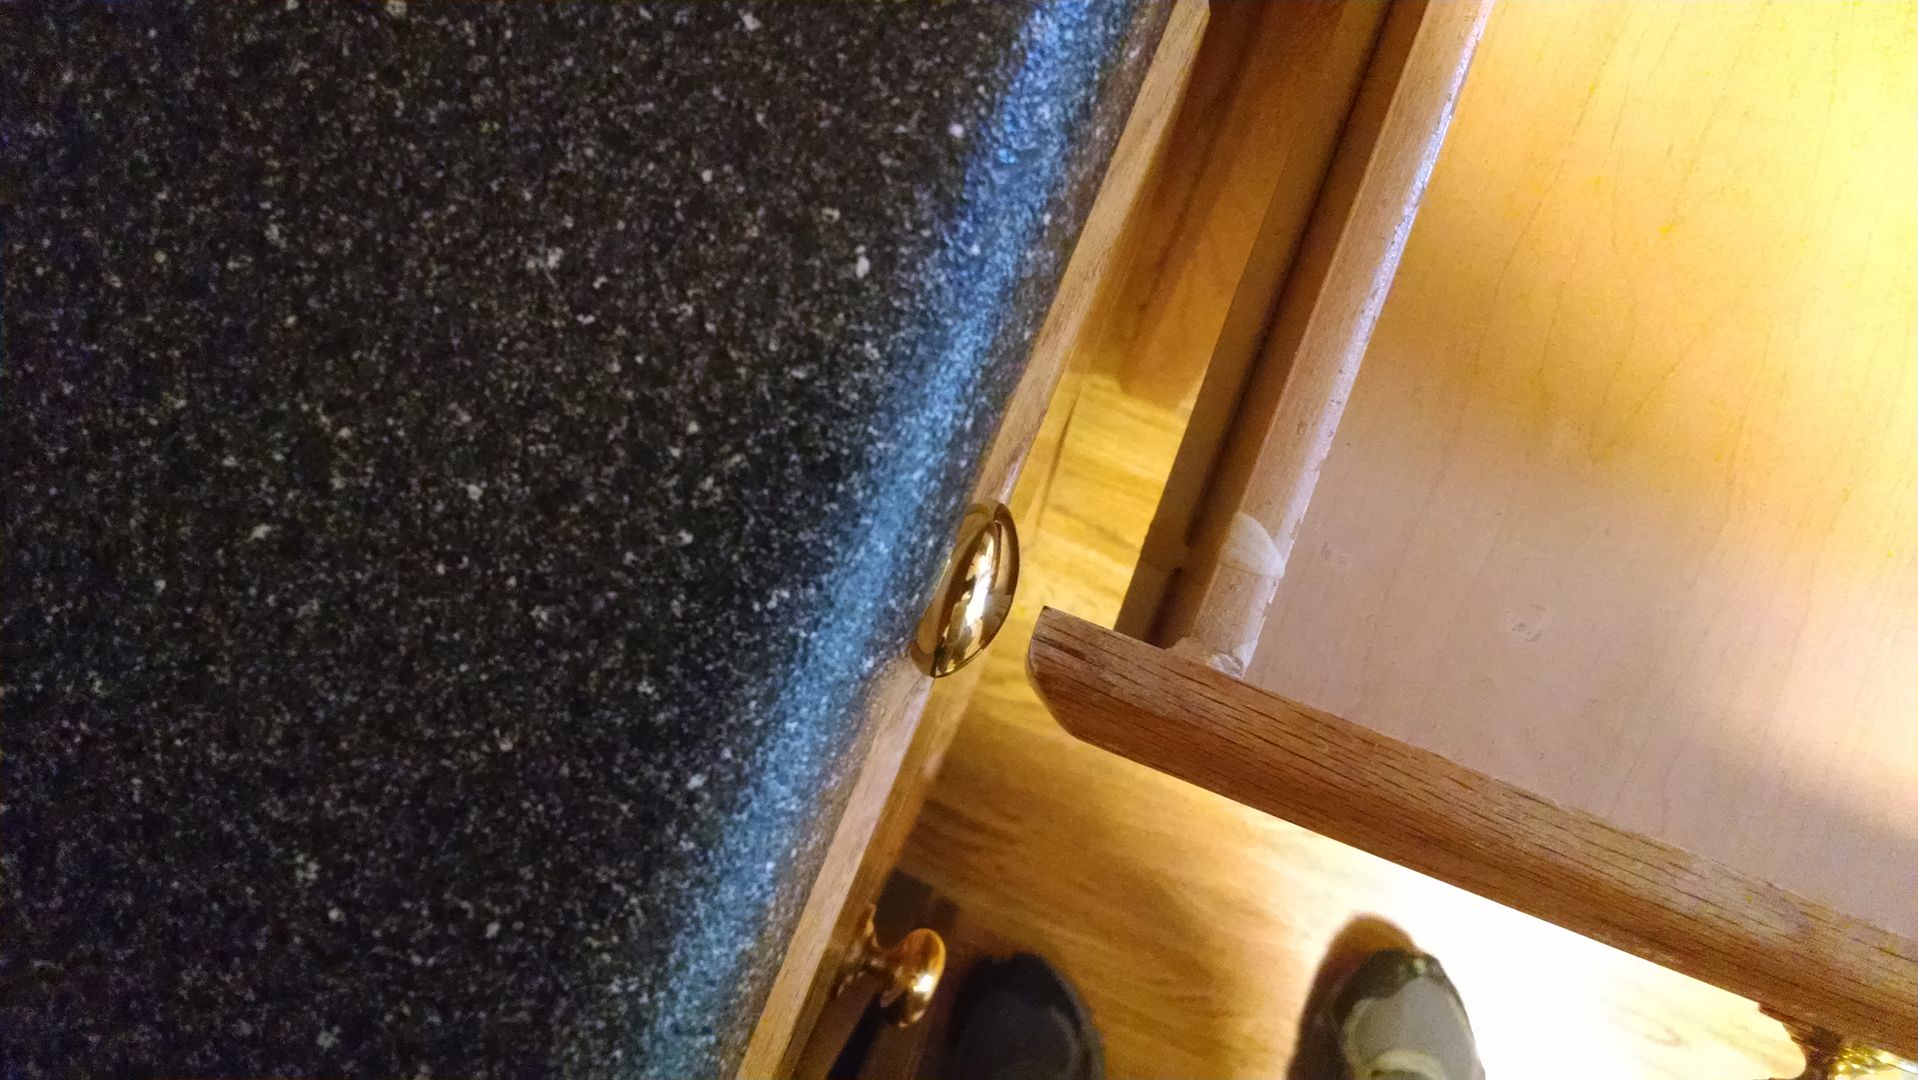
Here's the background, kitchen layout was less than ideal, I guess they were fine until the knobs were installed....
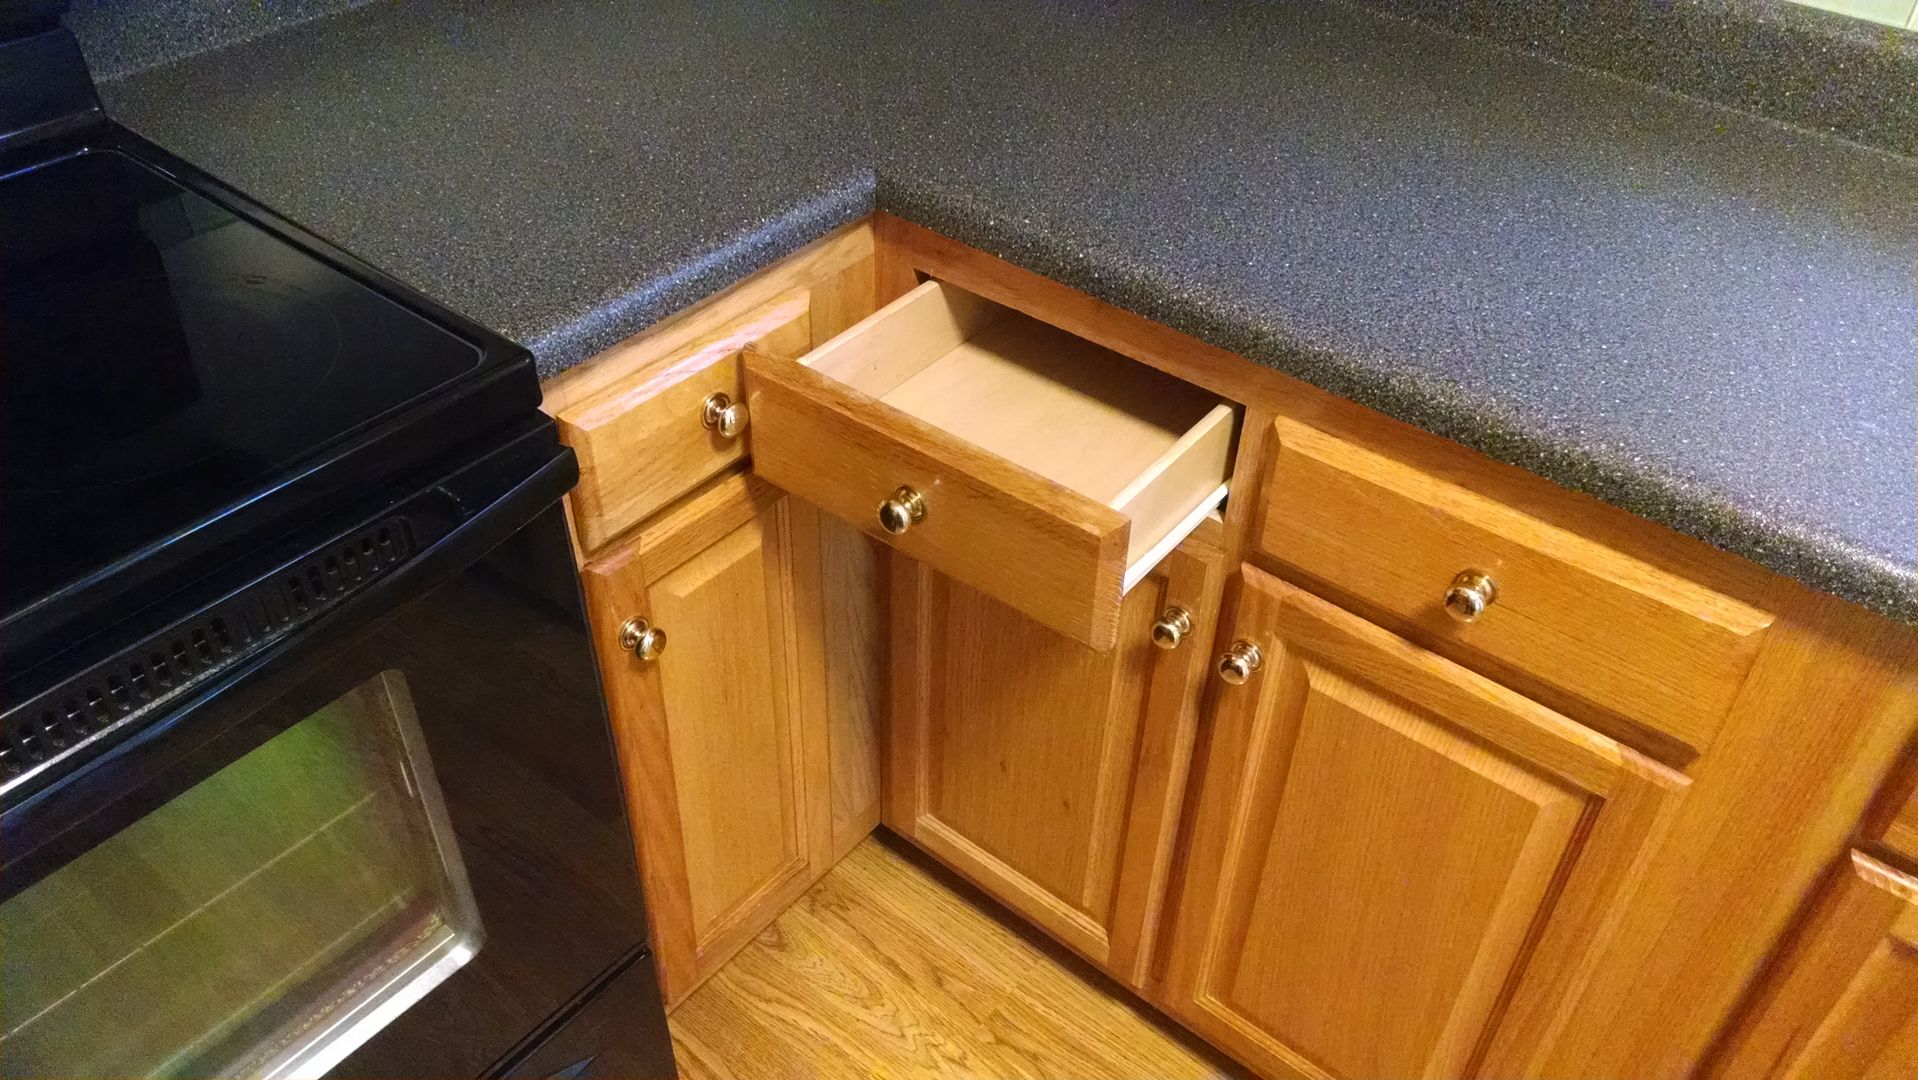
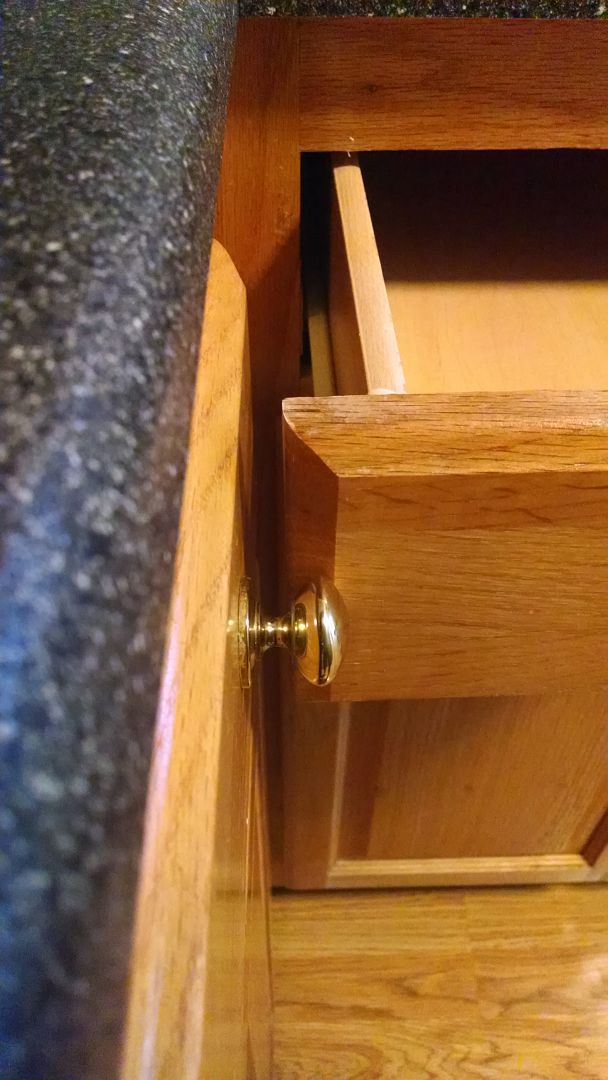
Removing the knob, we have much more access to the adjacent drawer. I had looked for similar knobs in recessed form, and could not find much available, or that would match and use existing hole. Placing the knob on top of the drawer face, it looks like a recessed offset would resolve the issue..
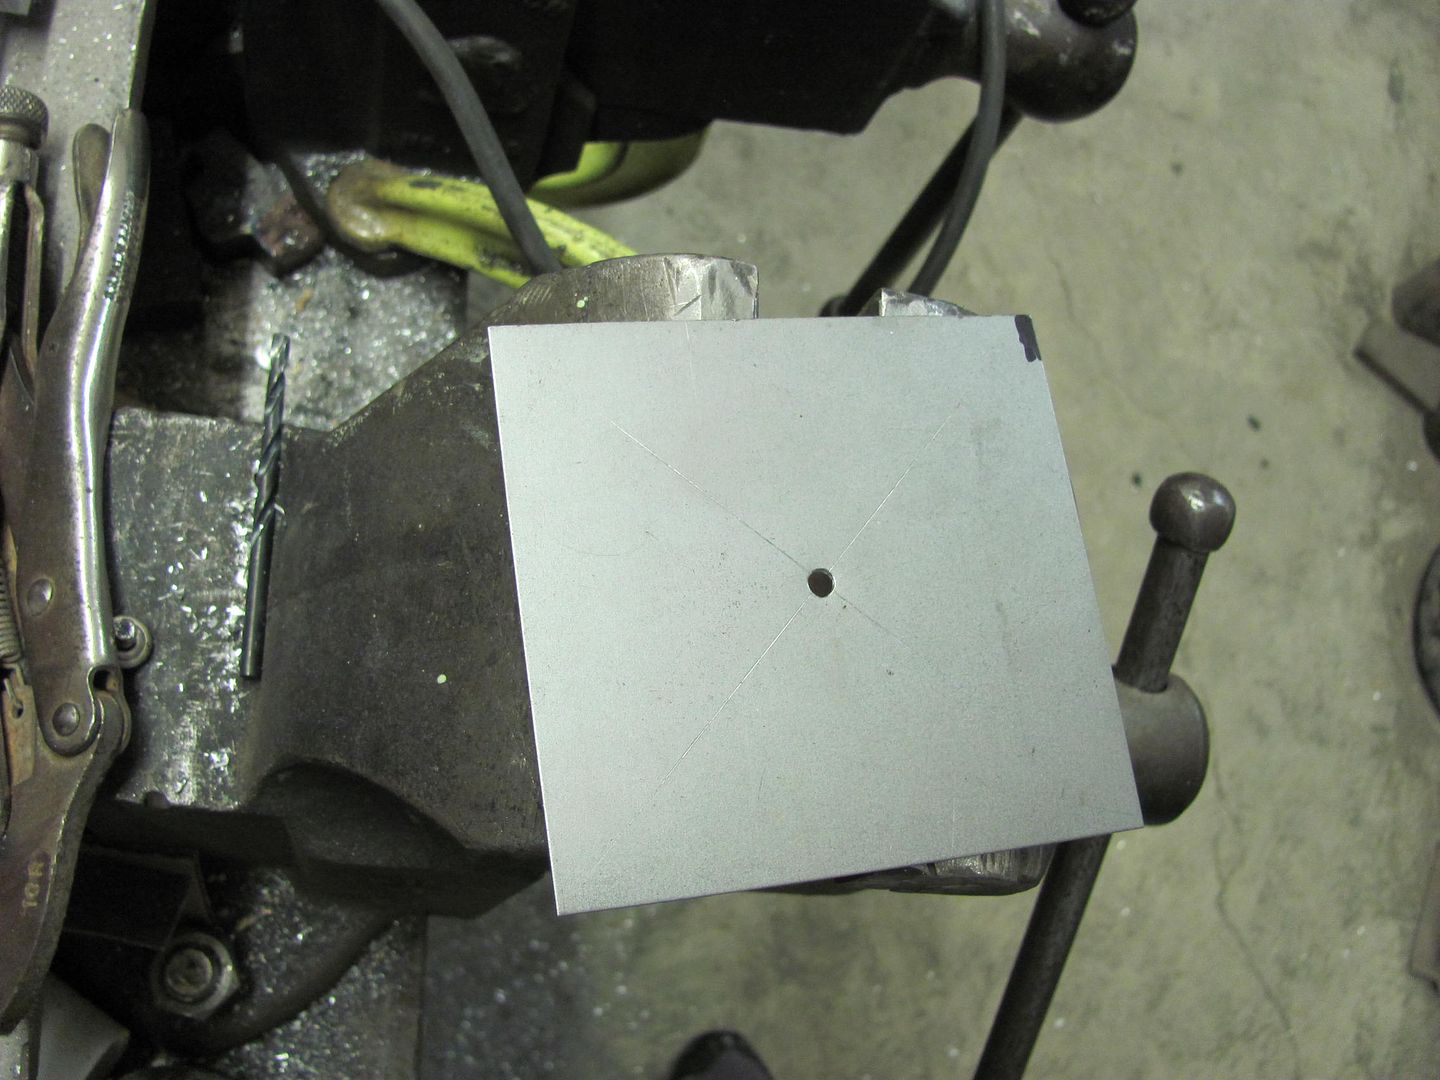
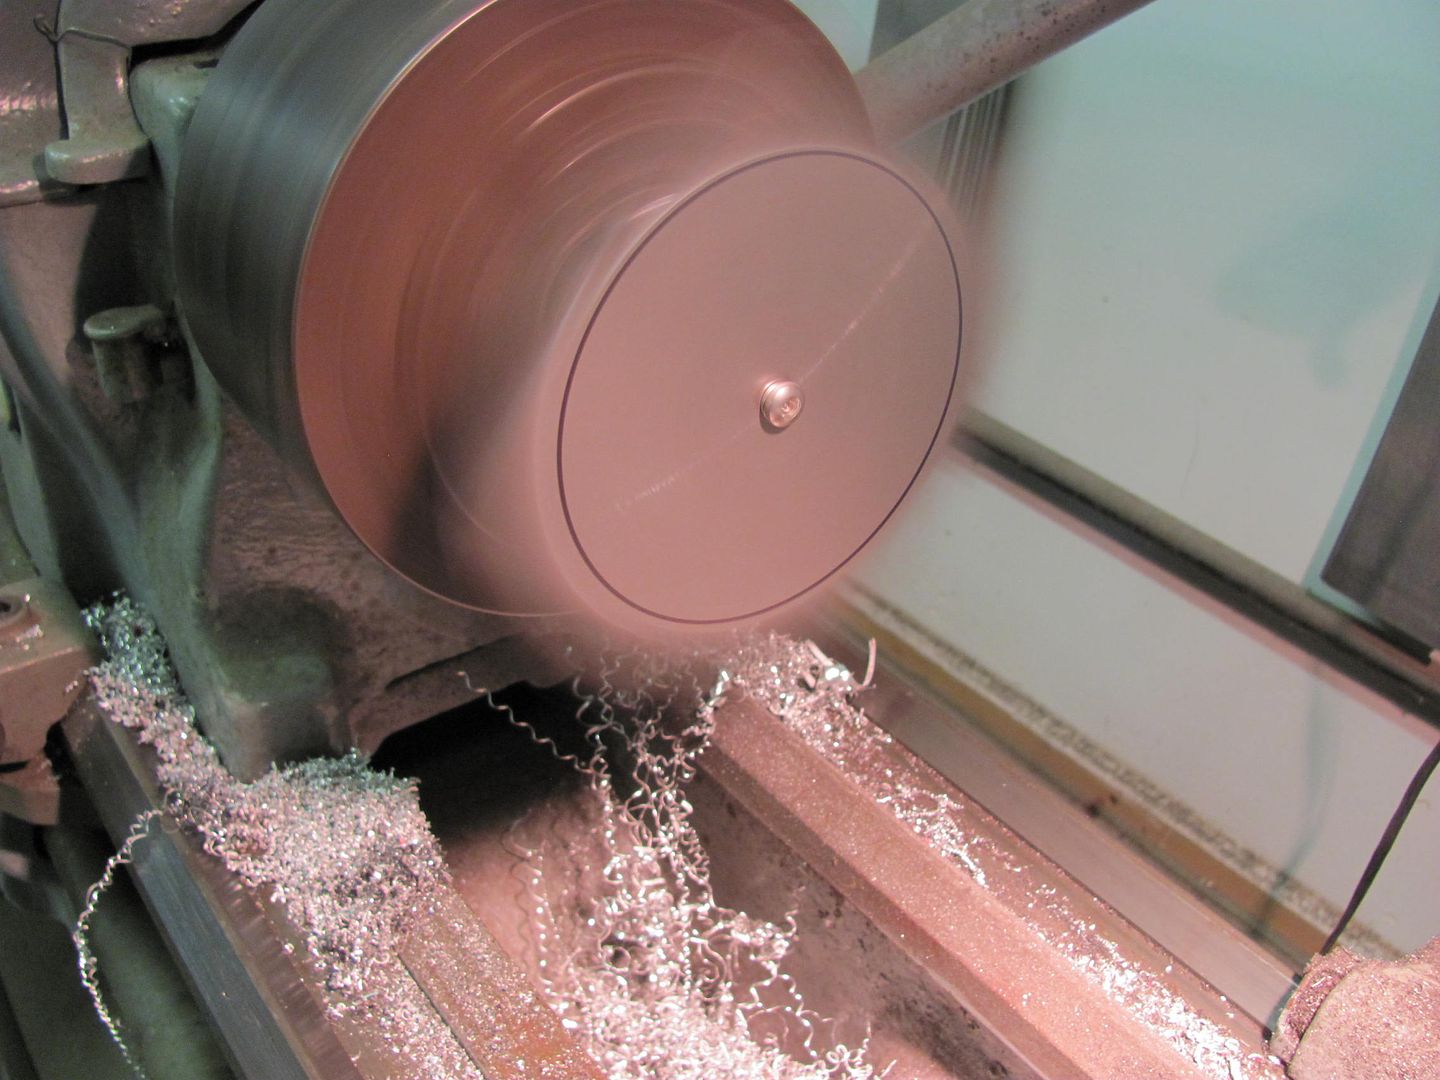
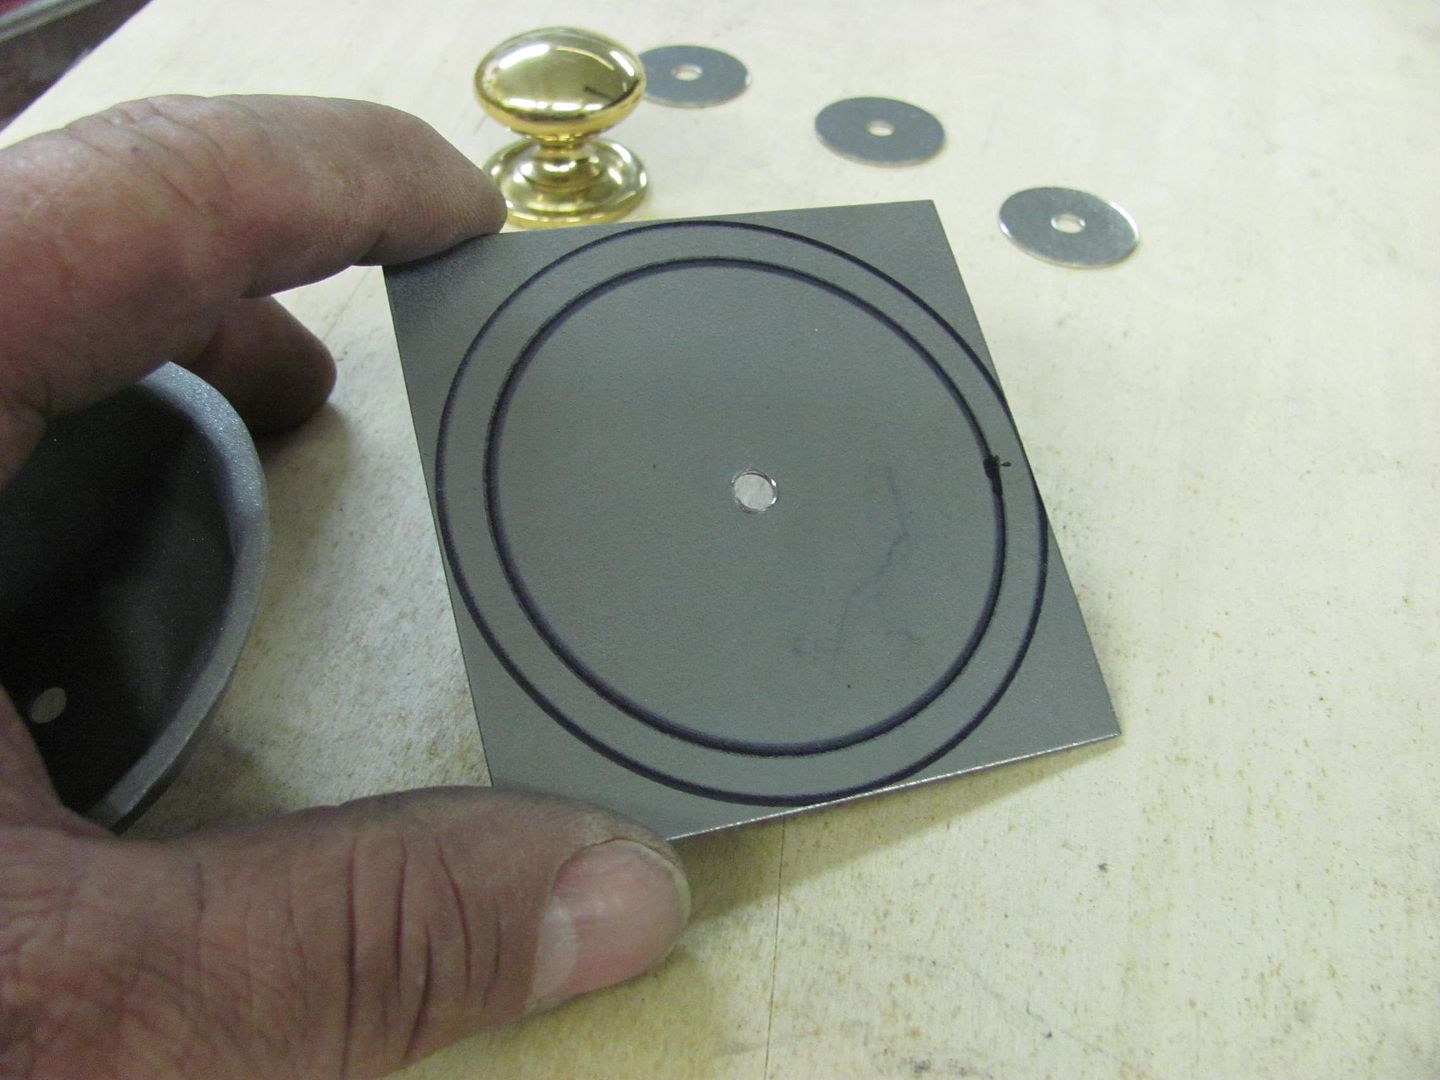
Cut out some blanks and used a sharpie and the lathe to mark a good circle for trimming.
The snips work much better with less distortion when the trimmed amount is limited to 1/4 width, so a couple trims and then we can trim to the line..
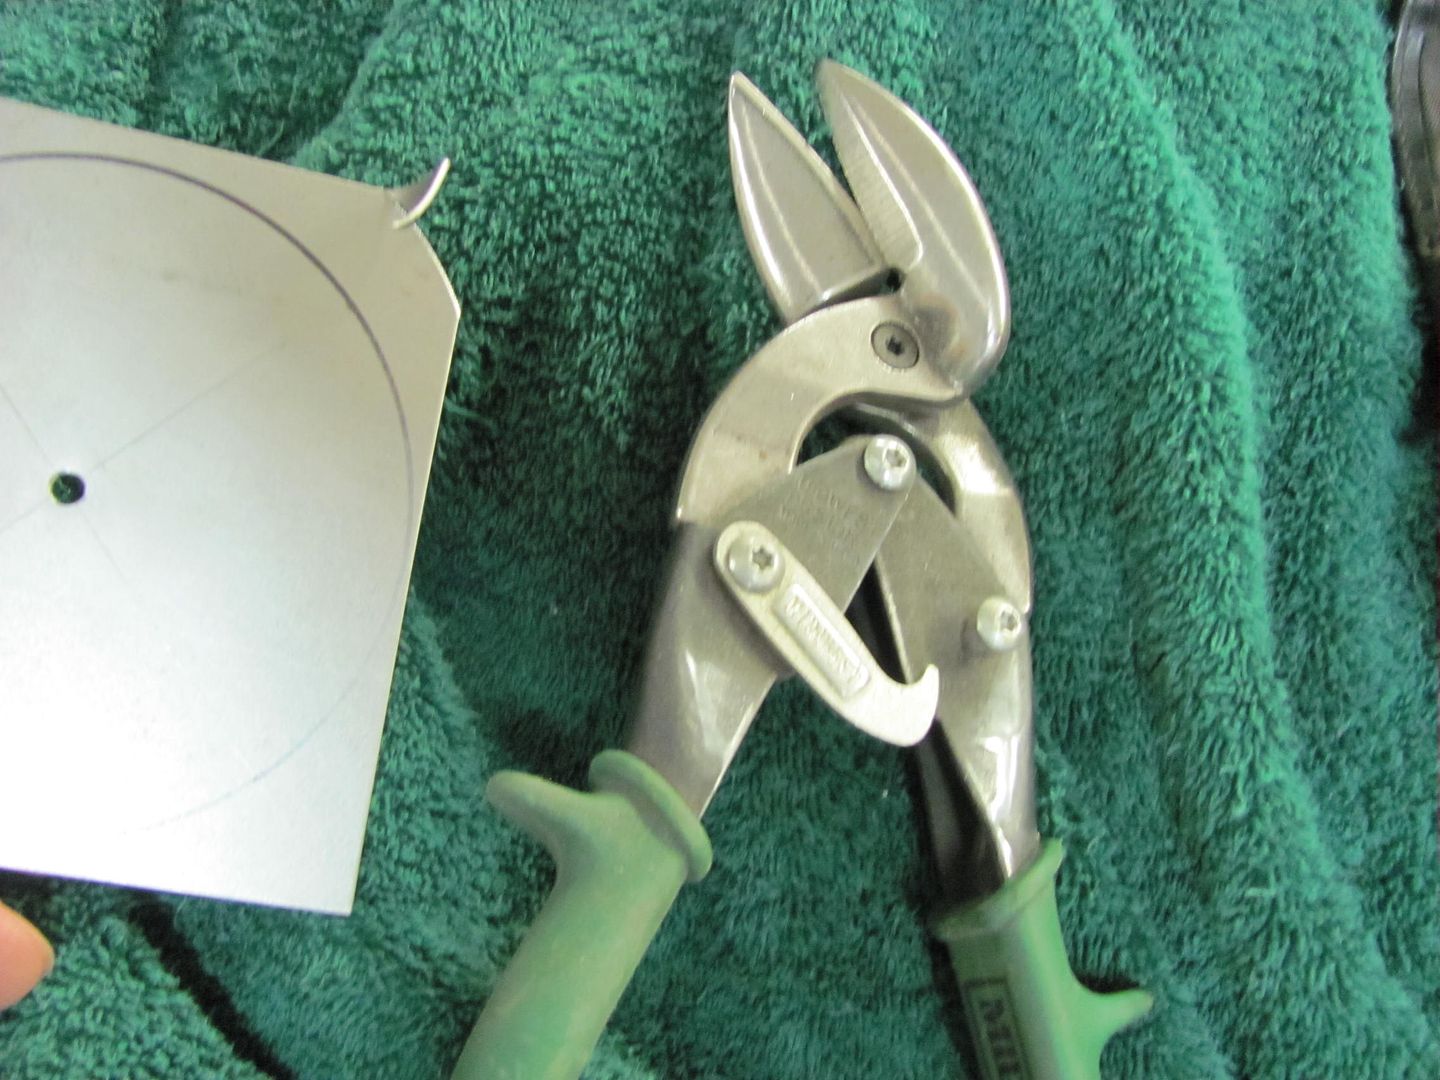
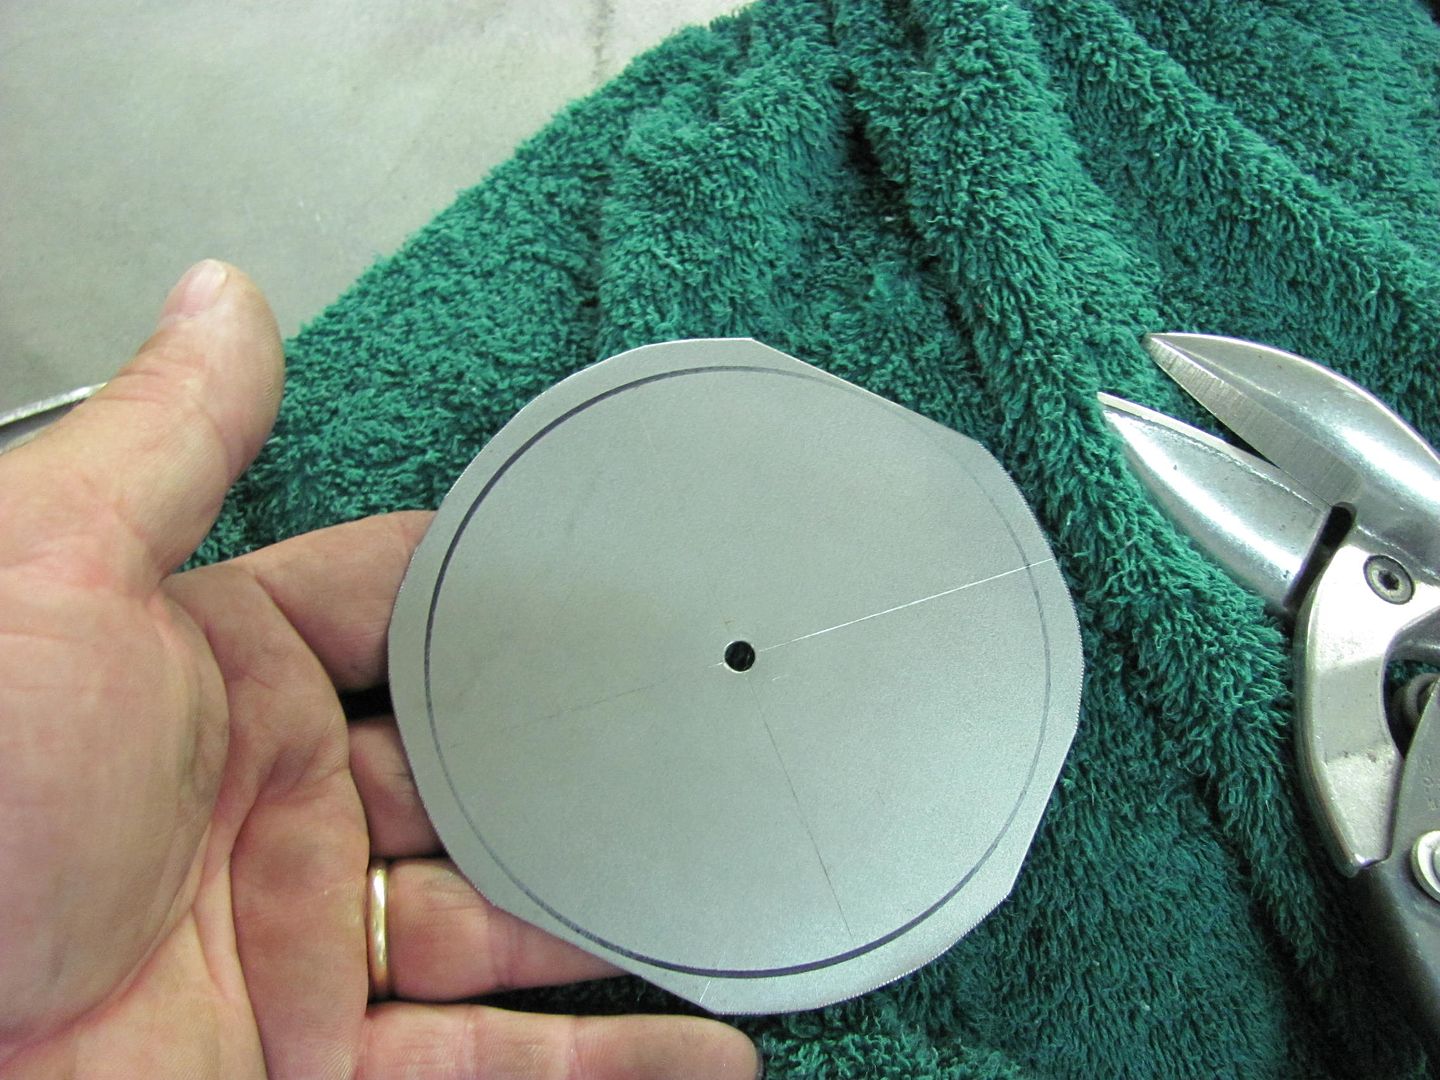
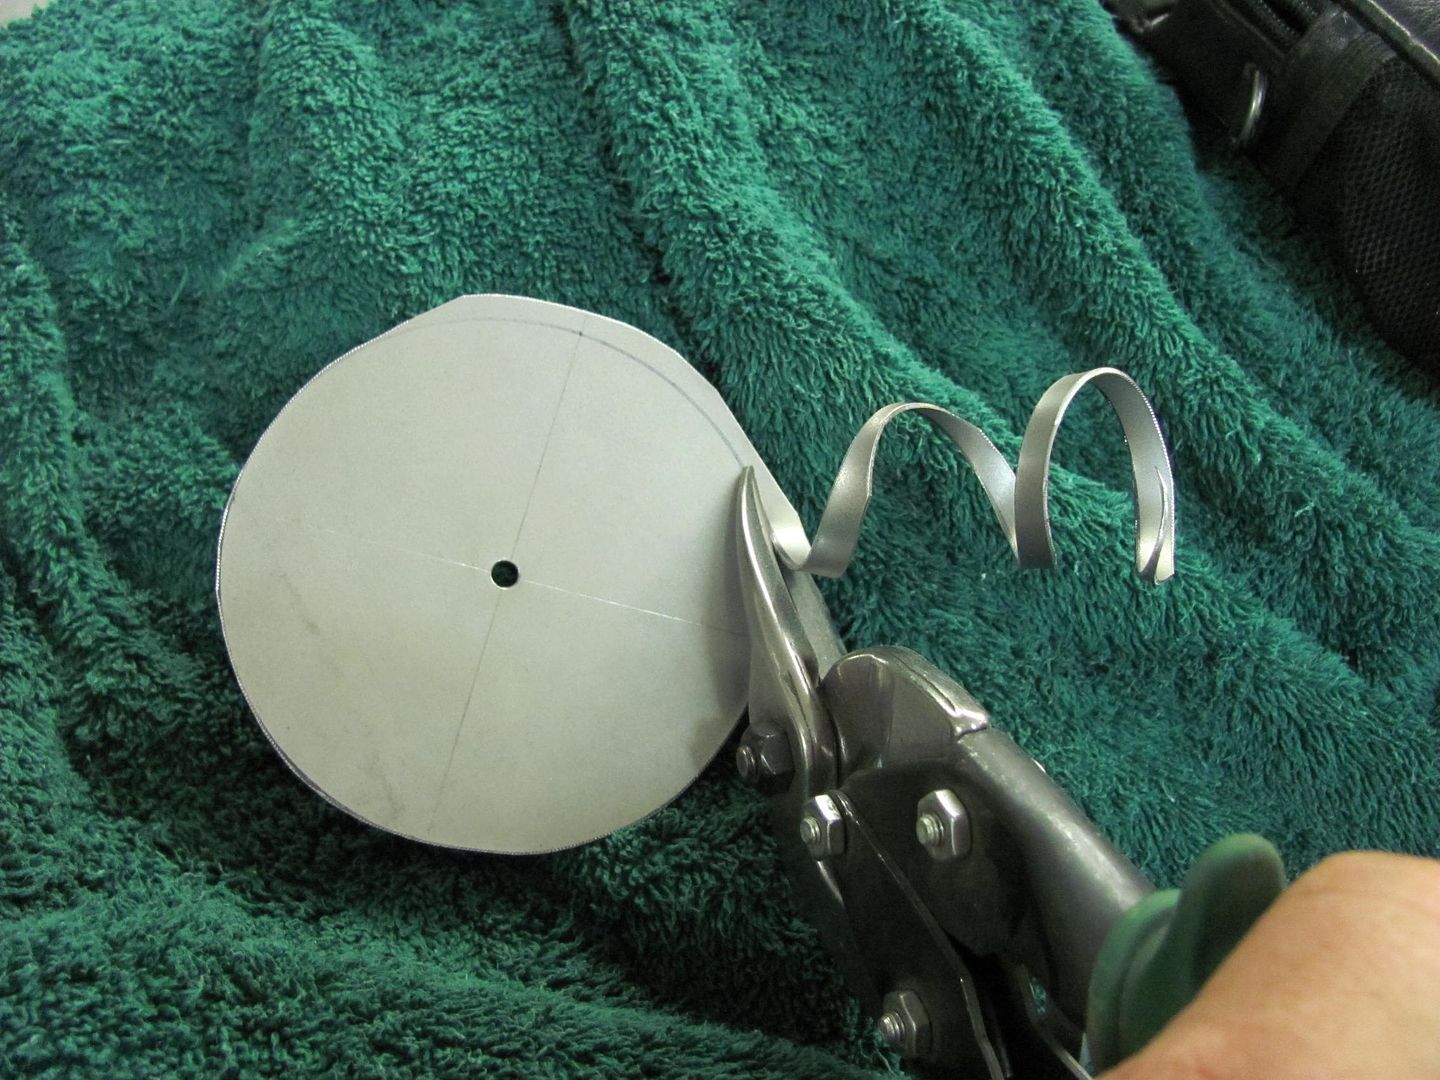
Reinstalled onto the lathe-sharpie tool, the outer diameter is marked on both sides. This diameter provides a good flat for the knob.
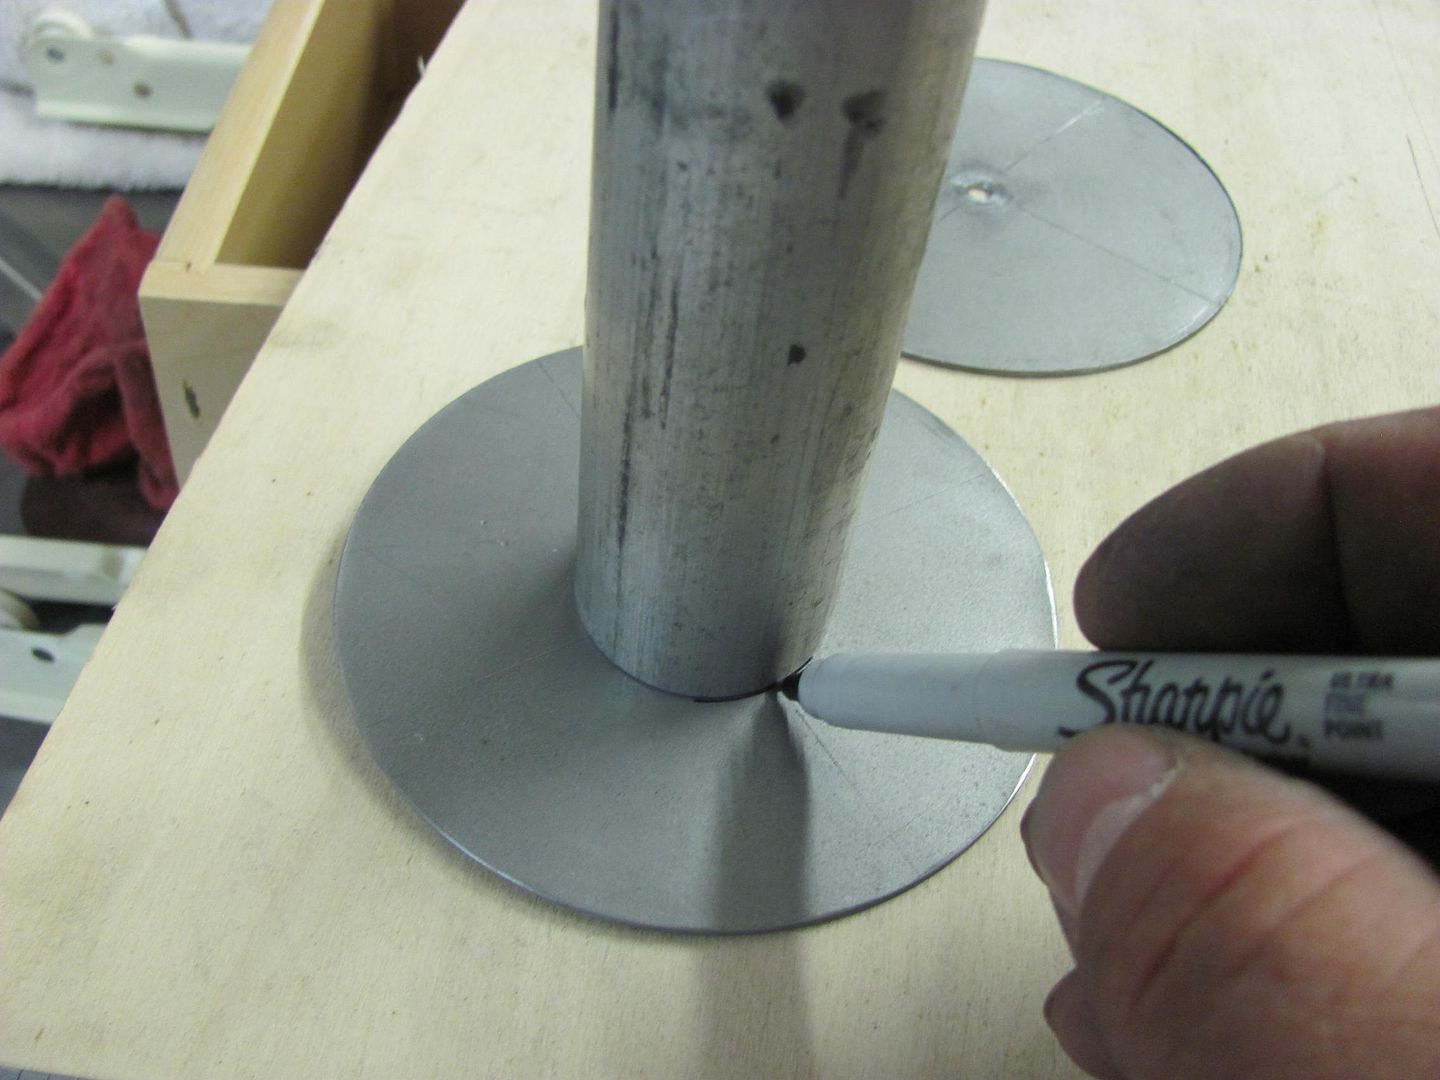
I haven't had much time in the shop to make new tools, and one of Captain Kirk's version of tucking forks is on the list. So I resorted to the vise grip tucking pliers. These tend to be more effective using heat on the tucks, so off I go..
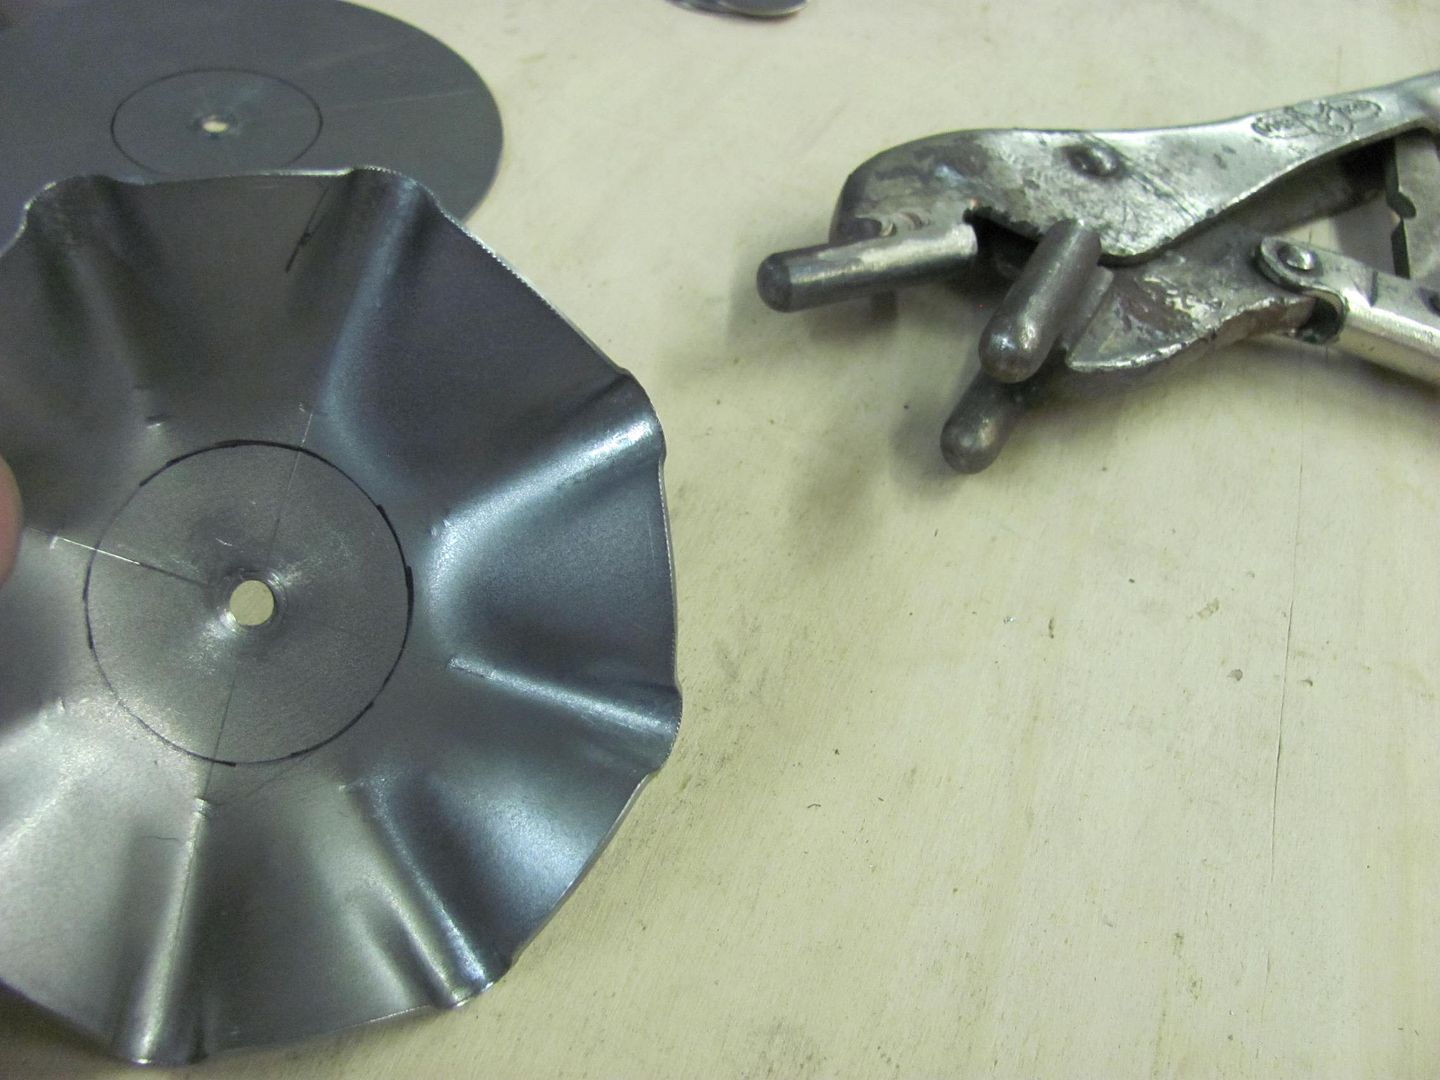
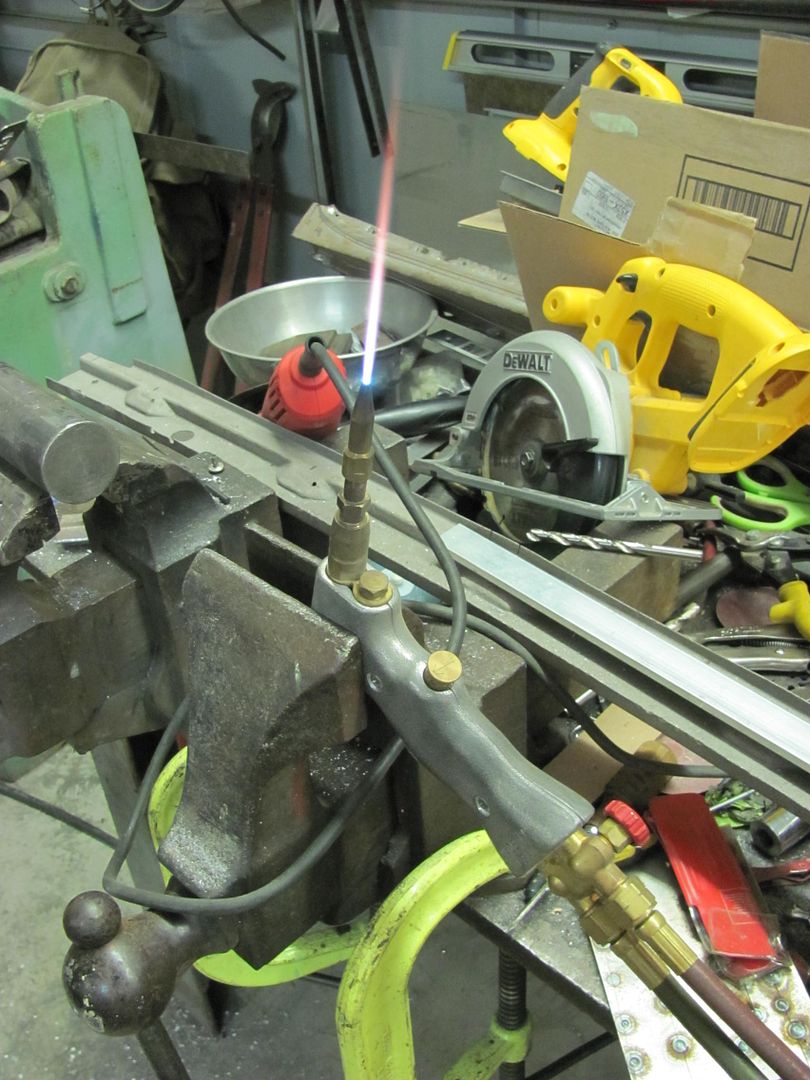
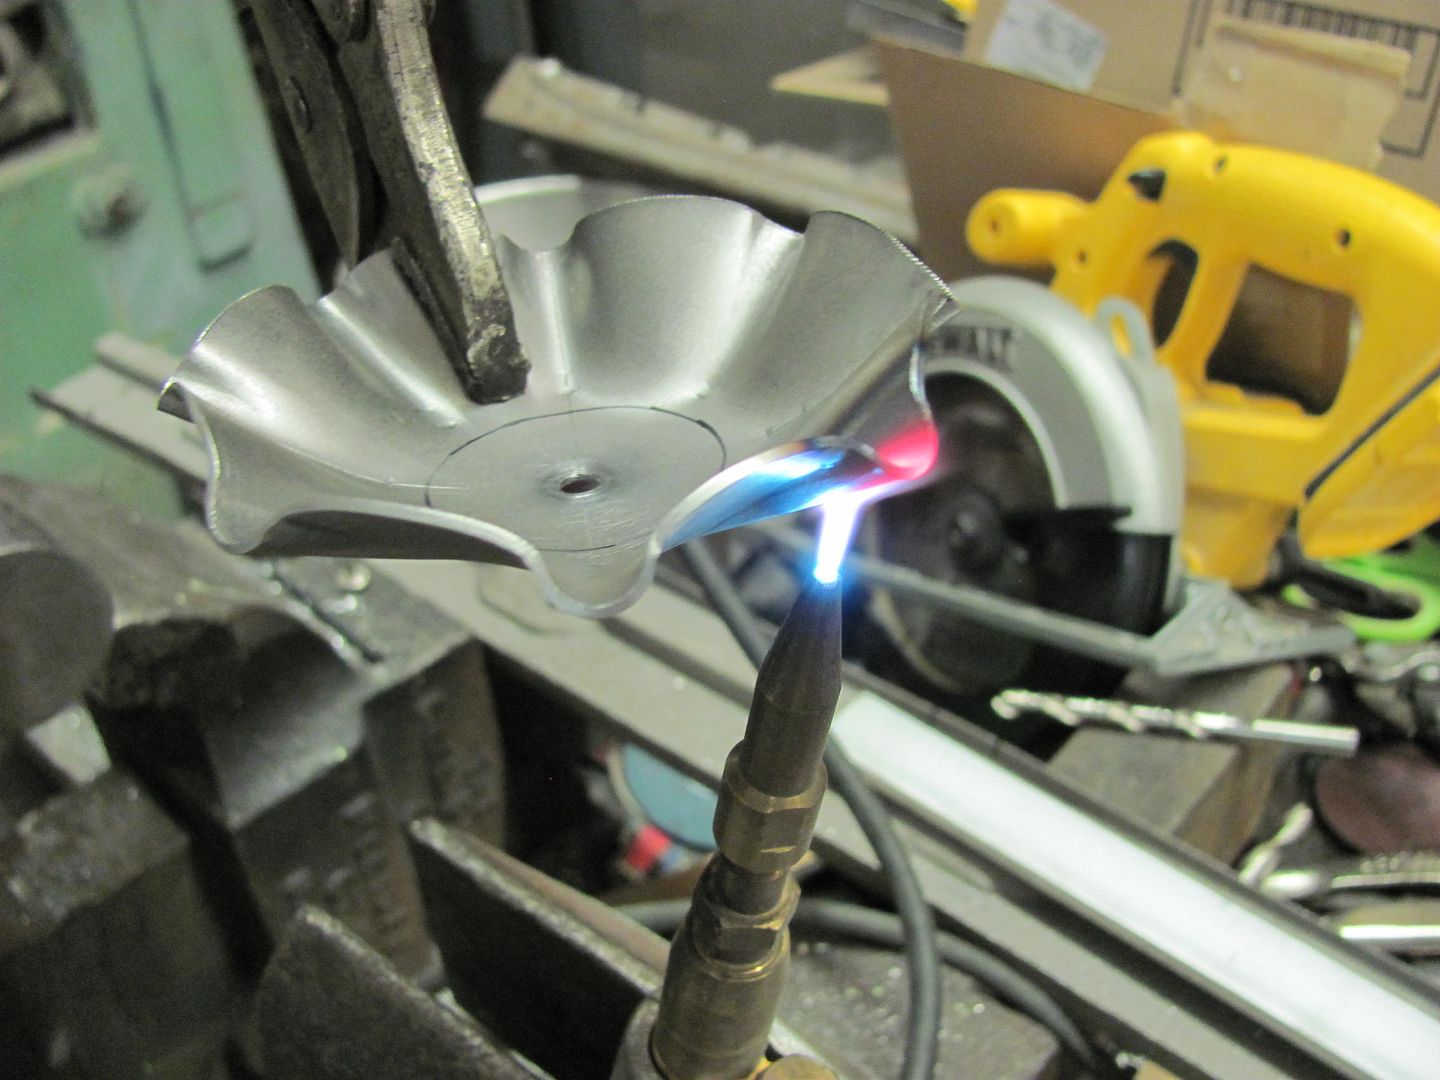
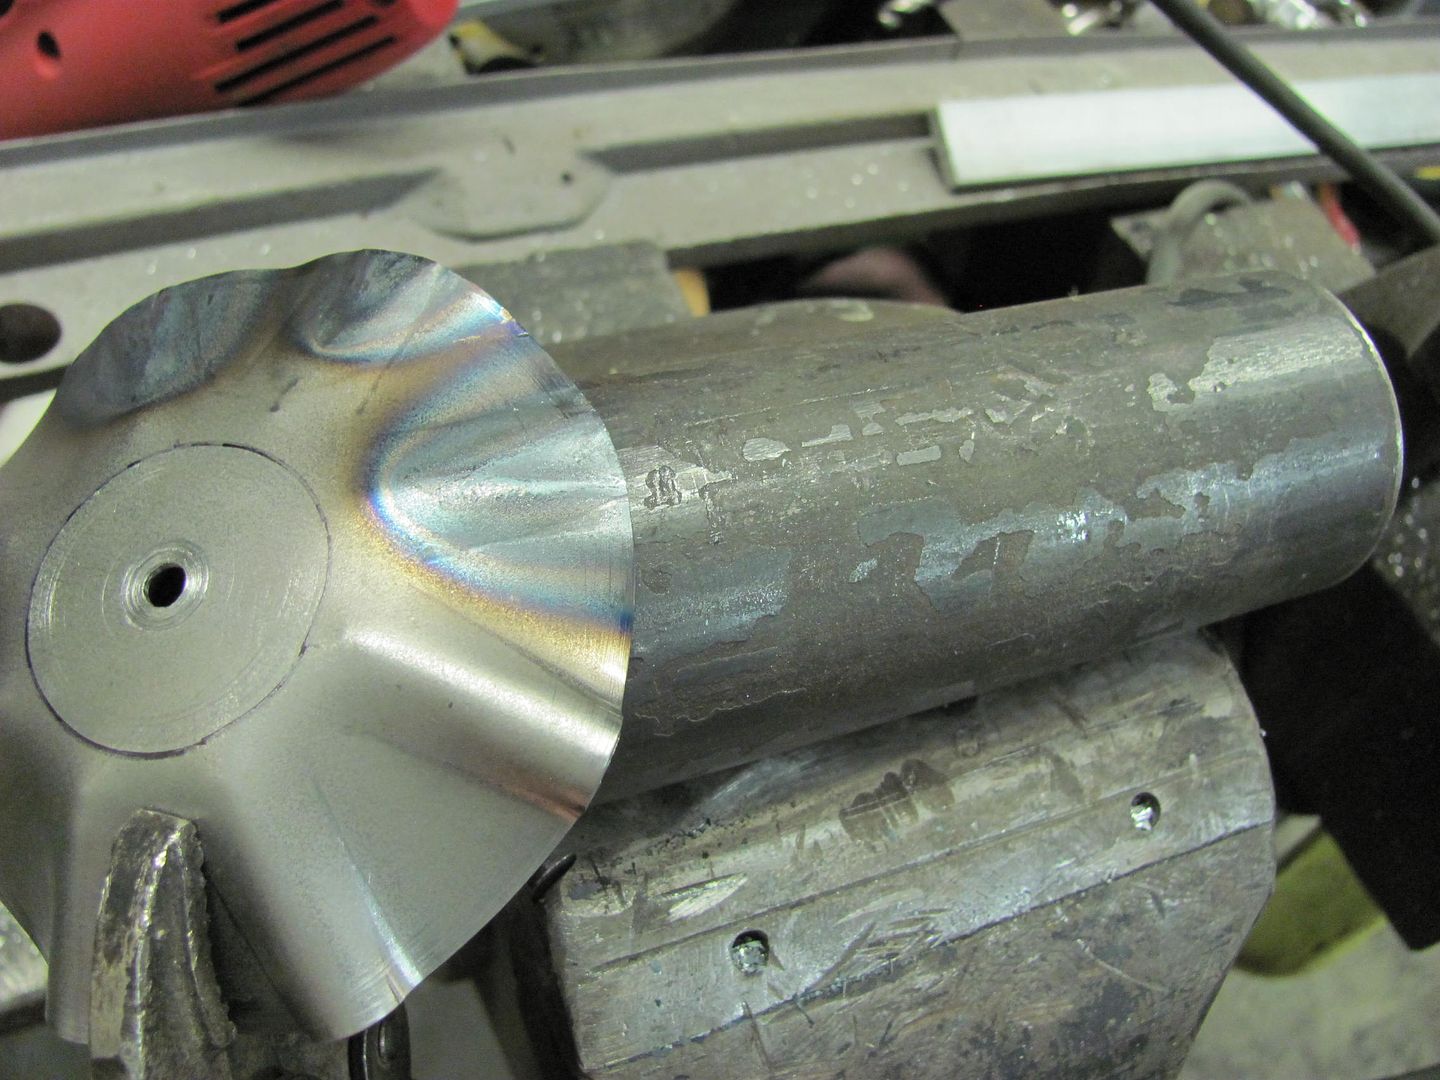
Repeated shrinking effort and checked knob offset...
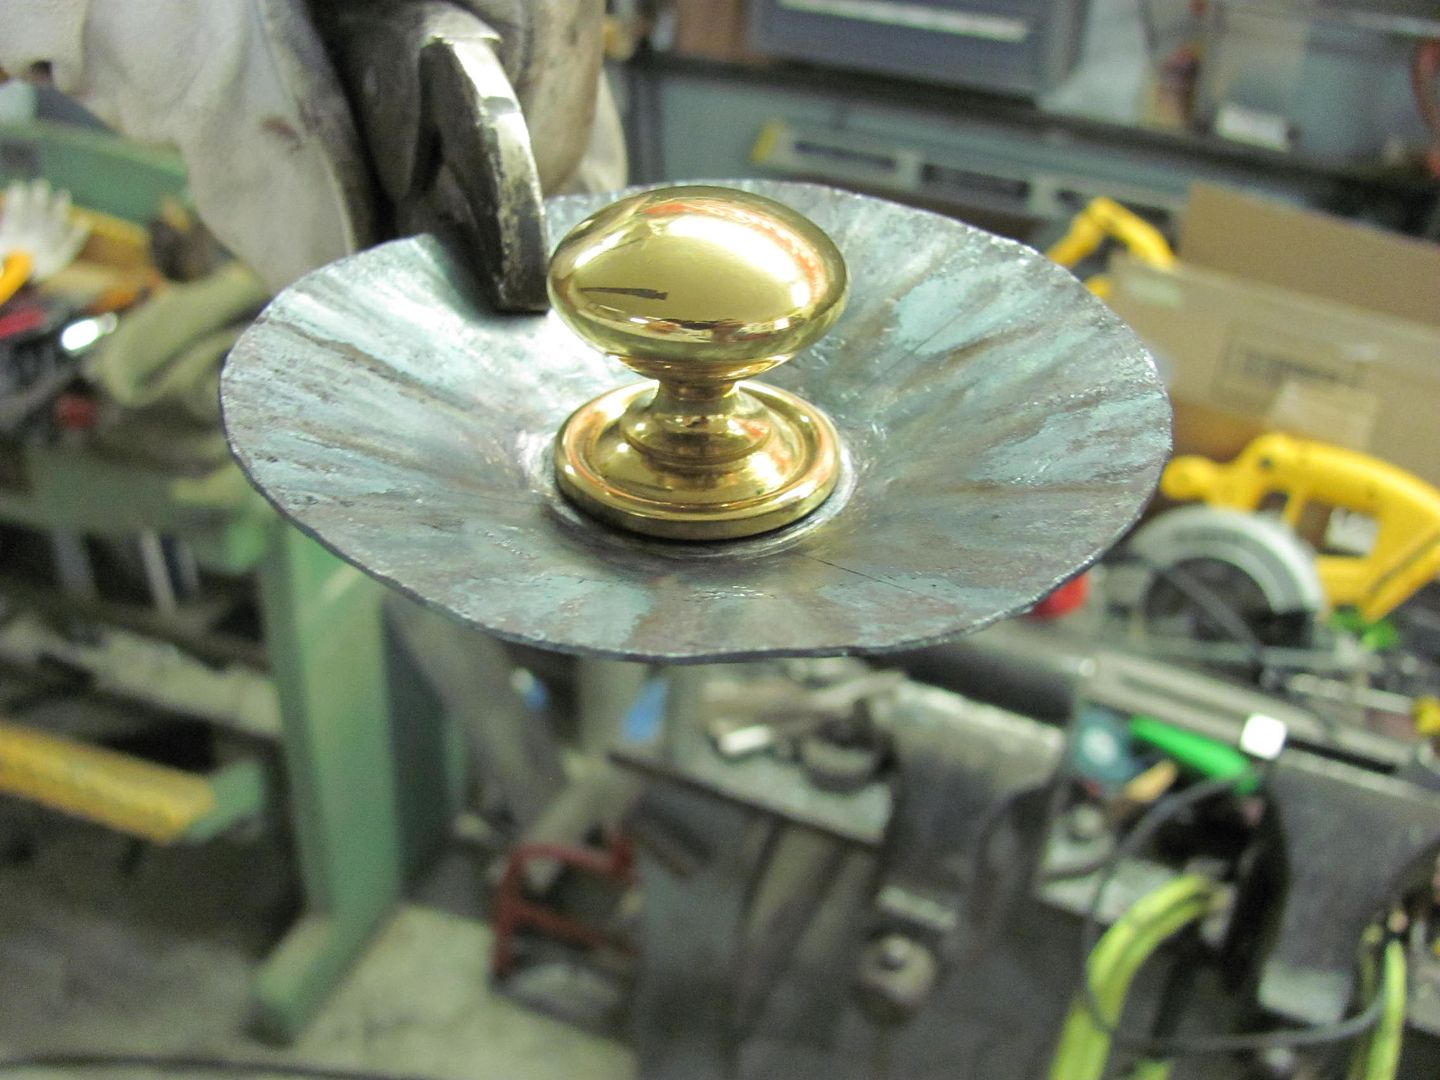
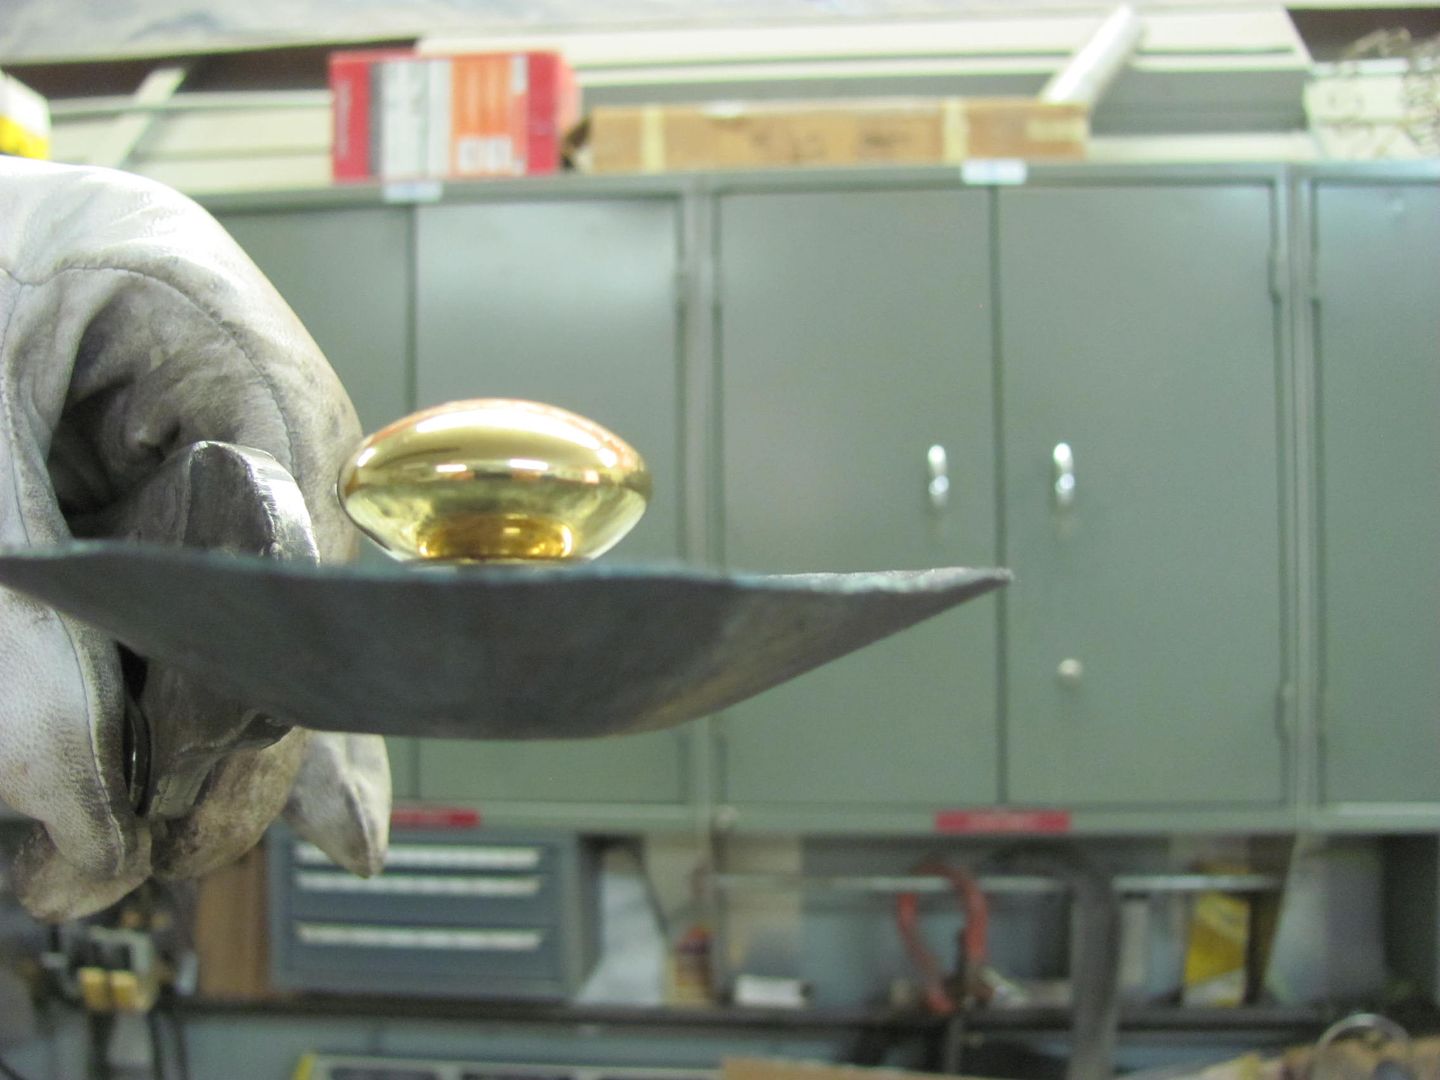
Measured off about half the distance and added another bend line to bring the diameter in a bit...
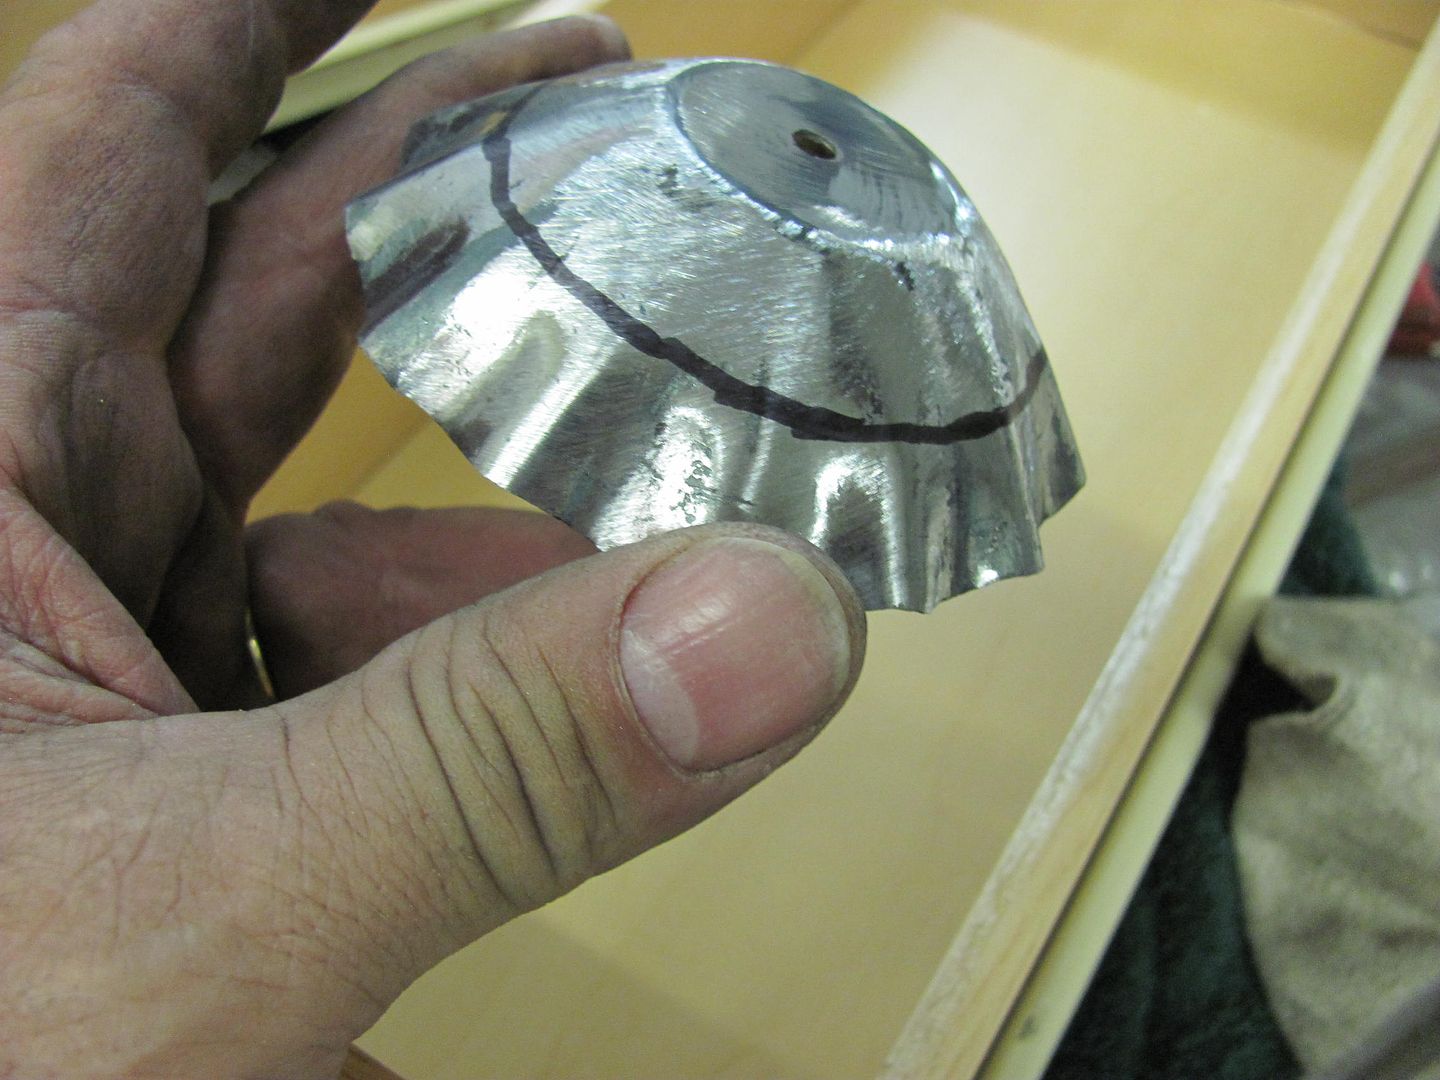
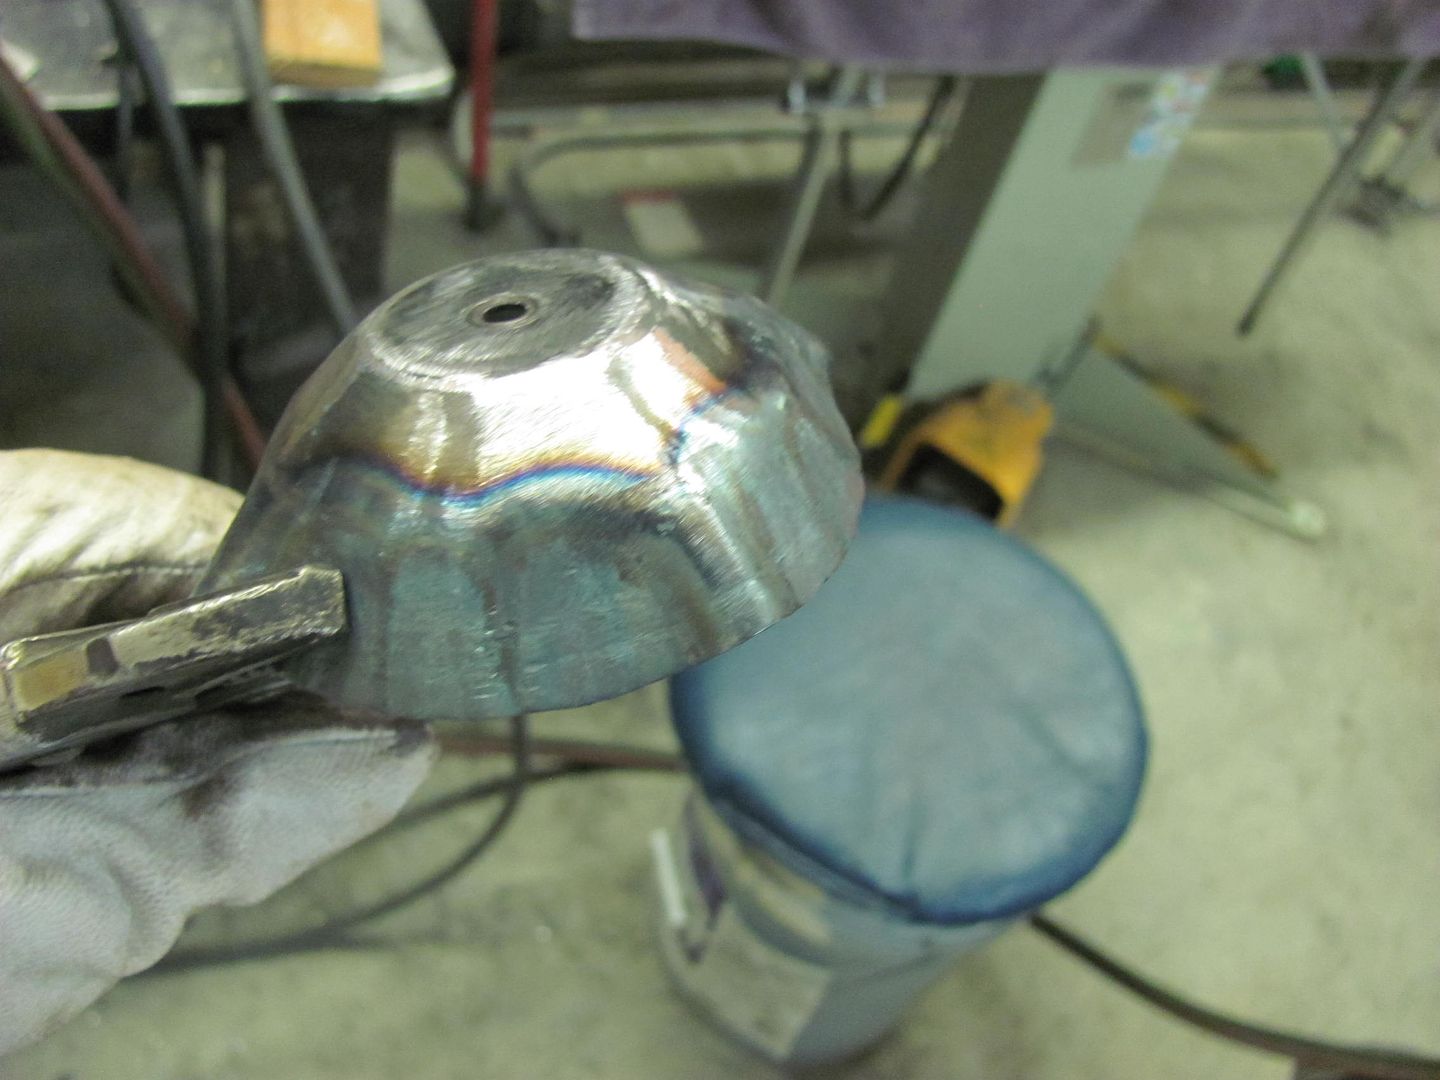
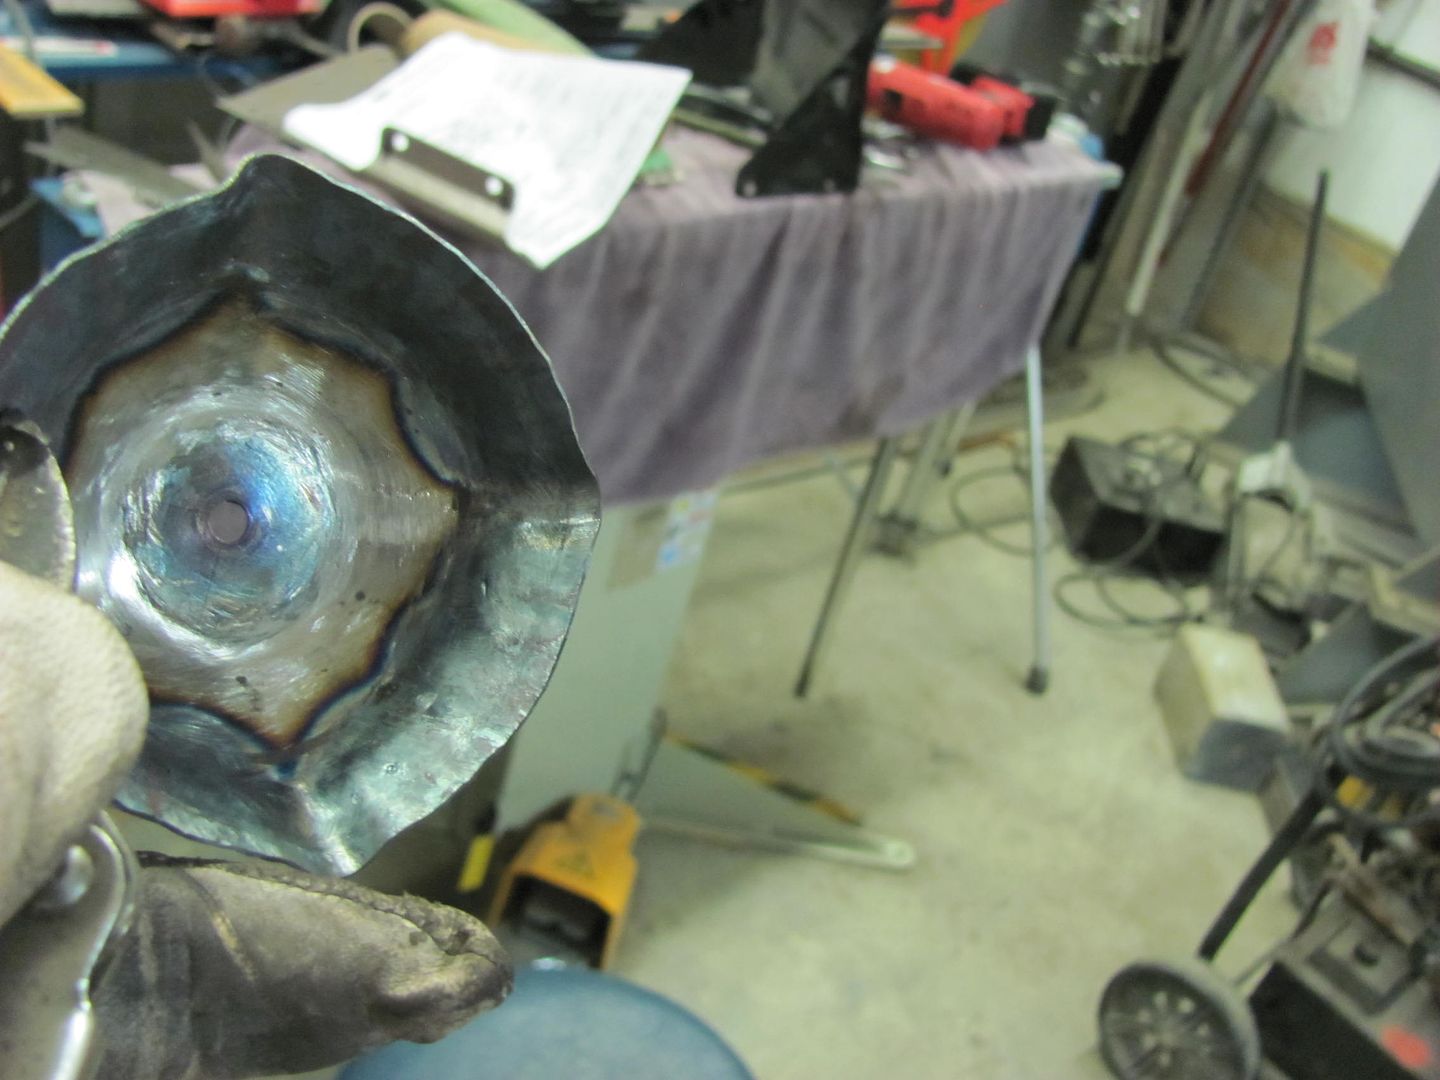
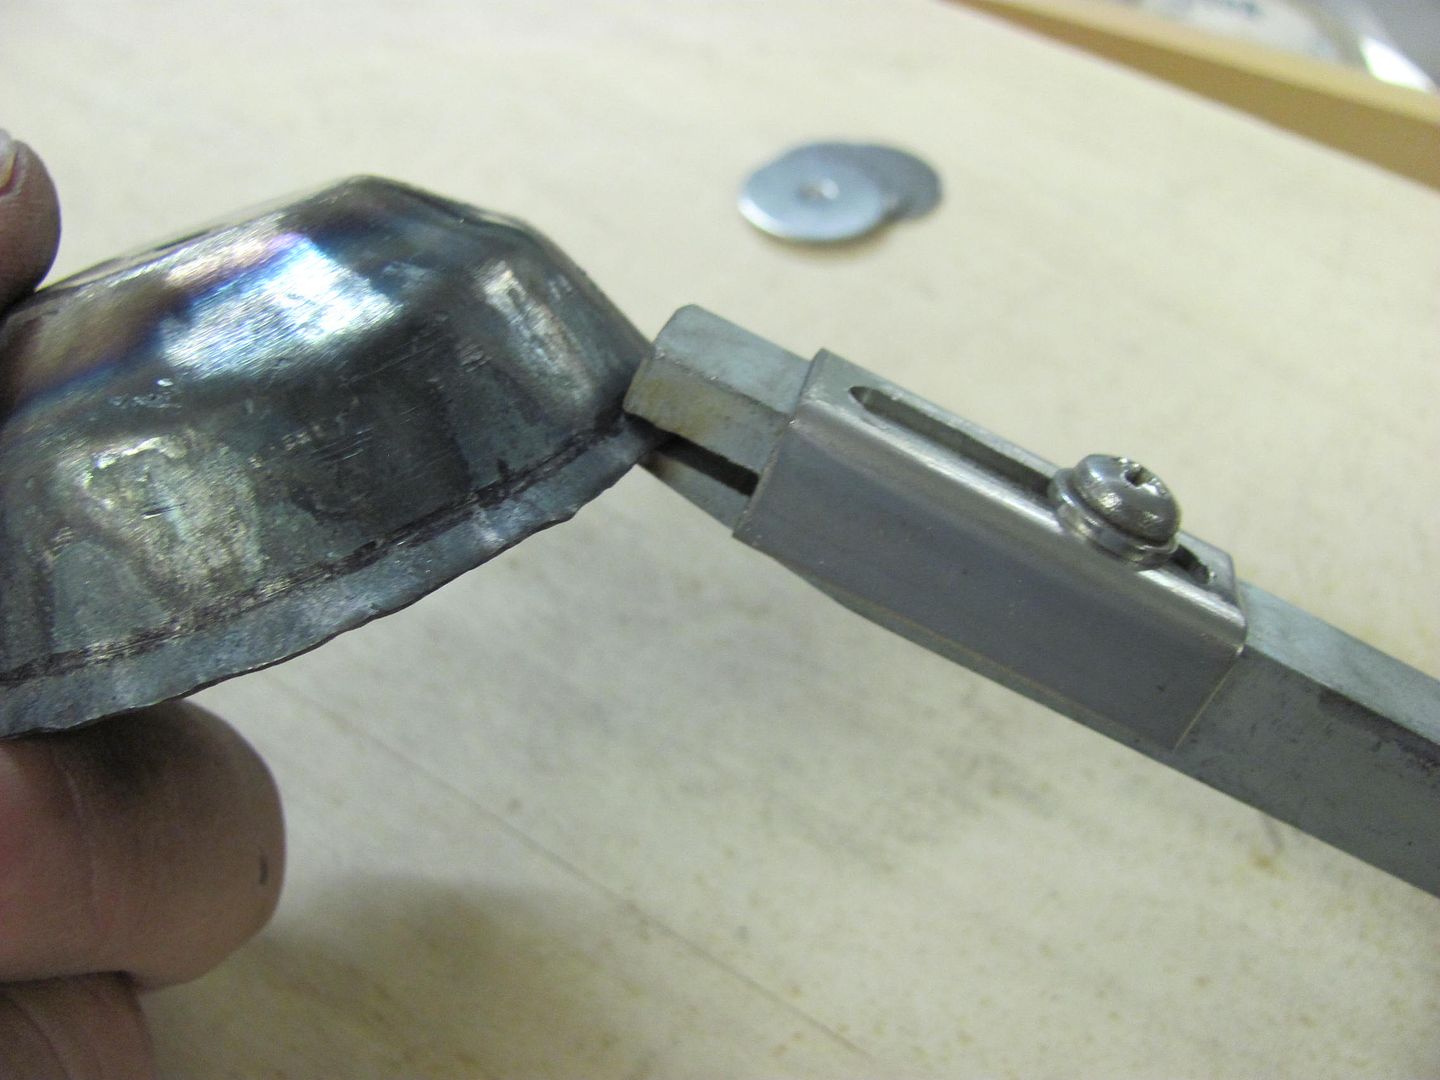
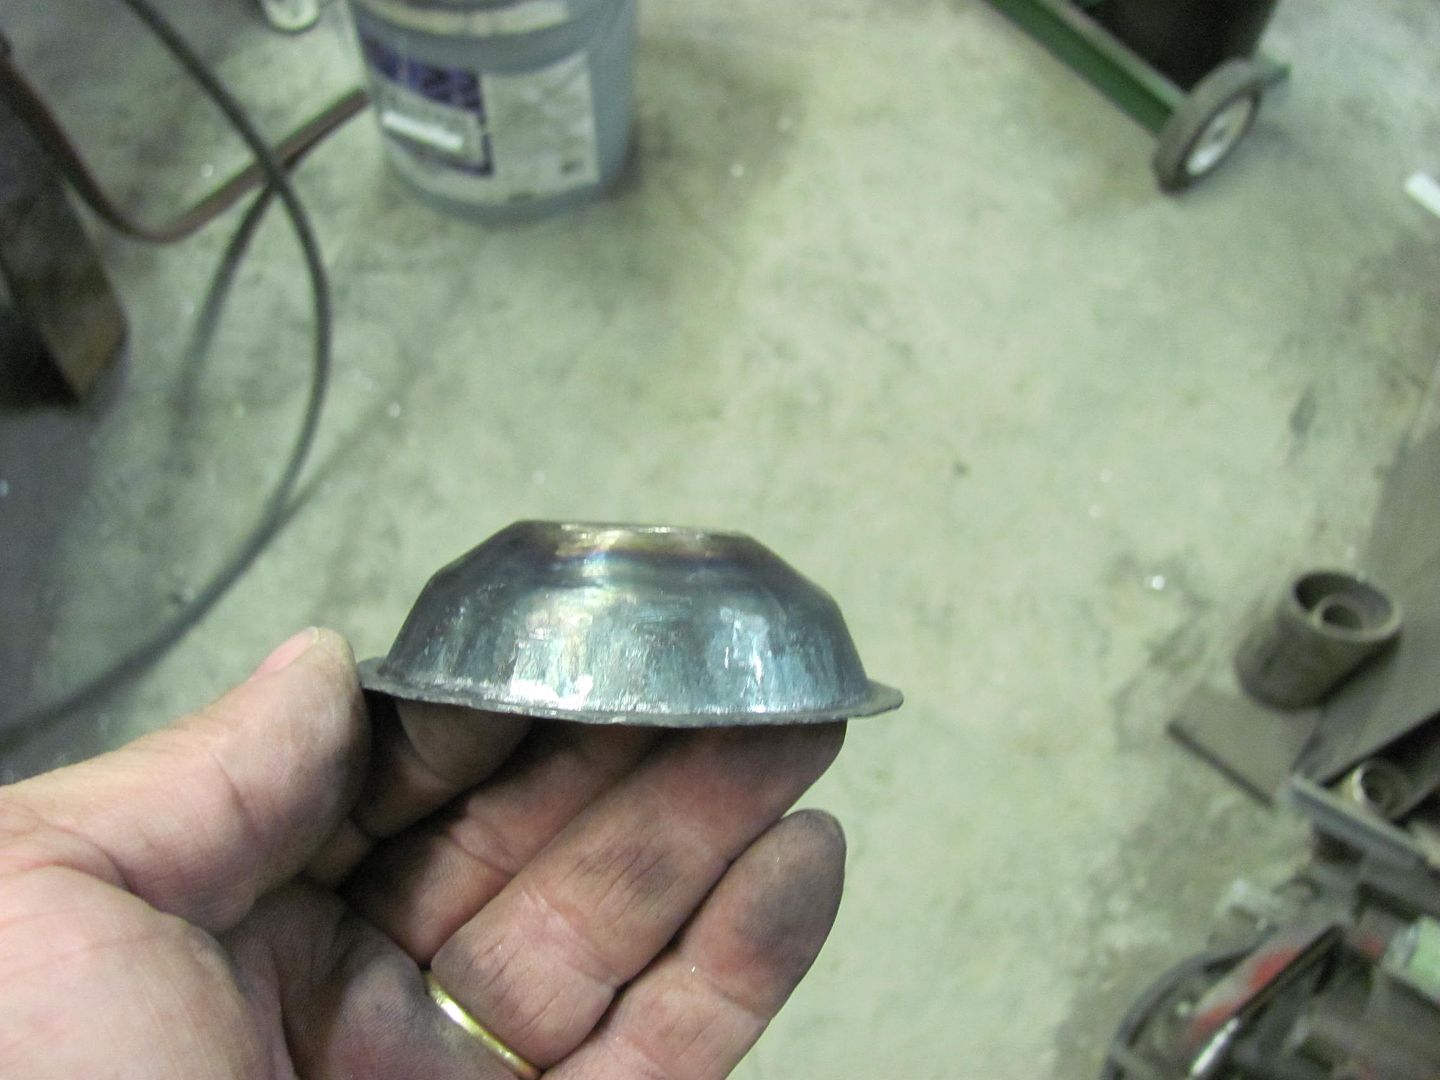
Finished and media blasted...
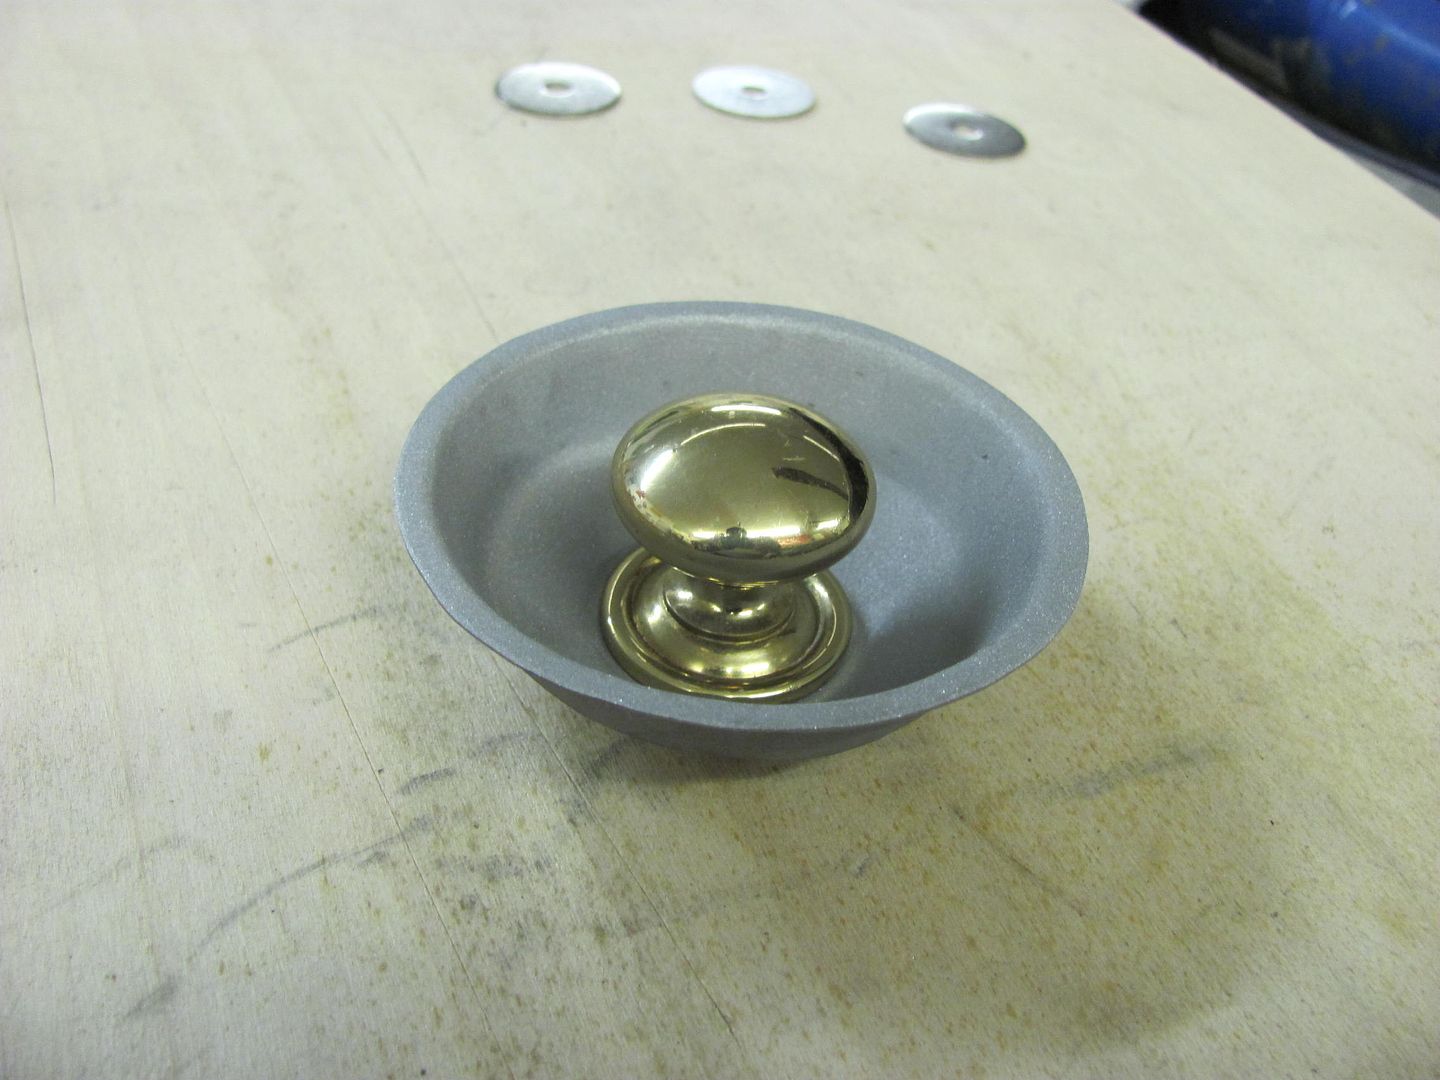
Drawer face hole opened considerably and as the recessed "cup" protrudes through the back side, a stepped washer was made for the inside of the drawer.
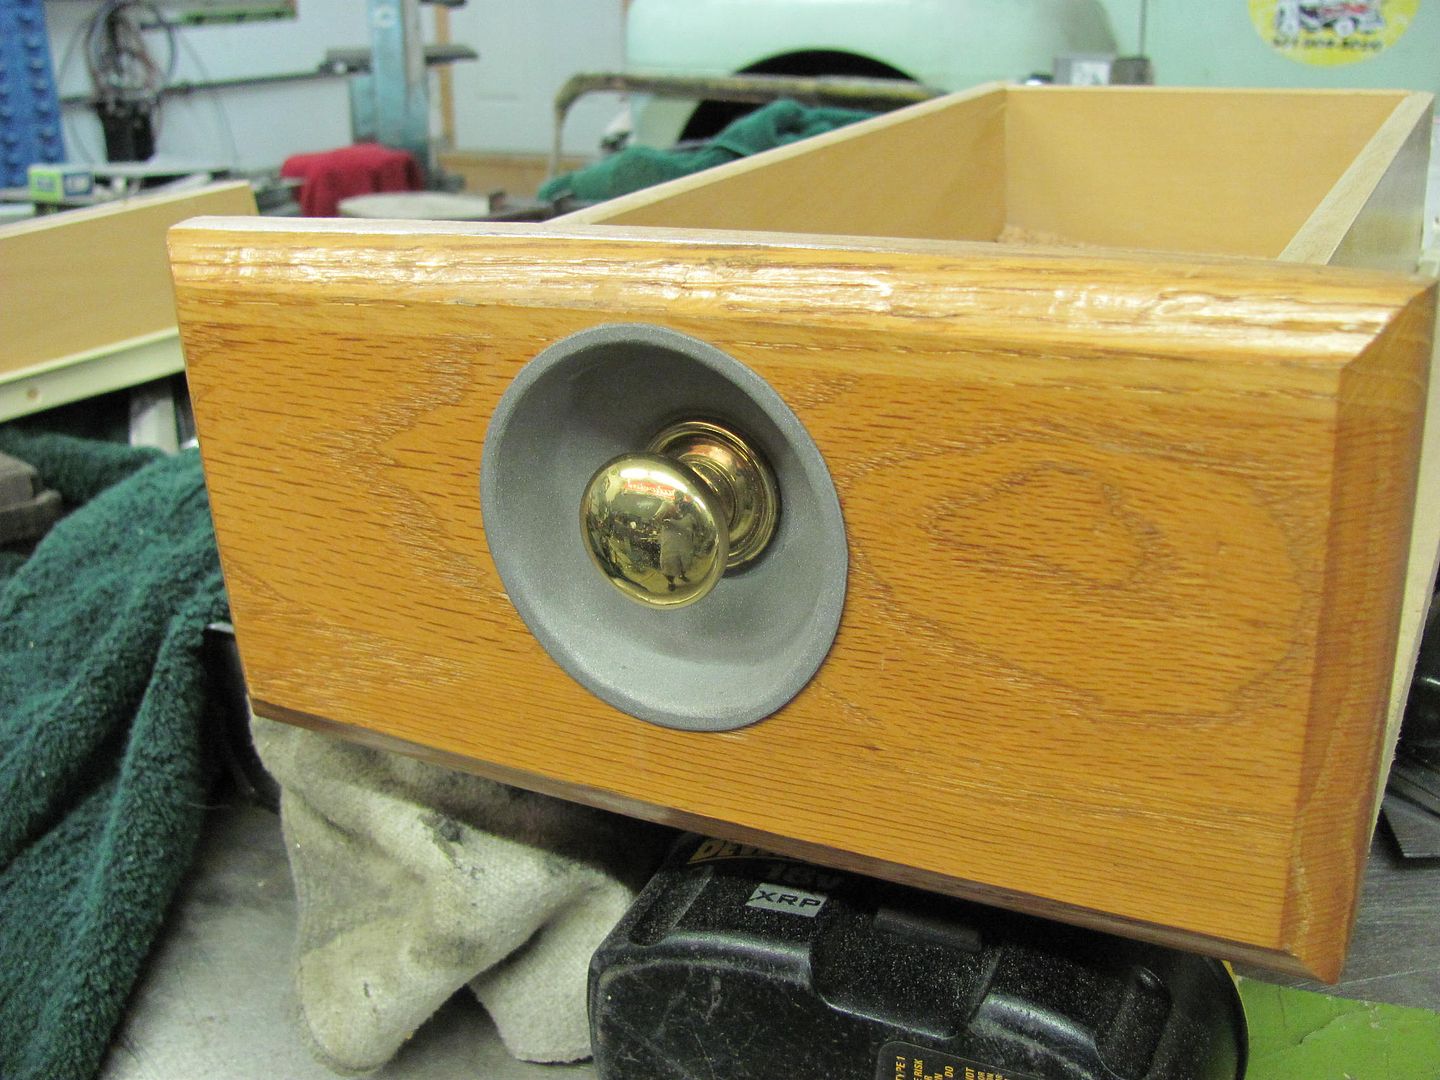
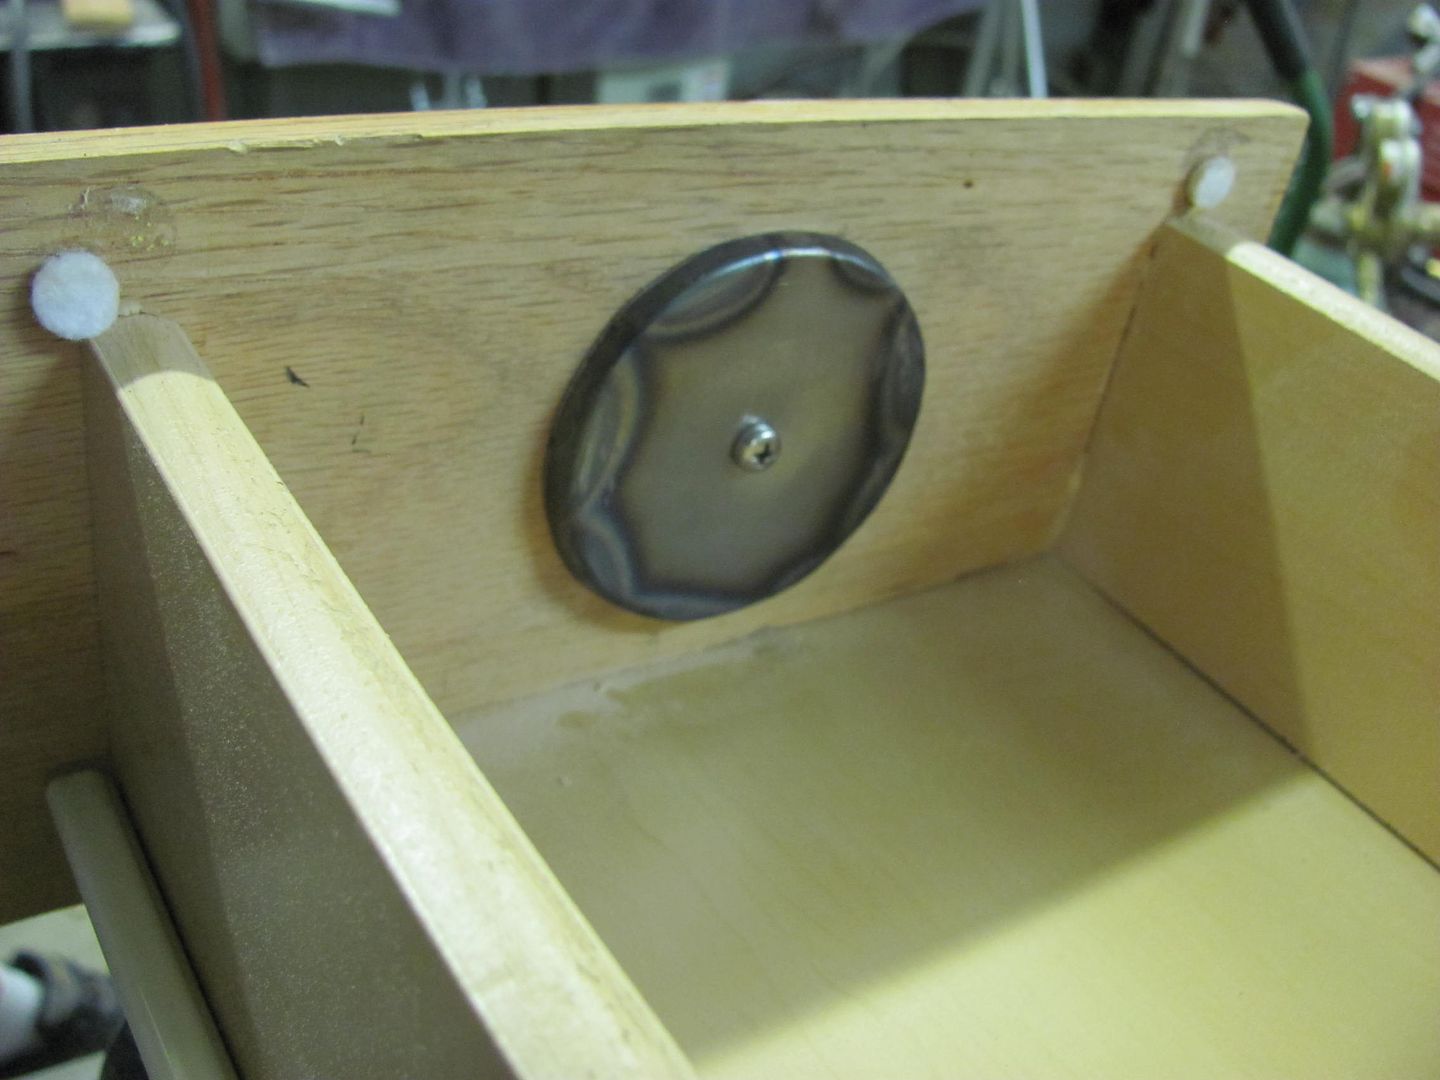
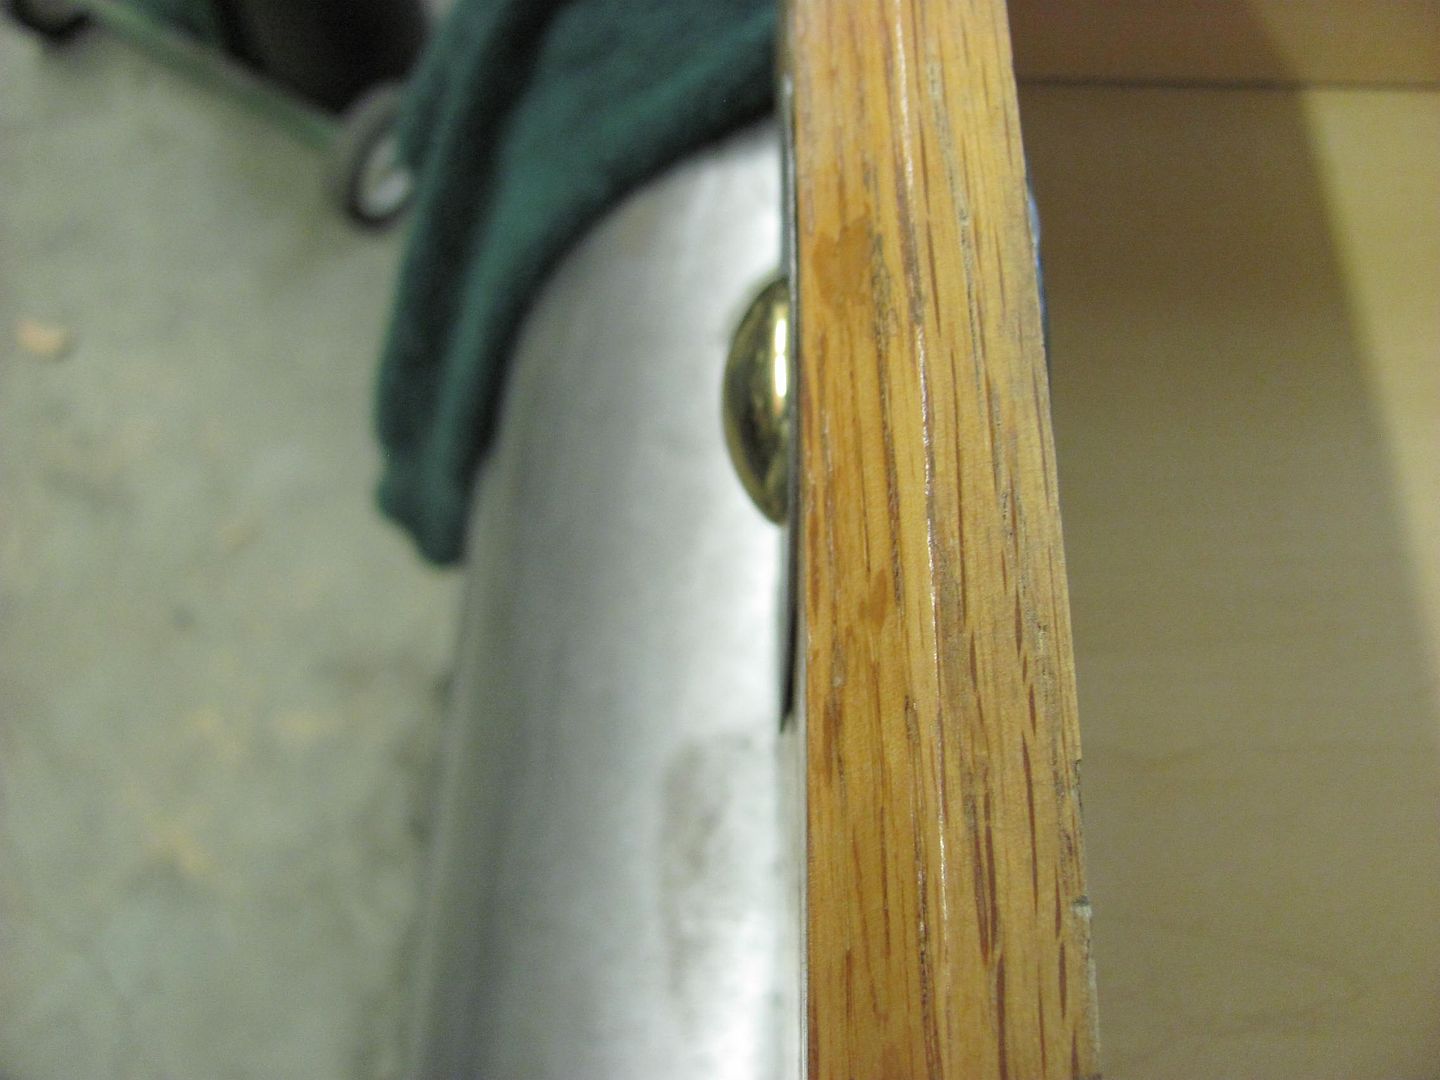
This looks like it will work!Last edited by MP&C; 07-13-2014 at 09:22 PM.
Robert
-
07-13-2014 09:33 PM #249
Very clever!
"  "No matter where you go, there you are!" Steve.
-
07-14-2014 08:10 AM #250
I found this thread a while back. It has been a major inspiration for the work on my 1955 Ranch Wagon. The Ranch Wagon is Ford's version of the Nomad and mine has all the same issues. I have replaced the floor and tunnel from under the rear seat forward and the inner and outer rockers. I am working on the right side quarter panels and have the front mostly done. I used your technique for fitting and was able to TIG fuse weld much of the right front horizontal seam. The rest was migged per your technique. I made the copper backup with the magnet on it. Mine work will never equal yours, but with your help, this project is coming out better than the previous ones. Just wanted to say thank you.
-
07-14-2014 08:46 AM #251
DJ, well here's some more inspiration for you. (not my work) Was a local car here until the guy passed away, I believe his daughter in FL now has it.
Glad to hear the pointers are helping out!
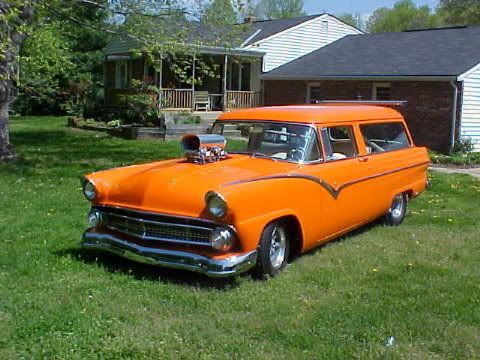
Robert
-
07-19-2014 09:32 PM #252
Still practicing at the Tig fusion welding, did another "test" piece last night to try and work out some bugs.
To review my previous attempt:
Some practice at fusion welding using the Tig while at Gatormeet, here's the front showing some slight undercutting..
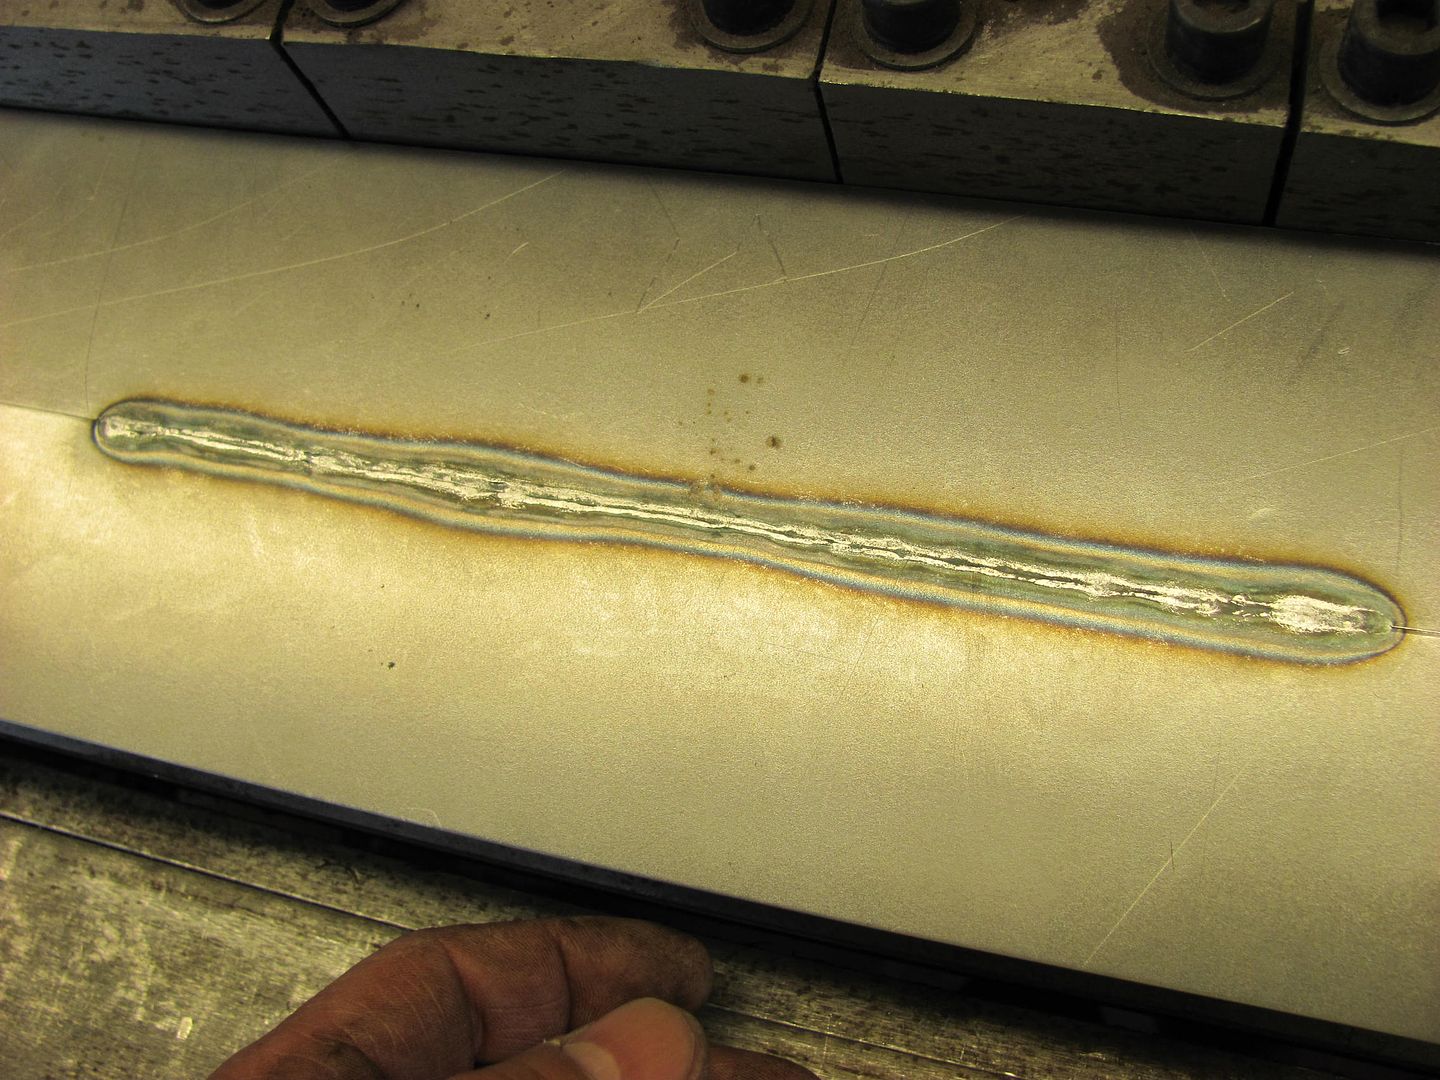
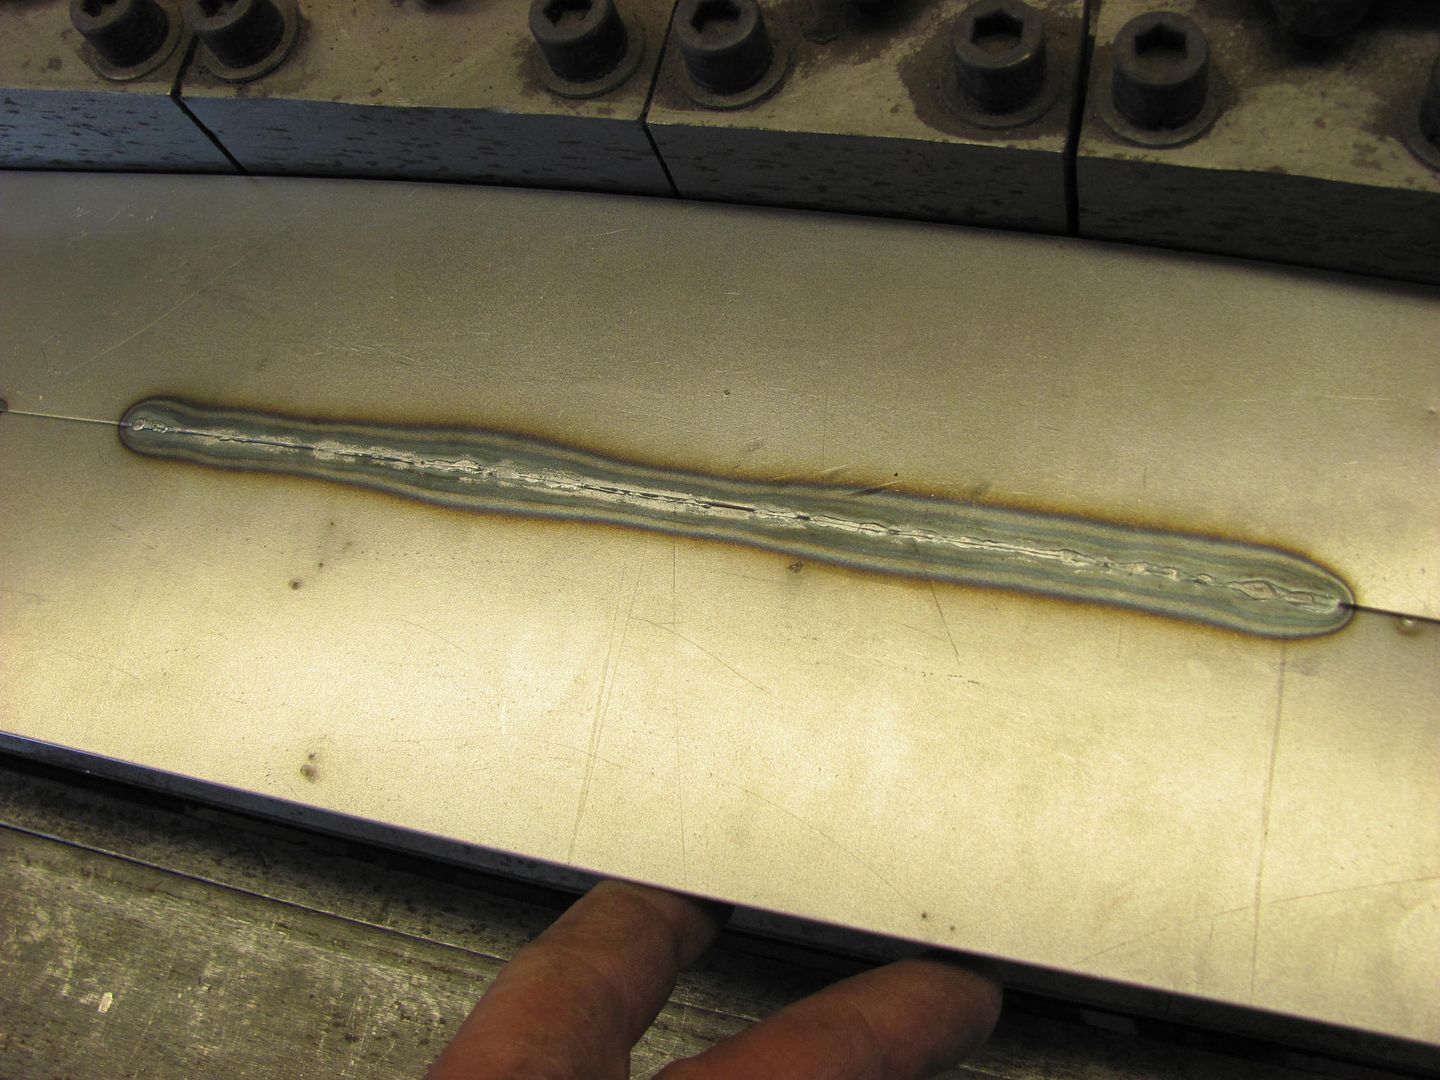
The rear side shows some good weld penetration in some areas and needs more practice in others..
Just to show that slight undercutting on fusion welding was not an issue in the joint's strength, the seam was clamped in the apron brake and bent to 135 degrees, with no detriment to the weld..
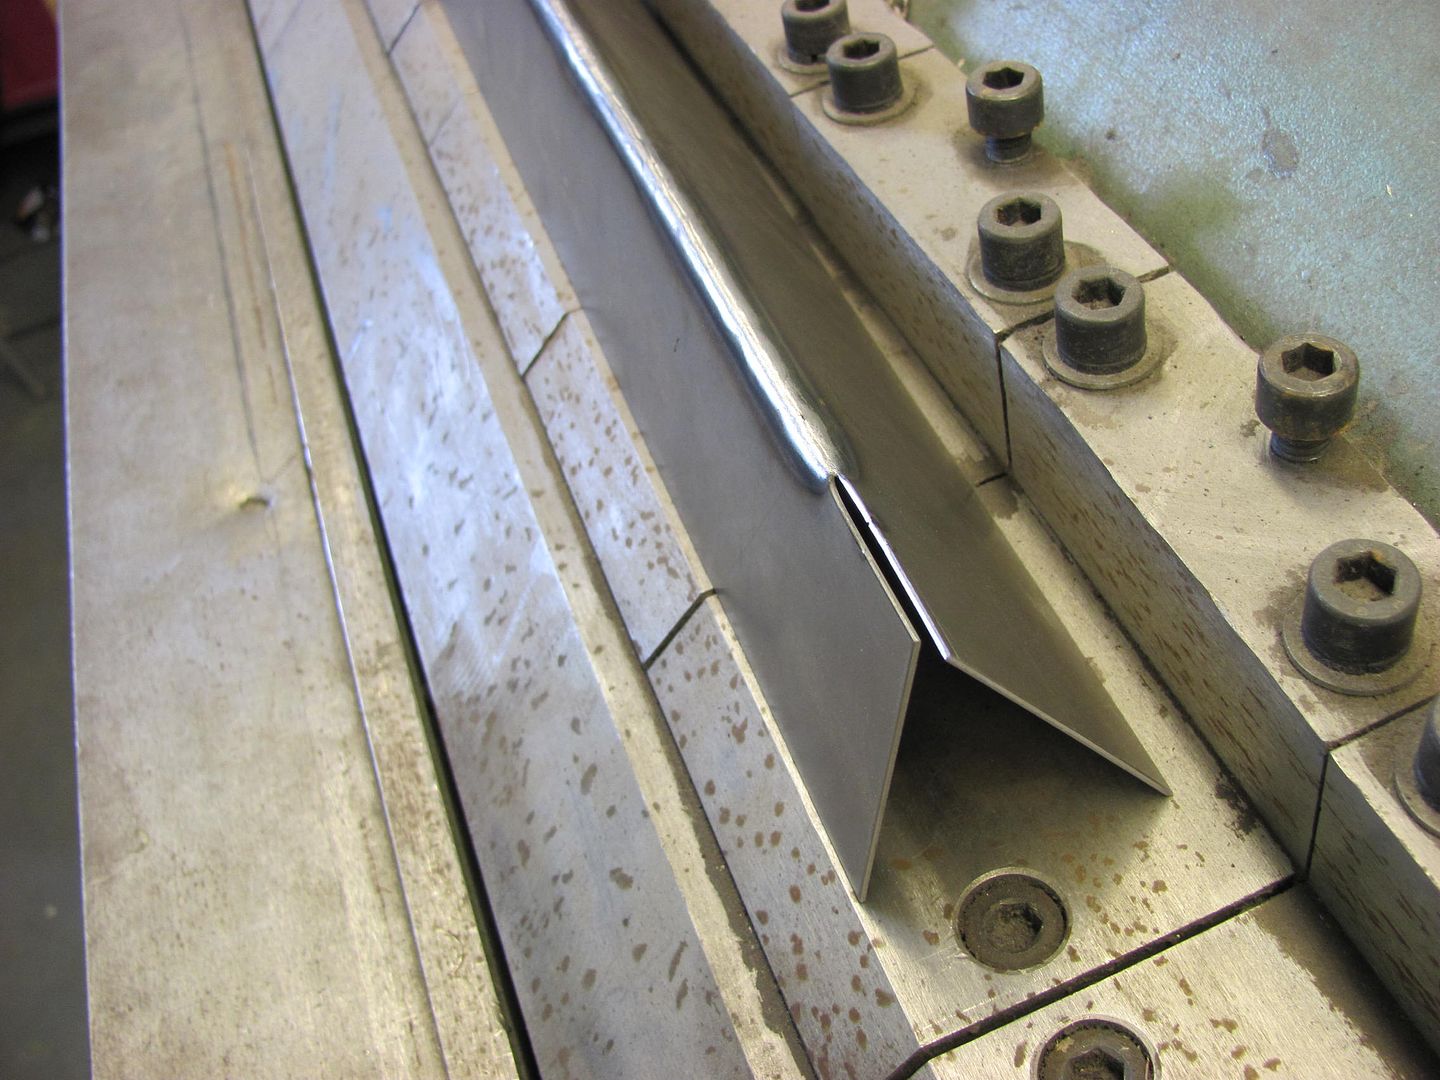
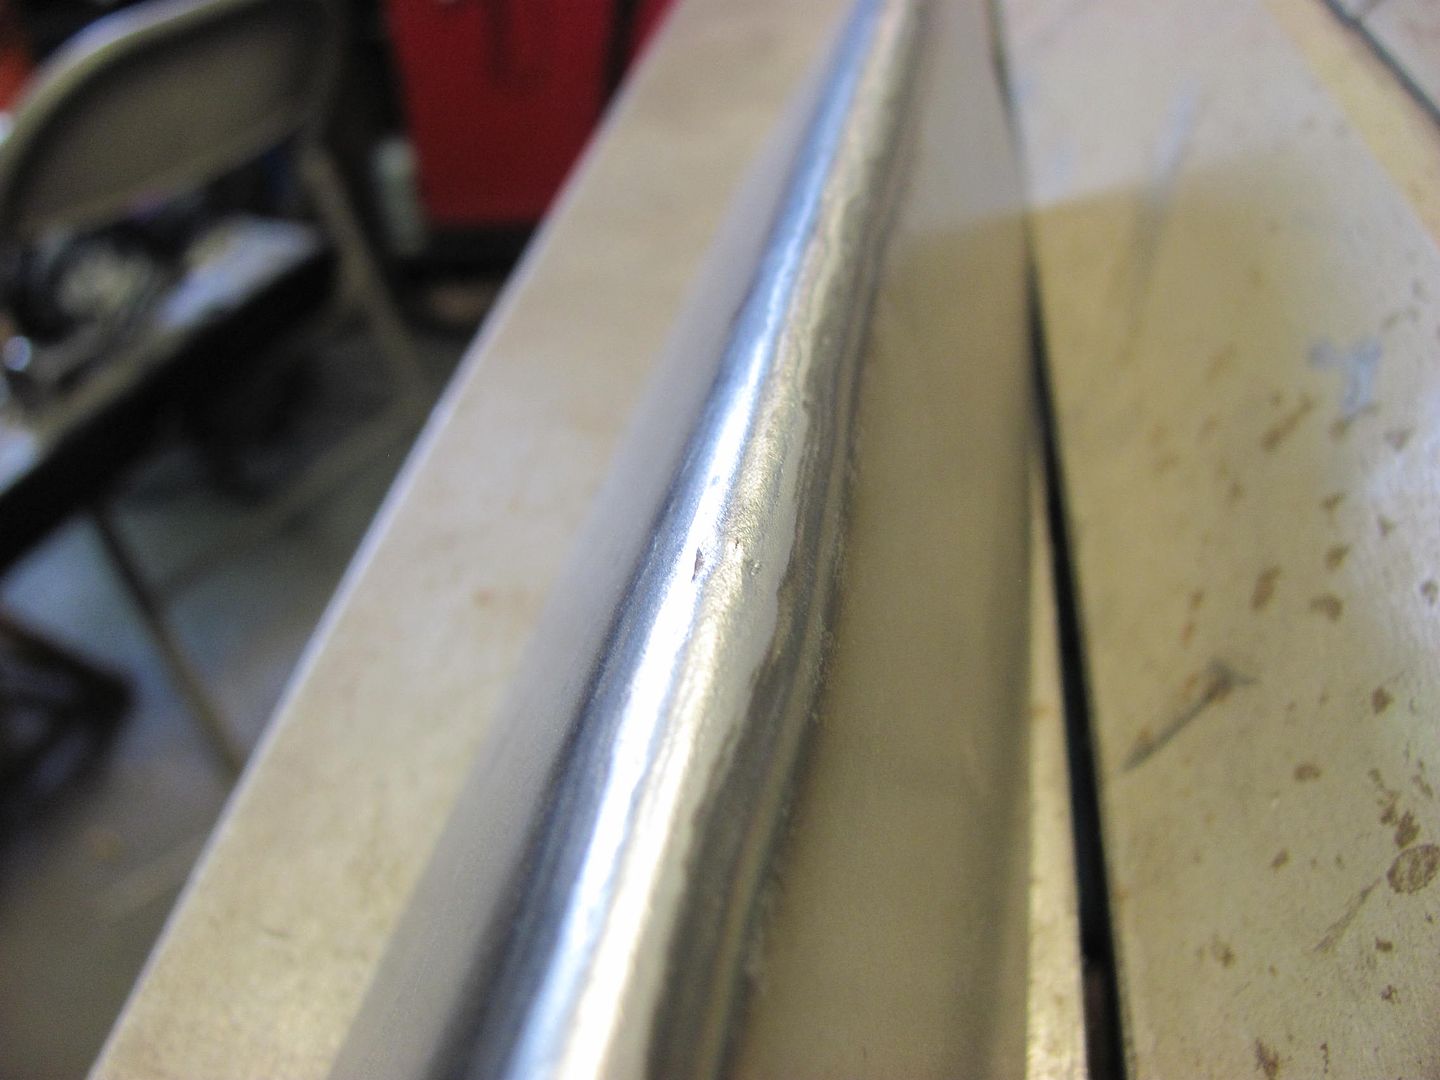
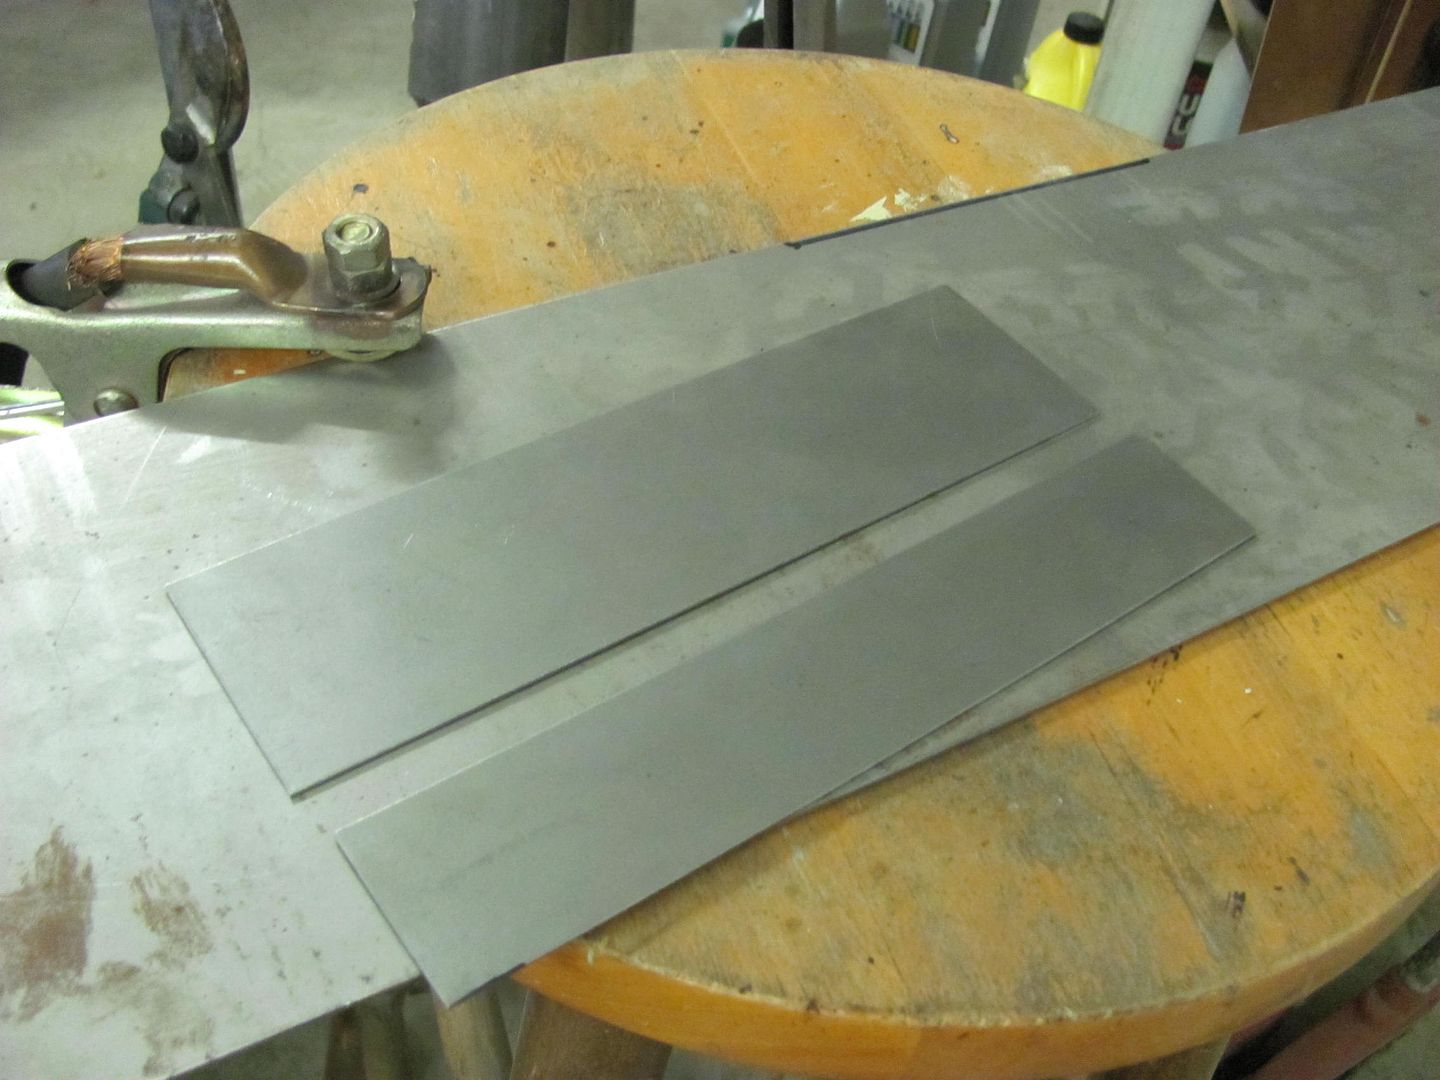
When using the Tig torch on that pass, I had set the amperage, mashed the pedal, and used the speed of the pass to control the heat. The slight undercut in the center is likely due to the fact that I made a straight run from one end to the other. I wanted to try this again, giving the torch a circular motion to see if it helped. Here's our sample pieces..
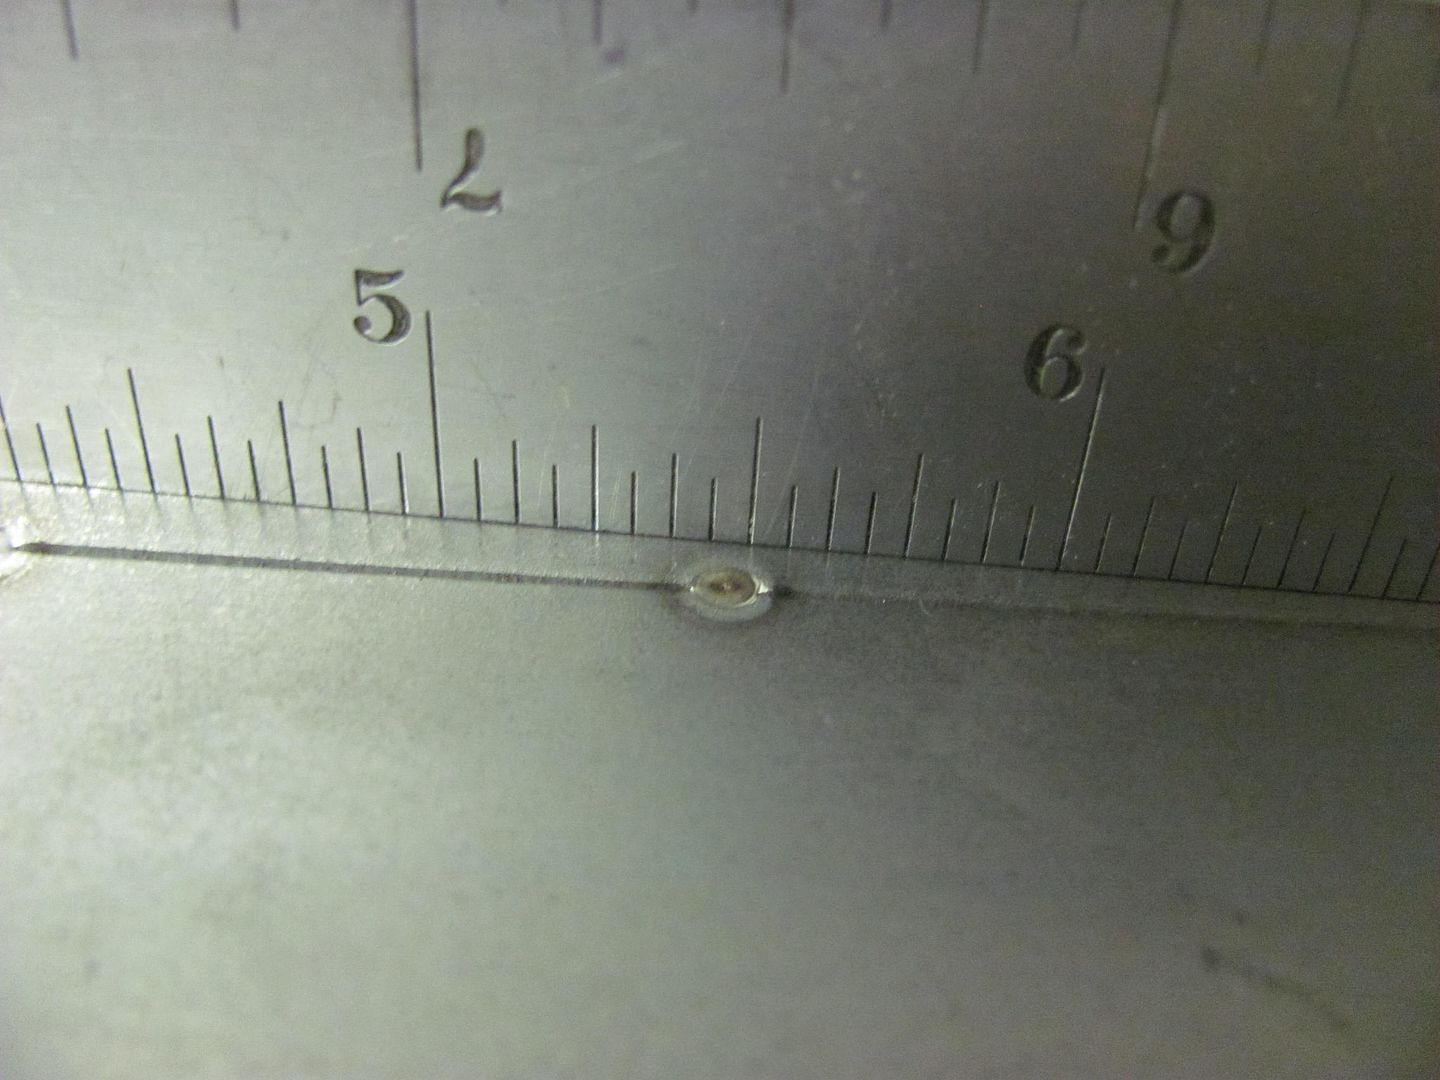
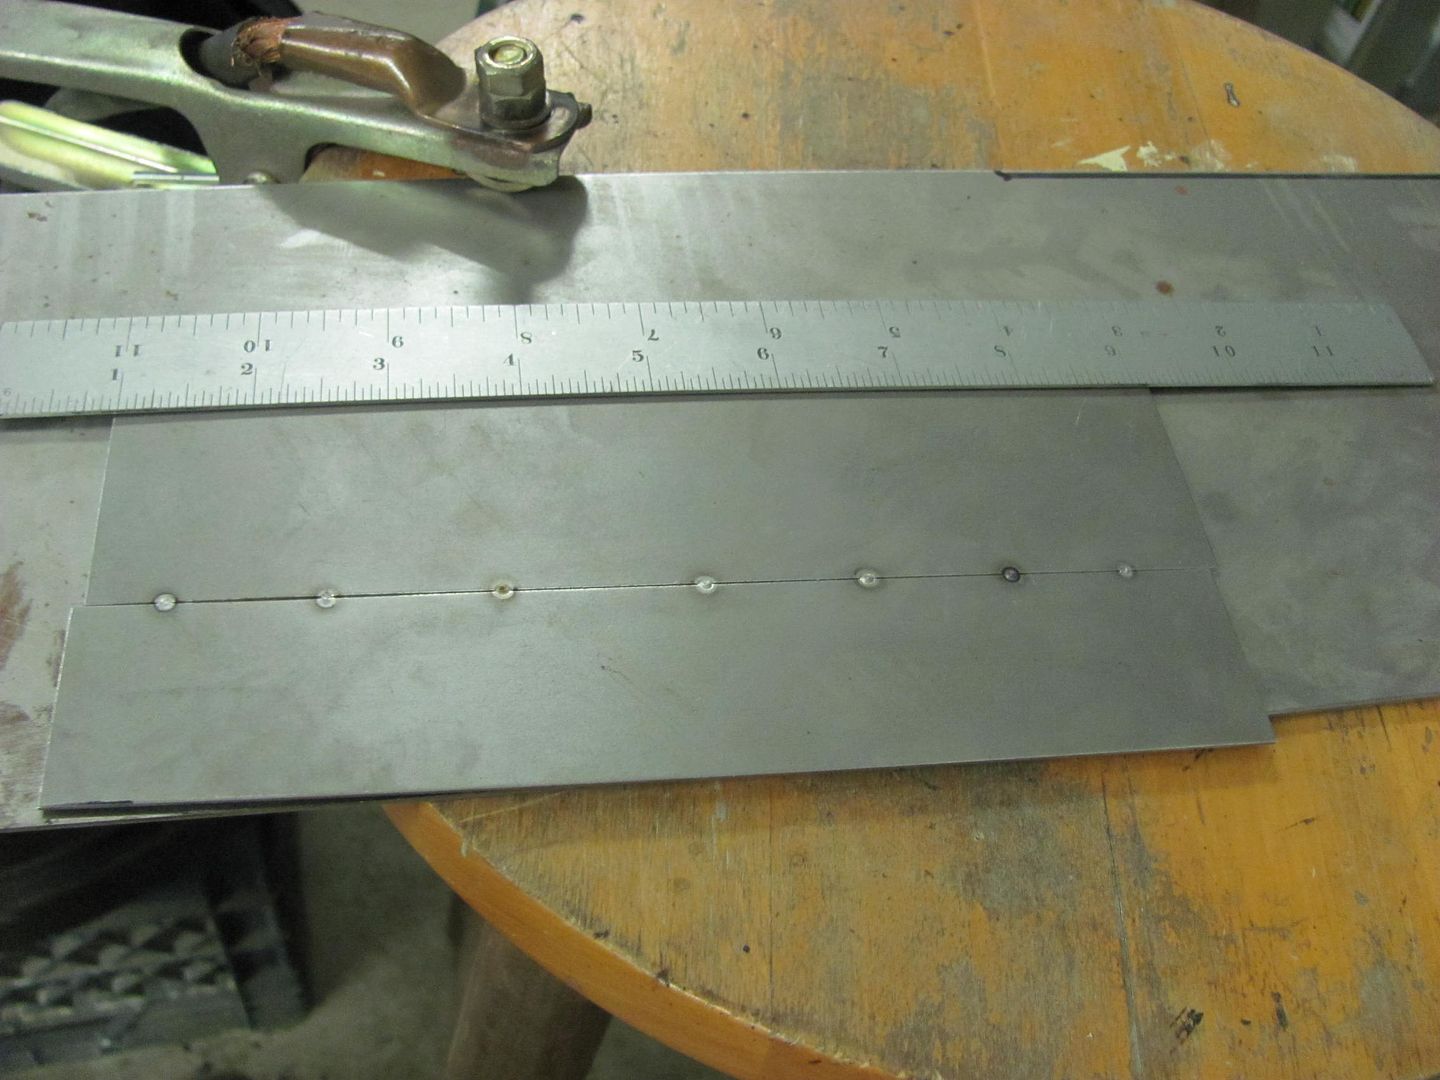
For tacking purposes, I set the electrode depth so it was just sticking out past the cup. The electrode is fairly easy to position using this method, drag it side to side and it will find the exact joint between the two pieces. Then rotate the torch backwards just enough for the cup to pick up the electrode off the metal, and give the pedal a quick push. These "tacks" were about 1/2 second in duration, amps set at 82. This shows the front:
And the rear side weld penetration:
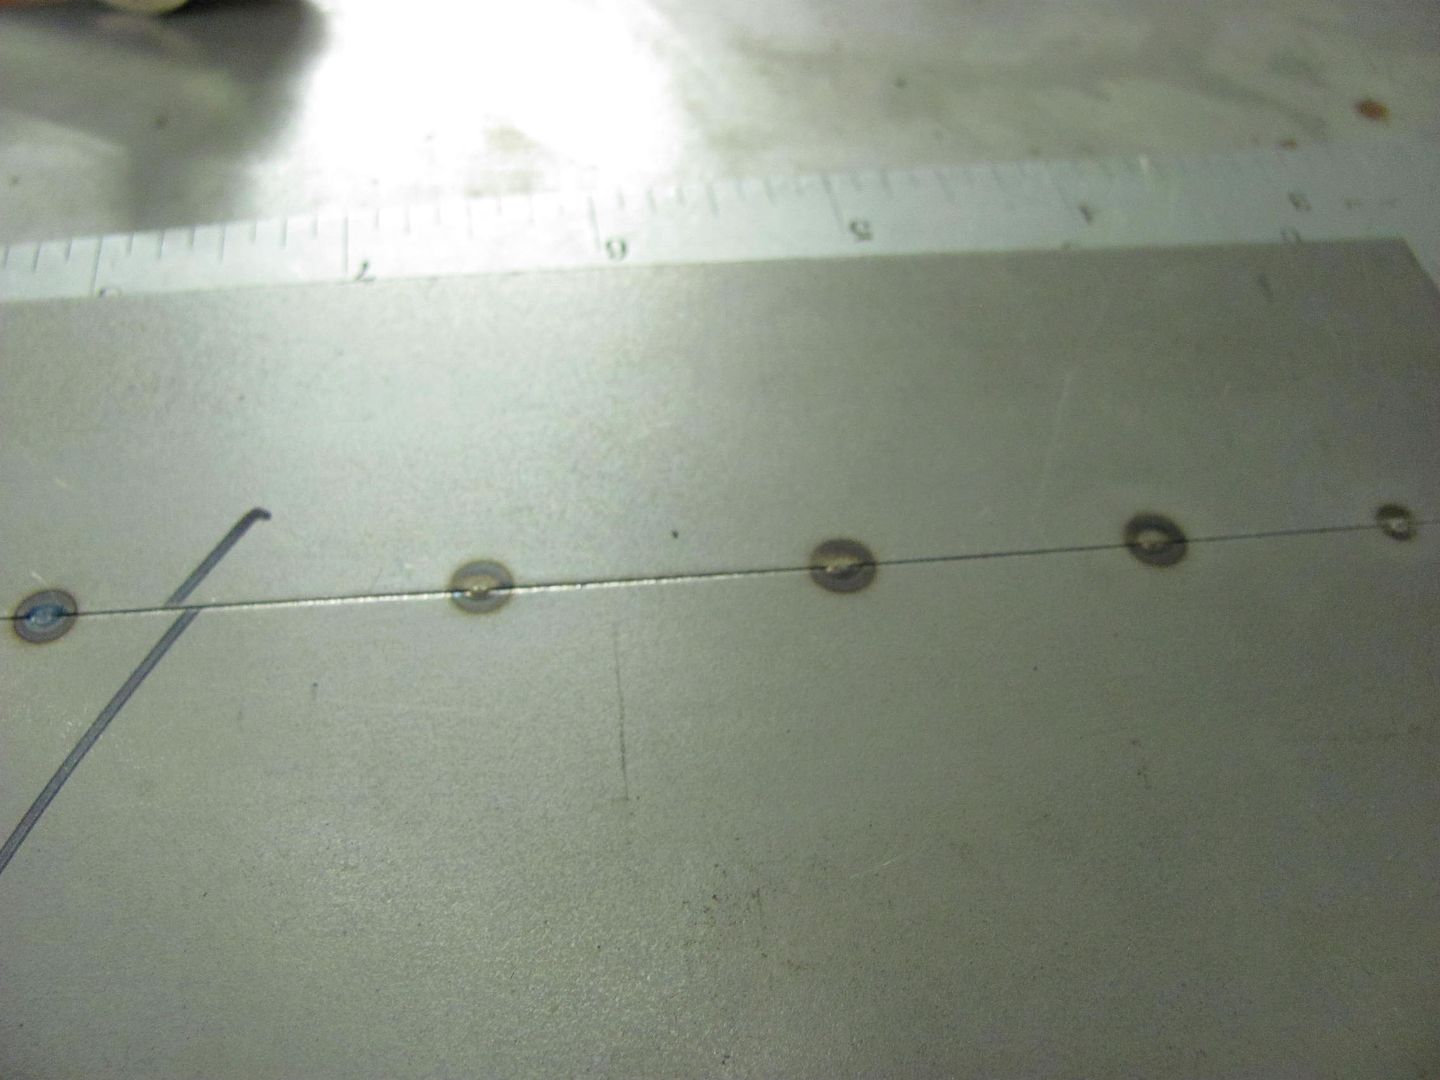
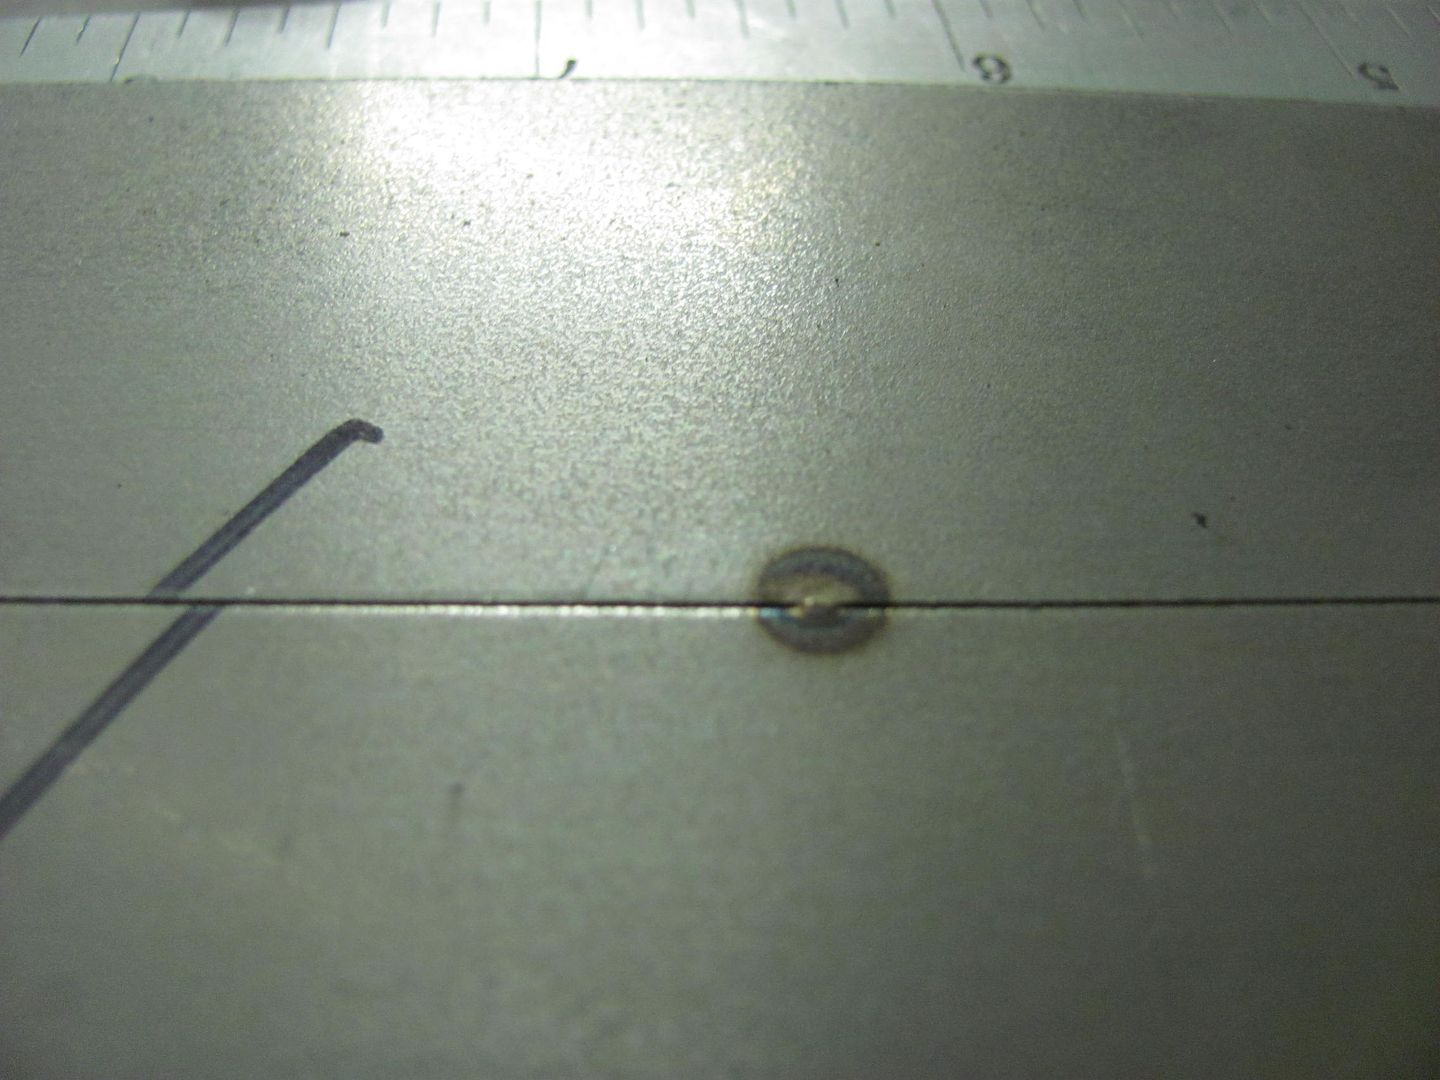
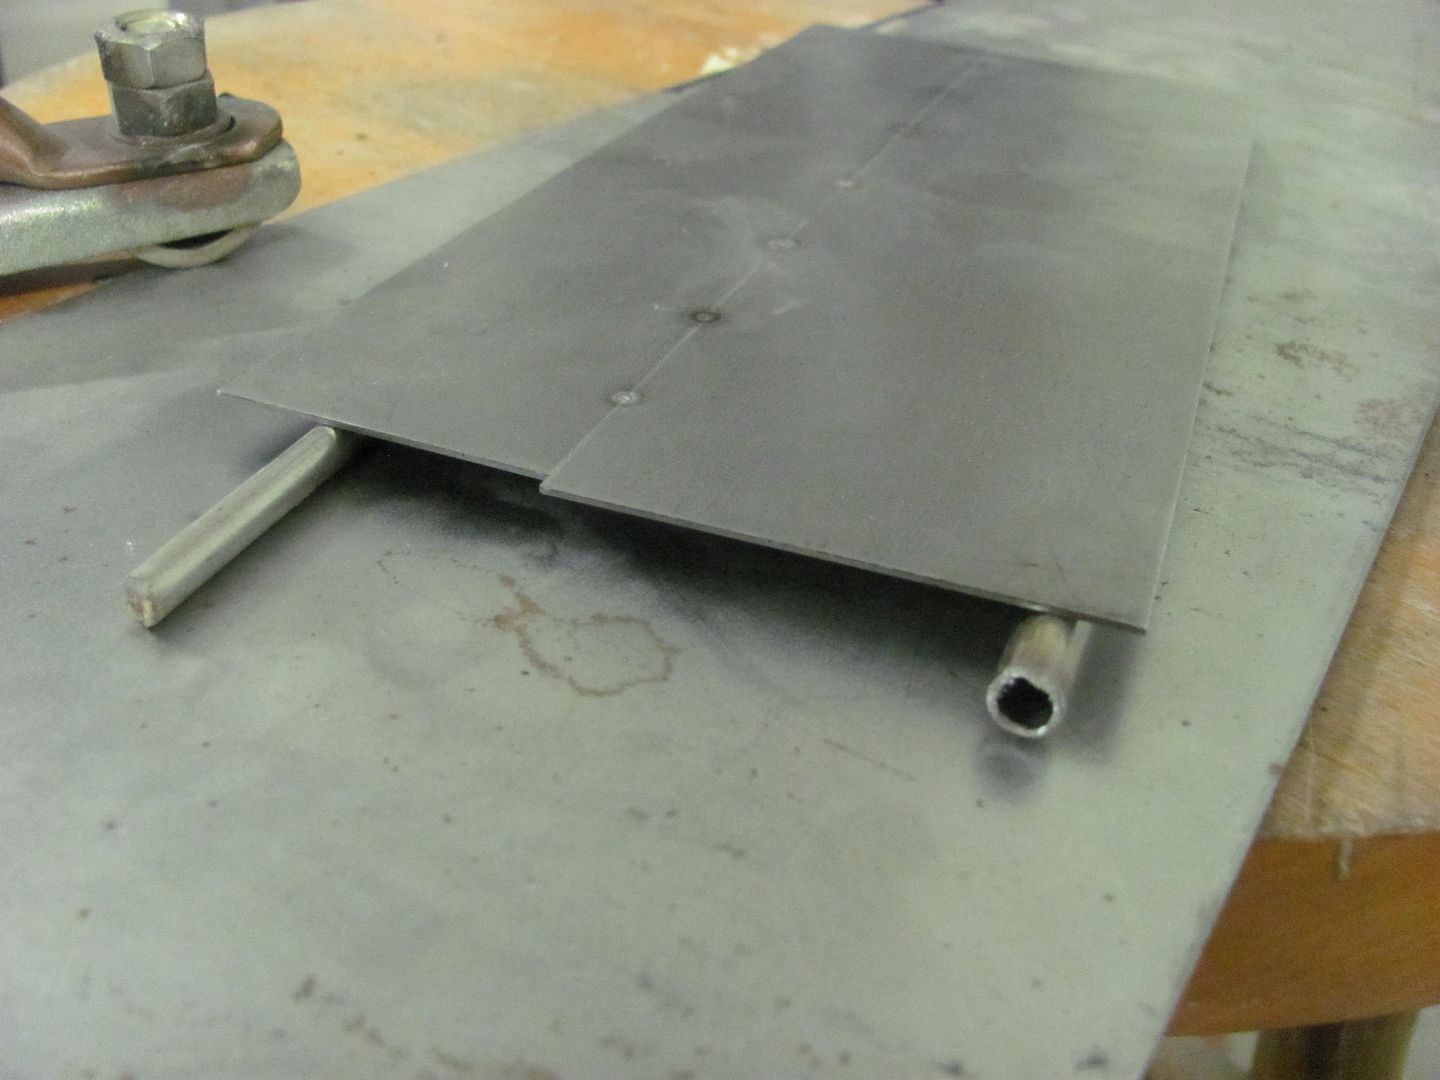
For the weld pass, the sample is raised above the "table" to simulate welding the panels on a car in free air...
In order to maintain consistency for the test, the cup is modified so as to use it as a "glide" (think plasma cutter guide) and the electrode is now moved just inside the low point on the cup. This should hold our electrode height exactly the same, to limit one of the walking, talking, chewing gum factors.
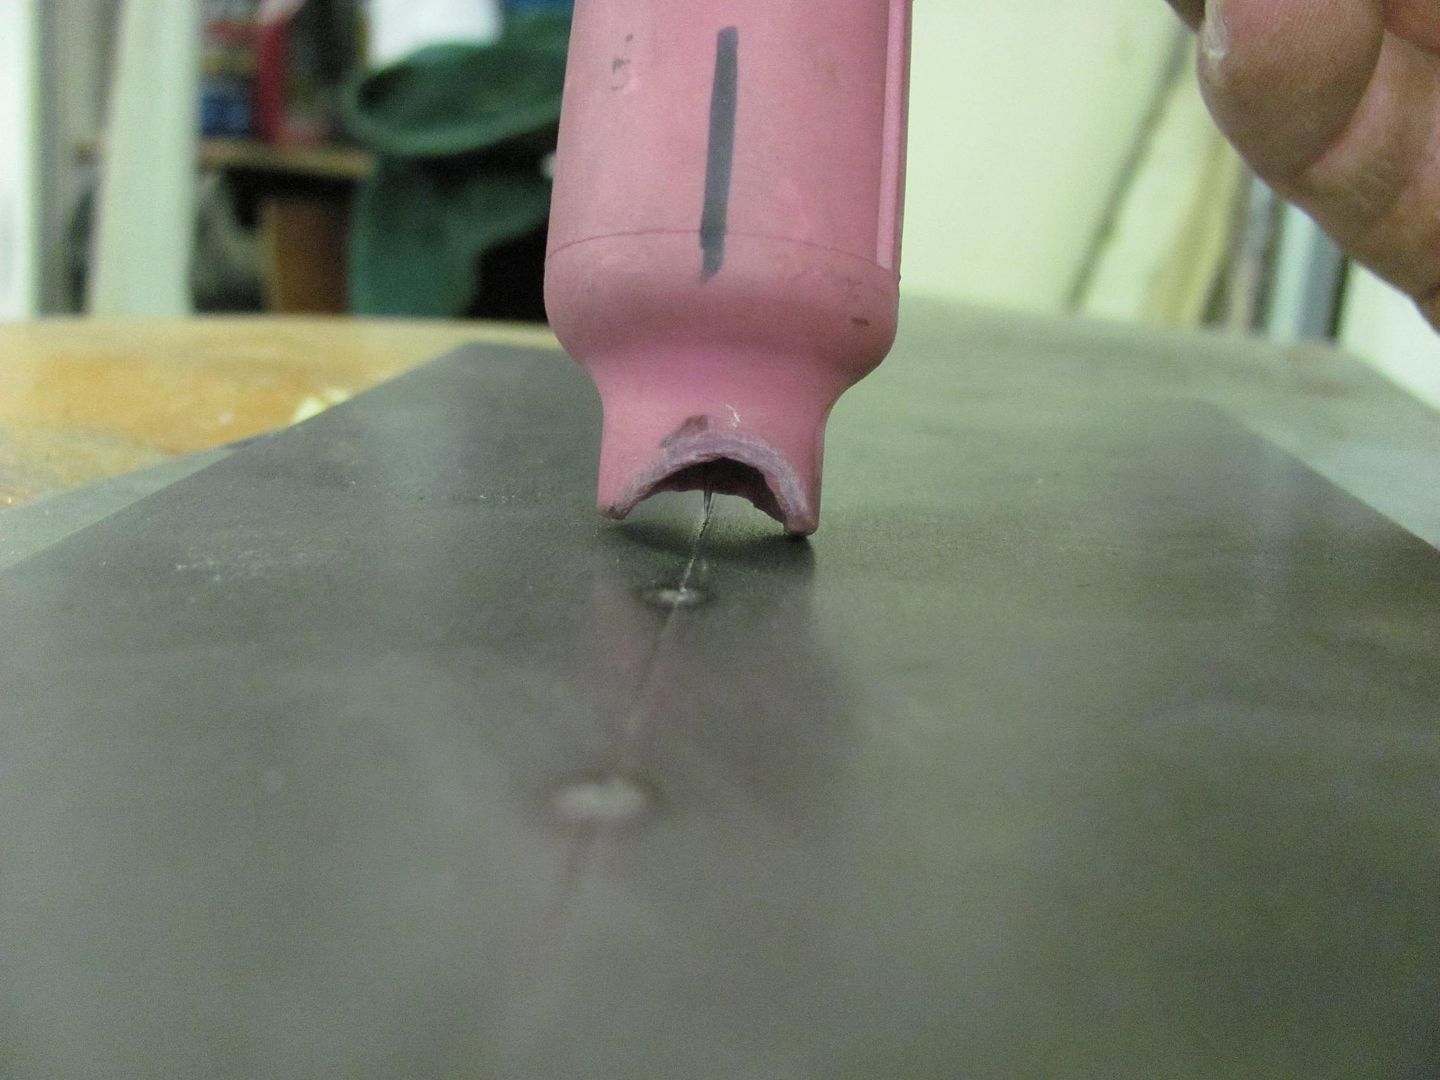
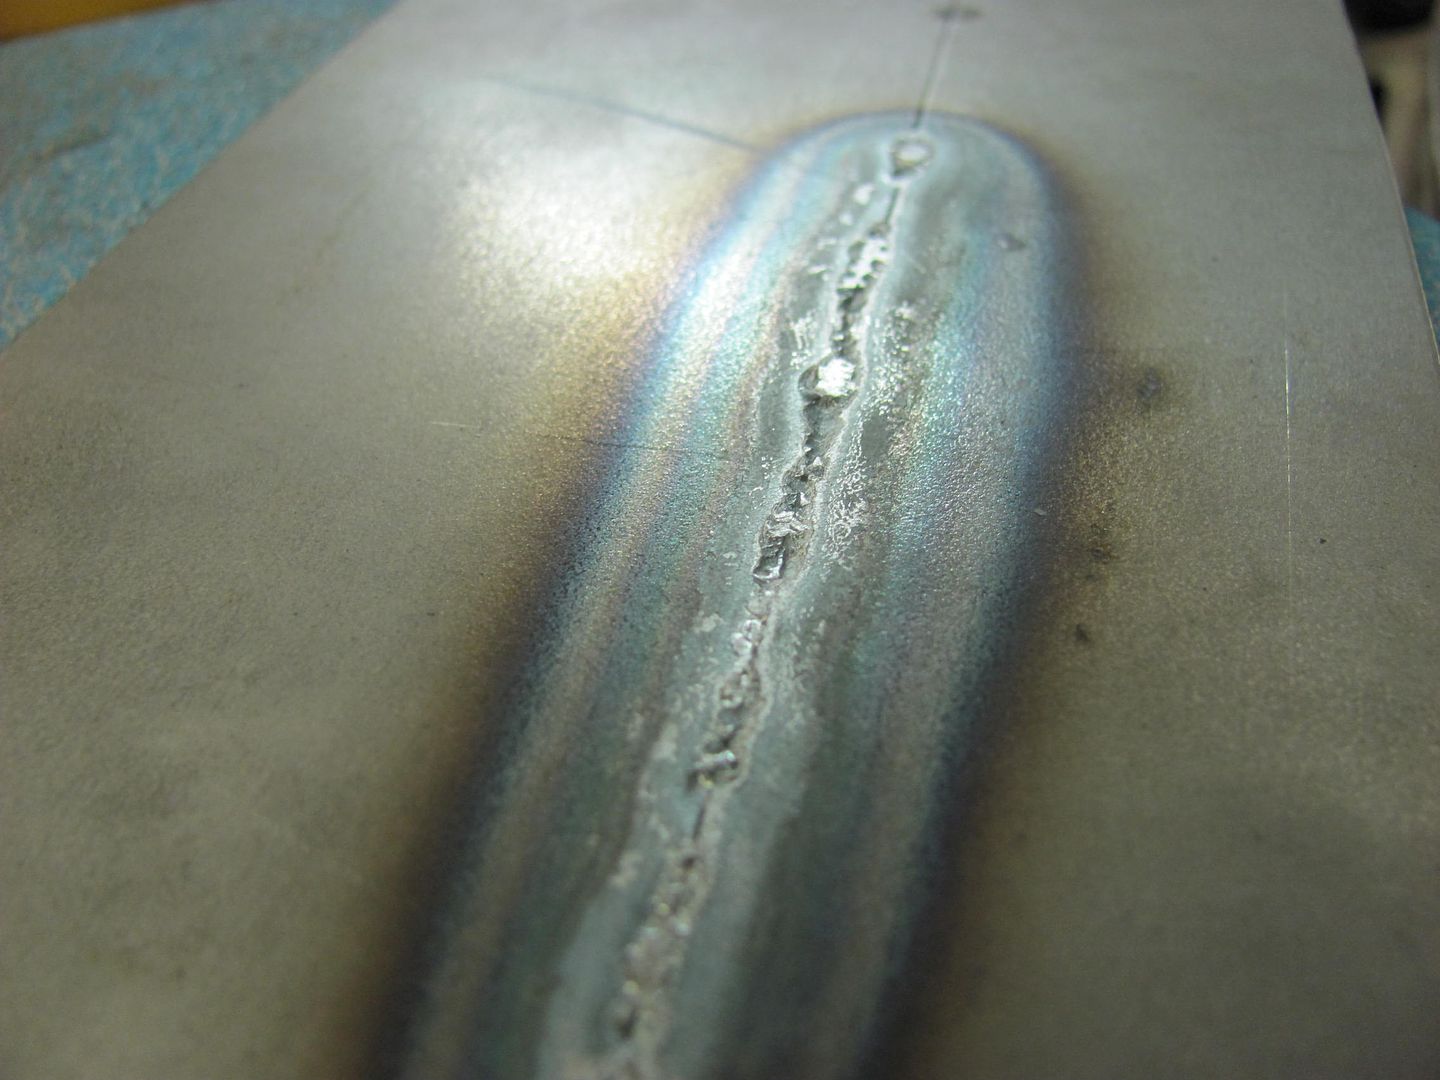
This was welded using a circular motion with the torch while making the pass:
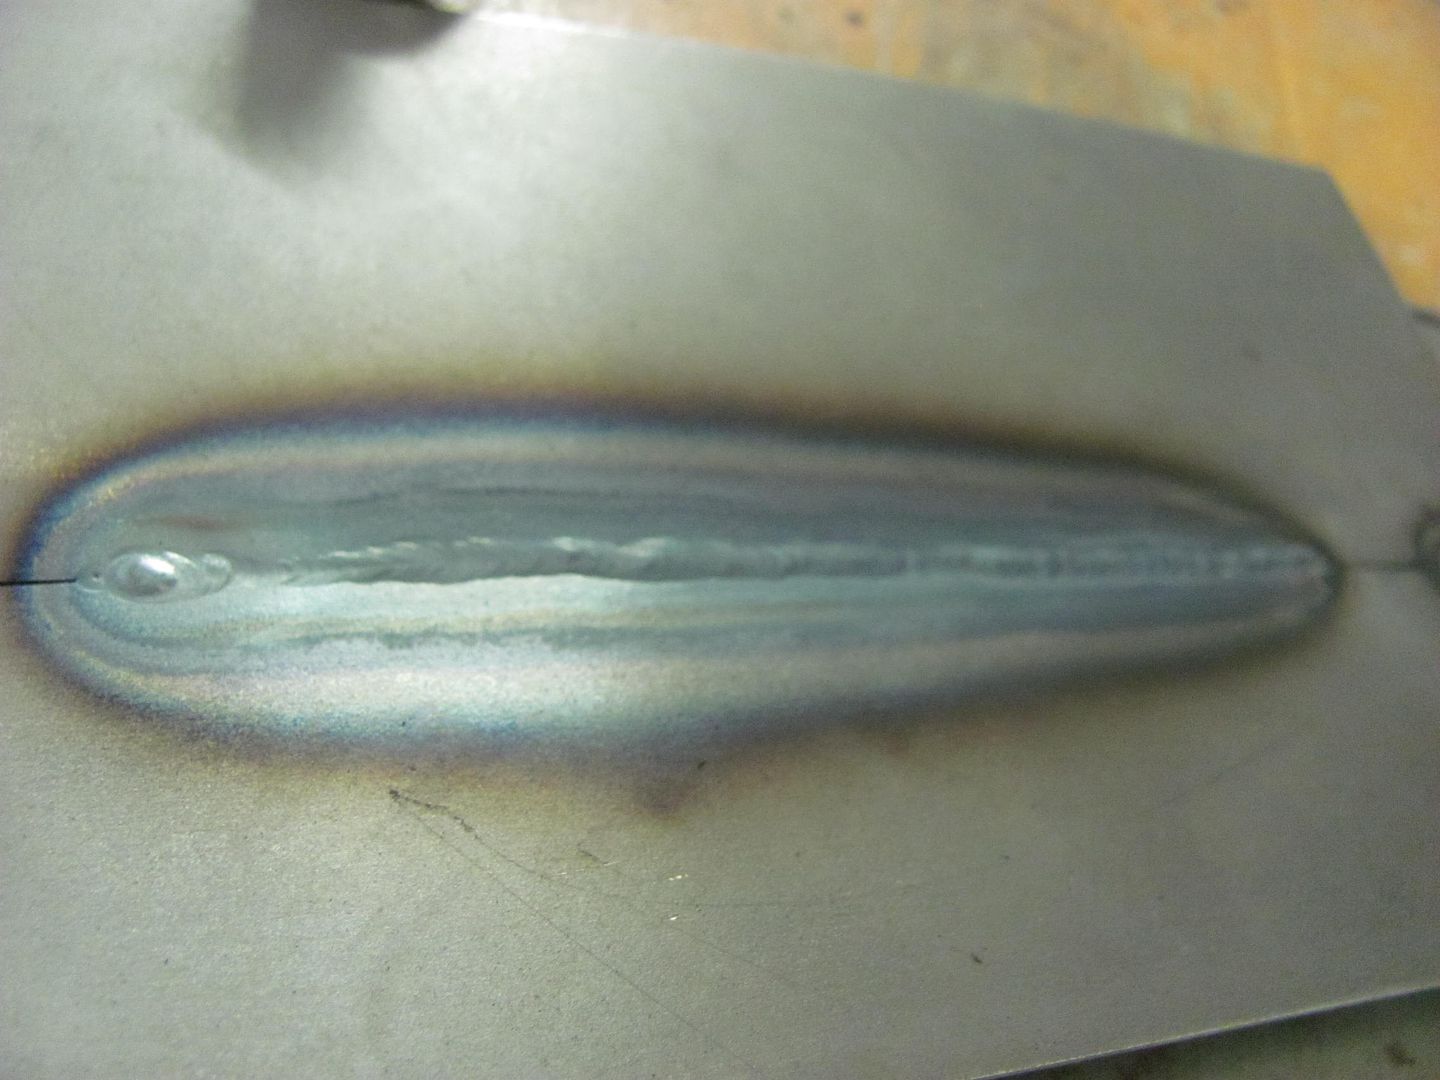
Rear shows some undercutting
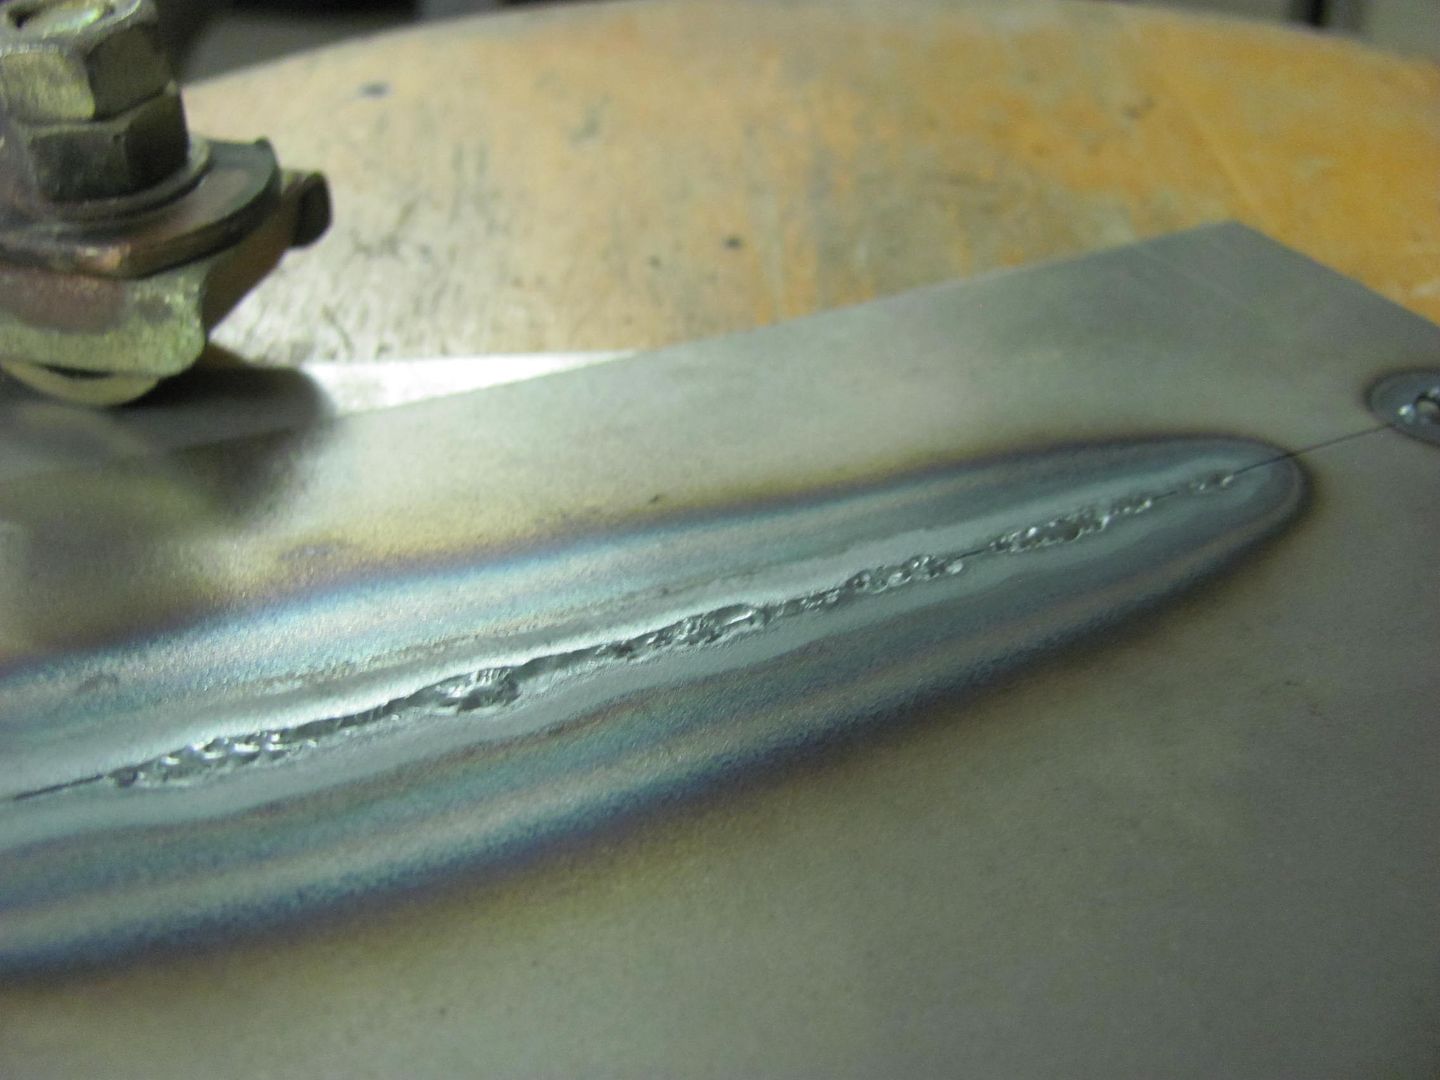
Planishing to bring the weld proud down flush with the front surface
Front:
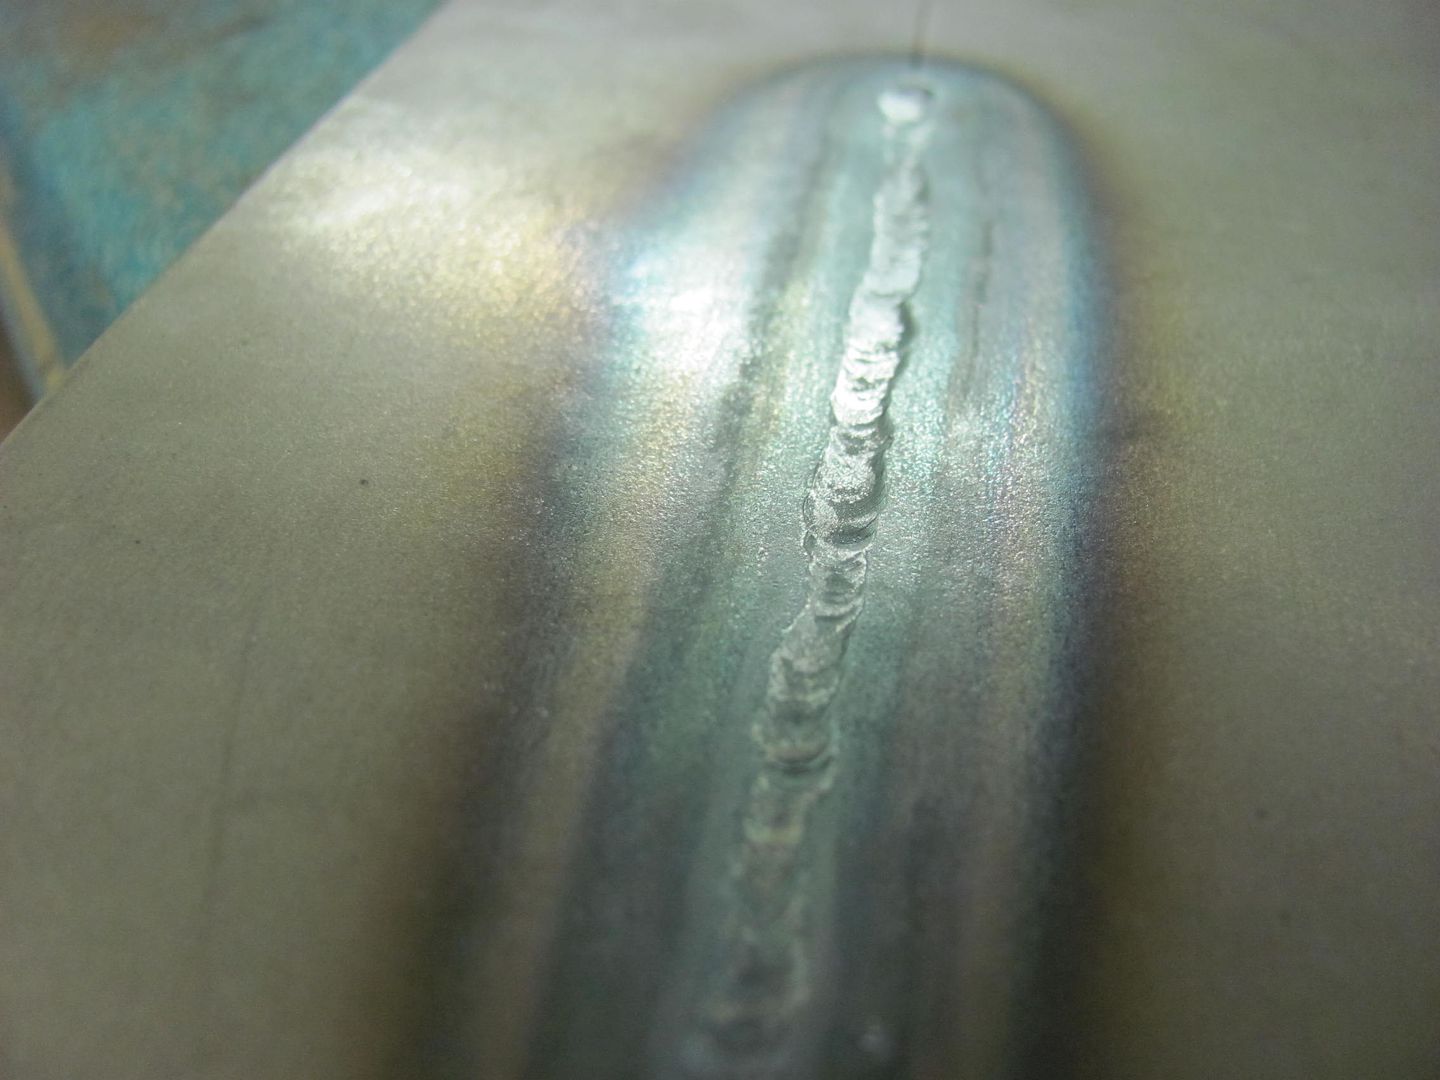
Rear:
Now to test the weld to see how structurally sound it is with the undercut....
Here's the front side with the weld pass...
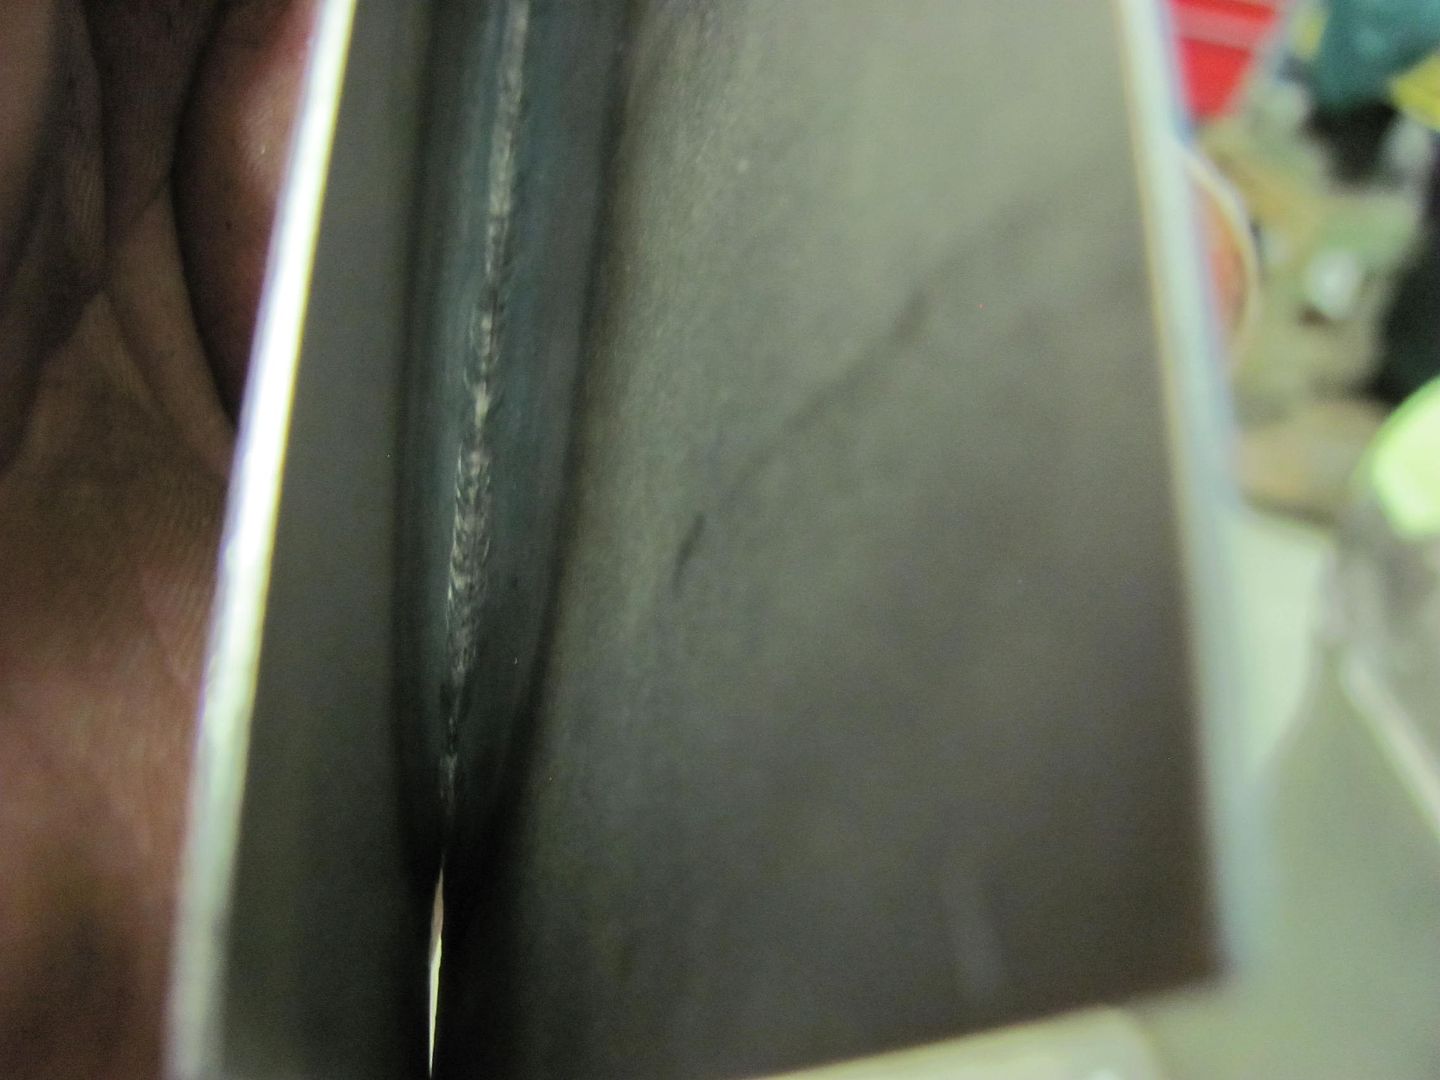
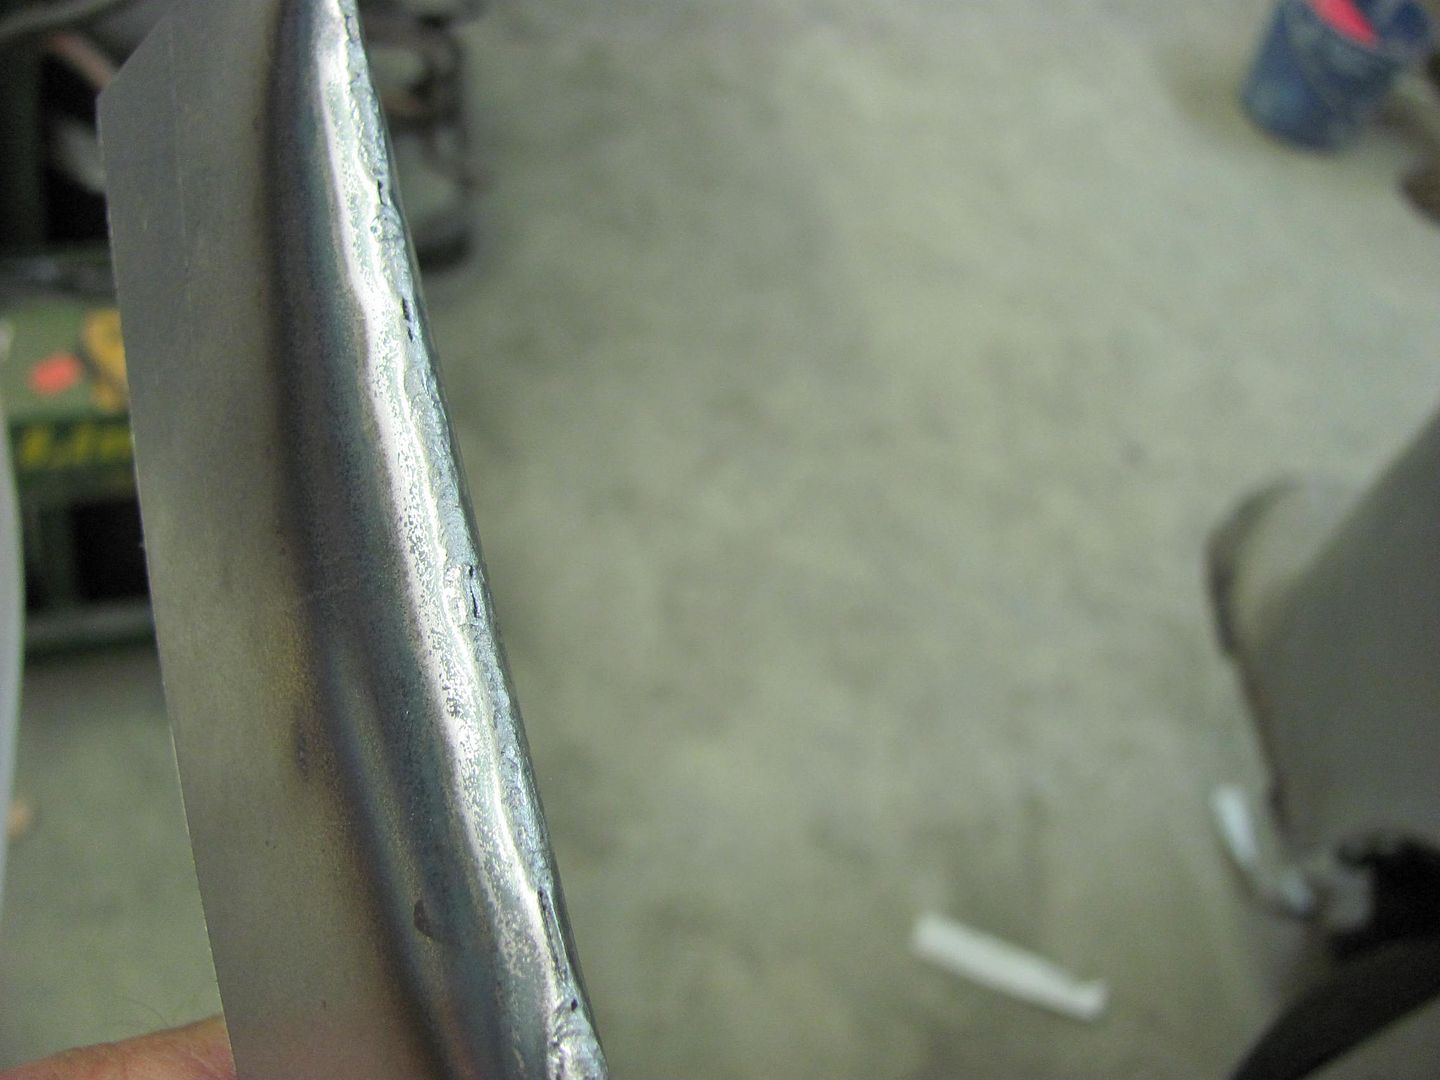
This is the rear side with the undercut..
This was bent approx. 150 to 160 degrees and the weld held..
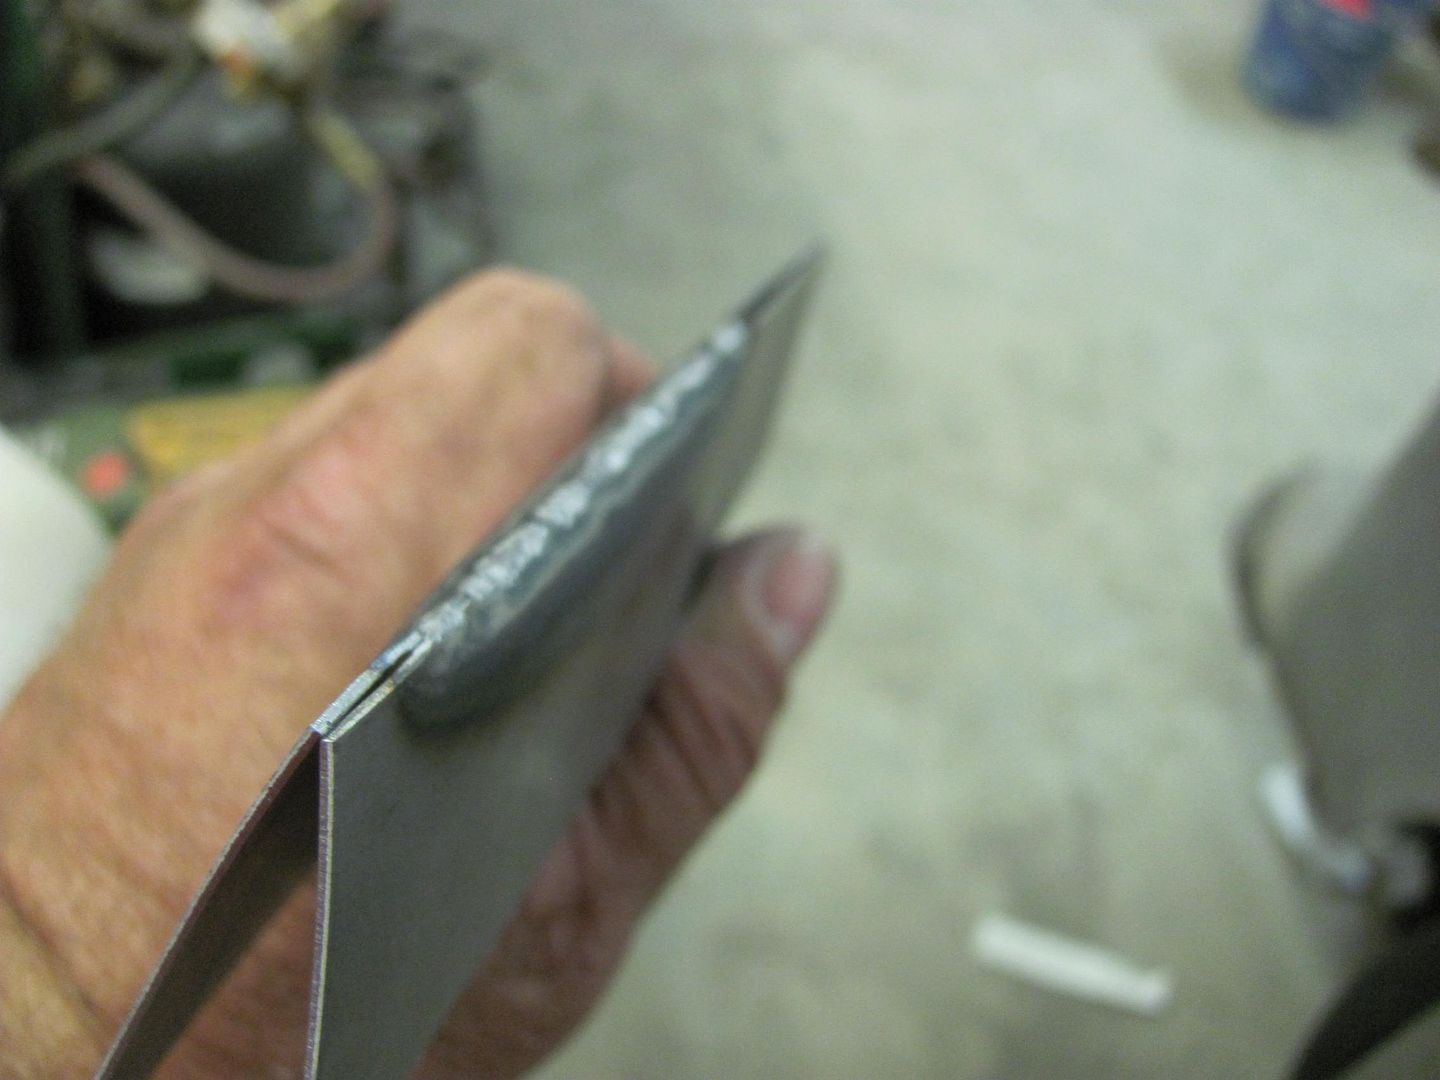
I definitely need more practice to build up my "comfort level" with using this process, but sure beats all that grinding!Robert
-
07-20-2014 09:52 AM #253
Robert, what size electrode are you using?
Jack.www.clubhotrod.com/forums/showthread.php?t=44081
-
07-20-2014 10:08 AM #254
- Join Date
- Apr 2011
- Location
- Prairie City
- Car Year, Make, Model: 40 Ford Deluxe, 68 Corvette, 72&76 K30
- Posts
- 7,301
- Blog Entries
- 1
Great work as usual!!! I just brought home my 54 Chevy COE and this winter I will be doing soem major rust reapir to it. I definitely will be going back over your thread to keep getting the pointers and great tools you use.
Your drawer knob fix is awesome! Great work!Ryan
1940 Ford Deluxe Tudor 354 Hemi 46RH Electric Blue w/multi-color flames, Ford 9" Residing in multiple pieces
1968 Corvette Coupe 5.9 Cummins Drag Car 11.43@130mph No stall leaving the line with 1250 rpm's and poor 2.2 60'
1972 Chevy K30 Longhorn P-pumped 24v Compound Turbos 47RH Just another money pit
1971 Camaro RS 5.3 BTR Stage 3 cam, SuperT10
Tire Sizes
-
07-20-2014 11:21 AM #255
looks pretty slick to me!
"  "No matter where you go, there you are!" Steve.


 3390Likes

 LinkBack URL
 About LinkBacks
 Reply With Quote

Right after I posted yesterday it was down again, I don't think it's getting better.
Where is everybody?