


 3390Likes
Thread: 55 Wagon Progress


Results 436 to 450 of 1865
 LinkBack URL
 About LinkBacks
-
02-17-2015 04:16 PM #436
 CHR Member

- Join Date
- Jun 2008
- Location
- Leonardtown
- Car Year, Make, Model: Walking
- Posts
- 1,228
Ms. Customer....
Robert
-
Advertising

- Google Adsense
- REGISTERED USERS DO NOT SEE THIS AD
-
02-18-2015 07:31 PM #437
CHR Member
- Join Date
- Jun 2008
- Location
- Leonardtown
- Car Year, Make, Model: Walking
- Posts
- 1,228
Well Kyle skipped out on me tonight, something about a birthday and his parents taking him out to dinner.. and here he could have been welding!
So I took the opportunity to have dinner with the family, so tonight was a short night...
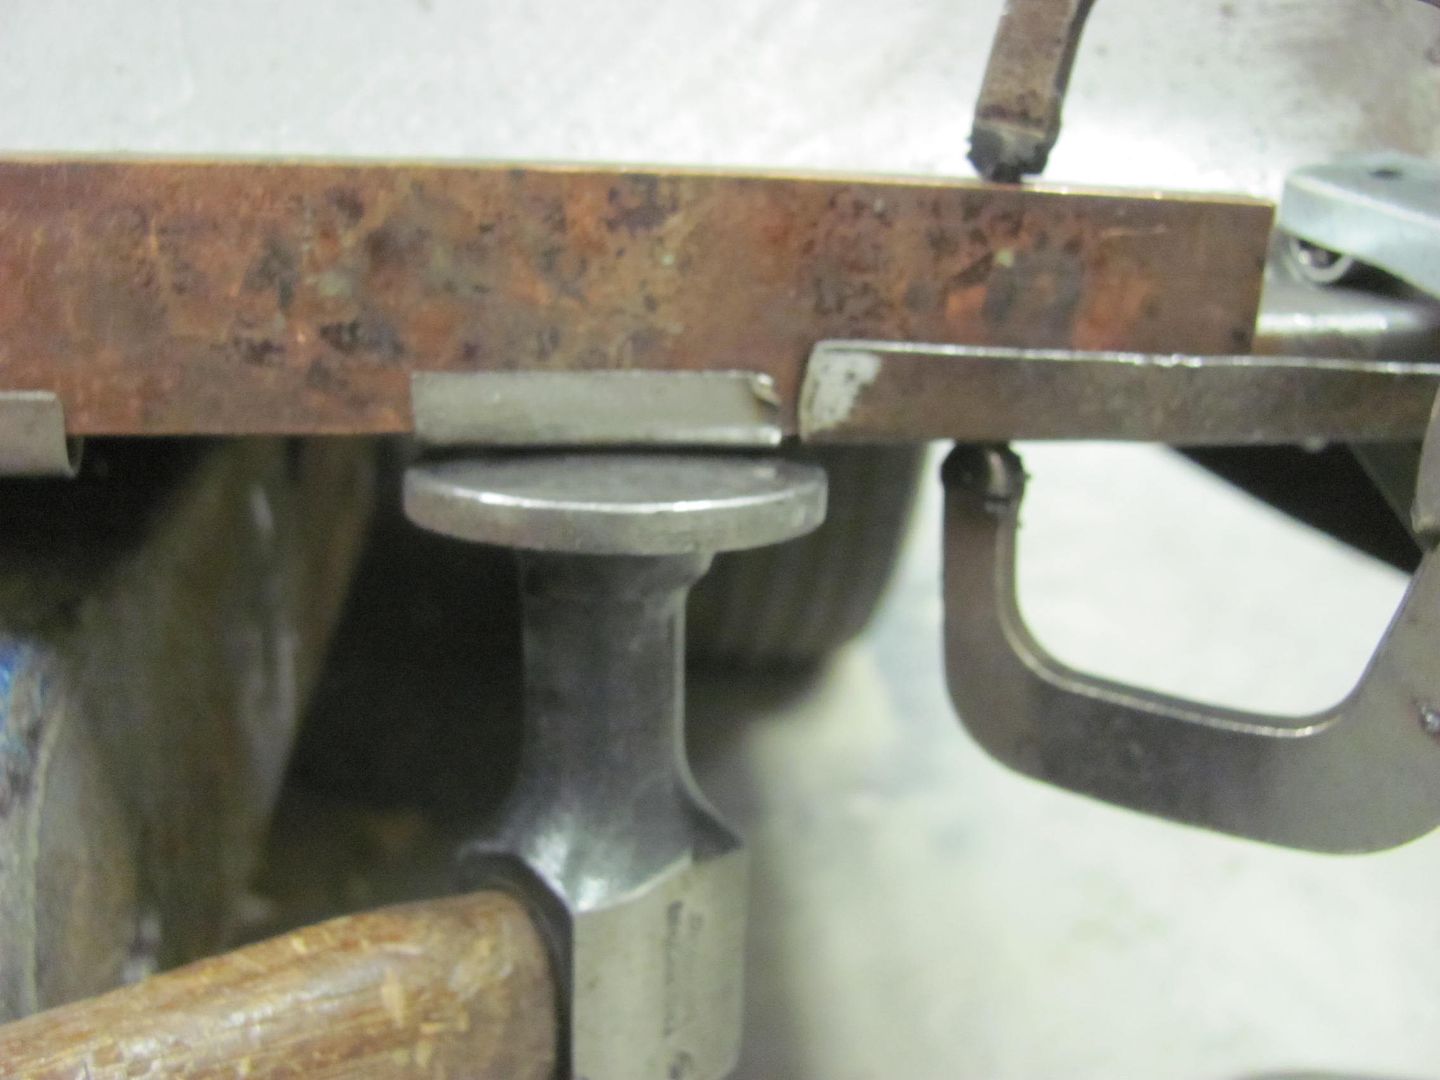
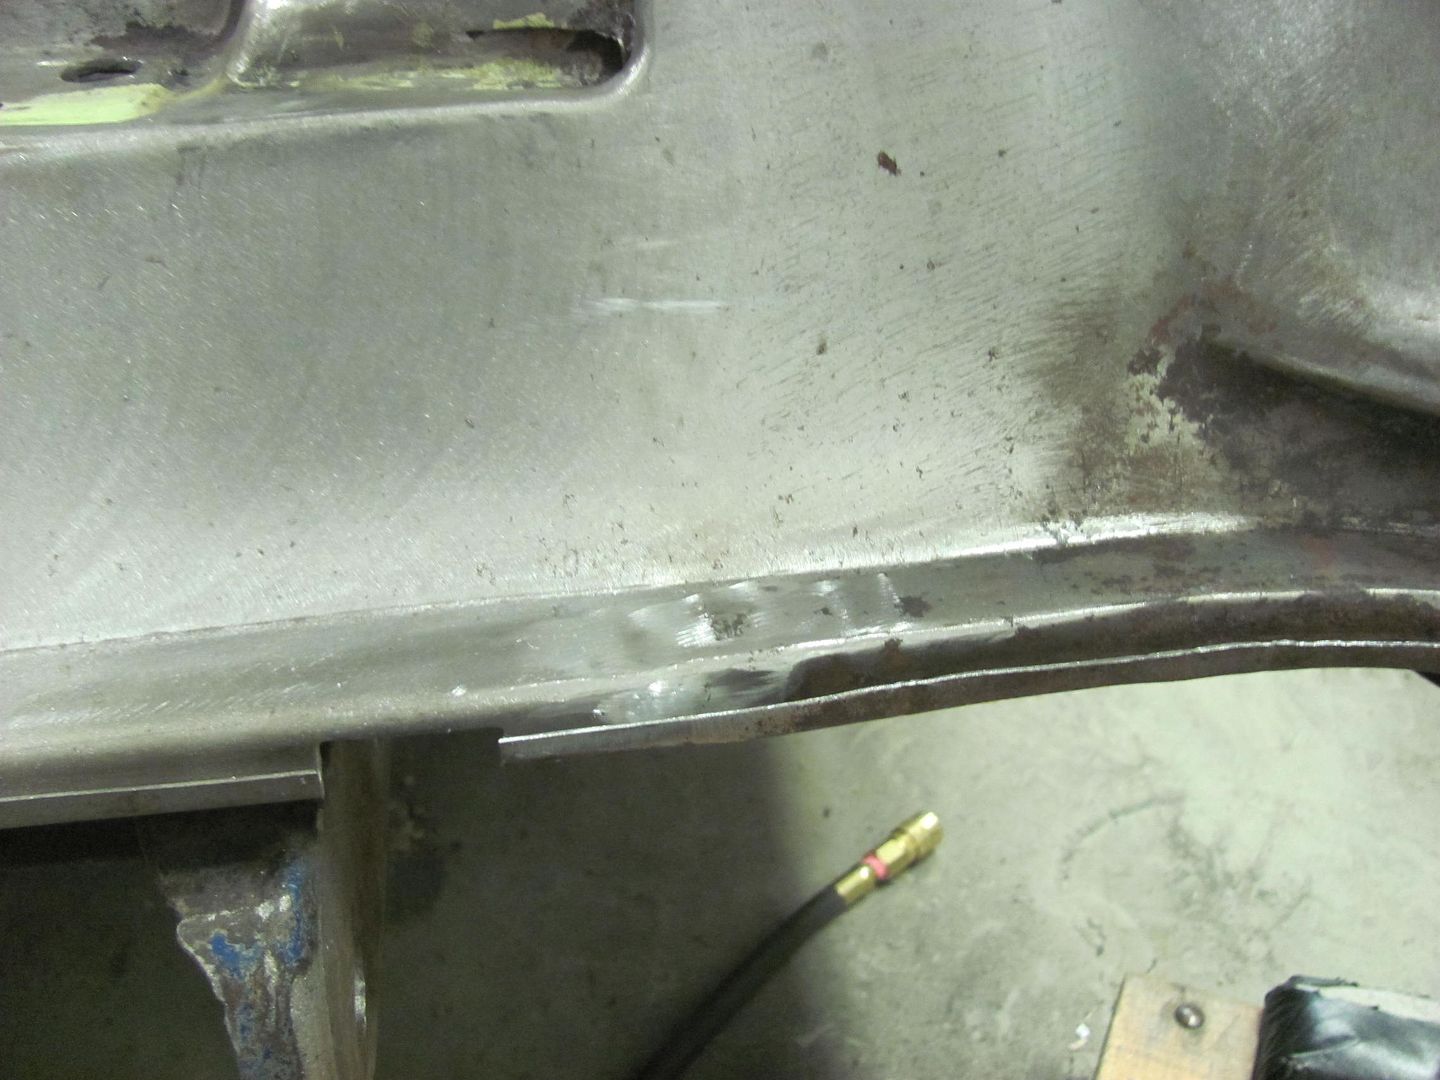
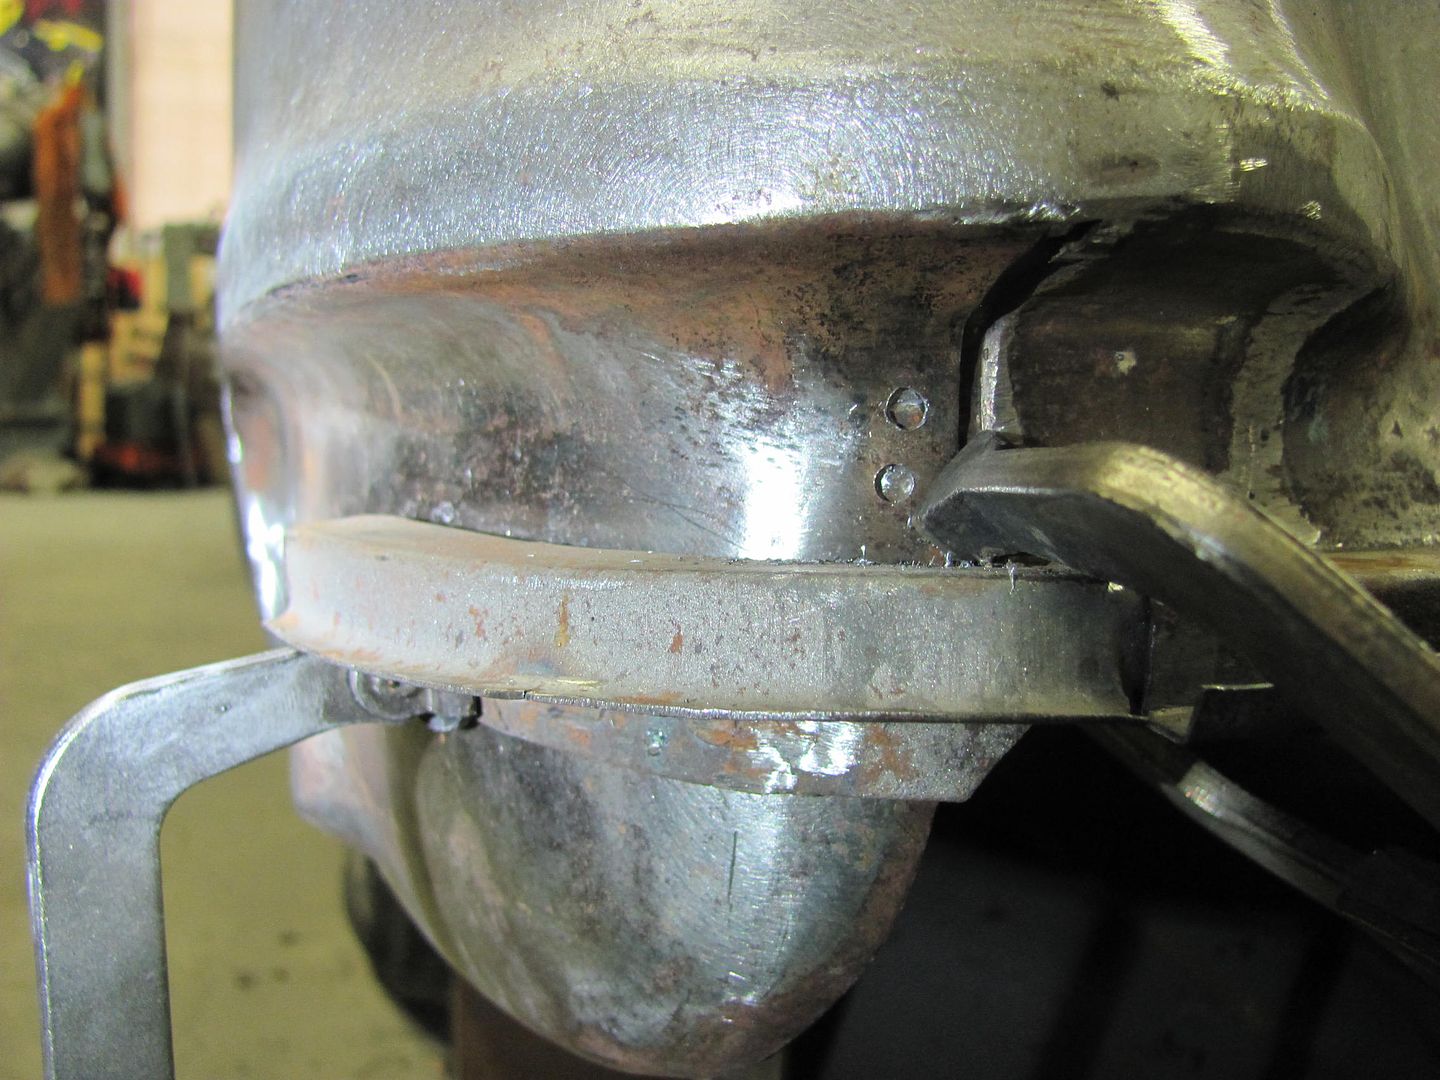
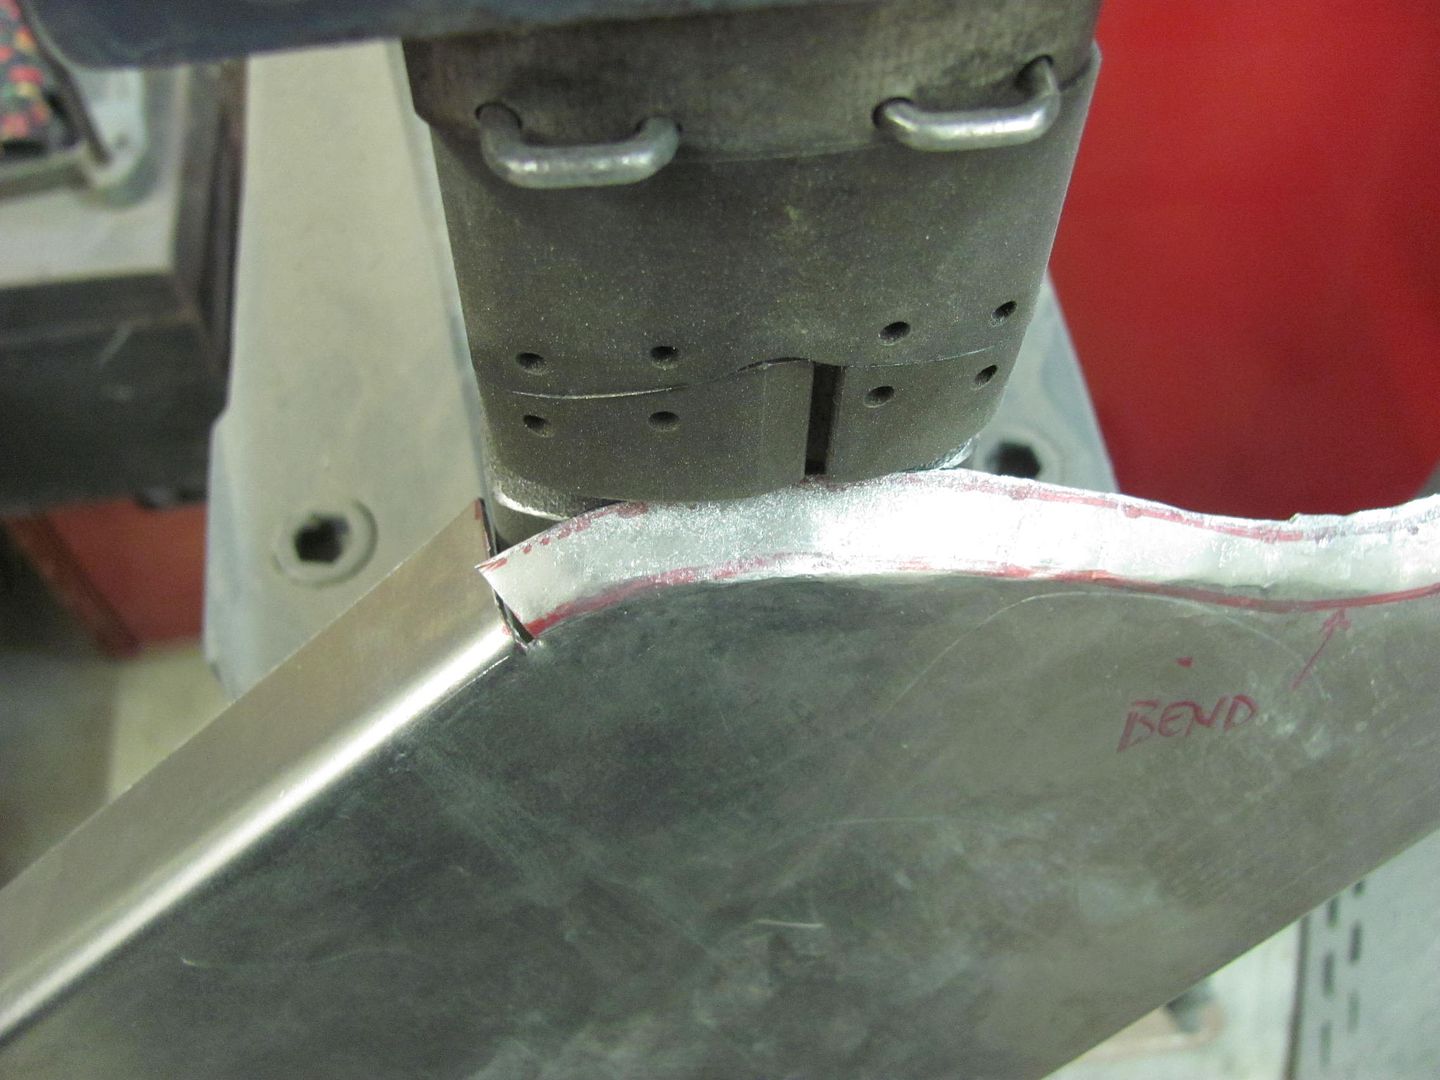
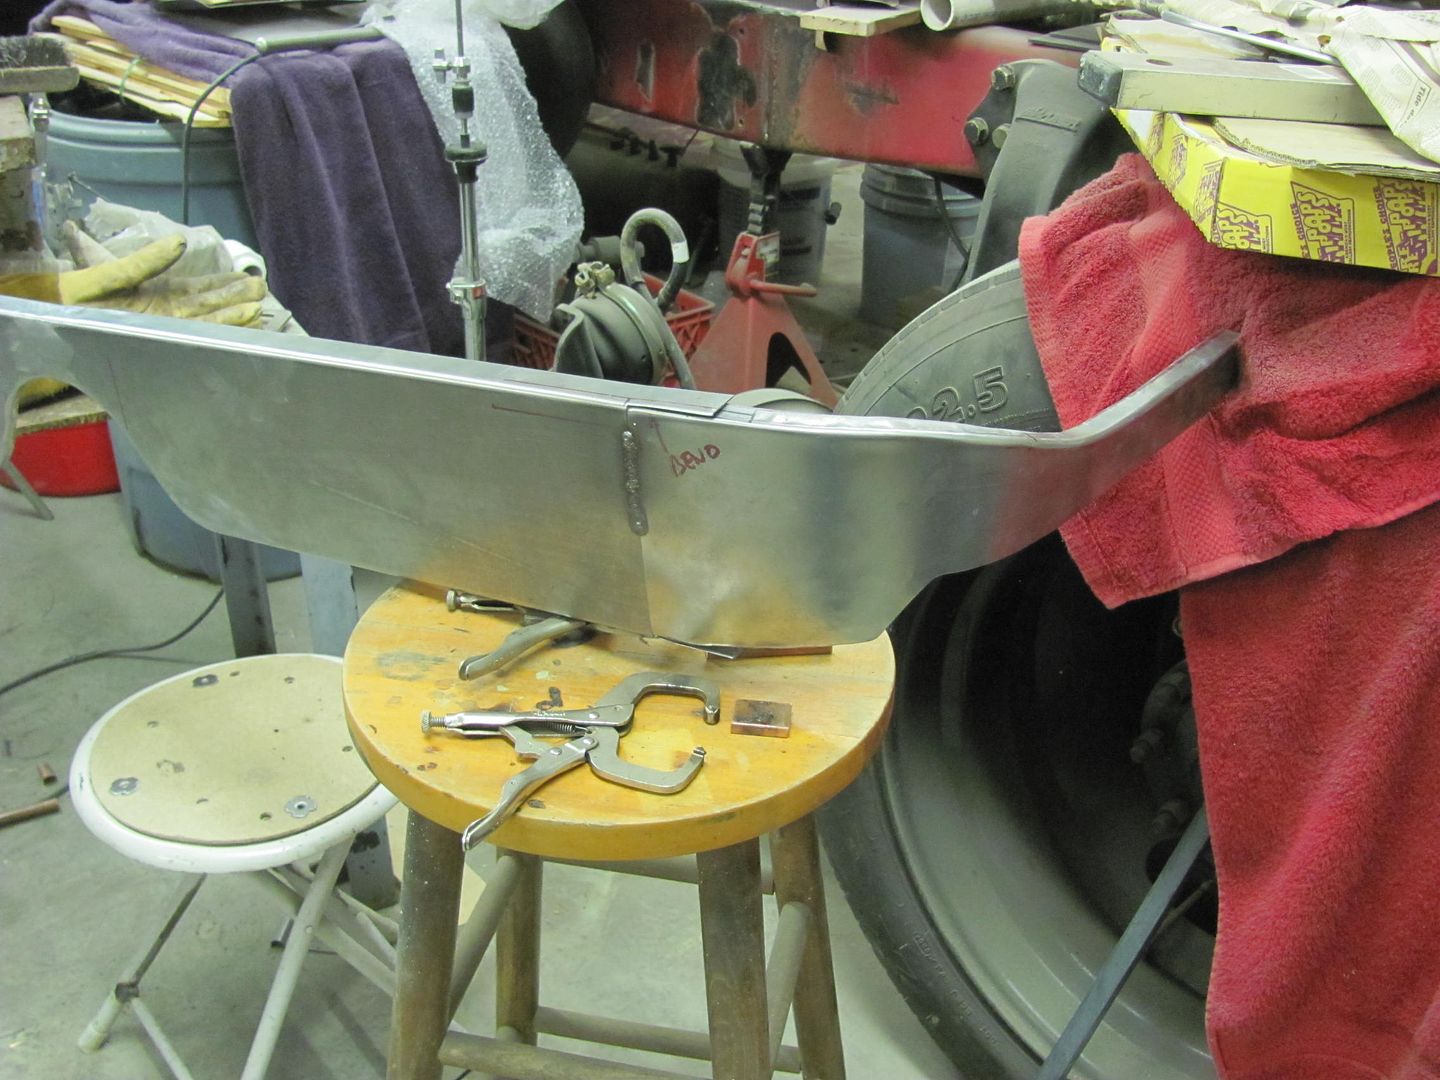
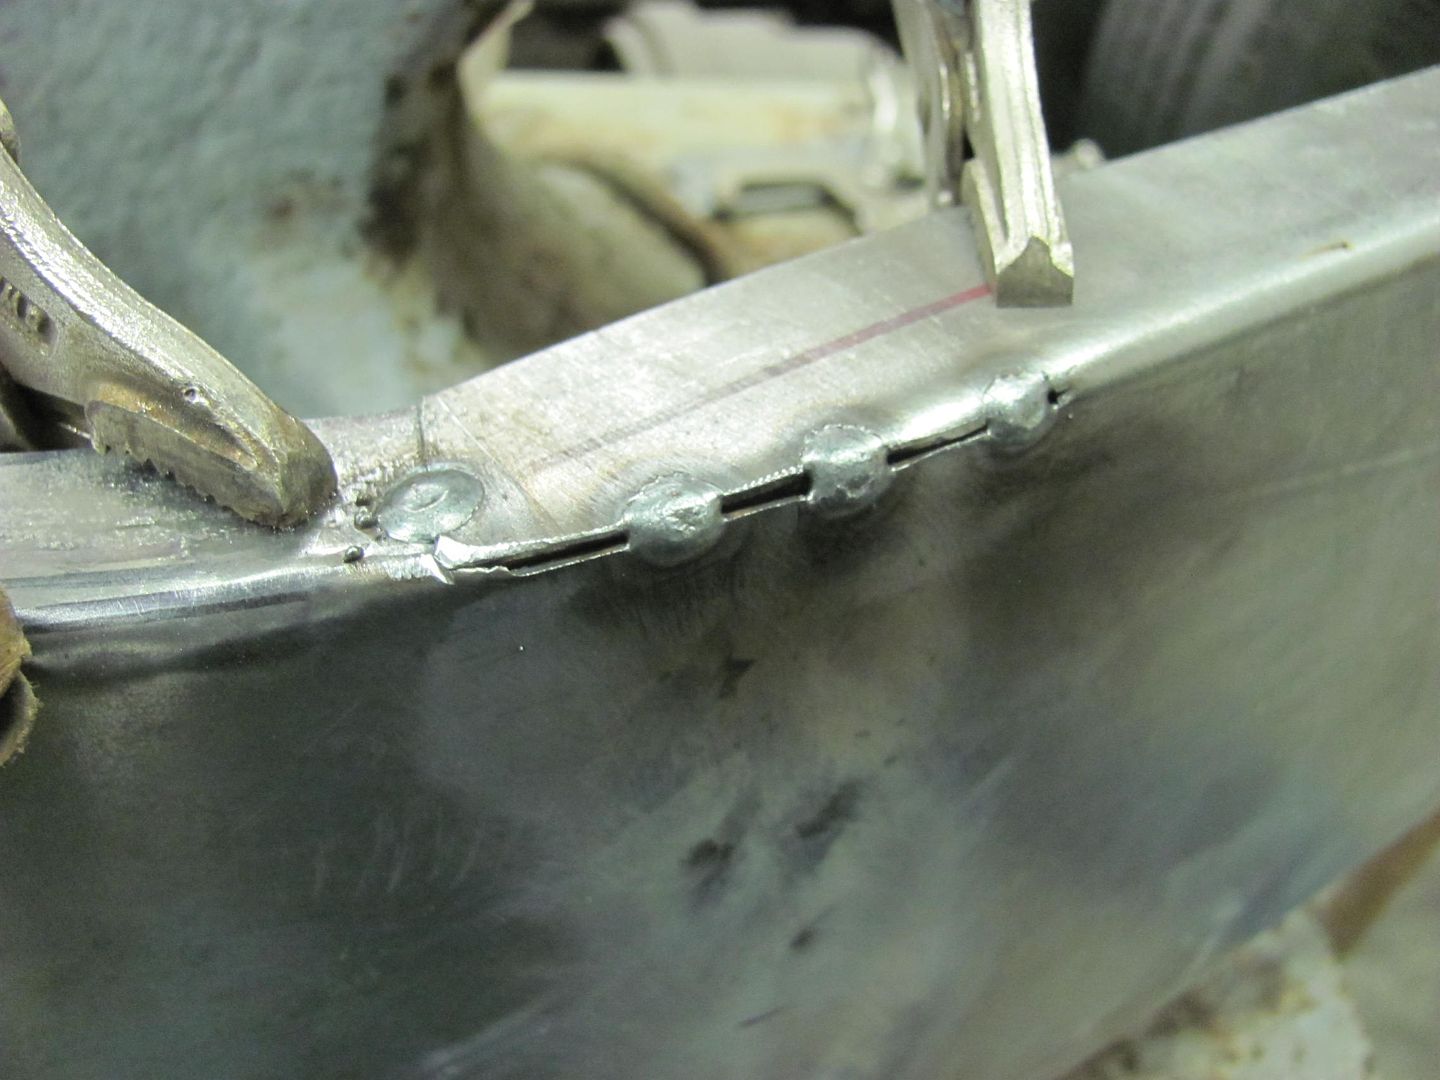
One of the other areas I skipped over at the rear of the wagon was when the tail pan was installed. The factory version with the pinch welded flanges has a gap in the crimp seam for the rear bumper seal:
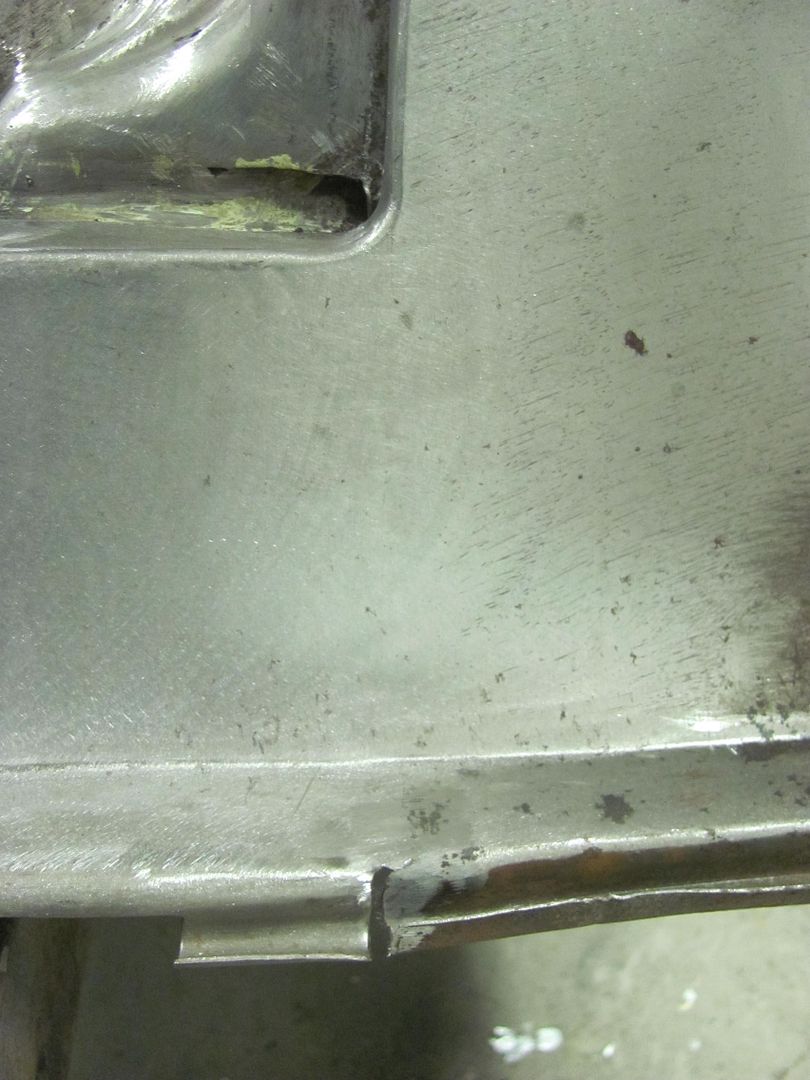
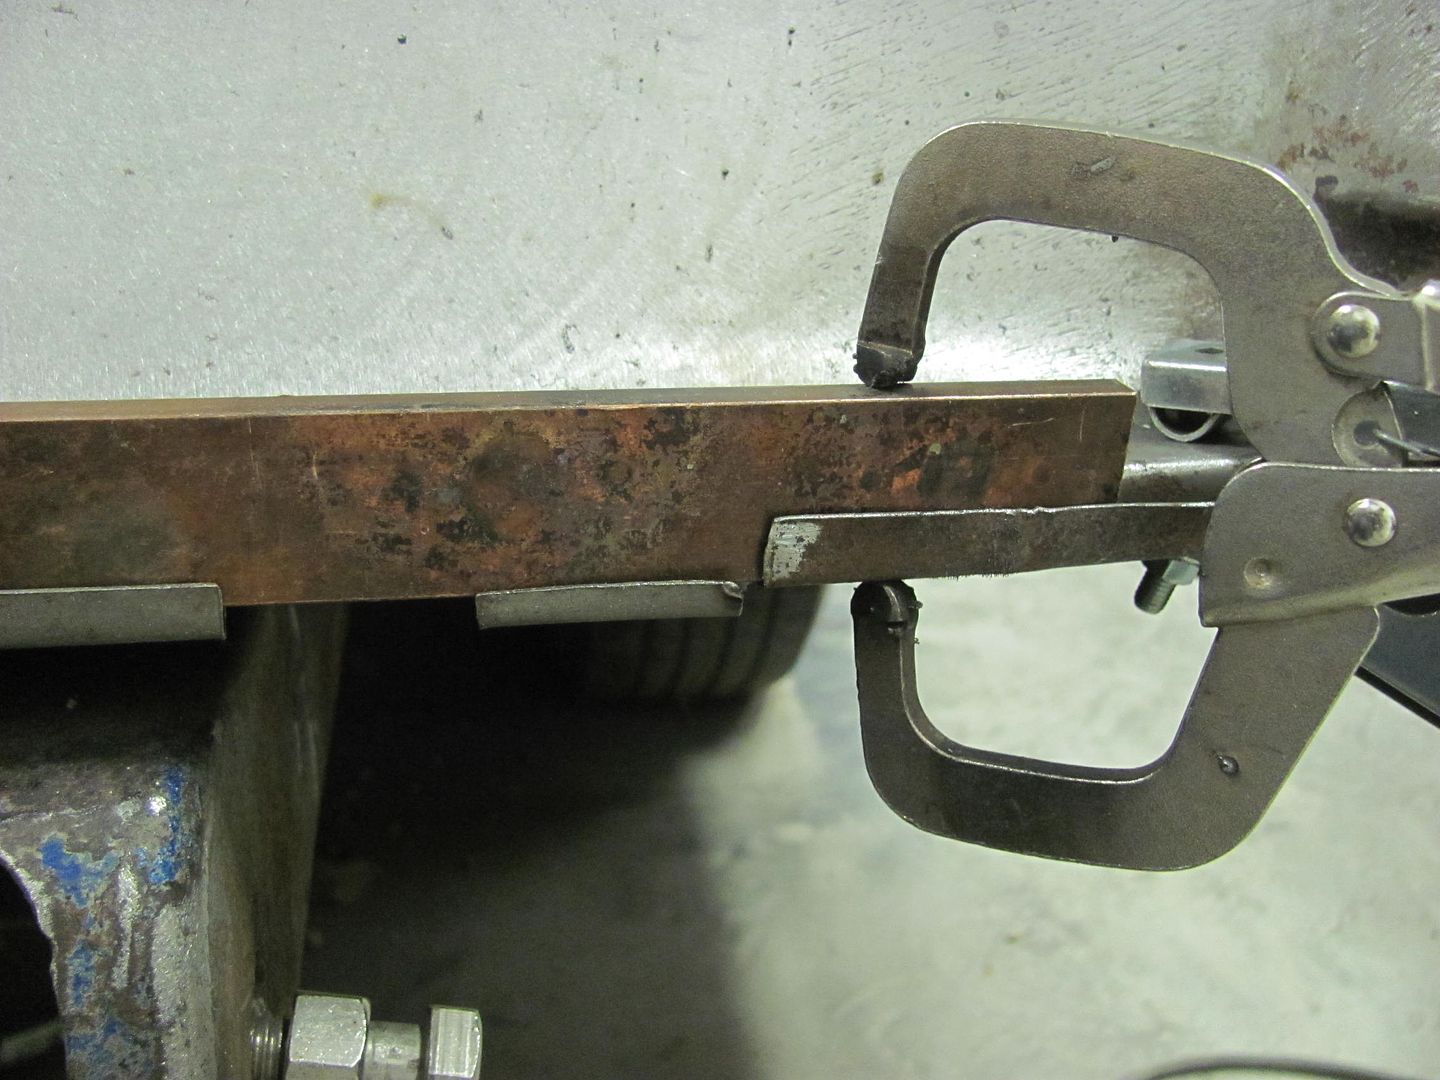
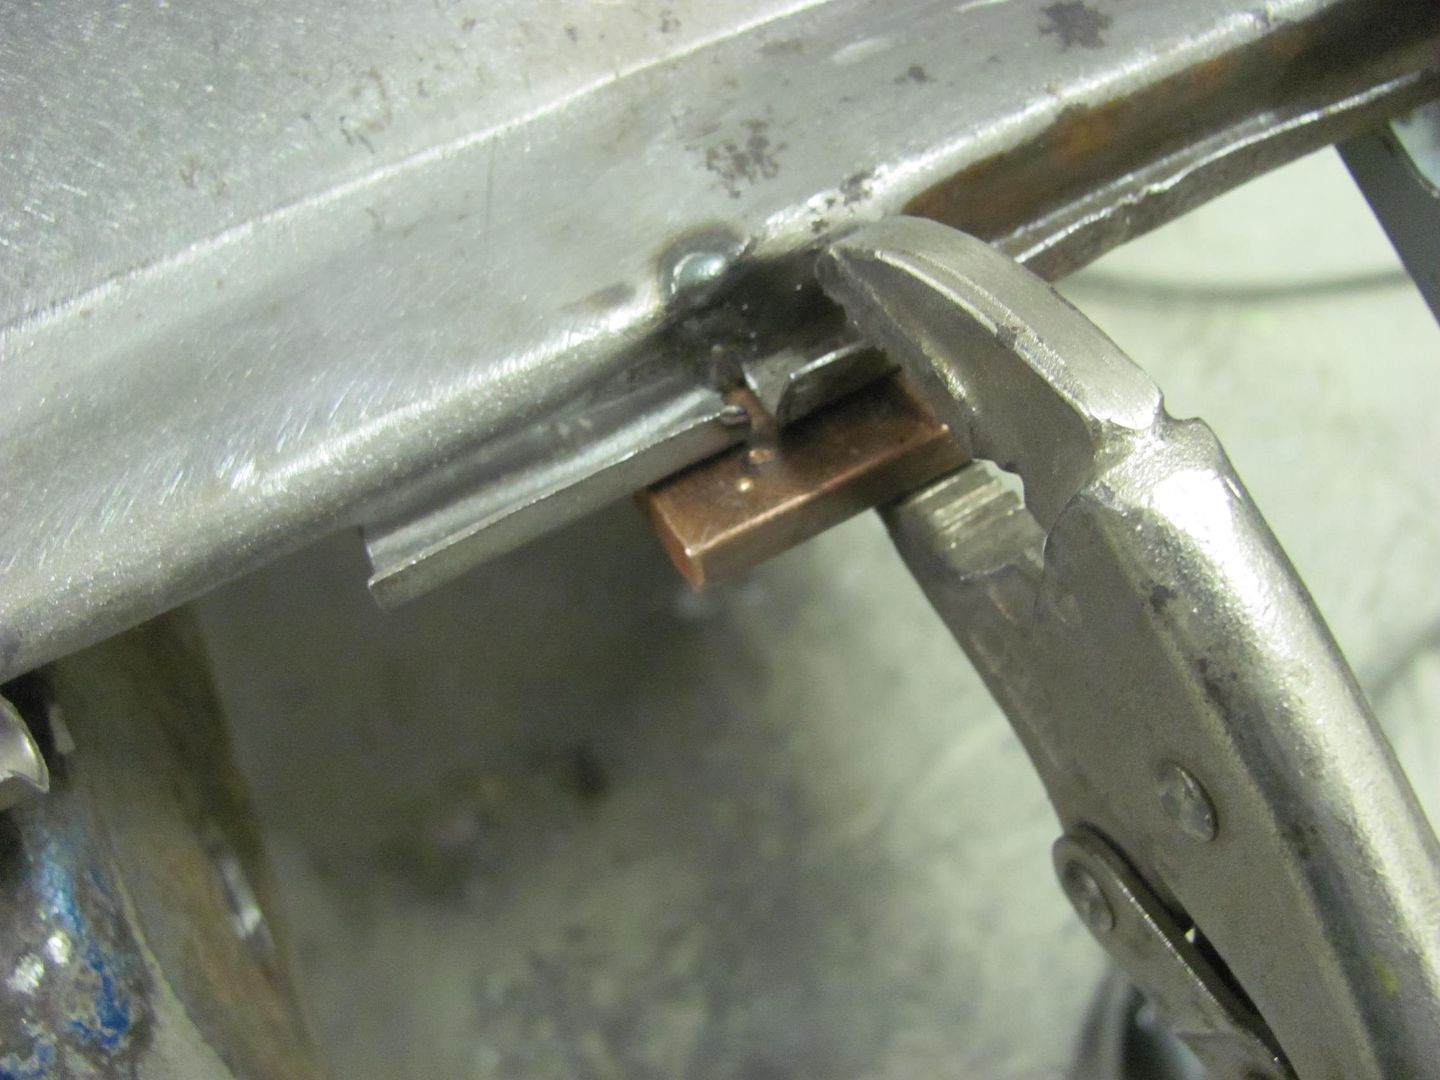
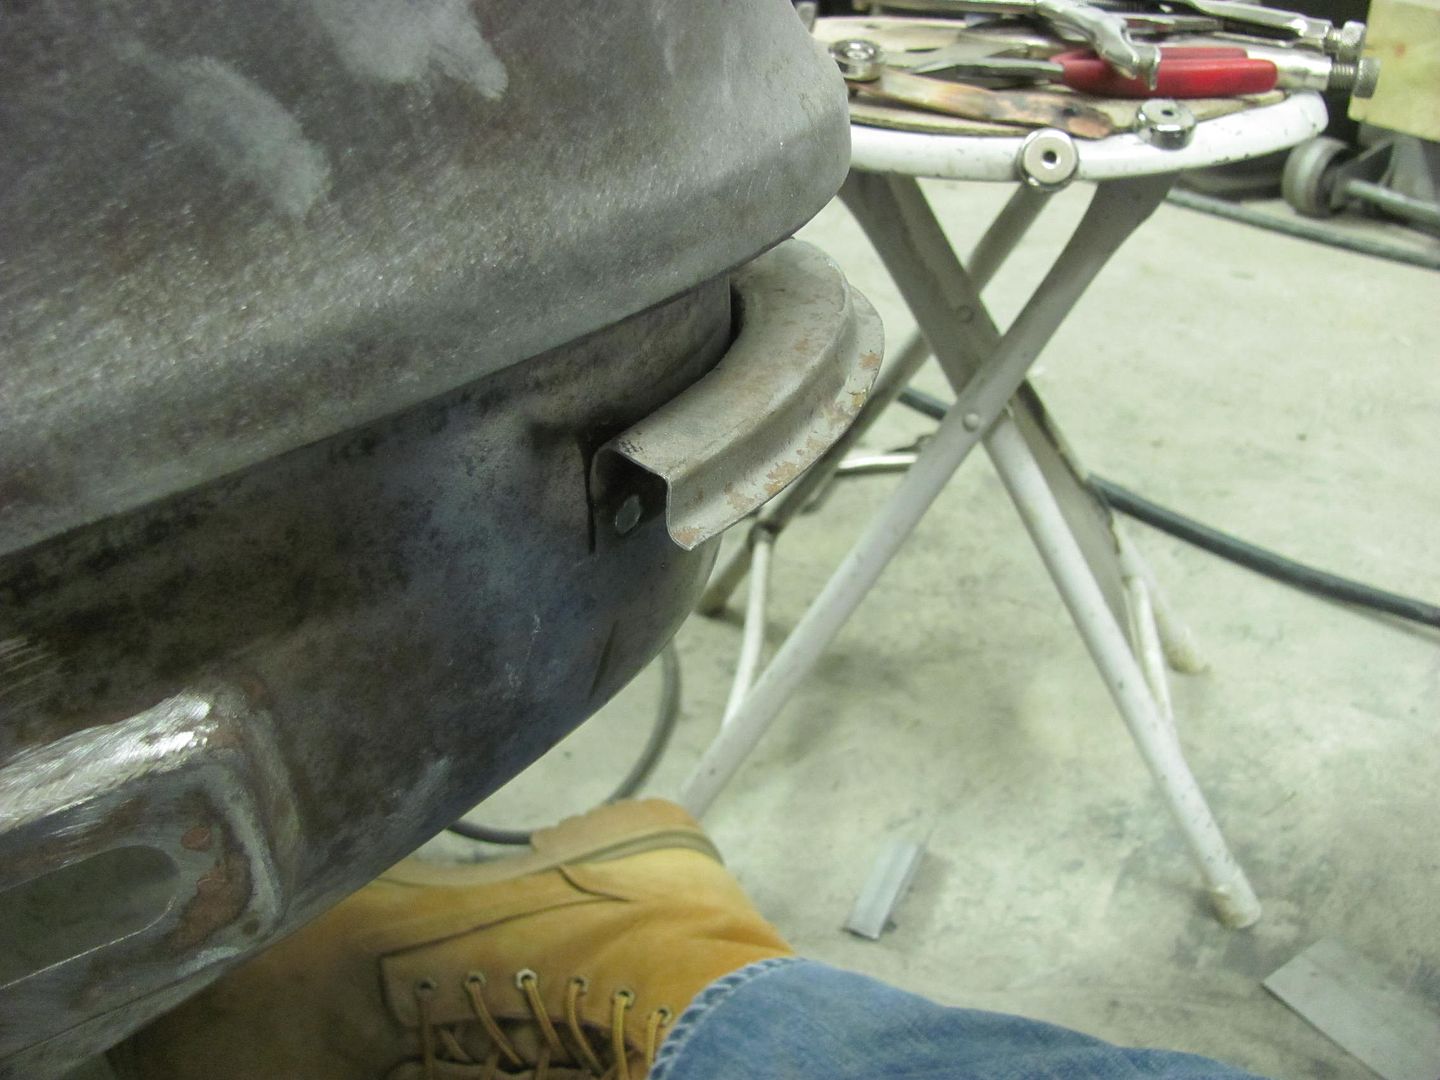
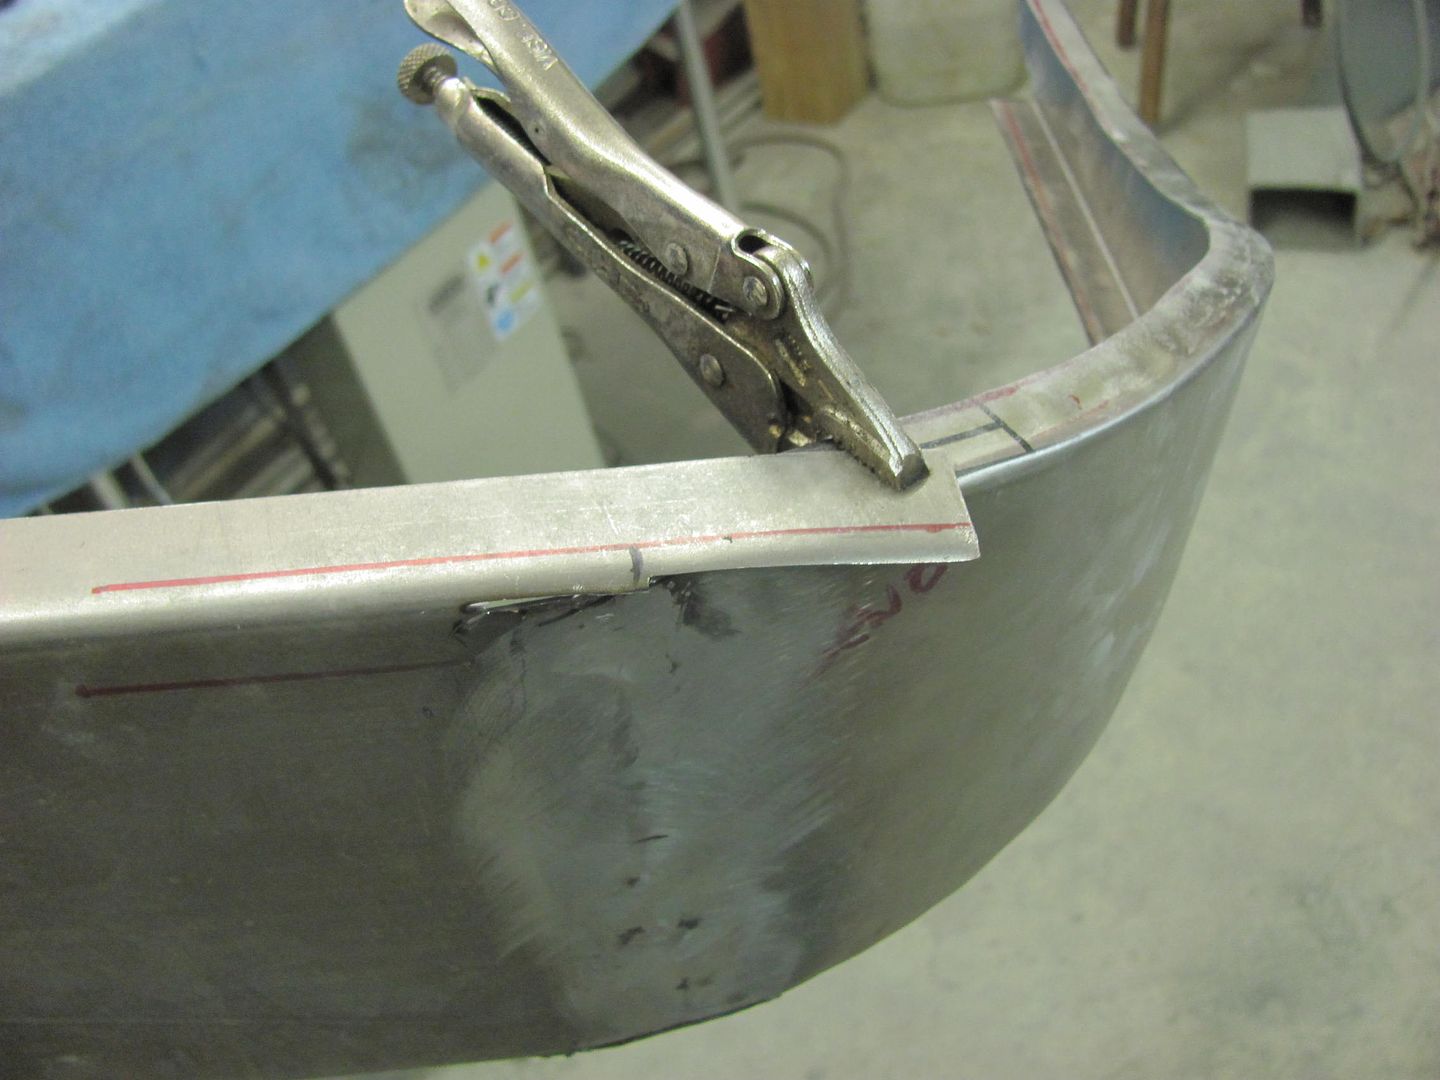
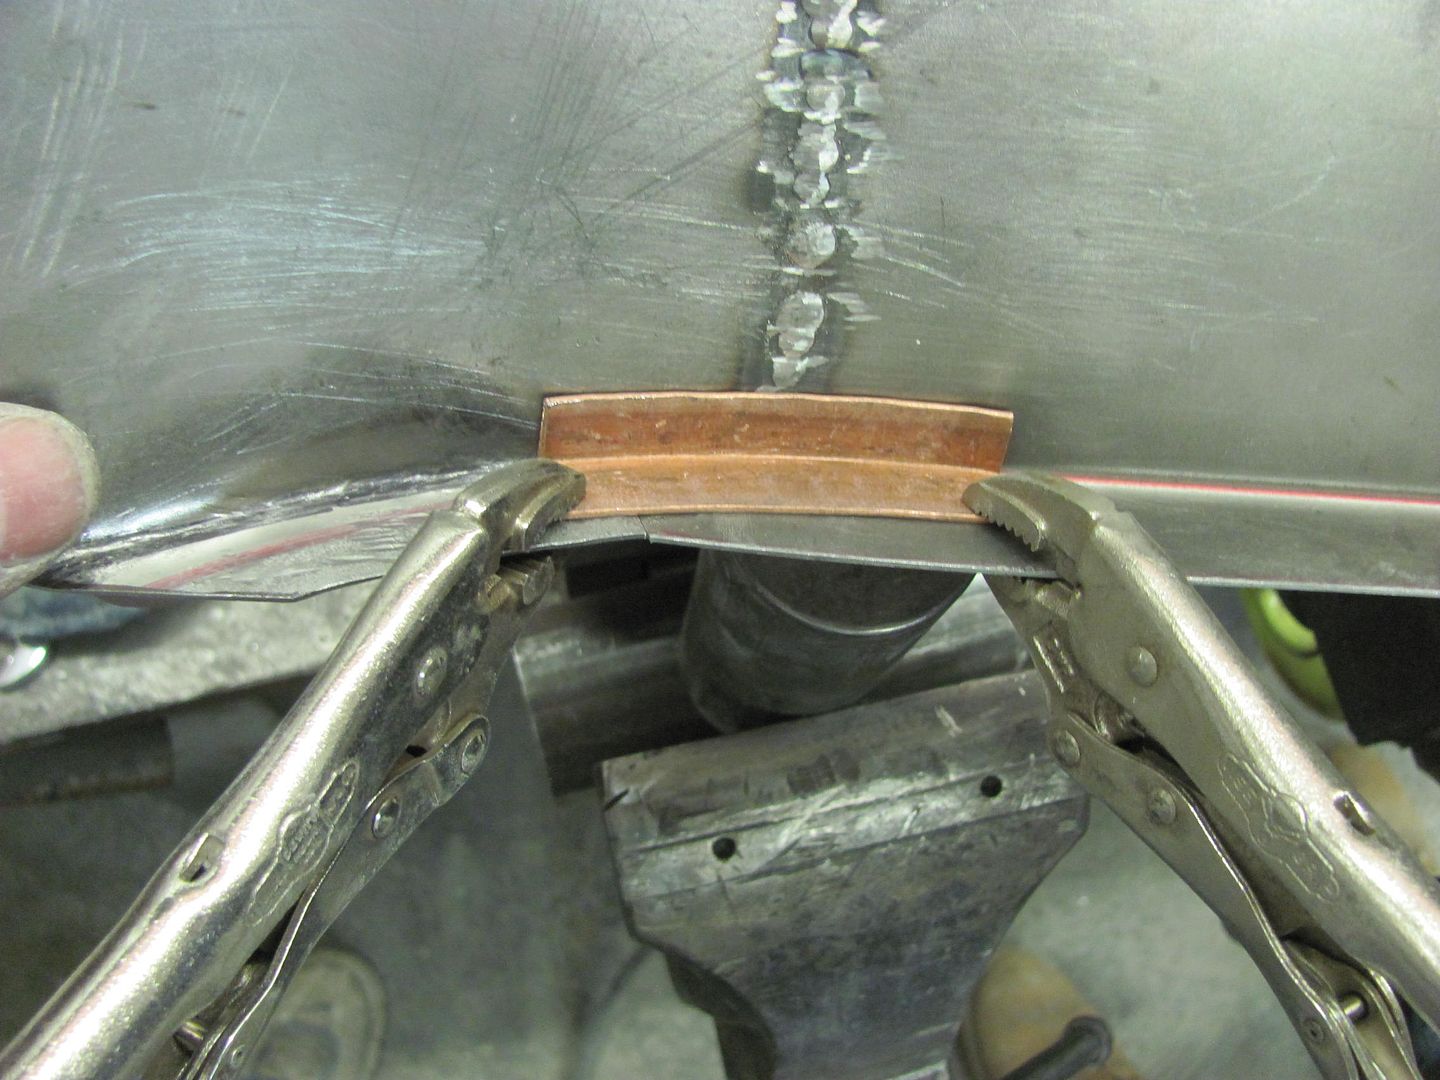
As I got rid of all the pinch weld seams at the rear of the wagon to eliminate those rust traps, the gap at the crimp seam will be filled in. To assist in filling in the wide gap, a piece of copper flat bar is used as a backer..
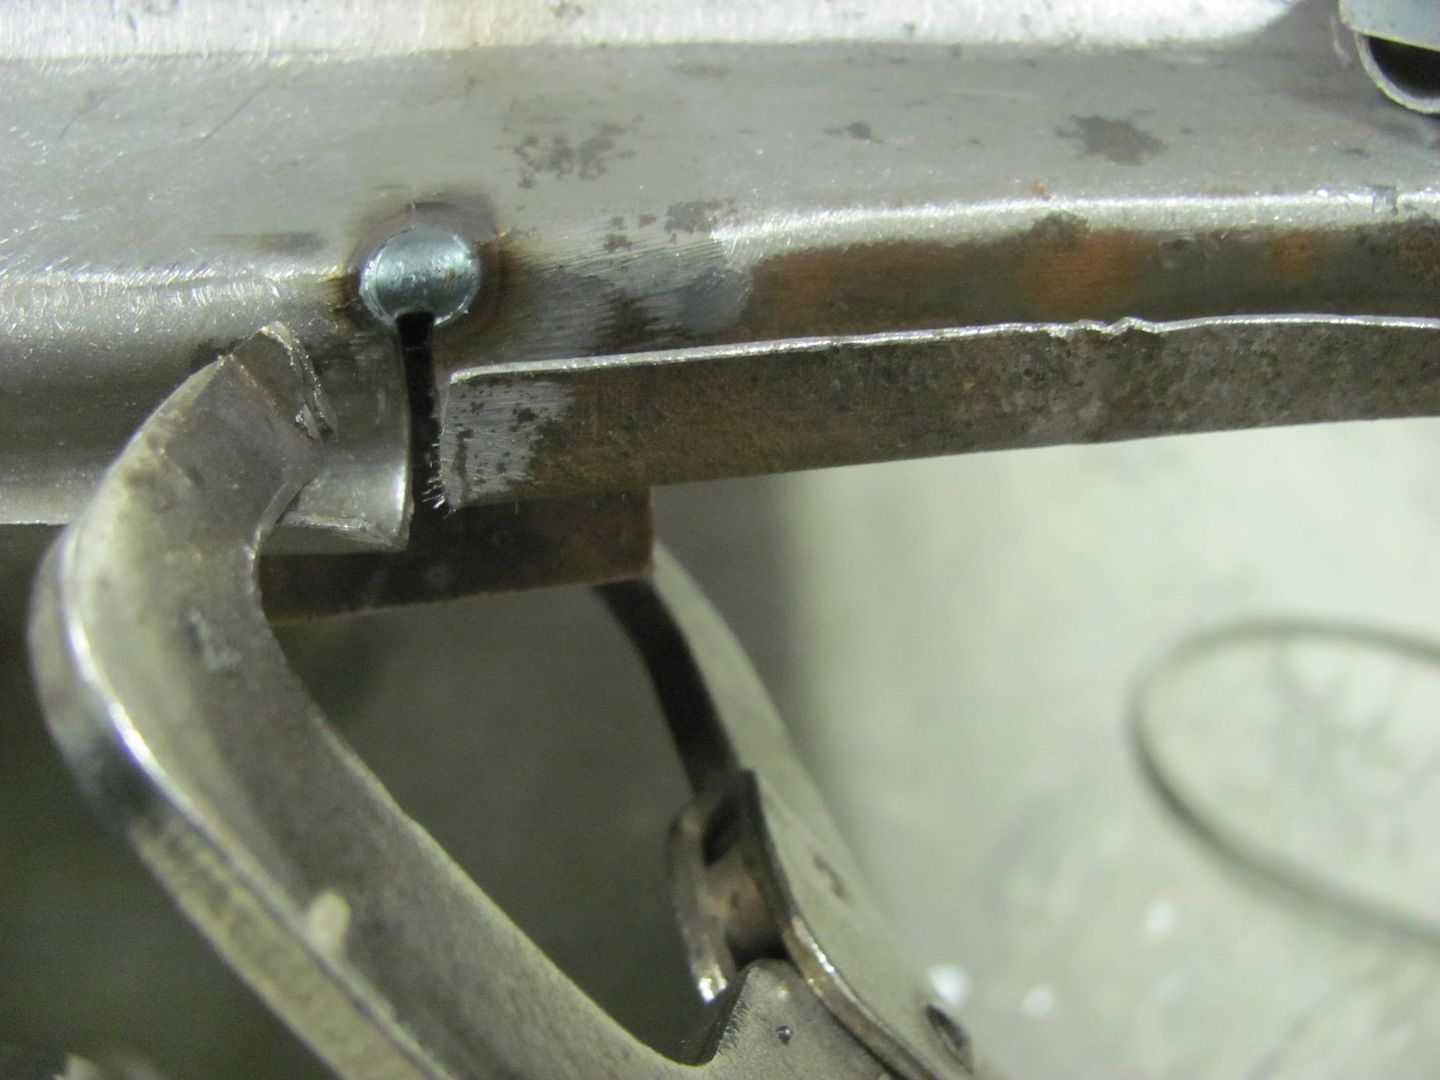
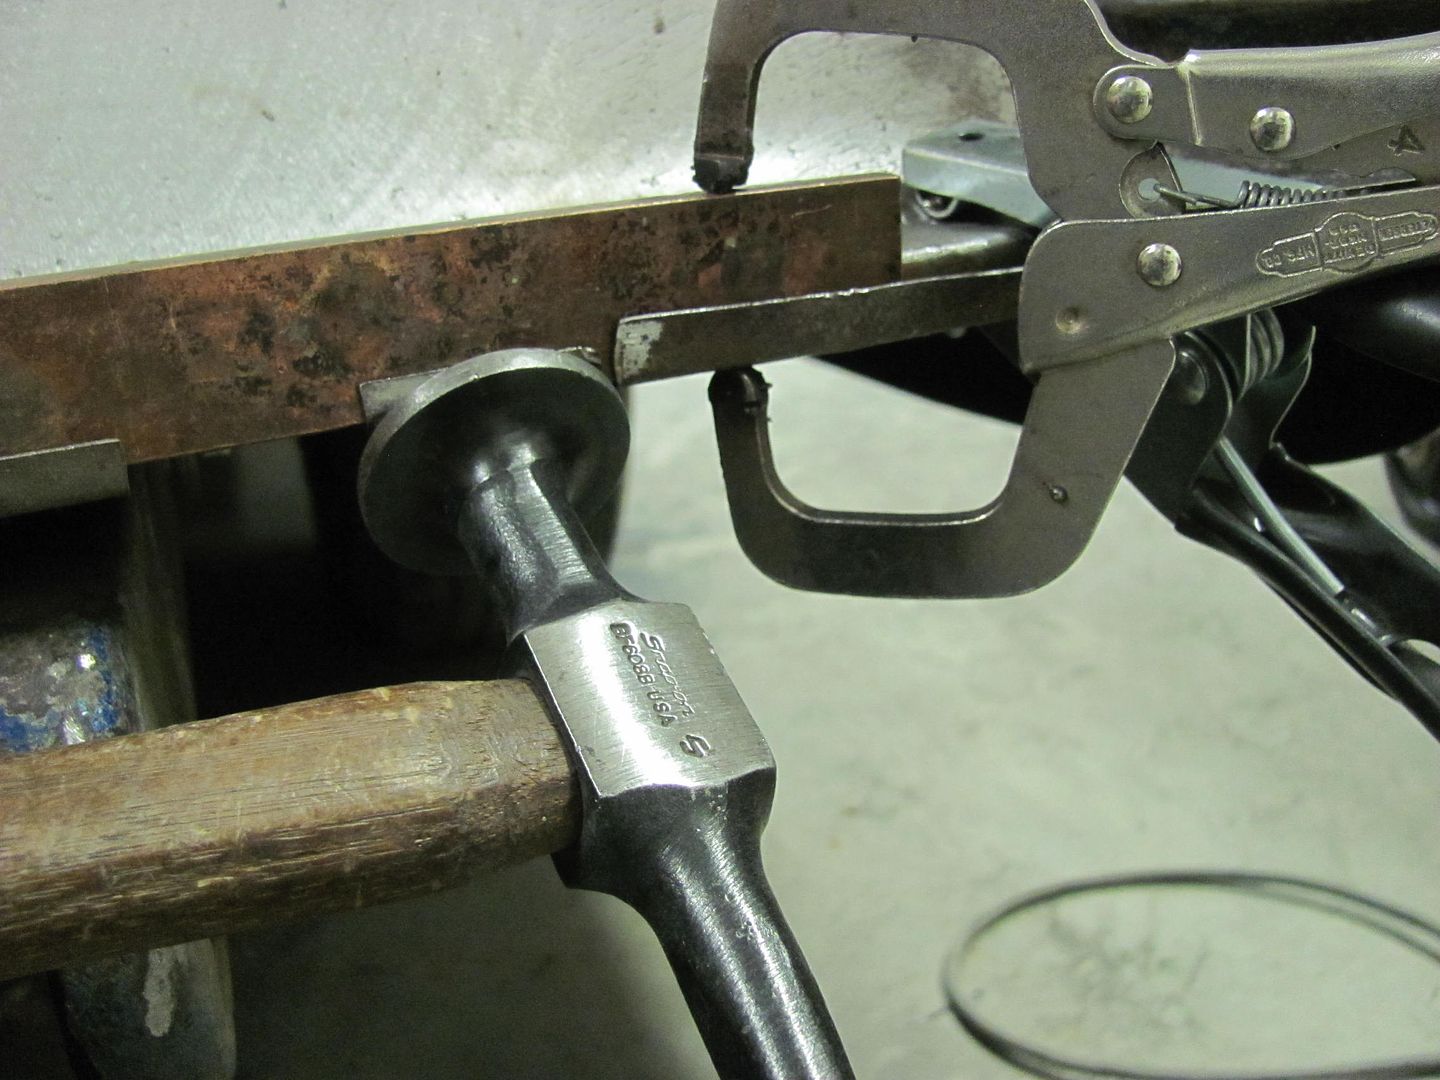
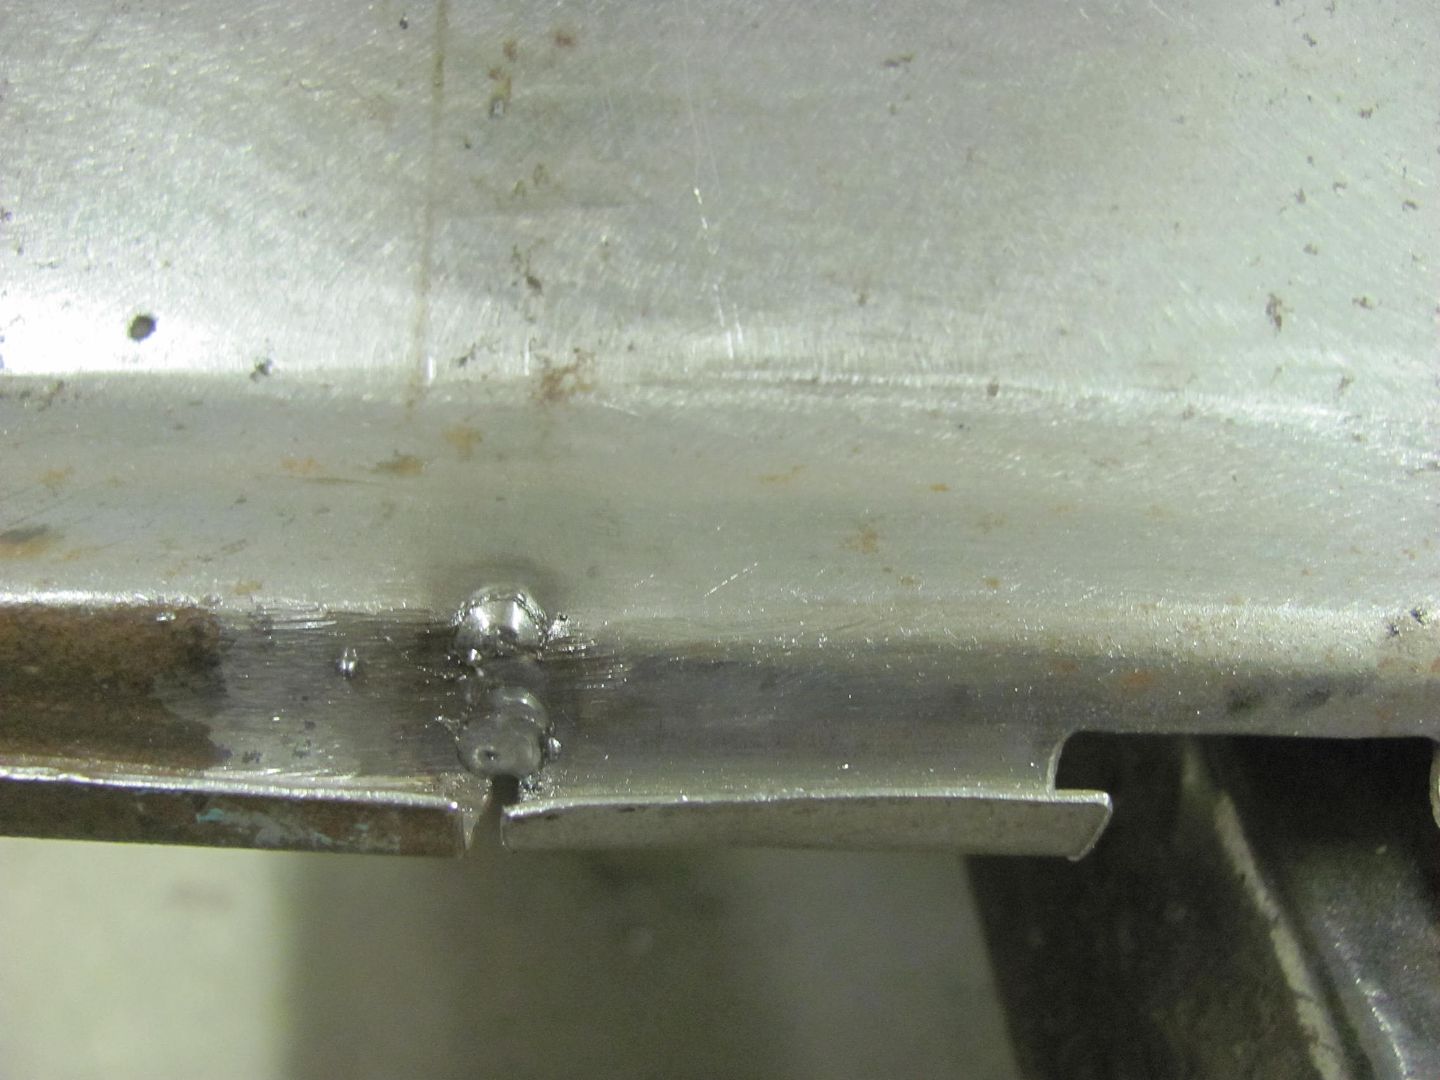
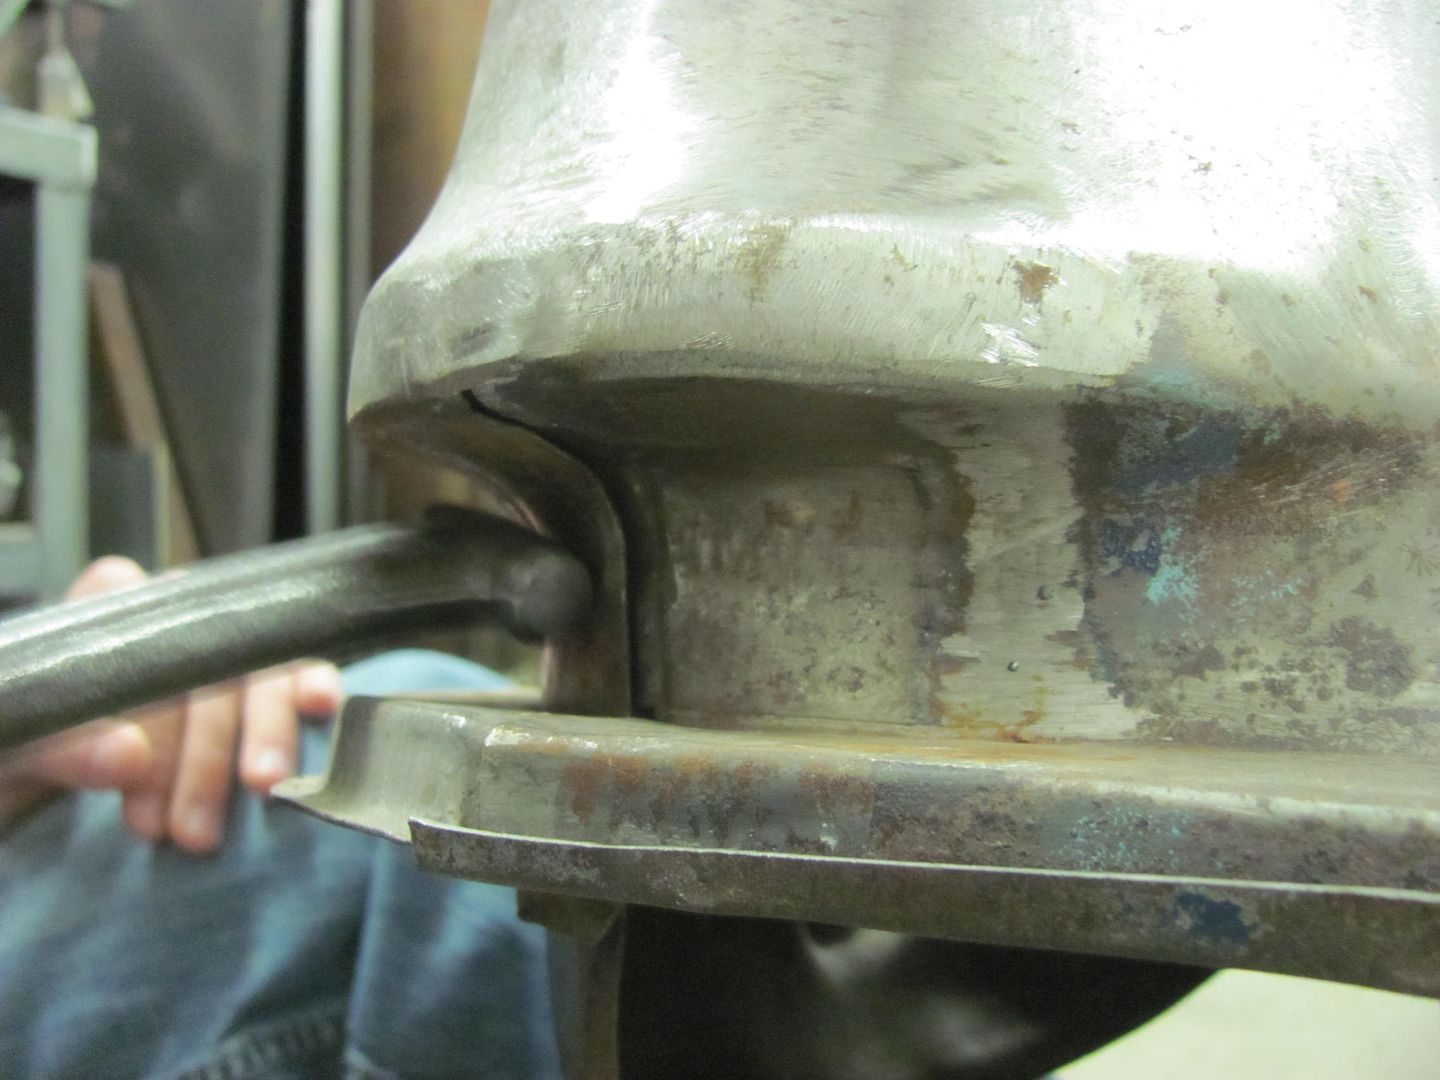
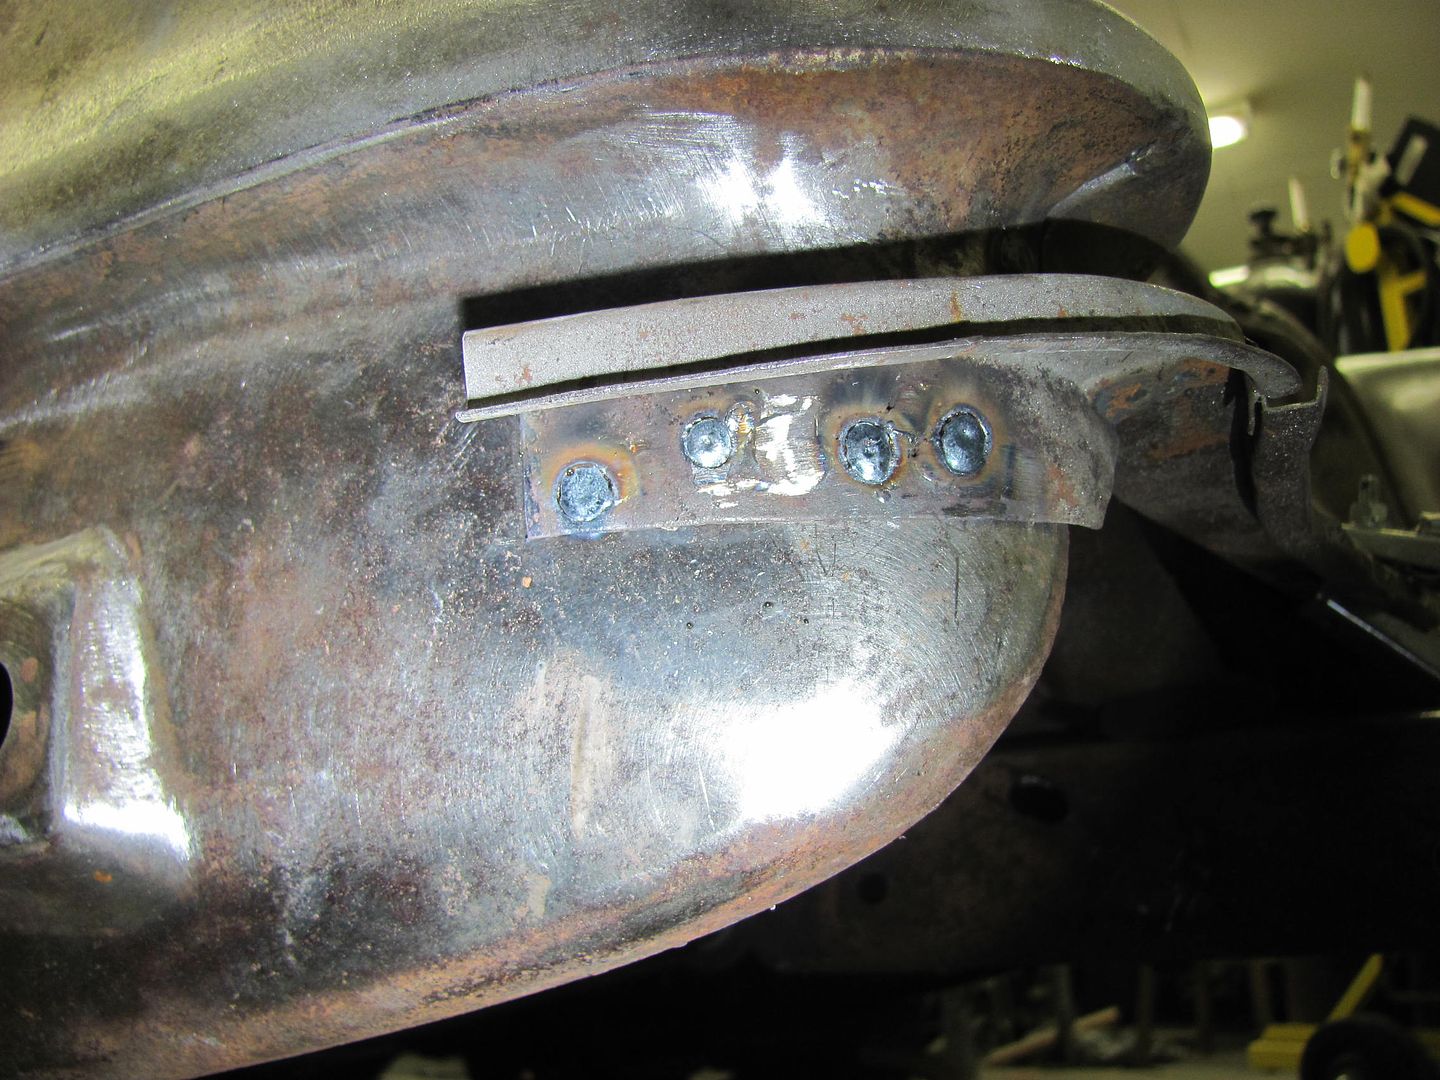
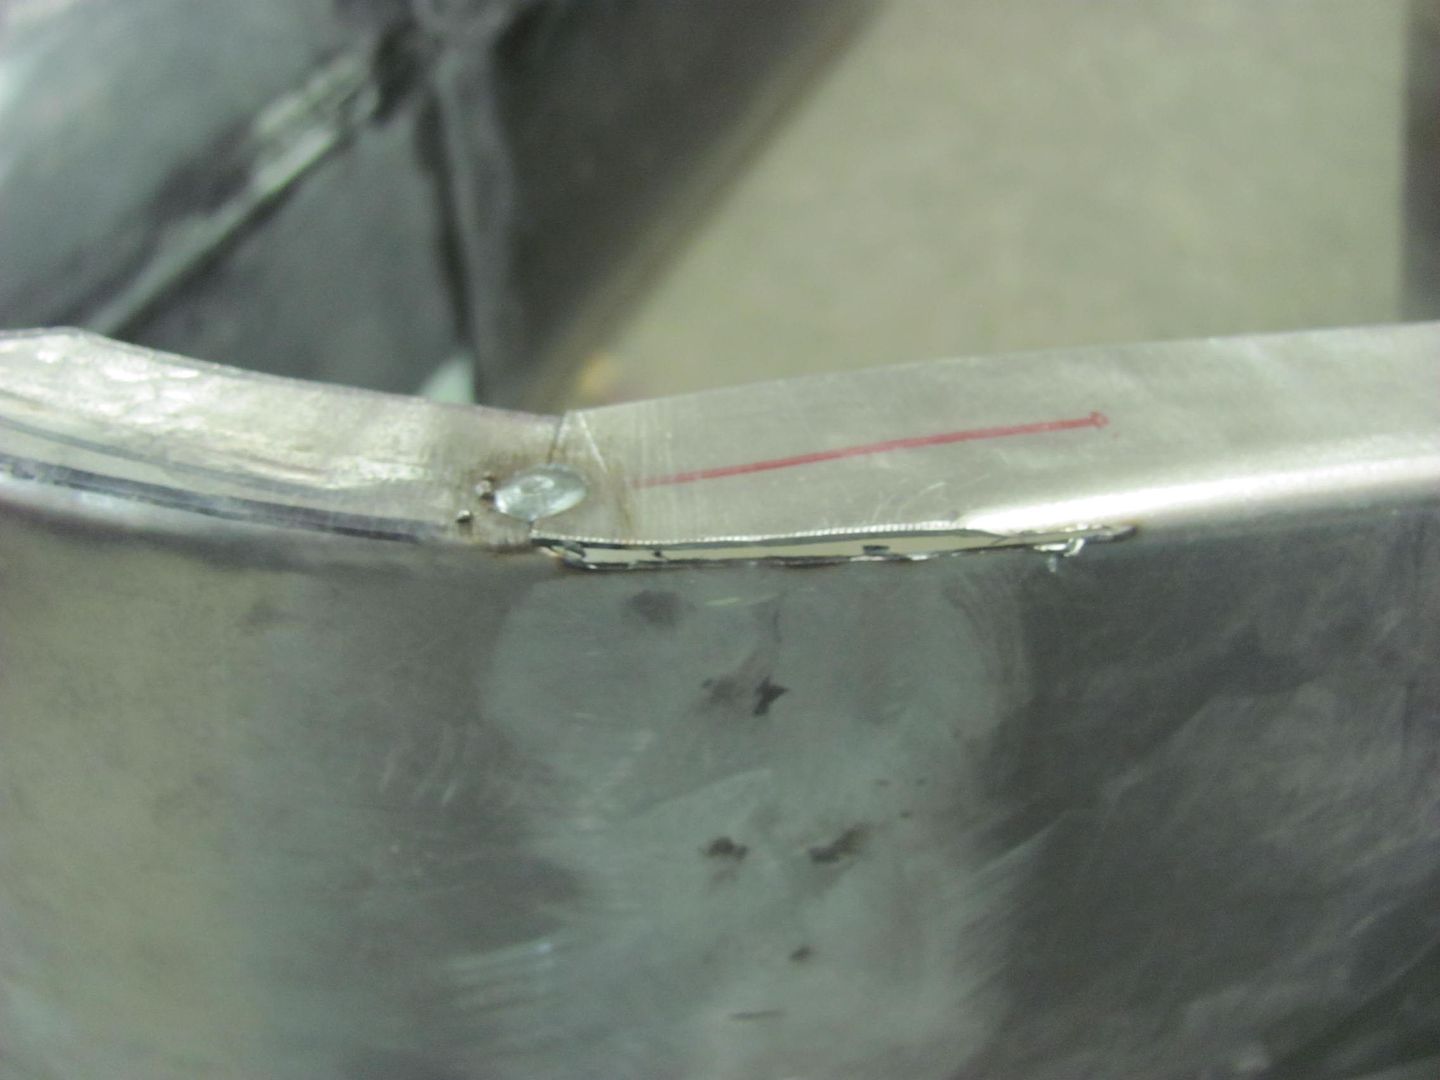
Next, as the reproduction tail pan has a rounded crimp seam and the area on the original quarters is more of a square, we'll add some hammer action here. The remaining piece of the flat bar is clamped in and used as an anvil..
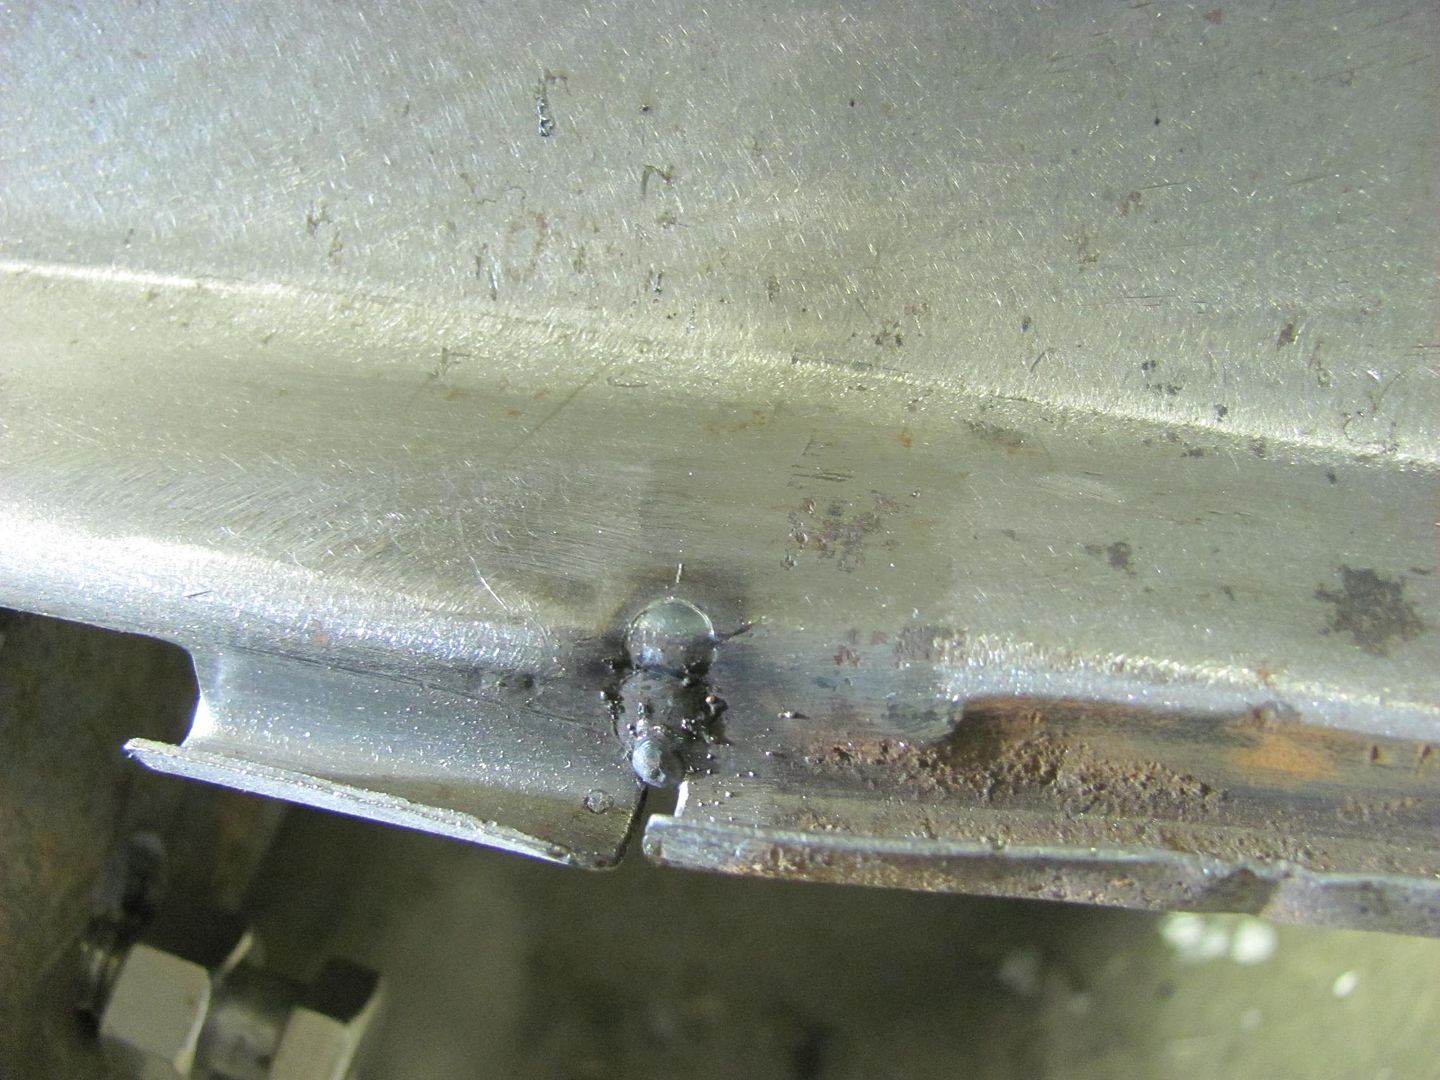
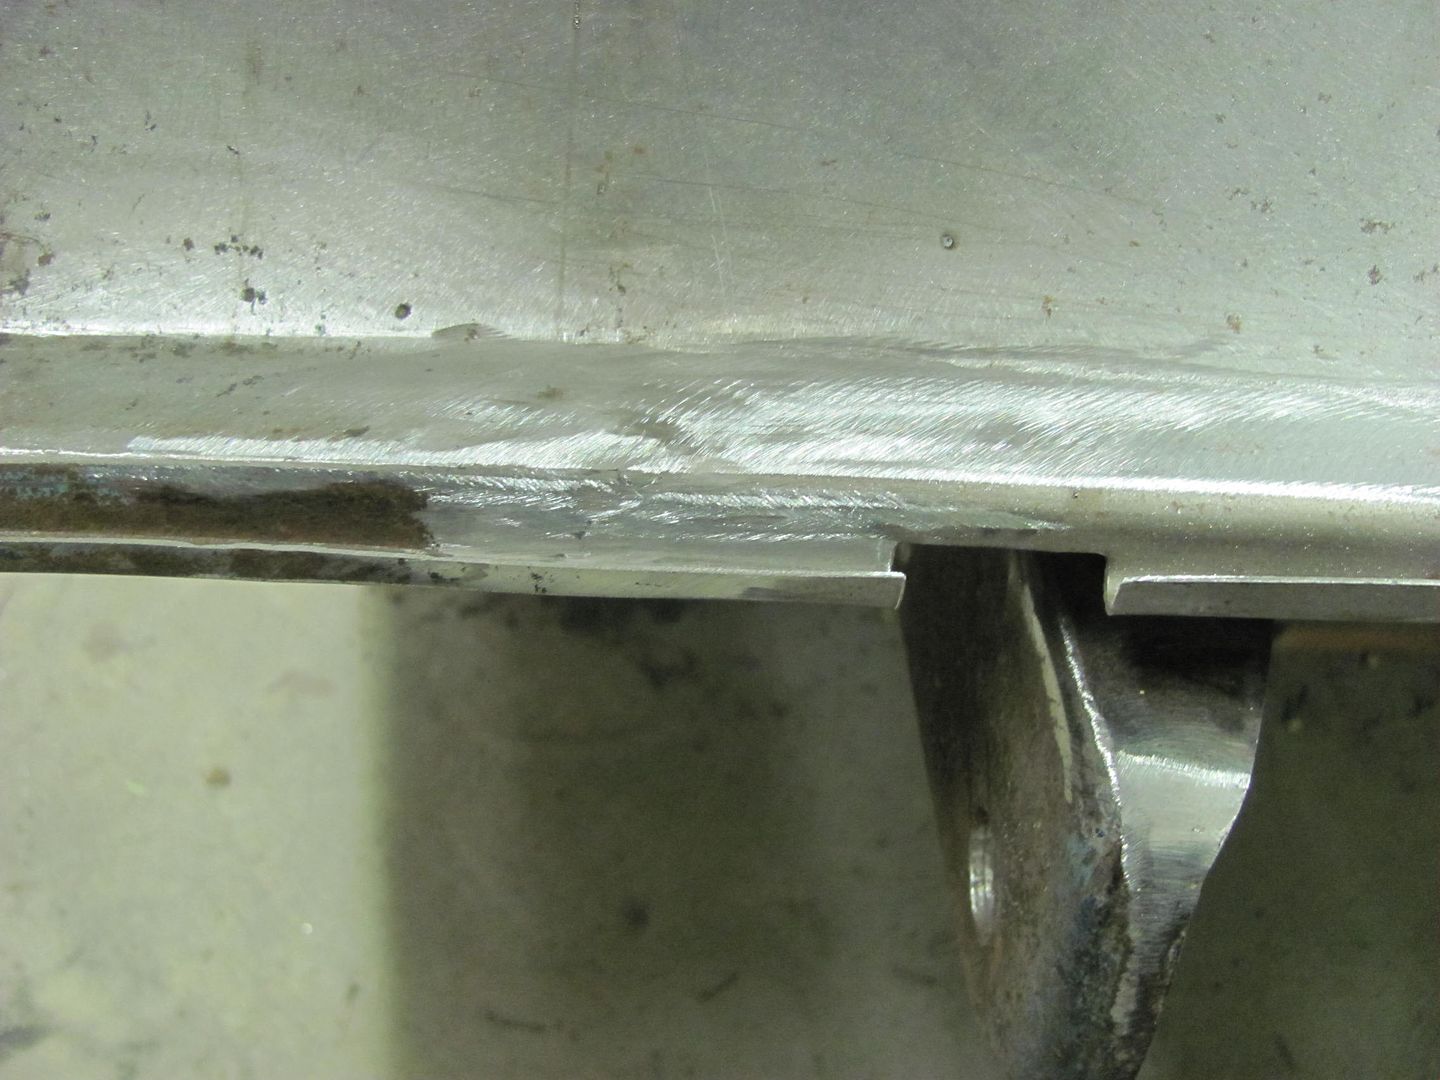
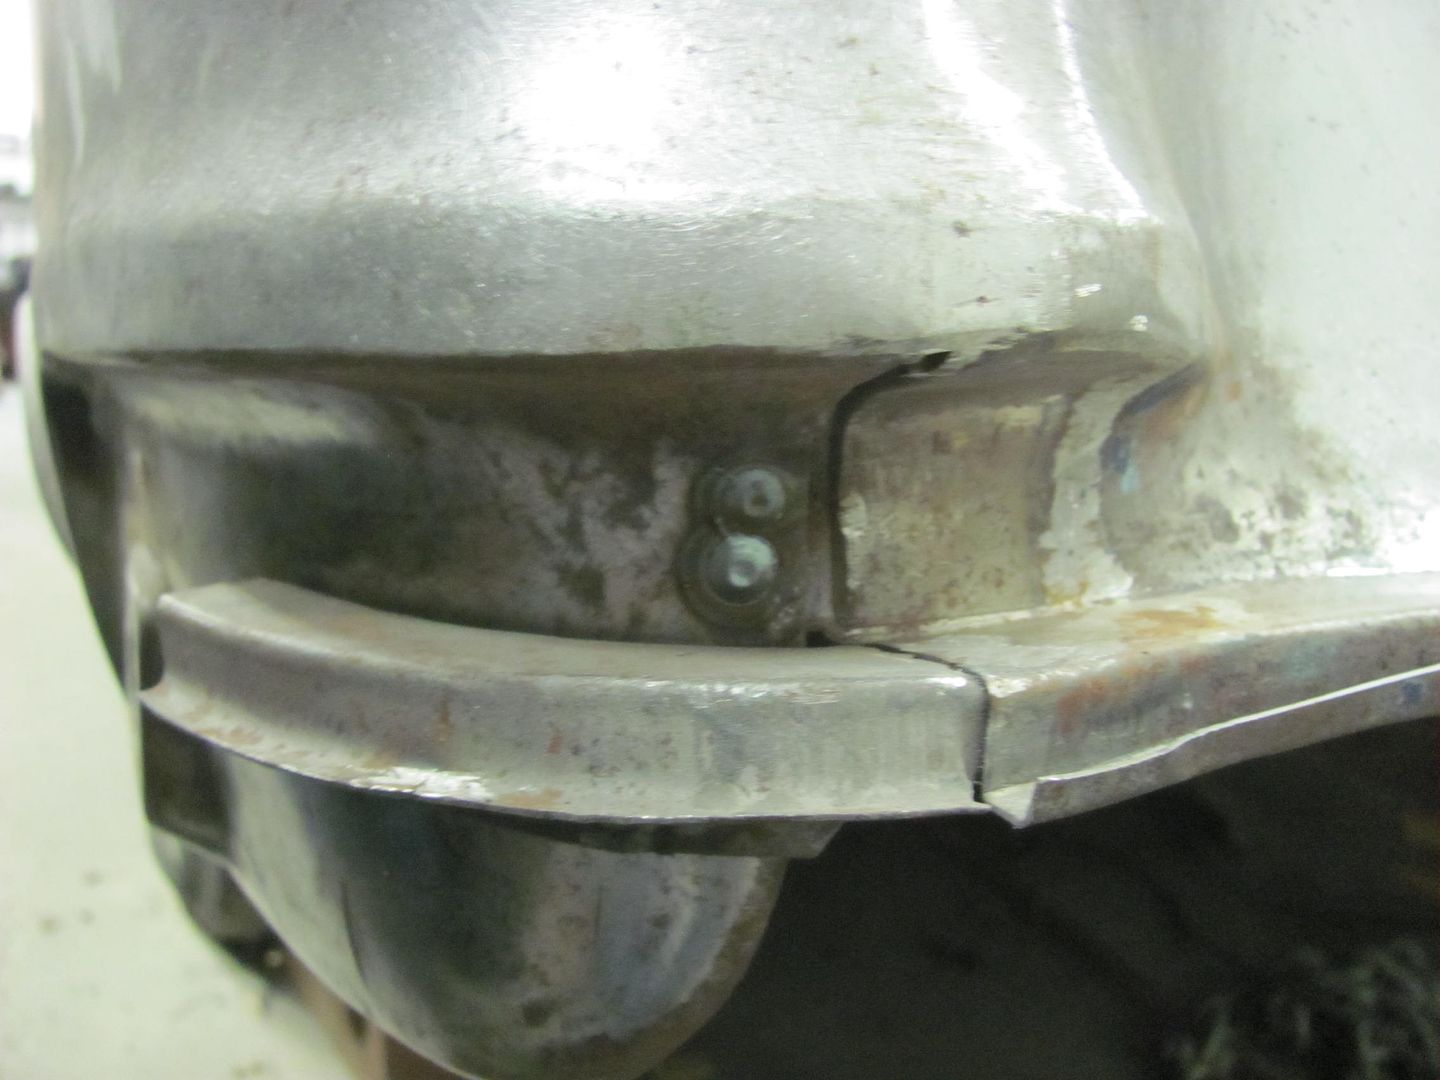
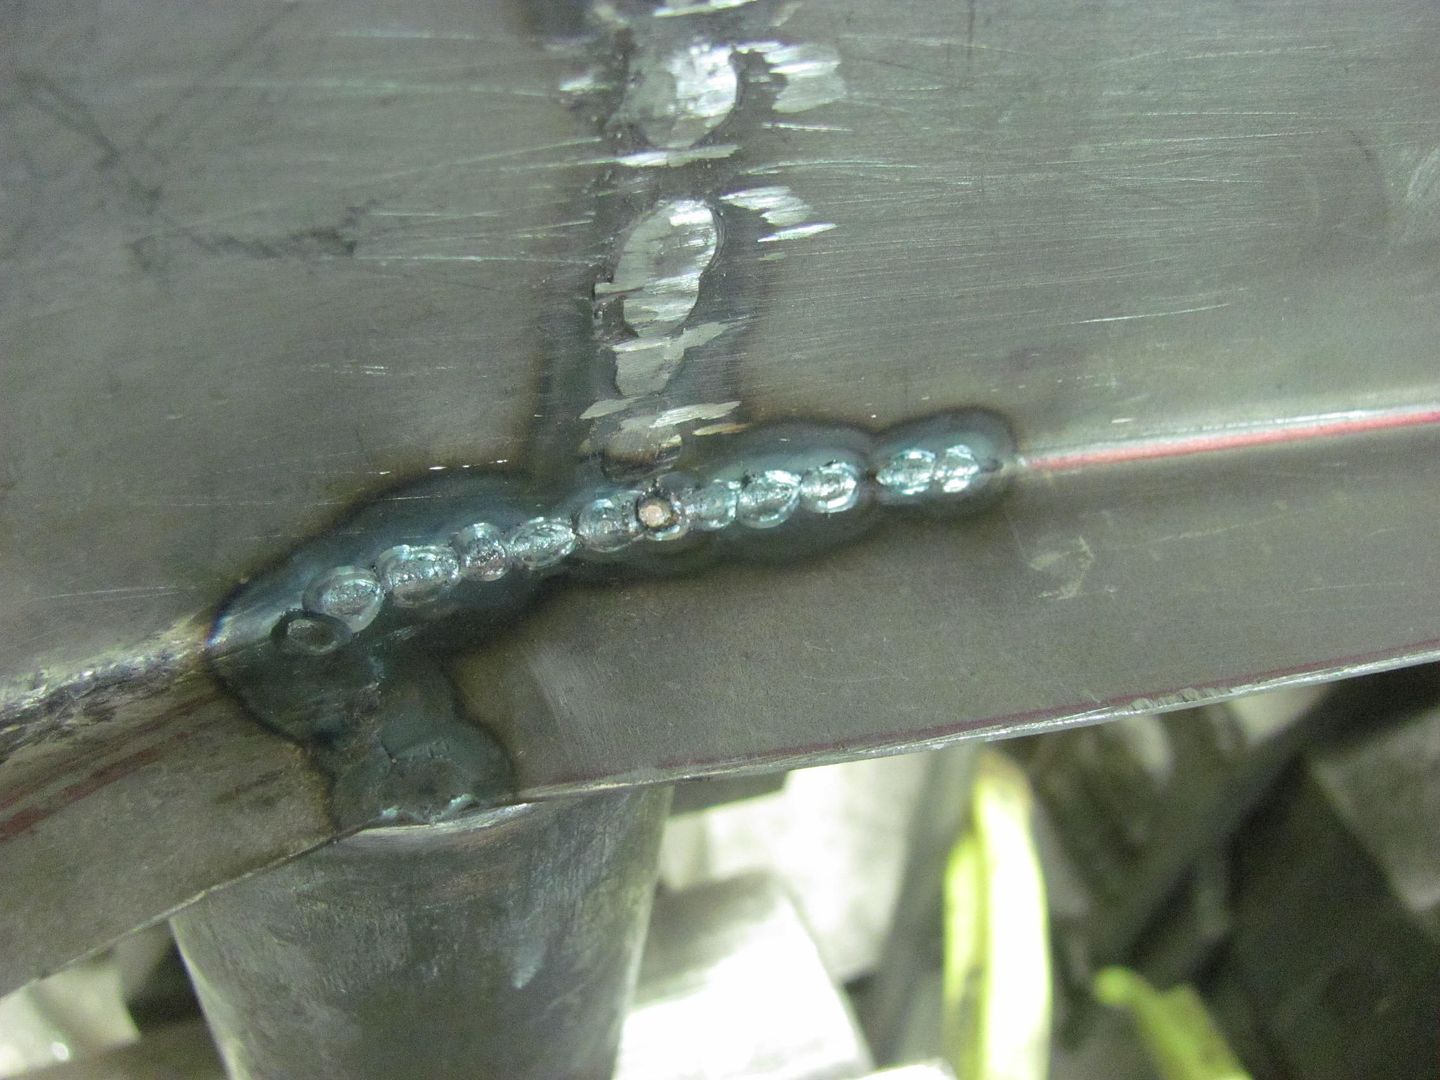
Continuing welding...
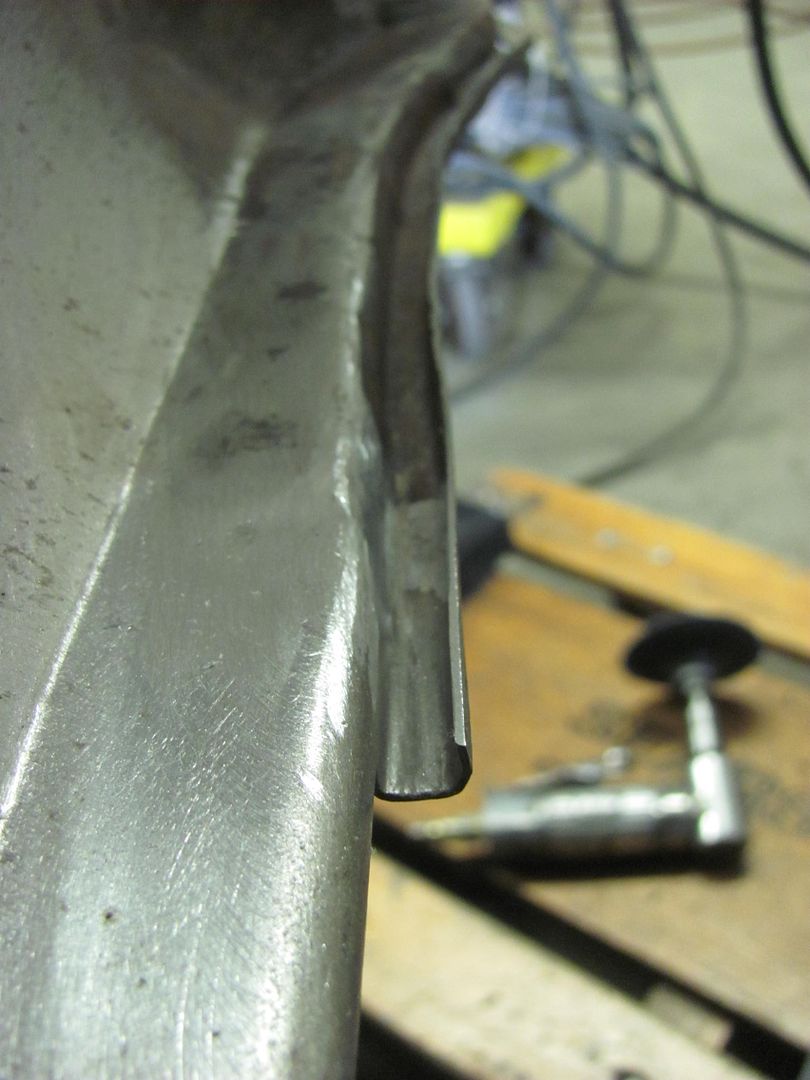
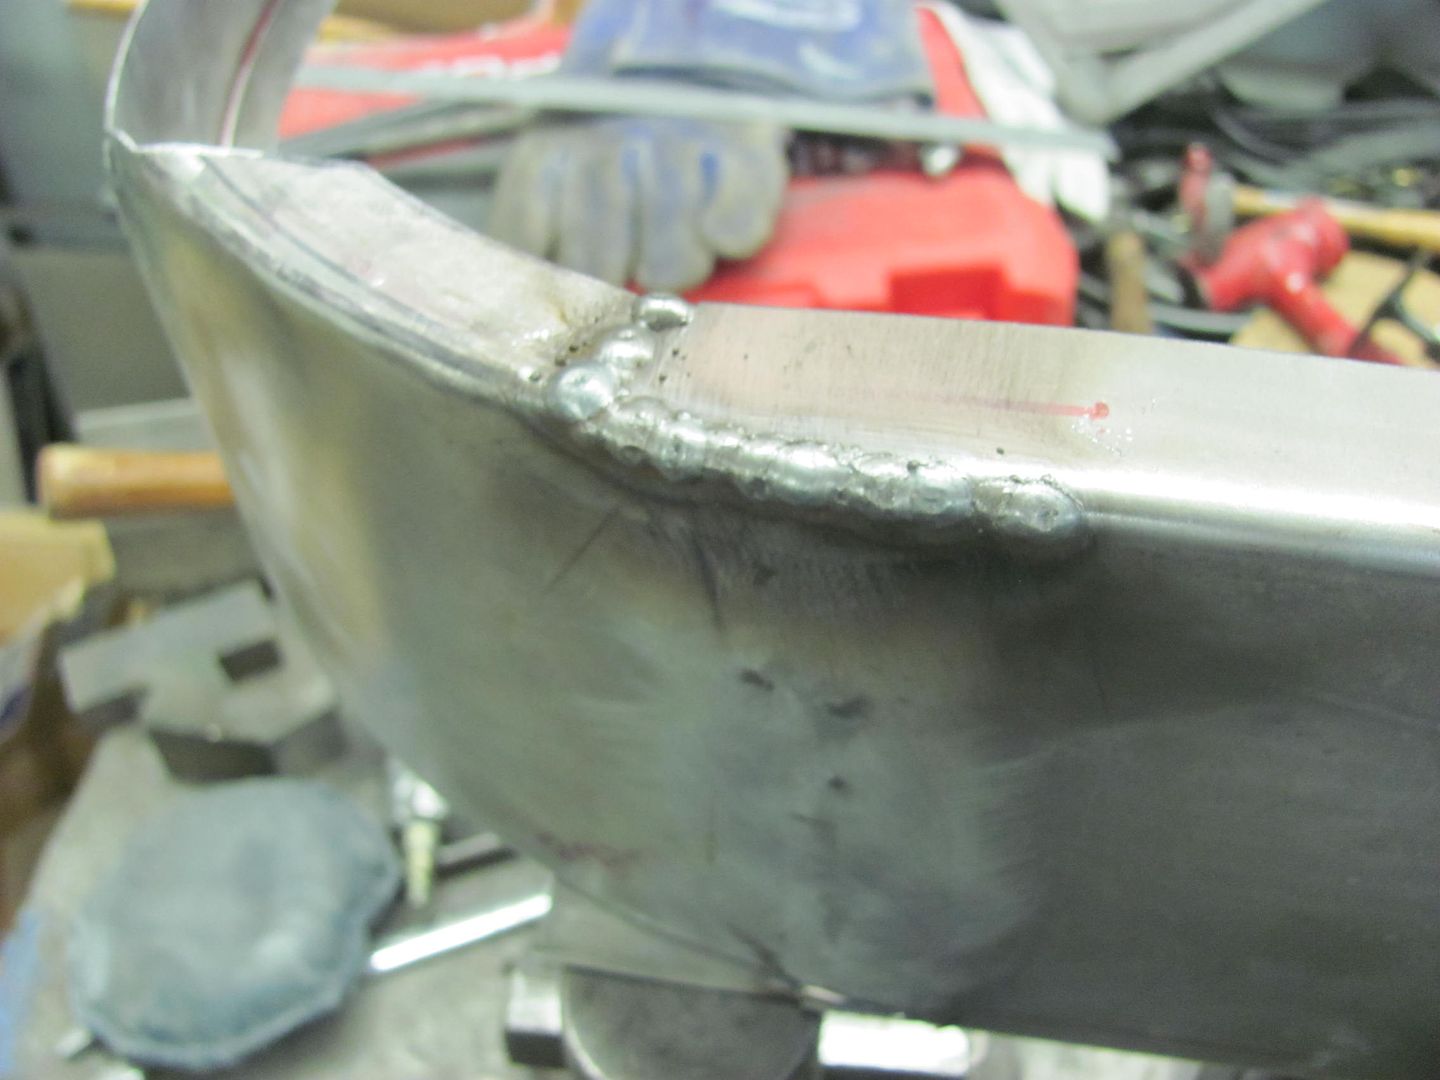
.....and a repeat on the driver's side...

Robert
-
02-18-2015 11:52 PM #438
CHR Member
- Join Date
- Sep 2005
- Location
- Hamilton
- Car Year, Make, Model: 69 nomad, 73 charger, 74 vega
- Posts
- 3,900
Skipped out?
Well you should replace him immediately!
What say you to an old war vet with fair welding skills, 20 years experience dinking with cars as a hobby, and a bad back?Last edited by firebird77clone; 02-18-2015 at 11:54 PM.
.
Education is expensive. Keep that in mind, and you'll never be terribly upset when a project goes awry.
EG
-
02-19-2015 01:13 PM #439
CHR Member
- Join Date
- Jun 2008
- Location
- Leonardtown
- Car Year, Make, Model: Walking
- Posts
- 1,228
Then there'd be two of us with a bad back
Robert
-
02-19-2015 04:18 PM #440
CHR Member
- Join Date
- Sep 2007
- Location
- New Bedford
- Car Year, Make, Model: 34 Ford 3W Coupe Replica
- Posts
- 14,754
Well then, tell Kyle Happy Birthday from the gang here at CHR!
and as always thank you for sharing the pics and the lessons.
-
02-20-2015 06:06 PM #441
CHR Member
- Join Date
- Apr 2011
- Location
- Prairie City
- Car Year, Make, Model: 40 Ford Deluxe, 68 Corvette, 72&76 K30
- Posts
- 7,301
- Blog Entries
- 1
That is a nice piece of copper there. You just don't find scrap pieces like that anymore to use as tools. Nice work there. I admire your grinding and finishing skills!Ryan
1940 Ford Deluxe Tudor 354 Hemi 46RH Electric Blue w/multi-color flames, Ford 9" Residing in multiple pieces
1968 Corvette Coupe 5.9 Cummins Drag Car 11.43@130mph No stall leaving the line with 1250 rpm's and poor 2.2 60'
1972 Chevy K30 Longhorn P-pumped 24v Compound Turbos 47RH Just another money pit
1971 Camaro RS 5.3 BTR Stage 3 cam, SuperT10
Tire Sizes
-
02-21-2015 04:48 AM #442
CHR Member
- Join Date
- Jun 2008
- Location
- Leonardtown
- Car Year, Make, Model: Walking
- Posts
- 1,228
 Originally Posted by 40FordDeluxe

Hi, my name's Robert, and I'm a hoarder...
Robert
-
02-21-2015 05:13 AM #443
CHR Member
- Join Date
- Sep 2007
- Location
- New Bedford
- Car Year, Make, Model: 34 Ford 3W Coupe Replica
- Posts
- 14,754
Hello Robert!
-
02-21-2015 08:17 PM #444
CHR Member
- Join Date
- Jun 2008
- Location
- Leonardtown
- Car Year, Make, Model: Walking
- Posts
- 1,228
Today Kyle finished up another loose end, tying in the bottom of the NOS quarter panel.. A bit of hammer bumping to get the panels aligned...
Plug weld holes drilled and filled.....
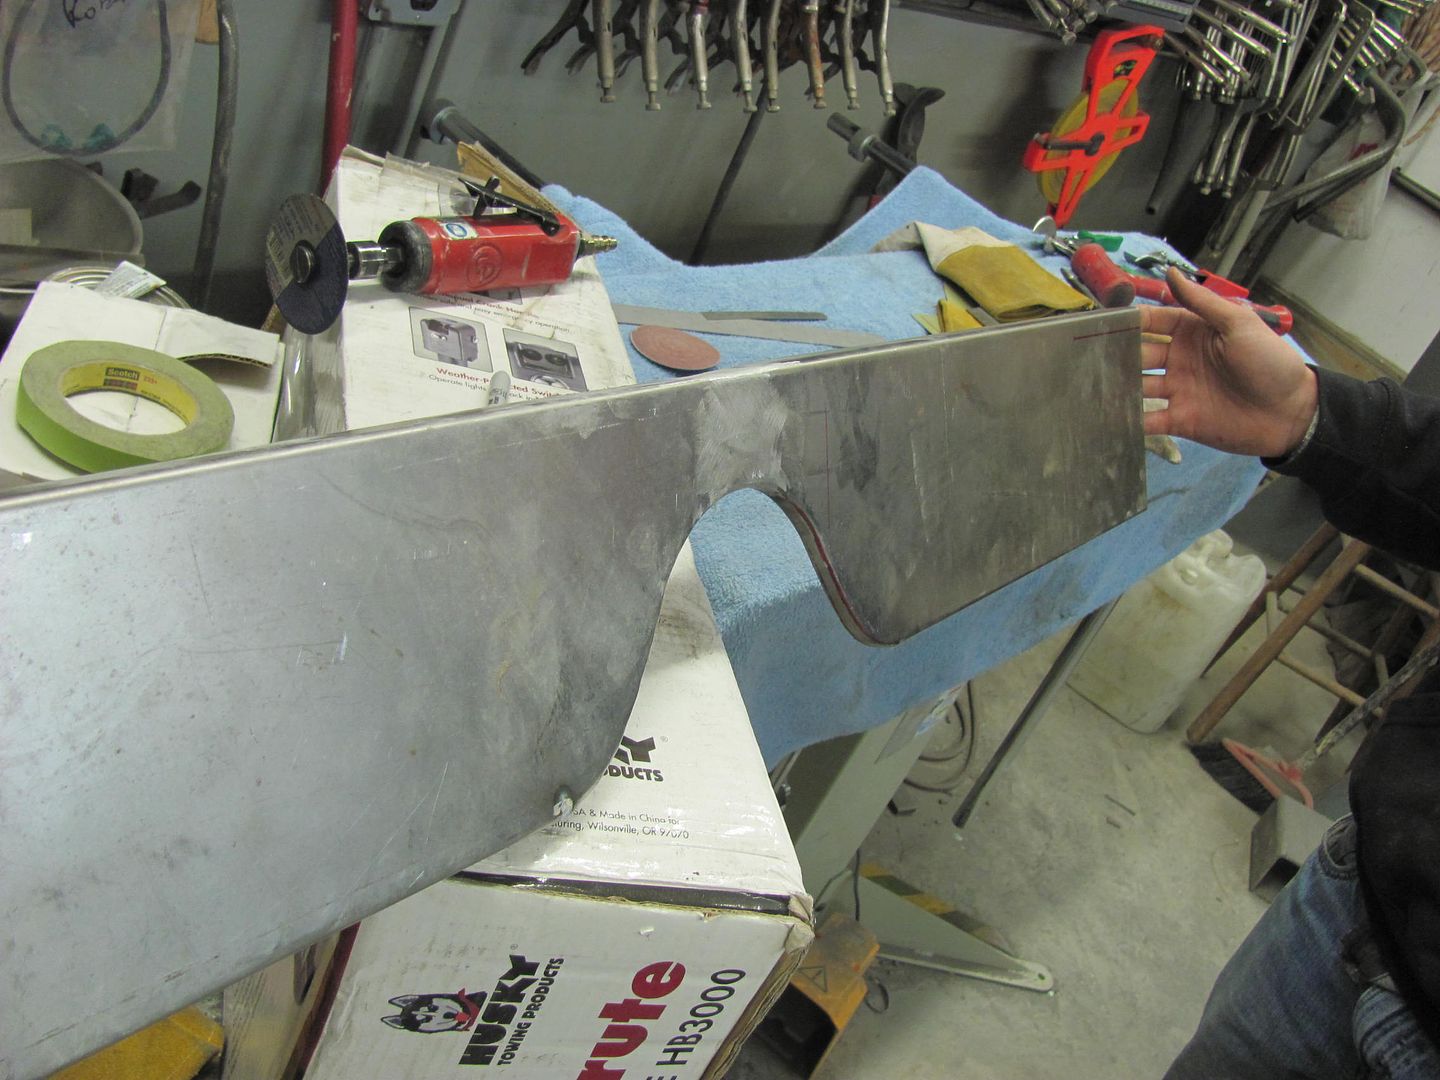
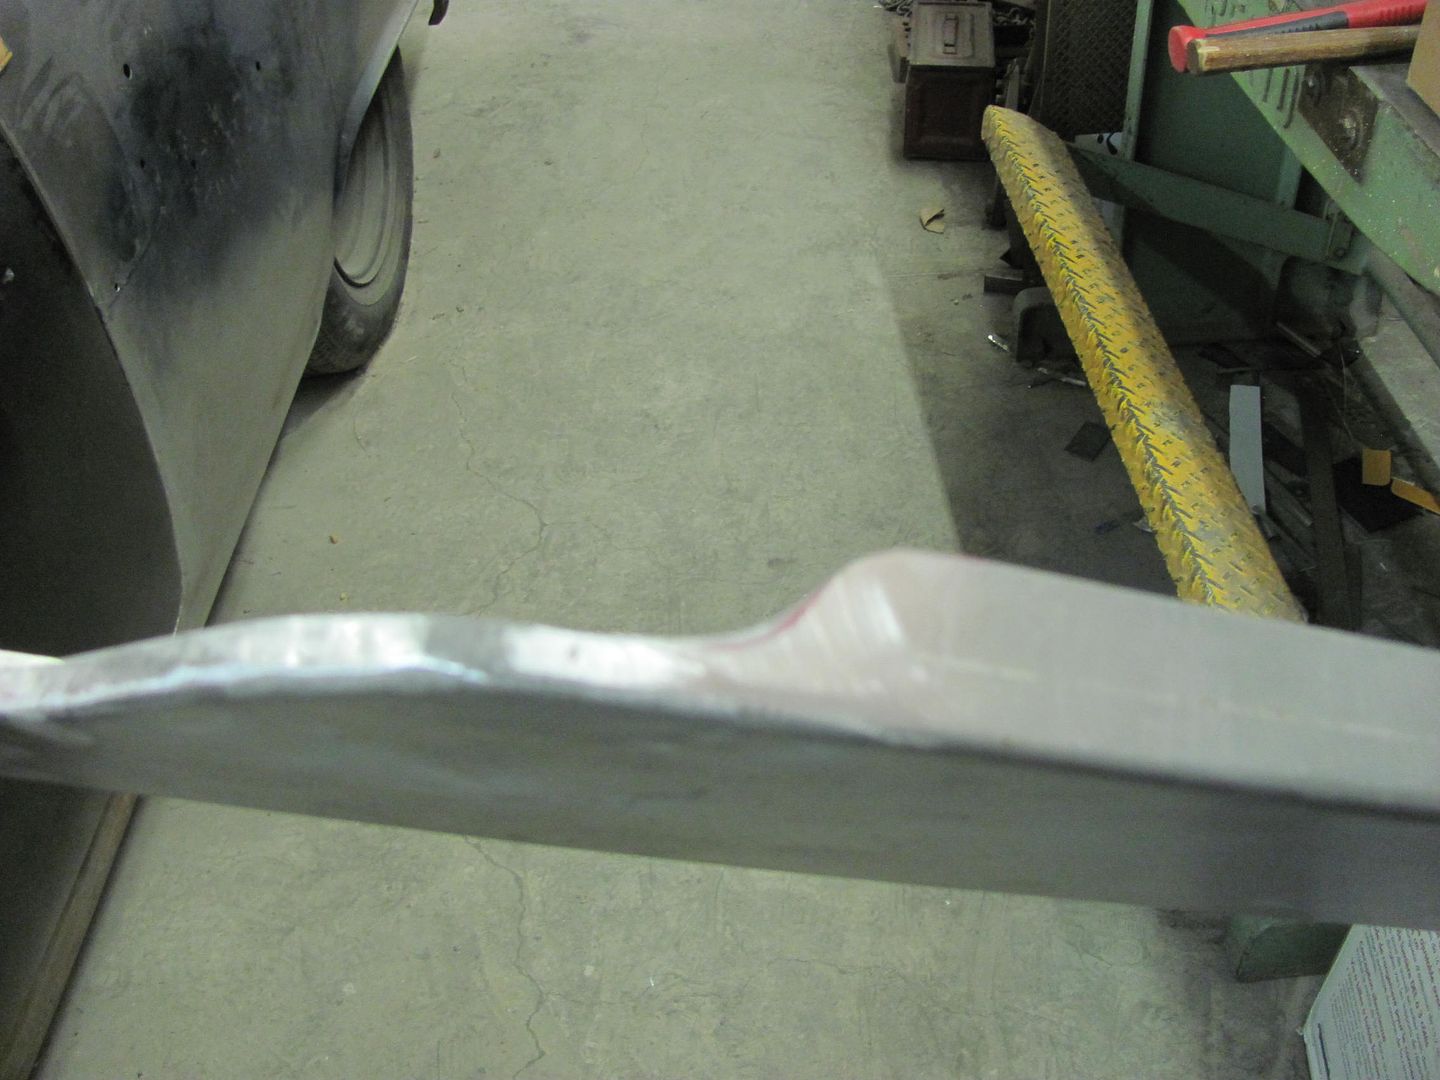
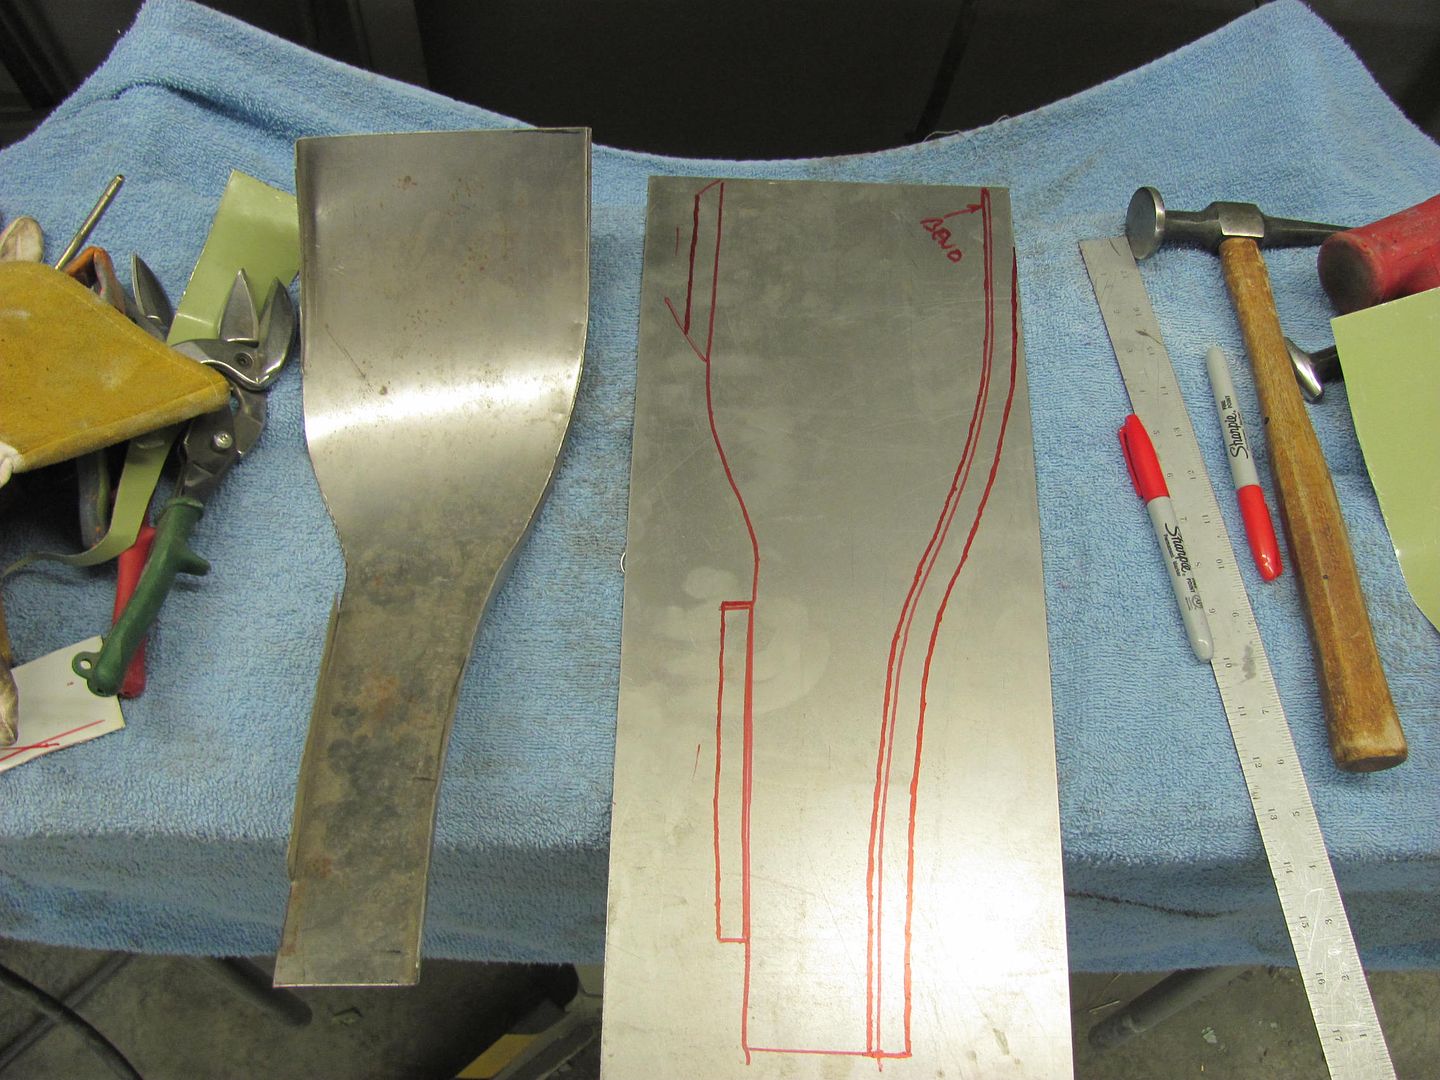
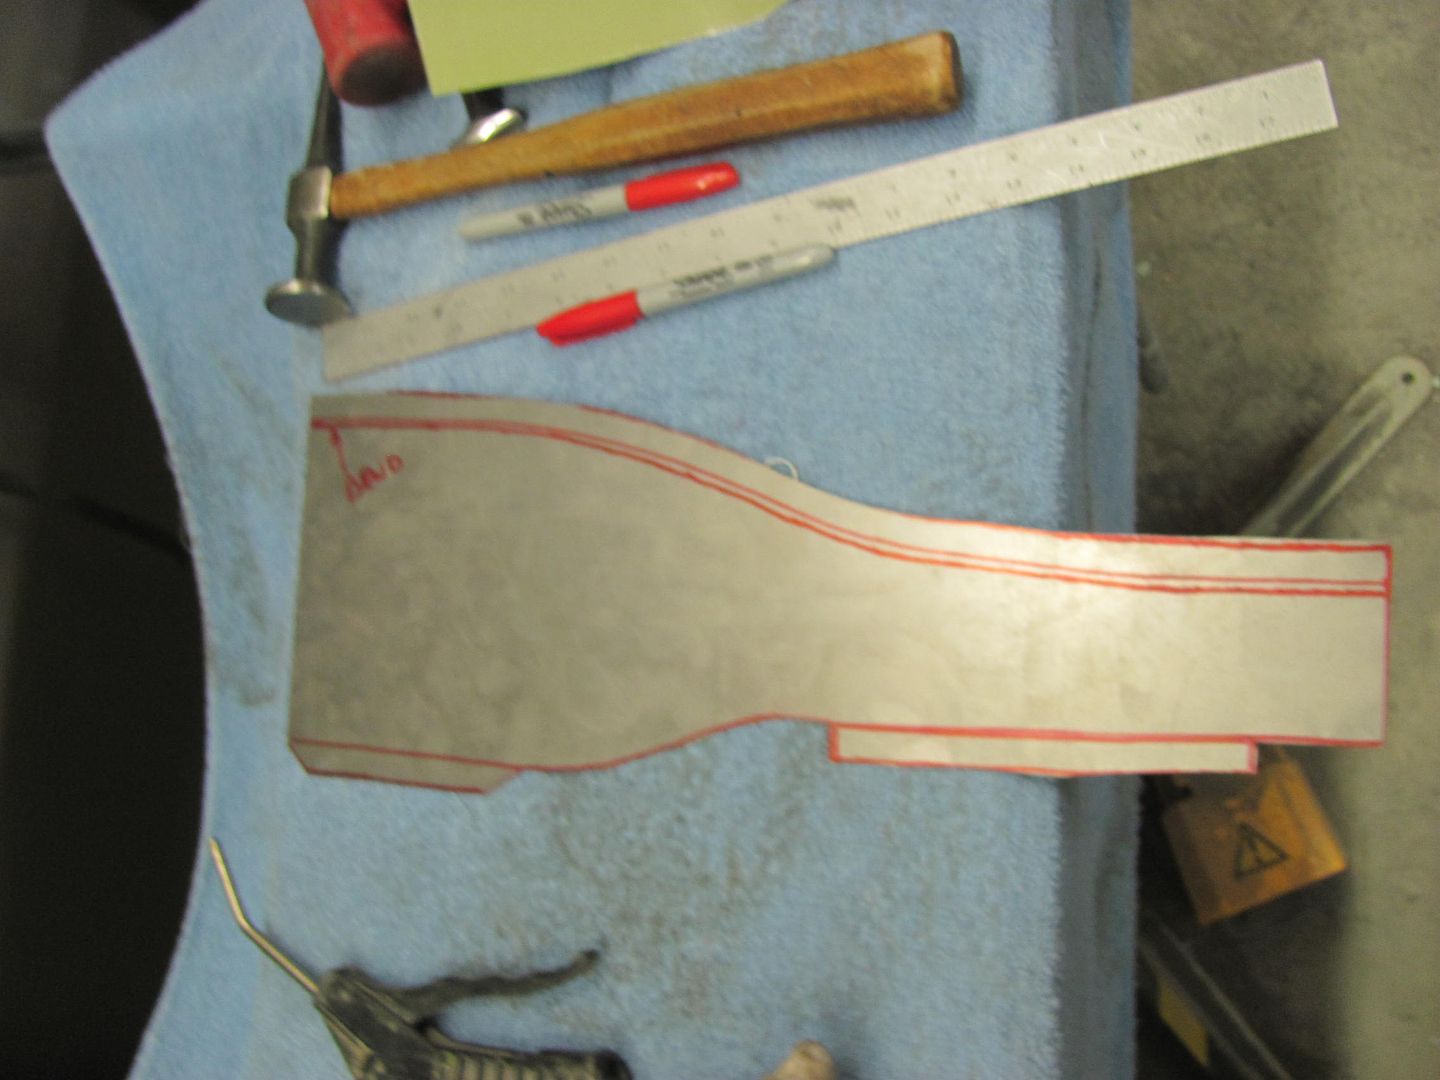
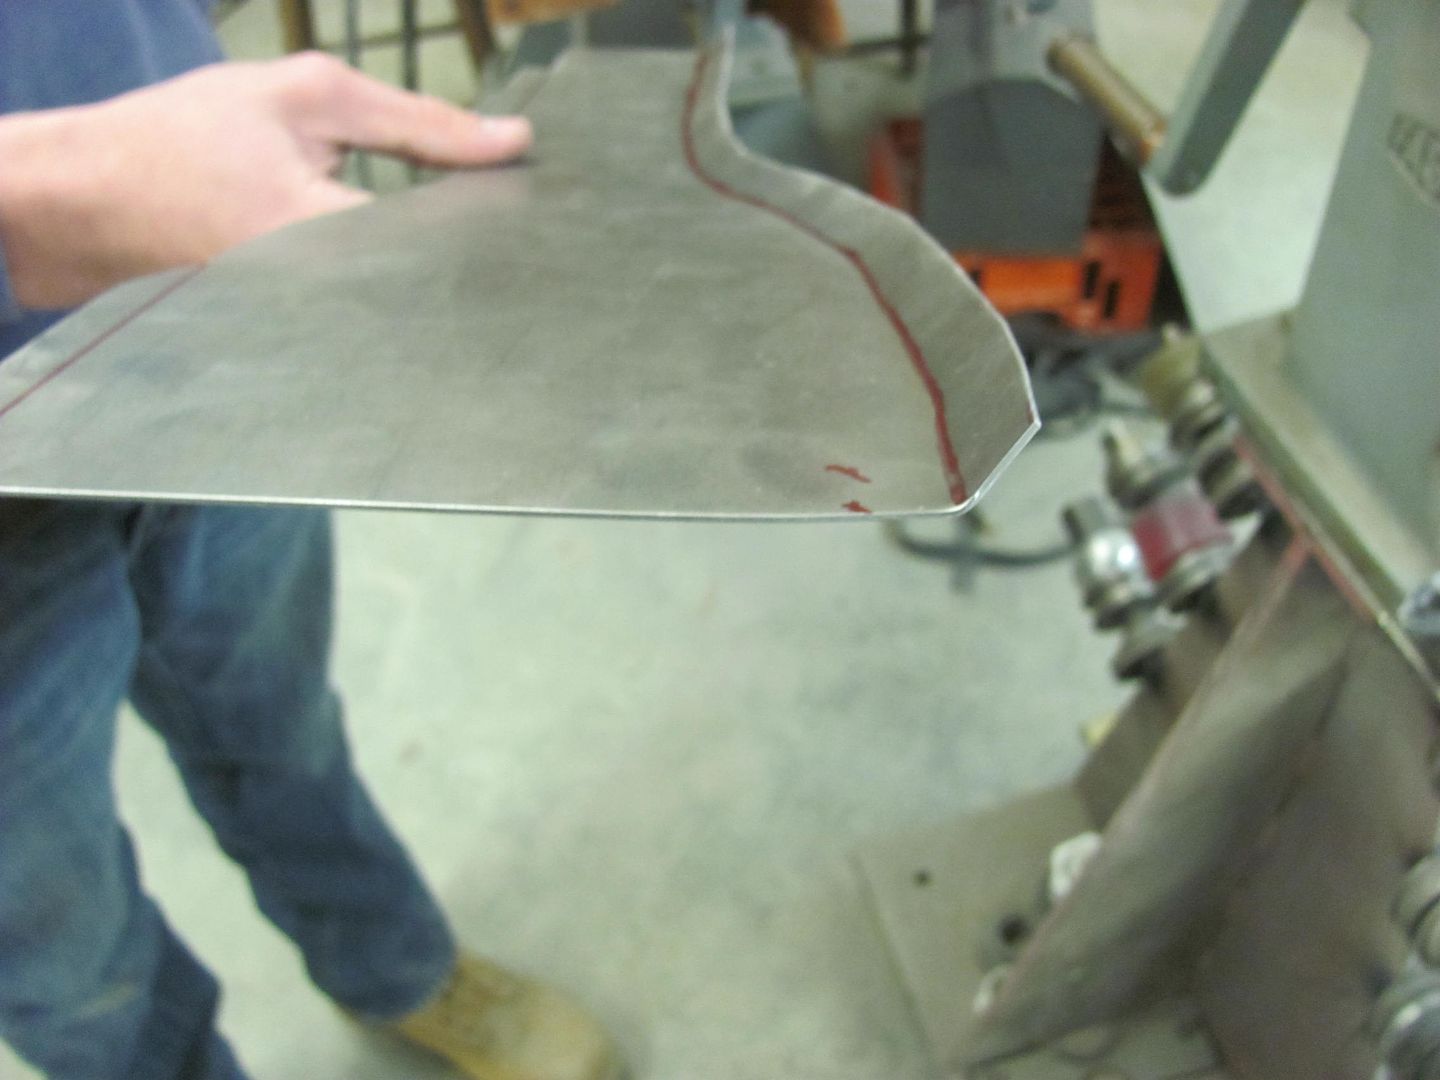
Then he turned his attention to duplicating a second half for the front divider panel for the rear seat.
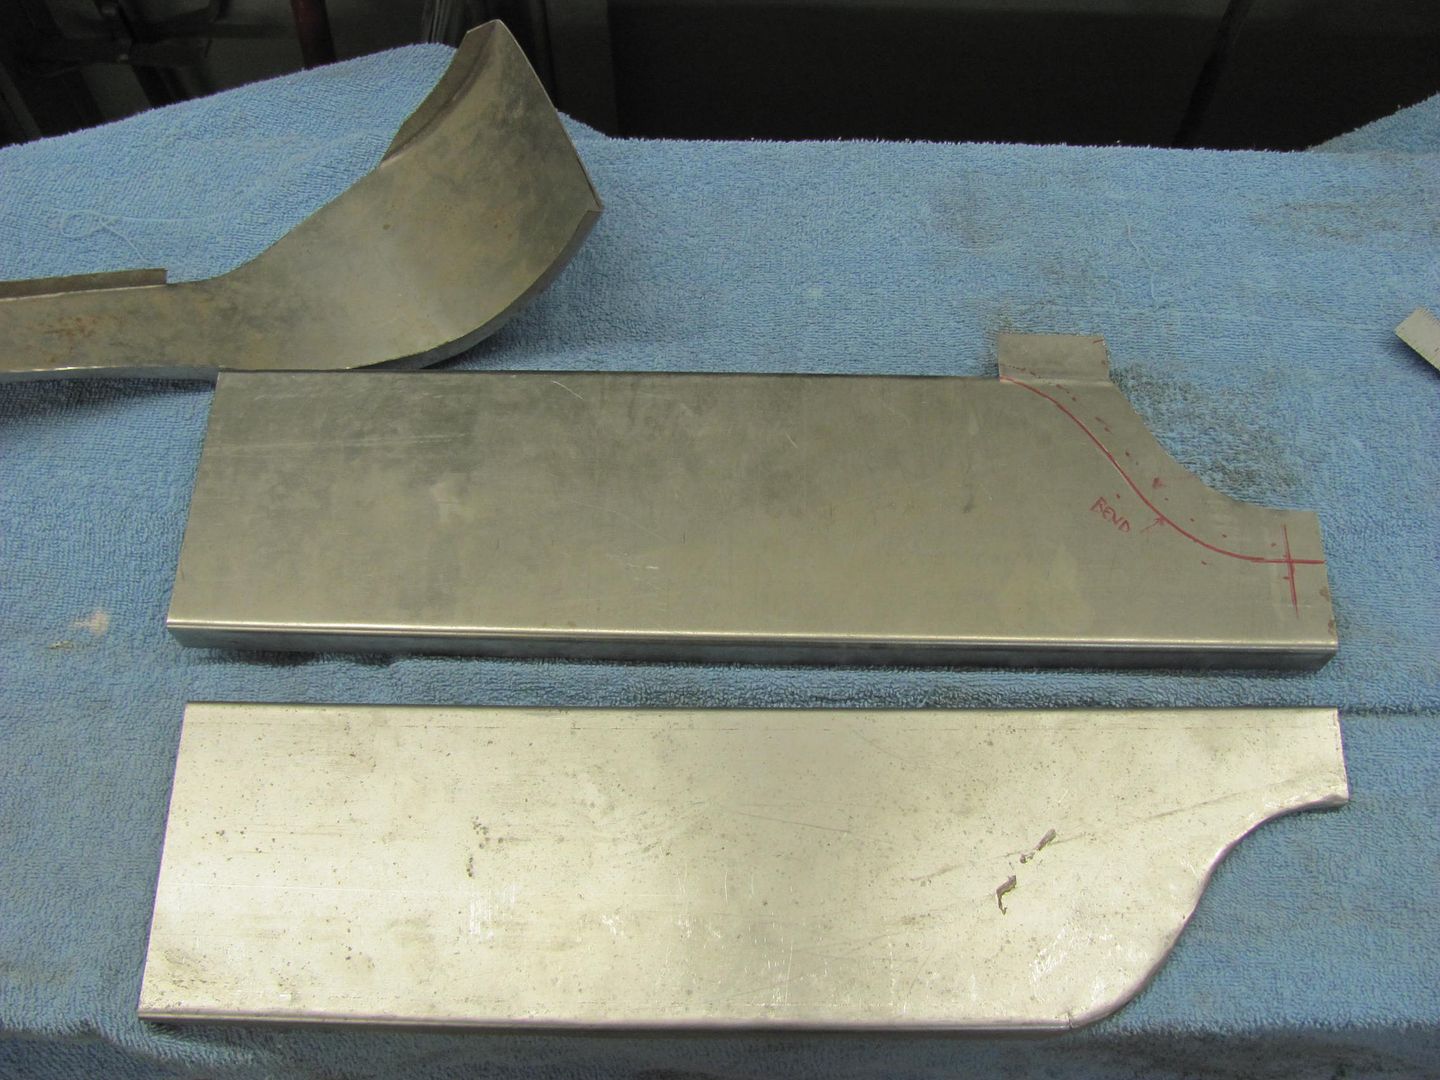
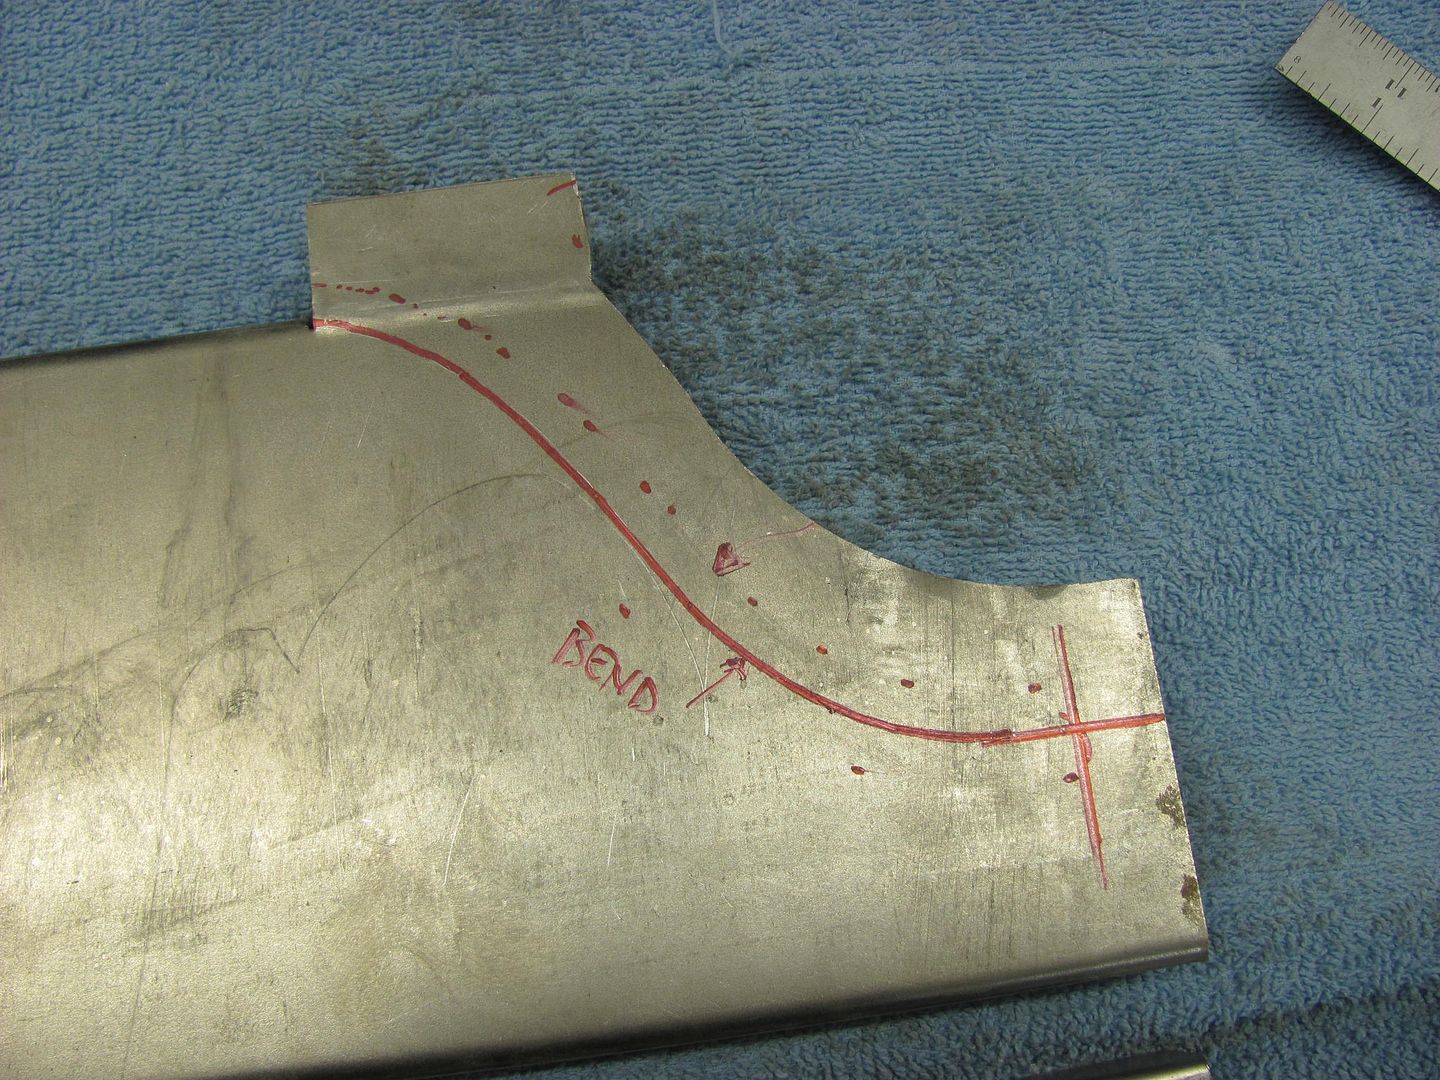
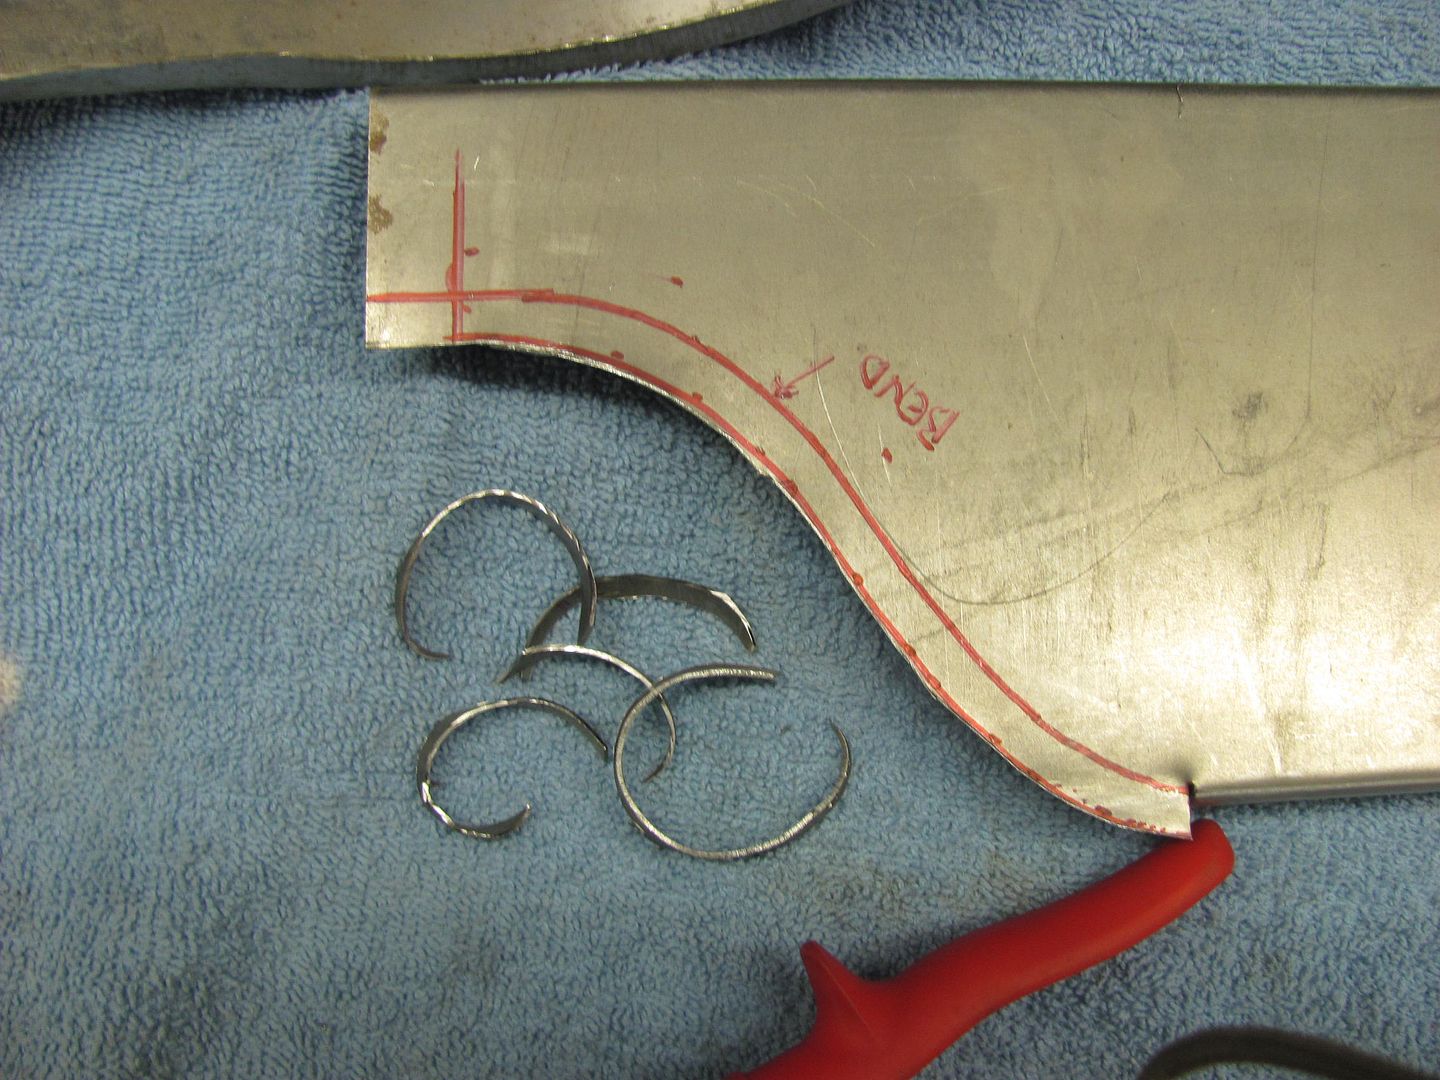
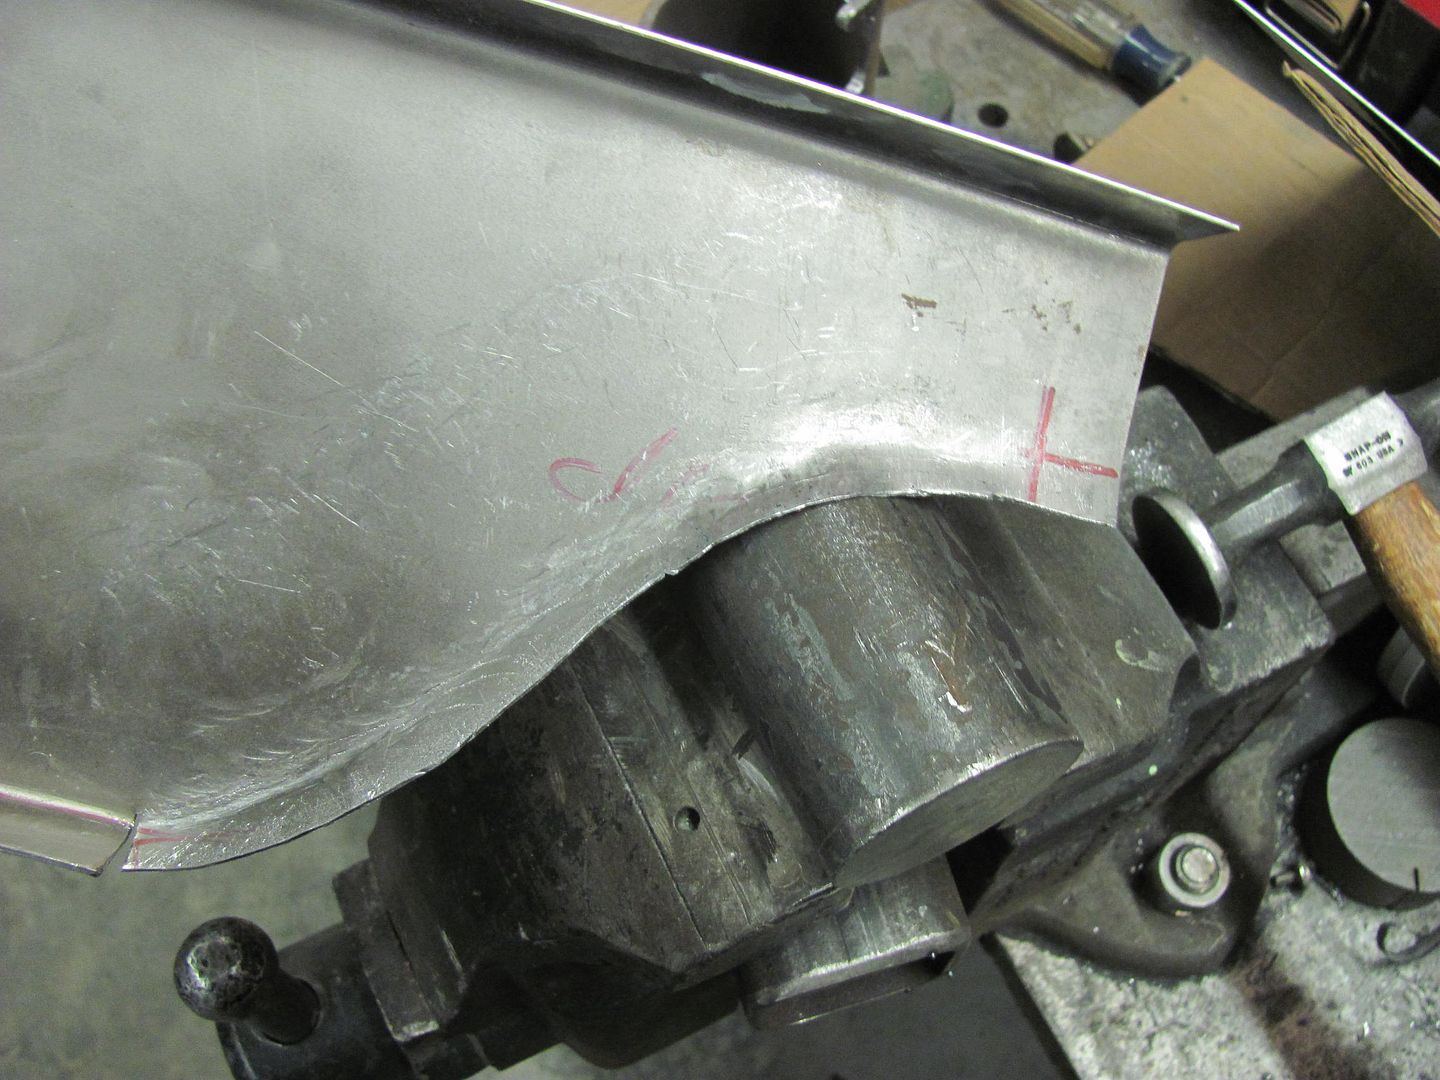
Using the Erco kick shrinker....
Needs a bit of fine tuning still but he's getting there...
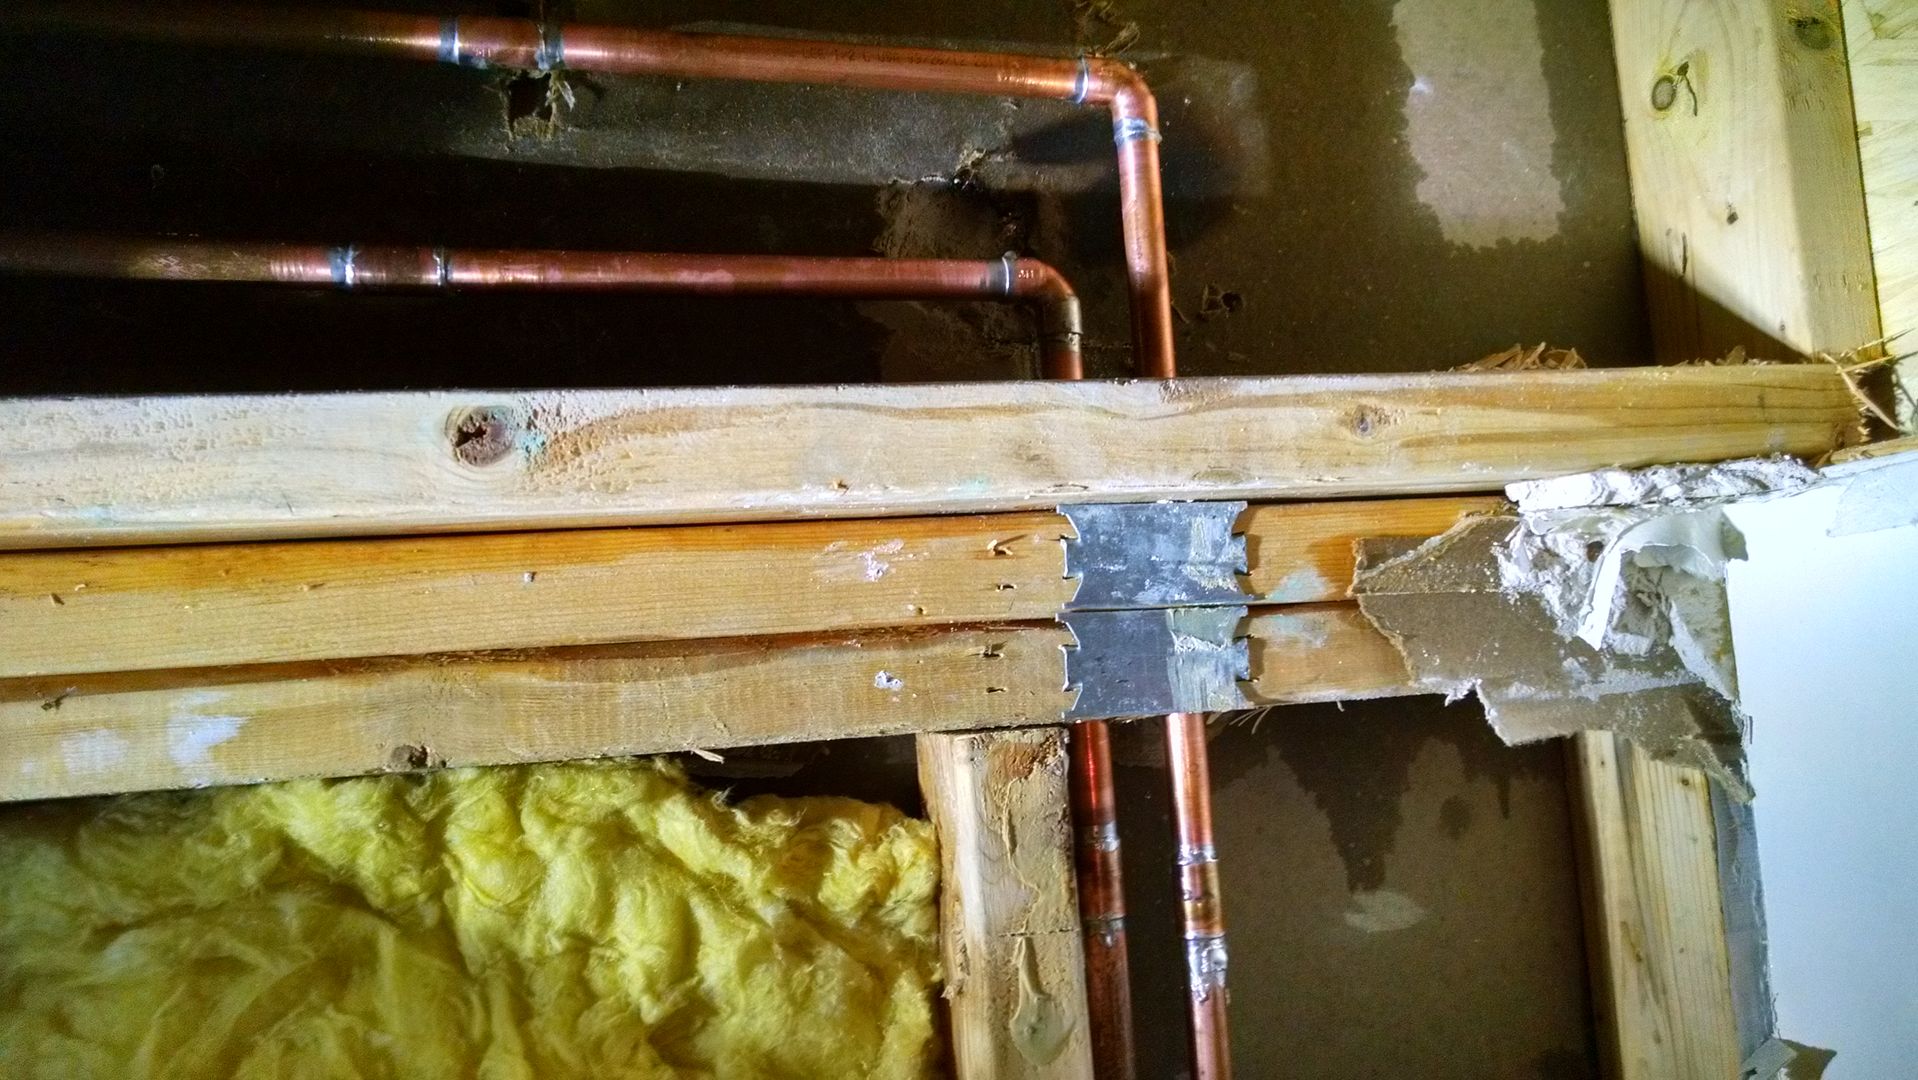
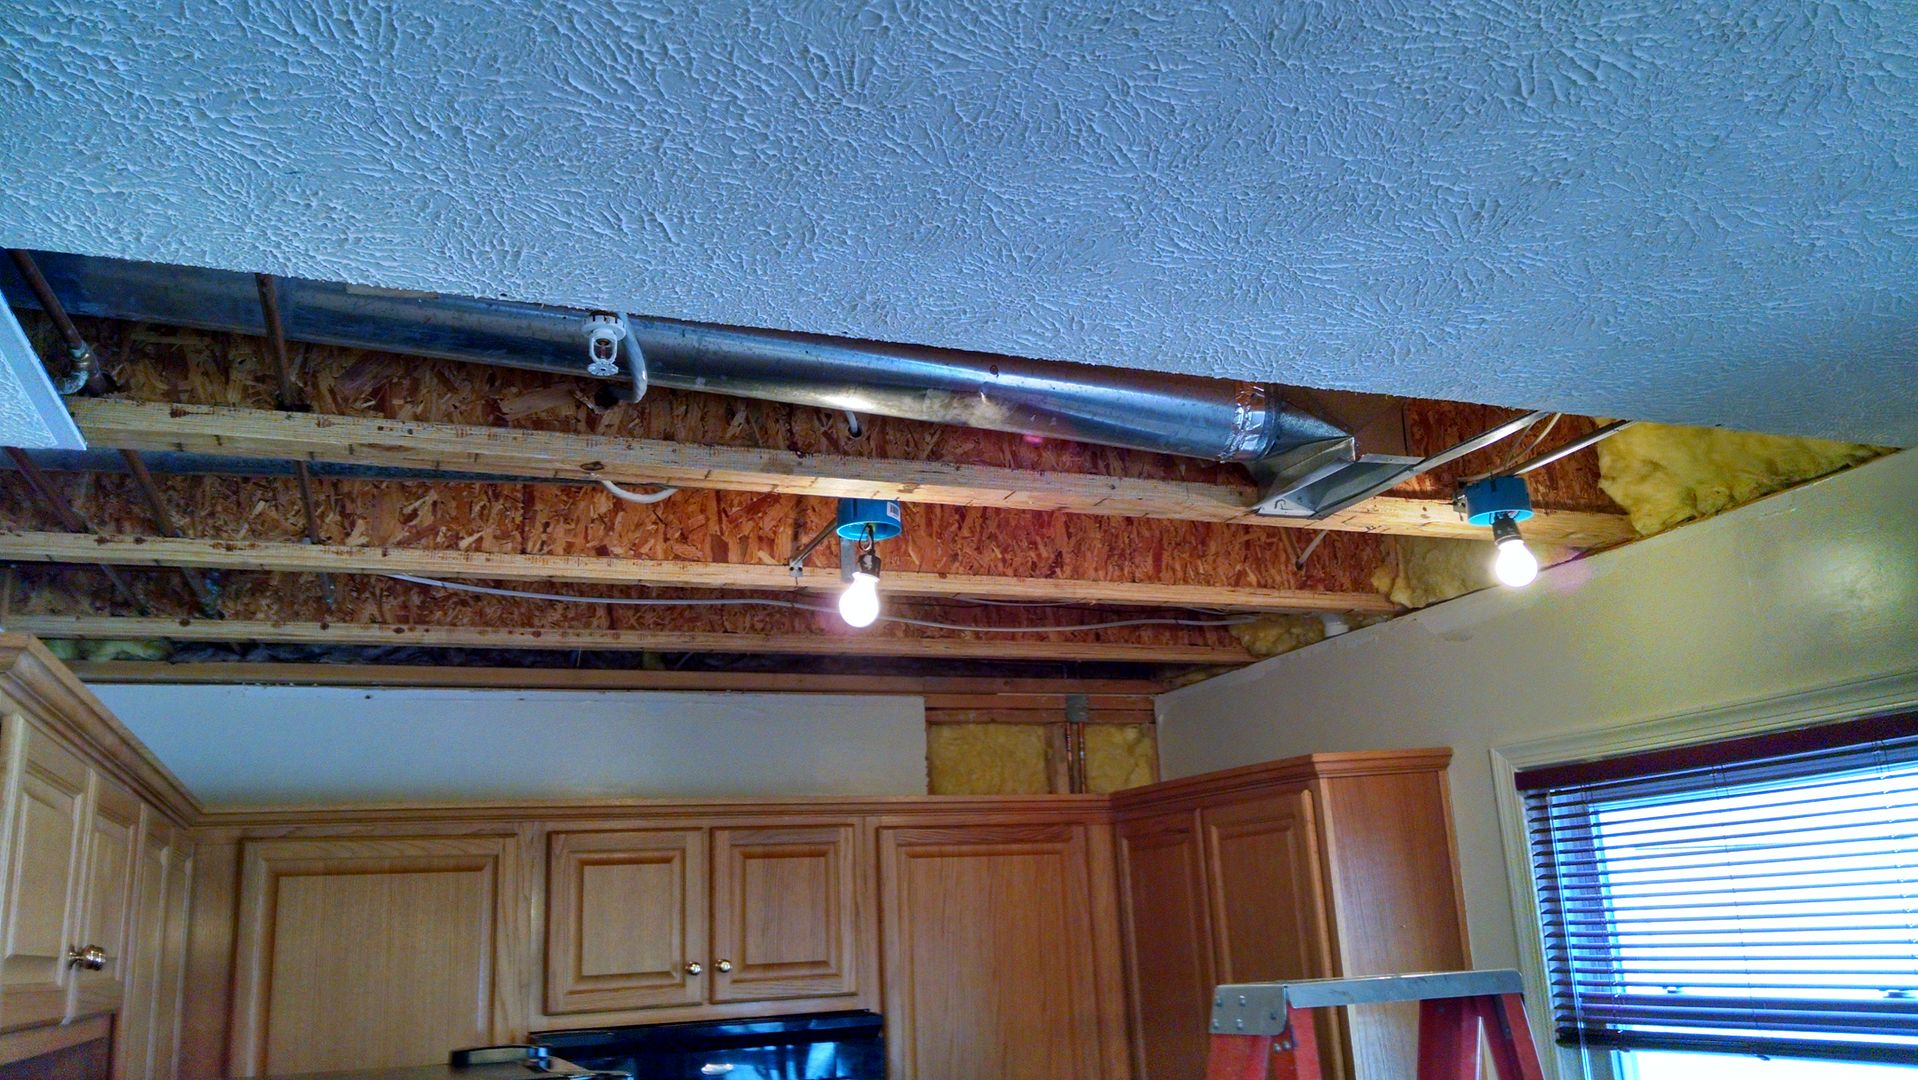
And I was making progress on more blocking of the front end body parts, at least until an emergency phone call from one of our tenants indicated some water pipe issues from the recent low temps... This is what I was greeted with....
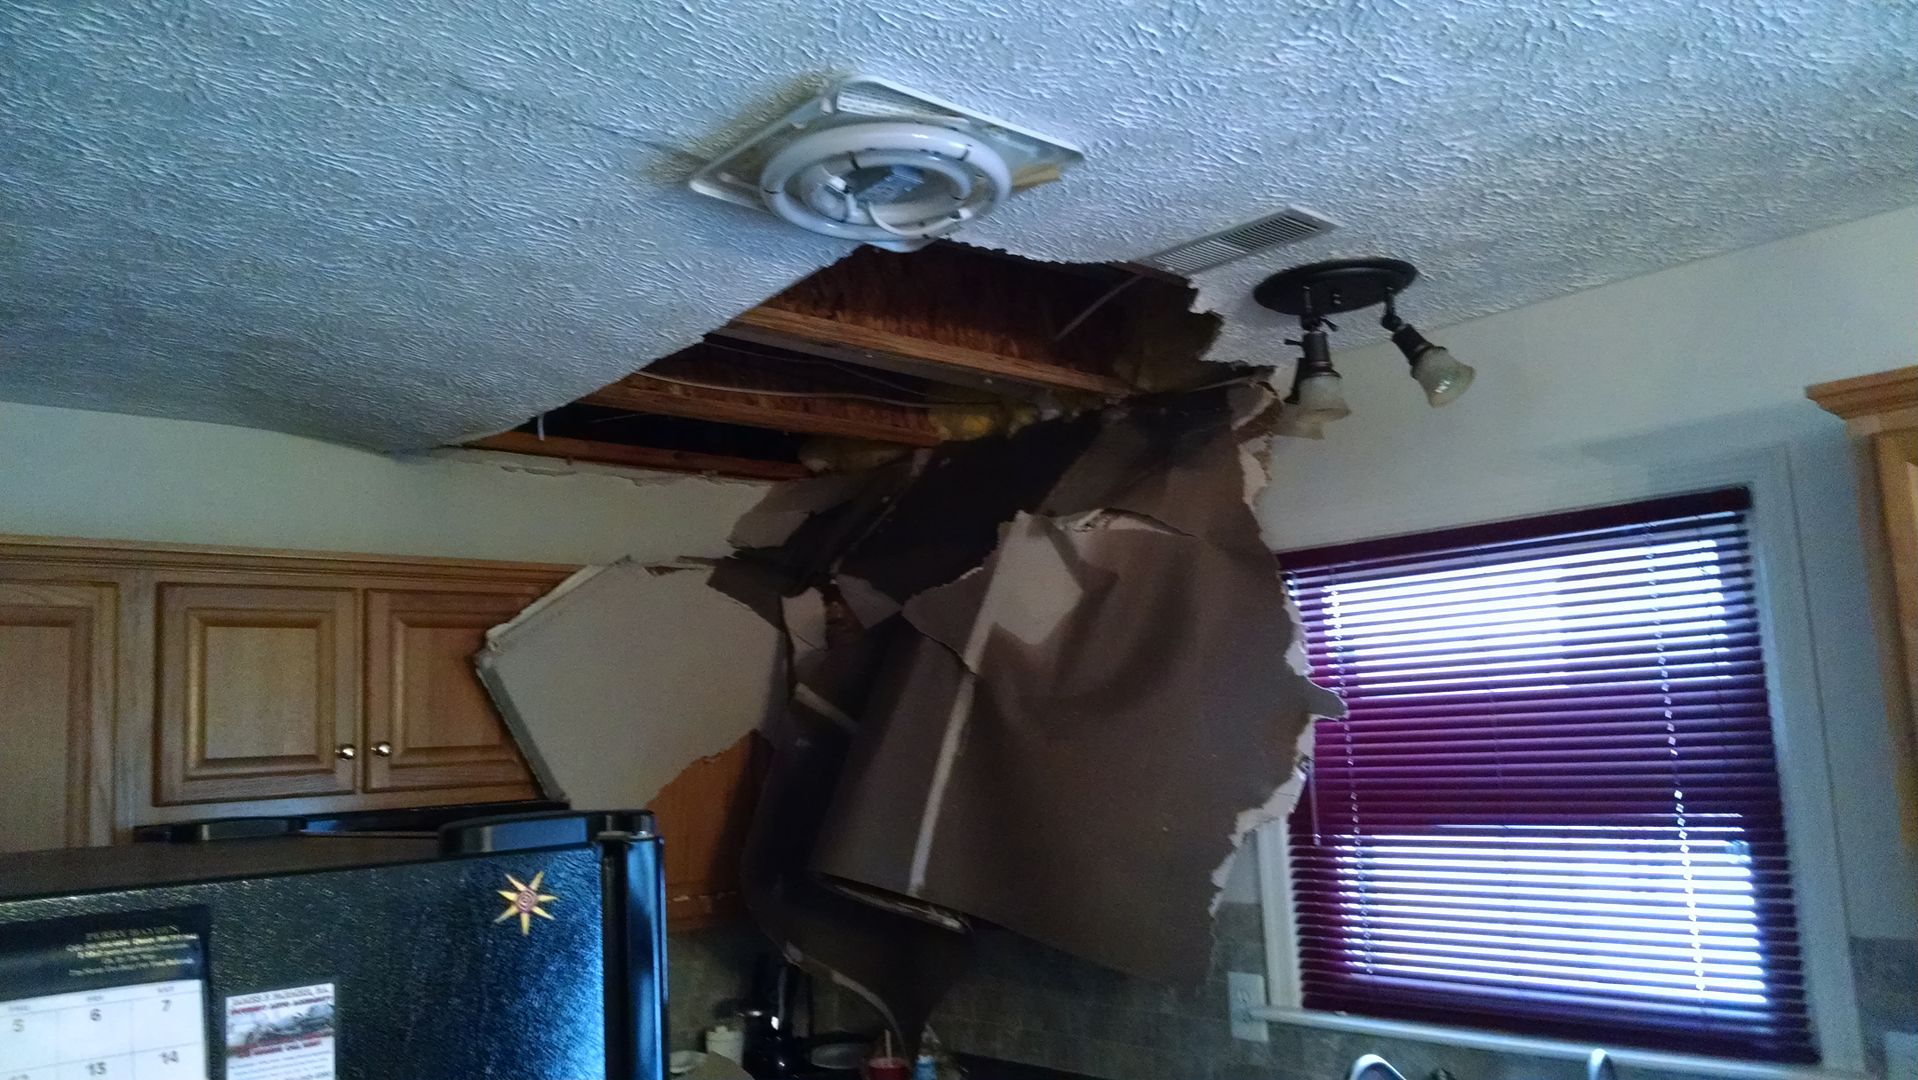
The hole to the left is where the plumber had put the pipe through, right against the outside wall. Then the brainiac insulators failed to caulk, and then put insulation over TOP of the pipes, keeping them well acclimated to any outside temps. I cut some access holes in the wall and relocated the one pipe farther away from the outer wall board where insulation could go between the pipe and the wall, as it should have been done from the get go.
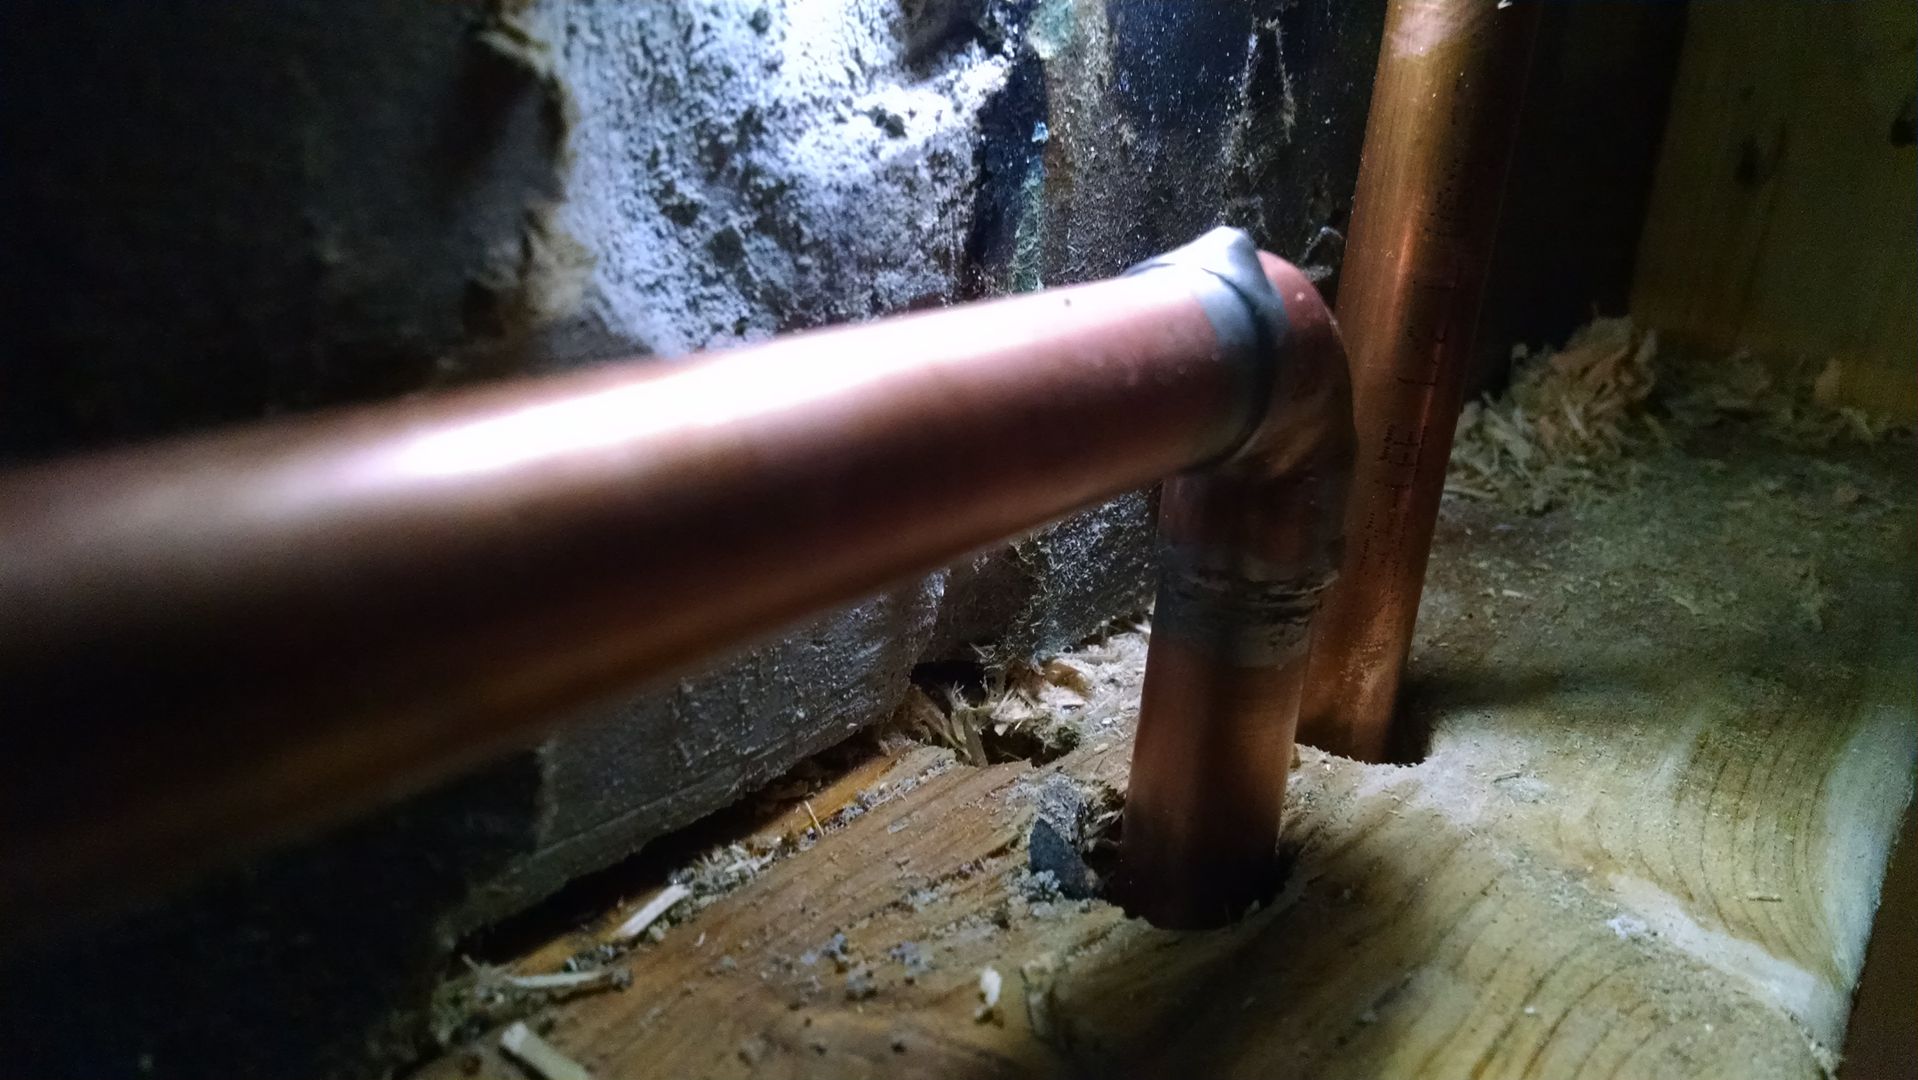

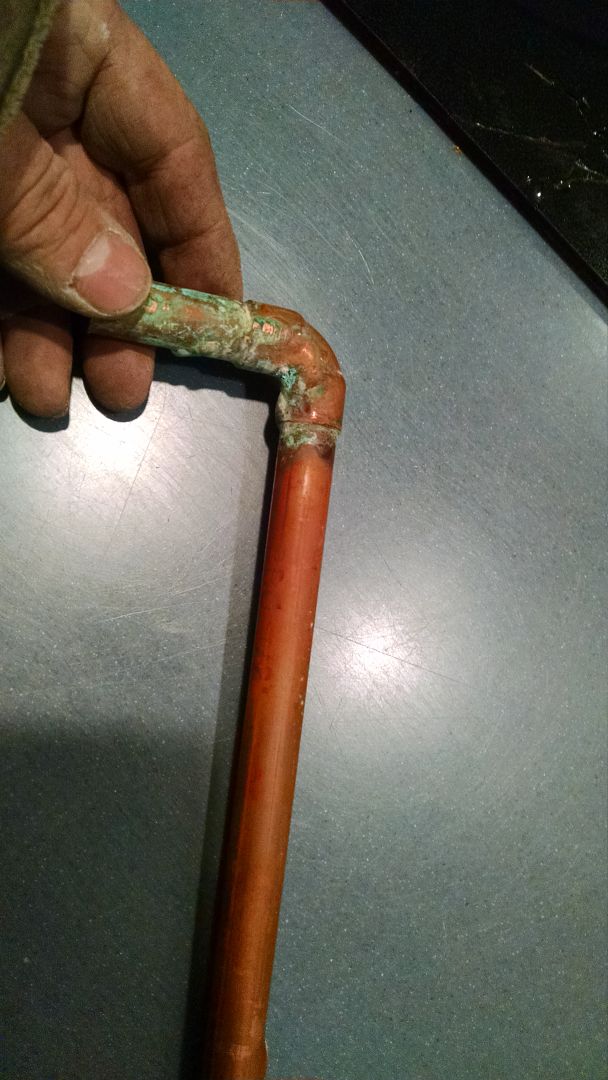
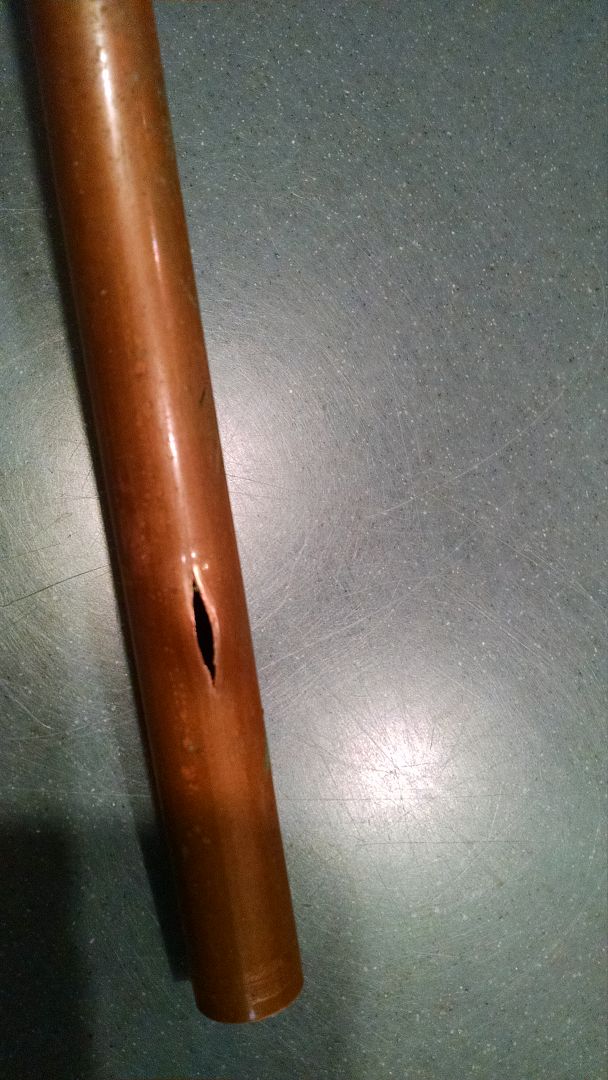
And here's the culprit...
I'll let things dry out overnight, and finish tomorrow with adding a bit of caulk and insulation. Drywall/painter due in early this week to close things up..Last edited by MP&C; 02-21-2015 at 08:21 PM.
Robert
-
02-22-2015 03:37 AM #445
CHR Member
- Join Date
- Sep 2007
- Location
- New Bedford
- Car Year, Make, Model: 34 Ford 3W Coupe Replica
- Posts
- 14,754
Shame about the house.. make sure the plumber is informed, even if he won't or doesn't offer a refund - he needs to learn that he made a mistake and caused serious damage.
-
02-22-2015 09:29 AM #446
CHR Member
- Join Date
- Oct 2007
- Location
- Petaluma
- Car Year, Make, Model: 48 Ford F1
- Posts
- 9,795
Wow you do houses tooo! Nice resolution, to a poorly thought out placement on the plumbers part. We are fortunate not to be so affected by the elements as to get freezing pipes, but my friends who live in colder climates including my brother, seem to have major problems with water pipes, sewer lines and sump pumps. My brothers house was so poorly designed, that heavy rainstorms have left his Finished basement flooded several times over the last few years!"  "No matter where you go, there you are!" Steve.
-
02-22-2015 02:00 PM #447
CHR Member
- Join Date
- Jun 2008
- Location
- Leonardtown
- Car Year, Make, Model: Walking
- Posts
- 1,228
Yeah, I wish the better half would stop buying them... Like I don't have enough to do!
Here's the insulation installed on the correct side...
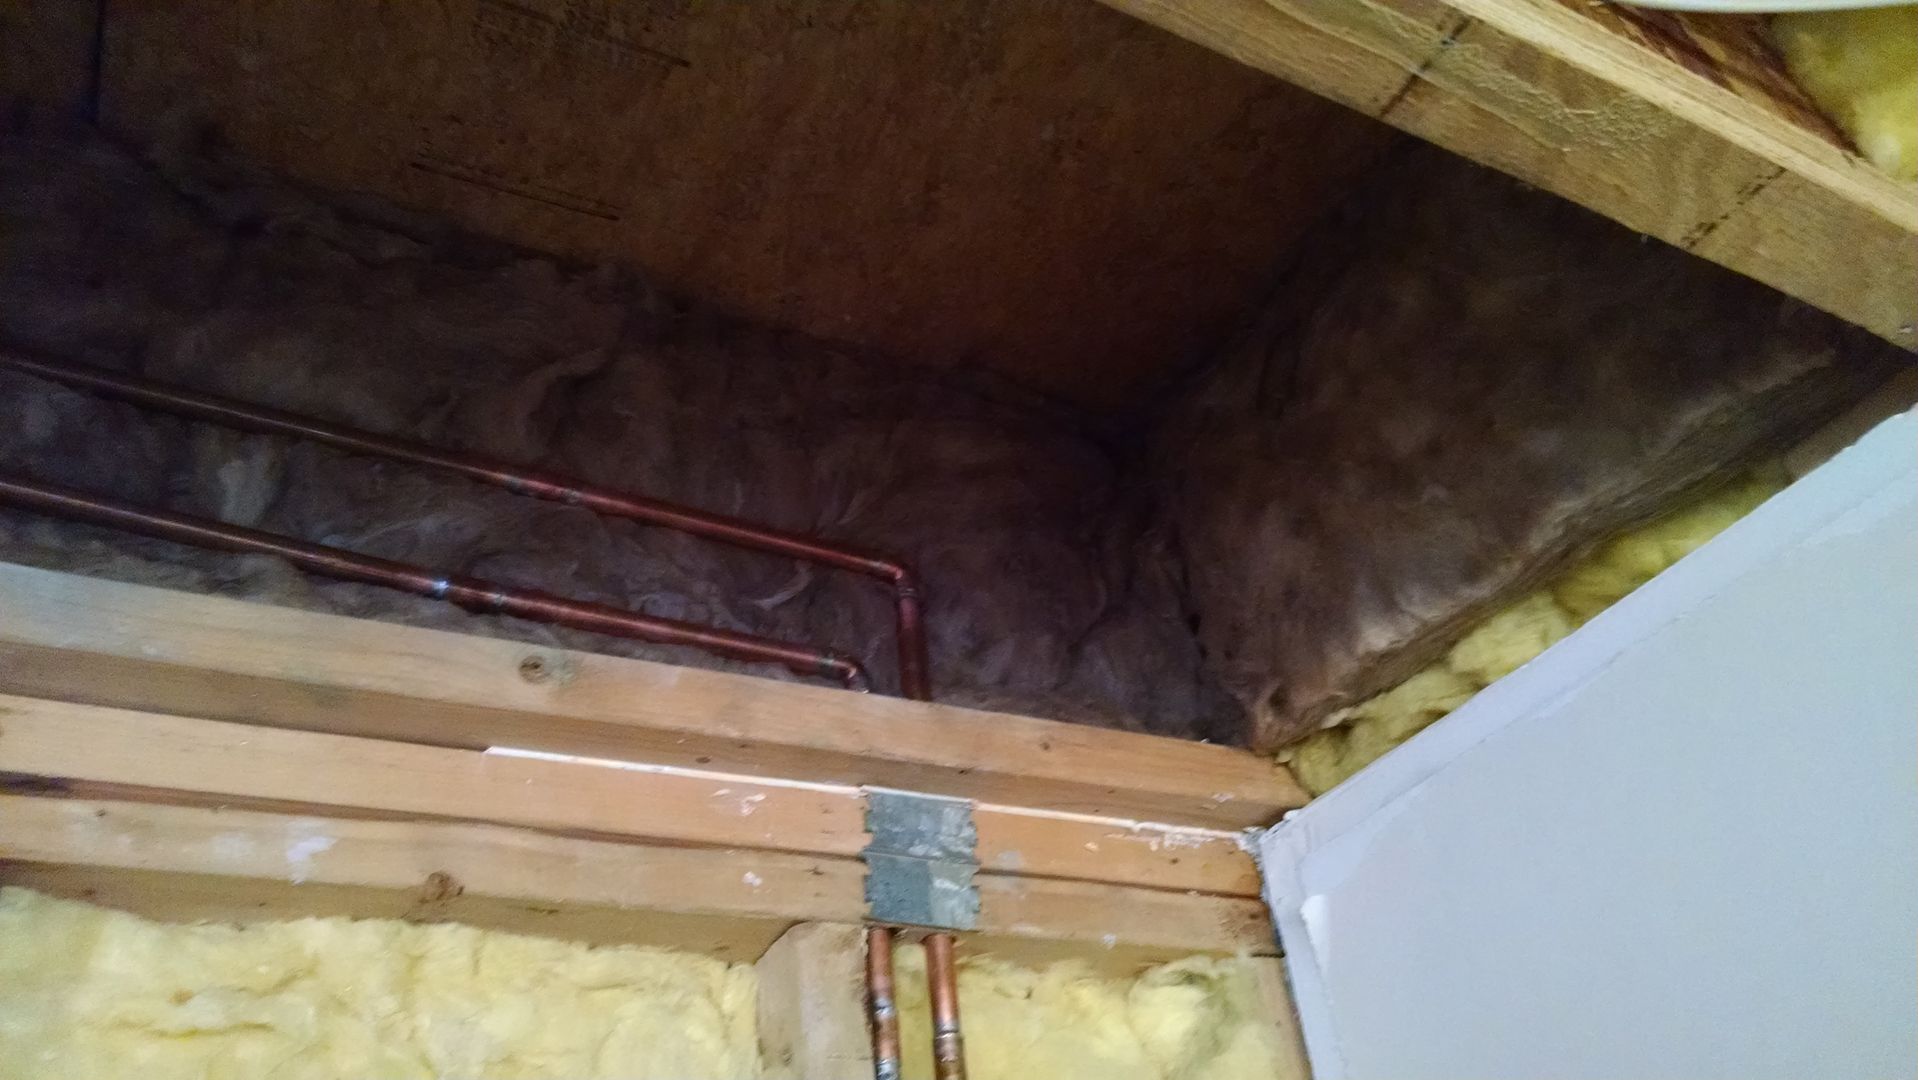
While removing the soggy drywall we also noticed the installation of the ceiling boxes for the two light fixtures was shaky at best. Electrician must have been related to the plumber... So we pulled down the old and also installed some new ceiling boxes as well, moving the center light fixture closer to the stove where it should have been..
All cleaned up, ready for the drywall..
Robert
-
02-24-2015 07:20 PM #448
CHR Member
- Join Date
- Apr 2011
- Location
- Prairie City
- Car Year, Make, Model: 40 Ford Deluxe, 68 Corvette, 72&76 K30
- Posts
- 7,301
- Blog Entries
- 1
That stinks to see the damage, at least it wasn't worse. Nice repairs on it too!Ryan
1940 Ford Deluxe Tudor 354 Hemi 46RH Electric Blue w/multi-color flames, Ford 9" Residing in multiple pieces
1968 Corvette Coupe 5.9 Cummins Drag Car 11.43@130mph No stall leaving the line with 1250 rpm's and poor 2.2 60'
1972 Chevy K30 Longhorn P-pumped 24v Compound Turbos 47RH Just another money pit
1971 Camaro RS 5.3 BTR Stage 3 cam, SuperT10
Tire Sizes
-
02-26-2015 04:38 AM #449
CHR Member
- Join Date
- Jun 2008
- Location
- Leonardtown
- Car Year, Make, Model: Walking
- Posts
- 1,228
We lucked out in that I was on the phone with the tenant discussing the "frozen pipes" issue they were having when the sink finally started working again. Then she indicated there was water coming out of the ceiling vent, so I was able to immediately direct them to the water main shutoff to limit the damage. I'd hate to see the mess if nobody was home.. Originally Posted by 40FordDeluxe
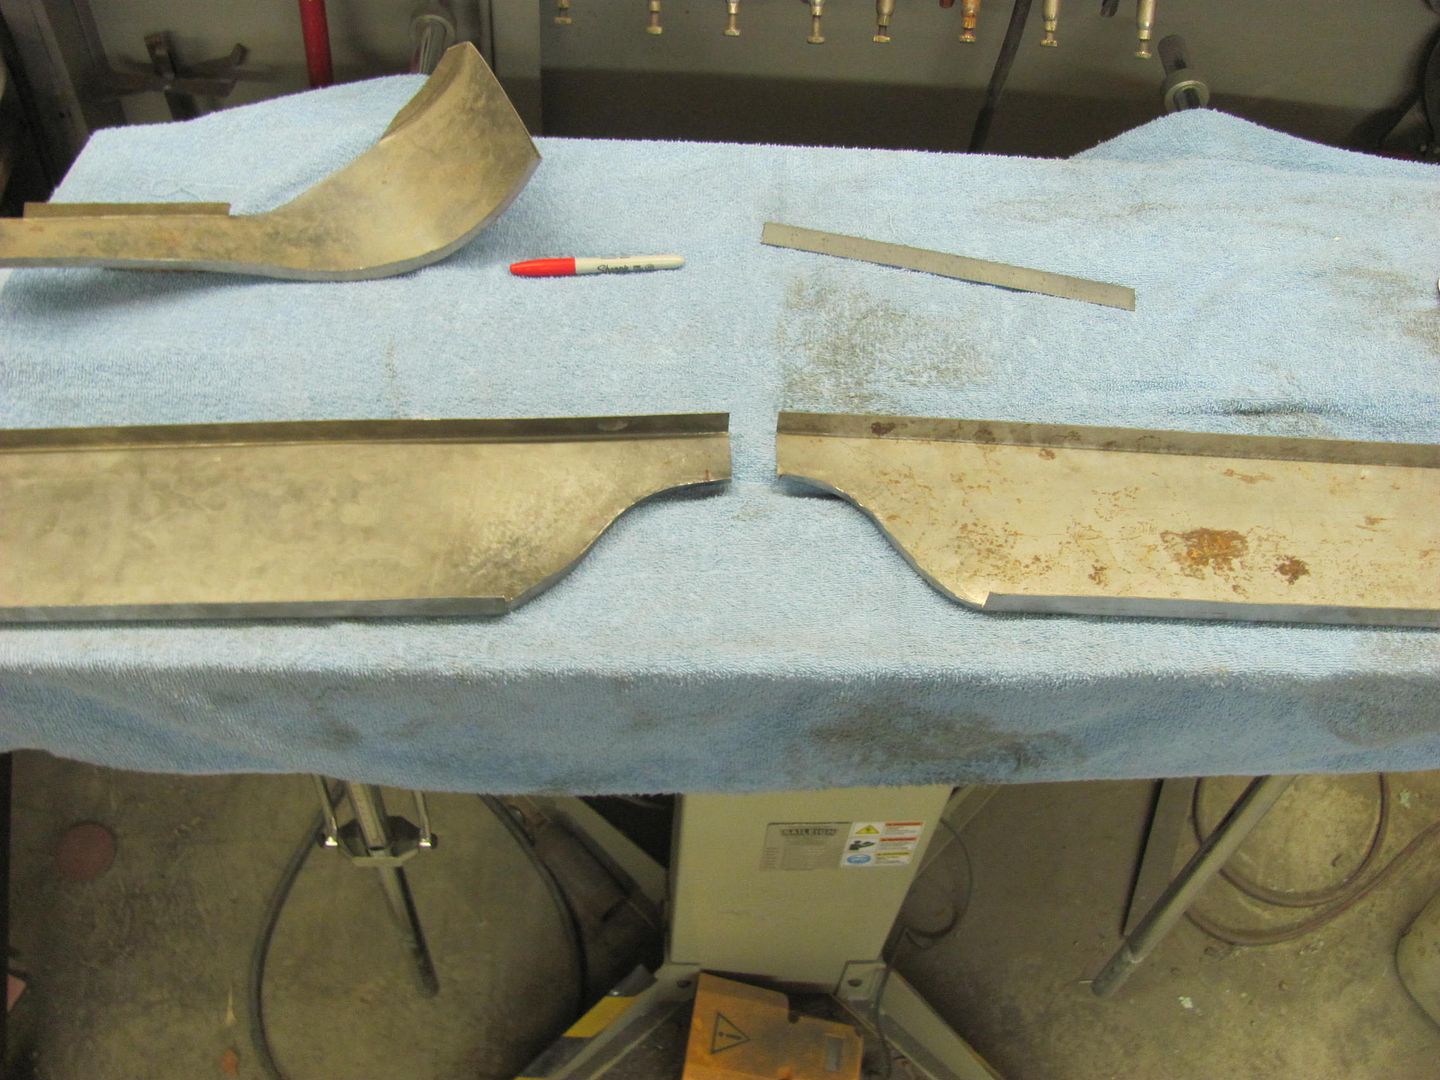
Here's the fitment of the two seat panels together, all clamped up for welding..

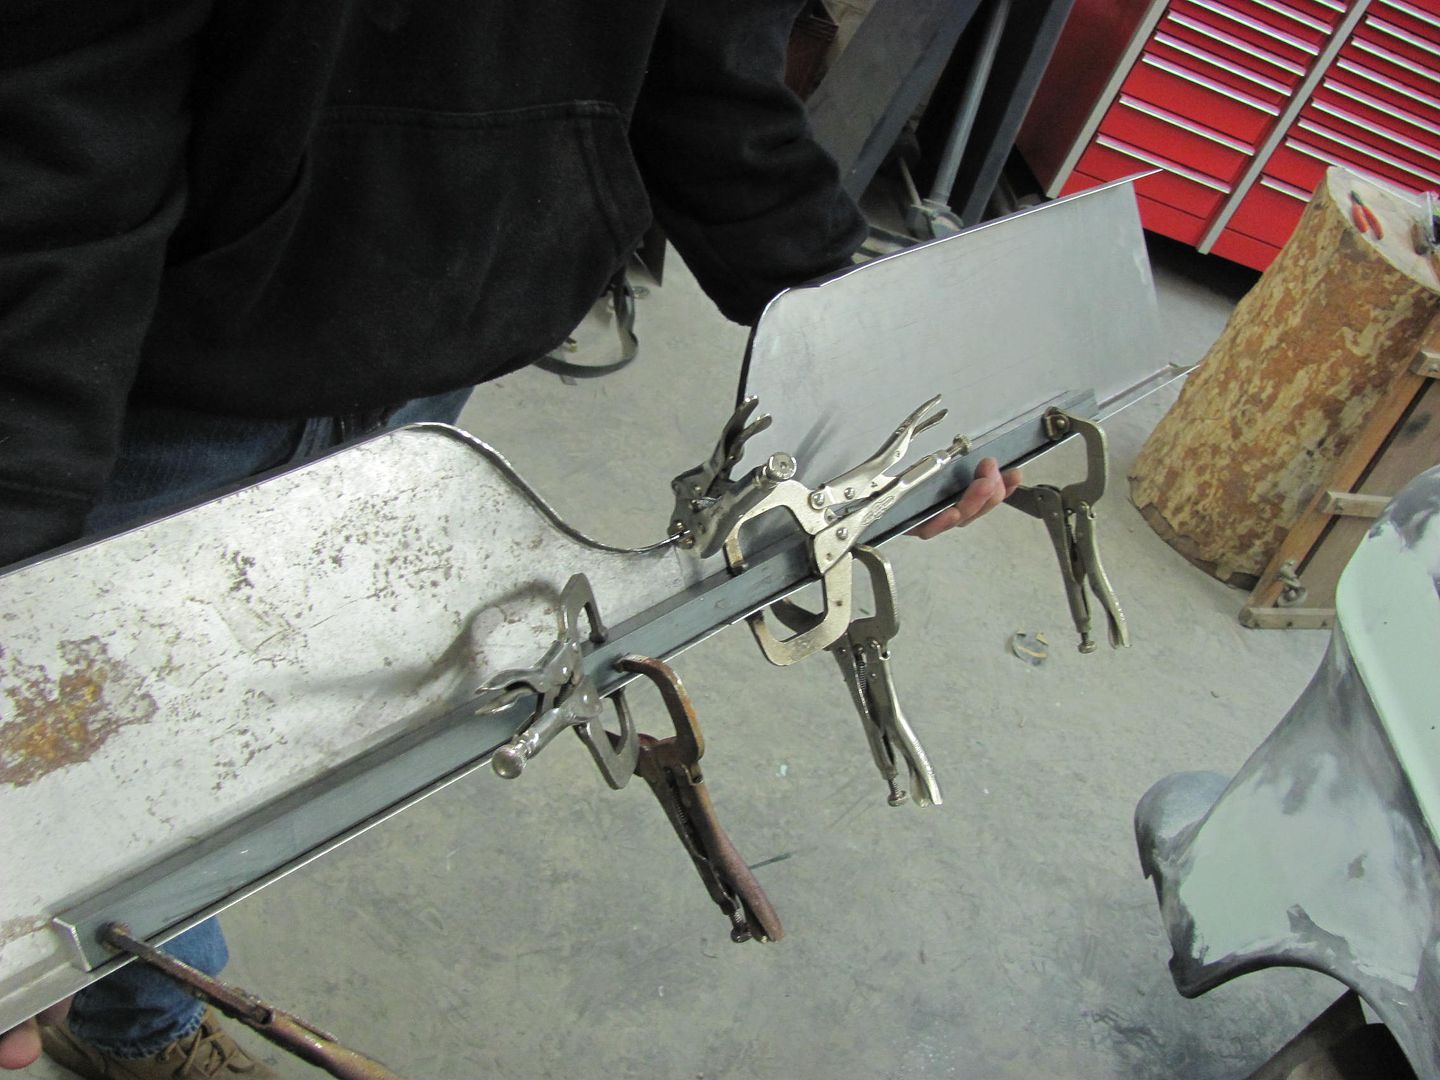
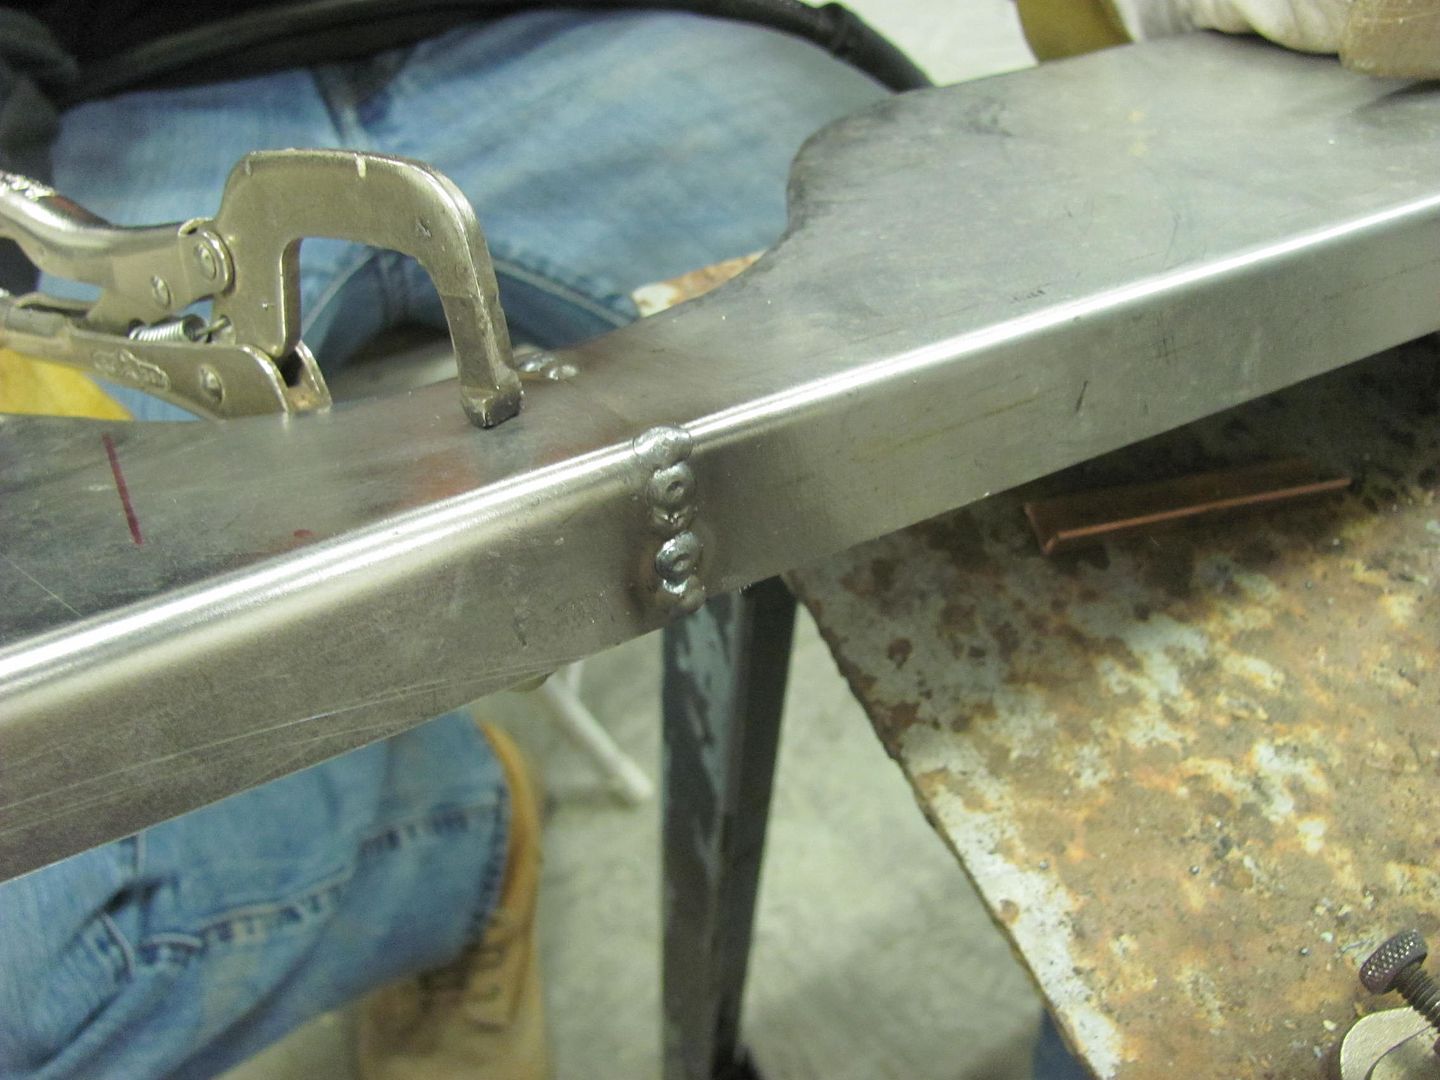
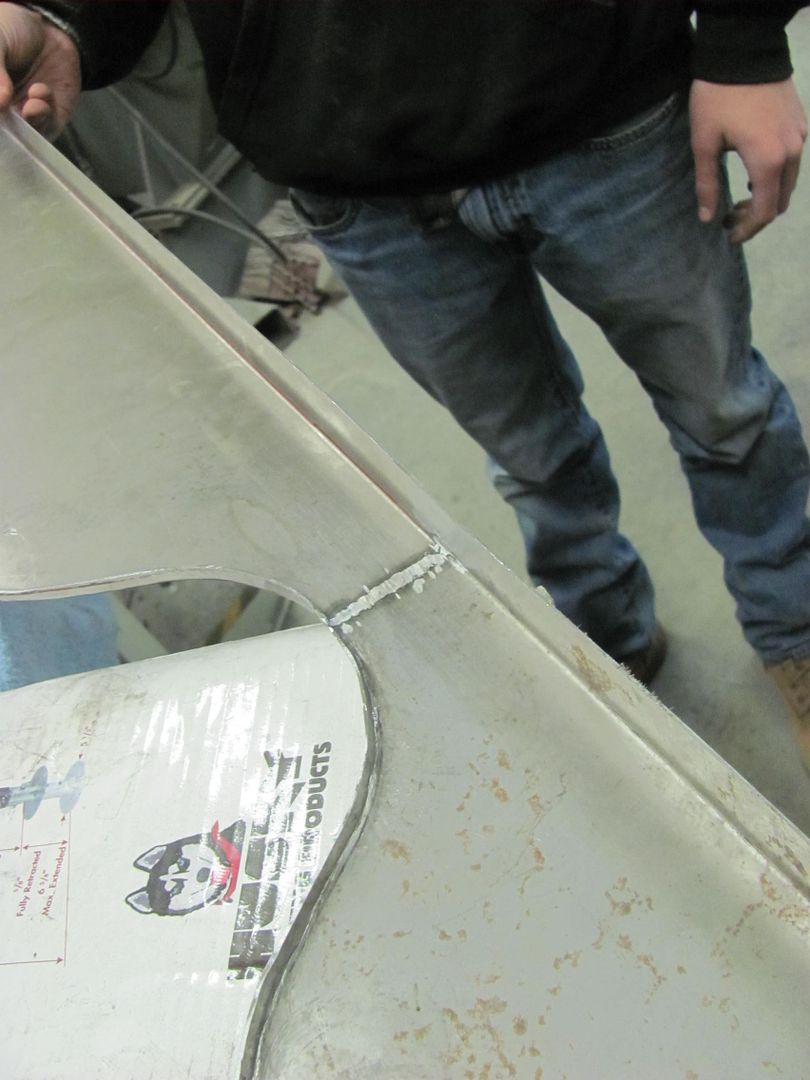
Test fit..
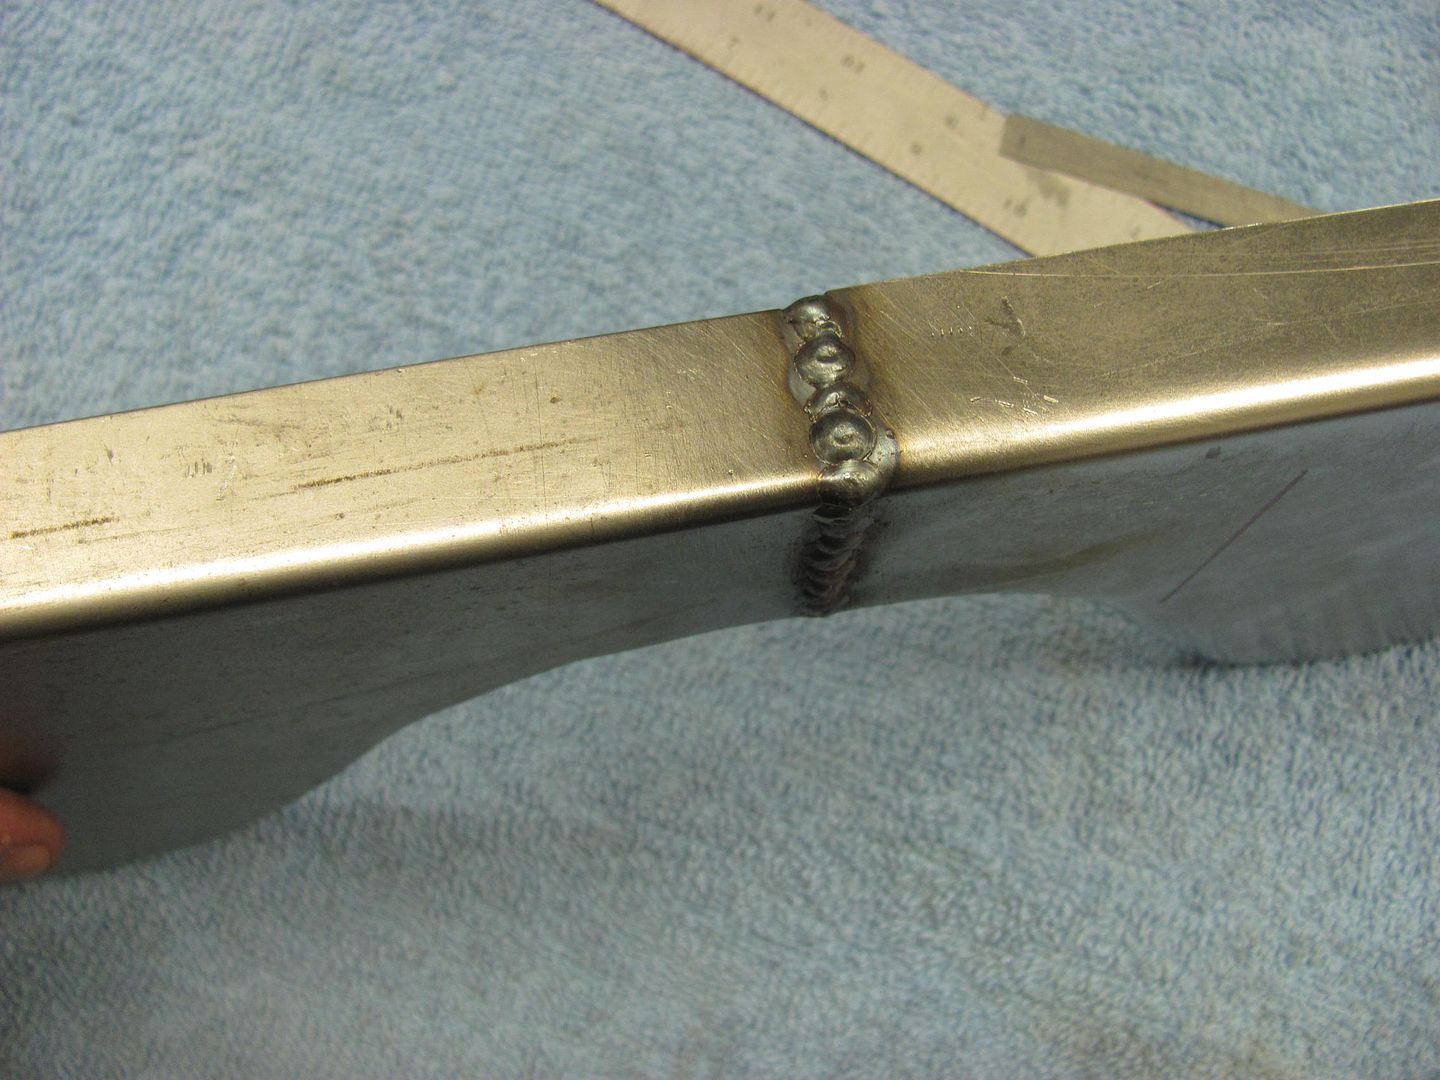
Once the welds by the tunnel relief were dressed, the sharp corners (inside and out) were removed to help prevent any cracks from starting..

Then on to fabbing up the other side..
Kyle using the tipping die, I was relegated to bead roller powered option...
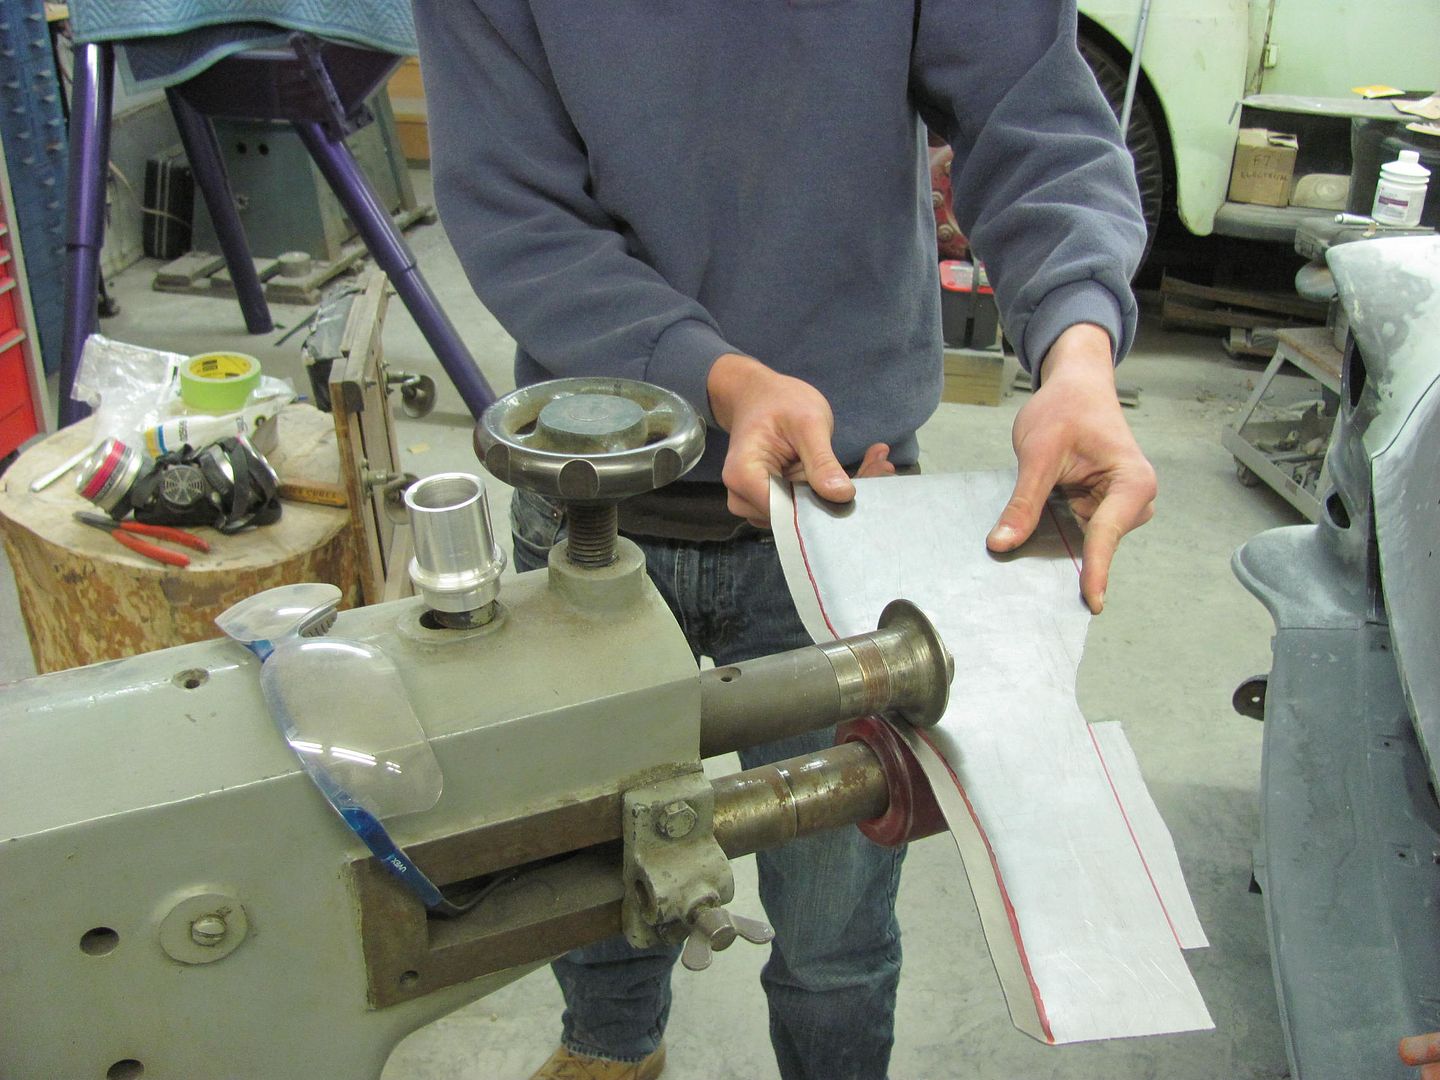
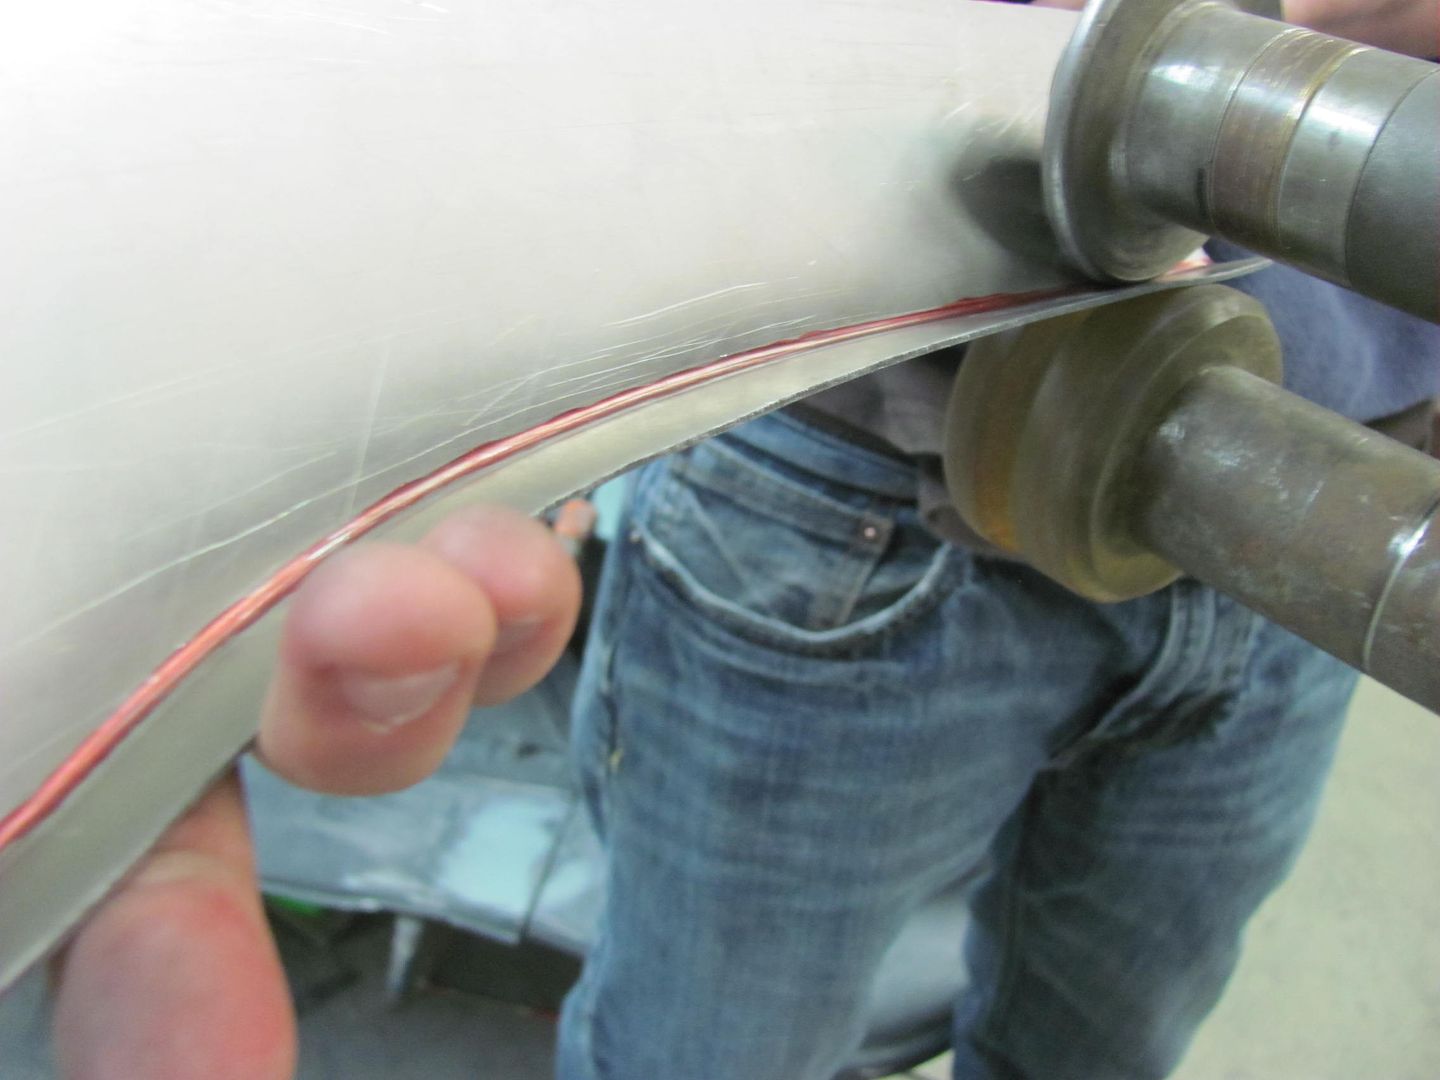
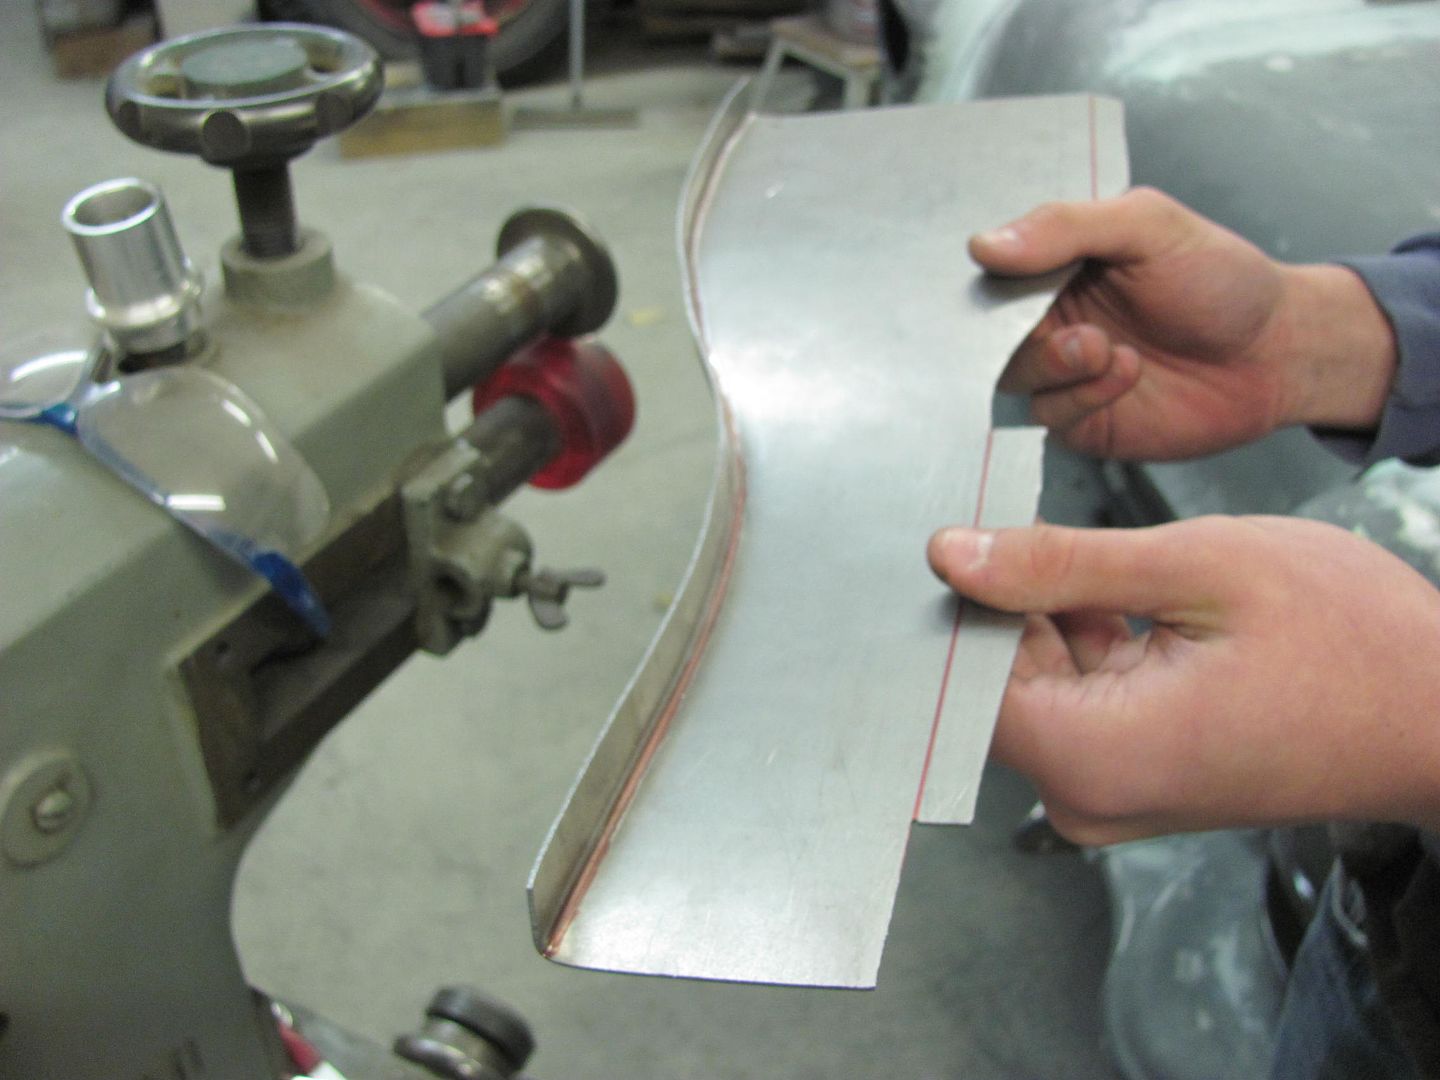
The two short flanges were bent in the press brake.. Then on to shrinking the flanges in the Erco. You'll have to visualize this one as we didn't get pictures.
Comparing the two...
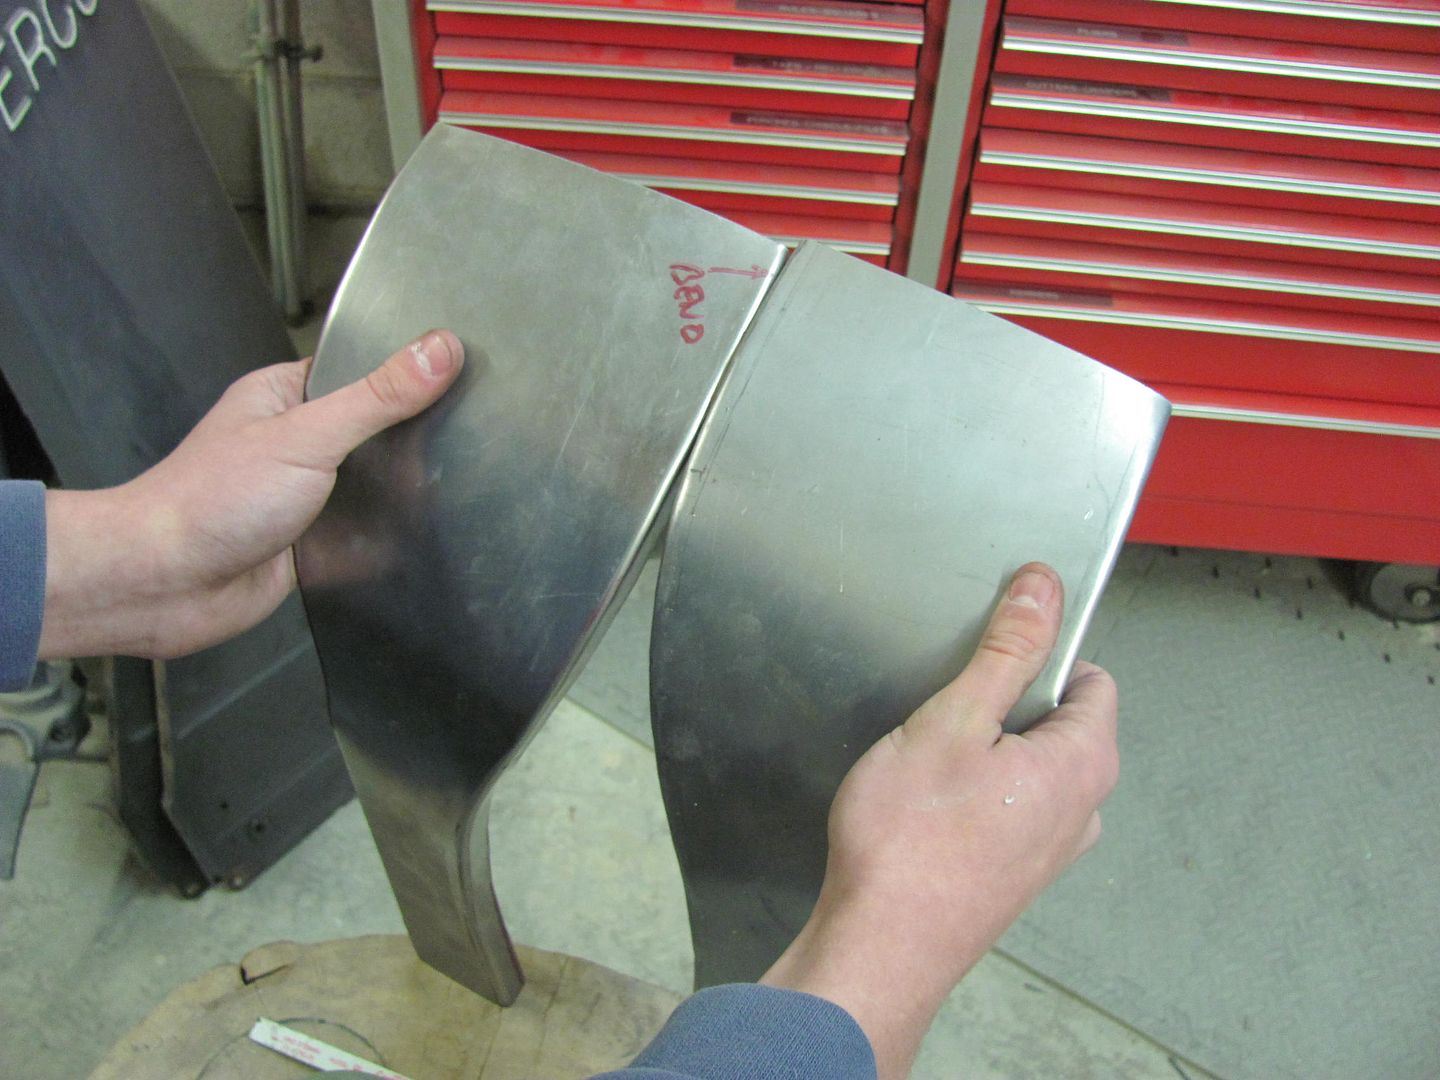
Test fit...
Seat cushion will need a widening kit..
Robert
-
03-05-2015 04:45 AM #450
CHR Member
- Join Date
- Jun 2008
- Location
- Leonardtown
- Car Year, Make, Model: Walking
- Posts
- 1,228
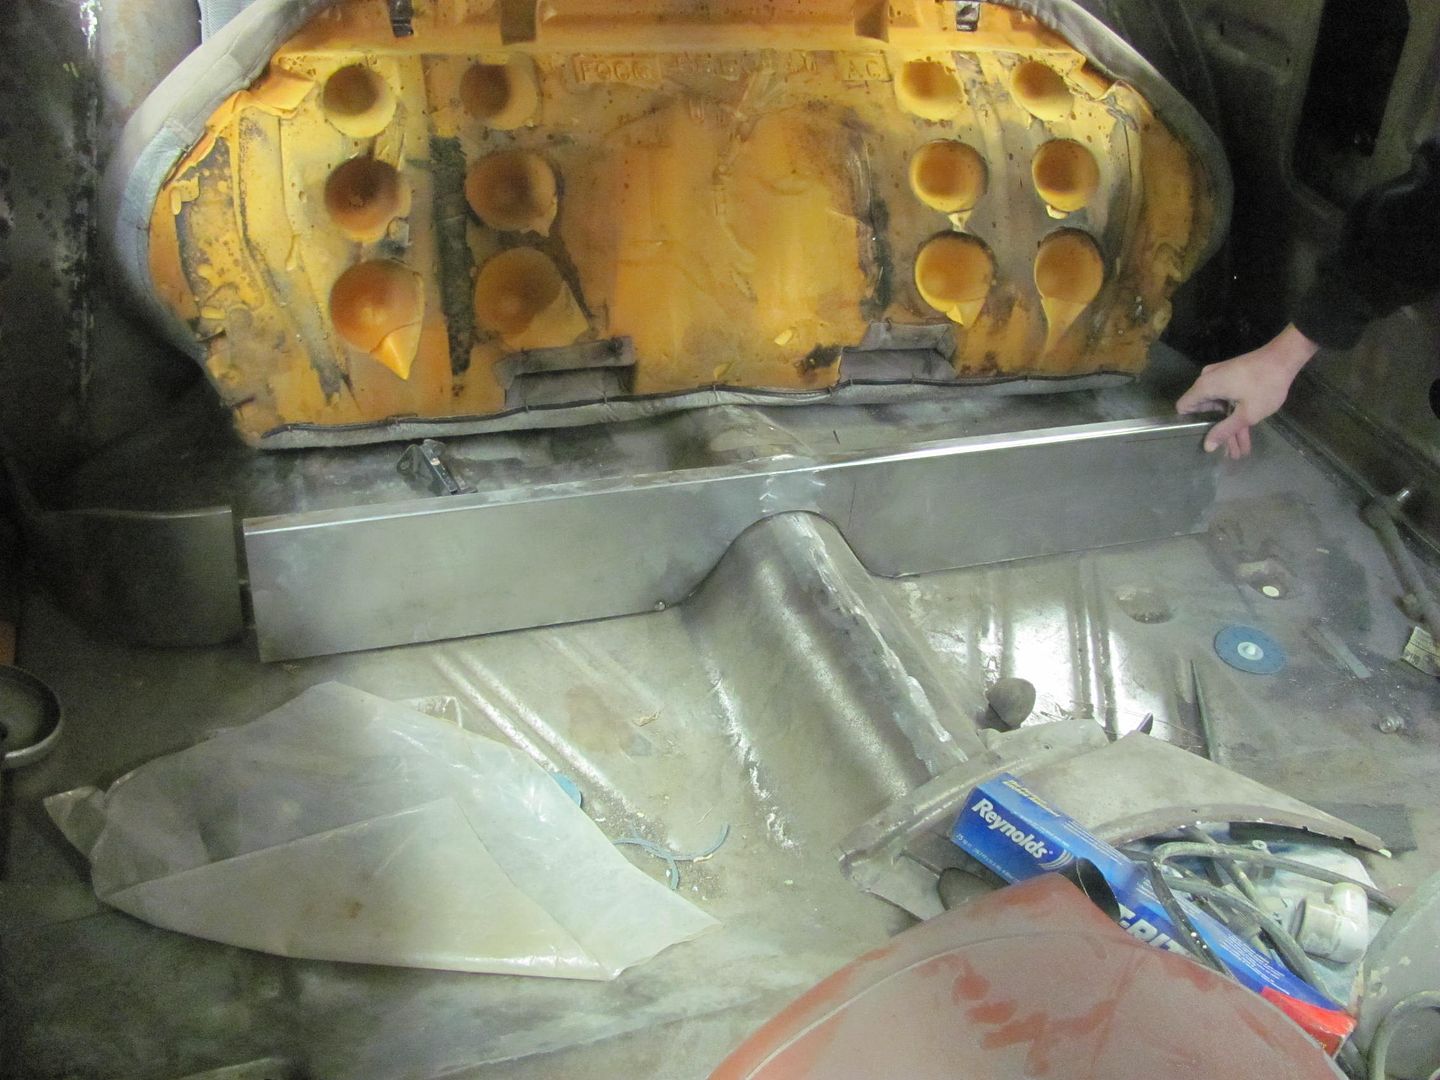
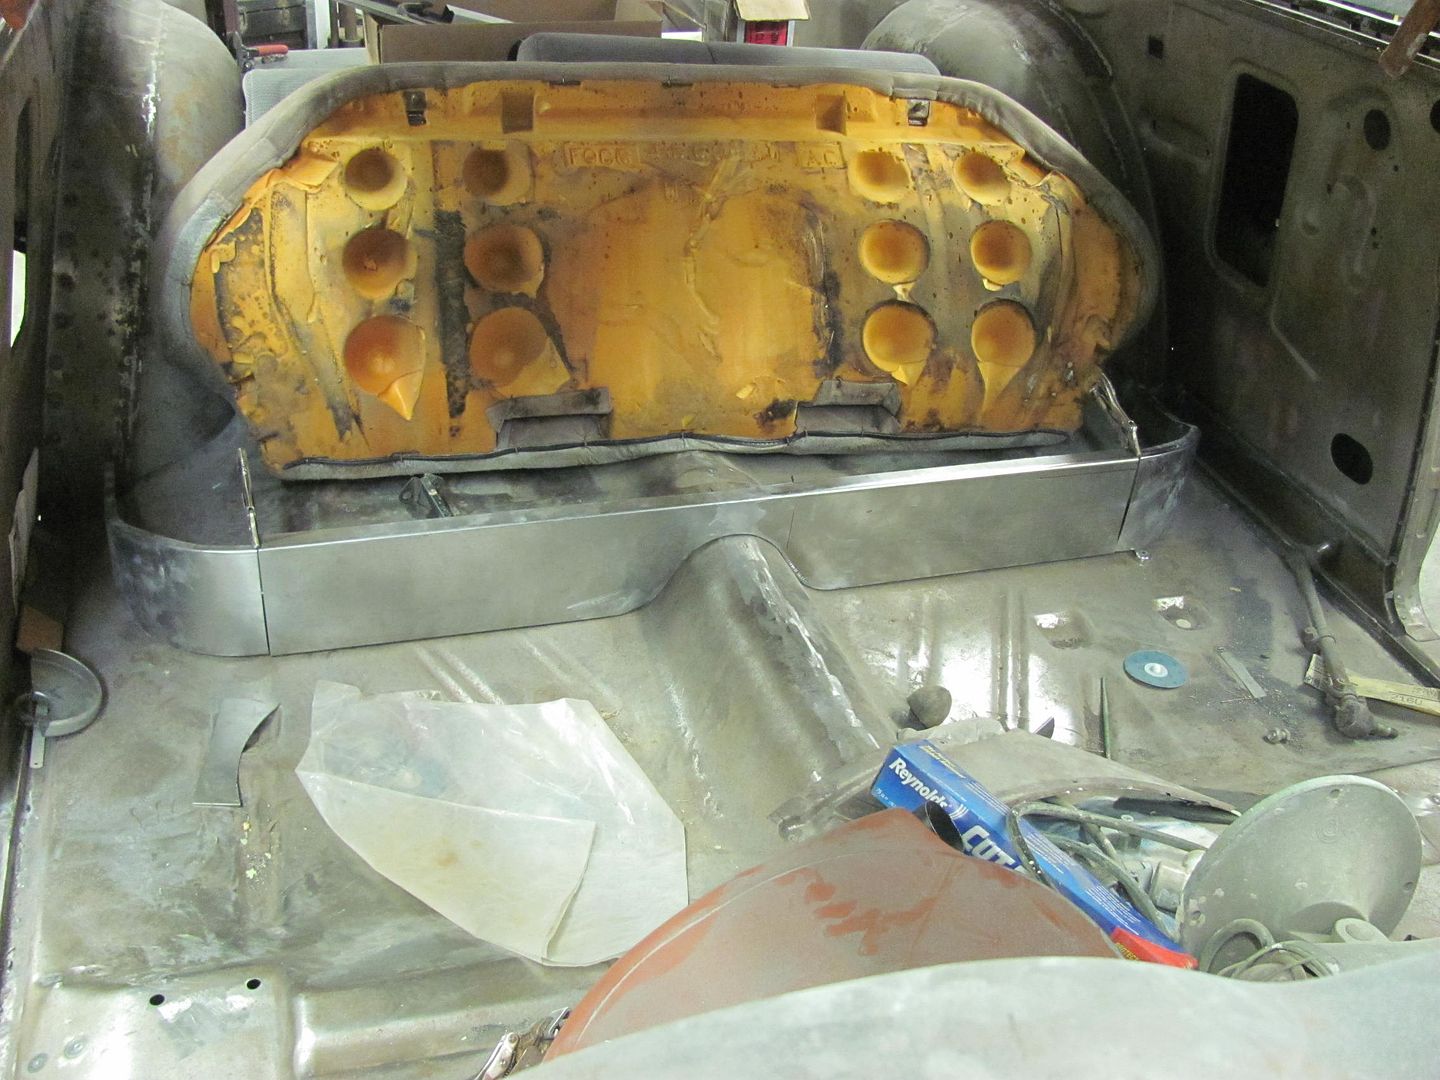
Our upholsterer stopped by the other day and discussed interior components. We are going to make some arm rests for the rear seat similar to what is used in the 55 convertible. To make room, we're going to keep the bottom seat cushion it's original width and just add foam to the corners to form the radius. So the sides for the seat risers were trimmed once more and test fitted...
The center of the seat riser was trimmed for the new size while leaving the flanges intact for later trimming..

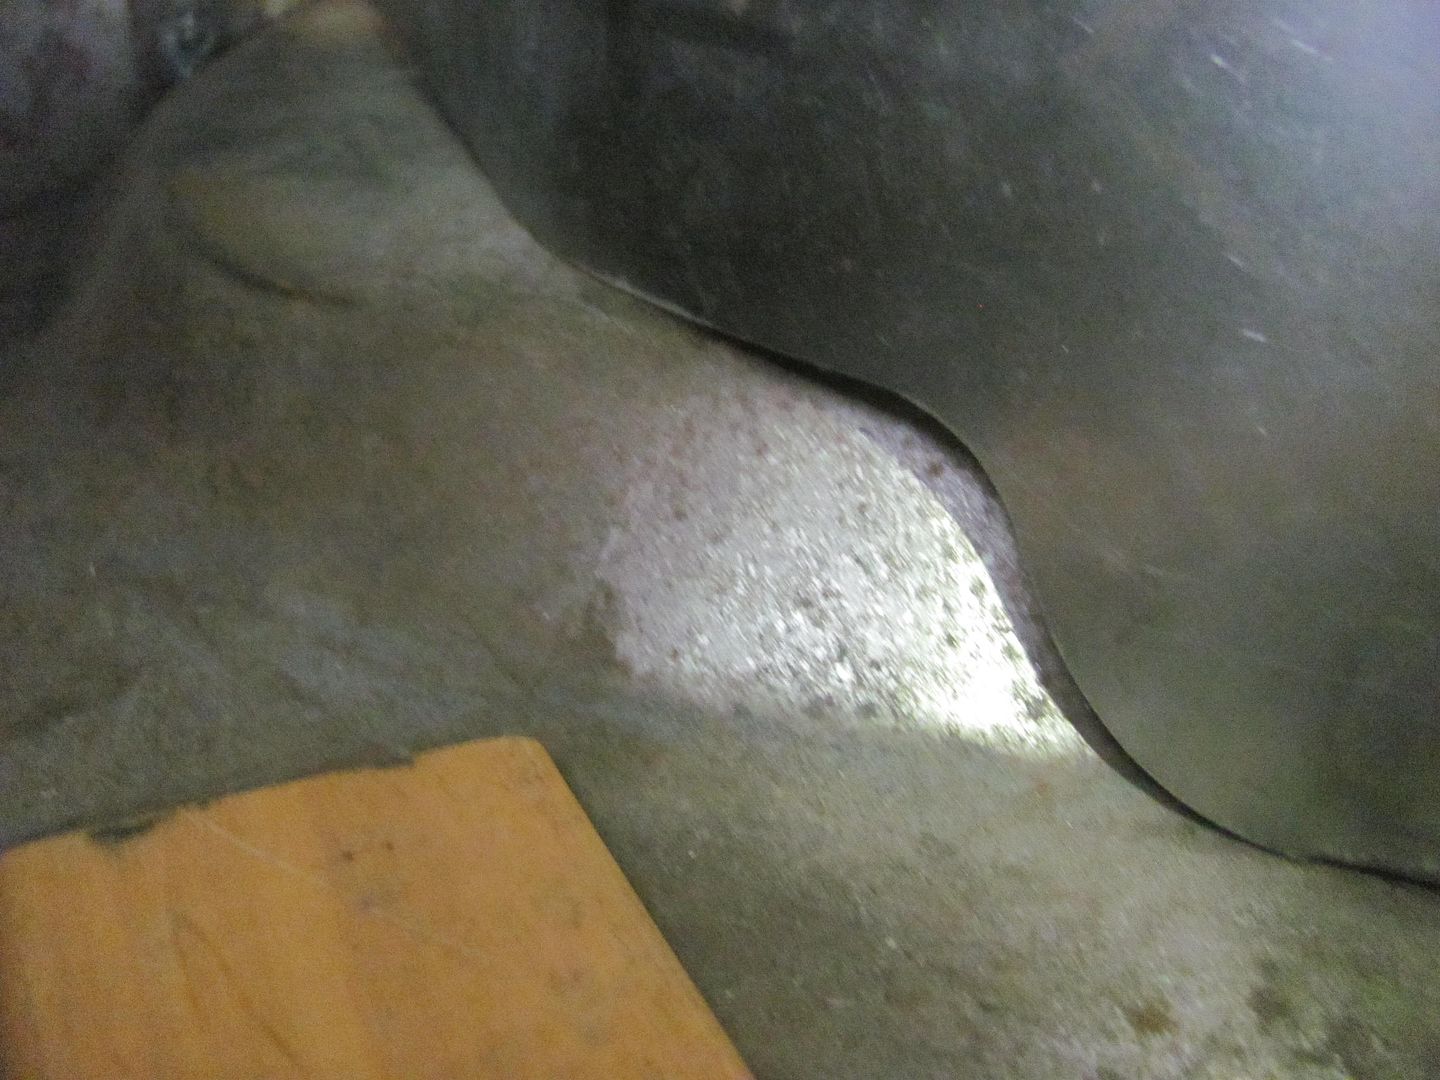
Relief cuts added to tweak the radius, test fit into the car, and the top flanges clamped in place.. While clamped, the bottom flanges are trimmed for welding.

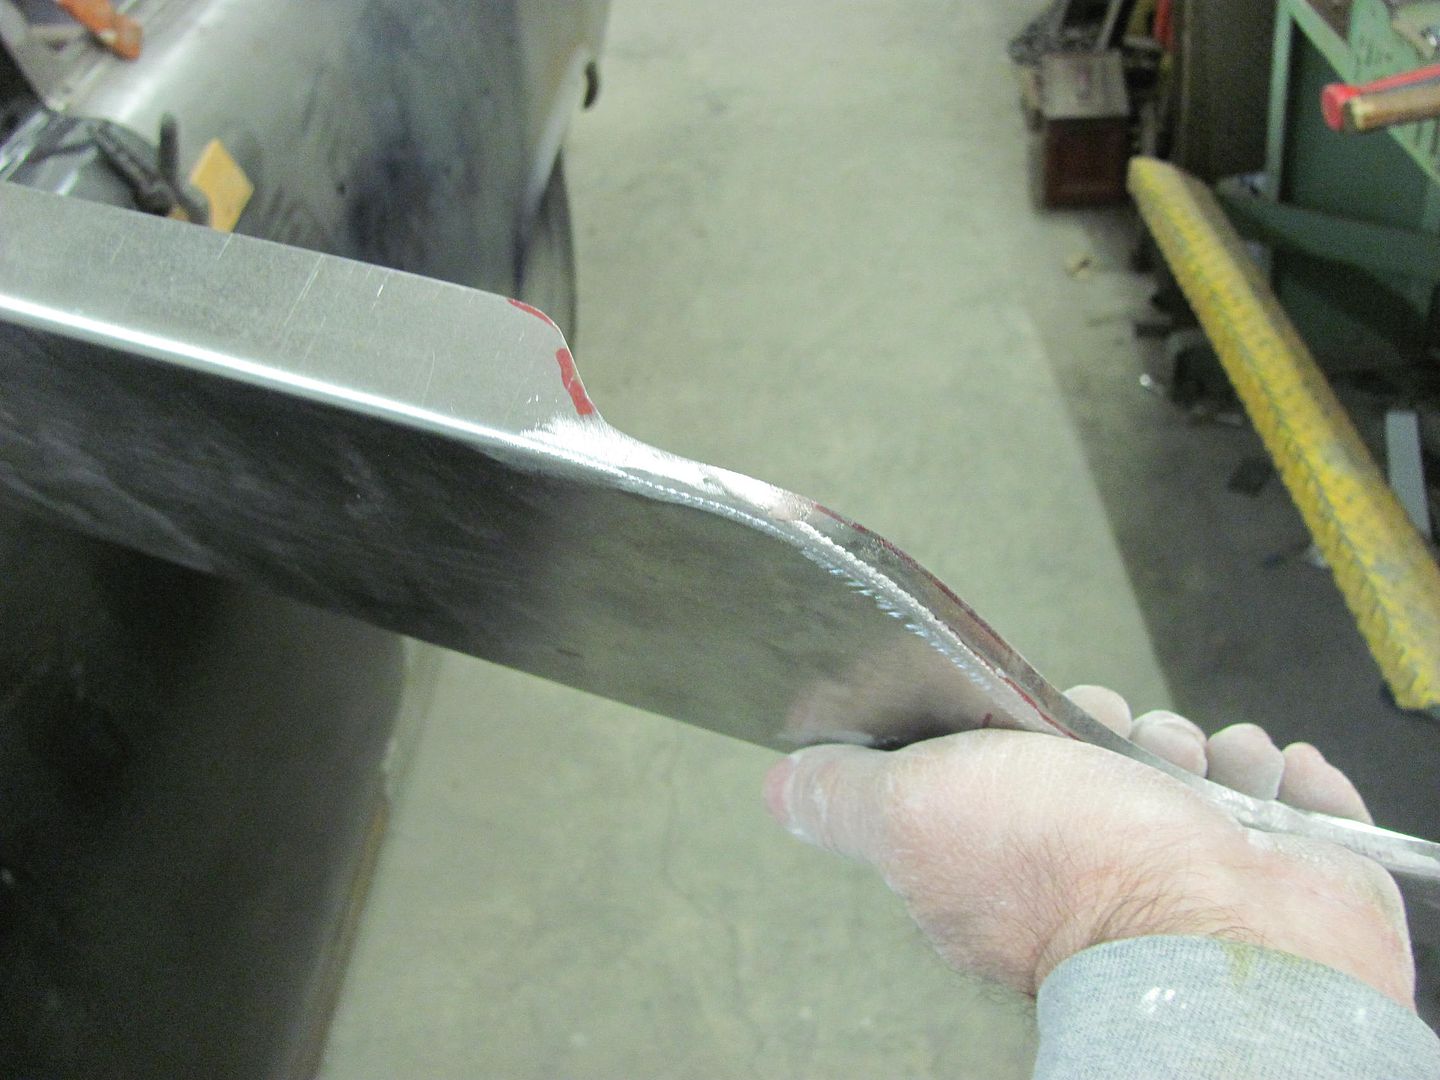
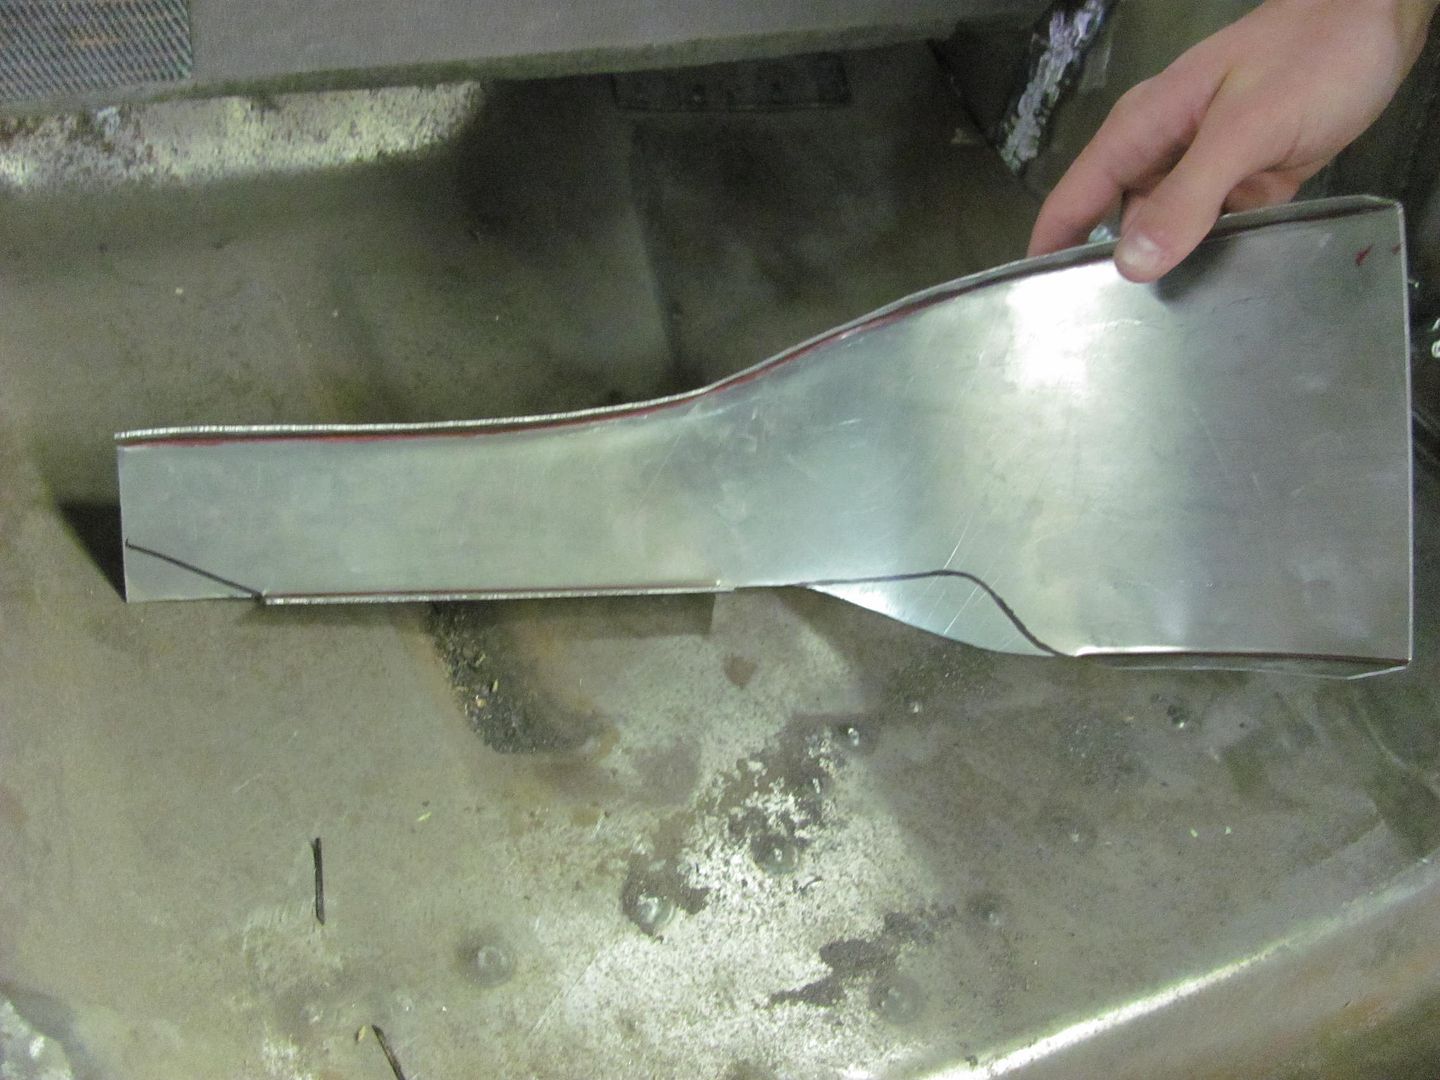
Copper backer made for welding up the corner..
All clamped up for the next one...
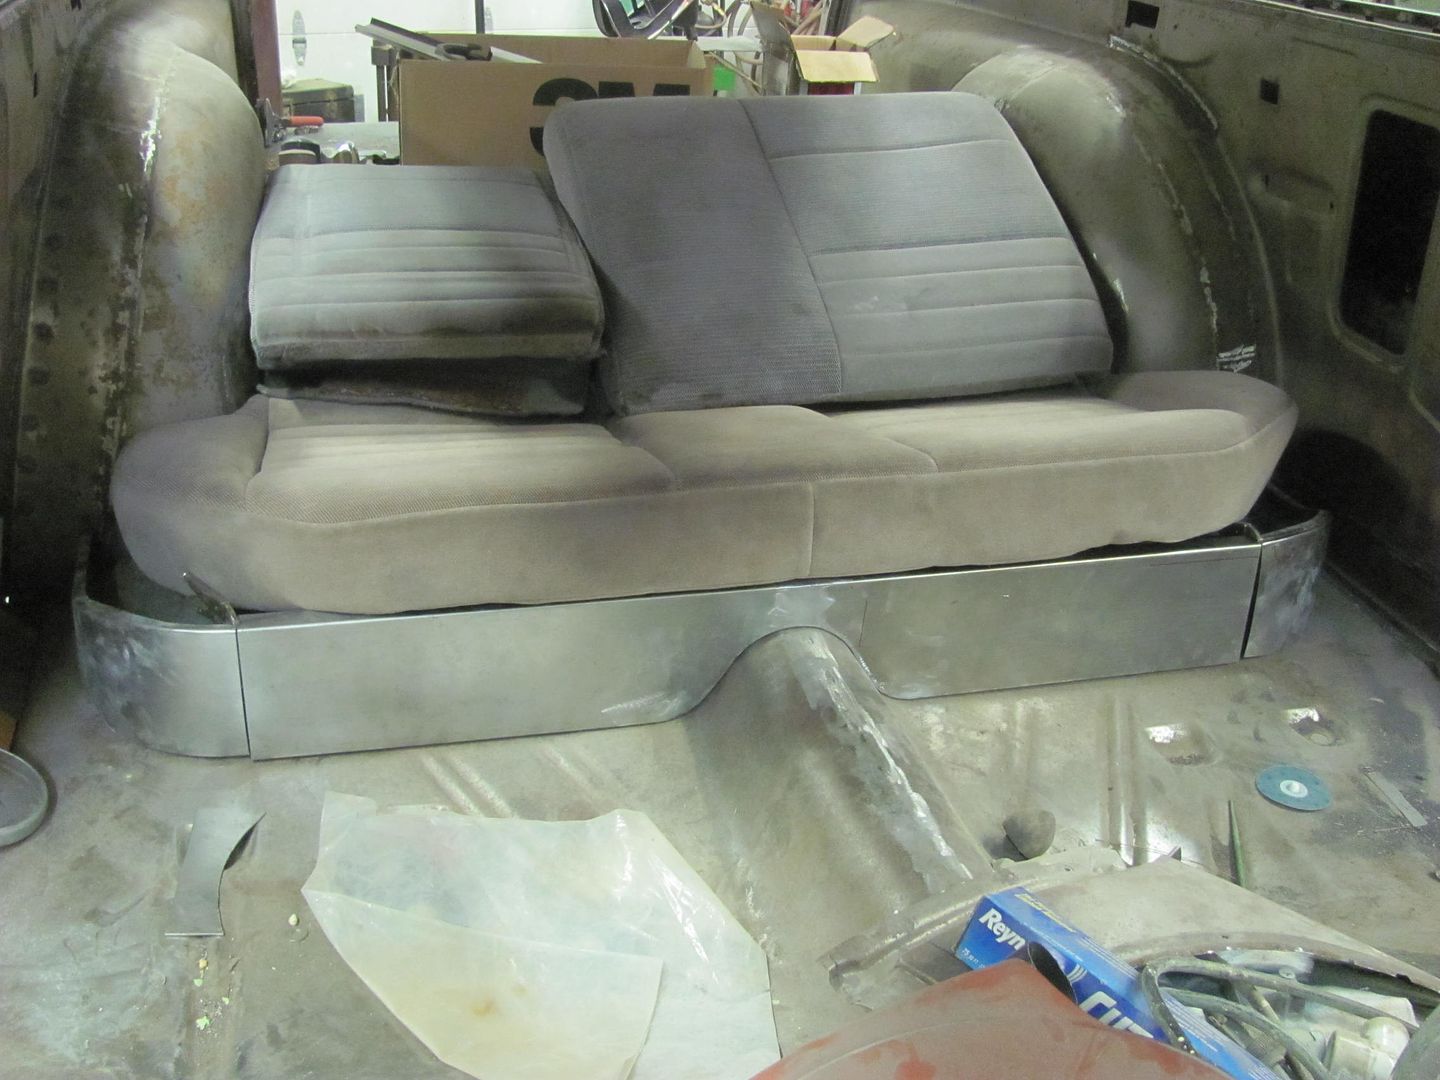
Seat riser completed, test fit of the rear seat...
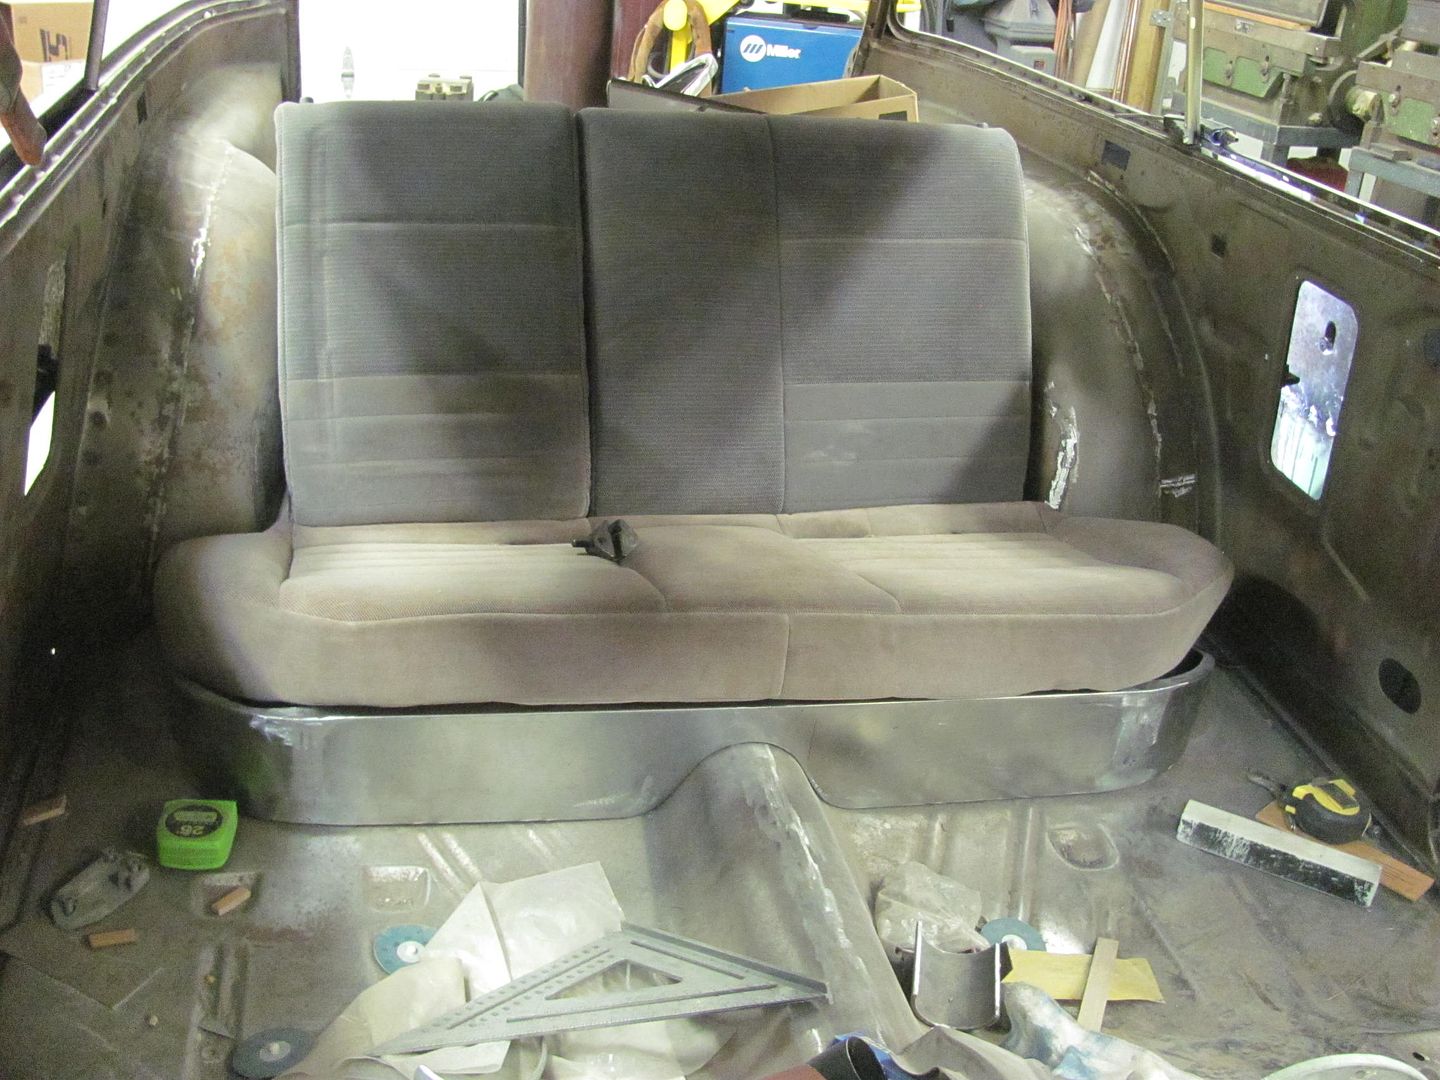
Corners of the lower cushion will have some foam added to fill out to a radius. Seat back will have some end cushions added to match the width of the lower seat..
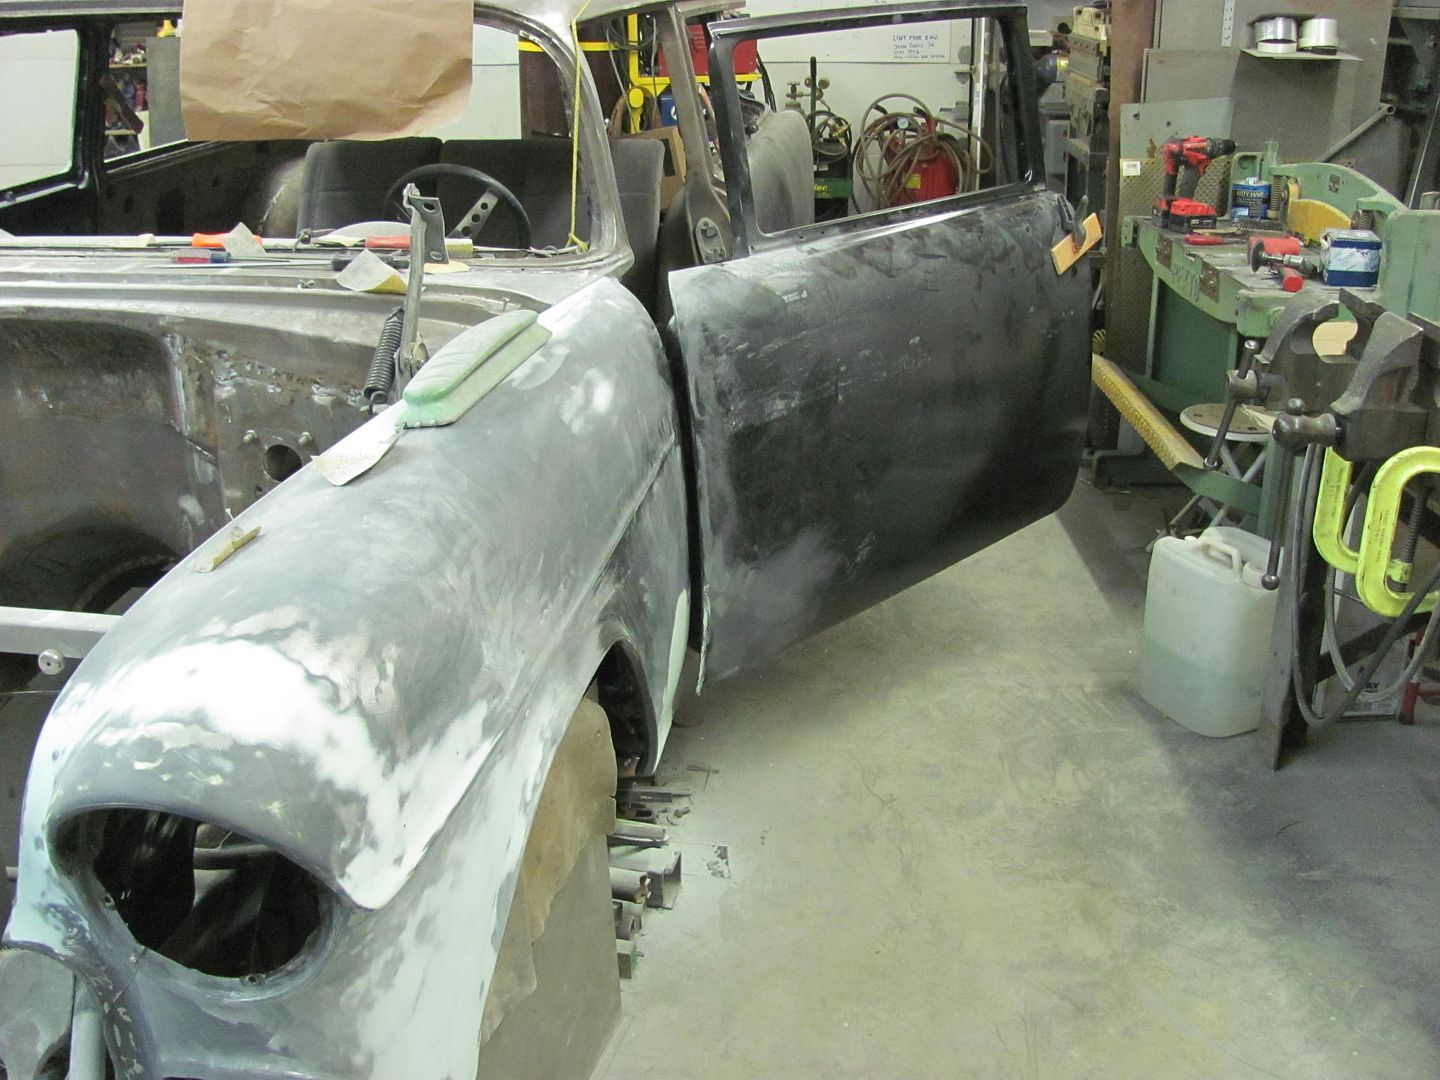
Blocking out of the driver's door is the last to go, and all the front sheet metal will be ready to come off for the next round of epoxy primer..
Last edited by MP&C; 03-16-2015 at 05:32 AM.
Robert
 Reply With Quote

Posting Permissions
- You may not post new threads
- You may not post replies
- You may not post attachments
- You may not edit your posts

This site is up more often lately, but very little traffic.
Dead!