


 3390Likes
Thread: 55 Wagon Progress


Results 406 to 420 of 1865
 LinkBack URL
 About LinkBacks
-
01-16-2015 09:42 AM #406
 CHR Member

- Join Date
- Oct 2007
- Location
- Petaluma
- Car Year, Make, Model: 48 Ford F1
- Posts
- 9,795
It would be night time here!
"  "No matter where you go, there you are!" Steve.
-
Advertising

- Google Adsense
- REGISTERED USERS DO NOT SEE THIS AD
-
01-18-2015 03:52 PM #407
CHR Member
- Join Date
- Jun 2008
- Location
- Leonardtown
- Car Year, Make, Model: Walking
- Posts
- 1,228
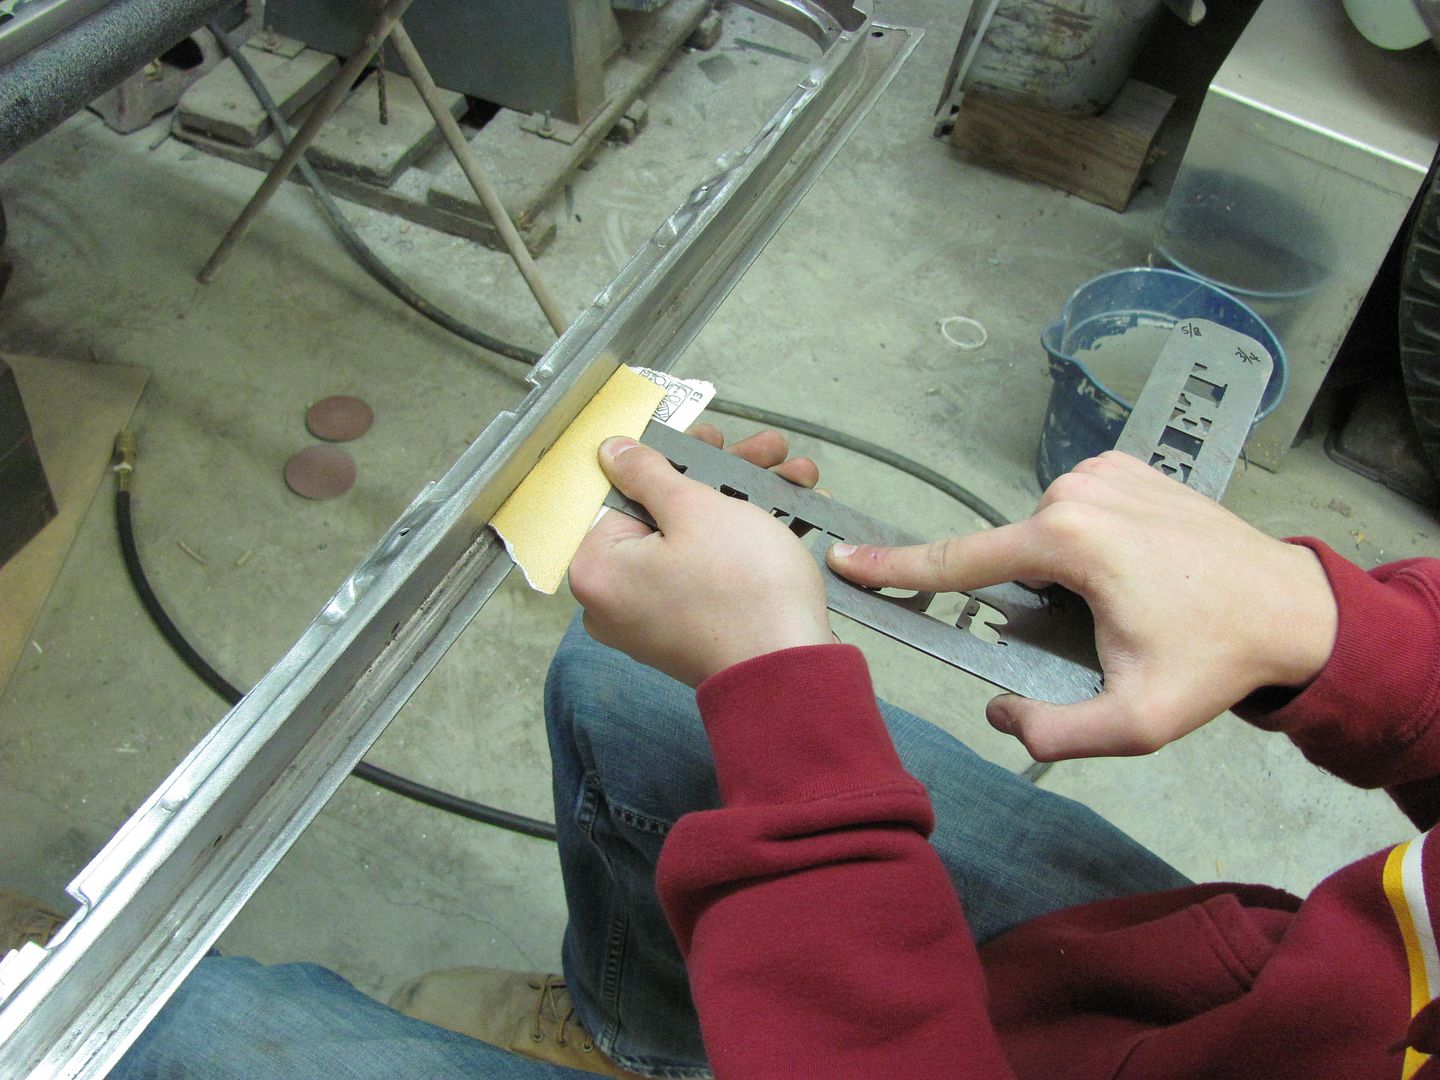
Kyle finishing up the prep on the door this morning, found another use for the GatorMeet radius square, here used as a sanding block to get into the tight crevices...
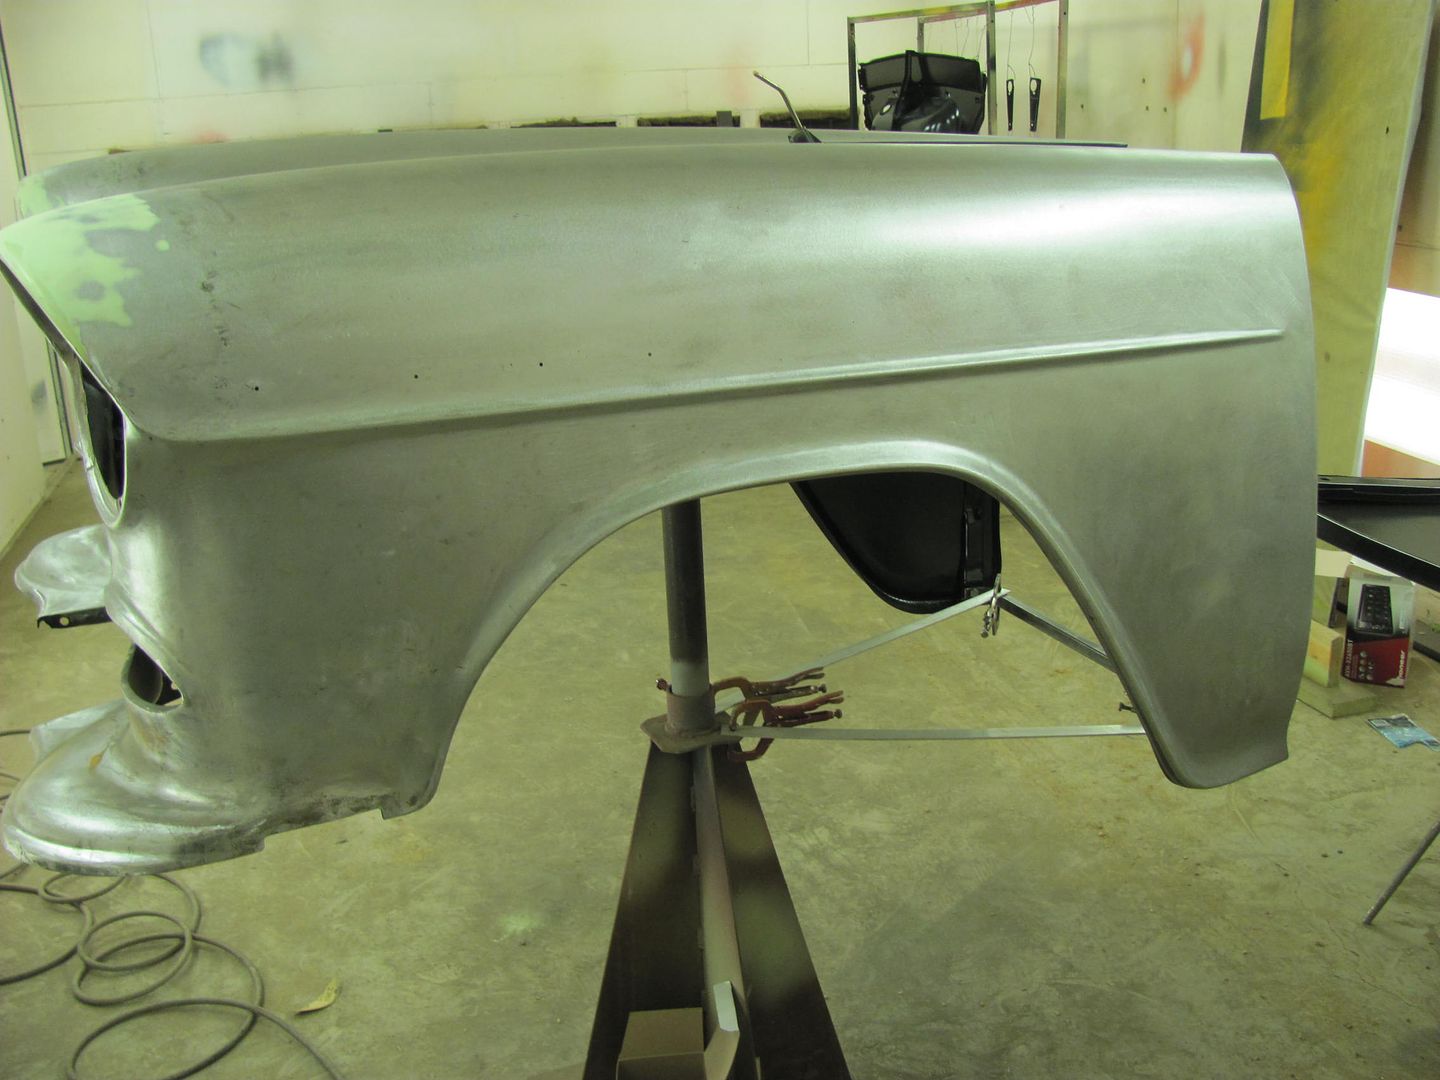
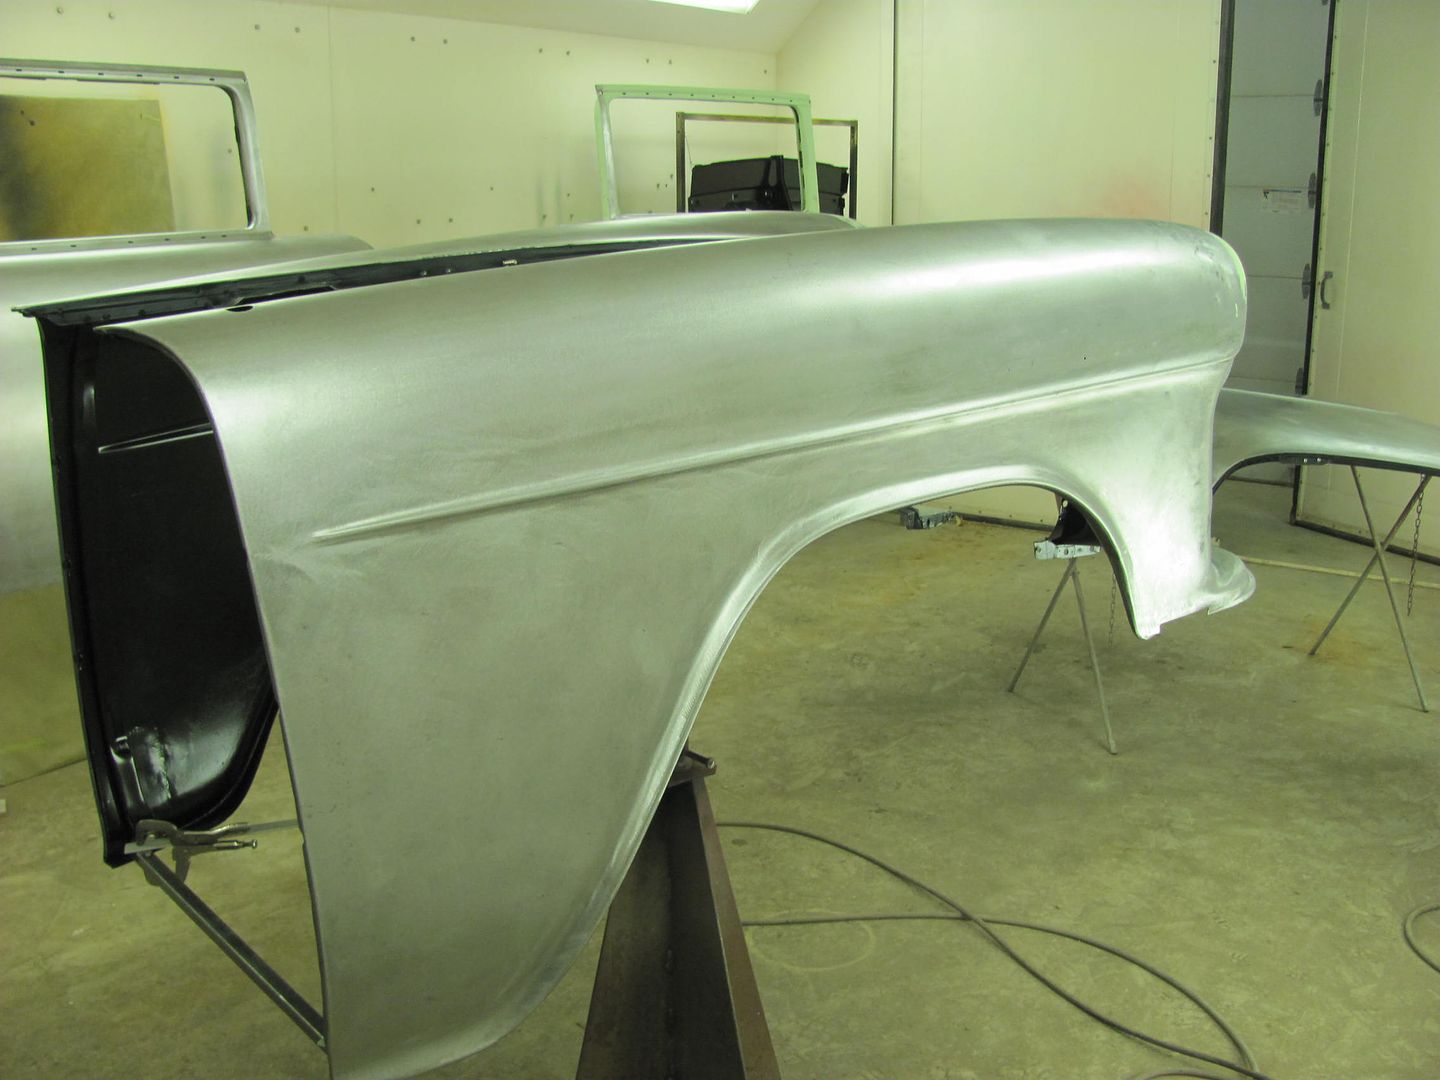
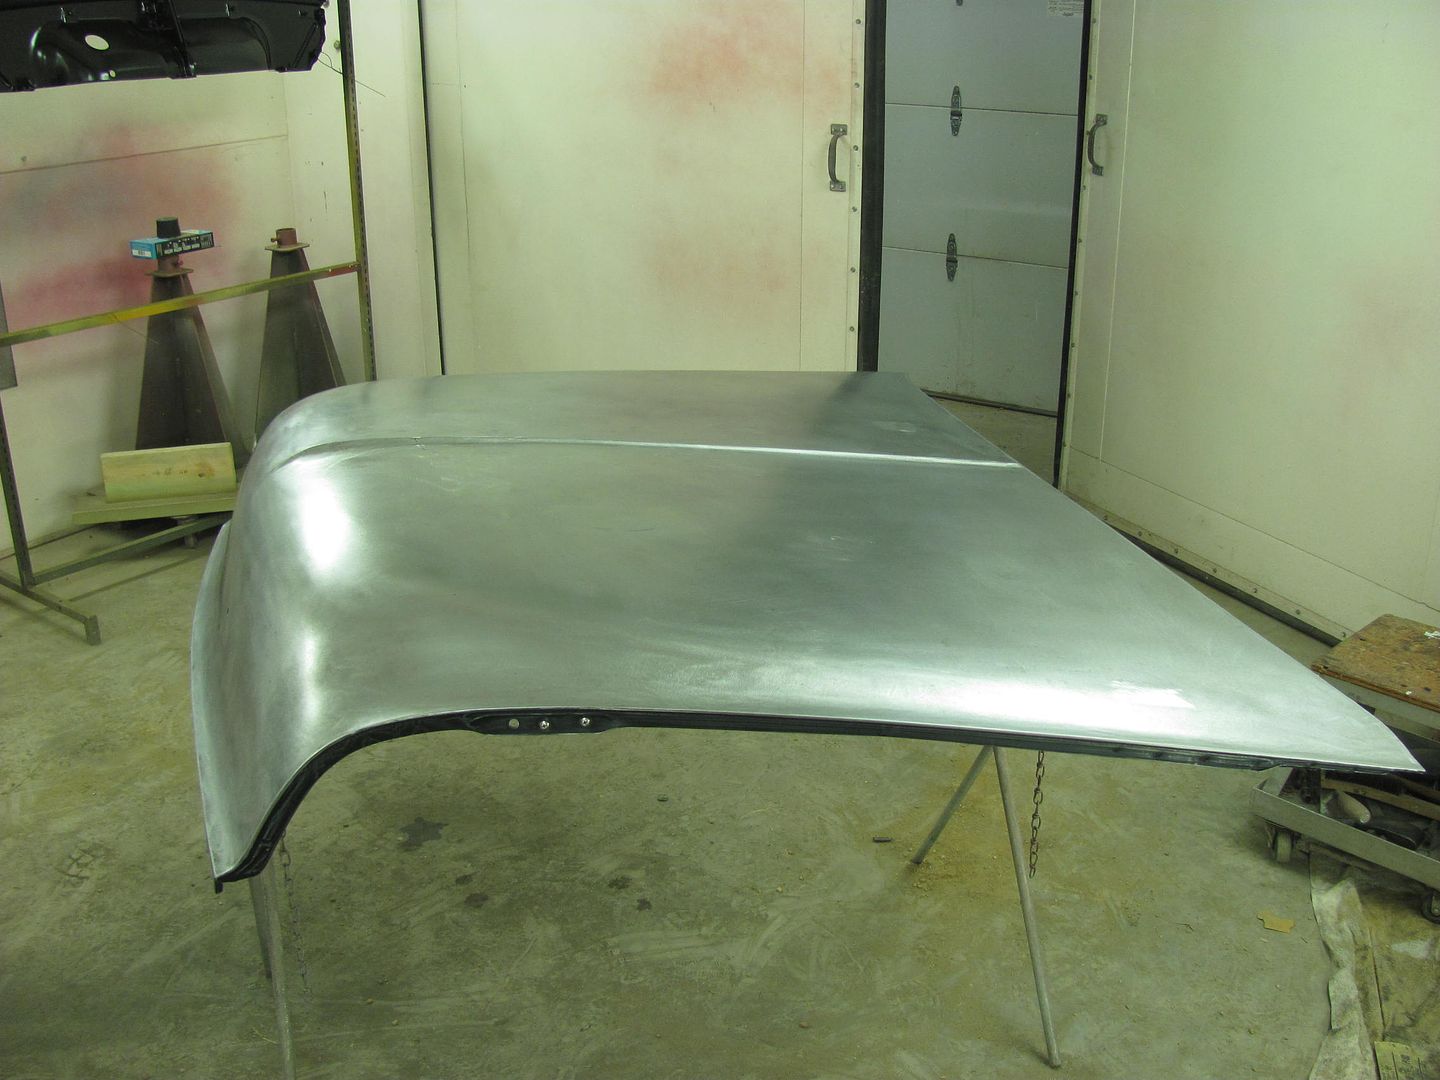
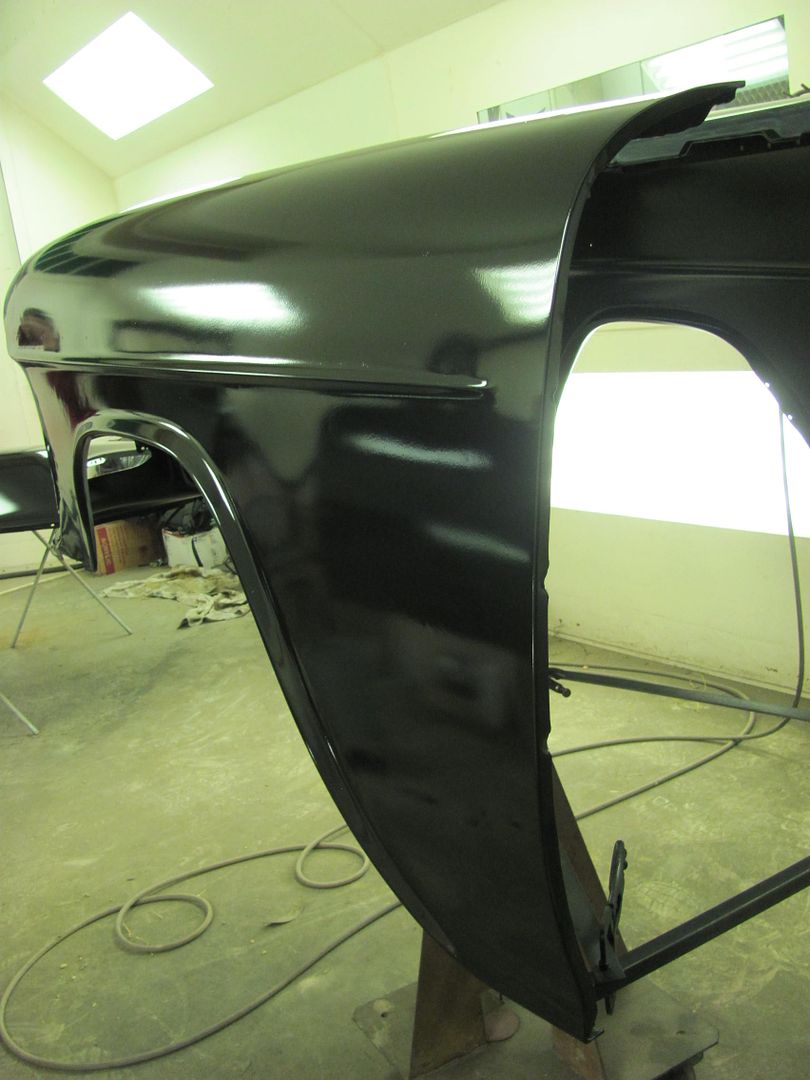
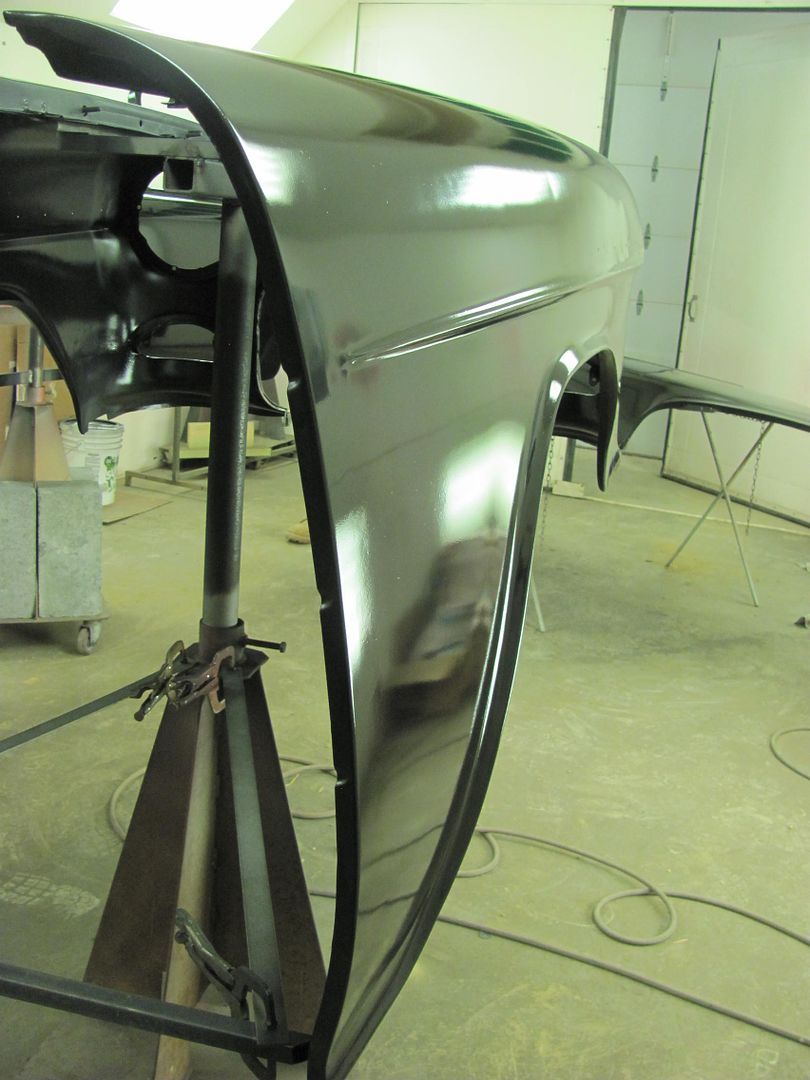
Front fenders were both prepped with DA and 80 grit..

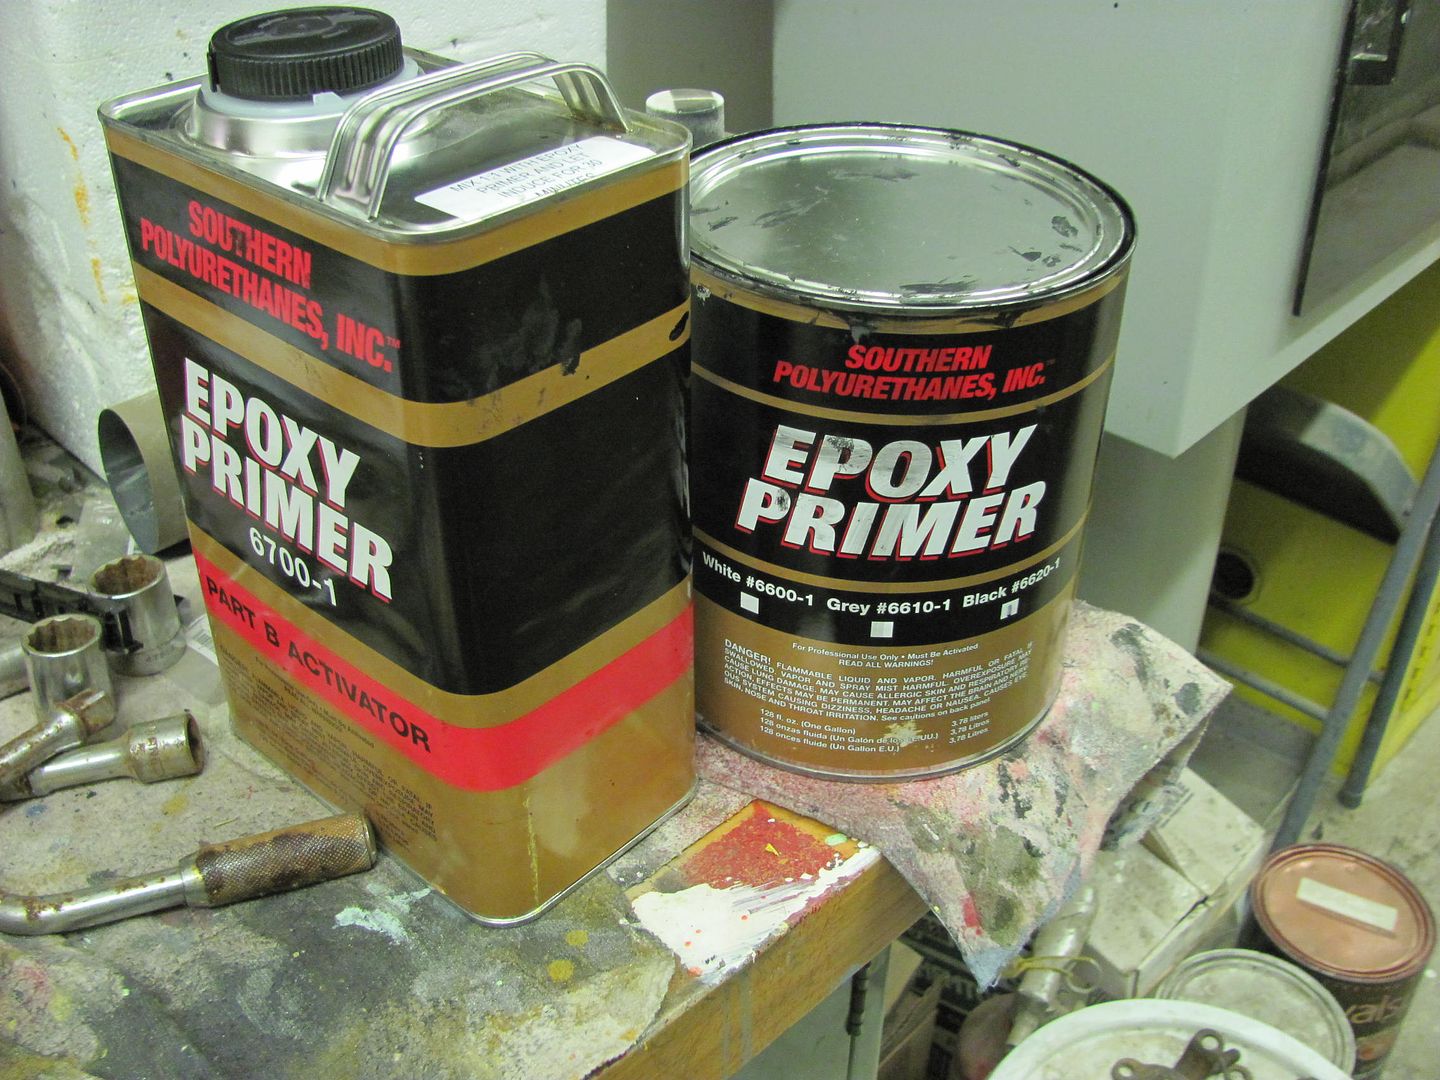
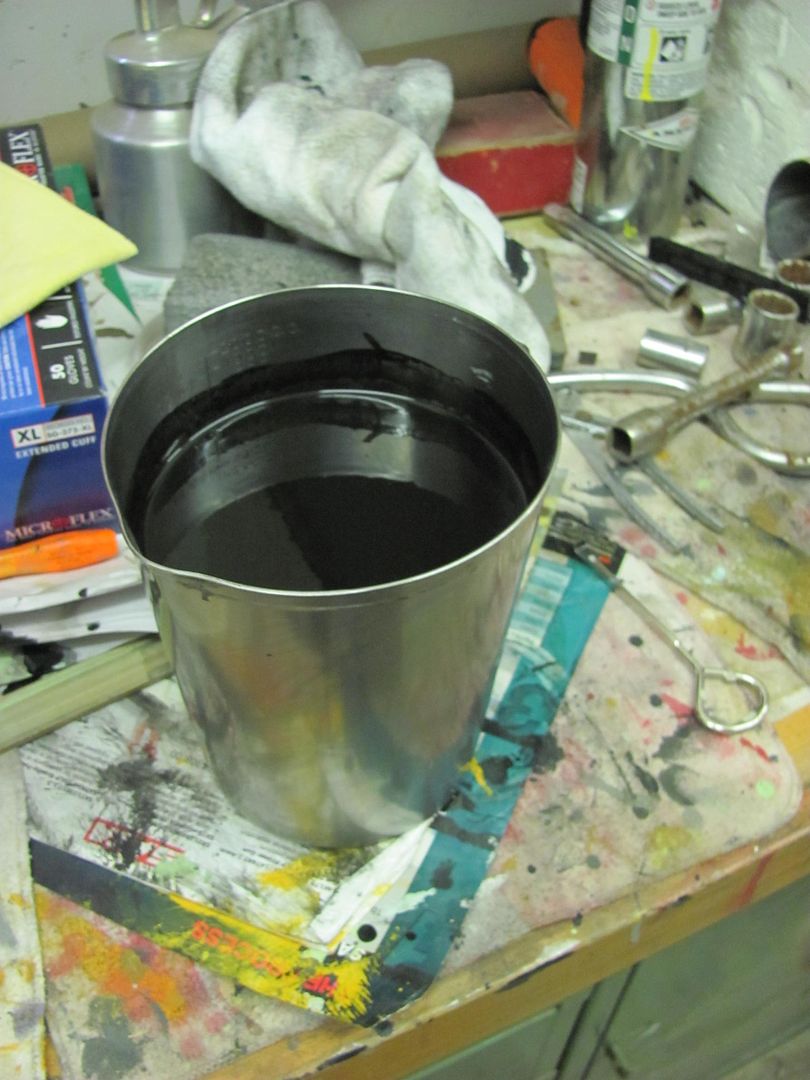
SPI Epoxy is mixed to allow for induction...
As the body parts had been soda blasted, it was cleaned with a hot soapy water (dish detergent) and a grey Scotchbrite, followed by a towel drying session.
Then this was followed up with preclean...
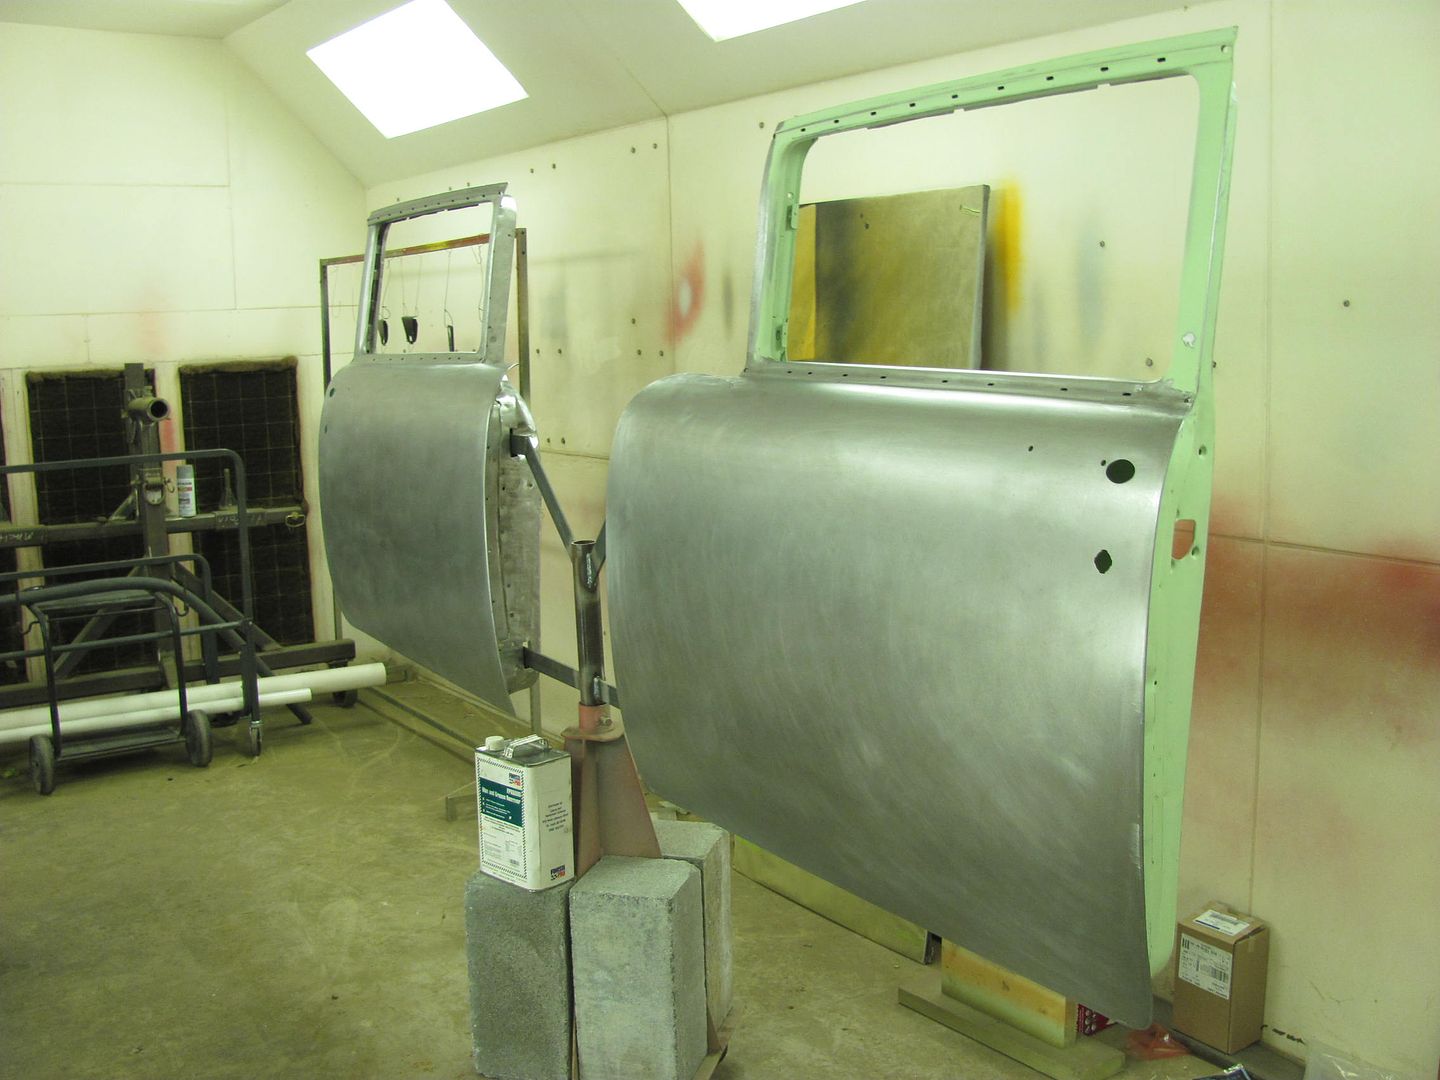
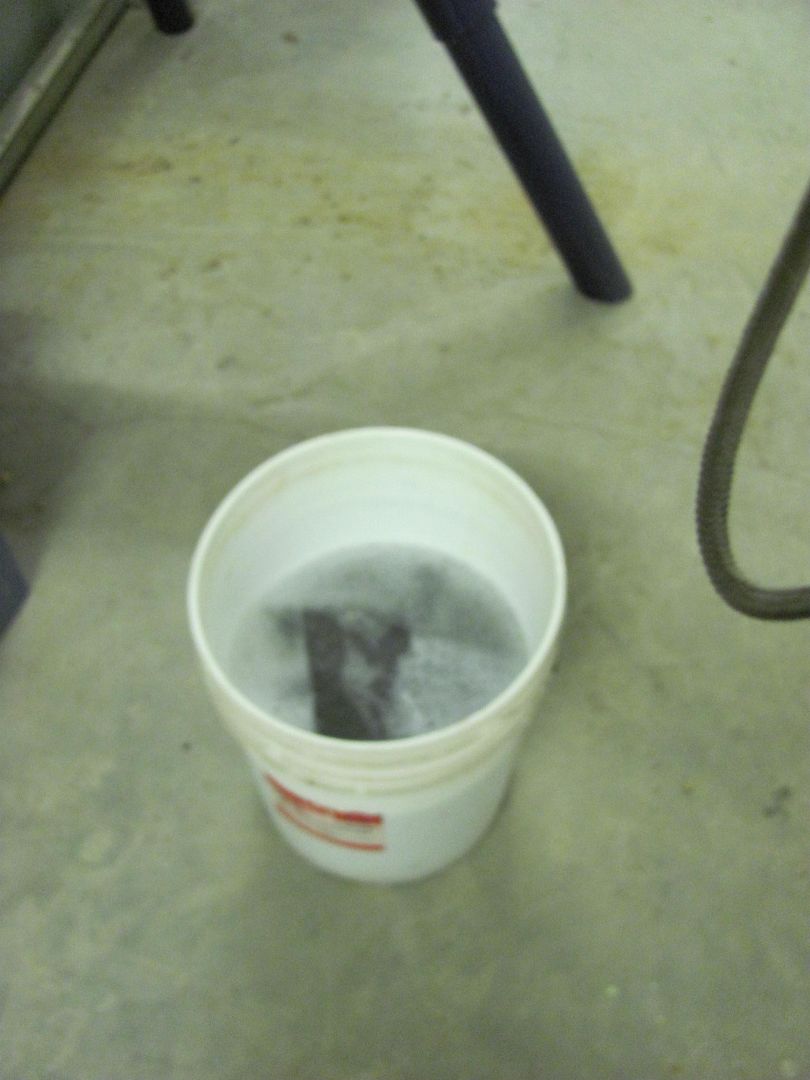
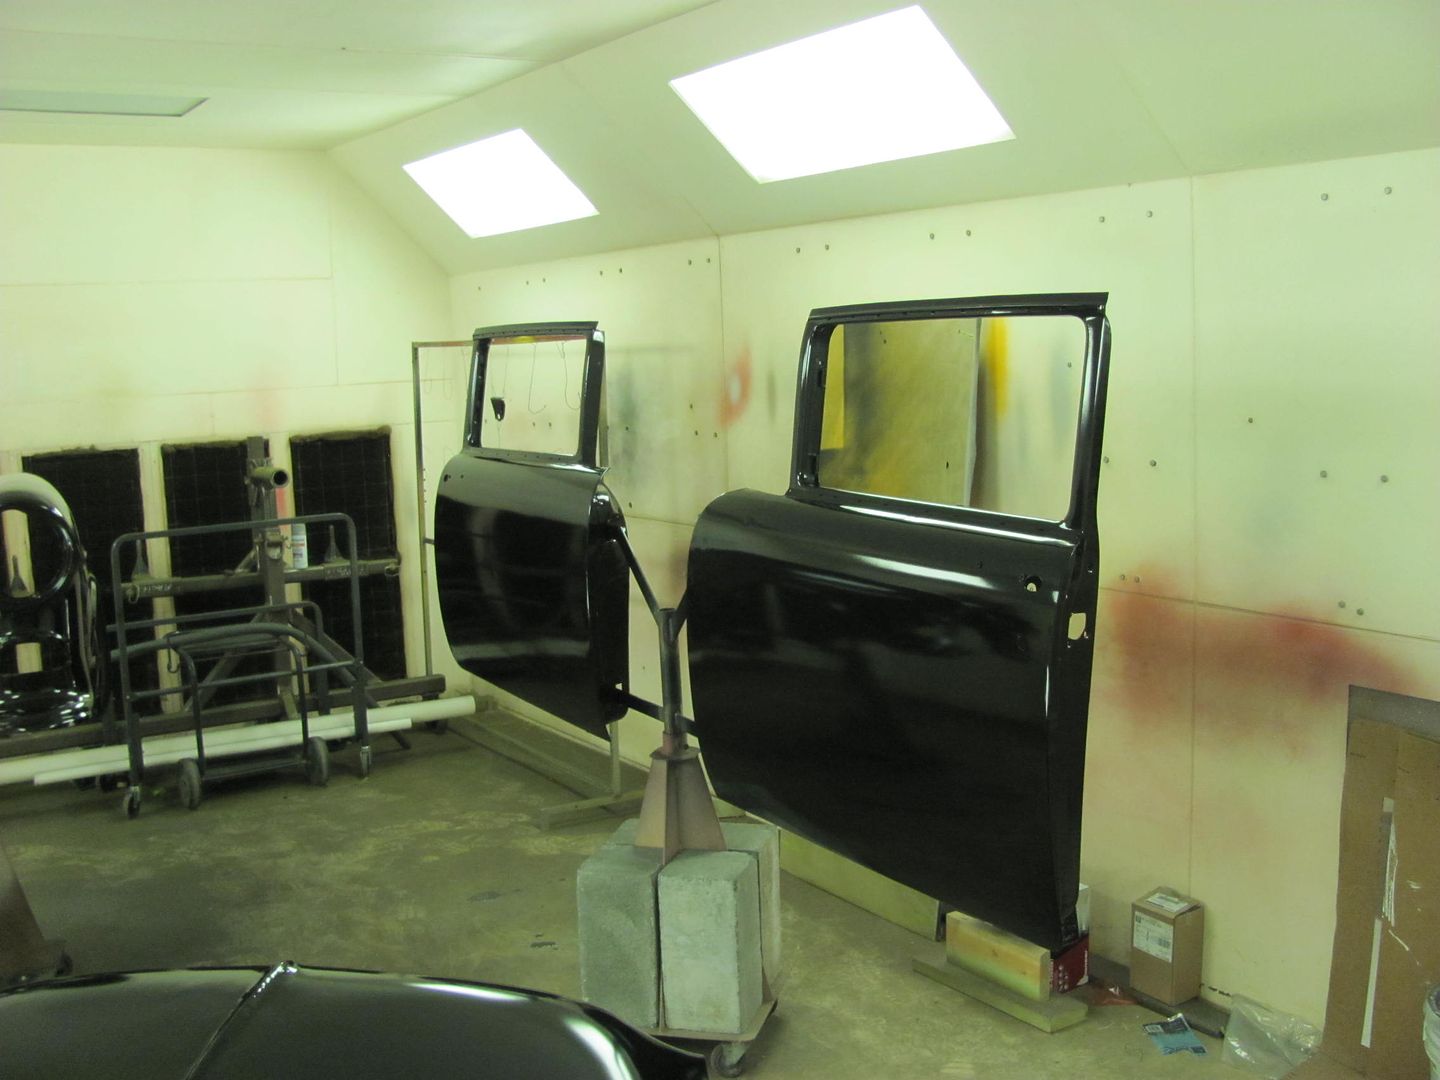
The door handle backing plates had not yet been installed on the back side of the door skins, so a coat of epoxy was sprayed on both, and then bolted together to allow to cure..
A good shot of the door paint fixture in action...

Two coats applied...

Robert
-
01-19-2015 06:18 PM #408
CHR Member
- Join Date
- Apr 2011
- Location
- Prairie City
- Car Year, Make, Model: 40 Ford Deluxe, 68 Corvette, 72&76 K30
- Posts
- 7,301
- Blog Entries
- 1
That looks awesome! I think I may have to put the hot rod flatz on somehting else and step up and buy some spi when I ditch the purple on my 40.Ryan
1940 Ford Deluxe Tudor 354 Hemi 46RH Electric Blue w/multi-color flames, Ford 9" Residing in multiple pieces
1968 Corvette Coupe 5.9 Cummins Drag Car 11.43@130mph No stall leaving the line with 1250 rpm's and poor 2.2 60'
1972 Chevy K30 Longhorn P-pumped 24v Compound Turbos 47RH Just another money pit
1971 Camaro RS 5.3 BTR Stage 3 cam, SuperT10
Tire Sizes
-
01-19-2015 08:54 PM #409
CHR Member
- Join Date
- Jun 2008
- Location
- Leonardtown
- Car Year, Make, Model: Walking
- Posts
- 1,228
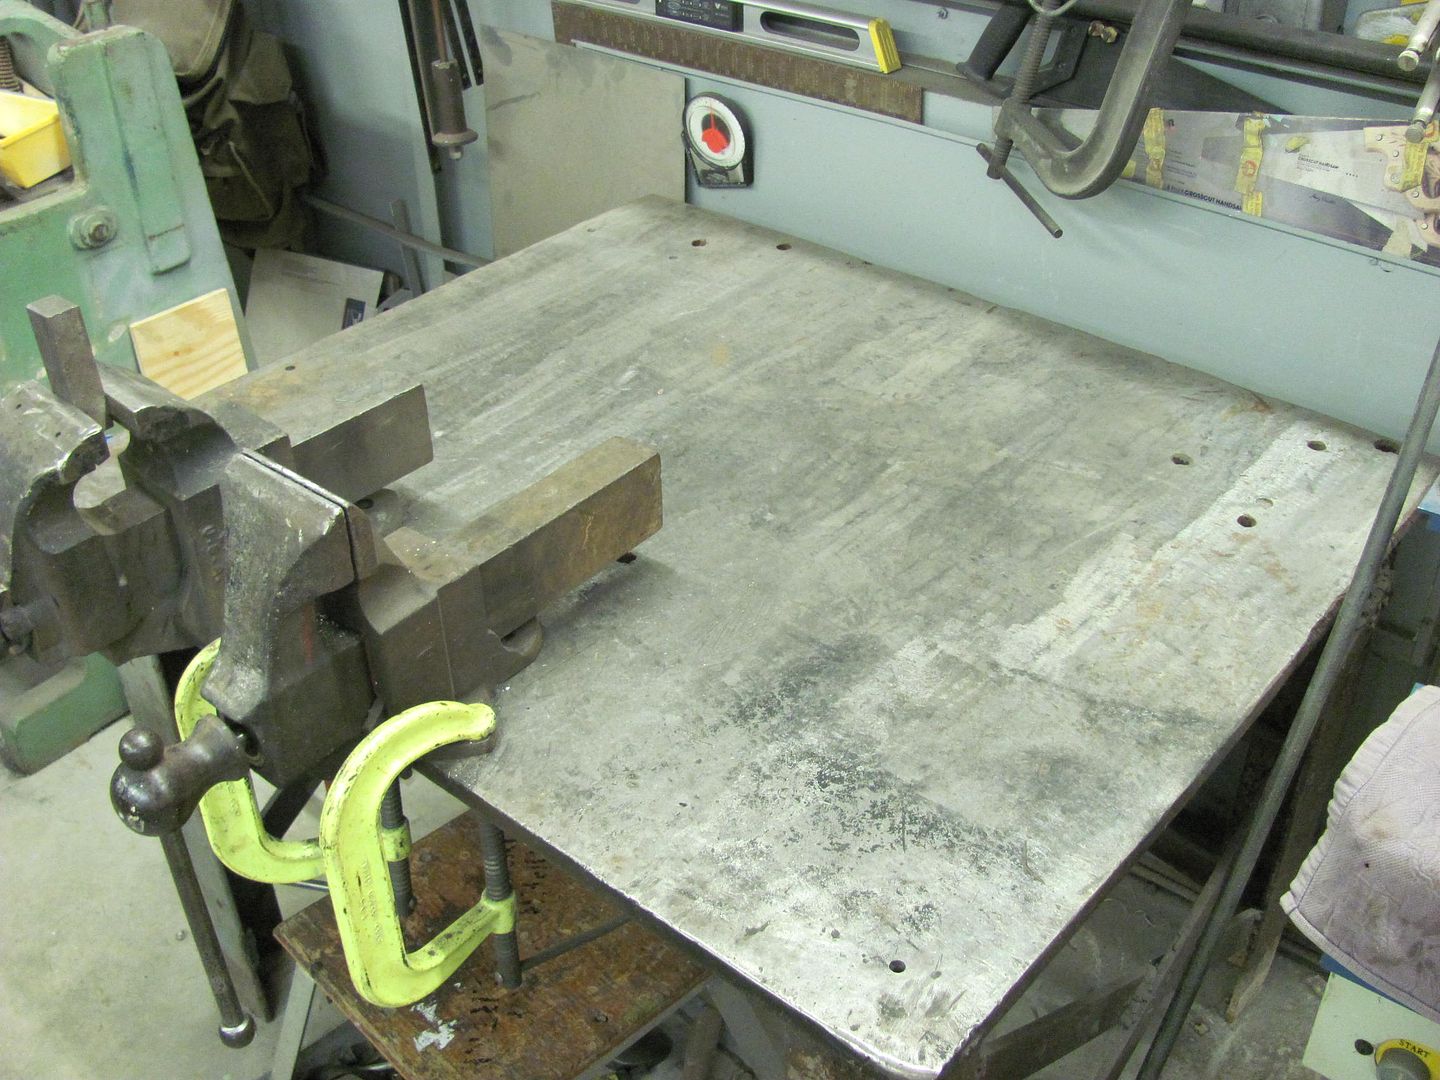
This evening while we had painted parts still lounging in the booth, we took some time to clean up and put tools away..... hey, there's that welding table!
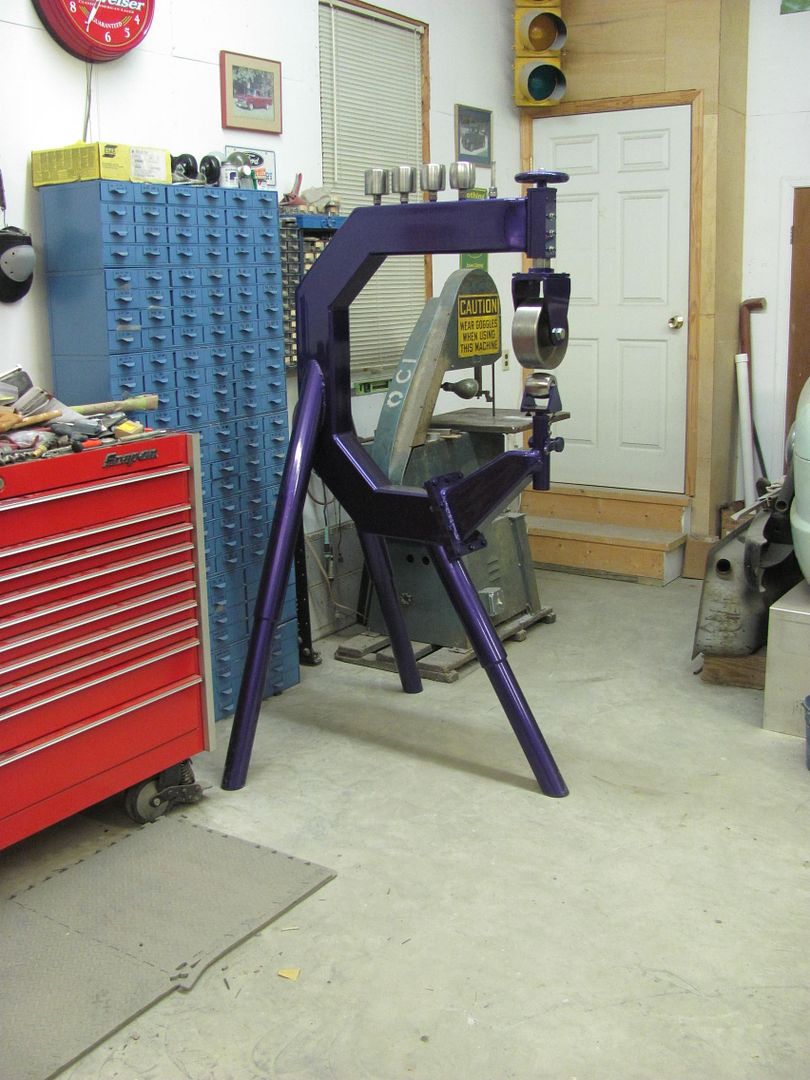
And found a new location for the ewheel.. Still gives plenty of room for access to the parts bins and gets it out of the way elsewhere in the shop..
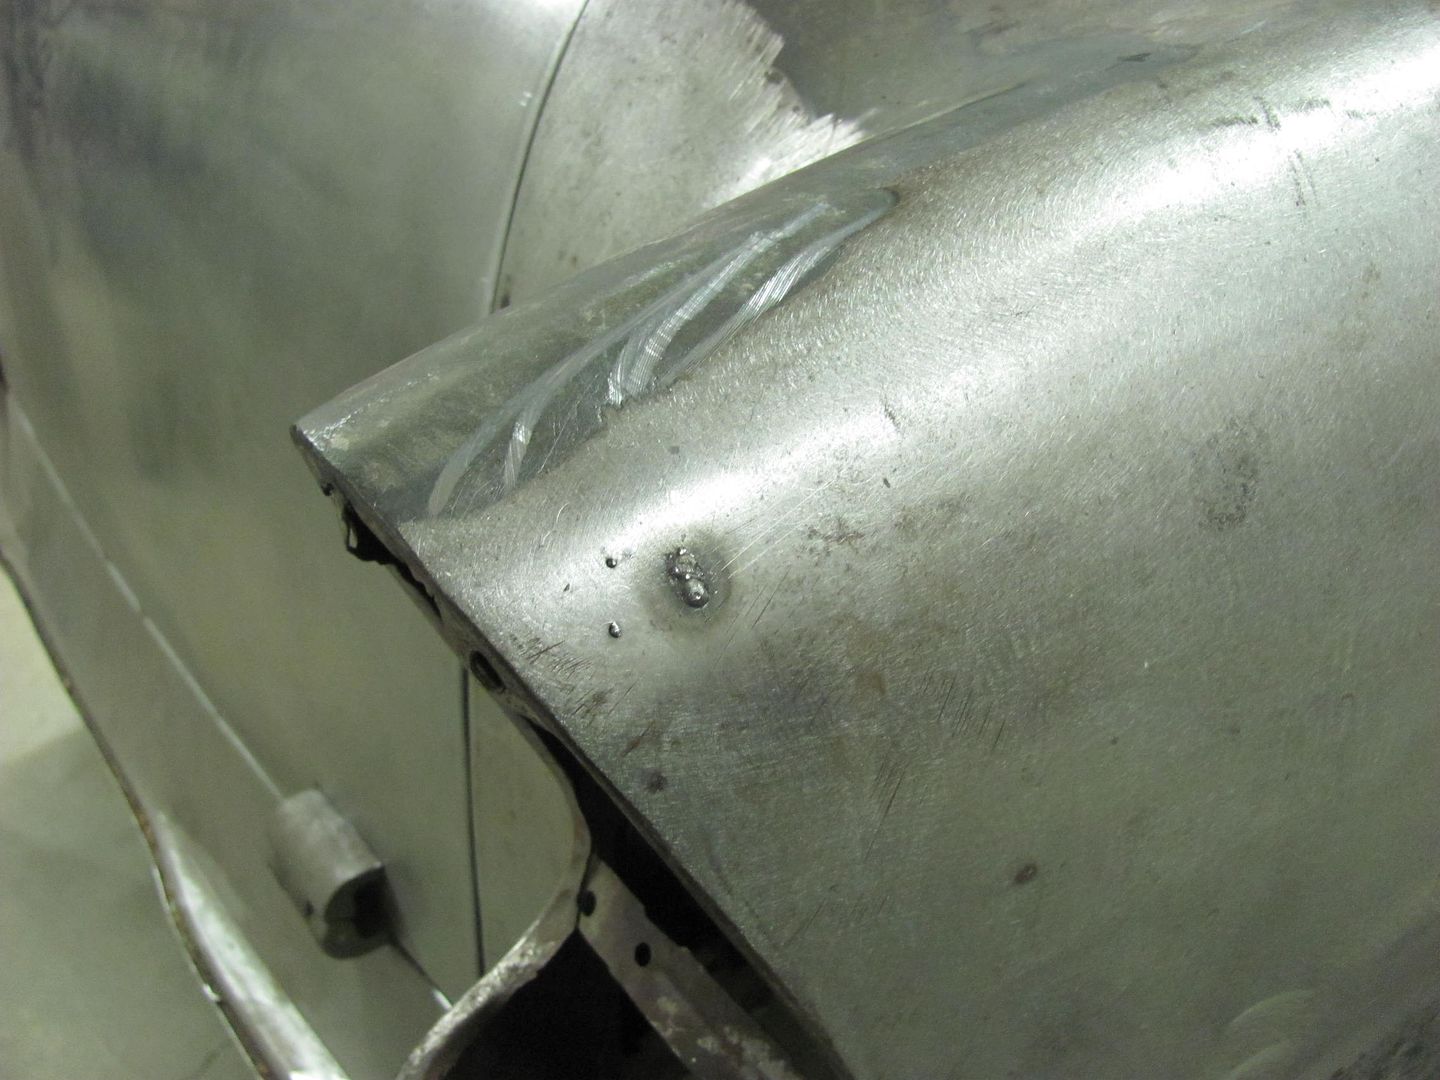
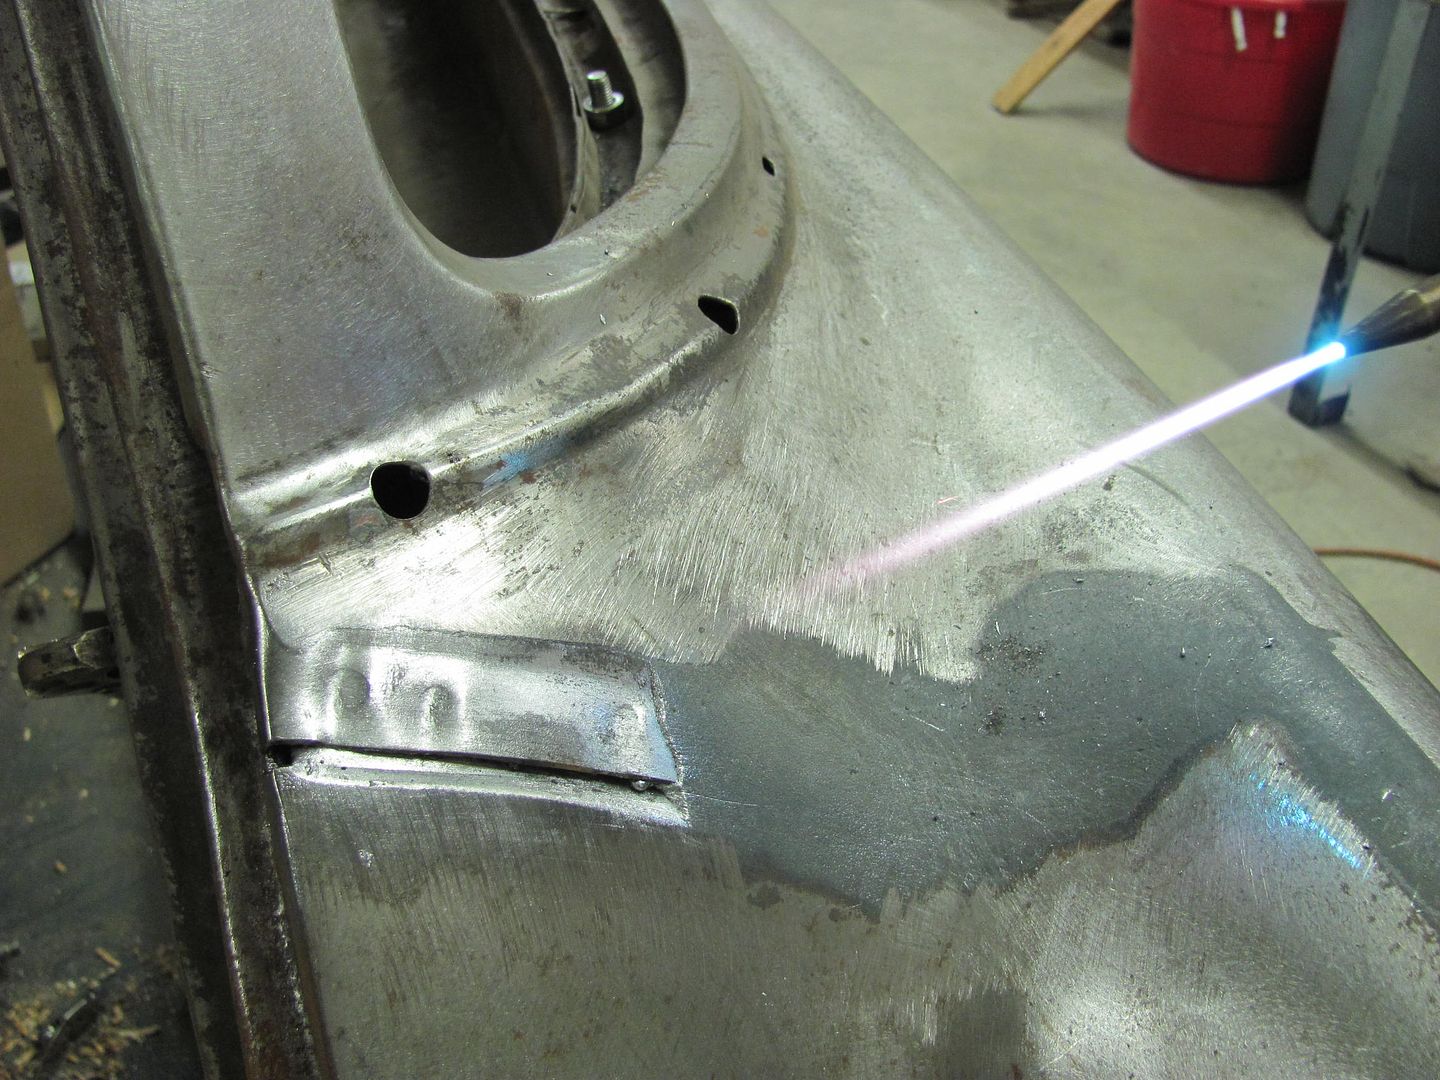
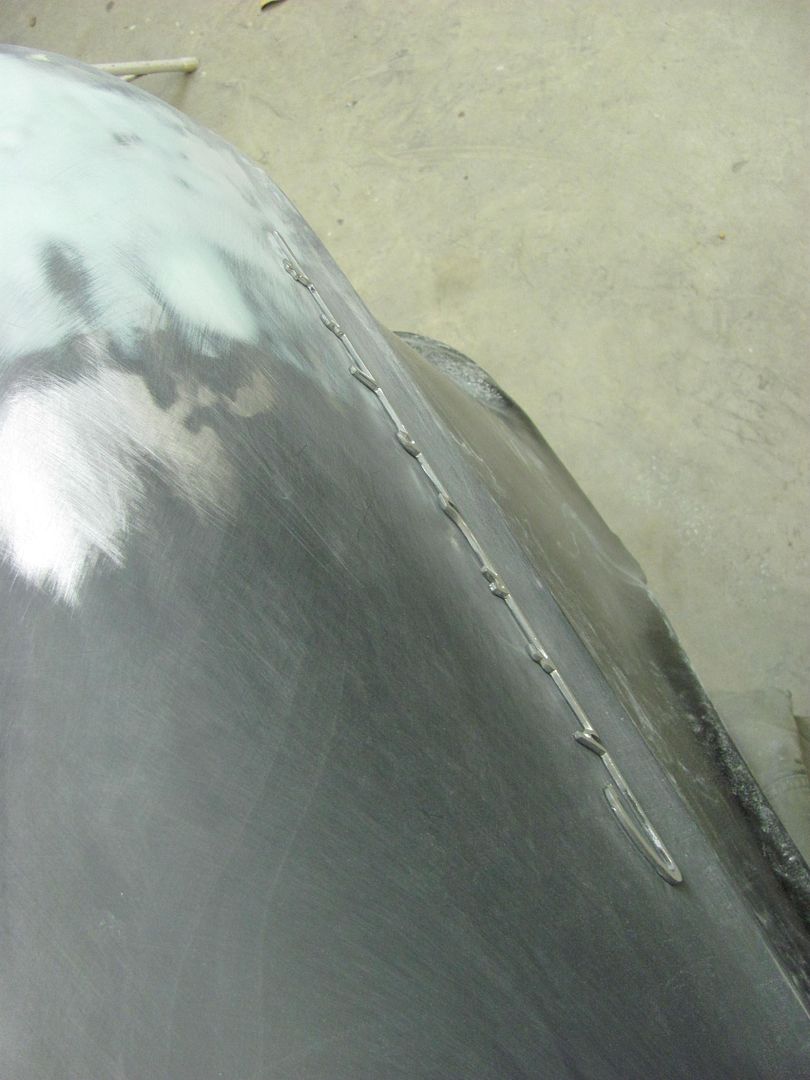
After that we worked to fix some pin holes along the passenger quarter's weld.. using a light from the back side to show the pin holes...

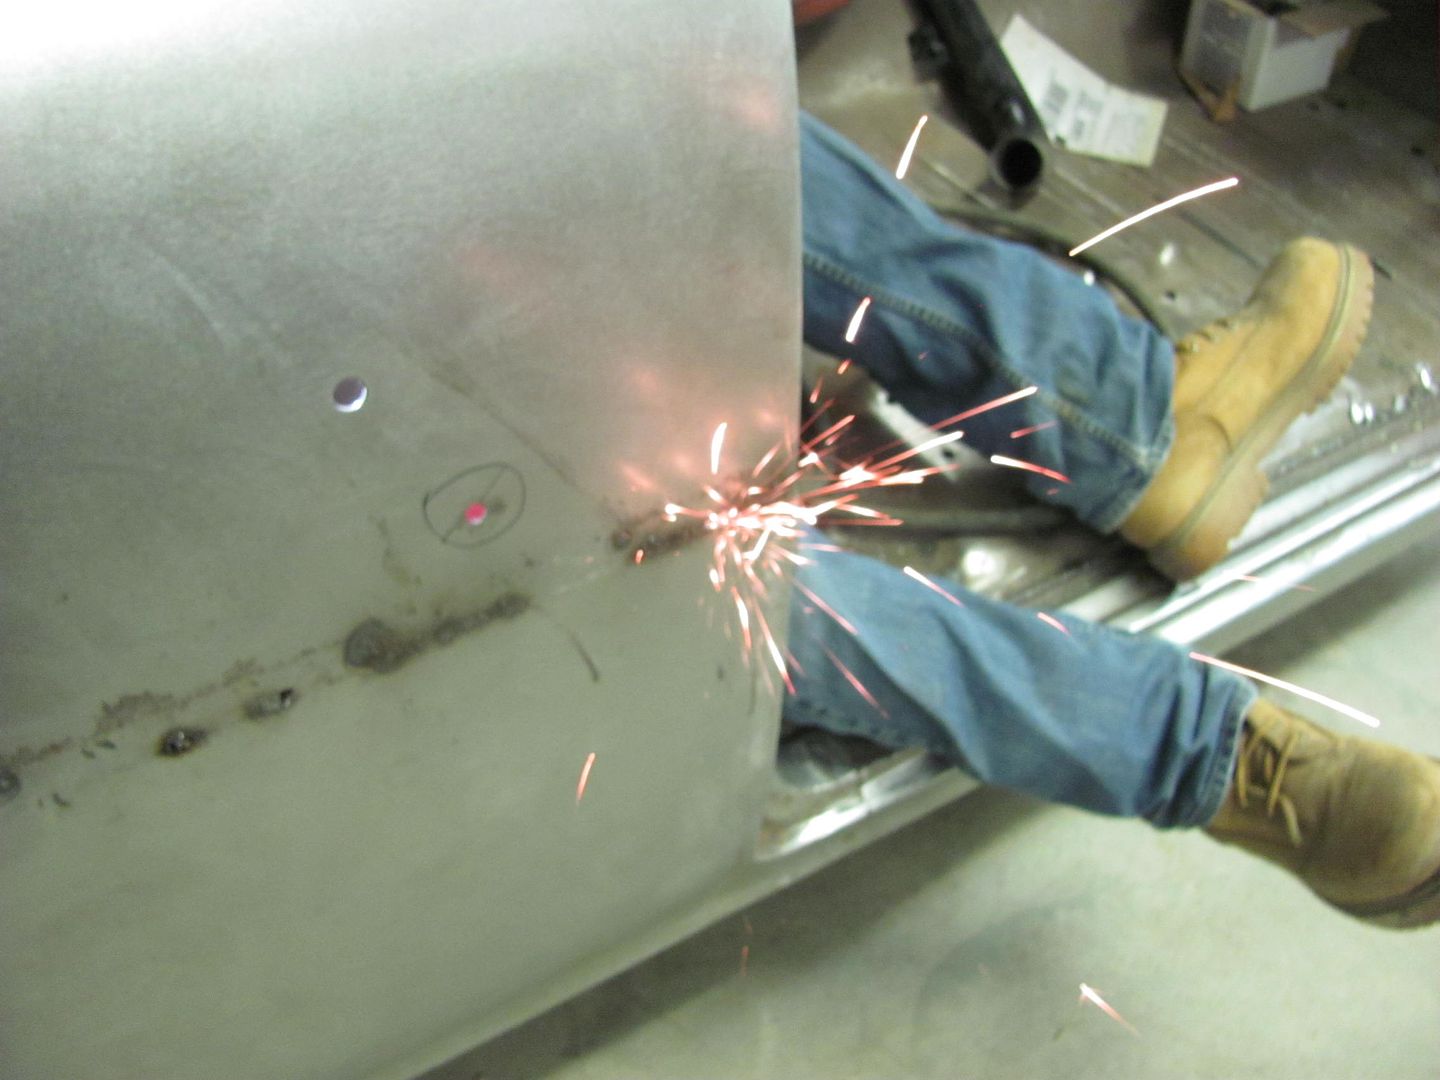
....and this one was a pit from the back side, more of the dreaded dirt thrown from the rear tire causing rust....
Robert
-
01-20-2015 05:45 PM #410
CHR Member
- Join Date
- Feb 2008
- Location
- Caldwell
- Car Year, Make, Model: 34 ford 3 window/461 pontiac
- Posts
- 918
Robert, you have inspired me and I am sure many others to try new ways of doing body repair. You are a jewel.
Admin, please don't let anything happen to this thread.")

Jack.www.clubhotrod.com/forums/showthread.php?t=44081
-
01-21-2015 01:01 PM #411
CHR Member
- Join Date
- May 2014
- Location
- Lafayette
- Car Year, Make, Model: 35 Ford, 67 Jeep Gladiator
- Posts
- 258
Paint! I couldn't be more excited if it were my car.The truth is incontrovertible. Malice may attack it, ignorance may deride it, but in the end, there it is.
Winston Churchill
-
01-21-2015 08:28 PM #412
CHR Member
- Join Date
- Jun 2008
- Location
- Leonardtown
- Car Year, Make, Model: Walking
- Posts
- 1,228
Thanks guys, here's some more of we can't leave well enough alone..
Tonight we finished up radius-ing the liftgate opening...
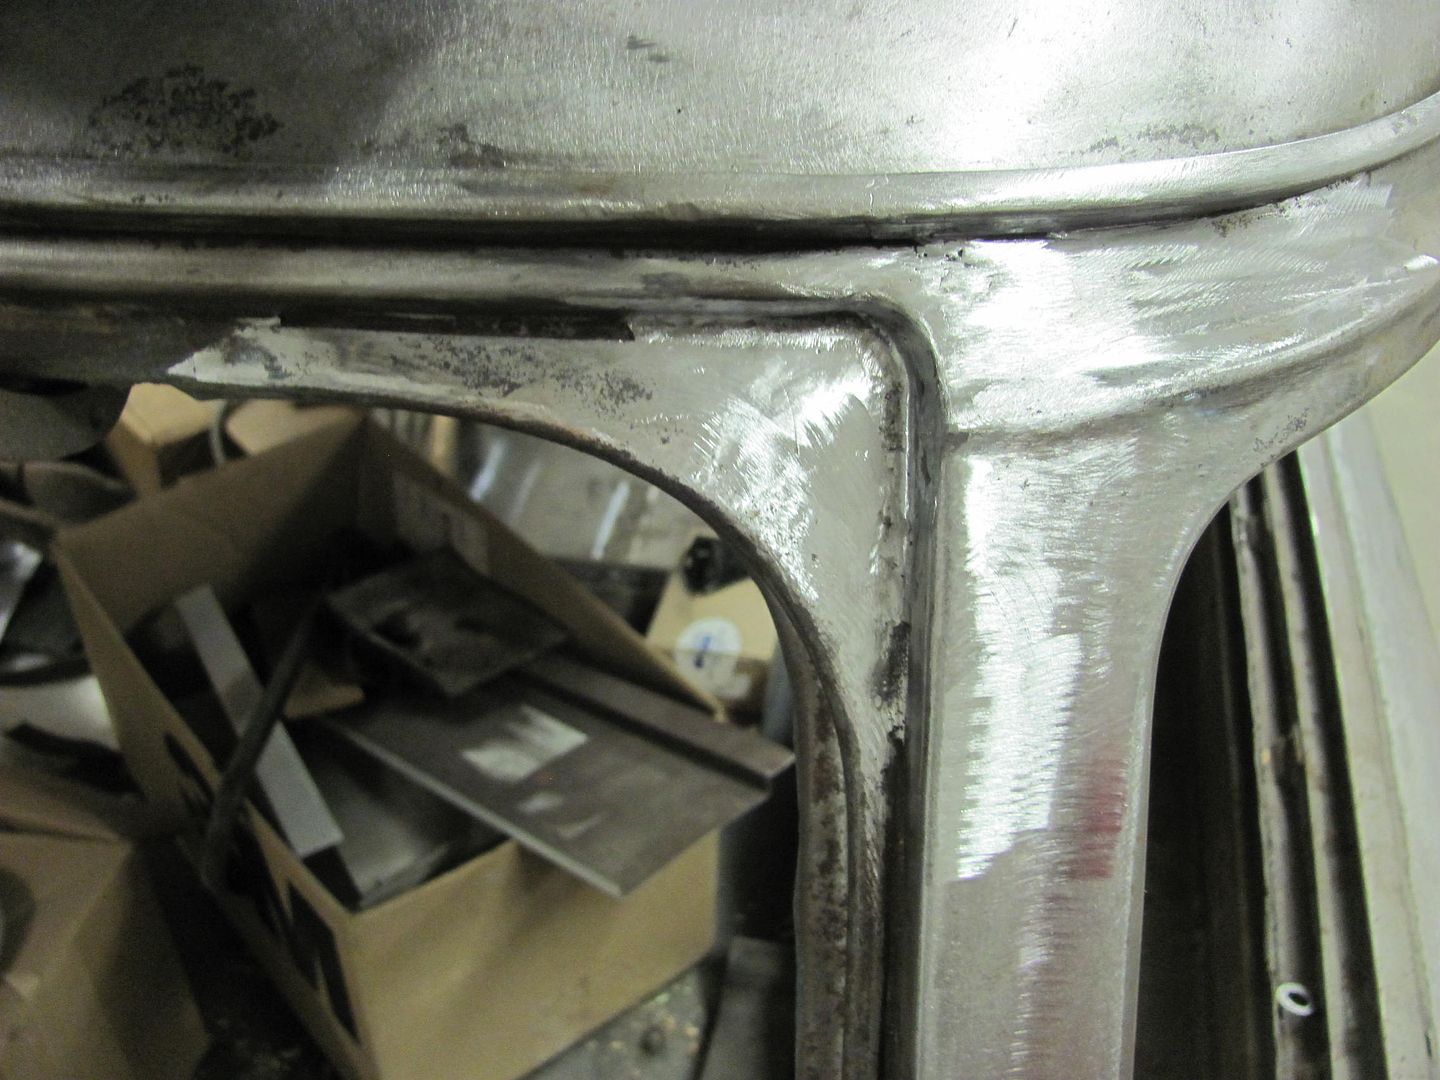
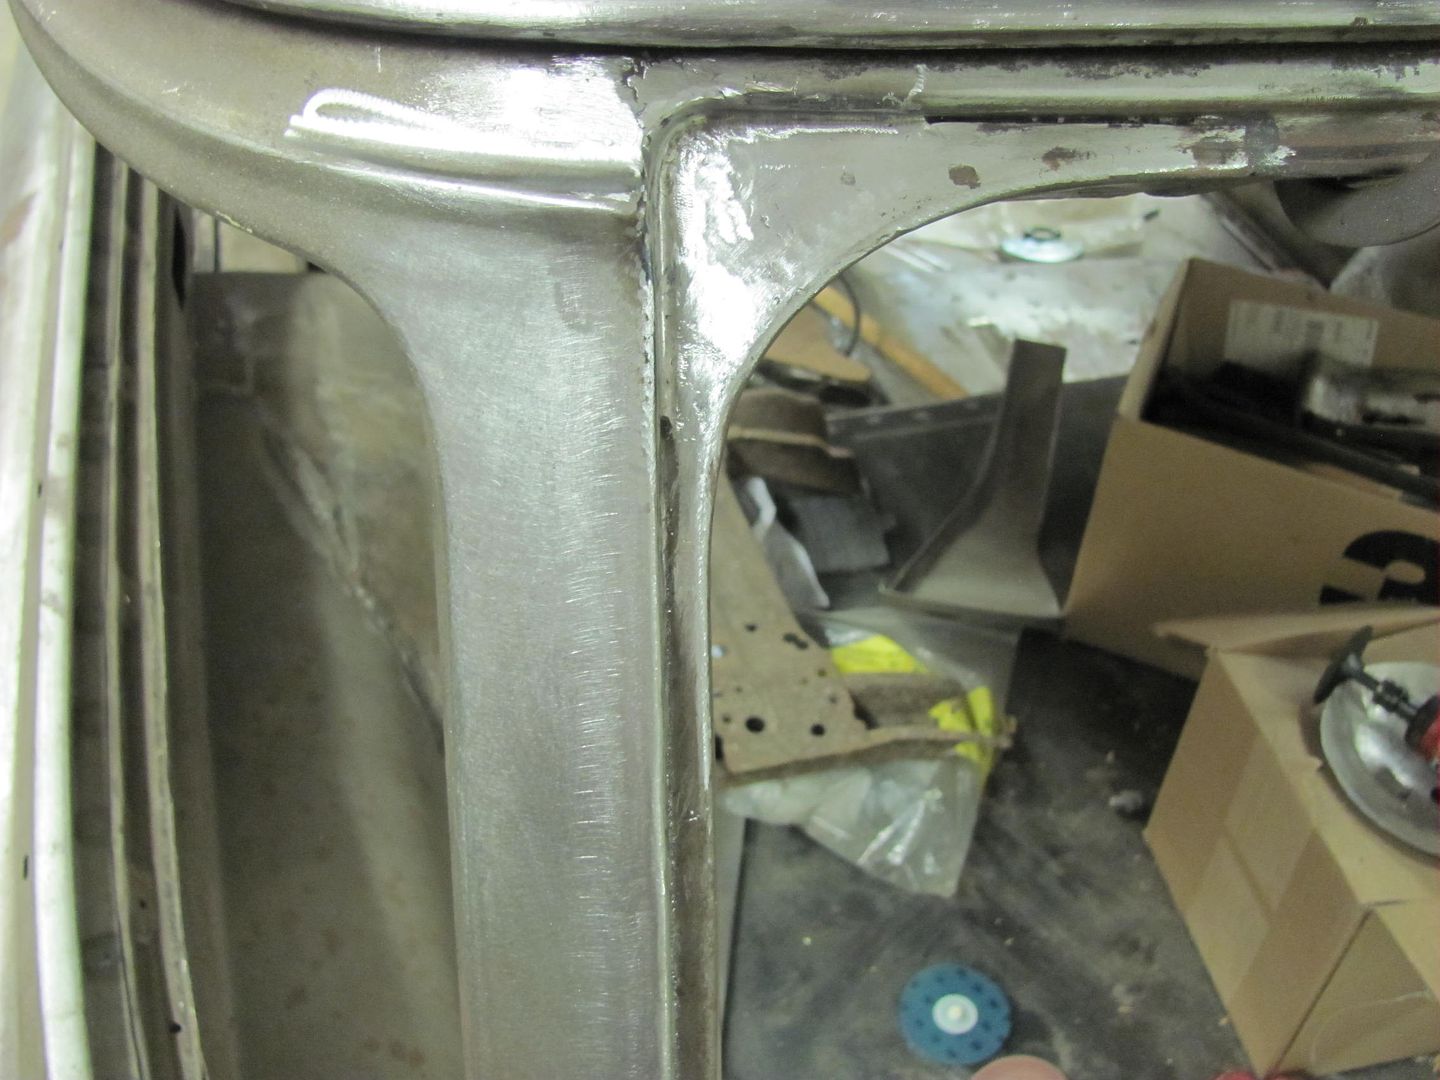
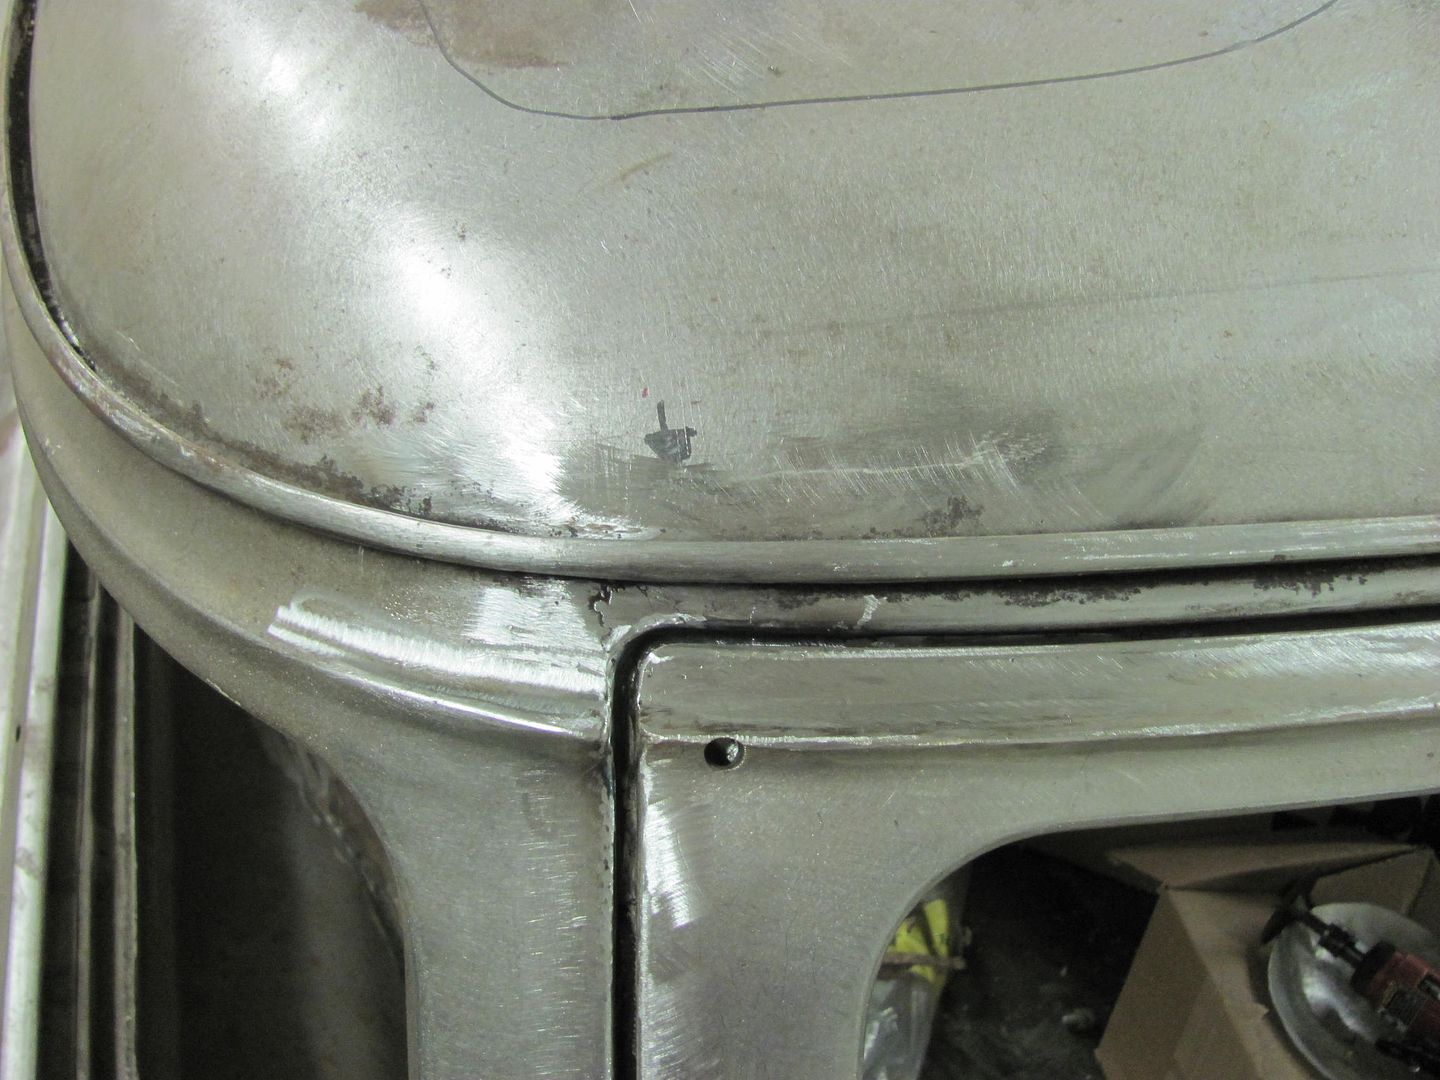
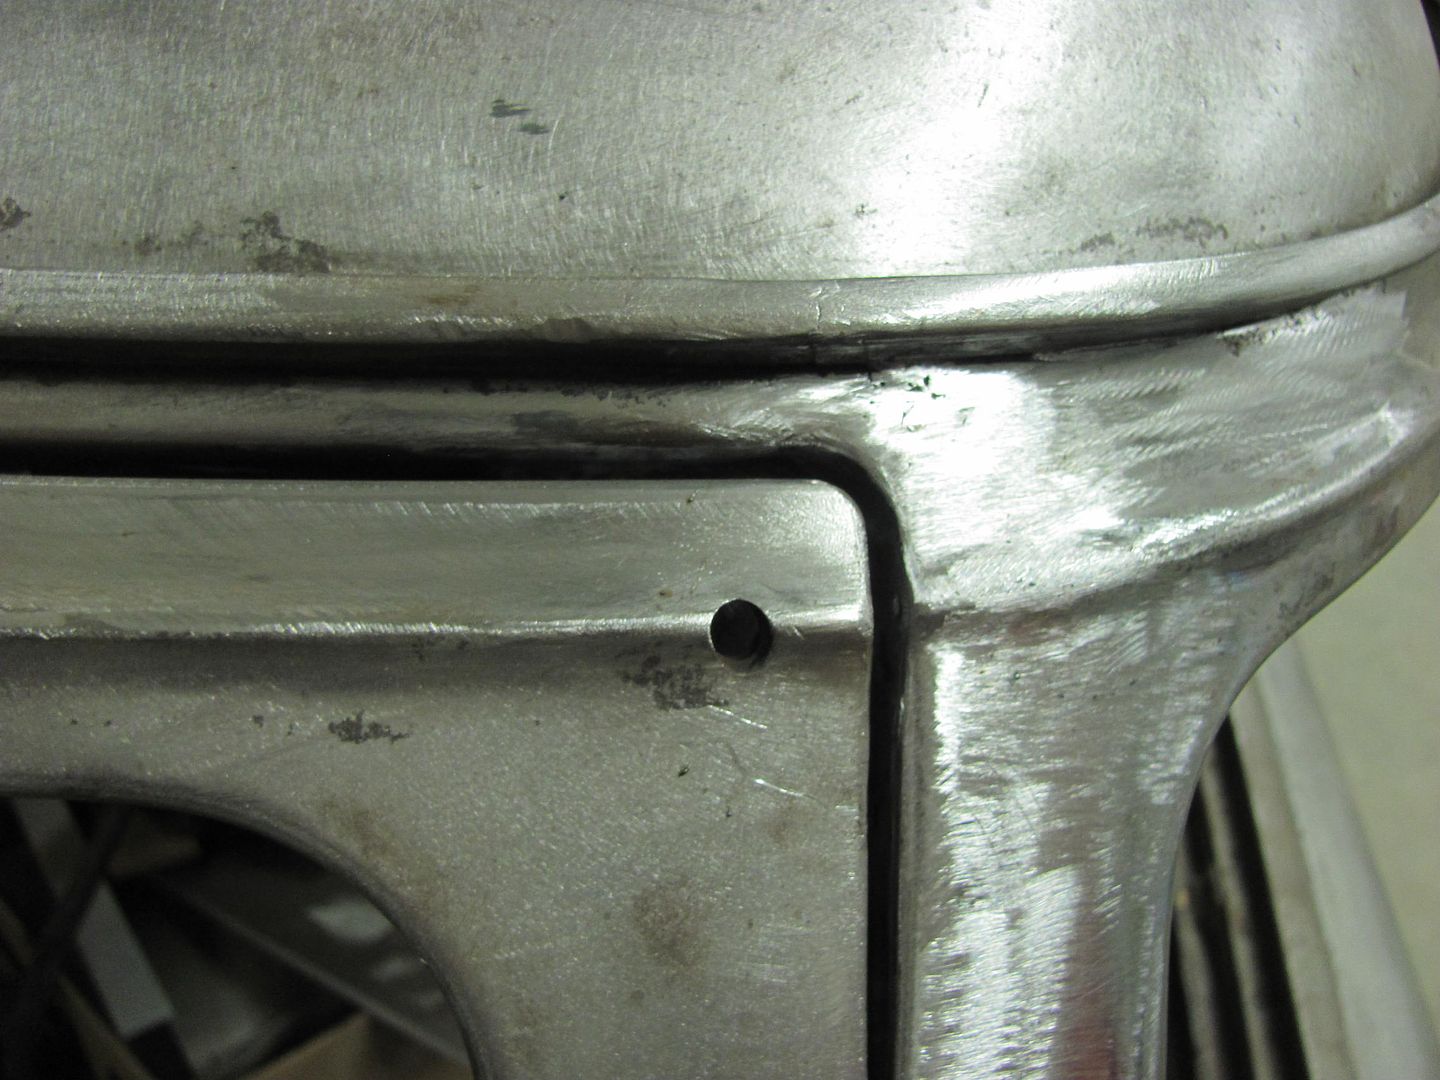
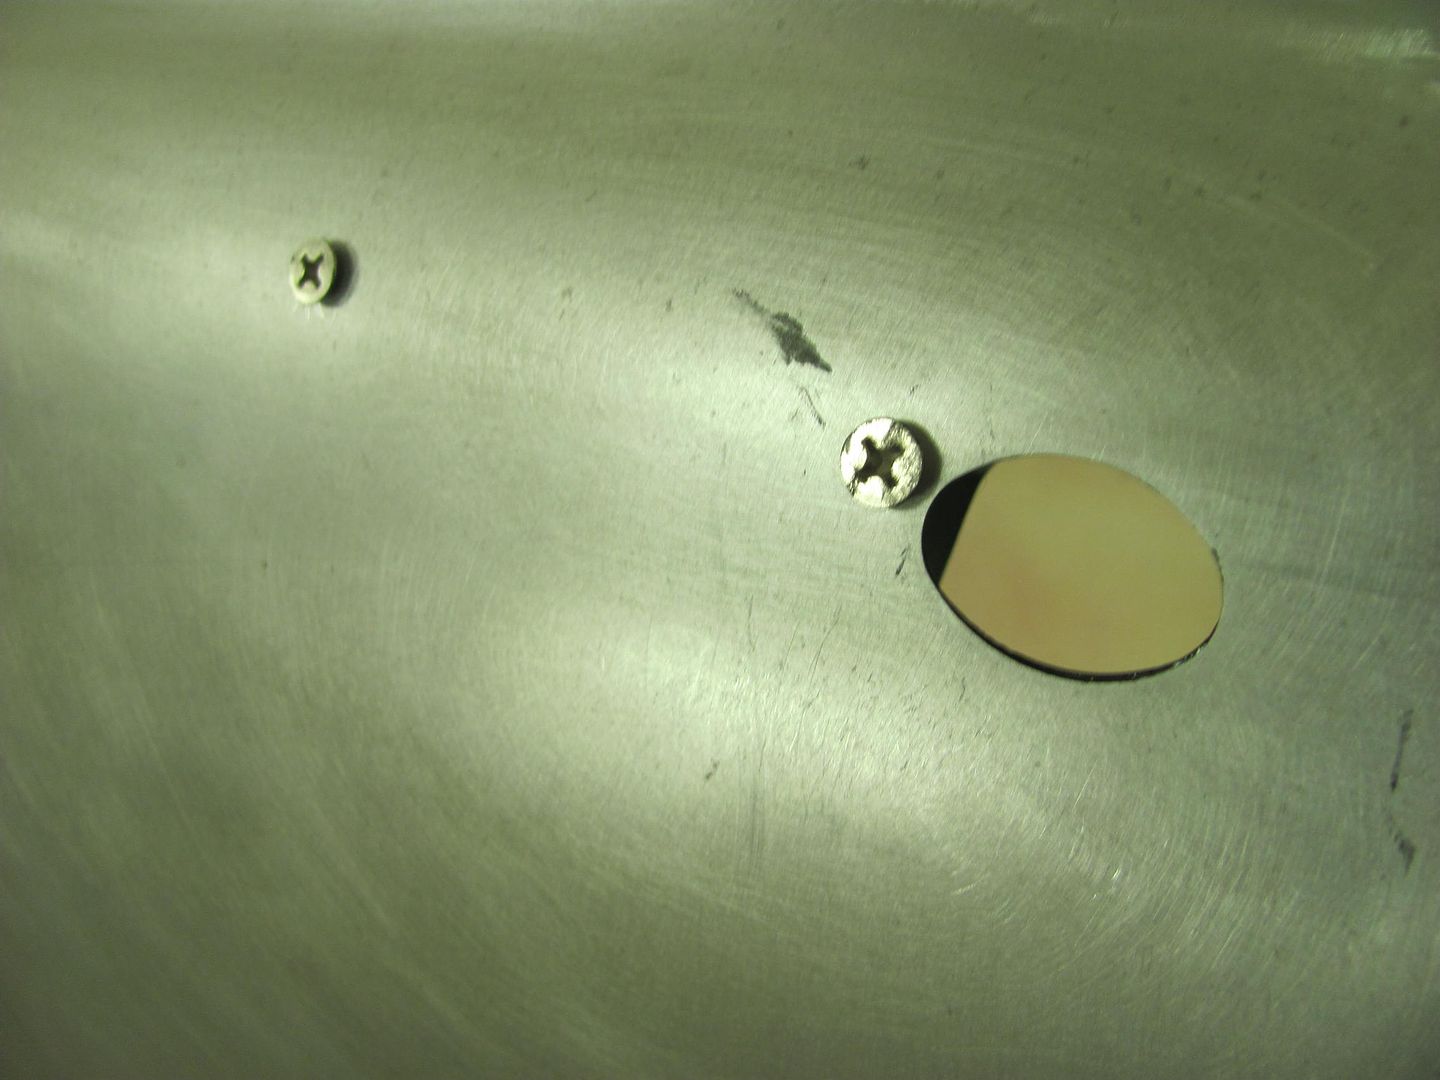
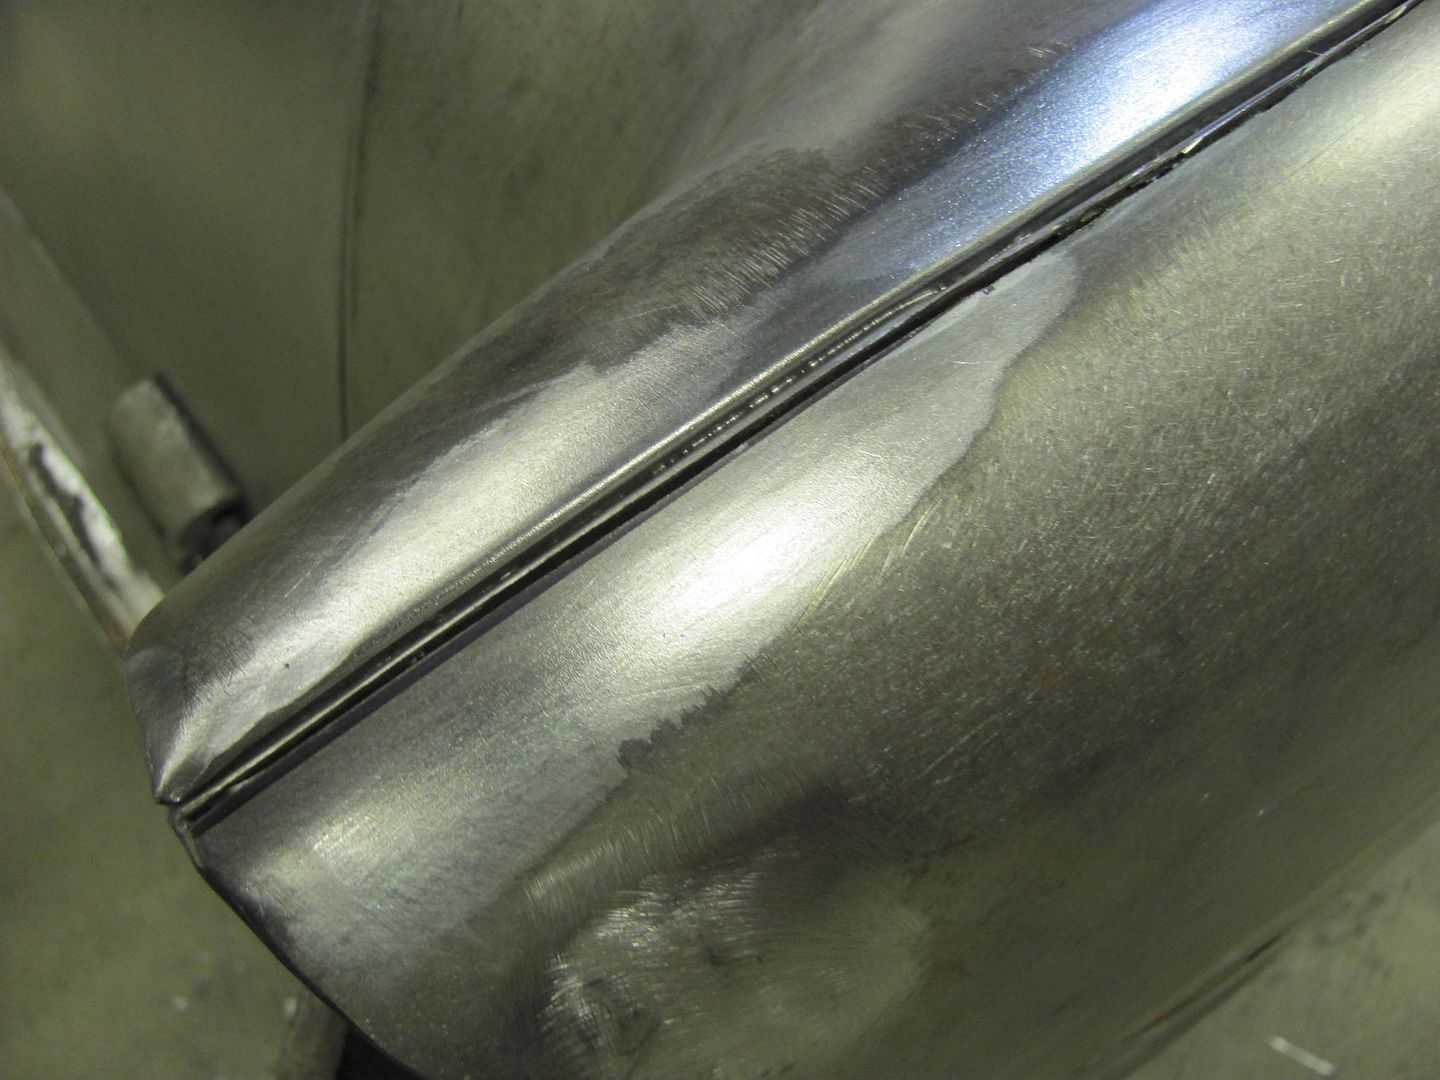
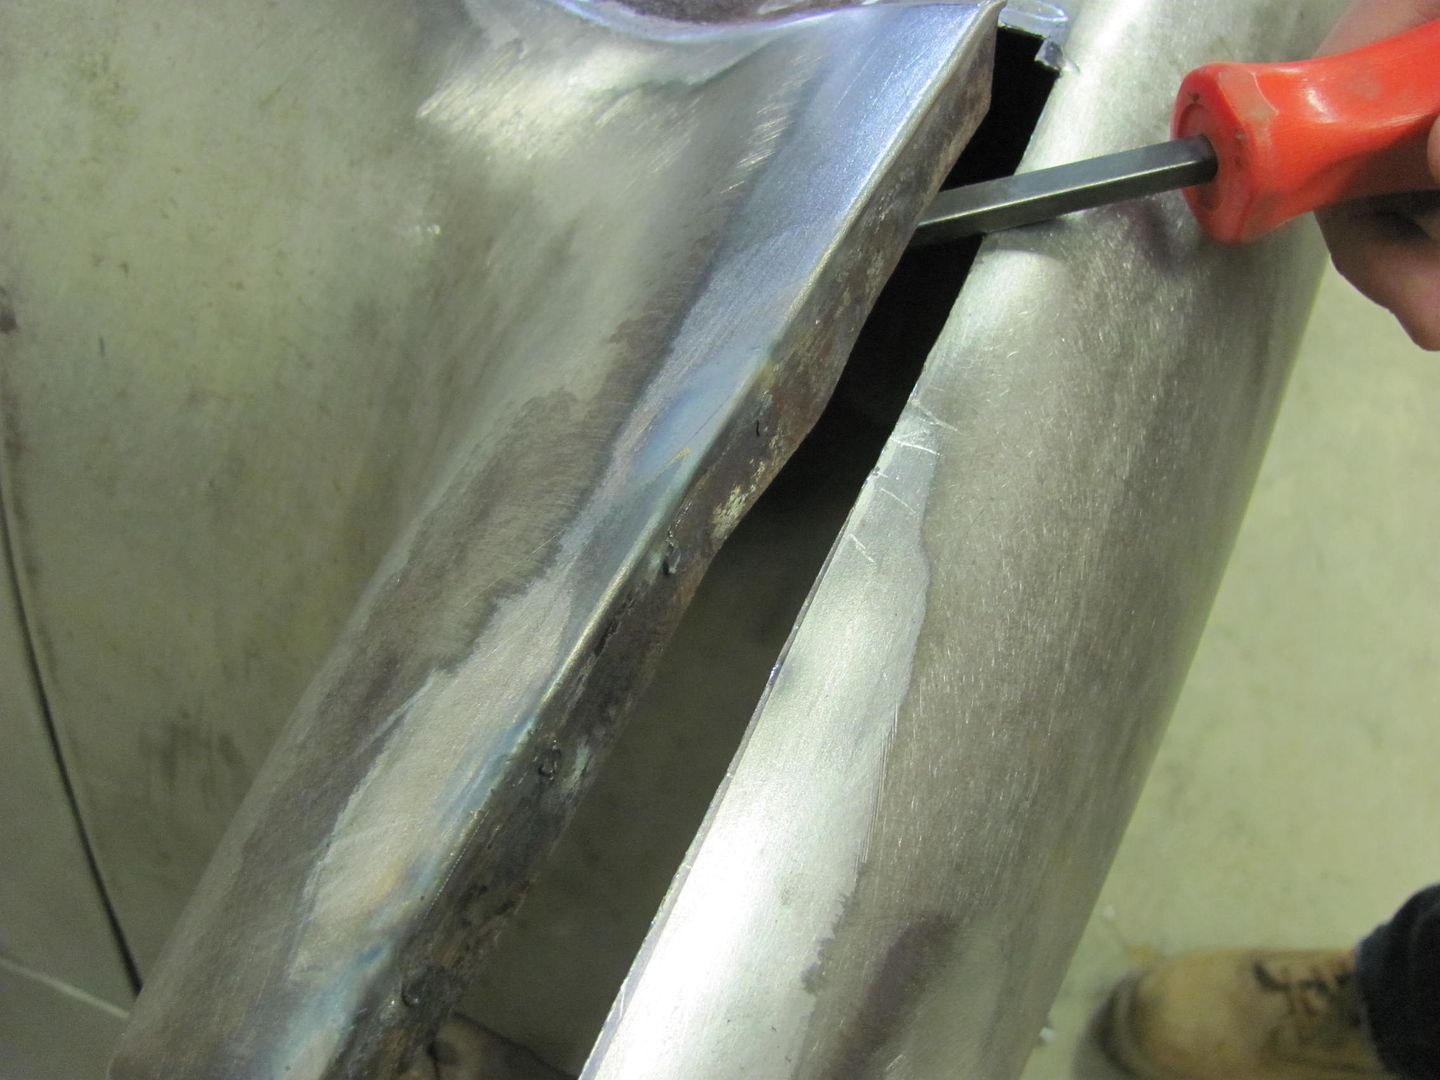
Next, we moved on to de-leading and shaving the last pinch weld seam at the back of the car. We've eliminated all of these to get rid of all the dirt/rust traps that we can...
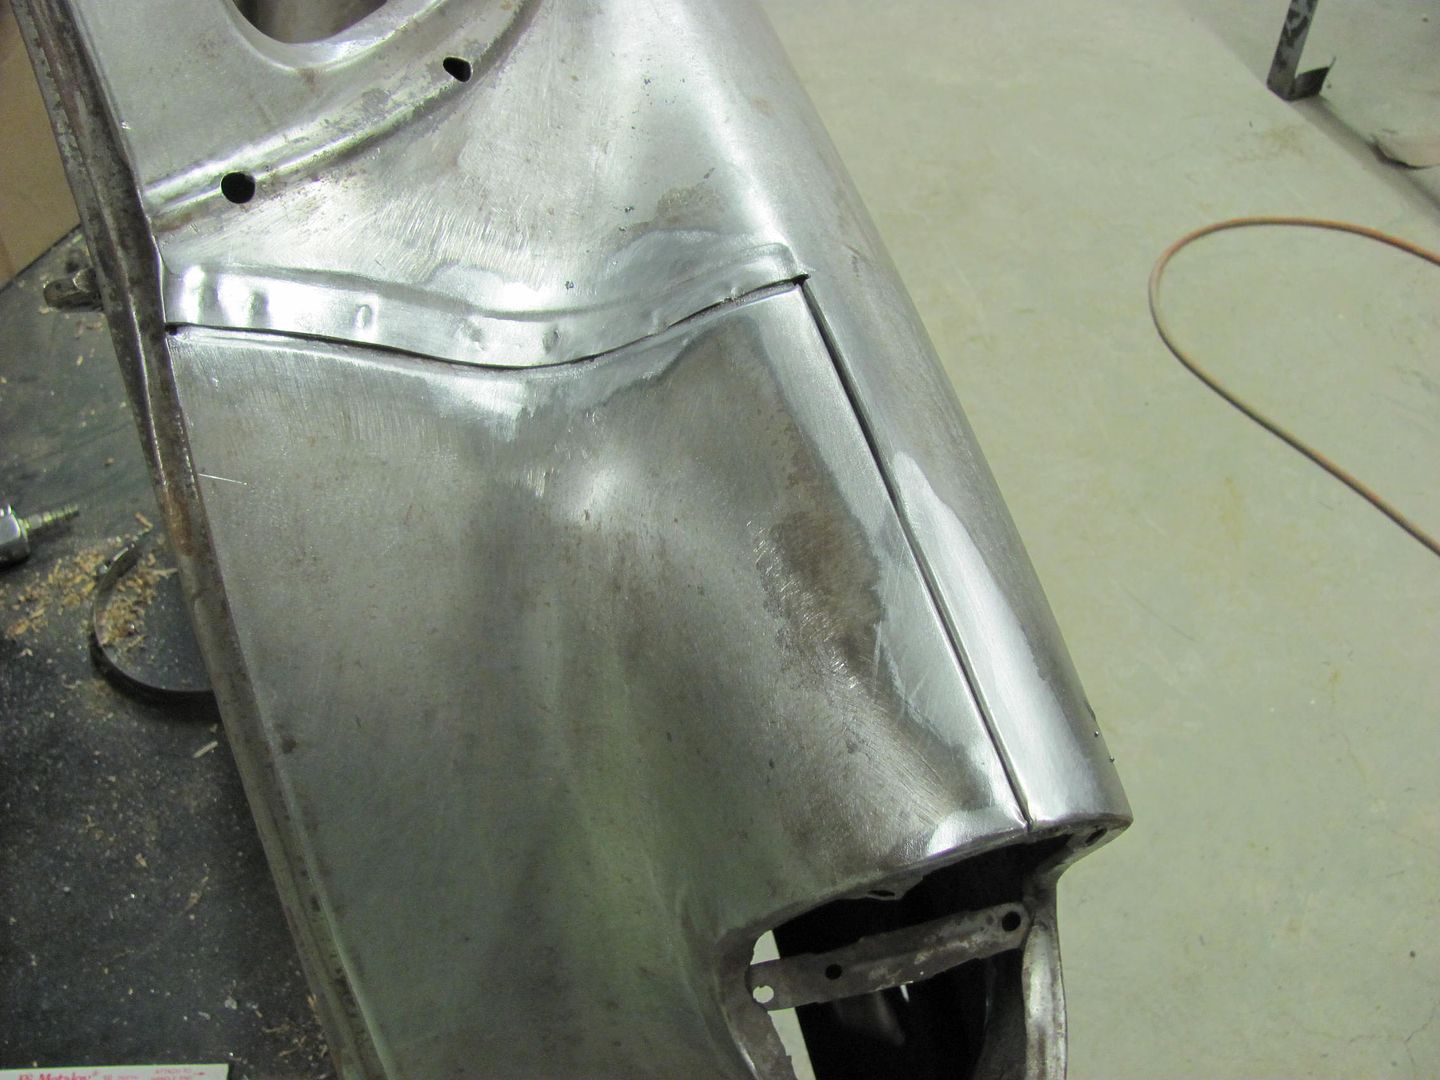
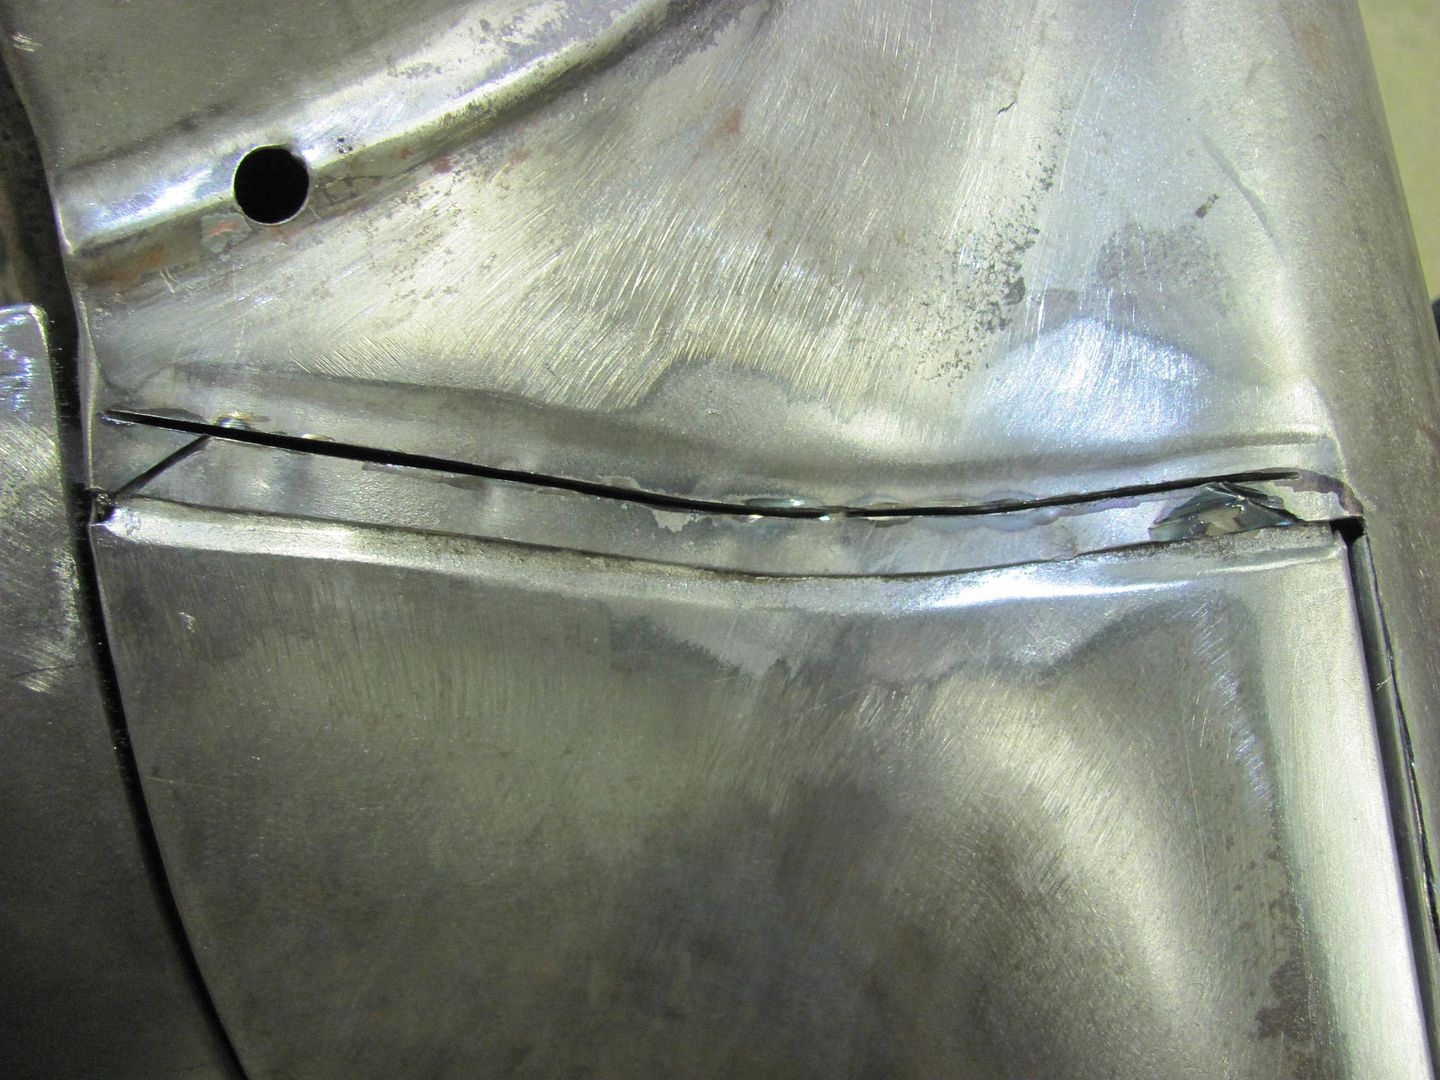
Removing the excess....

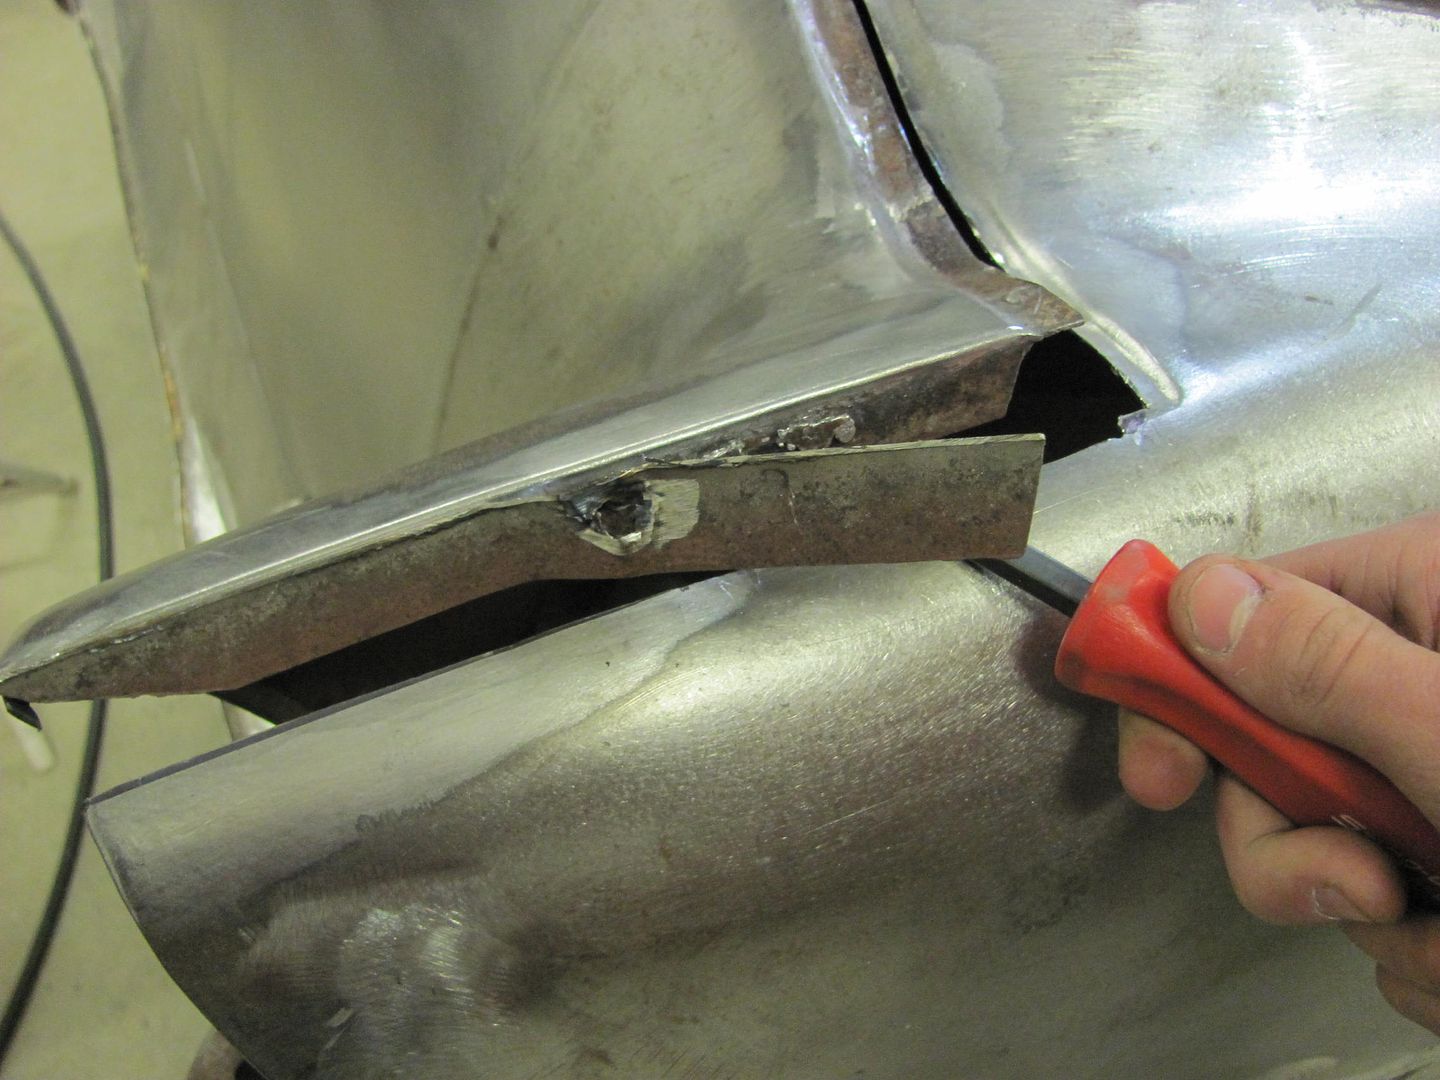
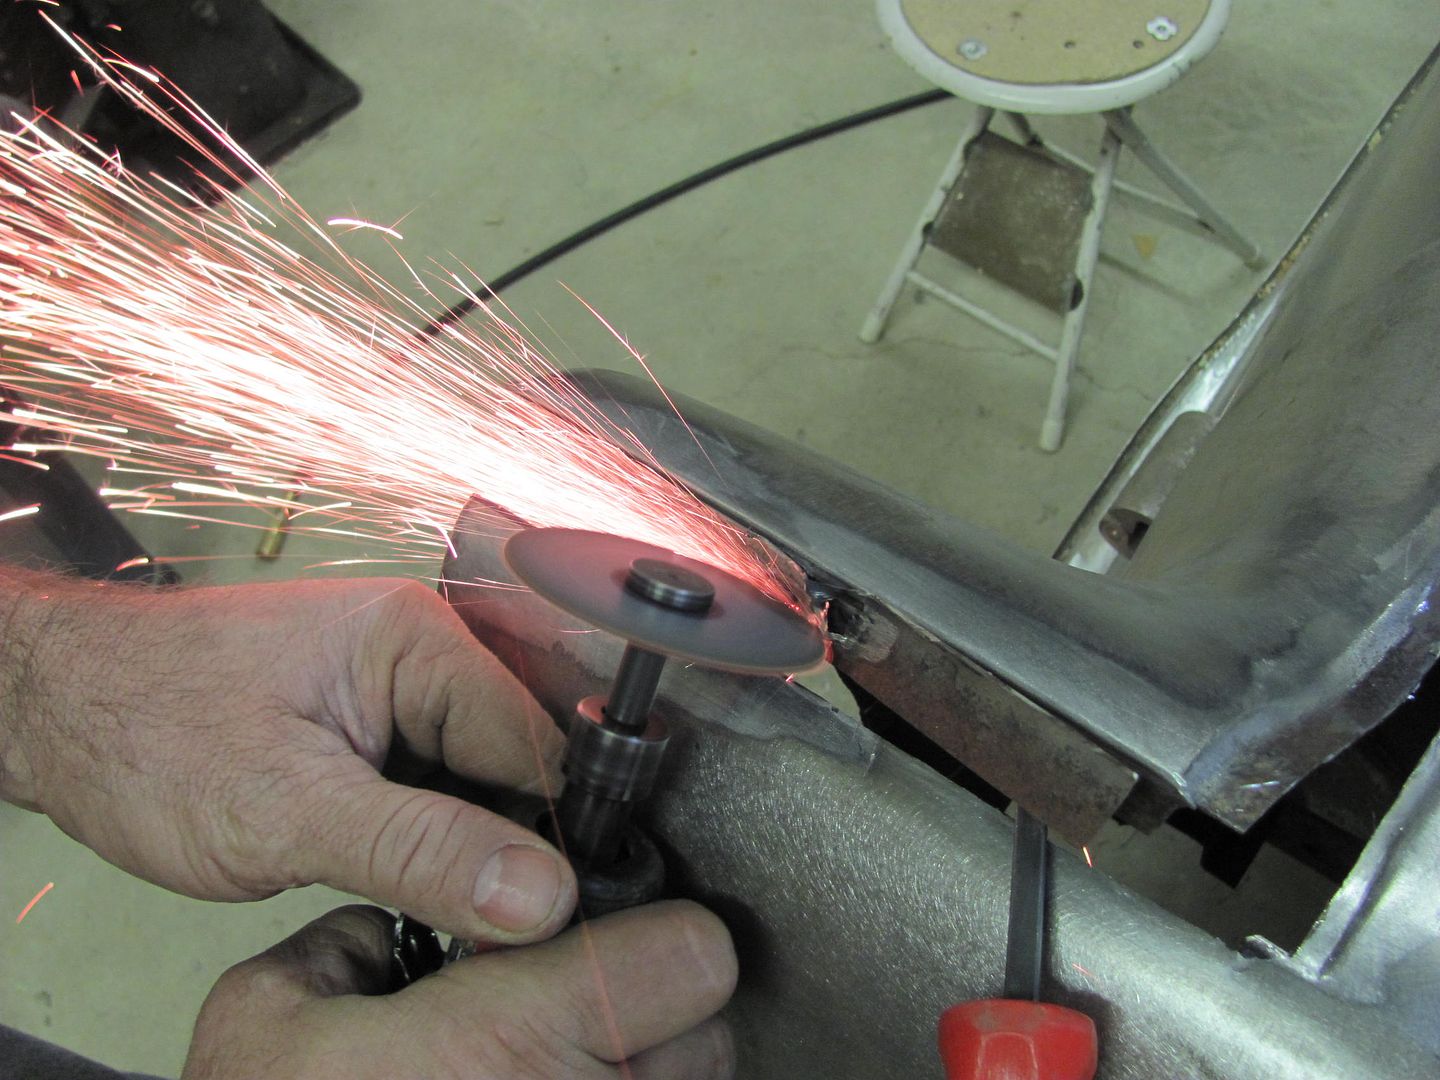
Getting some gap filler.....
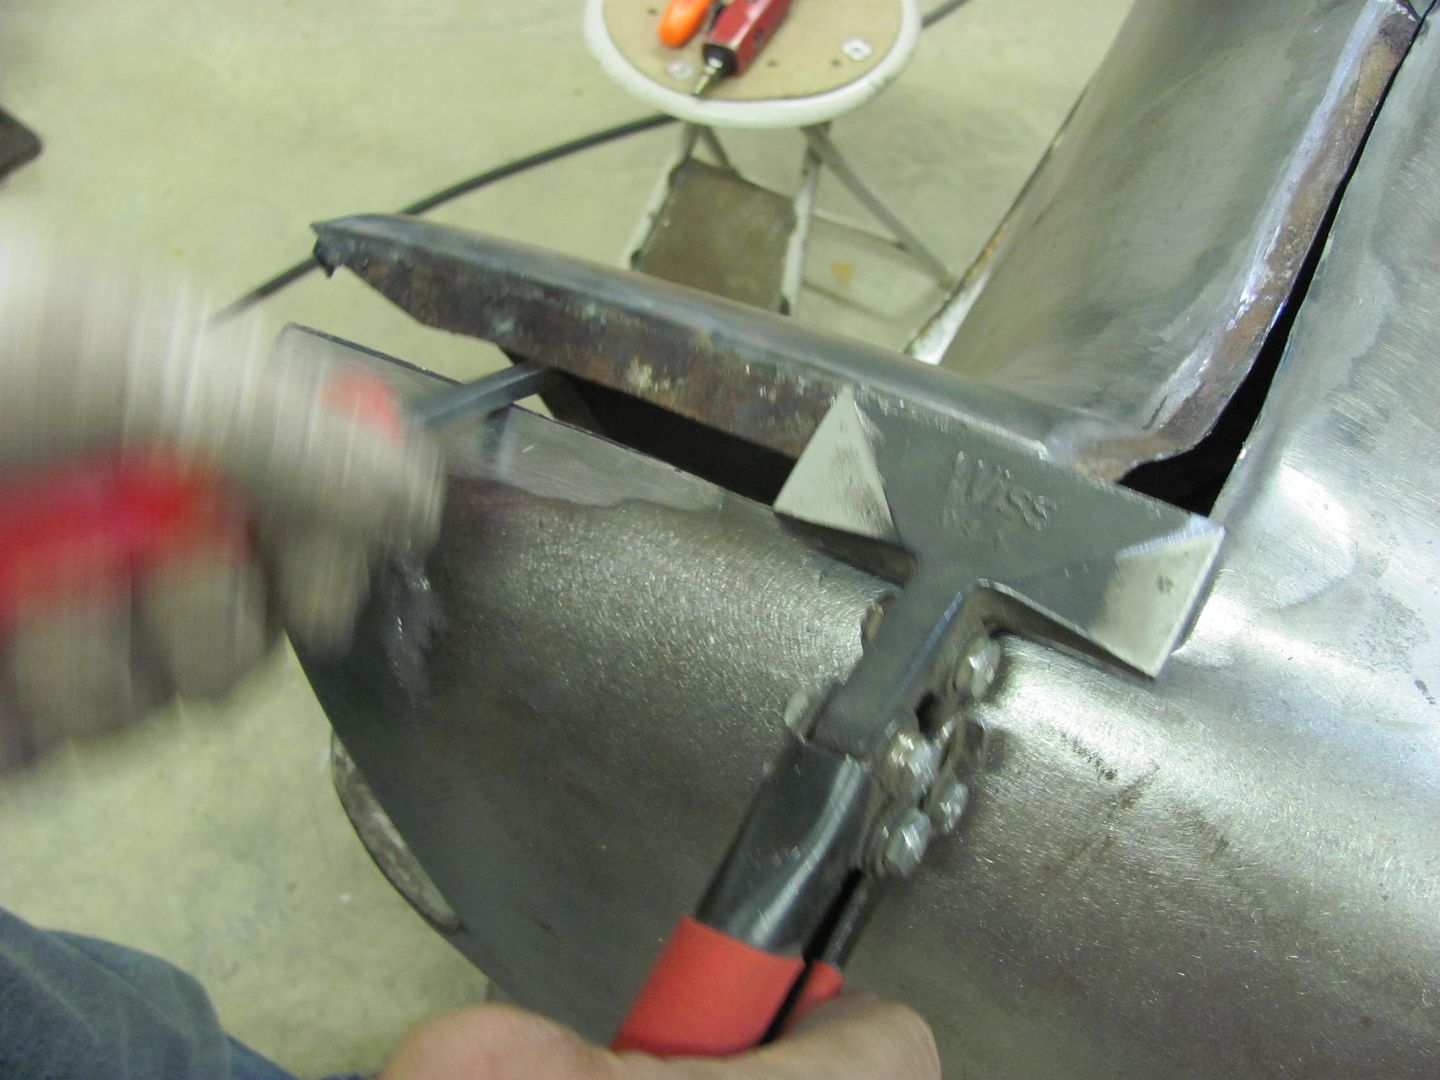
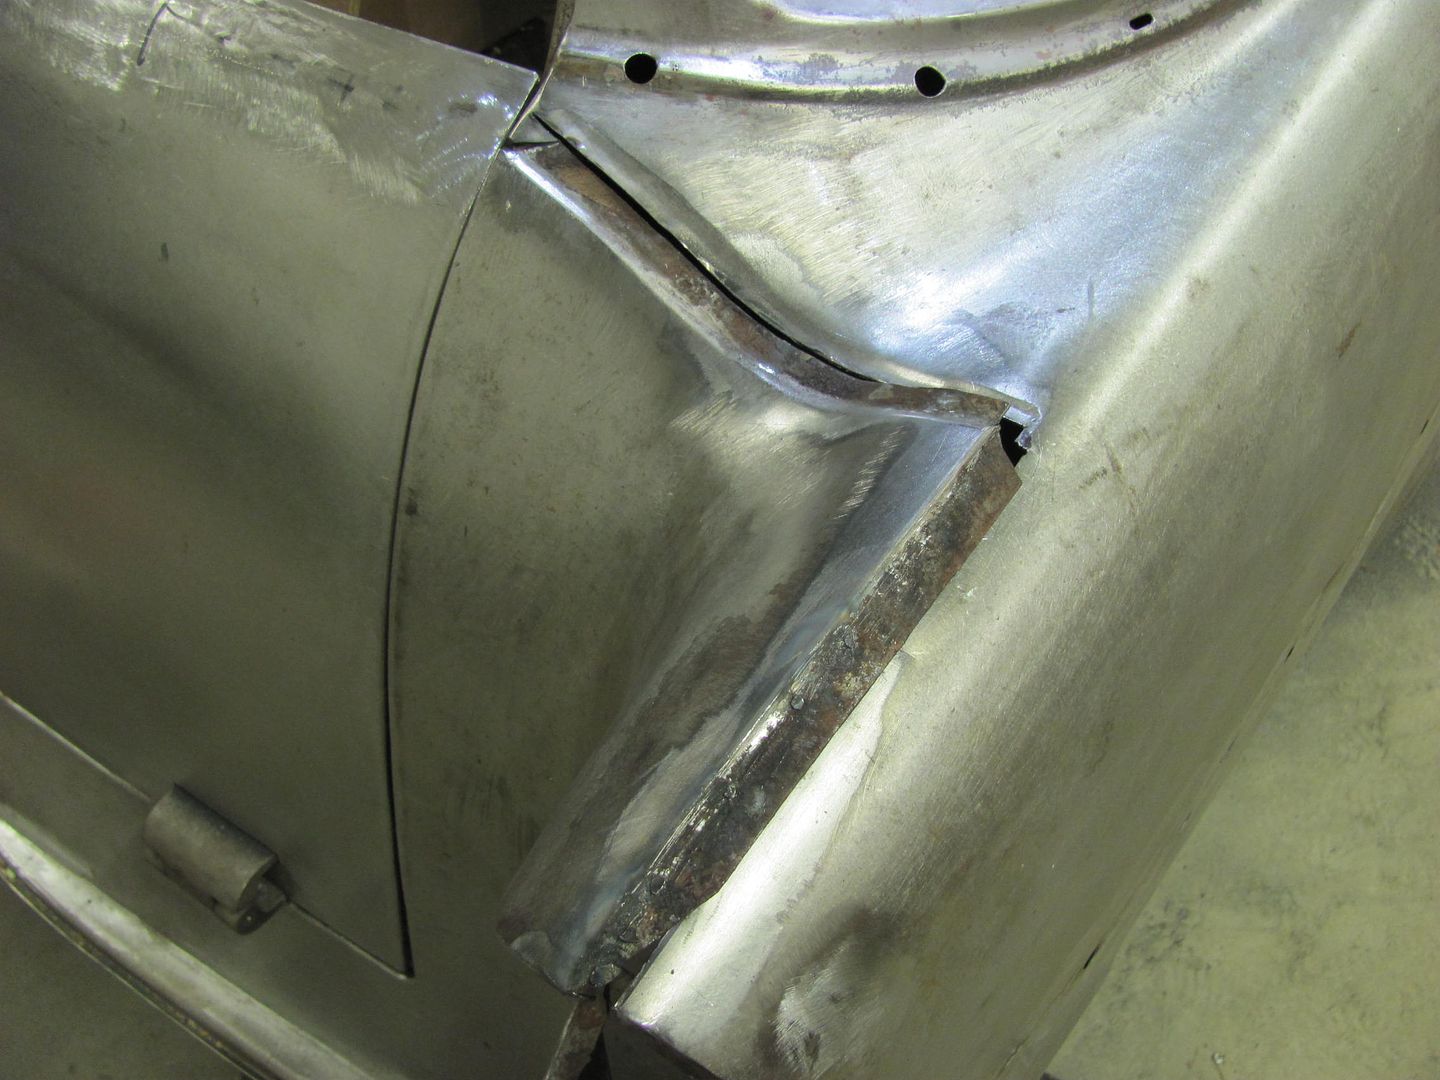
Flattening out the creases....
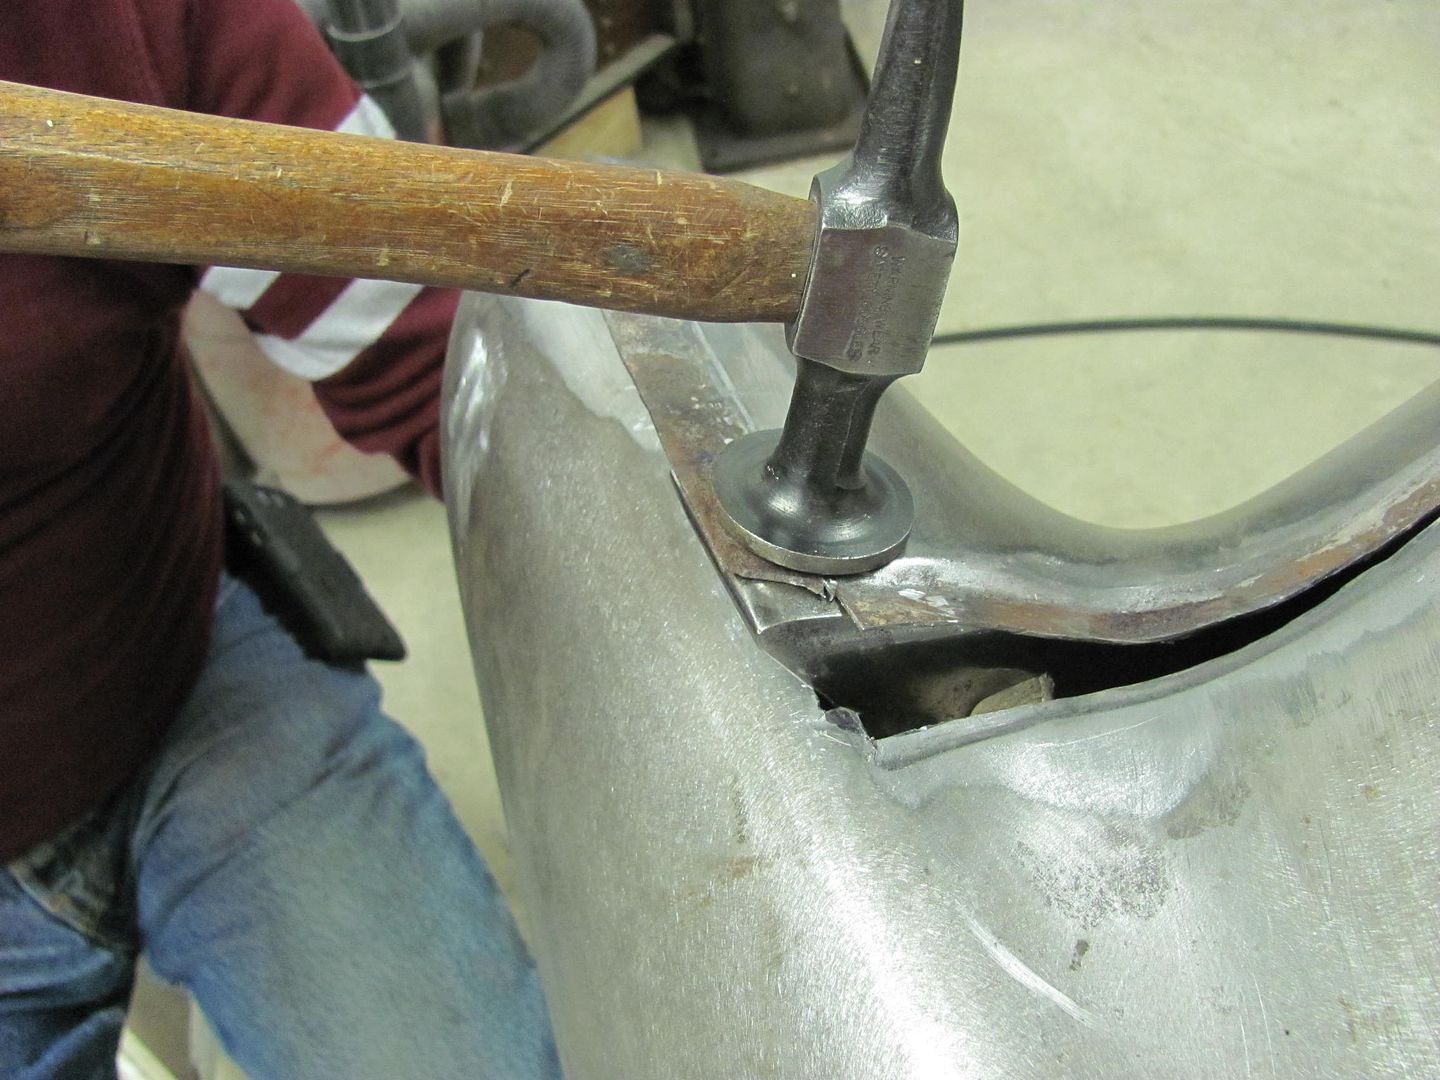
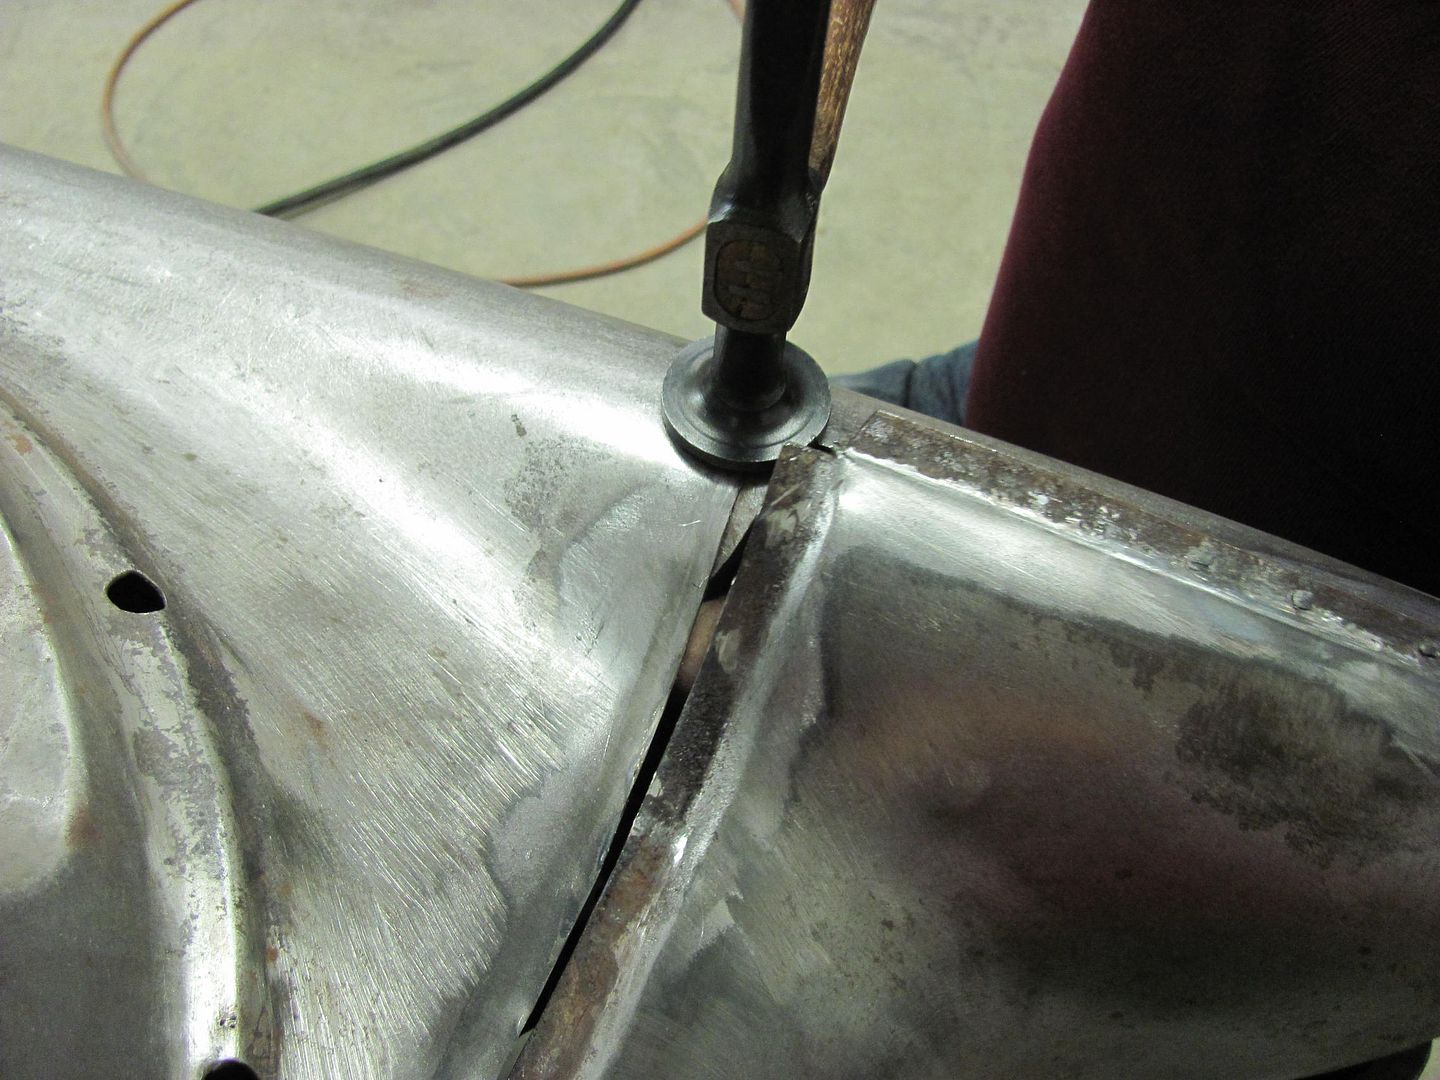
Tacked in place, and test fitting a tail light before trimming our gap filler....
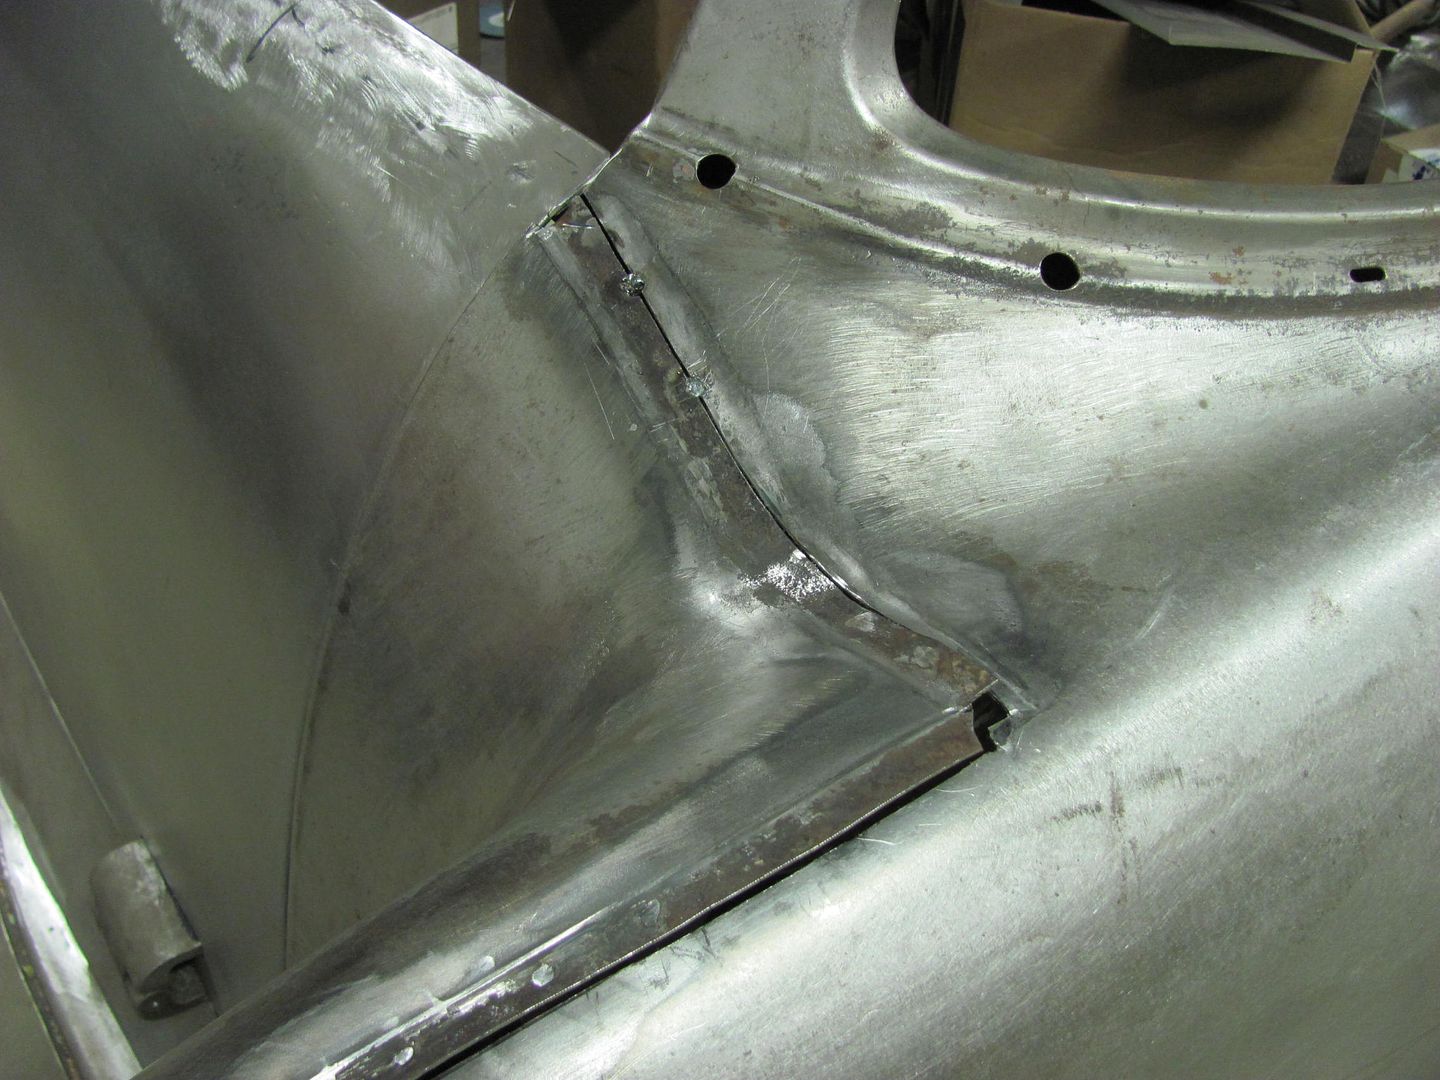
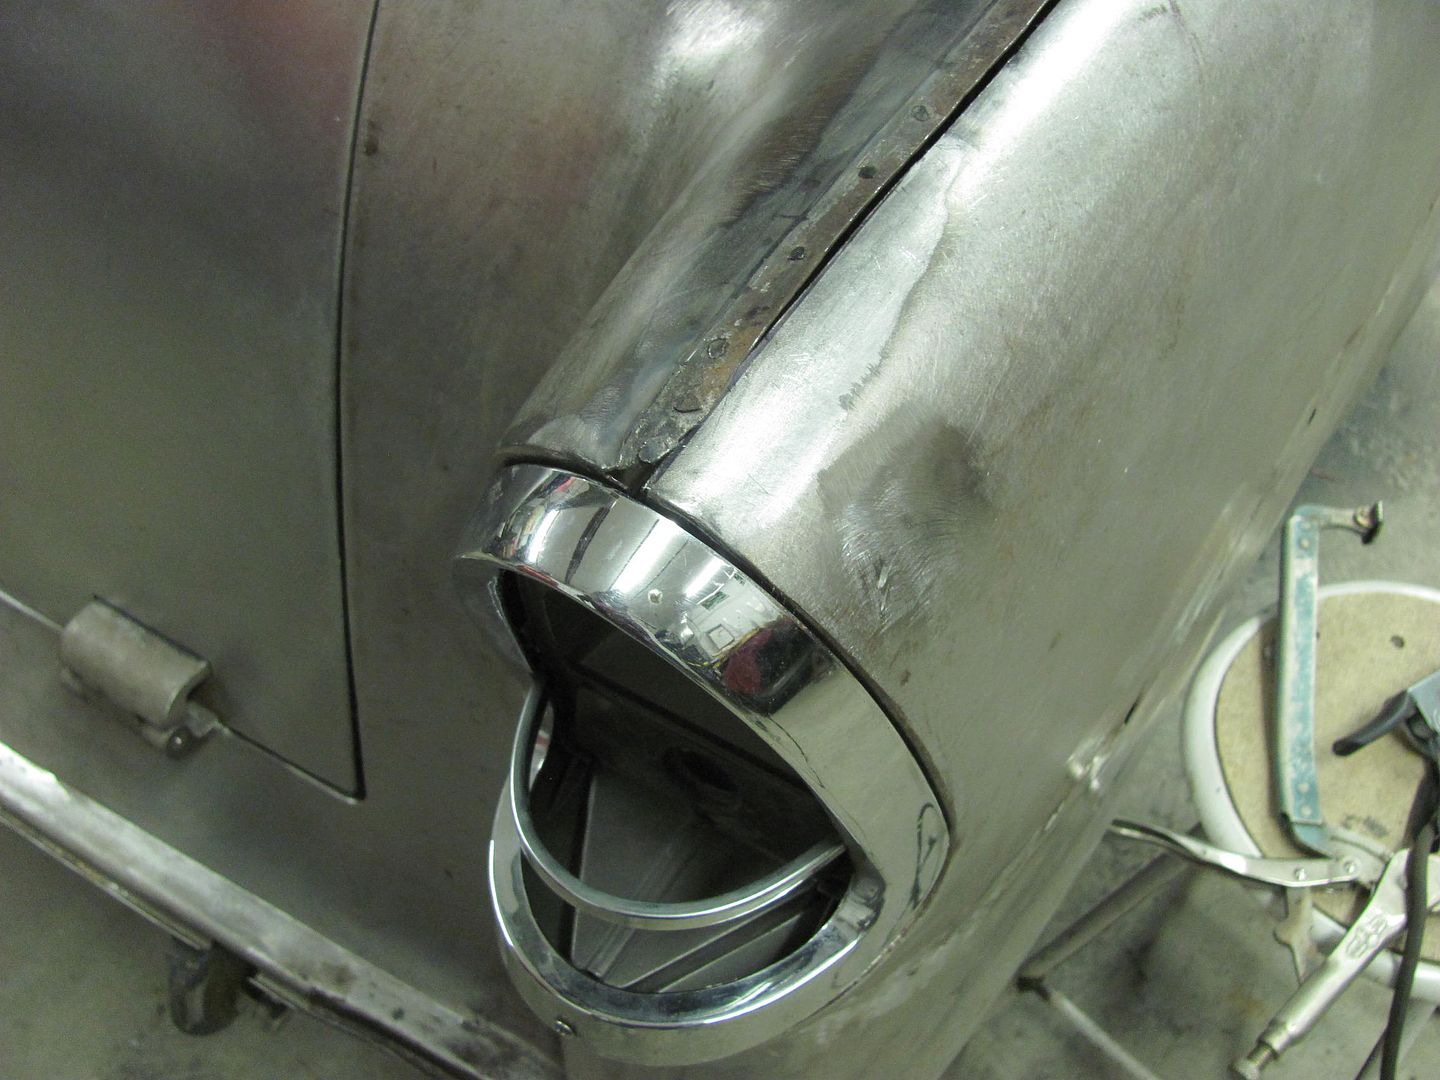
....and we'll get the rest of the de-leading finished on Saturday...Robert
-
01-21-2015 08:43 PM #413
CHR Member
- Join Date
- Apr 2011
- Location
- Prairie City
- Car Year, Make, Model: 40 Ford Deluxe, 68 Corvette, 72&76 K30
- Posts
- 7,301
- Blog Entries
- 1
Wow, that could have been a bad deal in a few years after it was painted.Ryan
1940 Ford Deluxe Tudor 354 Hemi 46RH Electric Blue w/multi-color flames, Ford 9" Residing in multiple pieces
1968 Corvette Coupe 5.9 Cummins Drag Car 11.43@130mph No stall leaving the line with 1250 rpm's and poor 2.2 60'
1972 Chevy K30 Longhorn P-pumped 24v Compound Turbos 47RH Just another money pit
1971 Camaro RS 5.3 BTR Stage 3 cam, SuperT10
Tire Sizes
-
01-25-2015 05:41 PM #414
CHR Member
- Join Date
- Jun 2008
- Location
- Leonardtown
- Car Year, Make, Model: Walking
- Posts
- 1,228
Sorry I'm a little late posting the progress from yesterday.. We were supposed to finish up the passenger rear quarter, but looks like some reproduction tail light bezels are on the way. So just to be on the safe side, we'll post pone that so any final fitment will be to those parts once they get here... In the meantime, we got the primed body parts re-assembled yesterday, here installing the doors.....
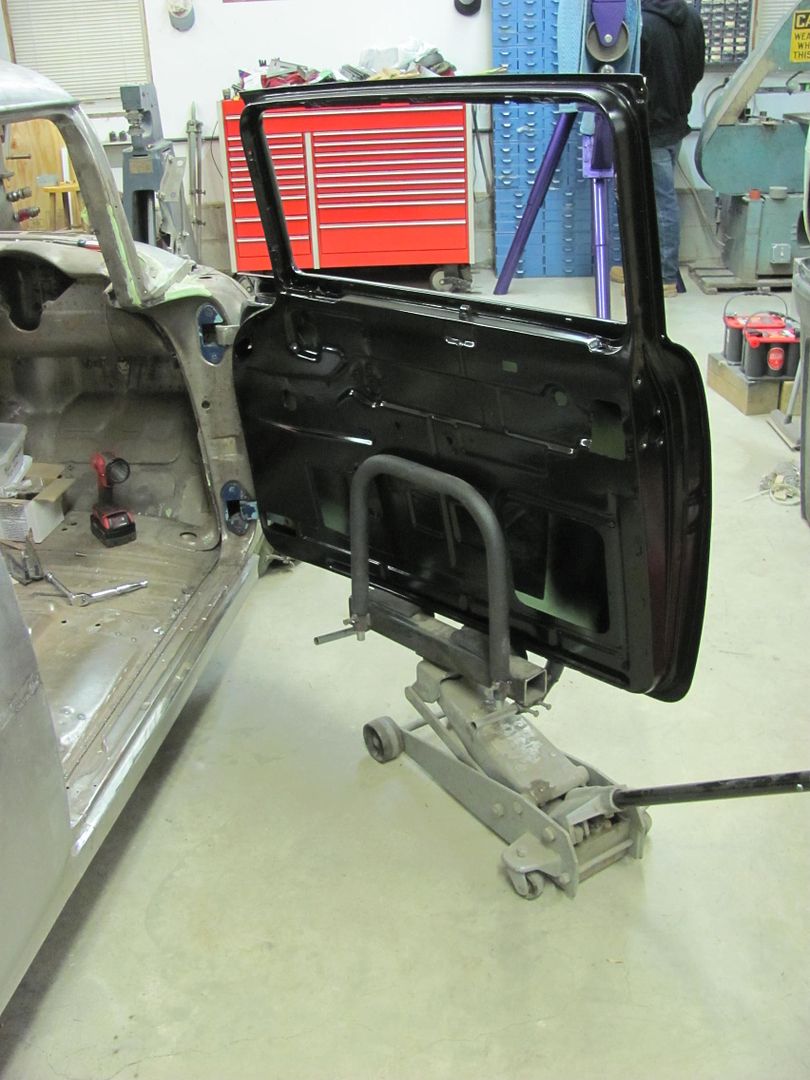
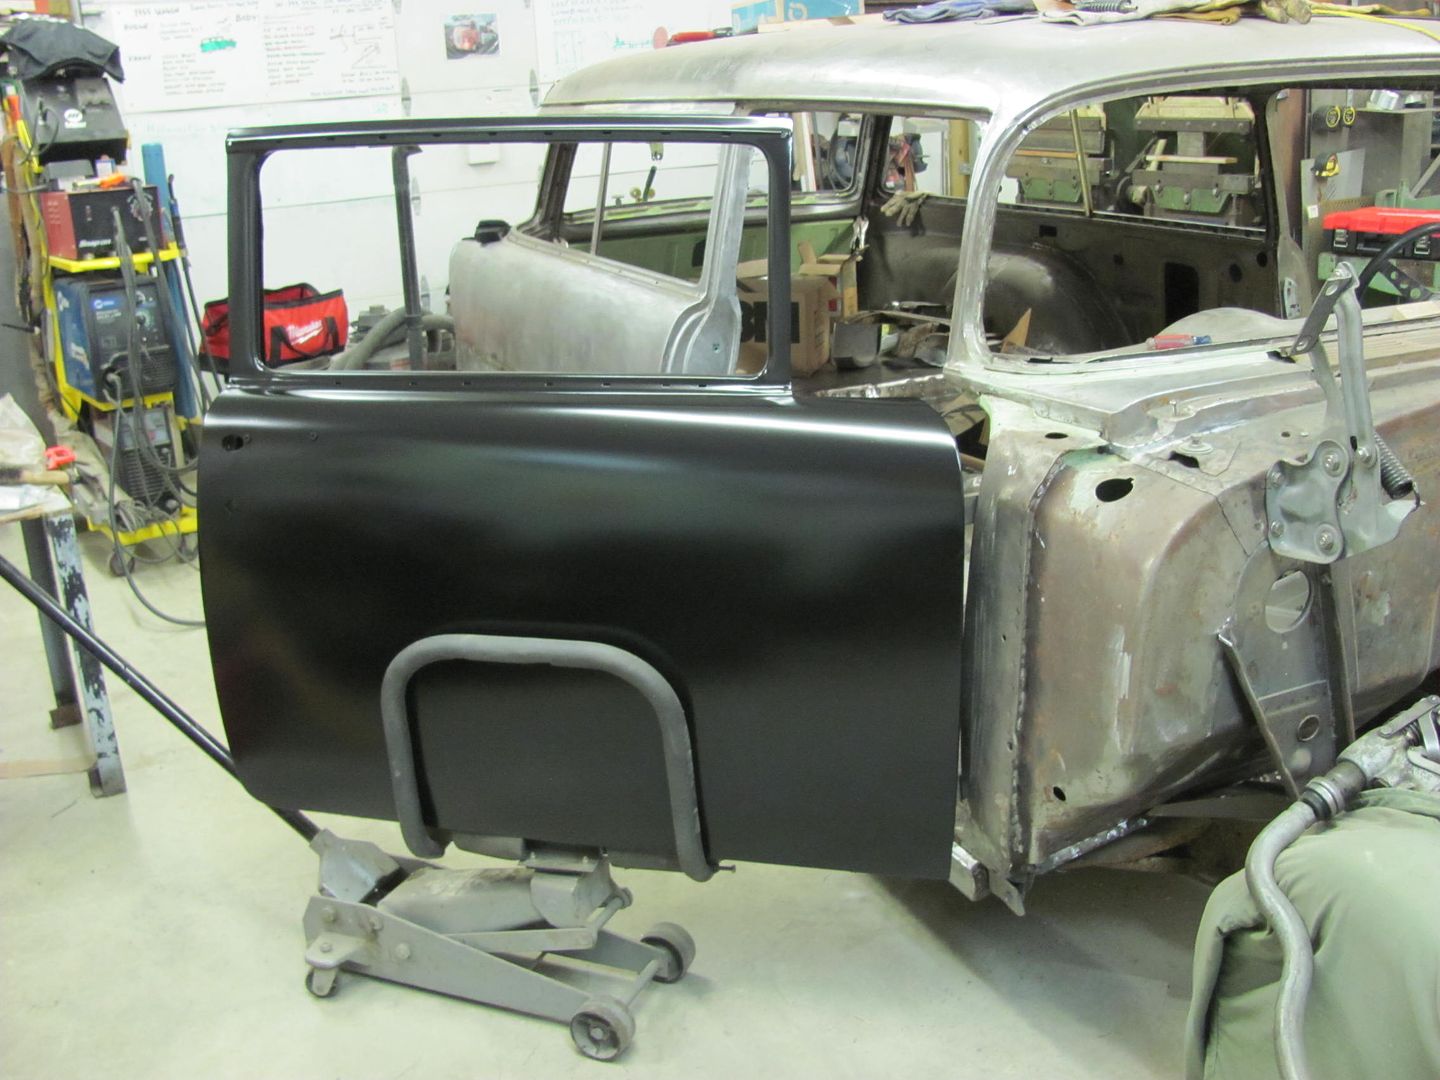
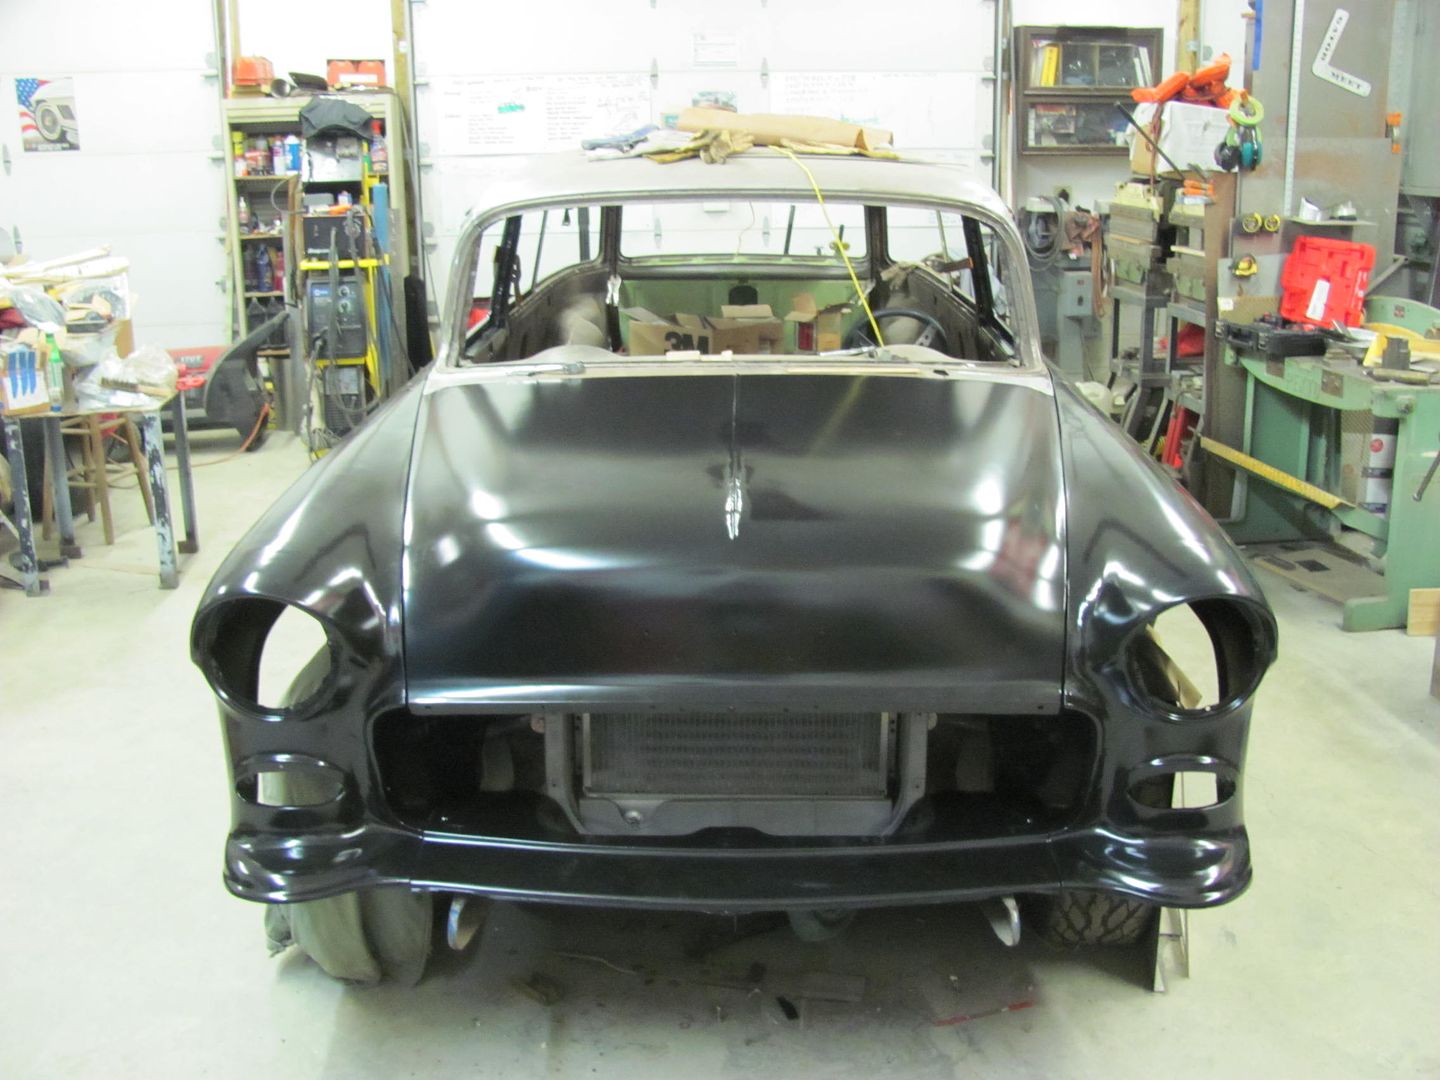
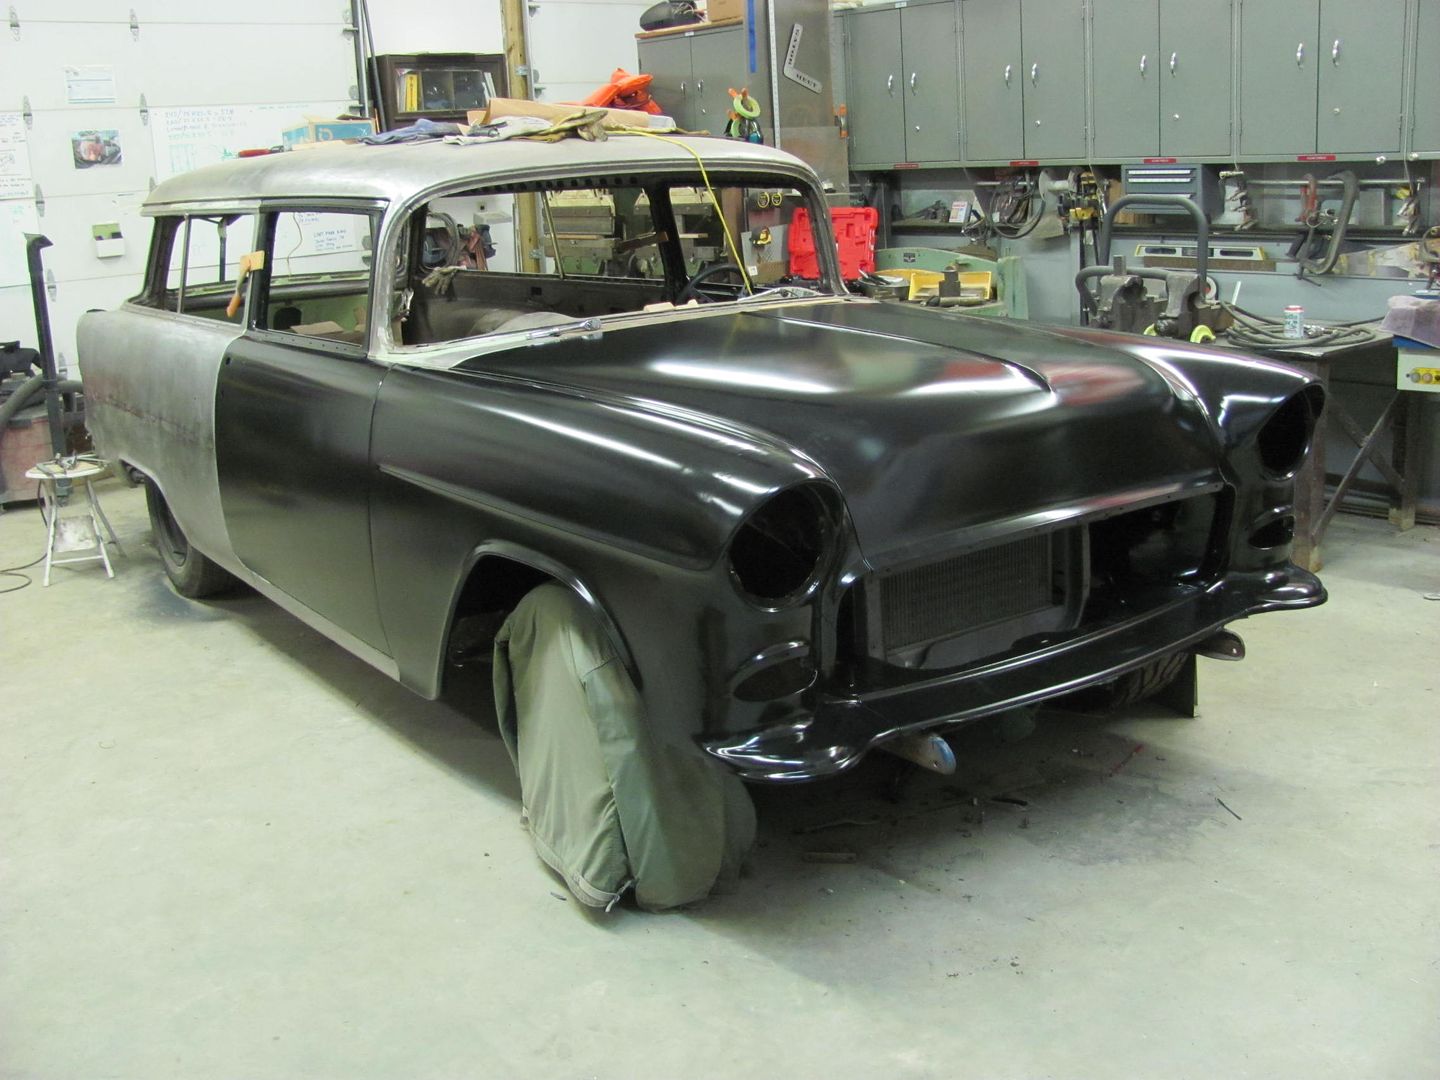

The SPI epoxy does a good job of providing it's own "guide coat". I blocked this with 180 grit...
Here's some of the low spots filled with some evercoat...
While I was block sanding, Kyle started modifying the hold down bracket for the battery. The post cutouts were on catty corner and didn't match todays battery posts. We had test fit the bracket on a 24F series Interstate today at Big Ed's Tires. Here's the filler piece....
Shown here is the new location...
Filler welded in place, and the new relief cut out...
One down, one to go...Robert
-
01-28-2015 09:03 AM #415
CHR Member
- Join Date
- Jun 2008
- Location
- Leonardtown
- Car Year, Make, Model: Walking
- Posts
- 1,228
I've had guys ask what primer I was using and then why the switch to SPI, here's a home-brewed video (not mine) of a torture test on some panels sprayed with SPI... Pretty tough stuff...
https://www.youtube.com/watch?v=-yA8q4K-_Bo
.Robert
-
01-28-2015 10:47 AM #416
CHR Member
- Join Date
- Oct 2007
- Location
- Petaluma
- Car Year, Make, Model: 48 Ford F1
- Posts
- 9,795
Wow! The hammer test got my attention. I might have to try that with my Summit epoxy primer using various rust treatments and washing prep! Cool!" "No matter where you go, there you are!" Steve.
-
01-28-2015 10:56 AM #417
CHR Member
- Join Date
- Jun 2008
- Location
- Leonardtown
- Car Year, Make, Model: Walking
- Posts
- 1,228
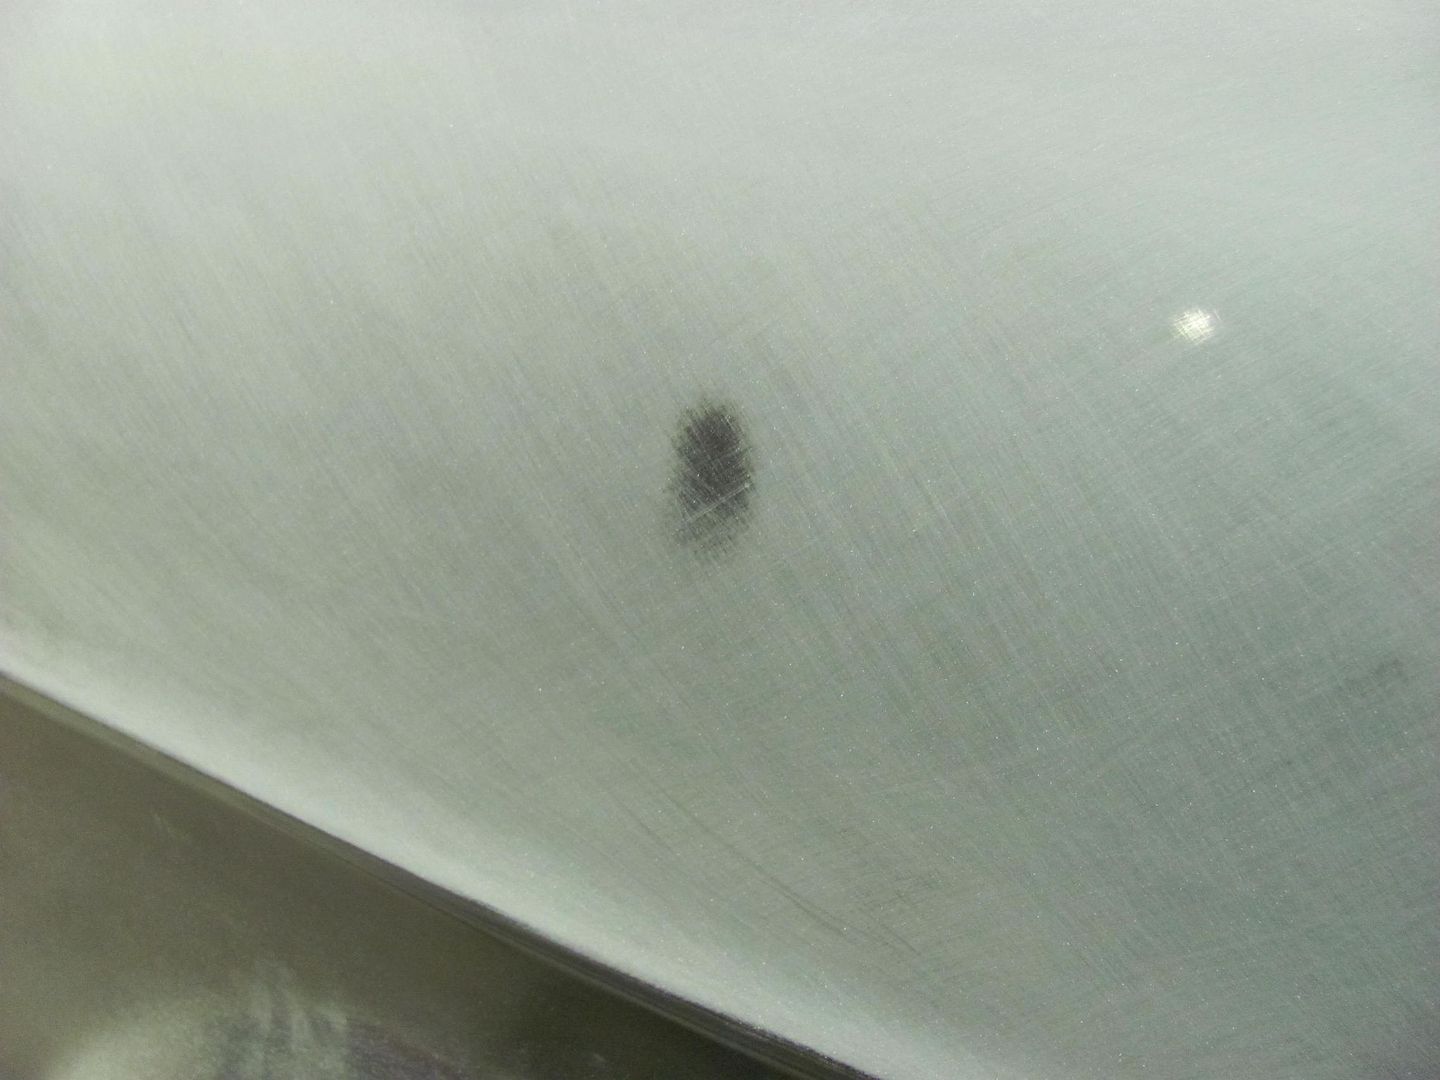
Now take that info and a small ding like this:
.......a crowned hammer and donut dolly or small shot bag and you can get most if not all of the ding bumped out, resand, and move to the next issue.Robert
-
01-28-2015 08:59 PM #418
CHR Member
- Join Date
- Jun 2008
- Location
- Leonardtown
- Car Year, Make, Model: Walking
- Posts
- 1,228
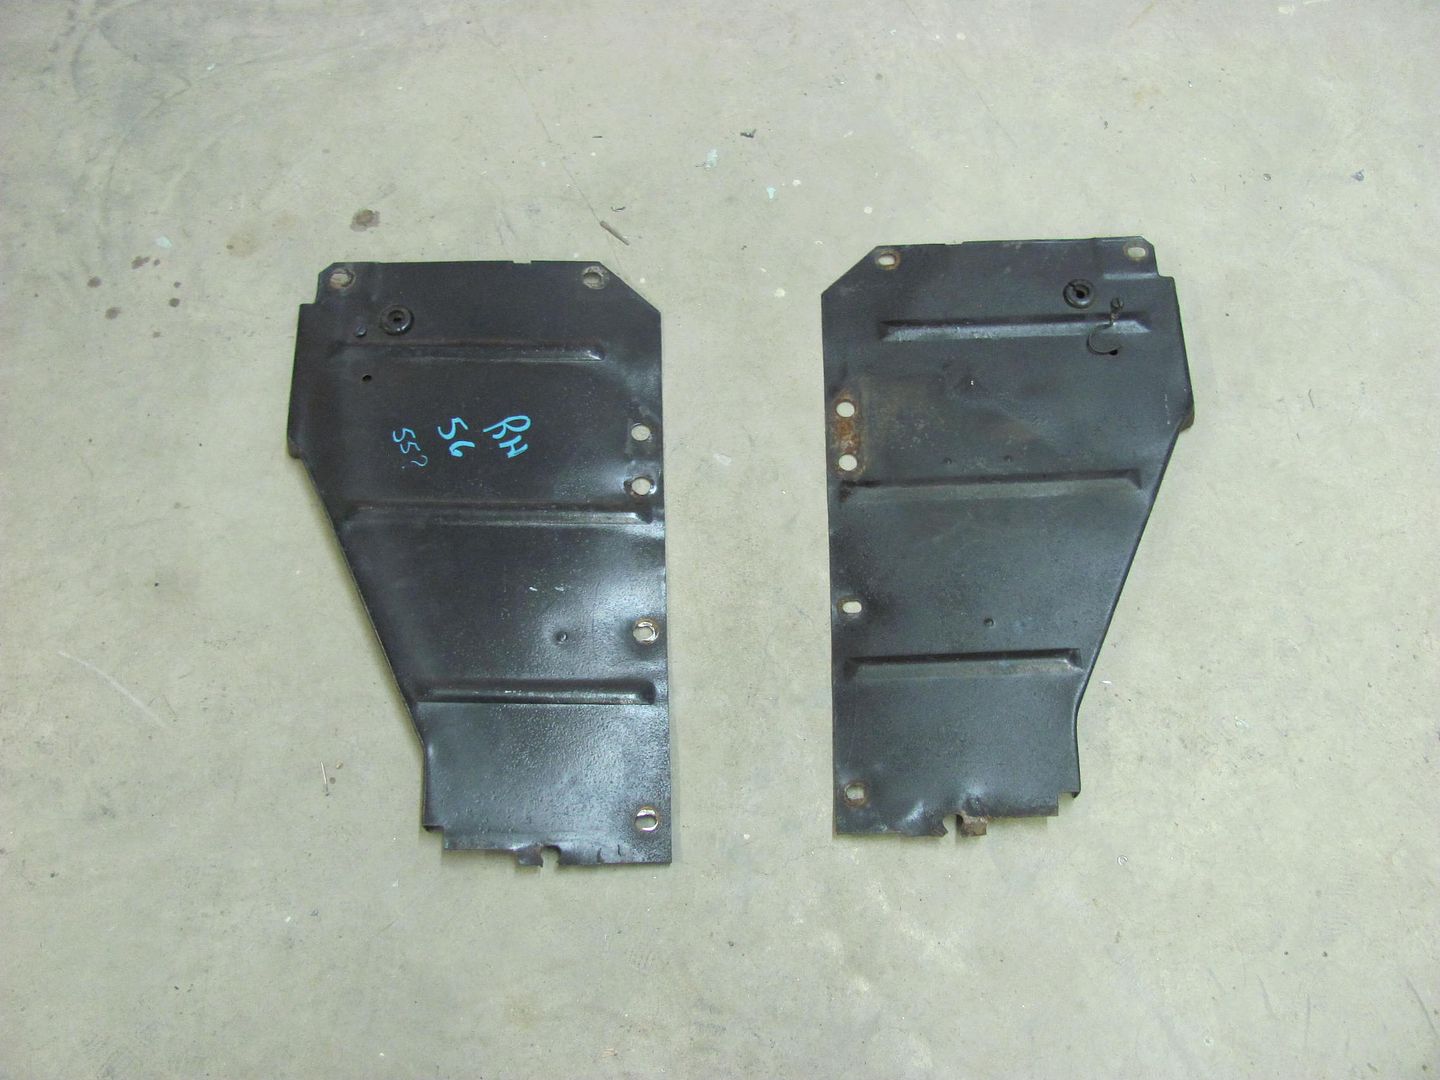
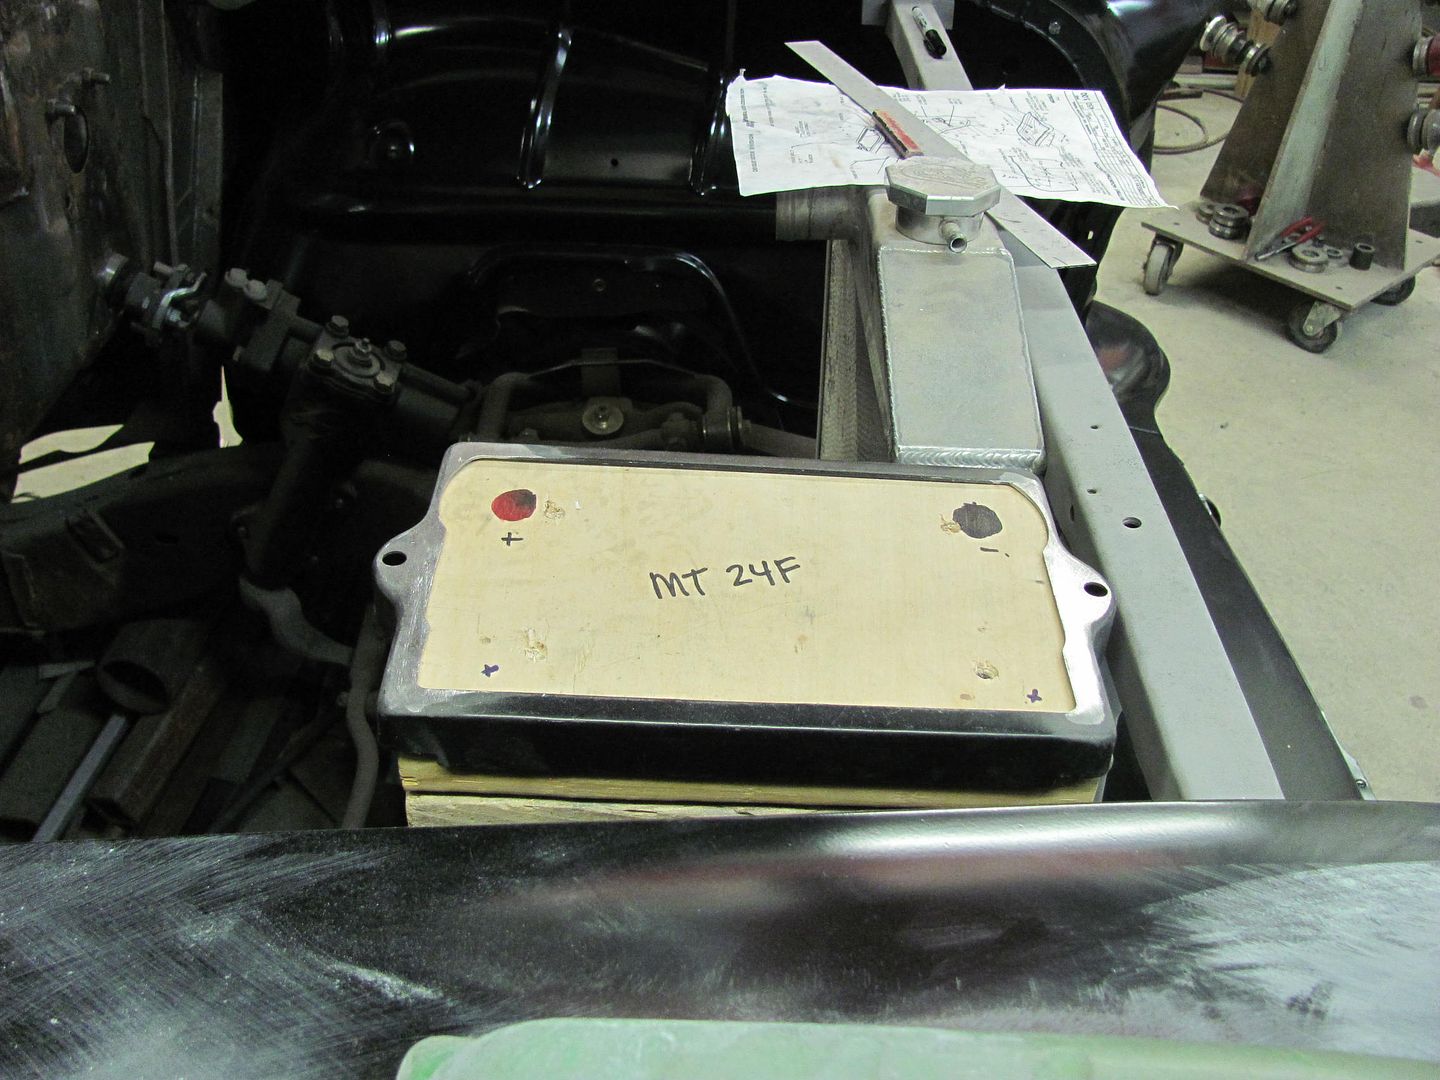
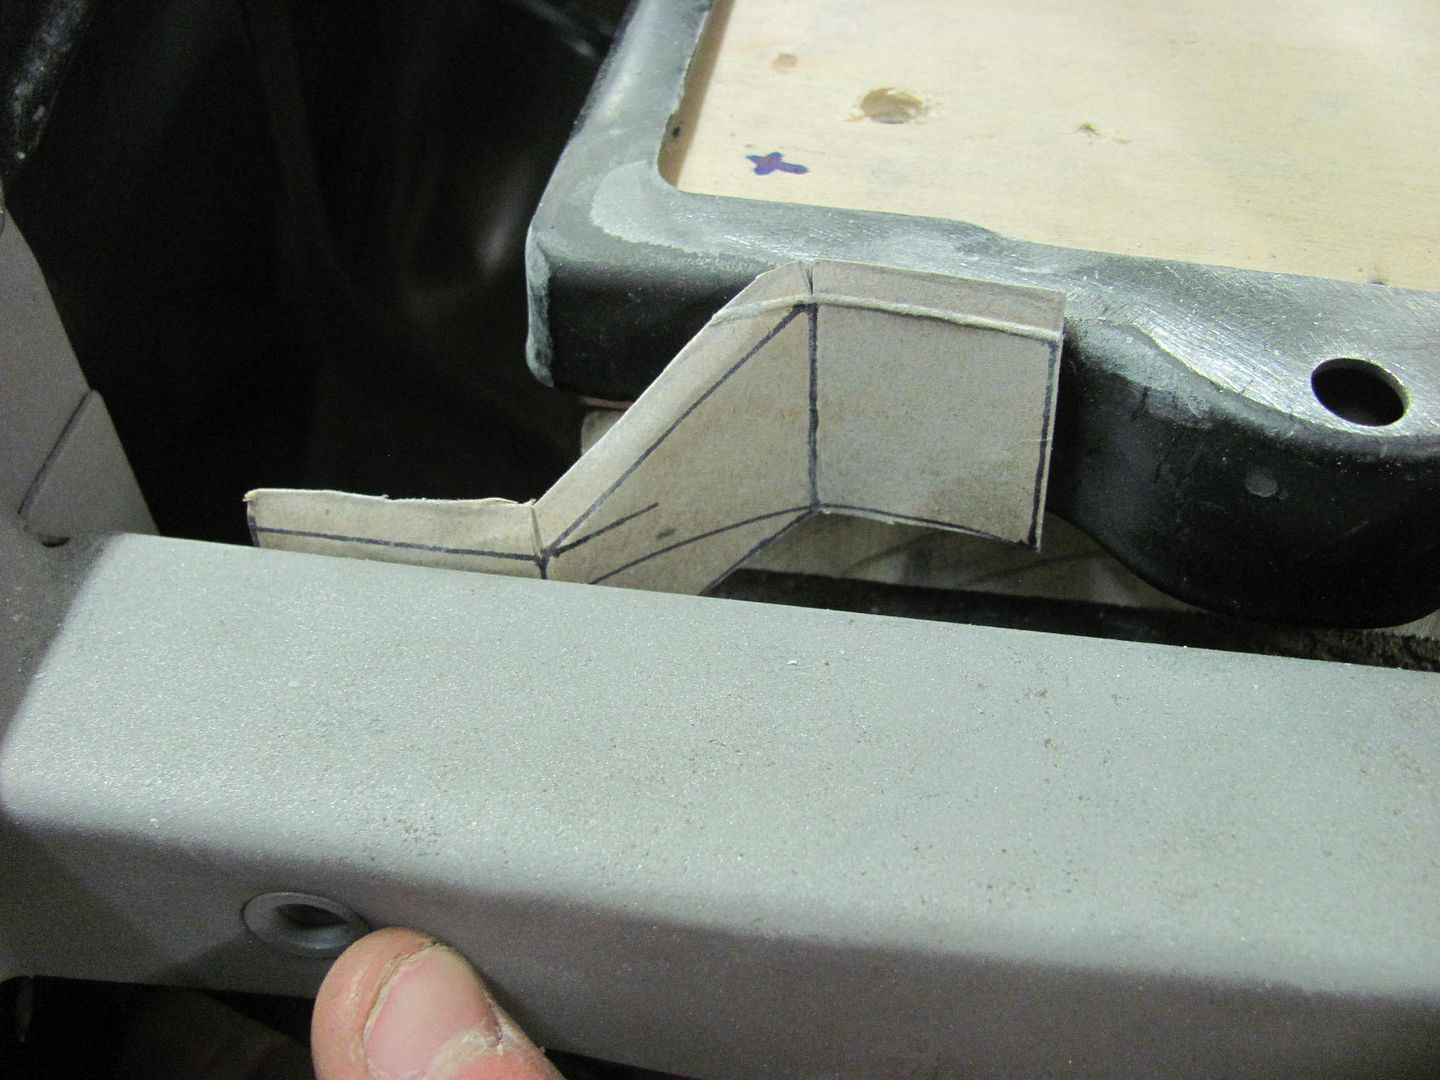
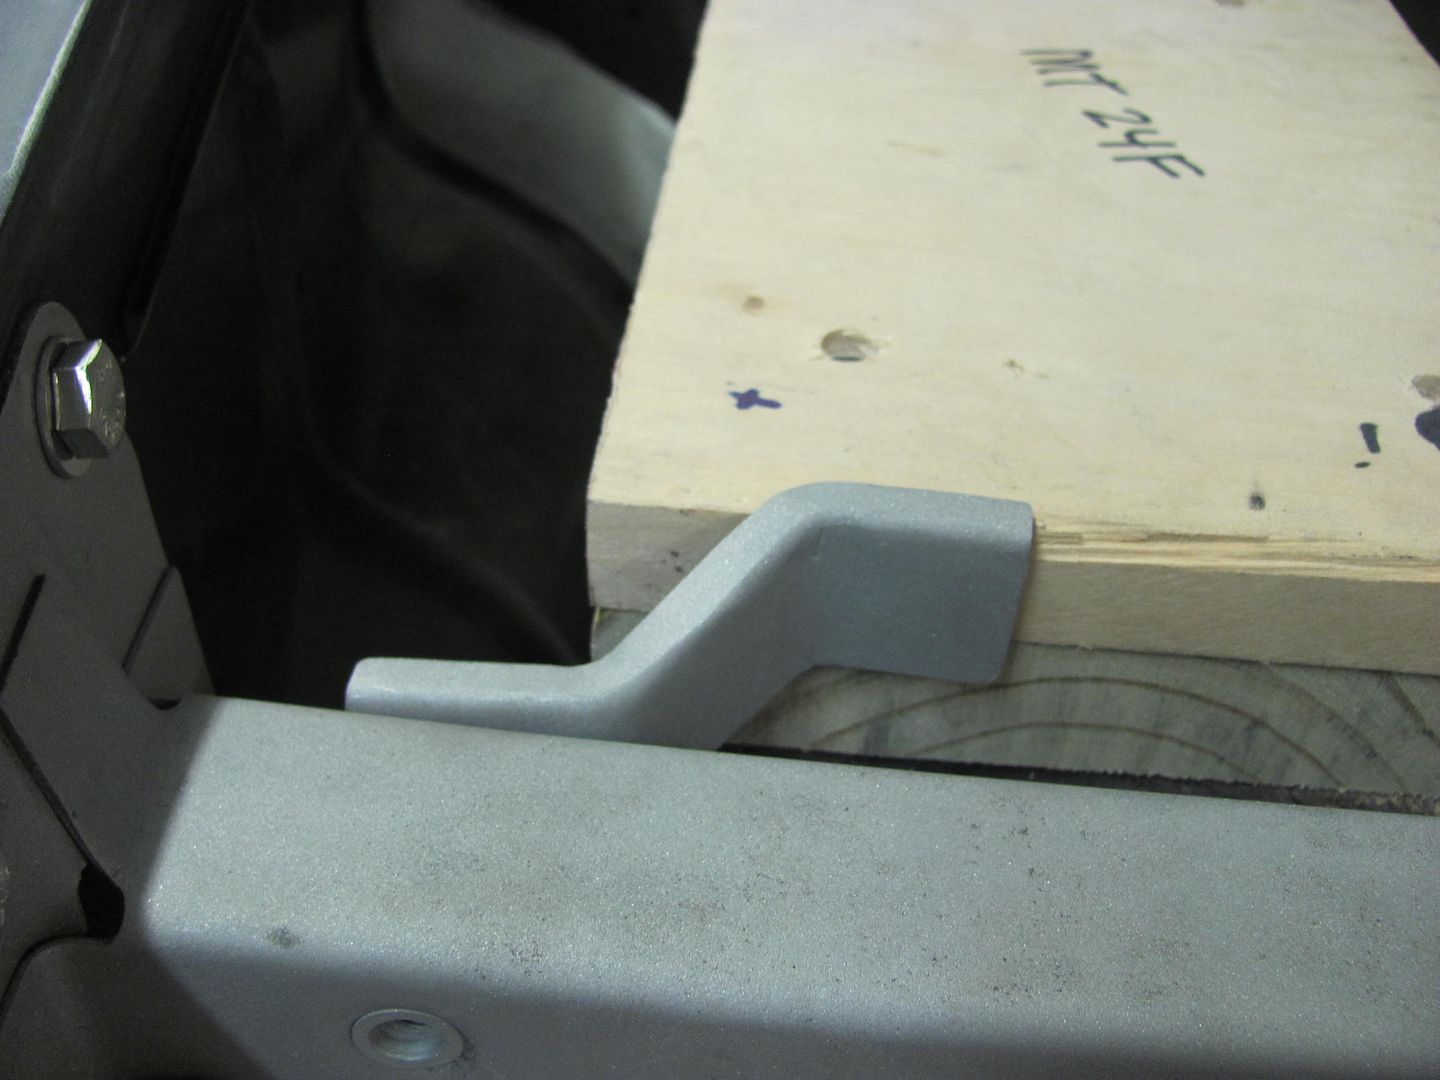
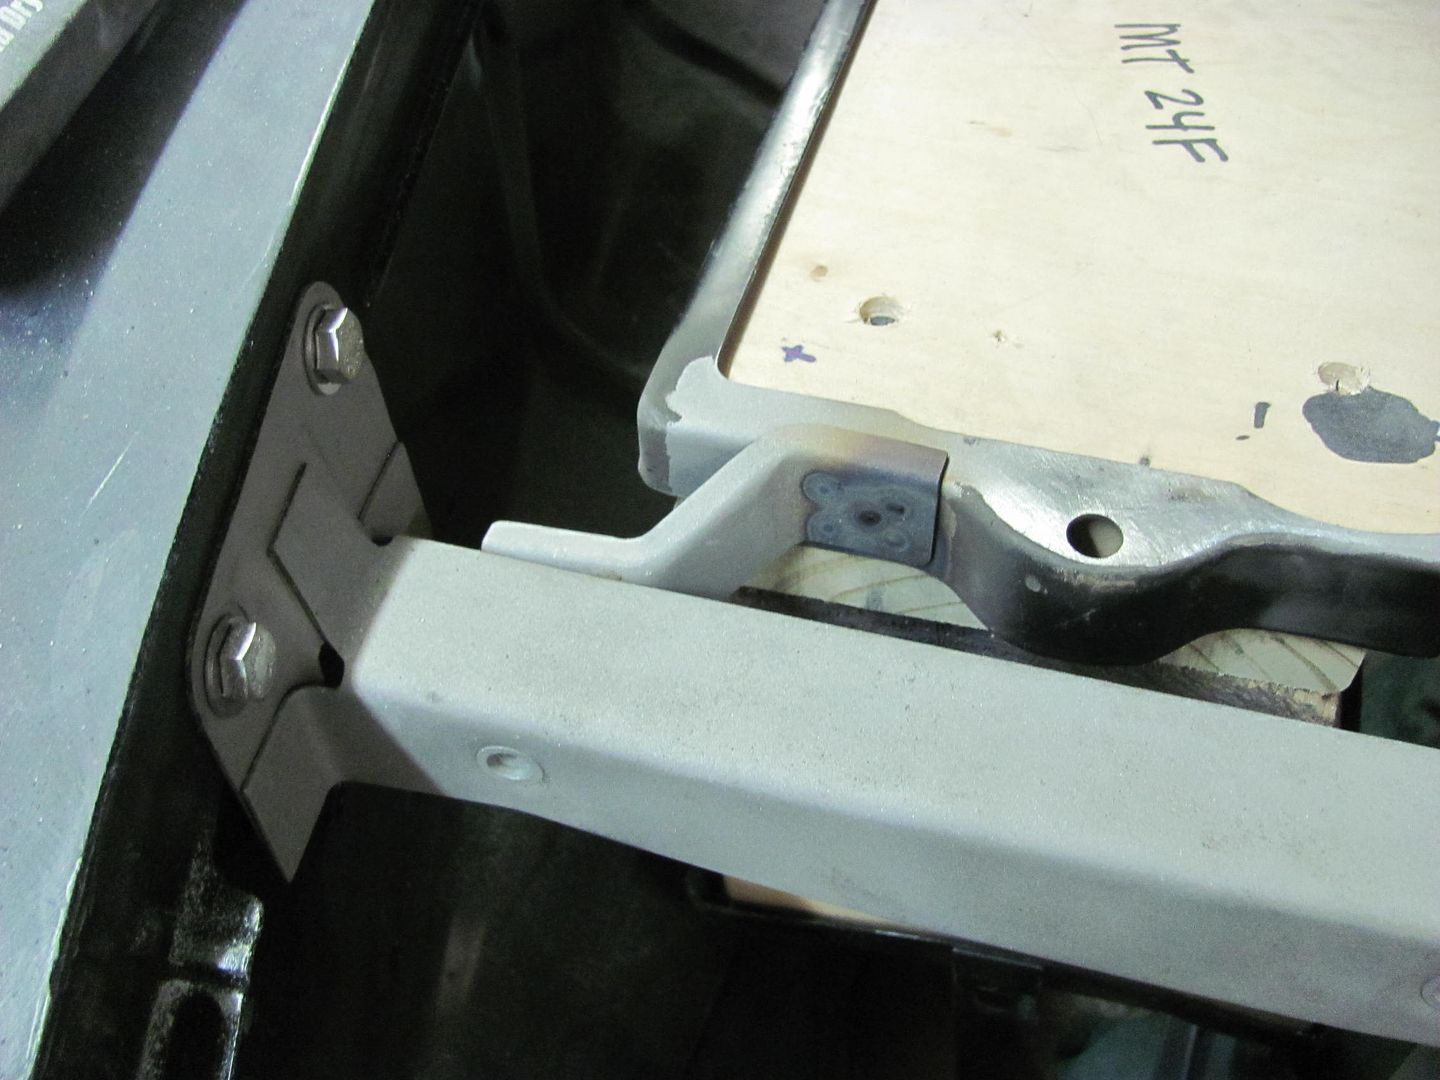
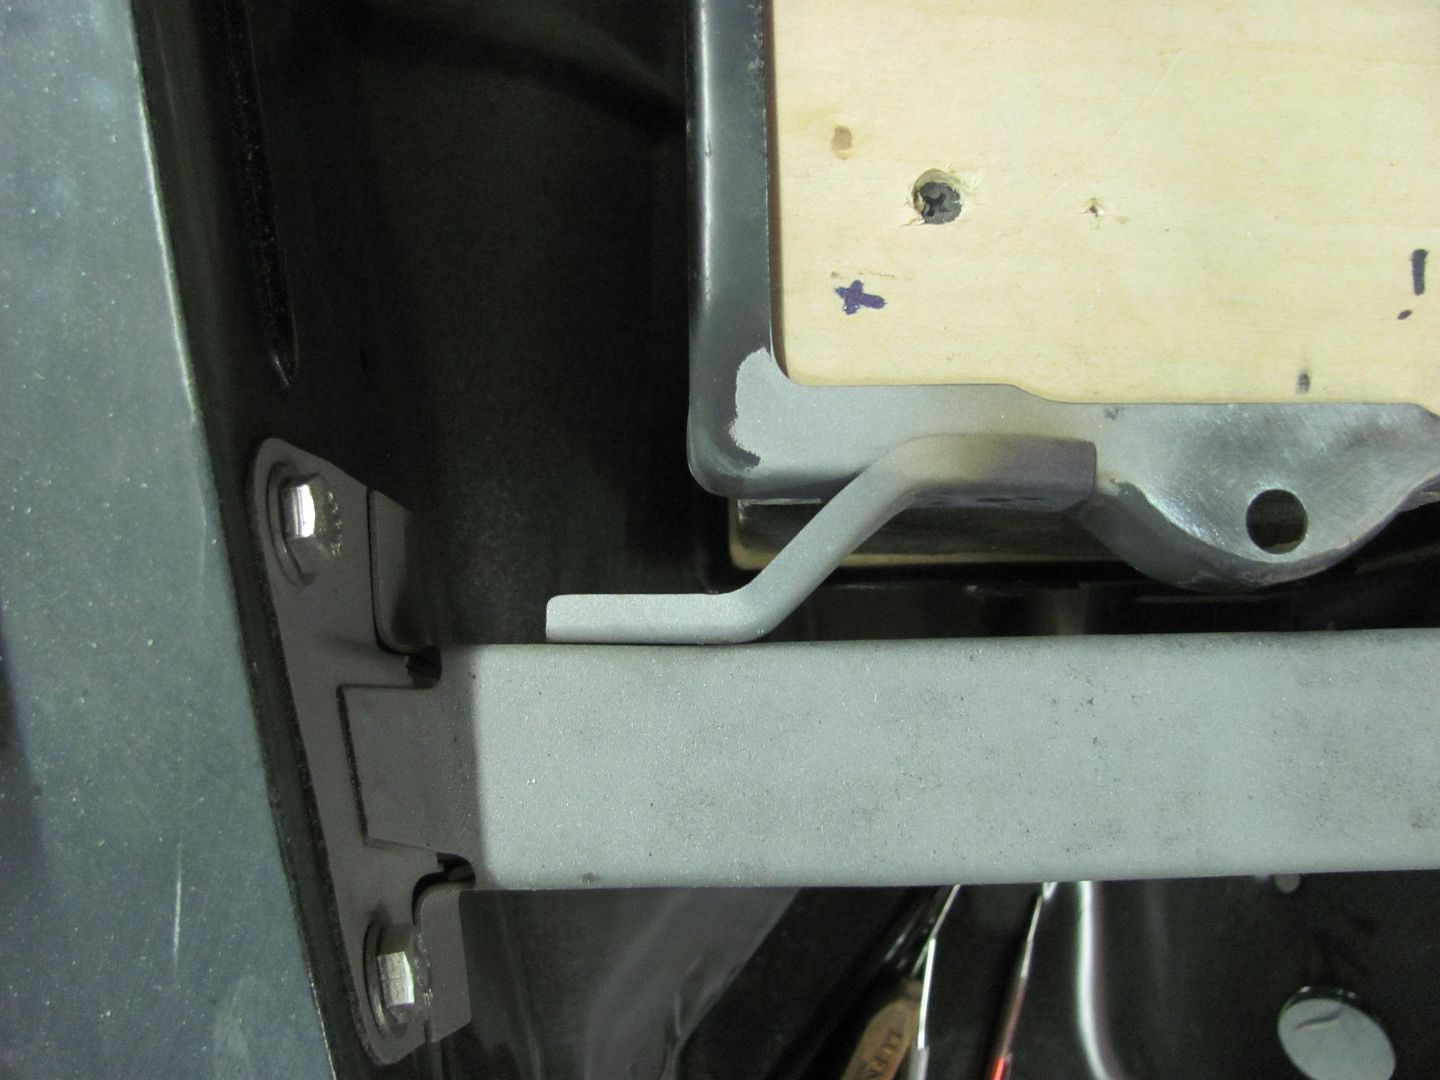
Tonight's update. We took delivery on some nice used core support side panels from Jay Hammond's Chevy Parts. The others were quite mangled, so this will save quite a bit of time in making a set.
Kyle finishing up the battery hold down modification...
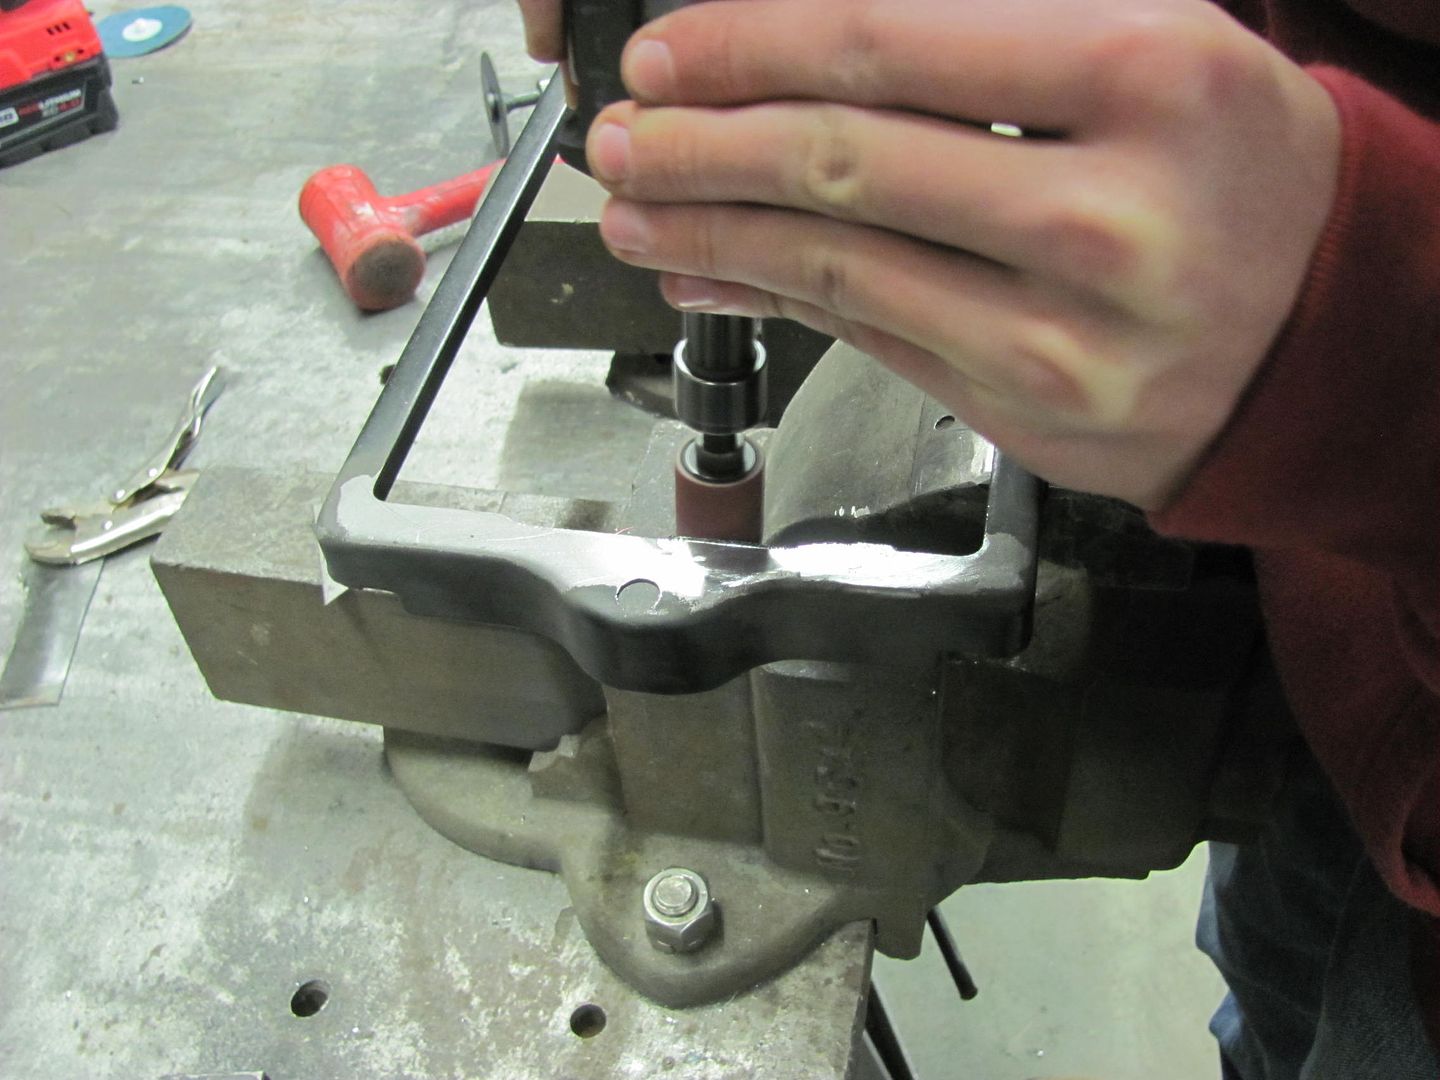
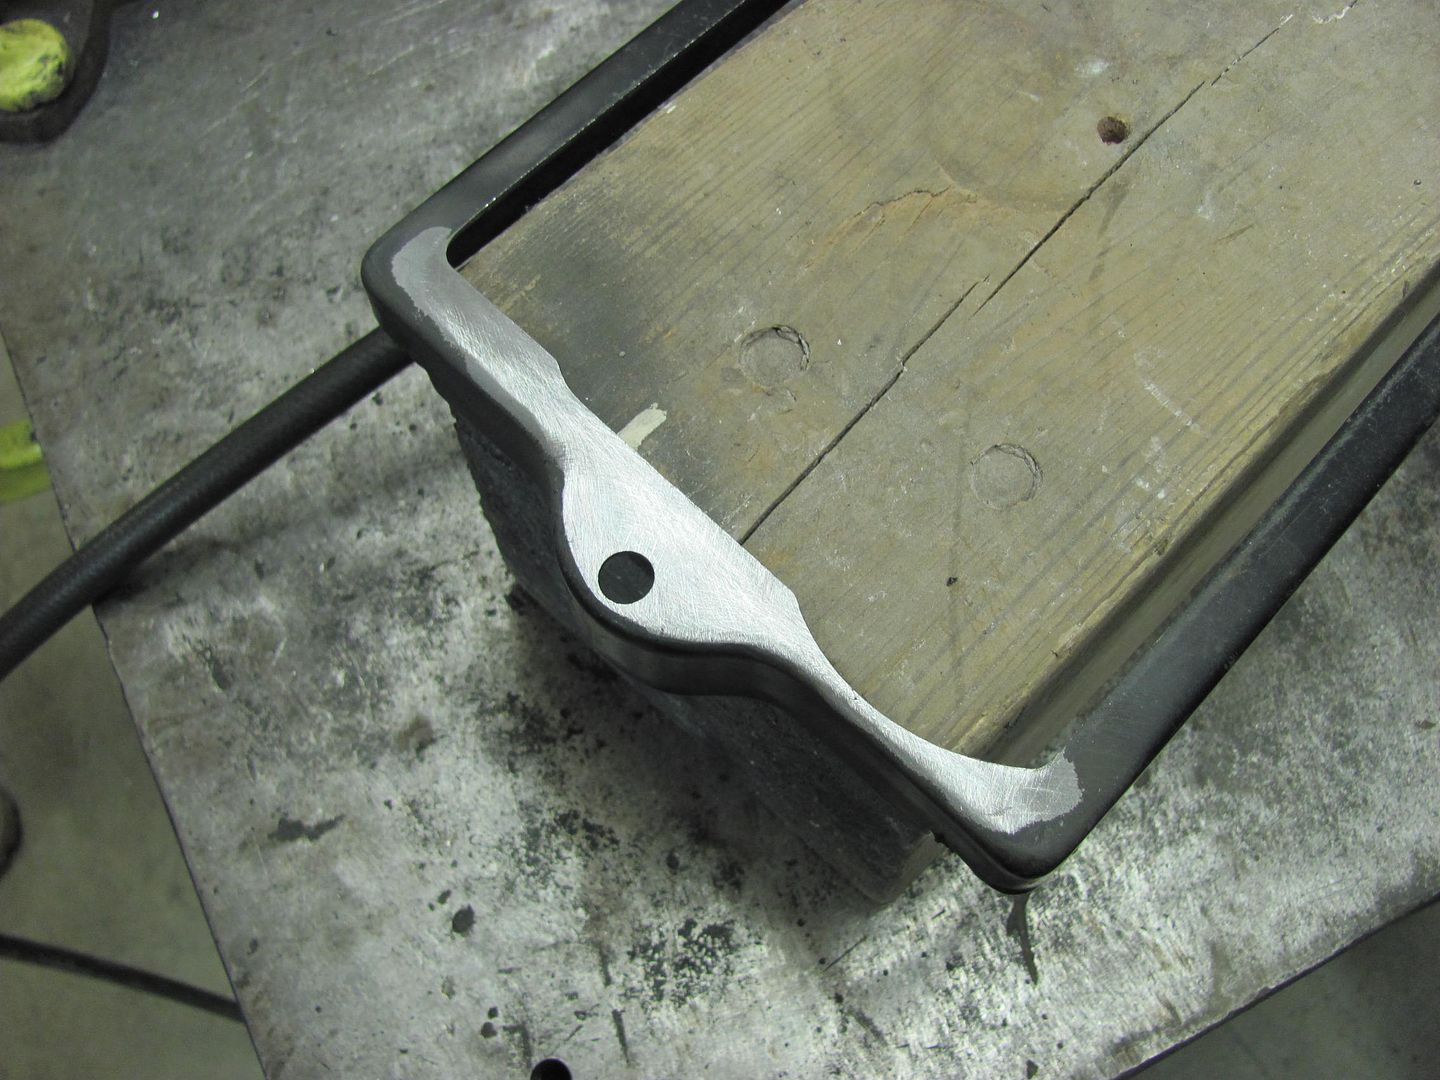
We also mocked up an MT24F battery...
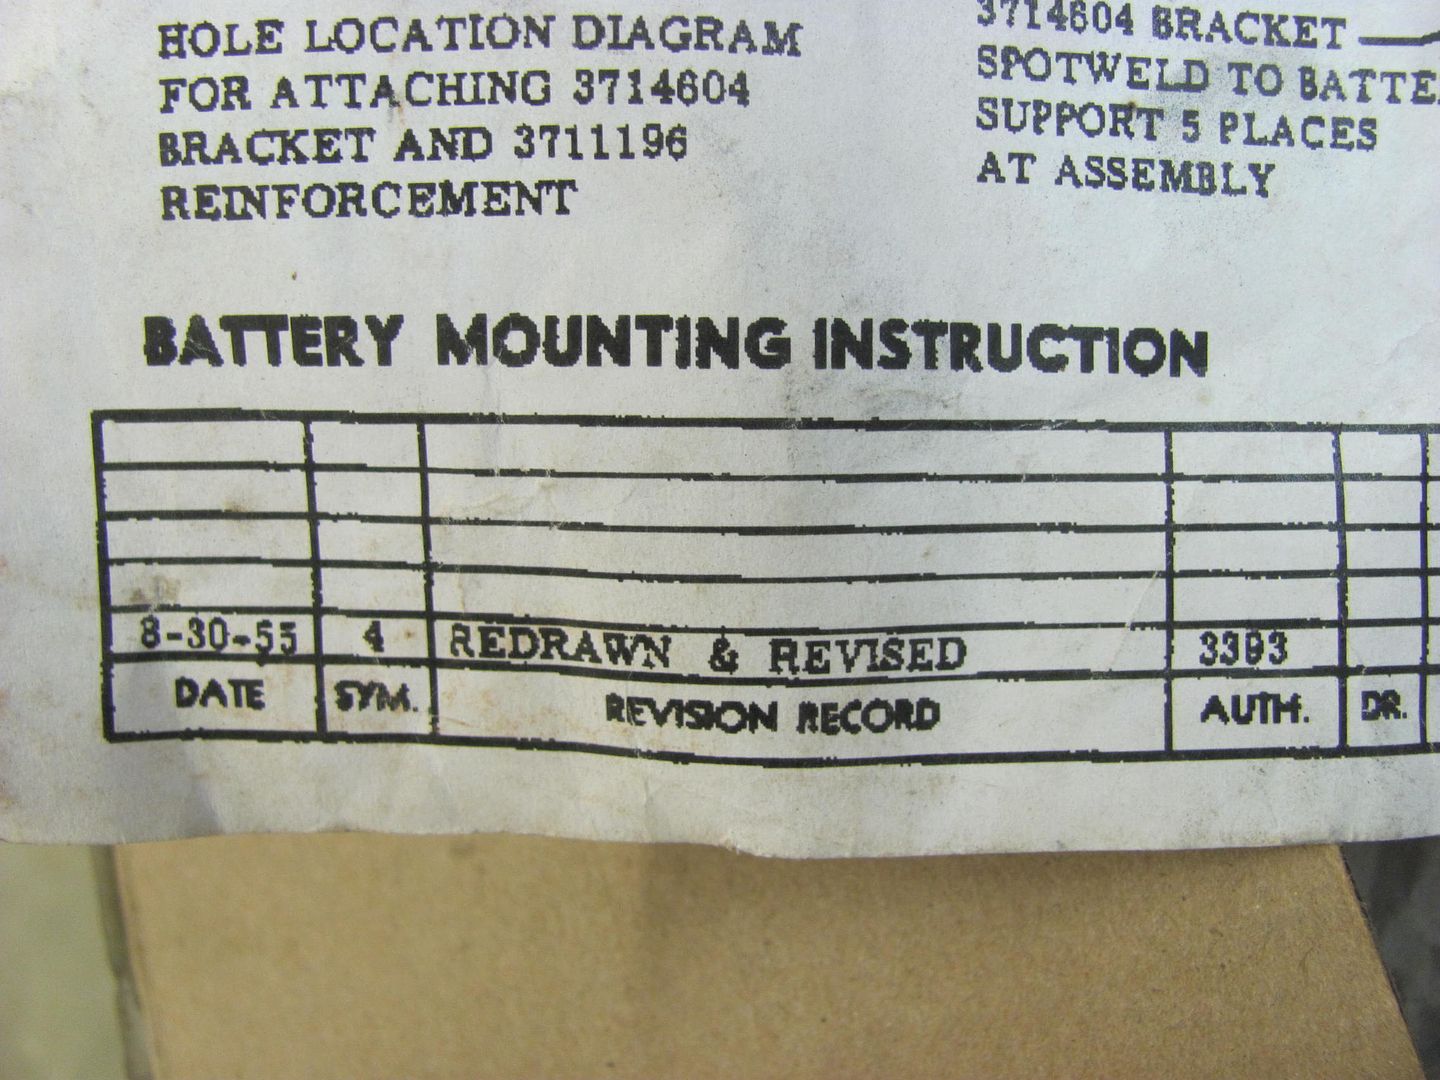
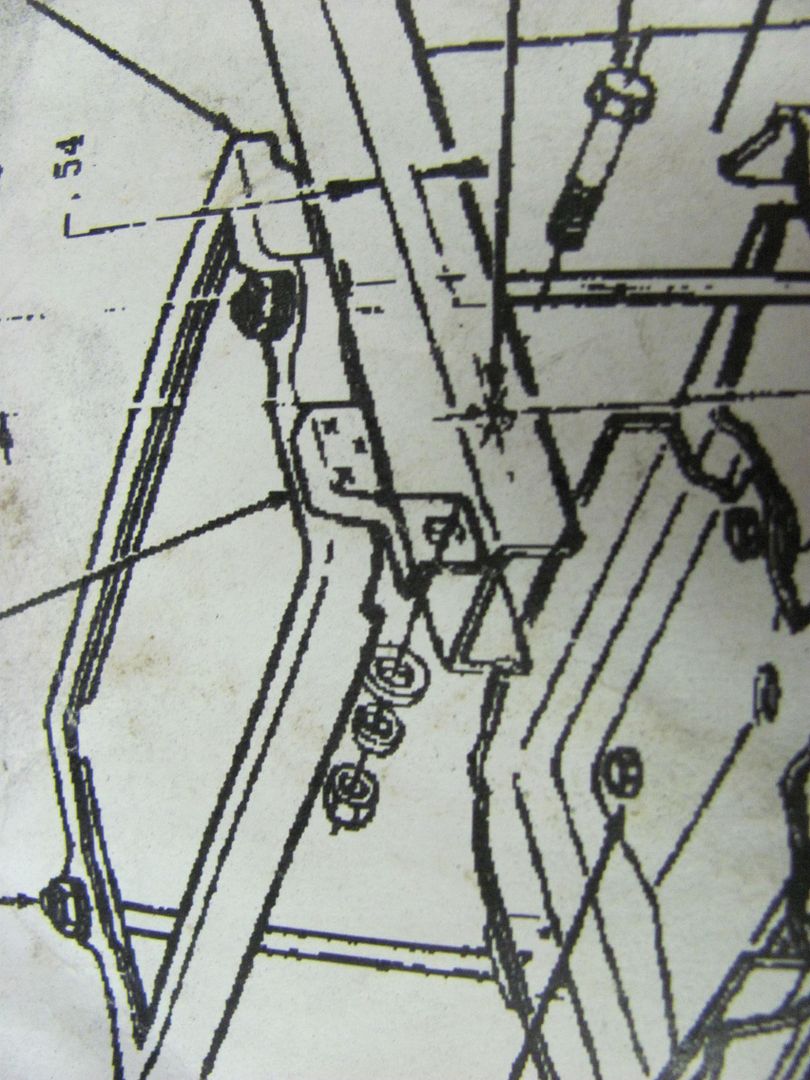
The factory version of this battery location for an air conditioned car also calls for a "zee" bracket to the back side of the core support.
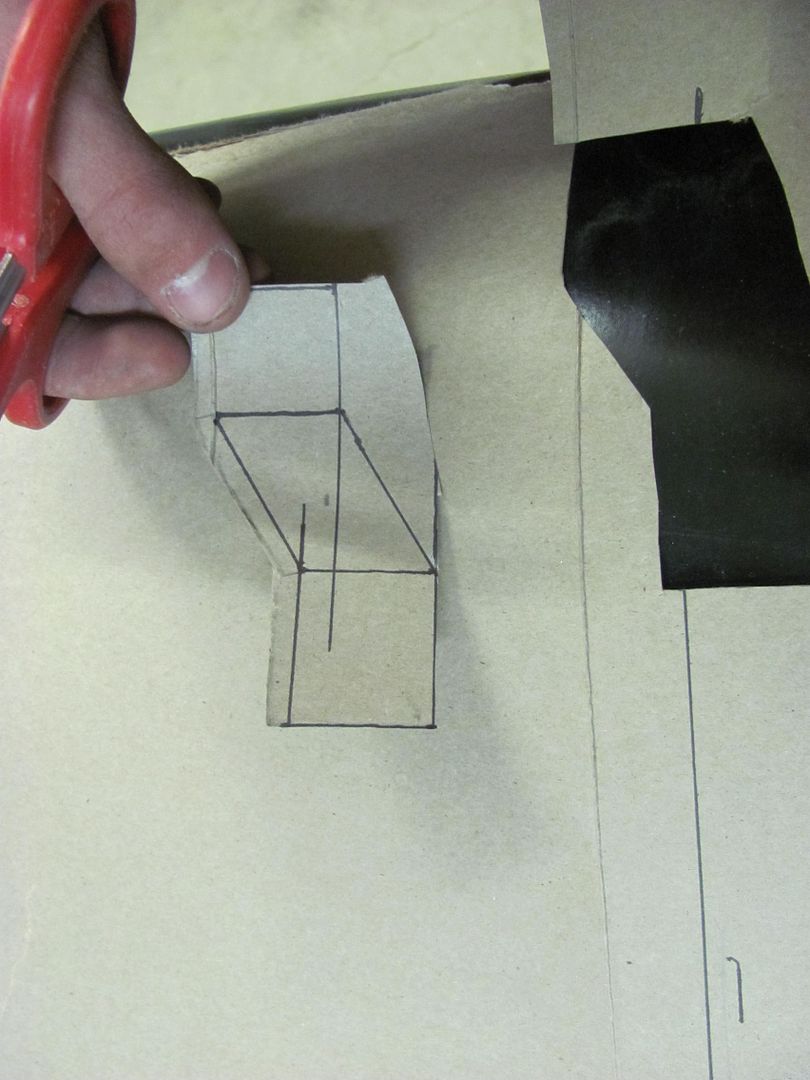
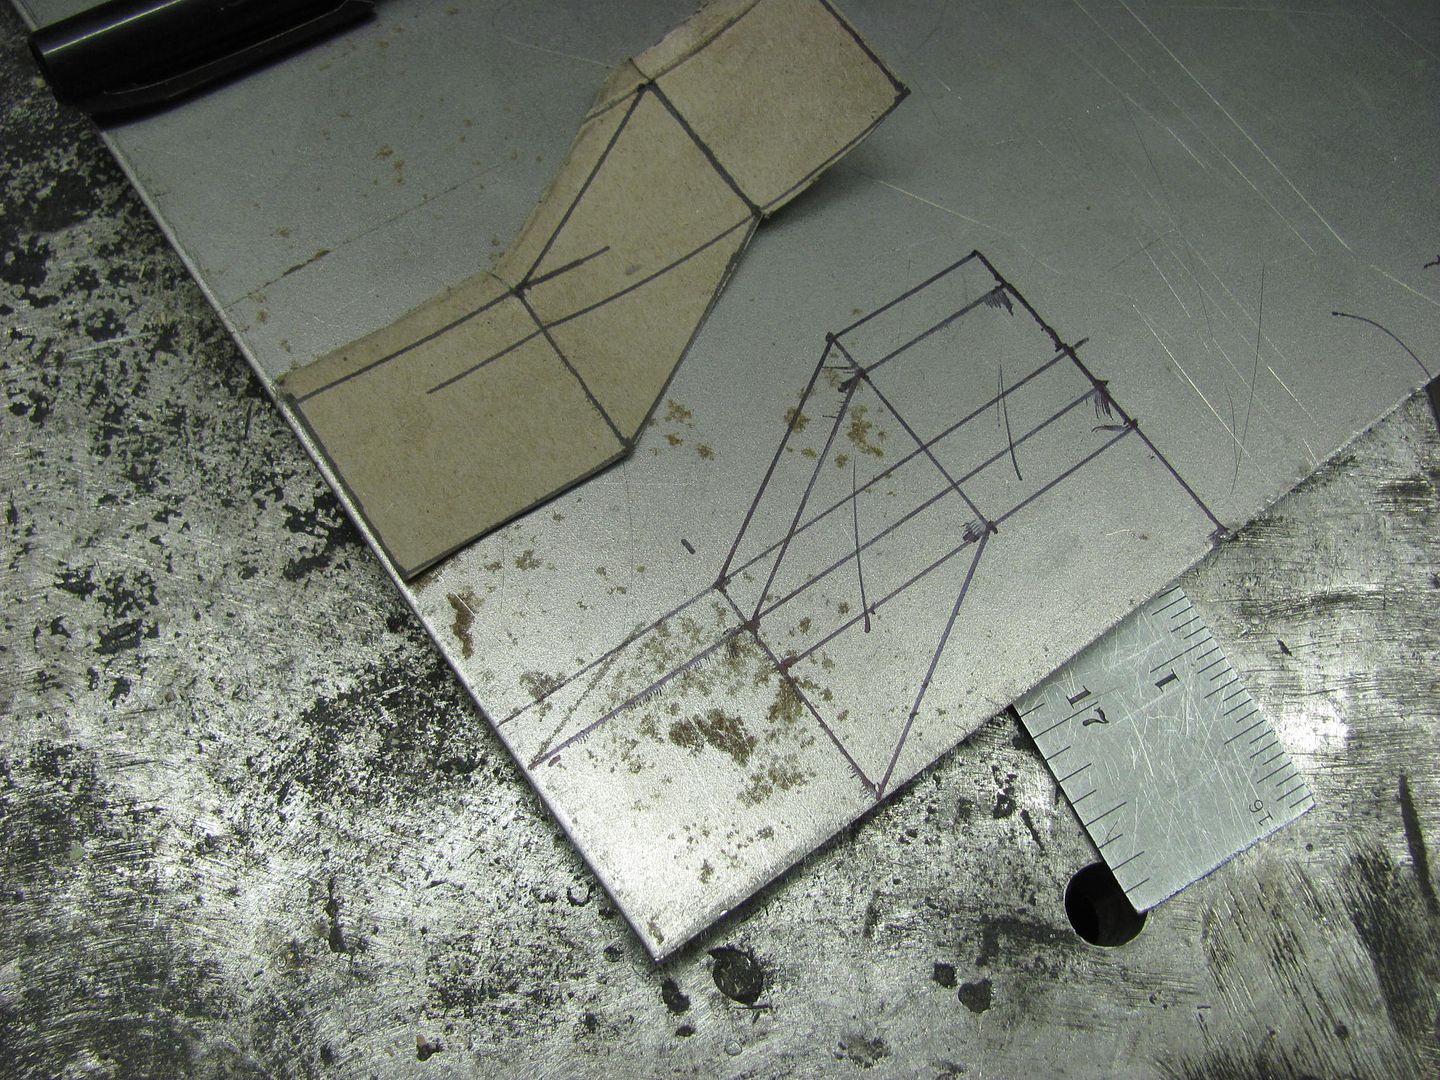
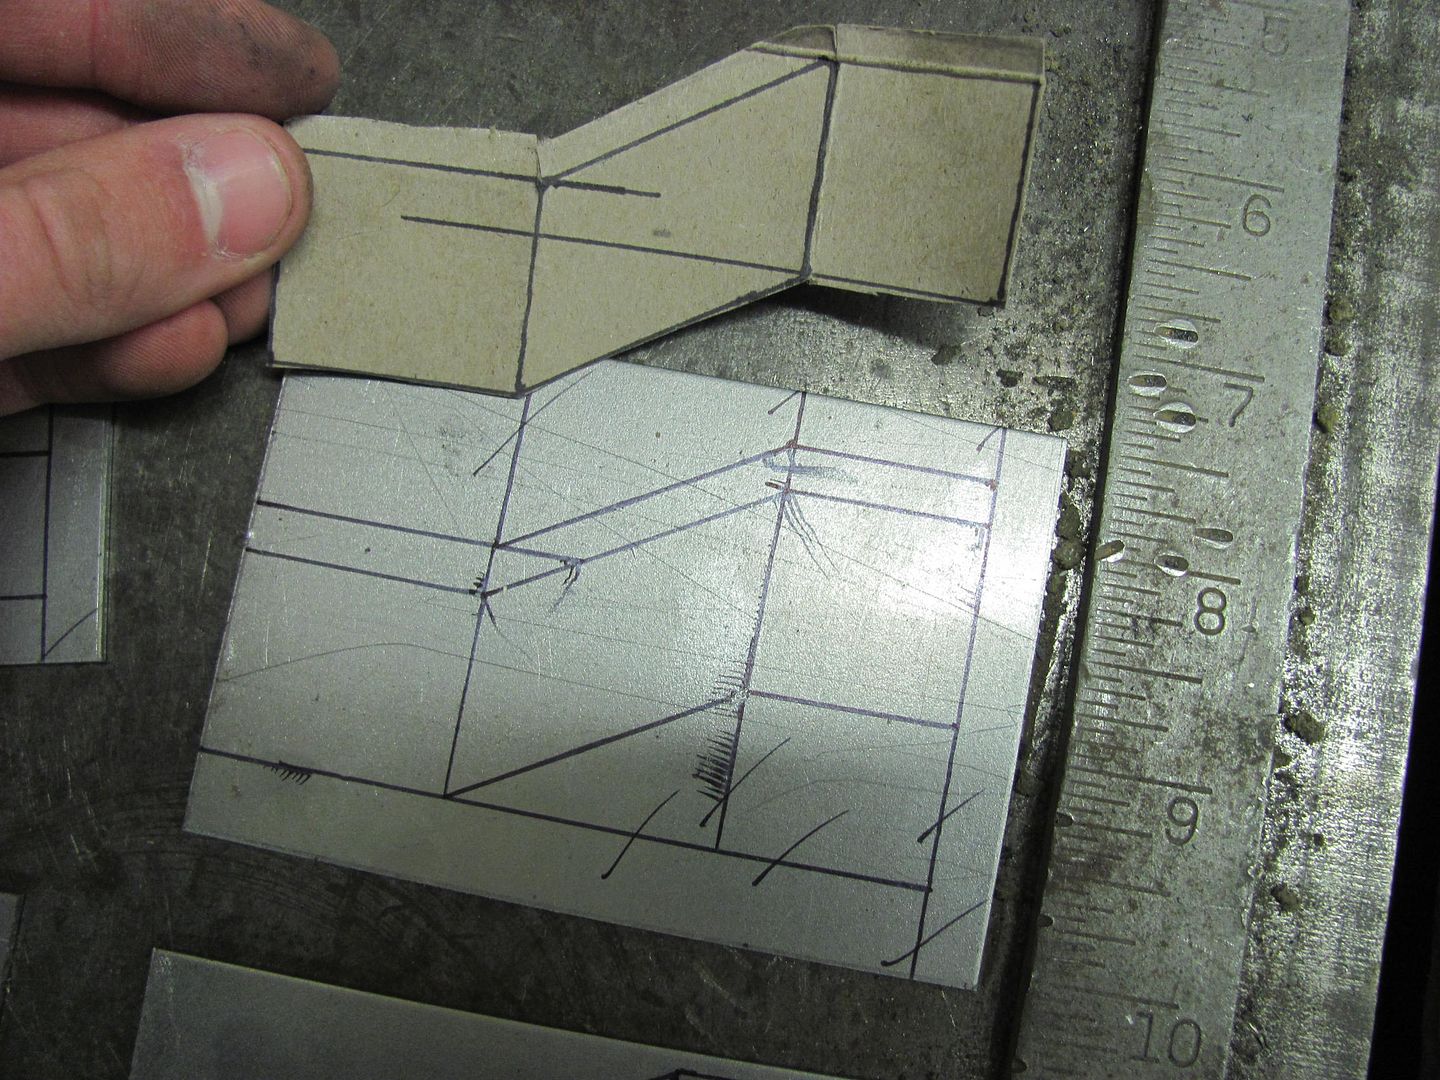
So with dimensions taken, a practice piece was cut out of poster board...
Laid out on some 16 GA CRS...
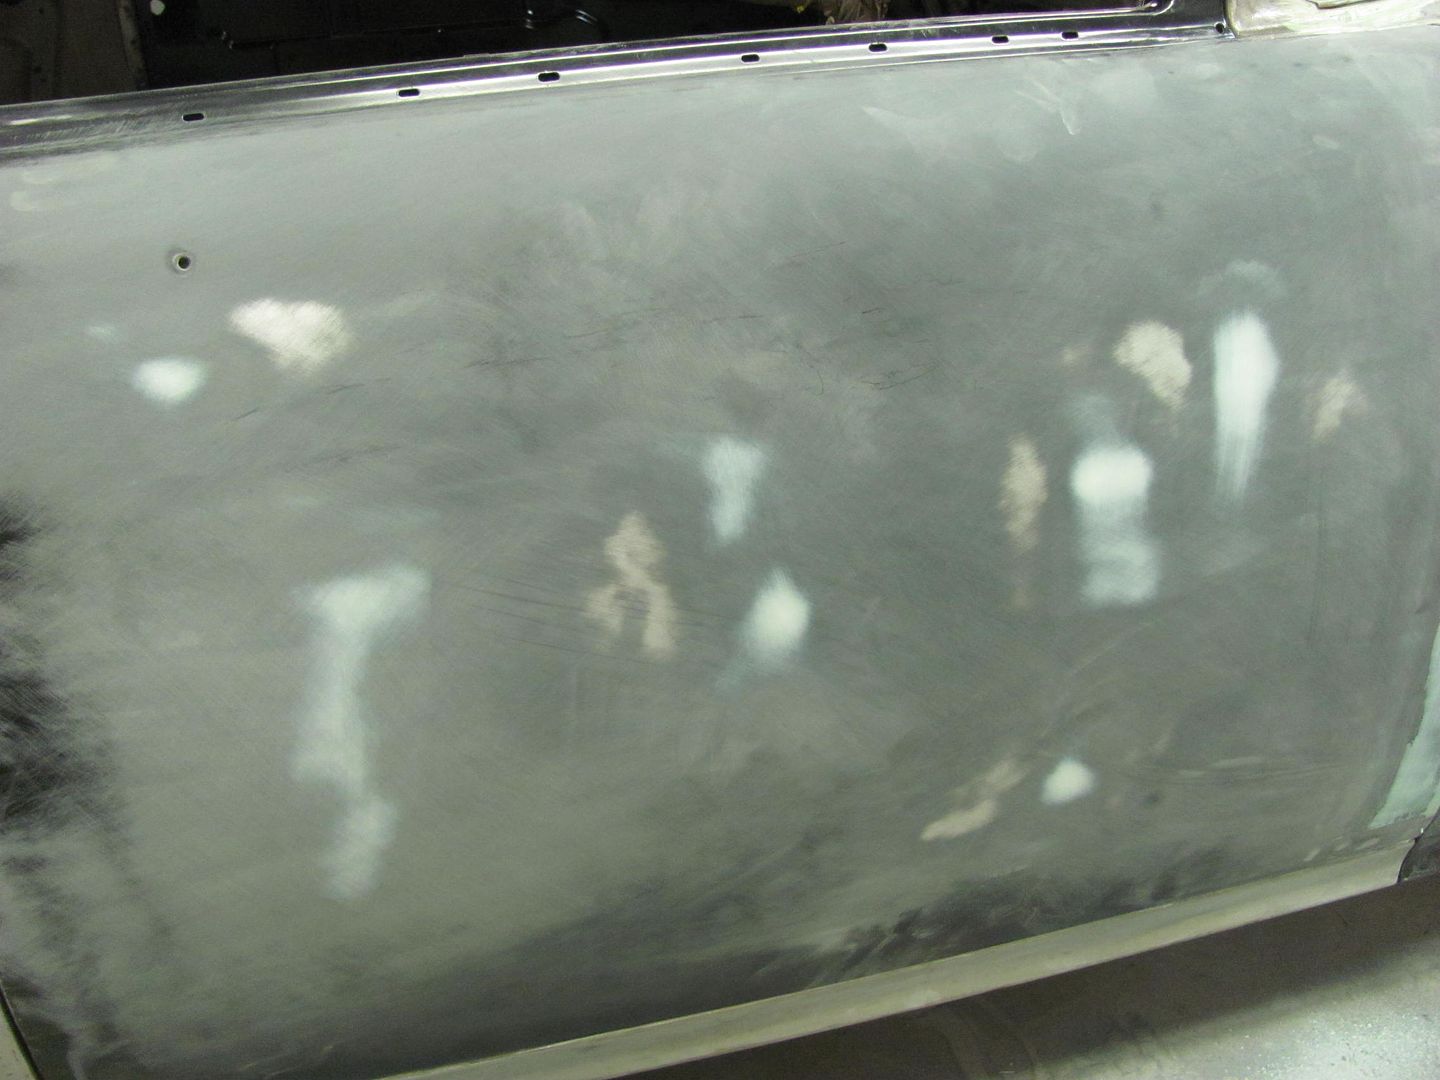
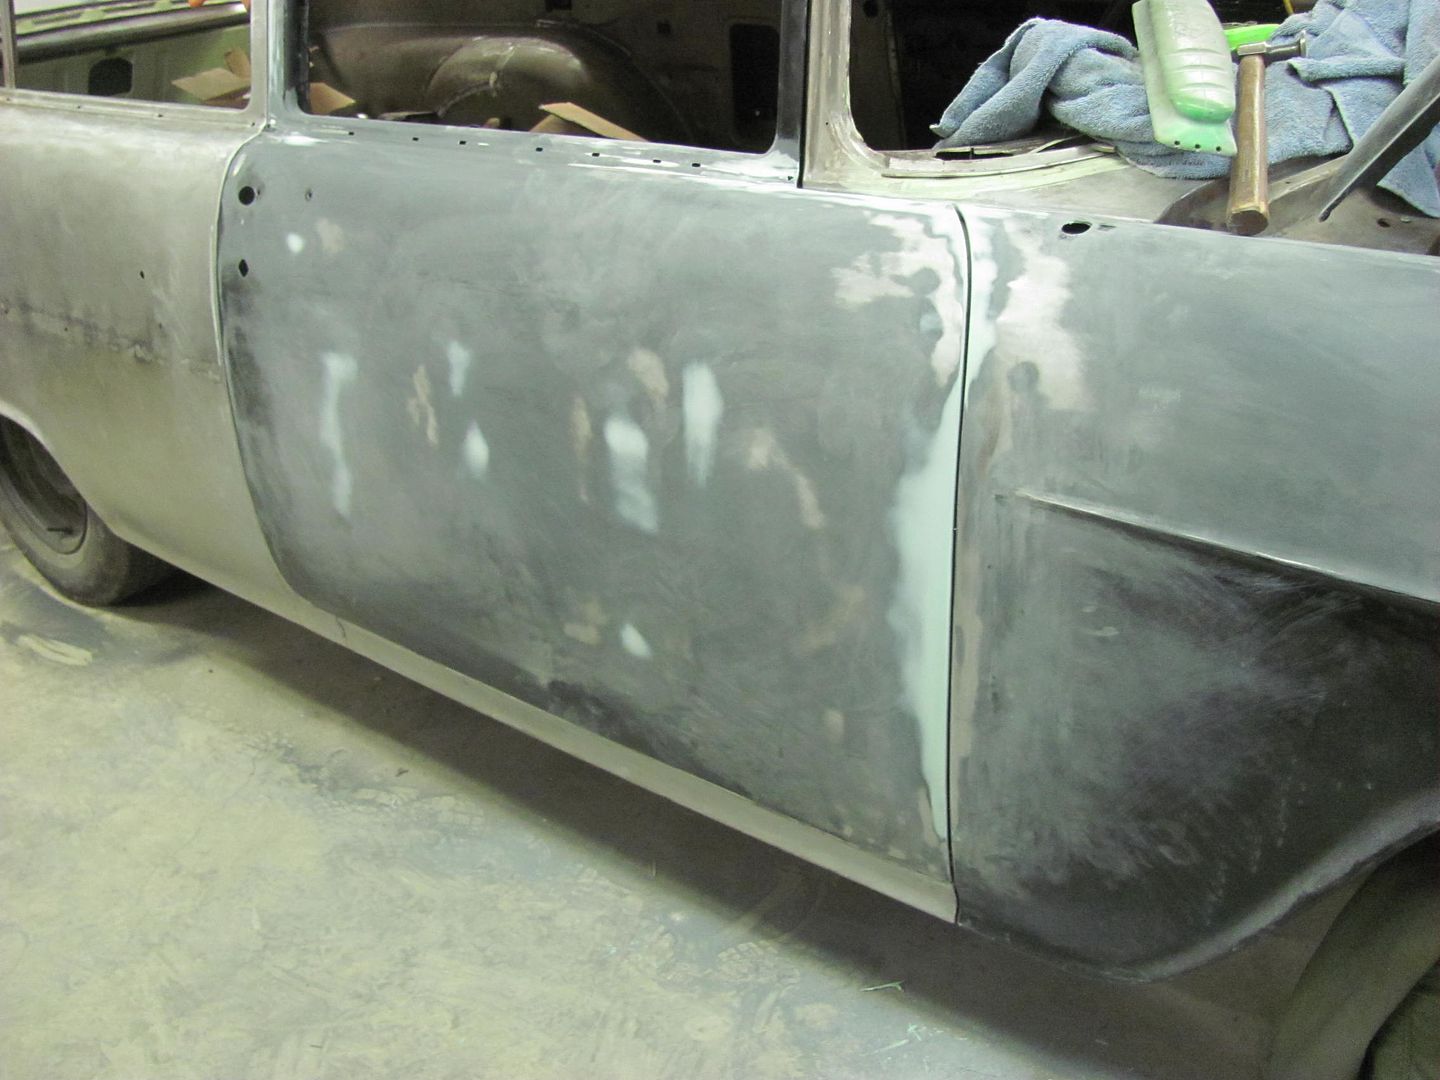
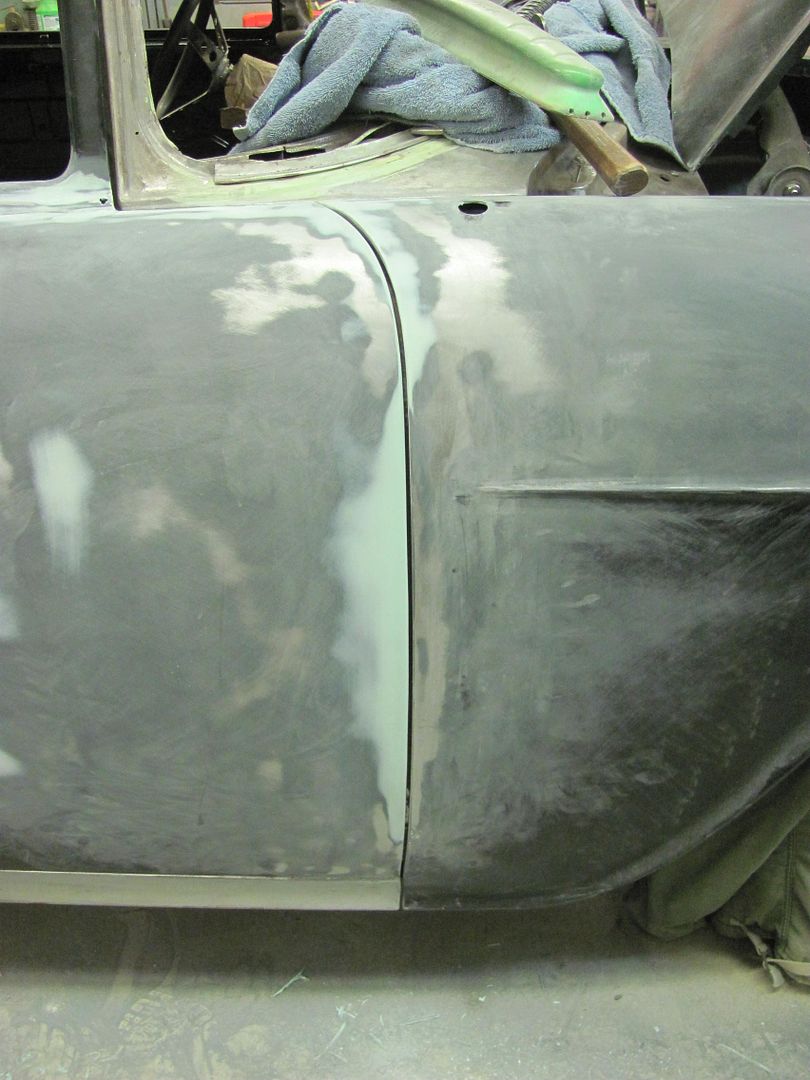
And got a bit more blocking done across the door gaps..
Robert
-
01-30-2015 01:03 PM #419
CHR Member/Contributor
- Join Date
- Dec 2006
- Location
- Woodstock
- Car Year, Make, Model: 34,stroker,32pu,2020 MustangGTpp2
- Posts
- 1,109
Always enjoy watching the work you do, this will be one killer wagon when finished..I have two brains, one is lost and the other is out looking for it
-
01-31-2015 05:11 PM #420
CHR Member
- Join Date
- Jun 2008
- Location
- Leonardtown
- Car Year, Make, Model: Walking
- Posts
- 1,228
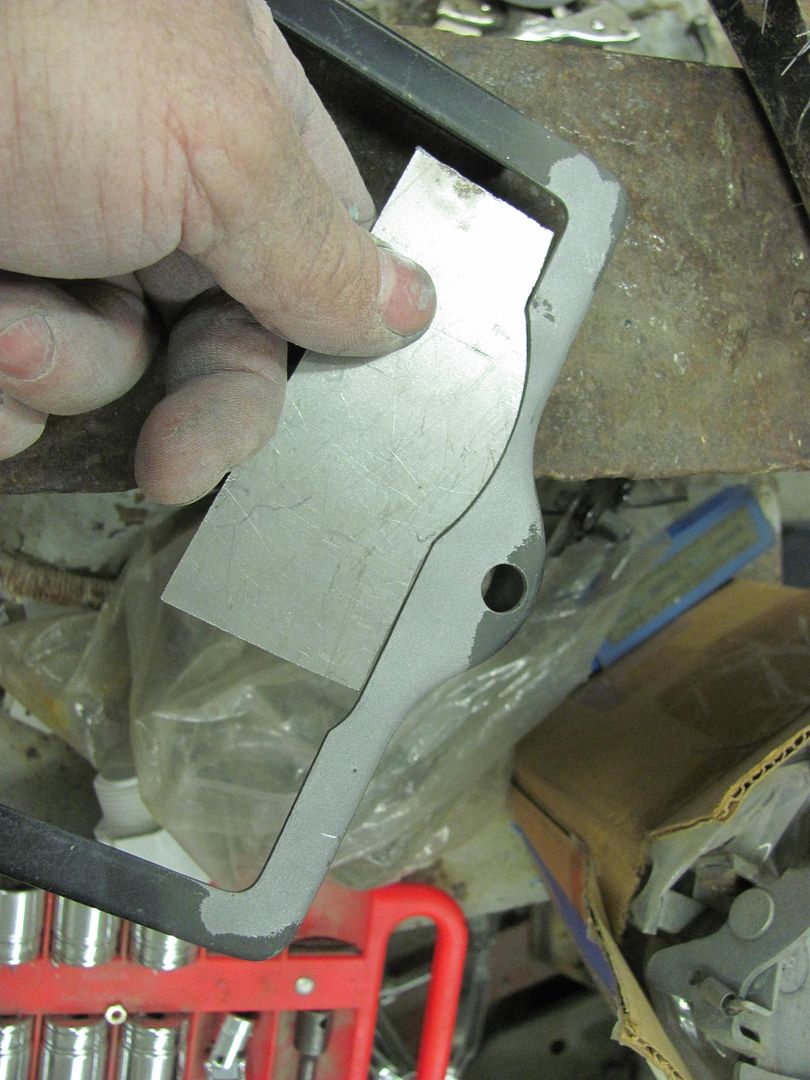
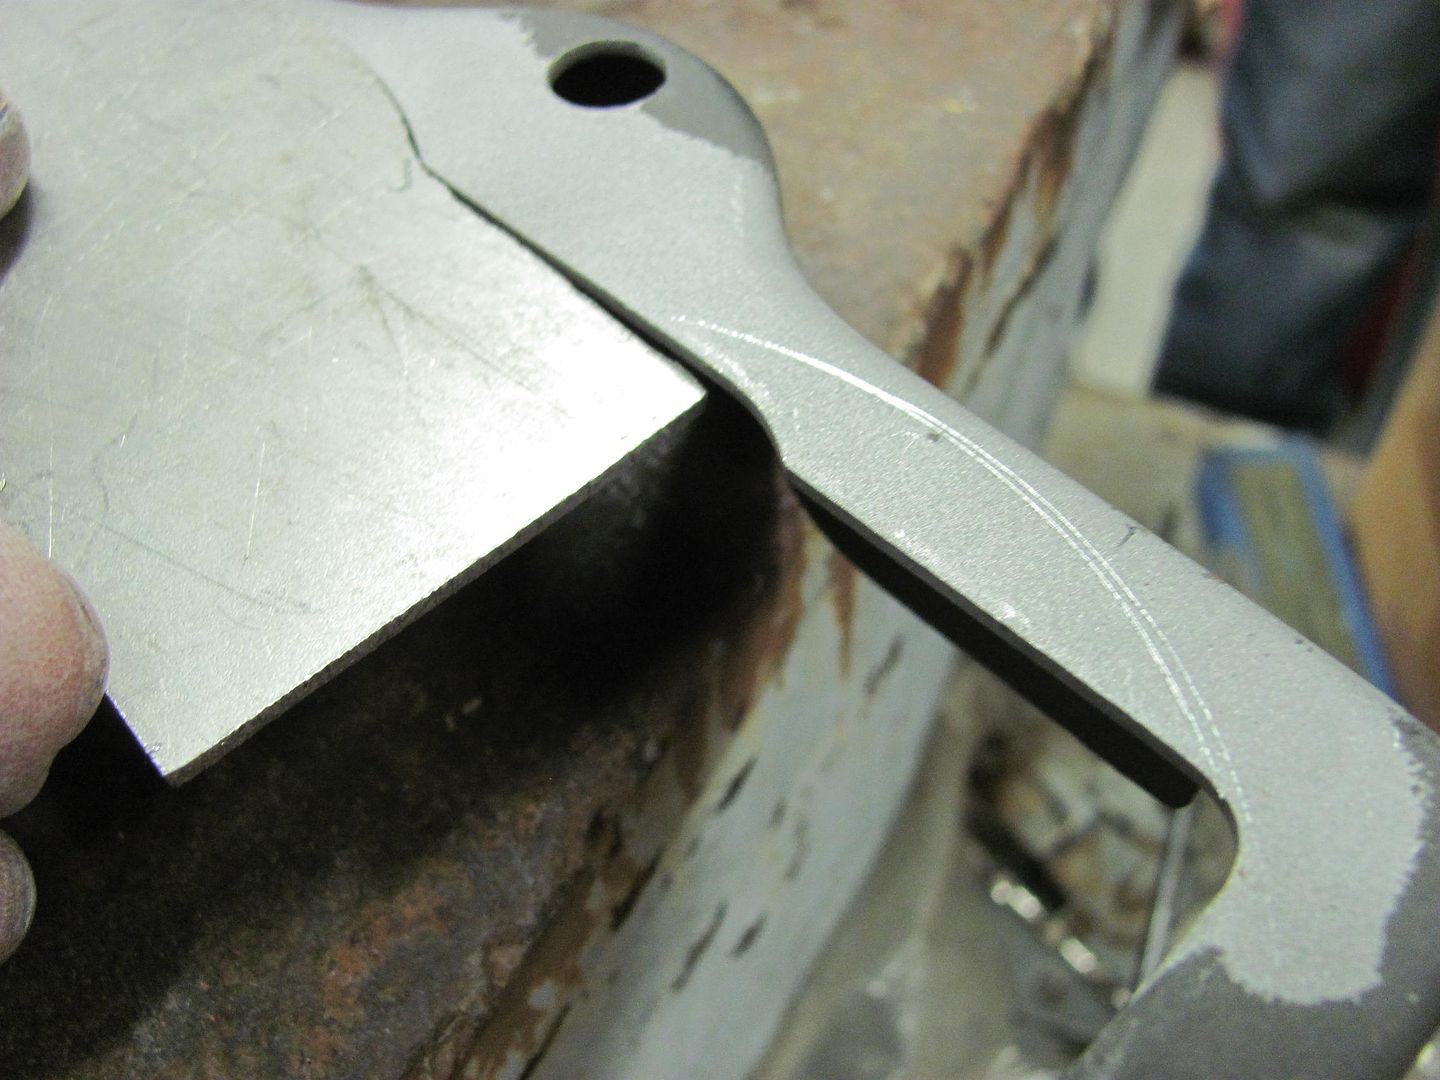
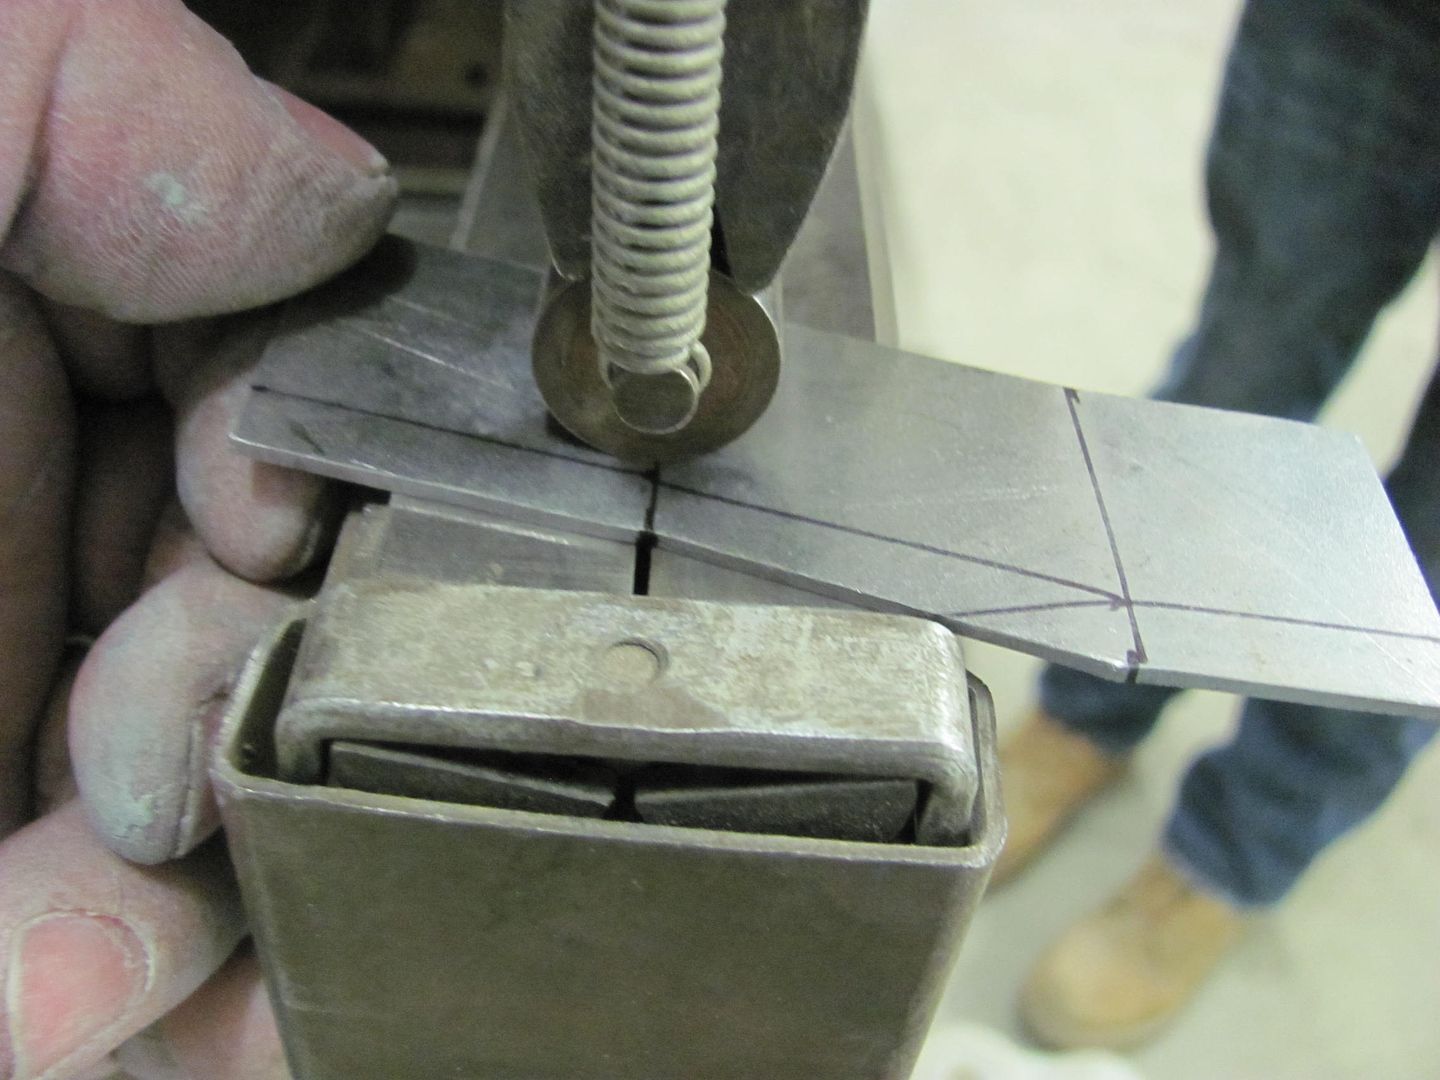
Thanks, we can only hope so!
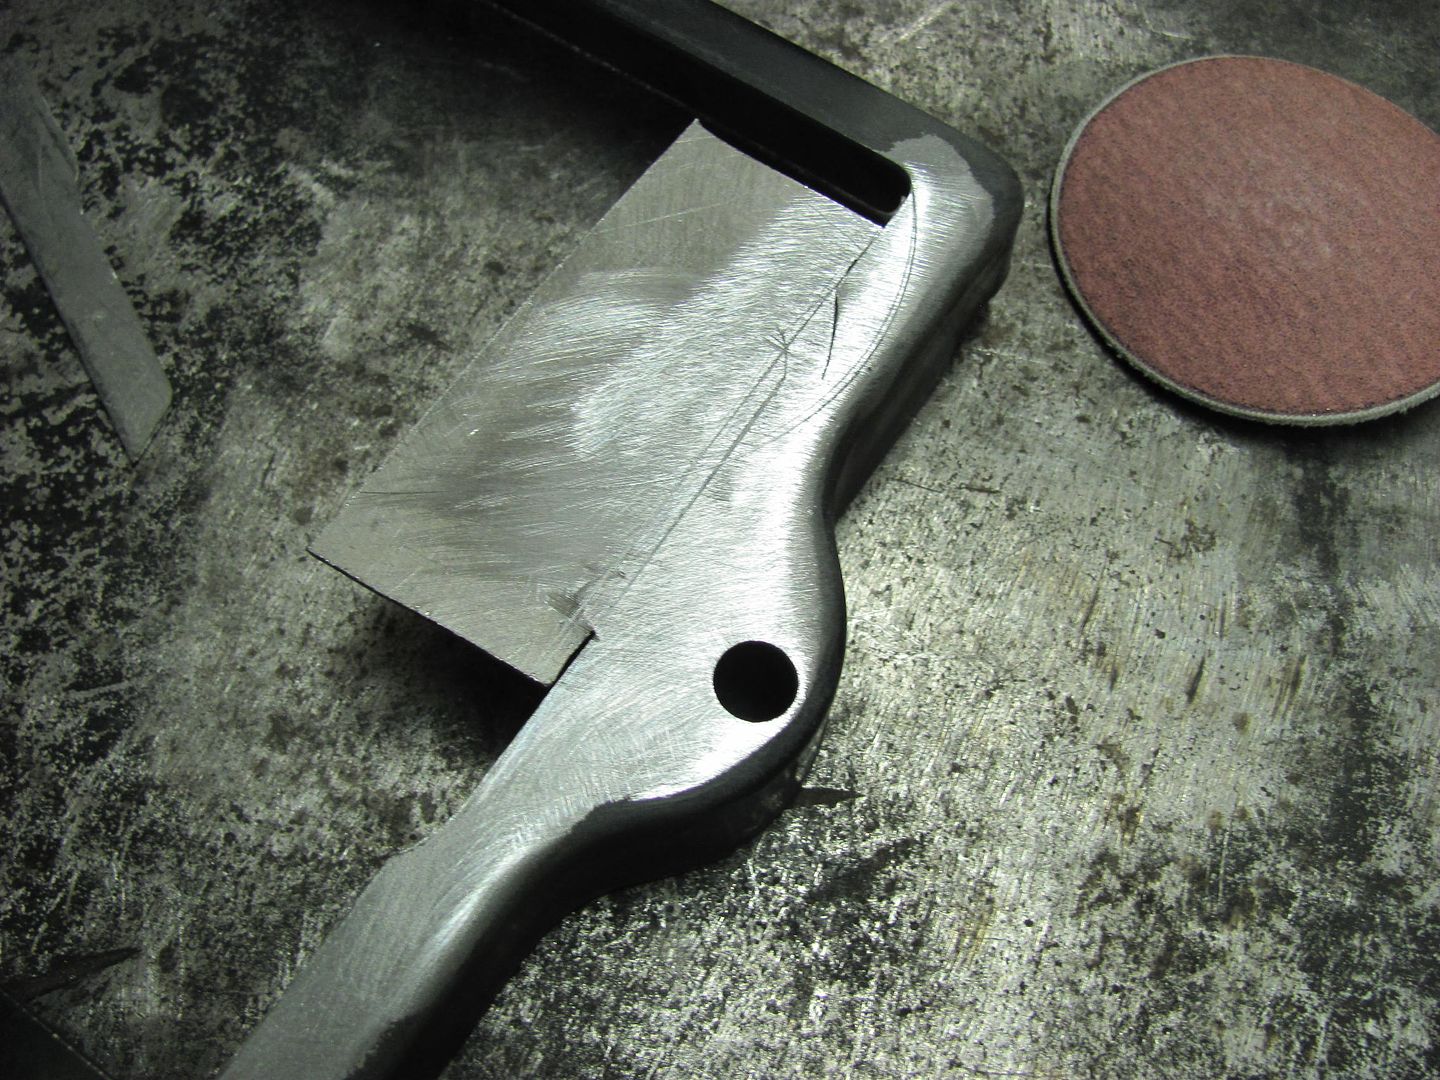
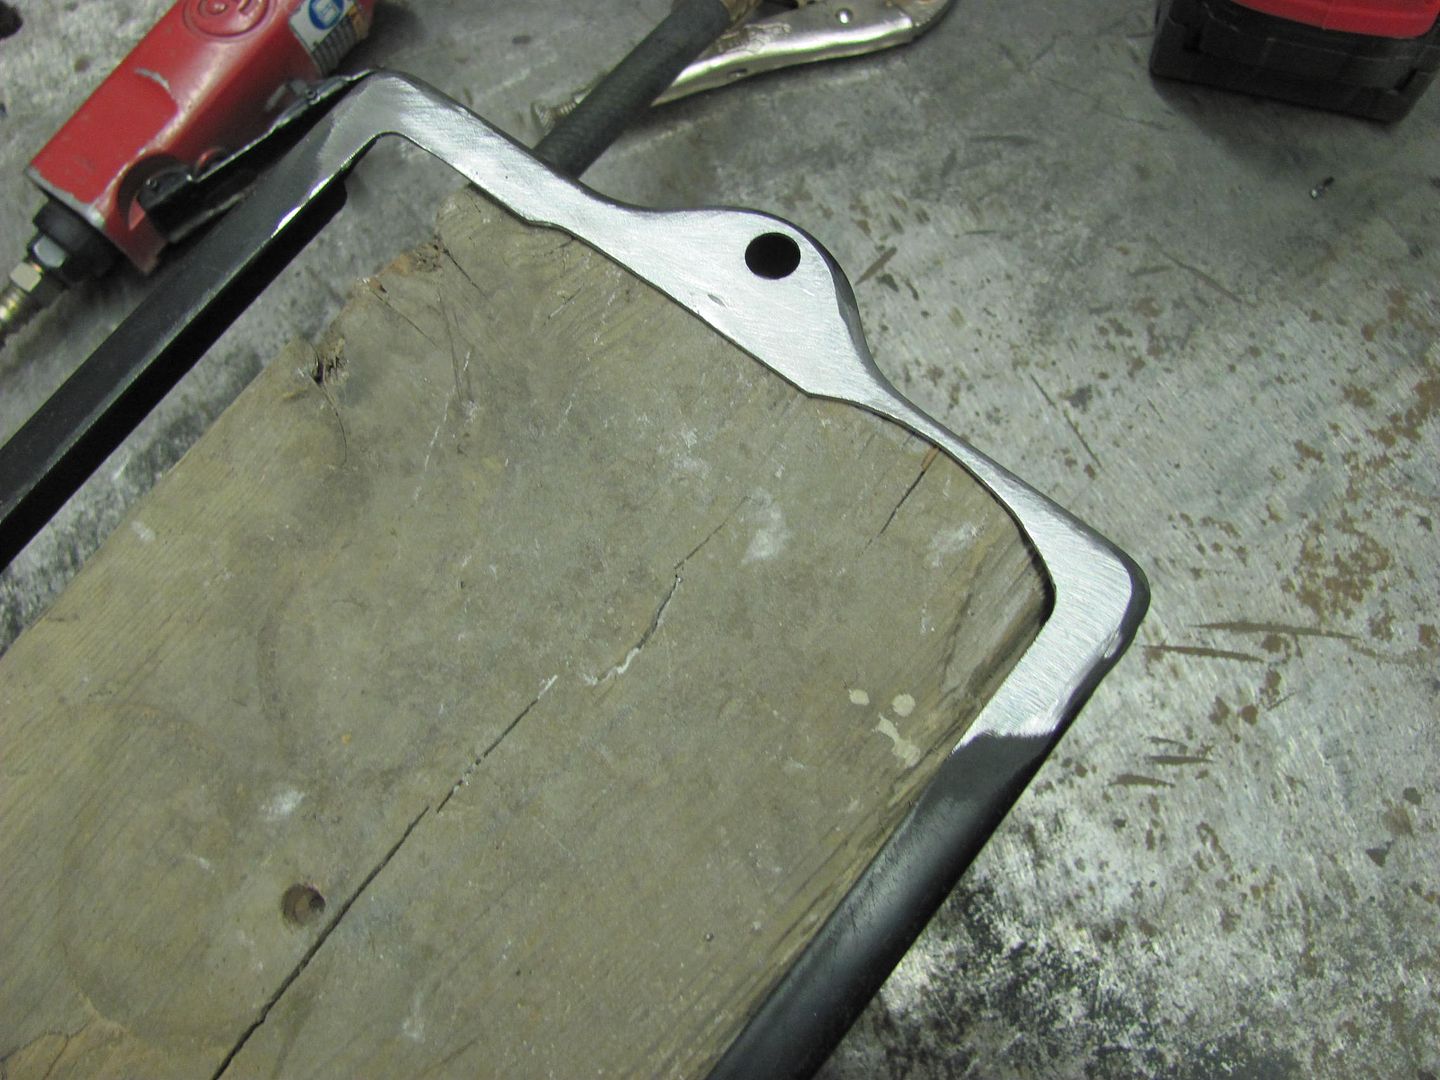
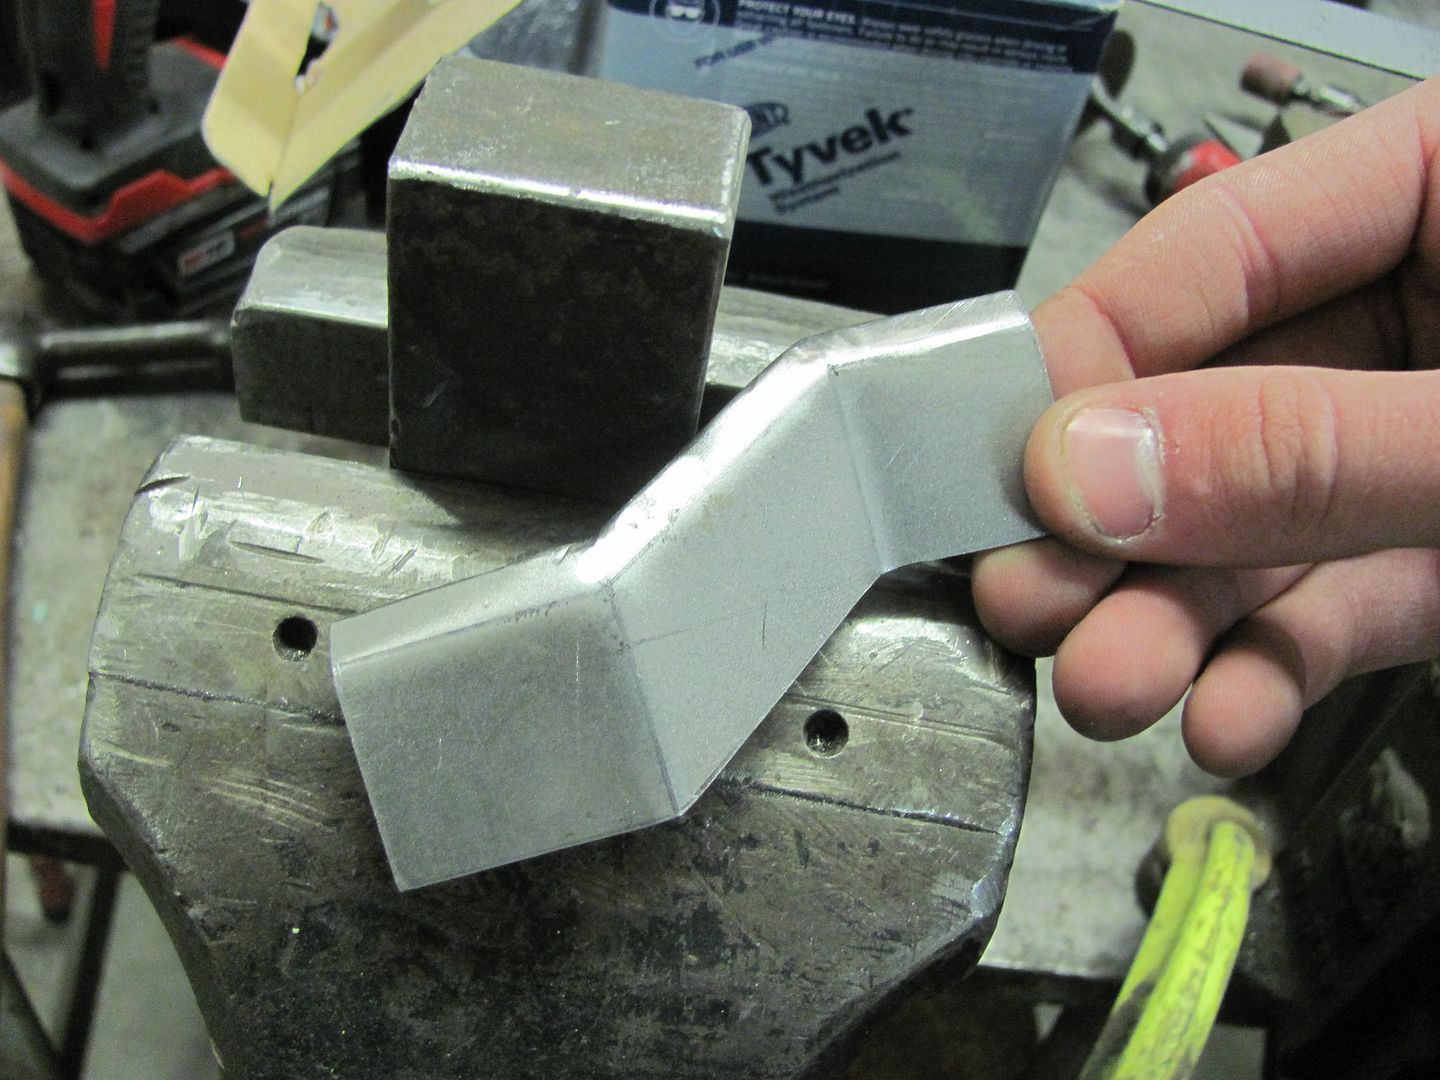
Today Kyle cut out the battery tray's zee bracket, and I had told him we should tip the top lip first and then make the vertical bends...
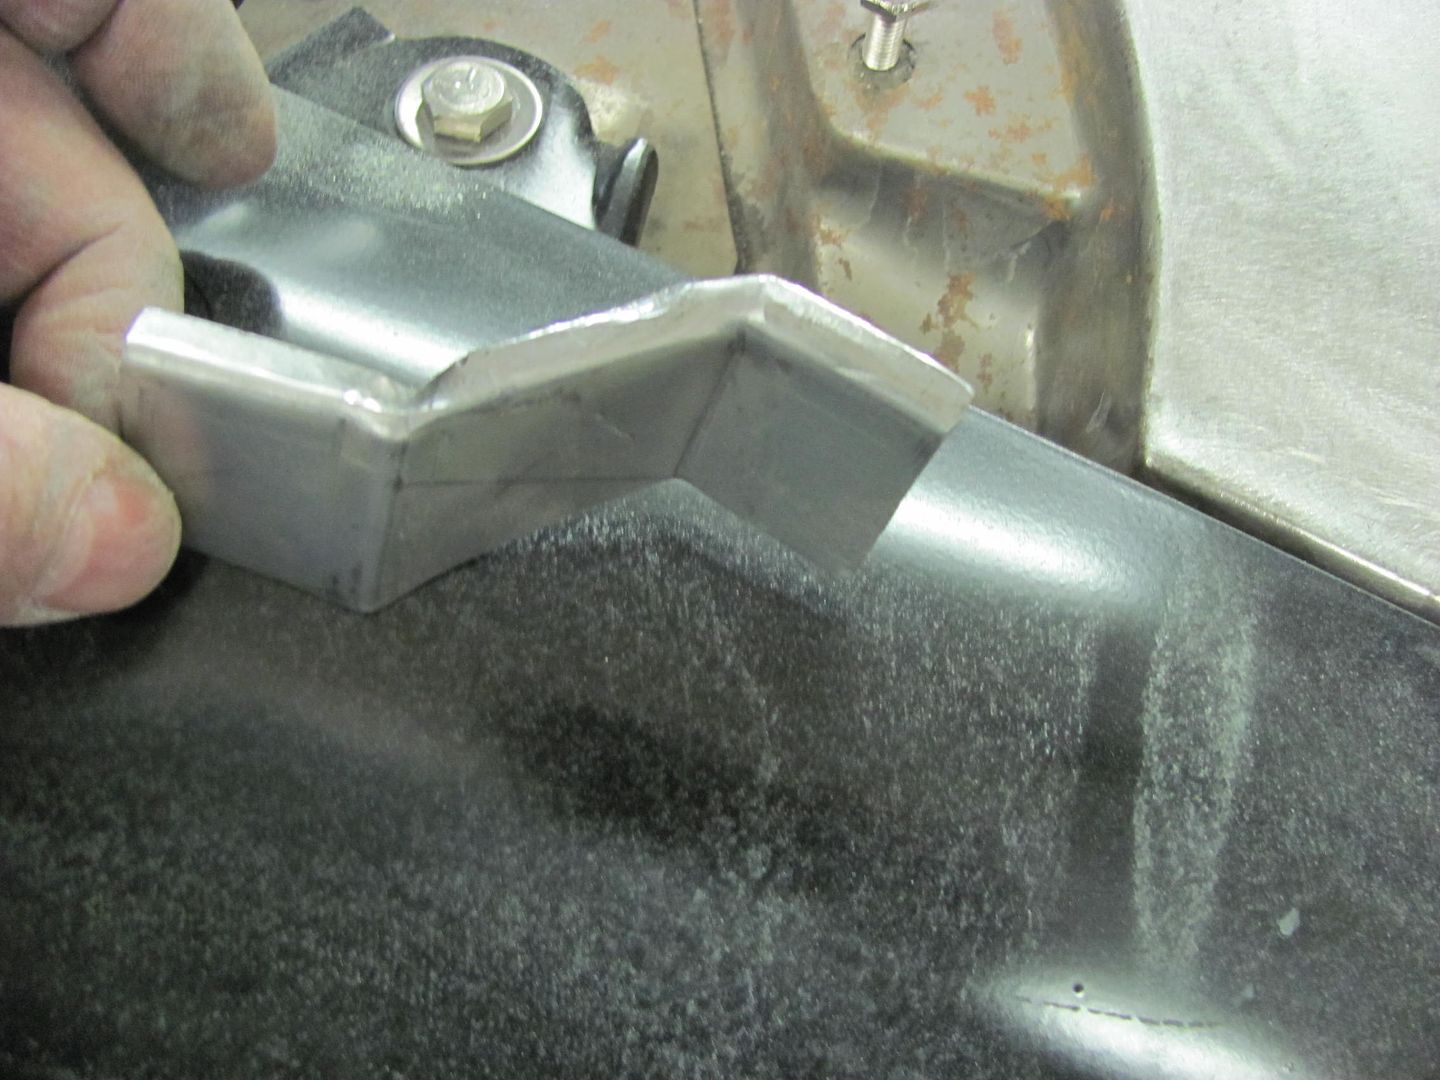
As you can see, it turned out horribly, and sometimes I need a learning curve myself...
We had used a narrow bottom die to tip the top flange, and should have also used something different for the vertical bends.
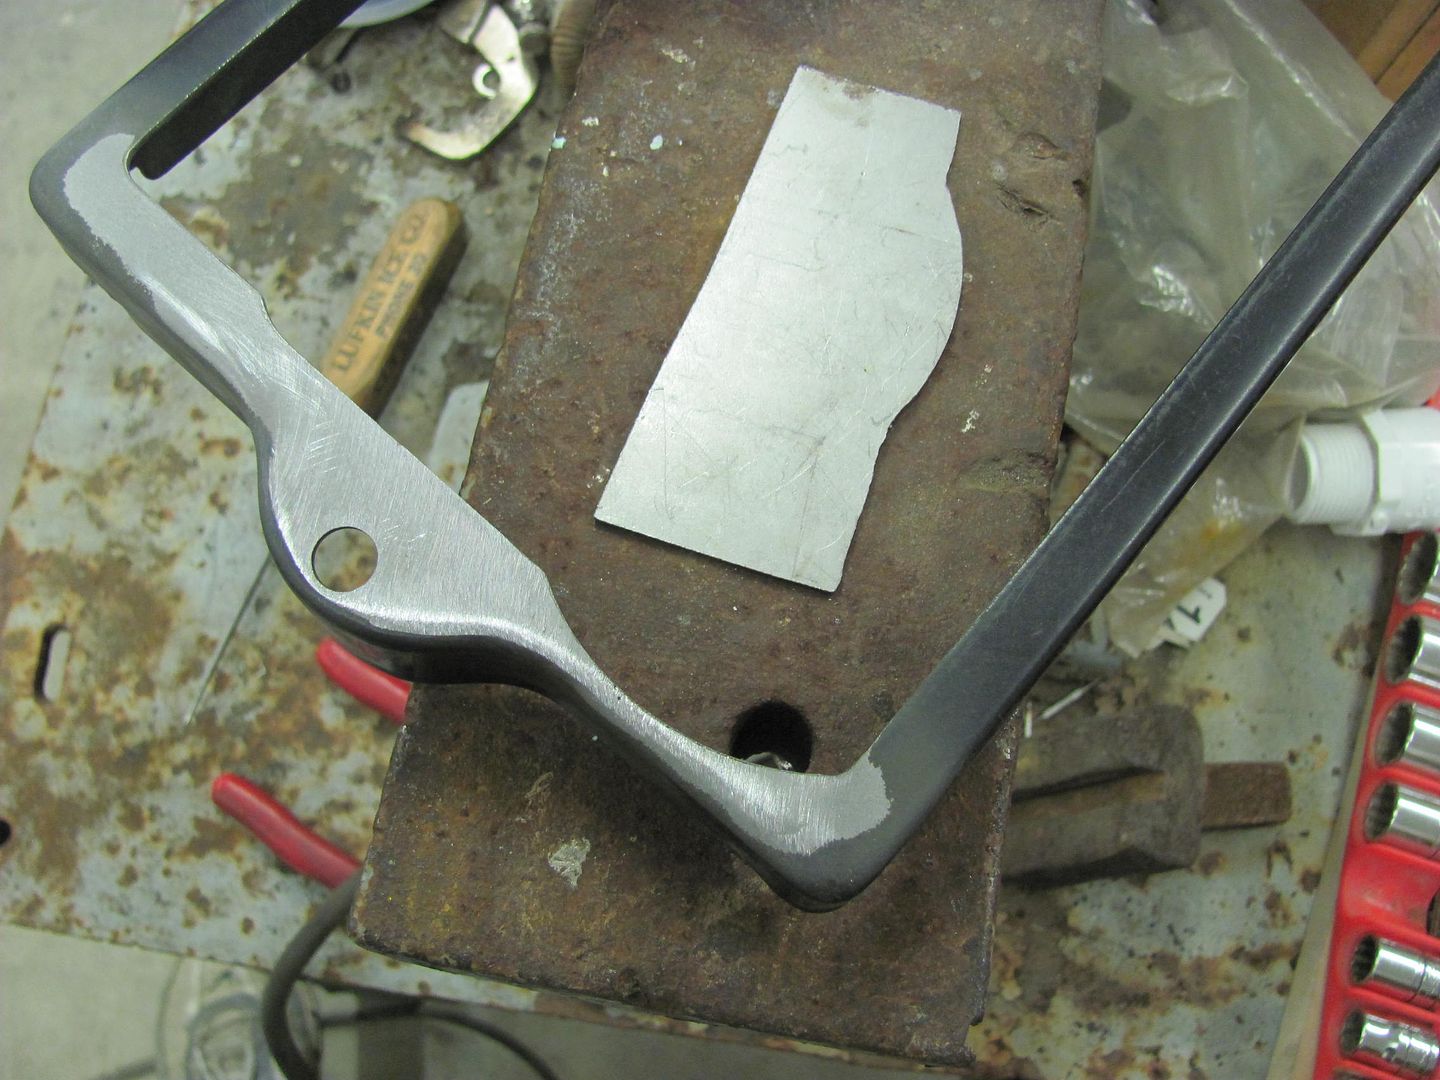
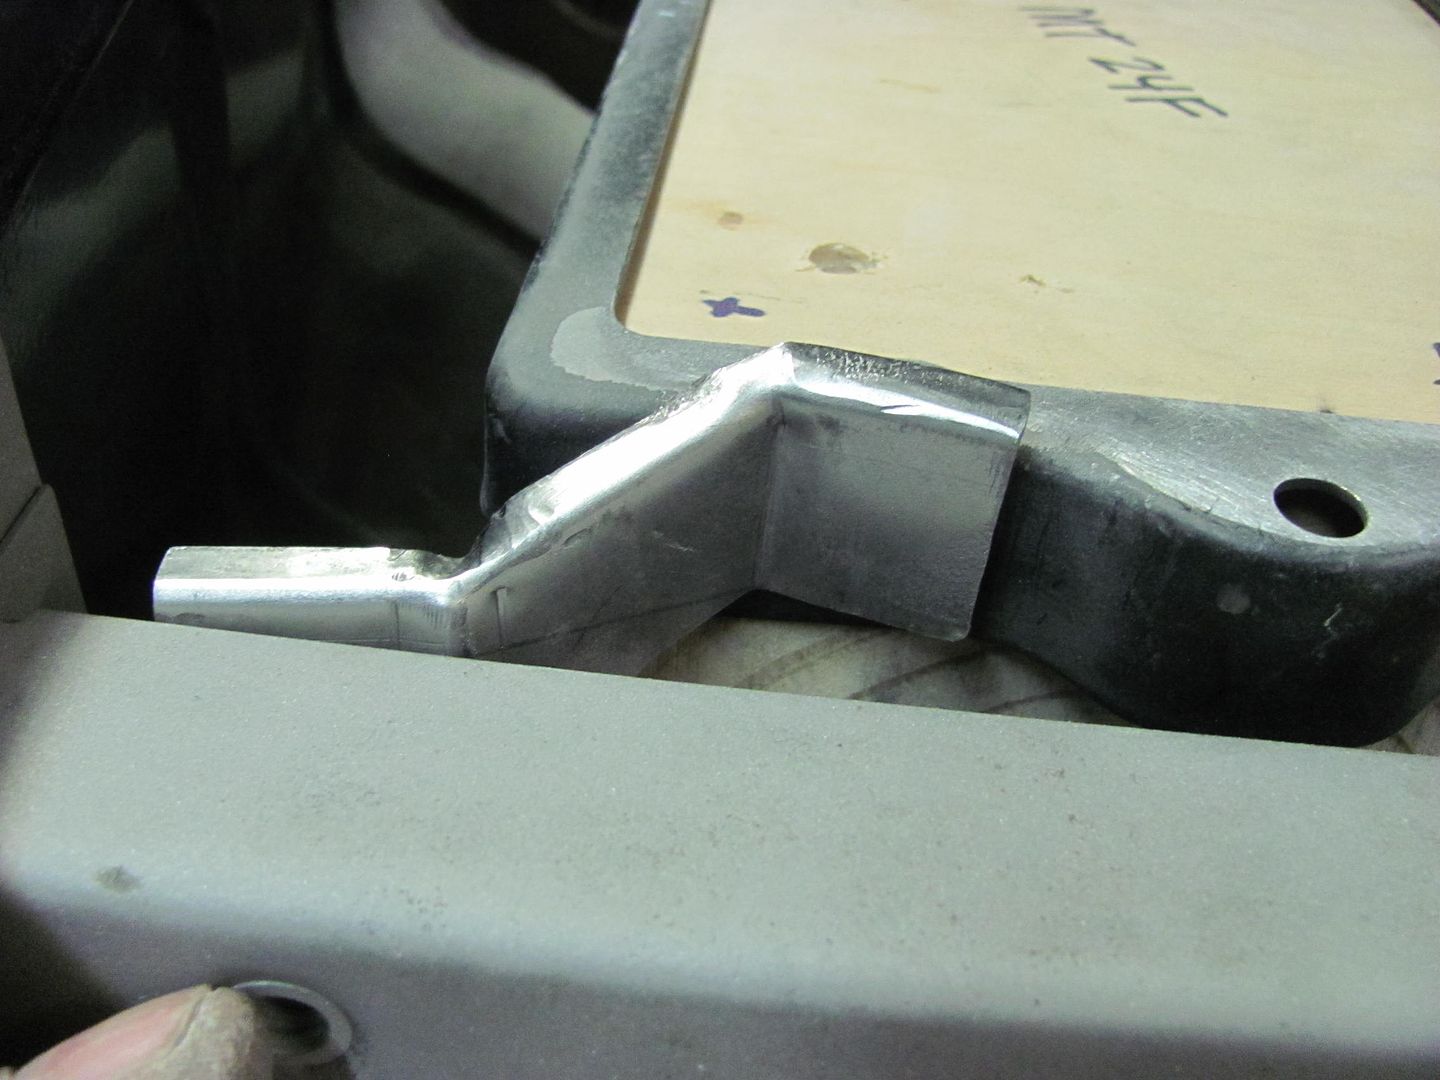
So let's back up and punt, here bending the vertical bends FIRST and using a roll former die to keep any markings to a minimum. We did a partial bend here, then did a partial tip, and jumped back and forth a few times for a much better result:
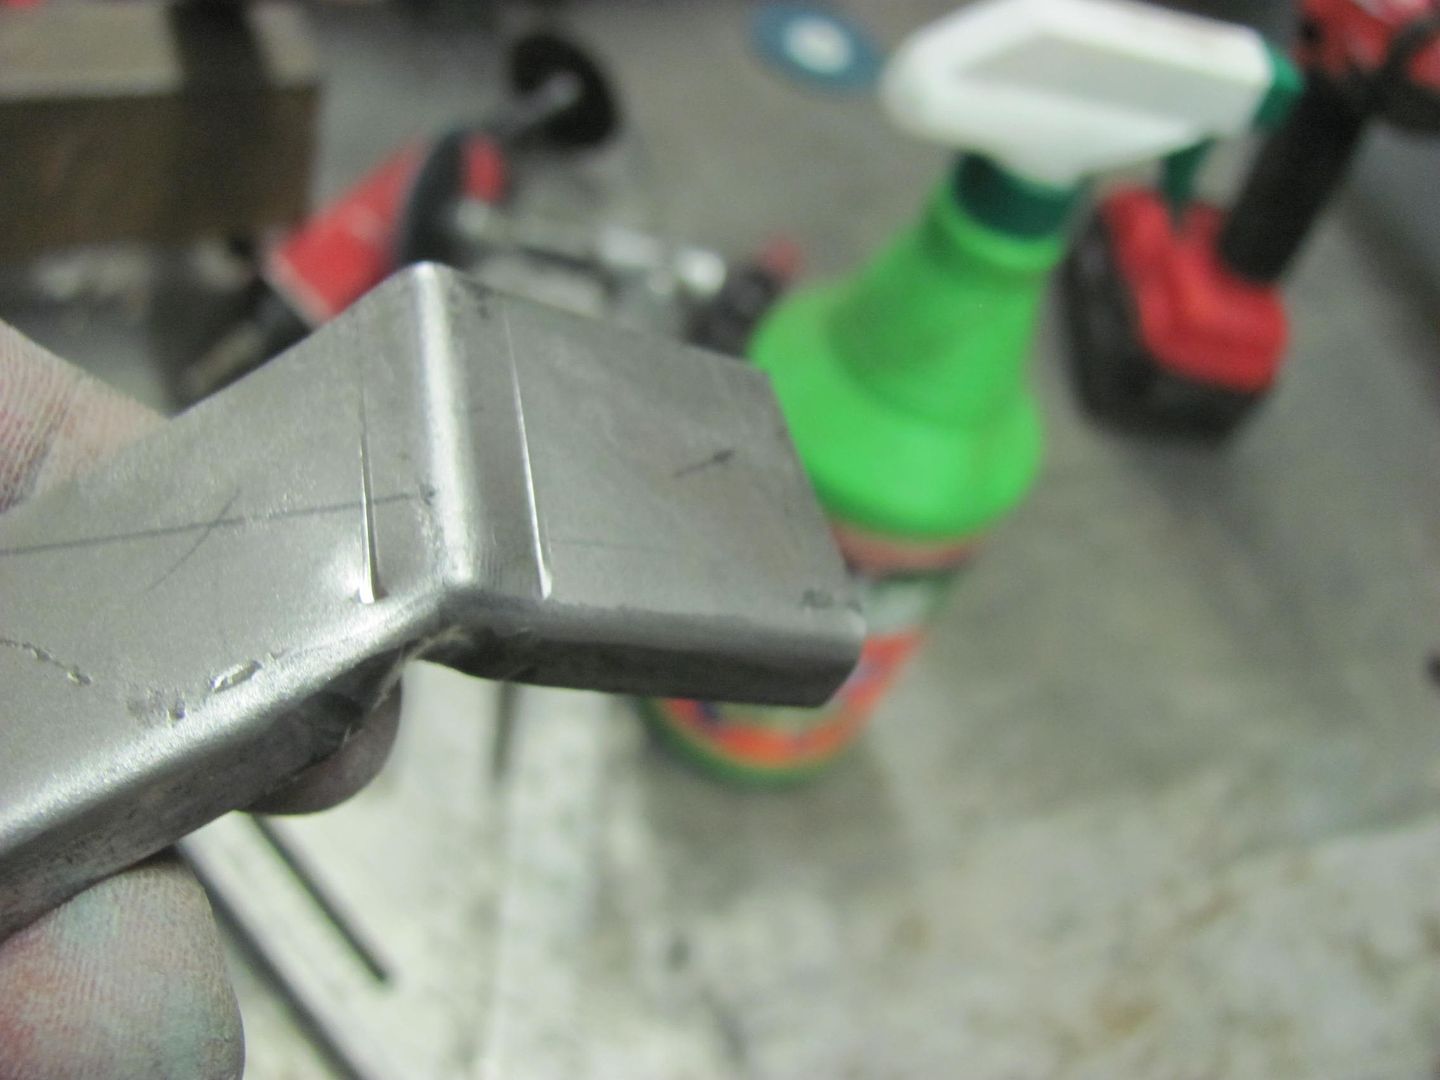
Plug welded through the thinner battery hold down into the 16 ga metal of the zee bracket using a Letter A sized holes and enough heat for weld penetration to show on the back side...
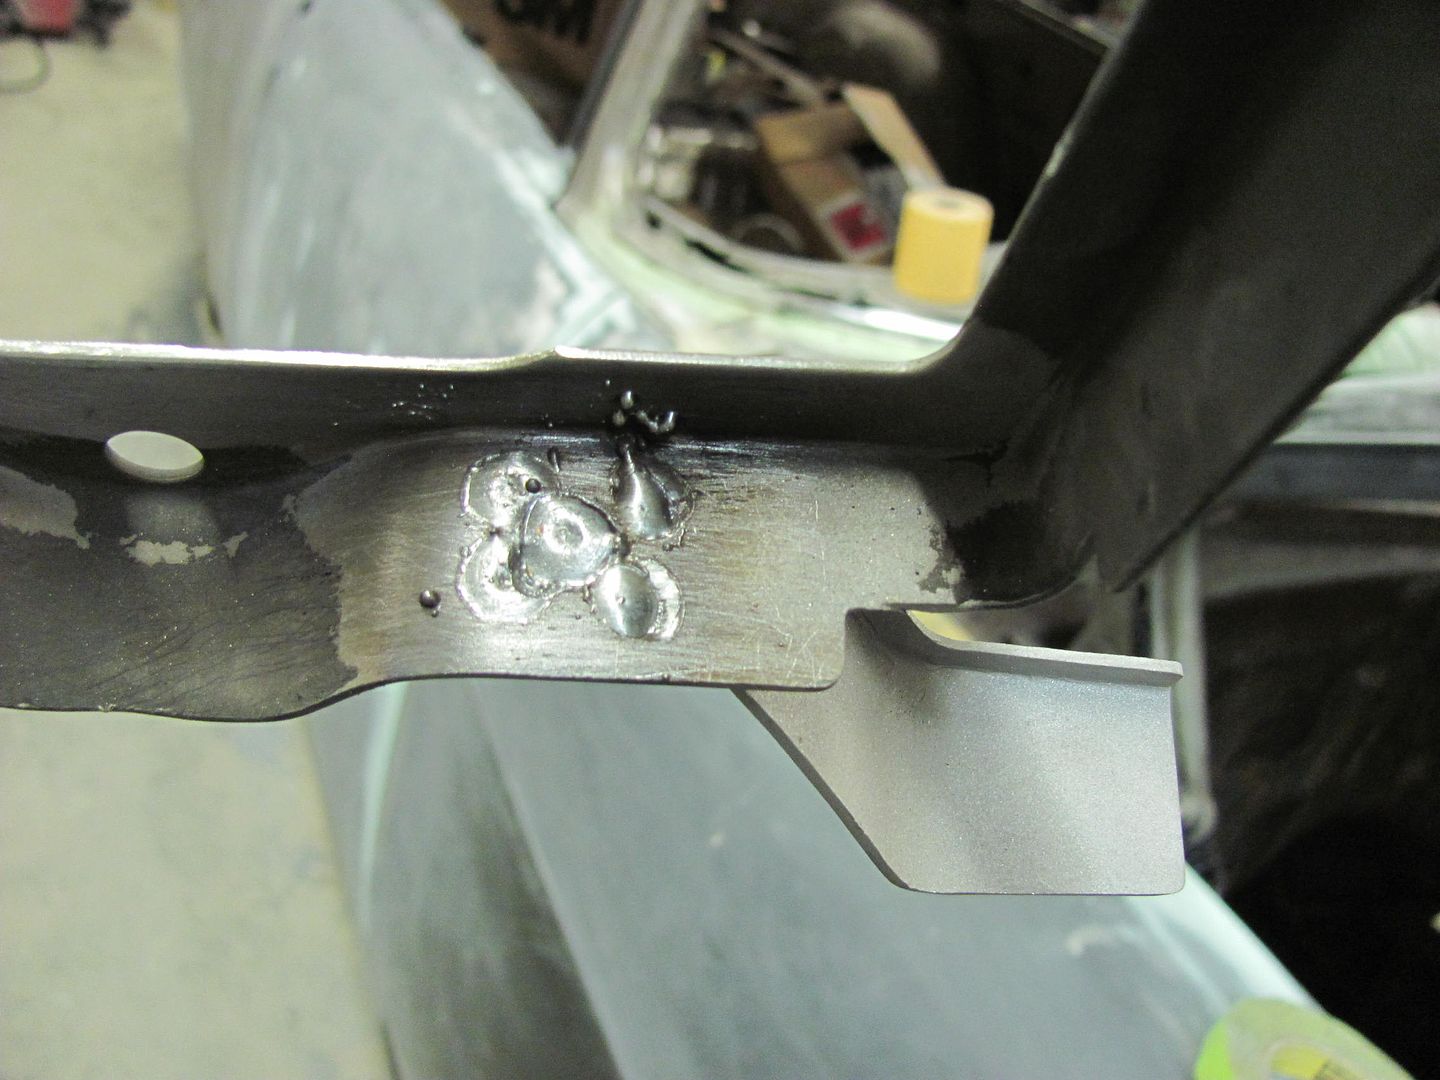

Also did more fine tuning on the front end today..
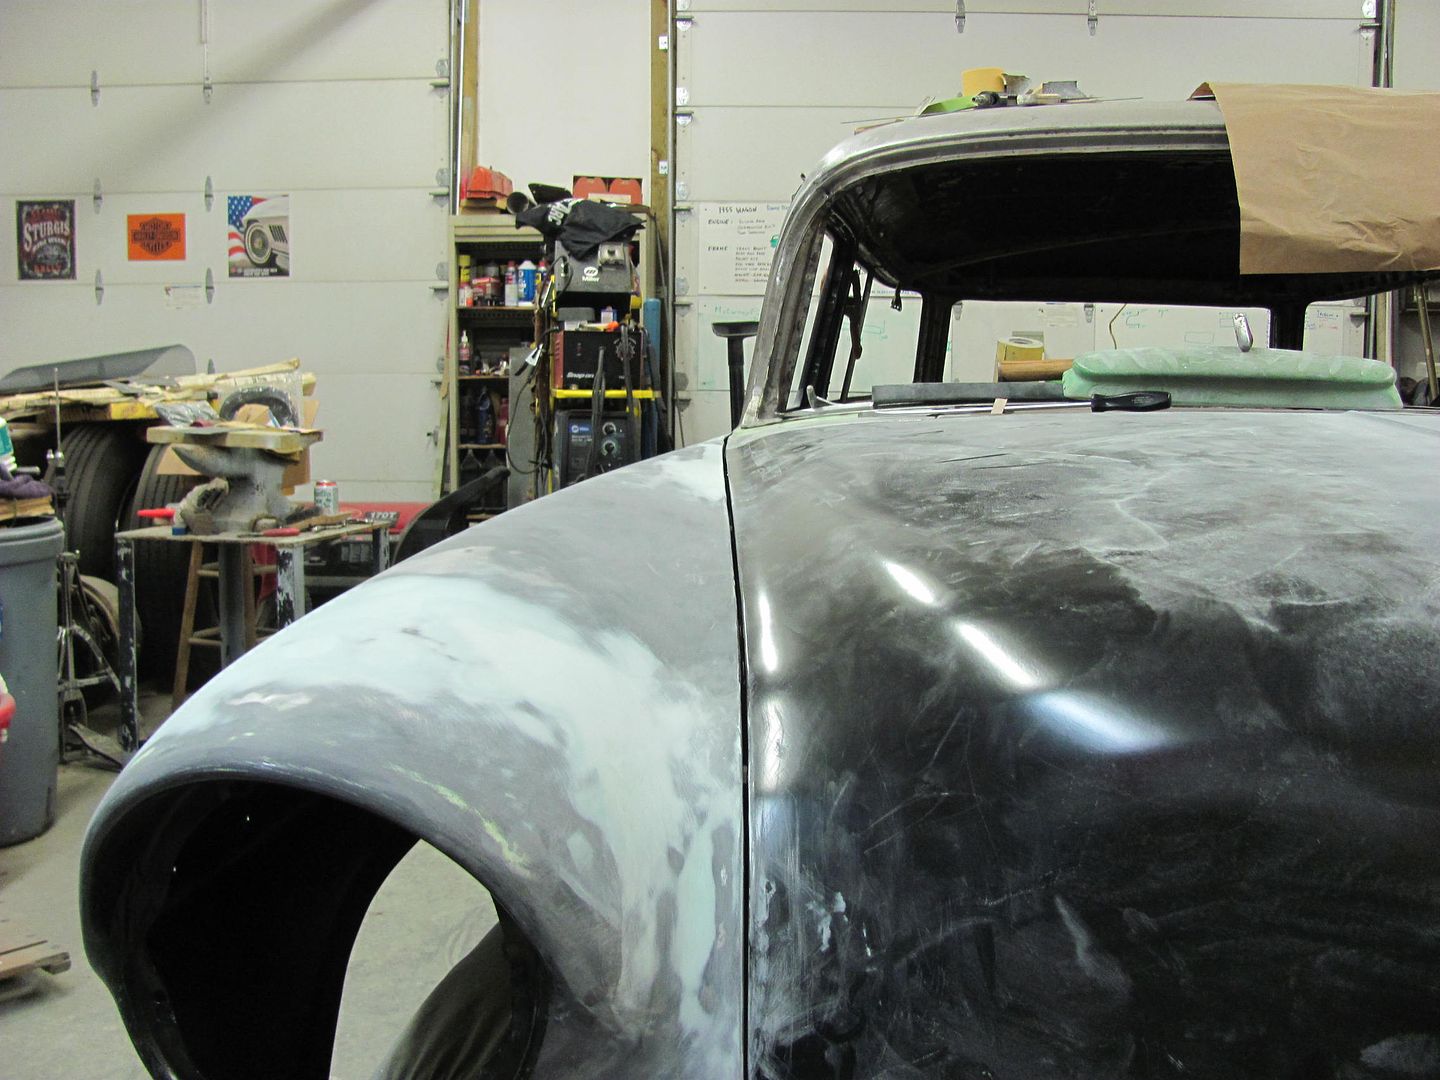
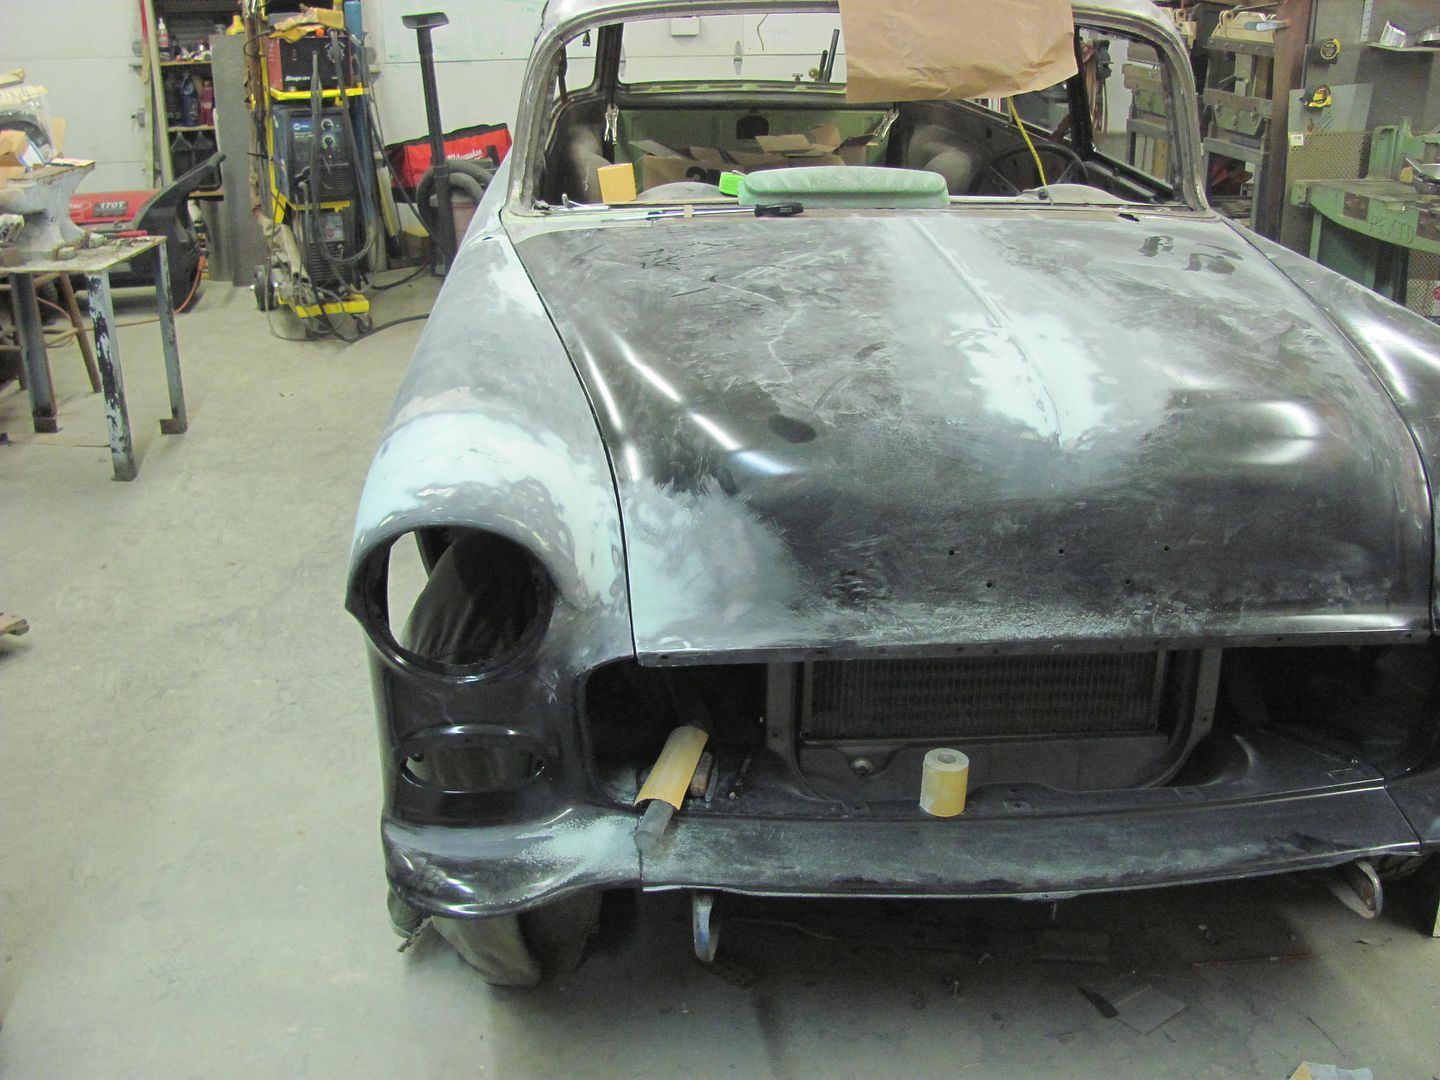
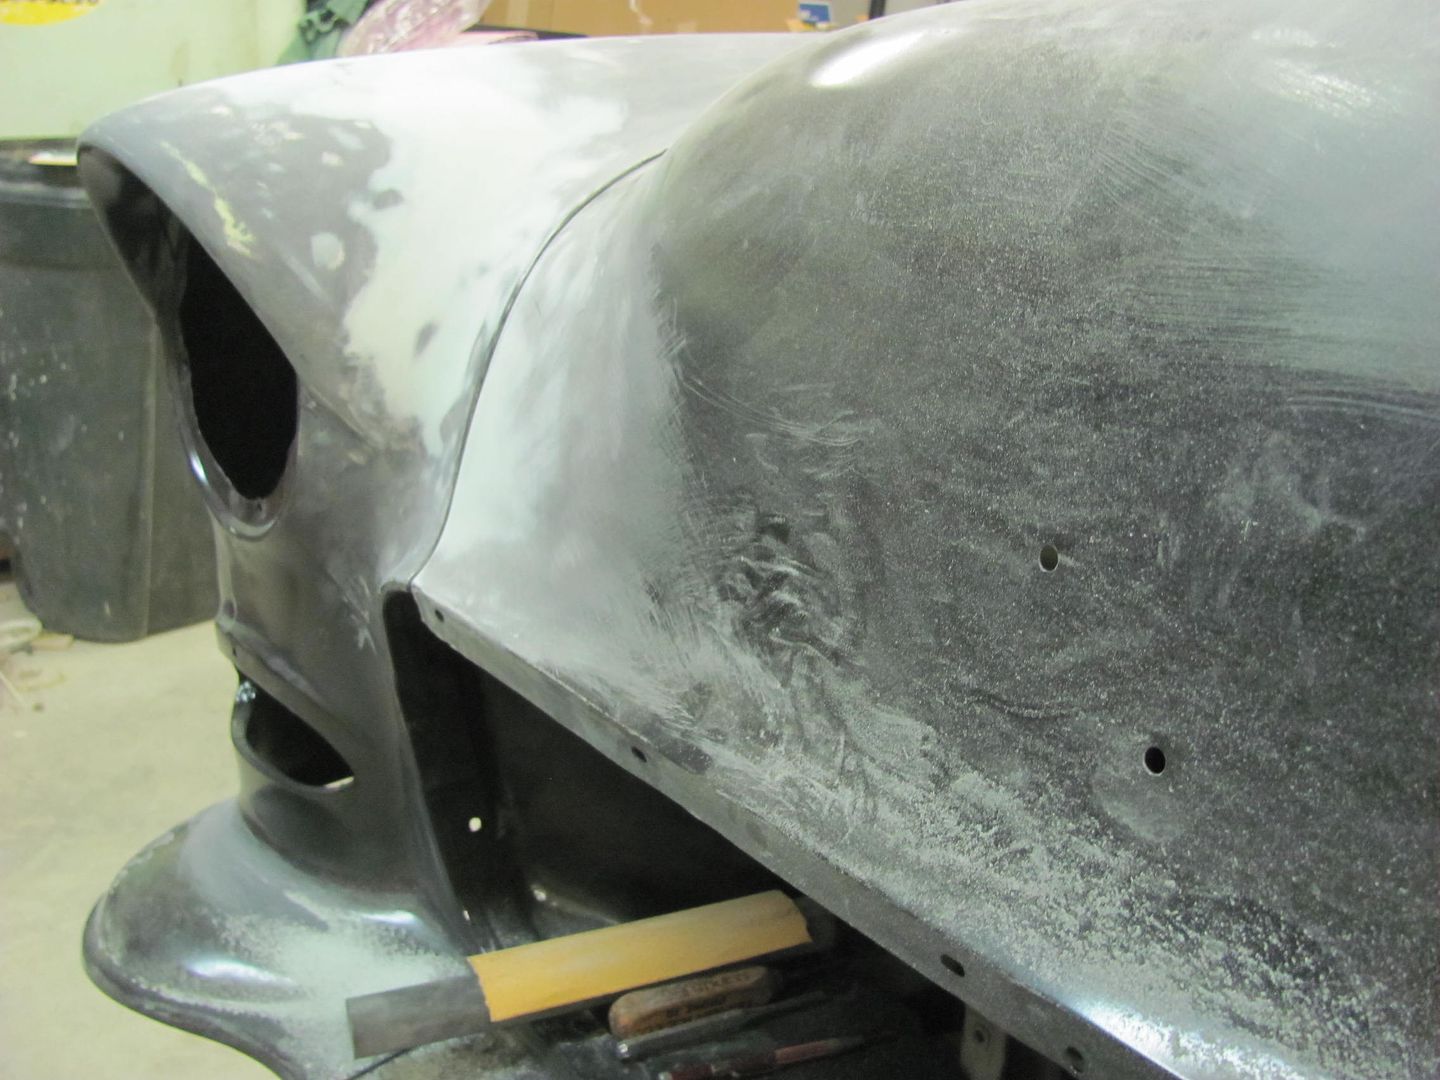
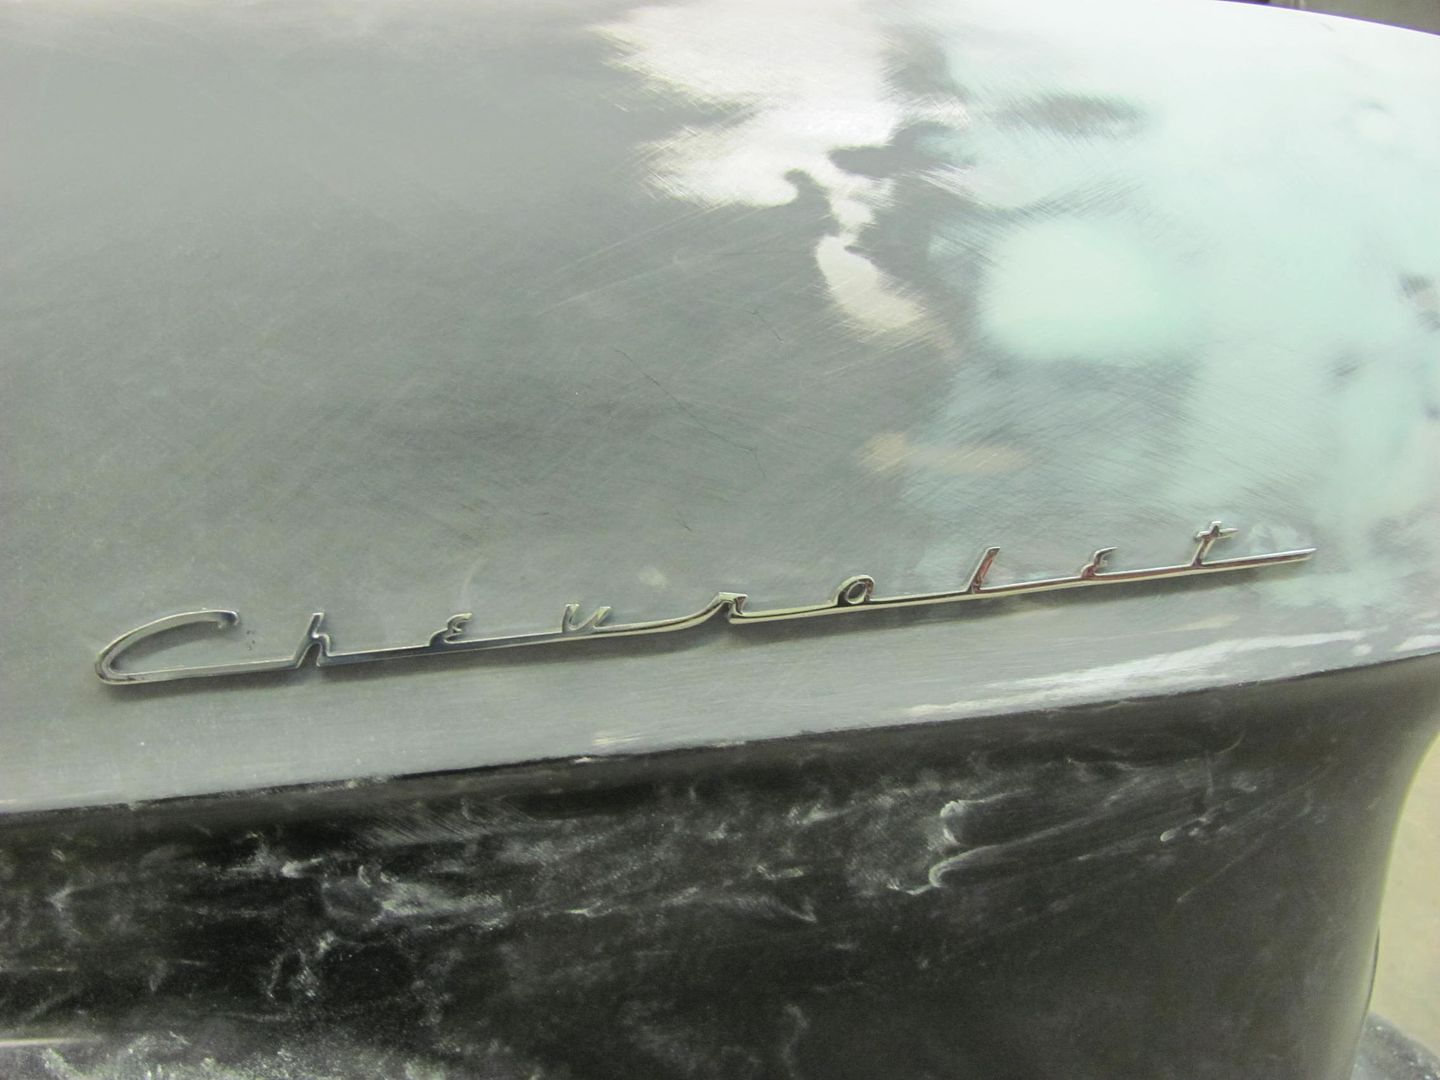
Test fit of the "early" side emblem..
Last edited by MP&C; 01-31-2015 at 05:26 PM.
Robert
 Reply With Quote

Posting Permissions
- You may not post new threads
- You may not post replies
- You may not post attachments
- You may not edit your posts

I’m also late to this party. RIP John Boy
John Norton aka johnboy