


 1Likes

Results 31 to 45 of 145
 LinkBack URL
 About LinkBacks
Hybrid View
-
07-30-2007 10:38 PM #1
 CHR Member

- Join Date
- Jul 2003
- Location
- Kentucky
- Car Year, Make, Model: 47 Seagrave
- Posts
- 683
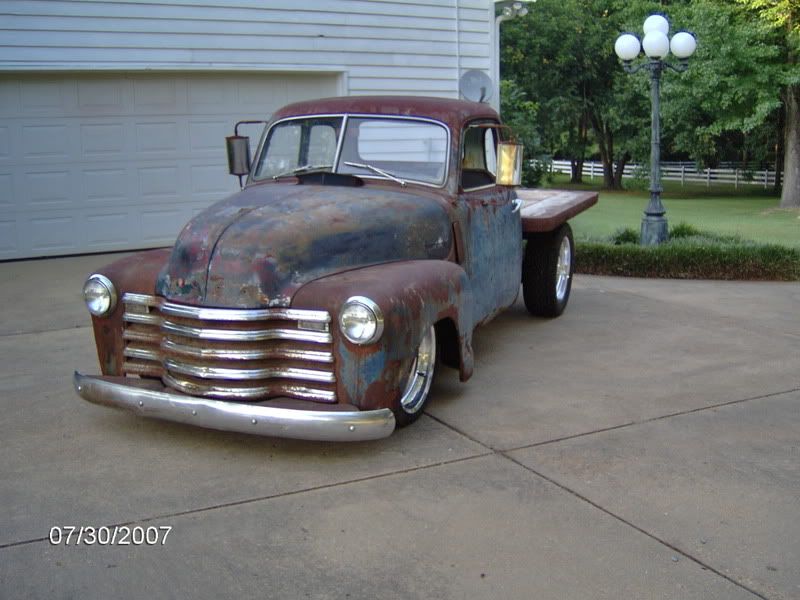
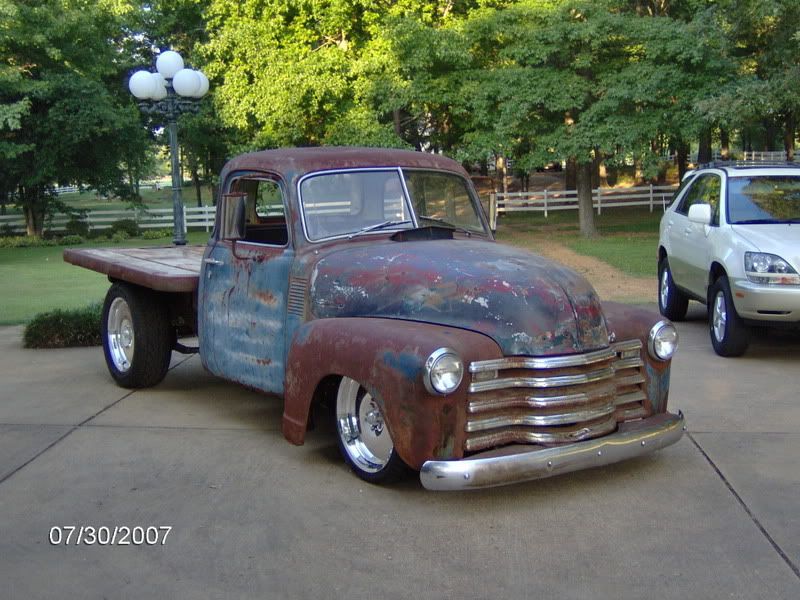
Didn't get it finished this weekend.
But here are some pics that we took to send to the insurance guy.
Lowered the front bumper. Raised the rear by 1.5" Fixed my F'd up driveshaft. Did some more work on the dash.
-
08-03-2007 11:42 PM #2
CHR Member
- Join Date
- Jul 2007
- Location
- Portland
- Car Year, Make, Model: 1971 Ford F-100 Custom, 351 Windsor
- Posts
- 44
this makes me want to go make this one guy an offer on his 3 40's Ford pickups that are sitting in his yard rusting away. fah.
-
08-12-2007 04:47 PM #3
CHR Member
- Join Date
- Jul 2003
- Location
- Kentucky
- Car Year, Make, Model: 47 Seagrave
- Posts
- 683
I missed the nationals and it looks like I'm gonna miss frog follies too.
It's just too darn hot to do anything.
-
08-12-2007 09:18 PM #4
CHR Member
- Join Date
- Dec 2006
- Location
- Fruita
- Car Year, Make, Model: 39 Chevy Pickup
- Posts
- 51
You have worked so hard to get it where it is, it is a shame not to go show it off, but you're right about the heat. BoneheadCustomz.com
-
08-31-2007 05:37 PM #5
CHR Member
- Join Date
- Jul 2007
- Location
- Stillwater
- Car Year, Make, Model: 1950 Chevy 3600, 1976 Chevy Silverado
- Posts
- 17
Very good looking truck Flipper_1938. I myself am working on a 50 chevy 3600 to a 4x4 s10 swap. I just had a quick question for you. What did you do with your radiator. My core support is hitting the steering box and i really don't want to cut it up. Just curious to see what a fellow AD truck guy would do.
ThanksLast edited by Tyler24; 08-31-2007 at 05:43 PM.
-
09-01-2007 02:41 PM #6
CHR Member
- Join Date
- Jul 2003
- Location
- Kentucky
- Car Year, Make, Model: 47 Seagrave
- Posts
- 683
I angled my radiator out in front of the steering box. I am using a little radiator out of a toyota pickup with a tight fitting shroud and a big electric fan. I hope it works. Originally Posted by Tyler24
When I got around to the radiator, I was wishing I made taller body mounts and had a little more room.
-
10-14-2007 07:10 PM #7
CHR Member
- Join Date
- Jul 2003
- Location
- Kentucky
- Car Year, Make, Model: 47 Seagrave
- Posts
- 683
I finally cranked it!!!!!!
The big headers and big pipes sound killer. It idles about like a pro-stocker. A little on the loud side, but I'm gonna try it as is (well, maybe put turndowns on the mufflers).
Now I need a gas pedal so I can drive it.
-
04-23-2008 04:19 PM #8
CHR Member
- Join Date
- Jul 2003
- Location
- Kentucky
- Car Year, Make, Model: 47 Seagrave
- Posts
- 683
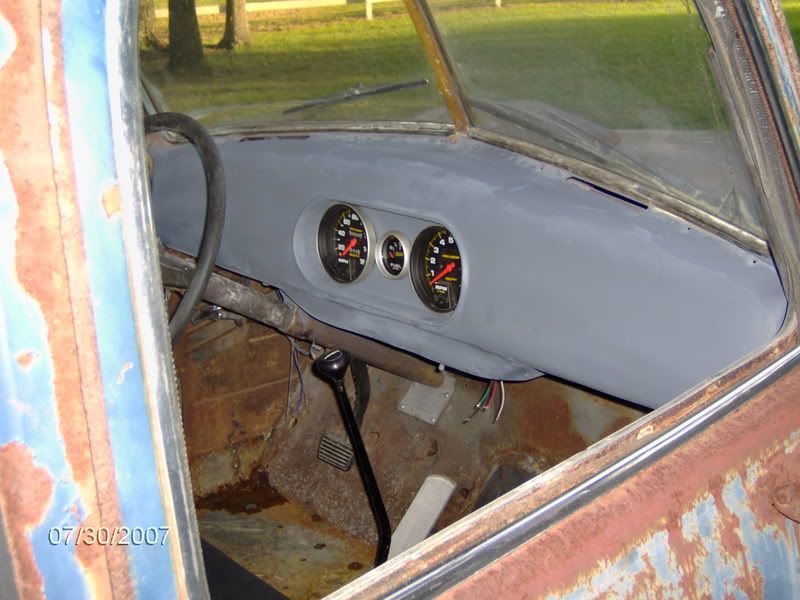
I finally thought to take some pictures of the painted dash
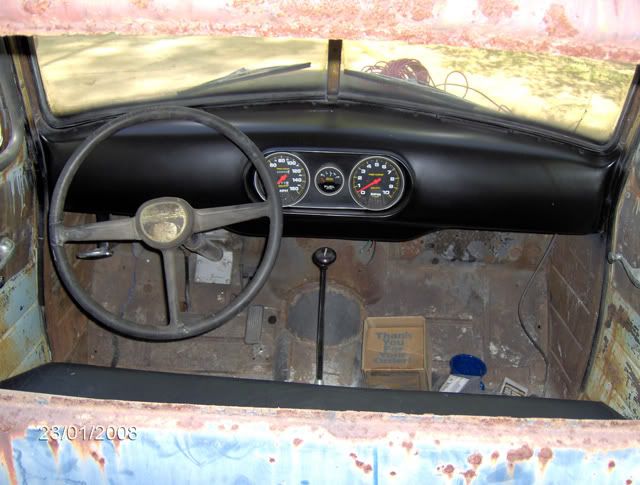
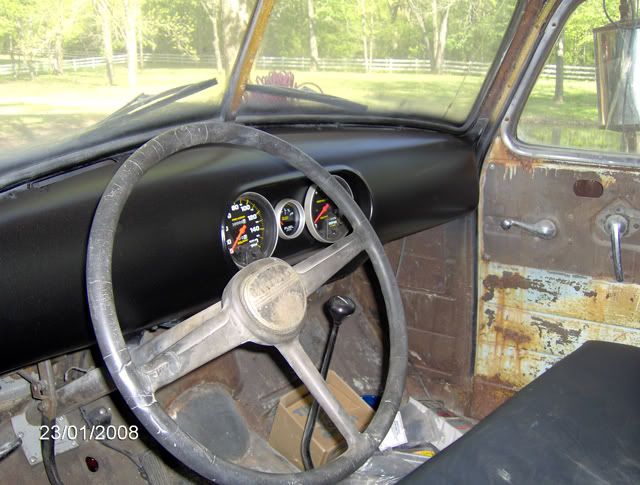
....and the second "dash" (ignition, headlight switch, wiper switch and dimmer are in the seat base)
Oh yeah, wiring is a pain in the butt!!!! I used an EZ harness. It would have been easier if I mounted the panel on the firewall....like they suggested, instead of under the seat. I had to "adjust" darn near every wire to make it work that way.
-
04-24-2008 04:57 AM #9
CHR Member
- Join Date
- Jul 2005
- Location
- Miami
- Car Year, Make, Model: 1938 Chevy Coupe
- Posts
- 129
I have been patiently waiting on an update.
Under the seat will pay off it just looks cleaner that way.
Nice work.Peace and Bacon Grease
38Project
-
05-12-2008 06:59 PM #10
CHR Member
- Join Date
- Jul 2003
- Location
- Kentucky
- Car Year, Make, Model: 47 Seagrave
- Posts
- 683
This weekend, I swapped out the power steering box for a S-10 manual steering box......no squeeling belts for me!
....and added dual filament light sockets to the original running light housings. I now have running lights AND turn signals up front without disturbing the farm fresh look.
Neither mod was all that exciting, so I didn't document it with pictures.
-
06-17-2008 05:24 PM #11
CHR Member/Contributor
- Join Date
- Jul 2007
- Location
- Ellsworth
- Car Year, Make, Model: 29 Essex RS Coupe
- Posts
- 377
NICE nice! I love the dash, plain, simple, sweet! In my area those 47-54 Chevys are $$$$$$. I'd love to own one someday though! Perley
-
06-17-2008 05:28 PM #12
CHR Member
- Join Date
- Oct 2007
- Location
- Petaluma
- Car Year, Make, Model: 48 Ford F1
- Posts
- 9,795
Nice to see a fellow truck builder, even if it is a chevy! Seriously I like those old Chevy's, especially the front grills!
"  "No matter where you go, there you are!" Steve.
-
07-14-2008 04:18 PM #13
CHR Member
- Join Date
- Jul 2003
- Location
- Kentucky
- Car Year, Make, Model: 47 Seagrave
- Posts
- 683
Here are some updates on the truck....
I am using the old add-on turn signal swith that came with the truck...it was designed to use add-on turn signals instead of interupting the brake lights.
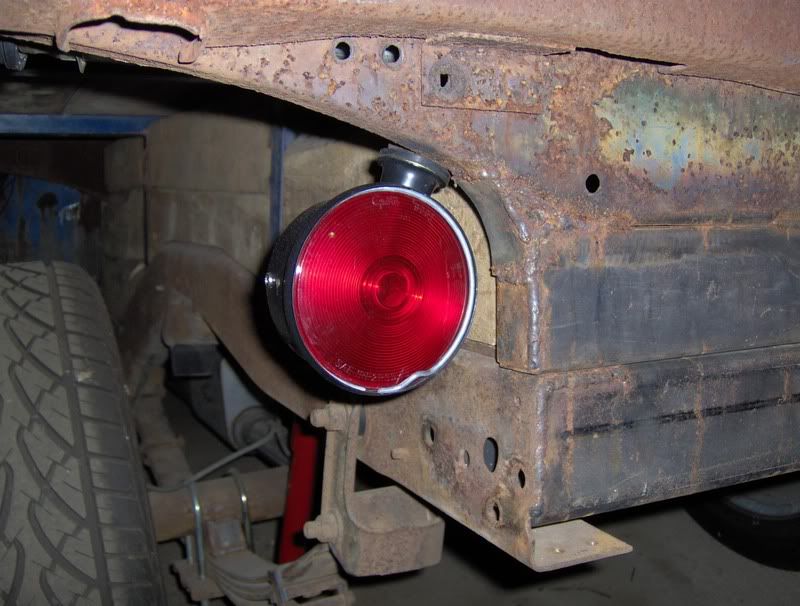
...my tail lights only have two filaments, but I need 3 circuits. I am happy with the look of the rear and didn't want to add seperate lights for the blinkers.
I am not 100% happy with my solution, but I added a couple of strips of LEDs inside each tail light housing....in the shape of a "< " on the driver side and a " > " on the passenger side.
....but the lenses distort the pattern and it kinda looks like a starburst semi-circle when they light up instead of an arrow.
I tried moving the LEDs closer to the lense....and I do get a better pattern on the turn signals, but also get an ugly shadow when I light up the filament for the brake lights (only about 2/3 of the tail light looks lit up).
My dad's idea for a fix is to glue little pieces of hose over each LED to tunnel the light up to the lense (so it just makes a dot instead of a startburst).
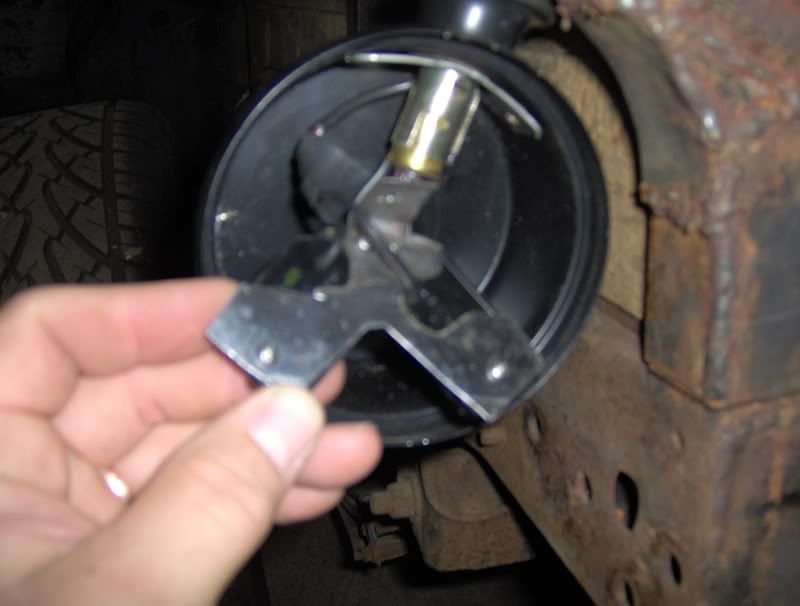
Here are pics of my turn signals.
With the lense removed. The arrow is made from 2 LED clearance lights from Wally-world.

These were the left overs from the clearance lights (some cutting required)
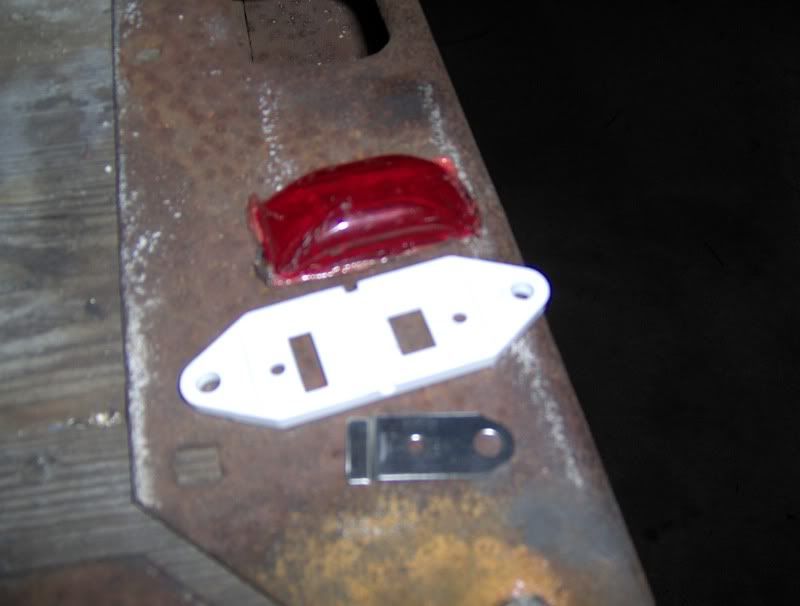
I made a bracket from a piece of jaguar XJS chrome (I recycle)
I re-used the OLD turn signal switch that was in the truck when I bought it (spray-bombed of course). The wires are pulled through a piece of un-shrunk heat-shrink tubing. Looks nice and it was damn near free.
-
07-14-2008 04:20 PM #14
CHR Member
- Join Date
- Jul 2003
- Location
- Kentucky
- Car Year, Make, Model: 47 Seagrave
- Posts
- 683
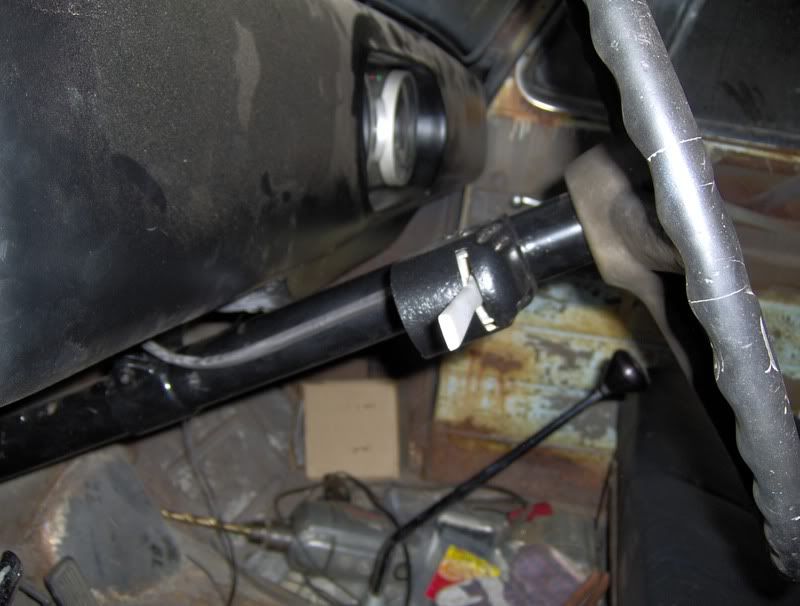
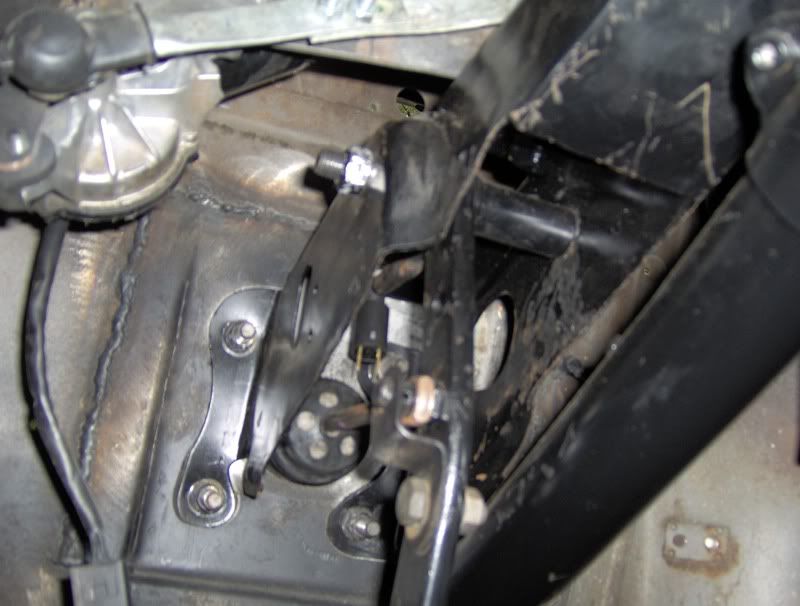
This was my solution for the brake switch. I mounted a mid 80's GM switch in the top, rear surface of the S-10 brake bracket and then addwd an arm to the back of the brake pedal. The you hit the brakes, the lever moves up...and off of the switch. (I should have taken pics while the whole assembly was out.
-
07-14-2008 04:22 PM #15
CHR Member
- Join Date
- Jul 2003
- Location
- Kentucky
- Car Year, Make, Model: 47 Seagrave
- Posts
- 683
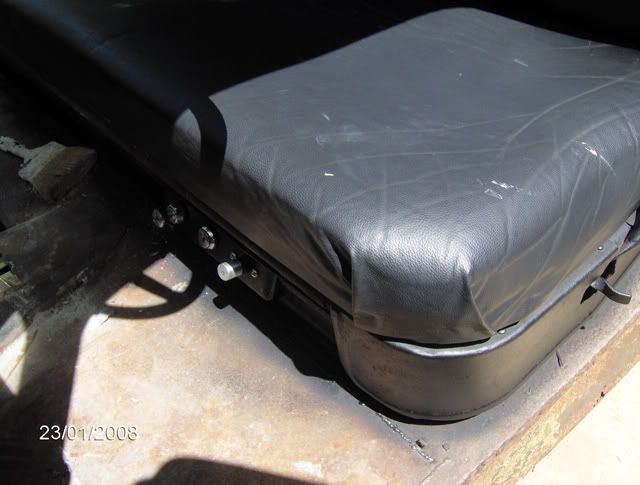
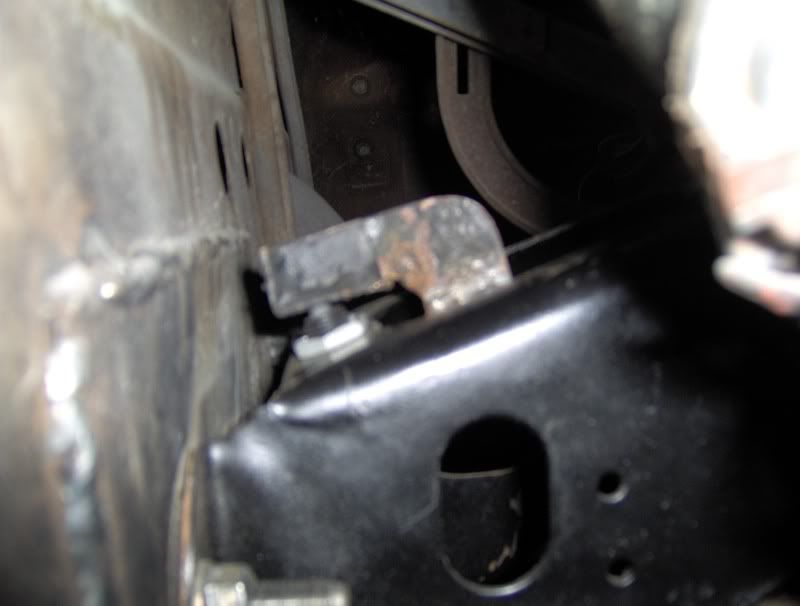
I realized I need more switches (electric fan and hazard lights), but didn't want them mounted just anywhere. I squeezed them in my new "seat dash"
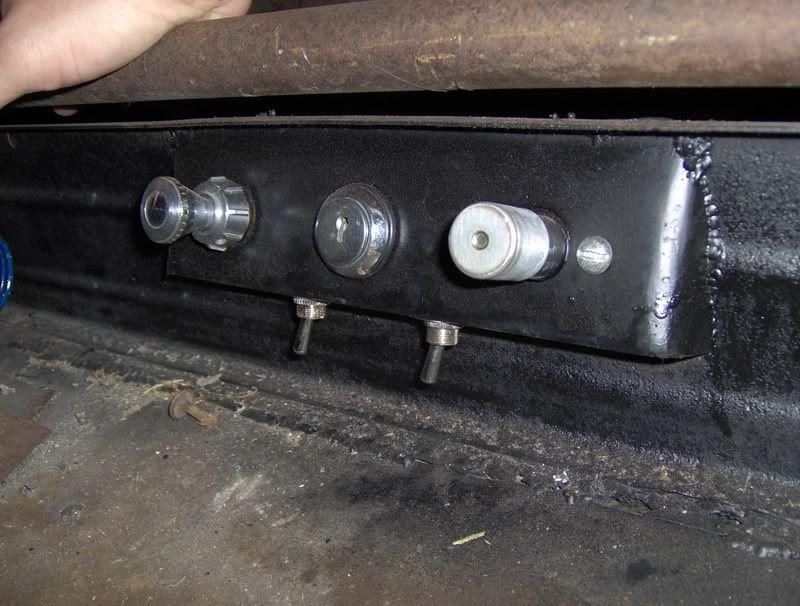
It was a tight fit trying to fit them in the switch panel that was not designed for any extra stuff. I made a cardbodrd template that was the same size as the switch and used a center punch to find a spot where the switches fit.
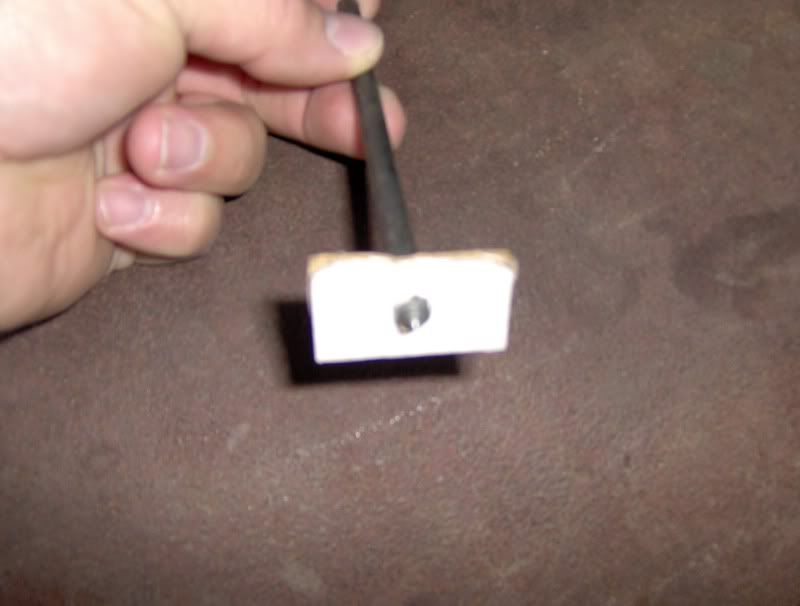
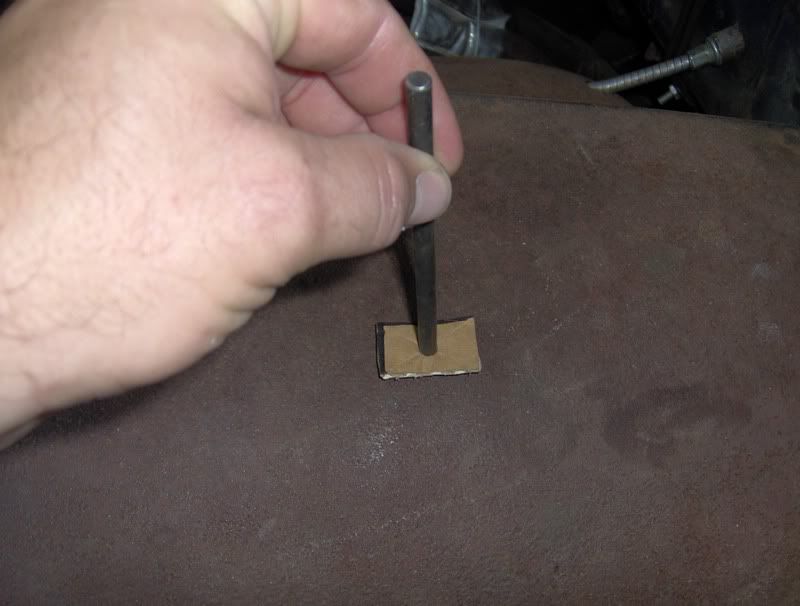
It worked great!

__________________
 Reply With Quote

Posting Permissions
- You may not post new threads
- You may not post replies
- You may not post attachments
- You may not edit your posts

Turn out the lights, the party's over THIS PLACE IS DEAD!
Dead!