


 1Likes

Results 46 to 60 of 145
 LinkBack URL
 About LinkBacks
Hybrid View
-
07-25-2008 09:43 AM #1

 CHR Member

- Join Date
- Oct 2005
- Location
- Victoria
- Car Year, Make, Model: 65 gto
- Posts
- 255
Nice progress on the truck, If you dont mind a suggestion when you get that
far. I had a 52 which I had the strip of seam on the hood removed and filled.
Its makes for a much cleaner look when its smoothed. Just an opinionConfusious say: He who dies with the most toys, Wins
-
07-27-2008 09:32 PM #2
CHR Member
- Join Date
- Jul 2003
- Location
- Kentucky
- Car Year, Make, Model: 47 Seagrave
- Posts
- 683
Man, what a hot nasty weekend for working on a truck!
I started out by making a ton of plugs for all of the holes in the firewall.

Yes this was fresh, clean metal a day earlier. 100% humidity sucks! I welded them in from inside the cab to preserve the 60 year old dirt on the firewall.
Then I installed bubble wrap.
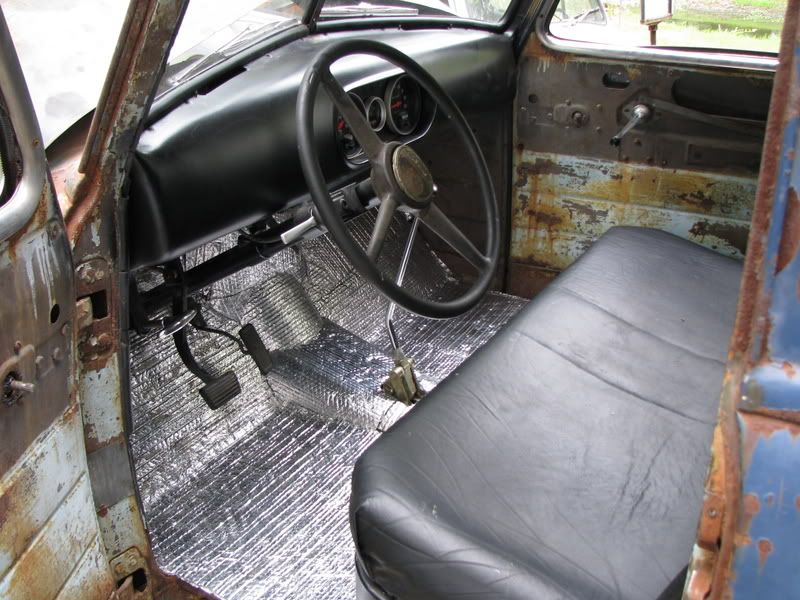
Then installed most of the carpet. I still need to cut pieces for the firewall. I also attempted to make door panels, but the clips I had were too short and didn't really work.

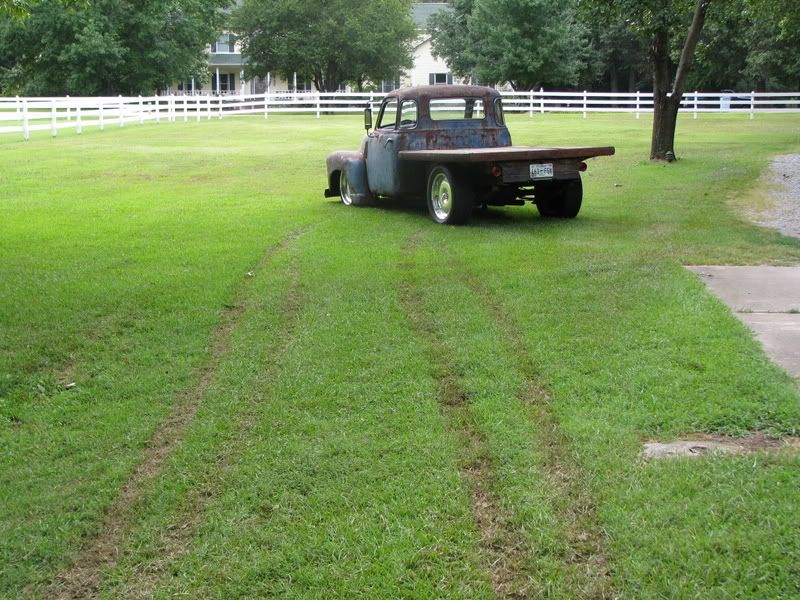
Dad didn't want me doing burnouts on the concrete, so we rutted up the yard One set was mine, the other was his!
Last edited by Flipper_1938; 07-28-2008 at 04:23 AM.
-
07-27-2008 09:47 PM #3
CHR Member
- Join Date
- Jul 2003
- Location
- Kentucky
- Car Year, Make, Model: 47 Seagrave
- Posts
- 683
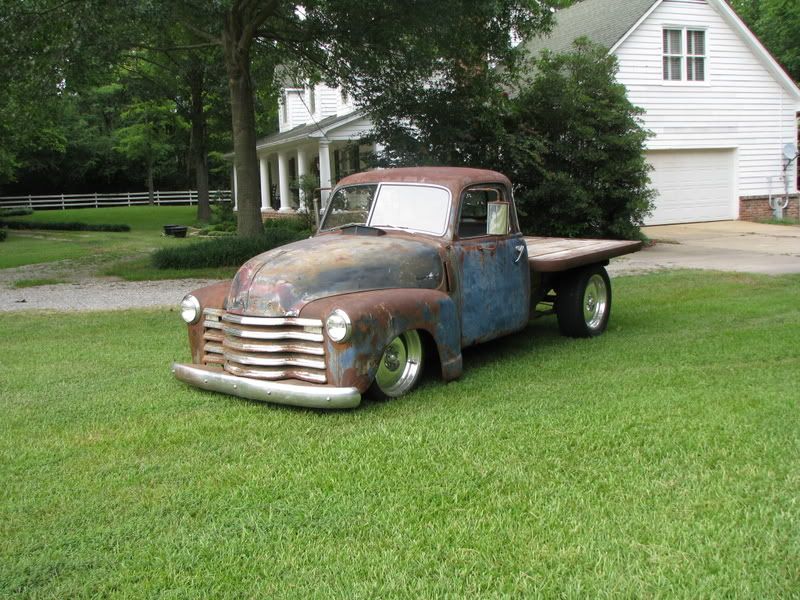
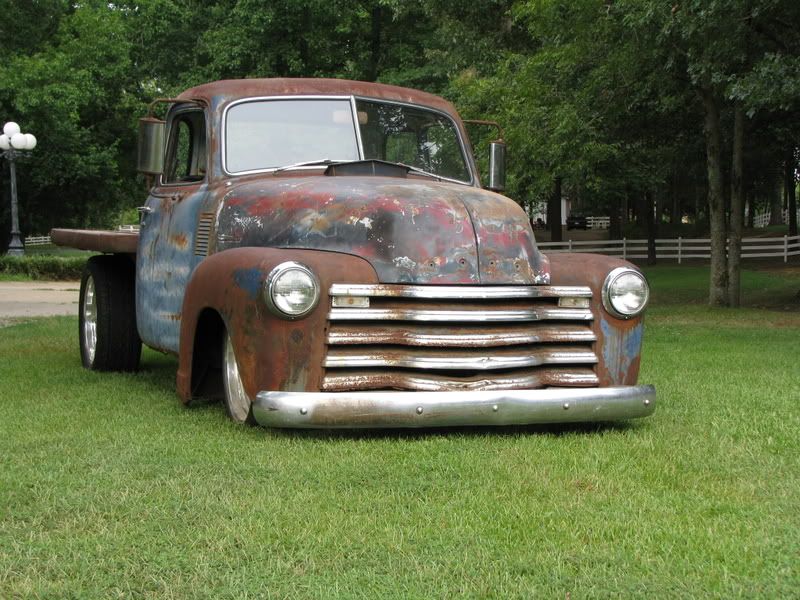
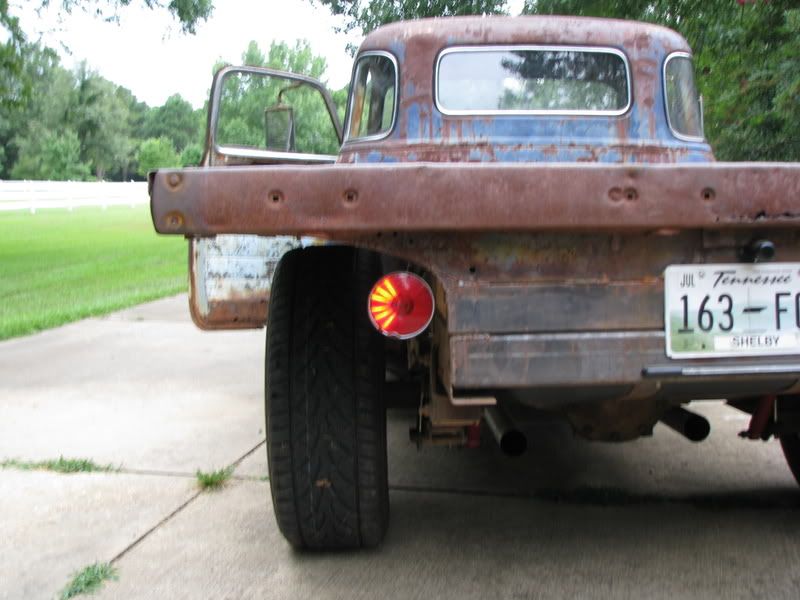
I went ahead and snapped a few more pictures...including one of the blinkers for whoever that was asking.
-
07-27-2008 10:36 PM #4
CHR Member
- Join Date
- Oct 2007
- Location
- Petaluma
- Car Year, Make, Model: 48 Ford F1
- Posts
- 9,795
Nice job! I still need to tackle the firewall holes. There must be twenty or thirty little holes in mine. Makes you wonder what the heck they all were for, and explains why most old cars were freezing cold!
"  "No matter where you go, there you are!" Steve.
-
07-28-2008 03:42 PM #5
CHR Member
- Join Date
- Jul 2003
- Location
- Kentucky
- Car Year, Make, Model: 47 Seagrave
- Posts
- 683
Yeah, there were a bunch....and most are different sizes. They ALL had to be fitted individually. Originally Posted by stovens
-
11-22-2008 09:23 PM #6
Registered User
- Join Date
- Nov 2008
- Location
- clinton township
- Posts
- 2
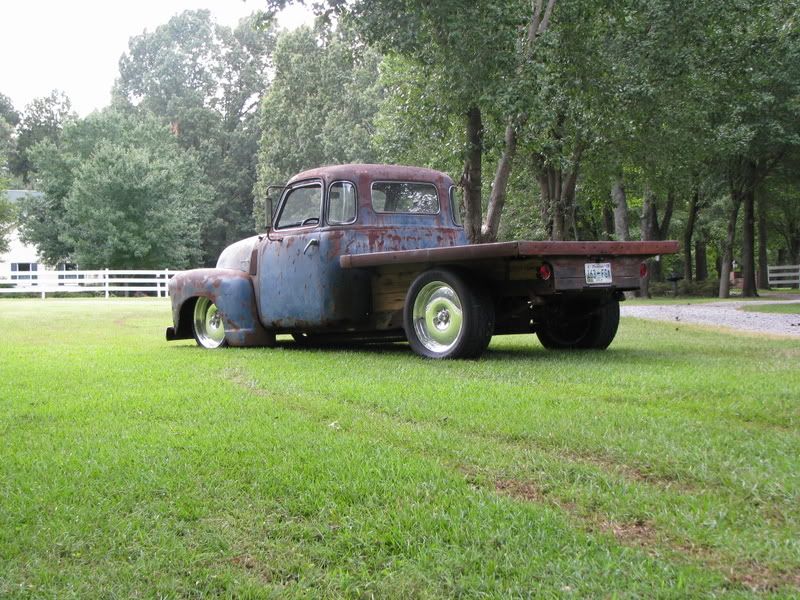
truck looks amazing, great job. i am about to start on my 50 and am doing a frame swap and i was wondering, how far off of the fram is your cab? also did you lower the suspension at all? how tall are your tires? thanks in advance and again amazing truck.
-mike
-
07-28-2008 05:10 AM #7
CHR Member
- Join Date
- Jul 2005
- Location
- Miami
- Car Year, Make, Model: 1938 Chevy Coupe
- Posts
- 129
Man I love the way it sets. Hilarious about the burnouts in the yard!
Grass will grow back.Peace and Bacon Grease
38Project
-
08-19-2008 04:38 AM #8
CHR Member
- Join Date
- Jul 2005
- Location
- Miami
- Car Year, Make, Model: 1938 Chevy Coupe
- Posts
- 129
With the new mufflers installed, have you had any visitors looking for you up and down the streets?Peace and Bacon Grease
38Project
-
08-20-2008 07:57 PM #9
CHR Member
- Join Date
- Jul 2003
- Location
- Kentucky
- Car Year, Make, Model: 47 Seagrave
- Posts
- 683
Nope. It is actually fairly quiet now. ....as far as just driving. Originally Posted by 38project
It still gets a little noisey when the gray haired old guy really sticks his foot in it.
When we get to frog follies, the baffles are comming out. It sounds SO much better/meaner with the exhaust "free flowing".
-
08-24-2008 09:11 AM #10
CHR Member
- Join Date
- Jul 2003
- Location
- Kentucky
- Car Year, Make, Model: 47 Seagrave
- Posts
- 683
We made it to Frog Follies ! ! ! !

-
08-24-2008 11:17 AM #11
CHR Member
- Join Date
- Jul 2005
- Location
- Miami
- Car Year, Make, Model: 1938 Chevy Coupe
- Posts
- 129
Congrats!
Looks good setting there.
Wish there were more pics!Peace and Bacon Grease
38Project
-
08-24-2008 02:30 PM #12
CHR Member
- Join Date
- Jul 2003
- Location
- Kentucky
- Car Year, Make, Model: 47 Seagrave
- Posts
- 683
Originally Posted by 38project
More pics? I feel bad enough for this being a dial-up killer as is.
What else do you want pictures of?
-
08-25-2008 03:59 AM #13
CHR Member
- Join Date
- Jul 2005
- Location
- Miami
- Car Year, Make, Model: 1938 Chevy Coupe
- Posts
- 129
Totally understand!
Didnt know if there were any other interesting trucks there.
Dont worry about, dont want to bog down the system.Peace and Bacon Grease
38Project
-
09-09-2008 06:10 PM #14
 CHR Member/Contributor
- Join Date
- Jun 2006
- Location
- Dallas
- Car Year, Make, Model: 1951 Chevy 3600 3/4 Ton 350/330 700R4
- Posts
- 161
Flipper, looks real good and shows a result of a lot of hard work. I still can't figure whether you're from Memphis or KY. Better get some new tags.1951 Chevy 3600 Long Box
-
09-12-2008 12:59 PM #15
CHR Member
- Join Date
- Jul 2003
- Location
- Kentucky
- Car Year, Make, Model: 47 Seagrave
- Posts
- 683
Originally Posted by John Brian
I live in Franklin, KY but don't have a garage.
My dad lives outside of Memphis and has a big backyard shop.
We built the toys at dad's house .......and I drive a lot!
We are headed to the car show at Sam's Town Casino in Tunica, MS this weekend. If anybody is in the area, stop by and say hi.
http://www.memphisstreetrods.com/MSR-Sam'sTownFlyer08-1.pdfLast edited by Flipper_1938; 09-12-2008 at 01:01 PM.
 Reply With Quote

Posting Permissions
- You may not post new threads
- You may not post replies
- You may not post attachments
- You may not edit your posts

Turn out the lights, the party's over THIS PLACE IS DEAD!
Dead!