Hybrid View
-
11-17-2016 06:47 AM #1
Some suggestions... Disclaimer: your car, do as you see fit with it. Others before you have learned by their own mistakes and those of others, I offer some of them now for your consideration. At the end of the day, the choice is yours to make.
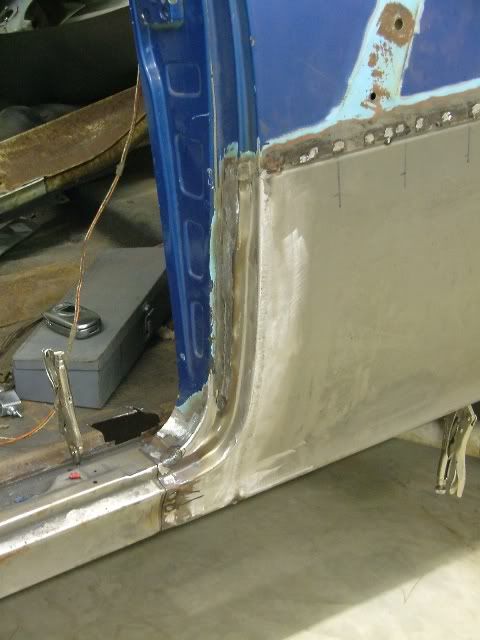
Looking at the amount of pitting and holes still left in your quarter, I would look for a full quarter. The low crown area in the middle of the quarter does not have sufficient shape to hold things from going squirrely once the heat from welding starts the warping action. You will spend much less time in planishing welds and getting the quarter straight if the weld seam were up higher toward the top; there is much more crown to help hold the shape where it is less affected by the heat from welding. I installed "half height" quarters on the 55 wagon, and it was the biggest mistake made on that car. We have the quarters CLOSE to where they need to be now, but it has been labor intensive. Any money saved by using the half height quarters on the wagon was more than spent in the time to remove any distortion.
Butt welds vs. lapped joints
with a butt weld you have the option of planishing out the weld to remove some of the distortion afterward. With a lapped seam, not as much. The other issue with a lapped seam is that they promote ghost lines in the paint. When you have two thicknesses of metal to one side of the weld, and one thickness on the other, the two layers will expand much slower when exposed to sunlight/heat, and similarly so in cooling. So now we have differing expansion/contraction rates as the panel heats and cools. Given enough of these heat swings, the differing expansion rates will show a line exactly where your seam is, right through your finish paint. Sure, your molding will hide much of the horizontal, but rest assured that vertical seam will be visible. I would recommend practice in fitment, trimming, and getting your weld seams to a zero gap butt weld. Consistency is key in minimizing distortion from welding. Inconsistency in gaps will require more weld in some areas than others. More weld, more heat, more shrinking, more work to eliminate the distortion.
What type of welder are you using? Mig, Tig, O/A gas? If using the Mig, in the interest of achieving full penetration welds, we are forced to limit the weld pass to either single dots or short passes. The MIG therefore is a quick hot spot, and quick cool down. This unfortunately also provides the maximum amount of shrinking, for more work in straightening out the panel. If you have TIG or O/A and are fluent in its use, you can tack the panel from one end to the other, then follow that up with a continuous weld from one end to the other. The longer weld passes will give you a gradual heating of the panel as you travel across, and similar cool down effect, for much less shrinking than with the MIG, for less cleanup. (especially the grinding part) This assumes that you can perform full weld passes with those processes to minimize shrinking effects and maximize consistency.
The consistency in welding starts with fitup and accurate trimming, and goes all the way through to consistency in ALL your methods, to include welding, planishing, and grinding (as needed). Anything you can do on the front end to improve the processes working through will give you easier time of planishing and straightening out the weld issues, giving a much better result in the end. If you are green at the welding game (this applies to any of us) it is highly beneficial to practice on scrap pieces to hone your skills before diving in on the outside sheet metal of the car, and this especially applies to the fitment and trimming part.. This is why I've always suggested that anyone should use the opportunity of floor pan installation to practice those fitment and trimming processes vital for butt welding. This helps to develop those skills needed for consistency..Last edited by MP&C; 11-17-2016 at 07:09 AM.
Robert
-
11-17-2016 05:46 PM #2
[QUOTE=MP&C;562053]Some suggestions... Disclaimer: your car, do as you see fit with it. Others before you have learned by their own mistakes and those of others, I offer some of them now for your consideration. At the end of the day, the choice is yours to make. QUOTE]
Robert, in this case ( and capecreations can correct me of course) it isn't his car but a project brought into a shop he works for. He's learning along the way and your sage advise would be something that he should read / study / ponder. If he's seen any of your threads, he'll know you're speaking from experience. And again, Thanks for sharing!
-
11-17-2016 08:58 PM #3
I wanted to point out that the patch needed to be higher, but my procrastination allowed others to state the point more poignantly..
Education is expensive. Keep that in mind, and you'll never be terribly upset when a project goes awry.
EG
-
11-20-2016 08:16 PM #4
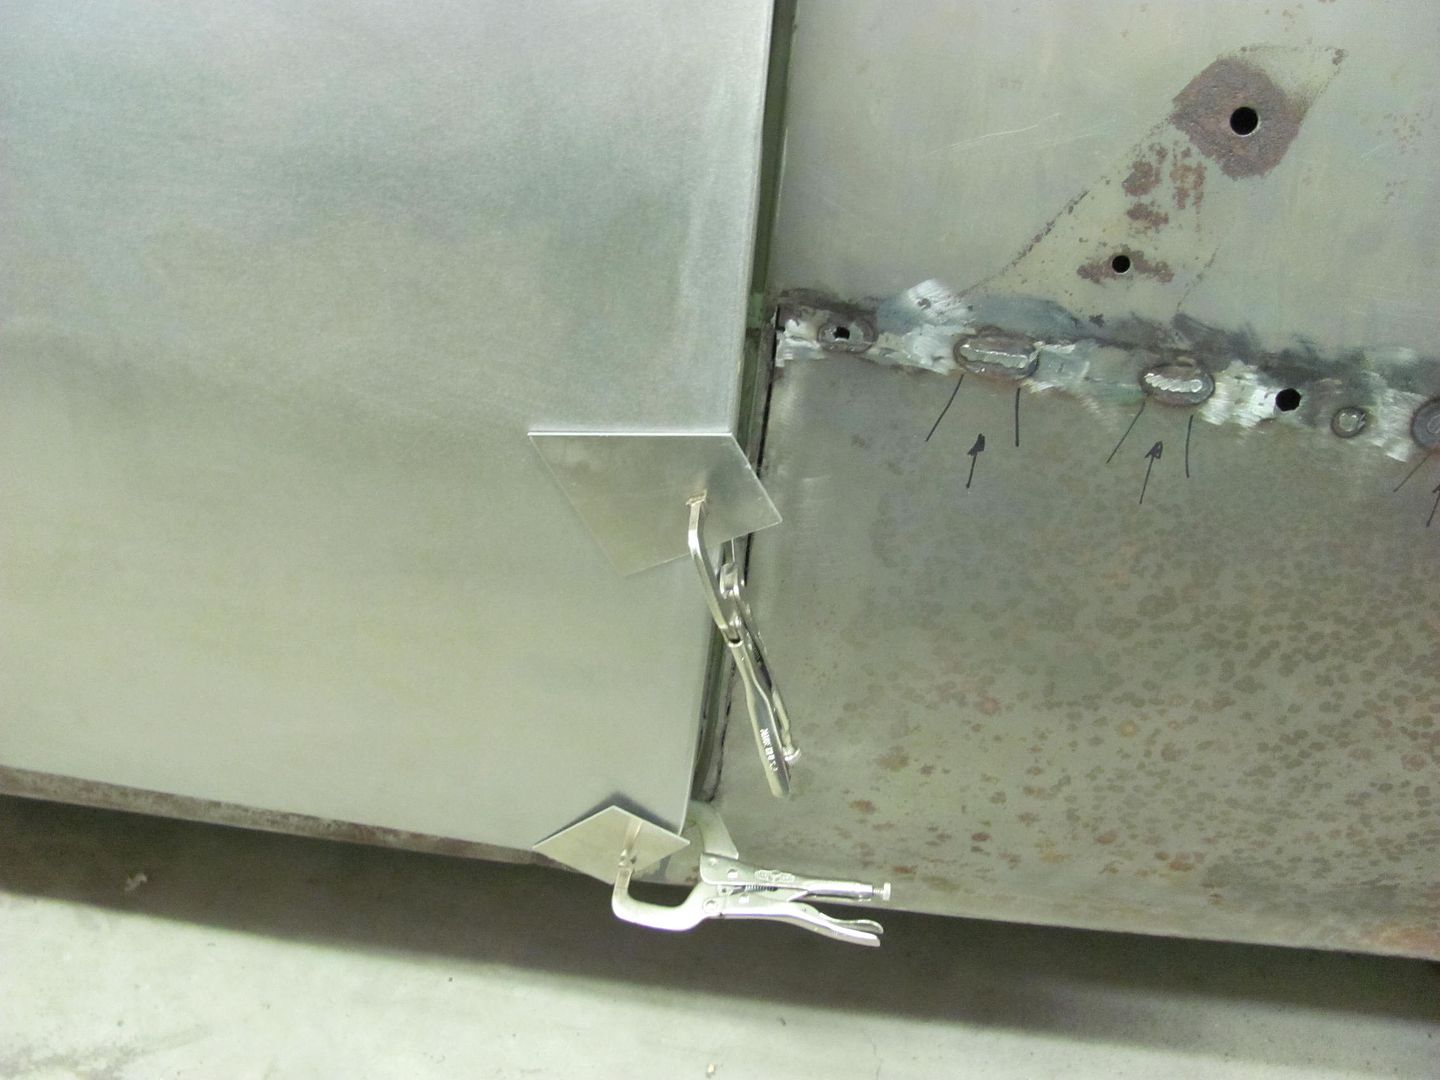
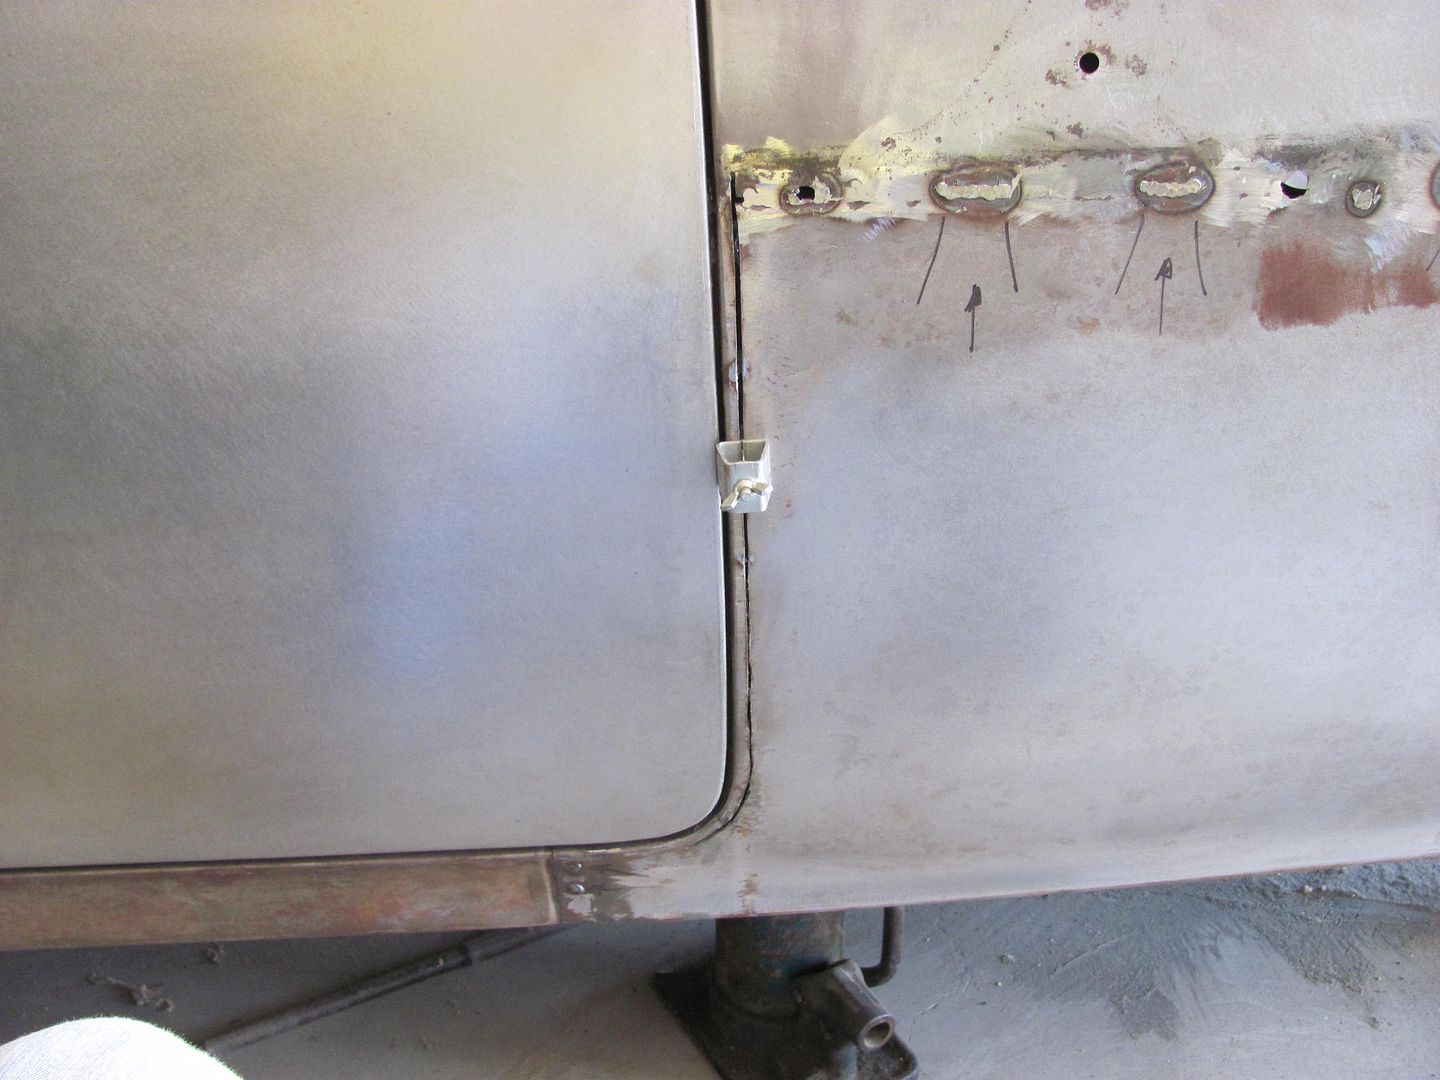
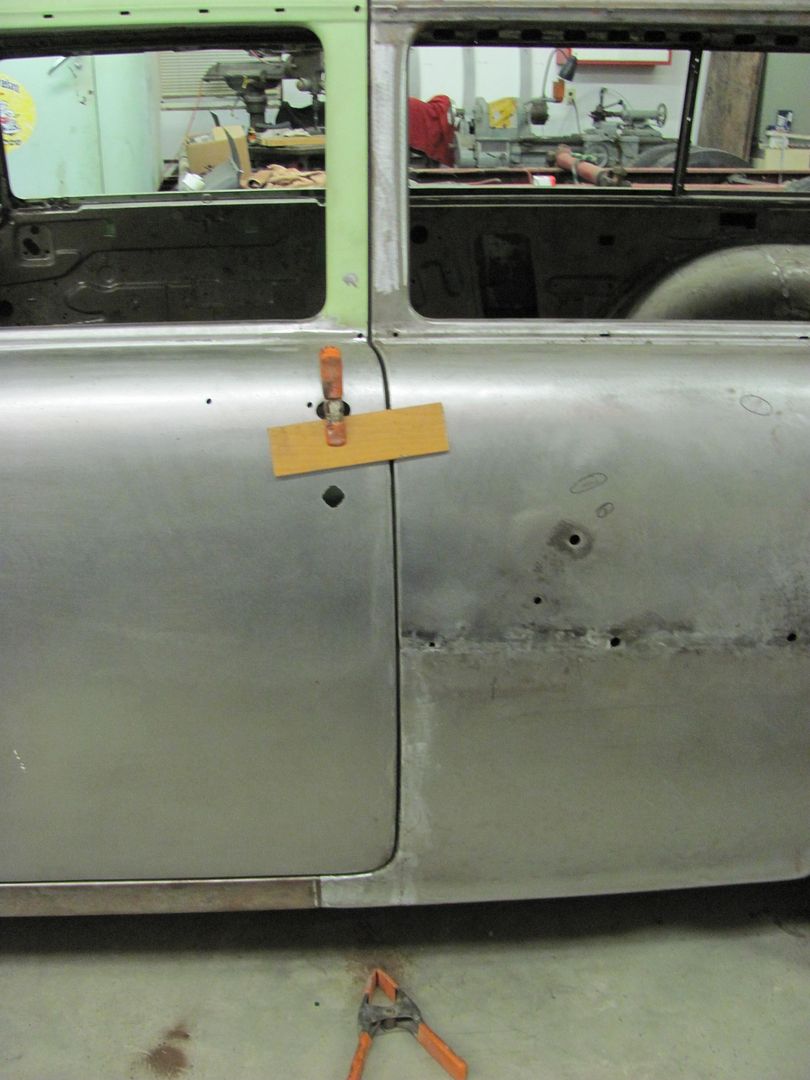
Nathan, please don't think I'm picking on your work, Lord knows there's many ways to get to the end result. I've personally redone work on the 55 wagon that I wasn't happy with or didn't do it as correctly as I could have. Not everyone starts their project using the optimal methods, and with all the dis-information you can find online, especially manufacturers selling the flanging tools claiming what an advantage they are for installing panels, it's easy for anyone to make the same mistake. Case in point, here is my start of the quarter panel installation, and based on the flanging hype and the fact that the manufacturer of the repop quarter installed the stepped flange, I took for granted that using the flange was the preferred method.

Luckily I hadn't fully welded the seam when I found out about the ghost line issues, especially as long as those quarters are, as well as add to the headache of trying to planish out the seam afterward.
I didn't get pictures of the complete process, but my fix was to use a .035 cutoff wheel to cut the "new" quarter at the bottom edge of the "upper/old" quarter, then grind the plug welds from the back side that went into the remaining flange to release it from the old quarter. Then, hammer and dolly the stepped flange back flat again, which was about perfect to make up the thickness of the cutoff wheel. Then, the two were butt welded together, as I should have done from the beginning.


So I hope I'm not stepping on toes. But as shown in the pictures above, I sure wish someone had said something to me while the panel was still only clamped. The step flange is now long gone, as are most of the pinch weld seams that hold moisture and create rust pockets.Robert
-
11-25-2016 08:49 AM #5
Looks good. I'm learning to do patch panels myself on my stude. Seems the metal always wants to shrink and I can't get behind most of what I welded to hammer and dolly. Thank god for body filler.
-
11-25-2016 09:32 AM #6
When I was patching the lower rust on the dodge, I was experimenting with lightly crowning the panel before I welded it in. When the metal shrank around the edges of the patch, it would pull the crown flat, leaving the panel in correct shape.
I didn't quite get the knack of it, but the procedure showed promise.
I also tried a very slight flange at the panel's edge, where I had clear access to planish. Flattening the flange after welding relieves the shrinkage stress on the panel. That technique also showed promise..
Education is expensive. Keep that in mind, and you'll never be terribly upset when a project goes awry.
EG
-
11-25-2016 11:34 AM #7
Another good thread to follow. Like the Nomad!"  "No matter where you go, there you are!" Steve.


 30Likes

 LinkBack URL
 About LinkBacks
 Reply With Quote


I bought the 76 in August , but haven't been able to work on it. When I get a chance I'll post some pictures.
Corvette Resurrection?