


 3390Likes
Thread: 55 Wagon Progress


Results 361 to 375 of 1865
 LinkBack URL
 About LinkBacks
-
11-23-2014 09:11 AM #361
 CHR Member

- Join Date
- Oct 2007
- Location
- Petaluma
- Car Year, Make, Model: 48 Ford F1
- Posts
- 9,794
I was thinking the same thing! Originally Posted by Jack F

 Amazing tight and perfect cut with just these babies!

Last edited by stovens; 11-23-2014 at 09:14 AM.
"  "No matter where you go, there you are!" Steve.
-
Advertising

- Google Adsense
- REGISTERED USERS DO NOT SEE THIS AD
-
11-27-2014 09:49 PM #362
CHR Member
- Join Date
- Jun 2008
- Location
- Leonardtown
- Car Year, Make, Model: Walking
- Posts
- 1,228
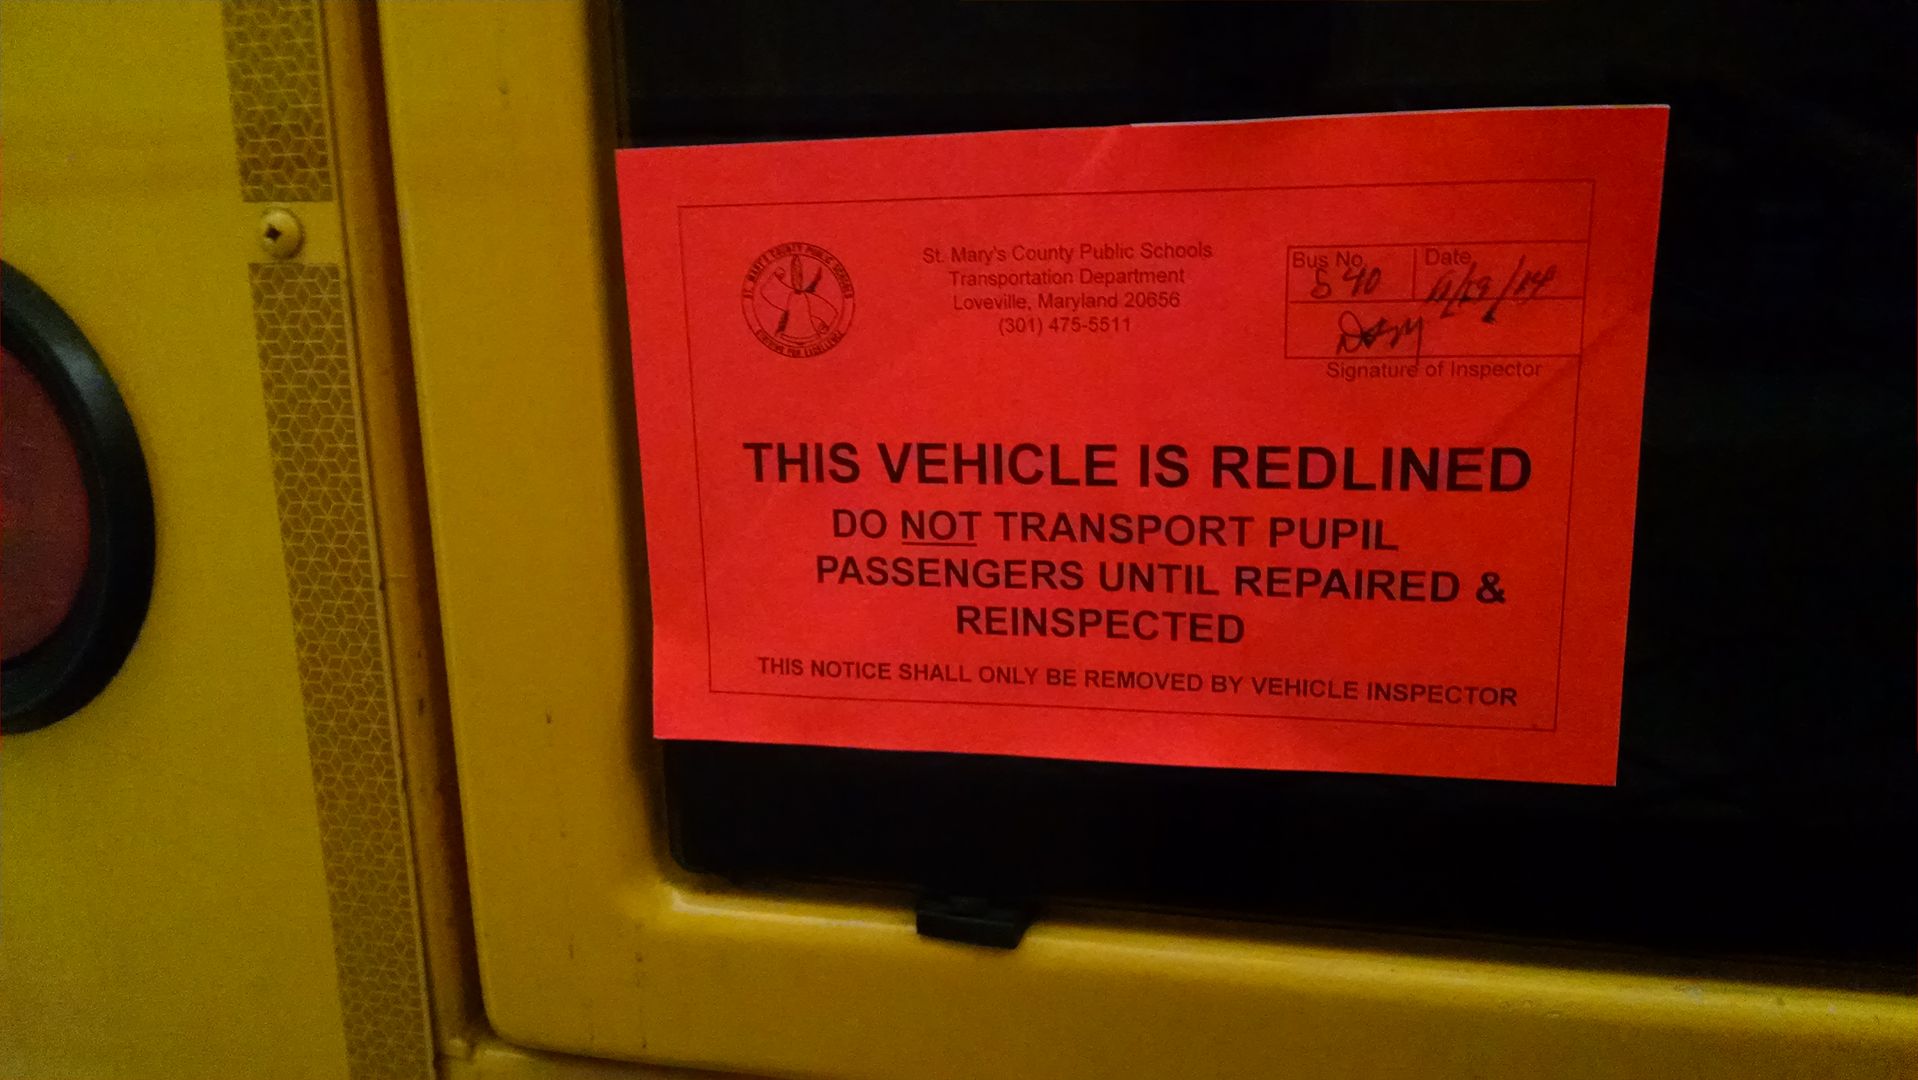
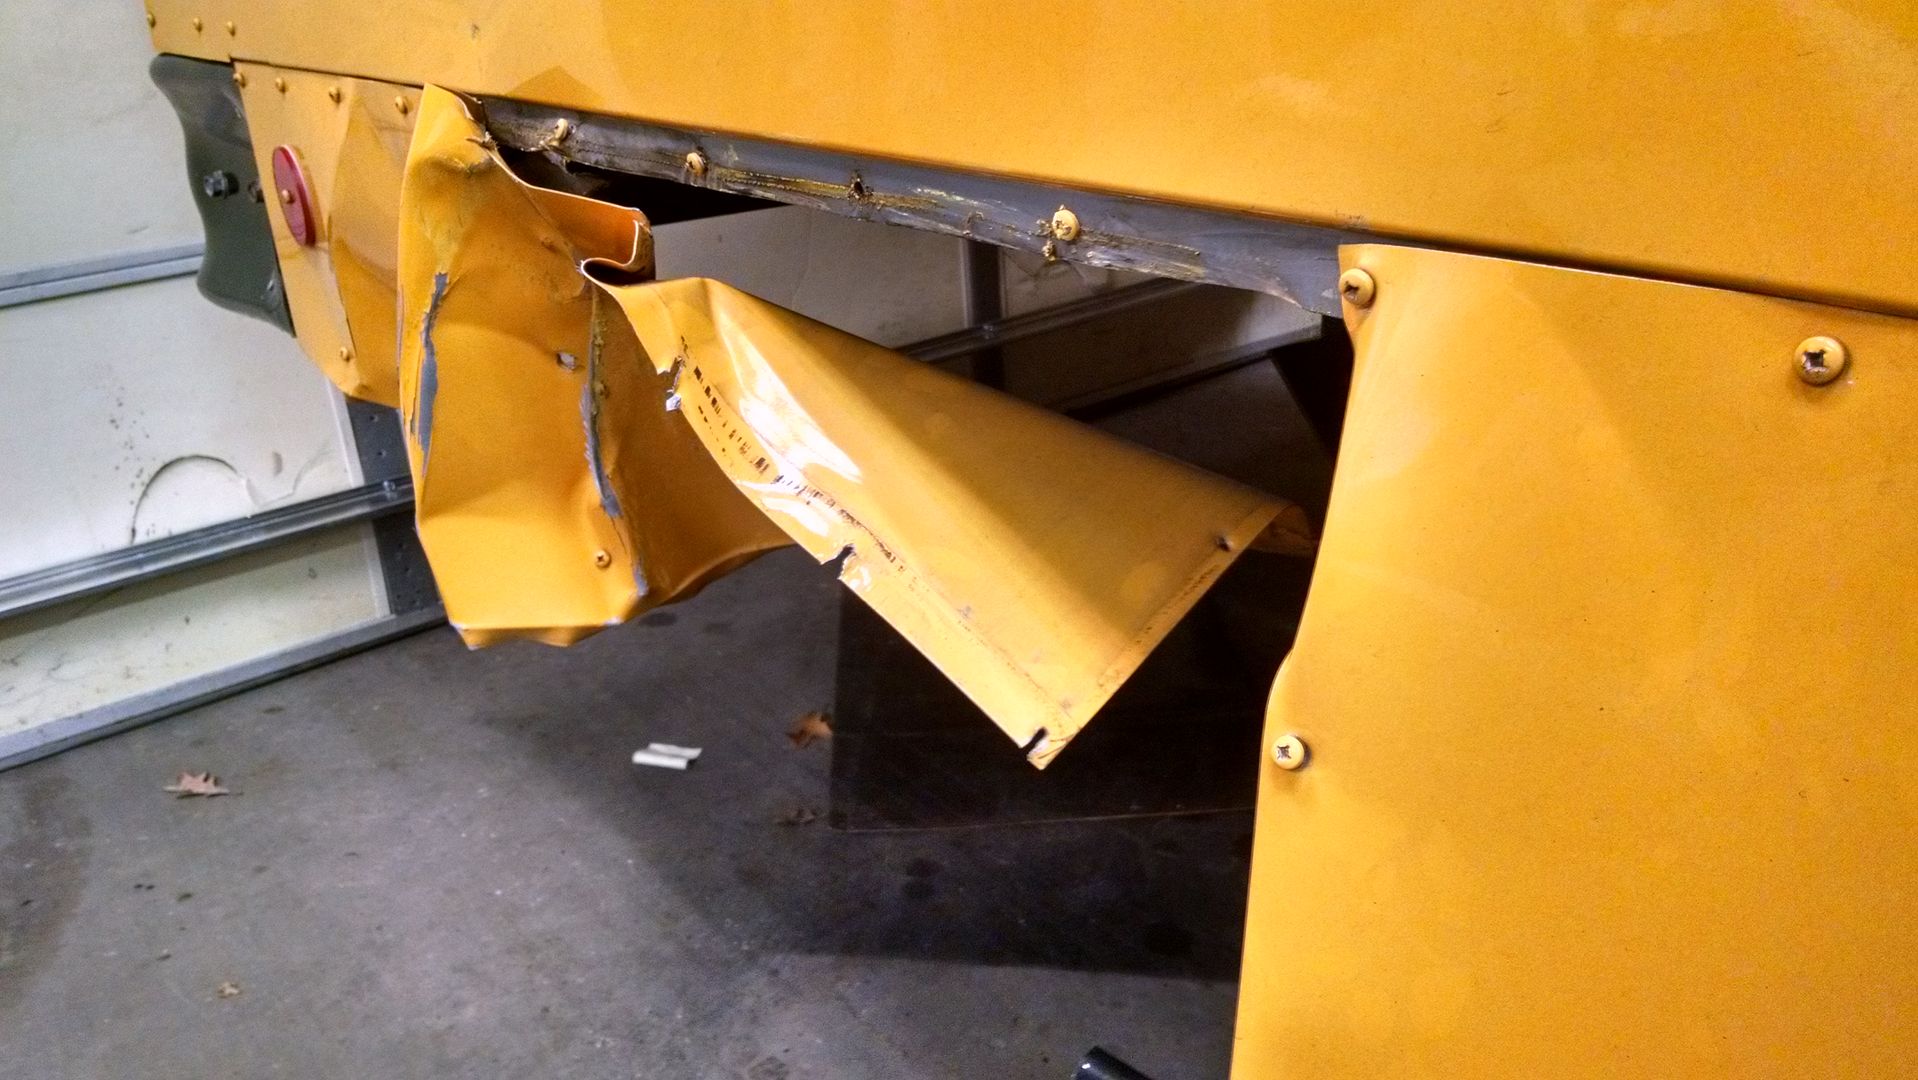
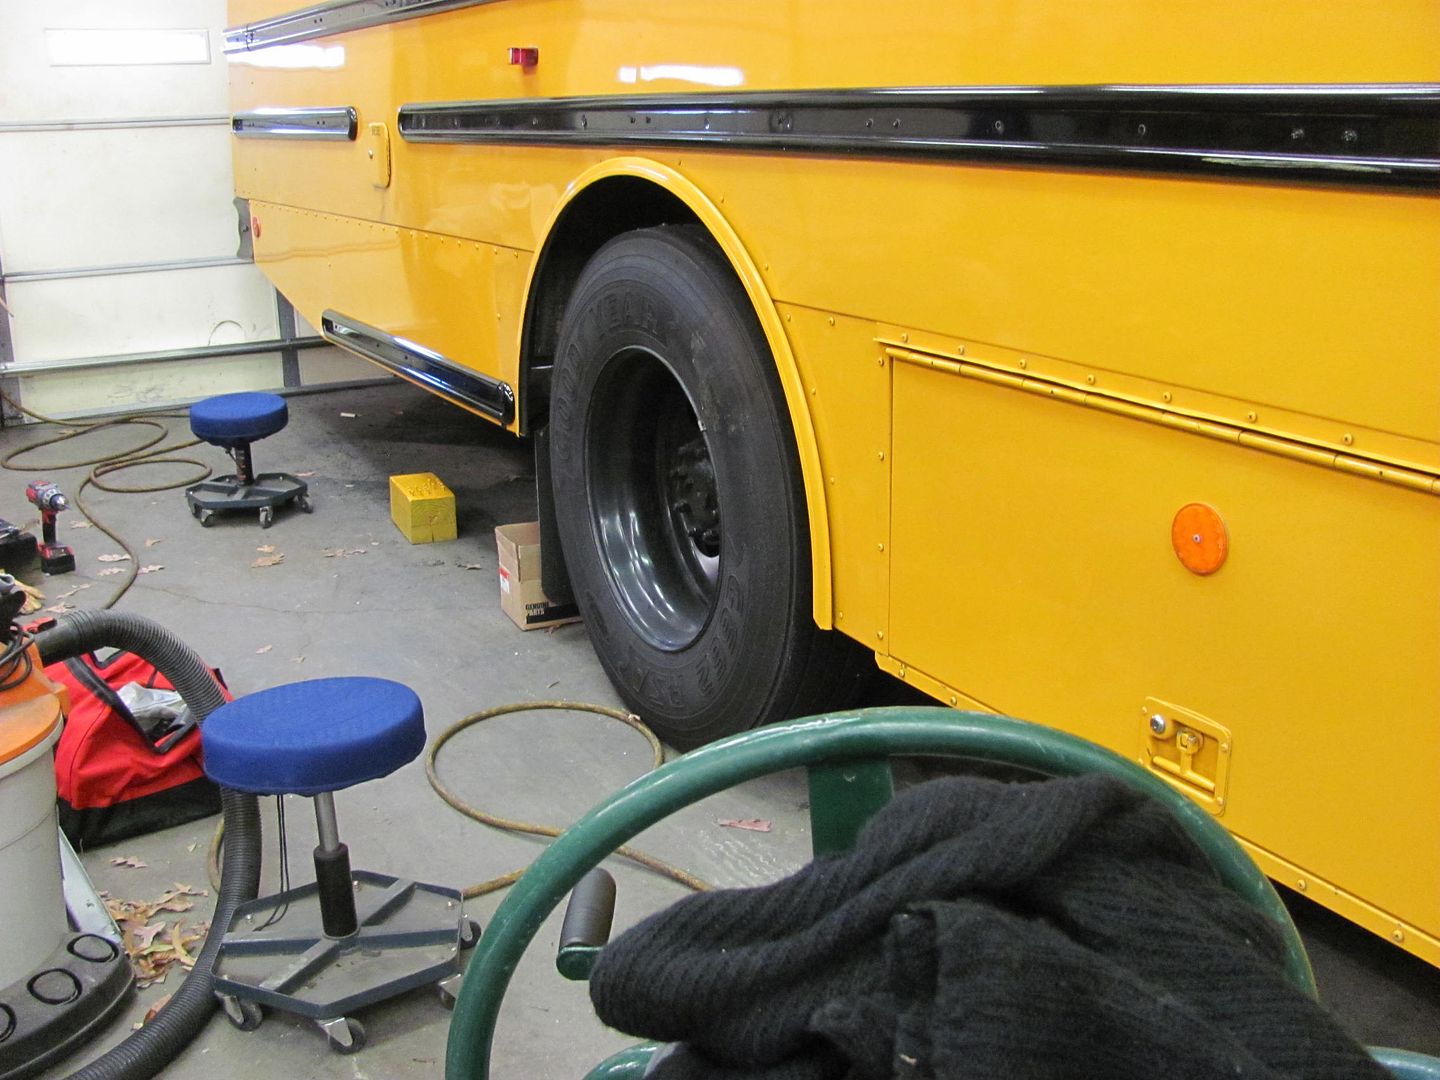
Well I thought we were done spraying yellow paint when the welding cart was complete, but I guess it's been long overdue. It's been quite a while that we've seen any bus repairs, but one got the side skirt panel mangled up enough that the county's transportation dept took it out of service. It was raining so I didn't get pictures of the bus today, so I'll have to get that in a few days.
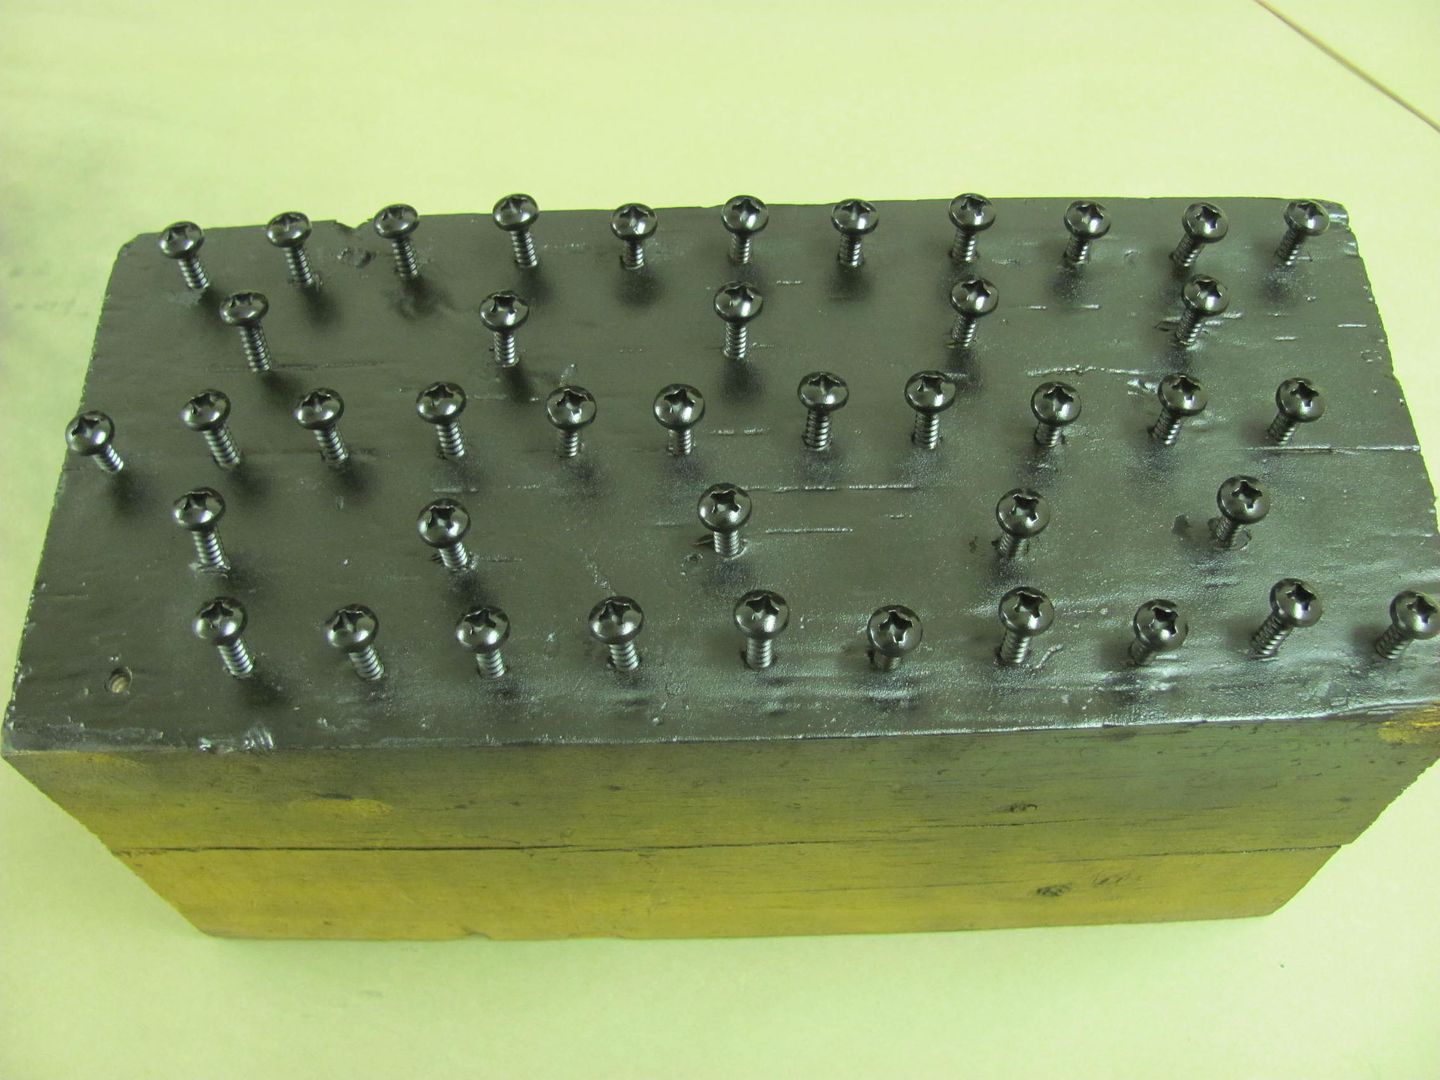
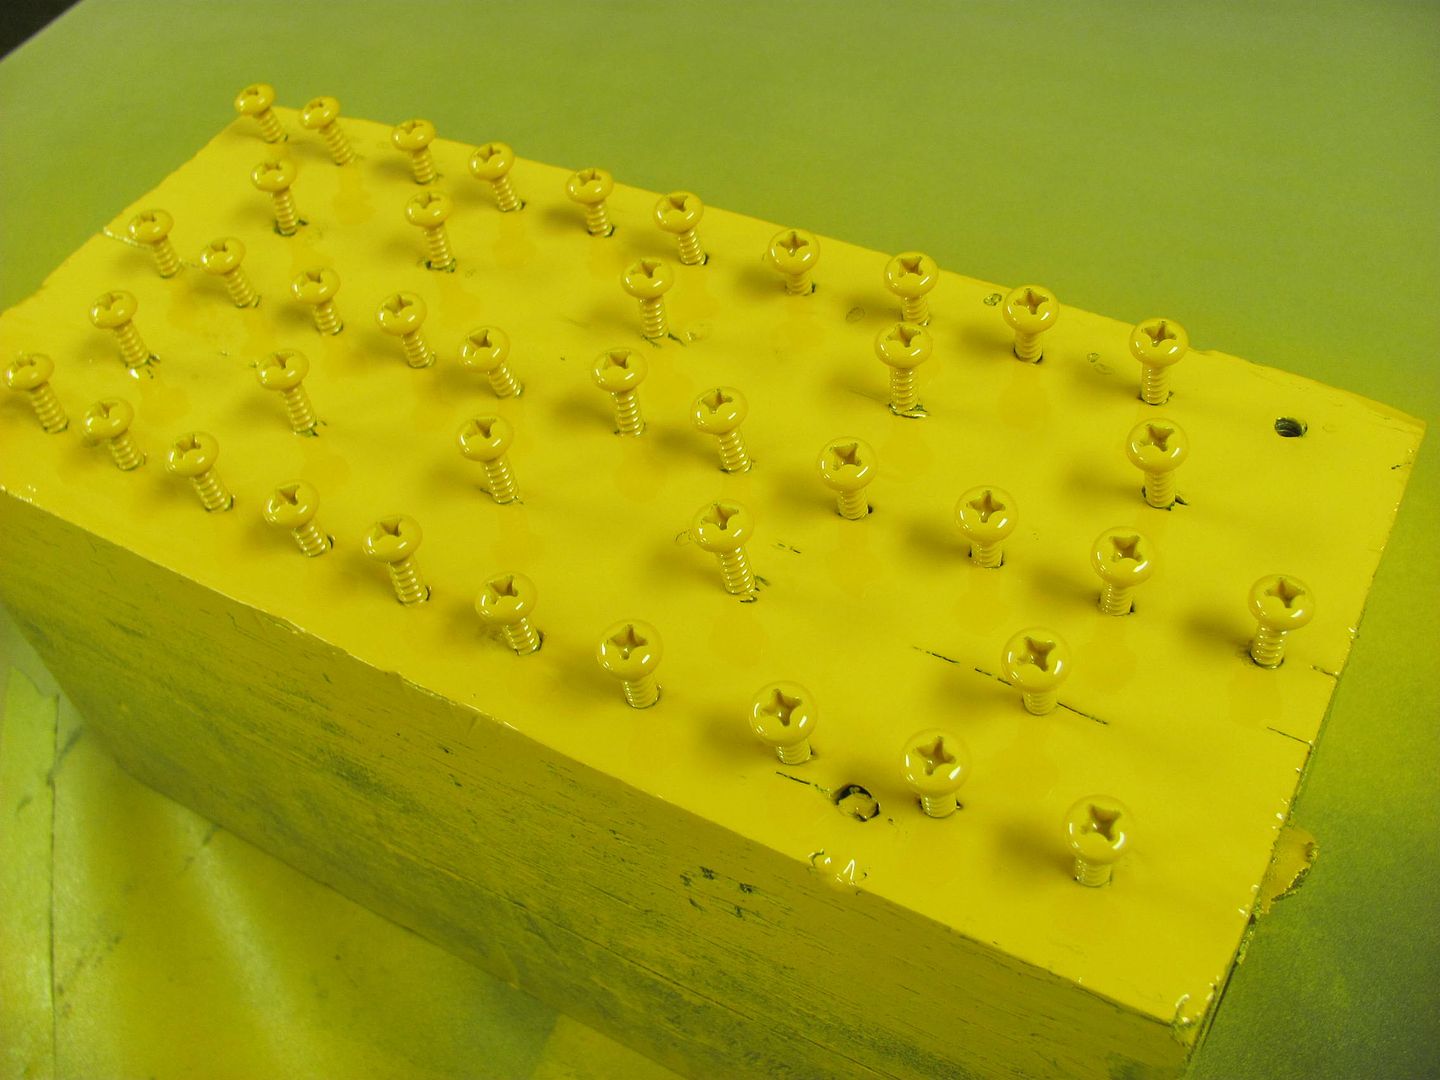
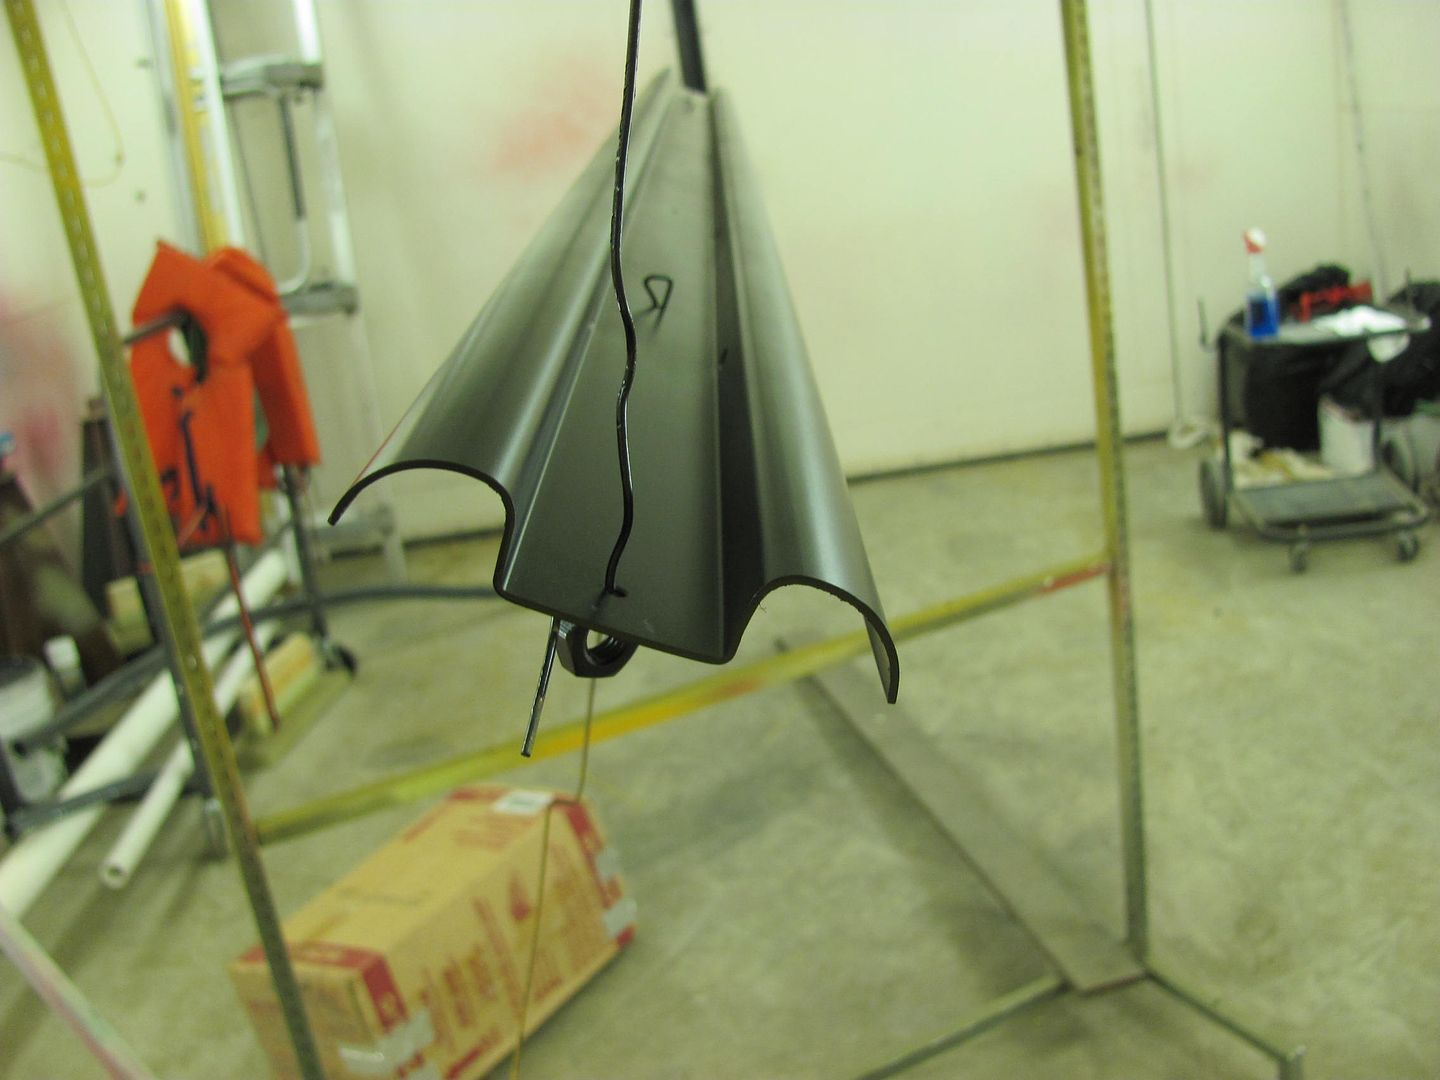
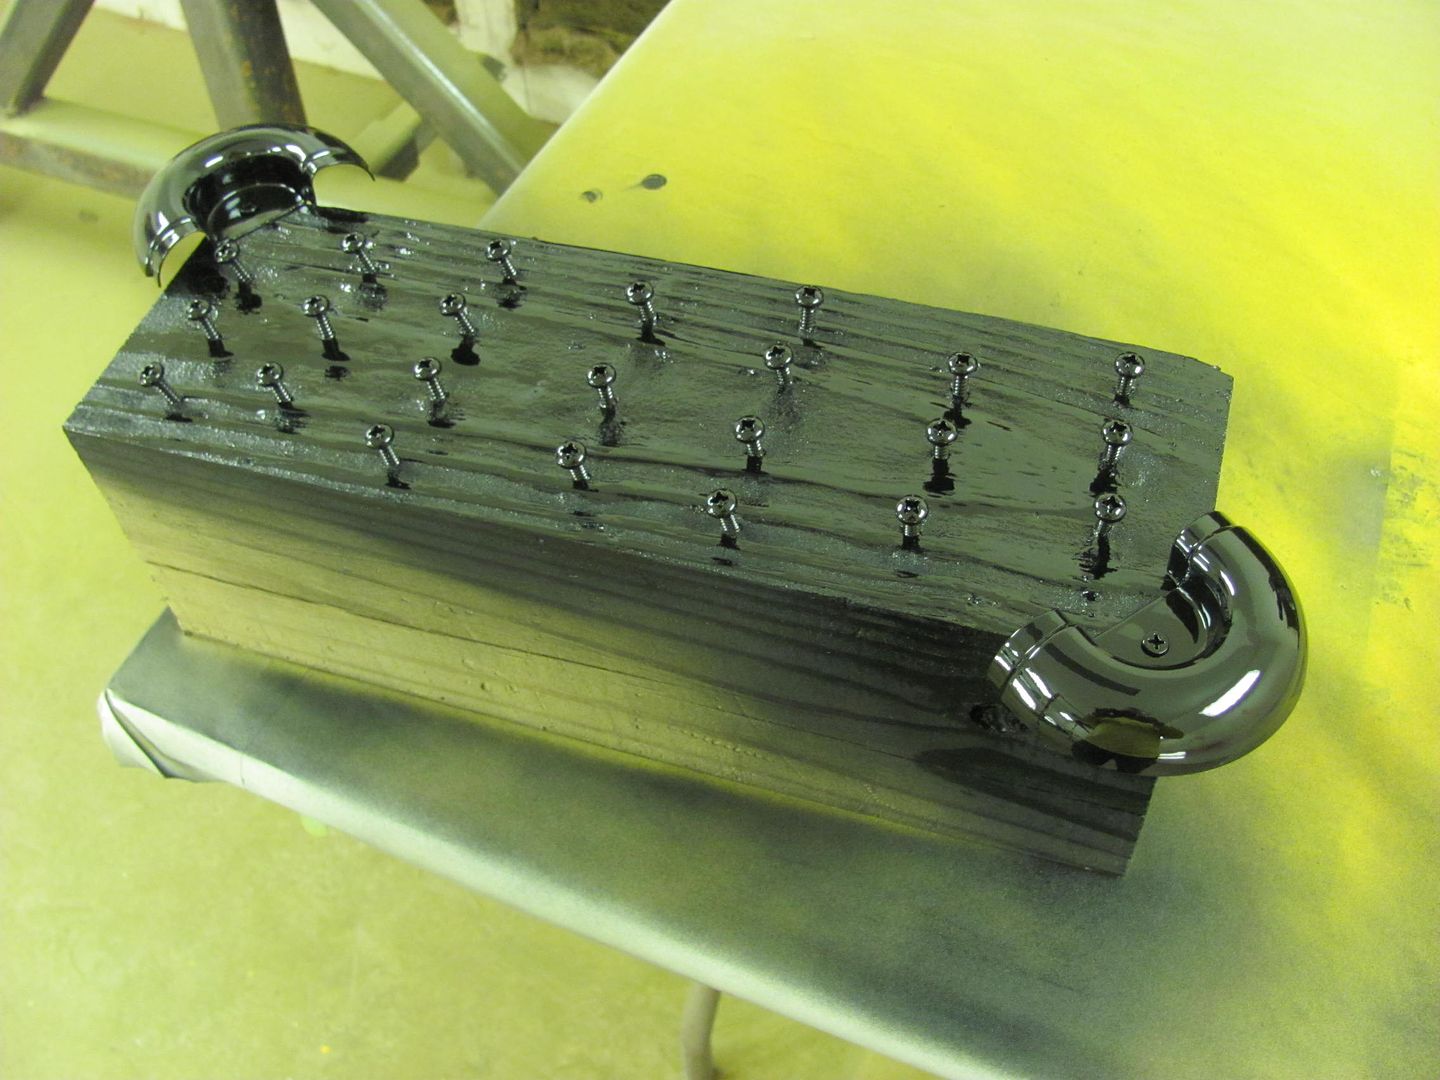
Picked up some stainless #12 screws and Kyle media blasted the heads for adhesion for paint...
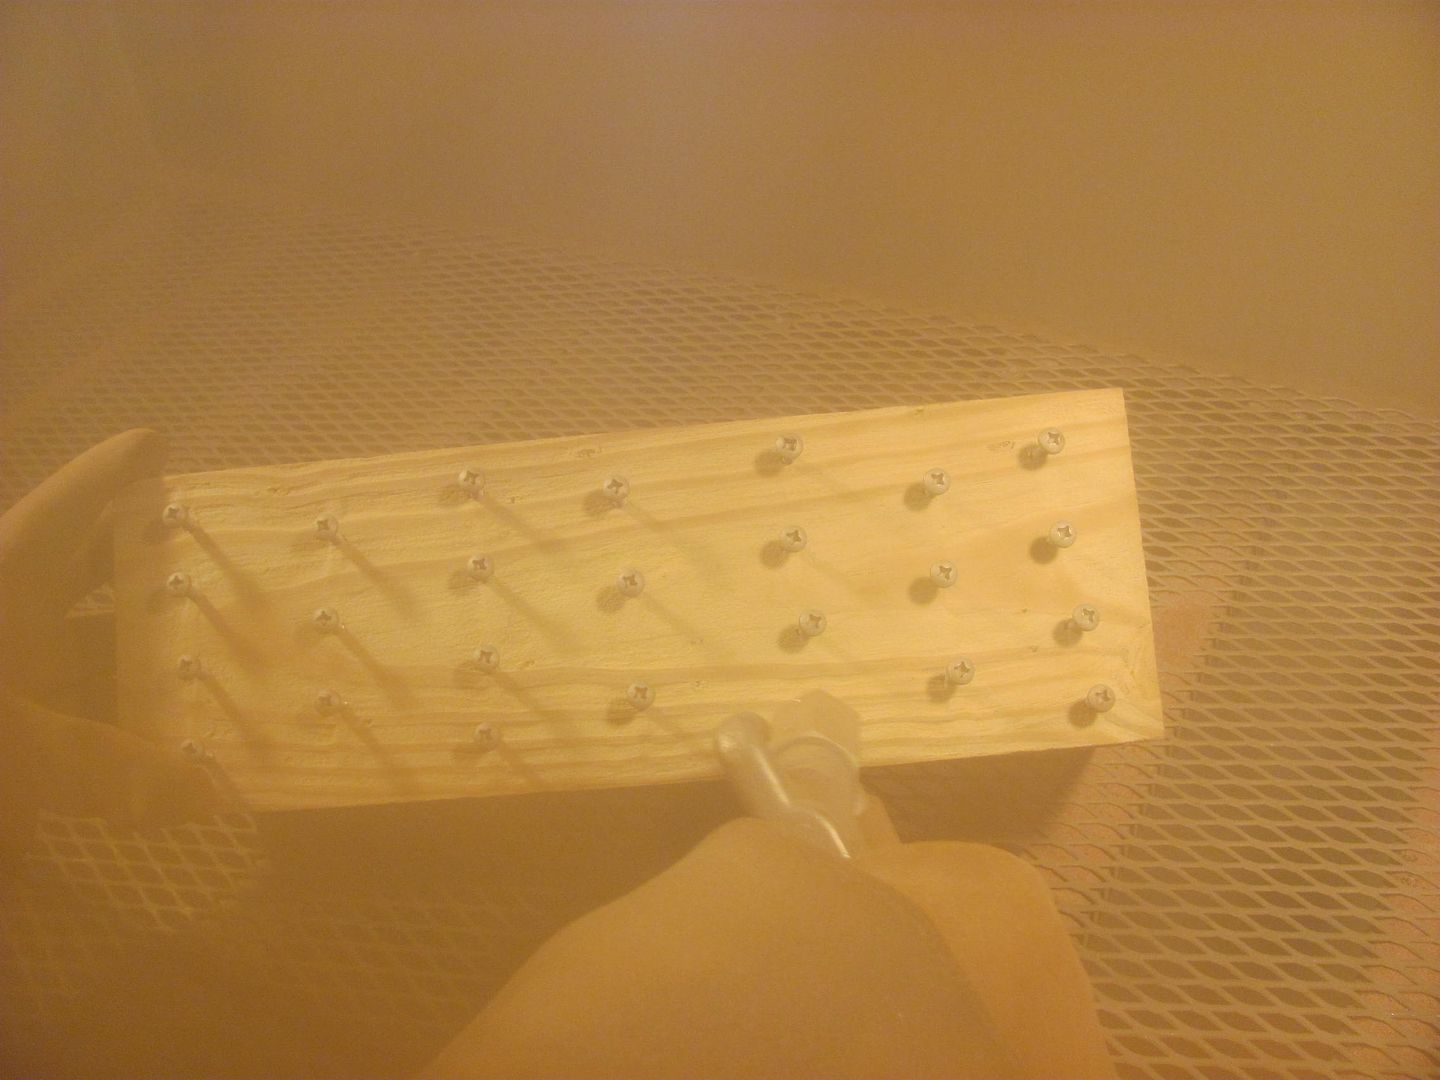
SPI Epoxy primer mixed as sealer...

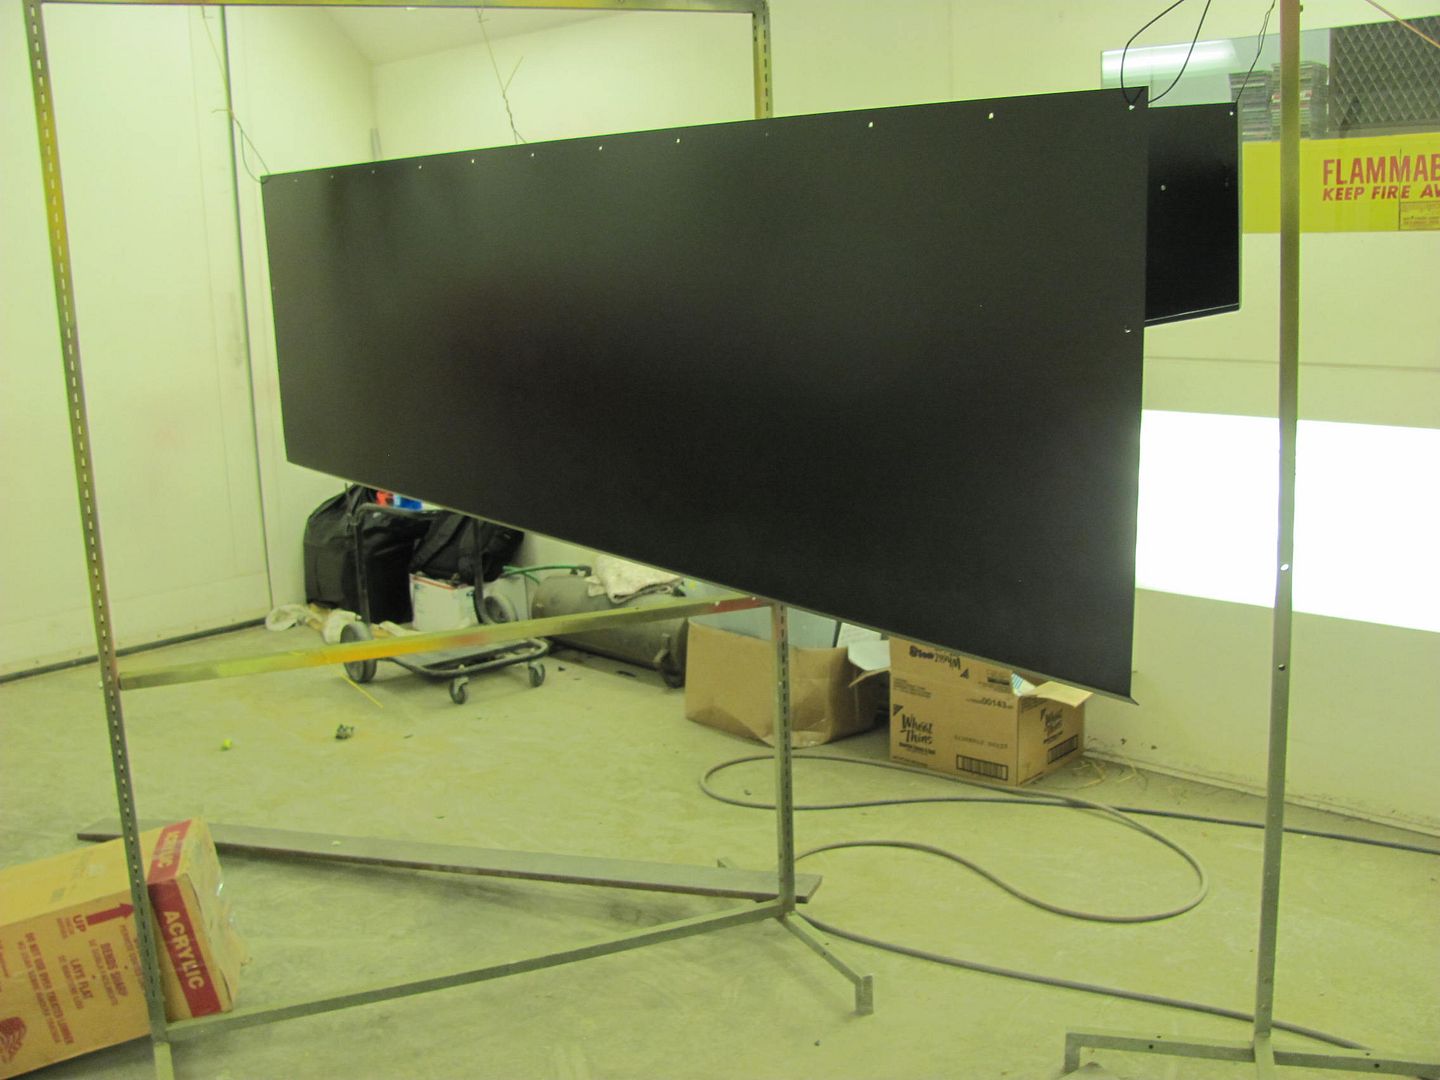
Some BASF Urethane applied...
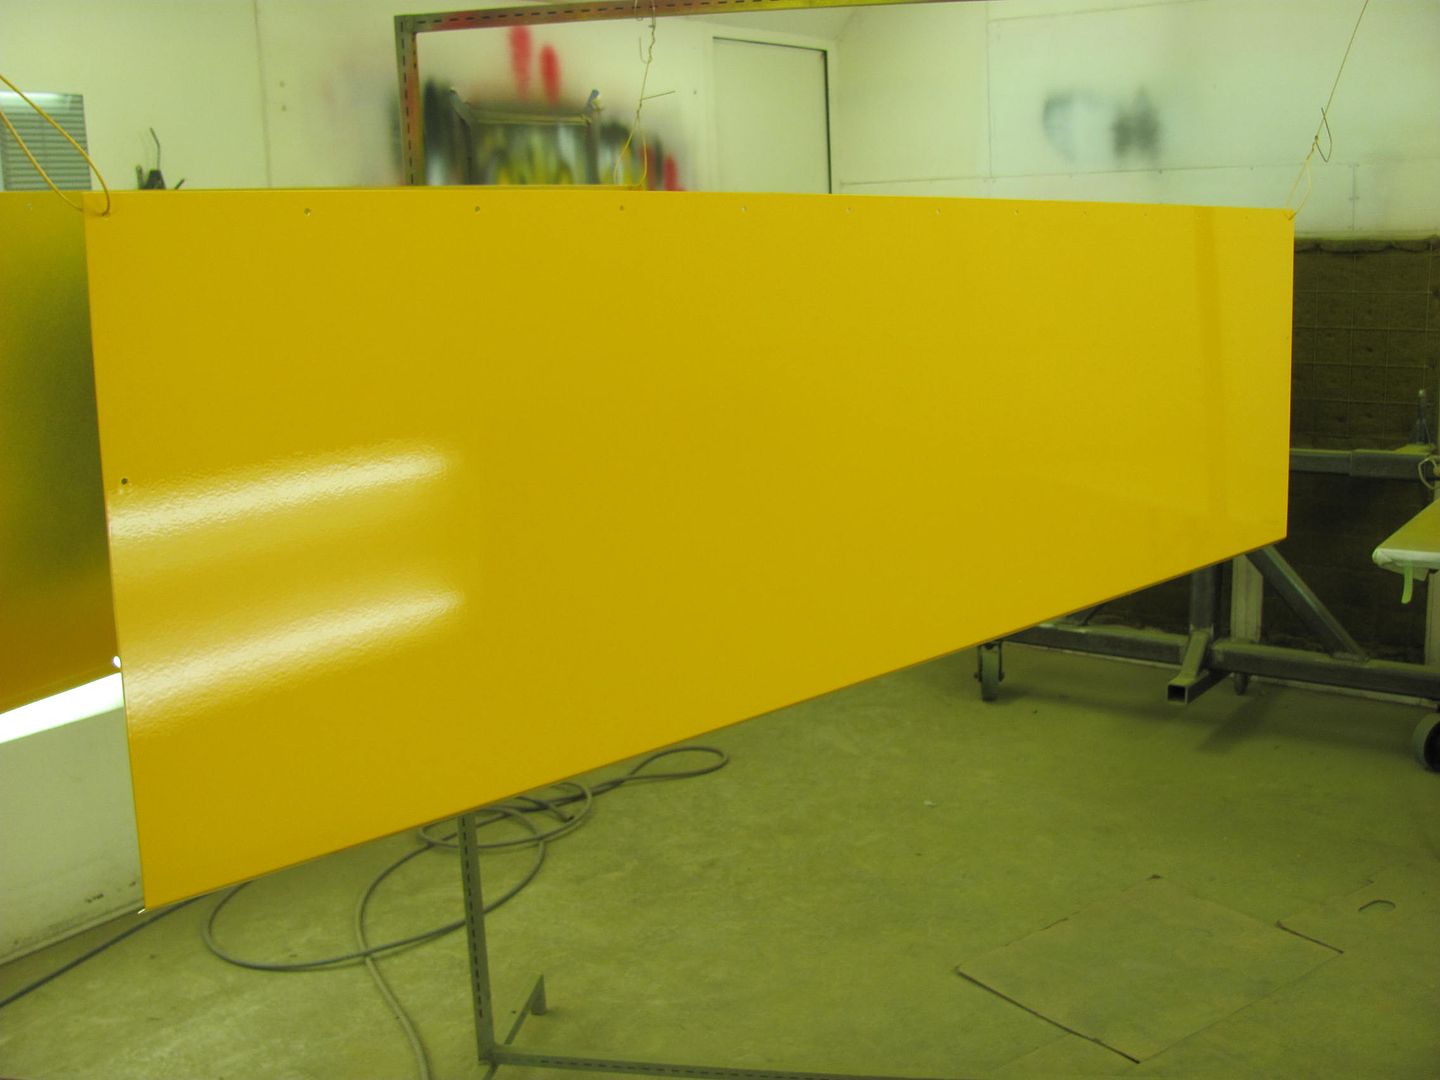
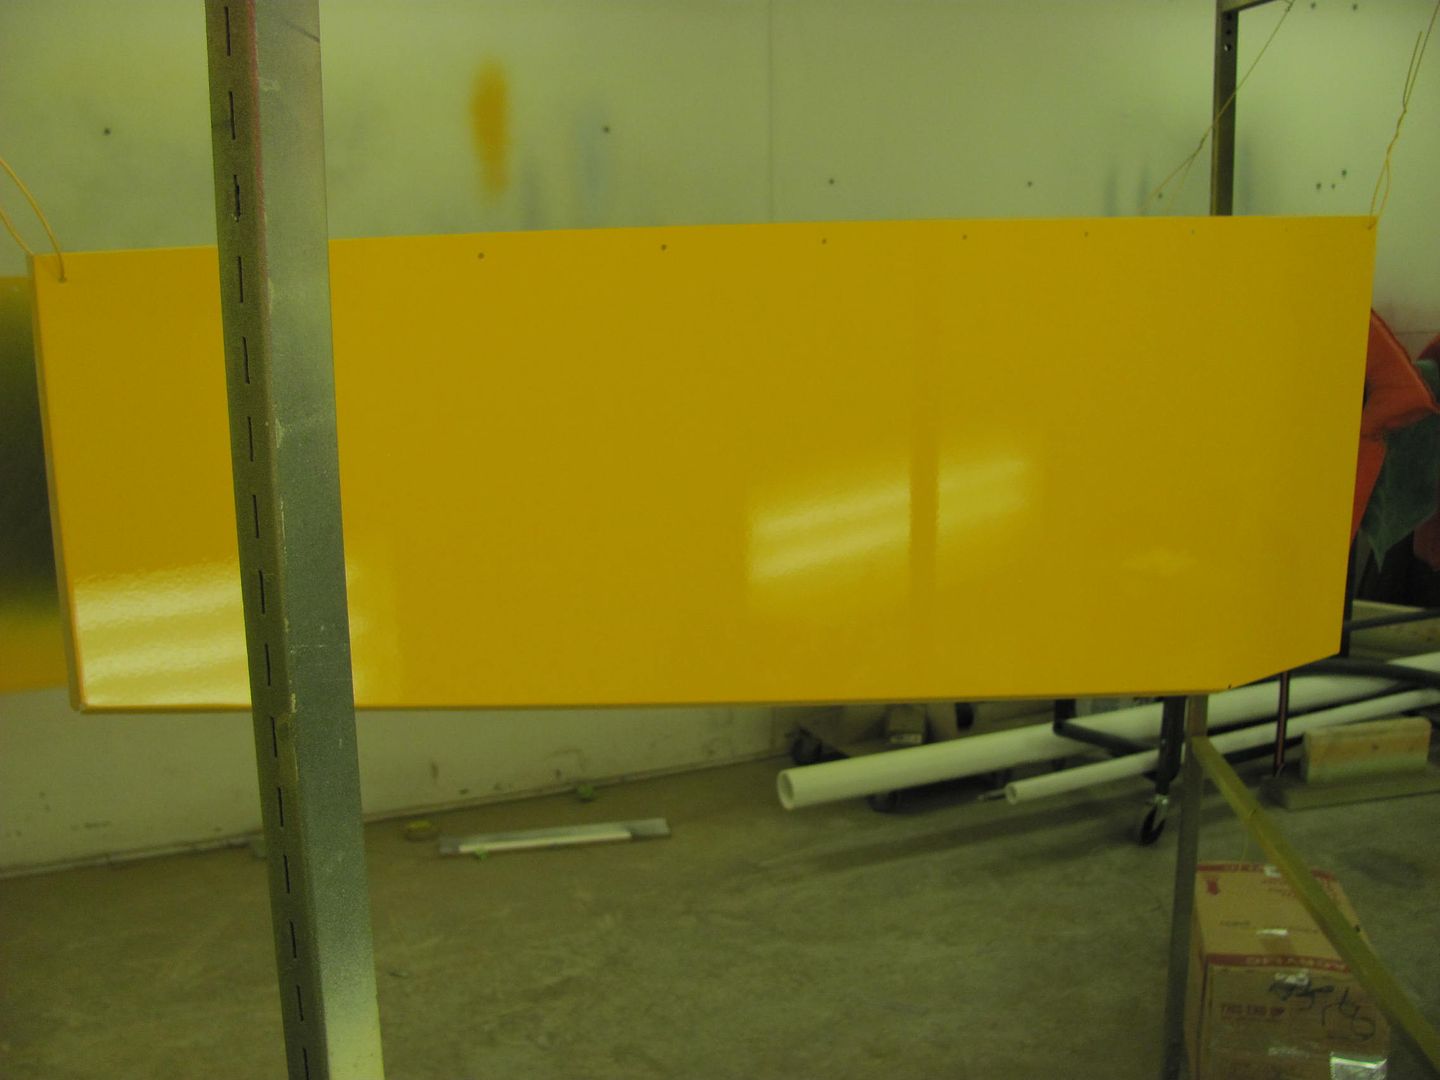
The rub strip at the bottom of the skirt panel was pretty mangled as well, the new comes in a stock 10' length, so it will need to be cut to size and drilled prior to black paint. We also have a brace behind the skirt that was pushed back a ways, it will need to be pulled out and re-welded. More to come...Robert
-
11-27-2014 09:53 PM #363
CHR Member
- Join Date
- Jun 2008
- Location
- Leonardtown
- Car Year, Make, Model: Walking
- Posts
- 1,228
oops... double postLast edited by MP&C; 11-27-2014 at 09:55 PM.
Robert
-
11-29-2014 09:25 PM #364
CHR Member
- Join Date
- Jun 2008
- Location
- Leonardtown
- Car Year, Make, Model: Walking
- Posts
- 1,228
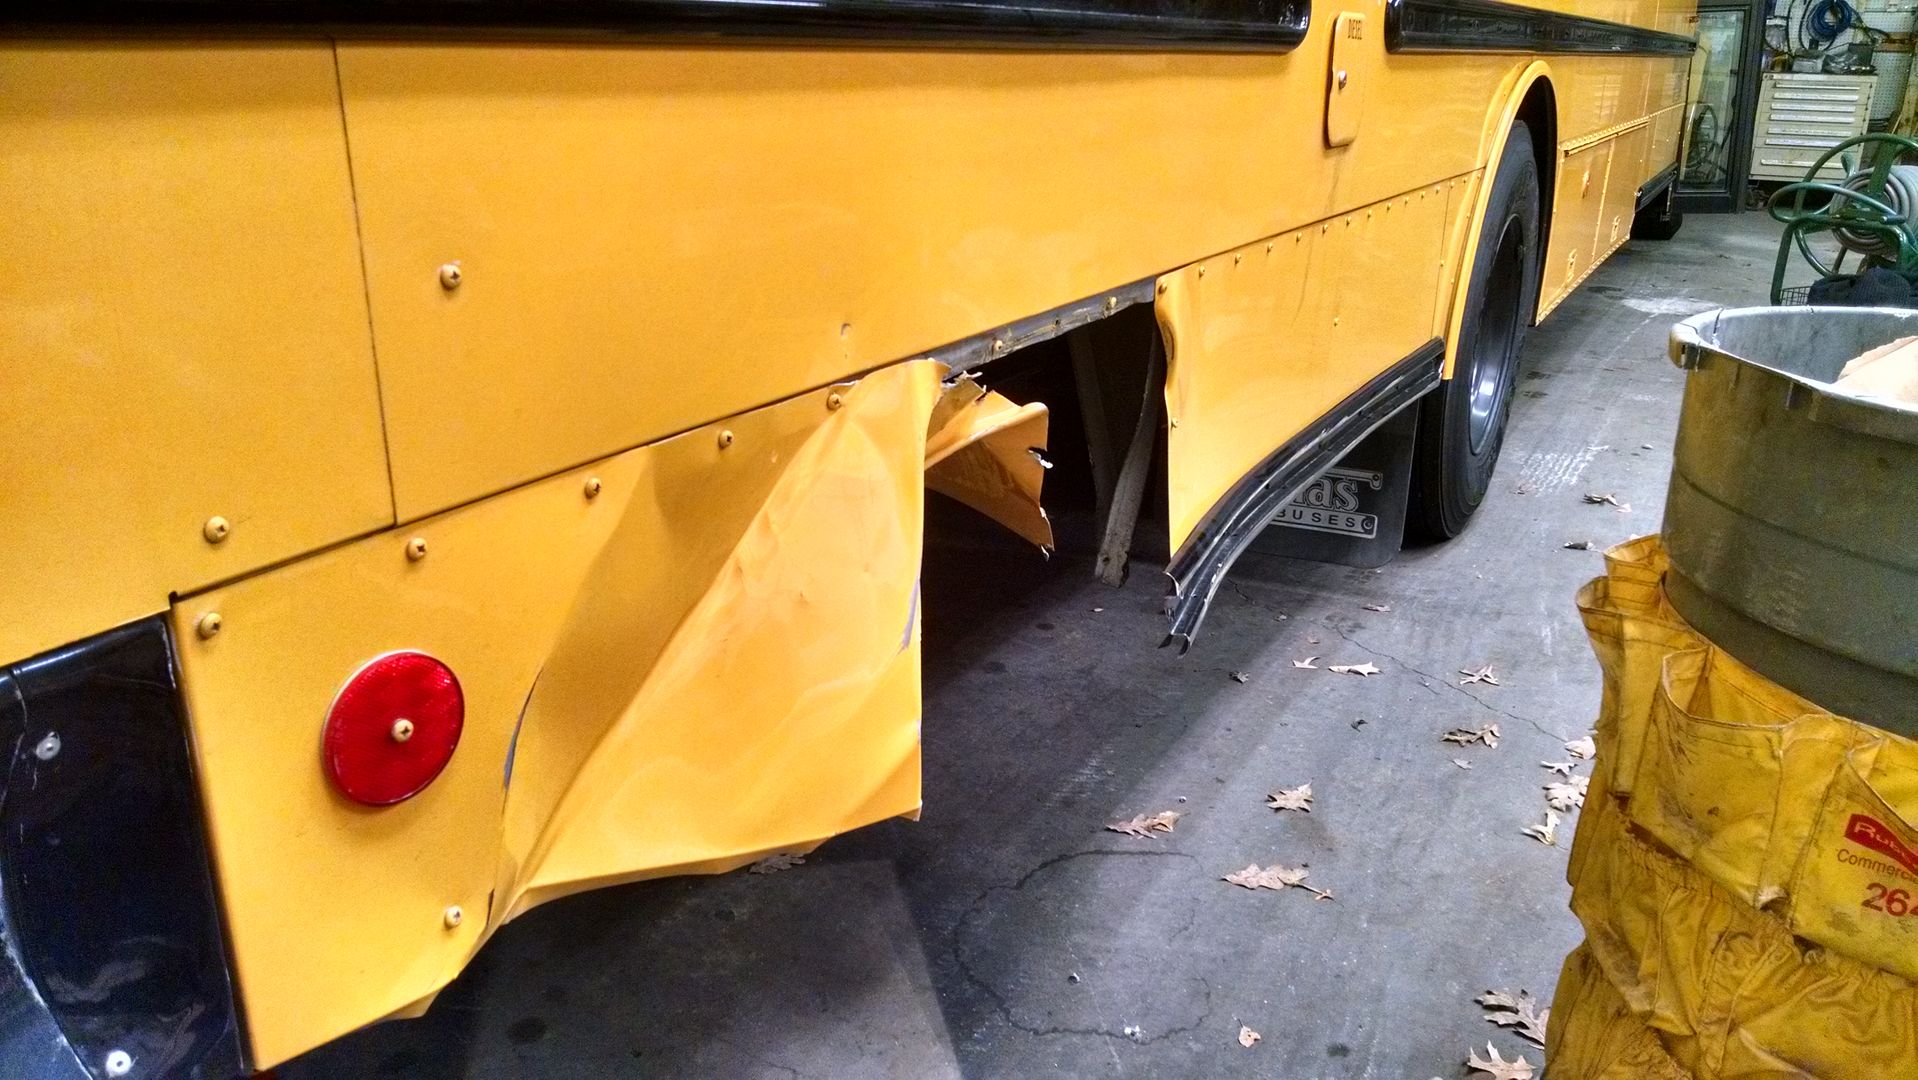
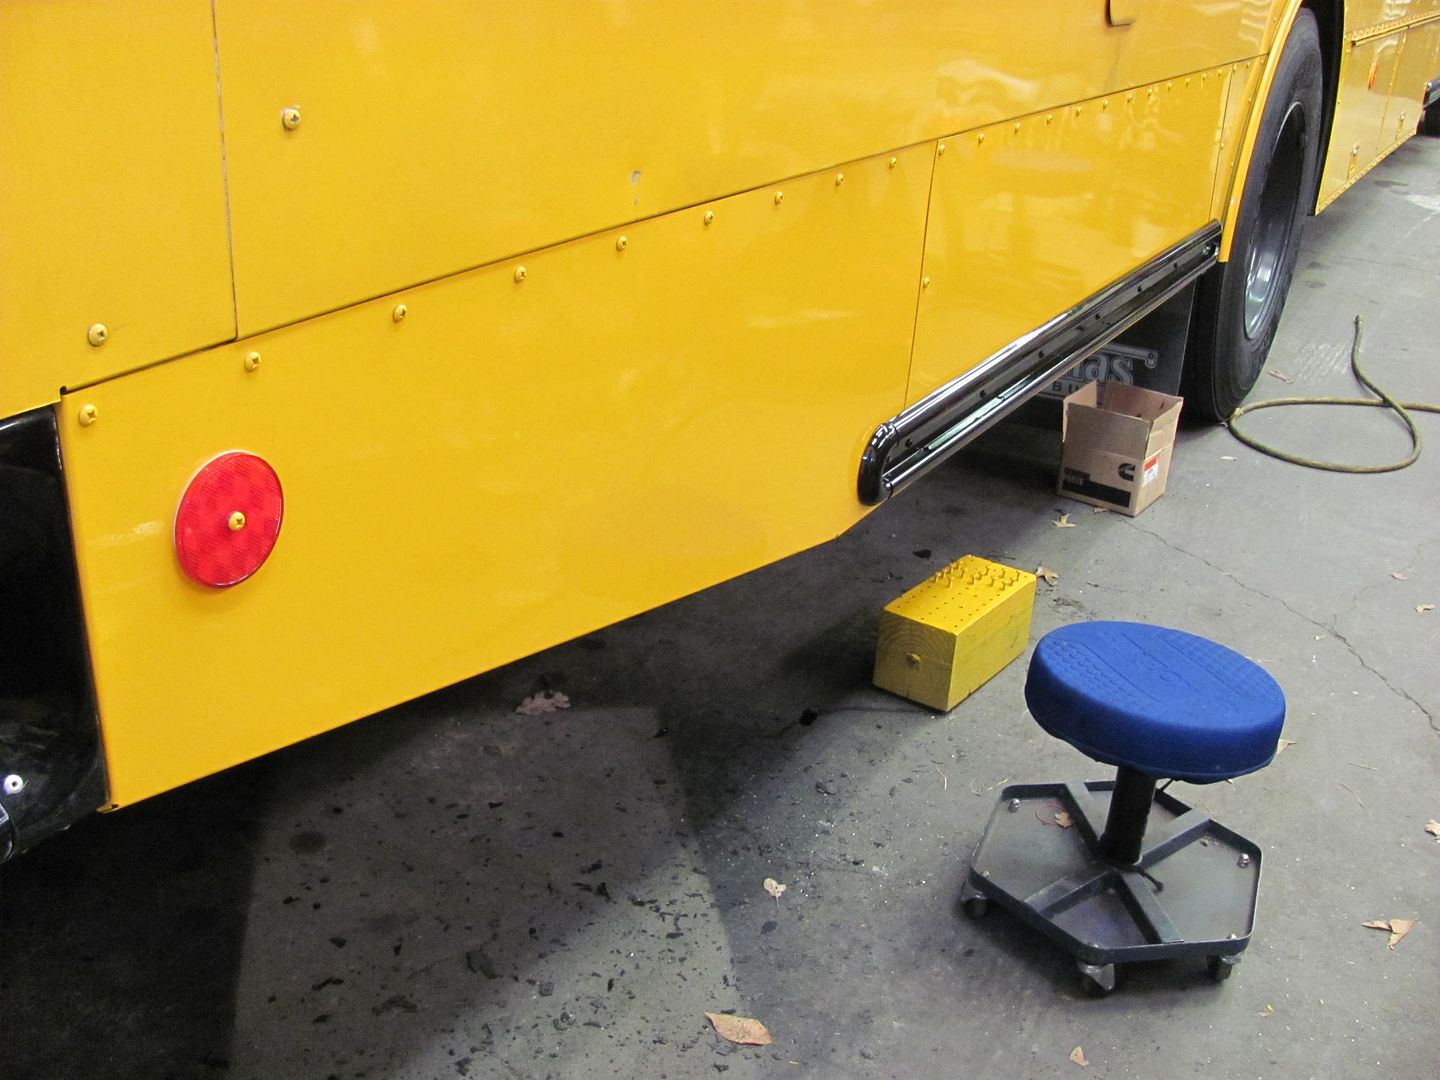
Got some pictures this evening of the damage...

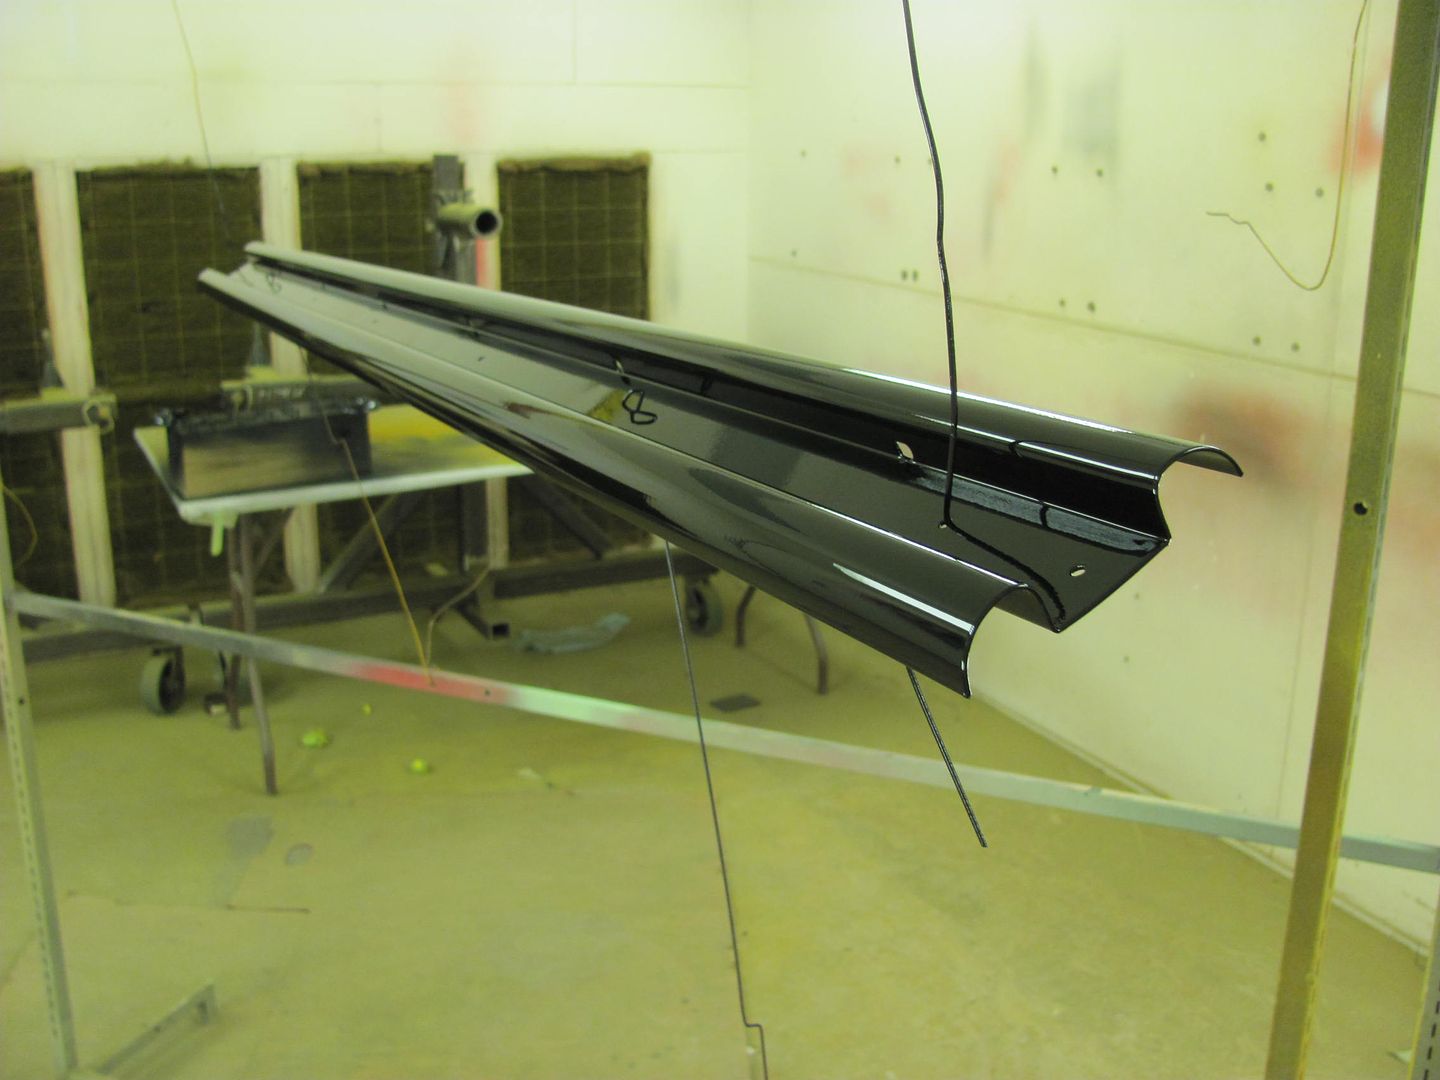
Now for the rub strip.. It was cut to size and holes drilled per the original. (had to straighten it a bit to transfer the holes) Here's the SPI epoxy:

....and the black urethane..
Should get all the parts put back together tomorrow, all ready for inspection..Robert
-
11-30-2014 10:43 AM #365
CHR Member
- Join Date
- Jun 2008
- Location
- Leonardtown
- Car Year, Make, Model: Walking
- Posts
- 1,228
Parts all re-assembled, ready for inspection..
Robert
-
11-30-2014 12:19 PM #366
CHR Member
- Join Date
- Oct 2007
- Location
- Petaluma
- Car Year, Make, Model: 48 Ford F1
- Posts
- 9,794
excellent repair." "No matter where you go, there you are!" Steve.
-
12-03-2014 07:49 PM #367
CHR Member
- Join Date
- Jun 2008
- Location
- Leonardtown
- Car Year, Make, Model: Walking
- Posts
- 1,228
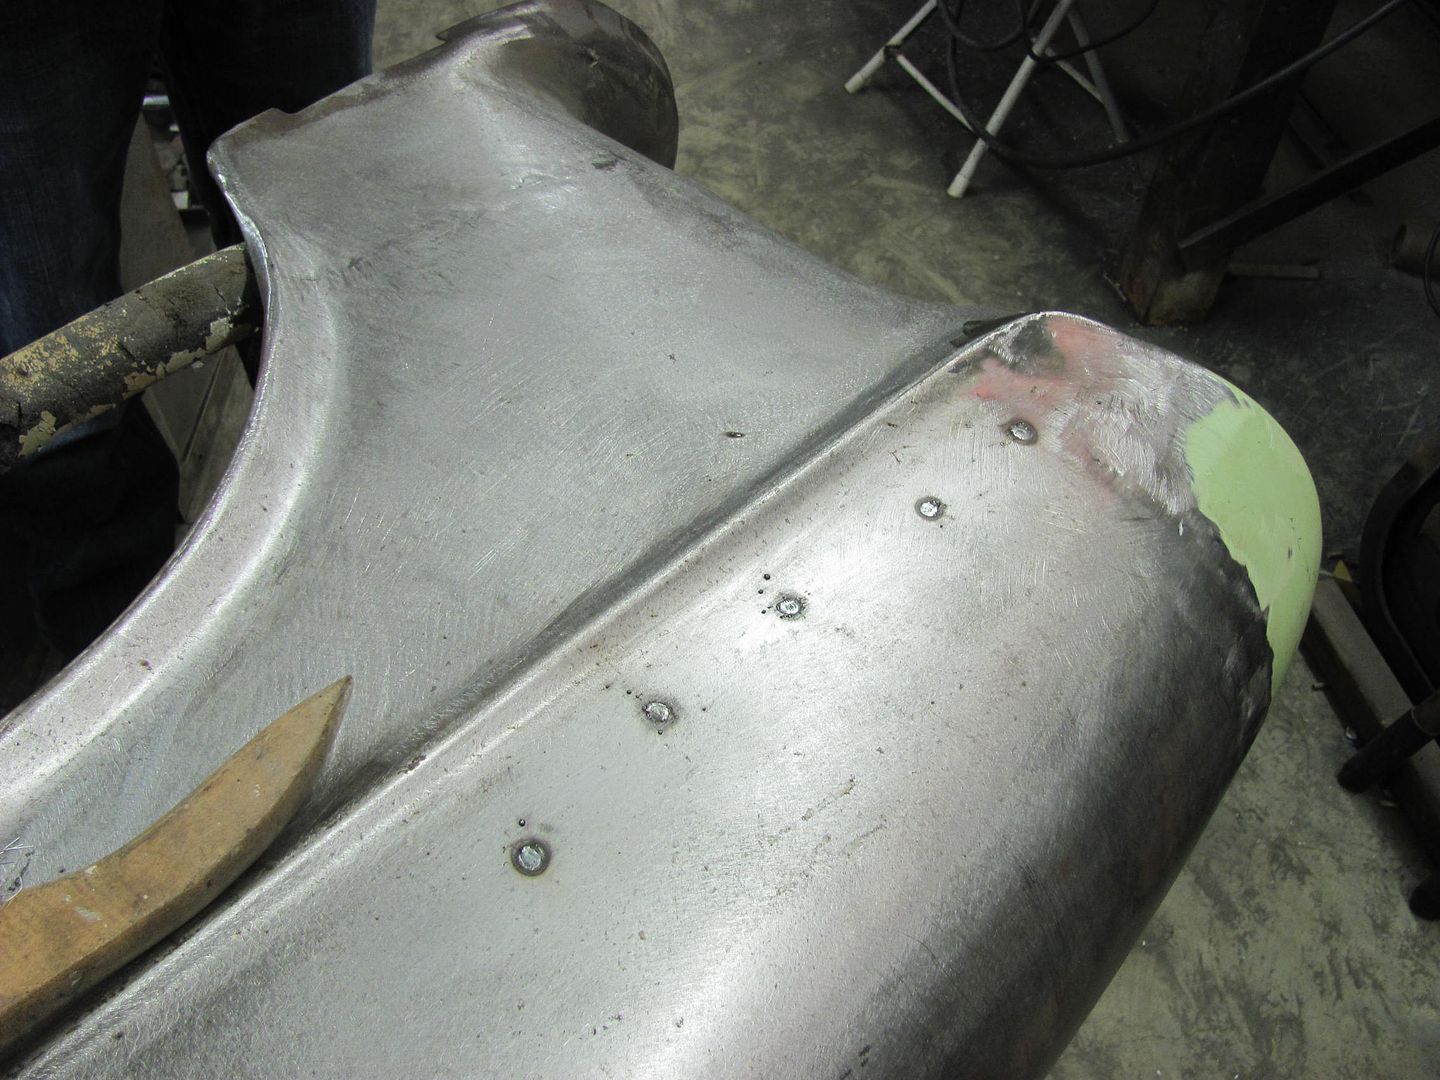
Now that the bus parts are out of the way, tonight we worked on getting the front fenders ready for epoxy primer, just a few more items to cross off the list. An earlier repair to resolve some rust on the top of the fenders.........
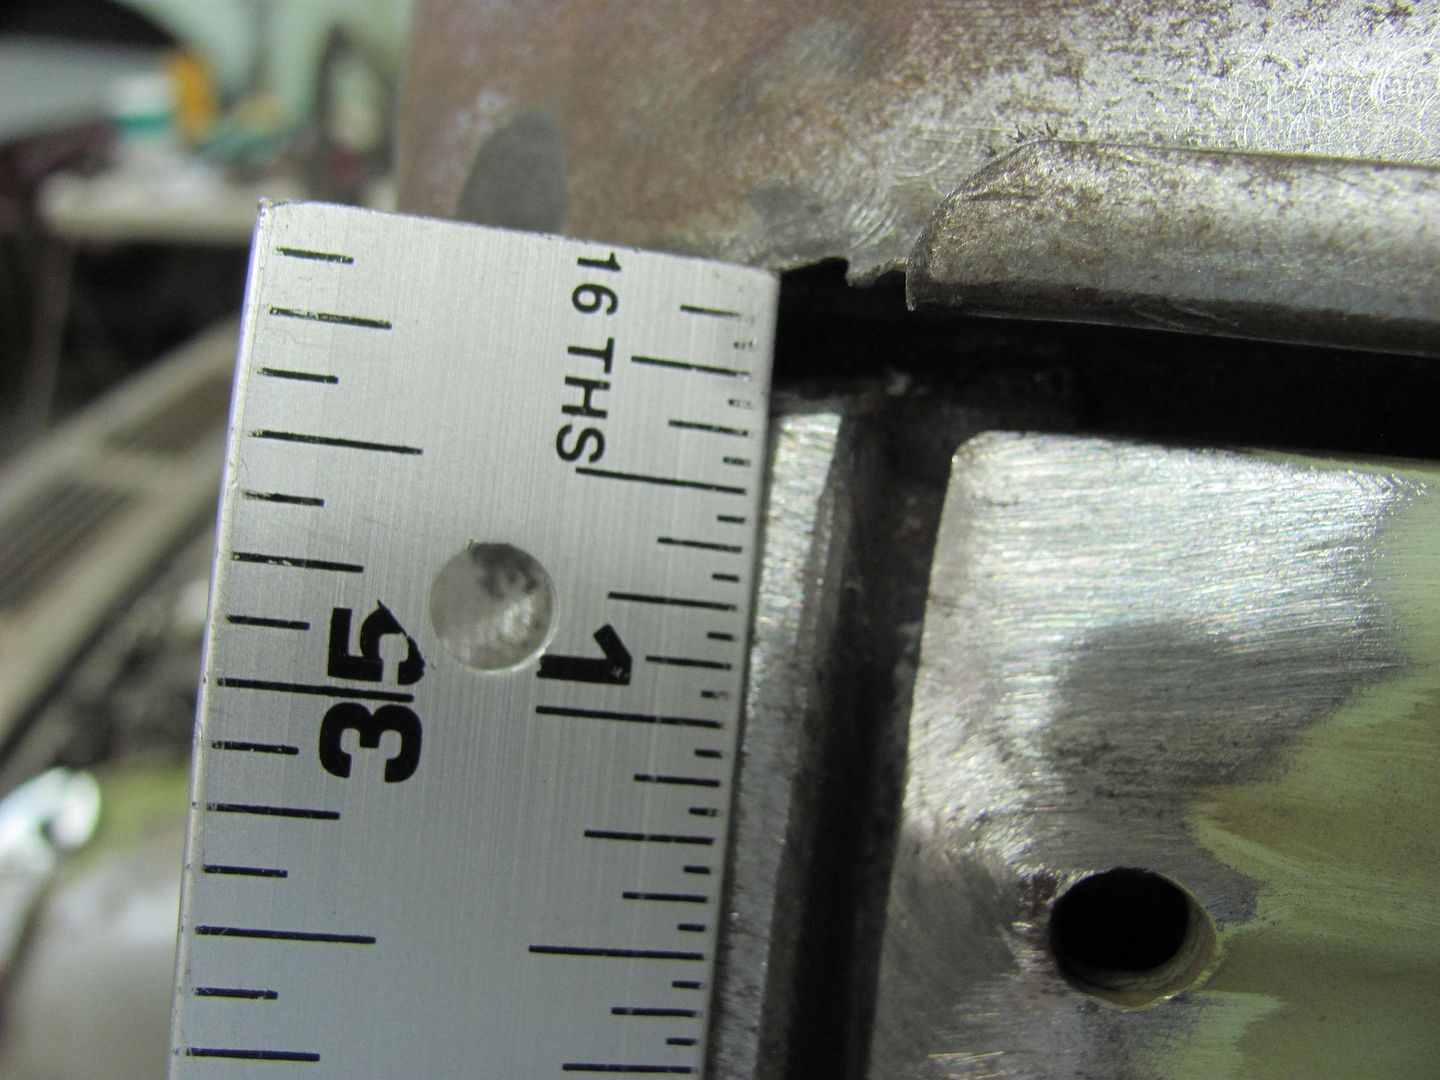
.........when checking the gap to the hood recently we noticed it was slightly wide at these spots where the weld had pulled. Shown here with the straight edge....
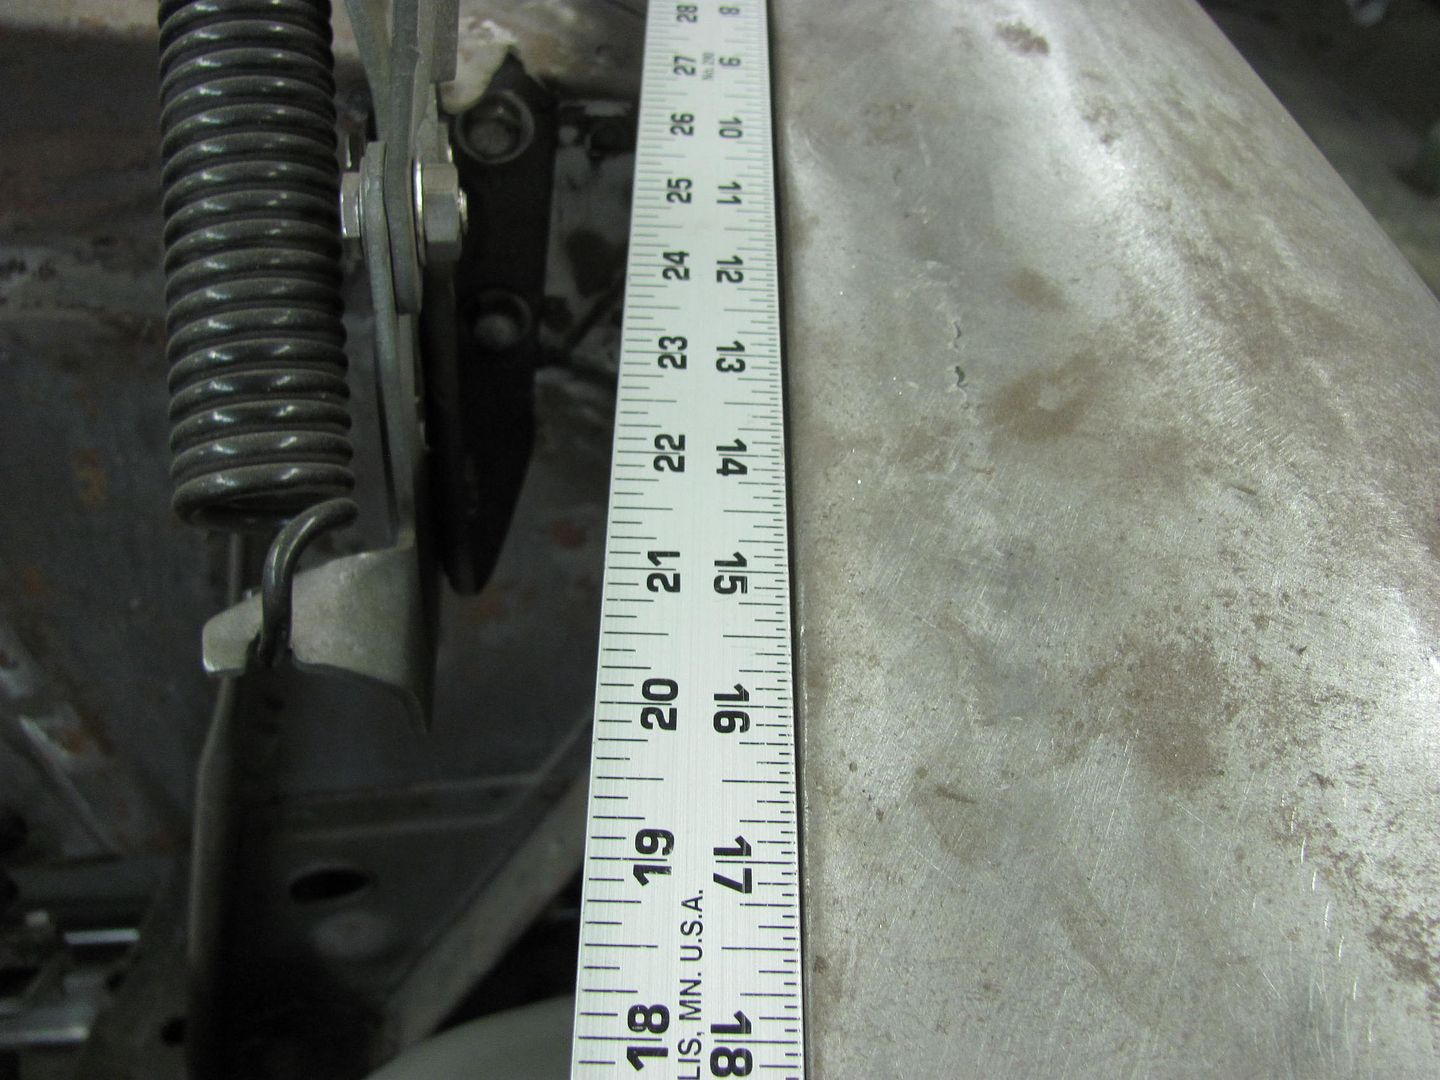
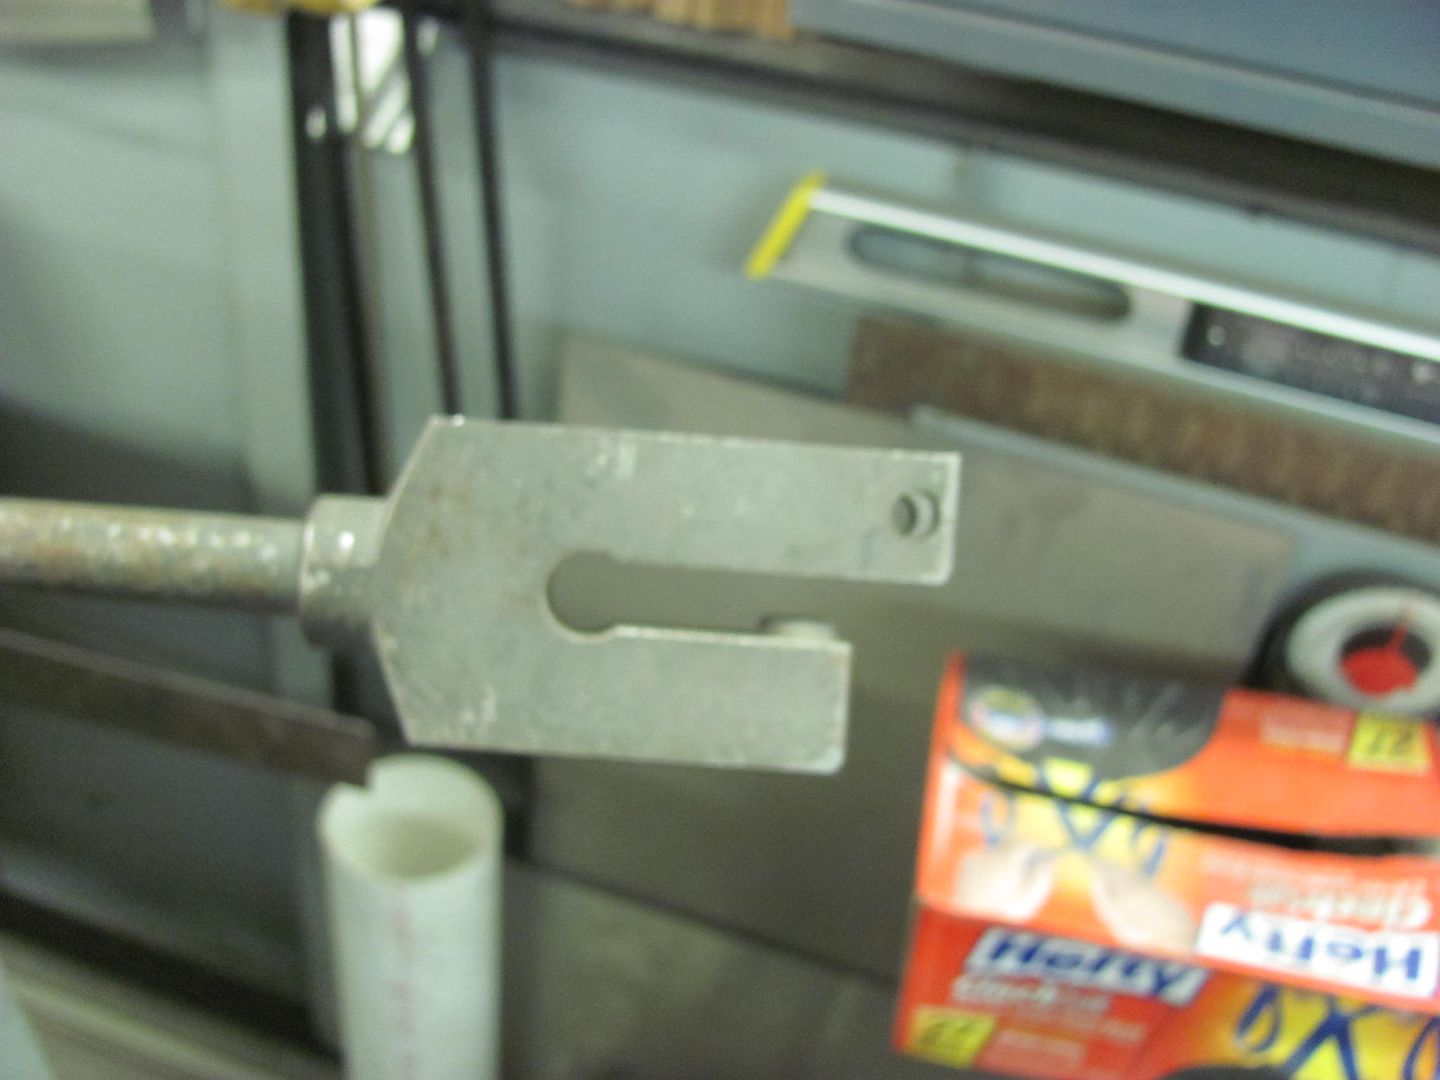
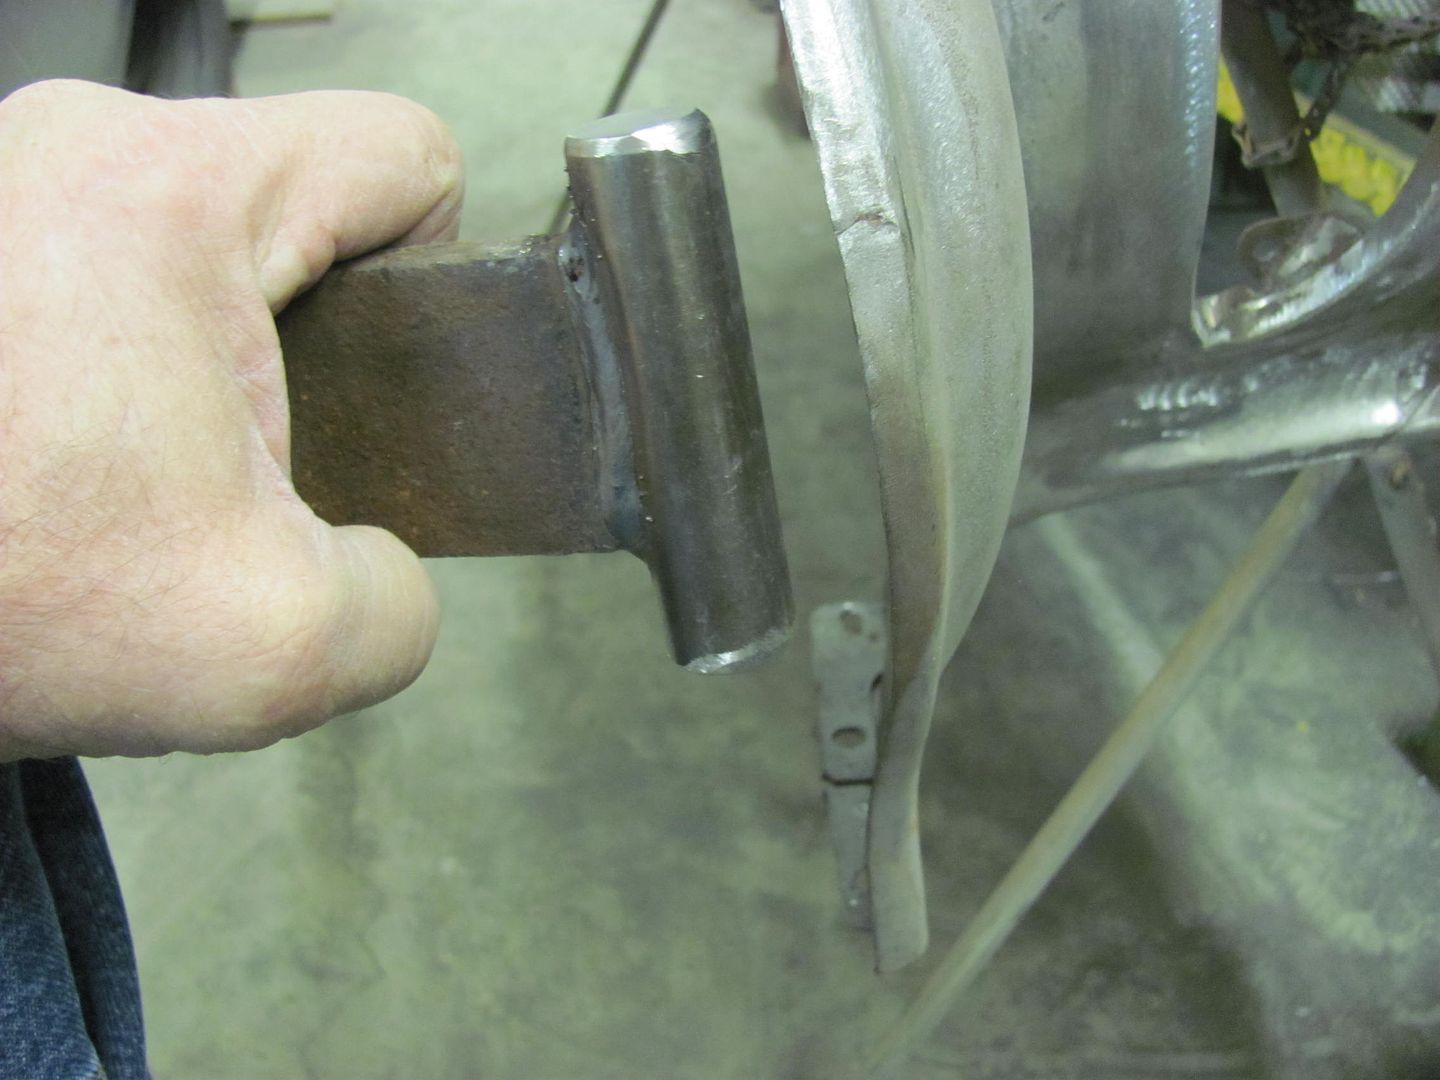
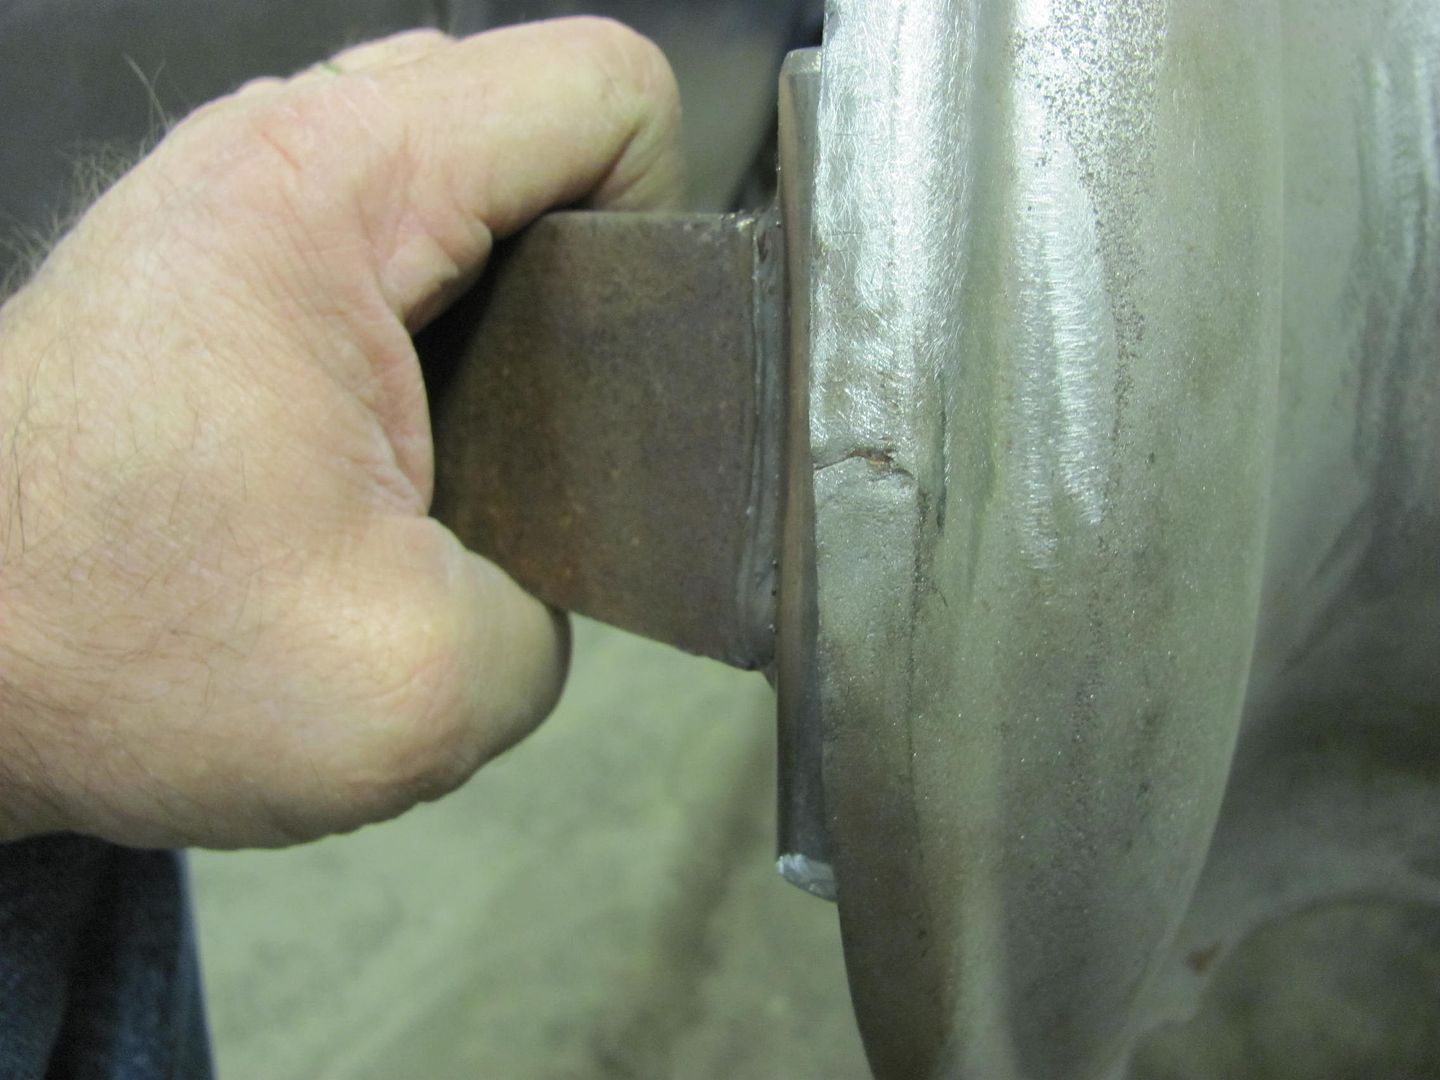
Time to make a tool that will reach between the inner fender brace for a bit of bumping...
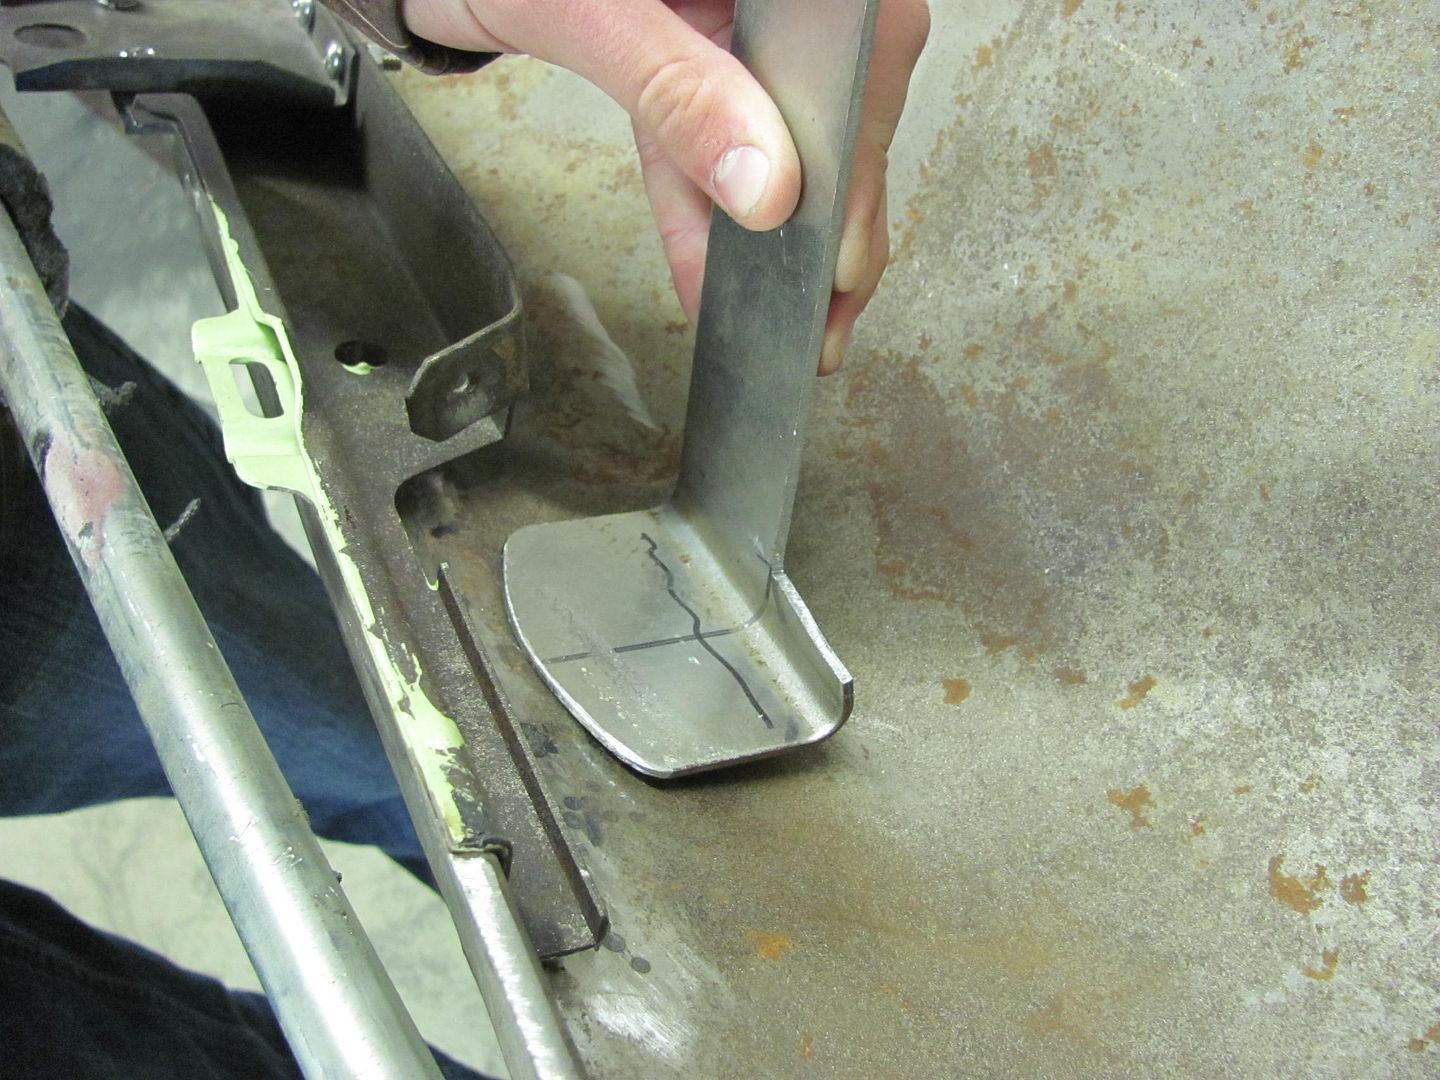
The shortened hammer comes in handy again...
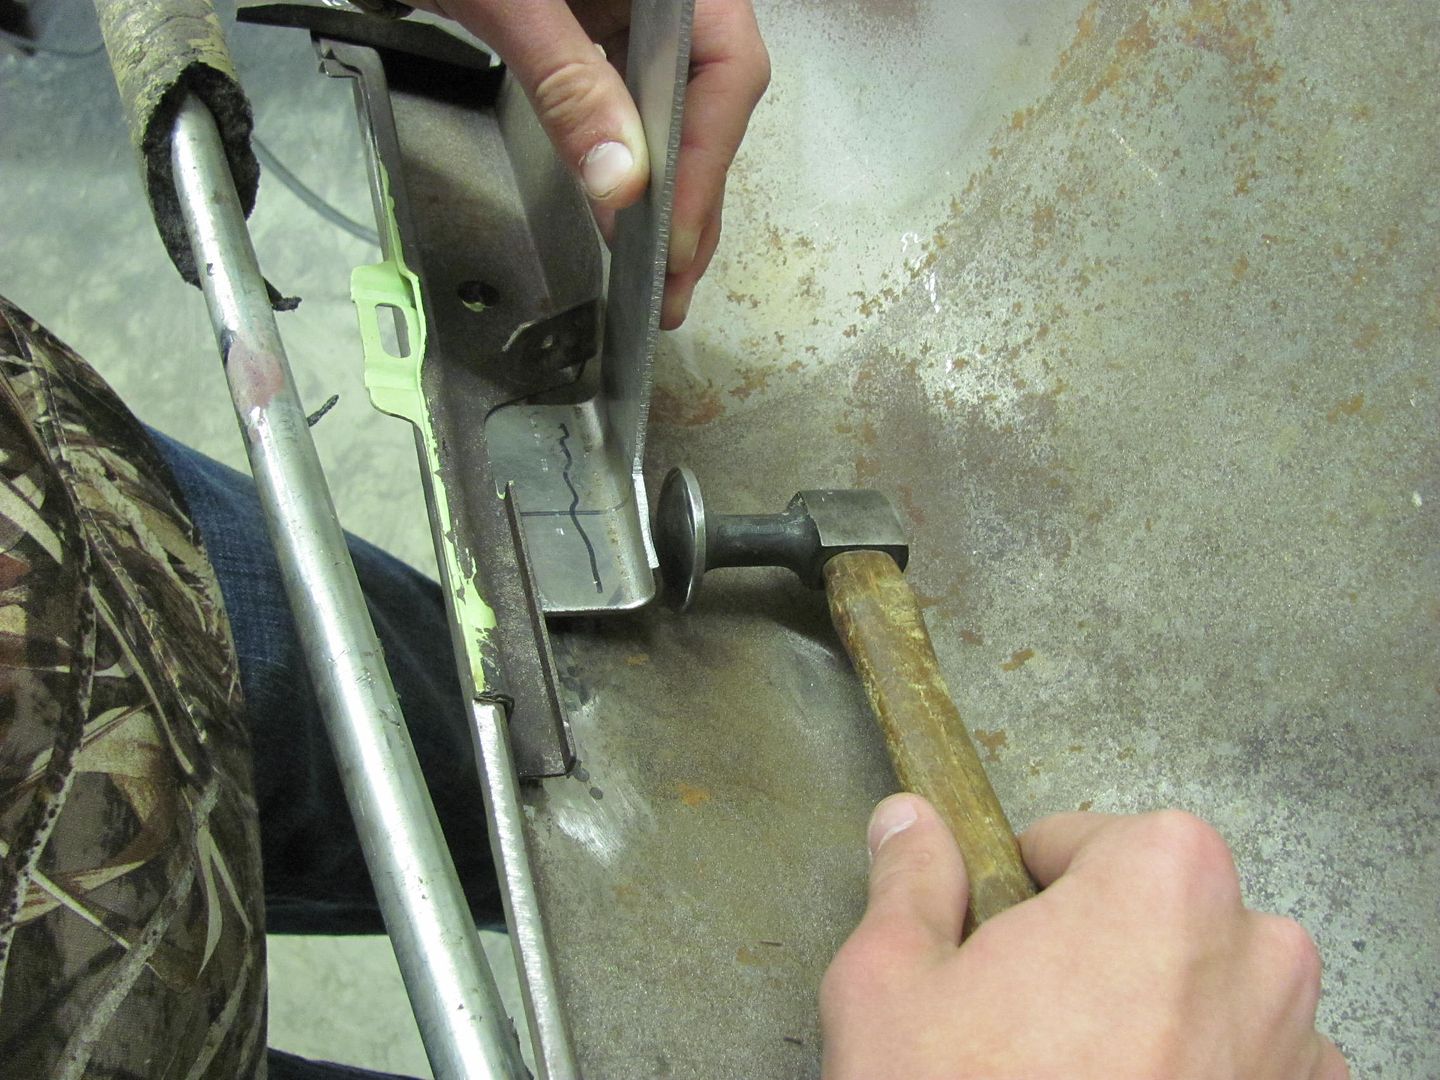
A few good raps along the area brought it out nicely.
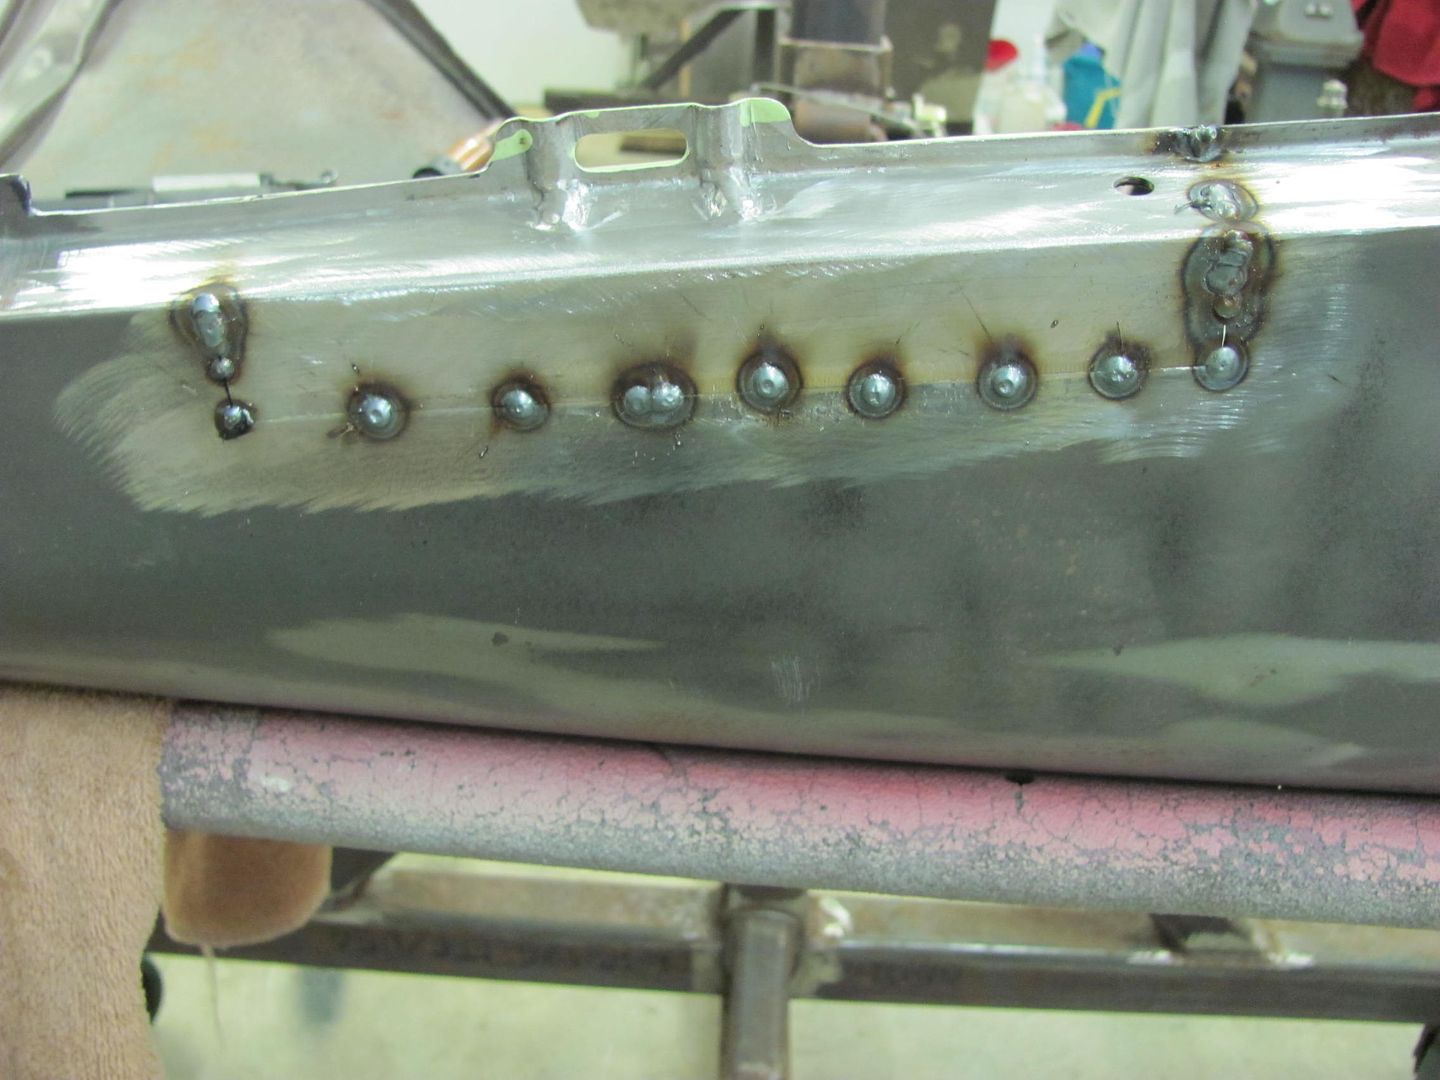
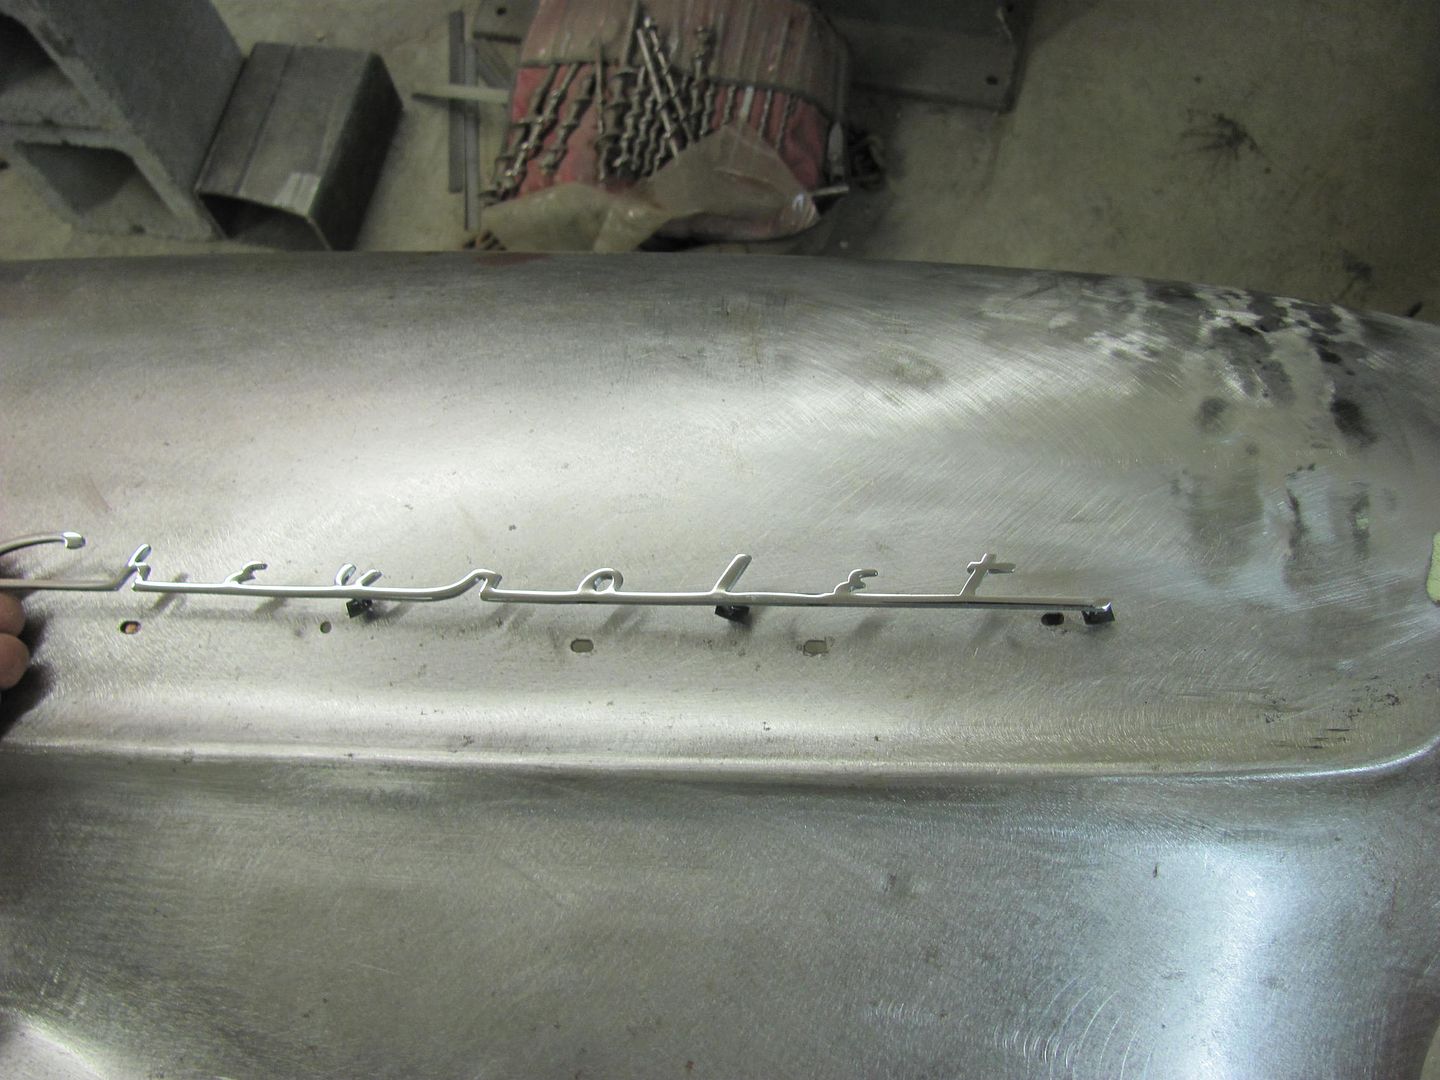
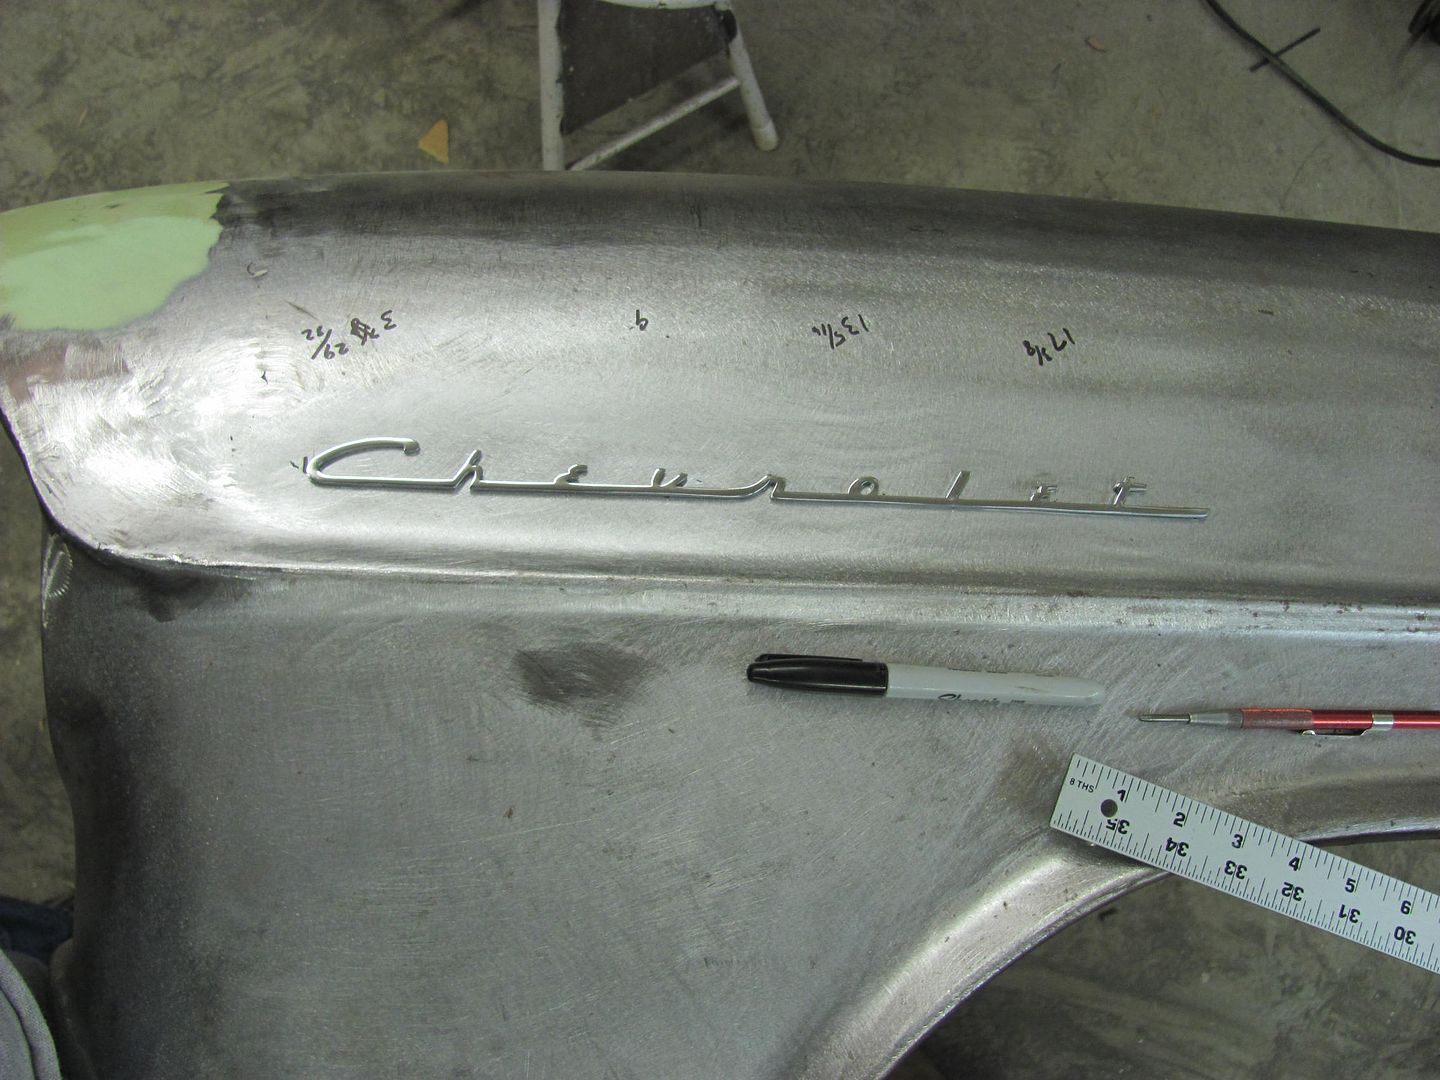
Next, we have some early model fender emblems to install on the front fenders, so we needed to fill the old holes...
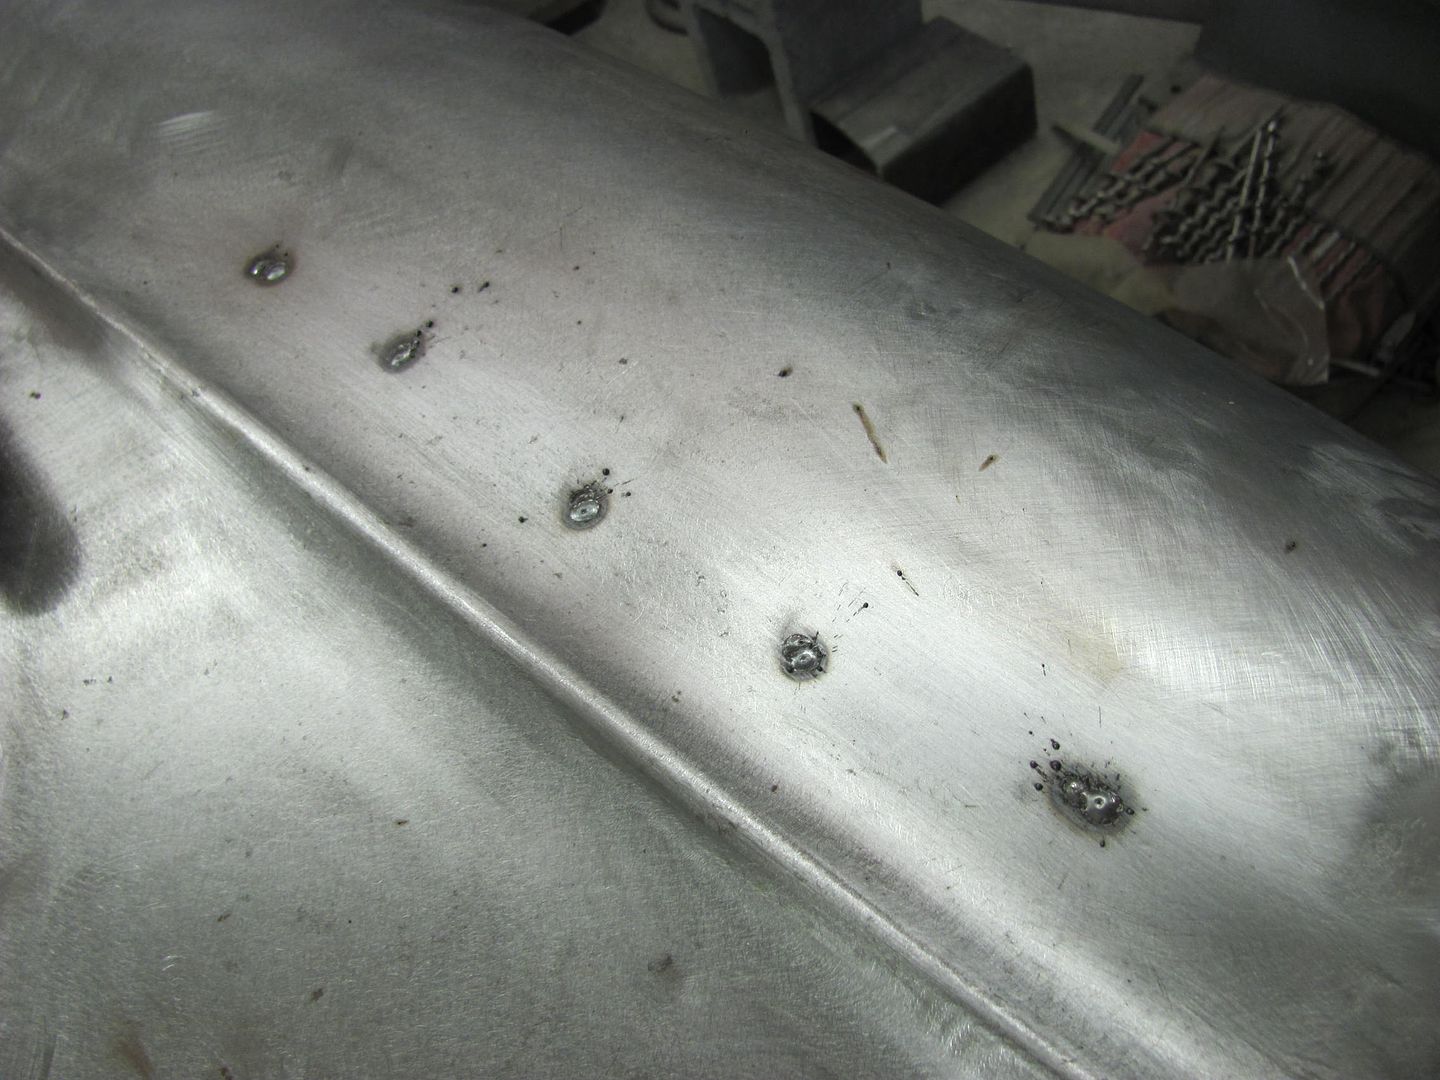
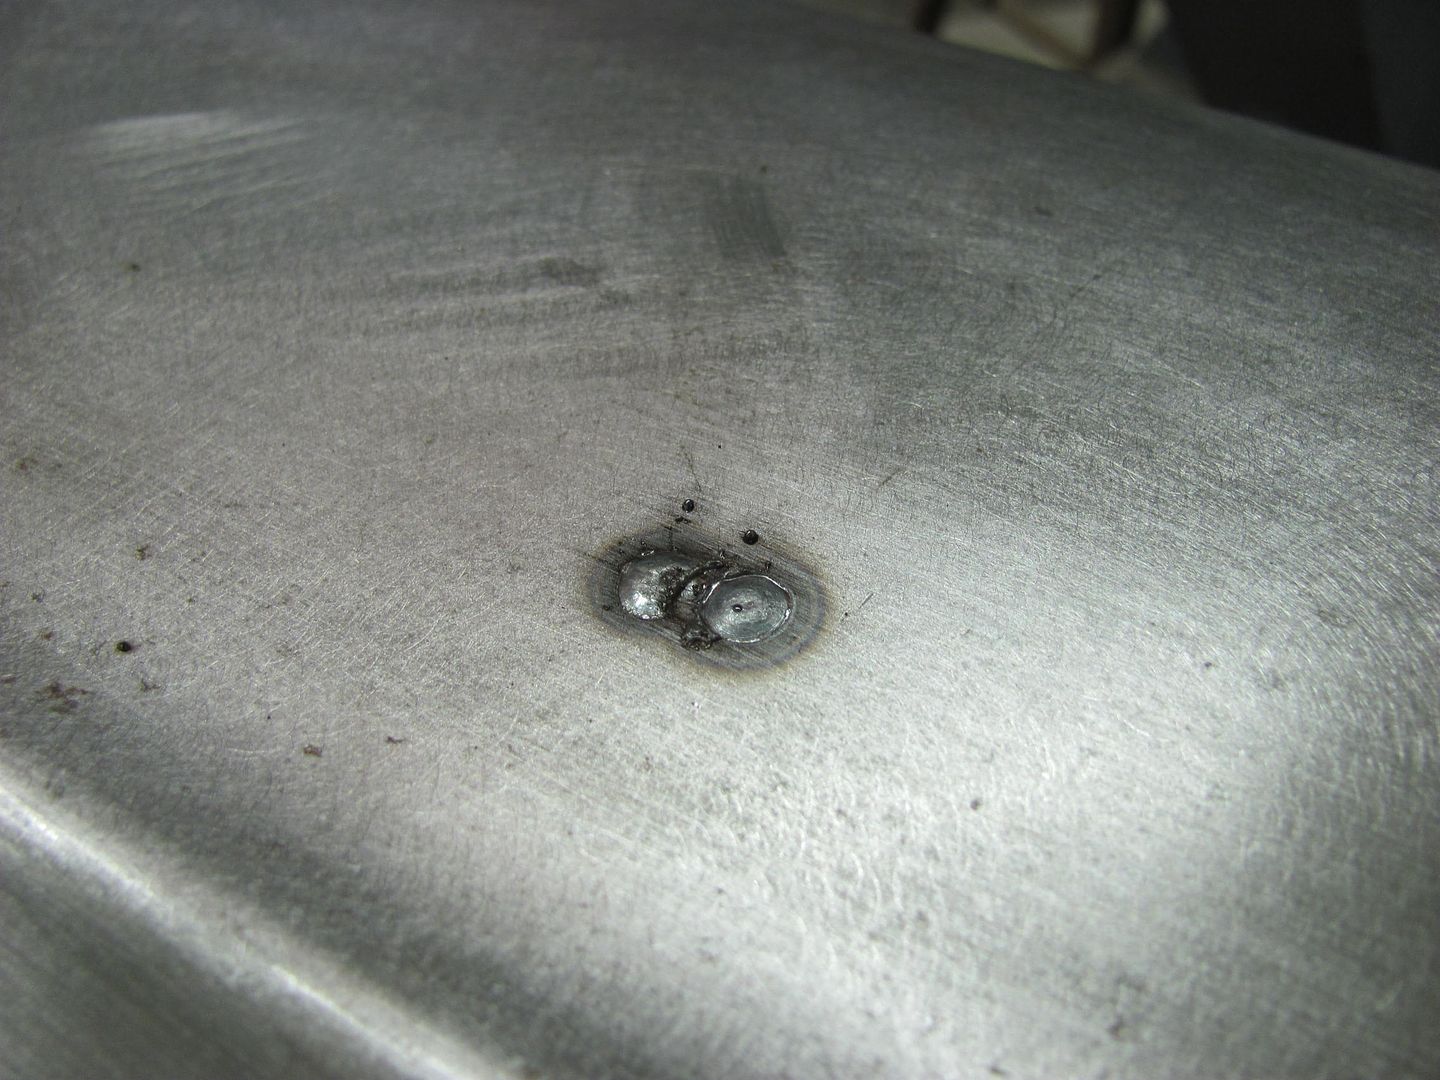
Three separate quick zaps were used (about a minute in between) to minimize the heat introduced into the panel for filling the slotted holes. Note minimal HAZ..
Holes laid out and drilled for the new emblem...
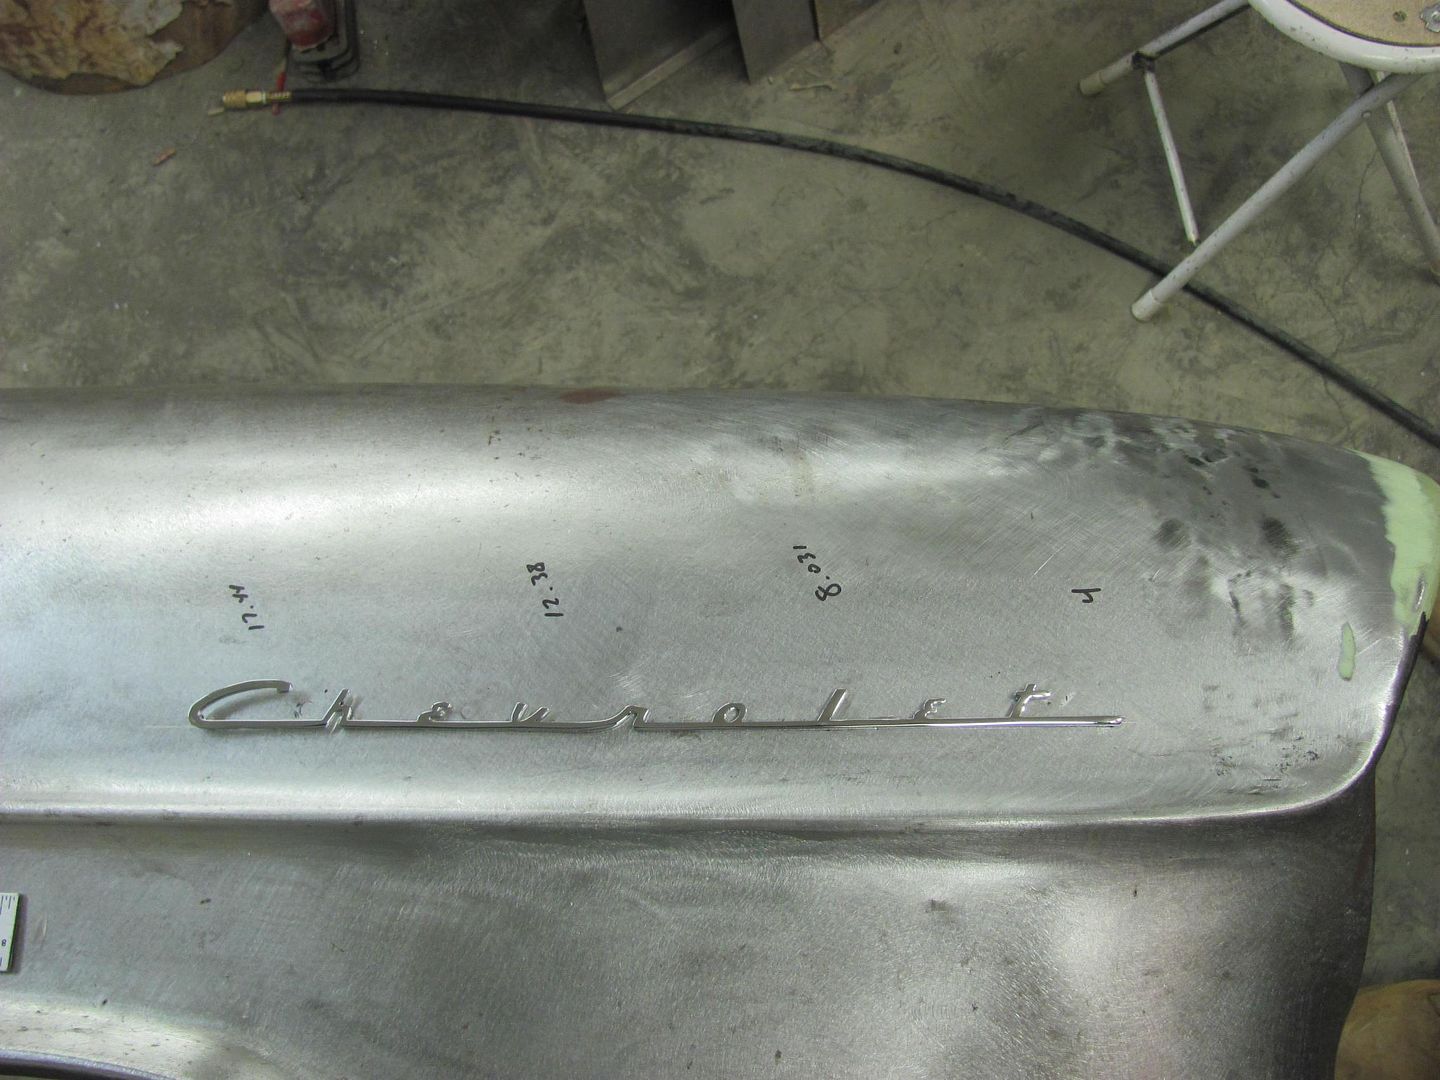
Other fender...
Note minimal weld bead height using EZ Grind..

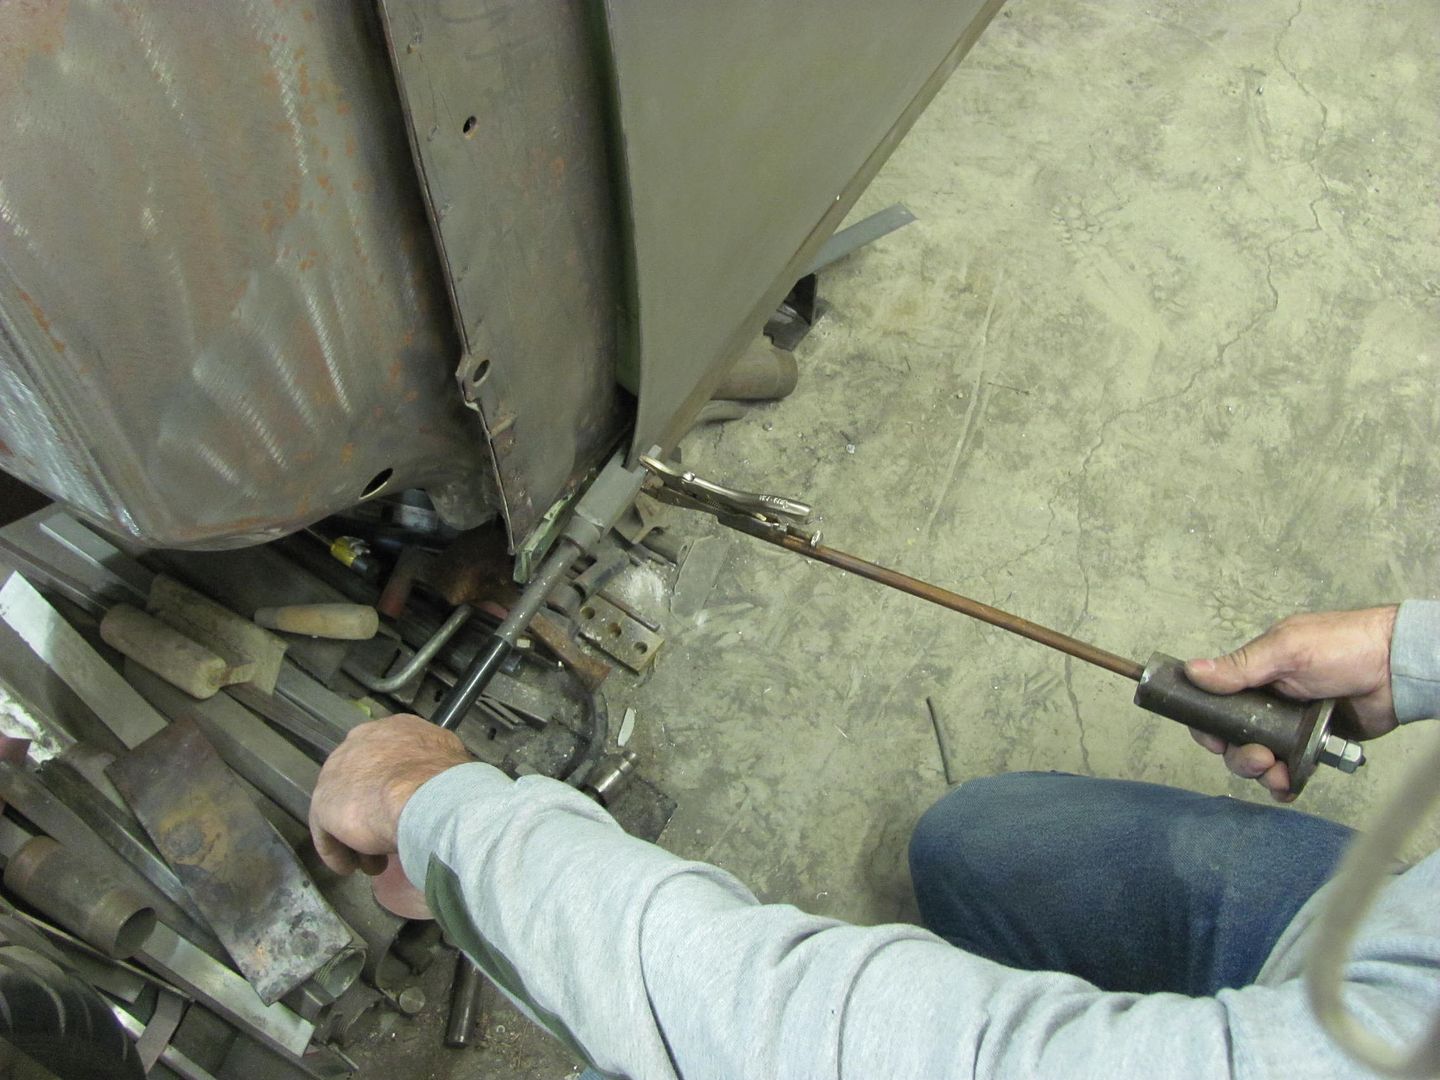
Next, we had one more minor adjustment to do to the driver door lower corner. It was tweaked inward slightly and needed some adjustment. I recently noticed one of my hole punches was broken, and it looks like it will work for what we need, in conjunction with the vise grip dent puller...
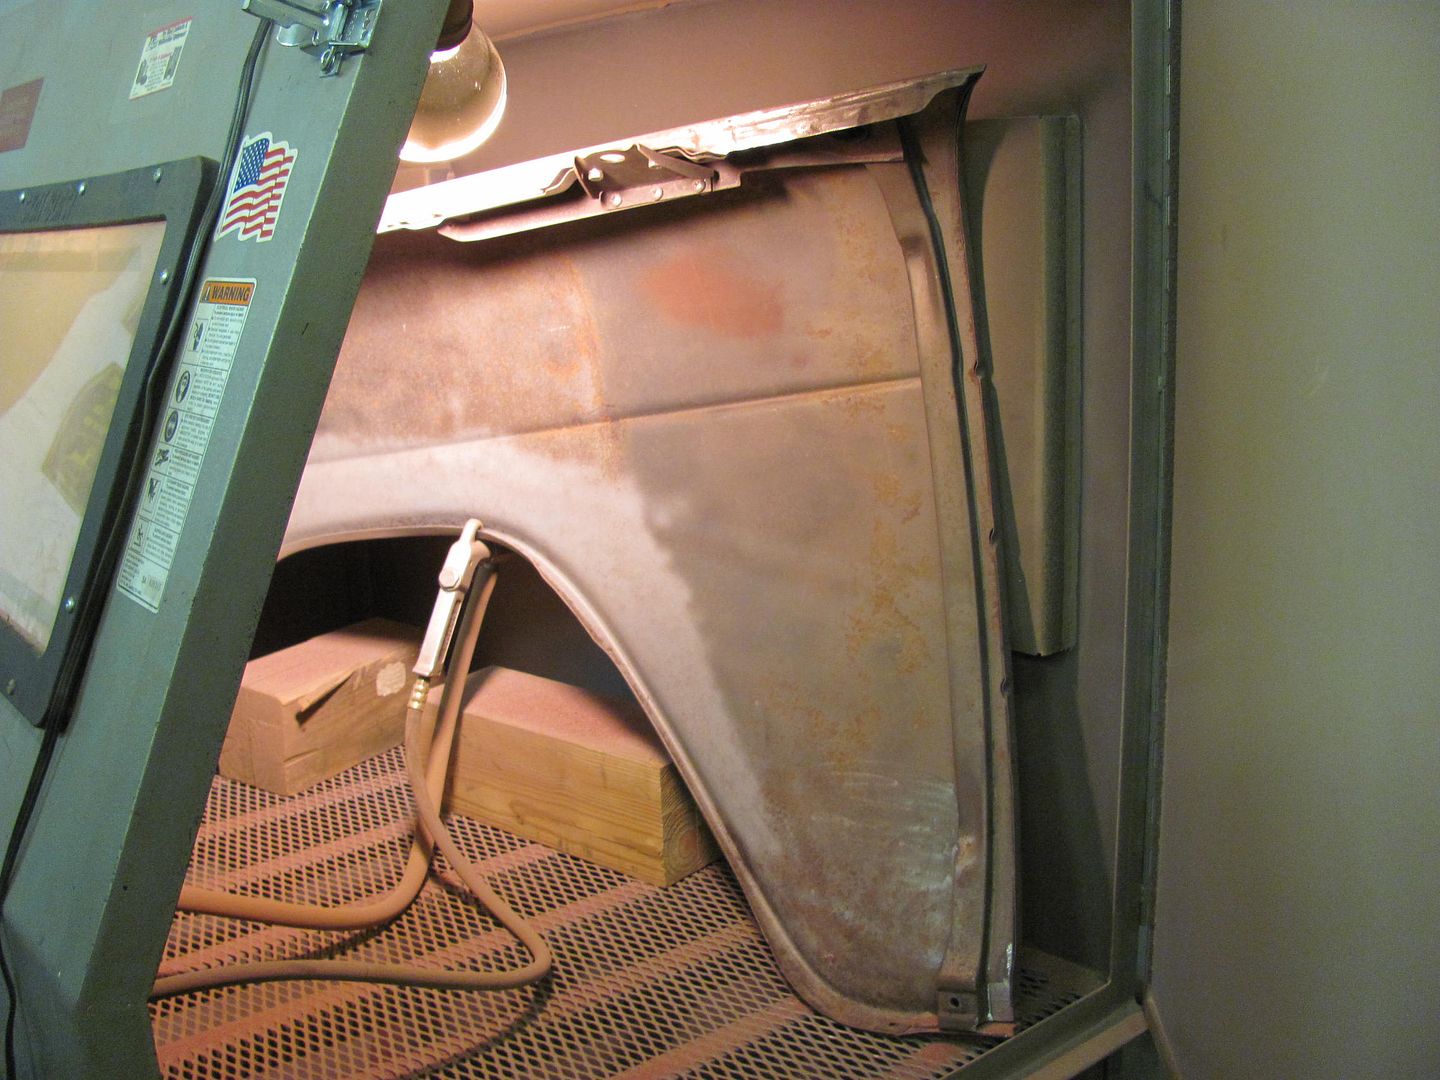
Kyle started media blasting the inside of the driver's fender.... A bit of a squeeze in a 58" wide blast cabinet..

Rather tight to the door!

Until next time.....Robert
-
12-03-2014 08:56 PM #368
CHR Member
- Join Date
- Sep 2005
- Location
- Hamilton
- Car Year, Make, Model: 69 nomad, 73 charger, 74 vega
- Posts
- 3,900
I once blasted a 64 C10 grill in a three foot cabinet.
I just let it hang out the open door, and angled the beads into the cabinet.
The mess was minimal..
Education is expensive. Keep that in mind, and you'll never be terribly upset when a project goes awry.
EG
-
12-05-2014 02:20 PM #369
CHR Member
- Join Date
- Apr 2011
- Location
- Prairie City
- Car Year, Make, Model: 40 Ford Deluxe, 68 Corvette, 72&76 K30
- Posts
- 7,301
- Blog Entries
- 1
Nice work on the bus! Once again, great shaping tools to fix the patched area. I need to get some ez grind to try on sheet metal projects.Ryan
1940 Ford Deluxe Tudor 354 Hemi 46RH Electric Blue w/multi-color flames, Ford 9" Residing in multiple pieces
1968 Corvette Coupe 5.9 Cummins Drag Car 11.43@130mph No stall leaving the line with 1250 rpm's and poor 2.2 60'
1972 Chevy K30 Longhorn P-pumped 24v Compound Turbos 47RH Just another money pit
1971 Camaro RS 5.3 BTR Stage 3 cam, SuperT10
Tire Sizes
-
12-06-2014 08:58 PM #370
CHR Member
- Join Date
- Jun 2008
- Location
- Leonardtown
- Car Year, Make, Model: Walking
- Posts
- 1,228
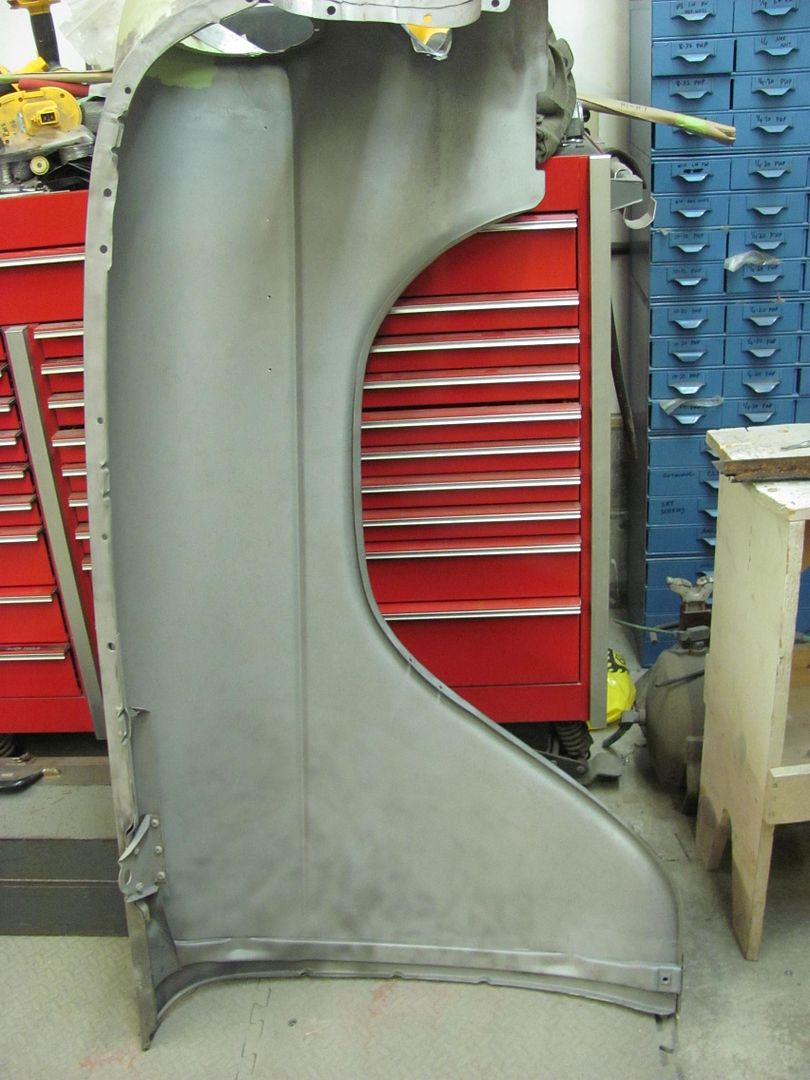
While I was doing the family thing today at an FLL robotics competition, Kyle worked some more on prepping the front fenders for priming..
One down......
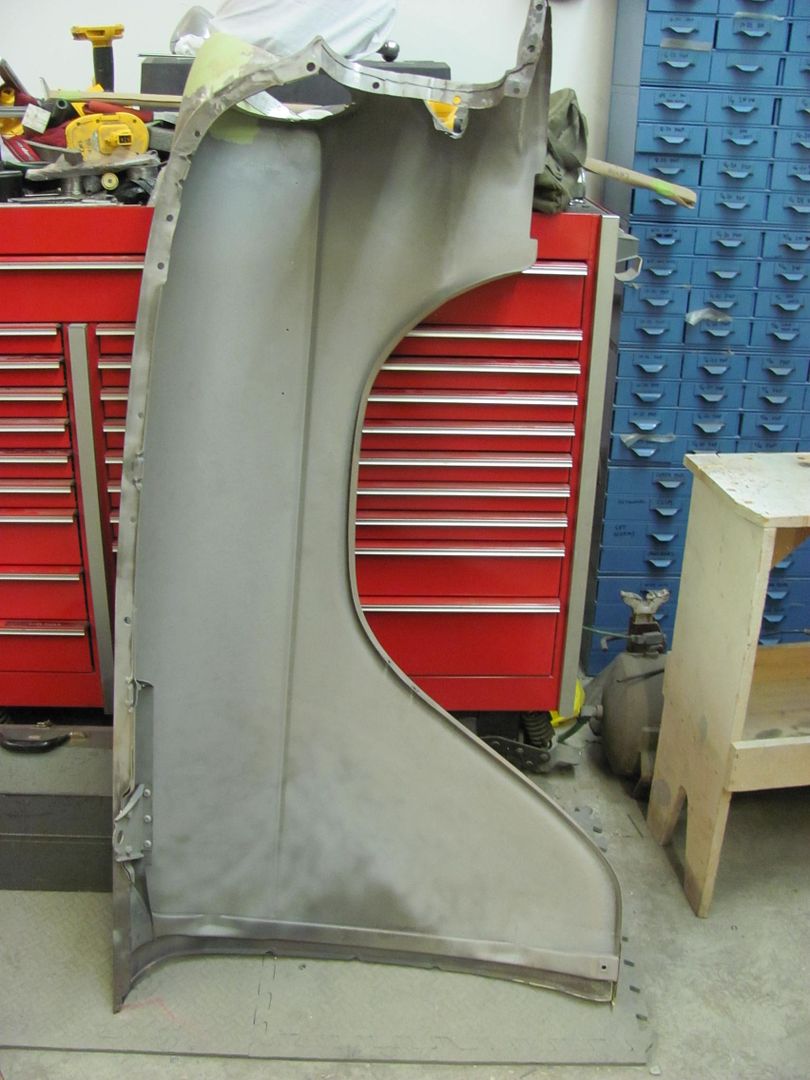
One to go....
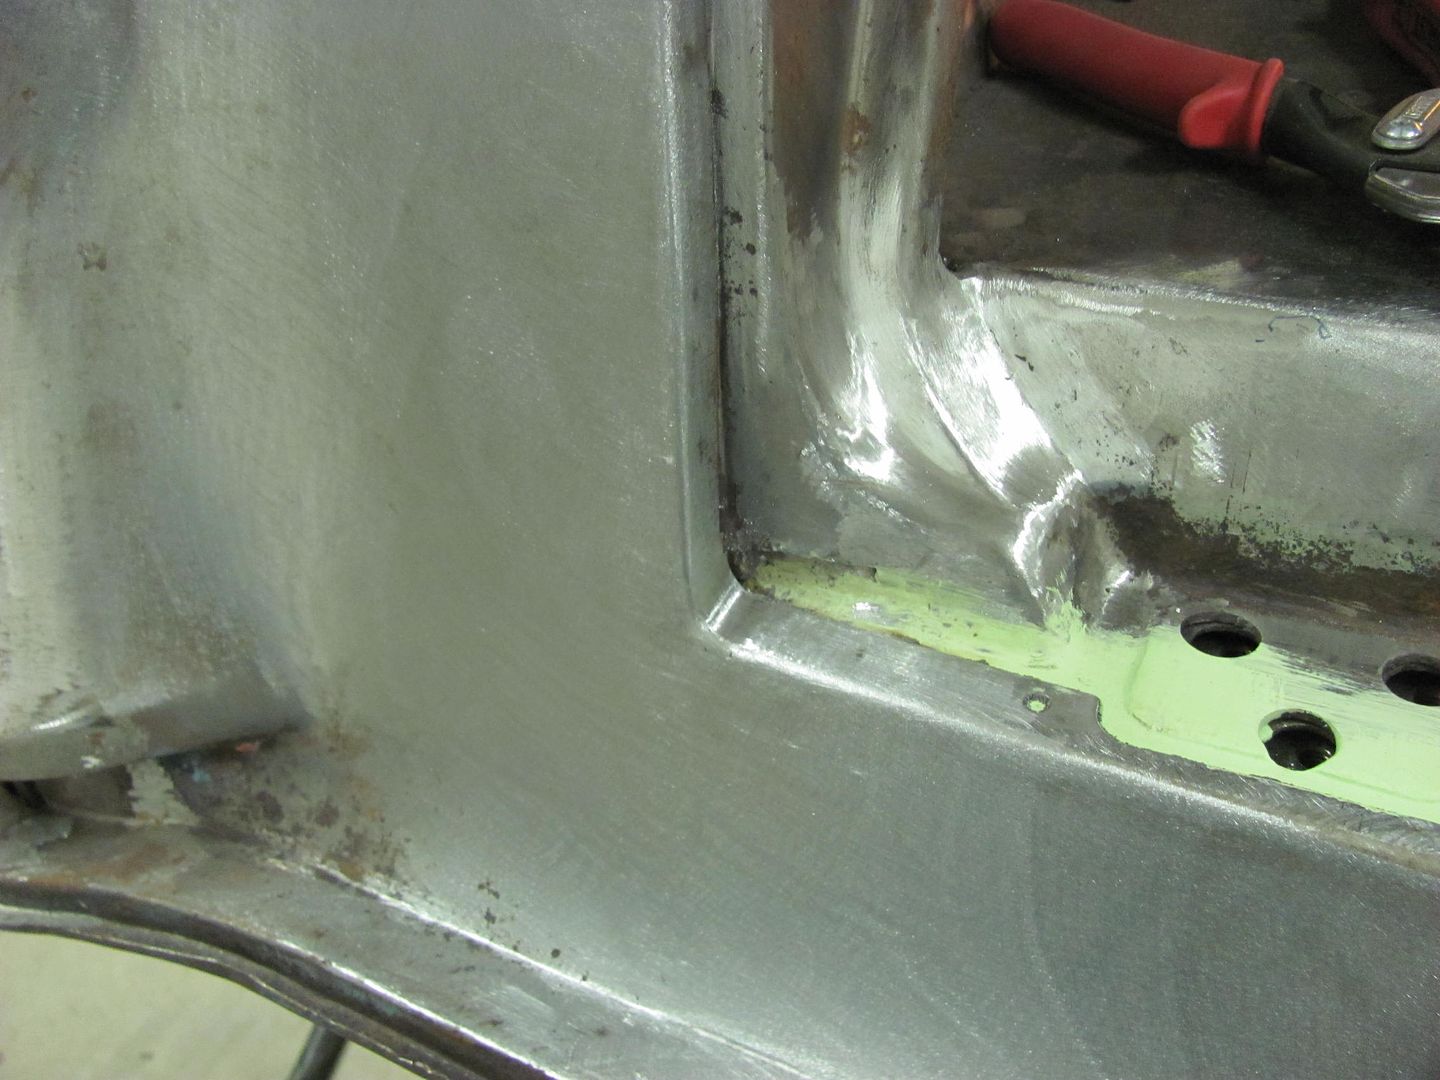
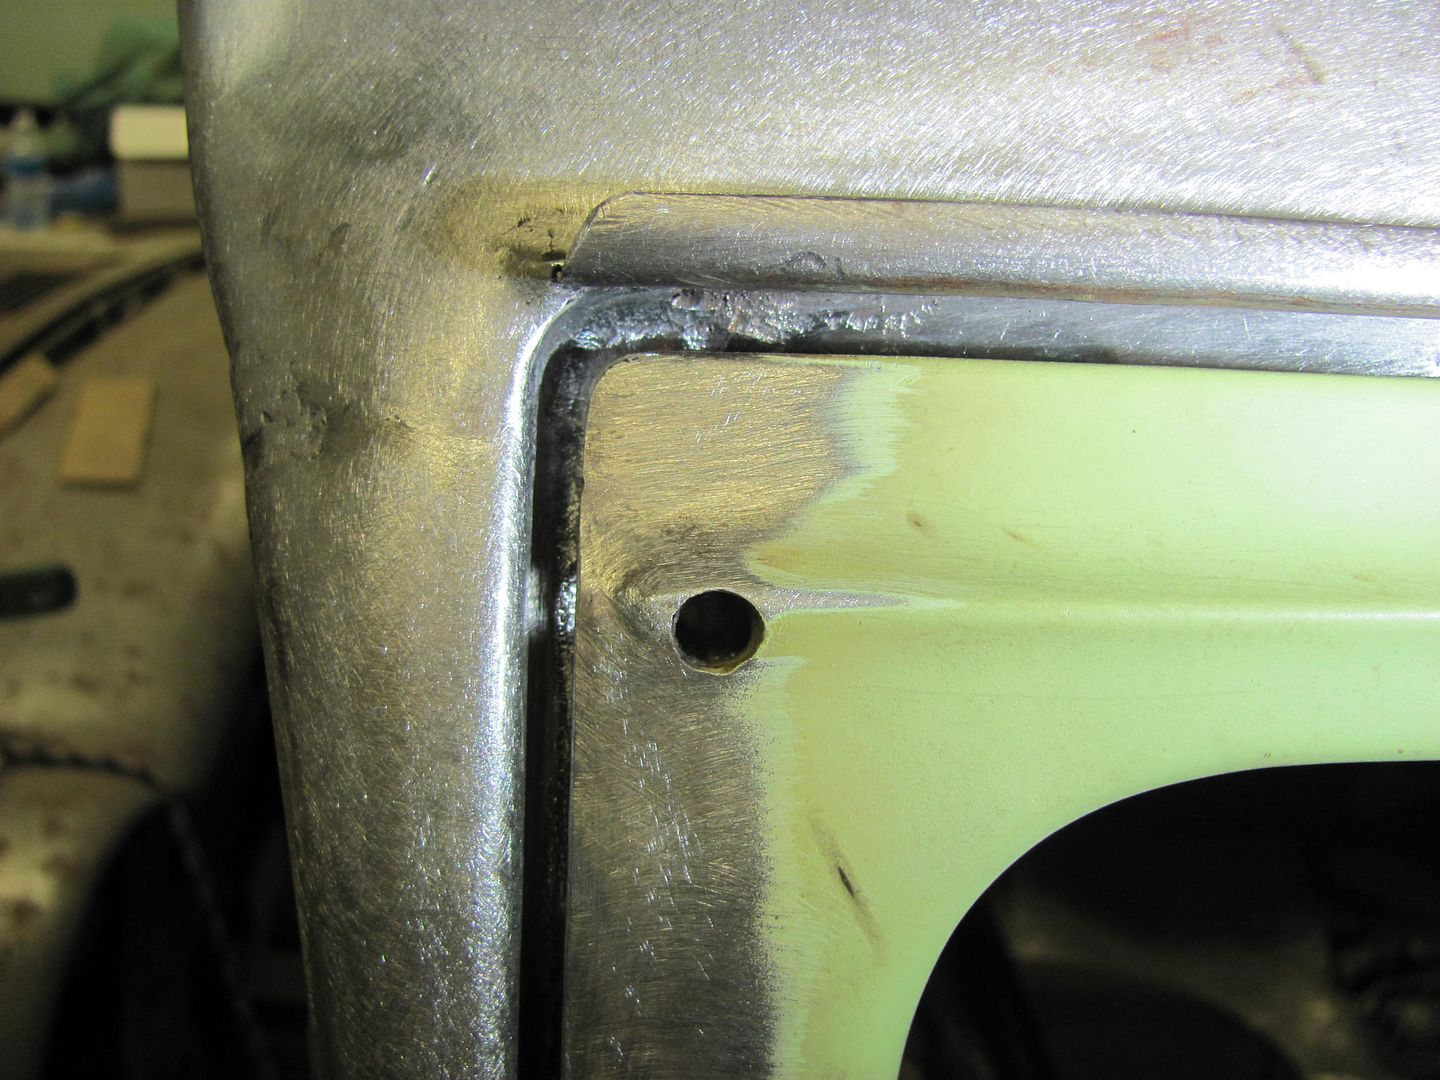
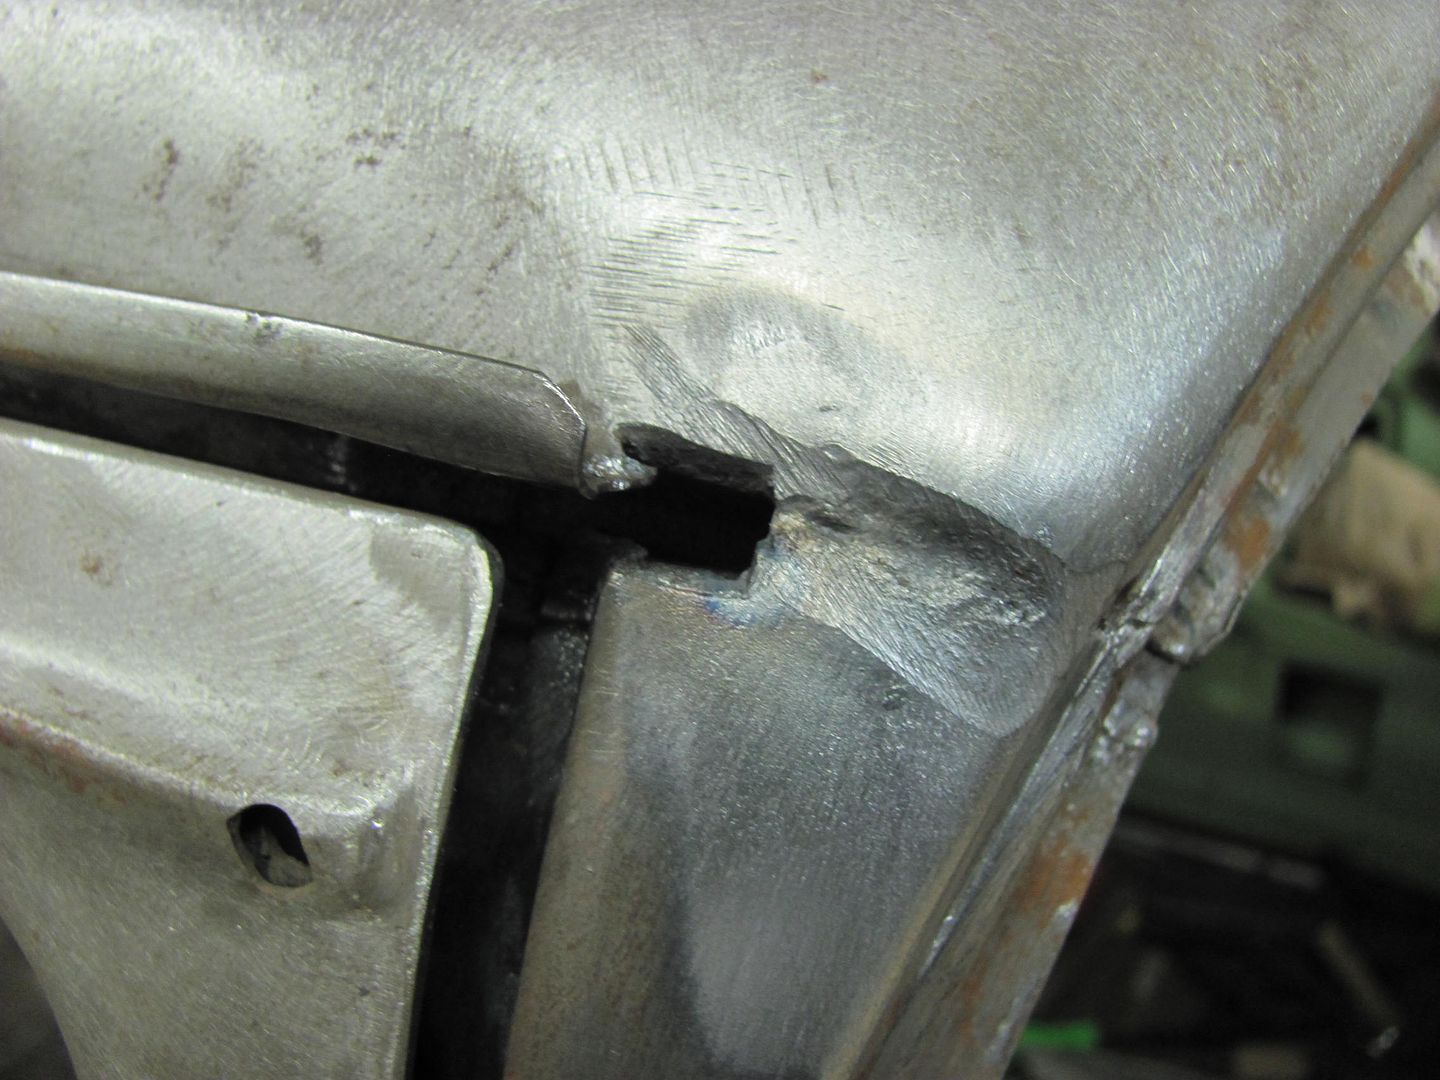
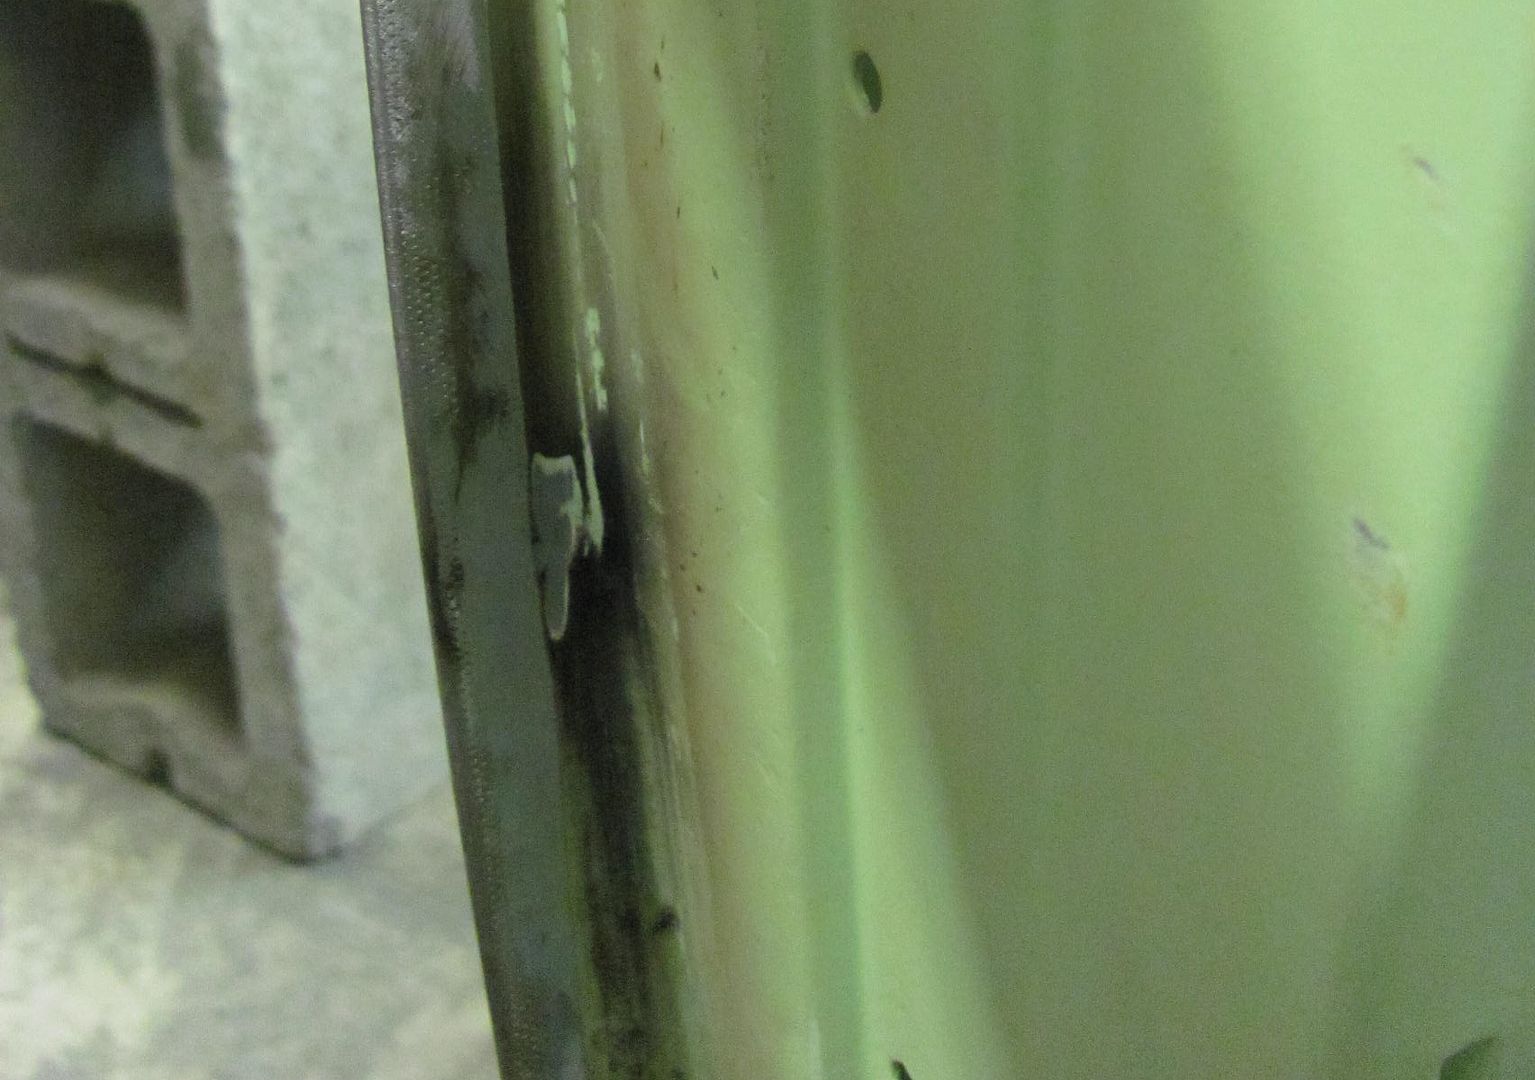
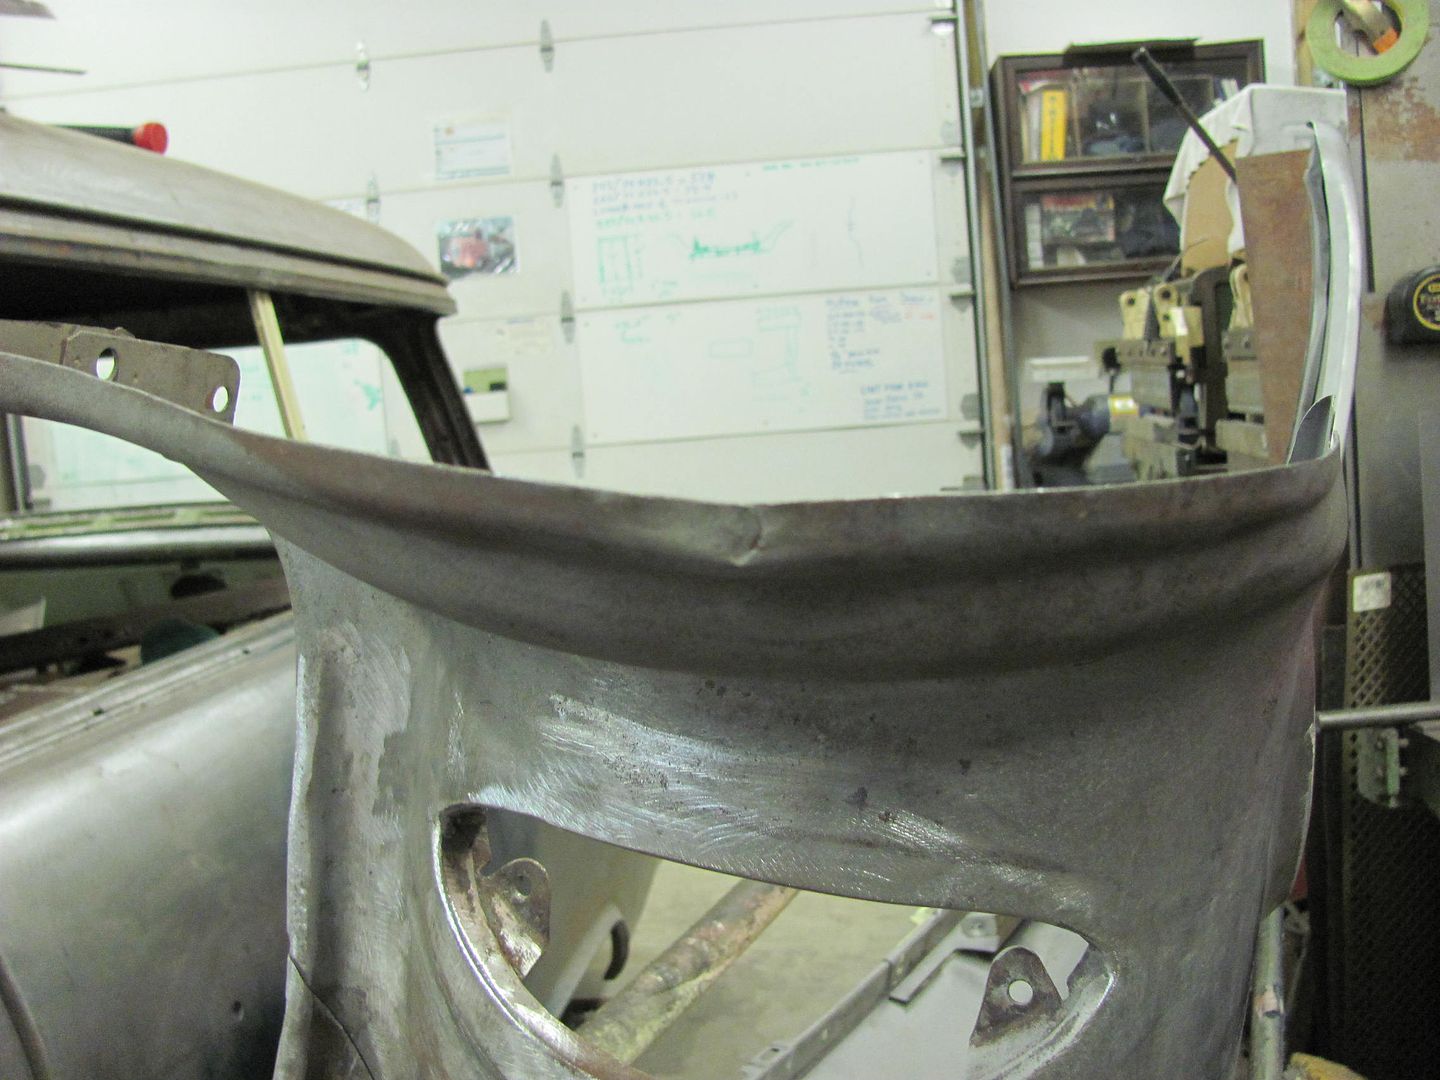
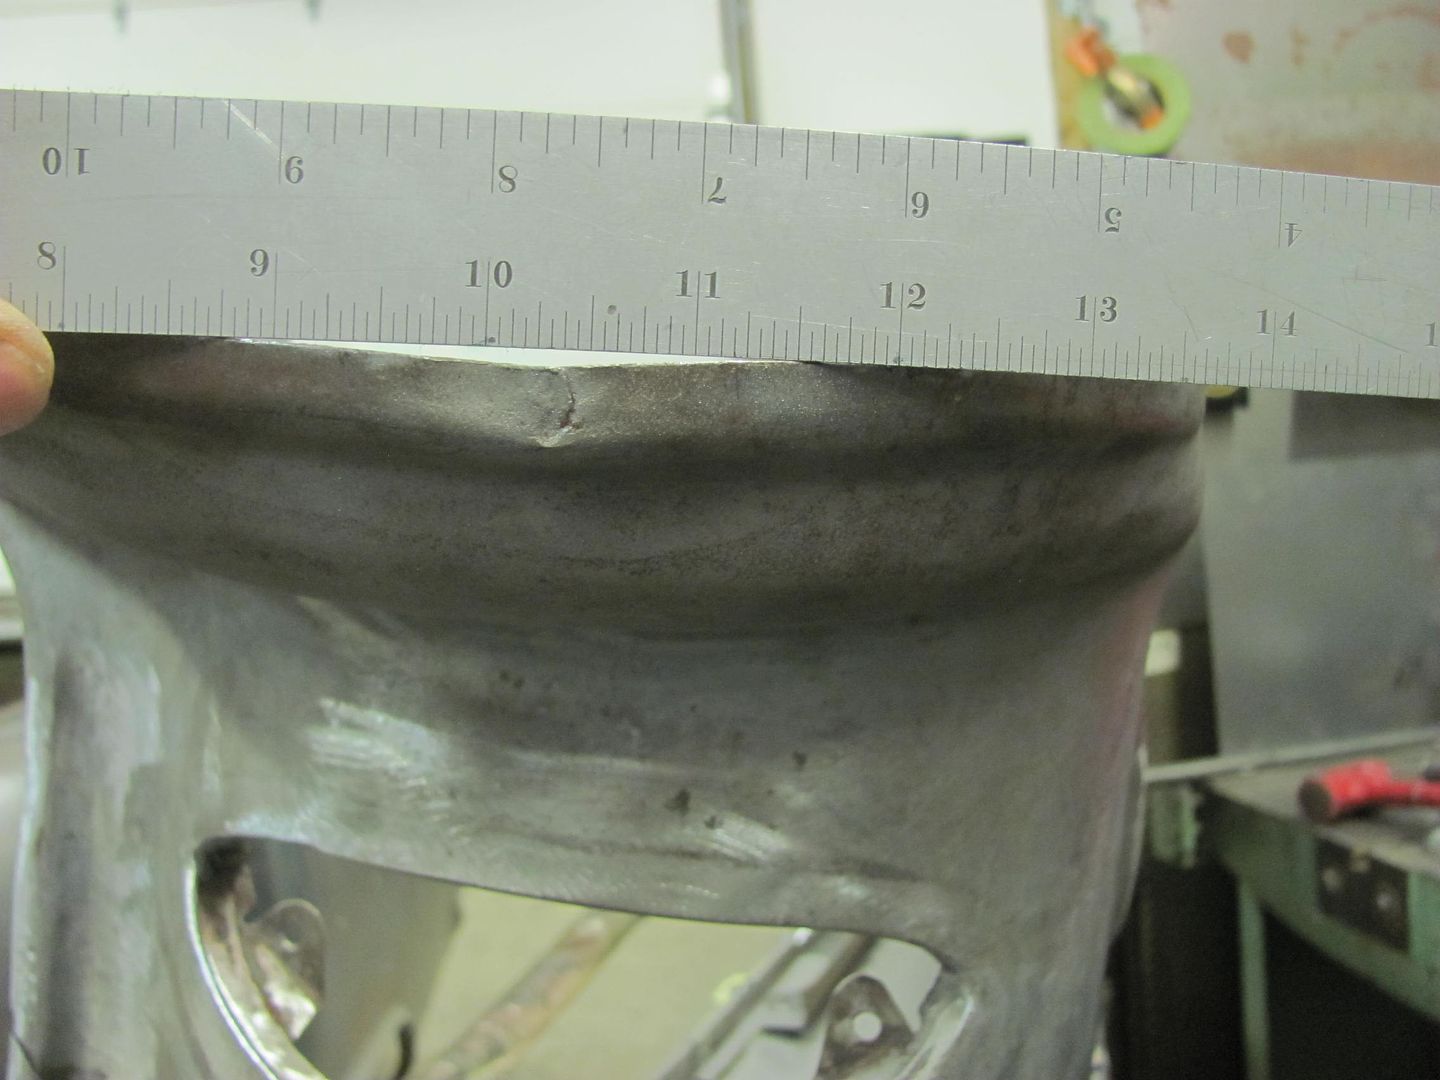
Another issue that plagues most of the trifive Chevrolets is cracking at the leaded joint at the top of the A pillar.
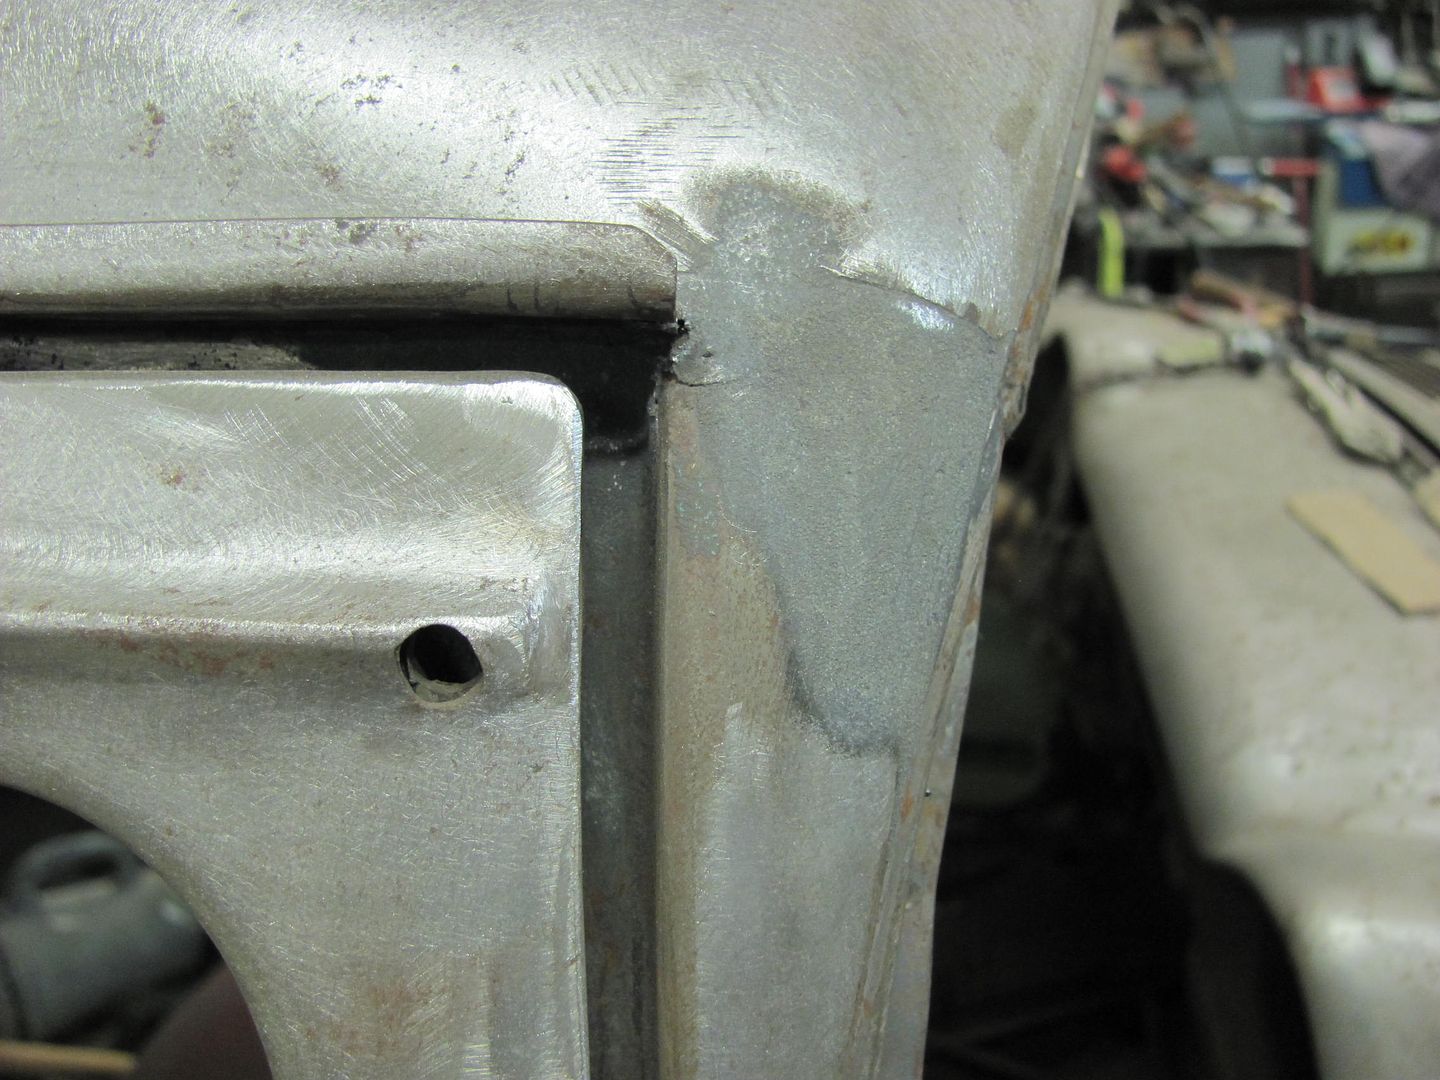
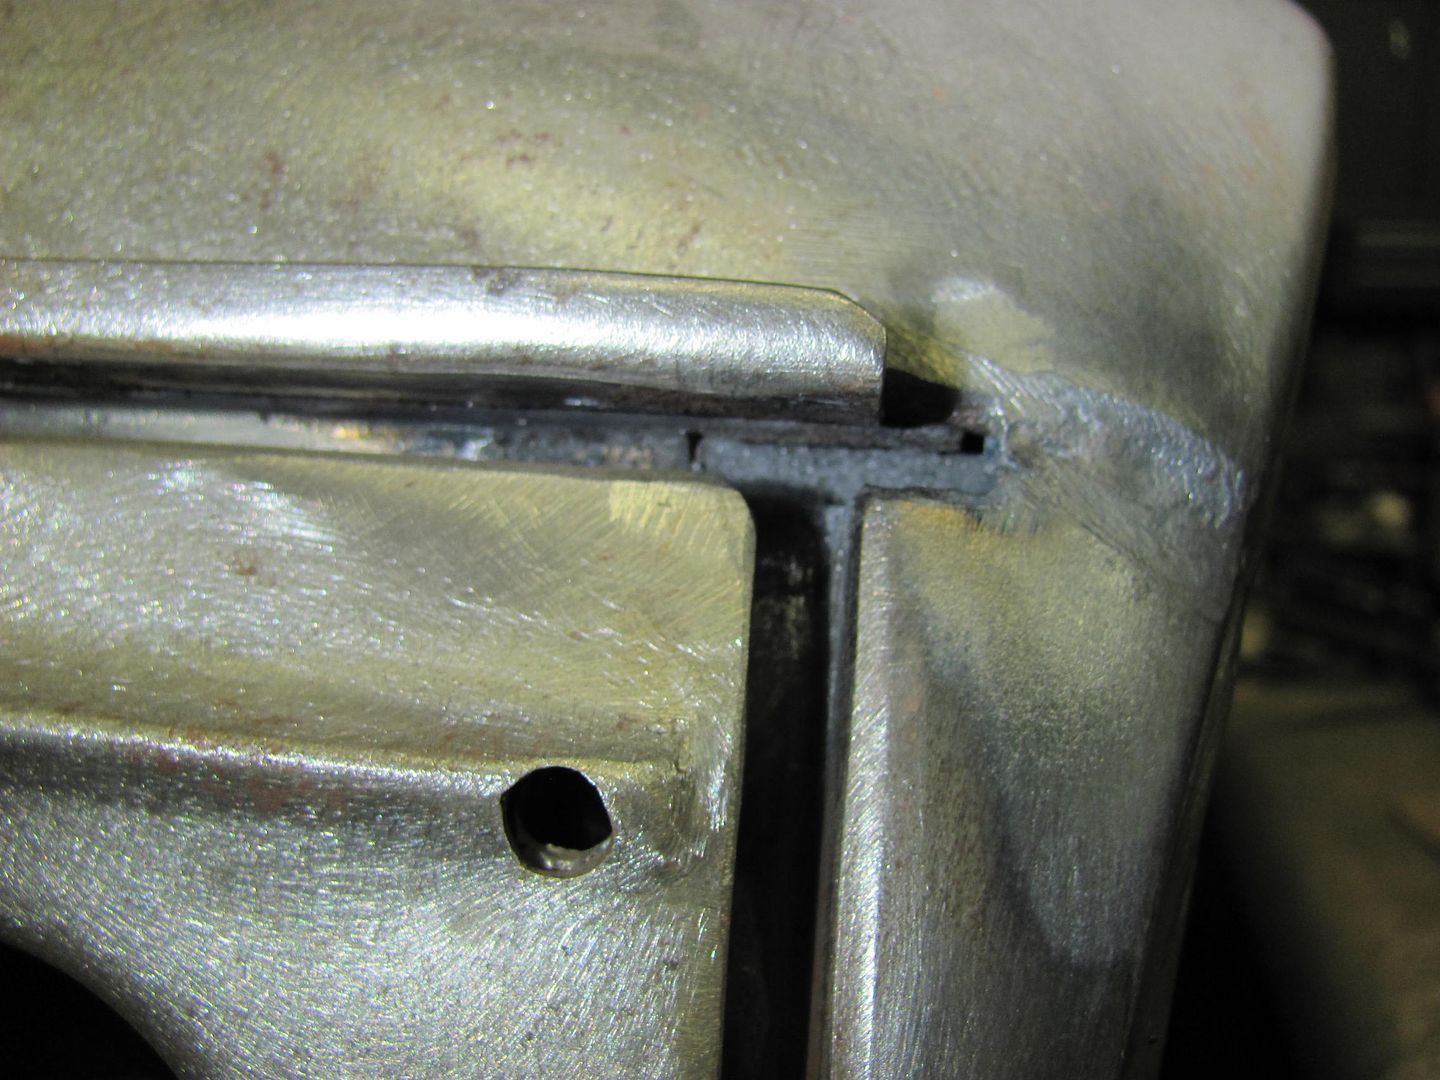
A look at the other side shows a gap that is quite a stretch to expect a good permanent repair regardless of the filler used..
At over 1/4" wide, something we will need to address...

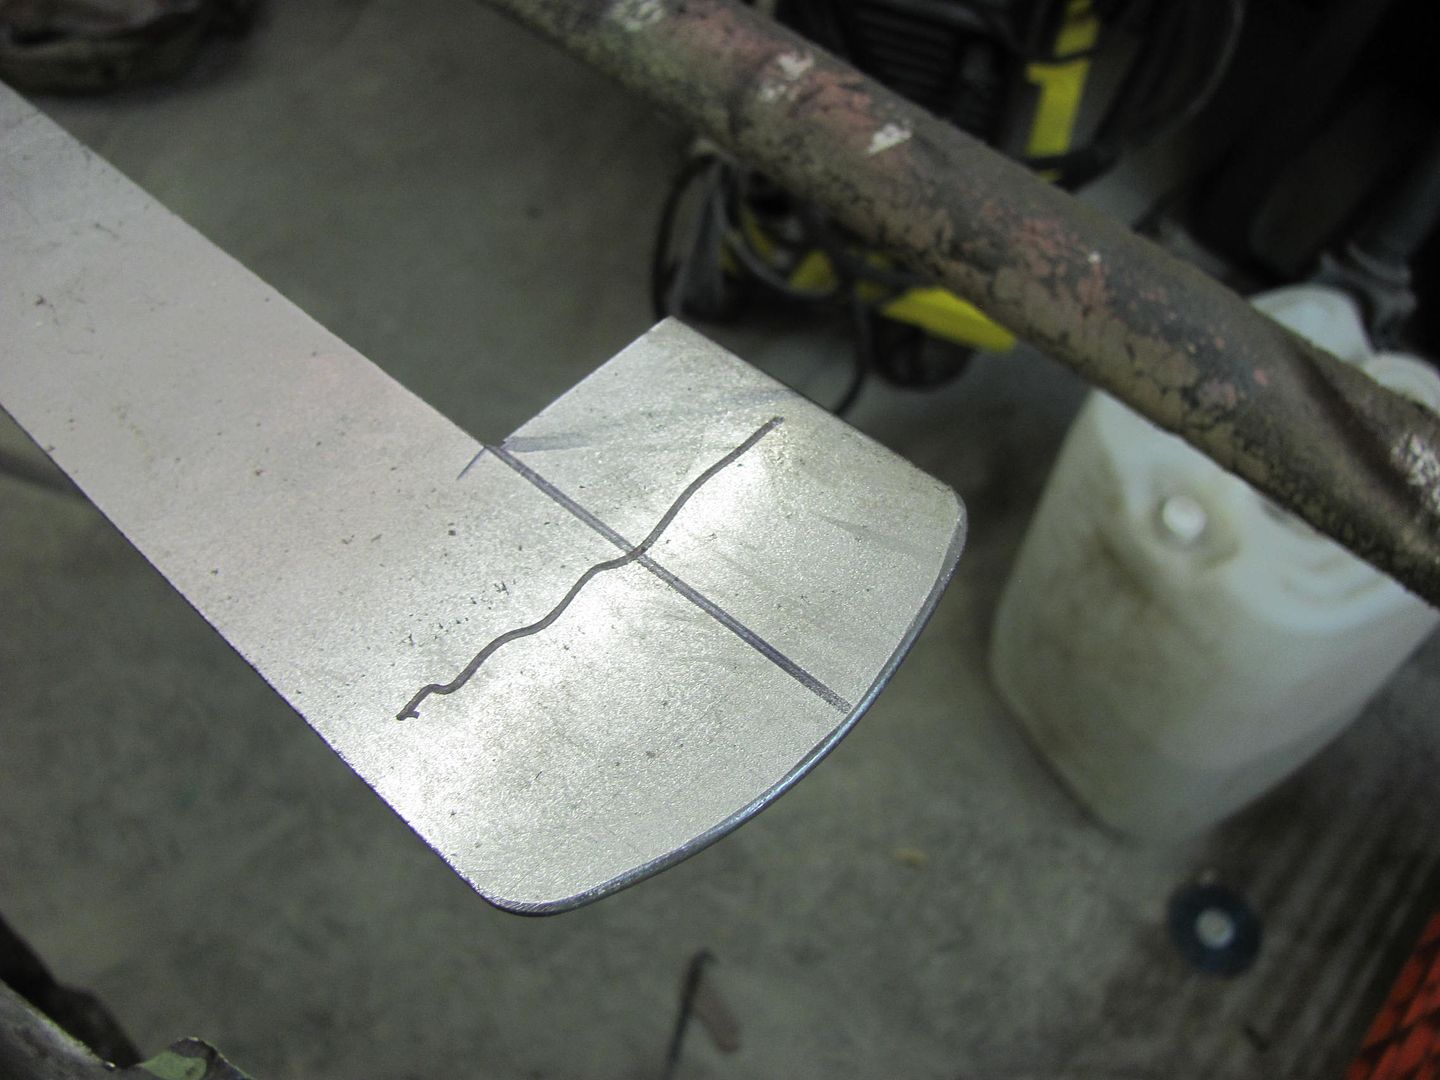
So we'll attempt a repair similar to the radius-ing that was done on the rear tailgate, using STEEL..
Until next time....Robert
-
12-13-2014 03:29 PM #371
CHR Member
- Join Date
- Jun 2008
- Location
- Leonardtown
- Car Year, Make, Model: Walking
- Posts
- 1,228
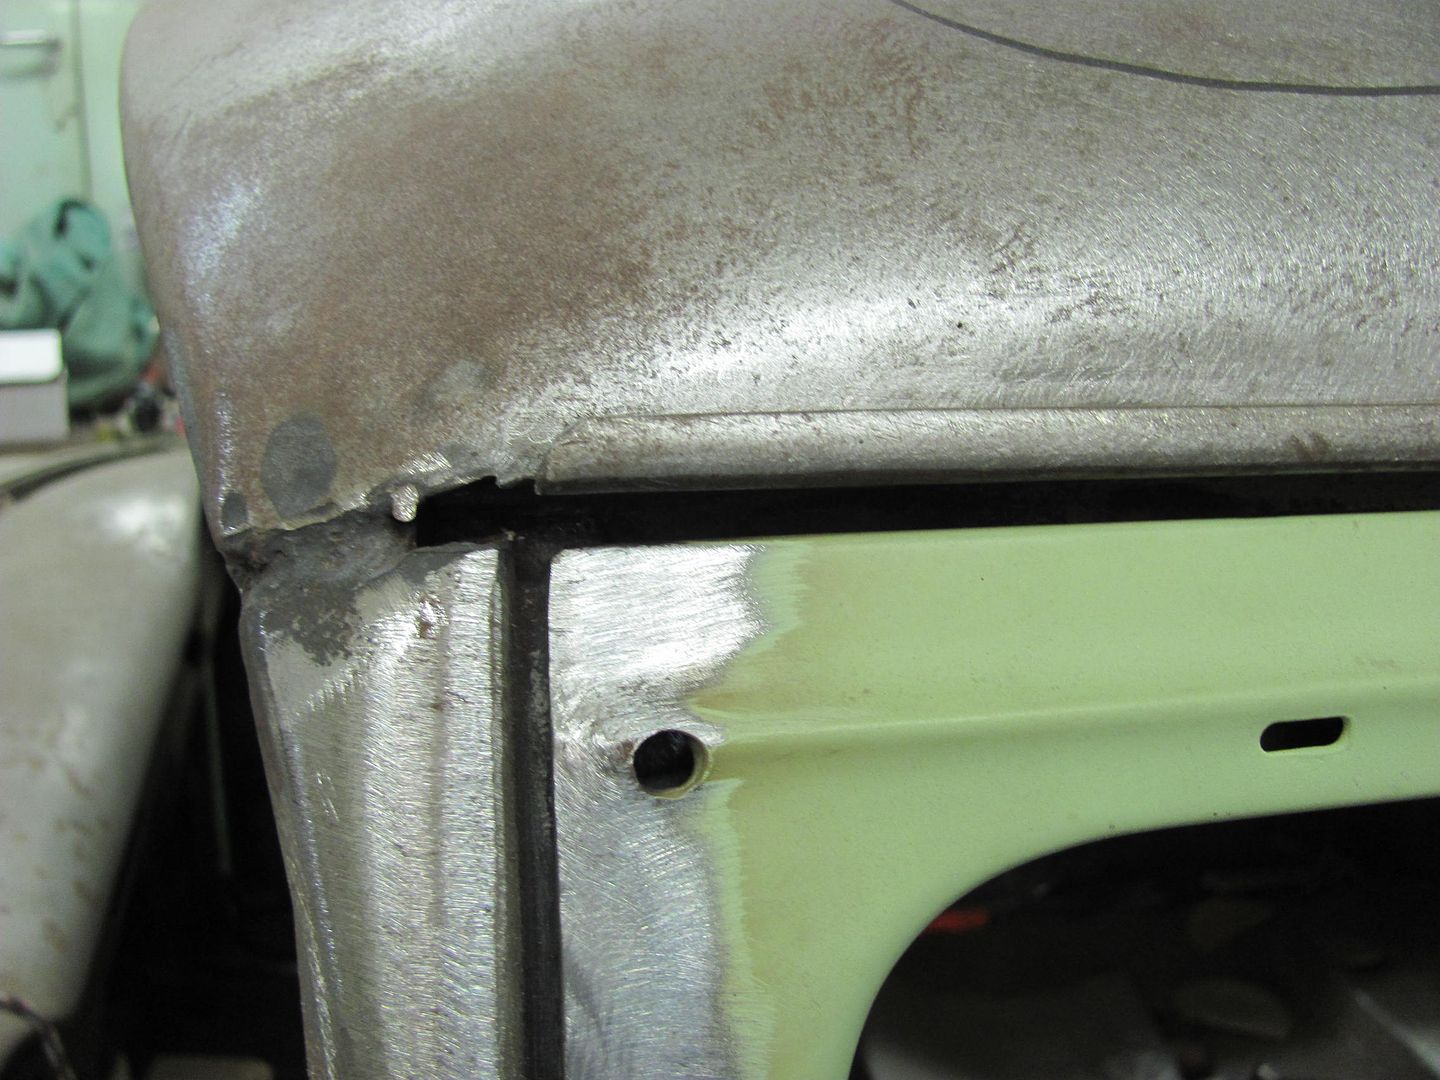
While Kyle continued media blasting fenders, I worked on closed up a gaping hole....
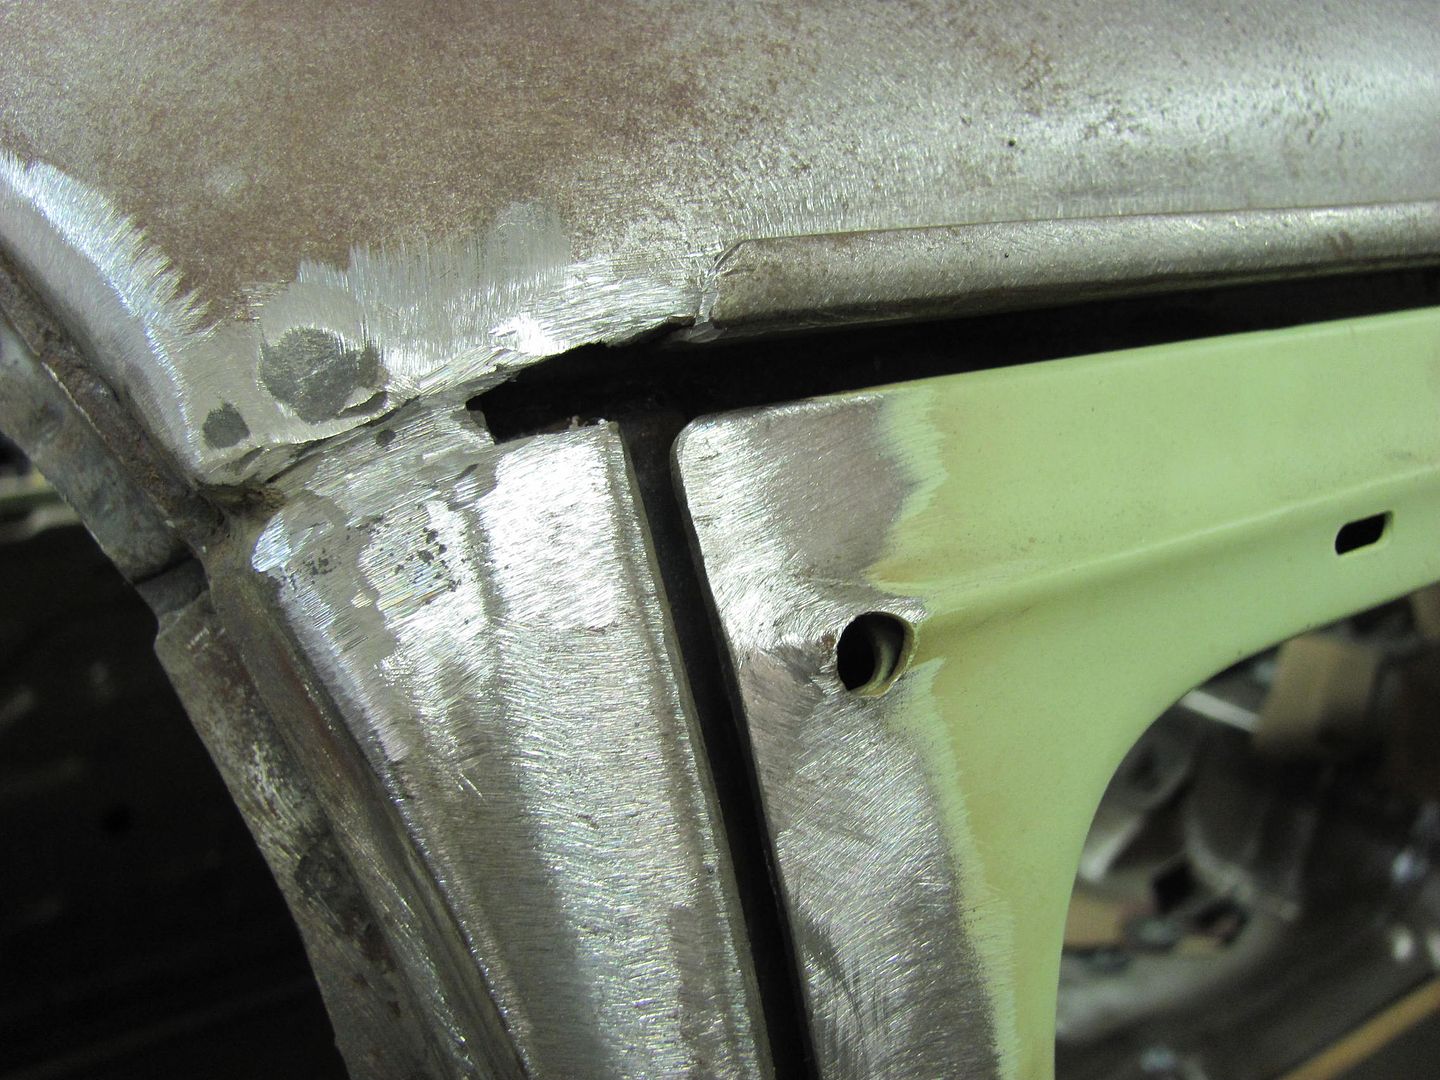
A couple weak spots dictated a bigger hole. Here the radius was added from the A pillar to beneath the drip rail..
Test fit
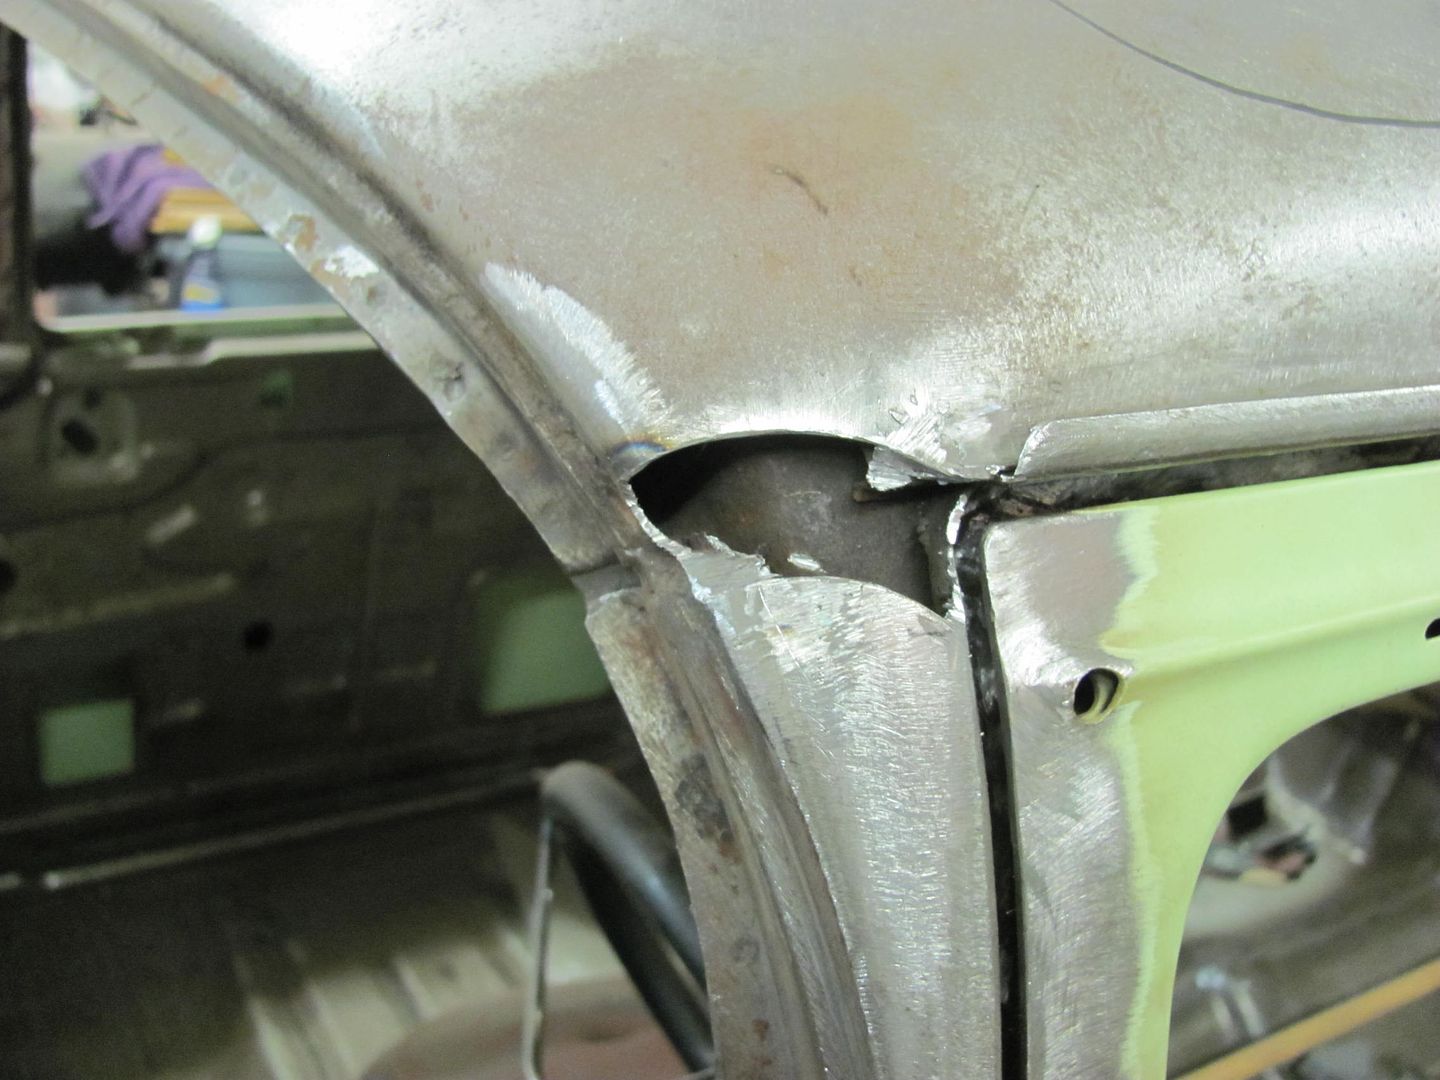
Welded in place.....

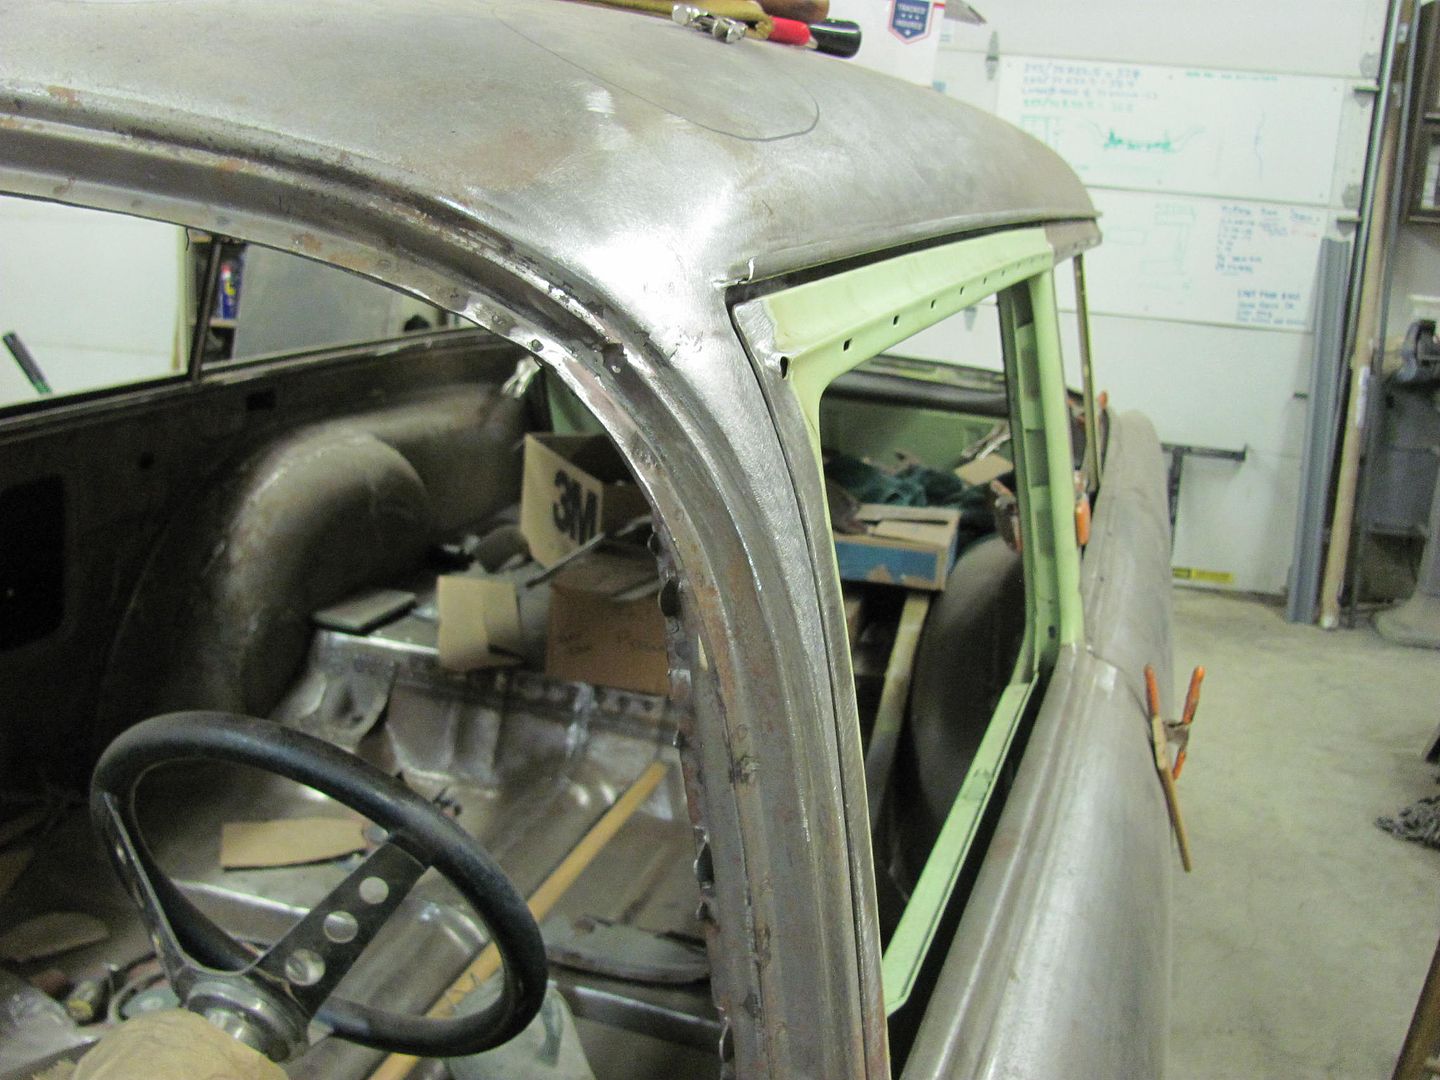
Used a torch and wire brush to clean off the other side, looks like this gap was a factory deal, and we have another radius to install..
Robert
-
12-14-2014 03:12 AM #372
CHR Member
- Join Date
- Sep 2007
- Location
- New Bedford
- Car Year, Make, Model: 34 Ford 3W Coupe Replica
- Posts
- 14,754
I guess the old saying "they don't build'em like they used to" doesn't hold water once again! It always makes me smile when you see what was let out the door from the factories and no-one would ever know what was hidden under the body work...
As always thanks for sharing your talents and the pics, it is helpful to learn by viewing!
-
12-18-2014 04:25 AM #373
CHR Member
- Join Date
- Jun 2008
- Location
- Leonardtown
- Car Year, Make, Model: Walking
- Posts
- 1,228
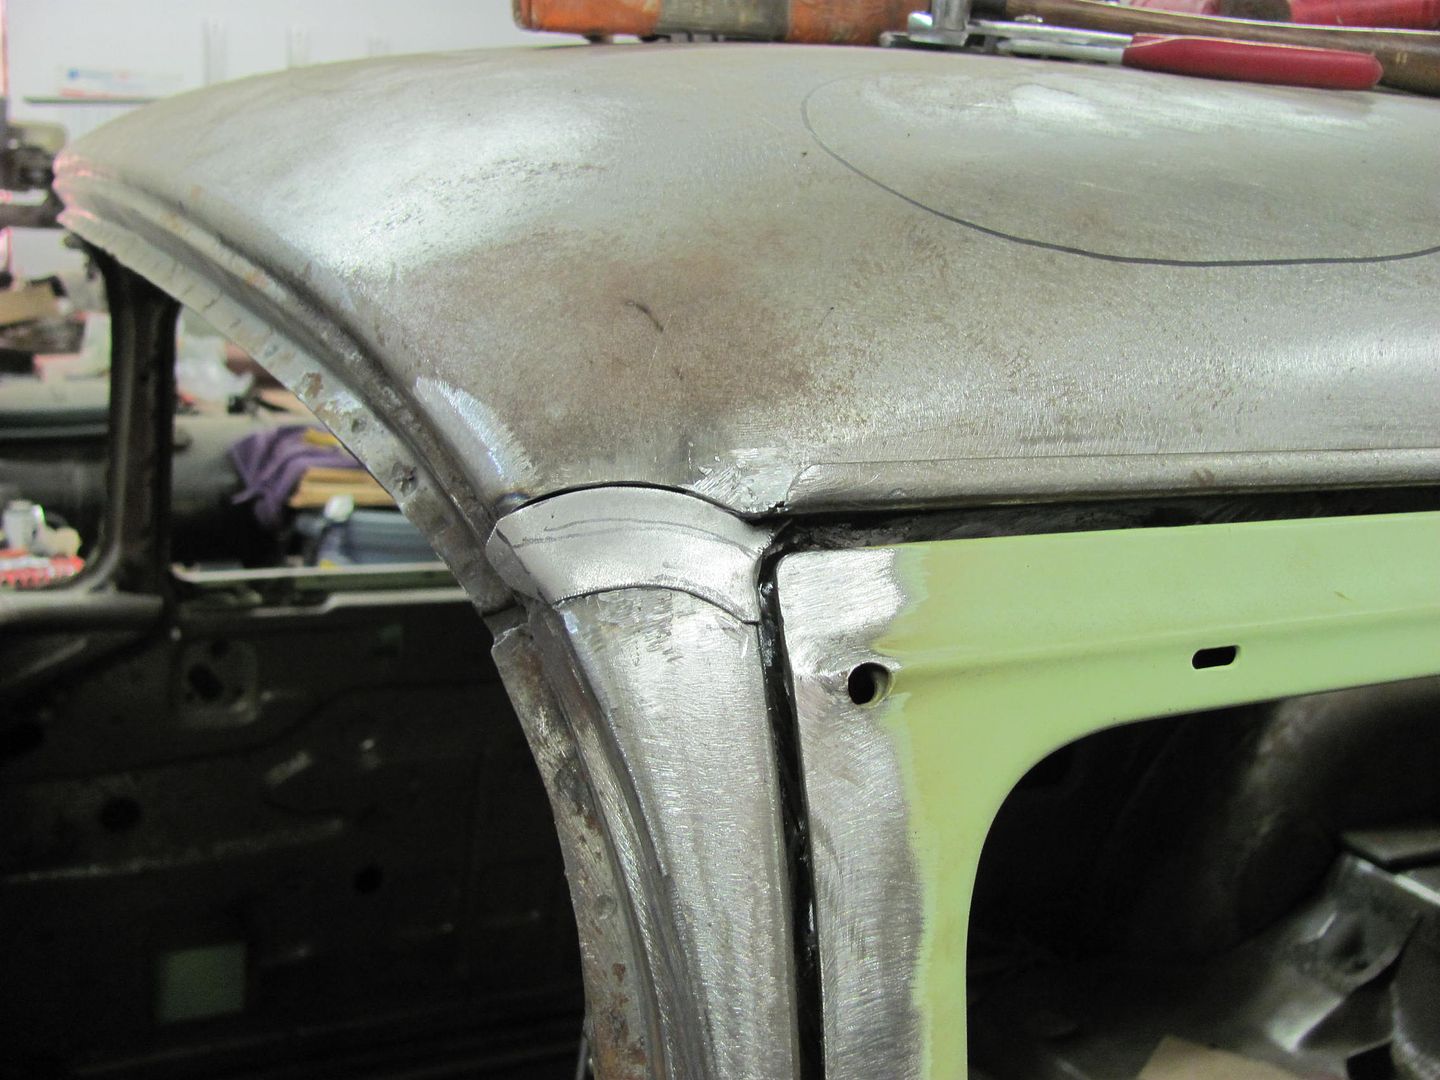
Goes to show why most of these cars eventually showed cracks in that area..
More progress, although it doesn't appear like much, progress just the same...
Door skins had been left "loose" on the inner door to allow twisting/tweaking for fitment within the door opening. Drilled some 3/16 holes from flange into inner door and plug welded. I've had many people ask how well the epoxy primer holds up to the heat of plug welds, here is a good indicator. It shows discoloration at the surface, but note the nice green primer underneath where the grinding wheel went through the paint..
Parts ready for epoxy primer..
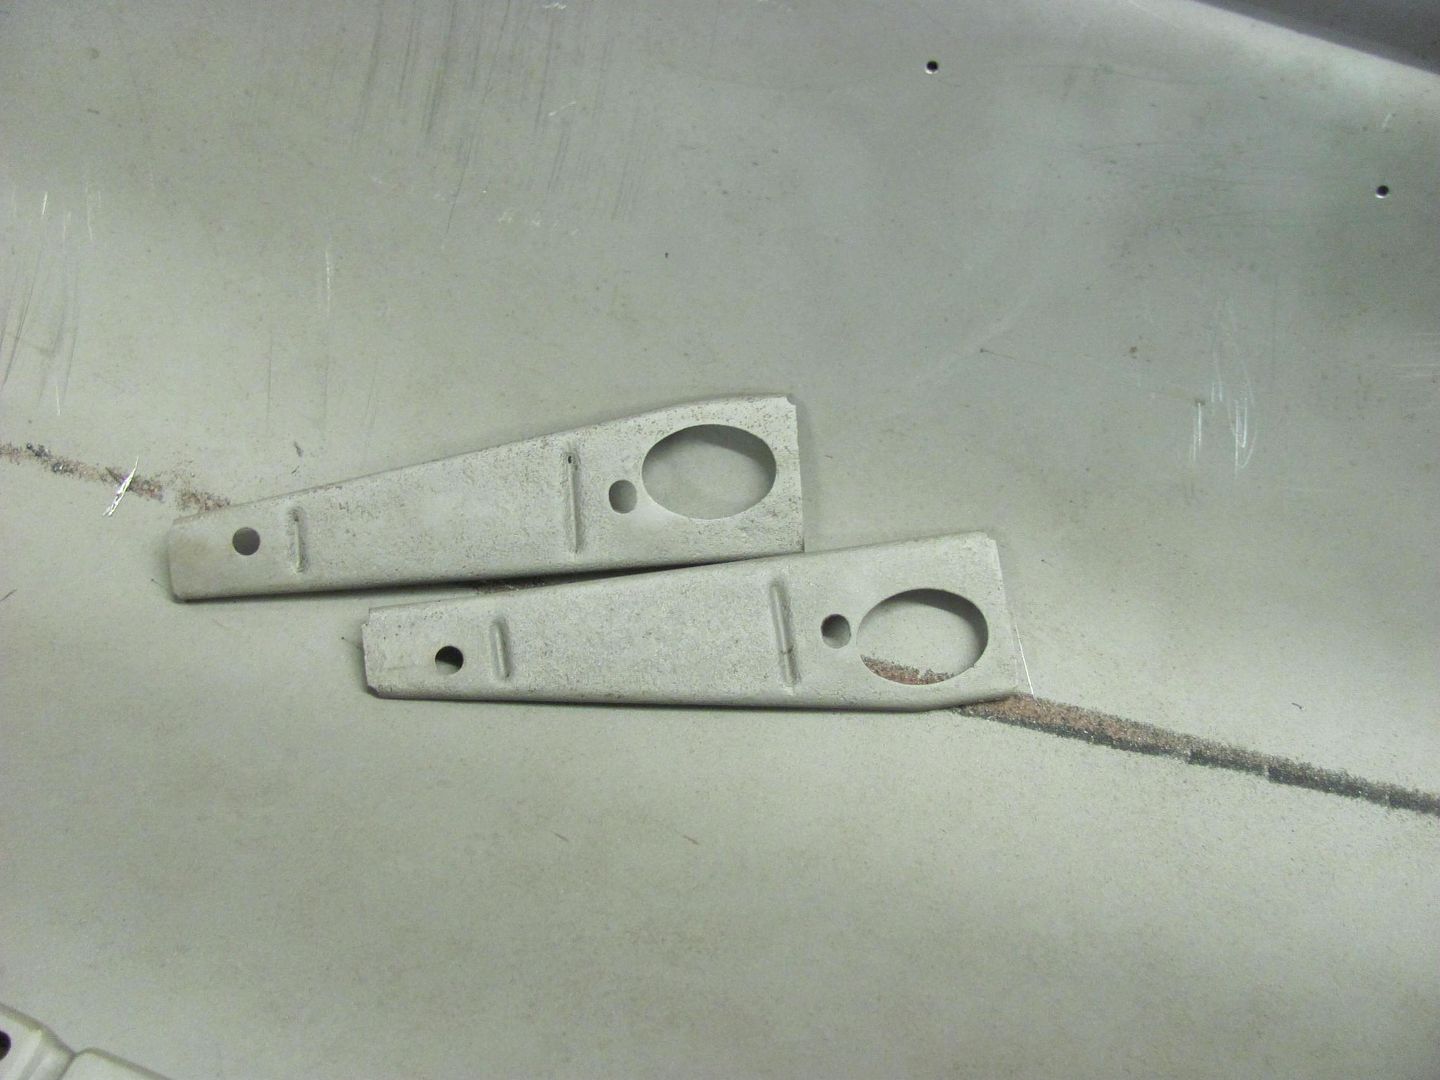
These are the stiffeners for inside the door skin that go behind the door handle. The inside of the door will be sprayed, as well as these parts, and allowed to flash. Then another application on both and they'll get bolted in place, letting the epoxy primer act as an adhesive to hold in place and seal to the door skin. Once door handles are bolted on they will be there for good..
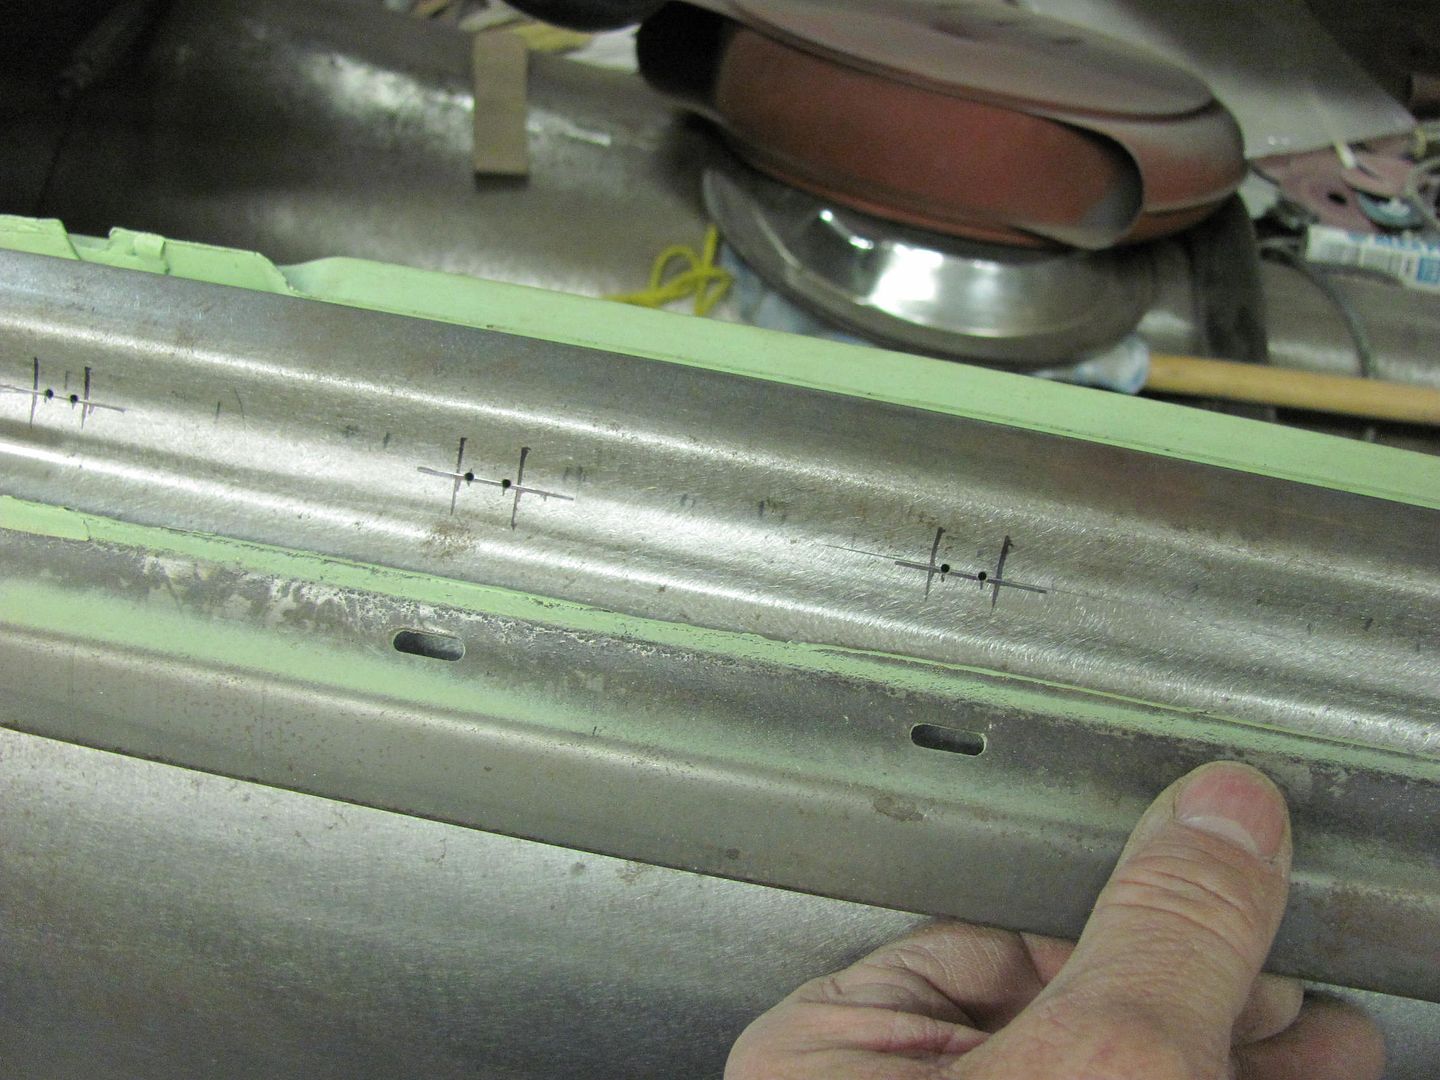
This car has belt line trim that goes around the perimeter at the bottom of the windows, which needed to be added to the new door skins. I had saved a piece from the old door skins to get the locations correct. Here's the layout of the slots for the stainless attaching hardware, we'll get that finished next time..
Last edited by MP&C; 12-18-2014 at 04:27 AM.
Robert
-
12-18-2014 11:38 AM #374
CHR Member
- Join Date
- Apr 2011
- Location
- Prairie City
- Car Year, Make, Model: 40 Ford Deluxe, 68 Corvette, 72&76 K30
- Posts
- 7,301
- Blog Entries
- 1
Nice work as always.Ryan
1940 Ford Deluxe Tudor 354 Hemi 46RH Electric Blue w/multi-color flames, Ford 9" Residing in multiple pieces
1968 Corvette Coupe 5.9 Cummins Drag Car 11.43@130mph No stall leaving the line with 1250 rpm's and poor 2.2 60'
1972 Chevy K30 Longhorn P-pumped 24v Compound Turbos 47RH Just another money pit
1971 Camaro RS 5.3 BTR Stage 3 cam, SuperT10
Tire Sizes
-
12-21-2014 10:49 AM #375
CHR Member
- Join Date
- Jun 2008
- Location
- Leonardtown
- Car Year, Make, Model: Walking
- Posts
- 1,228
Thanks!
Why is it when you're getting ready to mix primer you find other issues to fix?? More minor tweaks so that hopefully we can spray this afternoon...
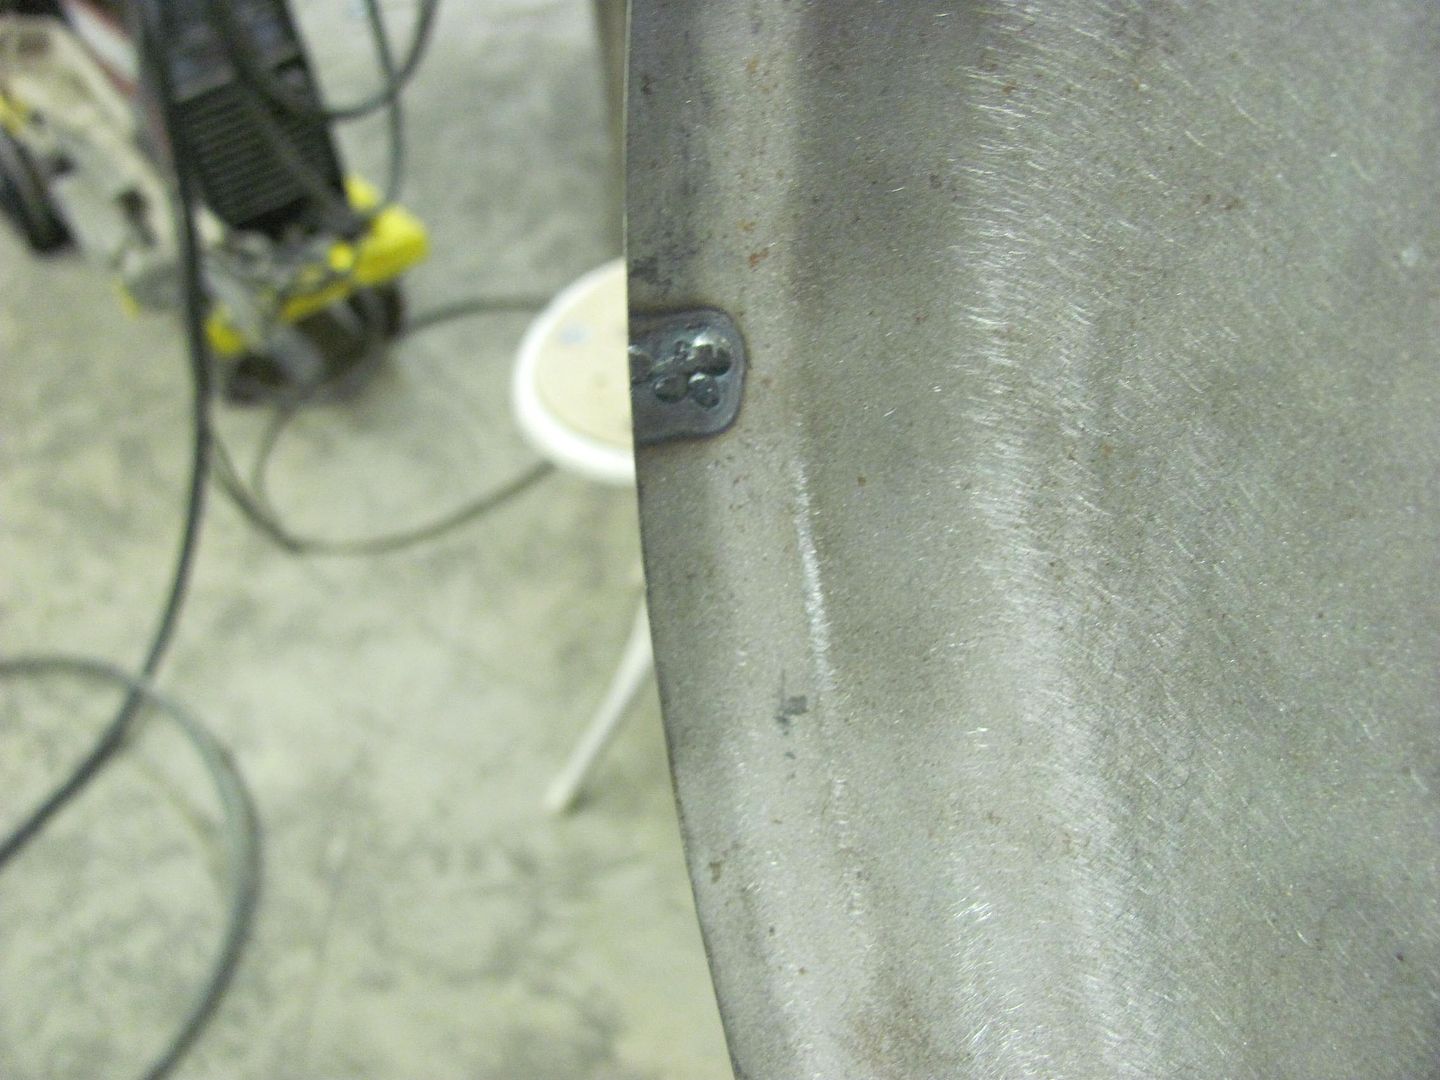
A crack that looks to be from some previous body damage.
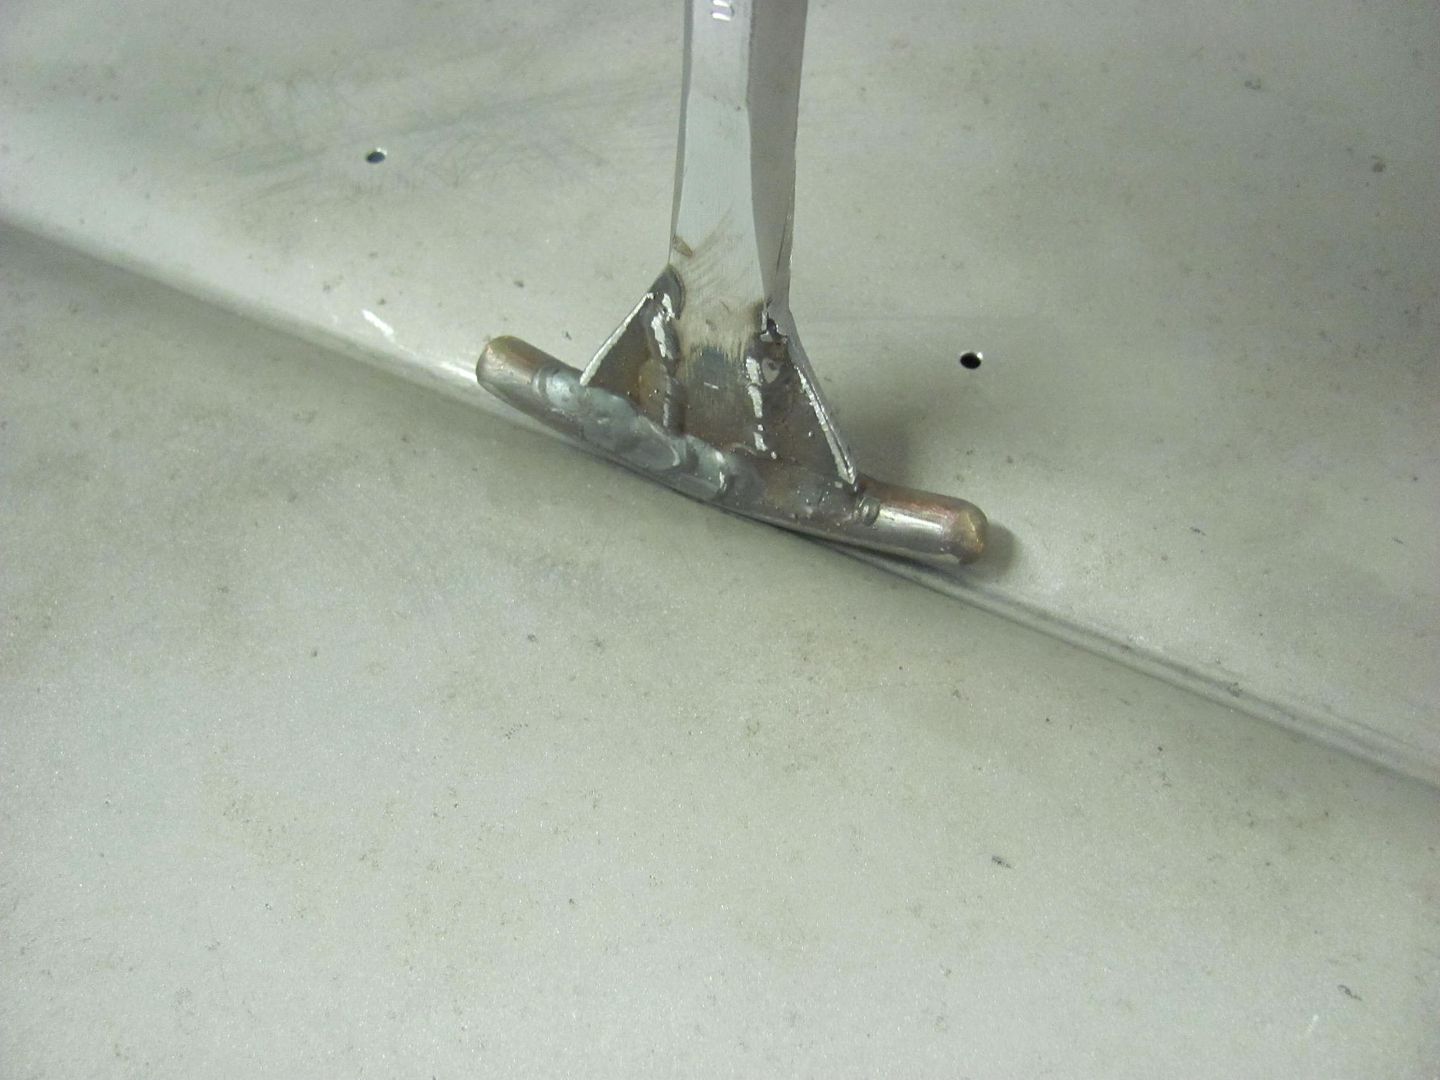
A post dolly is used to provide an off dolly effect, and the body hammer is struck on the "high" spot.
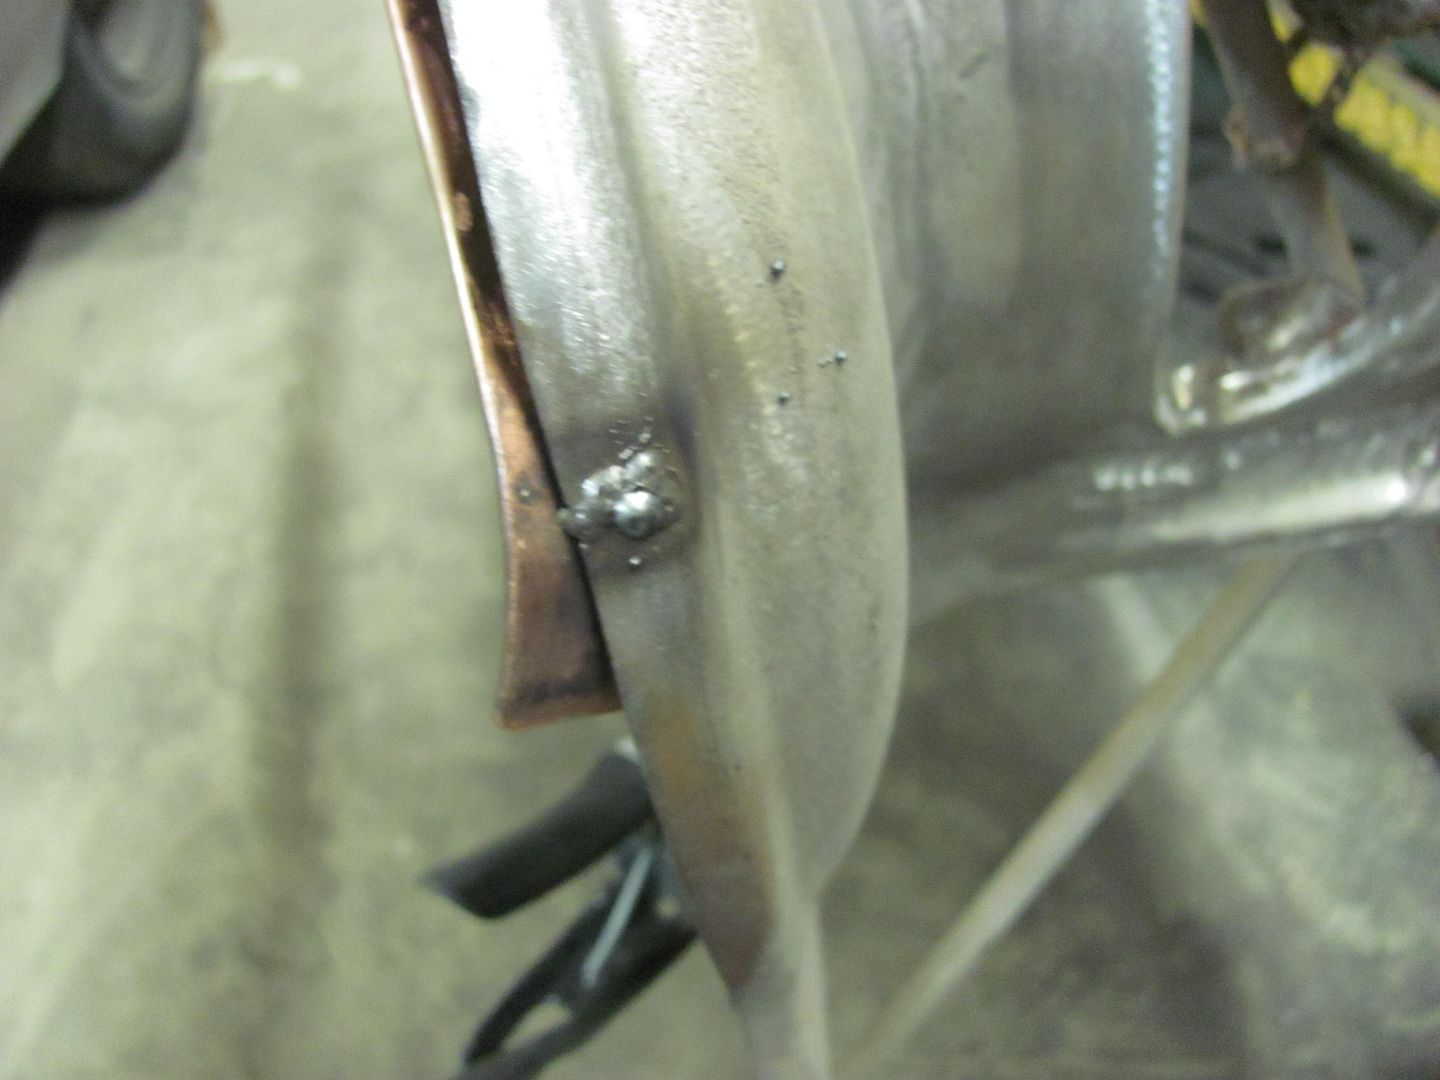
Used a copper backing since we're so close to the edge and the metal has been fatigued. Filled the crack and dressed the weld...


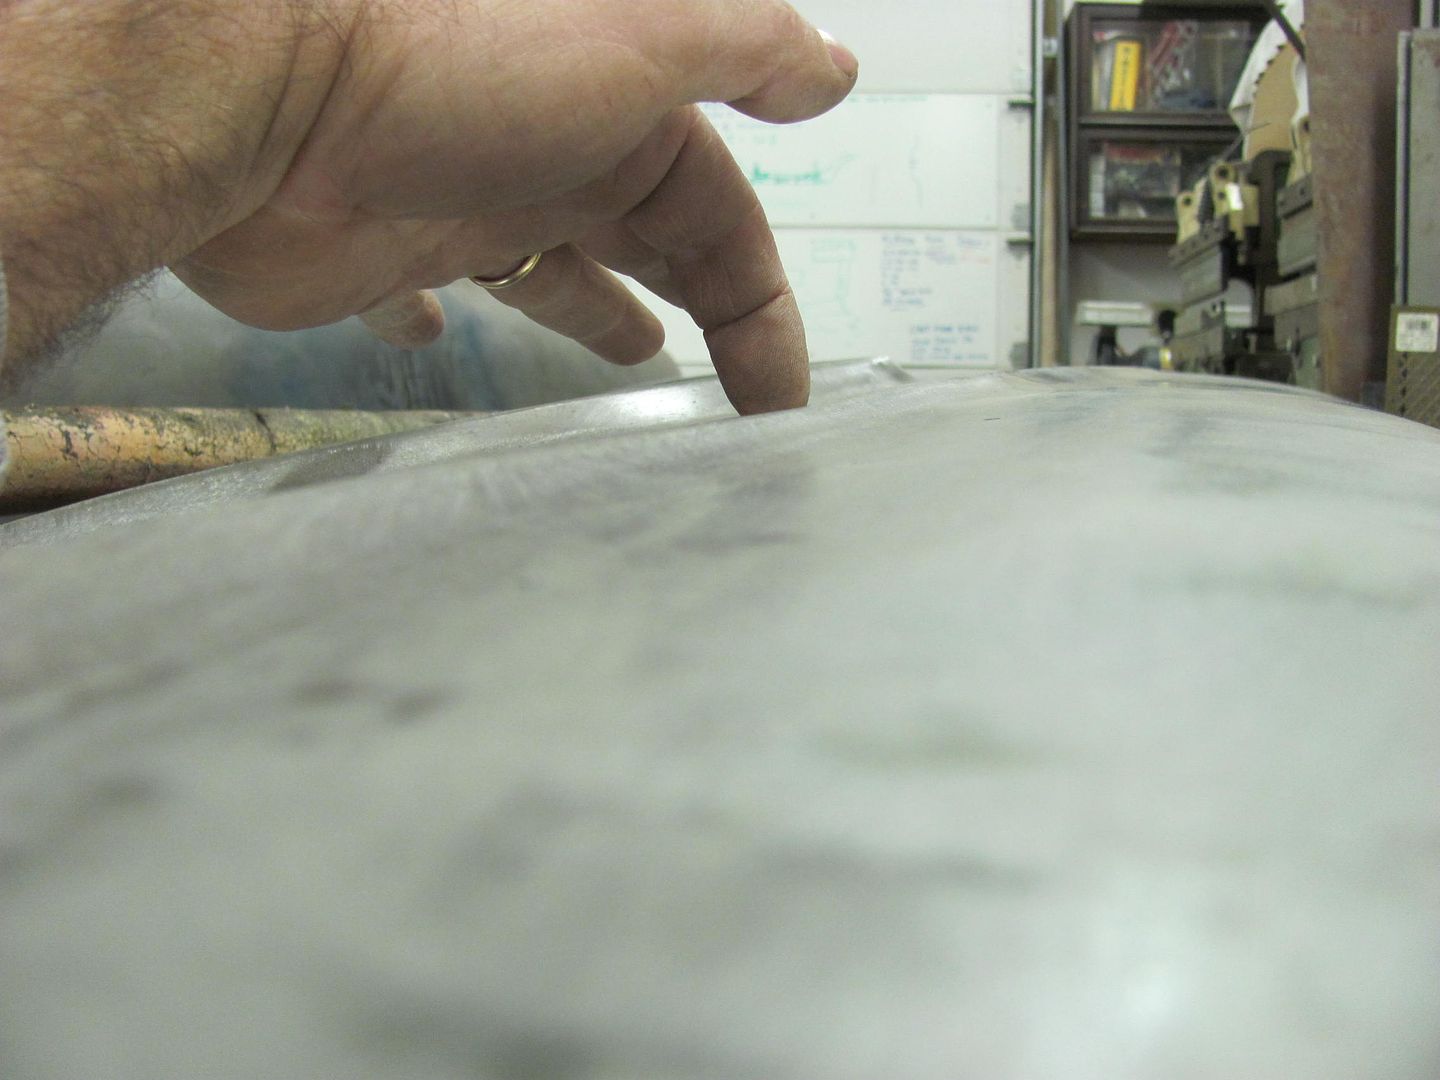
Then I noticed a low spot on the fender's bodyline crease...
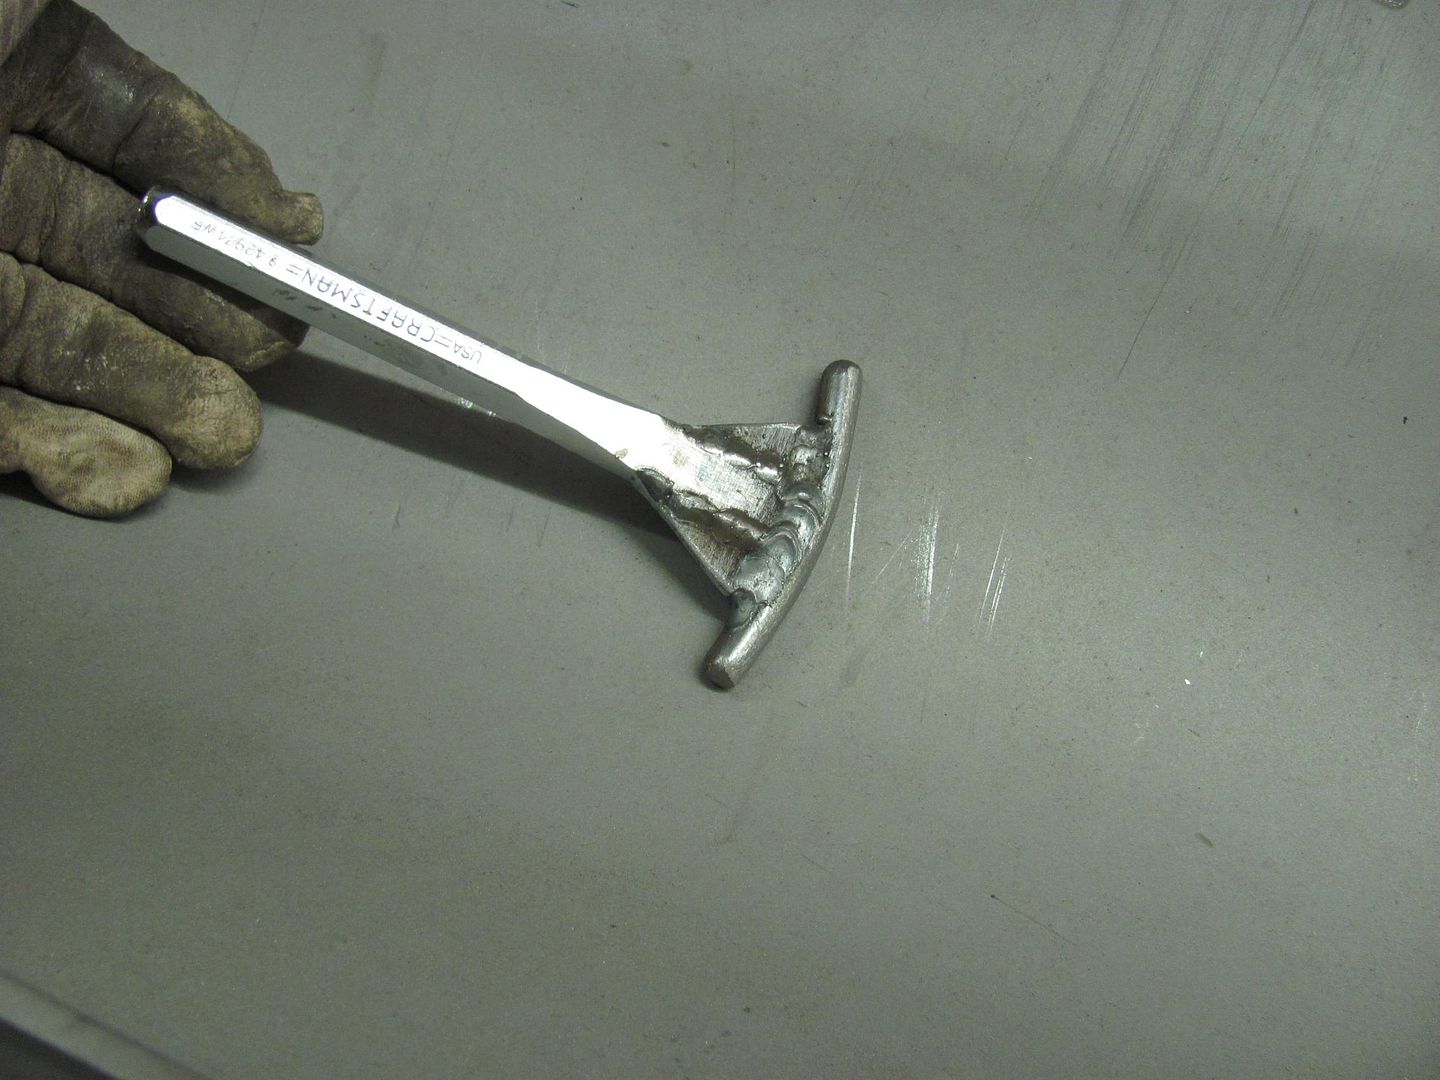
Time to lose another Craftsman chisel to become a body tool...
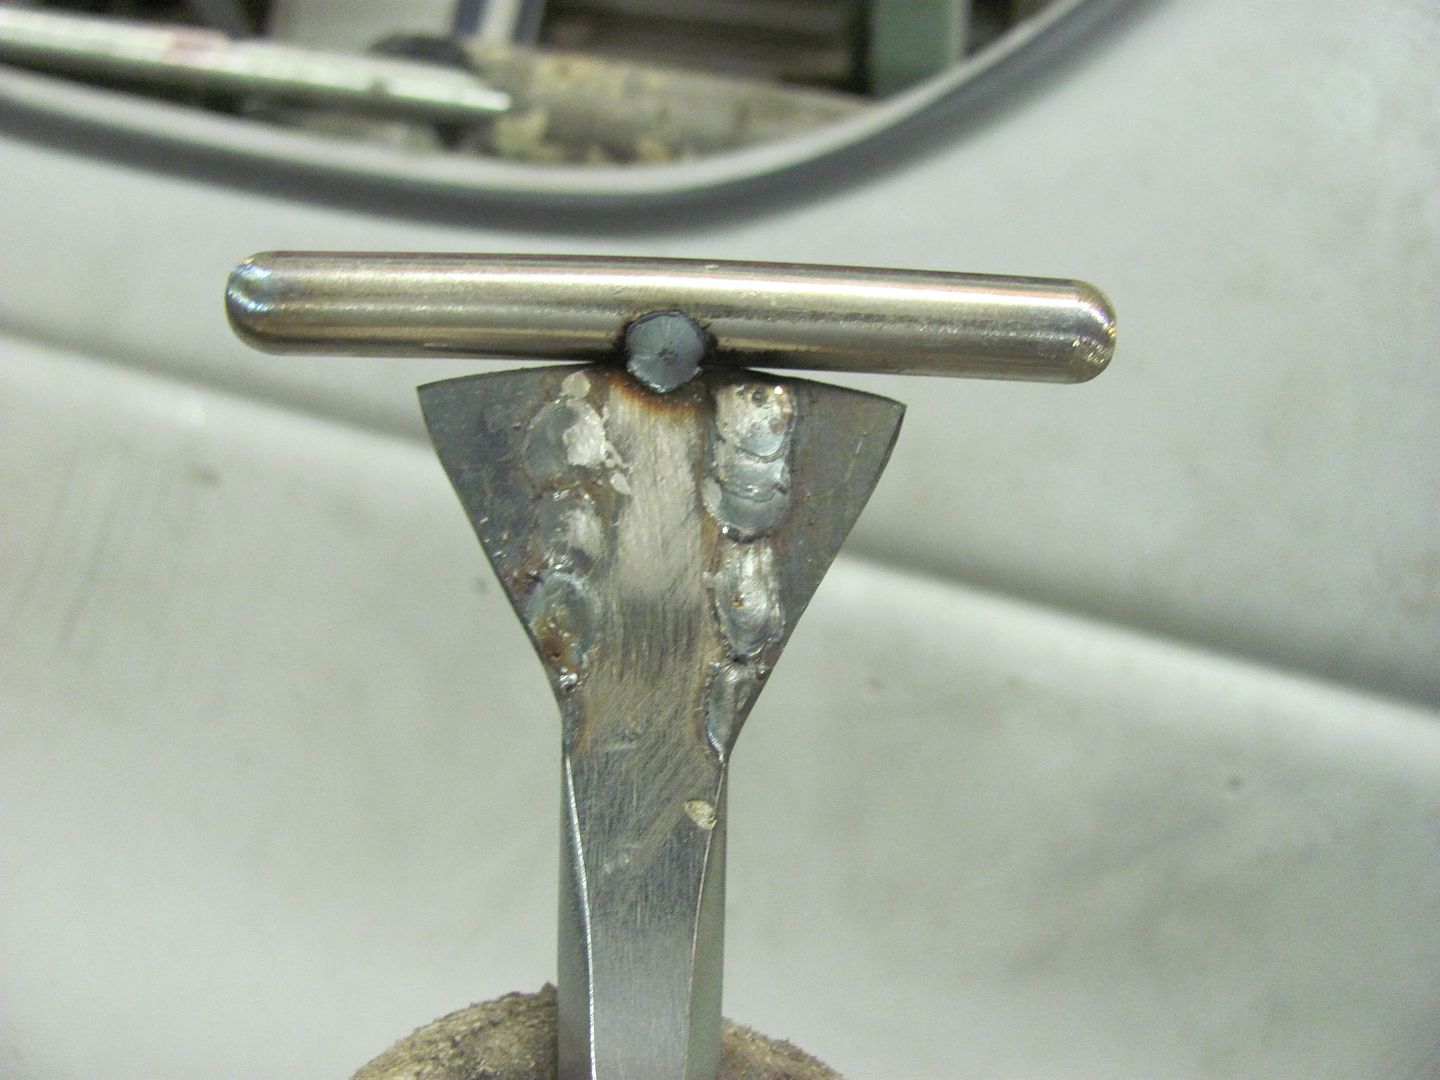
....the rod was heated and bent around, then finished welding.
Placed the fender on the large shot bag and used the dead blow hammer to apply the persuasive force...
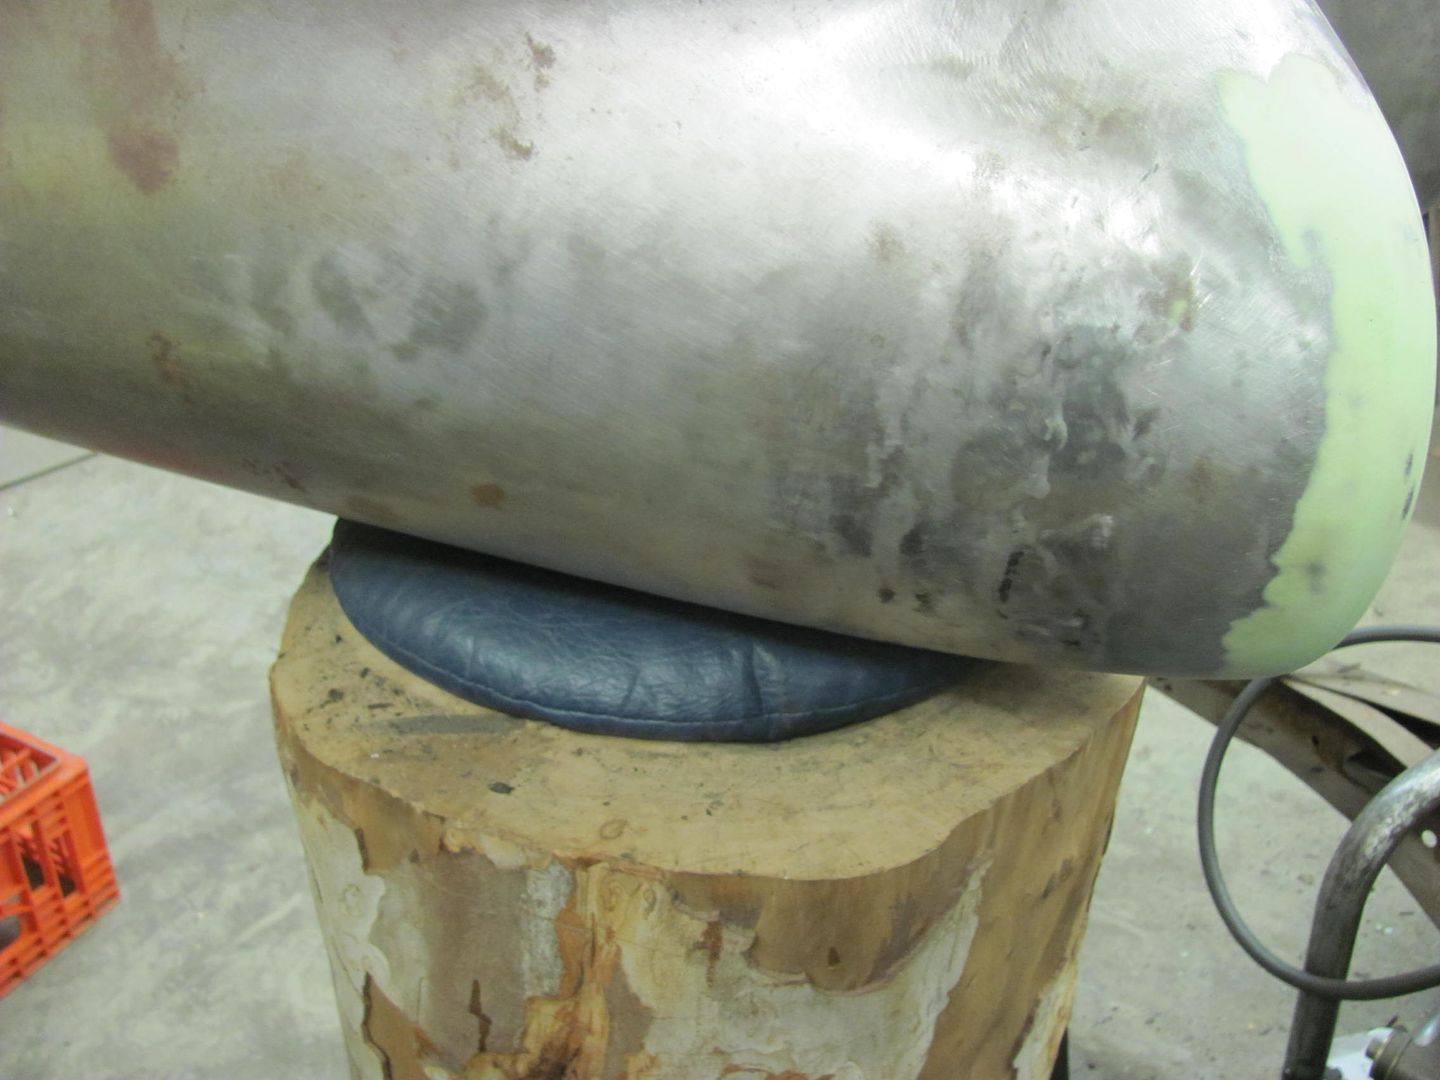
Much better with a more consistent crown across the fender..
Robert
 Reply With Quote

Posting Permissions
- You may not post new threads
- You may not post replies
- You may not post attachments
- You may not edit your posts

I saw last night on fb about John. The world sure lost a great one. I'm going to miss his humor, advice, and perspective from another portion of the world. Rest in Peace Johnboy.
John Norton aka johnboy