


 379Likes
Thread: Project Special K


Results 106 to 120 of 1041
 LinkBack URL
 About LinkBacks
-
06-02-2008 02:12 PM #106
 CHR Member

- Join Date
- Oct 2007
- Location
- Petaluma
- Car Year, Make, Model: 48 Ford F1
- Posts
- 9,795
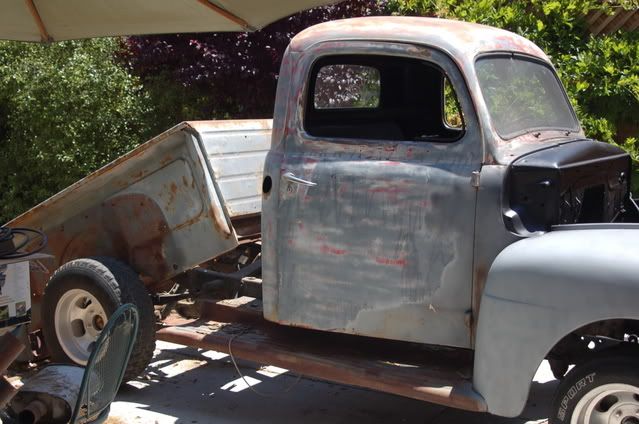
I took the bed off the truck today by myself. Really was quite easy. 4 bolts, the use of a creeper for a second set of hands, and there you go. I pressure washed the frame to prep for painting it, and was supprised to see what good shape it was in under the bed of the truck. here are a few photos.
"  "No matter where you go, there you are!" Steve.
-
Advertising

- Google Adsense
- REGISTERED USERS DO NOT SEE THIS AD
-
06-02-2008 02:15 PM #107
CHR Member
- Join Date
- Oct 2007
- Location
- Petaluma
- Car Year, Make, Model: 48 Ford F1
- Posts
- 9,795
After I was done cleaning it, I had to laugh. It looks like pieces of the truck were flying off as it moved foward!
" "No matter where you go, there you are!" Steve.
-
06-02-2008 06:44 PM #108
CHR Member
- Join Date
- Oct 2007
- Location
- Petaluma
- Car Year, Make, Model: 48 Ford F1
- Posts
- 9,795
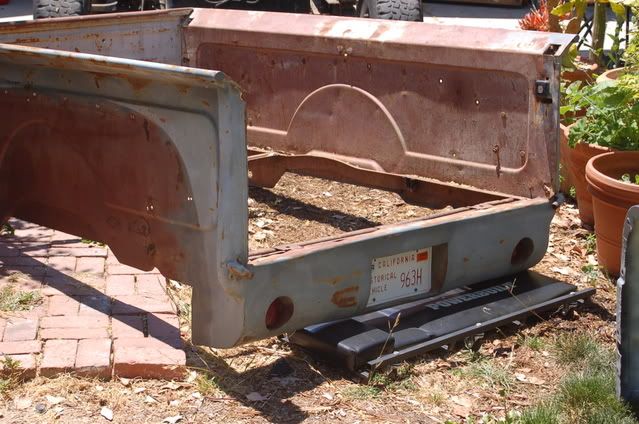
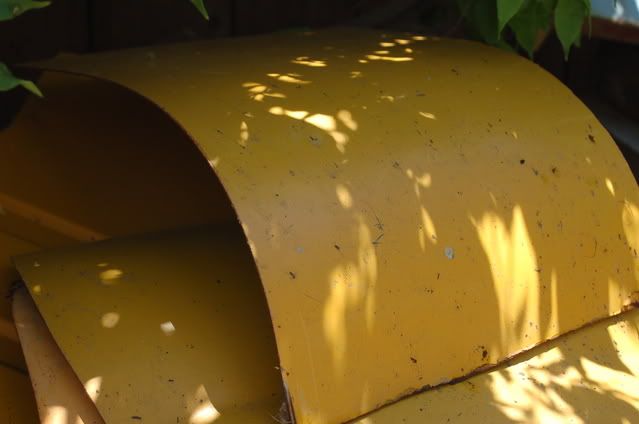
Here is a piece of sheet metal I found buried in the bed of the truck. If you put it on the side of the truck it is curved to the same angles as the fuel filler hole on the passenger side of the cab. Since I'm planning on an underbed gas tank in the finished truck(not the one pictured, by the way, that covering the old filler hole for the cab will be necessary. I'm thinking of welding the curved sheet metal to the inside of the cab where it will be hidden by the interior liner behind the seat, to use as a backing plate. Then I can weld in a oval piece to match the existing hole, grind it smooth and Bob's your uncle!
I'm also trying to figure out the best aproach to beefing up this seem above the rear window. The interior weld is rusted and crumbling away. I figure I'll grind the rust away and see if I can weld it also from the inside because again it will be hidden from sight, by the head liner.
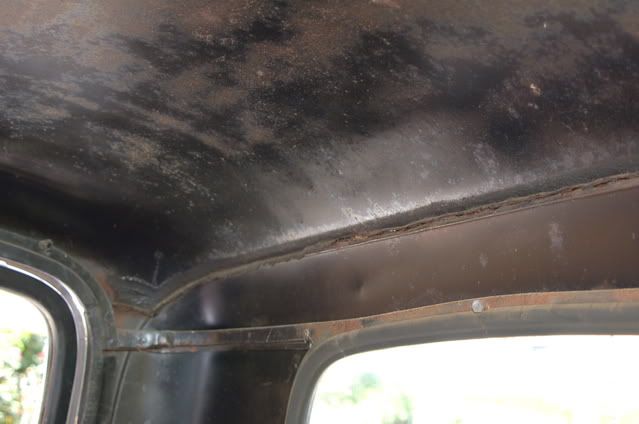
Since this welding stuff is all new to me I figure I'd ask if this approach makes sense and will work!" "No matter where you go, there you are!" Steve.
-
06-02-2008 06:56 PM #109
CHR Member/Contributor
- Join Date
- Jul 2003
- Location
- Madison
- Car Year, Make, Model: '67 Ranchero, '57 Chevy, '82 Camaro,
- Posts
- 21,160
That'll work to clean out the weld on the inside, a cut off wheel will get in a bit deeper to clean the rust out, and with light pressure it won't cut through.... Also, might want to give some thought to cleaning out the weld on the outside, the stitch weld it closed and have a filled seam...... Welded all of the seams on my '71, really smooth out the looks of the truck....Yesterday is history, tomorrow is a mystery, Live for Today!
Carroll Shelby
Learning must be difficult for those who already know it all!!!!
-
06-02-2008 07:12 PM #110
CHR Member
- Join Date
- Oct 2007
- Location
- Petaluma
- Car Year, Make, Model: 48 Ford F1
- Posts
- 9,795
Dave when yoy say stitch welding, do you mean welding the entire seam solid, or stitching in welds along the seam, and then body filing the gaps? Not sure, thought I'd ask." "No matter where you go, there you are!" Steve.
-
06-02-2008 07:18 PM #111
CHR Member/Contributor
- Join Date
- Jul 2003
- Location
- Madison
- Car Year, Make, Model: '67 Ranchero, '57 Chevy, '82 Camaro,
- Posts
- 21,160
Well, not sure stitch is the technical term, just what I use.... I start with a tack about every two inches along the seam, let everything cool on it's own, then add another tack and keep going in that manner til the seam is filled completely. If you work at it, get the voltage and wire speed set correctly, doesn't take much to finish the seam off other then a bit of grinding and sanding... Best part is, once the seam is filled it's never again going to serve as a trash and moisture collector!!!! Big thing is getting all the trash, rust, and seam sealer out befor you start welding. It's a long, slow process but when done correctly it won't cause any distortion or warping of the skin.....Yesterday is history, tomorrow is a mystery, Live for Today!
Carroll Shelby
Learning must be difficult for those who already know it all!!!!
-
06-02-2008 08:28 PM #112
CHR Member
- Join Date
- Jan 2006
- Location
- fort myers
- Car Year, Make, Model: '27 ford/'39 dodge/ '23 t
- Posts
- 11,033
Coming along nice Steve. That thing really has a solid body and frame.
Don
-
06-03-2008 09:01 AM #113
CHR Member
- Join Date
- Oct 2007
- Location
- Petaluma
- Car Year, Make, Model: 48 Ford F1
- Posts
- 9,795
Dave that makes sense. Also using the cutoff tool to clean the seam makes sense too. Boy when that thing is whizzing near your ear for 20 minutes it's enough to cause ear damage! I was worried that if I didn't do something to the outside of the seam, that the whole rust process will start all over again. I do like the look oof the seam though. It gives it the old time truck look!
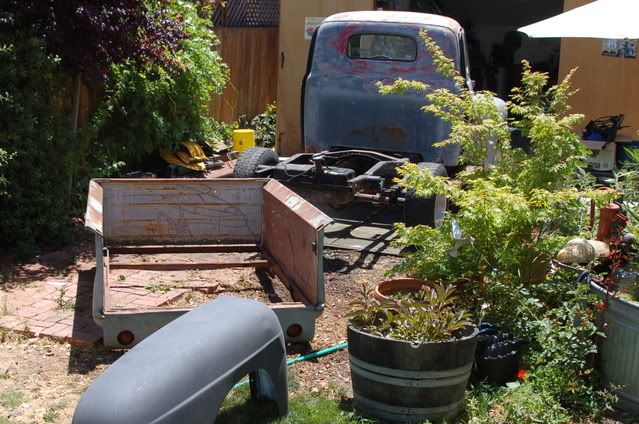
Don thank you. Yep the frame and leaf springs are in alot better shape than I would have guessed. Today I'm going to paint the frame, and work on the cab behind the bed portion. I don't want to leave the bed lying around(just not enough space for everything apart!)
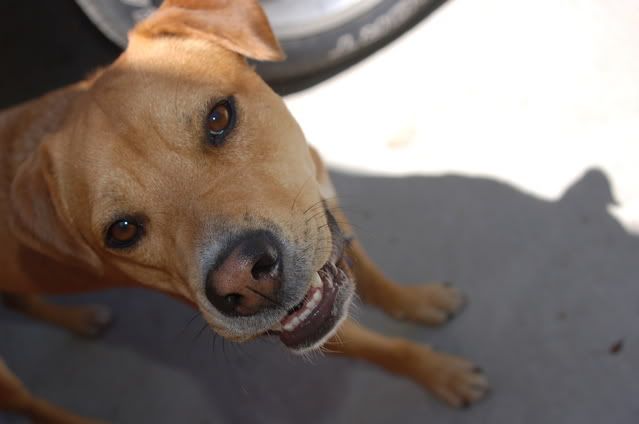
It's the new girl and me today, Pretzel got to go to work with my wife!

" "No matter where you go, there you are!" Steve.
-
06-03-2008 03:57 PM #114
CHR Member
- Join Date
- Oct 2007
- Location
- Petaluma
- Car Year, Make, Model: 48 Ford F1
- Posts
- 9,795
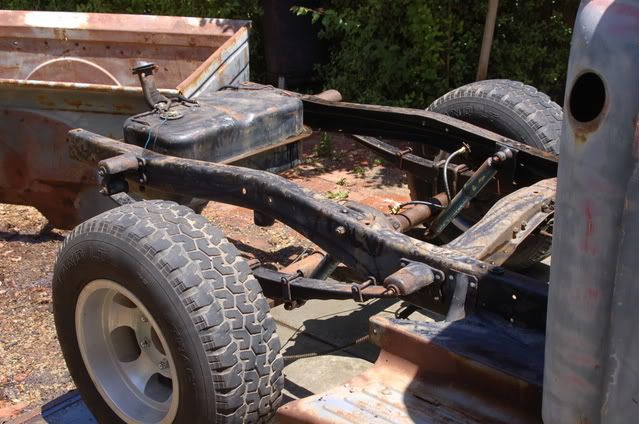
I got a fair amount of frame painting done with POR15 today. Unfortunately there was a nasty wind blowing that sent little seeds from my neighbors Euculyptis trees all over the tacking paint. I moved the truck back into the barn to finish it, but the fumes started to get pretty bad. So I stopped for the day. The frame and leaf springs came out ok. Here is a few shots:
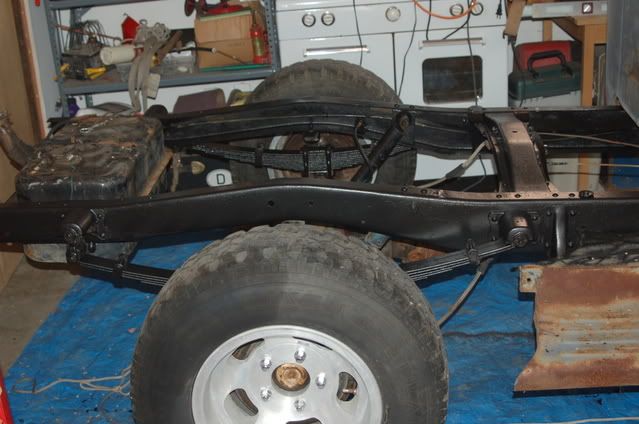

" "No matter where you go, there you are!" Steve.
-
06-03-2008 05:44 PM #115
CHR Member/Contributor
- Join Date
- Jul 2003
- Location
- Madison
- Car Year, Make, Model: '67 Ranchero, '57 Chevy, '82 Camaro,
- Posts
- 21,160
Frame is looking good, but the dogs are prettier!!!!!!!!!!!!!!!!!!!!Yesterday is history, tomorrow is a mystery, Live for Today!
Carroll Shelby
Learning must be difficult for those who already know it all!!!!
-
06-03-2008 06:42 PM #116
CHR Member
- Join Date
- Oct 2007
- Location
- Petaluma
- Car Year, Make, Model: 48 Ford F1
- Posts
- 9,795
Yeah
They are lucky I don't paint them. I like the Por 15 stuff, but I got glossy in a pint, because the semi gloss only came in quarts at my paint store. It was a little shinny for my taste, so i HIT IT WITH SOME TRIM BLACK i HAD LEFT OVER FROM THE ENGINE BAY. (caps lock, I hate that button) Anyway, I'll crawl under it this weekend and paint every thing I can get at then call it quits on the frame painting and move on to sanding and grinding and welding.(if my welding shield ever arrives in the mail!) But yeah, I'm happy with it, and it is coming along pretty quickly. Thanks Dave.
" "No matter where you go, there you are!" Steve.
-
06-04-2008 05:54 AM #117
CHR Member/Contributor
- Join Date
- Jul 2007
- Location
- Ellsworth
- Car Year, Make, Model: 29 Essex RS Coupe
- Posts
- 377
On our '47 Ford/'89 S-10 we used POR-15 also. Holds on pretty good so far. I was concerned about the note on it not standing up to UV rays, so I got some rattle cans of Rust-O-Leum Hammered Black and sprayed that over the POR. So far it's alright! If we ever get it done and on the road -- we'll see! It's certainly a whole lot better than what we had --- RUST. haahaa. Perley
-
06-08-2008 10:37 AM #118
CHR Member
- Join Date
- Oct 2007
- Location
- Petaluma
- Car Year, Make, Model: 48 Ford F1
- Posts
- 9,795
Yesterday was filled with skinned nuckles. I was trying to get my old grill off the truck. I think there must be 16-20 bolts, all rusted, holding it on. Some are so strategically located that removing them in certain sequences is the only way to get to the next bolt. After 3 hours, and about 60% of them snapping off , I stopped for the day and worked on the Honey do list, and barbequing a tri-tip! The only way I could get a few off was losen them enough to get the sawzall in there enough to bight in.. I had to laugh cleaning up, two air ratchets, 1/2 inch hand rachet, 3/8 " drive hand ratchet, cut off tool, three box end wrenches, 5 different screw drivers, jack stands and lift, sawsall and several balde carcasses, etc... And it is still on tight! I figure this is one of those chip away projects, where you take turns working on it, then move on as it wears you out. I really feal for those Ford assembly line guys 60 years ago. This truck is basically bolted together everywhere. Some of the bolts are in such tight spaces that it would take 30 minutes with two box end wrenches get snug them up!
Now I see why we discuss the price of bolts and other hardware. I'd never consider, ever putting any of the survivors back on the truck!
It also makes me fret over the old bolts still in that are holding the cab in place! One accident an the cab may go flying off like an ejector seat in A James Bond film!
" "No matter where you go, there you are!" Steve.
-
06-08-2008 04:04 PM #119
CHR Member/Contributor
- Join Date
- Jul 2003
- Location
- Madison
- Car Year, Make, Model: '67 Ranchero, '57 Chevy, '82 Camaro,
- Posts
- 21,160
Well heck, if it was easy and painless everybody would be doing it!!!!!
I don't have a lot of patience with old body bolts....Usually I just drill or cut them out and replace them with a well placed weld or two or three......
My hat is off to someone who actually takes the time to take it apart and put it back together the way the factory intended it be done!!!!!!!!!!!!!!!!Yesterday is history, tomorrow is a mystery, Live for Today!
Carroll Shelby
Learning must be difficult for those who already know it all!!!!
-
06-08-2008 04:46 PM #120
CHR Member
- Join Date
- Oct 2007
- Location
- Petaluma
- Car Year, Make, Model: 48 Ford F1
- Posts
- 9,795
Dave
I actually went out and bought a hack saw blade that has a handle on one end, and the blade is free on the other end, to try and slide it between the panel seams. If that doesn't work I'll try the drill idea, if it'll fit in the tight spaces. I have three left to take out, all with stripped heads, I wish they snapped as easy as the strip!
I also got two ratcheting double box end wrenches 9/16"x5/8" and 7/16"x 1/2" as these seem to be a 48 Ford's best friends!
Wish I had them yesterday! My wife looked at my arms and hands and said OUCH!
Last edited by stovens; 06-08-2008 at 06:14 PM.
" "No matter where you go, there you are!" Steve.
 Reply With Quote

Posting Permissions
- You may not post new threads
- You may not post replies
- You may not post attachments
- You may not edit your posts

This site is up more often lately, but very little traffic.
Dead!