


 379Likes
Thread: Project Special K


Results 241 to 255 of 1041
 LinkBack URL
 About LinkBacks
-
01-09-2009 04:46 PM #241
 CHR Member

- Join Date
- Oct 2007
- Location
- Petaluma
- Car Year, Make, Model: 48 Ford F1
- Posts
- 9,795
THE DIGITAL DISPLAY SHOWS MILAGE AND HAS A TRIP METER SO YOU CAN FIGURE OUT GAS MILAGE, DISTANCES ETC.. (dang caps lock button)
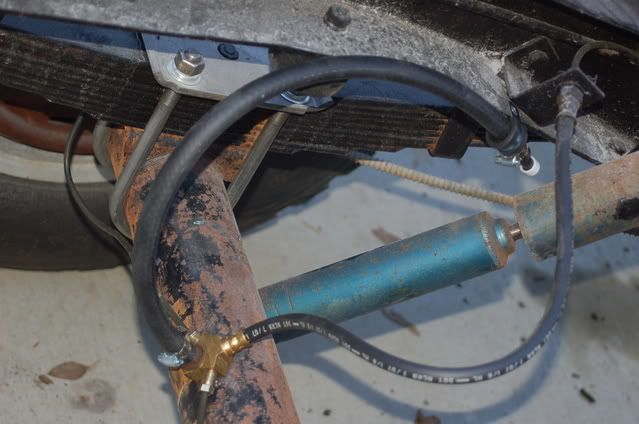
Today I did honey do list stuff to insulate the house better, But I did make to the shop for a few minutes to put the transaxle vent line in. It's not bolted to the frame yet, because the gas tank needs to go in first to figure out where it can go without being in the way.
"  "No matter where you go, there you are!" Steve.
-
Advertising

- Google Adsense
- REGISTERED USERS DO NOT SEE THIS AD
-
01-13-2009 03:19 PM #242
CHR Member
- Join Date
- Oct 2007
- Location
- Petaluma
- Car Year, Make, Model: 48 Ford F1
- Posts
- 9,795
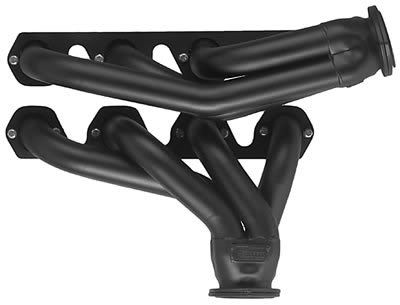
Went out and seal primed with 2 part chroma seal the primed areas on the truck to help prevent new rust. Also ordered an Eliminator gas petal from Lokar, and 460 headers made for a F1 fit with stock steering from Sanderson with the ceramic coating! I'm pretty excited because all that is left is shifter linkage and throttle cables and then I can drop the engine in. If the nice weather holds I'll paint the rest of the frame, differential and inside of the cab with por 15! Here is a shot of the headers(without ceramic coating no photo of that)
" "No matter where you go, there you are!" Steve.
-
01-14-2009 10:46 AM #243
CHR Member
- Join Date
- Oct 2007
- Location
- Petaluma
- Car Year, Make, Model: 48 Ford F1
- Posts
- 9,795
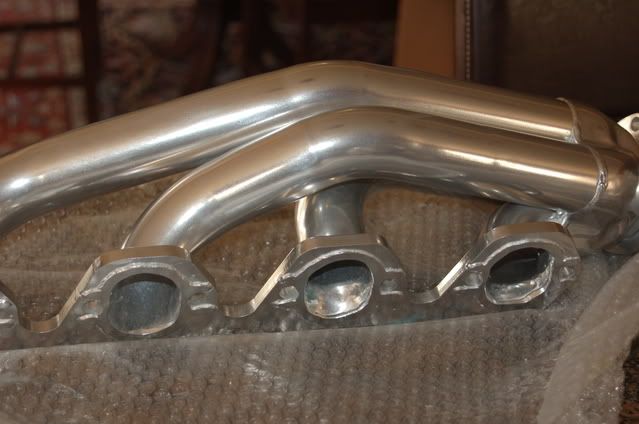
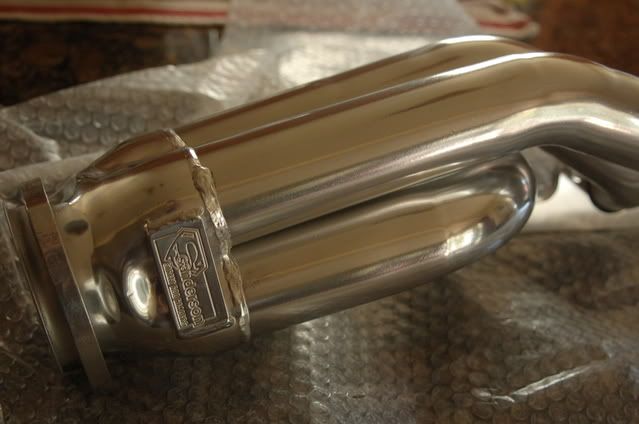
Wow talk about fast. I ordered these yesterday at 130 p.m. and got this this morning when I woke up! The ceramic coating was well worth it! They say not to use a gasket with this coating! Thanks Don for the tip about Sanderson's. PS Don's rod is still featured there under customer rides.
" "No matter where you go, there you are!" Steve.
-
01-14-2009 11:10 AM #244
CHR Member/Contributor
- Join Date
- Jul 2003
- Location
- Madison
- Car Year, Make, Model: '67 Ranchero, '57 Chevy, '82 Camaro,
- Posts
- 21,160
nice headers! You'll never go wrong with a set of Sanderson's, first rate all the way...Yesterday is history, tomorrow is a mystery, Live for Today!
Carroll Shelby
Learning must be difficult for those who already know it all!!!!
-
01-14-2009 11:53 AM #245
CHR Member
- Join Date
- Oct 2007
- Location
- Petaluma
- Car Year, Make, Model: 48 Ford F1
- Posts
- 9,795
You know I went back to Sanderson's web site and couldn't find info on this. I read it somewhere, not sure where! Originally Posted by Evolvo

" "No matter where you go, there you are!" Steve.
-
01-14-2009 11:57 AM #246
CHR Member/Contributor
- Join Date
- Jul 2003
- Location
- Madison
- Car Year, Make, Model: '67 Ranchero, '57 Chevy, '82 Camaro,
- Posts
- 21,160
I used the copper ones on the last set of Sanderson's I installed, no leaks, no problems.Yesterday is history, tomorrow is a mystery, Live for Today!
Carroll Shelby
Learning must be difficult for those who already know it all!!!!
-
02-02-2009 09:19 AM #247
CHR Member
- Join Date
- Oct 2007
- Location
- Petaluma
- Car Year, Make, Model: 48 Ford F1
- Posts
- 9,795
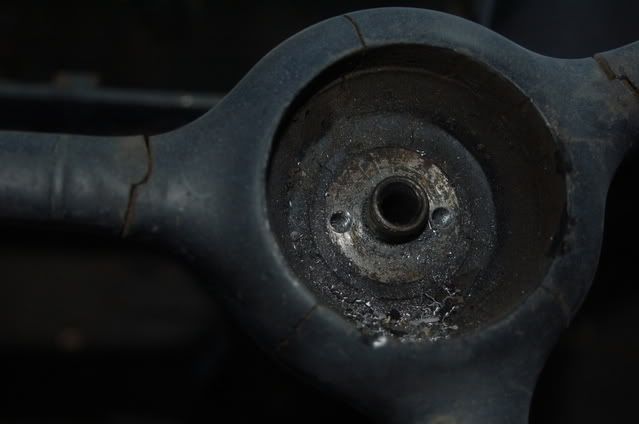
Got a chance to work on the truck this weekend. I decided to tackle the ever evassive steering wheel. I had bought a tap and die set from HF and drilled two hole in the base plate and then threaded them for #8 bolts atached to the steering wheel puller. Since the last attempt at doing, the shaft splines were sprayed with liquid wrench penetrating oil. When I tried to attach the puller the nut on the top of the shaft was too wide to allow the bolts properly align as it is very narrow base plate with only so much room for drilled screw holes. So, and I know some of you are already shaking your heads, I attached the puller without the nut on top of the shaft. The bolts stayed attached which was great, but instead of breaking that old onery wheel loose they just mushroomed the hell out of the threaded end of the shaft. Fortunately a new shaft was for sale, so now it is the reverse bugger of removing the steering column to get it off and the replacing everything!
The real bugger part is I don't have a service manual for this old truck, so figuring out how to proceed from here is going to take awhile. I did find a small book speedway sells on 48 ford steering boxes and hope that will help(just ordered it today)
So net gain this weekend was a S#@% load more work, but probably worth it in the long run.
Last edited by stovens; 02-02-2009 at 09:31 AM.
" "No matter where you go, there you are!" Steve.
-
02-02-2009 02:26 PM #248
CHR Member
- Join Date
- Oct 2007
- Location
- Petaluma
- Car Year, Make, Model: 48 Ford F1
- Posts
- 9,795
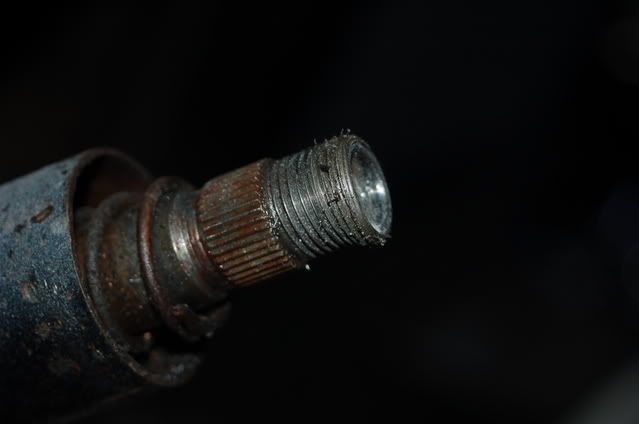
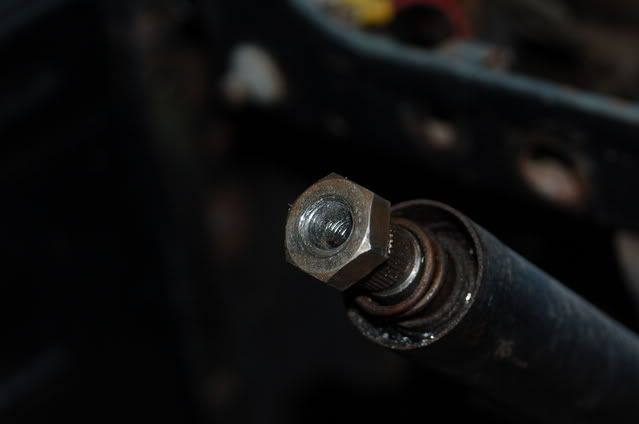
Well with the help of some F1 friends and their advice I got the steering wheel off. The shaft end at the threads is bent enough that the nut won't go on.
I heated the base of the wheel as they suggested and placed a bolt down the center hole where the puller made contact, and it worked the wheel came off easily. Do you guys think this shaft is salvageable? Should I cut the end threads in the bent section off and use it, or try to re-tap it which I don't think will work?
Last edited by stovens; 02-14-2009 at 10:56 AM.
" "No matter where you go, there you are!" Steve.
-
02-02-2009 02:37 PM #249
CHR Member
- Join Date
- Oct 2007
- Location
- Petaluma
- Car Year, Make, Model: 48 Ford F1
- Posts
- 9,795
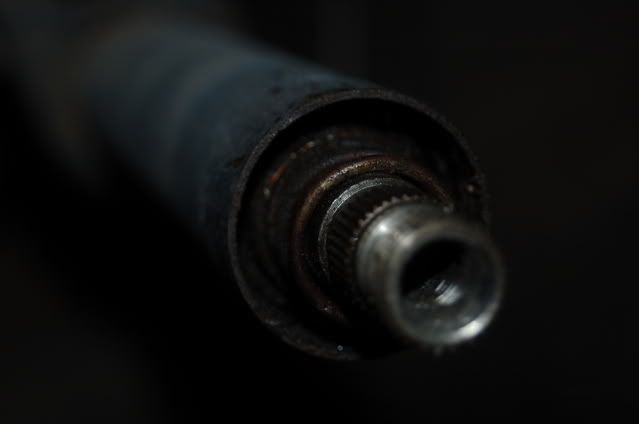
Here is a better photo
" "No matter where you go, there you are!" Steve.
-
02-02-2009 06:54 PM #250
CHR Member
- Join Date
- Oct 2007
- Location
- Petaluma
- Car Year, Make, Model: 48 Ford F1
- Posts
- 9,795
Thanks Evolvo
I found a die that hinges open so you can place it on good threads and then close it and back it off cutting clean threads to the end. Its called a Chase 'em Back Tool and you can see how they work here.
http://www.chaseembacktools.com/
For 18 bucks for the die I need it's worth a try. I'll post back when I get it so you'll know wether it works or not." "No matter where you go, there you are!" Steve.
-
02-03-2009 06:11 AM #251
CHR Member
- Join Date
- Sep 2006
- Location
- New Lenox
- Car Year, Make, Model: 67 Mstg cpe , 37 Ford Coupe
- Posts
- 2,787
Steve exactly what you need to fix it . Something that would come up from the bottom . I use chasers at work look kinda like a C clamp pain to use sometimes . The hinged die idea is great for the repair . Also as mentioned if you had to trim top off a thin jam nut would work fine in holding the steering wheel on .
-
02-04-2009 12:40 PM #252
CHR Member
- Join Date
- Oct 2007
- Location
- Petaluma
- Car Year, Make, Model: 48 Ford F1
- Posts
- 9,795
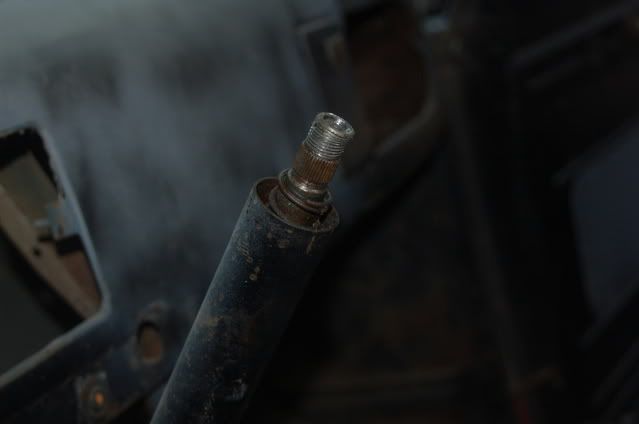
Chase em back tool rocks....one stupid mistake averted
before and after now the nut threads on again.
" "No matter where you go, there you are!" Steve.
-
02-04-2009 02:02 PM #253
CHR Member
- Join Date
- Feb 2007
- Location
- SLC
- Car Year, Make, Model: 52 Chevy 2-door Sedan w/ a 350/350 combo
- Posts
- 341
Cool tool.
Pride Runs Deep
-
02-05-2009 05:53 AM #254
 CHR Member
- Join Date
- Feb 2006
- Location
- Sparta
- Car Year, Make, Model: 31 Ford Model A
- Posts
- 541
That would have saved me more times than I would confess....LOL
BradCSome days it's not even worth chewing thru the restraints !
-
02-07-2009 04:34 PM #255
CHR Member
- Join Date
- Oct 2007
- Location
- Petaluma
- Car Year, Make, Model: 48 Ford F1
- Posts
- 9,795
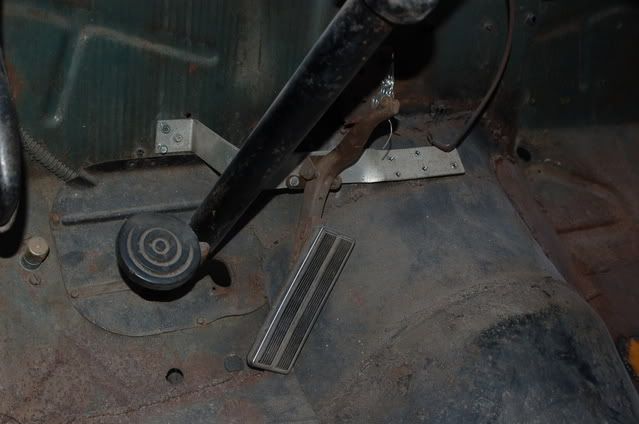
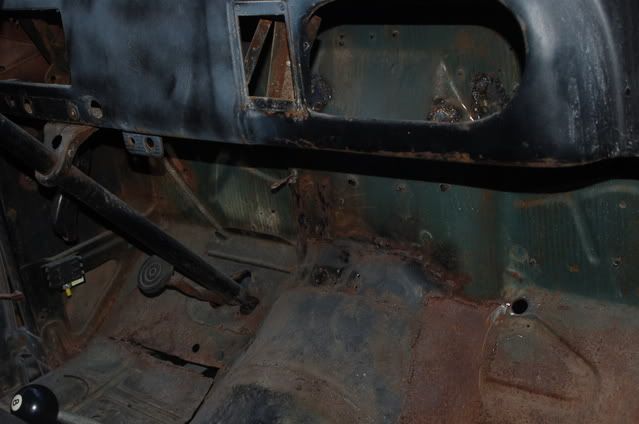
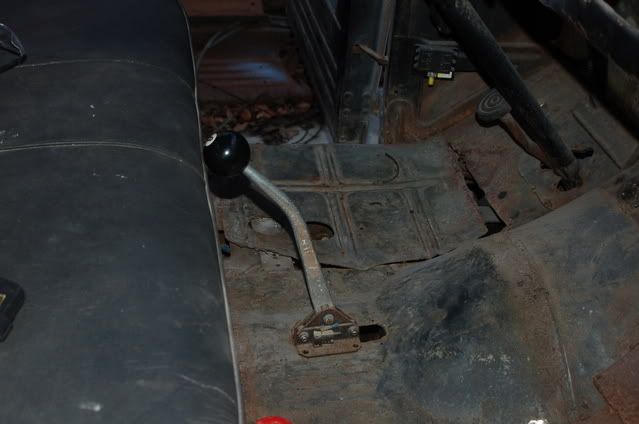
Today was at last sunny! I worked on some pre engine install stuff. The floor shifter has always been mounted to far back to where it would run into the seat so I moved it foward and then welded in a plate to fill the gap in the floor panel. Next I removed the current gas pedal to get ready to install a lokar eliminator pedal. I'm not sure if it will fit comfortably in the space between the steering column and the tranny tunnel, but I tomorrow I'll cut a hole and see how it feels. Anyway it felt good to get back to it.

" "No matter where you go, there you are!" Steve.
 Reply With Quote

Posting Permissions
- You may not post new threads
- You may not post replies
- You may not post attachments
- You may not edit your posts

This site is up more often lately, but very little traffic.
Dead!