


Thread: The Roofus Special


Results 91 to 105 of 375
 LinkBack URL
 About LinkBacks
-
05-23-2009 07:18 PM #91
 CHR Member

- Join Date
- Jul 2003
- Location
- Kentucky
- Car Year, Make, Model: 47 Seagrave
- Posts
- 683
This is where I ended the day. I plated in the opening above the boxes. I feels really solid.
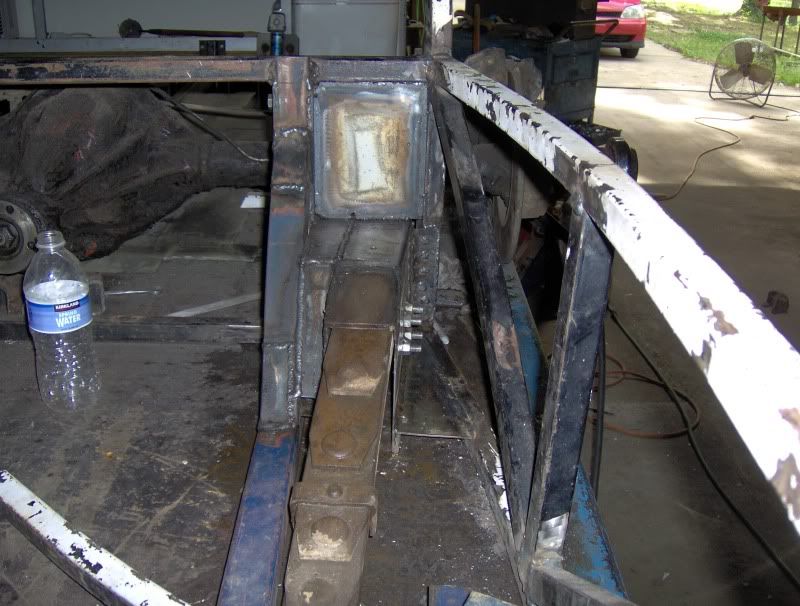
There are two things in life where penetration is really important.....and one of them is welding.
-
Advertising

- Google Adsense
- REGISTERED USERS DO NOT SEE THIS AD
-
05-24-2009 02:27 AM #92
CHR Member
- Join Date
- Jul 2003
- Location
- Kentucky
- Car Year, Make, Model: 47 Seagrave
- Posts
- 683
With any luck, I will re-hang the rear quarters and decide on what the next build step.
Not sure exactly what to do next.
I think I need to start the rearmost frame section/trunk floor. I think I need to start the upwards taper of the boattail at the rear axle...similar to this car.

There are two things in life where penetration is really important.....and one of them is welding.
-
05-24-2009 07:13 PM #93
CHR Member
- Join Date
- Jul 2003
- Location
- Kentucky
- Car Year, Make, Model: 47 Seagrave
- Posts
- 683
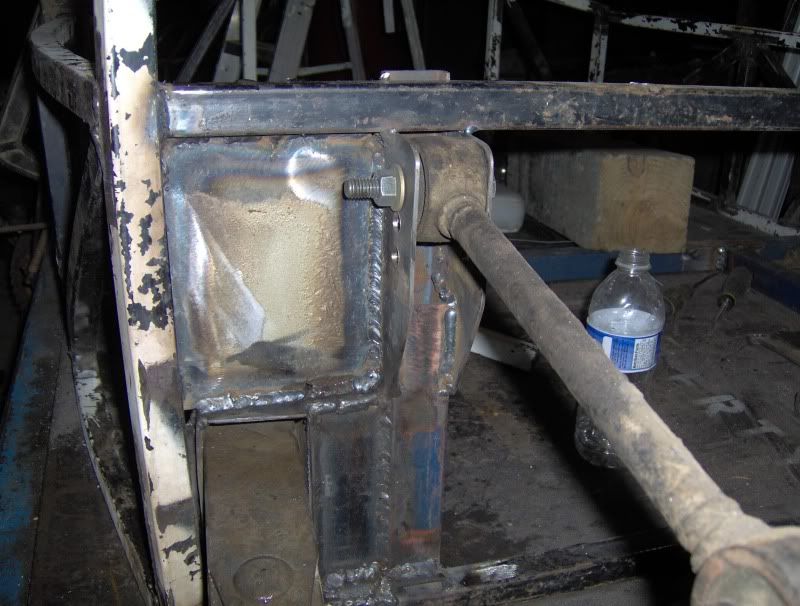
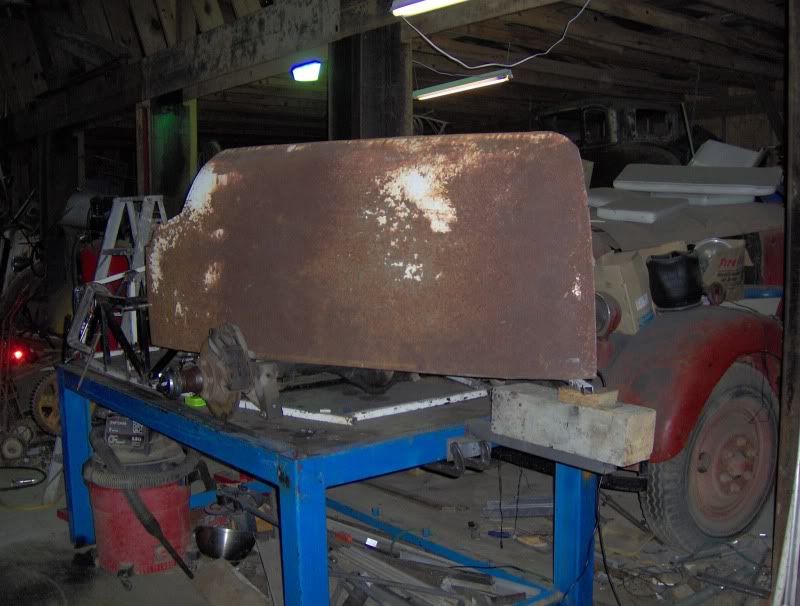
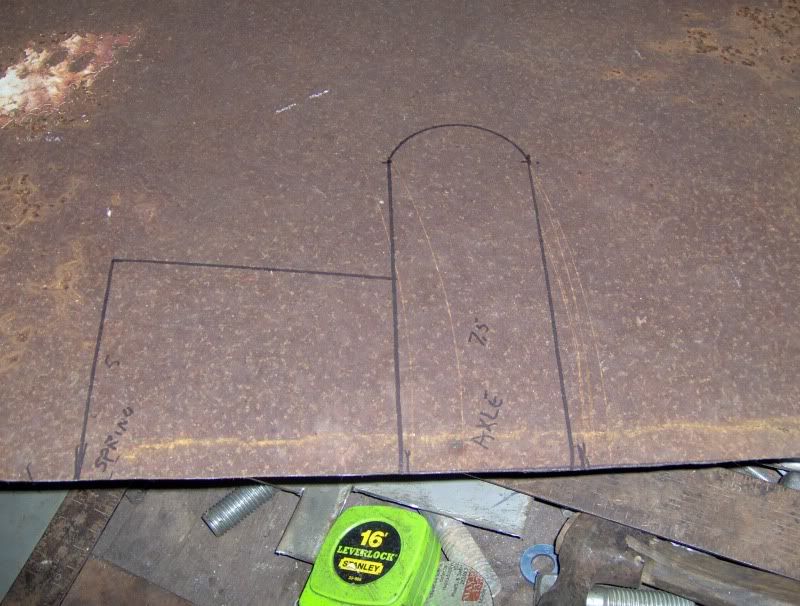
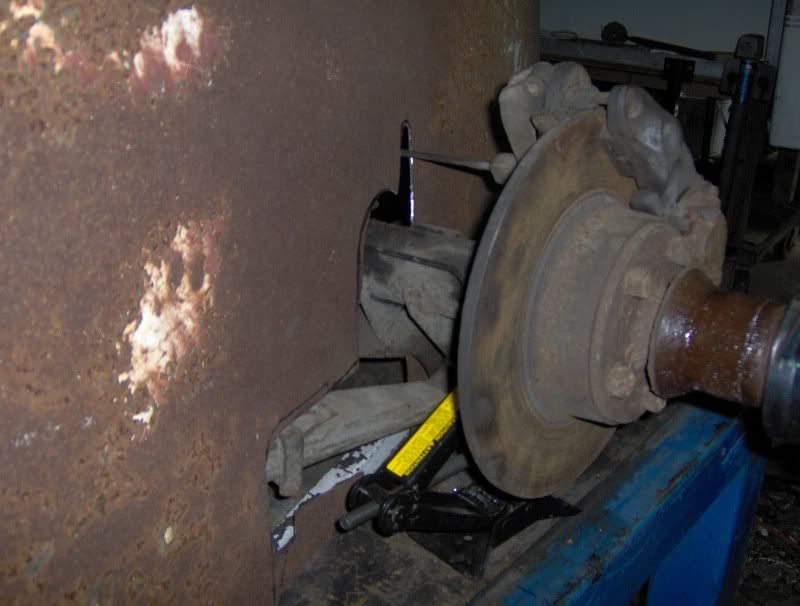
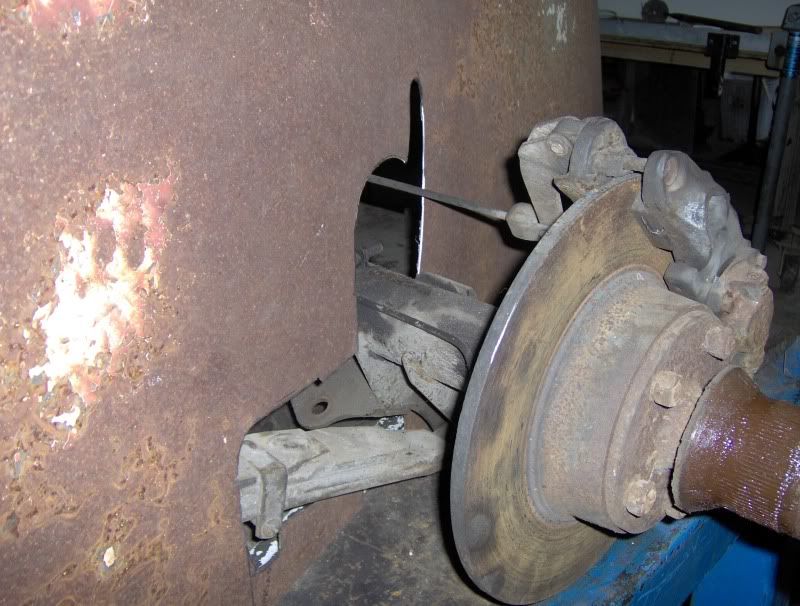
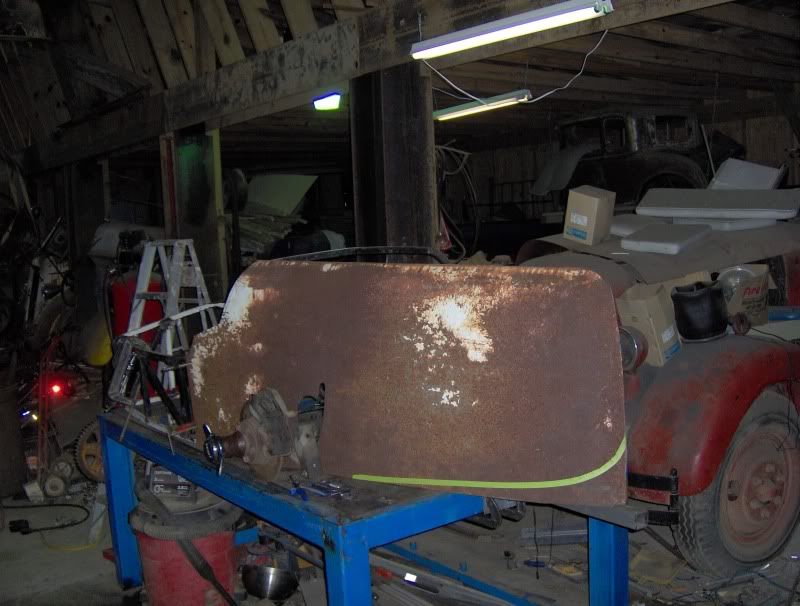
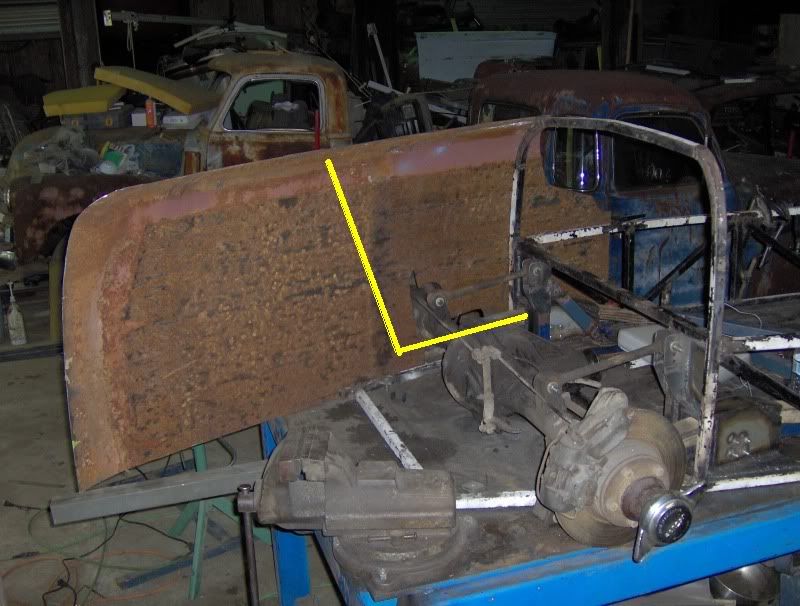
Today was a fun day. I finished up a little welding on the passenger side spring box and then started trying to mount the body side.
It was more difficult than last time. There is an axle there.
I started by mocking the body up on top of the axle and blocks of wood to see where stuff lined up.

I am glad that I thought to draw a reference line last time it was mocked up.
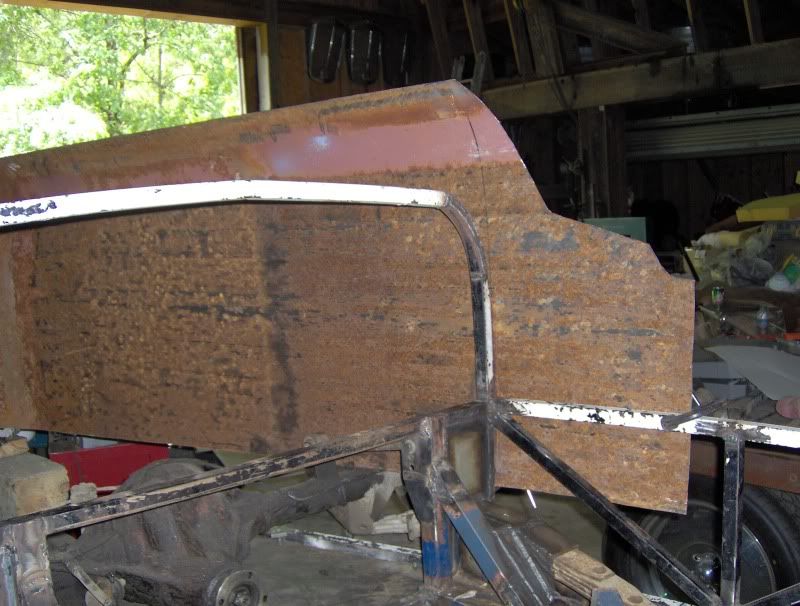
First set of dimensions....end cut out was WAY different.
There are two things in life where penetration is really important.....and one of them is welding.
-
05-24-2009 07:26 PM #94
CHR Member
- Join Date
- Jul 2003
- Location
- Kentucky
- Car Year, Make, Model: 47 Seagrave
- Posts
- 683
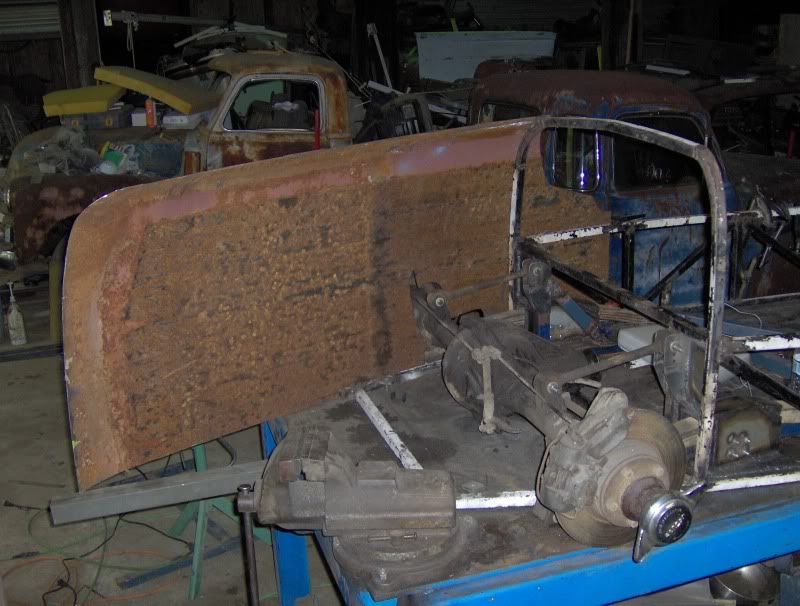
The first cuts were barely a good starting point. I am glad I started slow and snuck up on the shape. The axle moves rearward as it compresses.....really moves rearward! That parking brake cable was kind of a pain too.
Lots of jacking and drawing, then triming and re-instalation.
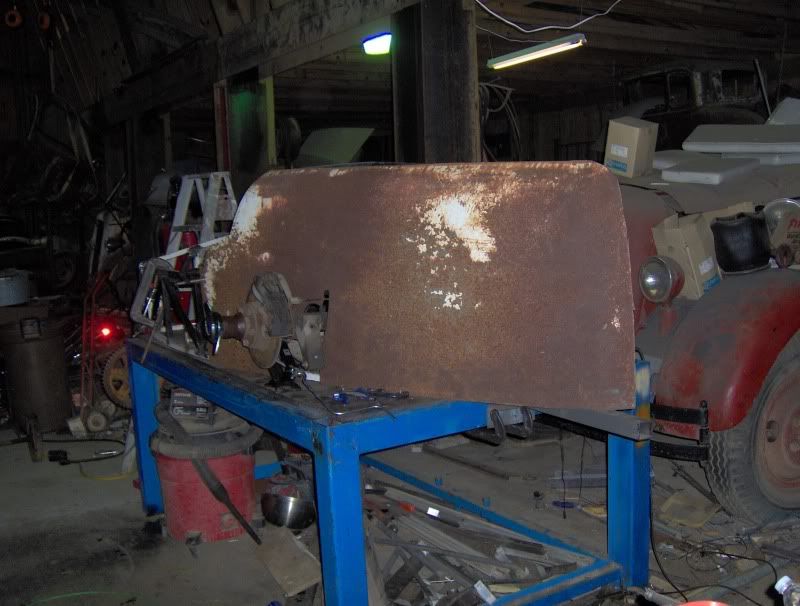
Final shape. I think.
There are two things in life where penetration is really important.....and one of them is welding.
-
05-24-2009 07:43 PM #95
CHR Member
- Join Date
- Jul 2003
- Location
- Kentucky
- Car Year, Make, Model: 47 Seagrave
- Posts
- 683
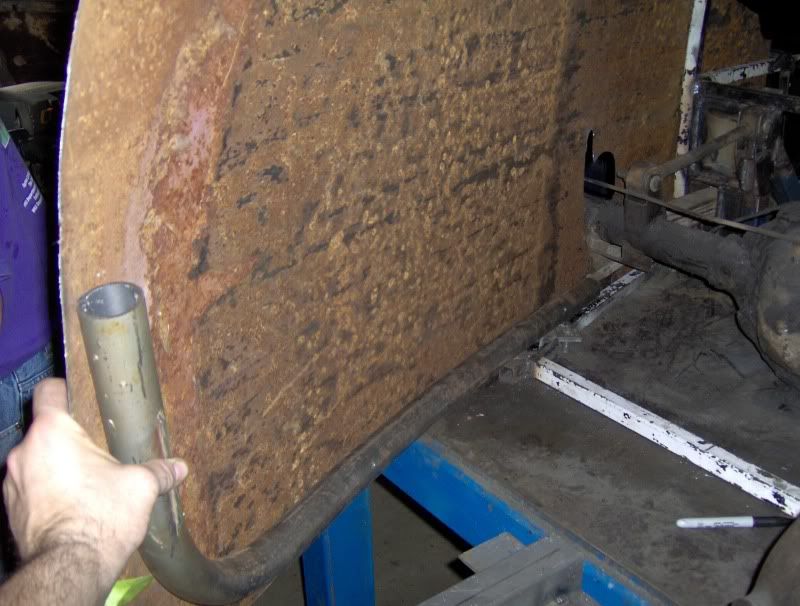
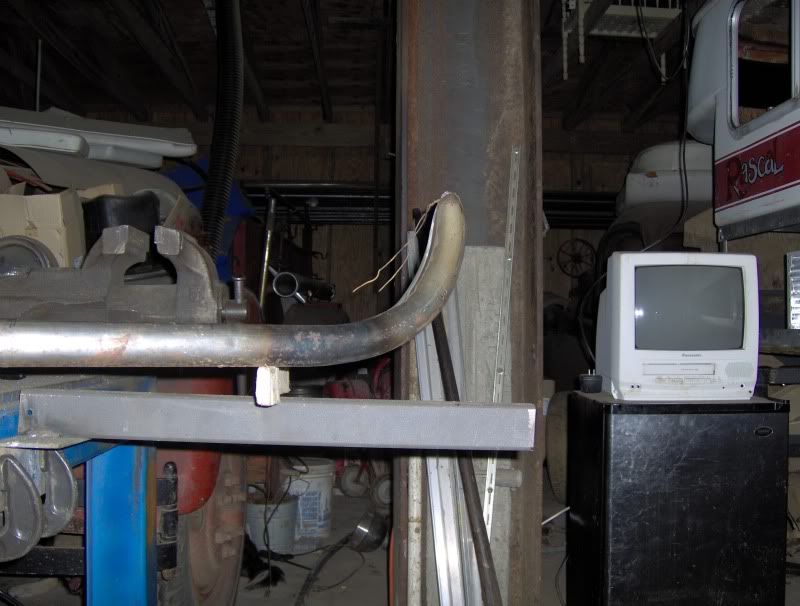
I know the tail sticks way out there and will drag everything, but I can not make myself cut the heck out of it for clearance. I think I am just going to beef up the tail so it can handle being dragged. I may even add a caster back there.
Here is the current idea. Slight sweep with a radius at the bottom.
Right now the whole back end is an almost clean sheet to work with
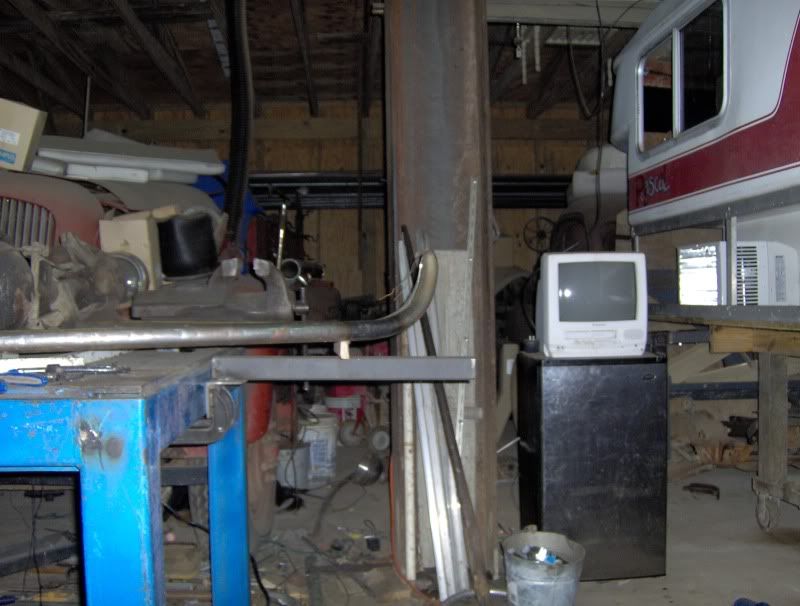
Playing with cop car roll bars and a harbor freight pipe bender

Last edited by Flipper_1938; 05-25-2009 at 04:34 PM.
There are two things in life where penetration is really important.....and one of them is welding.
-
05-25-2009 04:05 PM #96
CHR Member
- Join Date
- Jul 2003
- Location
- Kentucky
- Car Year, Make, Model: 47 Seagrave
- Posts
- 683
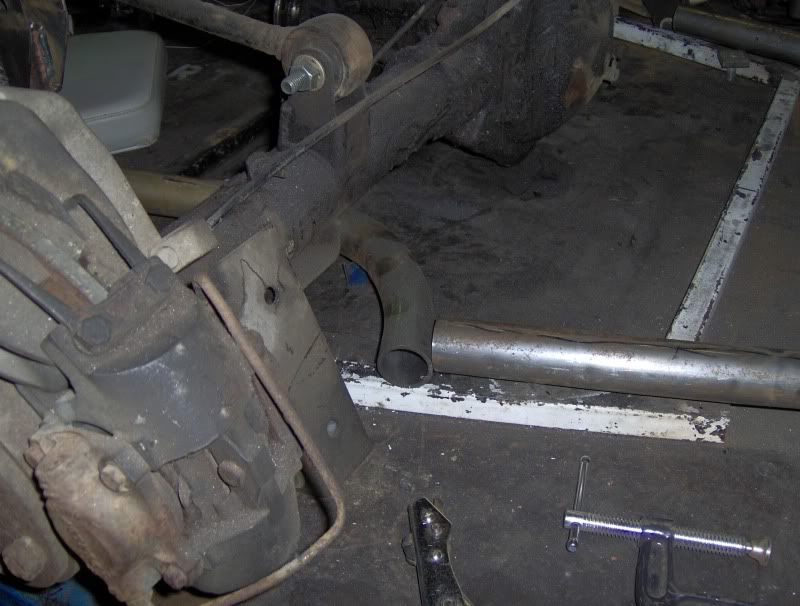
I trimmed the tube. kinda hard to do just by eyeballing it. Still needs a little fine tuning....but I think it will work.


Close enough that I made another one for the other side.There are two things in life where penetration is really important.....and one of them is welding.
-
05-25-2009 04:13 PM #97
CHR Member
- Join Date
- Jul 2003
- Location
- Kentucky
- Car Year, Make, Model: 47 Seagrave
- Posts
- 683
The new rear frame rails will be on the same level as the current 1x1. I just haven't cut out the old stuff yet.

There are two things in life where penetration is really important.....and one of them is welding.
-
05-25-2009 04:31 PM #98
CHR Member
- Join Date
- Jul 2003
- Location
- Kentucky
- Car Year, Make, Model: 47 Seagrave
- Posts
- 683
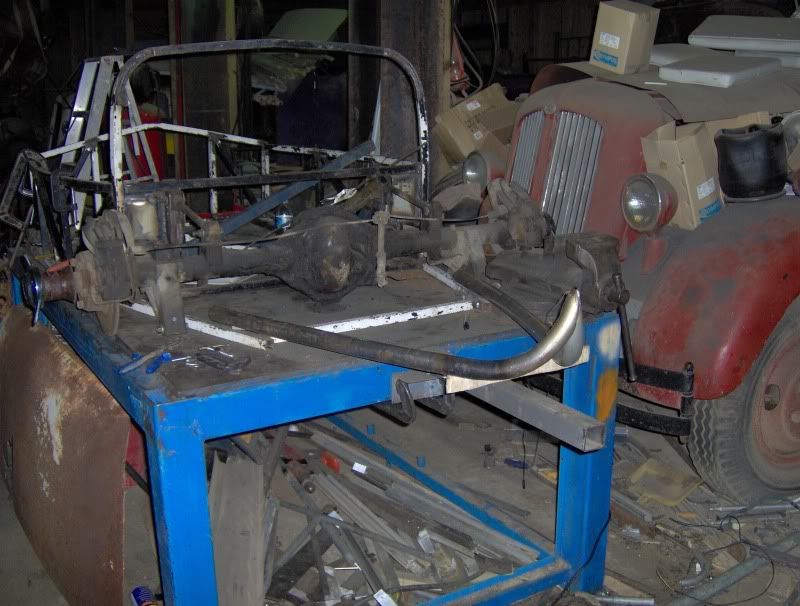
I am using more cop car roll bar parts to complete the rear frame rails. Using a couple of bends, I will be able to clear the shock mounts and tie into the 1.5 x 1.5 that runs below the upper link mounts. The joint will be mitered.
This will also gime me a "crumple zone" for the rear frame rails. Heaven forbid I take a hit or spin out in it, the 90 degree bends should fold.

There are two things in life where penetration is really important.....and one of them is welding.
-
05-28-2009 06:30 PM #99
CHR Member
- Join Date
- Jul 2003
- Location
- Kentucky
- Car Year, Make, Model: 47 Seagrave
- Posts
- 683
Imagine this one slammed to about a couple inches off the ground. That is really close to my latest vision.
There are two things in life where penetration is really important.....and one of them is welding.
-
05-31-2009 11:19 AM #100
CHR Member
- Join Date
- Jan 2004
- Location
- Sunny So Cal
- Car Year, Make, Model: 1941 Plymouth B-Coupe (I MISS her).
- Posts
- 25
Very COOOOL!
I'm SOOOO glad I'm not the only one building a boat-tail speedster. I sure wish I had your sheet metal skills, I really didn't want to go fiberglass on mine, but I don't have the ability with sheet metal, or the room for the proper tools. I really like the Jag engine, it really goes with the style!
GOOD LUCK!! and please keep the pictures coming.
Marty
-
06-01-2009 07:56 AM #101
CHR Member
- Join Date
- Jul 2003
- Location
- Kentucky
- Car Year, Make, Model: 47 Seagrave
- Posts
- 683
I don't have sheet metal skills, I have sheetmetal determination Originally Posted by 41plymouth


This is my first "real" sheetmetal project. I did some relatively simple stuff on my 48 chevy flatbed build....but nothing like this.
As far as sheetmetal tools go, I have a harbor fright shrinker/stretcher and a 36" HF sheetmetal brake. Not a huge investment, but they work OK for my current skill level.
Seeing all of the cool builds posted on various rod sites pushed me over the edge. It is not perfect by any means, but it should be decent after bodyfiller and paint. .....and it is one hell of a learning experience.There are two things in life where penetration is really important.....and one of them is welding.
-
06-05-2009 09:17 AM #102
CHR Member
- Join Date
- Jul 2003
- Location
- Kentucky
- Car Year, Make, Model: 47 Seagrave
- Posts
- 683
What do you guys think about adding a rumble seat in the boat-tail? Gas tank would be mounted behind the rear end.
There are two things in life where penetration is really important.....and one of them is welding.
-
06-05-2009 04:44 PM #103
Registered User
- Join Date
- Feb 2007
- Location
- China Grove
- Car Year, Make, Model: 30 Model A 4 Dr
- Posts
- 45
I'd keep it a 2 seater, thats my 2 cents
-
06-06-2009 07:42 AM #104
CHR Member
- Join Date
- Jan 2004
- Location
- Sunny So Cal
- Car Year, Make, Model: 1941 Plymouth B-Coupe (I MISS her).
- Posts
- 25
I agree. Unless, you could build it so that the seat lid was so unnoticeable when closed that no one knew it was there. This build has the potential to be a real head turner due to the style and more so due to the way in which you're building it (the Caddy roof. I love that). A rumble seat might be a little over the top for a speedster.
-
06-06-2009 08:23 AM #105
CHR Member
- Join Date
- Jun 2004
- Location
- In the Boonies of Ontario
- Car Year, Make, Model: 40 Graham Sharknose :58 MGA/Ford V6
- Posts
- 1,307
IMO you should not include the rumble seat. You are building a "replica" of a race car, and even two seats is probably stretching the envelope a bit (although some of the very early racers did have a second seat.) Keep it "pure" and you will have an outstanding car.
 Reply With Quote

Posting Permissions
- You may not post new threads
- You may not post replies
- You may not post attachments
- You may not edit your posts

Even though I know he won't see this, I still want to wish a Happy Birthday to my best friend, Richard Moore aka techinspector1
Happy Birthday techinspector1