


 142Likes
Thread: 32 ford truck project
Results 16 to 30 of 212
 LinkBack URL
 About LinkBacks
Threaded View
-
08-31-2013 12:40 AM #1
 CHR Member

- Join Date
- Jun 2013
- Location
- Wylie
- Posts
- 153
32 ford truck project
I started this back in 2011 and have been reluctant to post much about it on hotrod forums. Just thought I might share it here as the late model forums I'm apart of don't really get what I'm doing with it. Maybe I will get more a response here.
Forgive me as most of this is copy paste from another site.
90% of this build is being done in my home garage. The heavy fabrication will happen at the hotrod shop I work at and the paint will be done at a friends paint shop. I will be doing all of the work myself except for the interior.
Specs:
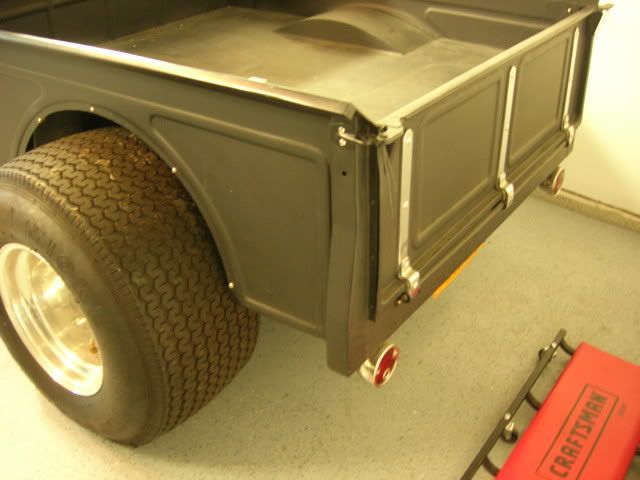
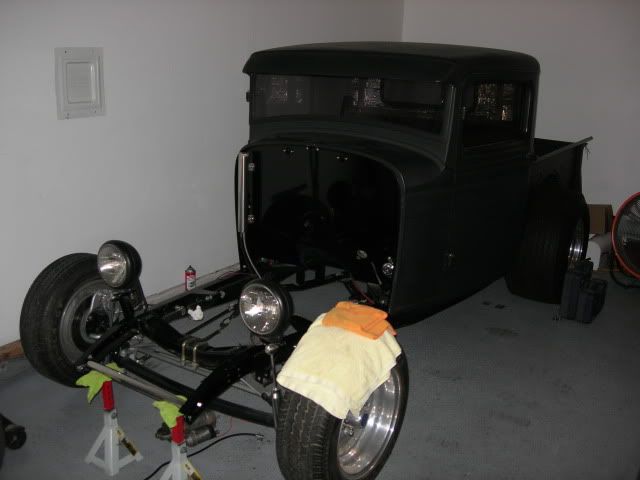
Original 1932 Ford truck body. Cab has been chopped and the floor lifted. the bed has been tubbed, shortened, and the bed raised. there will be no fenders, but maybe a hood.
The story behind the truck:
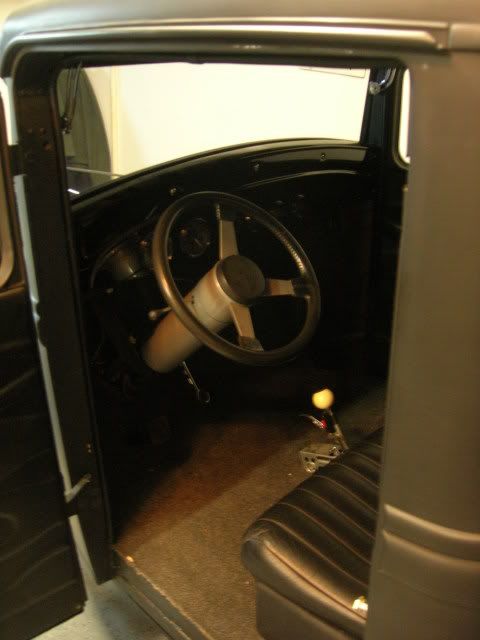
Fiance>>>Ashley's Father started this project about 13 years ago while he was going to school (career change) for street rods and fabricating. Over those years he got it all the way to the point of driving (I stepped in about 3 years and did the interior, ignition, and final trim out).
In the beginning of 2010 he was diagnosed with a condition called morphea scleroderma. While being heavily medicated he lost most of his energy and went in to the Cardiologist. Only to find out he would be going under for a major surgery to replace is aortic valve and a portion of his actual aorta vessel. After a few complications around Thanksgiving 2010 we had a major scare and thought we were going to lose him. Since then his energy has increased, but decided to go ahead and pass on the the truck to the actual owner (Ashley). After much discussion she decided to let me run with it and after the LS swap in her daily driven S-10 she knew what route to take this little truck.
Now onto the specs of whats to come.
Body Paint color: Custom Mix Black
Frame Paint color: Custom Mix Black
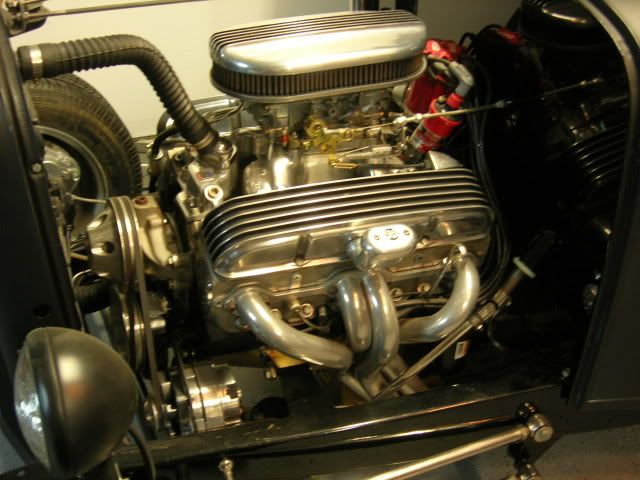
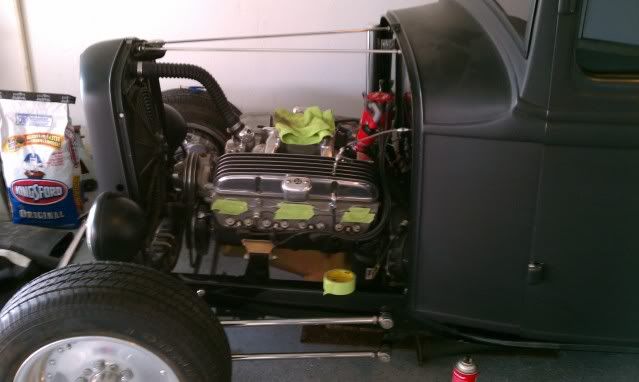
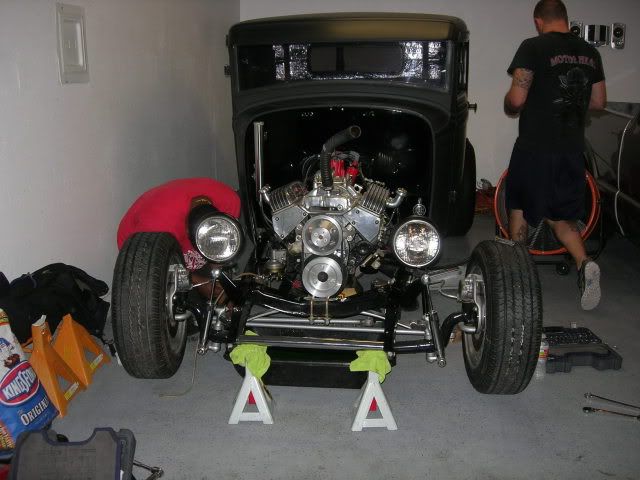
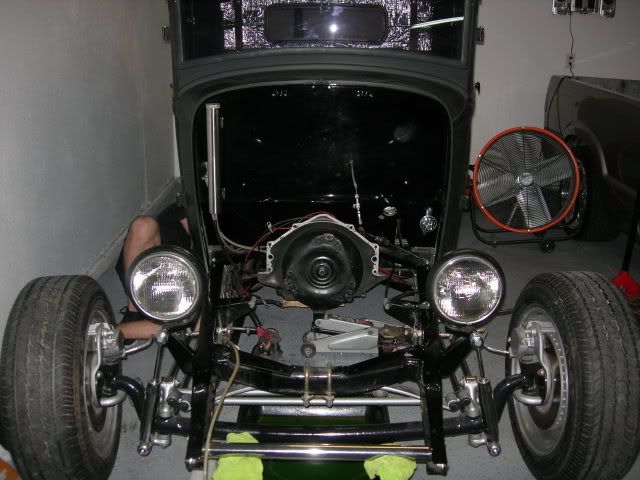
Engine: 5.3L cammed with mild head work, vic jr, Accufab 4150
Trans: Built 4L60e with TCS billet 3200 stall
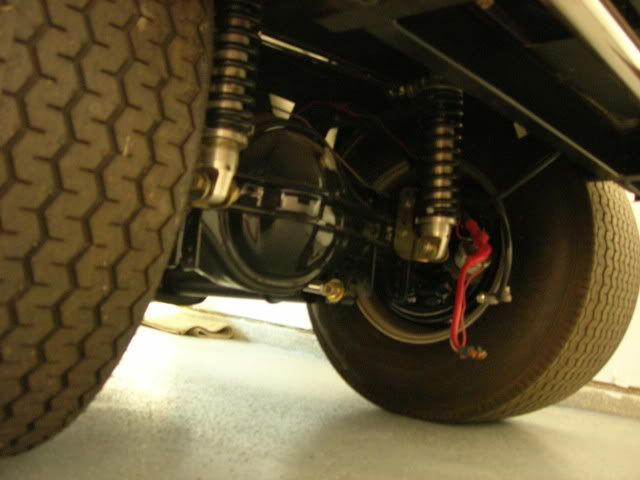
Rearend: 9in Ford 3.90 TracLoc 4 Link
Front Suspension: 4" drop axle, Unisteer cross-steer
Exhaust: Fabbed 1 7/8th headers, 3" stainless exhaust
Interior: Dove Grey Ultra Leather/graphite ultra suede
Gauges: Dakota Digital 32F VHX
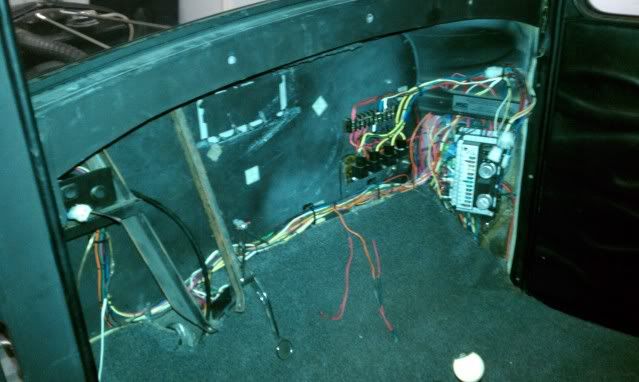
Wiring: modified 2002 truck harness with 0411 PCM, body harness is american autowire Hwy 22
Fuel: Walbro 255 intake, fabbed aluminum tank, 3/8th stainless hardline feed and return, Aeromotive FPR, Red top injectors
Cooling: Custom aluminum radiator with Spal 16 fan
Wheels: American Racing TT II 15x4 Front 15x12 Rear
Tires: MT SportmanSR 24x5x15 front 31x16x15 Rear
Brakes: Wilwood Dynalite Front and drum rear
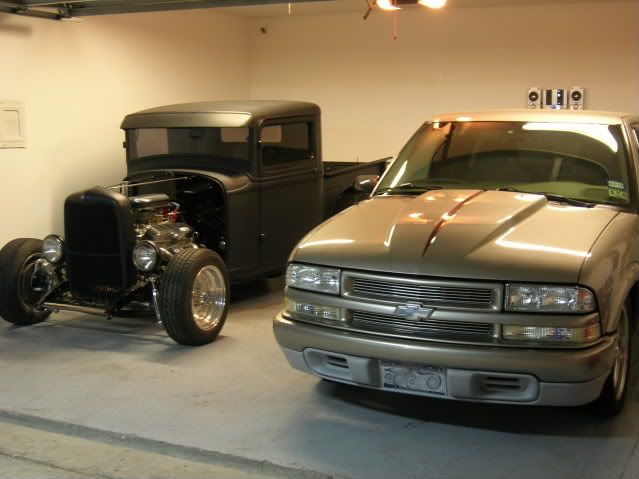
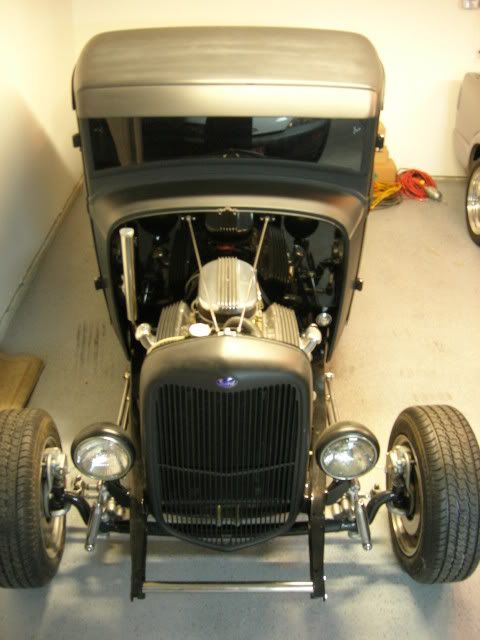
Few Pics of what it was when we got it home.
Pulled it apart

Last edited by sprayed99; 08-31-2013 at 12:58 AM.

 Reply With Quote
Posting Permissions
- You may not post new threads
- You may not post replies
- You may not post attachments
- You may not edit your posts

i've enjoyed the years here . made a lot of friends. most who have left. i see no reason to continue with this so hope to see you somewhere else. i dont think this site will ever be back. it's lived...
Dead!