


 3390Likes
Thread: 55 Wagon Progress


Results 1,801 to 1,815 of 1865
 LinkBack URL
 About LinkBacks
-
09-25-2023 08:55 PM #1801
 CHR Member

- Join Date
- Jun 2008
- Location
- Leonardtown
- Car Year, Make, Model: Walking
- Posts
- 1,228
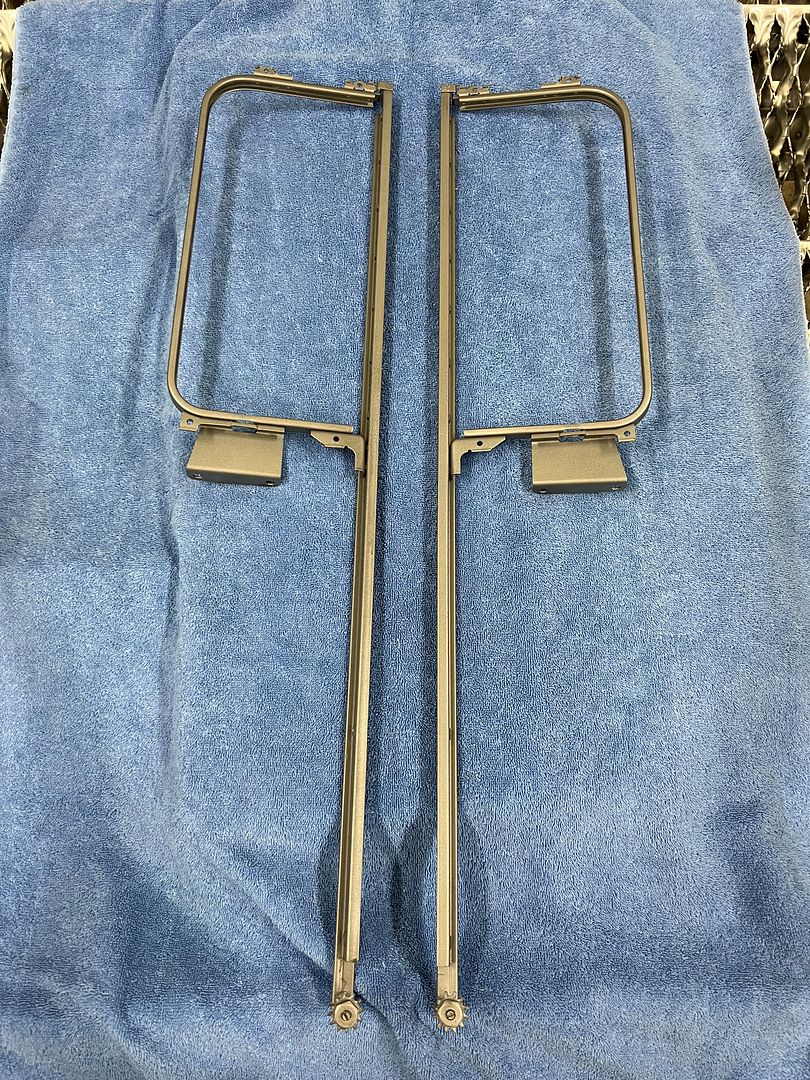
Picked up the vent window frames from The Shop at Shortys, done in a Gunmetal Gray Cerakote finish.
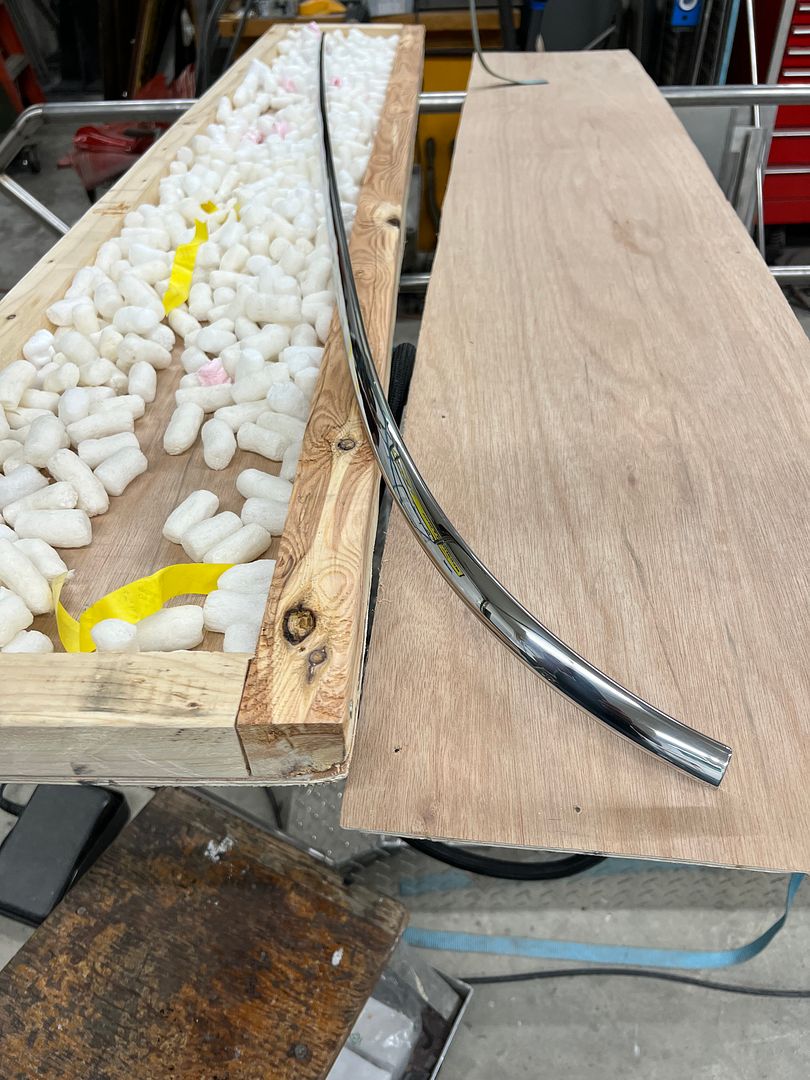
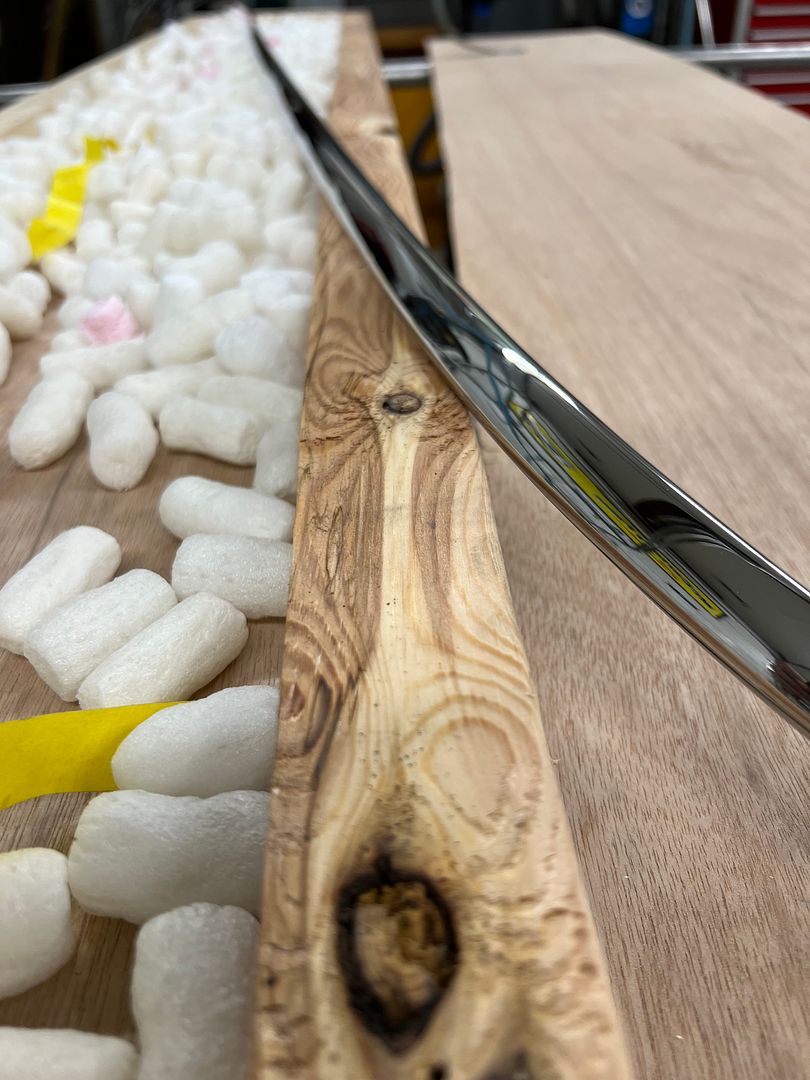
and we got our final piece of stainless trim from The Stainless Shoppe...
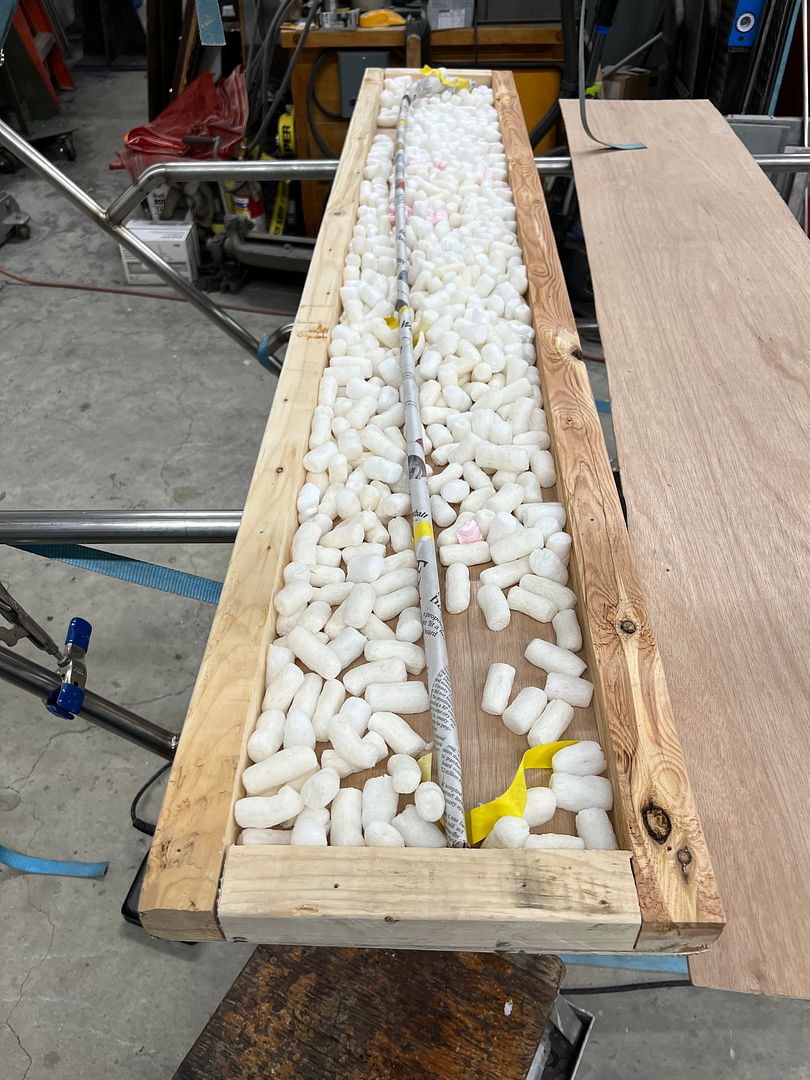
Packaged very well....
Steering column installed...
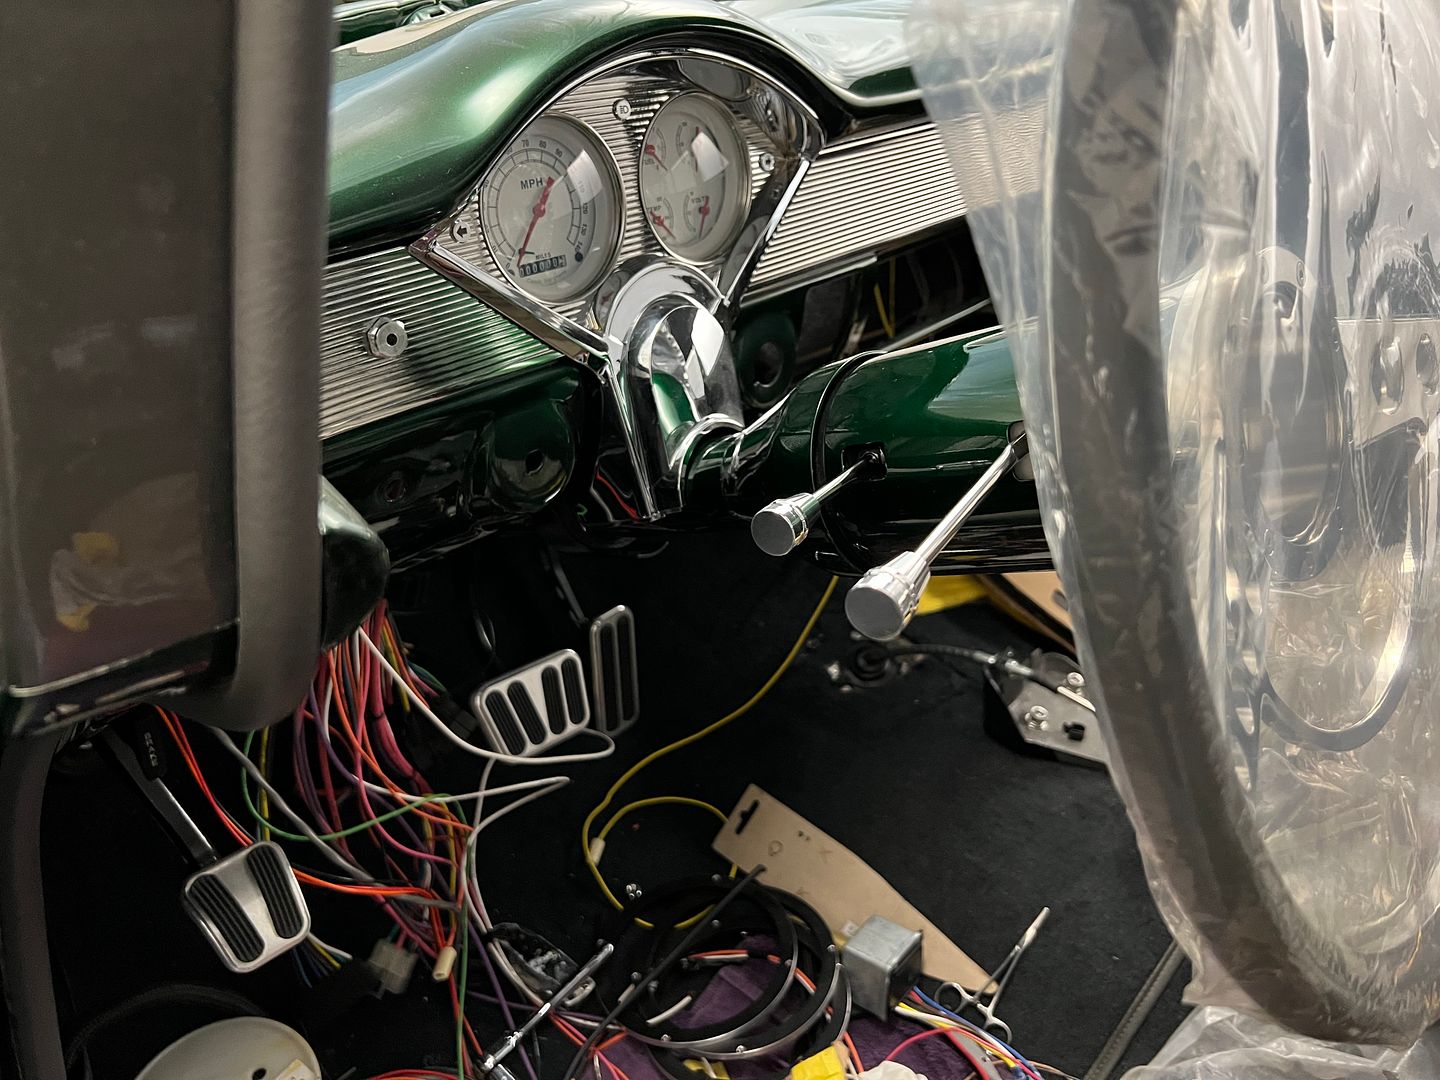
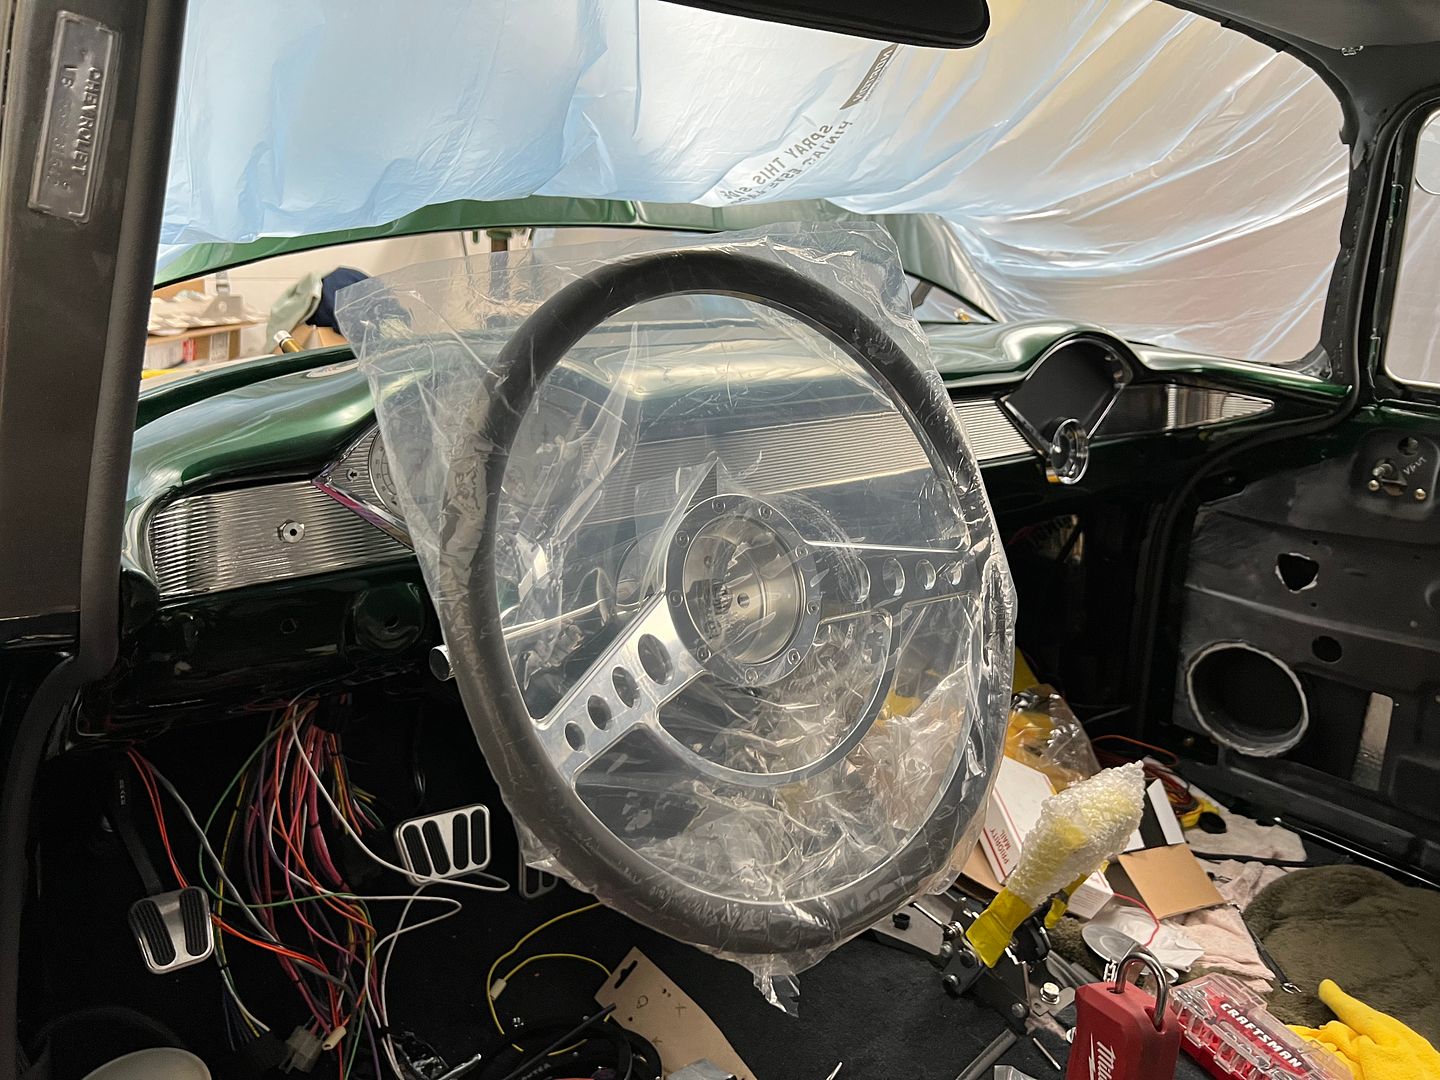
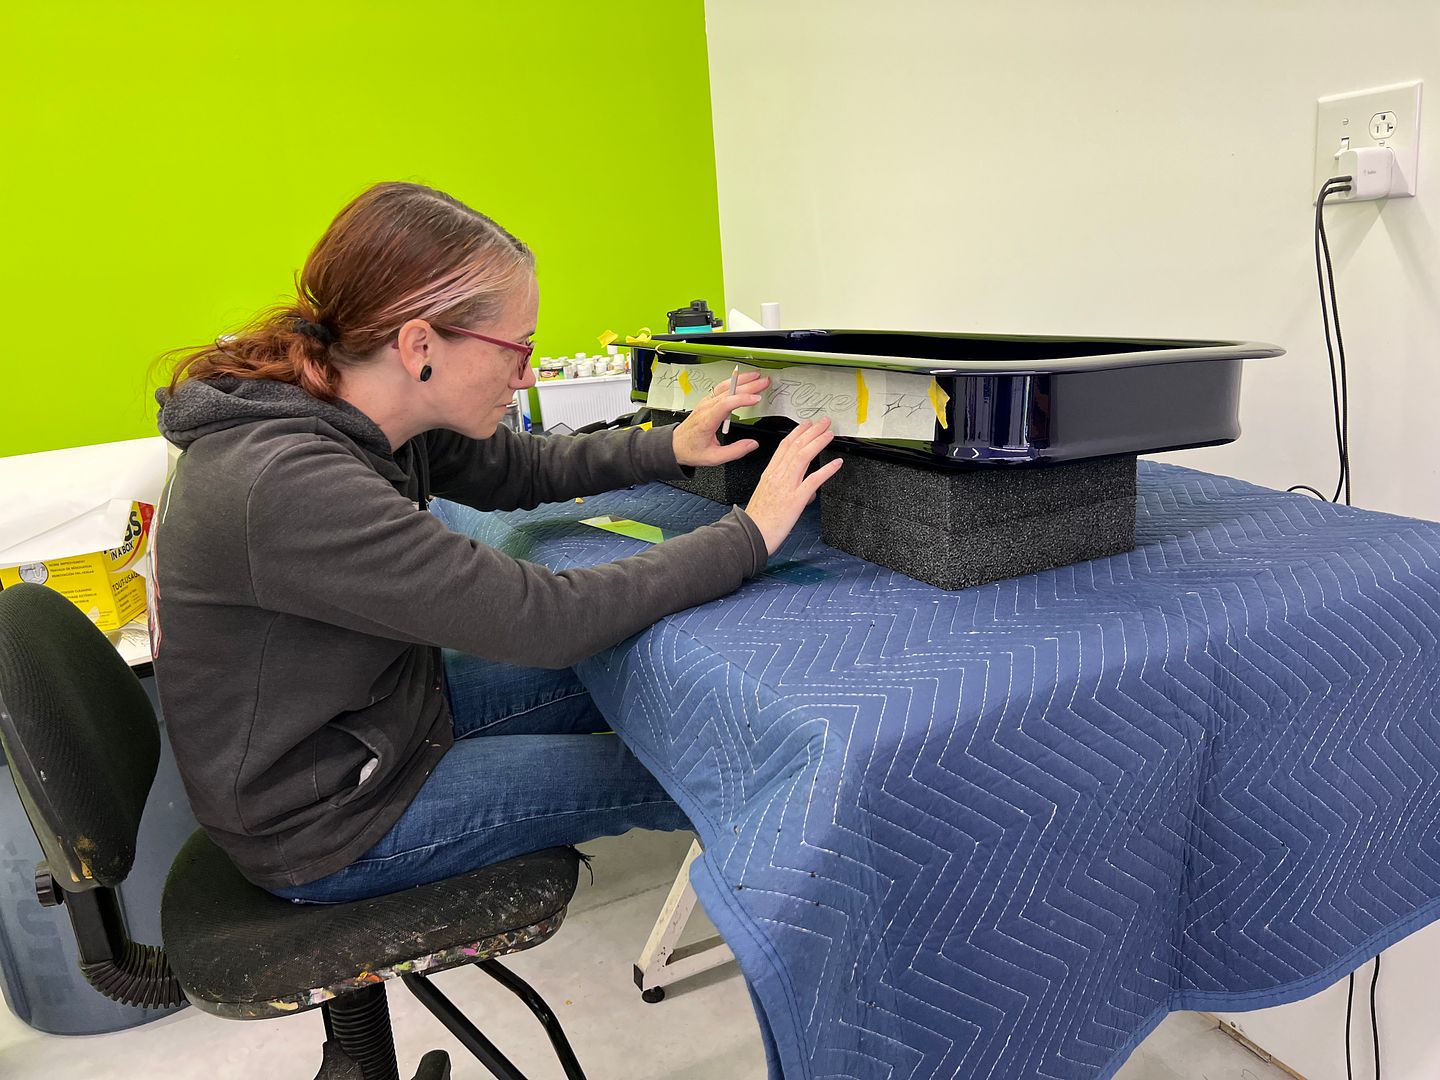
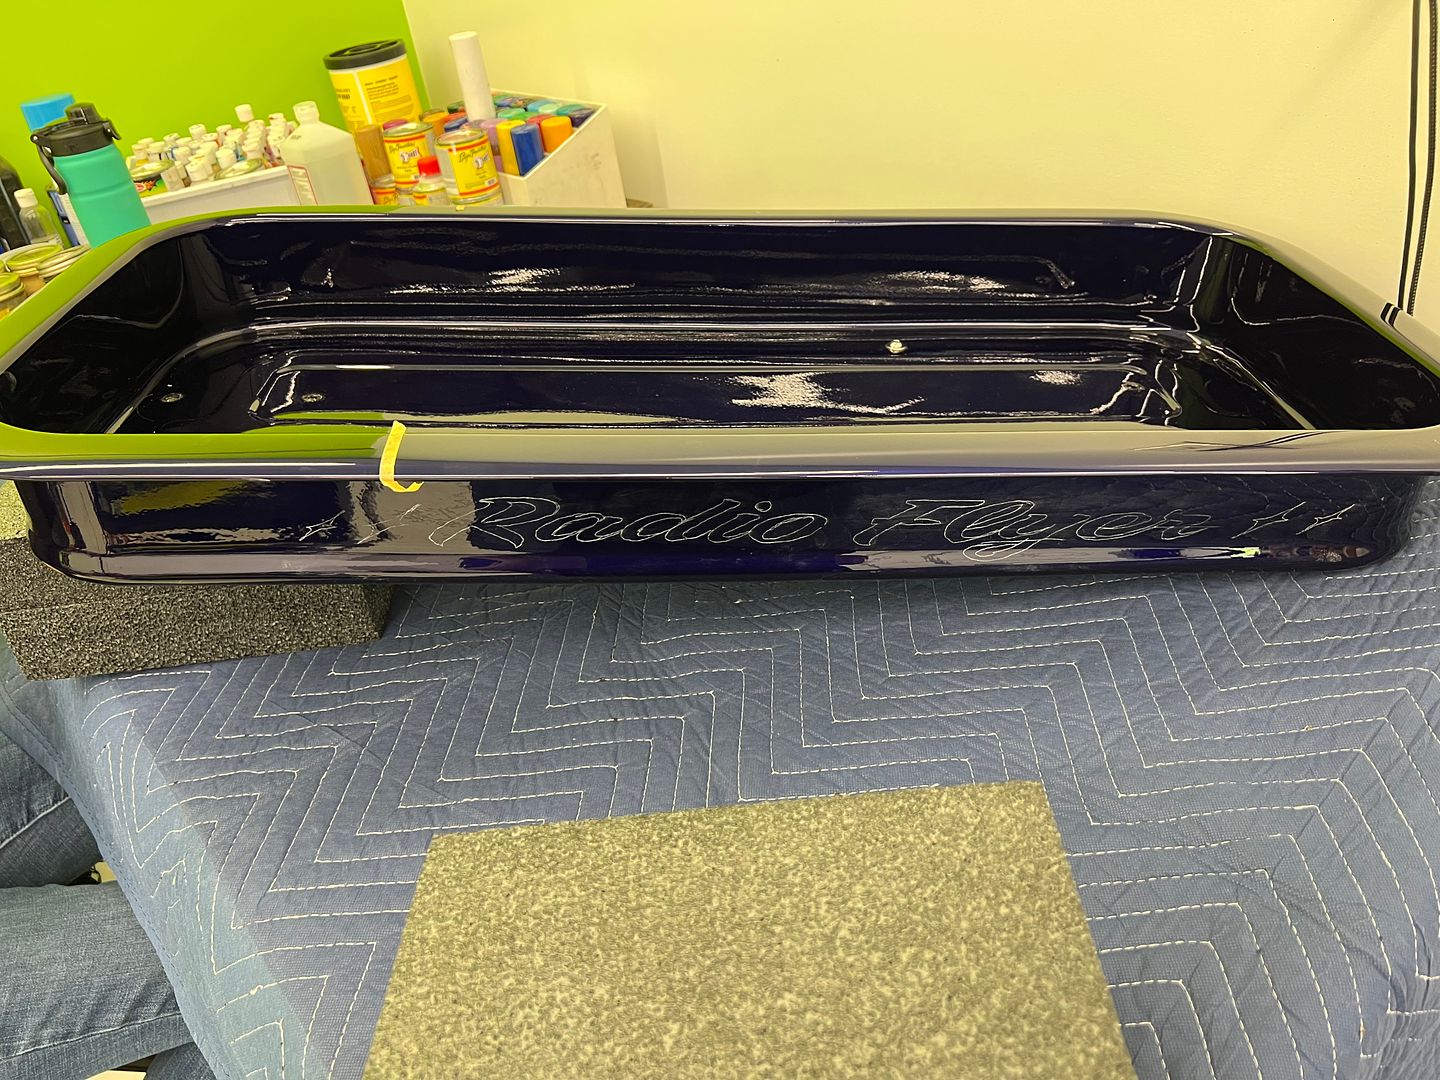
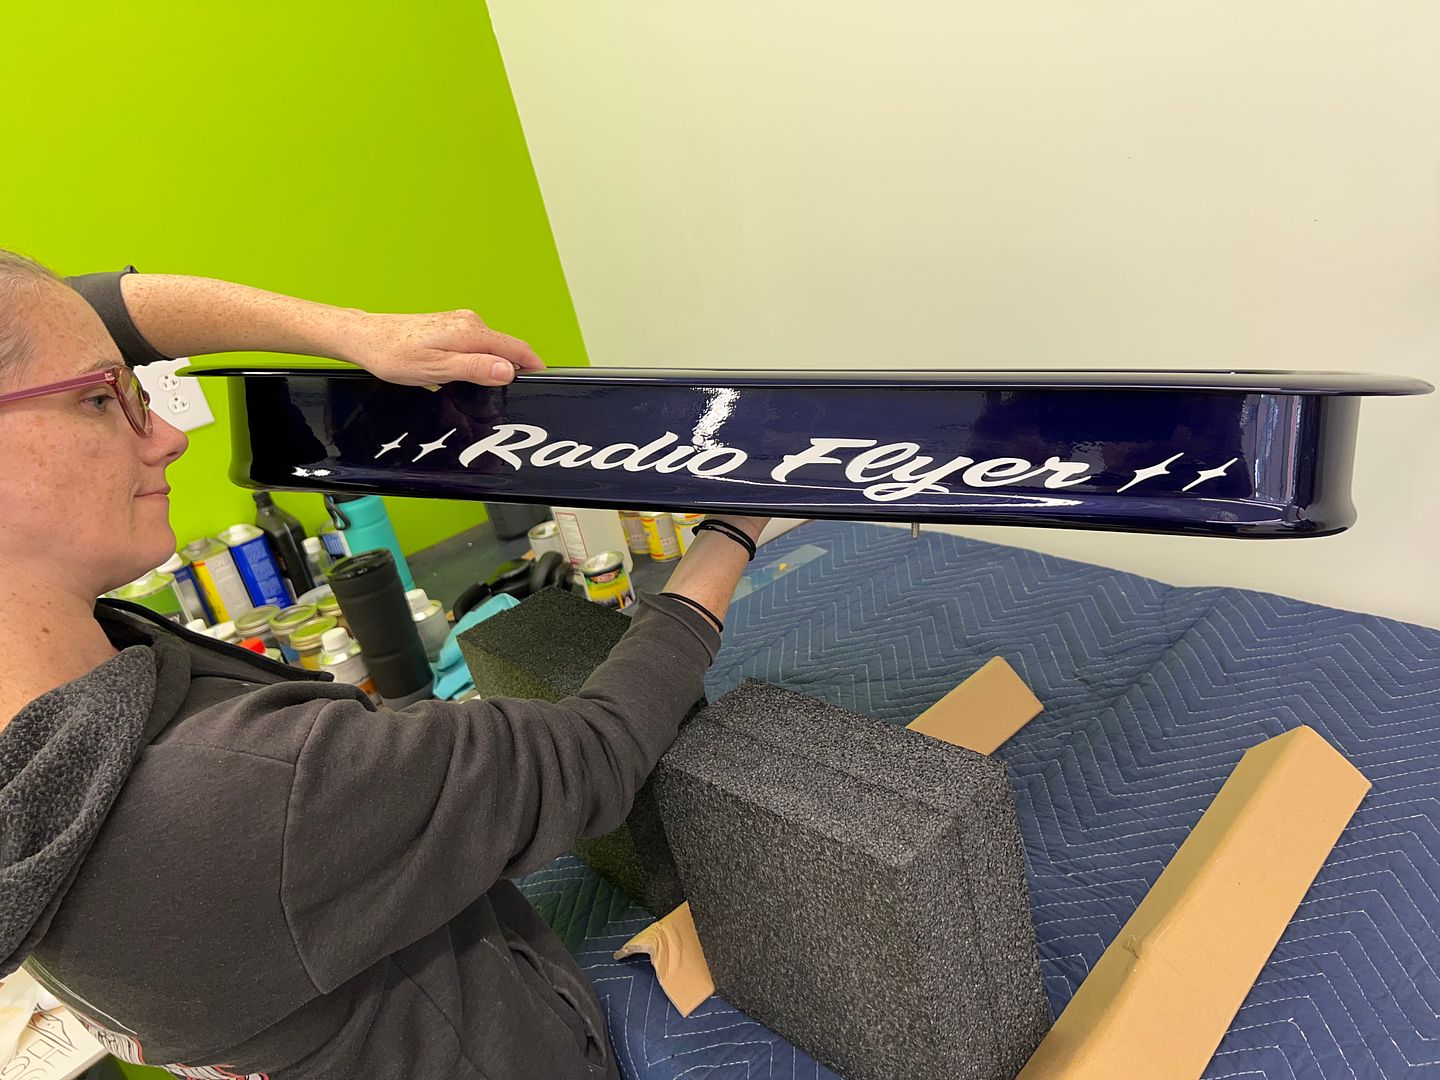
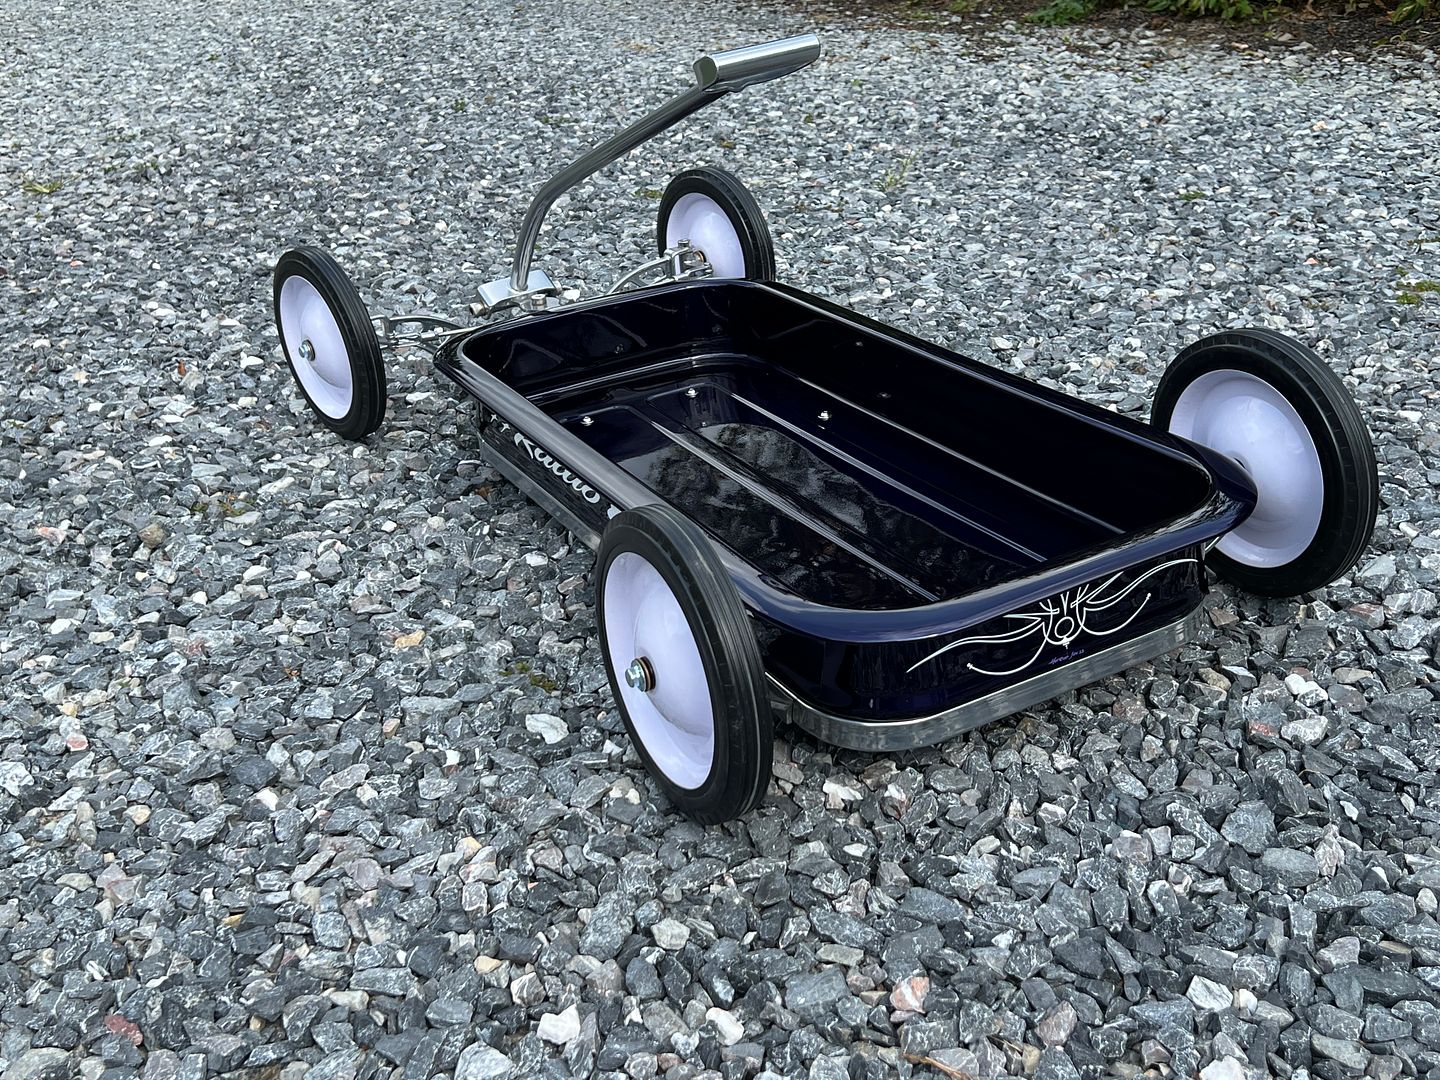
Friday was our appointment for lettering the blue wagon, rode up to PA to HotRodJen's art studio..
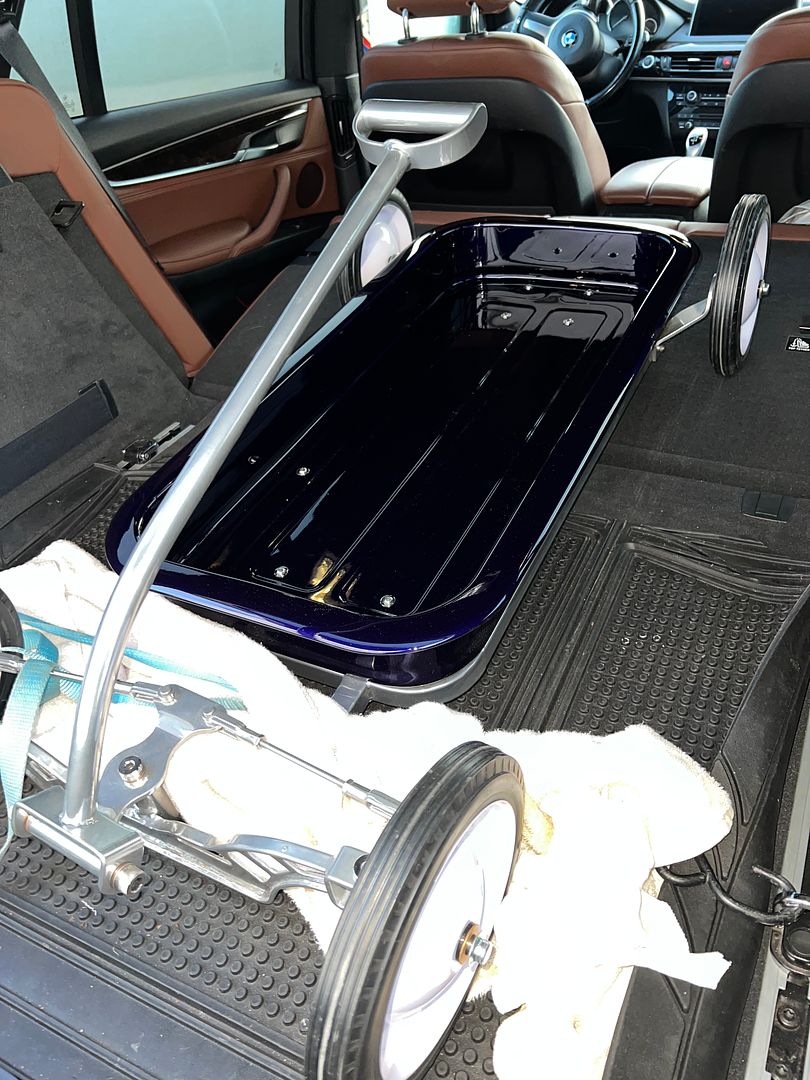
We opted for a script that deviated from the stock "decals", why hand paint something to match a factory decal? Let's go with looks fast while standing still...
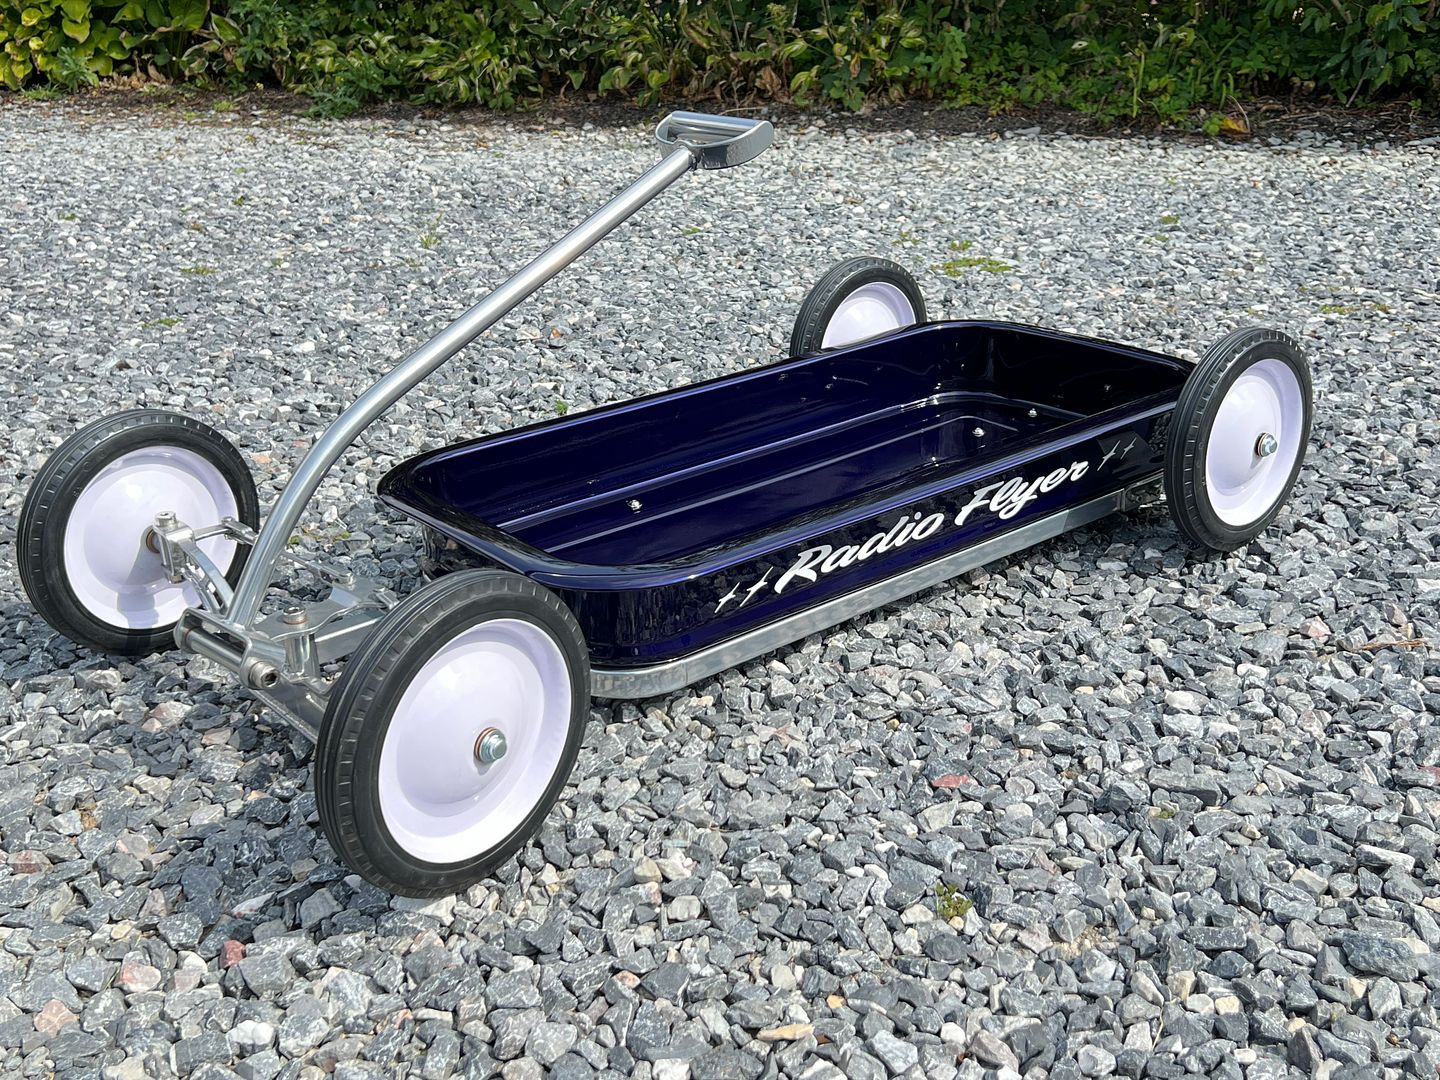
and reassembled for the trip home..
Robert
-
Advertising

- Google Adsense
- REGISTERED USERS DO NOT SEE THIS AD
-
10-06-2023 05:36 AM #1802
CHR Member
- Join Date
- Jun 2008
- Location
- Leonardtown
- Car Year, Make, Model: Walking
- Posts
- 1,228
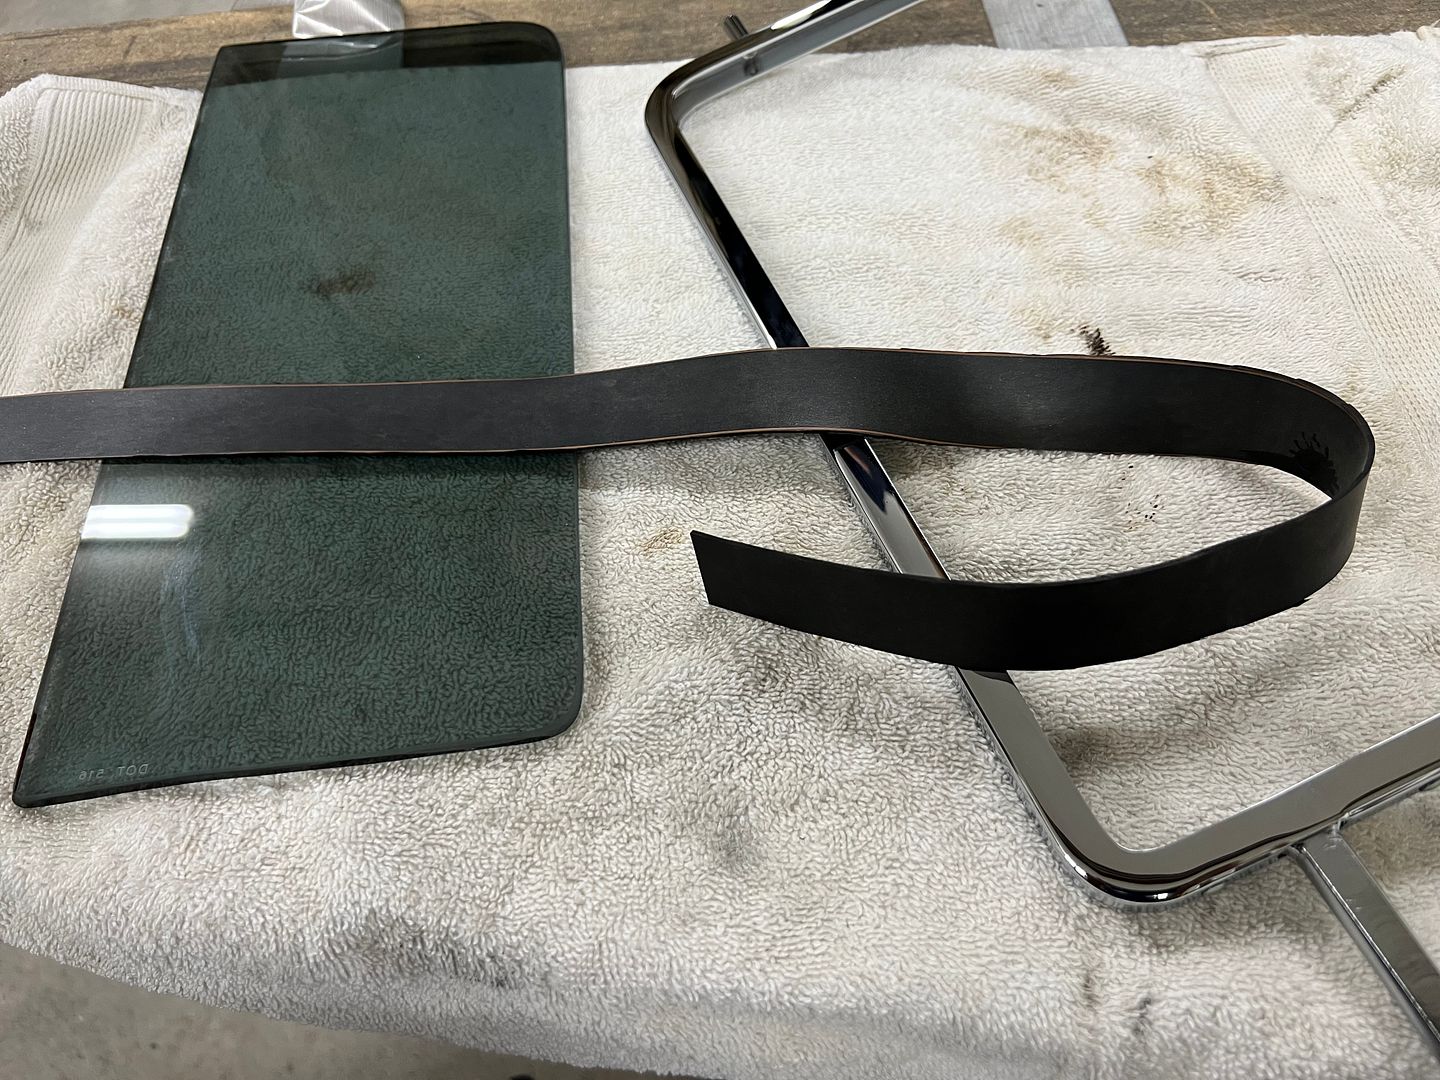
More progress on the wagon, working on the parts so we can assemble and install the vent windows. For our glass installation, we did things twice as the 1/16 rubber did not give a snug enough fit. So here is our second round using 3/32 thick rubber. One inch wide strips were cut out of the sheet and lubricated with an Ivory/water mix.
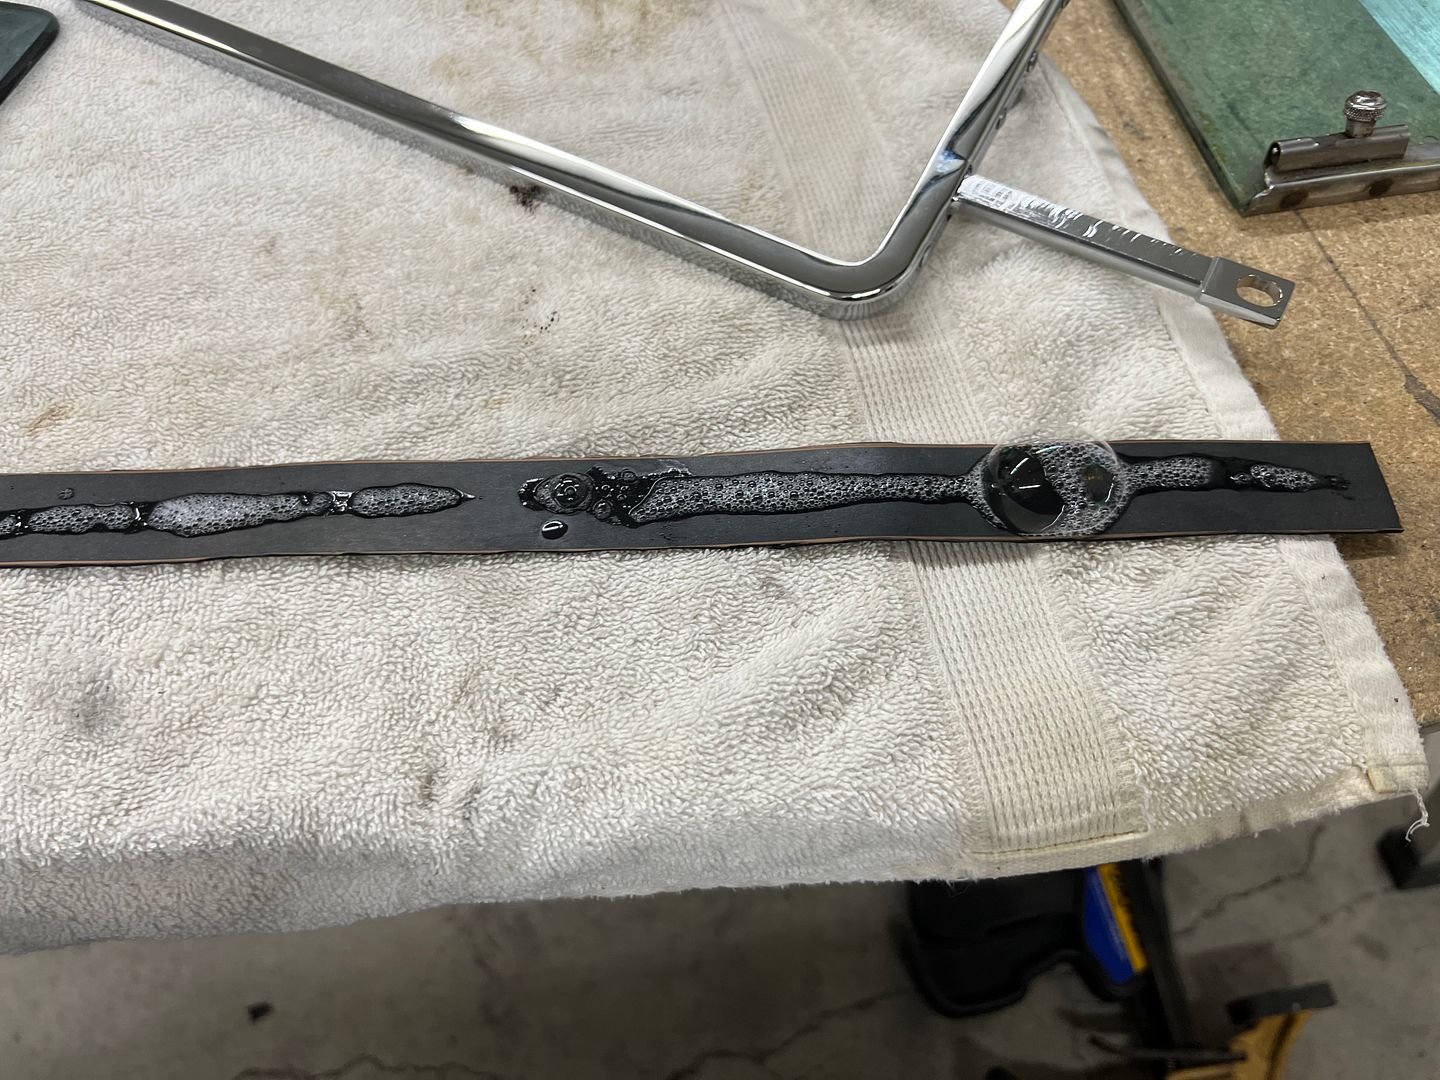
The rubber was wrapped around the glass and it was pressed down inside the frame by hand. Then a "slight" squeeze of the frame to ensure it wasn't sprung open from the installation process.
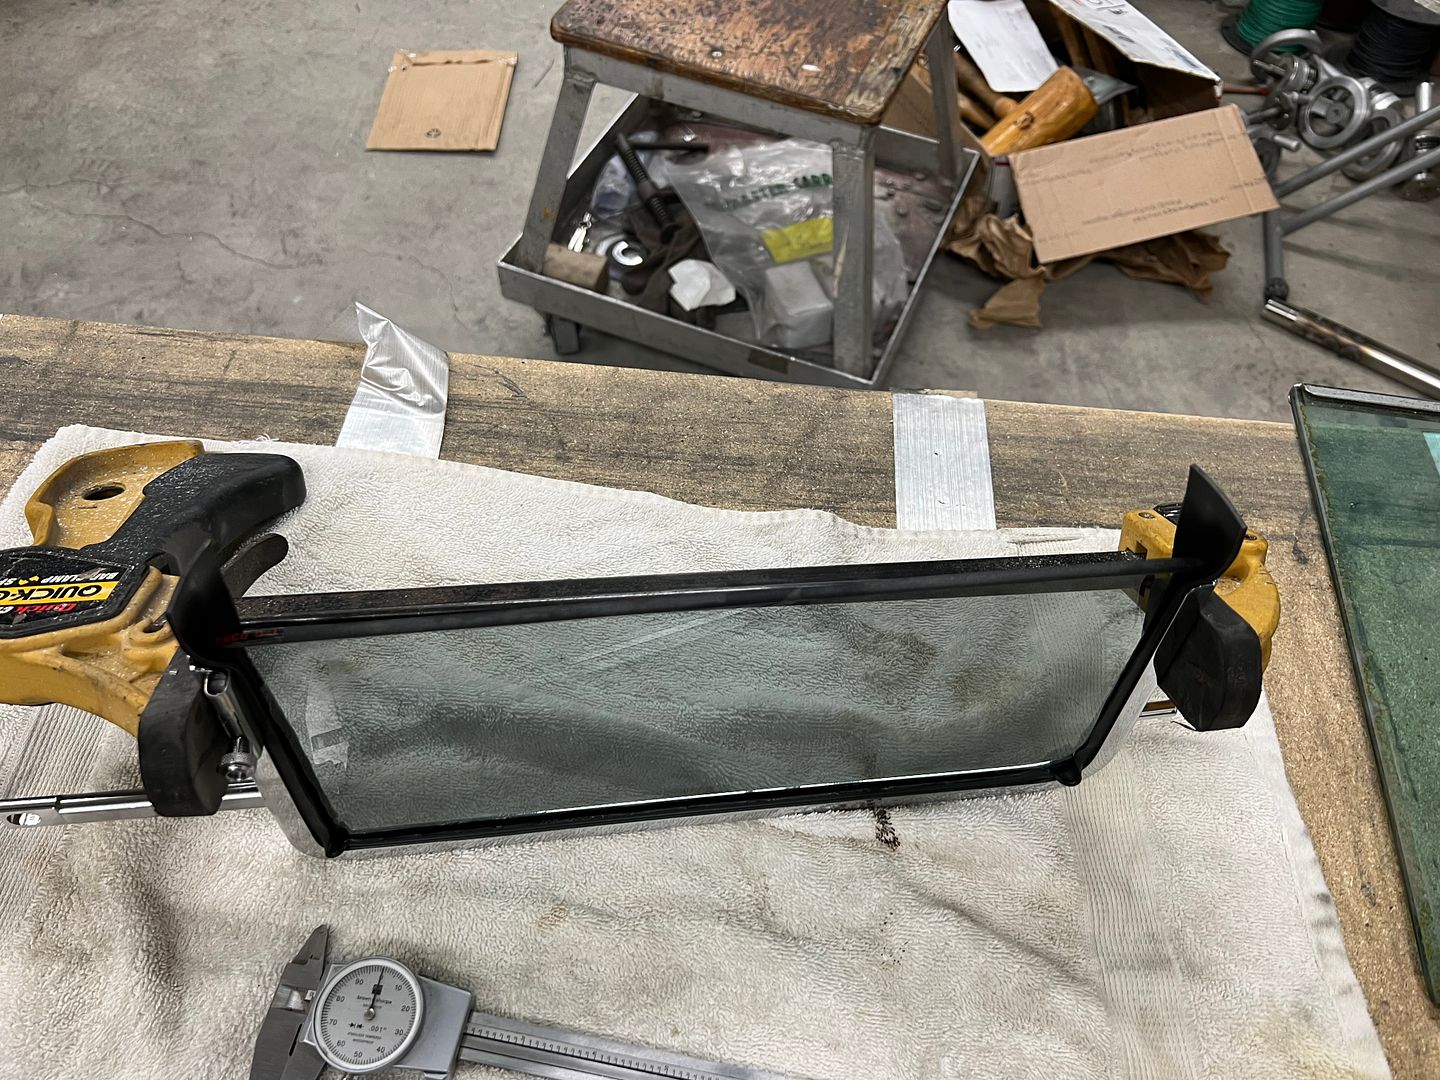
These got moved to the attic for a good heat baking (drying the soapy solution) and we'll trim the rubber flush with the chrome vent frame in a couple of days.
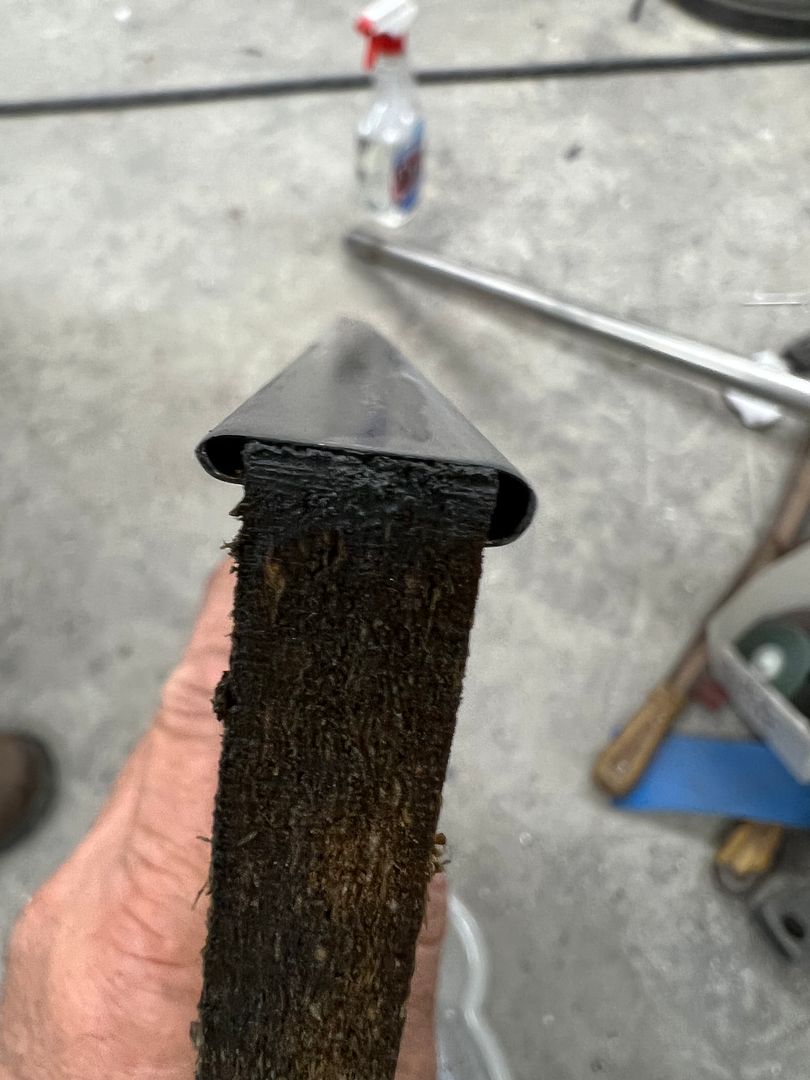
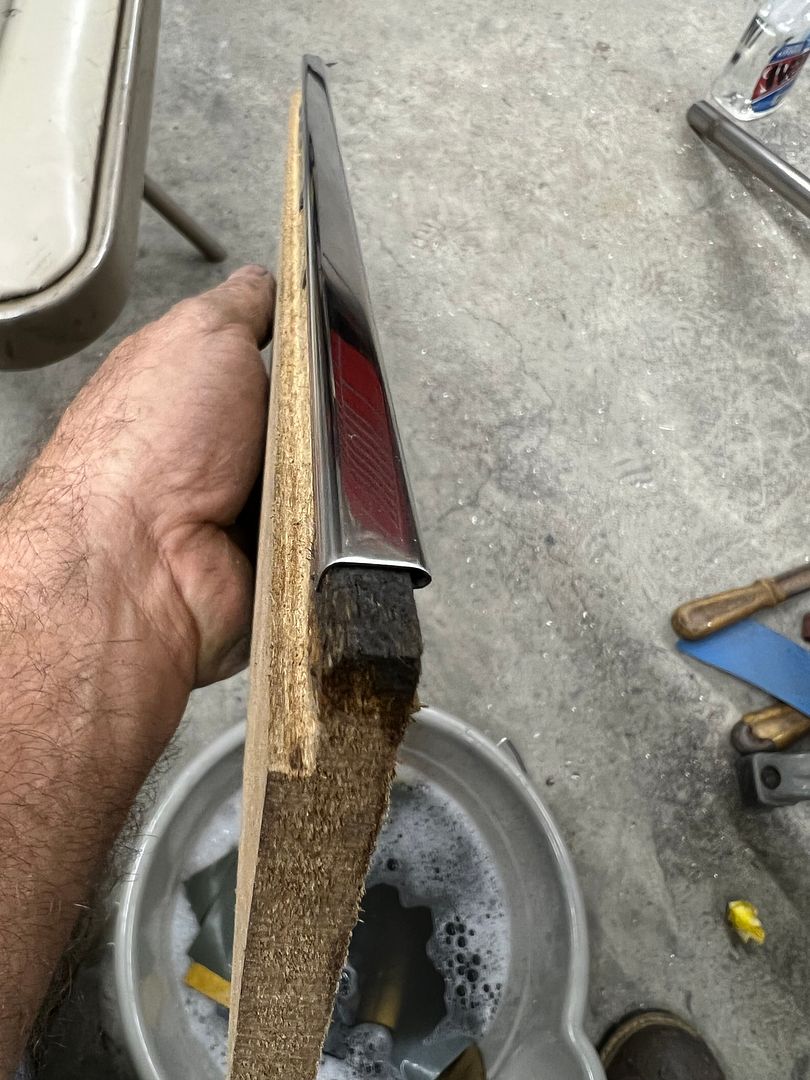
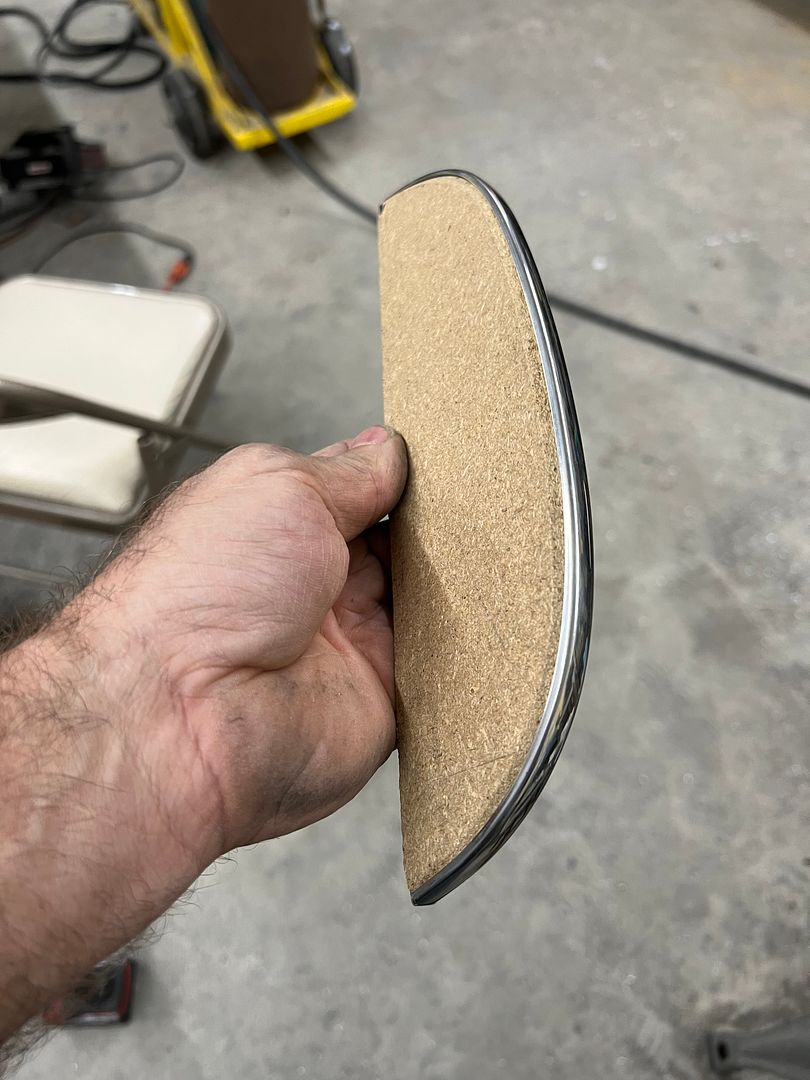
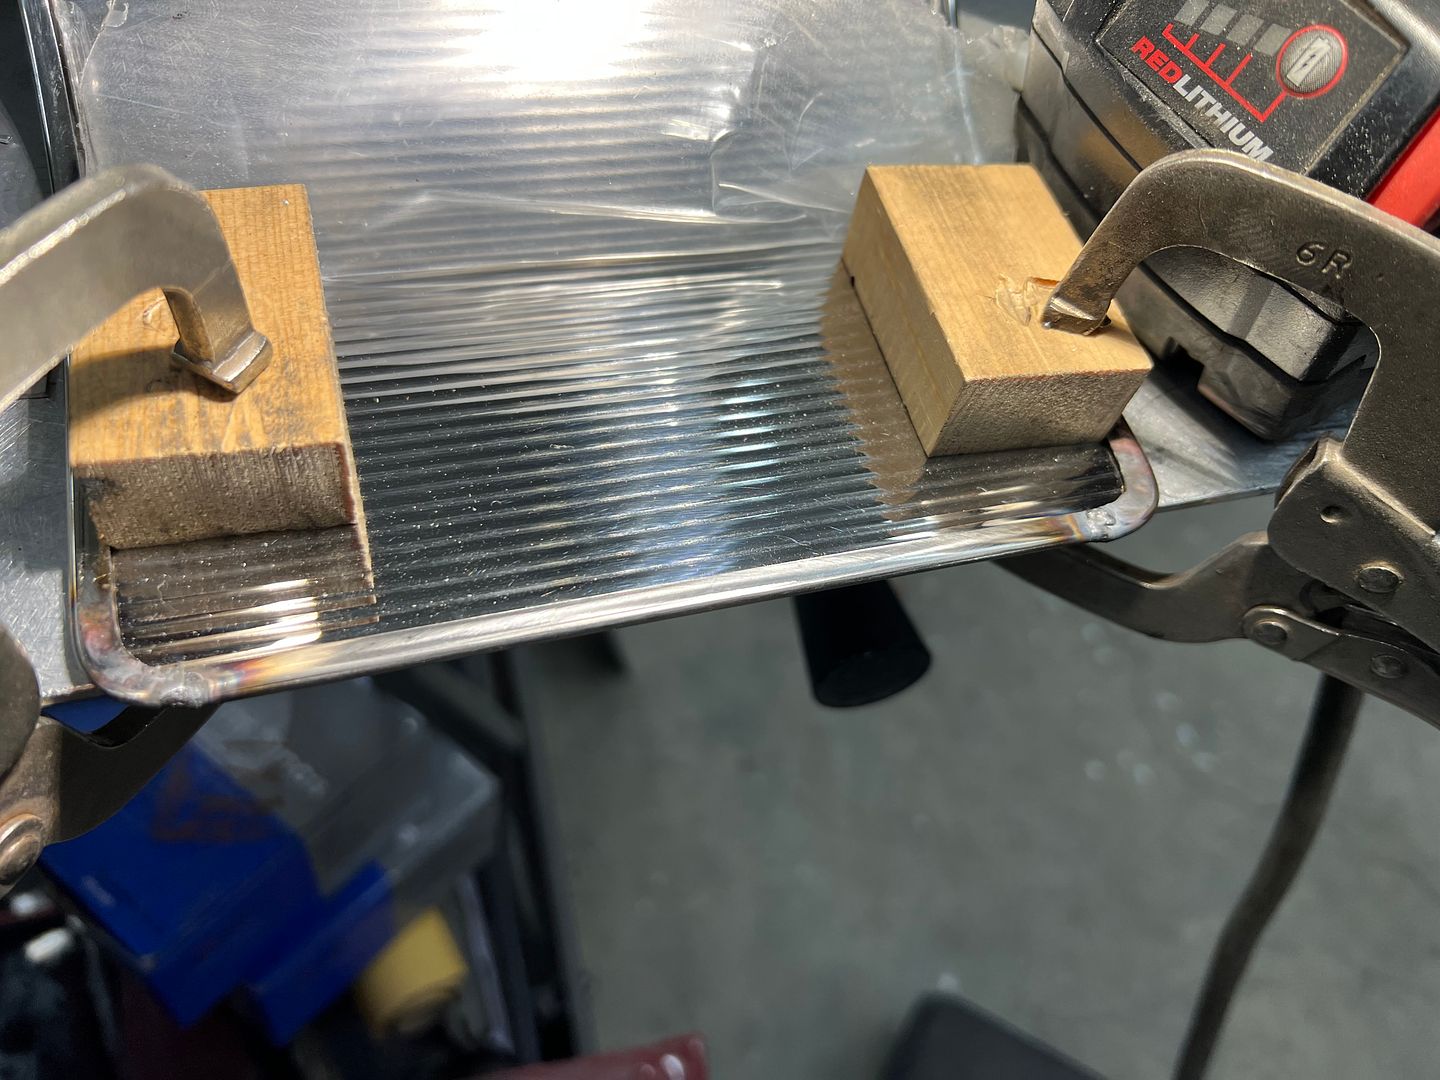
Next, onto prepping the stainless trim for the vent windows for buffing, refining the scratches. Detail work like this is more difficult with parts flopping around in your hand, so some MDF was found the correct size (width) to hold the wide portion of the trim, and another piece of MDF was shaved to fit the narrow piece of trim. We should have these done this weekend.
https://youtube.com/shorts/aXjasXvwN...3weASGnXwPDeuK
https://youtube.com/shorts/KaRW2OMmo...aHI9eAk13uNpS6
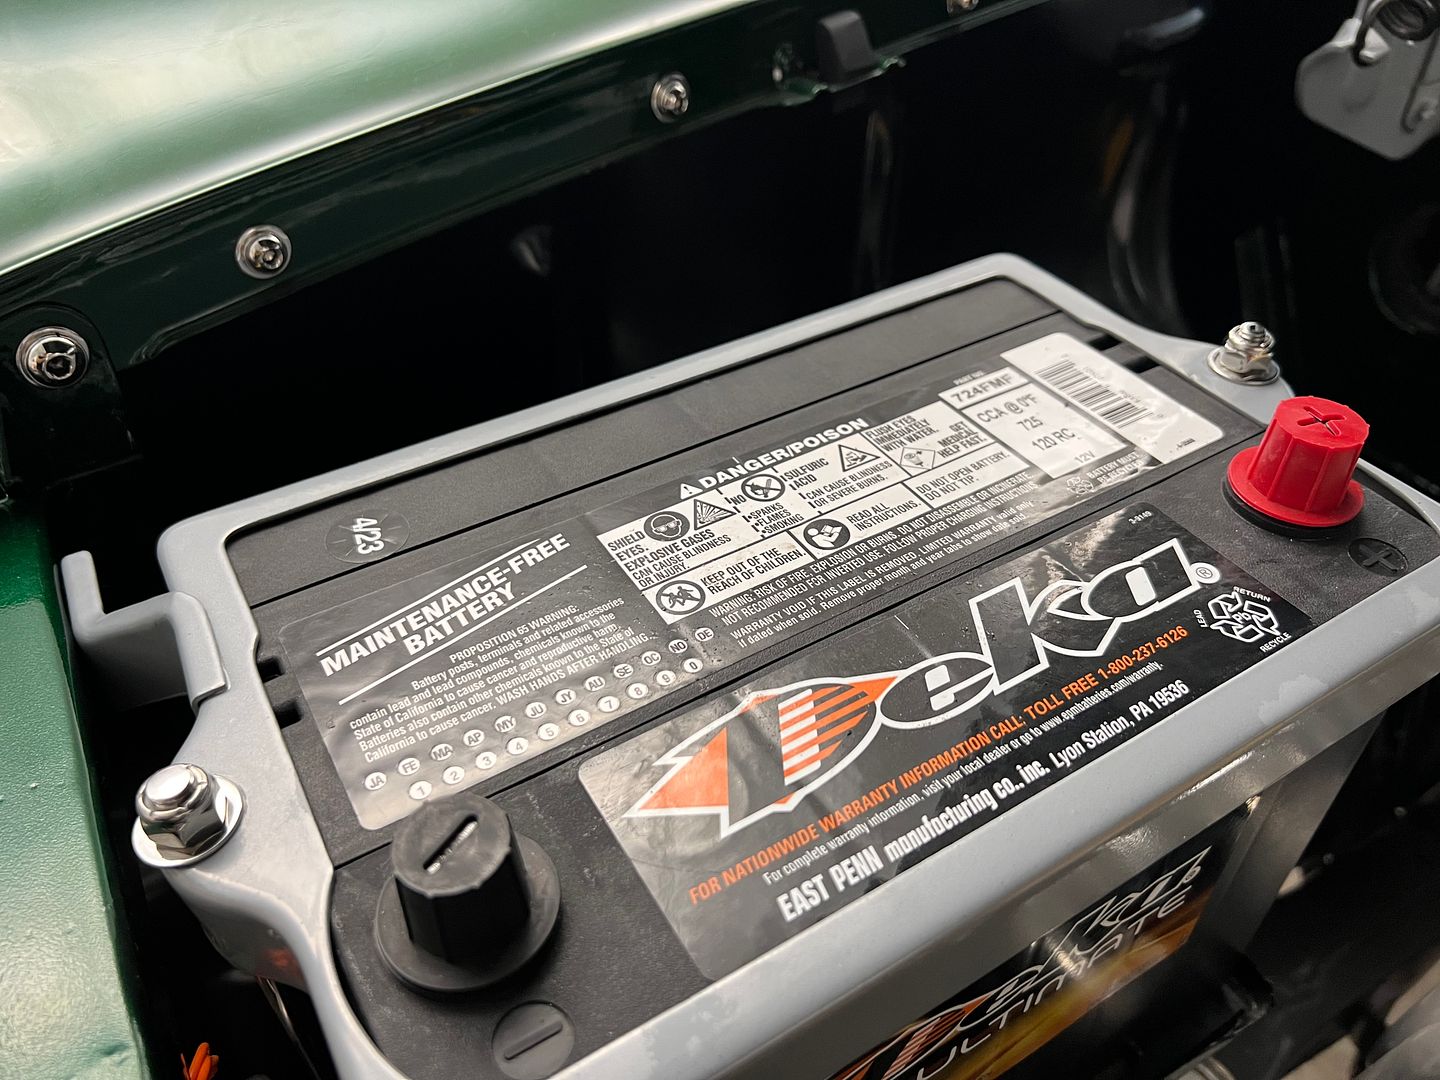
Next, we picked up our battery, but the lifting handle bosses on the ends of the battery interfered with our OEM hold down.
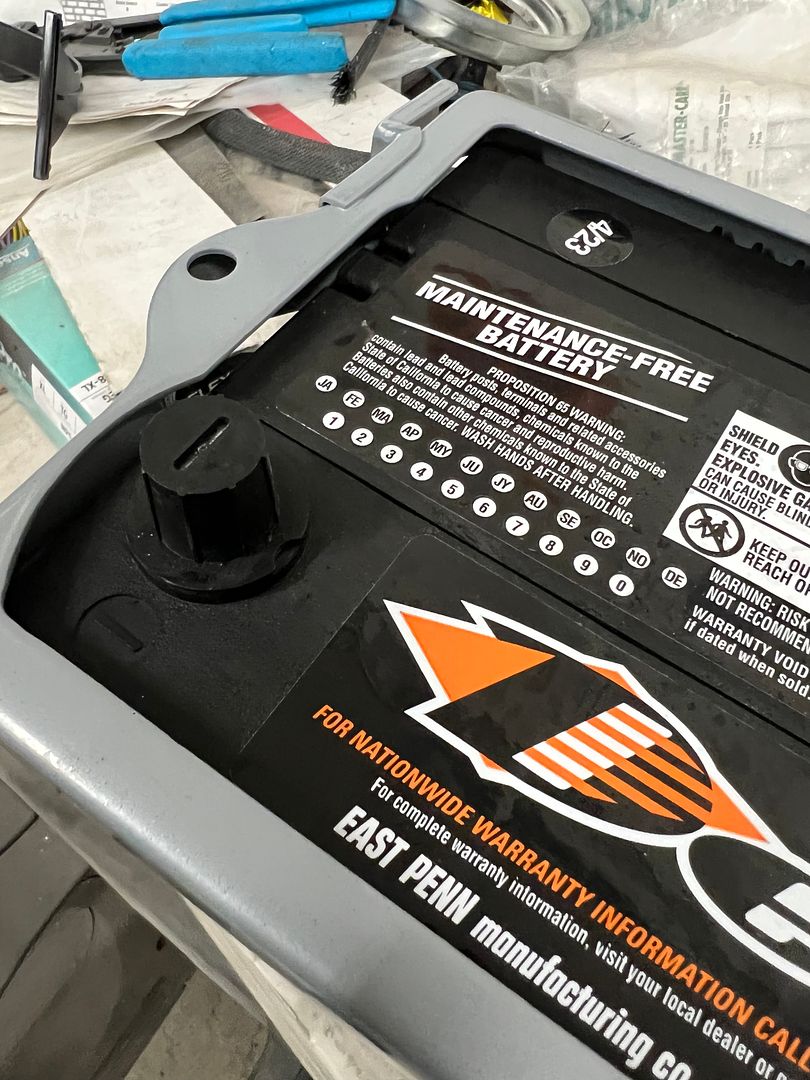
Not to be dissuaded, the belt file made short work of a shave.
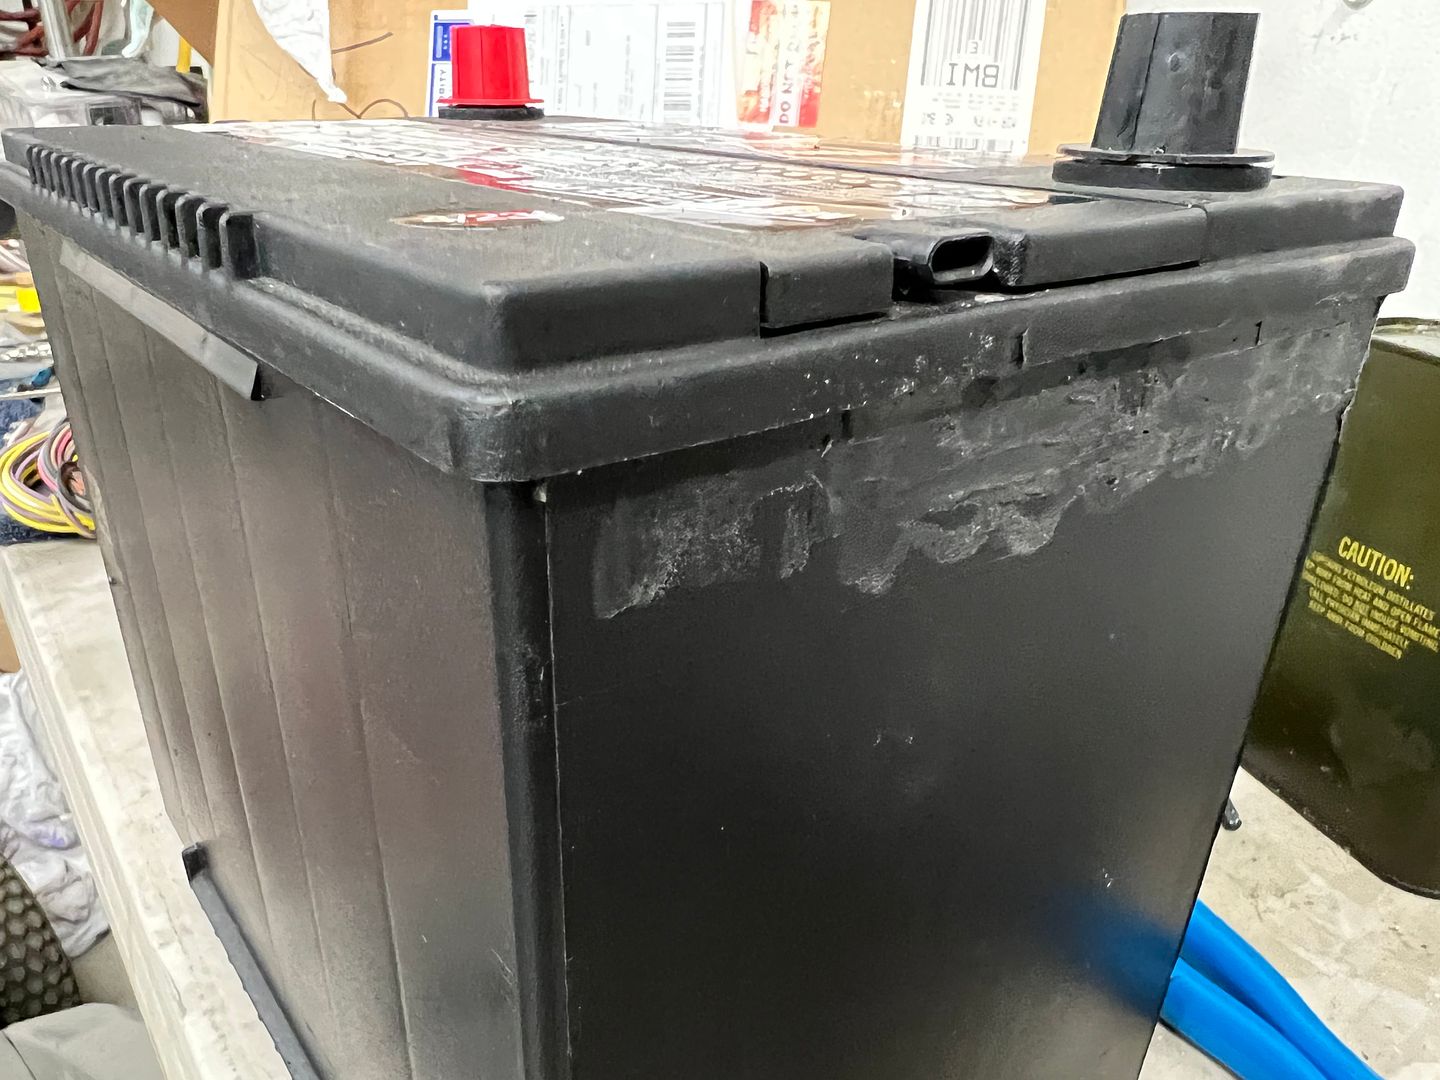
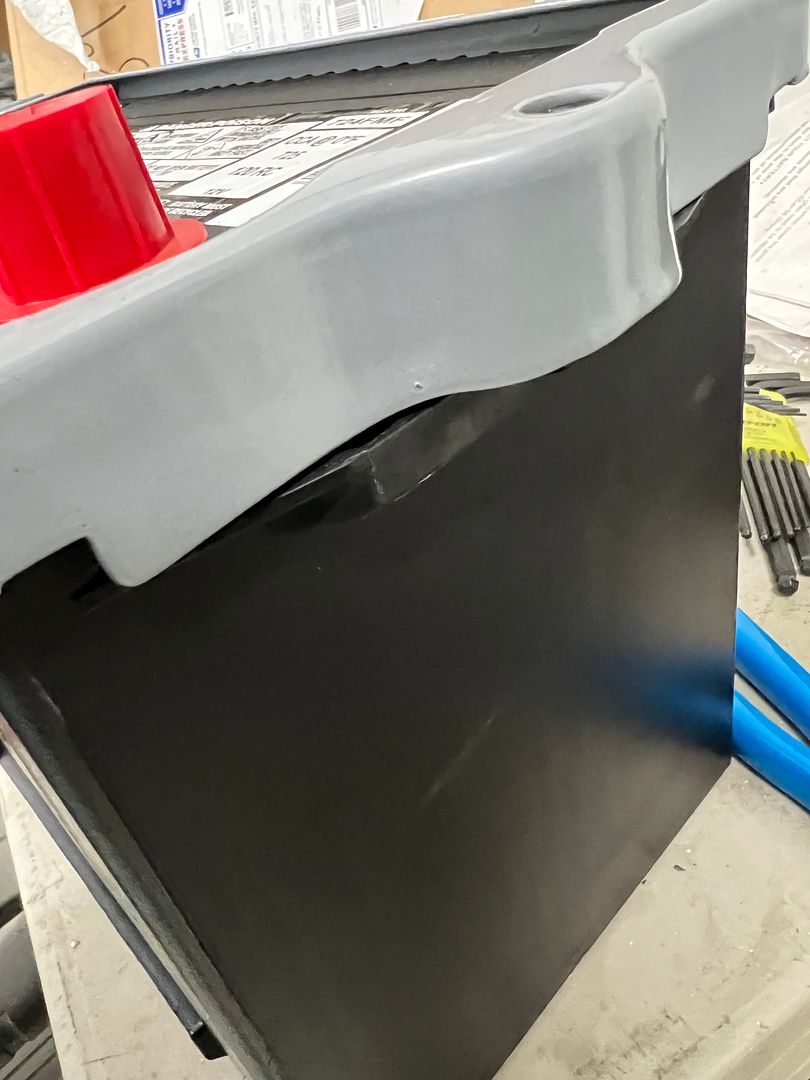
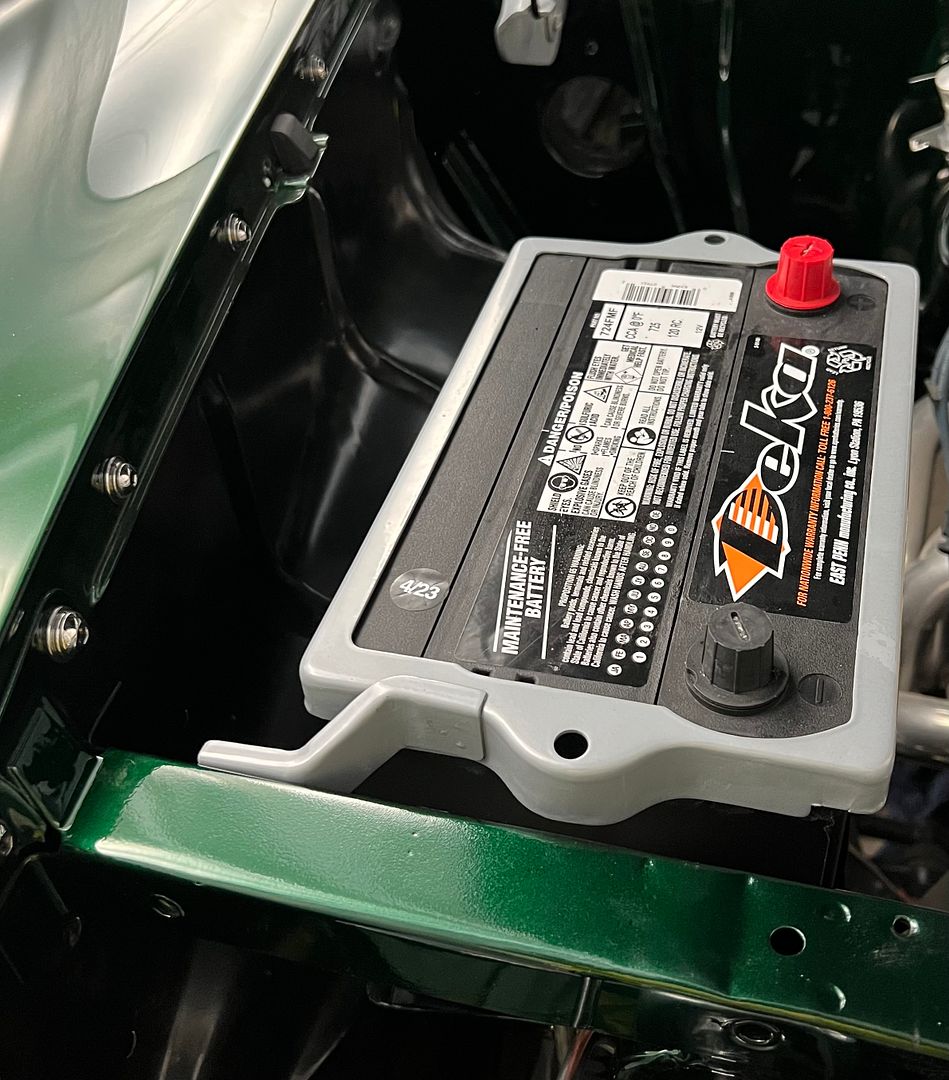
Luckily the mount hides our sanding marks. Much better down where it belongs...
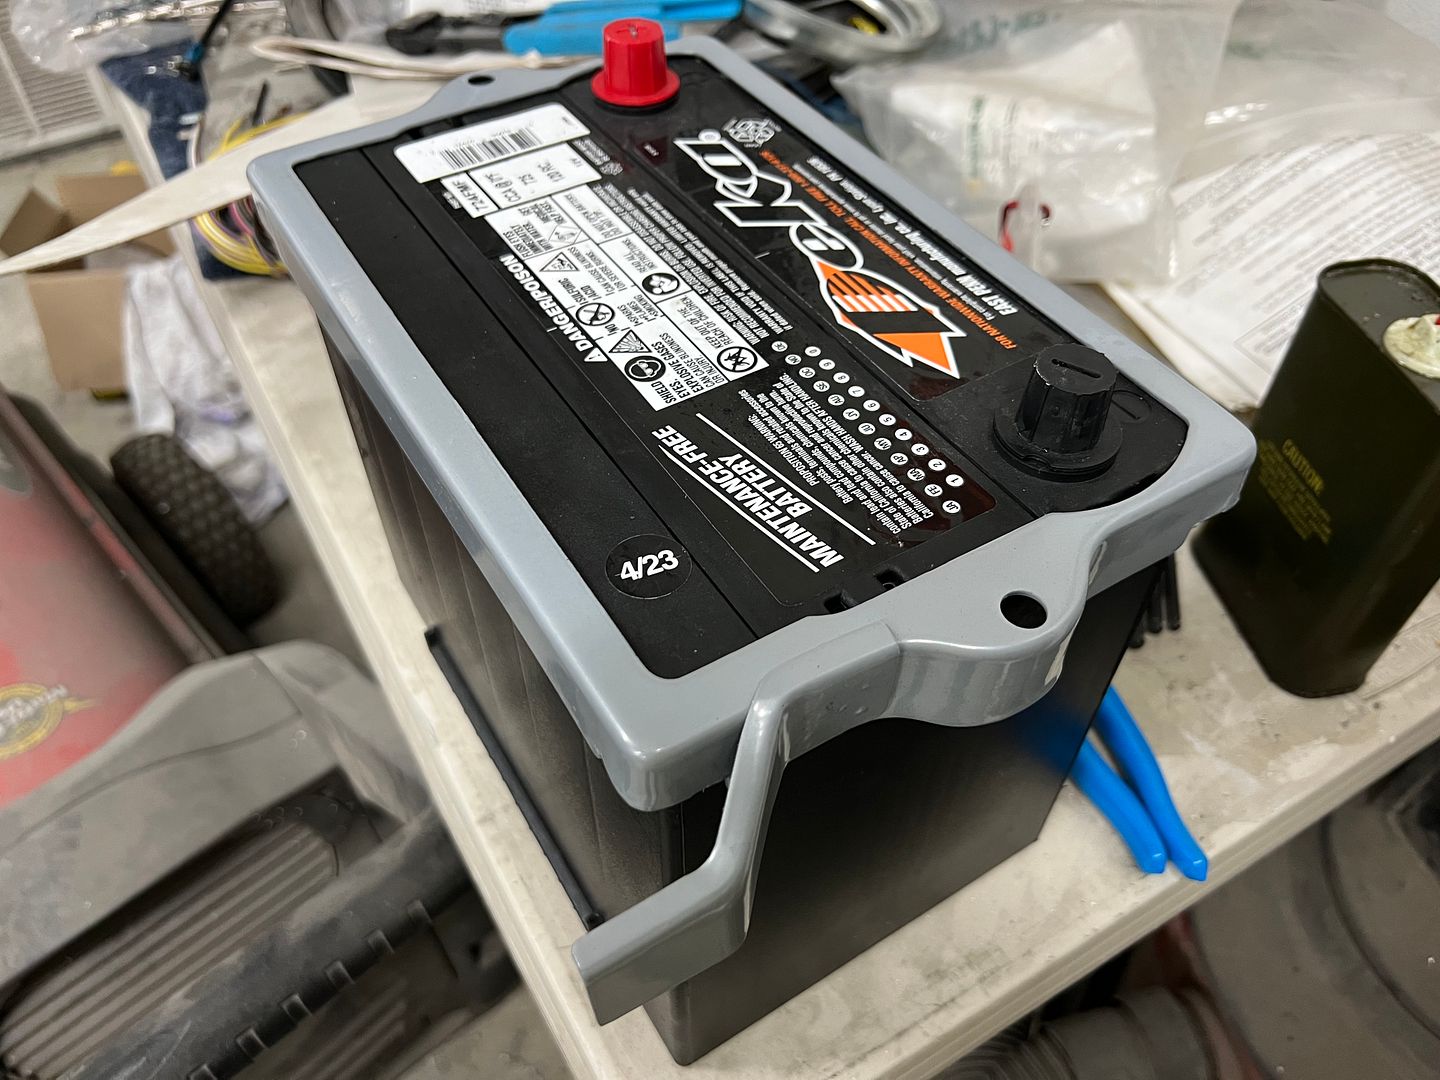
Like it's made to go there...
Robert
-
10-06-2023 09:44 AM #1803
CHR Member
- Join Date
- Oct 2007
- Location
- Petaluma
- Car Year, Make, Model: 48 Ford F1
- Posts
- 9,795
I'm going to need to do that with all the 48 F1 trim what grade sand paper and polishing compounds did you use in what sequence? Thanks for the post!"  "No matter where you go, there you are!" Steve.
-
10-06-2023 02:45 PM #1804
CHR Member
- Join Date
- Jun 2008
- Location
- Leonardtown
- Car Year, Make, Model: Walking
- Posts
- 1,228
Where we start depends on the damage needing repair. Any dings or deep scratches will get bumped outward from the back side JUST ENOUGH to hide the defect, no more. IE: better to have to bump twice than sand through. For something with such defects, we start with 360 grit w/d. We use that grit because I have it. If you have 400, so be it. Use this until defects are gone. Next, 600. Or where we start if there's no defect other than 60 years of scratches. Next, 1200, then 1500, then 2000, then 2500. All w/d, and just like doing clearcoat, if at any point the paper you're using leave behind some scratches, back up one more grit because the last one didn't get them out. Keep in mind, stainless is a much slower sanding process than clearcoat. But we've found this is a much better method than using the sisal wheel, as it leaves fine grooves in taking out other defects. If you have a scrap piece, that's the one to practice on..
Robert
-
10-25-2023 03:59 AM #1805
CHR Member
- Join Date
- Jun 2008
- Location
- Leonardtown
- Car Year, Make, Model: Walking
- Posts
- 1,228
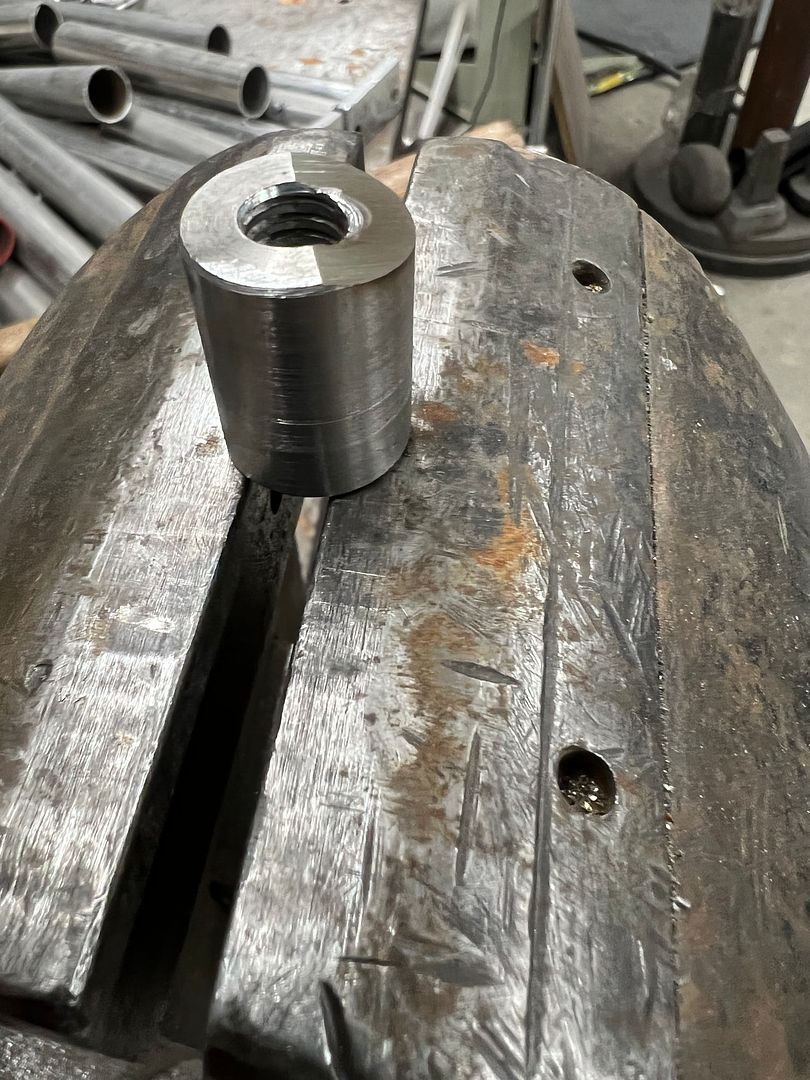
Well in our typical back up and punt fashion, the original battery hold downs that we had already powder coated did not fit the battery, too short. So we ordered some round stock in stainless to fabricate some new ones.
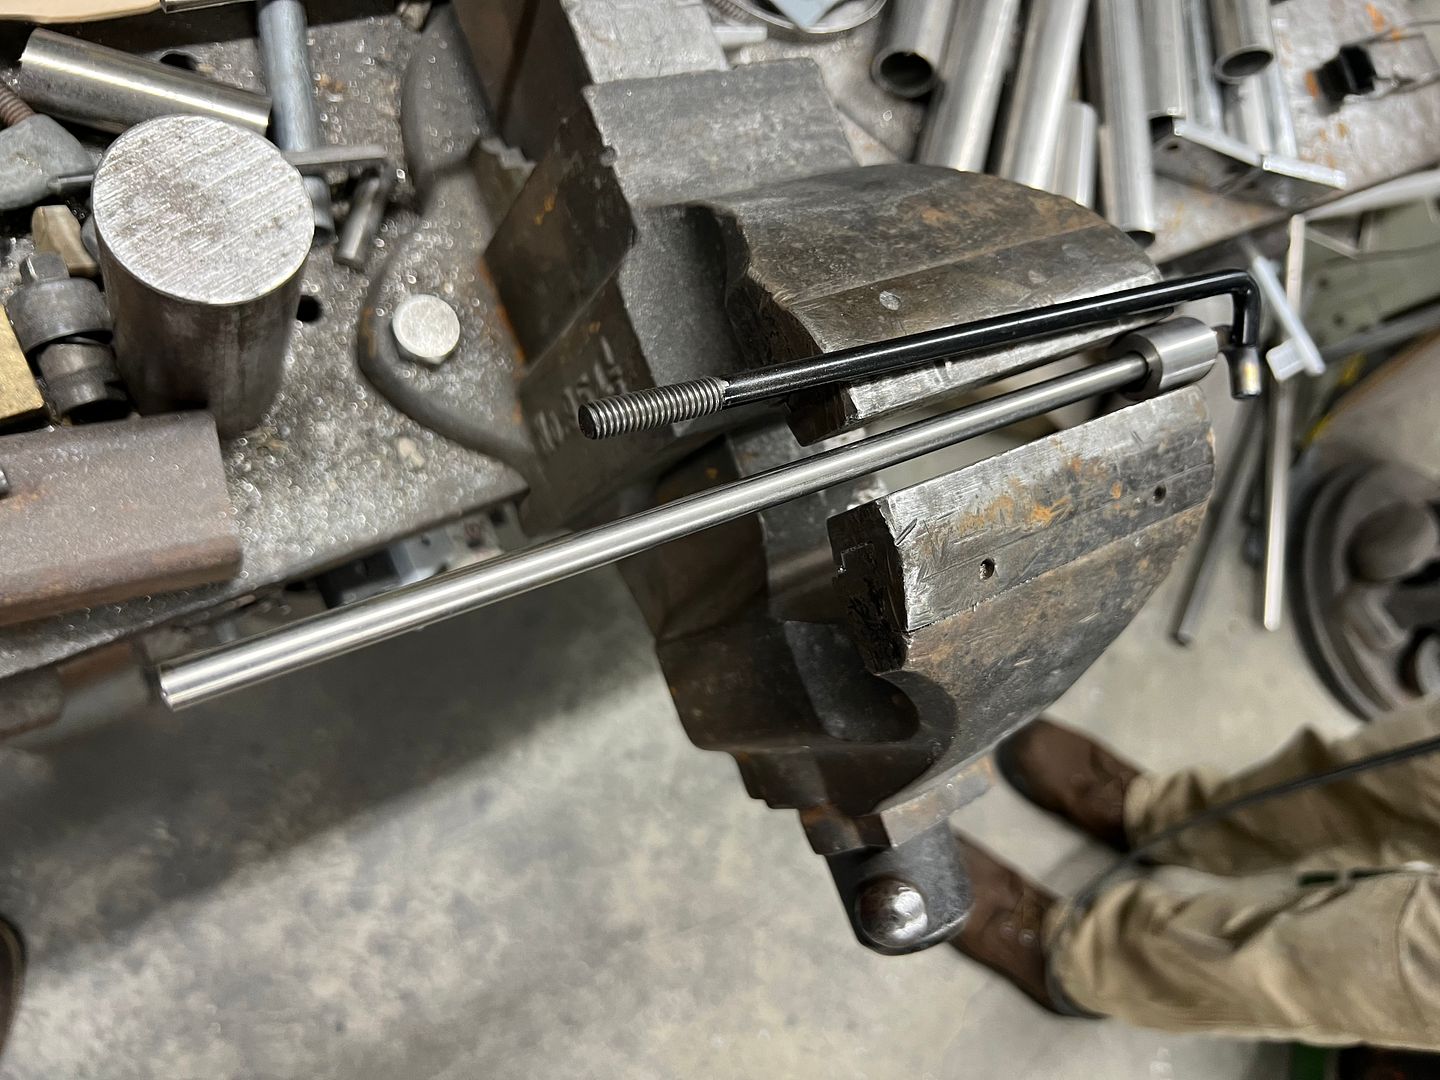
A threaded standoff was modified to provide an angled surface for using as a hammer form to get the bottom "hooks" consistent...
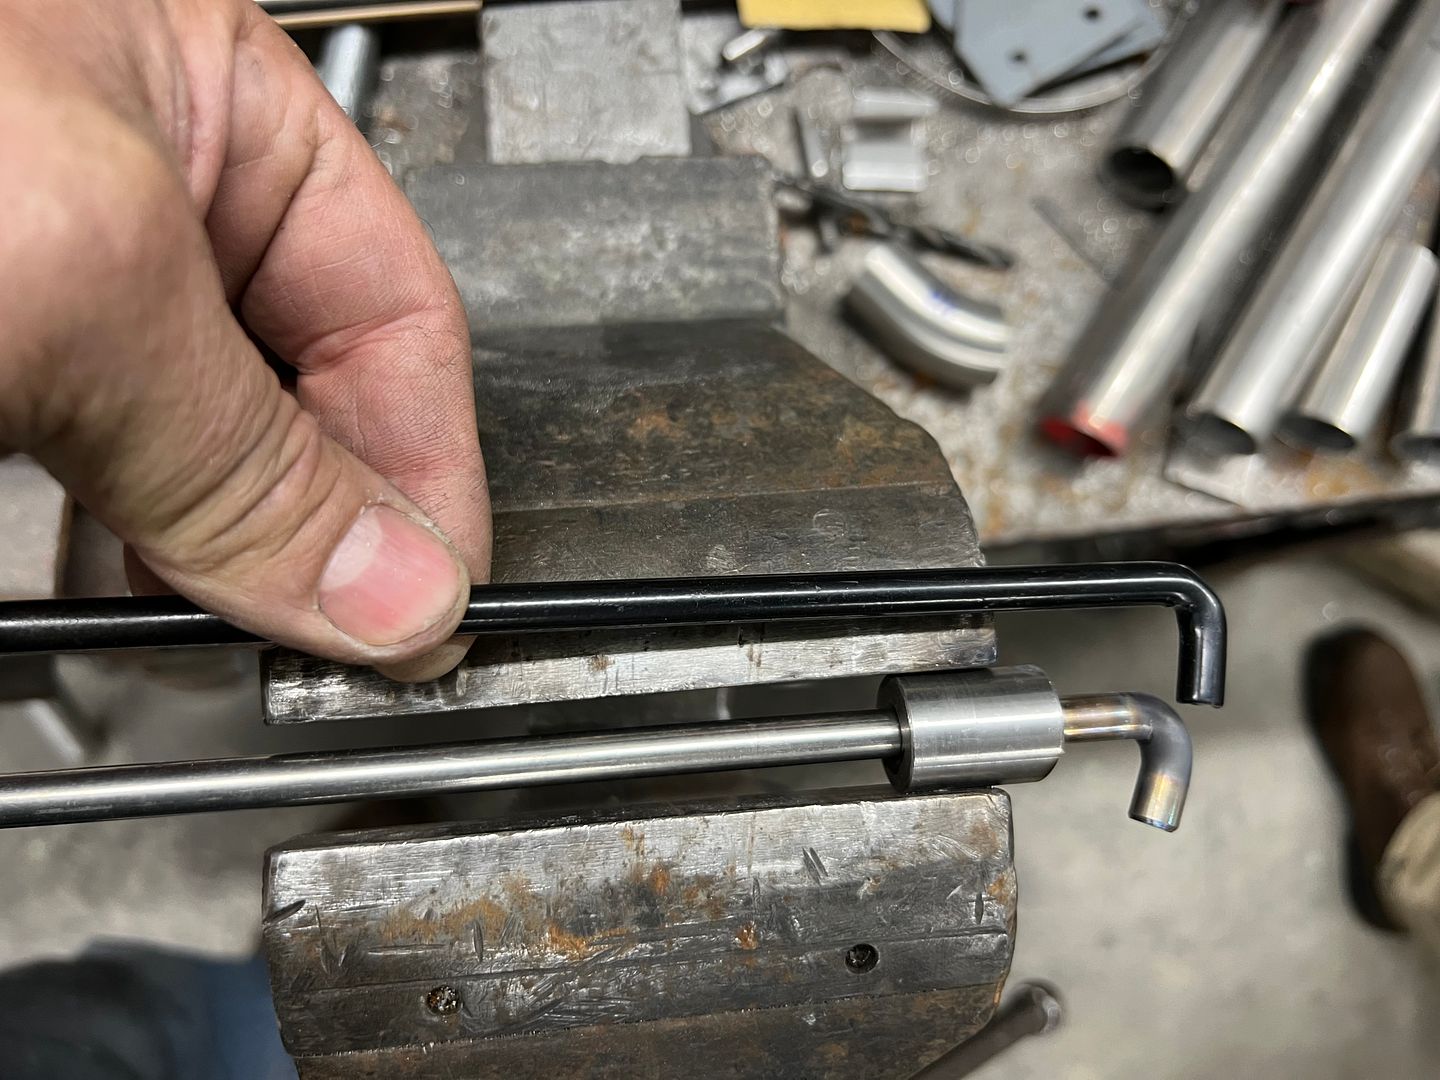
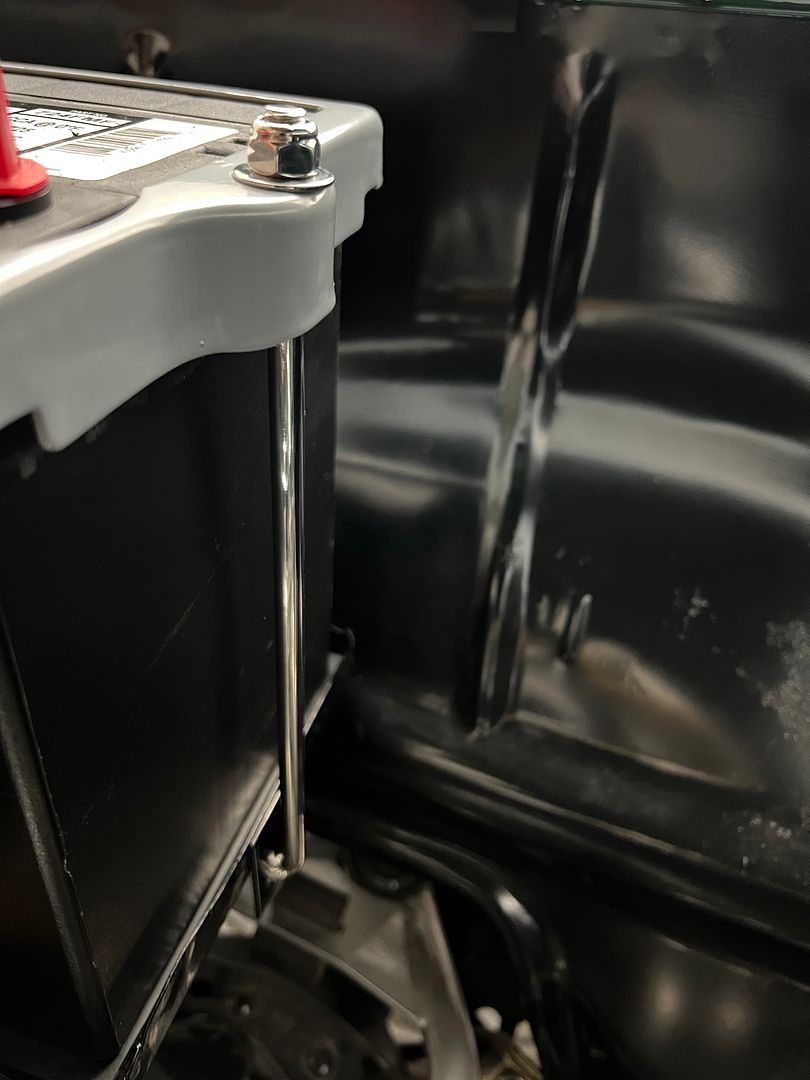
All polished up...

Installed, and no polish job is complete without addressing the ends of the rods..
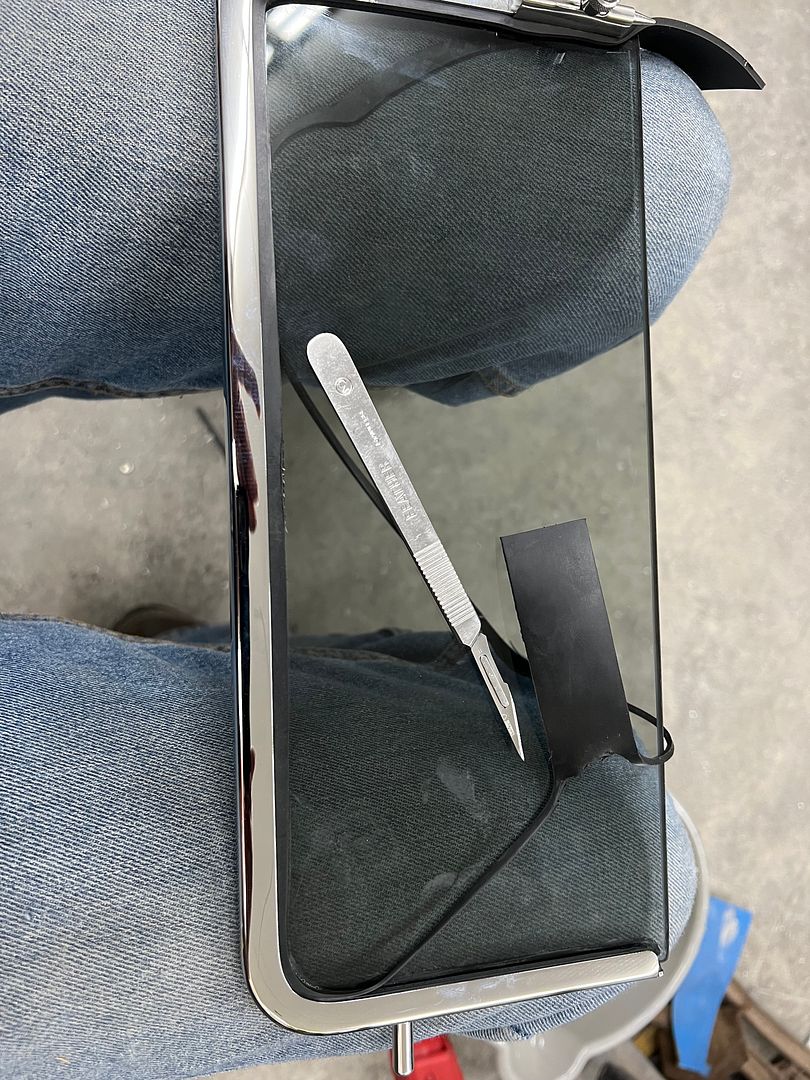
Assembling our vent windows, the excess rubber is trimmed using a No. 11 scalpel blade for a nice and tidy fit

All the bits assembled
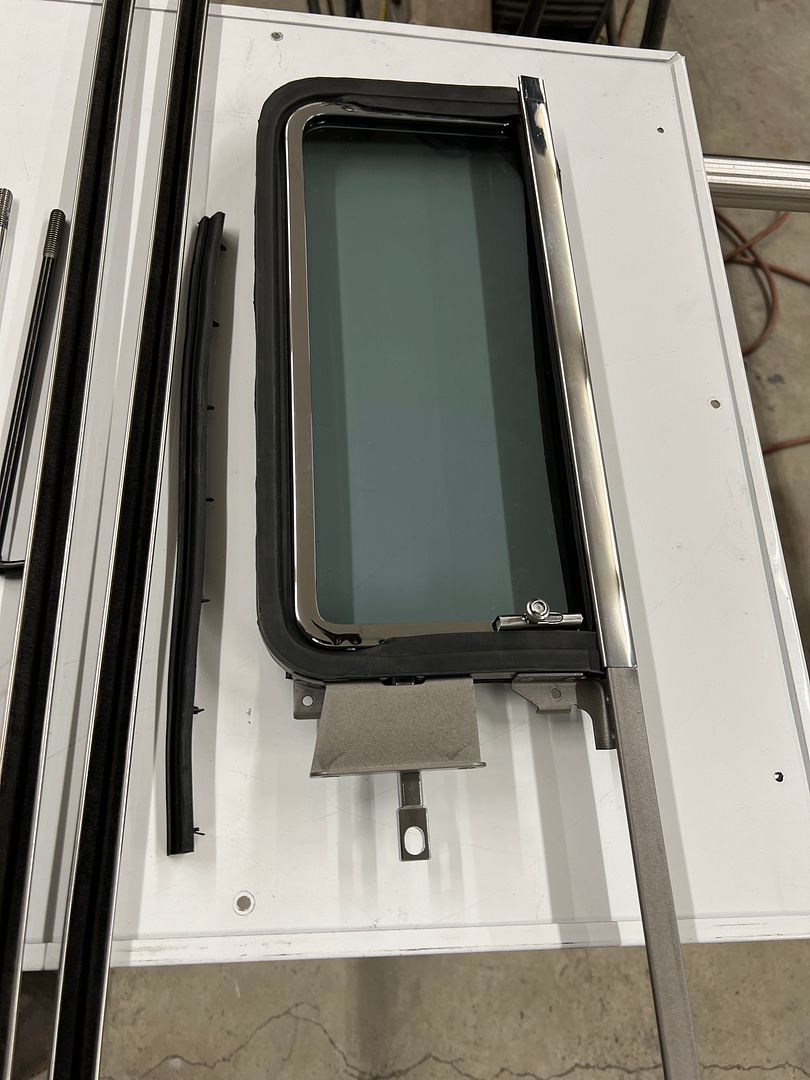
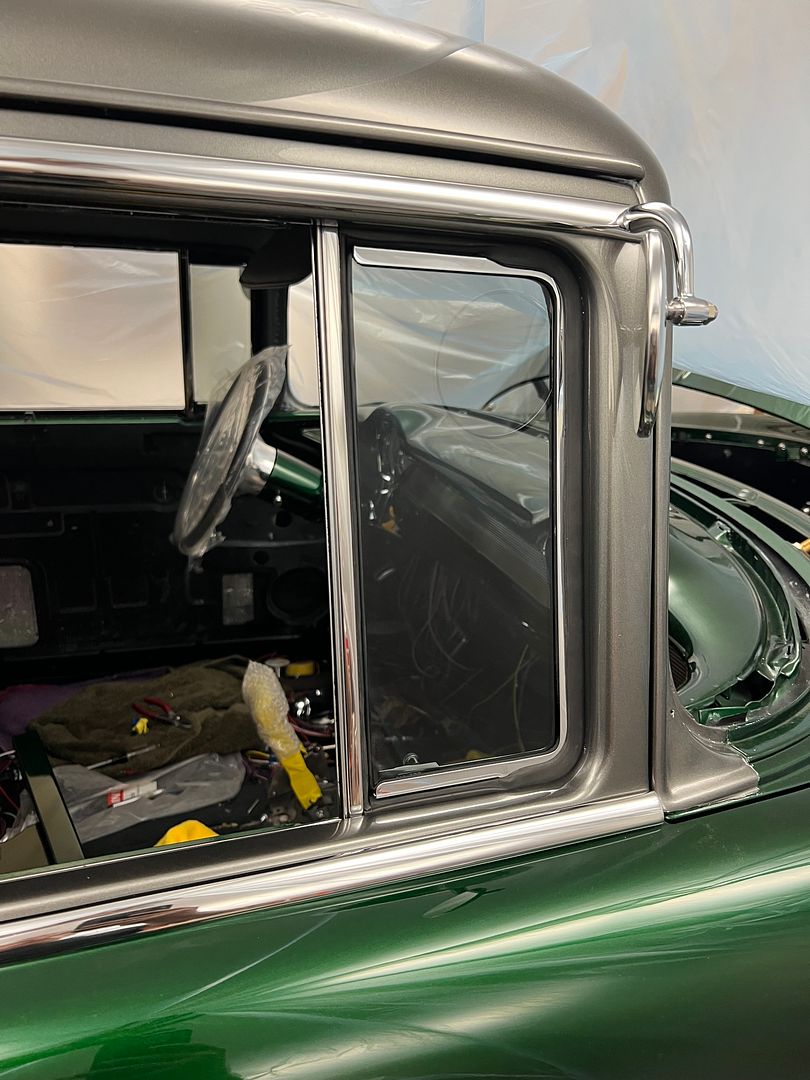
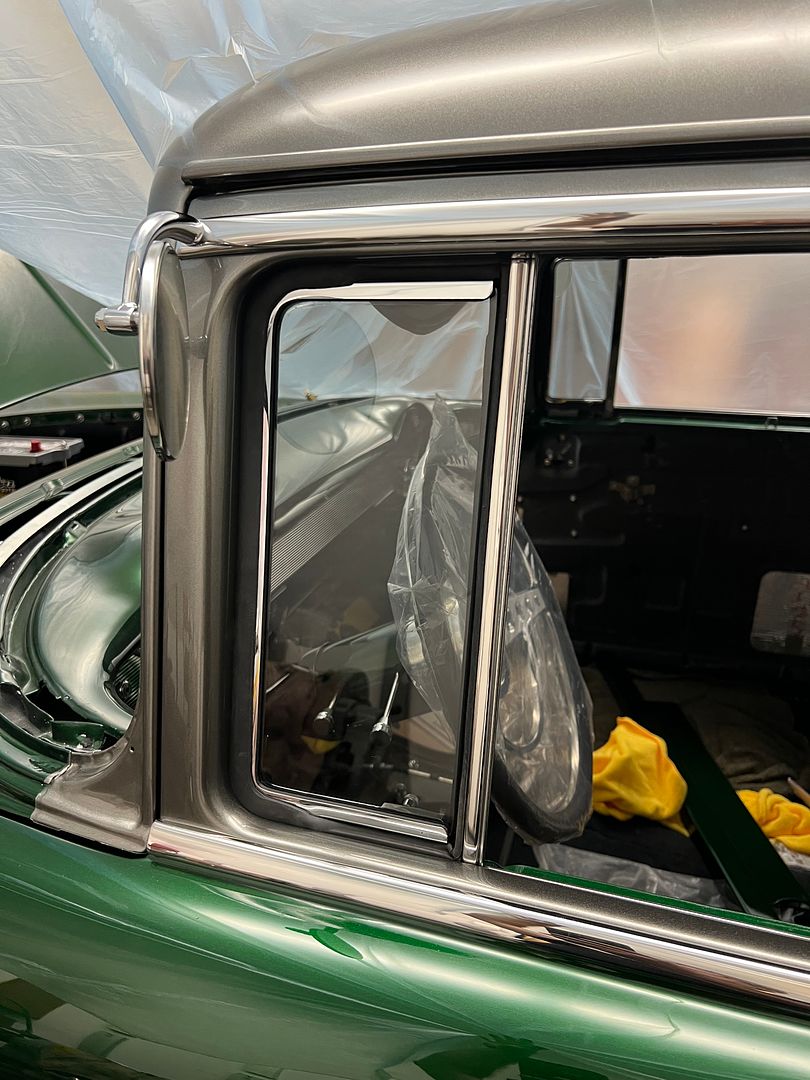
installed...
And more stainless we missed, the parting bands for the front arm rests, complete with a form-fitted sanding/polishing fixture
Robert
-
10-25-2023 07:47 AM #1806
CHR Member
- Join Date
- Nov 2016
- Location
- rocklin
- Posts
- 656
Incredible detail, very nice.
-
10-25-2023 09:34 AM #1807
CHR Member
- Join Date
- Sep 2007
- Location
- New Bedford
- Car Year, Make, Model: 34 Ford 3W Coupe Replica
- Posts
- 14,754
I agree! As always the level of craftsmanship is second to none. Cosmo & I salute the crew!
8-)
-
10-25-2023 10:38 AM #1808
CHR Member/Contributor
- Join Date
- Sep 2007
- Location
- Gardner, KS
- Car Year, Make, Model: '33 HiBoy Coupe, '32 HiBoy Roadster
- Posts
- 11,245
More great attention to details! I like the polished SS hold downs better than the powder coated! No coating to get scratched/dinged!Roger
Enjoy the little things in life, and you may look back one day and realize that they were really the BIG things.
-
03-25-2024 05:09 AM #1809
CHR Member
- Join Date
- Jun 2008
- Location
- Leonardtown
- Car Year, Make, Model: Walking
- Posts
- 1,228
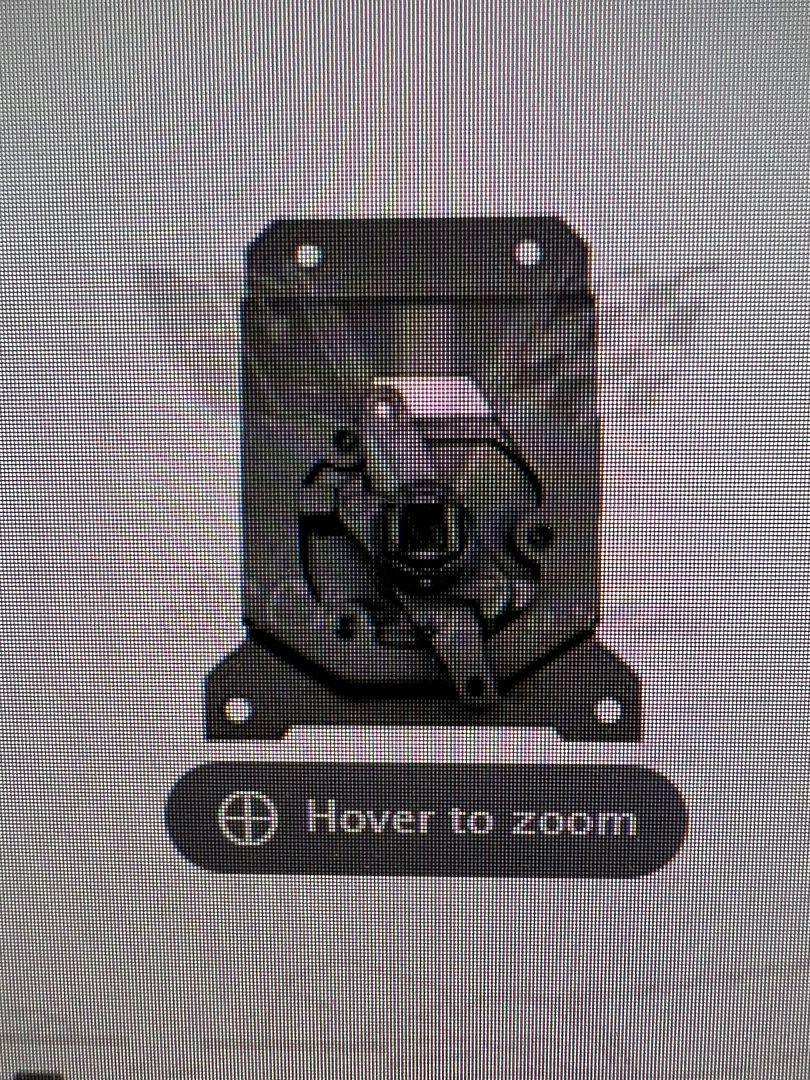
Trying to assemble the tailgate so we can put it on, but our latch actuator is absolutely worn out in the square hole, the handle just about rotates inside of it. They don't make repop's (that I'm aware of) and someone just offered a rebuilding service at over $300. So I reached out to my go to used parts outlet and a good used one is on the way, mailed the same day.. Reference photo:
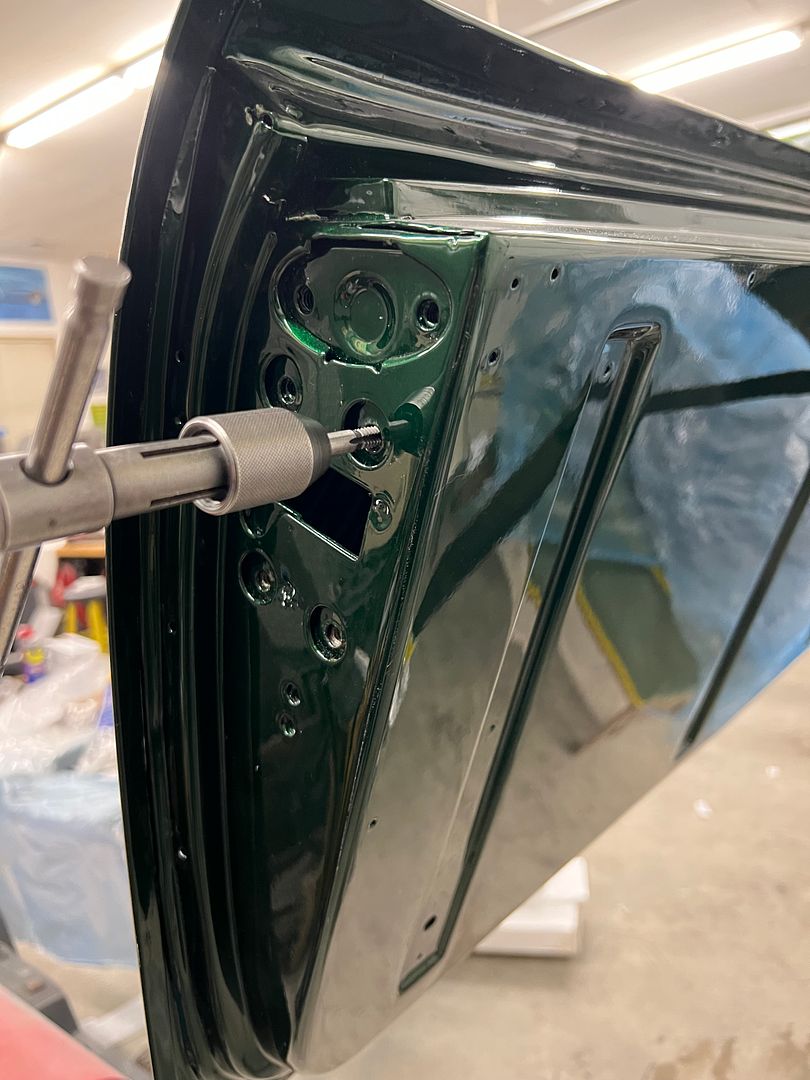
So while we're waiting on parts to load up the rest of the bits on the tailgate, lets chase the threaded holes....
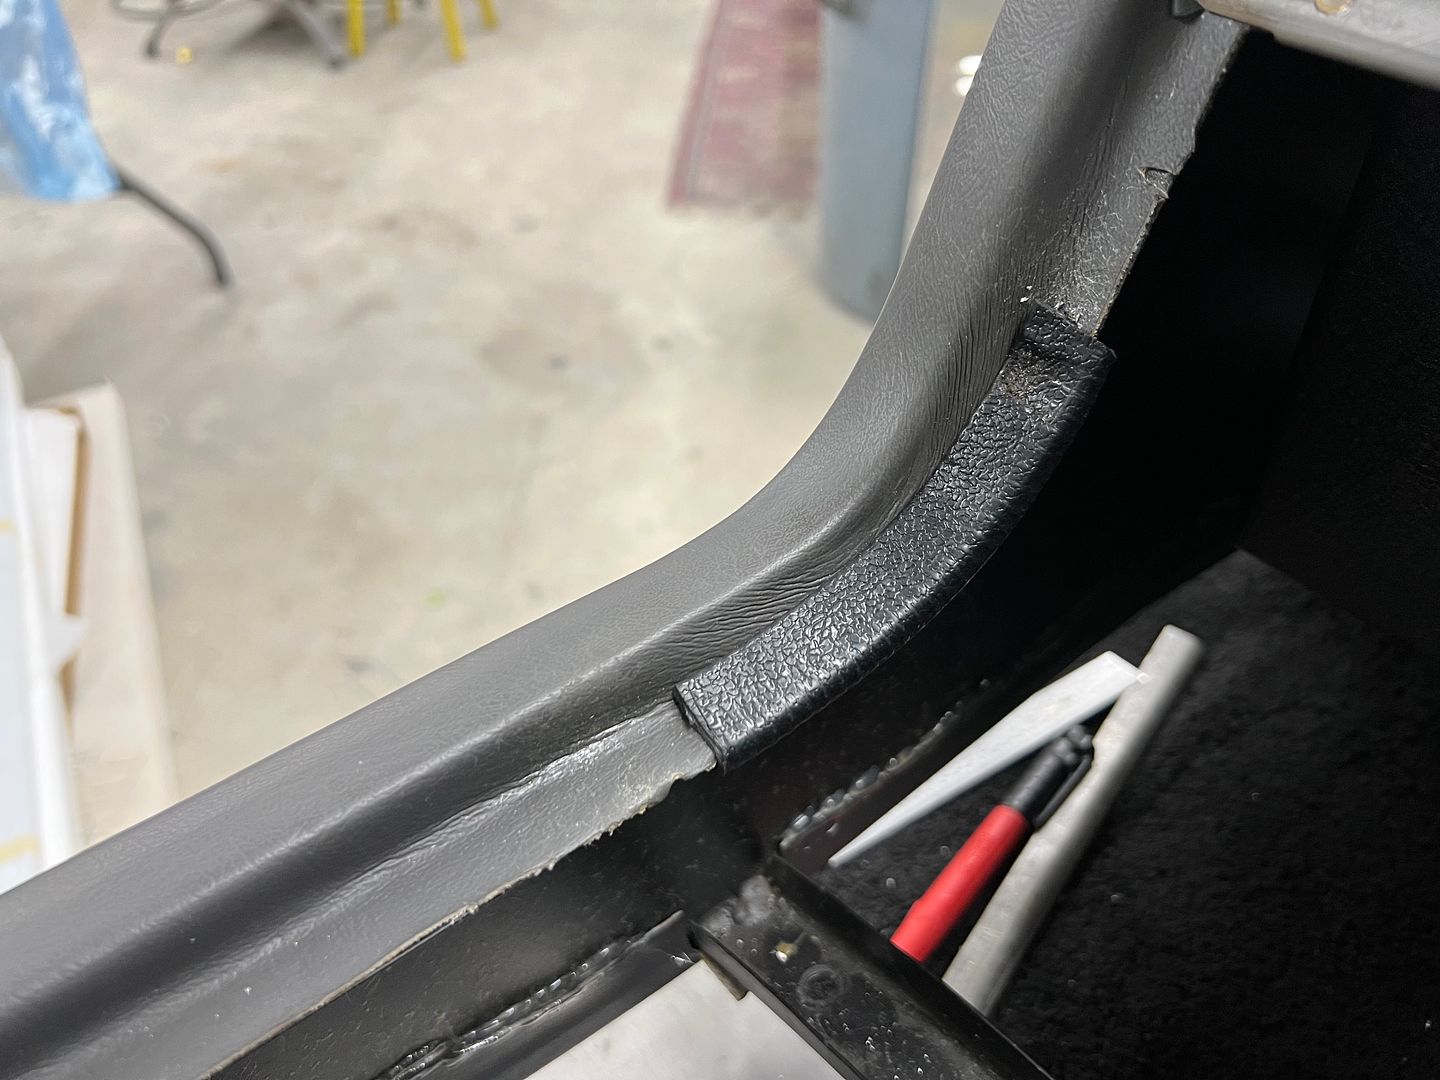
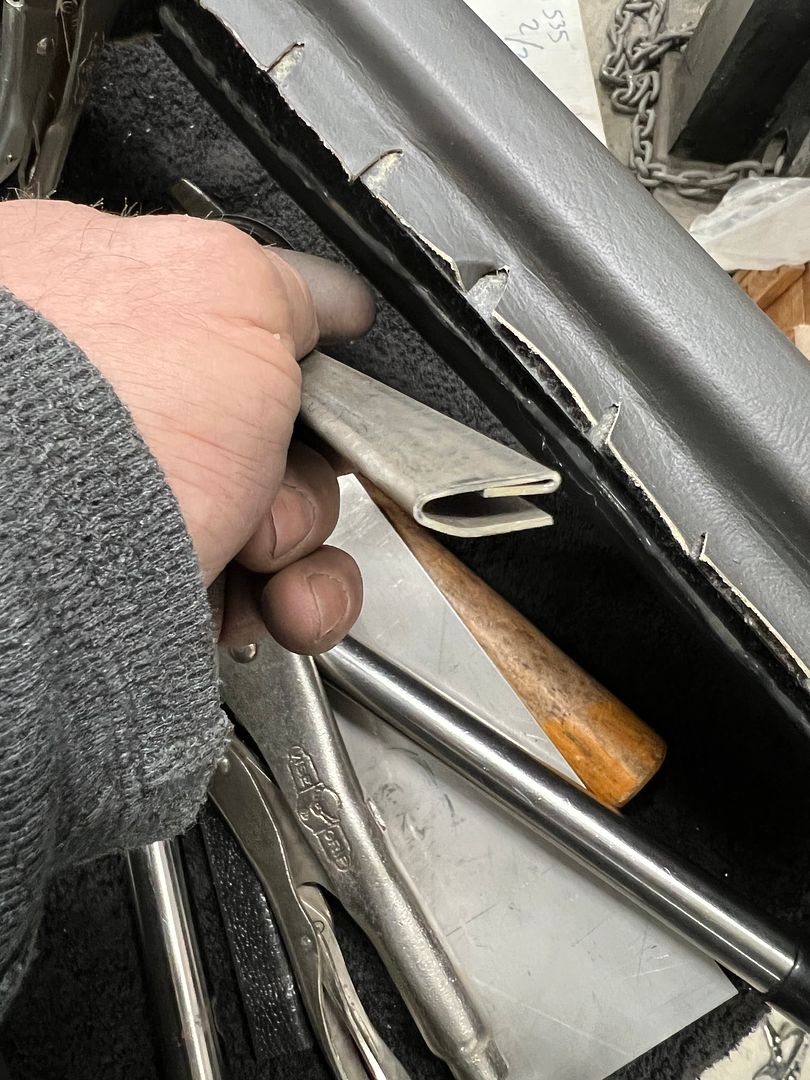
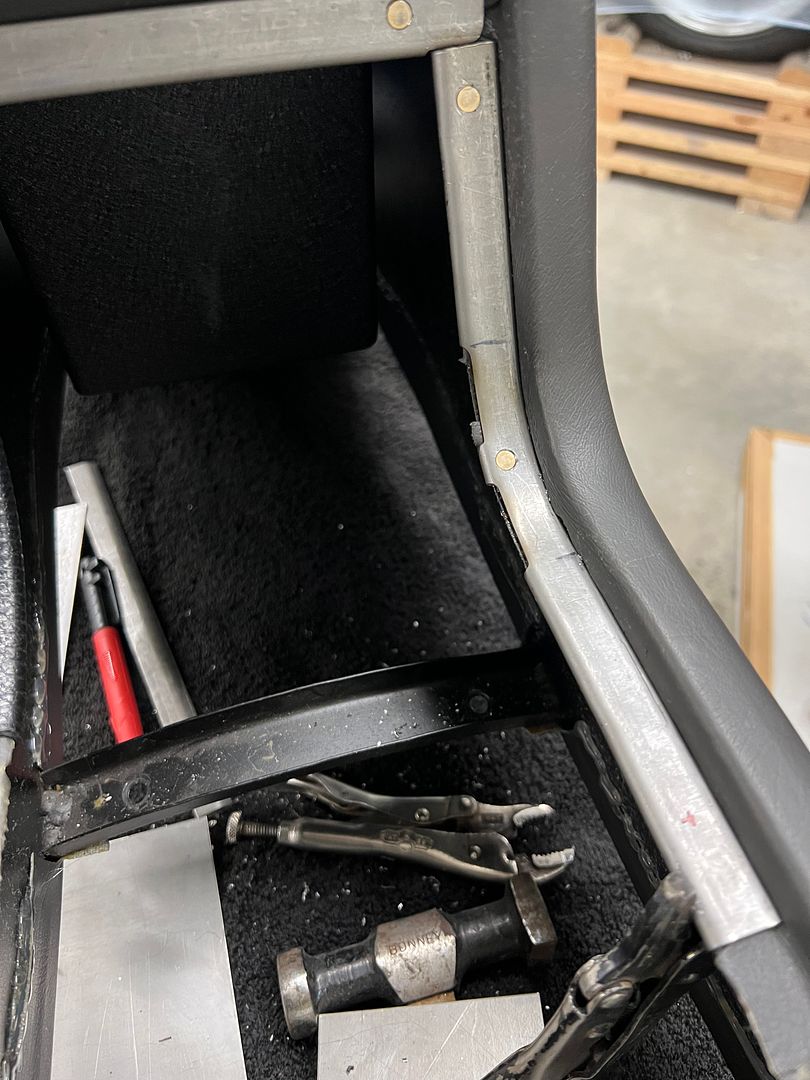
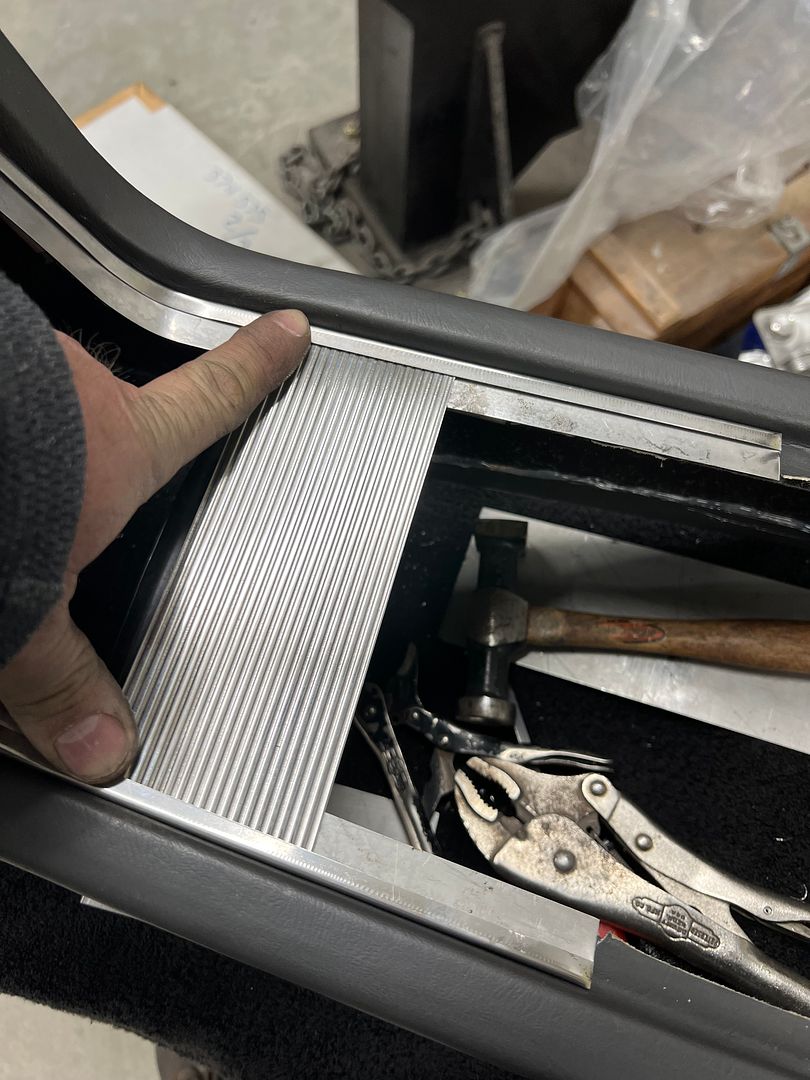
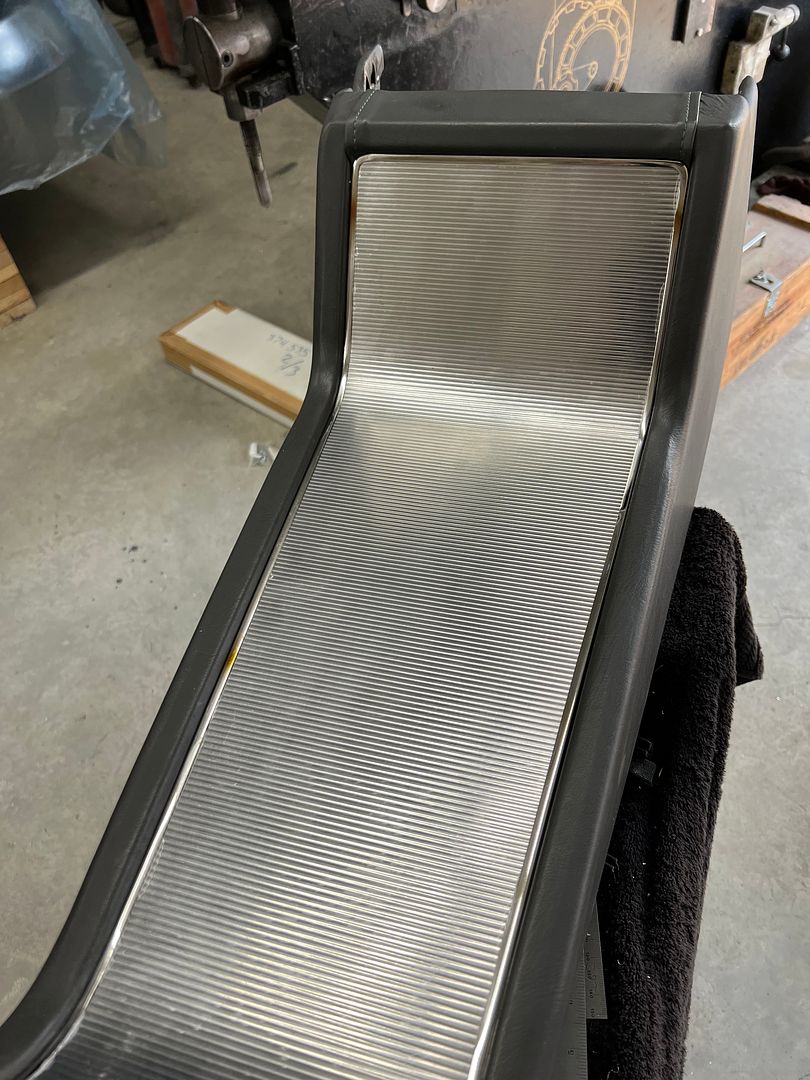
The console just got dropped off, we had some material in the corners that was pulling due to all the stretching that had taken place. In order to keep things more permanent, I came up with some 19 gauge stainless "trim lock". A hemmed edge helps keep from cutting into the upholstery. It gets clipped in place, shoved into the corner snugly, and through drilled for installing solid rivets.
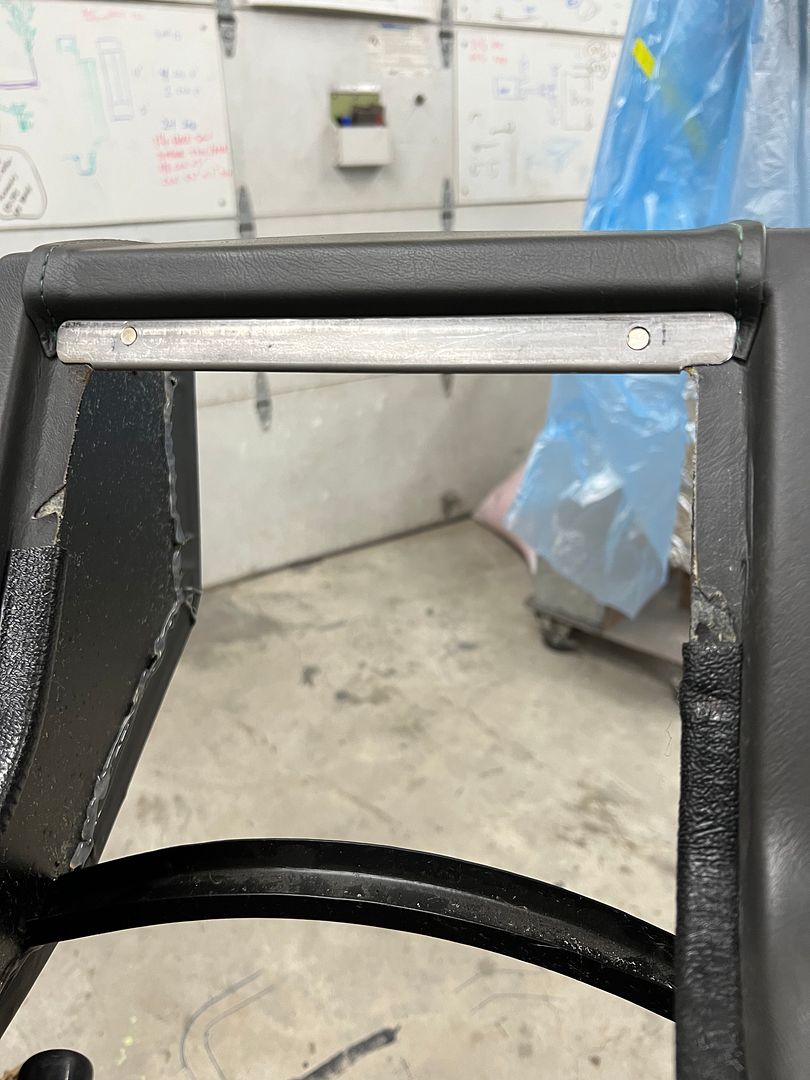

In order to match our dash insert, the console insert will also be oriented horizontally (lines left to right)
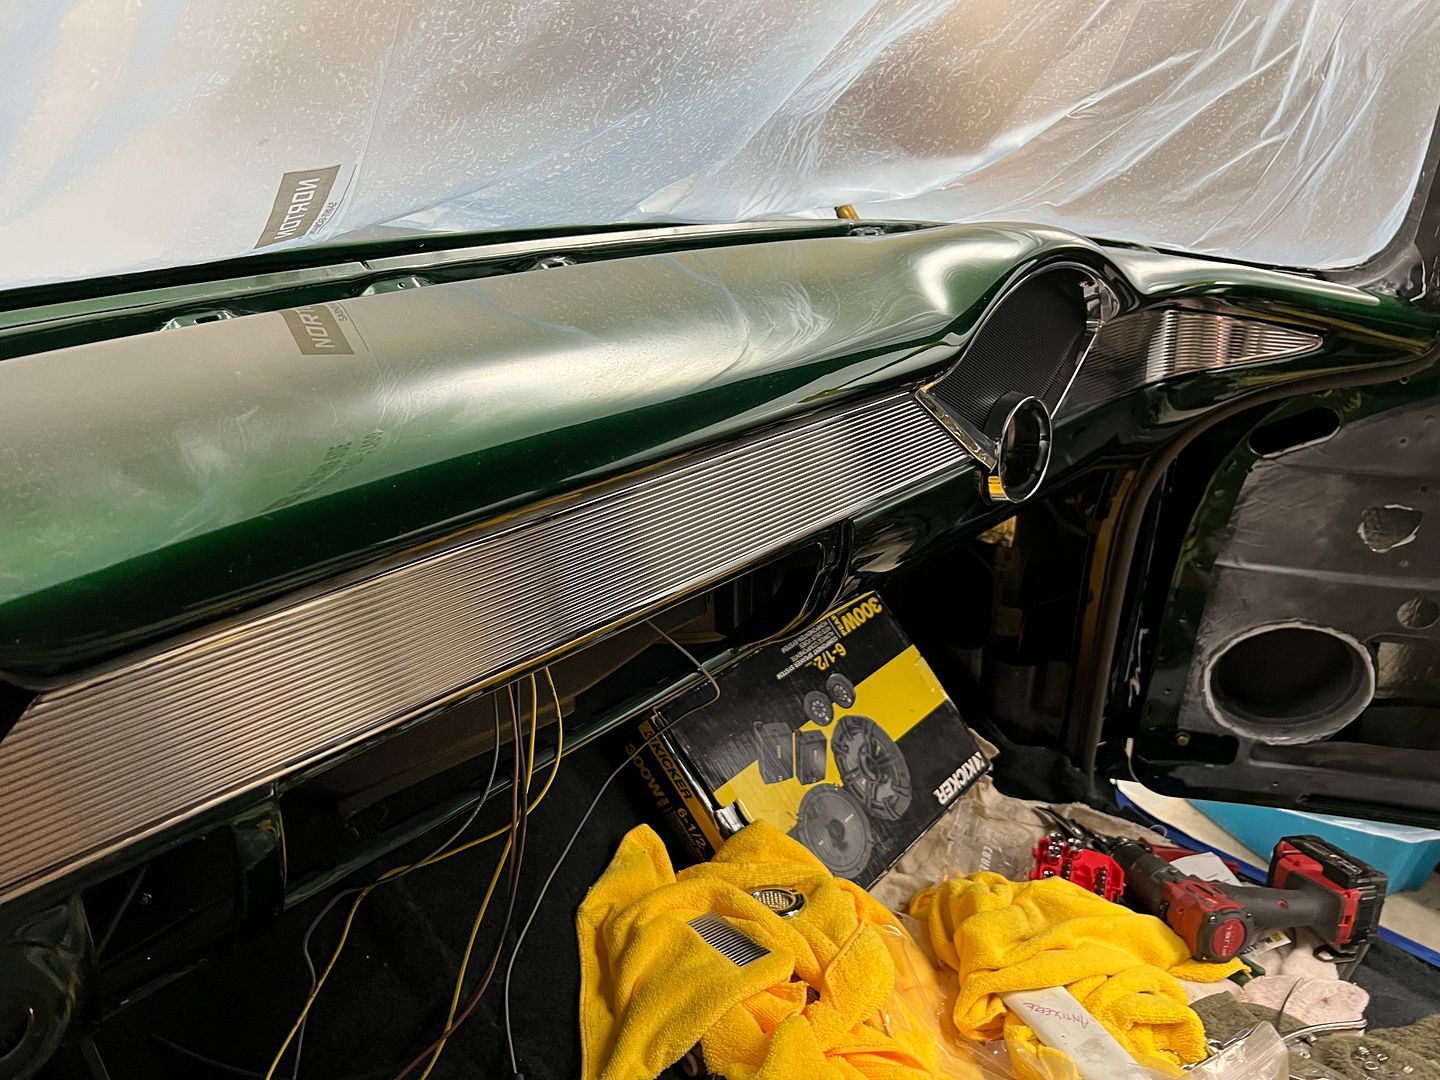
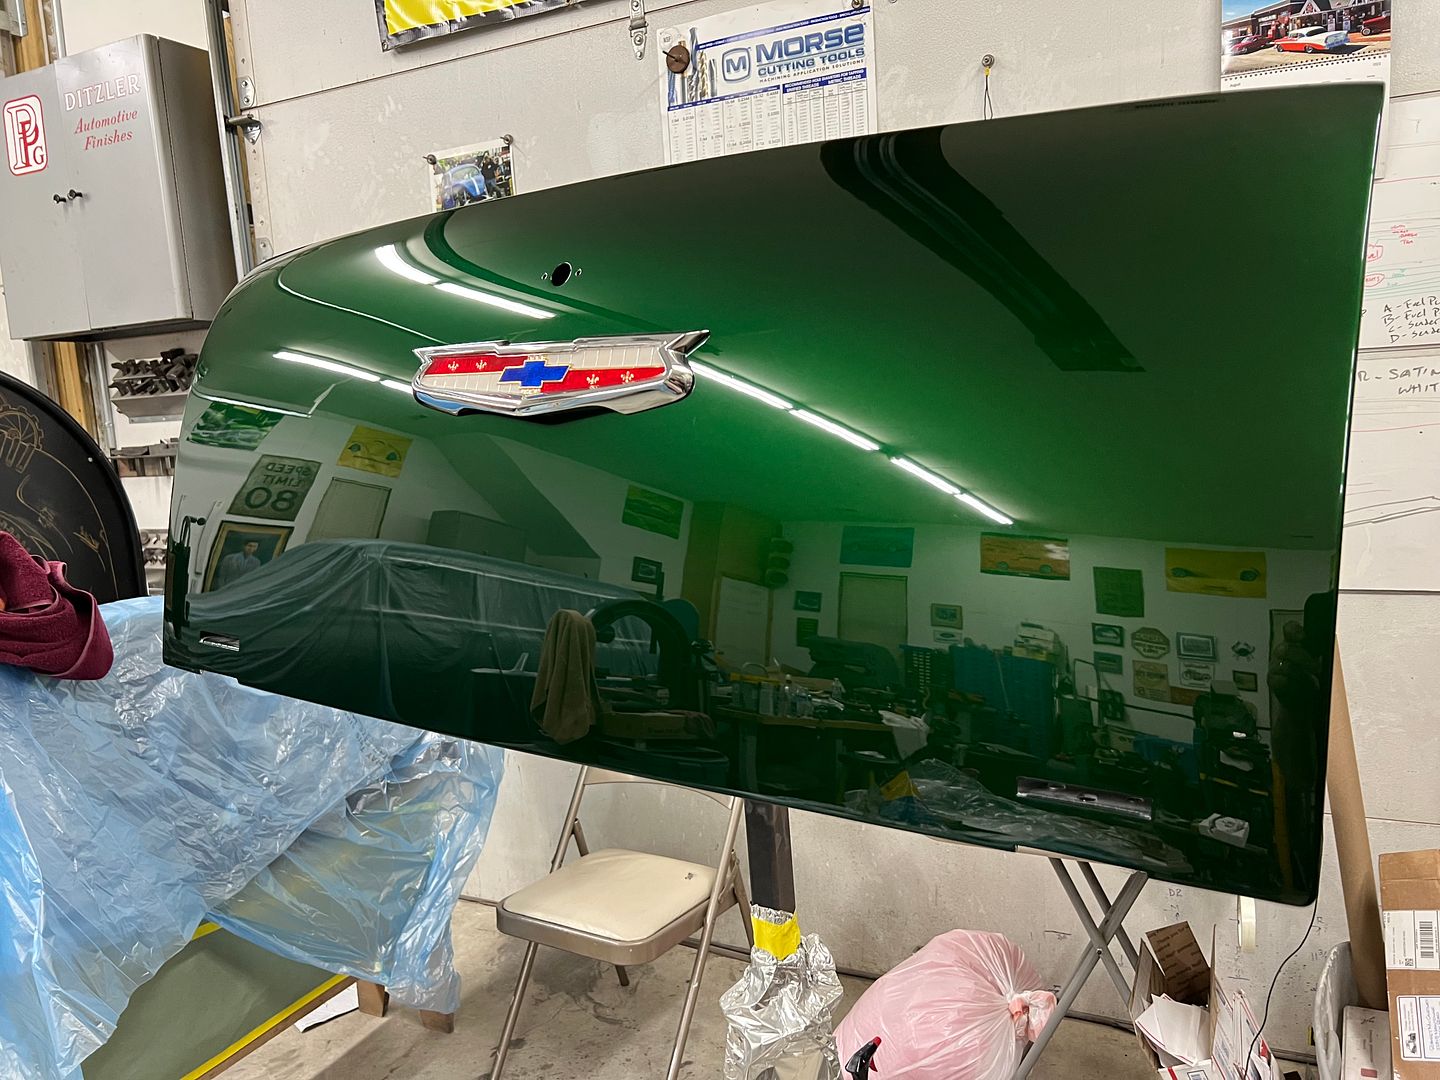
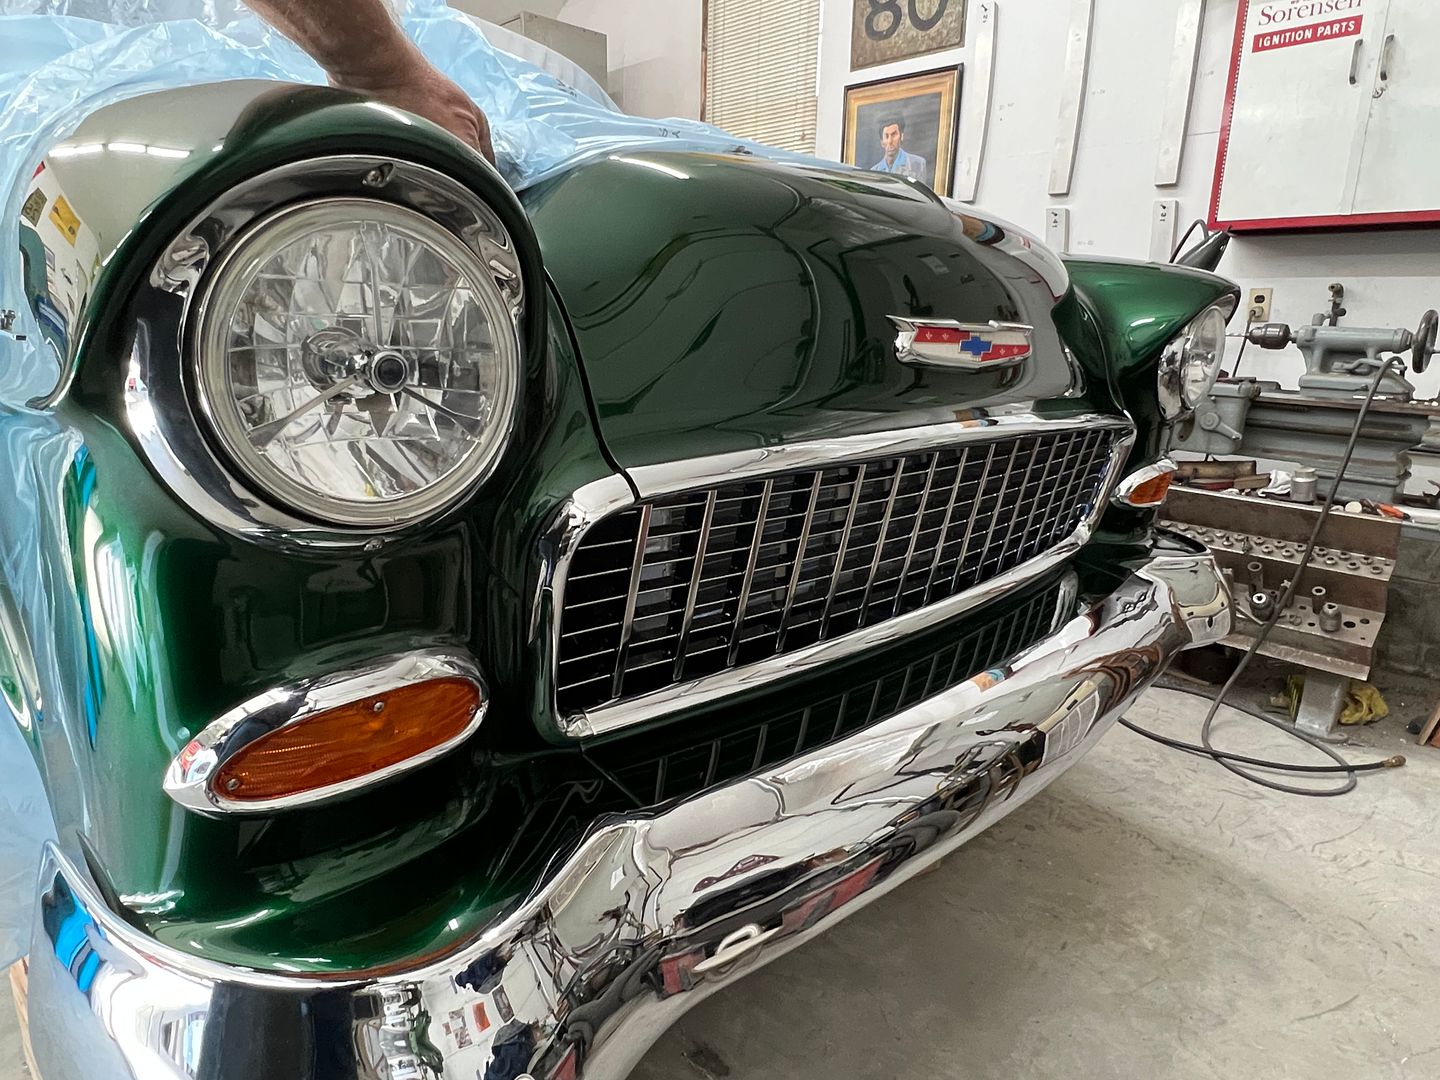
We also got some of the stainless added to the front end. What an alignment pita. Still have some tweaks to do..
Robert
-
03-25-2024 05:17 AM #1810
CHR Member/Contributor
- Join Date
- Sep 2007
- Location
- Gardner, KS
- Car Year, Make, Model: '33 HiBoy Coupe, '32 HiBoy Roadster
- Posts
- 11,245
It's a beauty!!Roger
Enjoy the little things in life, and you may look back one day and realize that they were really the BIG things.
-
03-30-2024 08:33 PM #1811
CHR Member
- Join Date
- Jun 2008
- Location
- Leonardtown
- Car Year, Make, Model: Walking
- Posts
- 1,228
More console work, time to fabricate the hemmed surround for the insert. In order for the surround to be seamless, we need to do some welding.
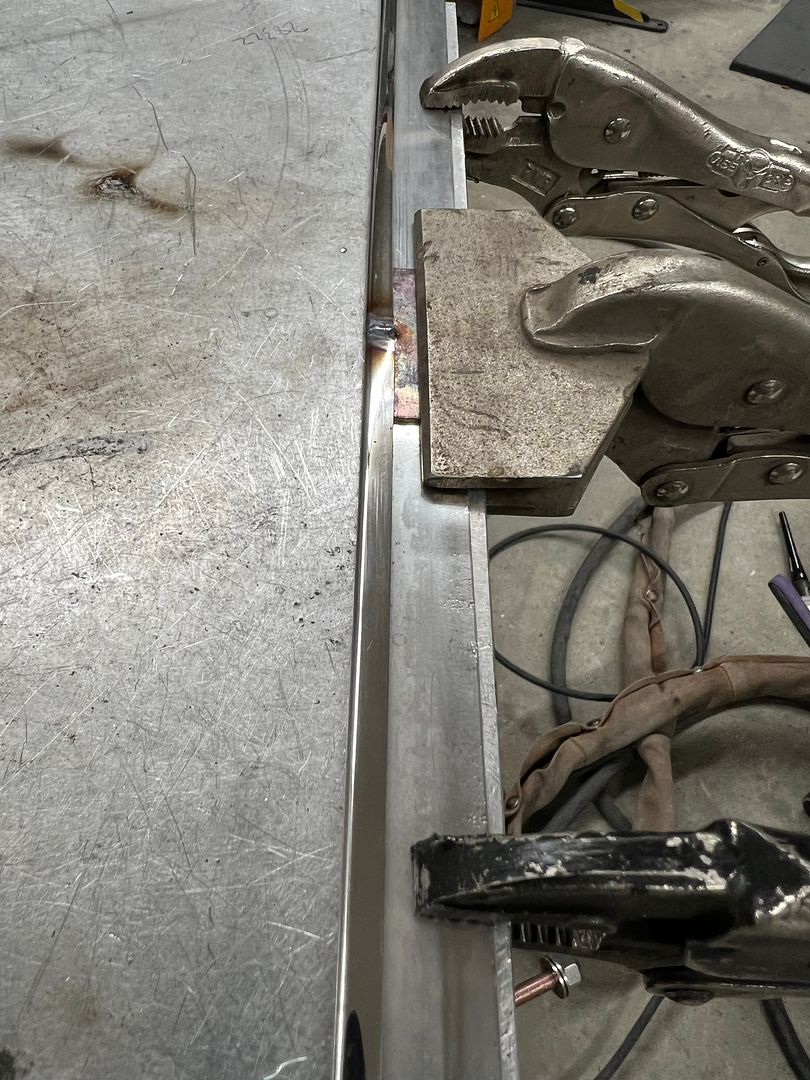
For our corners we relieve the flange and trim the back side to about half the hem width. This gives us less material in the tucks for shrinking in the corners.

We cut a fake insert out of 18 gauge CRS with rounded corners to use as a hammer form, gives us something to hammer against when we heat up the corners.
_IMG_8985.png)
Everything's a tool, and when the PVC pipe is the only thing in the shop that matches our needed radius, it's what we use for a radius bender.
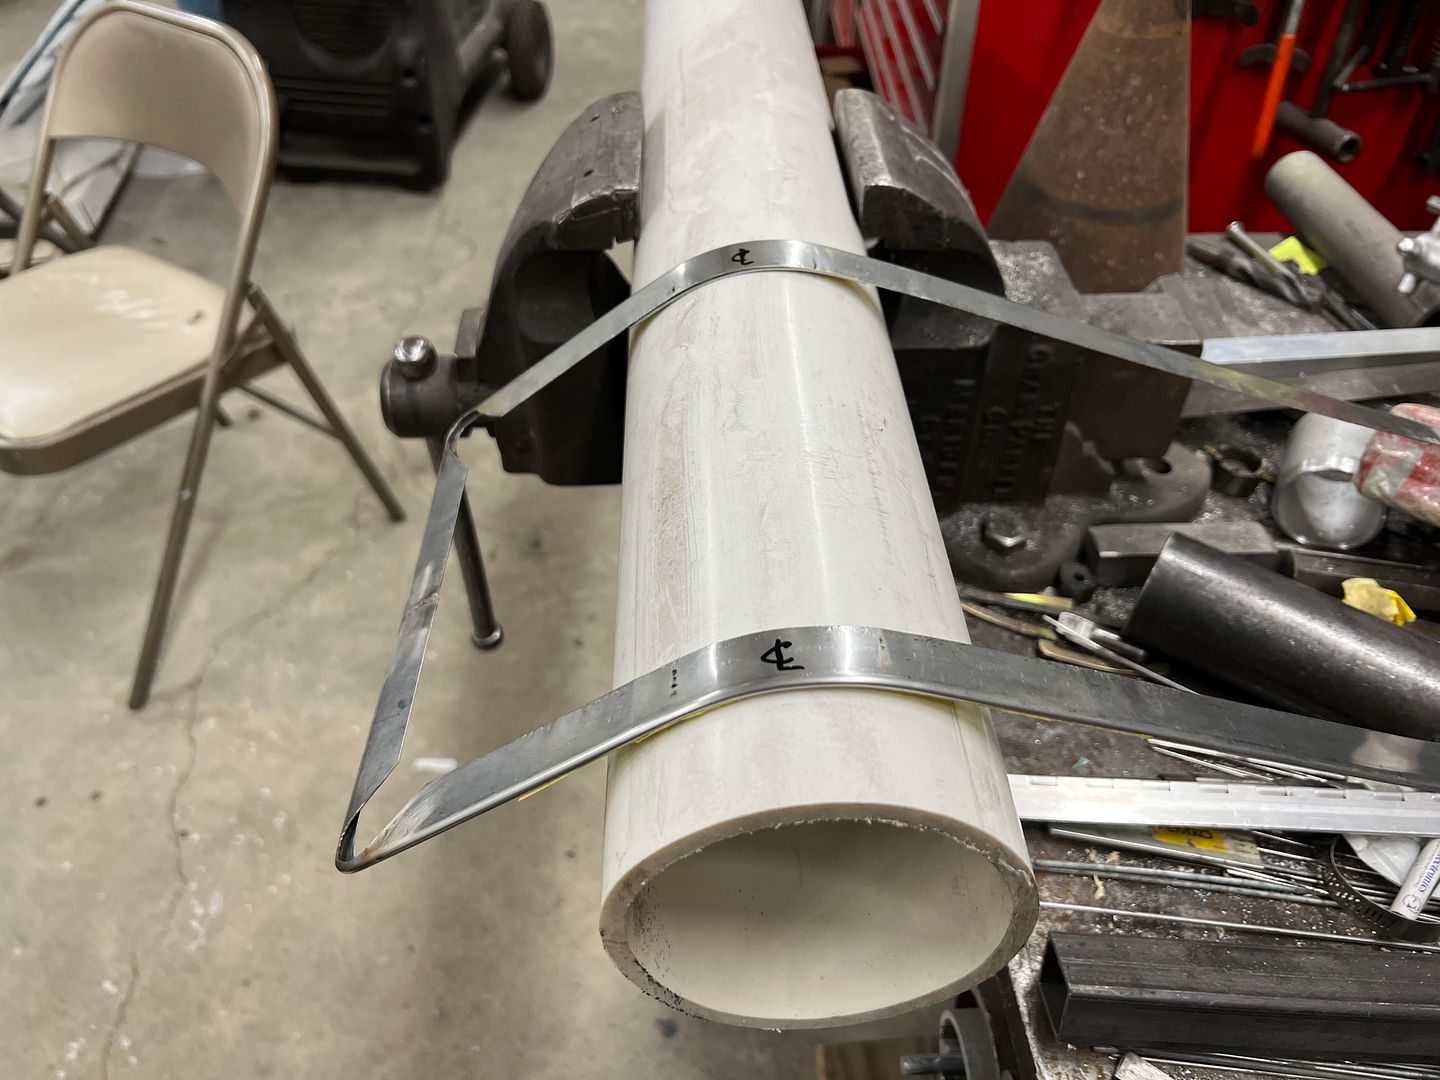
To prevent our hem from closing during the radius forming, some 18 gauge strips were placed in the hem.
Press studs used to attach to the console and will be hidden underneath the center panel.
Insert cut out to match our poster board sample, then it gets 800 grit, then 1000 through 5000 foam pads, then buffed..
https://youtube.com/shorts/Wlbrs908h...H0gssNlu9xhBkm
Then we cover it with frisk film to protect our buffed surface.
Test fit...

Installing the surround to the filler panel
Still have to touch up some areas with the buffer (heat from tacking the press studs) but here's the test fit.
video:
https://youtube.com/shorts/0FhzILNBY...Pzr-q_-0oYgu6S
.Robert
-
03-31-2024 05:09 AM #1812
CHR Member
- Join Date
- Sep 2007
- Location
- New Bedford
- Car Year, Make, Model: 34 Ford 3W Coupe Replica
- Posts
- 14,754
Amazing! As always. Just wow.... I was admiring you lathe collet rack as well. Nice layout.
-
03-31-2024 07:09 AM #1813
CHR Member
- Join Date
- Nov 2016
- Location
- rocklin
- Posts
- 656
Jeez, that's some delicate detail!
-
04-13-2024 11:29 PM #1814
CHR Member
- Join Date
- Jun 2008
- Location
- Leonardtown
- Car Year, Make, Model: Walking
- Posts
- 1,228
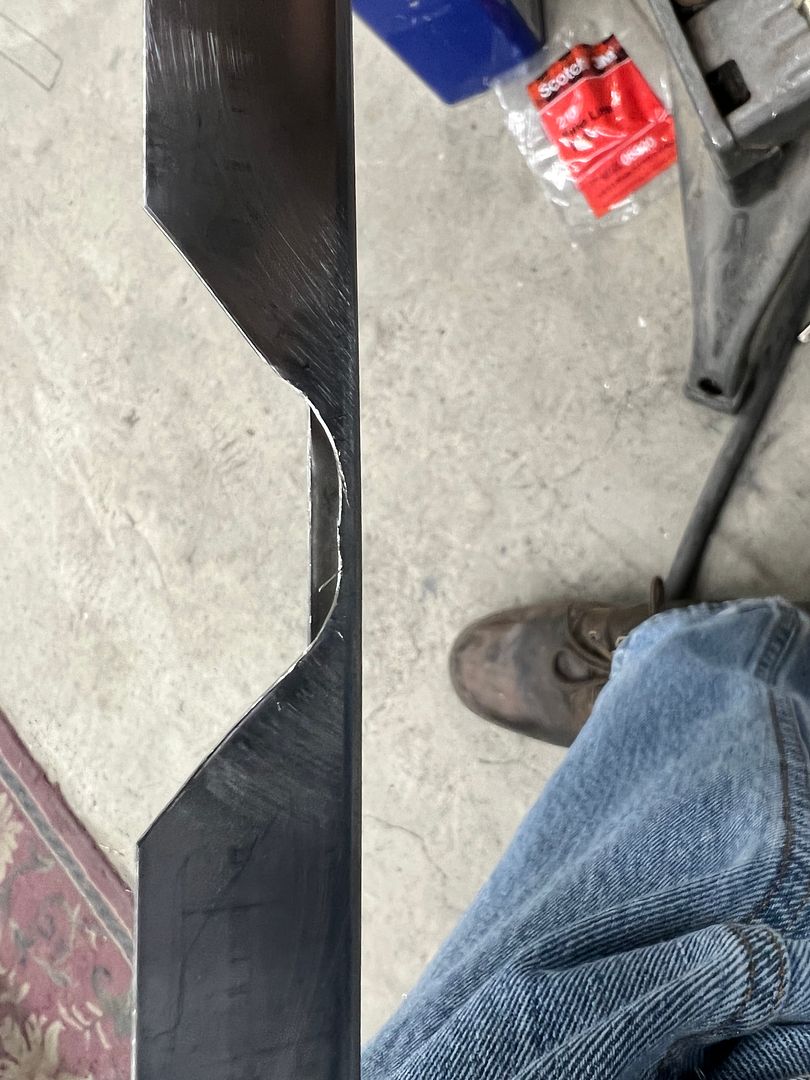
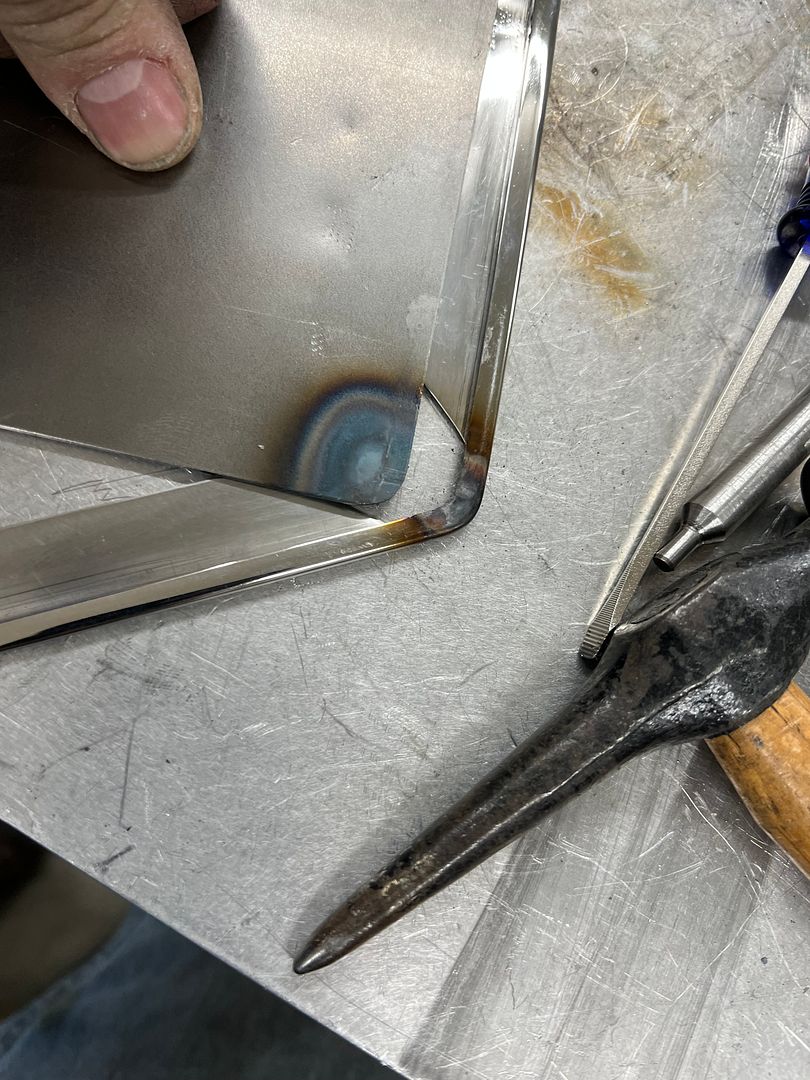
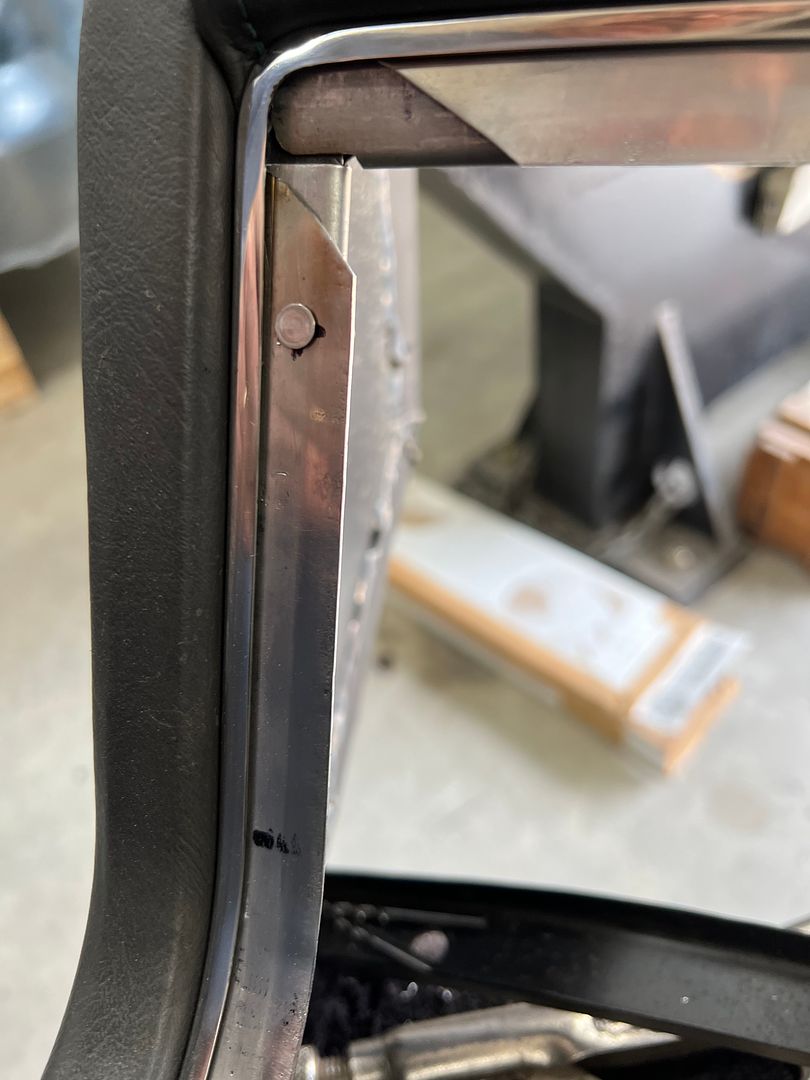
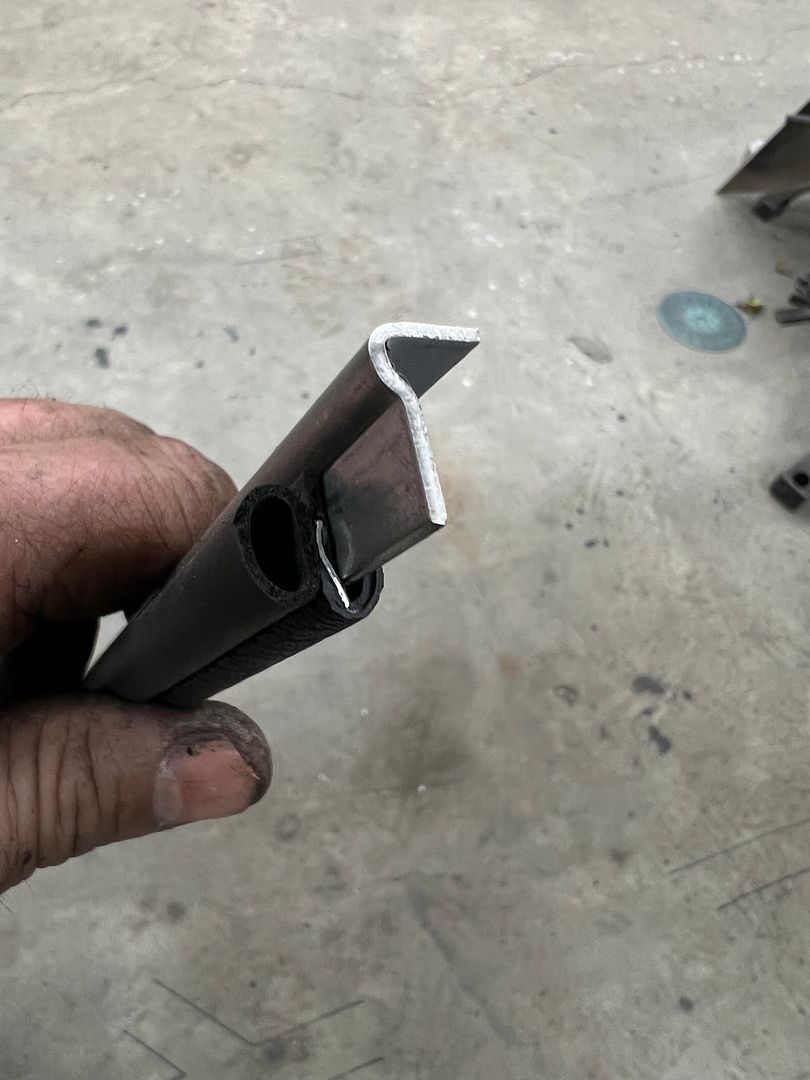
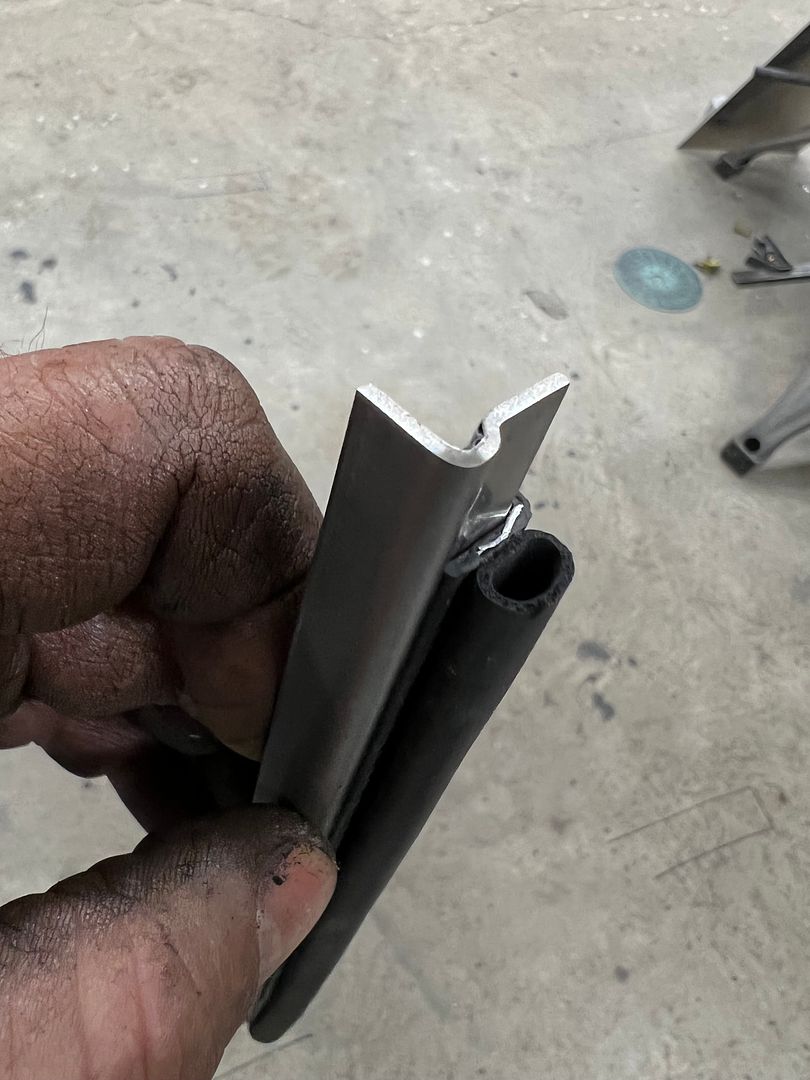
Next step for the console, we need to cut some holes for the shifter. Using the Chevelle style horseshoe shifter, we don't have the factory style brush seals or trim bezel for the center plexi indicator. So lets see what we can come up with first to seal the shifters side arms. I didn't have any brush stock left over from the splice trailer, and window felt wasn't thick enough. But I did have some bulb seal that looked promising. To make a surround to hold the bulb seal, we used a folded piece of 16 gauge stainless, and put an offset to hide as much of the edge trim that holds the seal as possible.
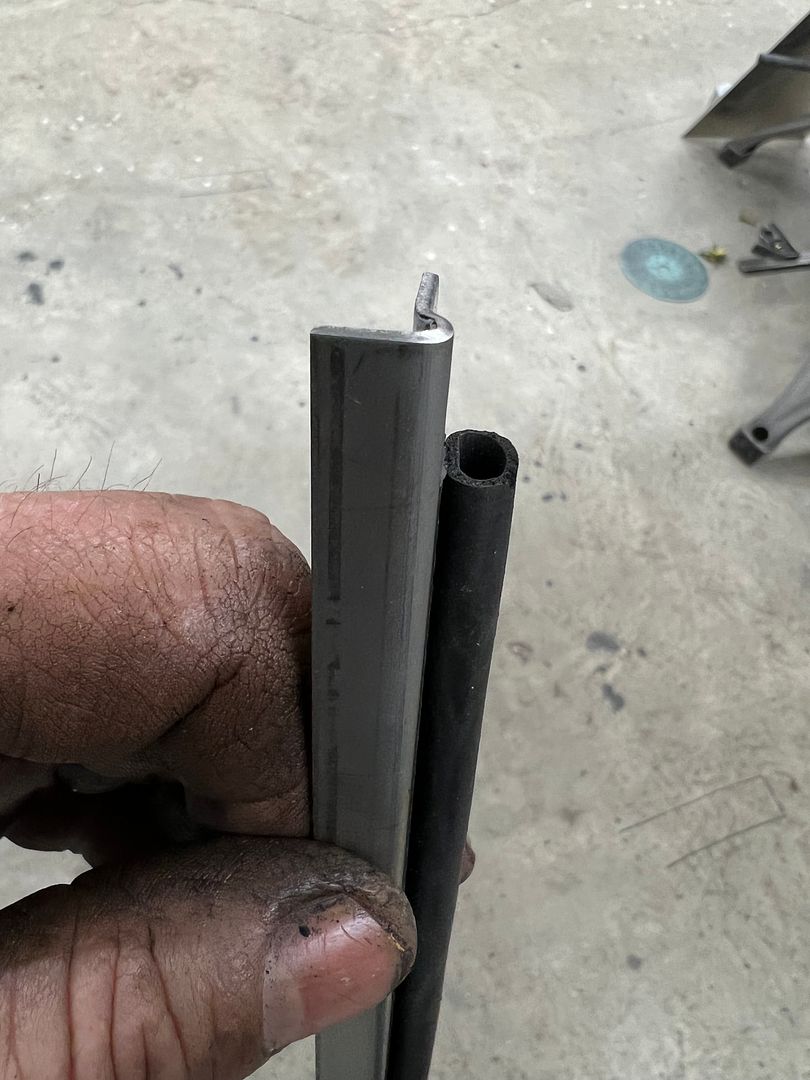
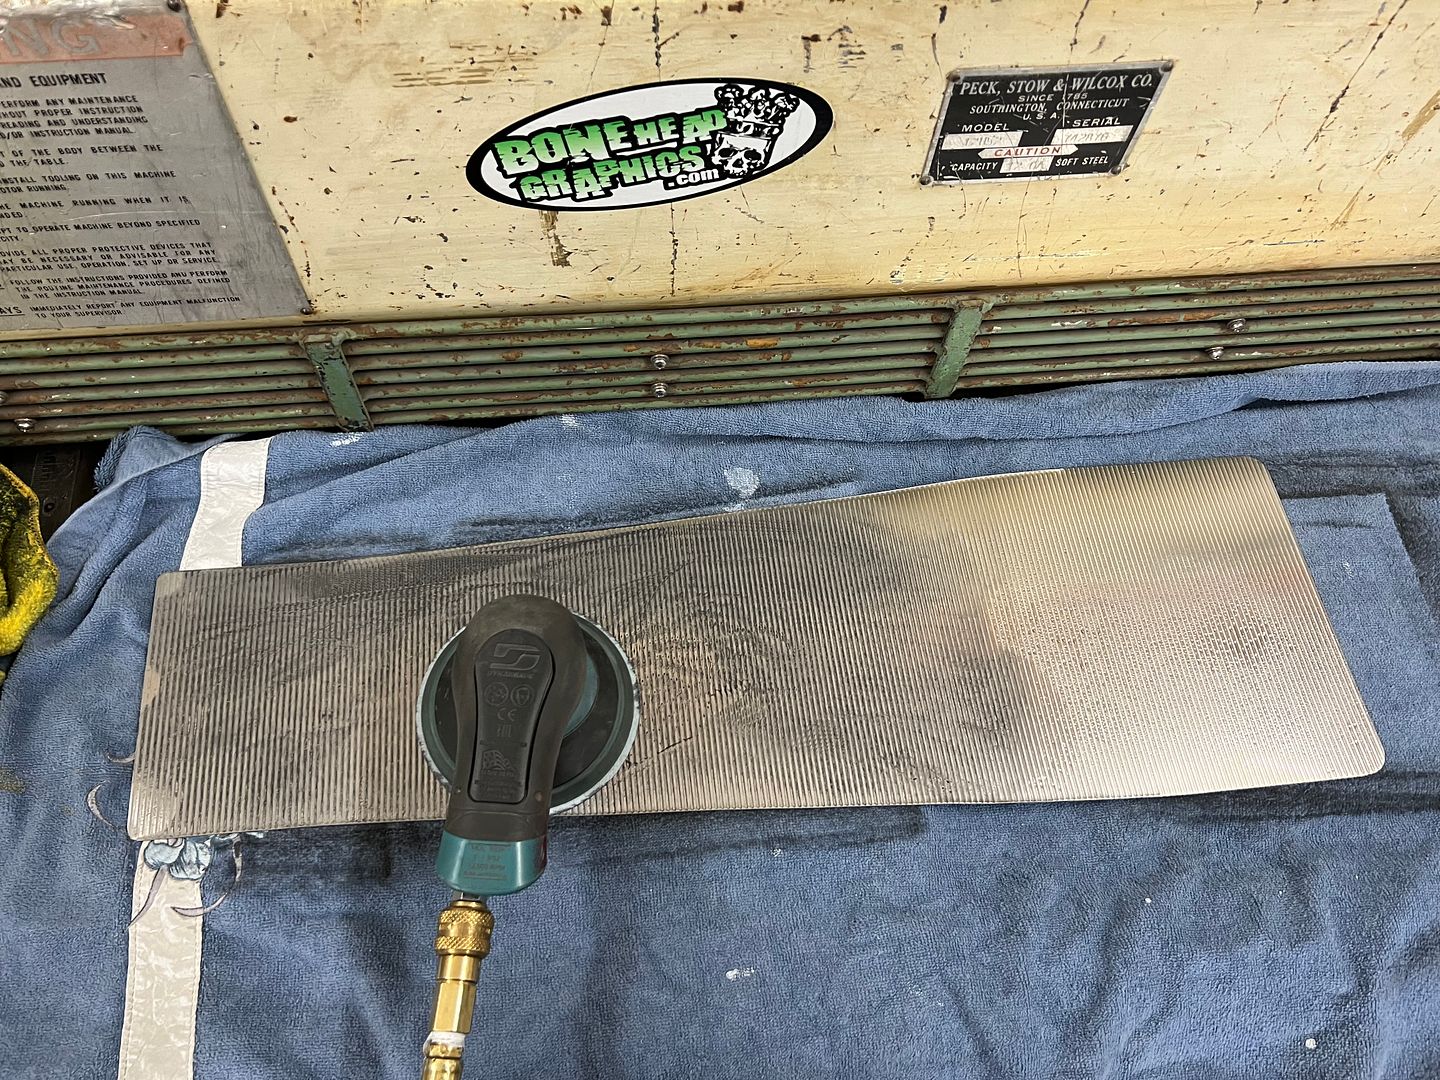
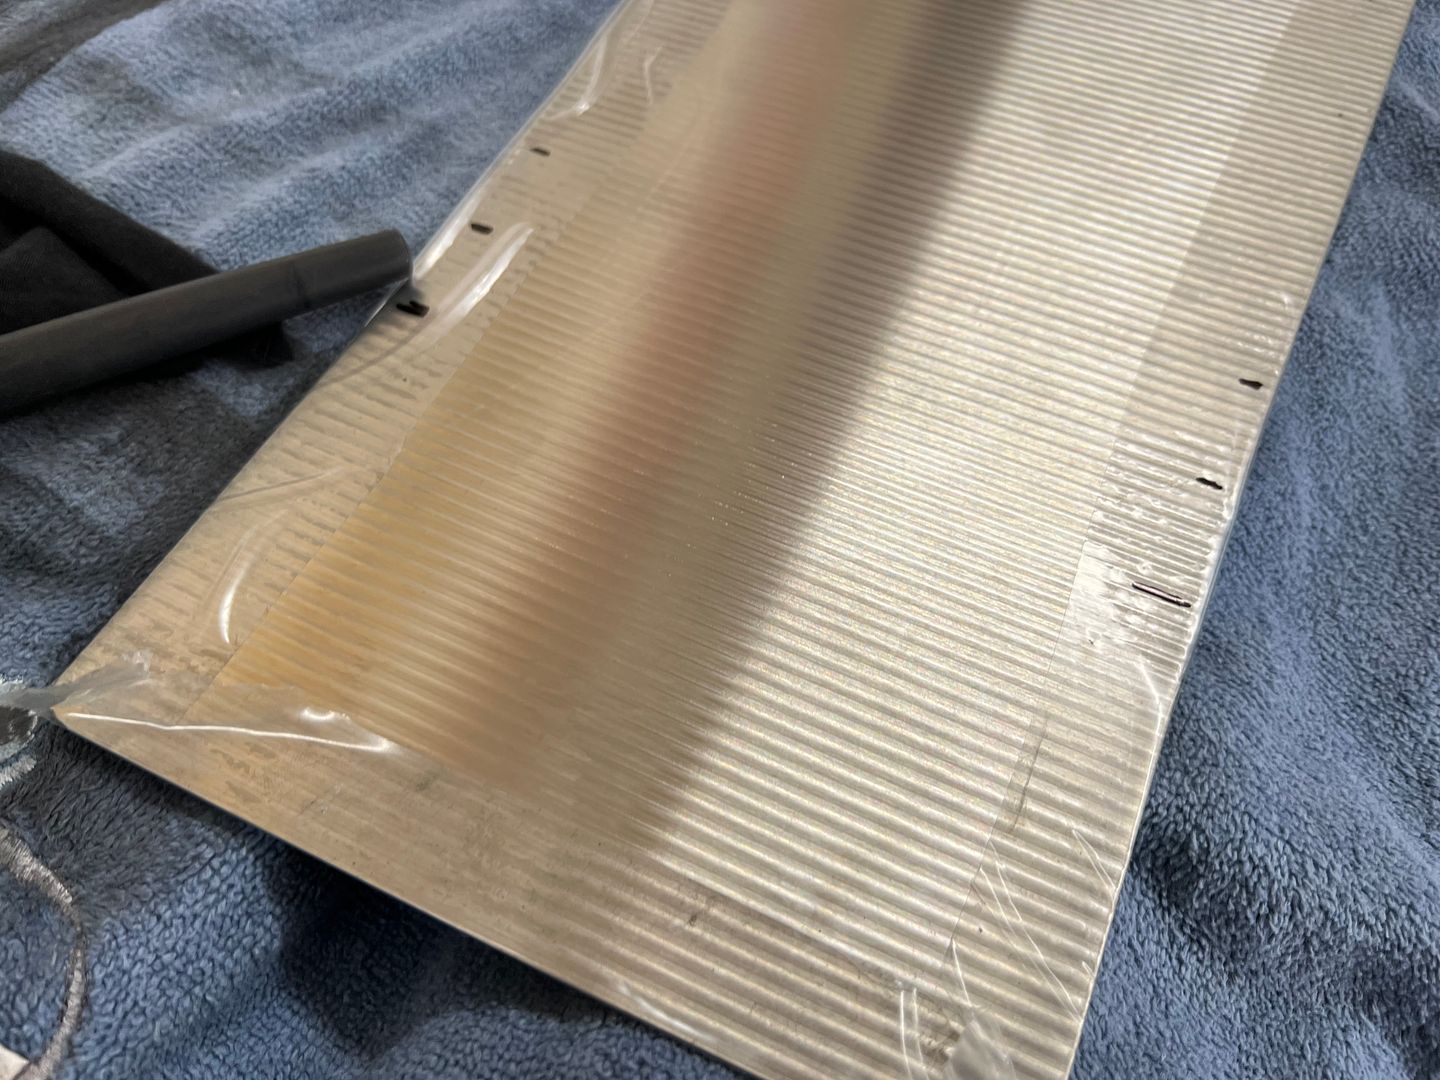
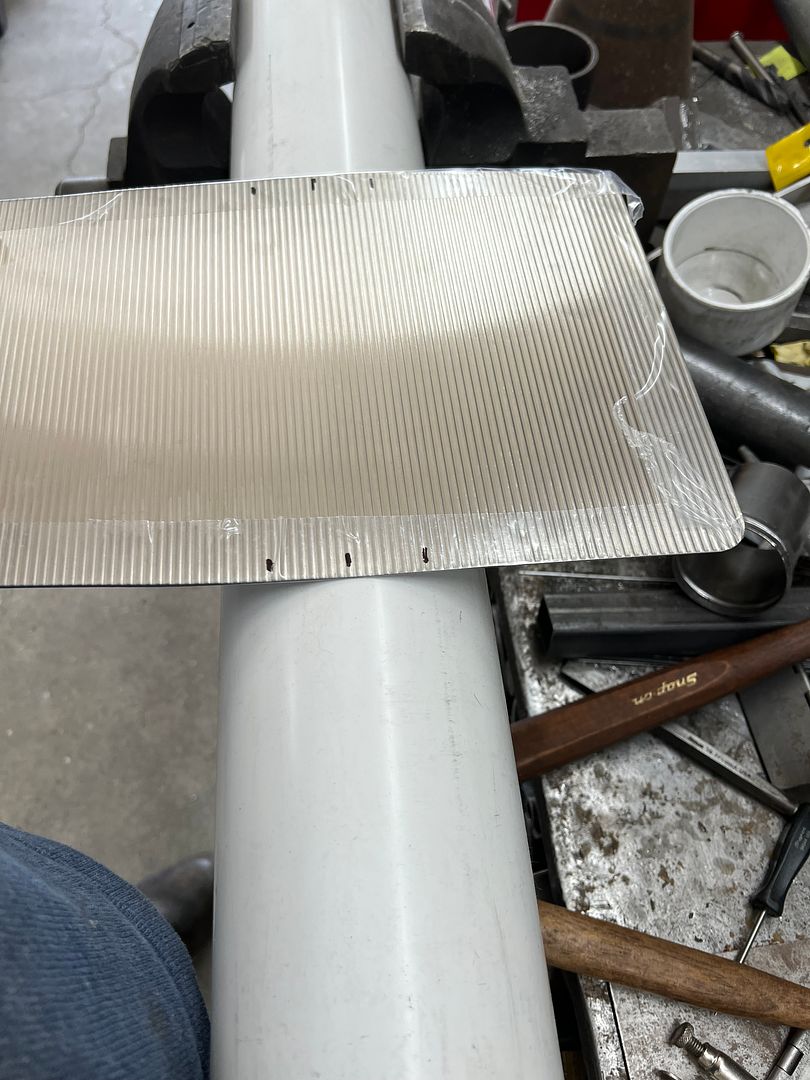
To close off the ends, we used the linear stretch dies in the Lennox...
https://youtube.com/shorts/cD1TrEwah...kBU5isw7LFb_dK
https://youtube.com/shorts/--rTDf9M2...5Dk3opzAYzdQtD
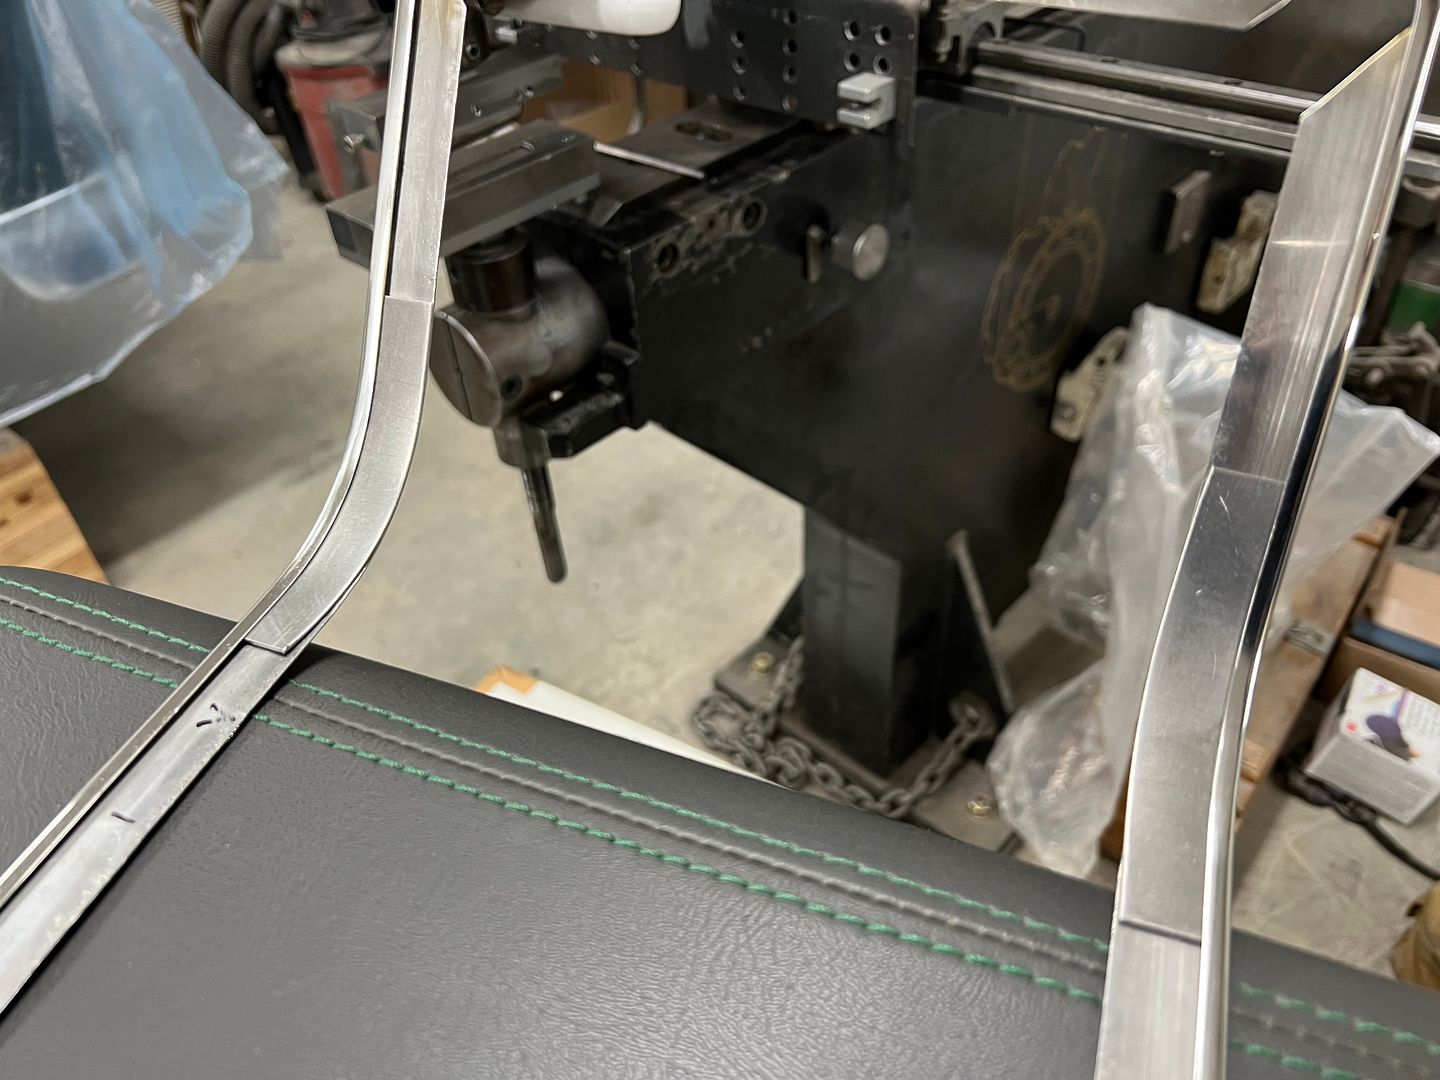
After welding the one end in place, the console was mocked up to get the overall length needed on the shifter seal.
https://youtube.com/shorts/N9mJWH6Rj...w6PBdNXo32kGPq
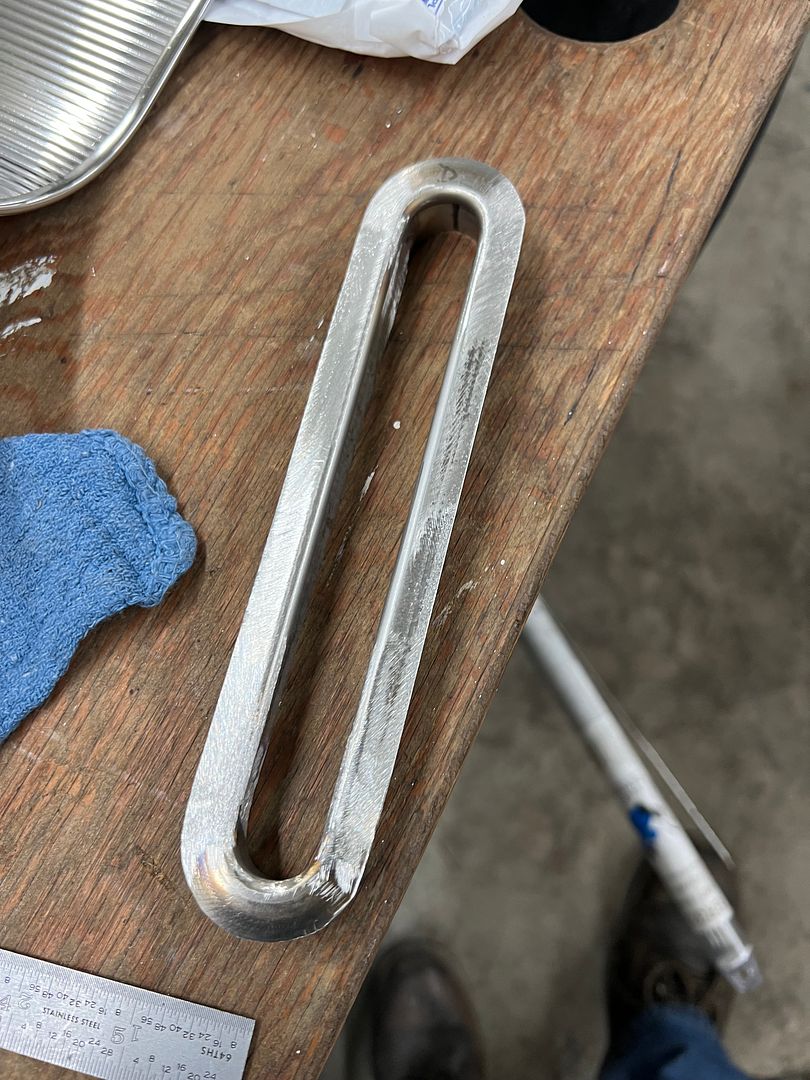
The top flanges will be trimmed to the same width as our polished stainless edge trim surround on the console insert. This one will be used for the passenger side arm, the drivers side will have a wider flange toward the driver to accommodate the shift selector position marking.
.Robert
-
04-14-2024 05:26 AM #1815
CHR Member/Contributor
- Join Date
- Sep 2007
- Location
- Gardner, KS
- Car Year, Make, Model: '33 HiBoy Coupe, '32 HiBoy Roadster
- Posts
- 11,245
You are a Wizard with the Lennox!! Amazing to stretch a 180 so accurately!!Thanks for sharing.Roger
Enjoy the little things in life, and you may look back one day and realize that they were really the BIG things.
 Reply With Quote

Posting Permissions
- You may not post new threads
- You may not post replies
- You may not post attachments
- You may not edit your posts

i've enjoyed the years here . made a lot of friends. most who have left. i see no reason to continue with this so hope to see you somewhere else. i dont think this site will ever be back. it's lived...
Dead!