Thread: 355 build HP and Torque?
Results 1 to 15 of 66
Threaded View
-
02-18-2013 07:27 PM #23
I hope this isn't too many pictures. I will probably weed out a few and add more descriptions as I have time.
After getting the block back from the machine shop for the last time, I wanted to clean out all the threaded holes before doing a final washing before the assembly. I was able to do all the 3/8" headbolt and bearing cap holes, the 1/4-20 pan and timing cover and others, and the tapered pipe plugs, but didn't have the correct tap on hand to finish the 5/16" or what ever those mid size holes were, so I will need to clean them up carefully as I bolt on items using them.

I picked up a cheap nylon brush cleaning set from Harbor Freight which came with a bunch of different sizes. Since they were somewhat short, I was able to twist a couple wire handles together to make one long enough for the entire oil passage from front to back through the block.

My good wife let me use the toilet brush to scrub the cylinder walls. Using dish soap and boiling water, I cleaned out every passage I could get a brush into. I also used a little spray-on brake parts cleaner to wash the machining residue from some of the cracks. After alternating between scrubbing with soapy water, and spraying with cleaner, and compressed air, I believe I got most of the debri out of the block.

After multiple scrubbings and wiping with WD40, I finially got to the point where spraying WD40 on the cylinder walls and wiping them clean, resulting in no more gray residue shown on the paper towels.

Here's a shot of the cam bearing tool I picked up on Ebay. This particular one is not adjustable, but is already sized for Small Block Chevys. The moving parts are all brass and are fitted with o-rings to hold the bearing in place. Over all, I would say it seemed to work very well for me.

After reviewing many opinions on orientations of the cam bearings I decided to position them at the 3 o-clock position. (That would be 3 o-clock if the engine was sitting upright in it's running position and you were standing in the front of the vehicle looking at the engine). Since the cam bearings are installed when the engine is inverted, here's a shot showing the hole on the left side and a black mark I added to the top so I could maintain orientation as I got ready to drive the bearing into place.

Here's a shot showing orientation just before I drove the bearing into place.

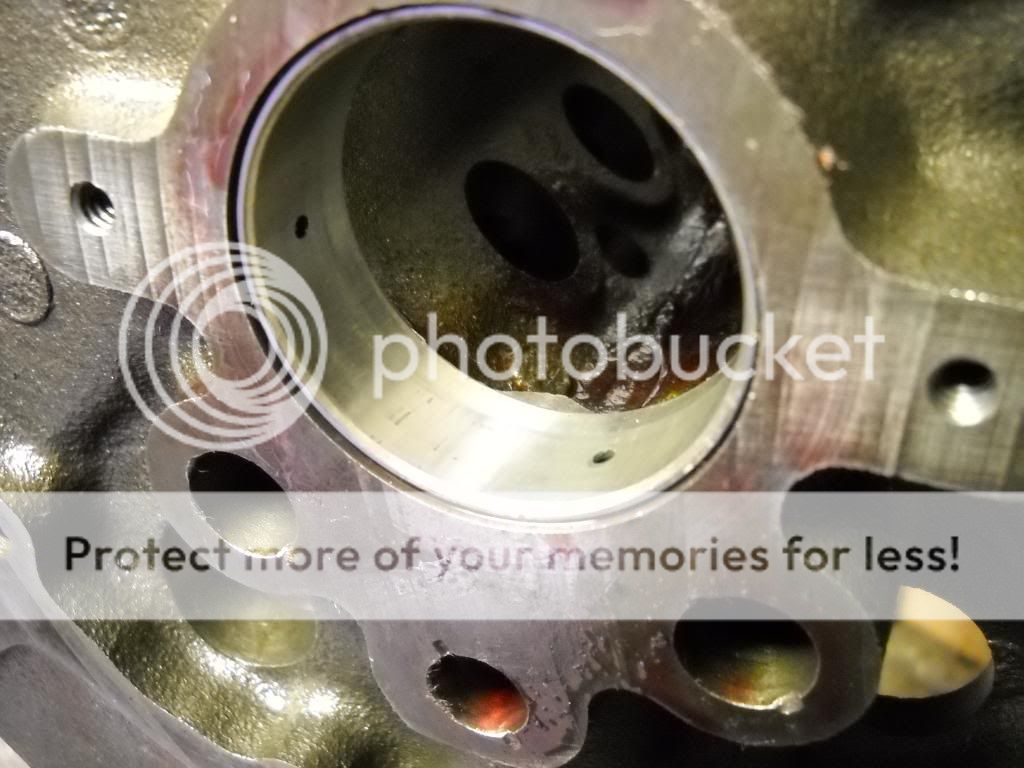
Here's a shot of the #1 or the front cam bearing. This one taught me a few things. First of all, it has two holes in it, which I chose to orient at 12 and 3 o-clock, but since the holes seem to be spaced greater then 90 degrees apart, it looks more like 11 and 3 o-clock. You may also notice this is not a DuroBond coated bearing like there other 4 I installed previously, as my first attempt at installing the DuroBond one resulted in damage to the bearing when I tried to drive it in from the front without it being perfect square to the block. My good friend at the machine shop had an open box with a single #1 regular Federal ? brand bearing which he gave me, and also advised me to install the front bearing by driving the bar in from the rear of the block and thus more easily maintain good alignment. This necessitated me removing the block from my engine stand to get access to the rear, but resulted in a much easier installation of the bearing without damage. With all the cam bearings in place, I was able to install the camshaft using liberal amounts of assembly lube, and the fully installed cam was fairly easy to turn by hand.

After wiping the main bearing saddles completely clean and dry, I installed all the main bearings in the block, carefully set the crankshaft into the dry bearings, put a piece of green plastigage (.001-.003 range) on each main journal and bolted on the main caps dry. With a three stage torque of 40, 55, and then 70 ft/pounds on each, and then removal of the caps, the plastigage readings were about the same for each main bearing which I interpret to be somewhere smaller then .002 and somewhat larger then .0015. From what I read, that seems to be in the ballpark of where new bearings should be.


After cleaning the smashed plastigage off the journals and main caps, I removed the crank from the bearings, did one last cleaning of each bearings surface and journal and reasembled it back together using assembly lube on all rotating surfaces.

I would have installed the freeze plugs in the block before I put in the cam and crank, but have not purchased any yet, and having today off for President's Day, wanted to make some progress.
Here it is:

Last edited by rollie715; 02-22-2013 at 10:32 AM.


 9Likes
 LinkBack URL
 About LinkBacks
 Reply With Quote

I'm happy to see it back up, sure hope it lasts.
Back online