


 260Likes

Results 31 to 45 of 150
 LinkBack URL
 About LinkBacks
Hybrid View
-
10-21-2016 07:52 AM #1
 CHR Member

- Join Date
- Jun 2008
- Location
- Leonardtown
- Car Year, Make, Model: Walking
- Posts
- 1,228
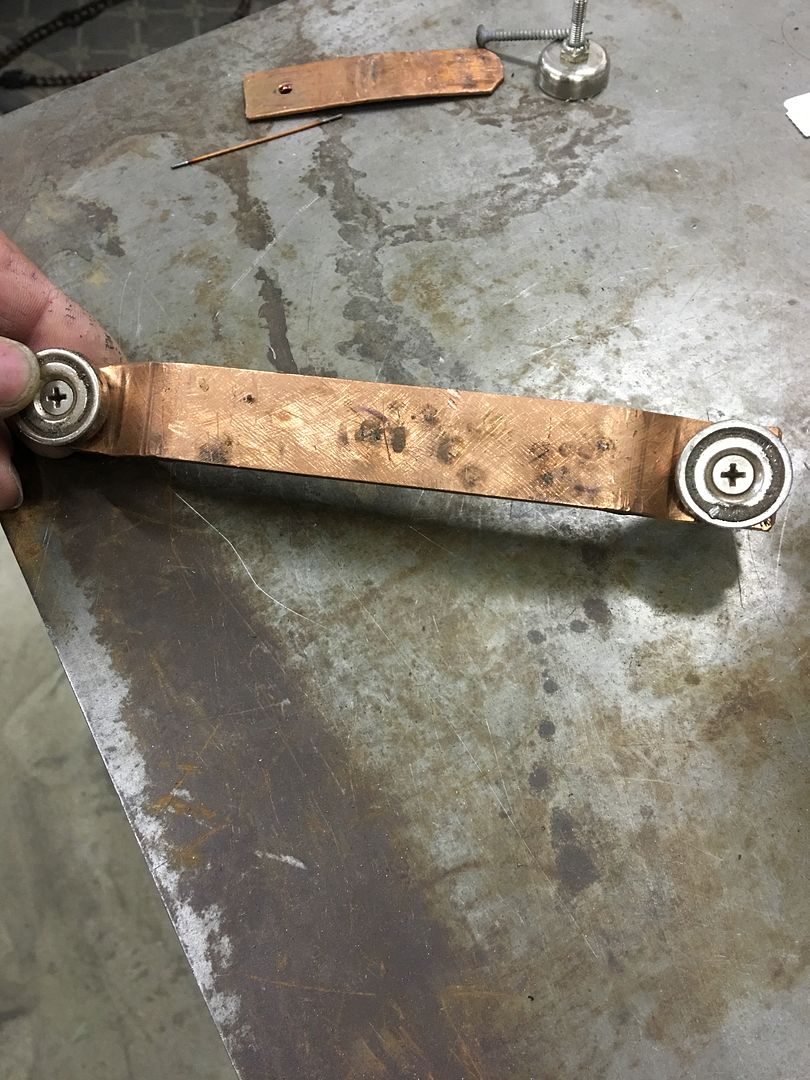
The shop is hosting another Peter Tommasini class this year, one of the items to pass out to the attendees will be some of the rare earth magnets that we use. I just got my delivery in yesterday, these are Cup-26 magnets from Applied Magnets, they have a 65 lb pull. We use them for holding paper patterns to wheel wells during test fit to copper strip for welding backer..
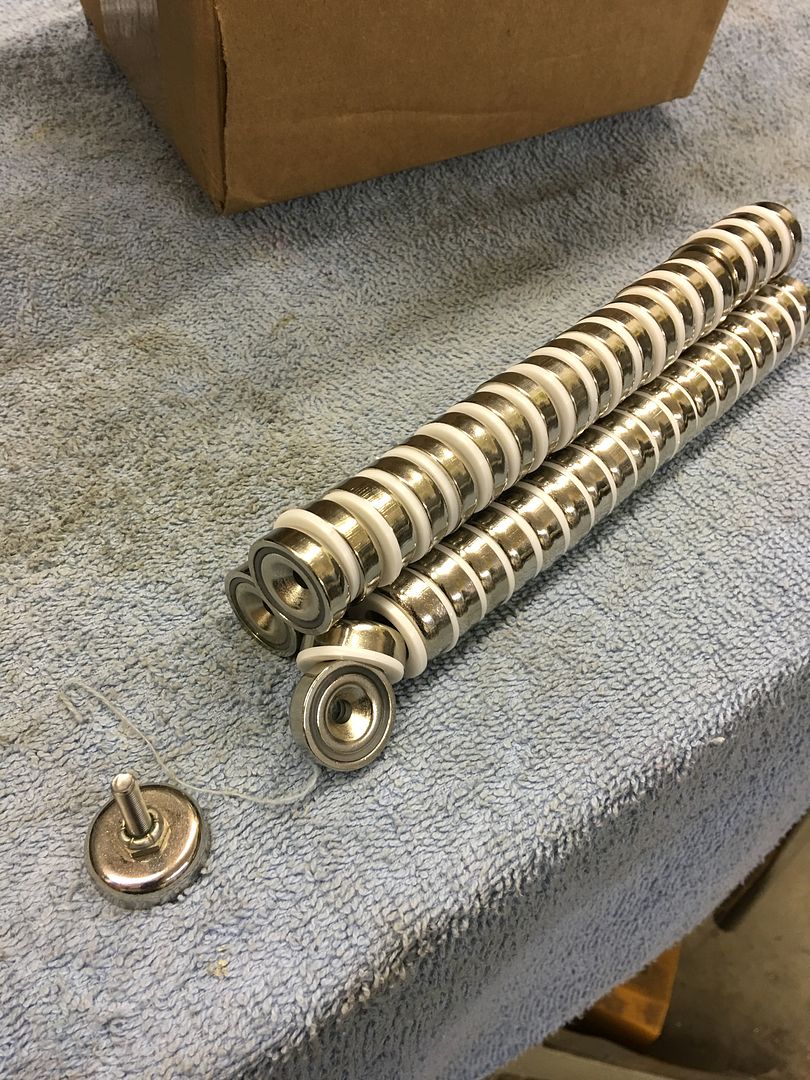
We install a csk 10-32 and lock nut to act as a handle, and they are ready to use...
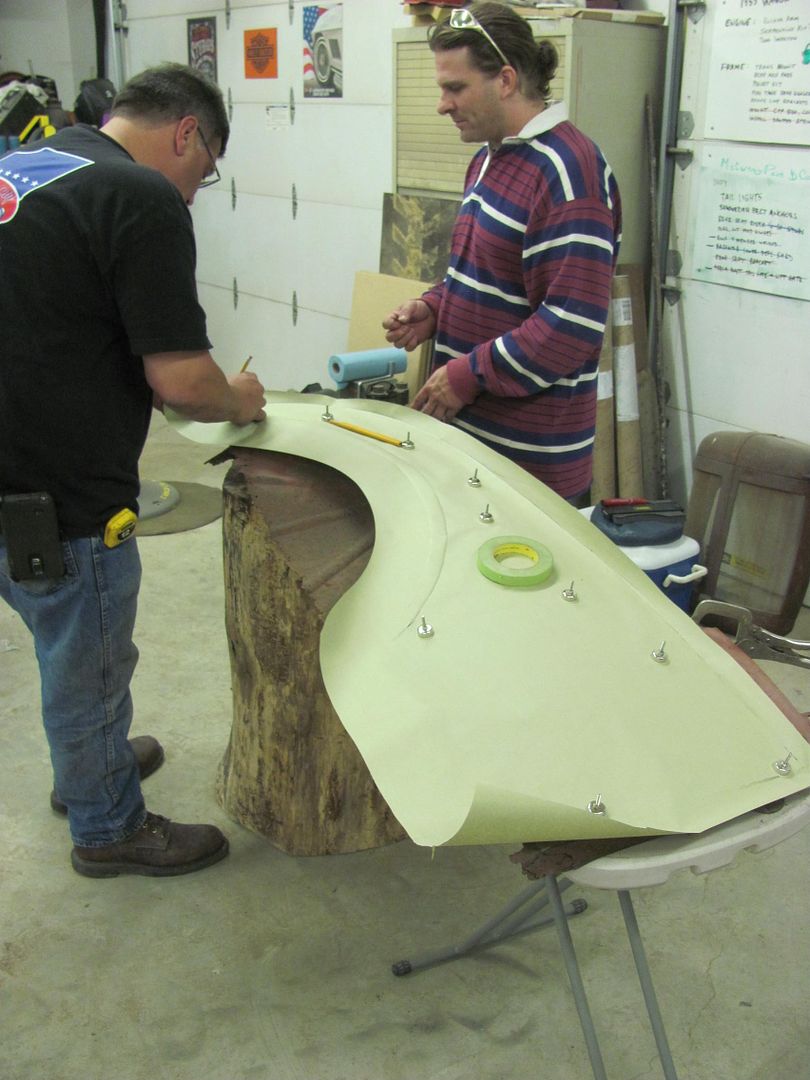
John has been assembling parts of the Biederman truck front end while waiting for the fender completion. He mocked up the hood the other day only to find out it didn't fit the cab as it should.

It looks like the cab is wider than the hood, as the radius does not match and it's pushing the hood outward and up....
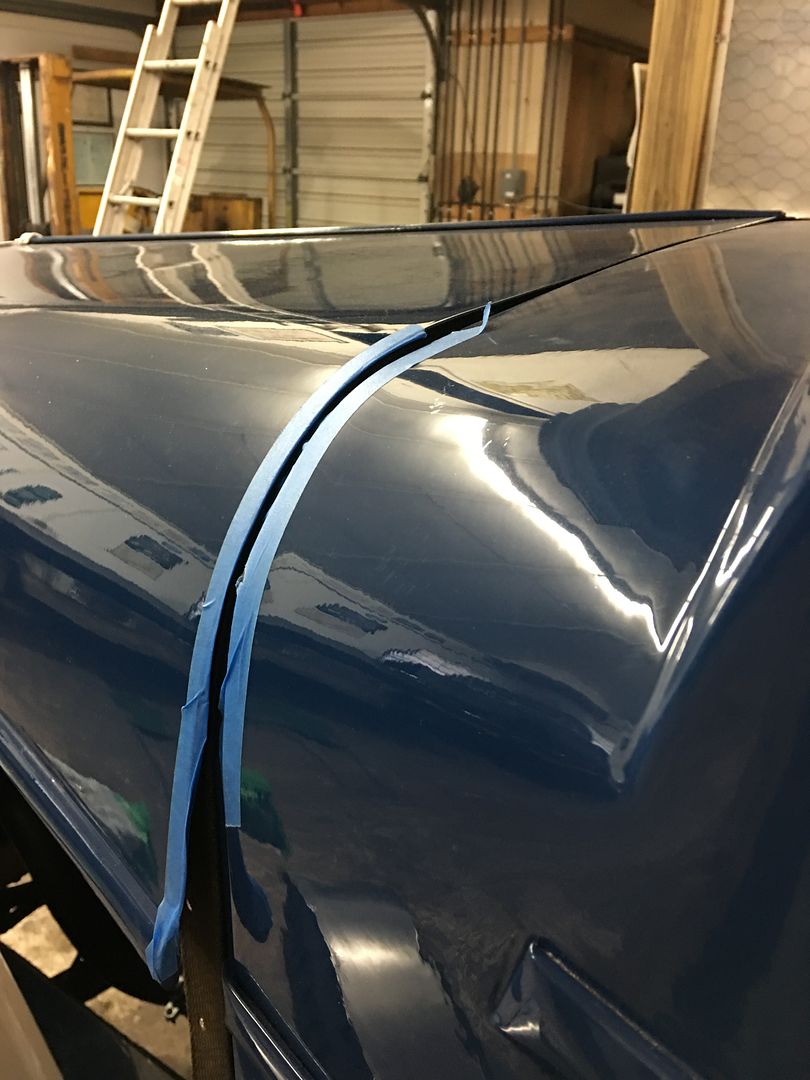
To explain, this is a 1947 truck that had extensive rust in the cab. He found a cab on a newer truck, 1951 IIRC, that was made by the same company. It now appears the newer replacement cab is slightly wider than the original, so our intended option is to cut a slice from back to almost the front and add a pie slice to push the radius out and the beltline down where it belongs. Looks like an easier option than remaking the hood. Something else to add to the list. Just to make sure the wider cab doesn't affect fender fitment, we also mocked up the lower hood side and clamped the tapered filler panels and took a comparison measurement from the outside edges, front and back.
So we have just shy of 3/8 more in the back, or 3/16 pushed outward on each side. I think we can live with that, it likely is well within factory tolerance.. More to come..Robert
-
02-05-2017 05:51 PM #2
CHR Member
- Join Date
- Jun 2008
- Location
- Leonardtown
- Car Year, Make, Model: Walking
- Posts
- 1,228
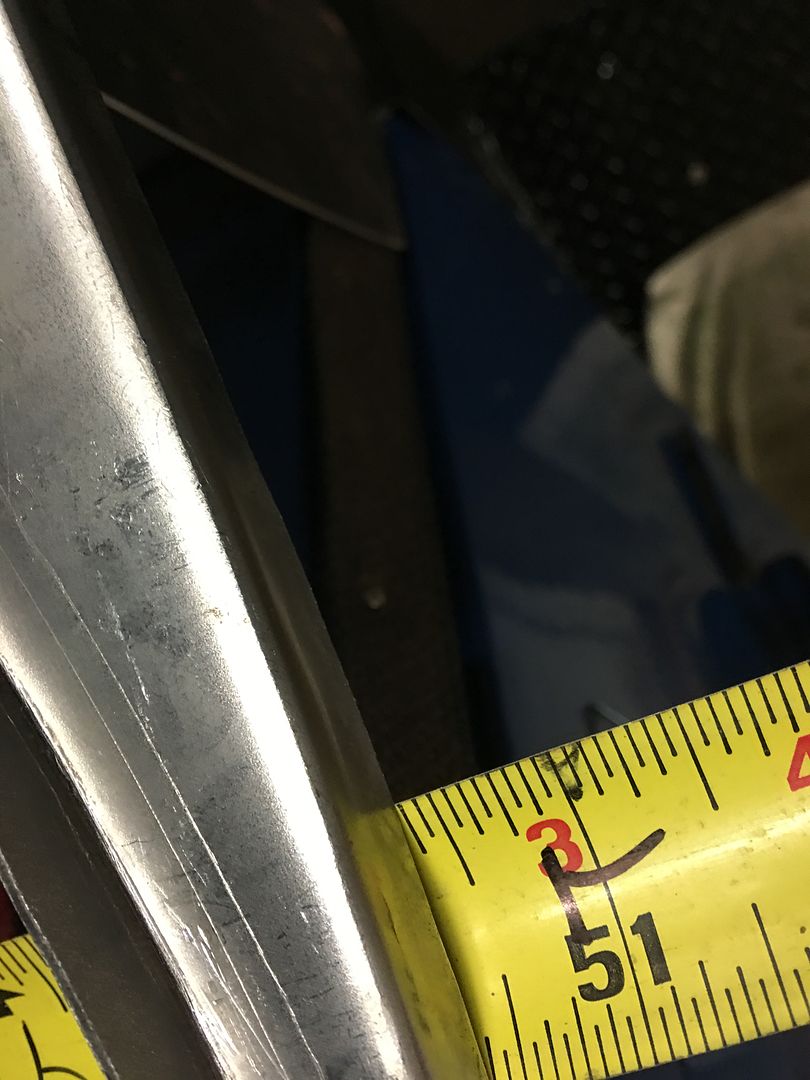
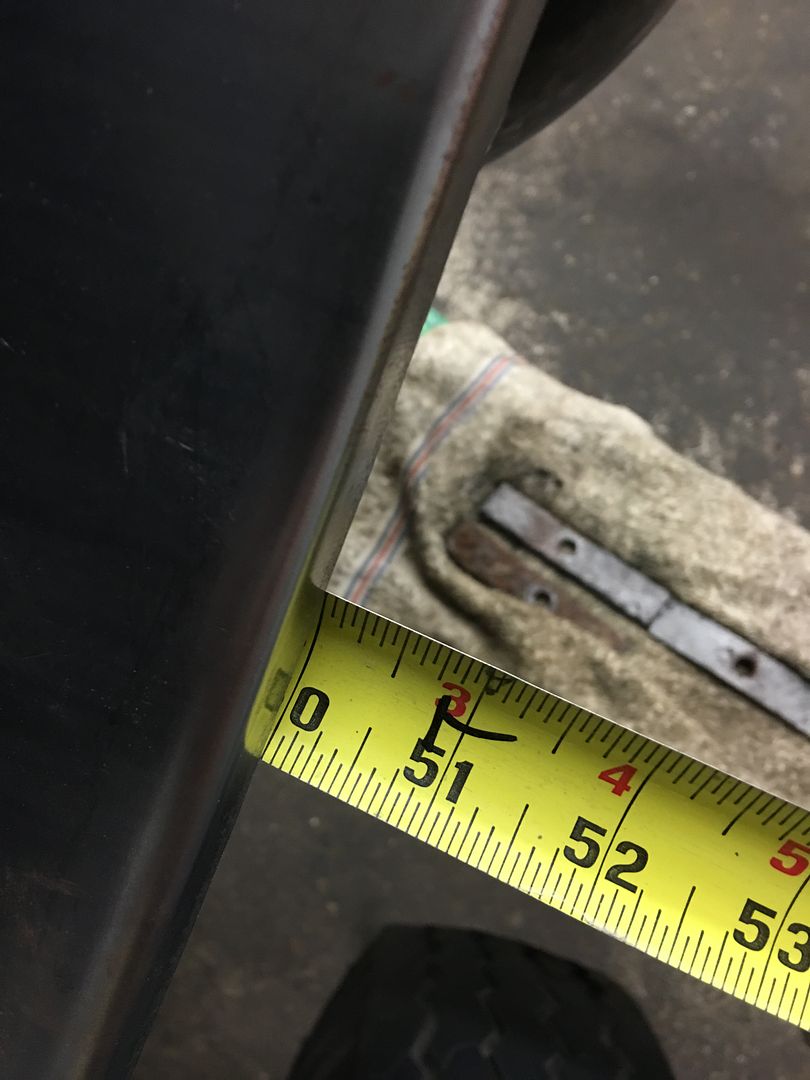
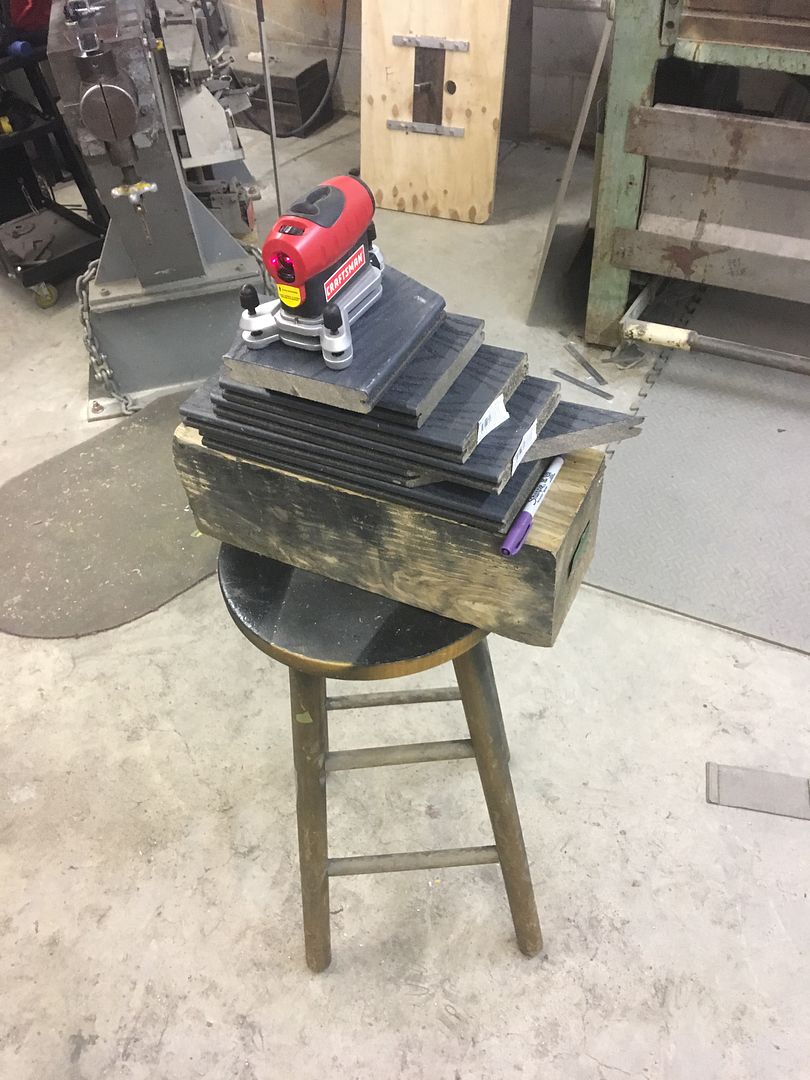
Well, I need to make a little progress on a 16 gauge fender, so the highly precise stand for the Laser Level was used. We have about 13-3/4" difference in height from back edge of fender to front edge. So Laser is set at 13-3/4 above the table, with heights verified to all four corners of the table.
Prior to trimming the front of the fender we had measured some reference marks to the front edge for locating the new cut line..
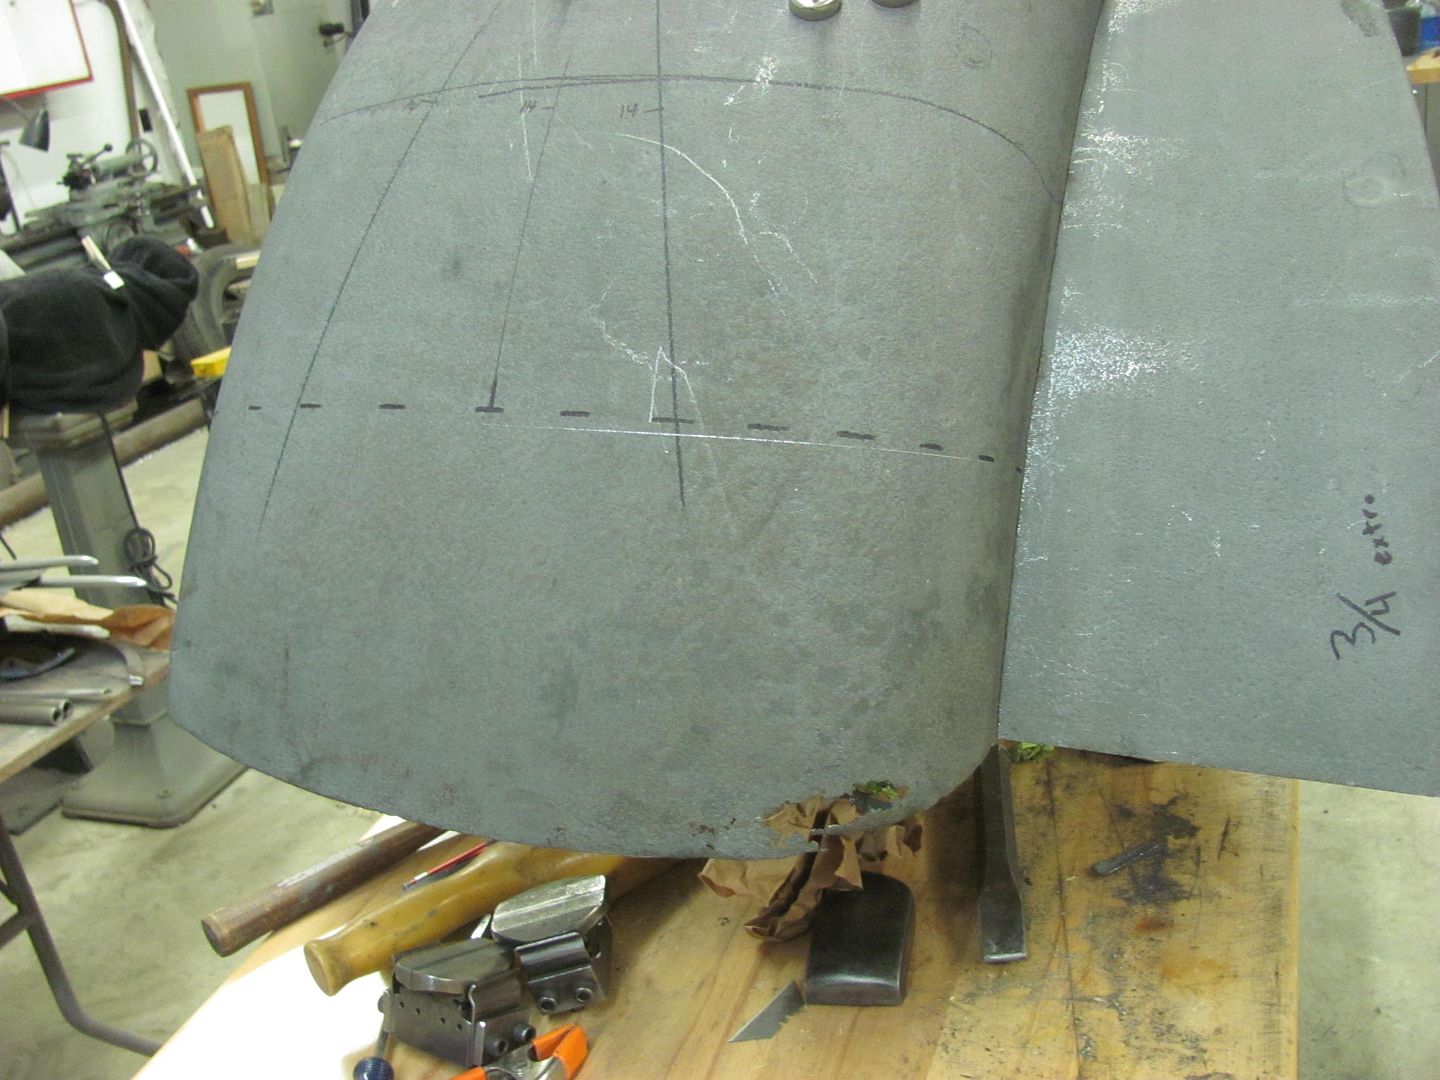
Adding those lower edge marks back on our fender patch, we adjusted the height of the fender front for the laser to match those marks by sliding our jack stand fixture around inside the fender until we had the correct height. Hey, this is technical stuff!

And traced the laser mark with the sharpie...
Initial cut to remove the bulk was done with the Milwaukee shear, the final was done with Midwest Shears. I figured slower = more precise...
Robert
-
02-06-2017 11:58 AM #3
CHR Member
- Join Date
- Apr 2011
- Location
- Prairie City
- Car Year, Make, Model: 40 Ford Deluxe, 68 Corvette, 72&76 K30
- Posts
- 7,301
- Blog Entries
- 1
Great idea and nice work! That hood debacle looks like my kind of luck. That is a really nice truck!Ryan
1940 Ford Deluxe Tudor 354 Hemi 46RH Electric Blue w/multi-color flames, Ford 9" Residing in multiple pieces
1968 Corvette Coupe 5.9 Cummins Drag Car 11.43@130mph No stall leaving the line with 1250 rpm's and poor 2.2 60'
1972 Chevy K30 Longhorn P-pumped 24v Compound Turbos 47RH Just another money pit
1971 Camaro RS 5.3 BTR Stage 3 cam, SuperT10
Tire Sizes
-
02-07-2017 05:26 AM #4
CHR Member
- Join Date
- Jun 2008
- Location
- Leonardtown
- Car Year, Make, Model: Walking
- Posts
- 1,228
That and the ATHS (owner is a past president and current board member) National meet this year is in Des Moines Iowa on May 25-27. I need to get cracking...Robert
-
02-07-2017 01:20 PM #5
CHR Member
- Join Date
- Apr 2011
- Location
- Prairie City
- Car Year, Make, Model: 40 Ford Deluxe, 68 Corvette, 72&76 K30
- Posts
- 7,301
- Blog Entries
- 1
Does that mean you're coming here for this? Originally Posted by MP&C

Ryan
1940 Ford Deluxe Tudor 354 Hemi 46RH Electric Blue w/multi-color flames, Ford 9" Residing in multiple pieces
1968 Corvette Coupe 5.9 Cummins Drag Car 11.43@130mph No stall leaving the line with 1250 rpm's and poor 2.2 60'
1972 Chevy K30 Longhorn P-pumped 24v Compound Turbos 47RH Just another money pit
1971 Camaro RS 5.3 BTR Stage 3 cam, SuperT10
Tire Sizes
-
02-07-2017 10:22 AM #6
CHR Member
- Join Date
- Jan 2005
- Location
- Doon, Ia
- Car Year, Make, Model: 53 Chevy 3100
- Posts
- 2,716
I don't know how I missed this thread but that is impressive work. Even if a guy has all the metal fab tools you have I think experience and skill is a larger part of it which you obviously have.
-
02-07-2017 01:39 PM #7
CHR Member
- Join Date
- Jun 2008
- Location
- Leonardtown
- Car Year, Make, Model: Walking
- Posts
- 1,228
I won't be but hopefully the truck will. The boss lady has already laid claim on the vacation time for this year, aside from our fall MetalShaping class.Robert
-
02-08-2017 08:29 PM #8
CHR Member
- Join Date
- Jun 2008
- Location
- Leonardtown
- Car Year, Make, Model: Walking
- Posts
- 1,228
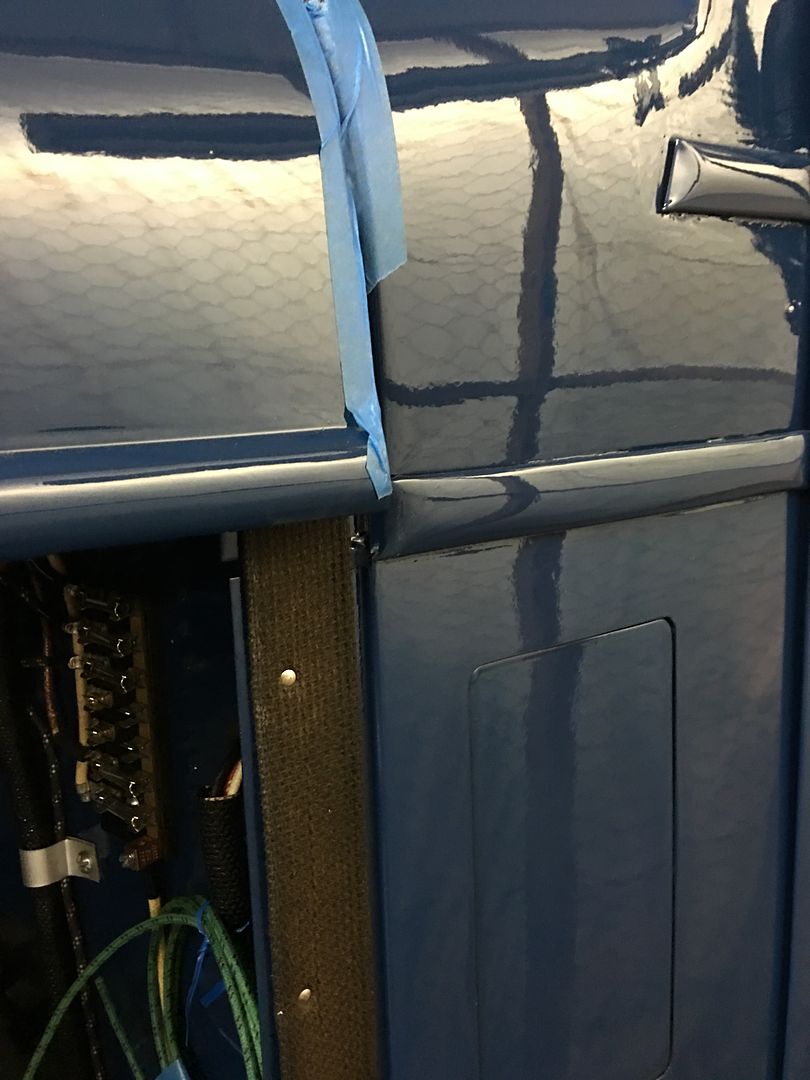
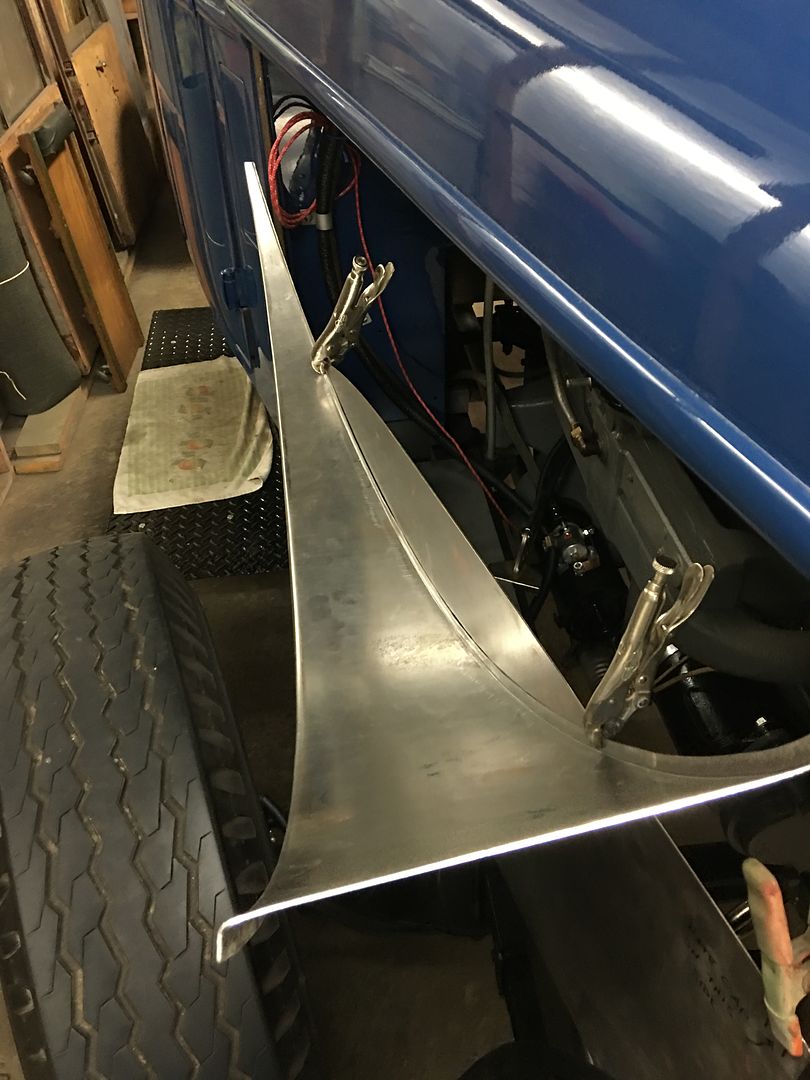
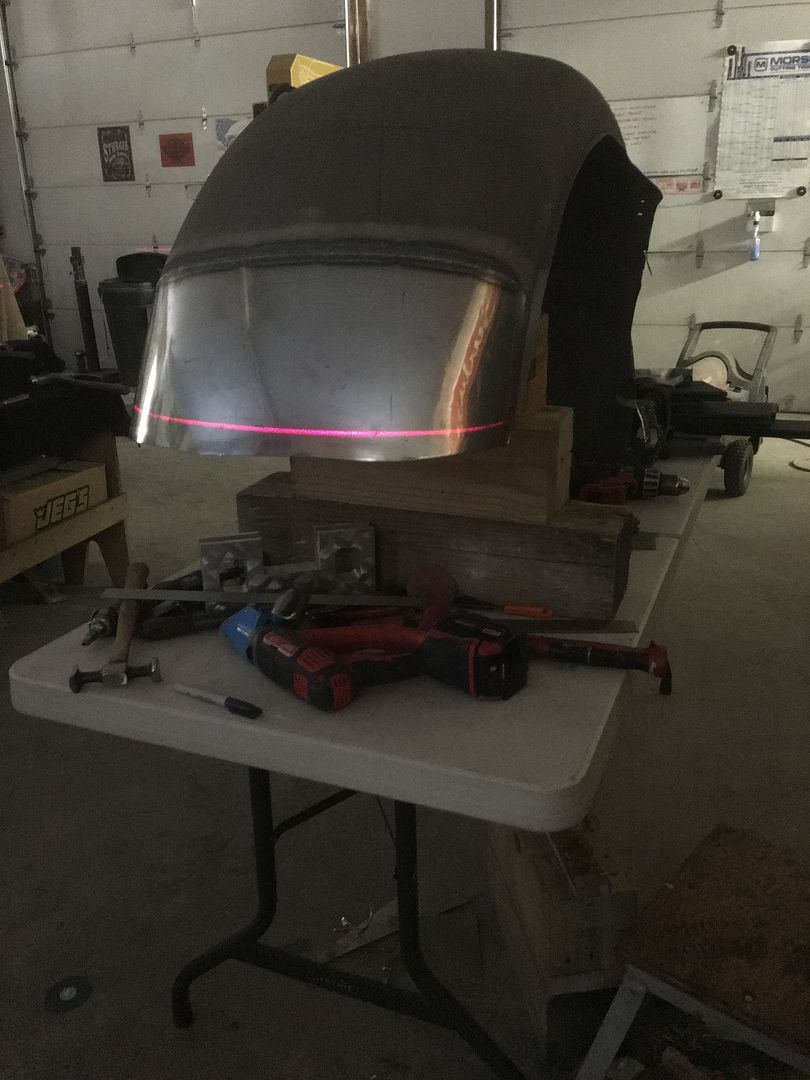
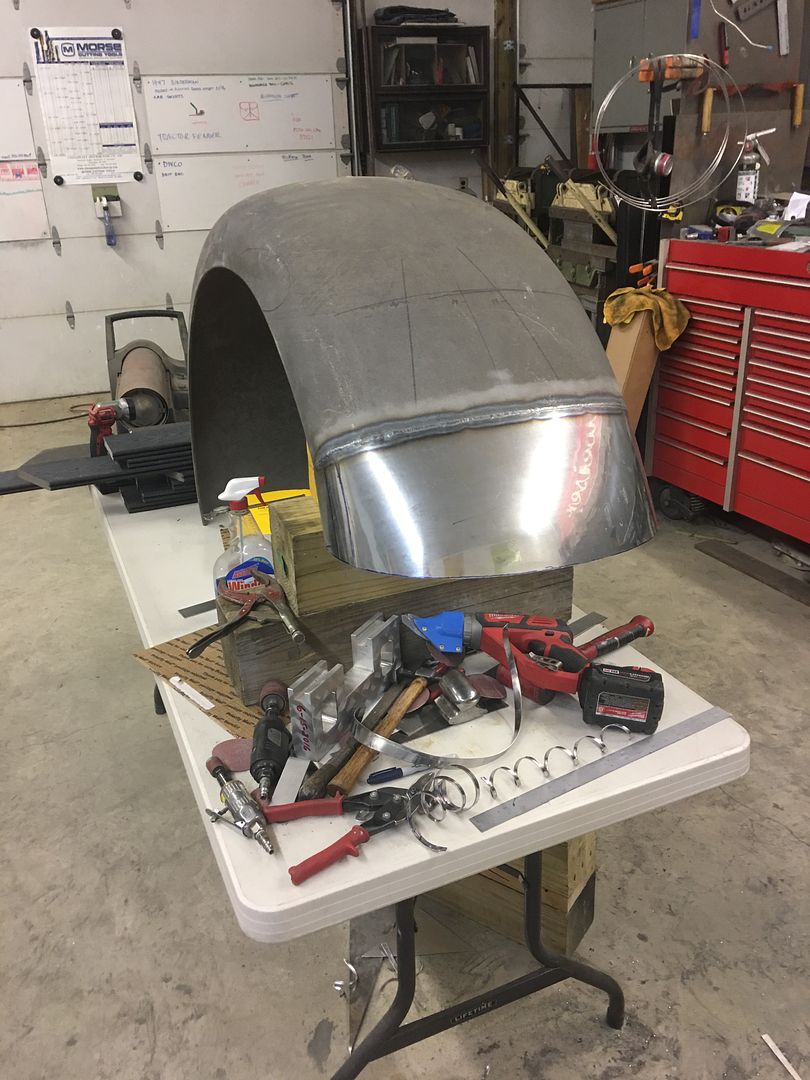
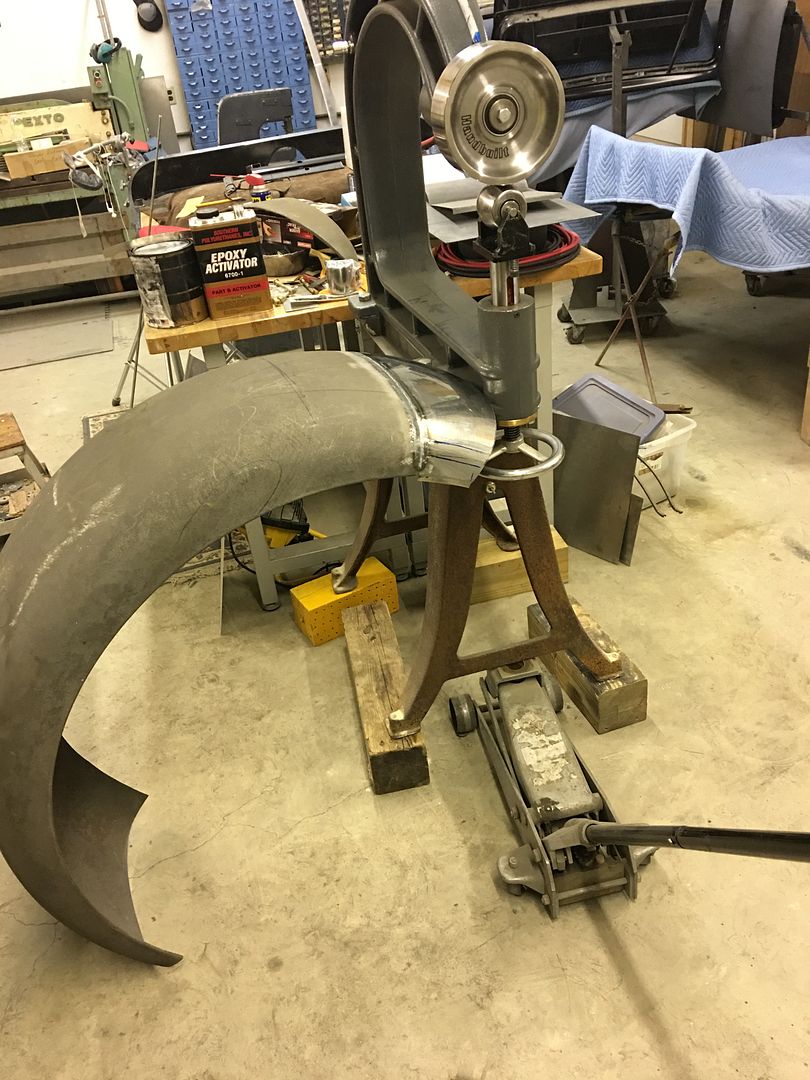
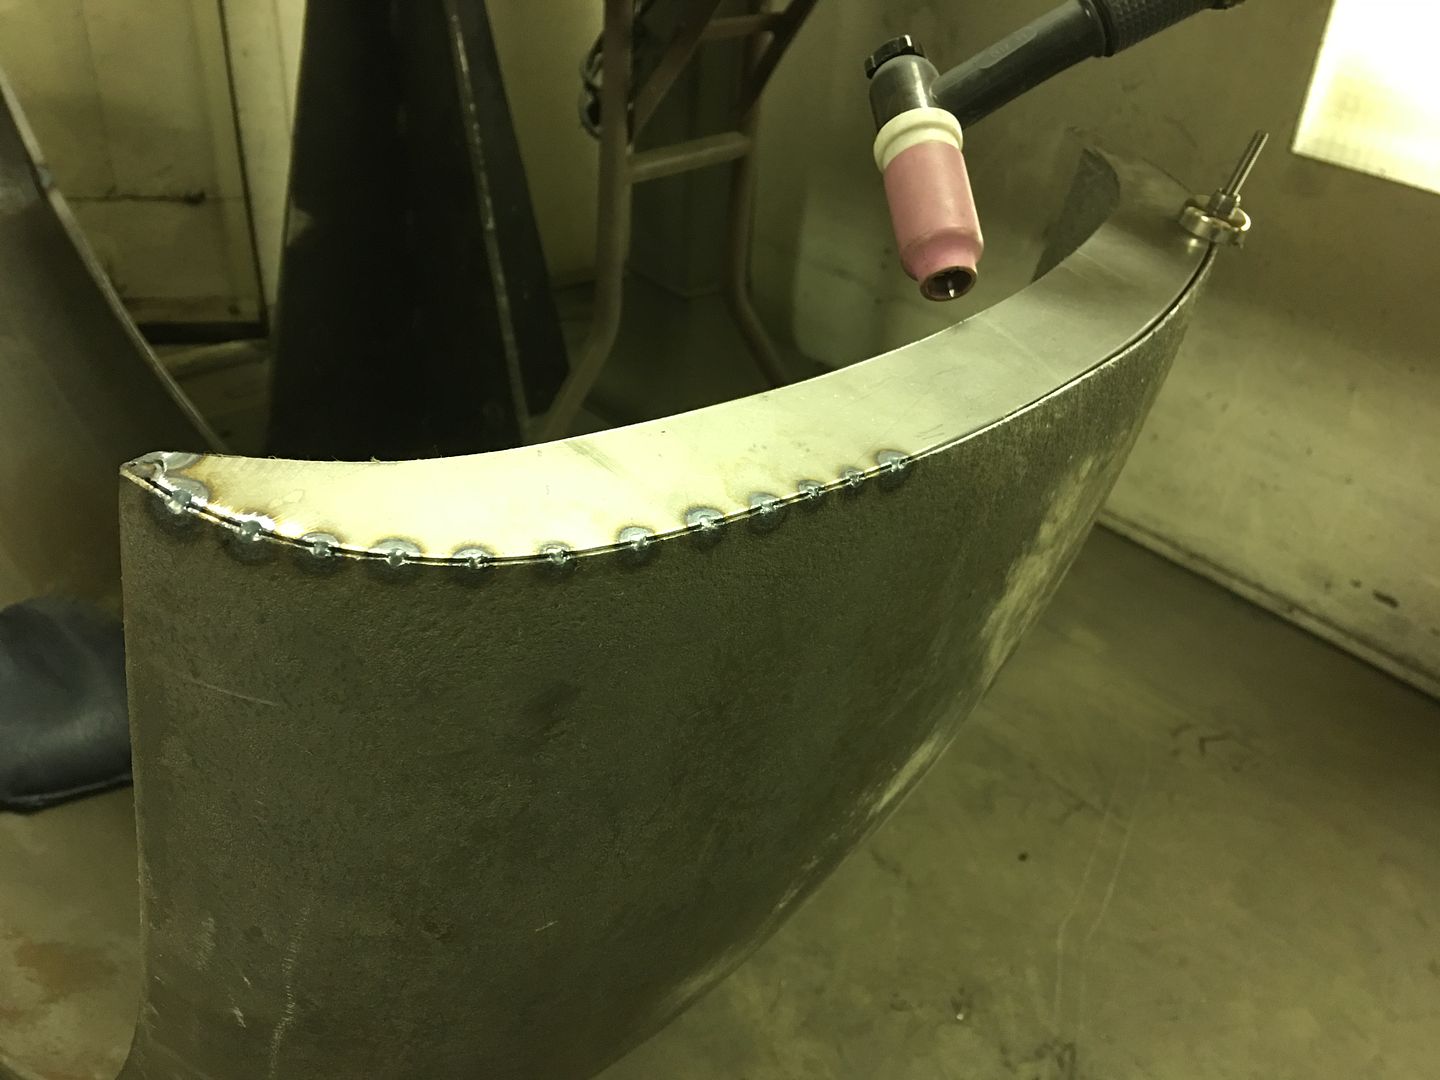
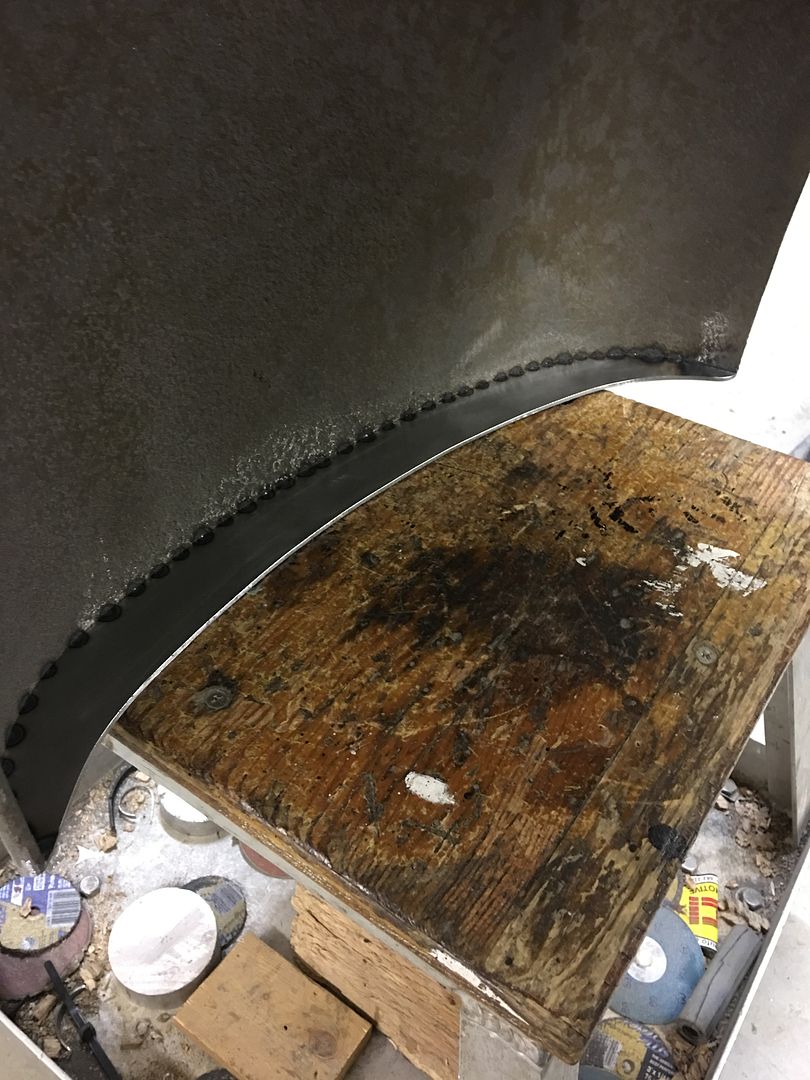
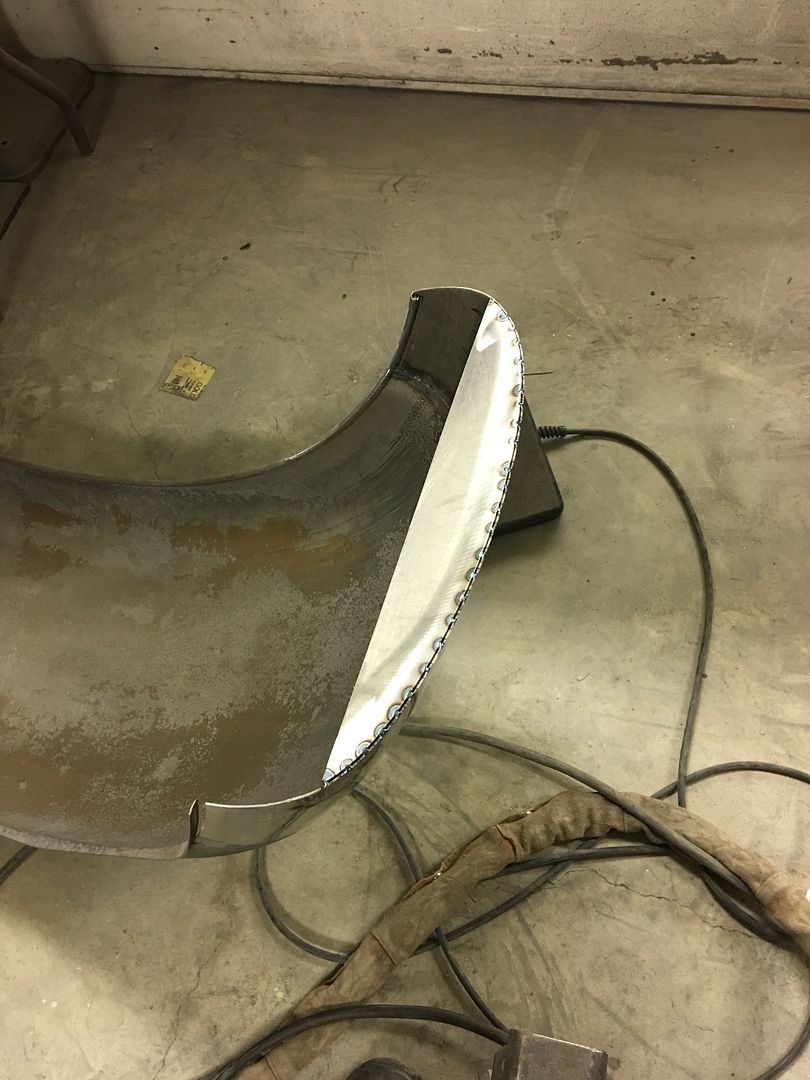
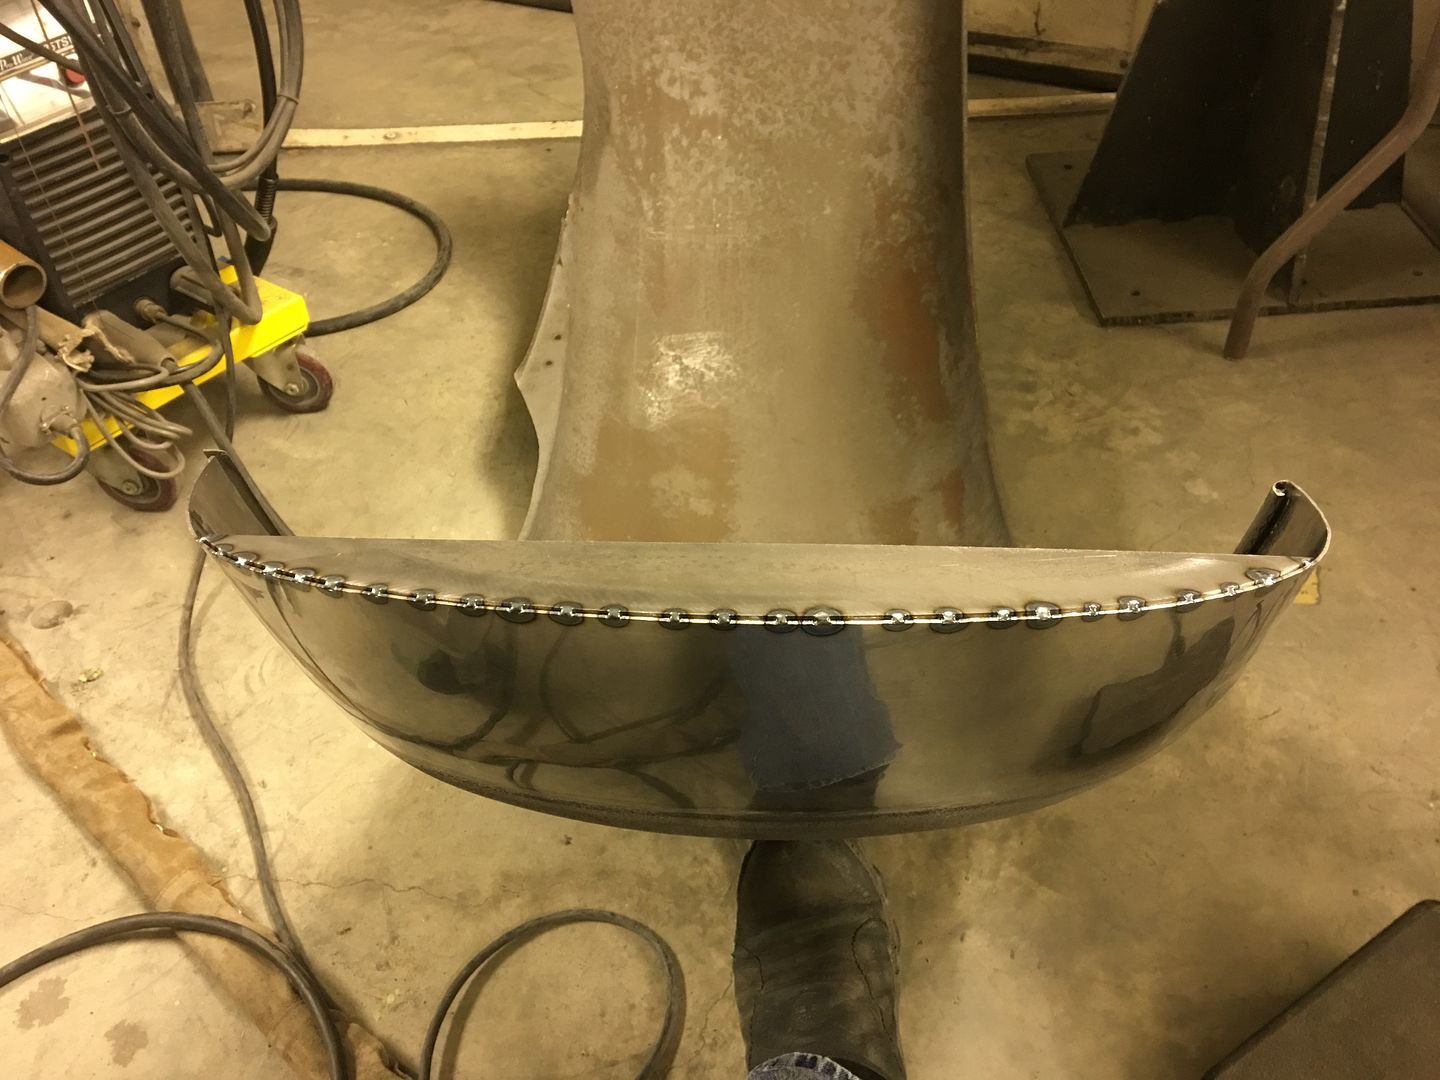
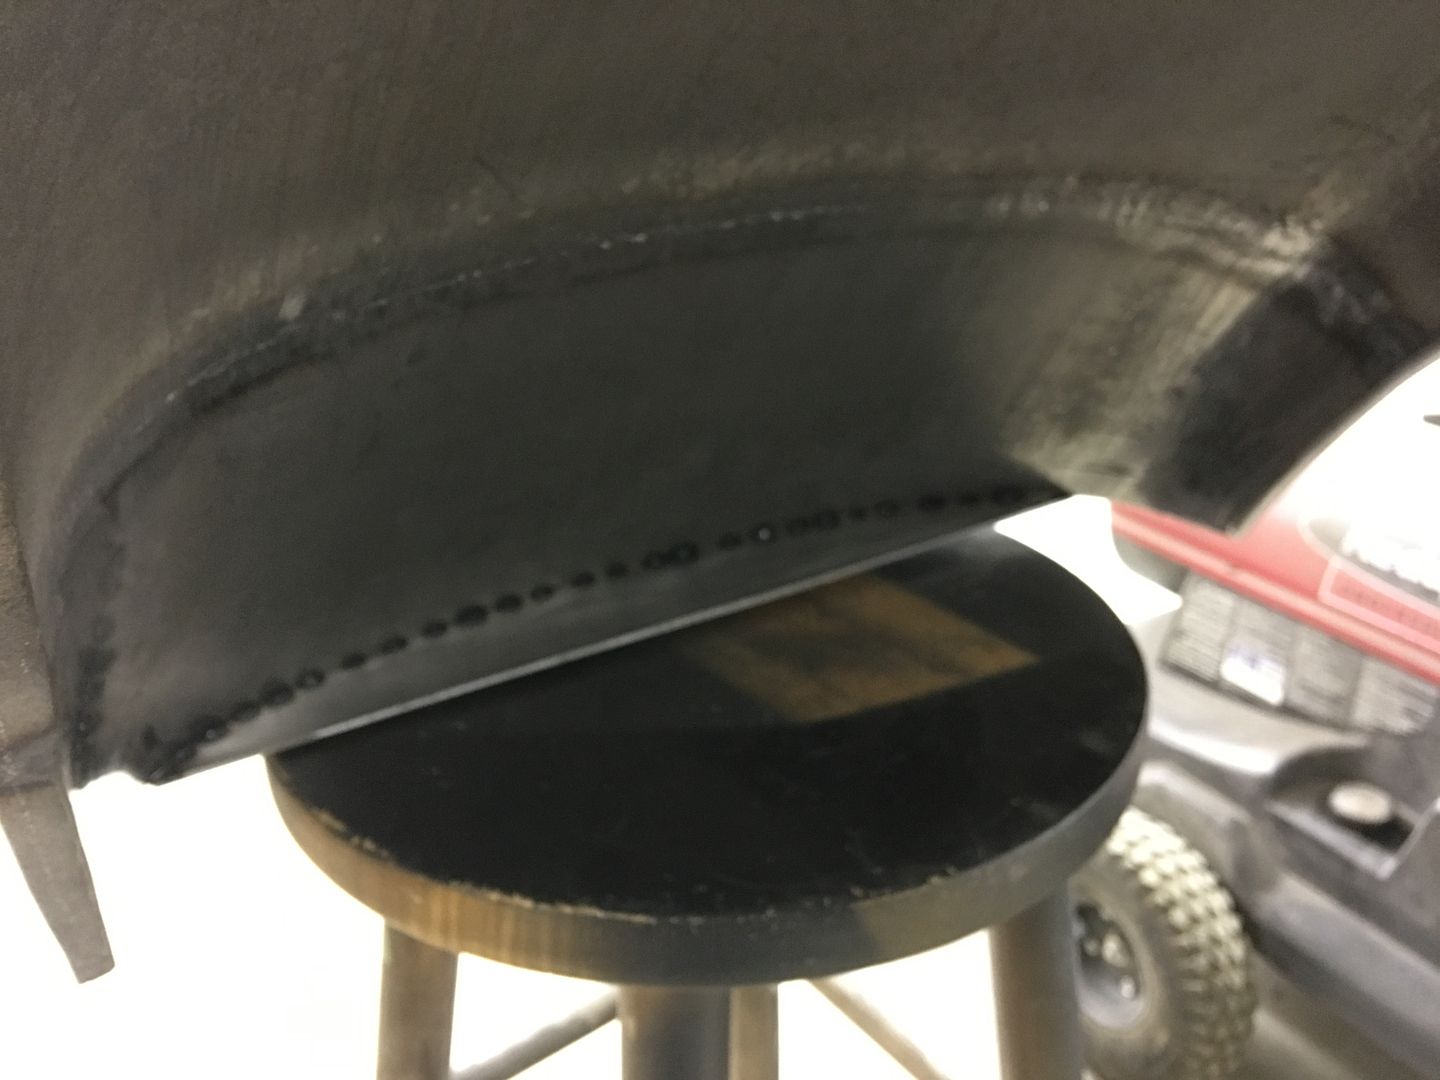
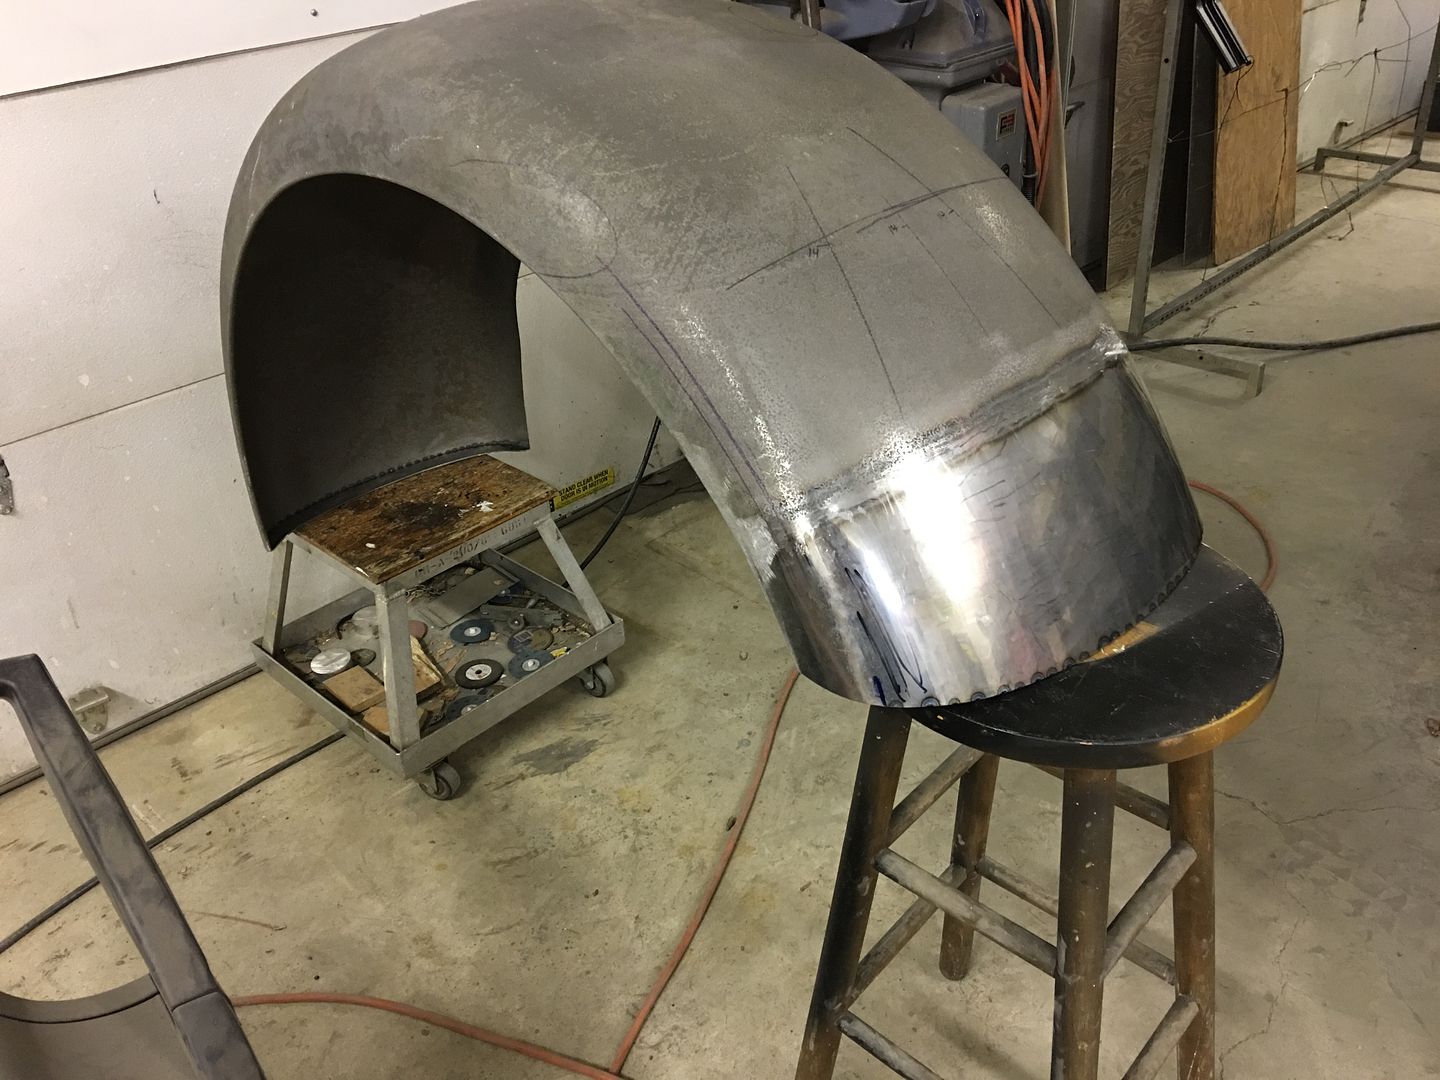
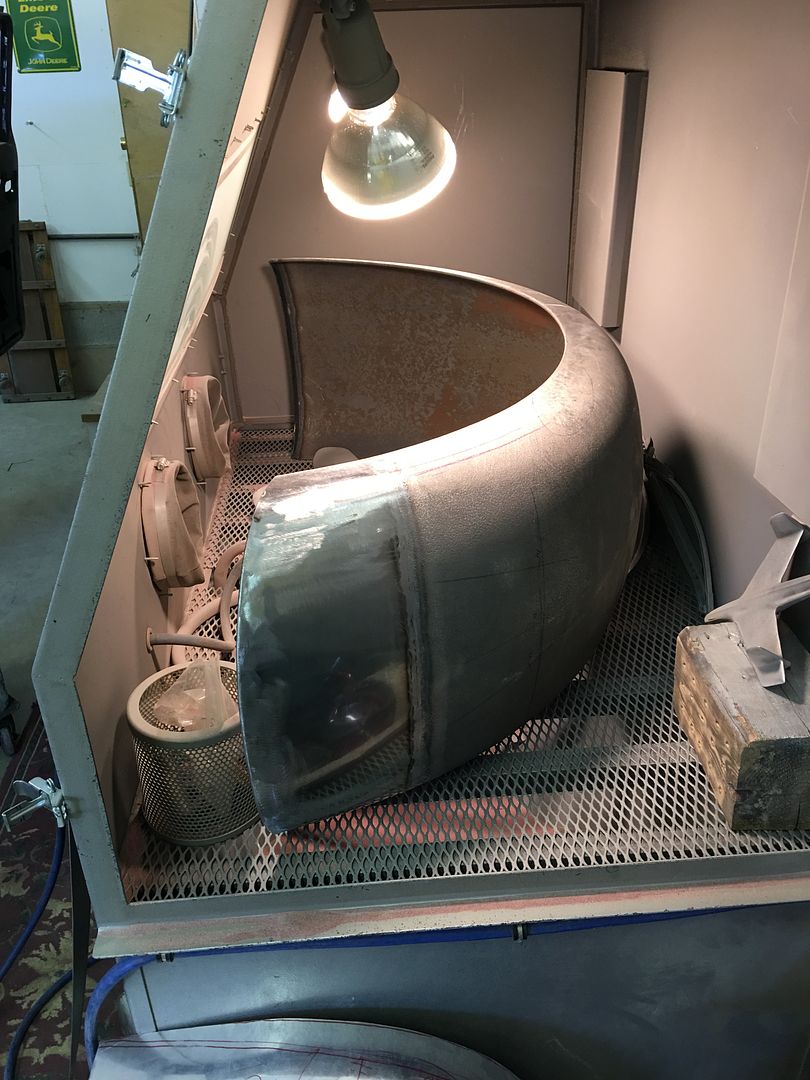
Doing a test fit of the Biederman fender....
Was going to do a little bit of touch up on the front weld seam, needs more shape..
The fender spans about 53" at the bottom, where it wouldn't fit in the wheeling machine sitting on the floor. We added a lift kit under the legs, except for one which needed to be open under the leg..
in process....
https://www.youtube.com/watch?v=IvsAkBLlG2o
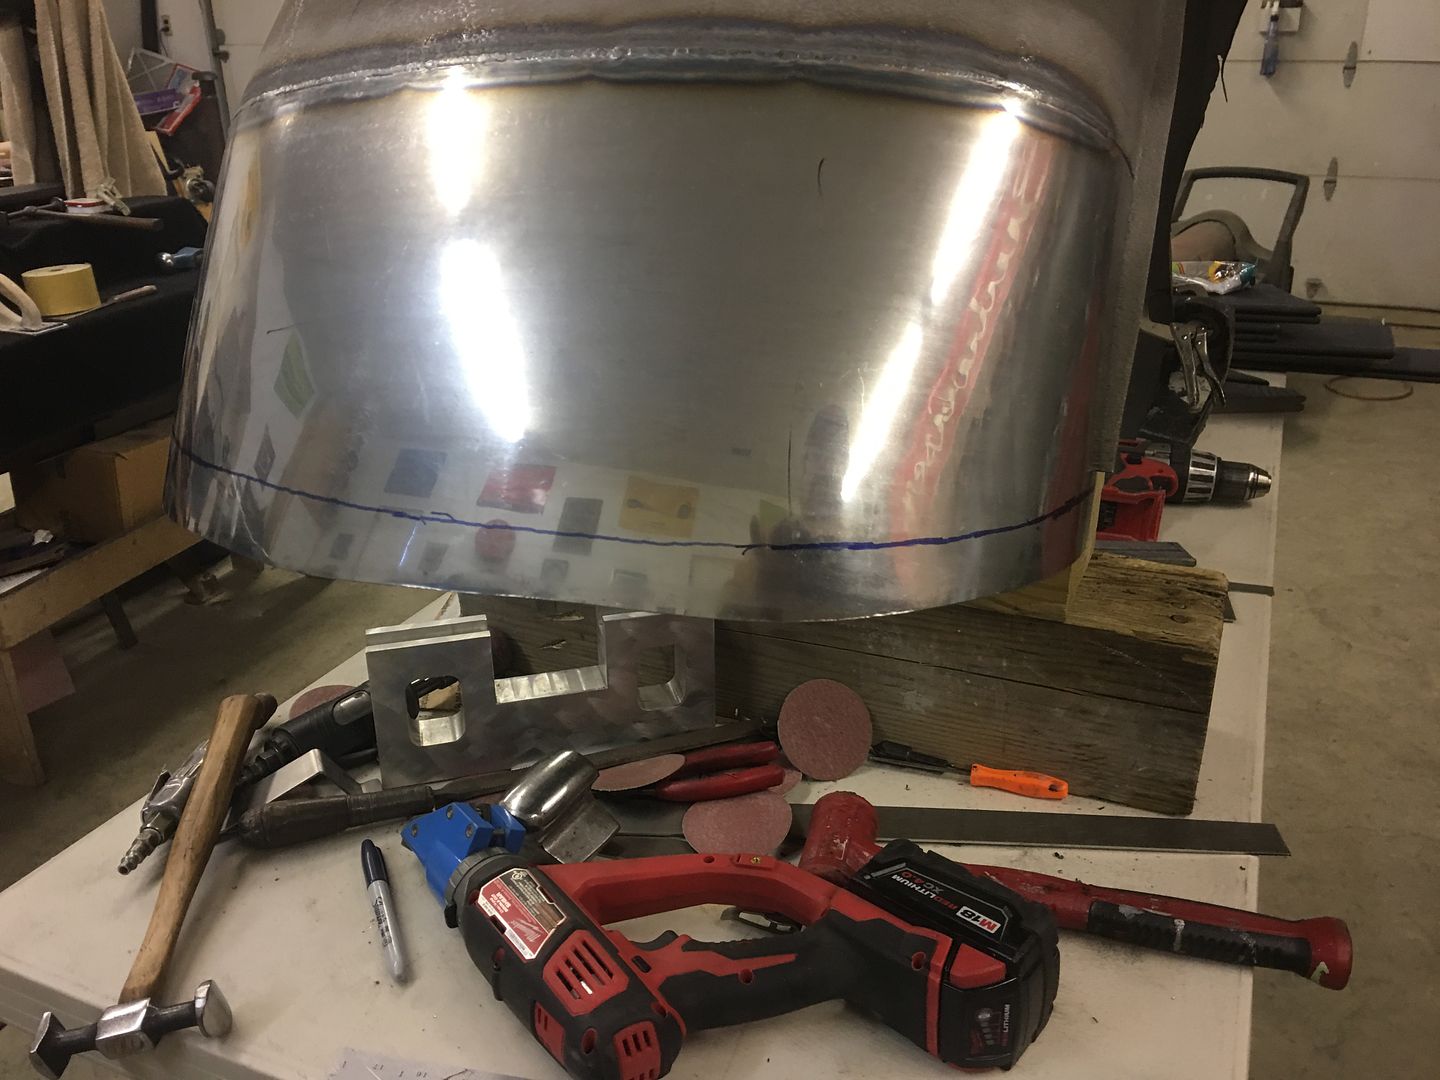
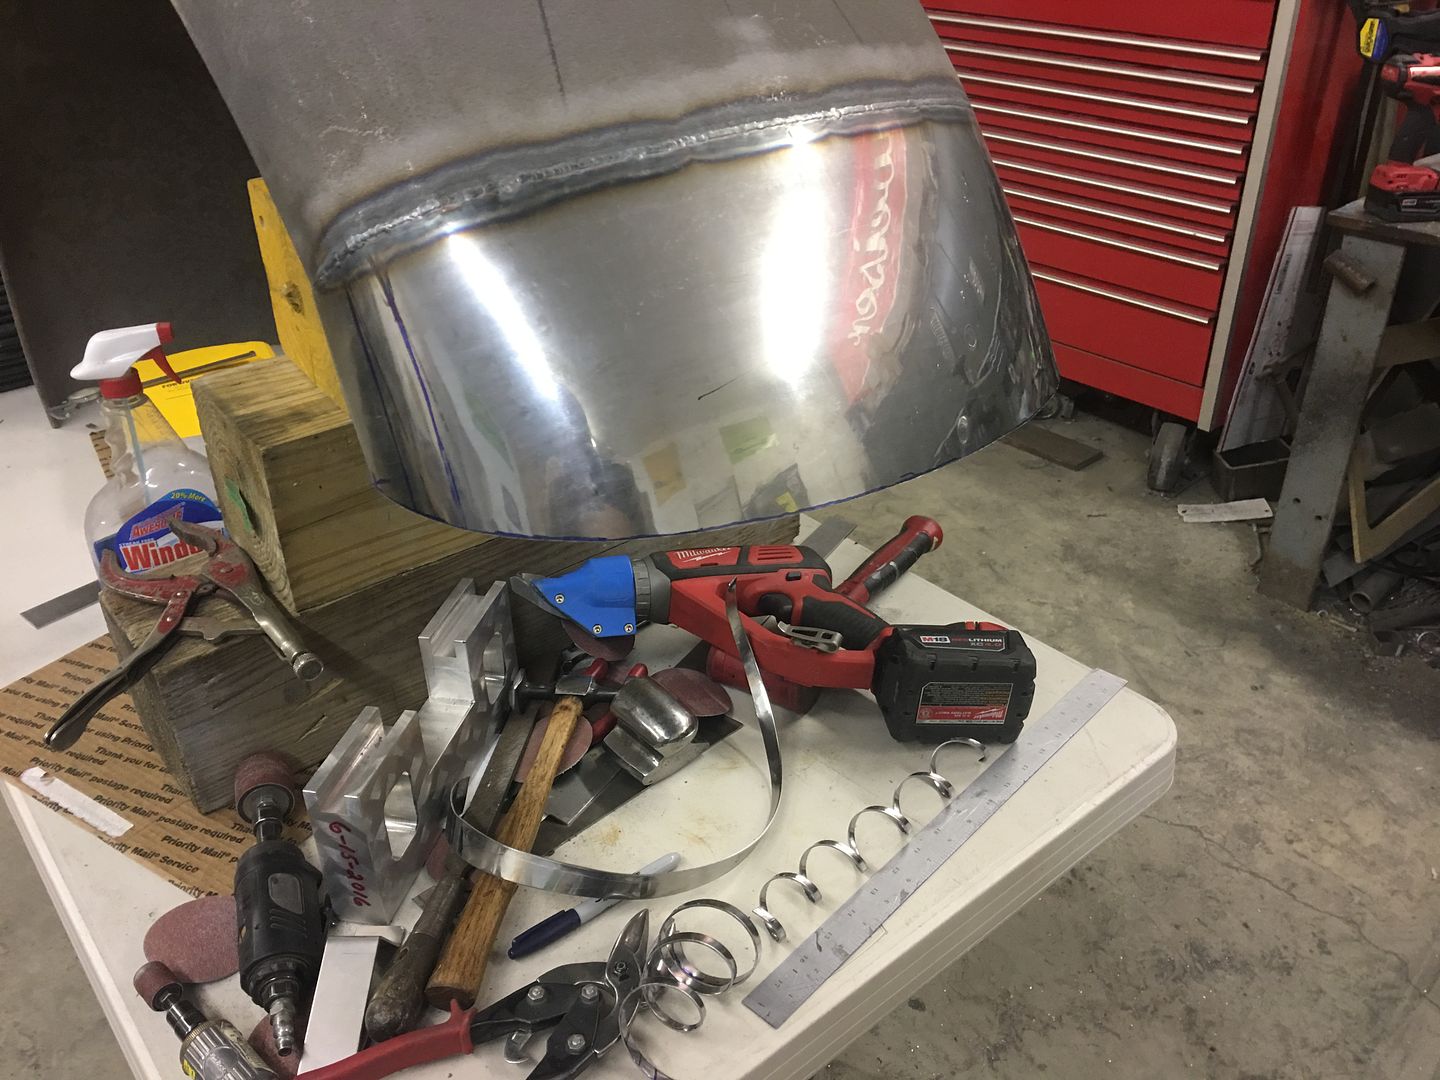
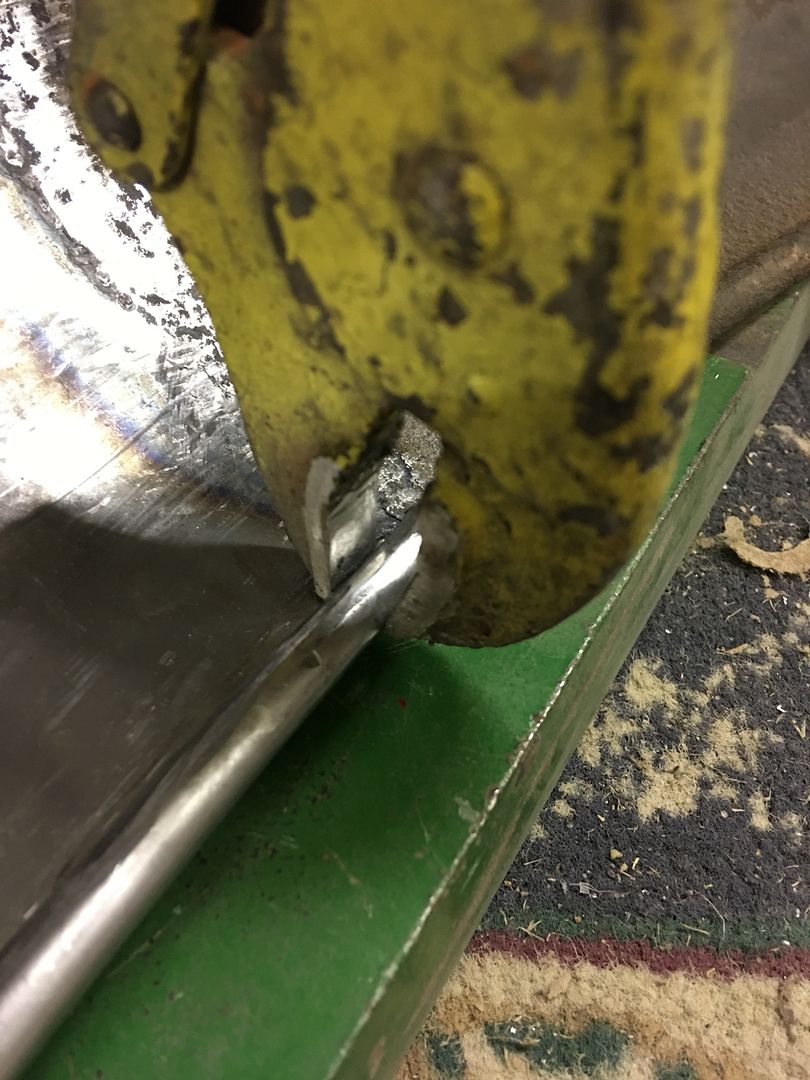
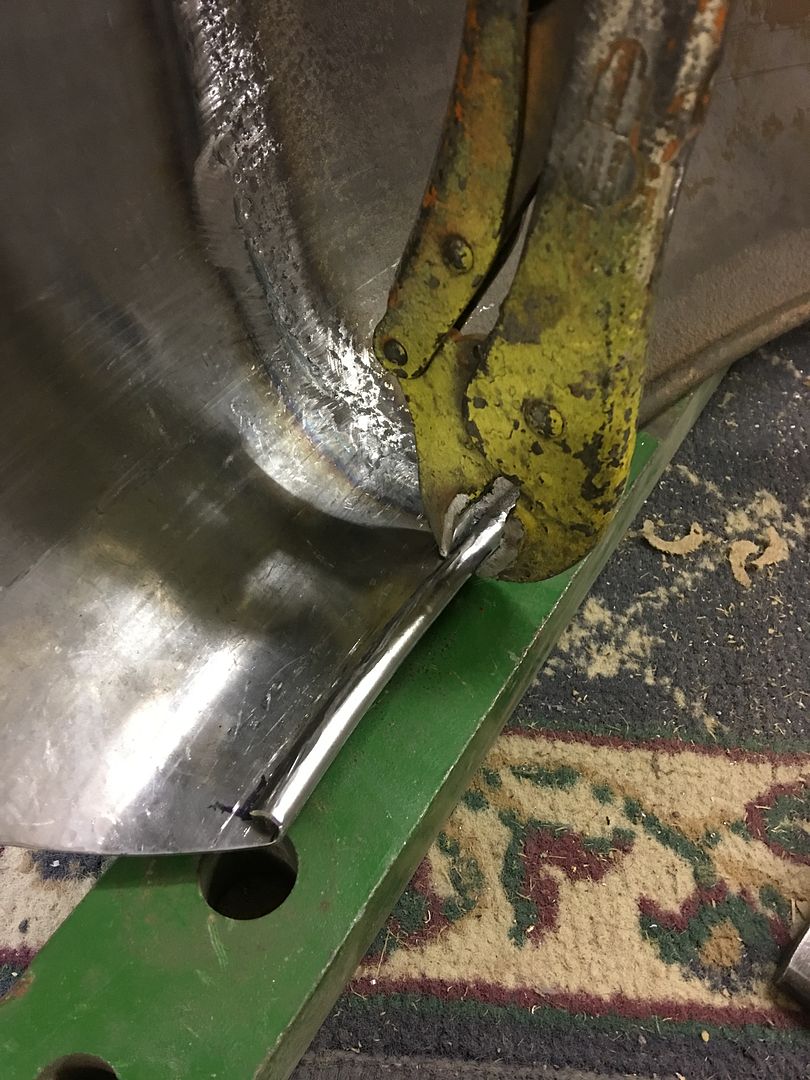
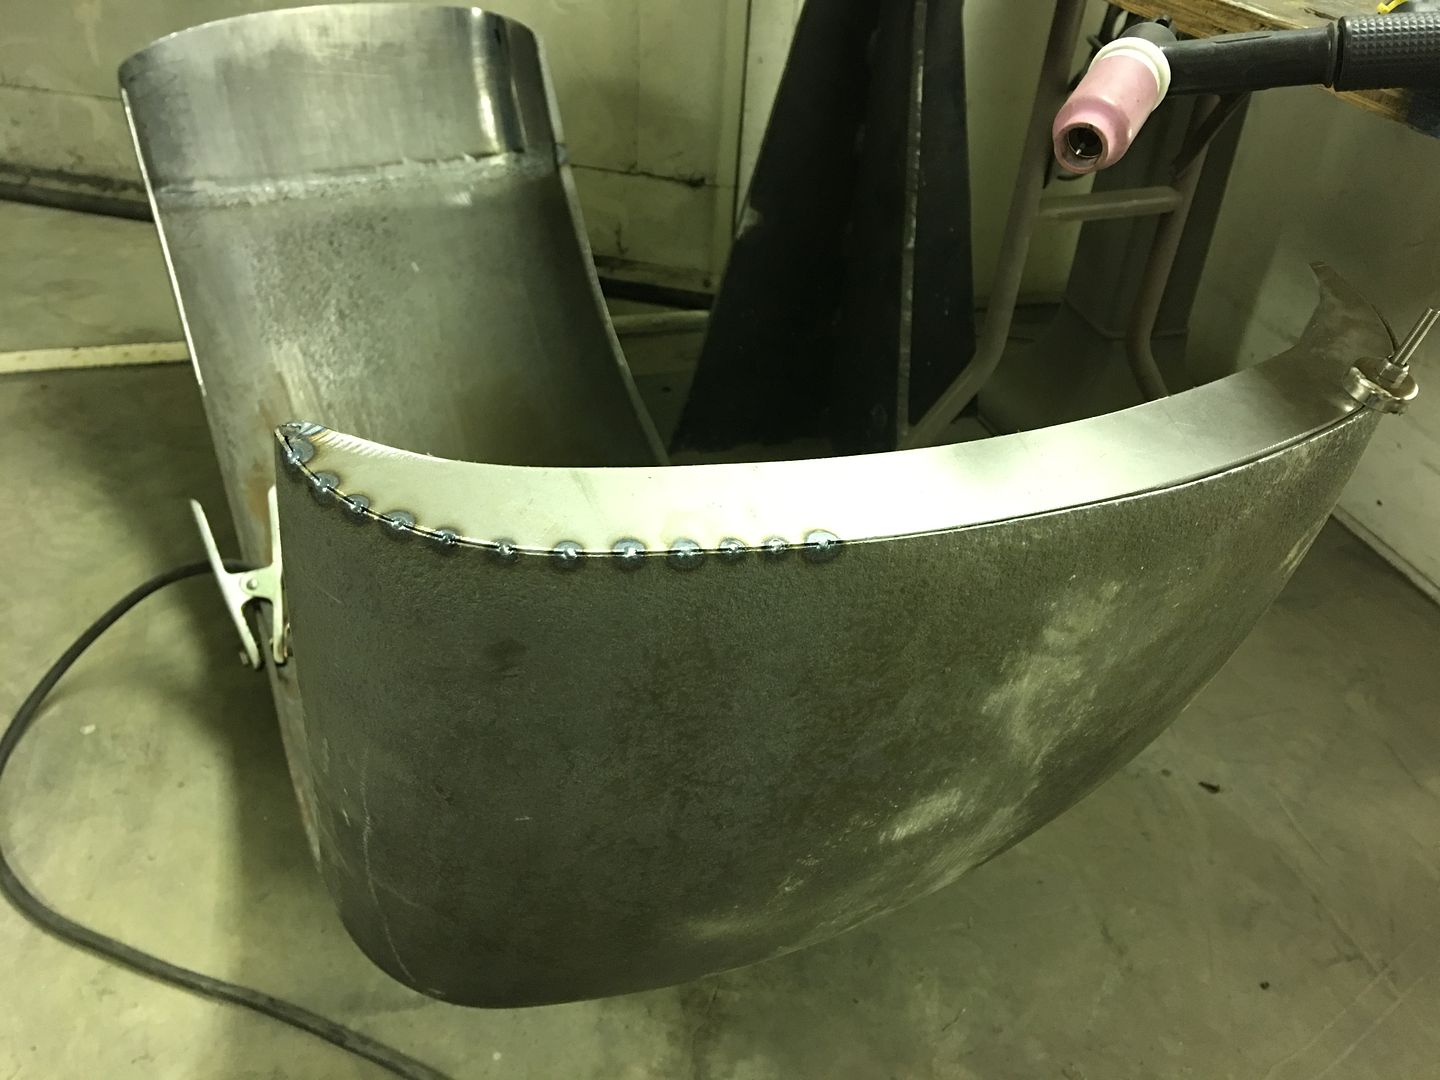
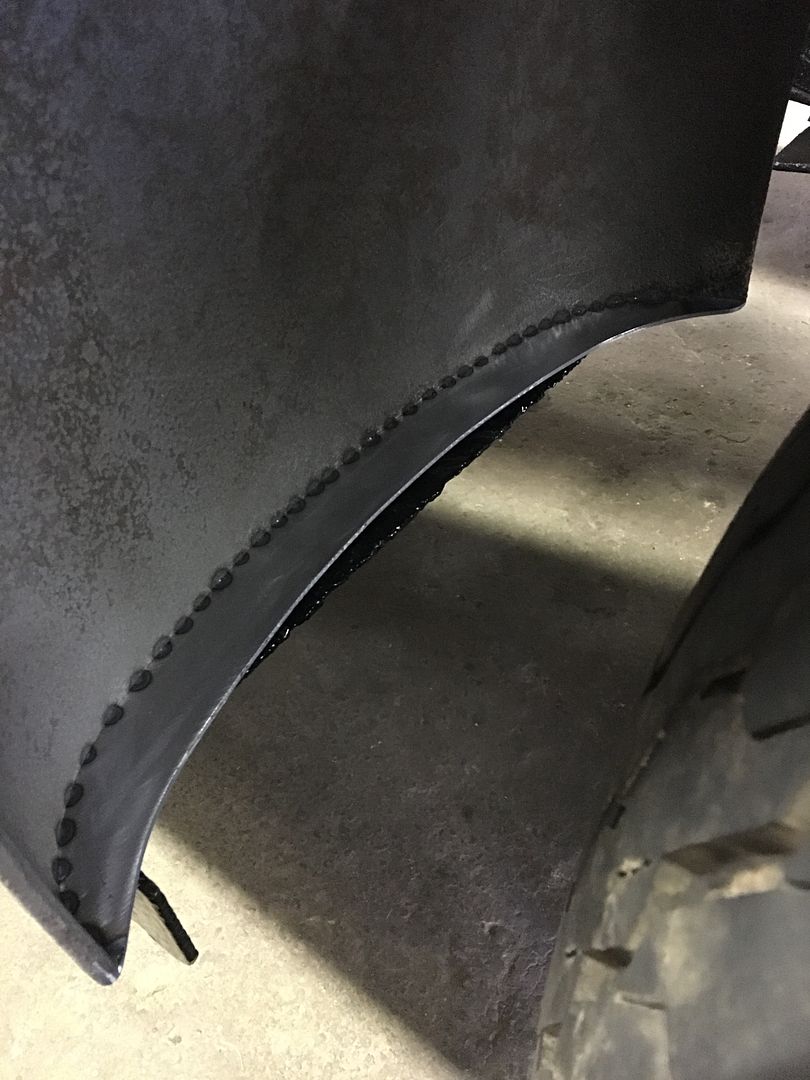
Needed to wrap the wire edge....
Note the genuine John Deere anvil...
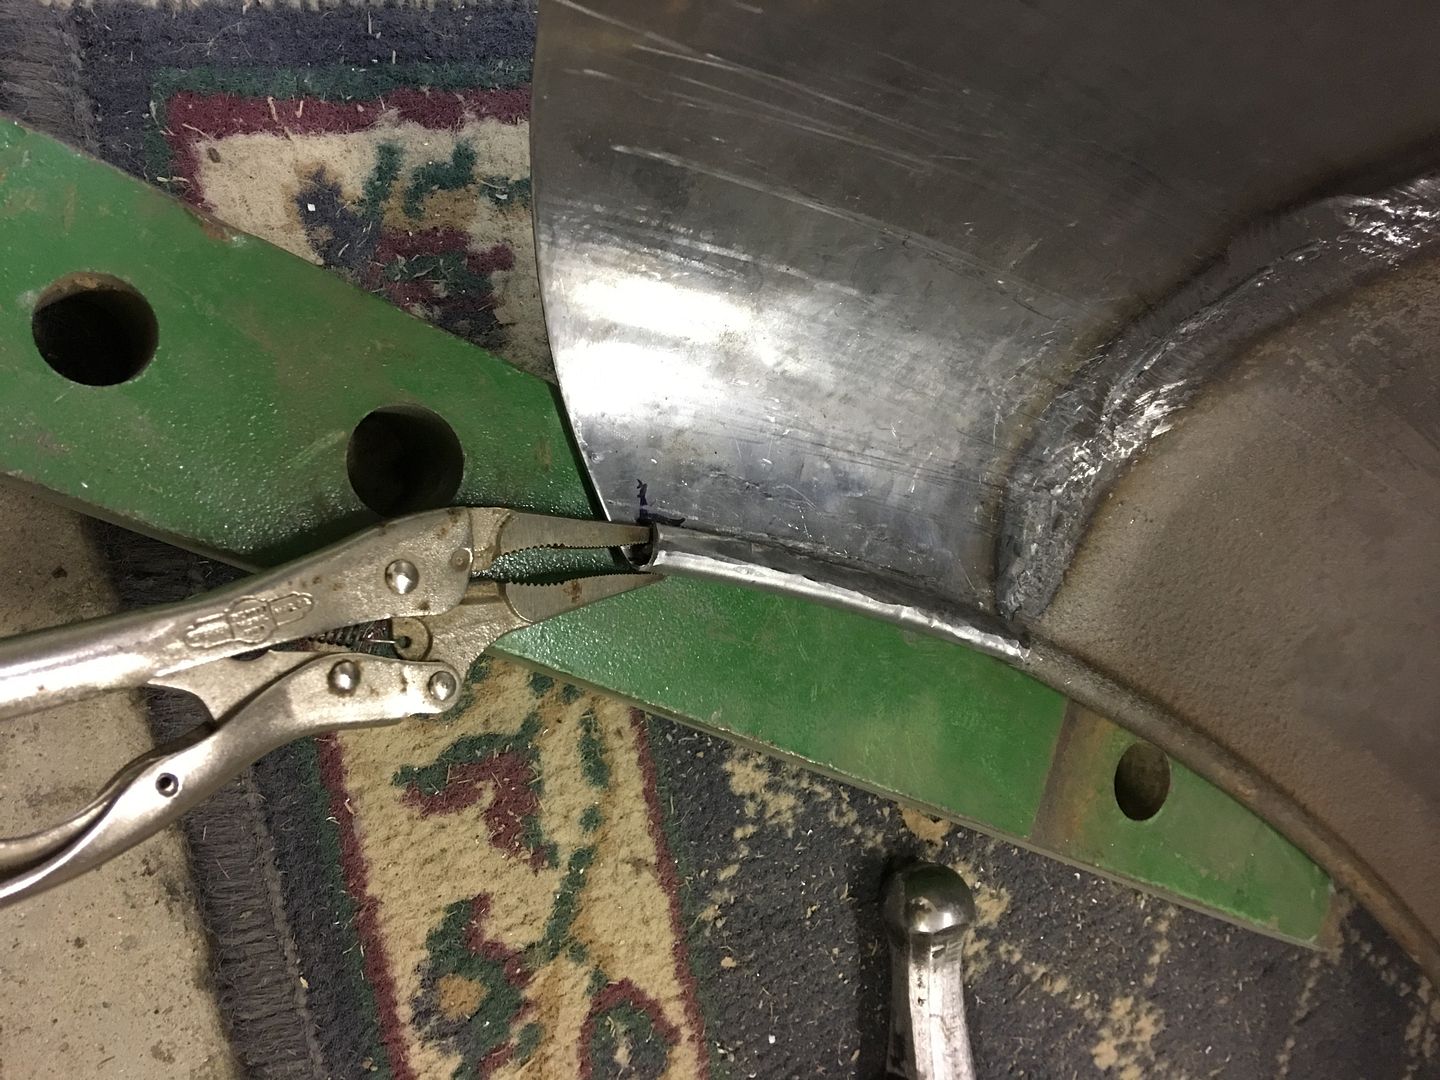
The flange was hammered over using various hammers and dollies (anvils) with the final wrap tightened up with a pair of vise grips modified with smooth jaws...

Robert
-
02-15-2017 08:03 PM #9
CHR Member
- Join Date
- Jun 2008
- Location
- Leonardtown
- Car Year, Make, Model: Walking
- Posts
- 1,228
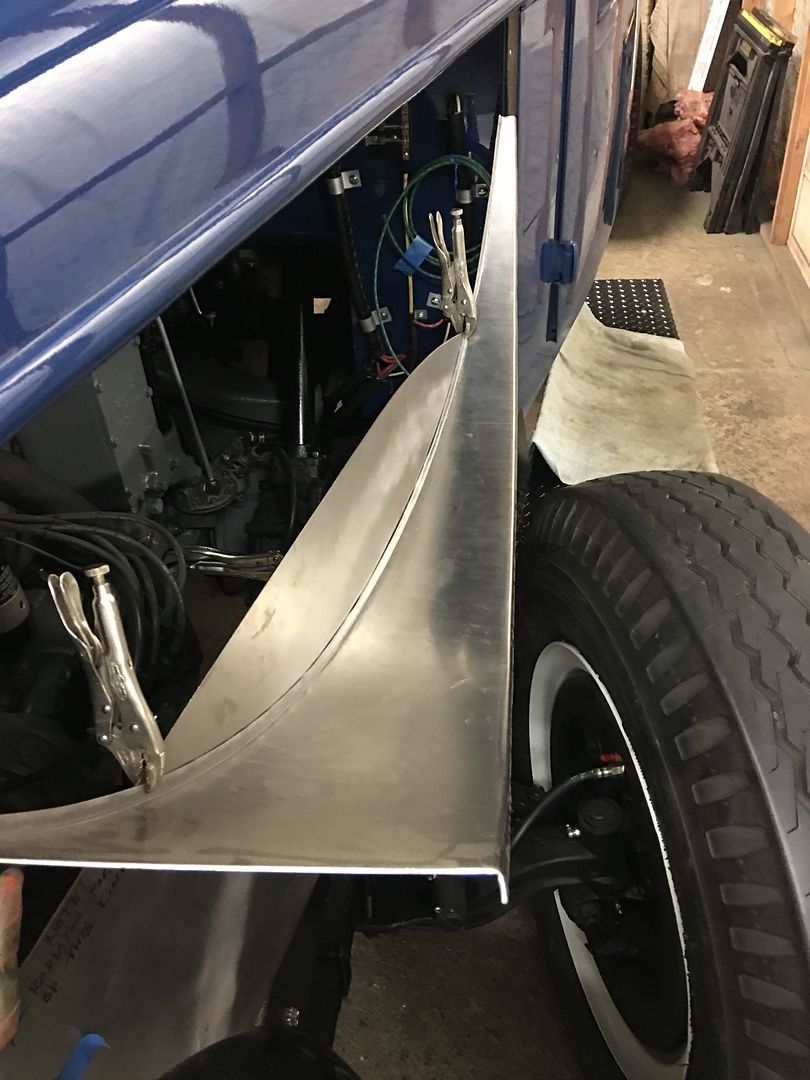
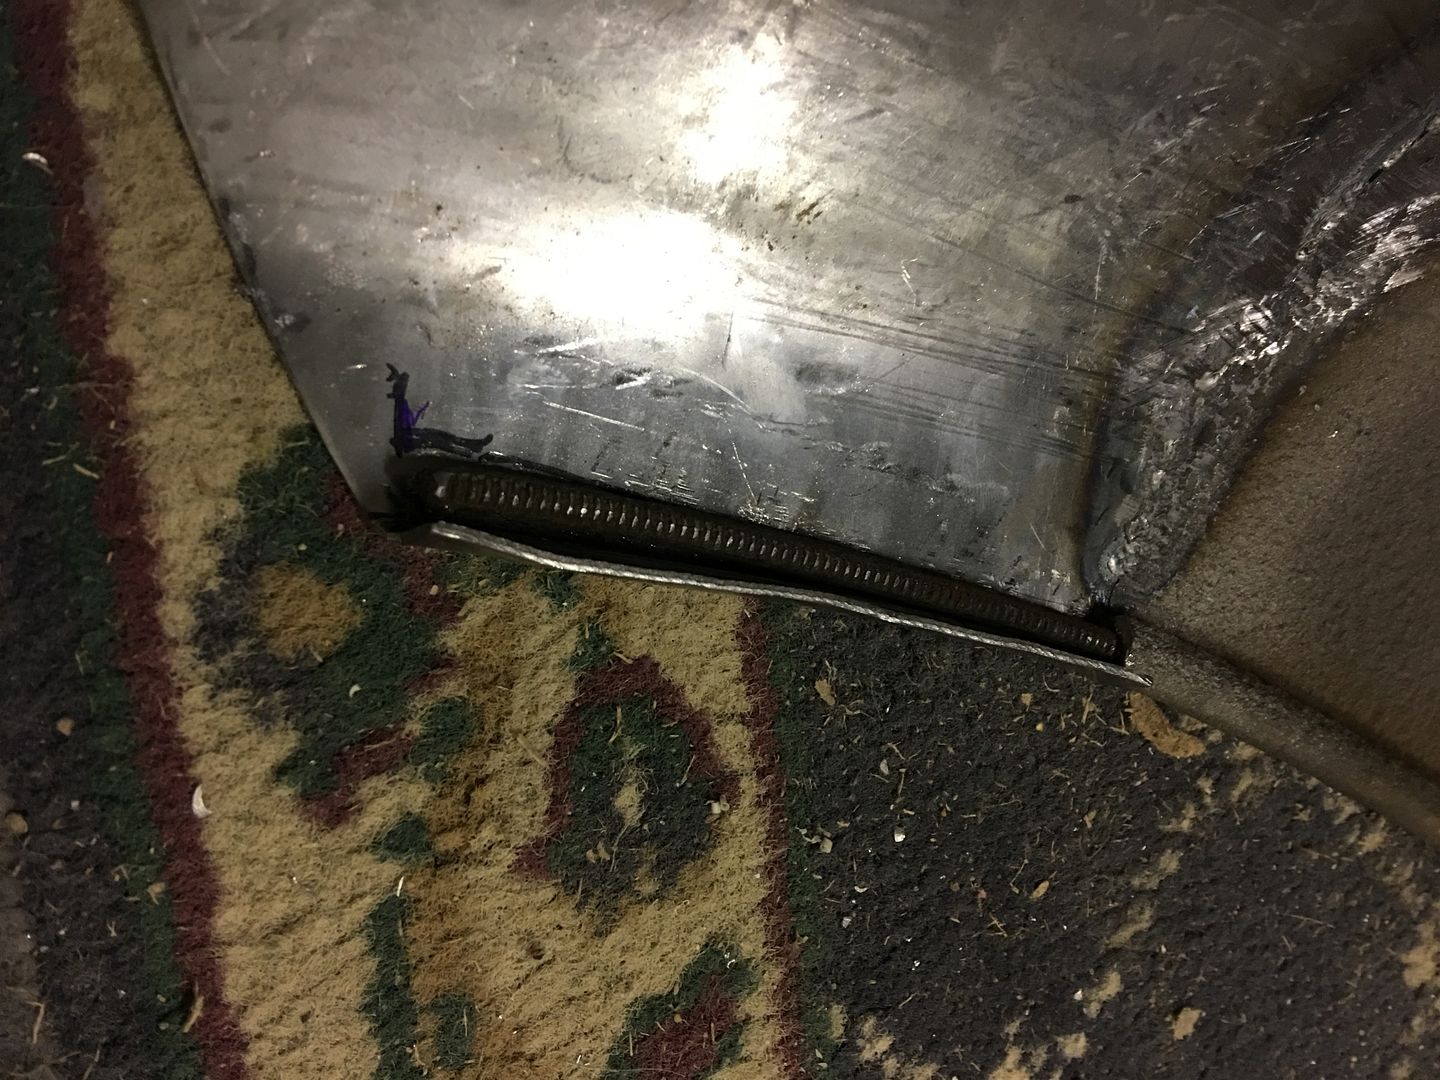
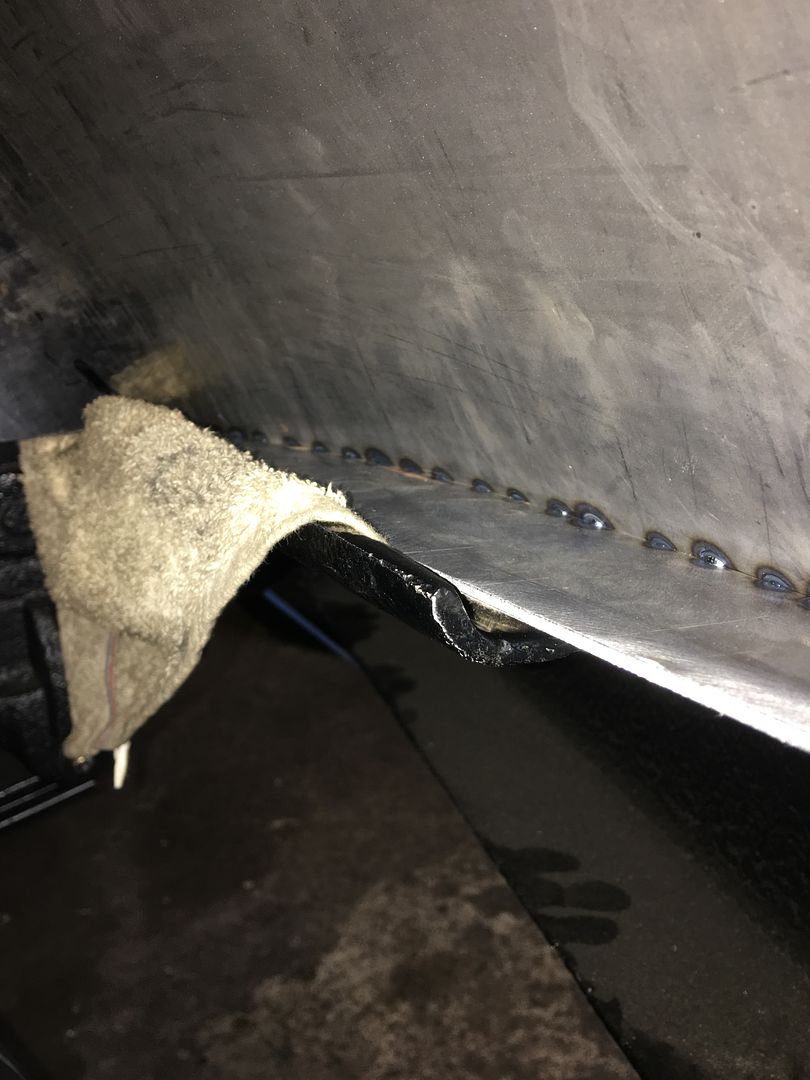
The rear flange for the Biederman fender is cut out of some 12 gauge steel and tacked in place..

This flange bolts to the front of the running board..
The front mounting flange is cut out of 12 gauge steel and tacked in place..
This flange bolts to the filler panel behind the front bumper.
With them tacked in place, we'll do one more test fit and then finish the welds.Robert
-
02-17-2017 05:43 AM #10
CHR Member
- Join Date
- Jun 2008
- Location
- Leonardtown
- Car Year, Make, Model: Walking
- Posts
- 1,228
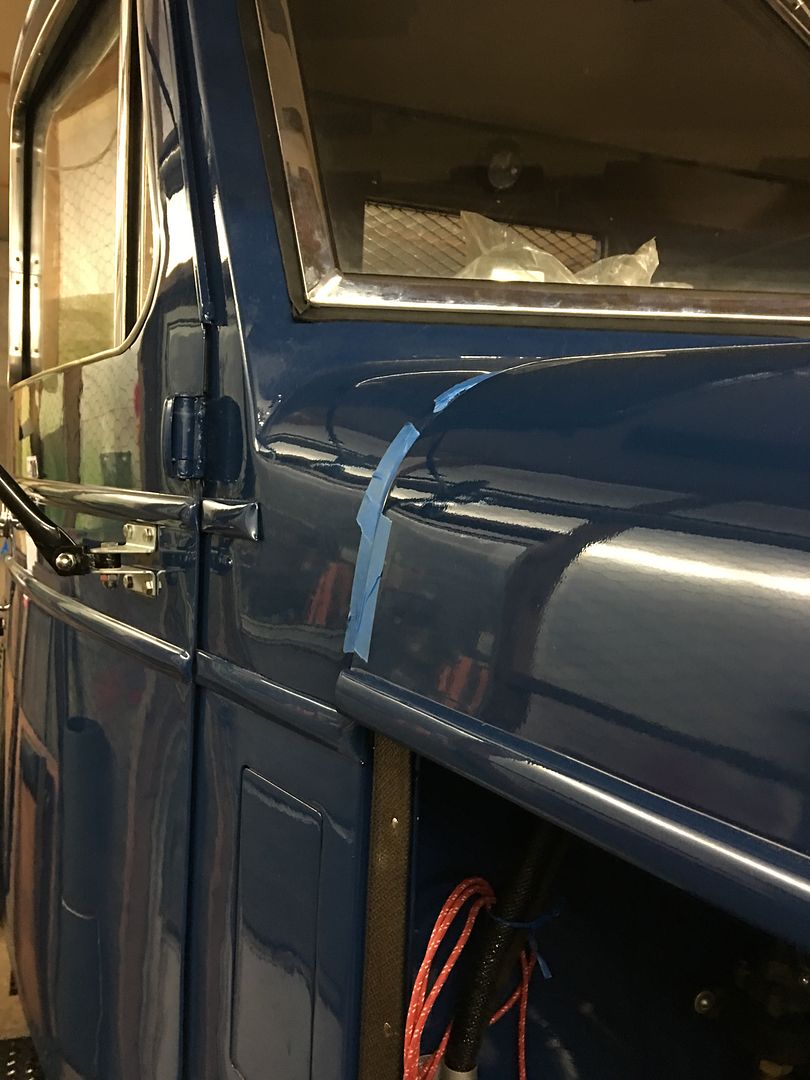
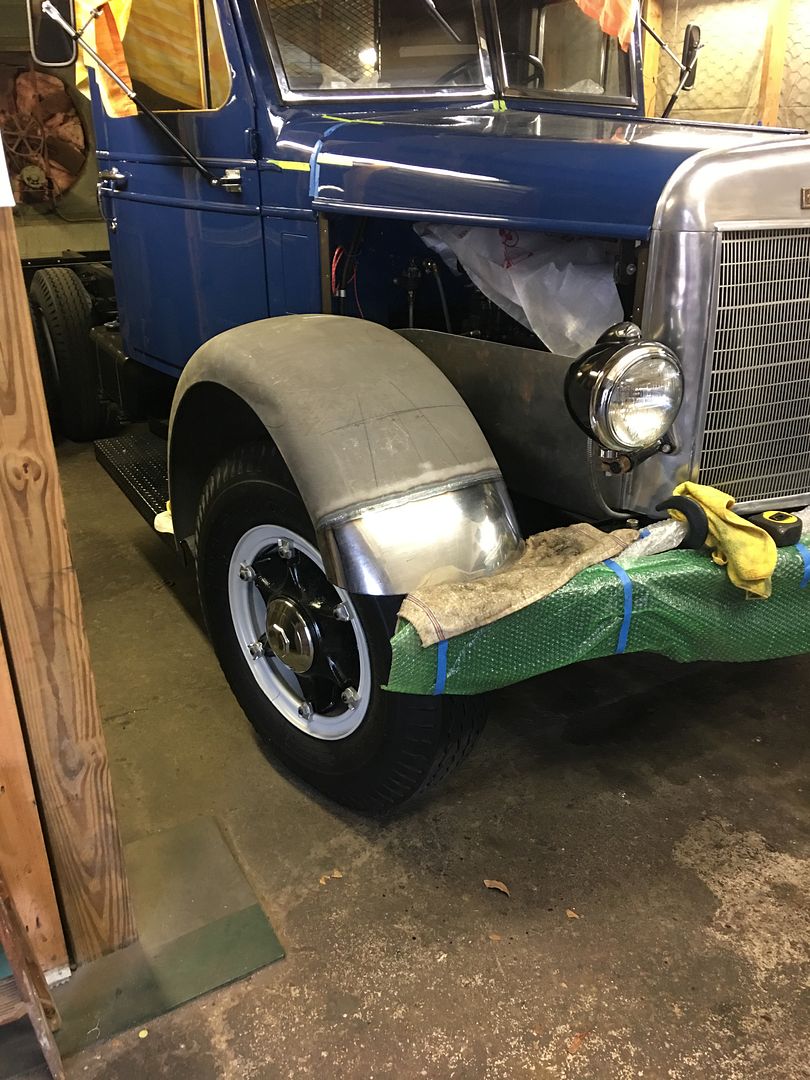
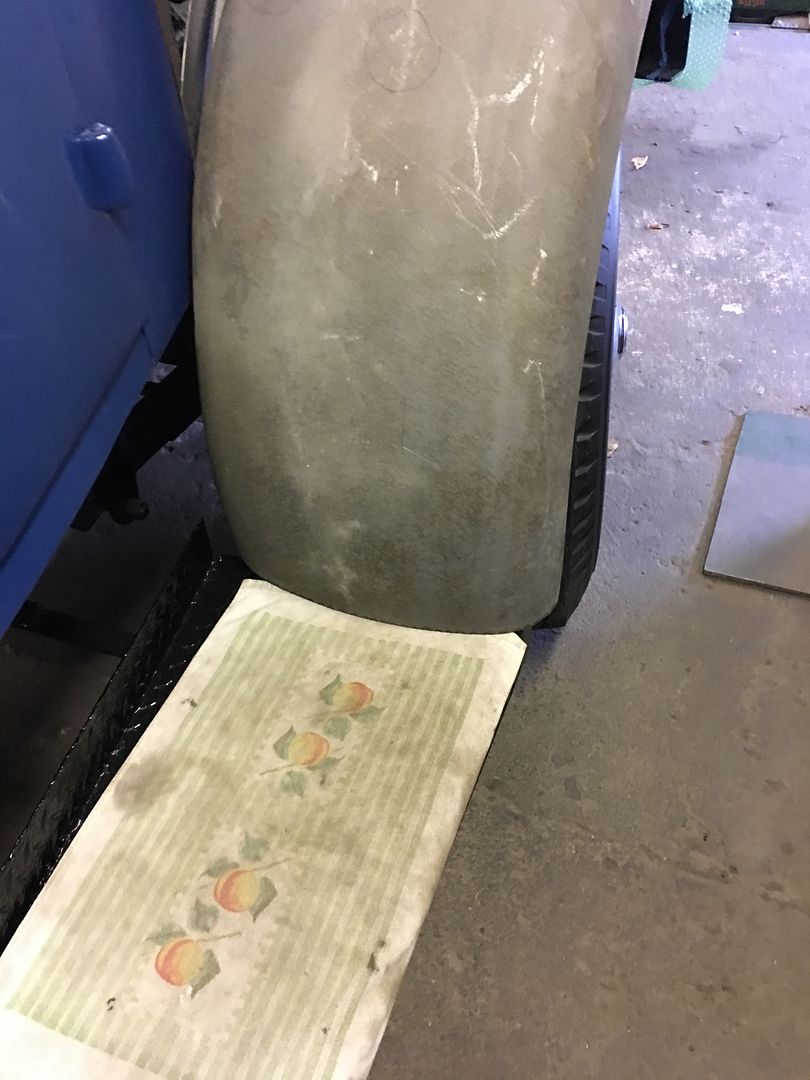
Test fit the Biederman front fender to insure we had no clearance issues..
Rear flange to running board:
Front flange to bumper filler panel:
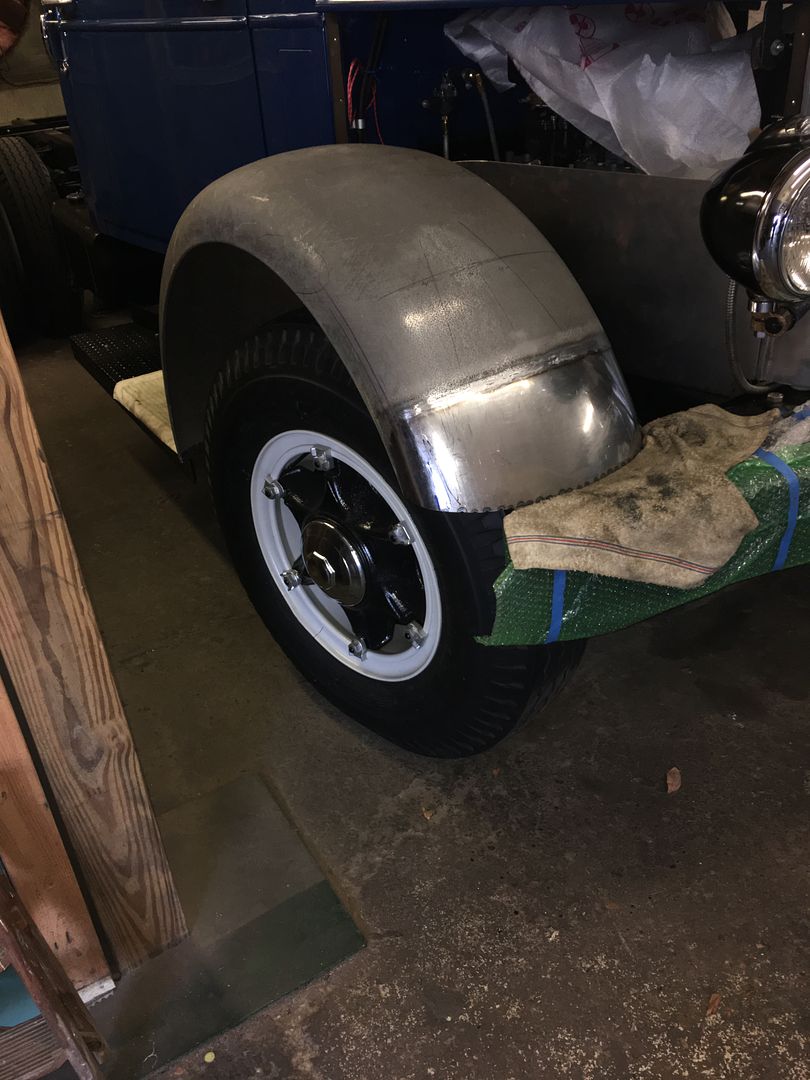
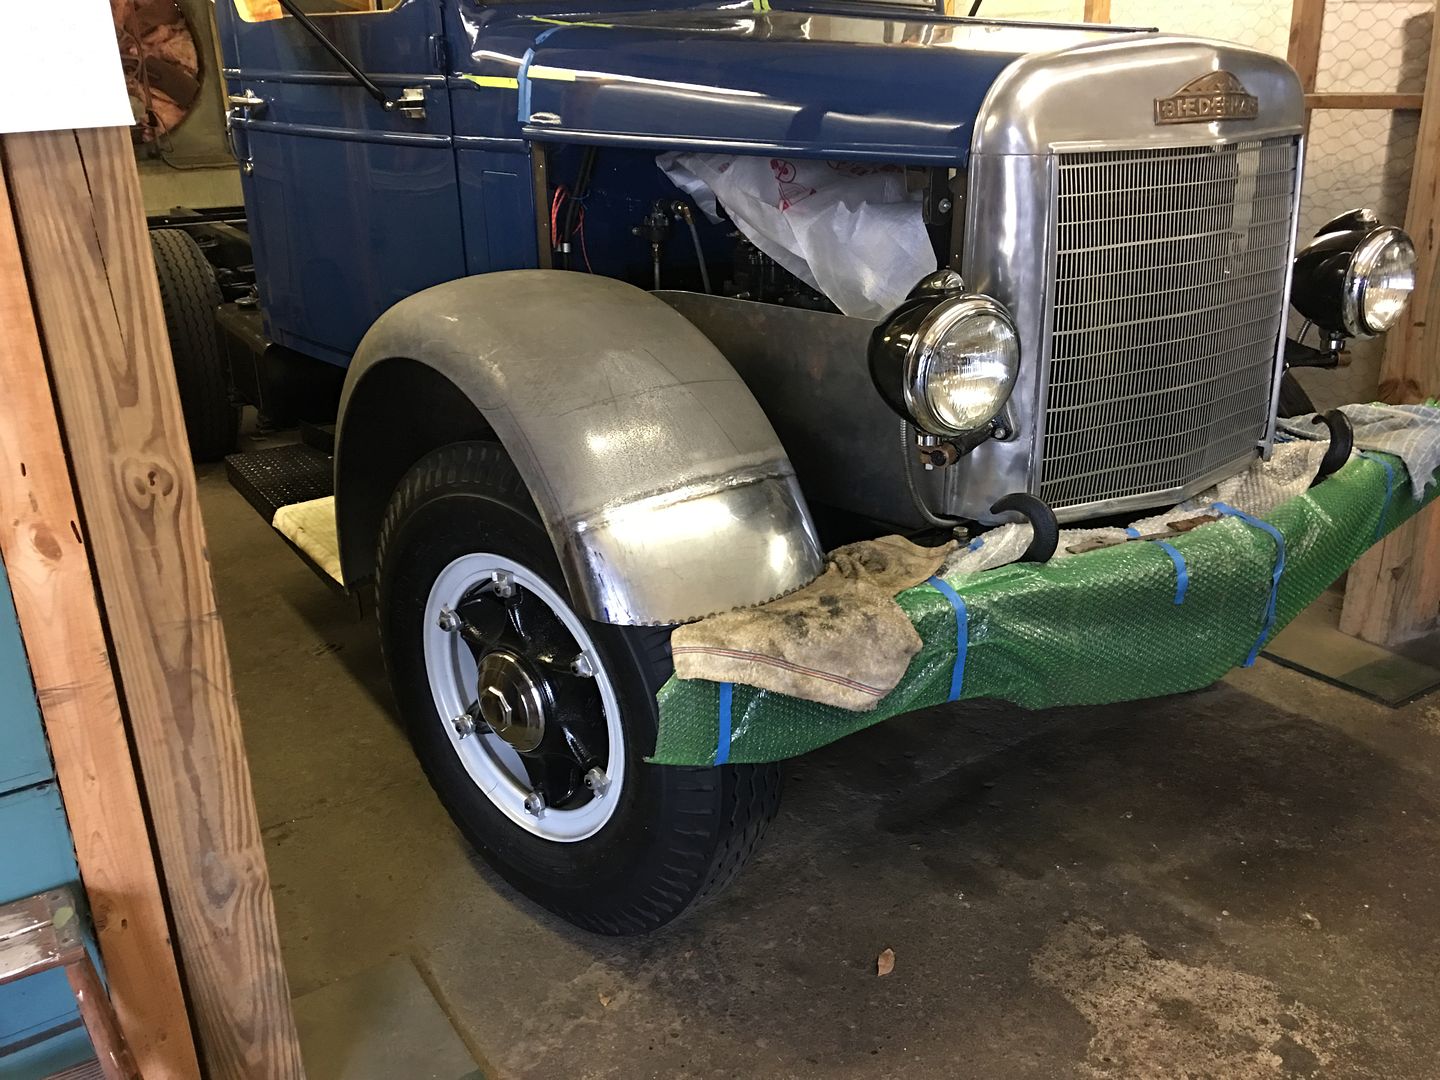
Looks like we're ready to finish welding...Robert
-
02-20-2017 06:38 PM #11
CHR Member
- Join Date
- Jun 2008
- Location
- Leonardtown
- Car Year, Make, Model: Walking
- Posts
- 1,228
The flanges were TIG welded in place, welds dressed, and then worked to remove the remnants of the old filler panel. The old spot welds were removed using a cut off wheel in a die grinder. When the upper panel gets thin, the heat turns it blue. When you see shiny metal again, you have found the second layer, so stop grinding!

This video explains the process a bit better...
https://www.youtube.com/watch?v=nb49MgRPzvY
Next to clean all the rust that was hiding between the layers. A tight squeeze!
The filler panel we fabricated was positioned, and drilled for some 1/8" cleco's. Then another test fit:
https://www.youtube.com/watch?v=evBQvi5dsnw
.Robert
-
02-20-2017 08:08 PM #12
CHR Member
- Join Date
- Jan 2005
- Location
- Doon, Ia
- Car Year, Make, Model: 53 Chevy 3100
- Posts
- 2,716
Nice work as usual, I wish I would have jumped on the tig welder right away with my project, Its a bit late for it now.
-
02-21-2017 04:14 AM #13
CHR Member
- Join Date
- Jun 2008
- Location
- Leonardtown
- Car Year, Make, Model: Walking
- Posts
- 1,228
Yeah, you'll need to be much more precise in the fitup with using the TIG but it's much MUCH less cleanup in the end..Robert
-
05-12-2017 03:40 AM #14
CHR Member
- Join Date
- Jun 2008
- Location
- Leonardtown
- Car Year, Make, Model: Walking
- Posts
- 1,228
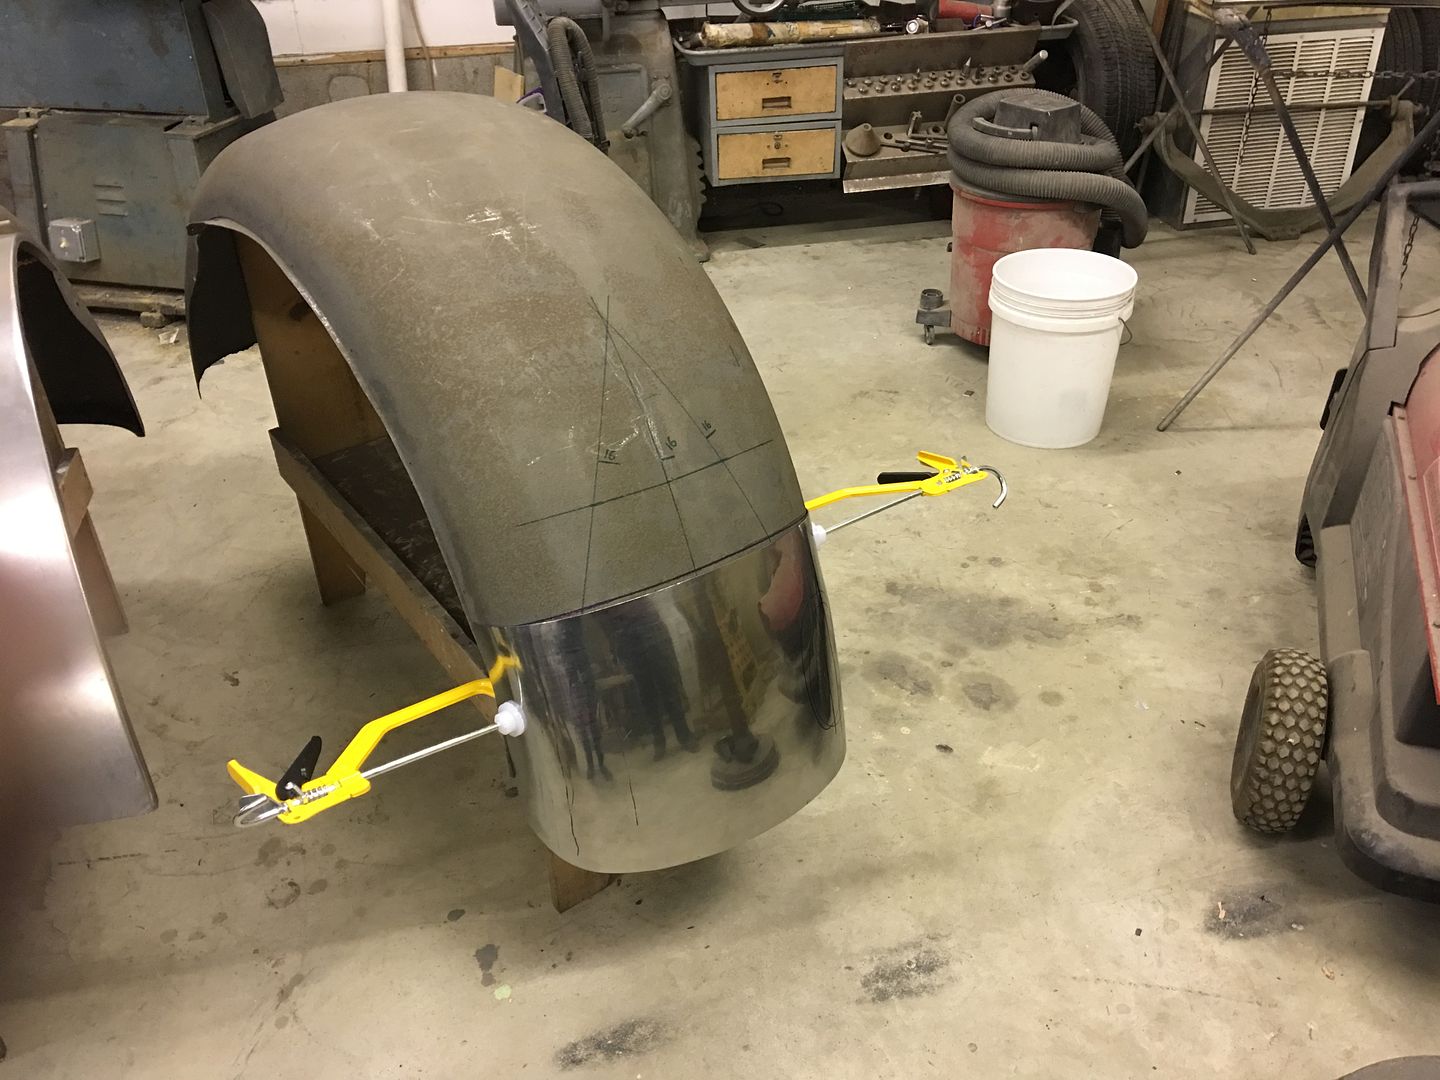
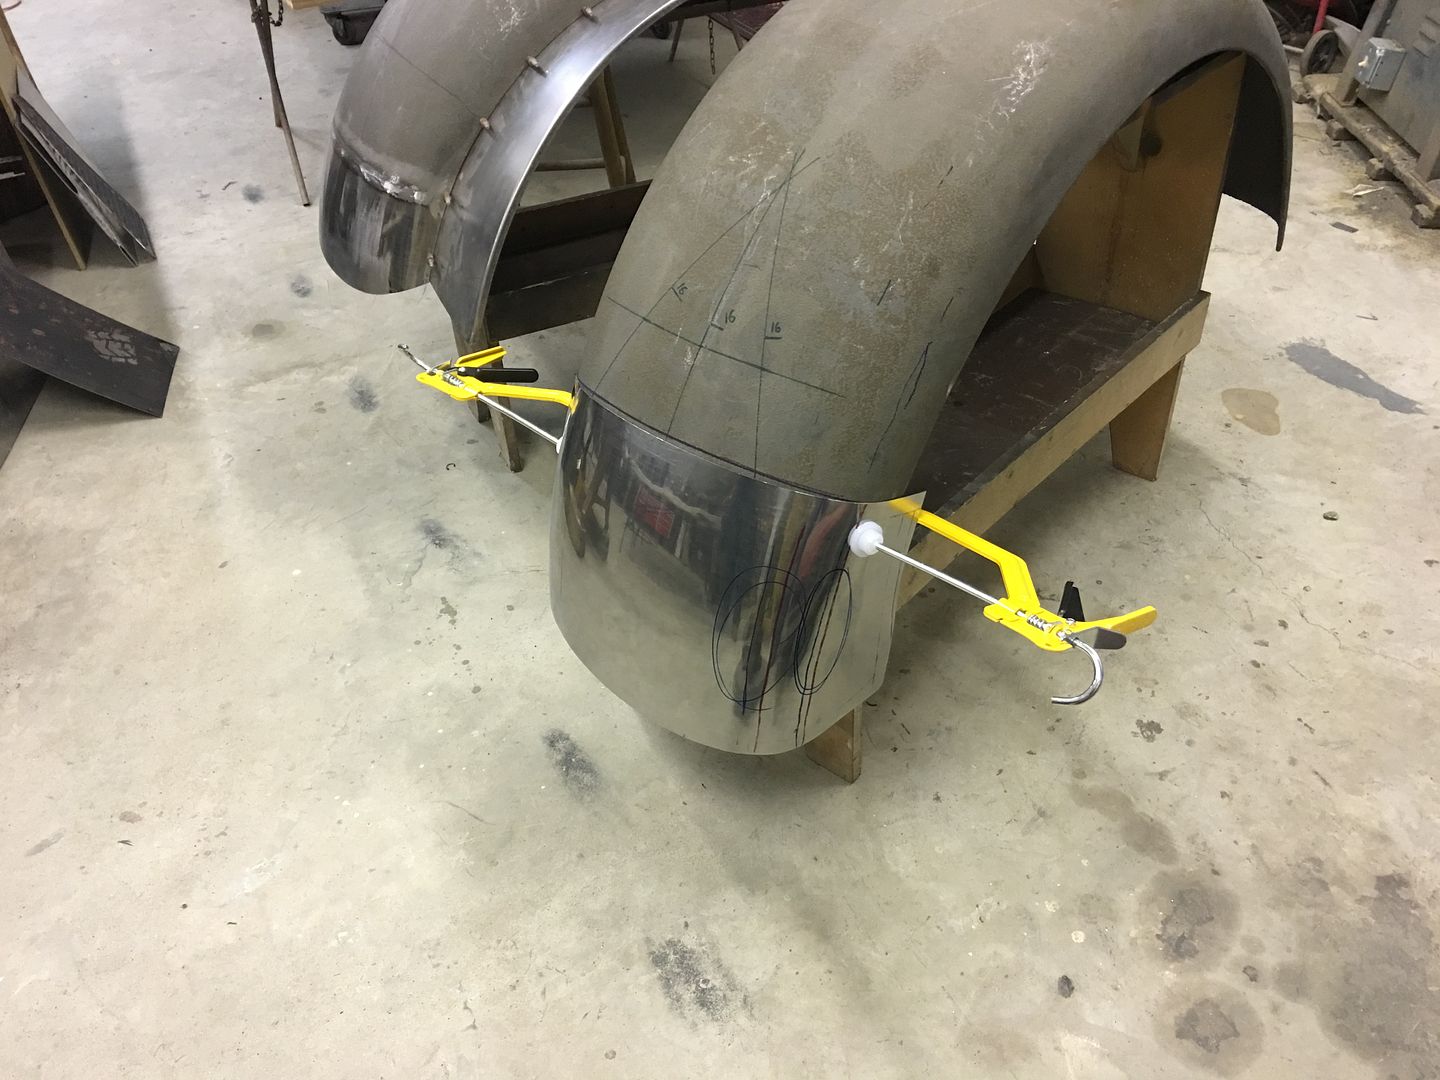
Been away for a bit across the pond, finally back to some metal work.
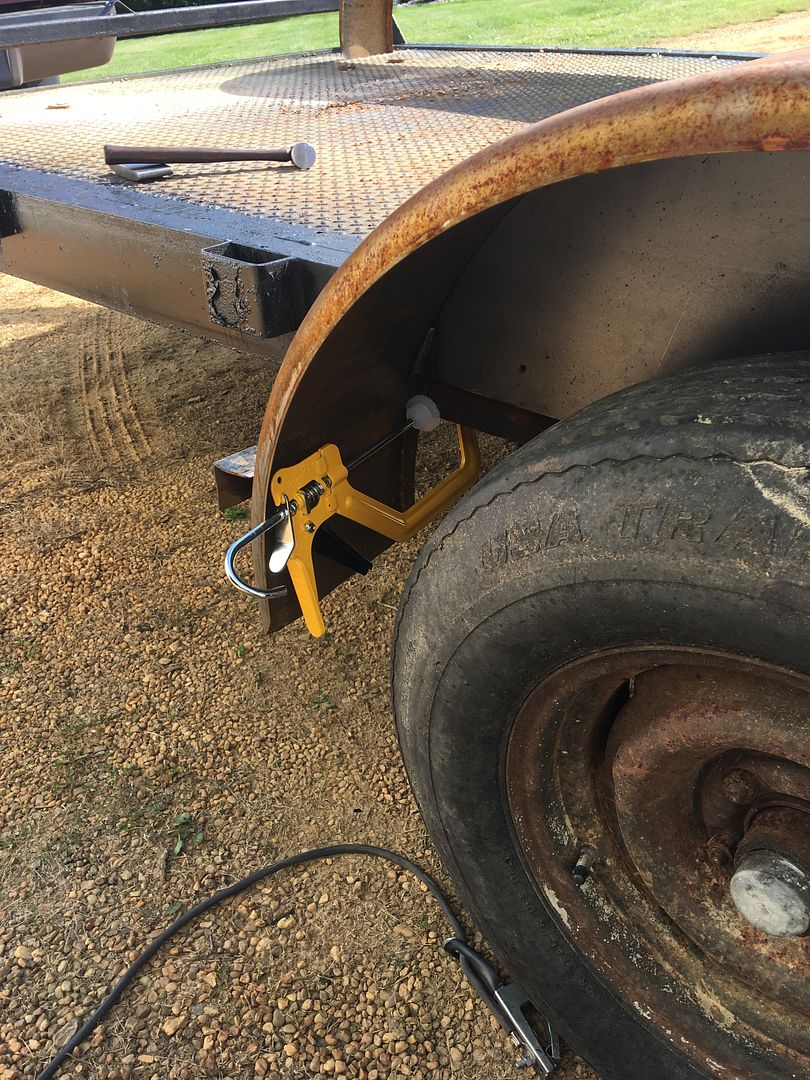
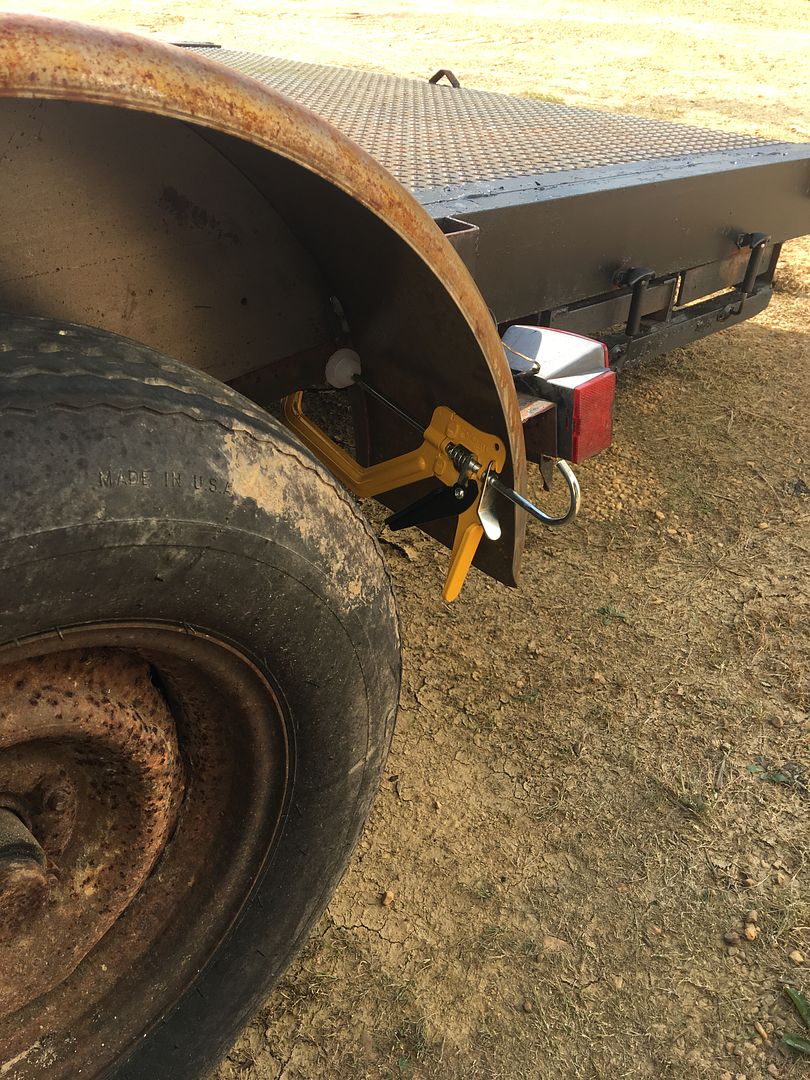
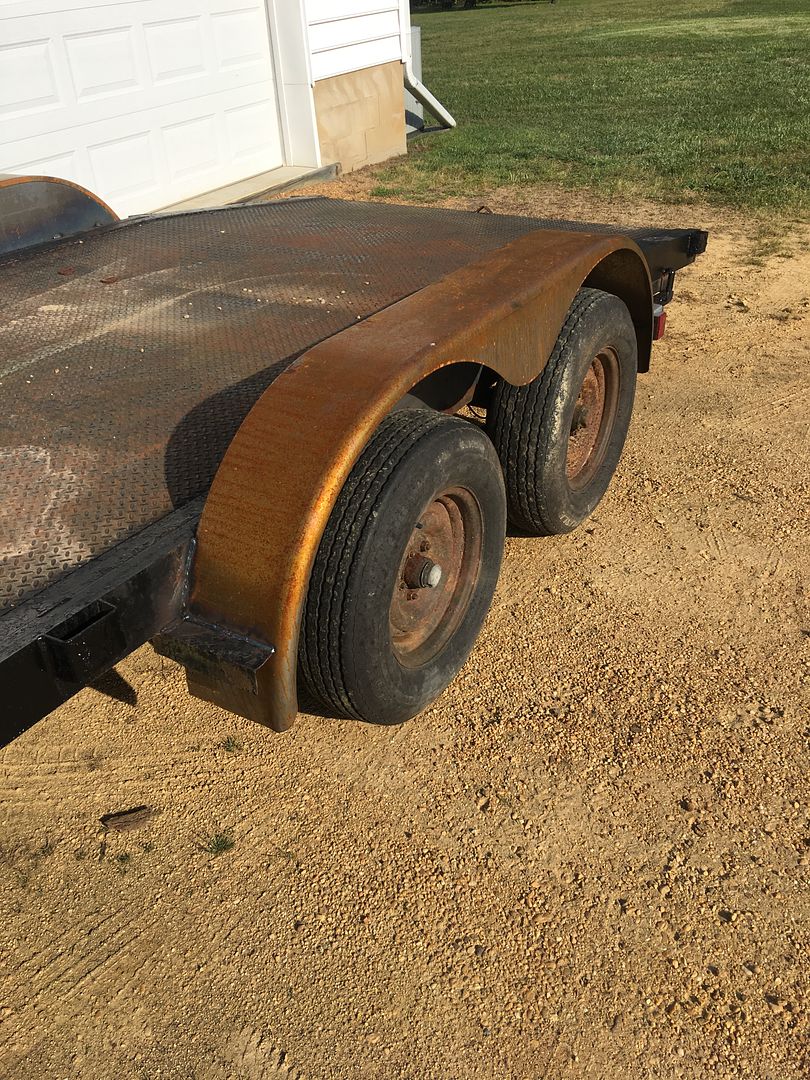
Had a fenderless trailer showed up at the shop Wednesday night, needed some welding... Good time as any to try out the new clamps. Two held the fender nice and tight to the frame.
Last night we worked on the fender patch #2 for the Biederman truck, 16 gauge fun!
https://www.youtube.com/watch?v=VXjl...ature=youtu.be
Missed the in process pictures, I'll try and do better next time..Robert
-
05-22-2017 12:22 PM #15
CHR Member
- Join Date
- Apr 2011
- Location
- Prairie City
- Car Year, Make, Model: 40 Ford Deluxe, 68 Corvette, 72&76 K30
- Posts
- 7,301
- Blog Entries
- 1
Robert, I was just checking in to see if this truck will be in Des Moines this weekend? I'm going to take my boys down there on Saturday and let them oodle over all the semis. I figured I'll keep an eye out for this truck so I can see the master fabricator's work in person.Ryan
1940 Ford Deluxe Tudor 354 Hemi 46RH Electric Blue w/multi-color flames, Ford 9" Residing in multiple pieces
1968 Corvette Coupe 5.9 Cummins Drag Car 11.43@130mph No stall leaving the line with 1250 rpm's and poor 2.2 60'
1972 Chevy K30 Longhorn P-pumped 24v Compound Turbos 47RH Just another money pit
1971 Camaro RS 5.3 BTR Stage 3 cam, SuperT10
Tire Sizes
 Reply With Quote

Posting Permissions
- You may not post new threads
- You may not post replies
- You may not post attachments
- You may not edit your posts

This site is up more often lately, but very little traffic.
Dead!