


 1Likes

Results 1 to 15 of 145
 LinkBack URL
 About LinkBacks
Hybrid View
-
06-17-2008 05:24 PM #1
 CHR Member/Contributor

- Join Date
- Jul 2007
- Location
- Ellsworth
- Car Year, Make, Model: 29 Essex RS Coupe
- Posts
- 377
NICE nice! I love the dash, plain, simple, sweet! In my area those 47-54 Chevys are $$$$$$. I'd love to own one someday though! Perley
-
06-17-2008 05:28 PM #2
CHR Member
- Join Date
- Oct 2007
- Location
- Petaluma
- Car Year, Make, Model: 48 Ford F1
- Posts
- 9,795
Nice to see a fellow truck builder, even if it is a chevy! Seriously I like those old Chevy's, especially the front grills!
"  "No matter where you go, there you are!" Steve.
-
07-14-2008 04:18 PM #3
CHR Member
- Join Date
- Jul 2003
- Location
- Kentucky
- Car Year, Make, Model: 47 Seagrave
- Posts
- 683
Here are some updates on the truck....
I am using the old add-on turn signal swith that came with the truck...it was designed to use add-on turn signals instead of interupting the brake lights.
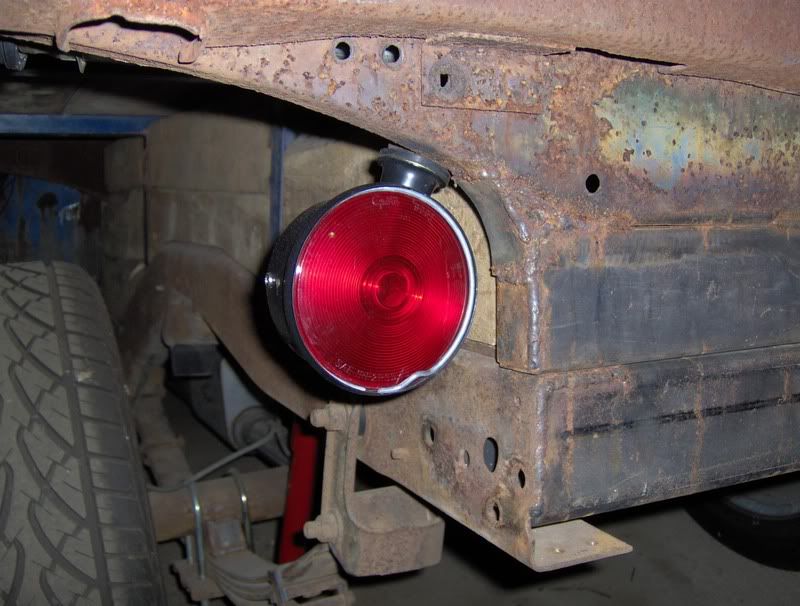
...my tail lights only have two filaments, but I need 3 circuits. I am happy with the look of the rear and didn't want to add seperate lights for the blinkers.
I am not 100% happy with my solution, but I added a couple of strips of LEDs inside each tail light housing....in the shape of a "< " on the driver side and a " > " on the passenger side.
....but the lenses distort the pattern and it kinda looks like a starburst semi-circle when they light up instead of an arrow.
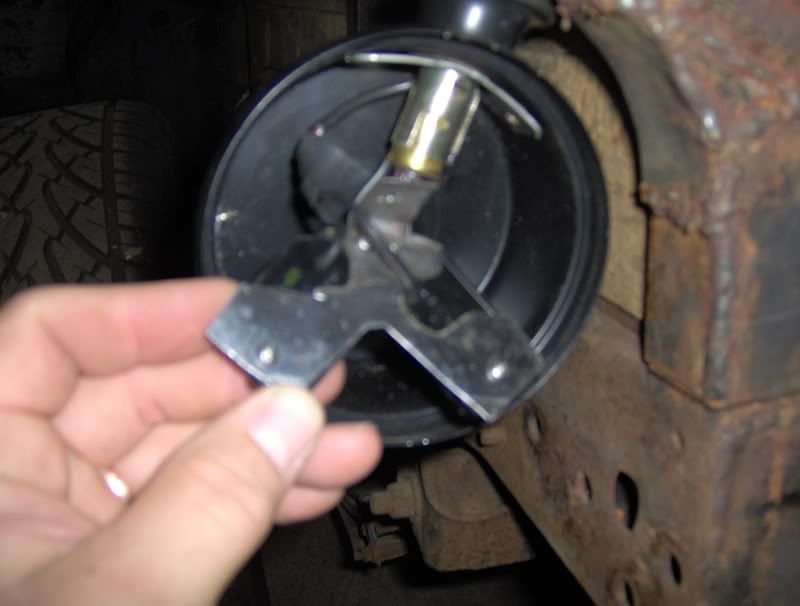
I tried moving the LEDs closer to the lense....and I do get a better pattern on the turn signals, but also get an ugly shadow when I light up the filament for the brake lights (only about 2/3 of the tail light looks lit up).
My dad's idea for a fix is to glue little pieces of hose over each LED to tunnel the light up to the lense (so it just makes a dot instead of a startburst).
Here are pics of my turn signals.
With the lense removed. The arrow is made from 2 LED clearance lights from Wally-world.

These were the left overs from the clearance lights (some cutting required)
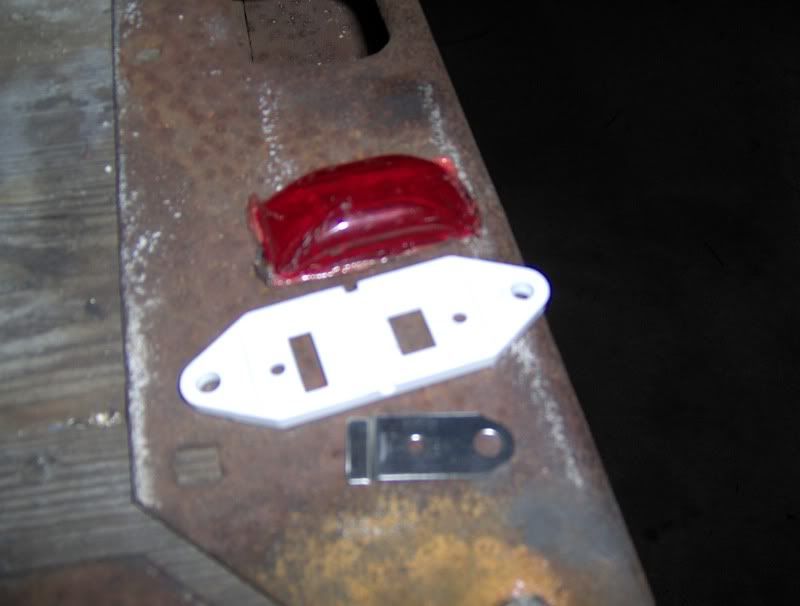
I made a bracket from a piece of jaguar XJS chrome (I recycle)
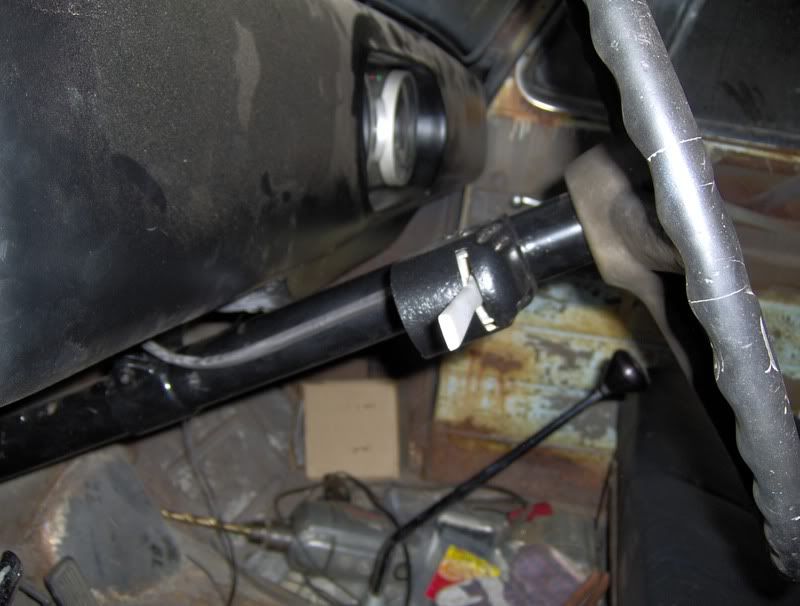
I re-used the OLD turn signal switch that was in the truck when I bought it (spray-bombed of course). The wires are pulled through a piece of un-shrunk heat-shrink tubing. Looks nice and it was damn near free.
-
07-14-2008 04:20 PM #4
CHR Member
- Join Date
- Jul 2003
- Location
- Kentucky
- Car Year, Make, Model: 47 Seagrave
- Posts
- 683
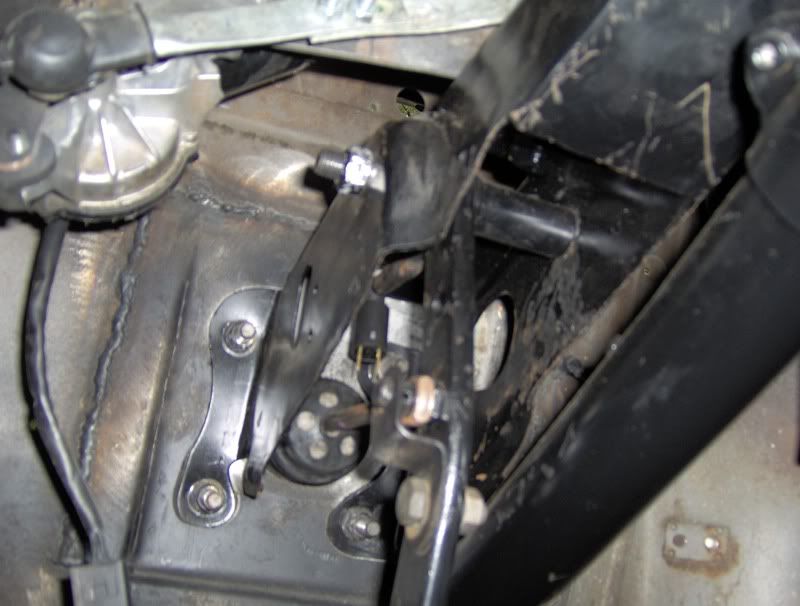
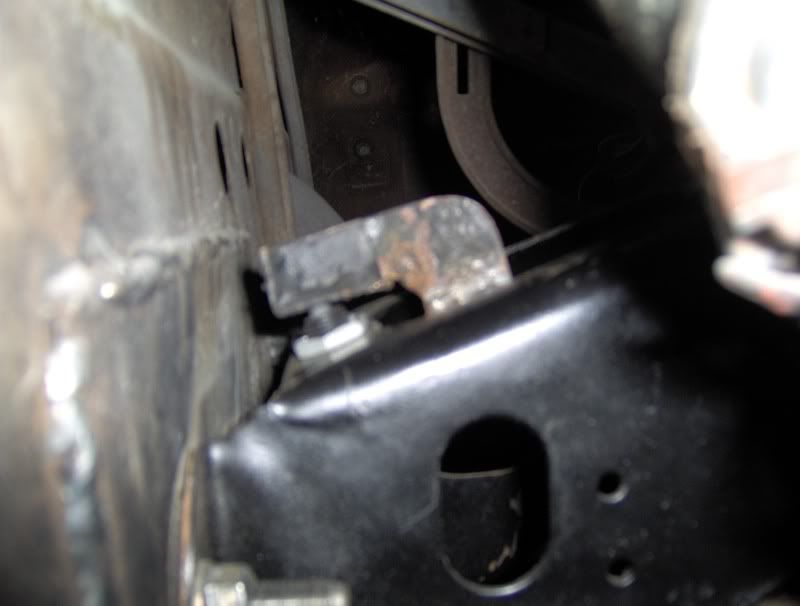
This was my solution for the brake switch. I mounted a mid 80's GM switch in the top, rear surface of the S-10 brake bracket and then addwd an arm to the back of the brake pedal. The you hit the brakes, the lever moves up...and off of the switch. (I should have taken pics while the whole assembly was out.
-
07-14-2008 04:22 PM #5
CHR Member
- Join Date
- Jul 2003
- Location
- Kentucky
- Car Year, Make, Model: 47 Seagrave
- Posts
- 683
I realized I need more switches (electric fan and hazard lights), but didn't want them mounted just anywhere. I squeezed them in my new "seat dash"
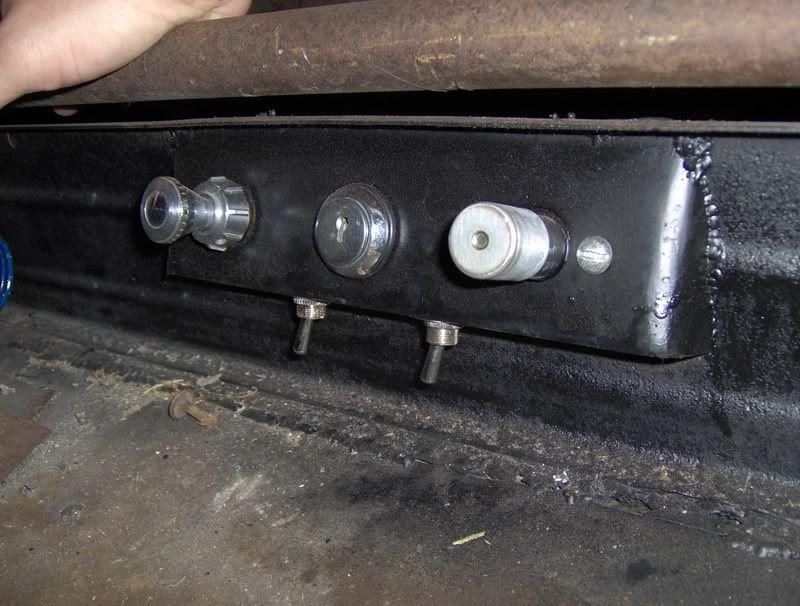
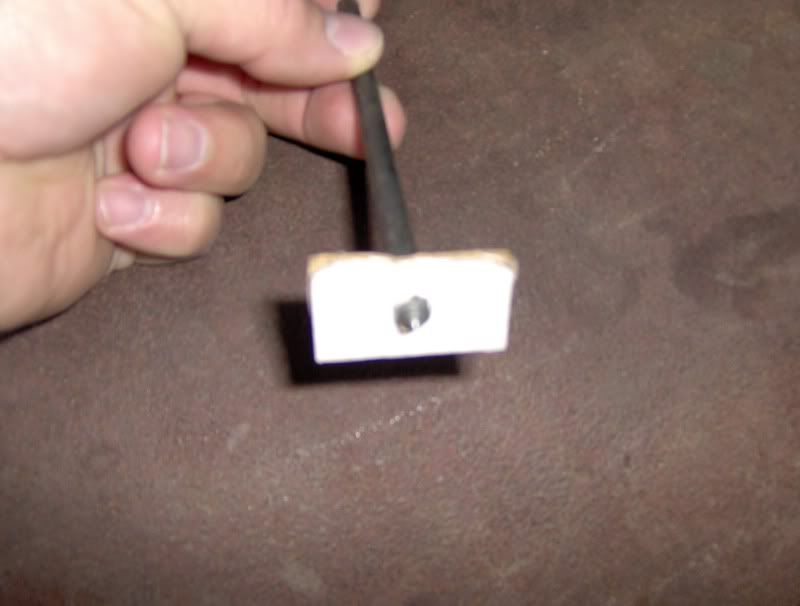
It was a tight fit trying to fit them in the switch panel that was not designed for any extra stuff. I made a cardbodrd template that was the same size as the switch and used a center punch to find a spot where the switches fit.
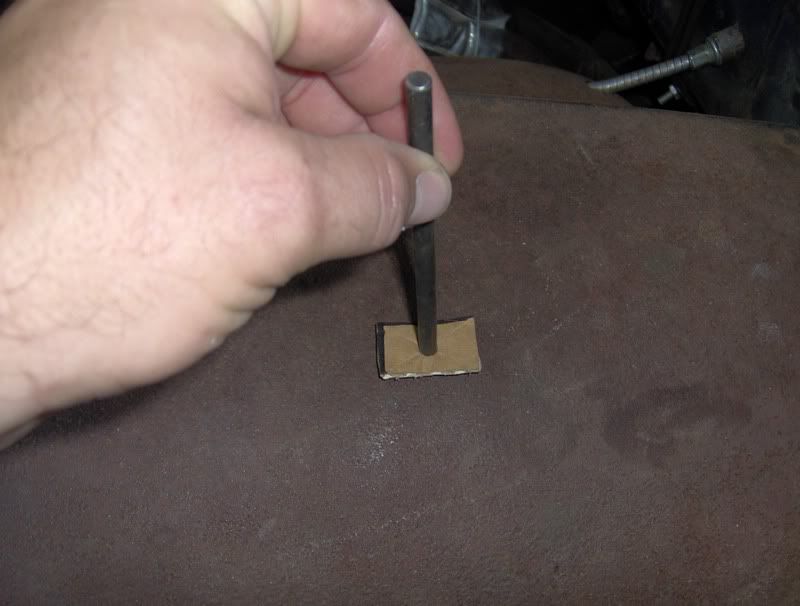
It worked great!

__________________
-
07-14-2008 04:23 PM #6
CHR Member
- Join Date
- Jul 2003
- Location
- Kentucky
- Car Year, Make, Model: 47 Seagrave
- Posts
- 683
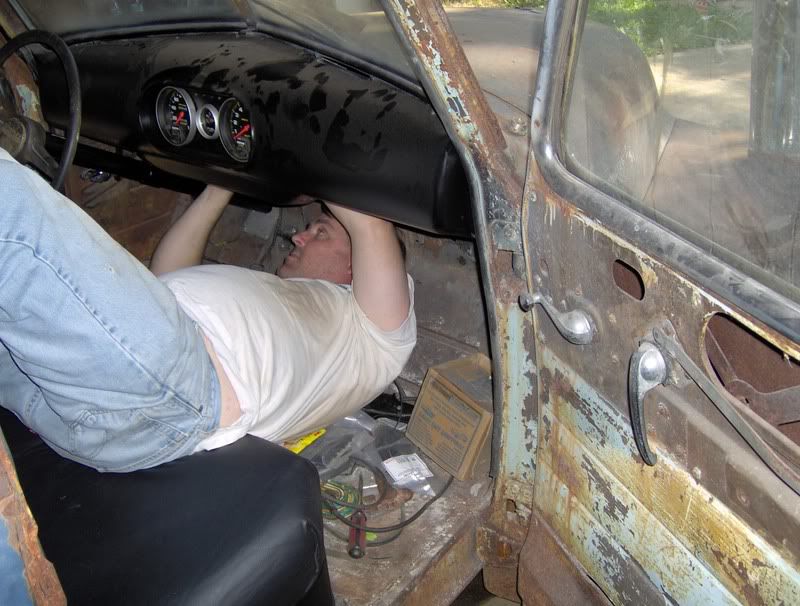
The dash-dash now has idiot lights. The outside ones are for turn signals, the inner ones are oil pressure and water temperature.
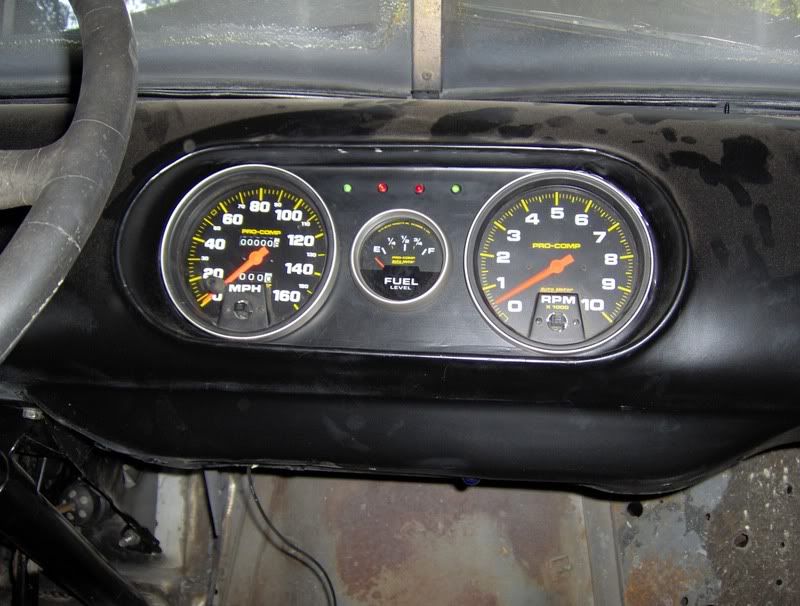
Wiring that stuff up.....sucked!
....But it cranked on the first try!!!!!!
New glass is next. The stuff showed up on Friday, but I took too long on wiring to really get anywhere.
-
07-14-2008 04:38 PM #7
CHR Member
- Join Date
- Jul 2005
- Location
- Miami
- Car Year, Make, Model: 1938 Chevy Coupe
- Posts
- 129
Its looking great! Thanks for the progress pics!!!Peace and Bacon Grease
38Project
 Reply With Quote

Posting Permissions
- You may not post new threads
- You may not post replies
- You may not post attachments
- You may not edit your posts

Either return this forum to what was or get the HELL OUT!
Dead!