


 1Likes

Results 1 to 15 of 145
 LinkBack URL
 About LinkBacks
Hybrid View
-
07-14-2008 04:20 PM #1
 CHR Member

- Join Date
- Jul 2003
- Location
- Kentucky
- Car Year, Make, Model: 47 Seagrave
- Posts
- 683
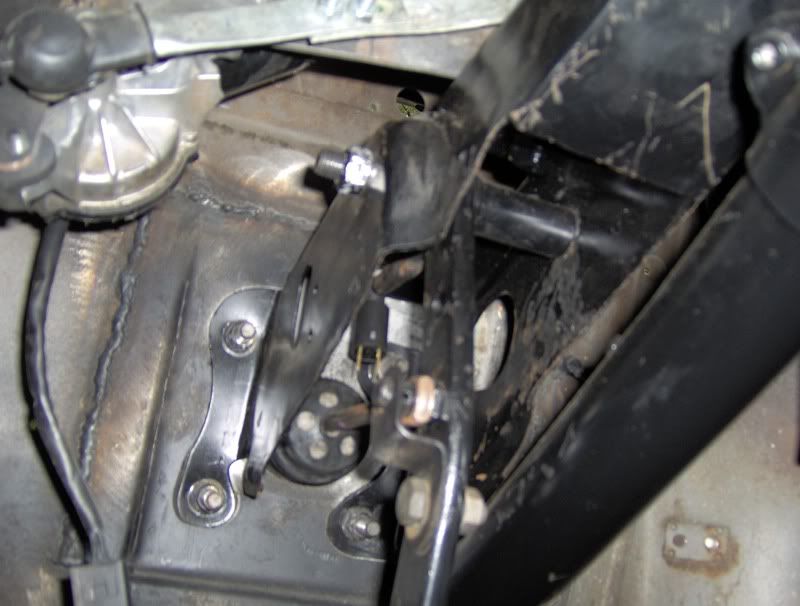
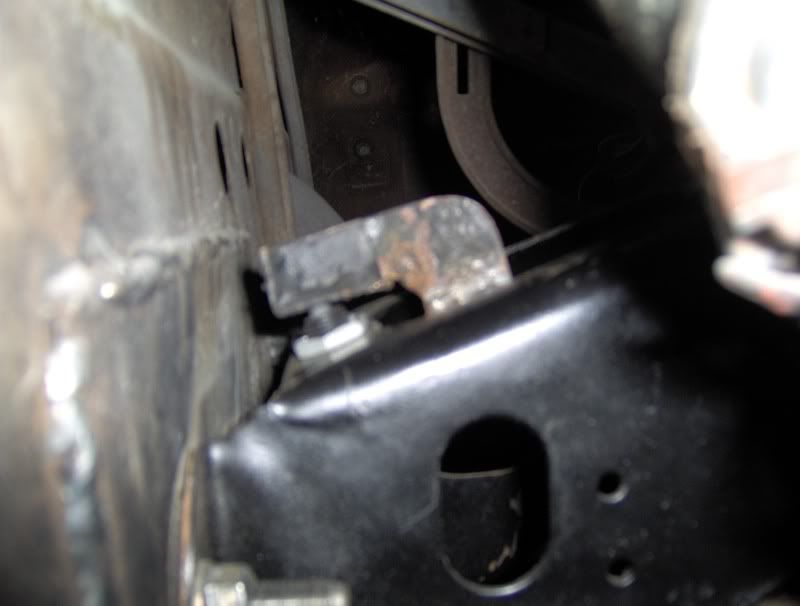
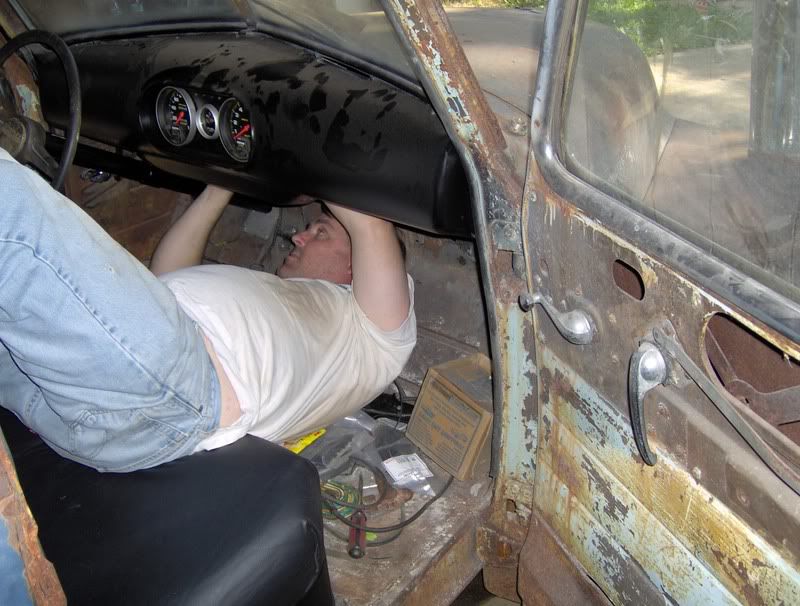
This was my solution for the brake switch. I mounted a mid 80's GM switch in the top, rear surface of the S-10 brake bracket and then addwd an arm to the back of the brake pedal. The you hit the brakes, the lever moves up...and off of the switch. (I should have taken pics while the whole assembly was out.
-
07-14-2008 04:22 PM #2
CHR Member
- Join Date
- Jul 2003
- Location
- Kentucky
- Car Year, Make, Model: 47 Seagrave
- Posts
- 683
I realized I need more switches (electric fan and hazard lights), but didn't want them mounted just anywhere. I squeezed them in my new "seat dash"
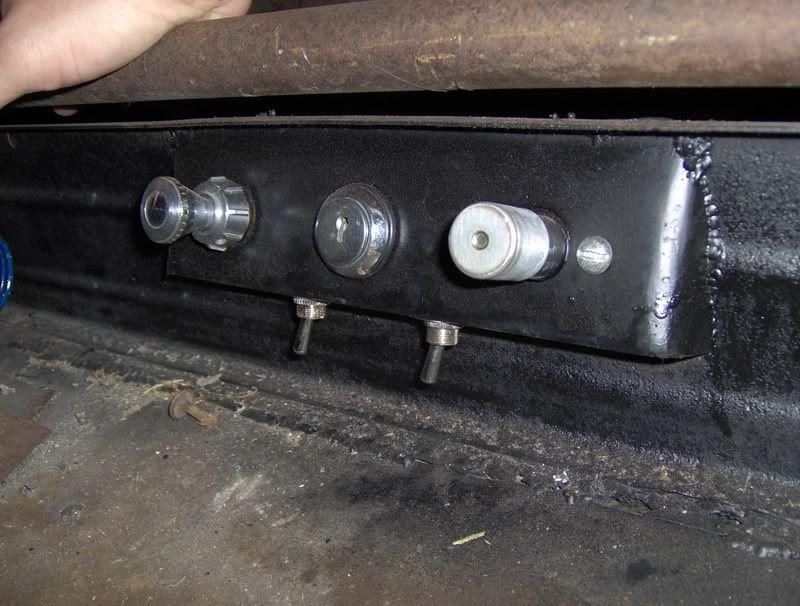
It was a tight fit trying to fit them in the switch panel that was not designed for any extra stuff. I made a cardbodrd template that was the same size as the switch and used a center punch to find a spot where the switches fit.
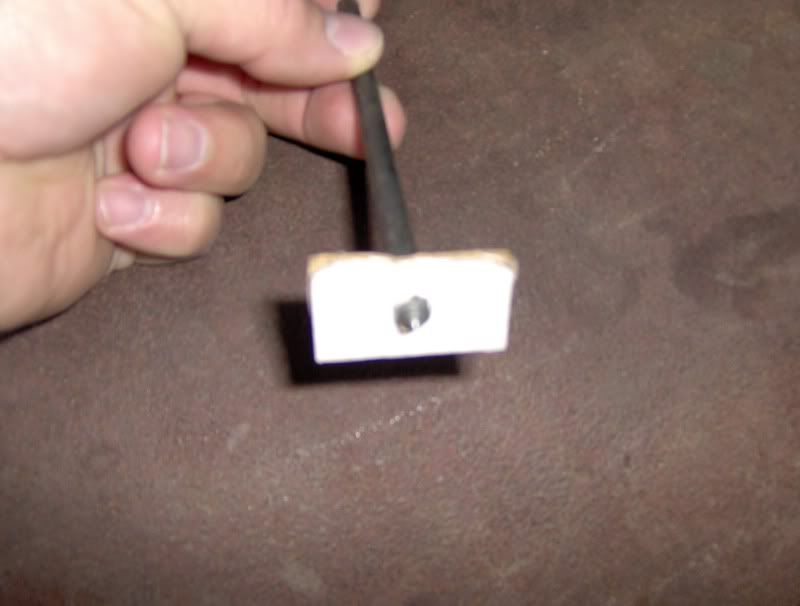
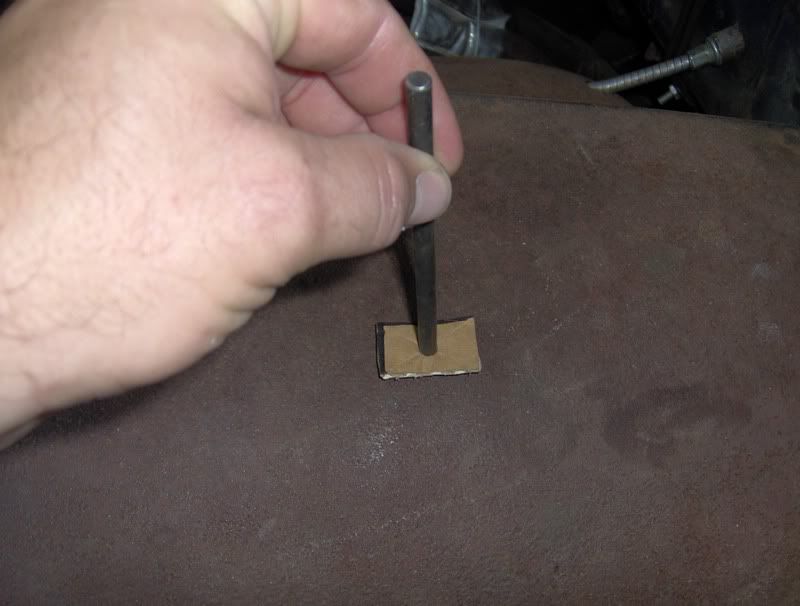
It worked great!

__________________
-
07-14-2008 04:23 PM #3
CHR Member
- Join Date
- Jul 2003
- Location
- Kentucky
- Car Year, Make, Model: 47 Seagrave
- Posts
- 683
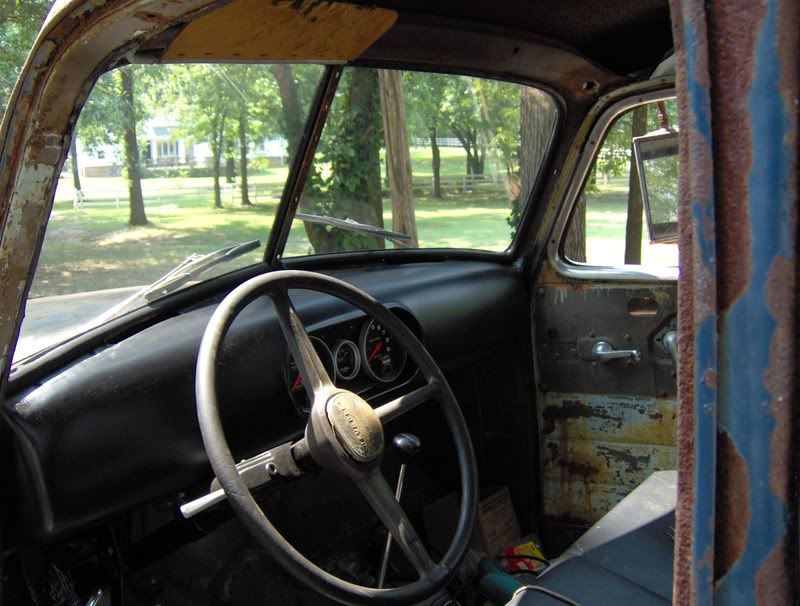
The dash-dash now has idiot lights. The outside ones are for turn signals, the inner ones are oil pressure and water temperature.
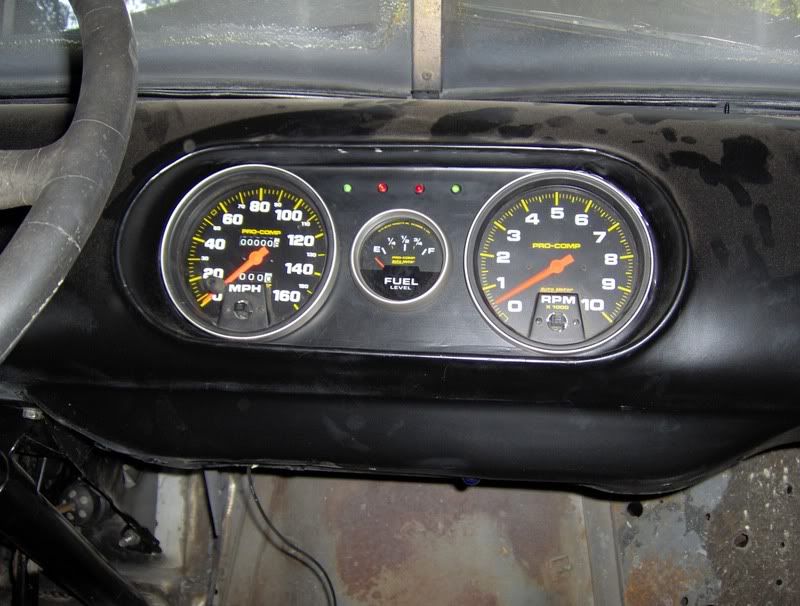
Wiring that stuff up.....sucked!
....But it cranked on the first try!!!!!!
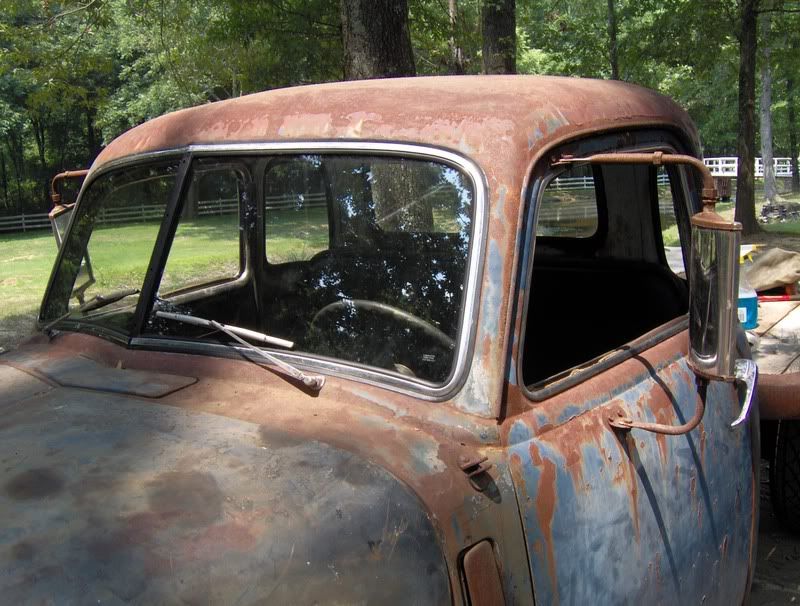
New glass is next. The stuff showed up on Friday, but I took too long on wiring to really get anywhere.
-
07-14-2008 04:38 PM #4
CHR Member
- Join Date
- Jul 2005
- Location
- Miami
- Car Year, Make, Model: 1938 Chevy Coupe
- Posts
- 129
Its looking great! Thanks for the progress pics!!!Peace and Bacon Grease
38Project
-
07-20-2008 07:48 PM #5
CHR Member
- Join Date
- Jul 2003
- Location
- Kentucky
- Car Year, Make, Model: 47 Seagrave
- Posts
- 683
I have glass that I can see out of !!!!!
-
07-24-2008 02:34 PM #6
CHR Member
- Join Date
- Jul 2003
- Location
- Kentucky
- Car Year, Make, Model: 47 Seagrave
- Posts
- 683
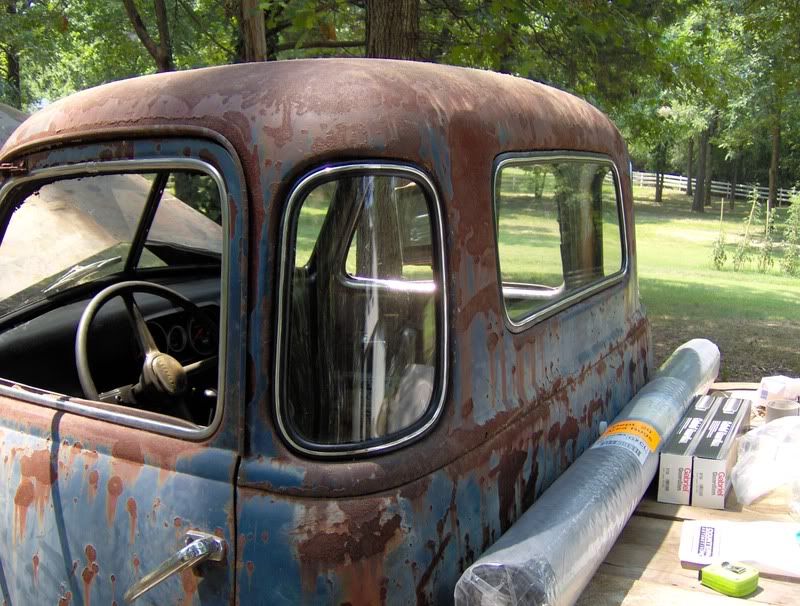
With any luck, it will be "finished" after this weekend. .....and ready for louisville and frog follies.
I need to:
1) seat the front windshield a little better (the center rubber doesn't rest on the metal divider yet).
2) Install side windows.
3) make some simple door panels/armrest.
4) make a shifter boot.
5) quickly plug some of the holes in the firewall.
6) install some of that bubble insulation.
7) Install wally-world carpet.
8)take pictures for insurance
 Reply With Quote

Posting Permissions
- You may not post new threads
- You may not post replies
- You may not post attachments
- You may not edit your posts

Turn out the lights, the party's over THIS PLACE IS DEAD!
Dead!