


Thread: The Roofus Special


Results 226 to 240 of 375
 LinkBack URL
 About LinkBacks
-
07-04-2010 07:08 PM #226
 CHR Member

- Join Date
- Jul 2003
- Location
- Kentucky
- Car Year, Make, Model: 47 Seagrave
- Posts
- 683
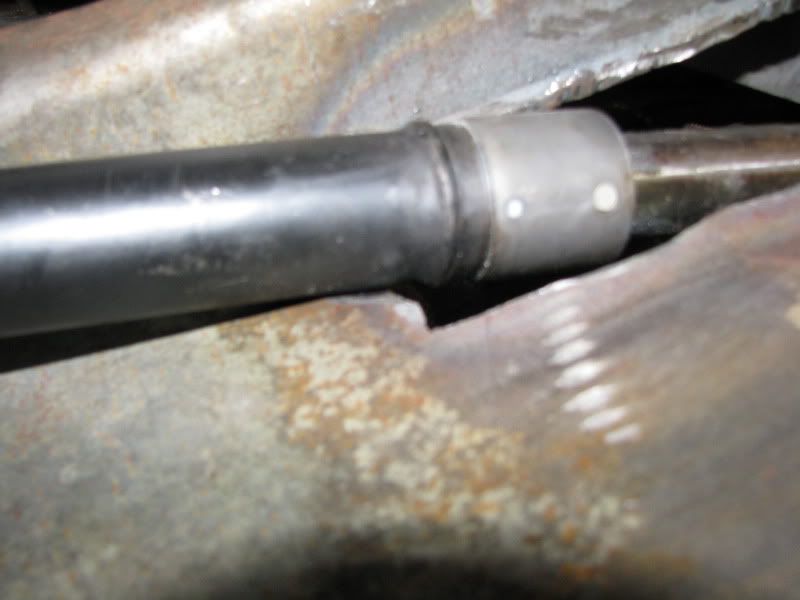
Then I remembered I still need to trim the crossmember more so it sits lower. The rack needs to go up more to clear the inner frame rails at that height.
The rack is not really hidden under the crossmember. This is where I stopped to think if this is really what I want to do.There are two things in life where penetration is really important.....and one of them is welding.
-
Advertising

- Google Adsense
- REGISTERED USERS DO NOT SEE THIS AD
-
07-12-2010 07:33 PM #227
CHR Member
- Join Date
- Jul 2003
- Location
- Kentucky
- Car Year, Make, Model: 47 Seagrave
- Posts
- 683
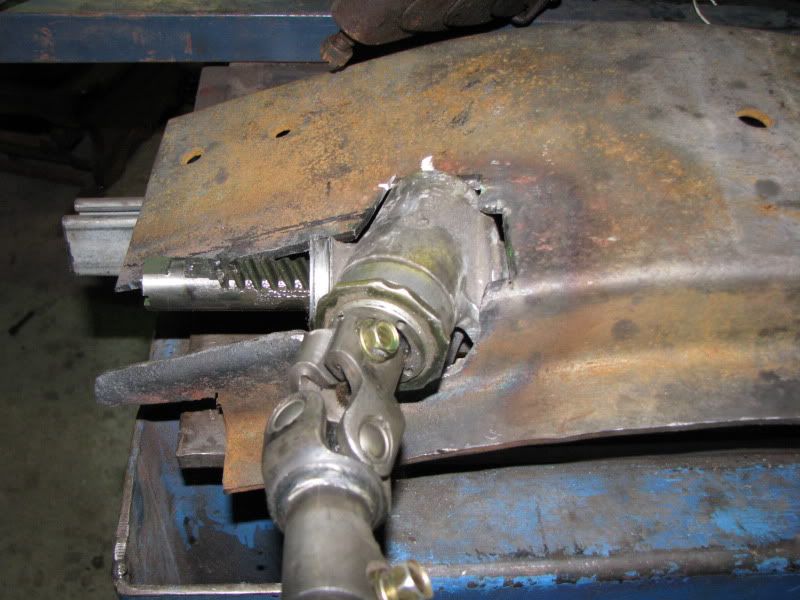
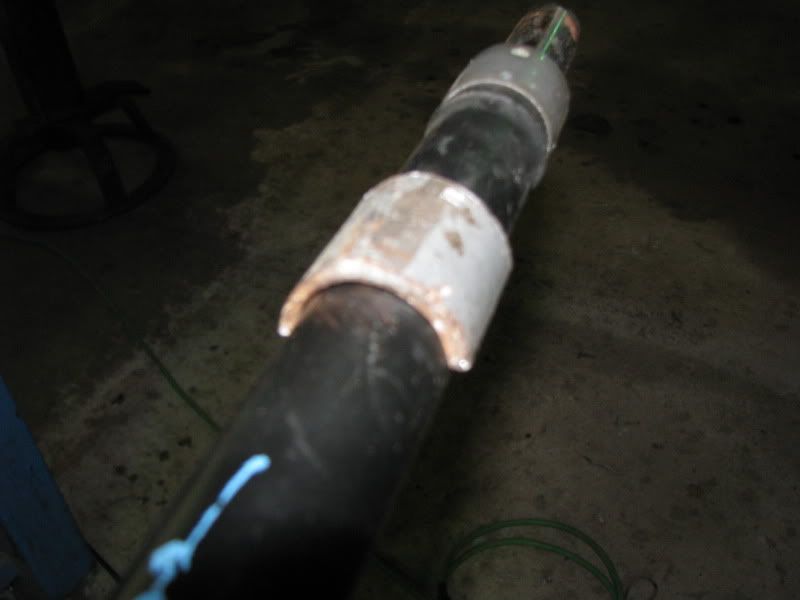
I did a little more fitting this past weekend. I still need to make nests and clamps to secure the rack.
Oh yeah, the crossmember is upside down in these pics.
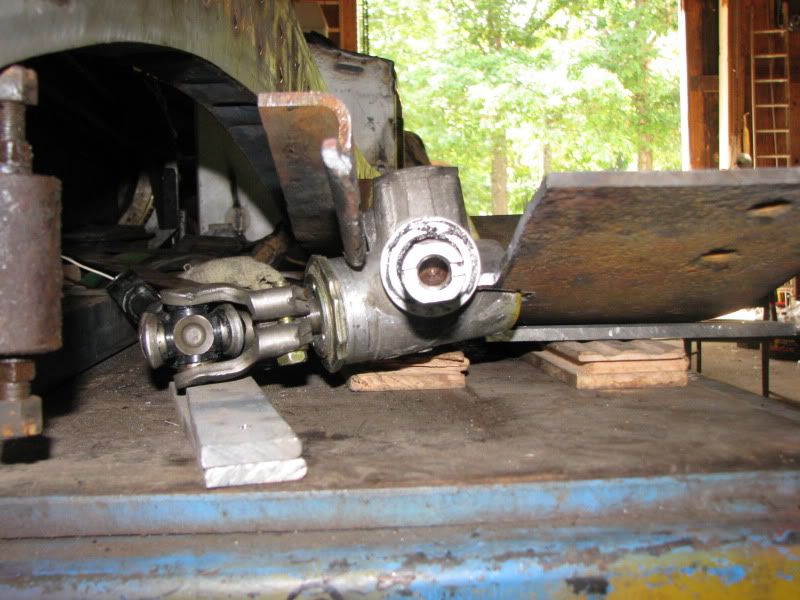
room for boots
There are two things in life where penetration is really important.....and one of them is welding.
-
07-15-2010 04:40 AM #228
CHR Member
- Join Date
- Mar 2007
- Location
- festus
- Car Year, Make, Model: 48 Plymouth, 48,54 Heap
- Posts
- 3,407
Nice job, Flip. It's coming along great! It's blazin hot here, too; can't hardly stand the garage right now, even with the big shop fan going.
-
07-19-2010 07:40 AM #229
CHR Member
- Join Date
- Jul 2003
- Location
- Kentucky
- Car Year, Make, Model: 47 Seagrave
- Posts
- 683
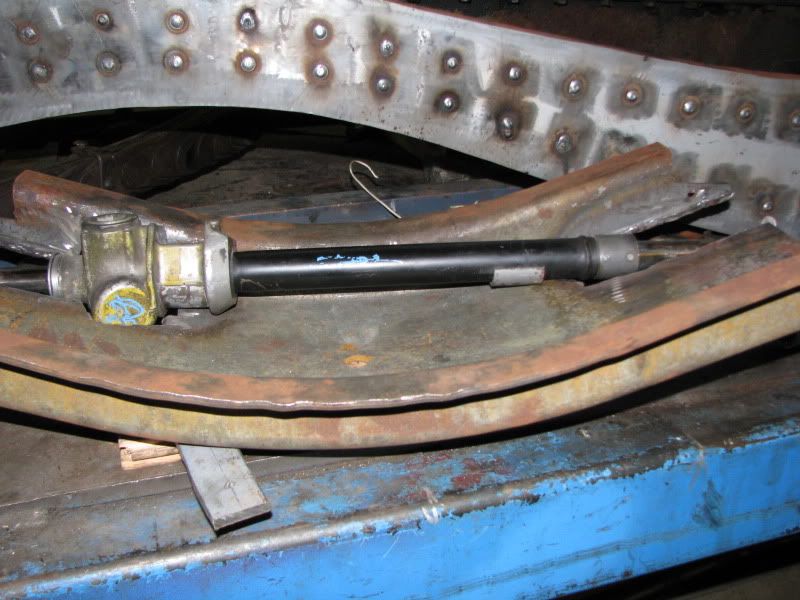
Got a chance to put in a few more hours this weekend (after I cut dad's grass).
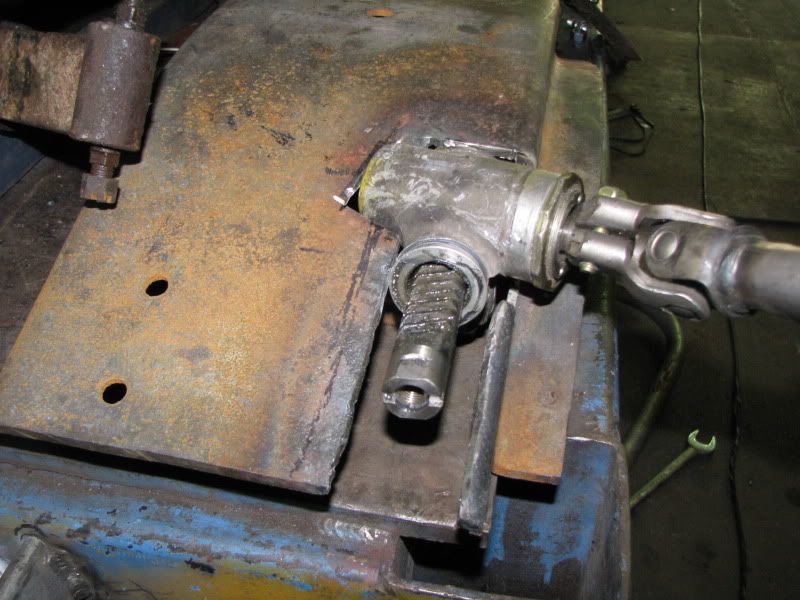
Worked on mounting the rack to the crossmember. I had to come up with nests to hold the rack in the proper location.
more cop car roll bar to the rescue.
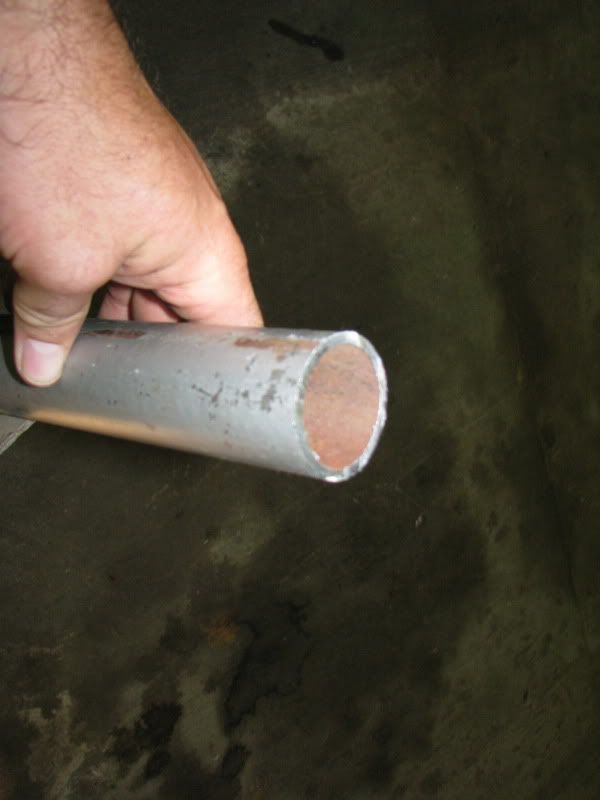
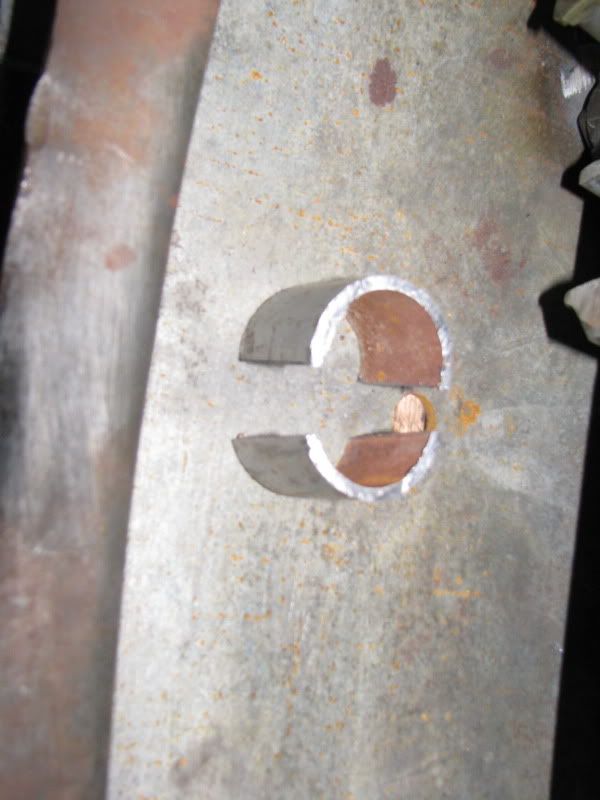
a whole lot of grinding and hand filing
There are two things in life where penetration is really important.....and one of them is welding.
-
07-19-2010 07:42 AM #230
CHR Member
- Join Date
- Jul 2003
- Location
- Kentucky
- Car Year, Make, Model: 47 Seagrave
- Posts
- 683

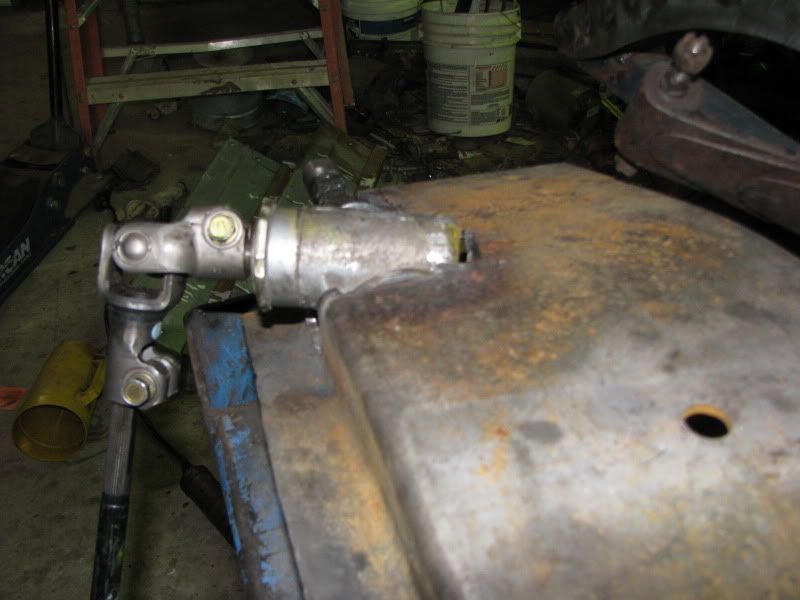
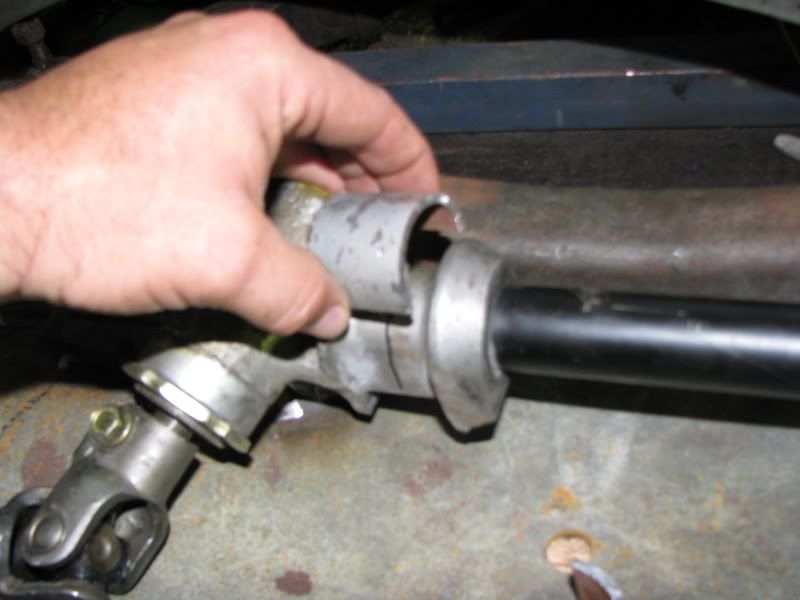
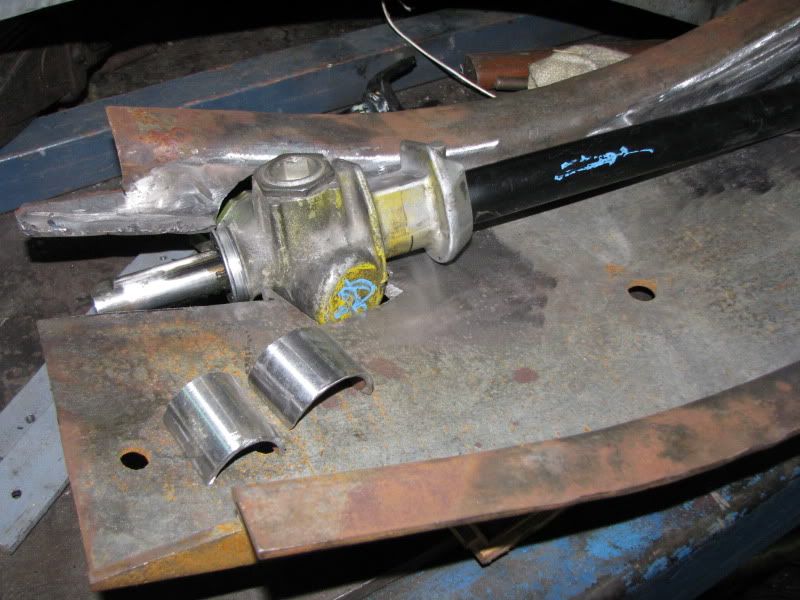
mocked up to the crossmember

little piece used for the other end. had to tighten up the radius to fit the rack tube.
There are two things in life where penetration is really important.....and one of them is welding.
-
07-19-2010 07:44 AM #231
CHR Member
- Join Date
- Jul 2003
- Location
- Kentucky
- Car Year, Make, Model: 47 Seagrave
- Posts
- 683
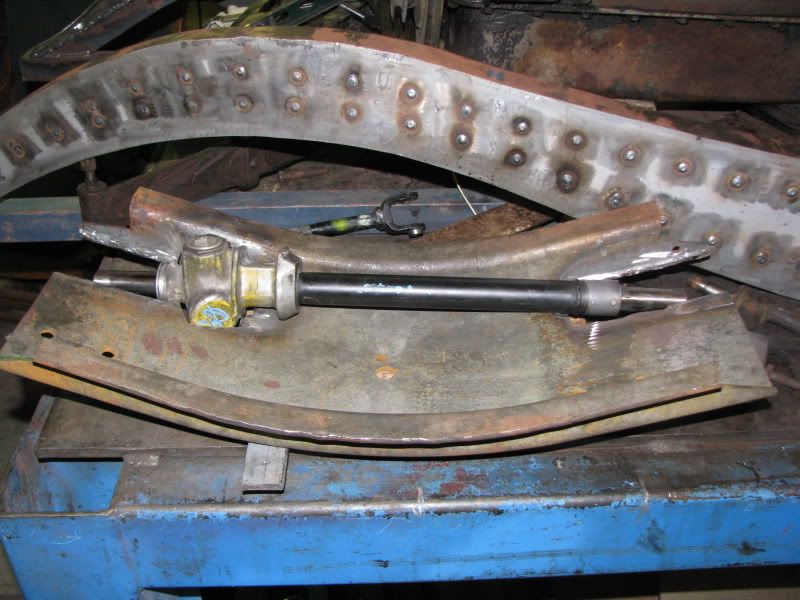
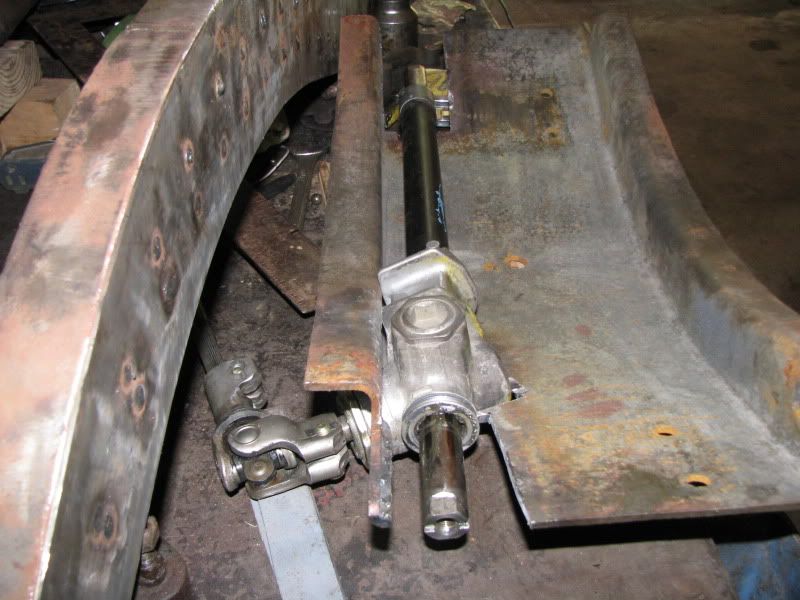
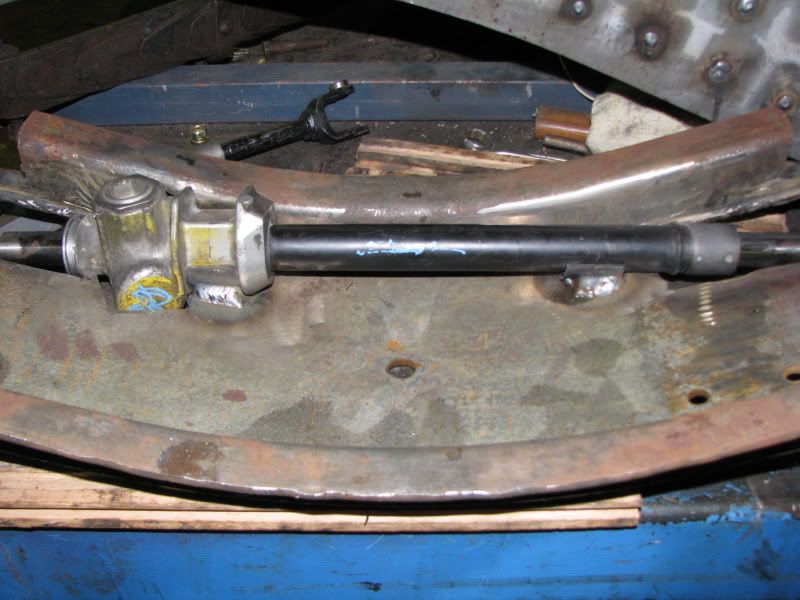
Both ends mocked up.
Everything cleaned up
Bzzzzzzzzz...bzzzzzzzz.....bzzzzzzzzz
There are two things in life where penetration is really important.....and one of them is welding.
-
07-19-2010 07:45 AM #232
CHR Member
- Join Date
- Jul 2003
- Location
- Kentucky
- Car Year, Make, Model: 47 Seagrave
- Posts
- 683
This what it will look like on the car (I still need to make clamps to hold it in the nest).
There are two things in life where penetration is really important.....and one of them is welding.
-
07-20-2010 10:25 AM #233
CHR Member
- Join Date
- Mar 2007
- Location
- g.r.
- Posts
- 40
Rack
What model/year Toyota did the rack come from??
-
07-20-2010 10:36 AM #234
CHR Member
- Join Date
- Jul 2003
- Location
- Kentucky
- Car Year, Make, Model: 47 Seagrave
- Posts
- 683
1994 Tercel with manual steering. Originally Posted by bannedleader

It is the same turns lock to lock and distance traveled as the stock jag box, but a lot more compact.There are two things in life where penetration is really important.....and one of them is welding.
-
08-10-2010 08:44 AM #235
CHR Member
- Join Date
- Jul 2003
- Location
- Kentucky
- Car Year, Make, Model: 47 Seagrave
- Posts
- 683
When I started this thing, the idea was to knock it out and drive it to Bonneville for speed week 2010. That didn't quite happen.
...but I am still going to speed week....and (maybe) the H A M B drags .....and then Frog Follies. It will be a month until I get back to Roofus. Hopefully the heat won't be as bad then.There are two things in life where penetration is really important.....and one of them is welding.
-
09-06-2010 07:37 PM #236
CHR Member
- Join Date
- Jul 2003
- Location
- Kentucky
- Car Year, Make, Model: 47 Seagrave
- Posts
- 683
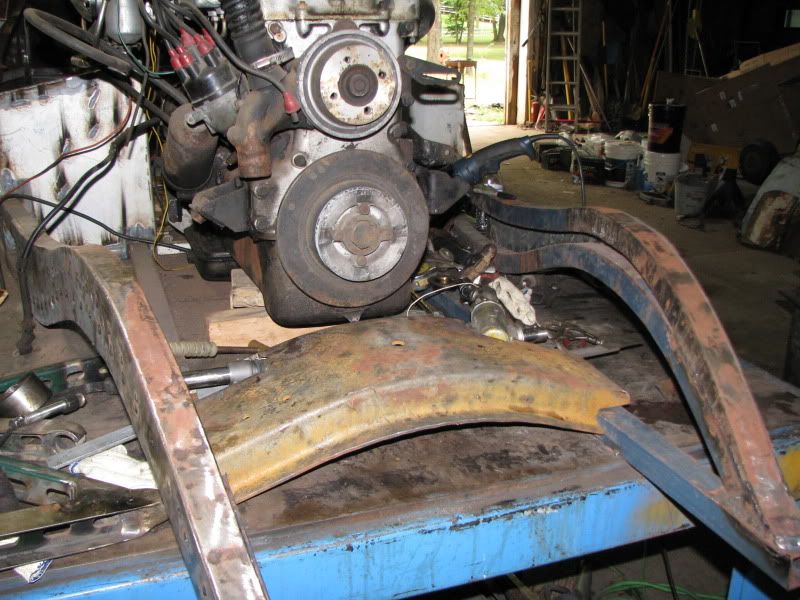
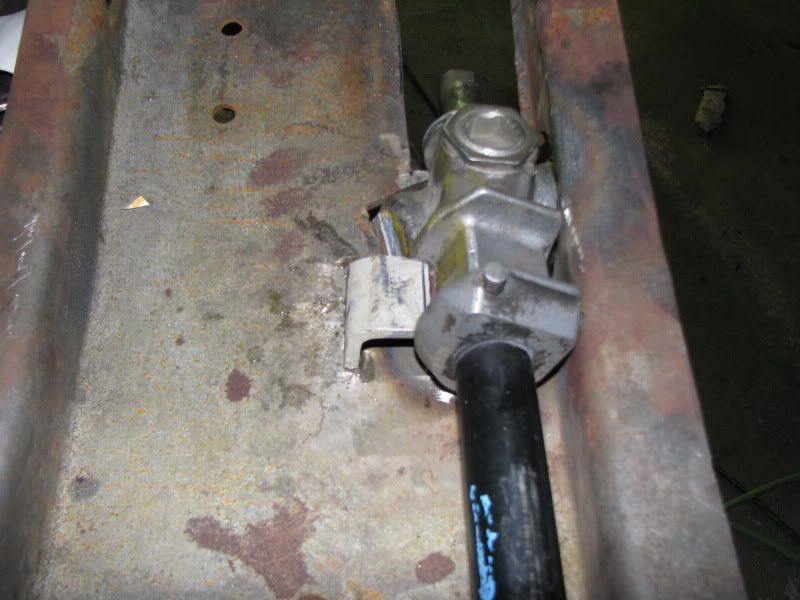
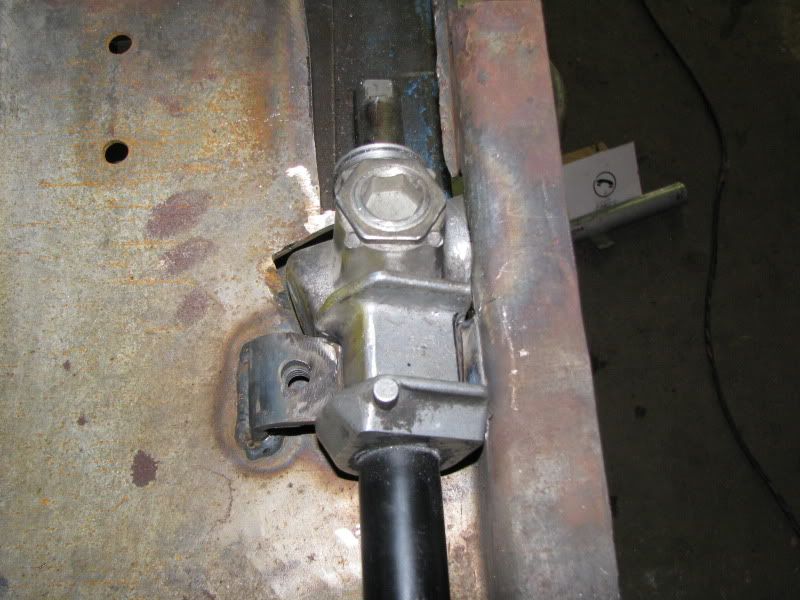
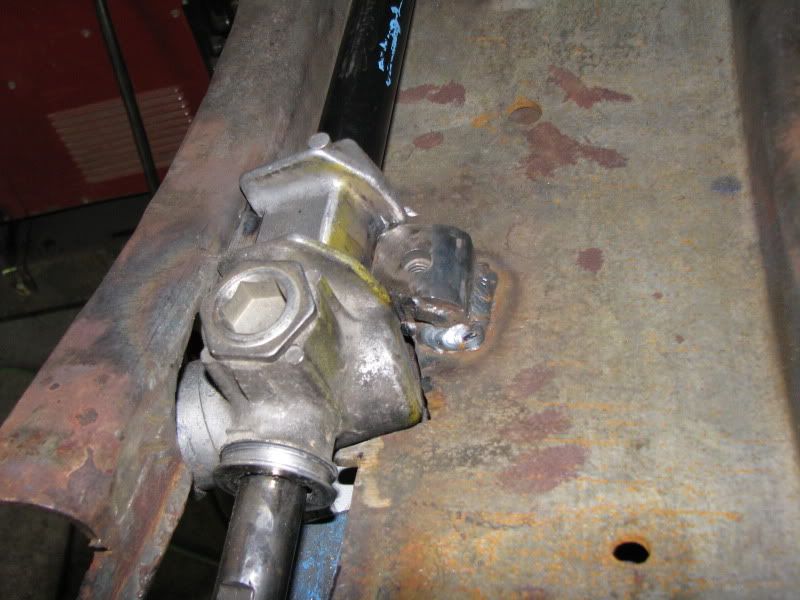
Actually mounting the steering rack was one of things that I somewhat dreaded doing.
The arched front crossmember looked cool, but was not a very friendly location for clamping down the rack. But it was something that had to be done. ...so I did it.
The plan was to mount it with two clamps. One clamp would control front to back and sis to side posioning. The other would just be front to back.
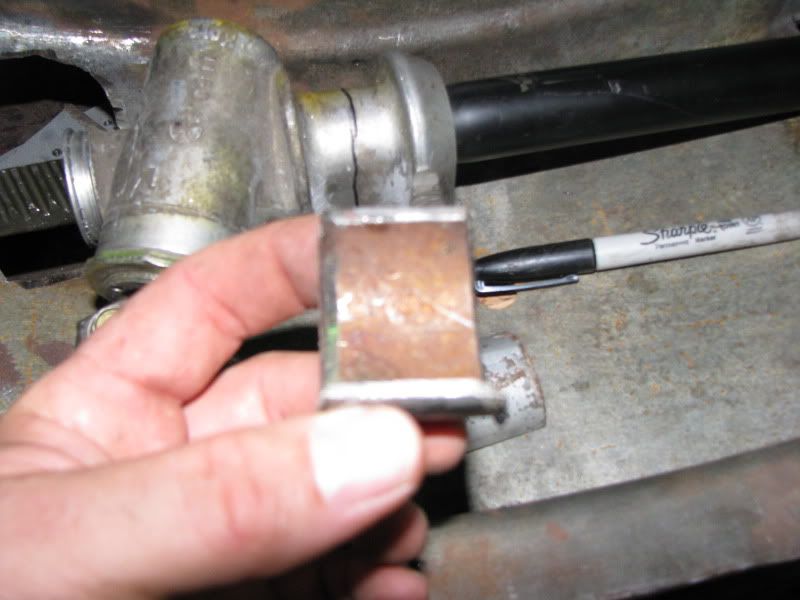
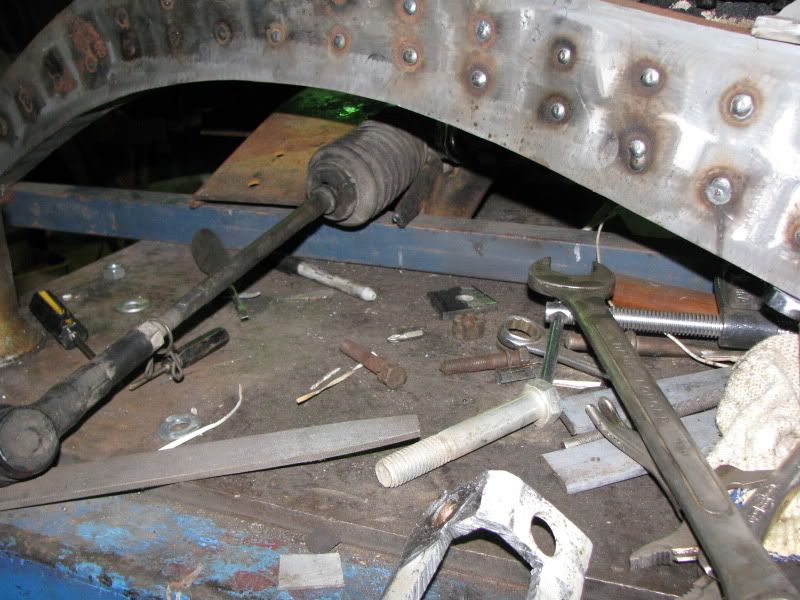
Once again, the raw materials were junk from the barn. I think this piece of heavy wall tubing used to be a physical therapy machine that dad bought cheap at an auction (for the metal).
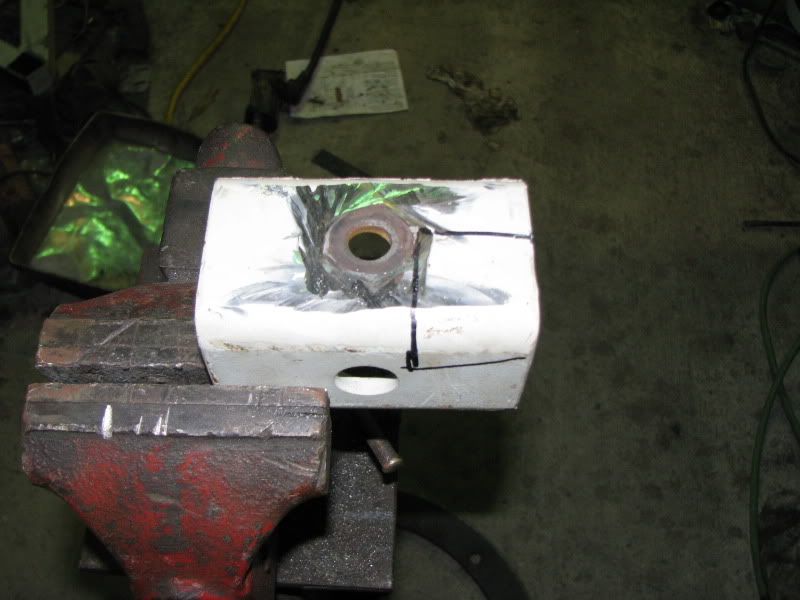
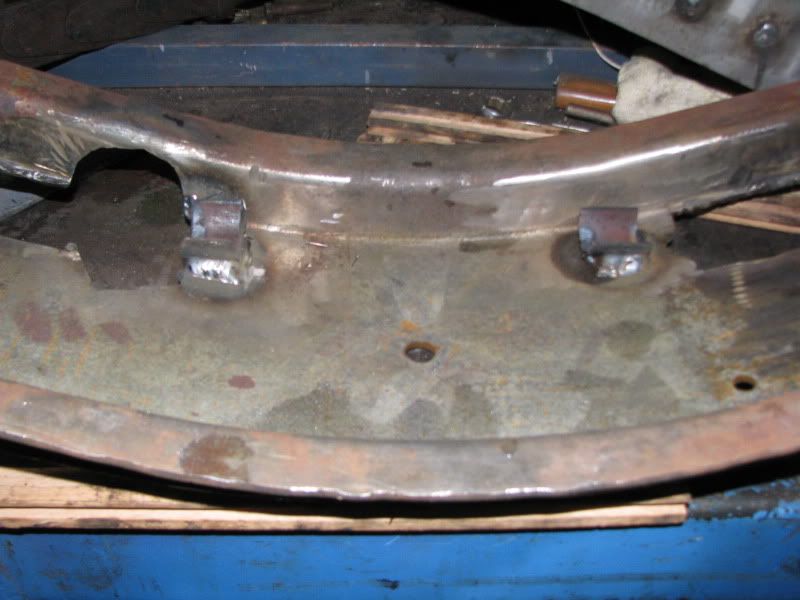
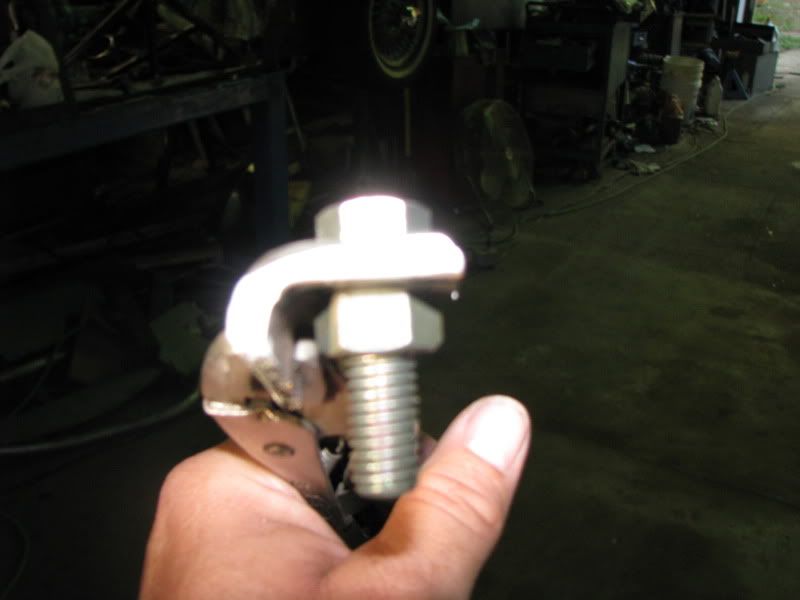
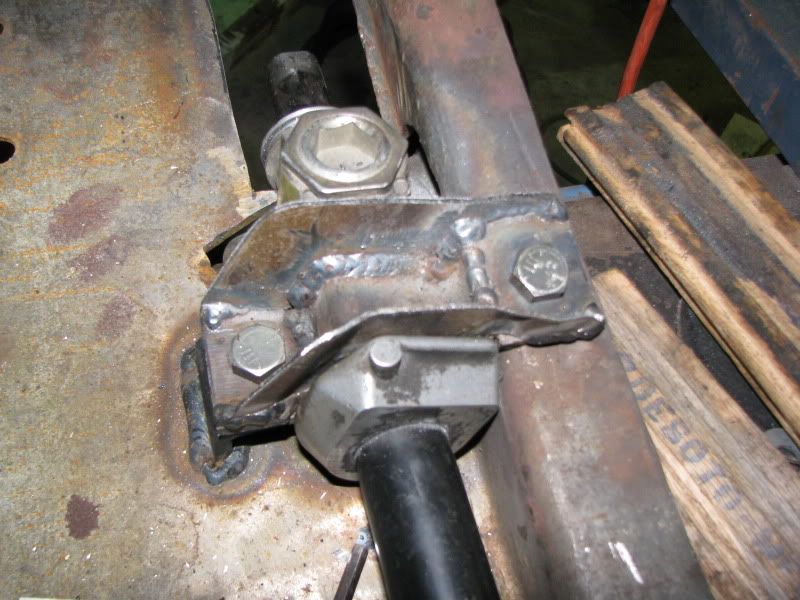
I decided to use 7/16 bolts for mounting it. He I am checking to see if I have room for these nuts. I ended up welding the nuts to the underside of the mounting bracket.
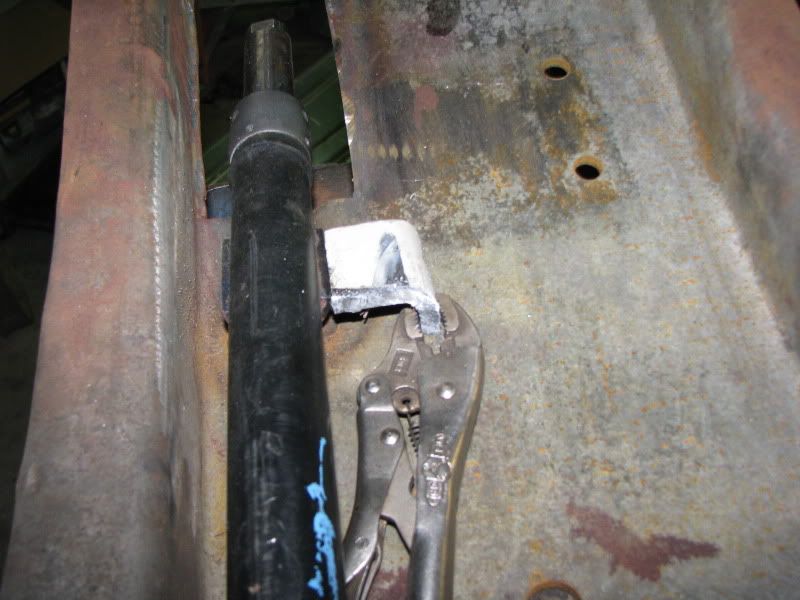
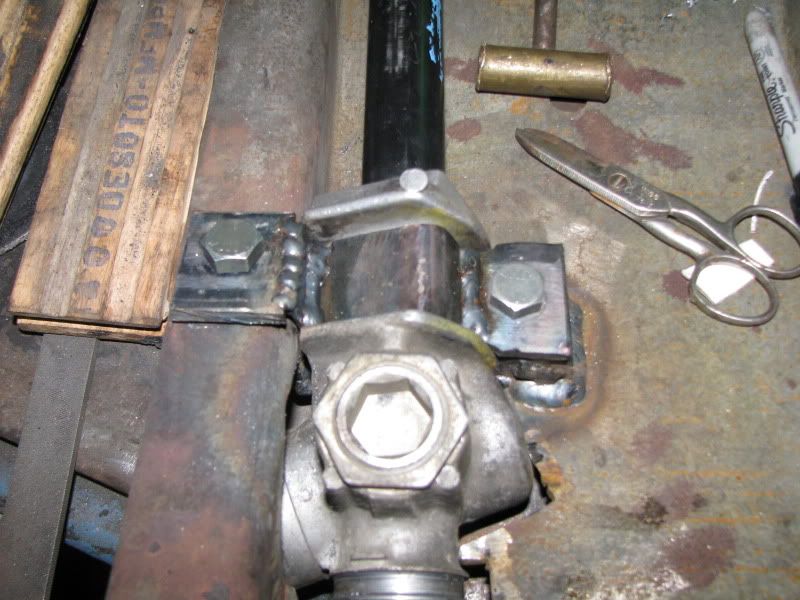
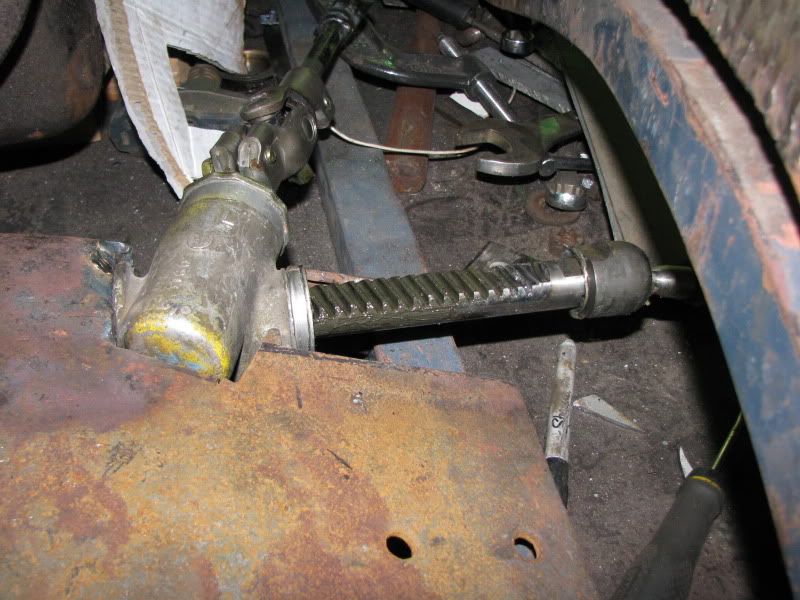
Here it is welded to the saddle that the rack tube rests in.
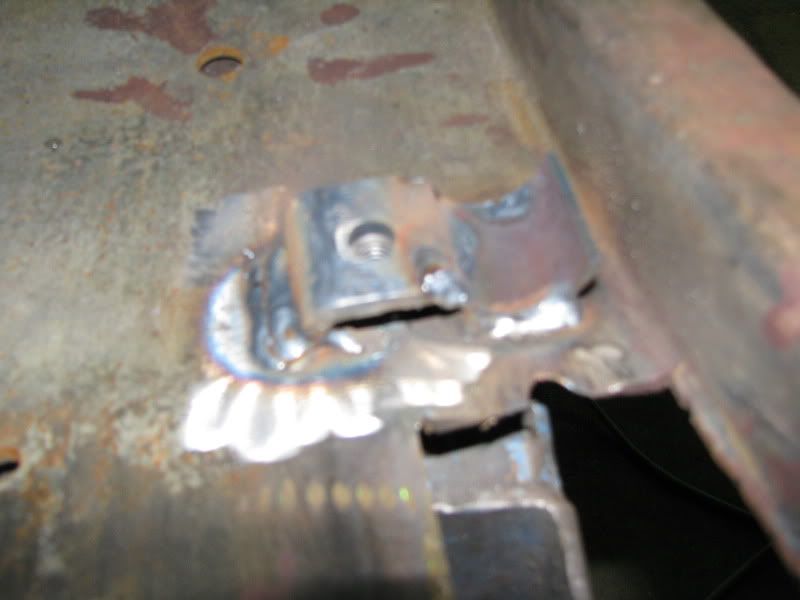
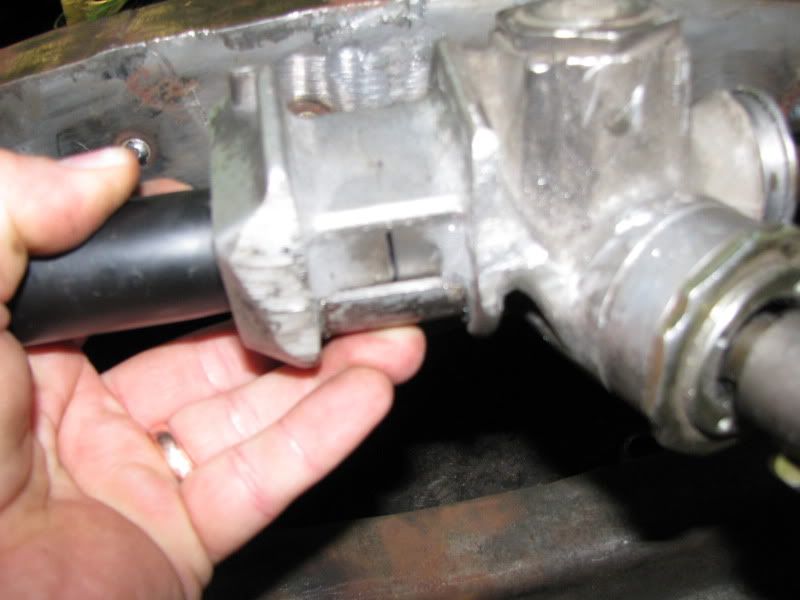
Now the other side of the saddle is tied to the crossmember
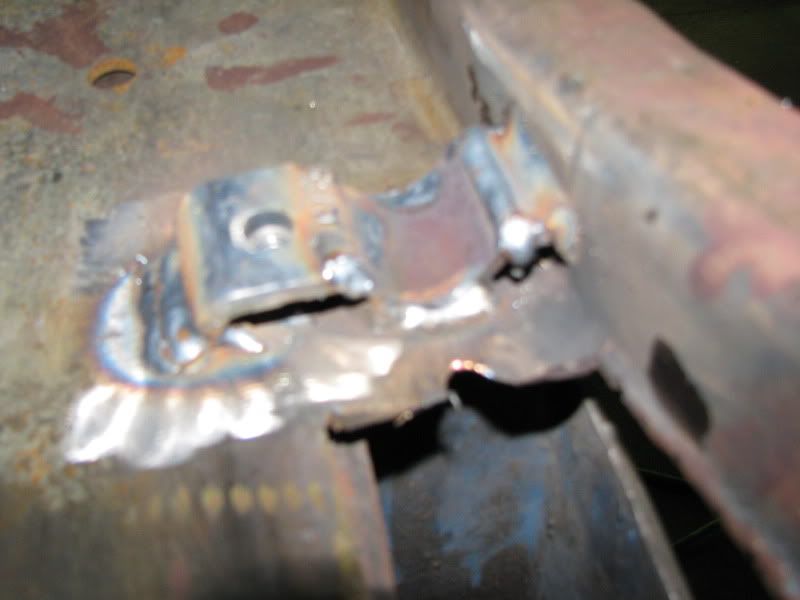
Even though this was some pretty heavy material, I gusseted one of the sides.

There are two things in life where penetration is really important.....and one of them is welding.
-
09-06-2010 07:38 PM #237
CHR Member
- Join Date
- Jul 2003
- Location
- Kentucky
- Car Year, Make, Model: 47 Seagrave
- Posts
- 683
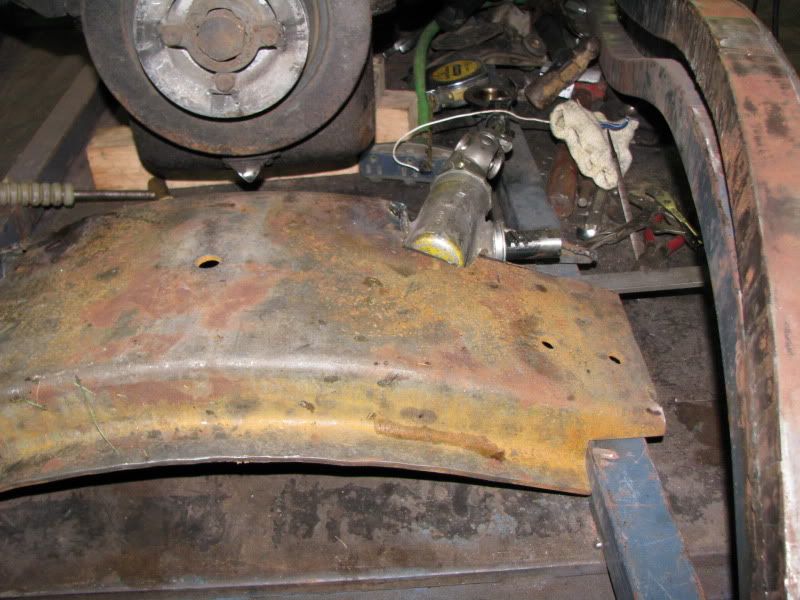
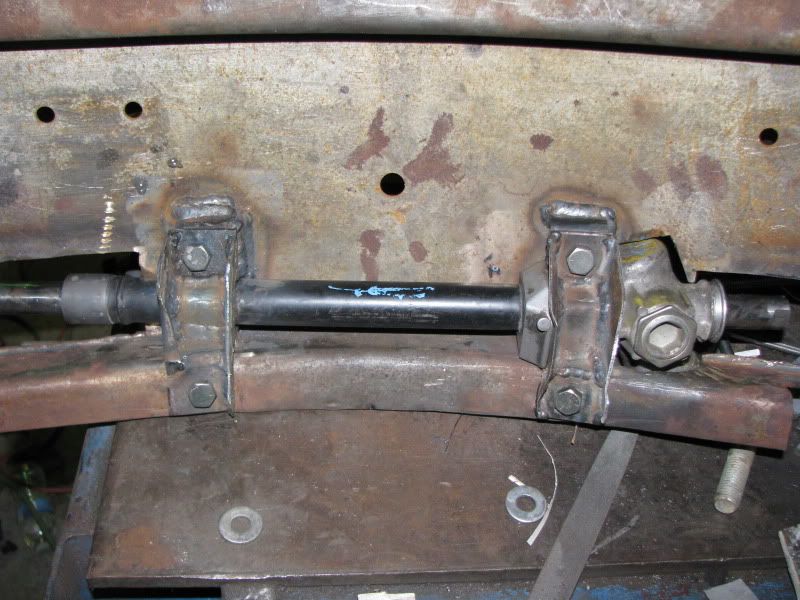
Same thing on the other side.
Now to start fabbing up the straps.
I started on the end that I just made the bases.

The other end of the straps will be secured by nuts and bolts through the flange of the crossmember.
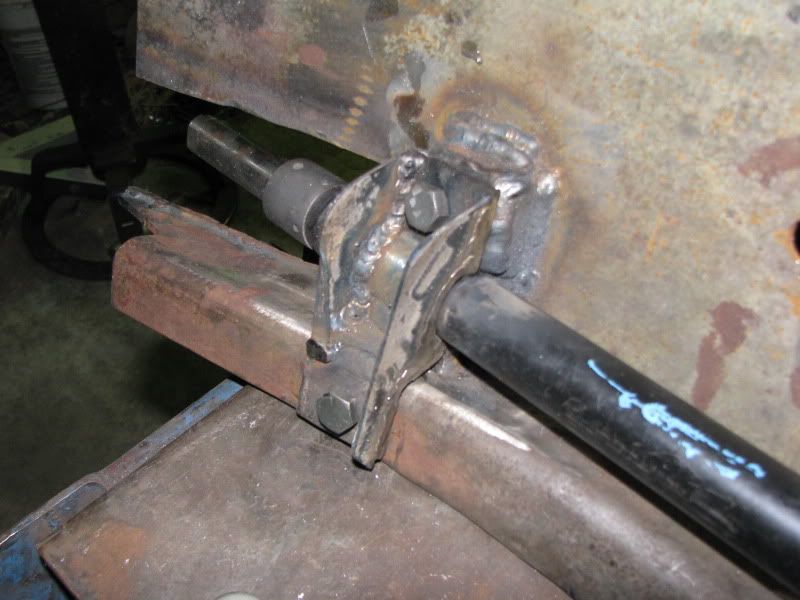
just connect the dots.
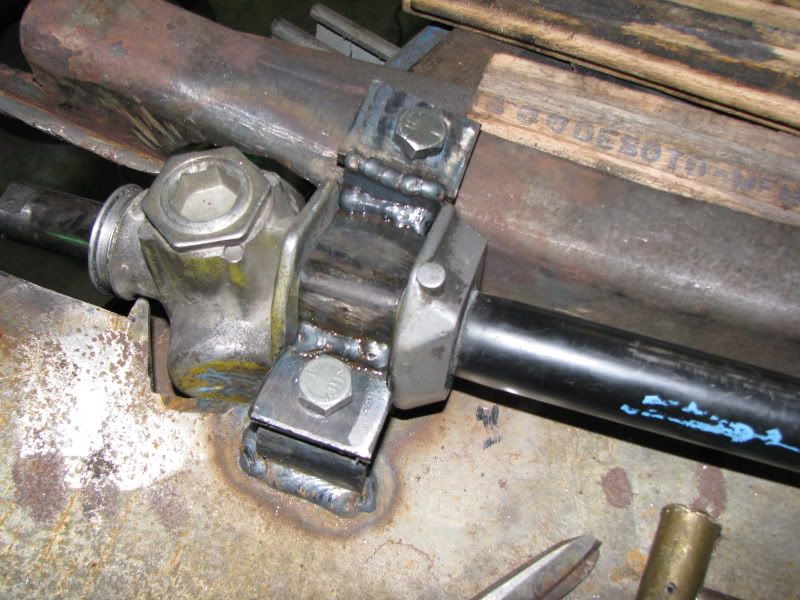
...and then gusset the hell out of it so that the bends in the straps stay where they are supposed to be.
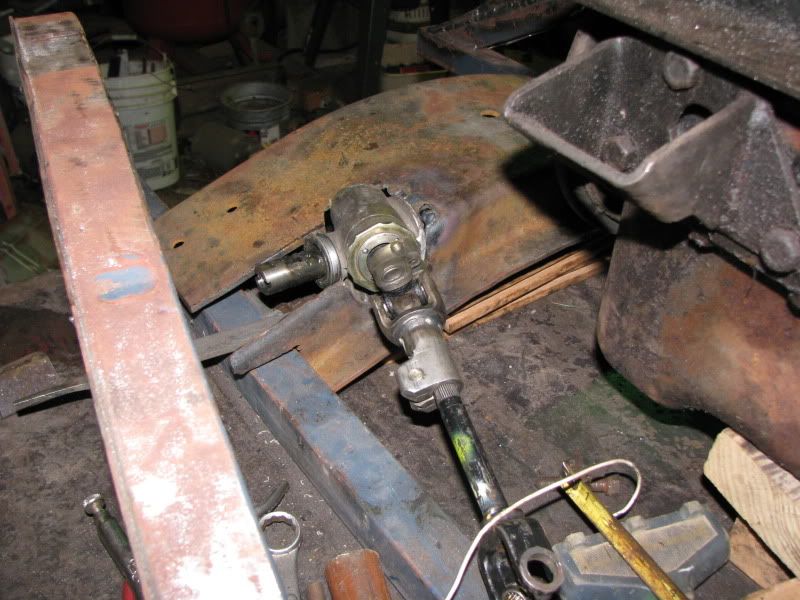
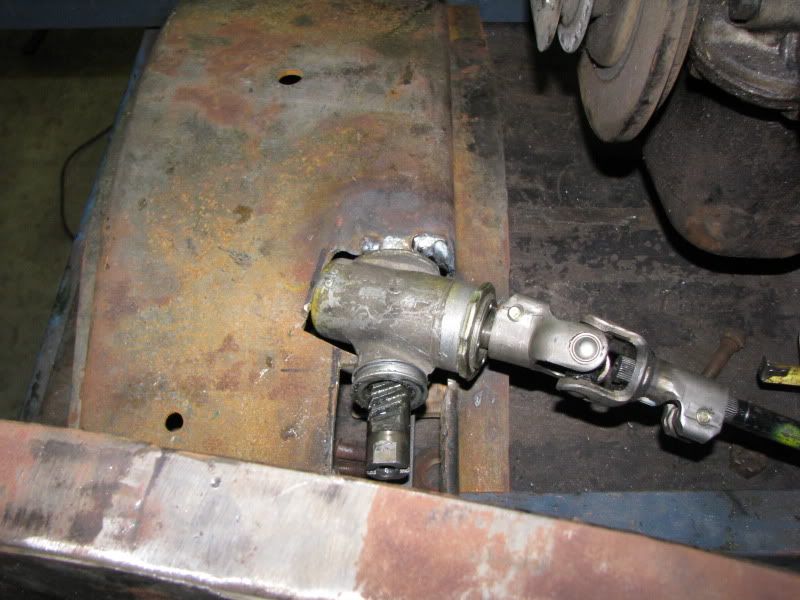
Other clamp done. Guset was done differently (clamp on this side is farther outboard...less ground clearance), but should be plenty beefy.
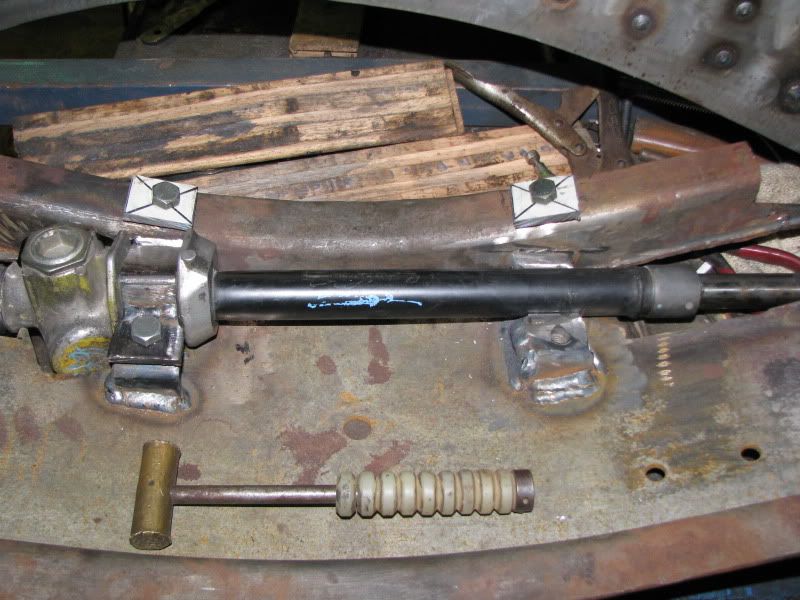
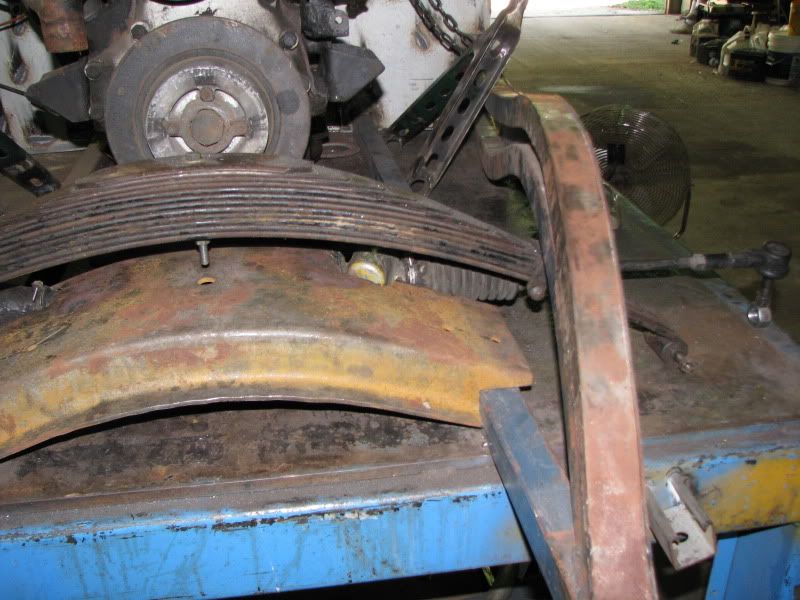
Boots look like crap.
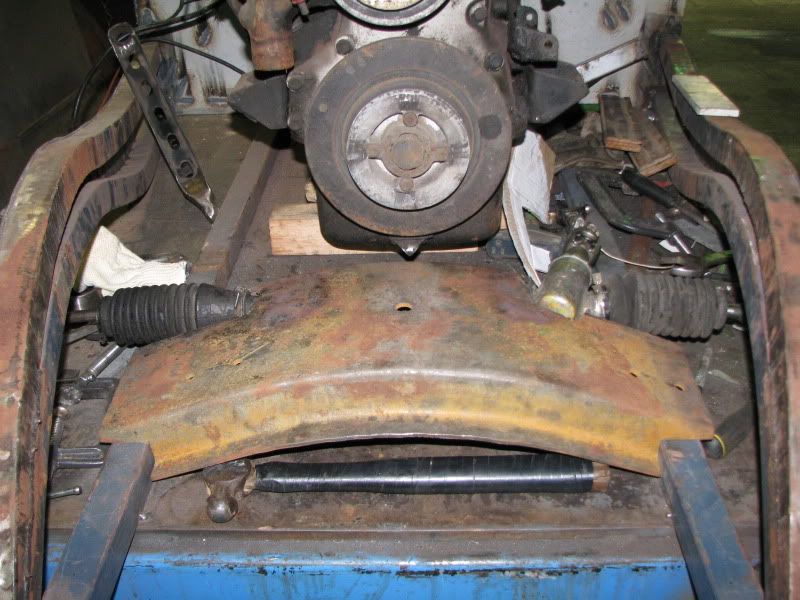
But they are necessary
The spring should block out most of the view
Oh yeah, the u-bolts I bought were too small. They won't work
There are two things in life where penetration is really important.....and one of them is welding.
-
09-07-2010 04:00 AM #238
CHR Member
- Join Date
- Jul 2003
- Location
- Titusville, FL
- Car Year, Make, Model: 31 Ford Coupe; 32 Ford 3-window
- Posts
- 1,793
Nice work. That rack isn't going anywhere! Will you be cushioning the brackets with rubber? If you wrap a piece of old inner tube around the areas where the clamps are, it will eliminate the possibility of squeaks.
You can probably remove about half of the leaves in that spring, too. I would estimate that this car will weigh about half (or less) of what the car that it came from weighs. Also, you have the engine, etc. sitting behind the axle instead of on top of it which lessens the load on the spring.
Really looking forward to seeing this one on wheels...
Jim
Racing! - Because football, basketball, baseball, and golf require only ONE BALL!
-
09-07-2010 04:36 AM #239
CHR Member
- Join Date
- Jul 2003
- Location
- Kentucky
- Car Year, Make, Model: 47 Seagrave
- Posts
- 683
The straps are pretty snug as is, but I will probably do a rubber strip during final assembly. Originally Posted by J. Robinson
Yeah, I'd be real surprised if the spring pack works as is. I figured it would require some adjustment. It sure would be nice if it worked as is though. I think it is "pretty".There are two things in life where penetration is really important.....and one of them is welding.
-
09-07-2010 05:43 AM #240
CHR Member
- Join Date
- Jul 2003
- Location
- Titusville, FL
- Car Year, Make, Model: 31 Ford Coupe; 32 Ford 3-window
- Posts
- 1,793
I agree; a leaf spring can be a thing of beauty (to us car nuts)... Maybe if you remove every-other leaf it will maintain its nice tapered look. Originally Posted by Flipper_1938
"Back in the day"... they used to clean and lightly grease the leaves, assemble them, and then wrap the entire spring with two or three layers of electrical tape. The purpose was to keep dirt and moisture out from between the leaves (especially on the dirt tracks) so they would work more smoothly.
Did you make it to the Frog Follies? I was there (as a spectator) and looked for your truck, but there were too many cars to see them all... The last time I was there was in 1980! It sure has grown.
")
Jim
Racing! - Because football, basketball, baseball, and golf require only ONE BALL!
 Reply With Quote

Posting Permissions
- You may not post new threads
- You may not post replies
- You may not post attachments
- You may not edit your posts

Even though I know he won't see this, I still want to wish a Happy Birthday to my best friend, Richard Moore aka techinspector1
Happy Birthday techinspector1