


 142Likes
Thread: 32 ford truck project


Results 1 to 15 of 210
 LinkBack URL
 About LinkBacks
-
08-31-2013 12:40 AM #1
 CHR Member

- Join Date
- Jun 2013
- Location
- Wylie
- Posts
- 153
32 ford truck project
I started this back in 2011 and have been reluctant to post much about it on hotrod forums. Just thought I might share it here as the late model forums I'm apart of don't really get what I'm doing with it. Maybe I will get more a response here.
Forgive me as most of this is copy paste from another site.
90% of this build is being done in my home garage. The heavy fabrication will happen at the hotrod shop I work at and the paint will be done at a friends paint shop. I will be doing all of the work myself except for the interior.
Specs:
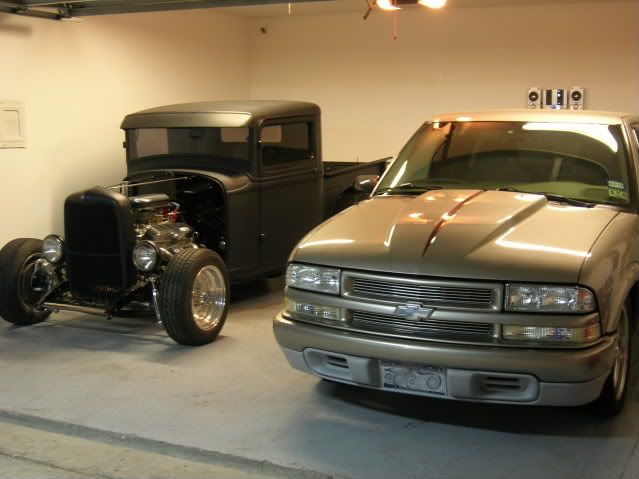
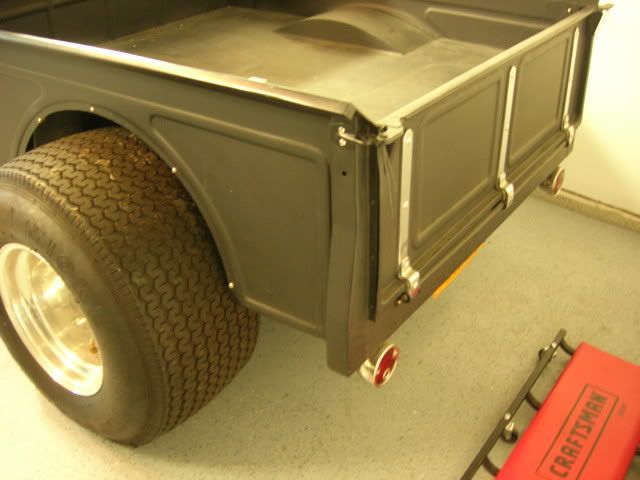
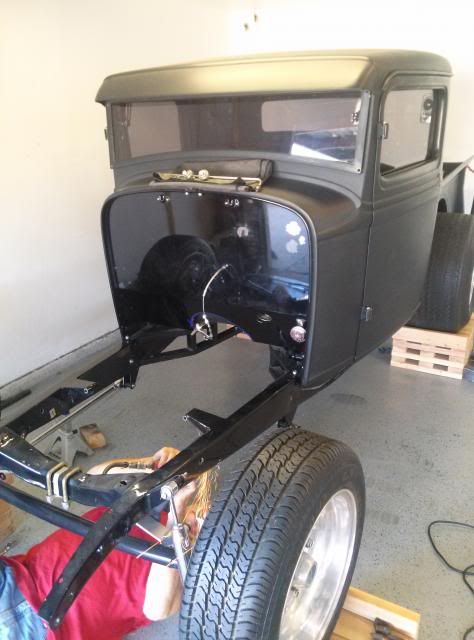
Original 1932 Ford truck body. Cab has been chopped and the floor lifted. the bed has been tubbed, shortened, and the bed raised. there will be no fenders, but maybe a hood.
The story behind the truck:
Fiance>>>Ashley's Father started this project about 13 years ago while he was going to school (career change) for street rods and fabricating. Over those years he got it all the way to the point of driving (I stepped in about 3 years and did the interior, ignition, and final trim out).
In the beginning of 2010 he was diagnosed with a condition called morphea scleroderma. While being heavily medicated he lost most of his energy and went in to the Cardiologist. Only to find out he would be going under for a major surgery to replace is aortic valve and a portion of his actual aorta vessel. After a few complications around Thanksgiving 2010 we had a major scare and thought we were going to lose him. Since then his energy has increased, but decided to go ahead and pass on the the truck to the actual owner (Ashley). After much discussion she decided to let me run with it and after the LS swap in her daily driven S-10 she knew what route to take this little truck.
Now onto the specs of whats to come.
Body Paint color: Custom Mix Black
Frame Paint color: Custom Mix Black
Engine: 5.3L cammed with mild head work, vic jr, Accufab 4150
Trans: Built 4L60e with TCS billet 3200 stall
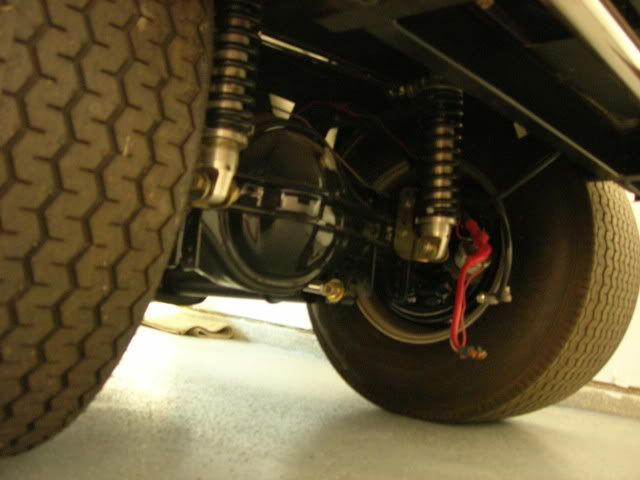
Rearend: 9in Ford 3.90 TracLoc 4 Link
Front Suspension: 4" drop axle, Unisteer cross-steer
Exhaust: Fabbed 1 7/8th headers, 3" stainless exhaust
Interior: Dove Grey Ultra Leather/graphite ultra suede
Gauges: Dakota Digital 32F VHX
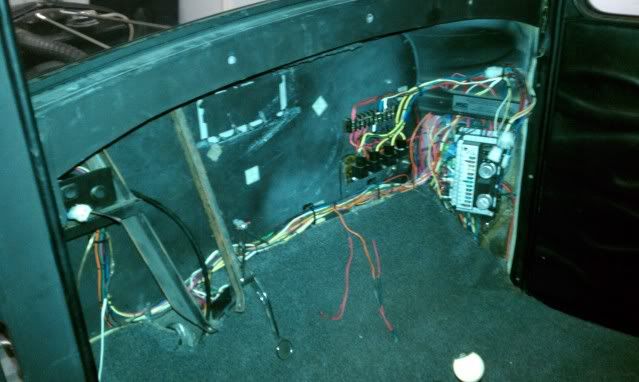
Wiring: modified 2002 truck harness with 0411 PCM, body harness is american autowire Hwy 22
Fuel: Walbro 255 intake, fabbed aluminum tank, 3/8th stainless hardline feed and return, Aeromotive FPR, Red top injectors
Cooling: Custom aluminum radiator with Spal 16 fan
Wheels: American Racing TT II 15x4 Front 15x12 Rear
Tires: MT SportmanSR 24x5x15 front 31x16x15 Rear
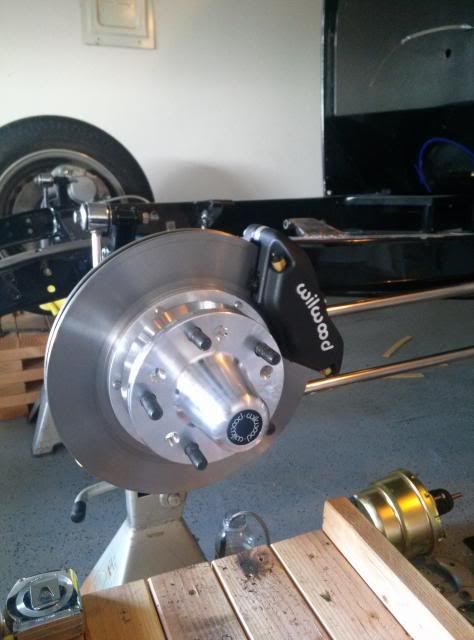
Brakes: Wilwood Dynalite Front and drum rear
Few Pics of what it was when we got it home.
Pulled it apart

Last edited by sprayed99; 08-31-2013 at 12:58 AM.
-
Advertising

- Google Adsense
- REGISTERED USERS DO NOT SEE THIS AD
-
08-31-2013 12:42 AM #2
CHR Member
- Join Date
- Jun 2013
- Location
- Wylie
- Posts
- 153
Then I proceeded to gather parts.

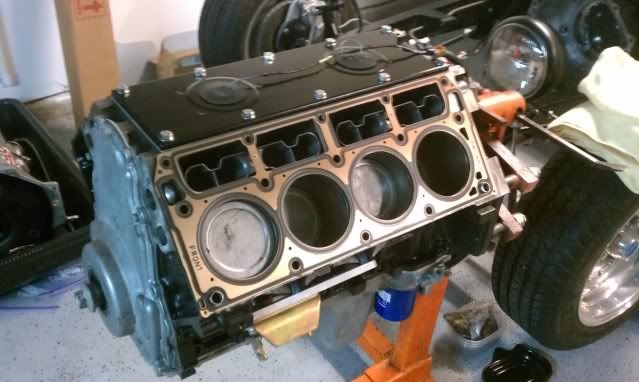
Long block from a member on PT.net. It had 39K on it and was super clean. Luckily I know him well and he is local so I knew the history of it and how well it ran.
Pulled it apart and cleaned up the short block. Heads were taken to a local machinist I know well and he shaved .025 off the heads and they got a nice VJ and he set up the springs.
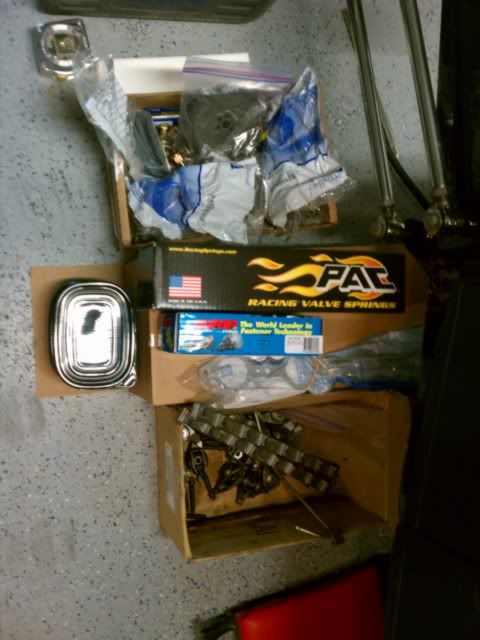
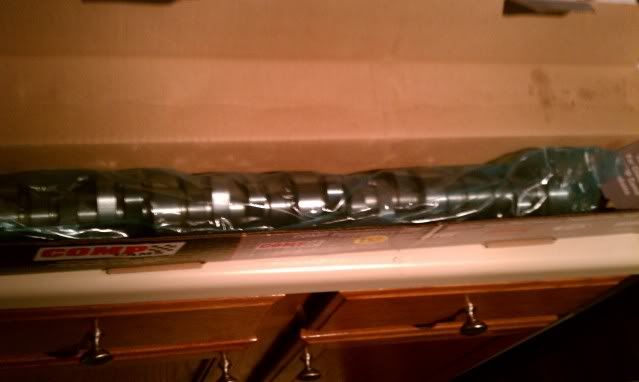
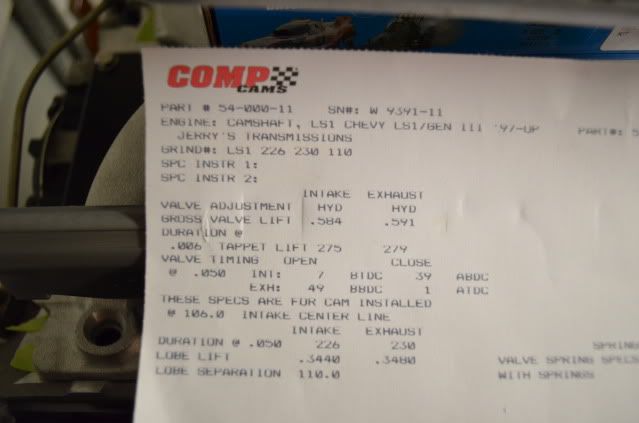
Cam Came in
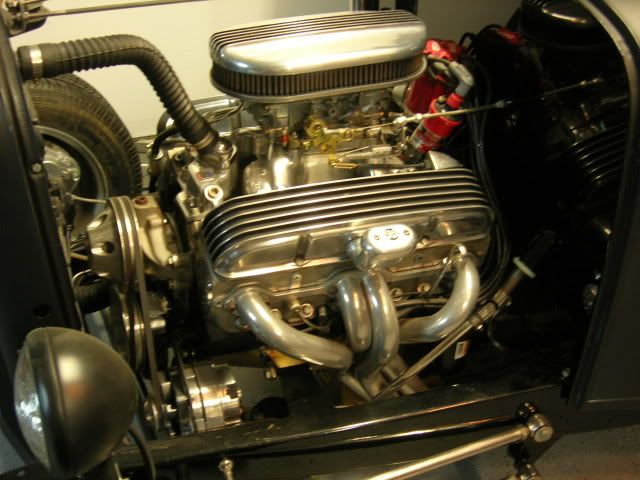
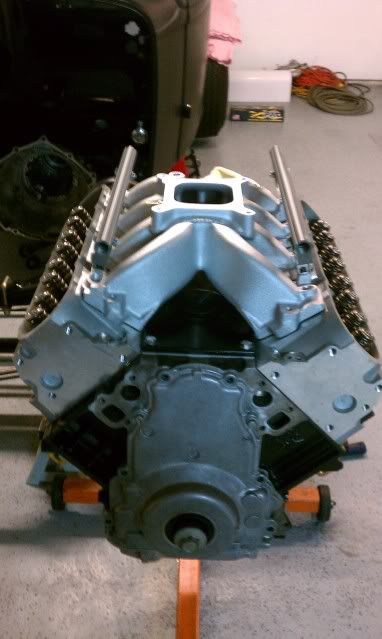
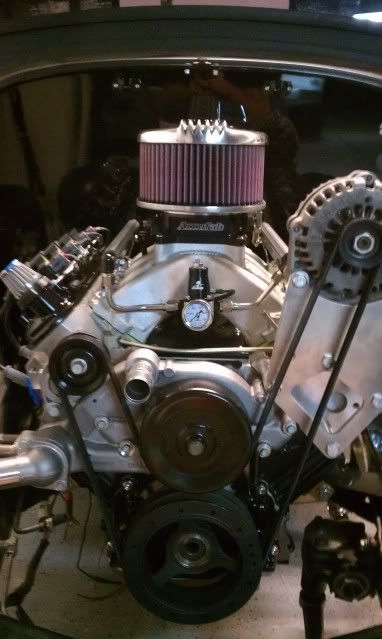
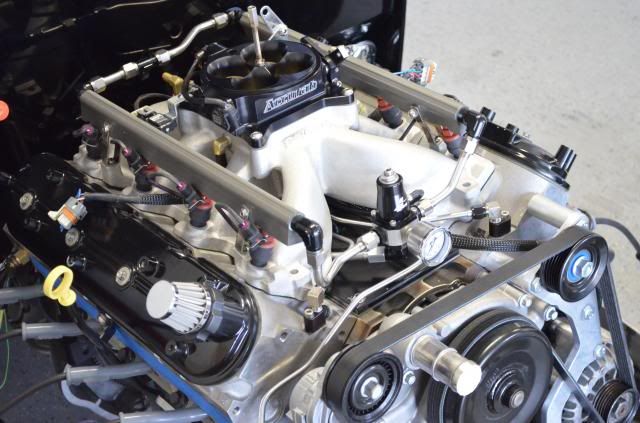
Decided to keep some of the "Retro" look and went with a EFI Vic Jr. and an Accufab 4150
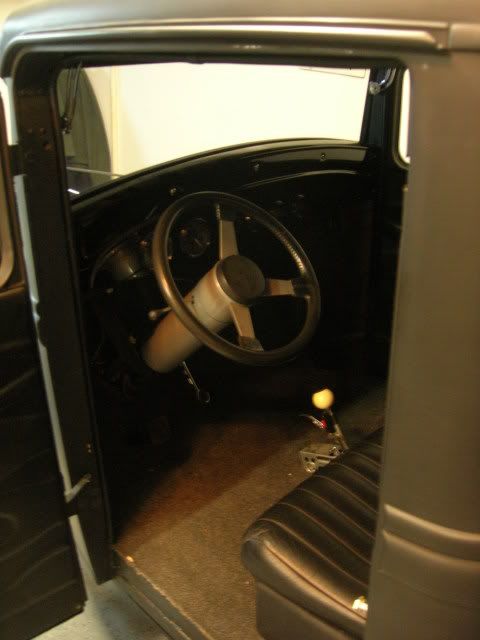
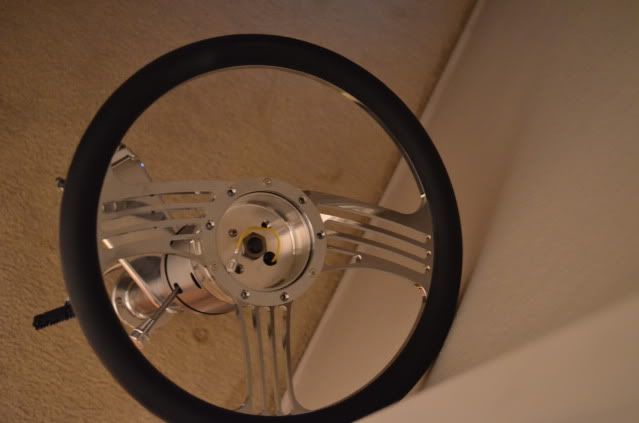
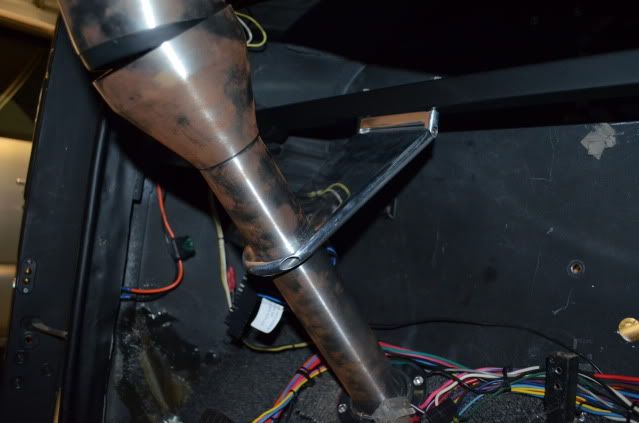
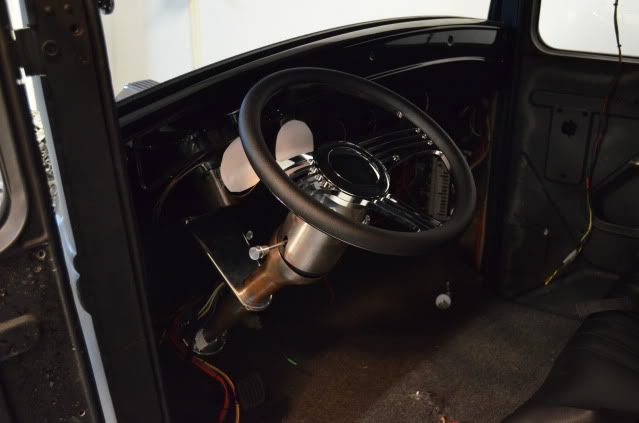
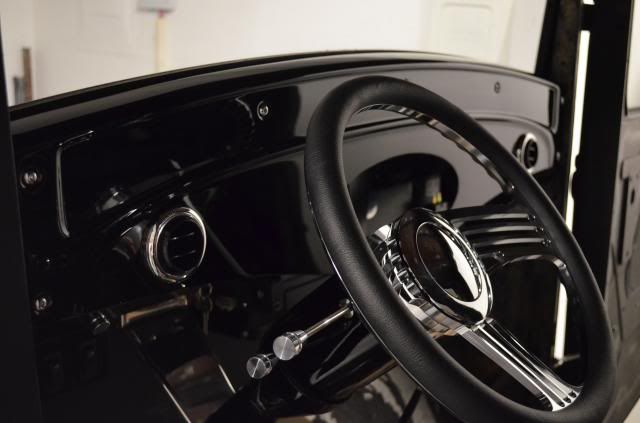
Steering column is a Ididit with a billet wheel
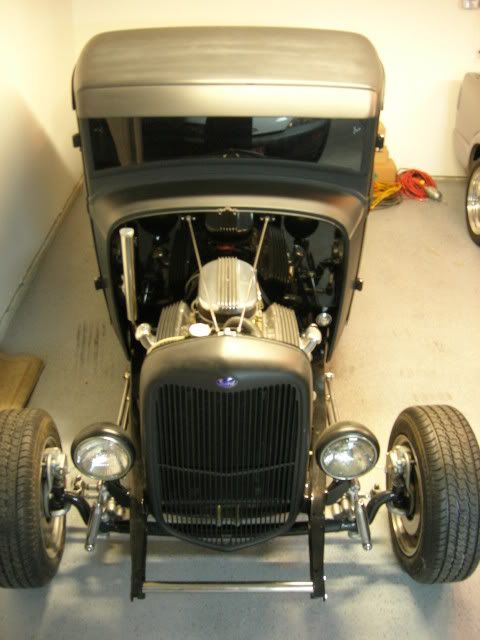
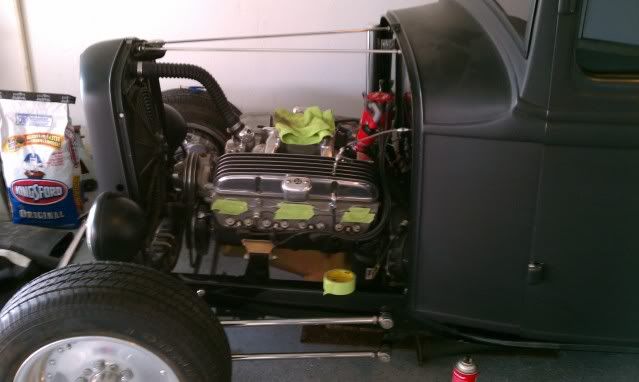
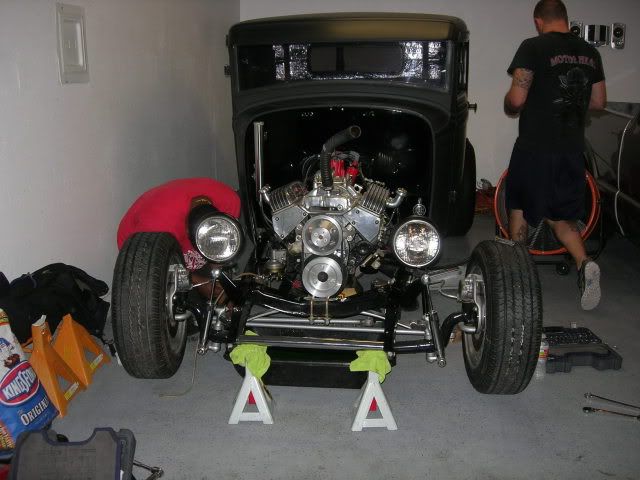
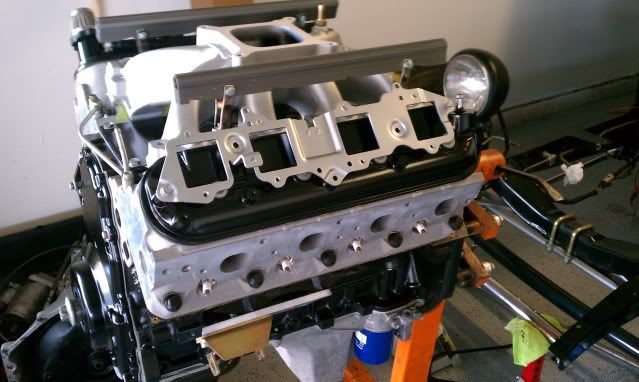
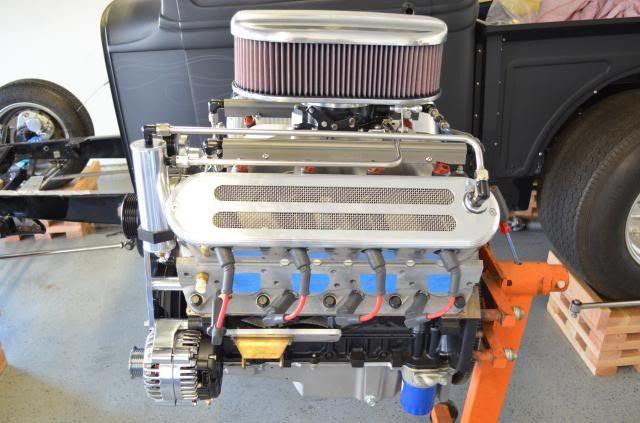
Engine set in with intake on the floor went with the LS3 vette pan for this.

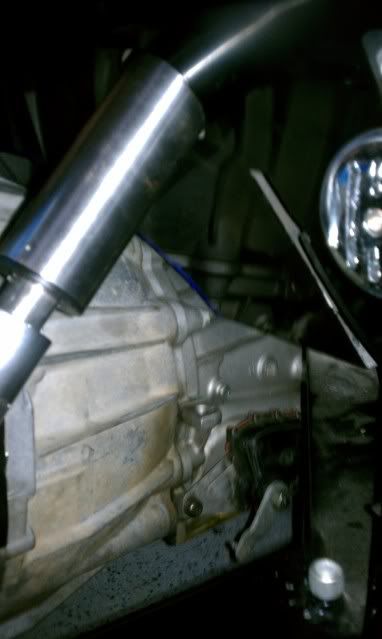
Got the column in and testing fitment on the 4L60E... holy tight fit
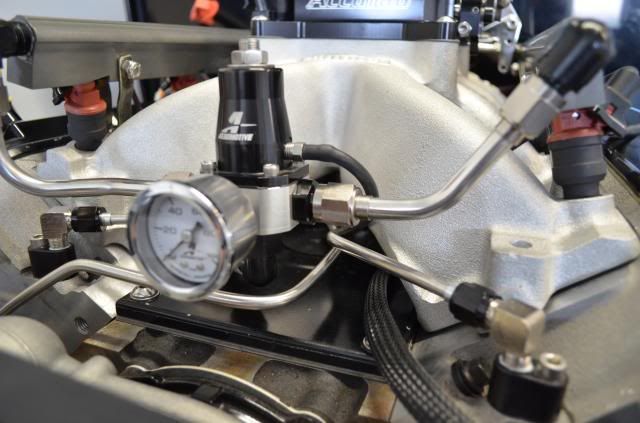
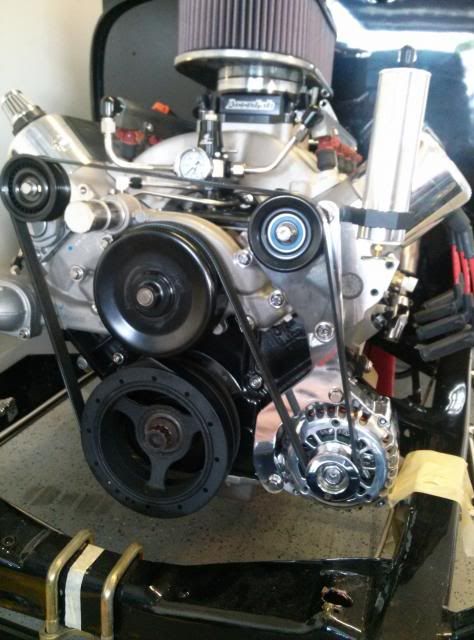
Stainless Hardlines with Aeromotive FPR and the nasty alt. mount..... this gets solved later. FYI the accessories are all LS3 vette
More on the inside column... yes it needs to be painted
Injectors in and playing with wiring

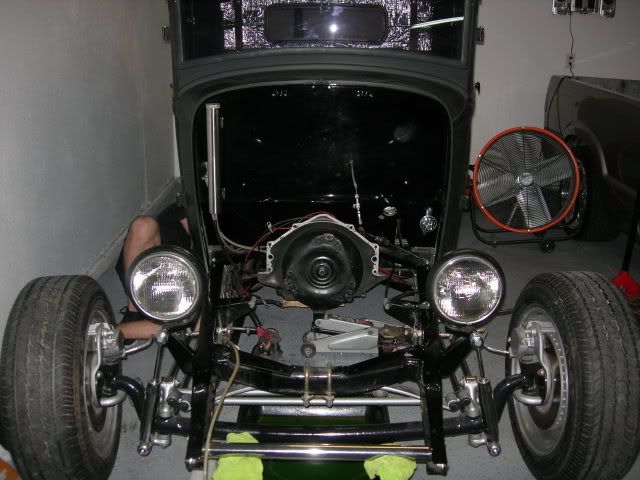
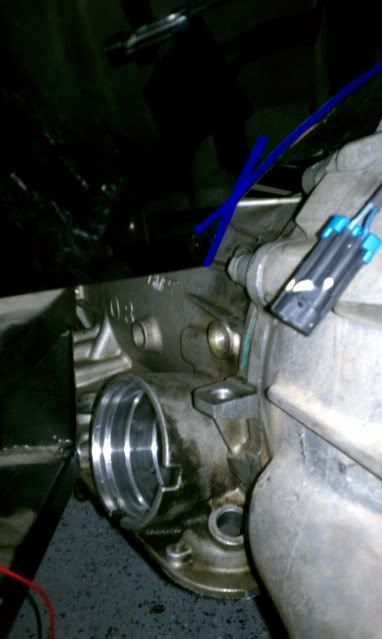
Got the transmission fitted, center section in, and driveshaft built.
Made a 4 corner 4AN steam vent and made the new low mount alternator bracket.

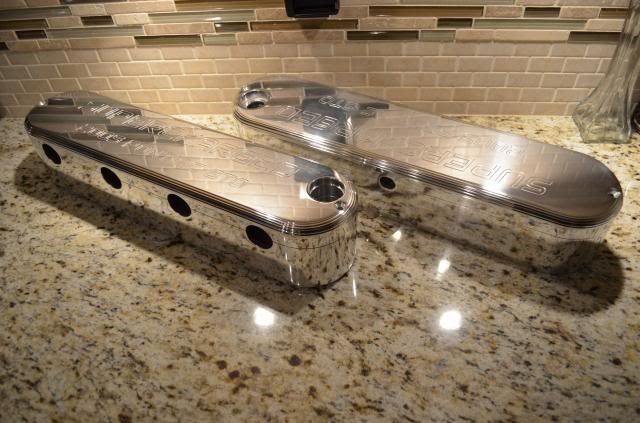
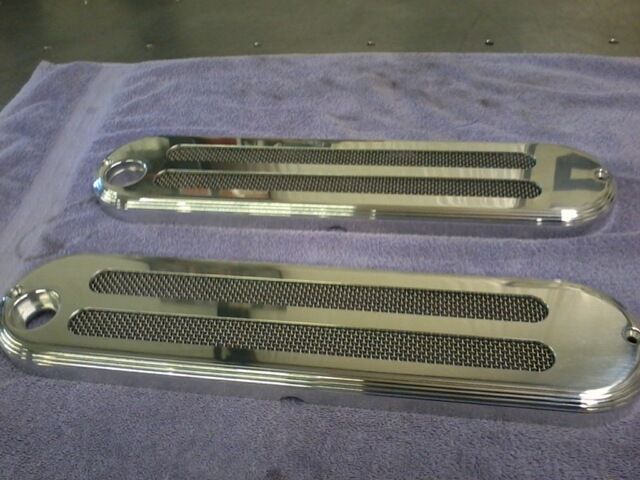
Then I scored these off of LS1gto and had to figure out a way to solve the "SUPERCHARGERED 2005 PONTIAC GTO" engraving. 1in endmill and some 304 SS mesh did the trick
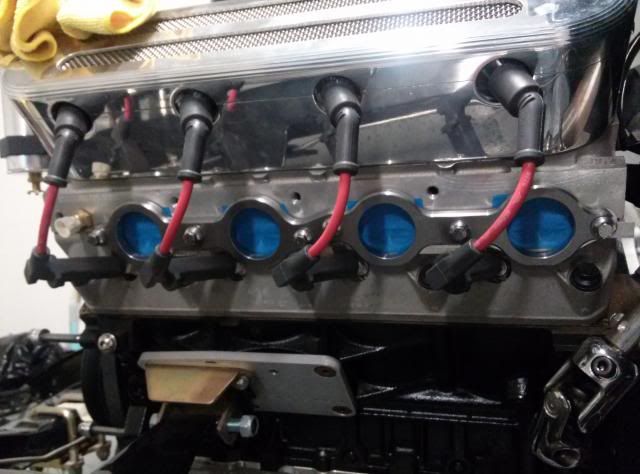
Finding coils was a pain in the ass but got them finally and had to order new plug wires because the truck wires are too long.
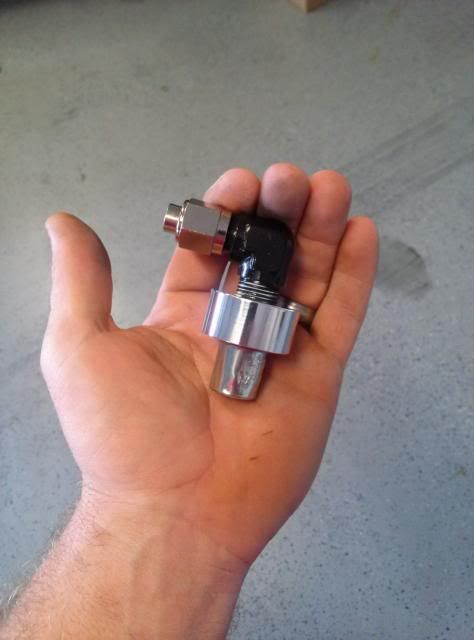
Then I had to solve the issue of the PCV... I did not want rubber hoses so I made this on the lathe. It is a press fit pcv from a LS1 that is threaded 3/8th NPT to 6AN...fits nice with the catch can I think.
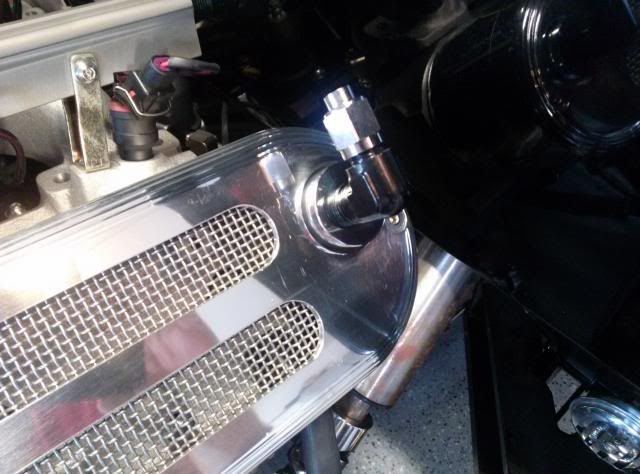
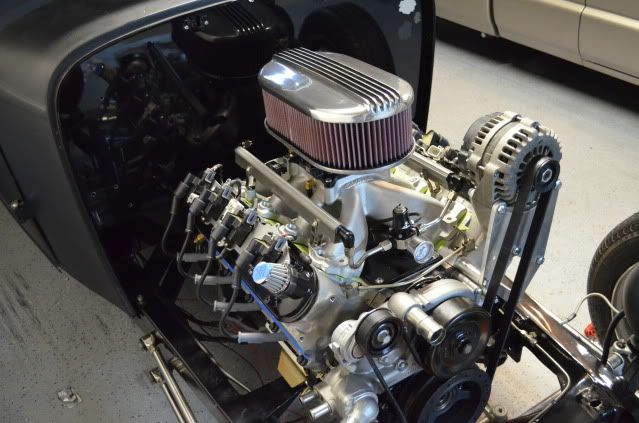
How it sits now with one of the 3/8th Stainless pcv hardlines
Last edited by sprayed99; 08-31-2013 at 12:54 AM.
-
08-31-2013 12:43 AM #3
CHR Member
- Join Date
- Jun 2013
- Location
- Wylie
- Posts
- 153
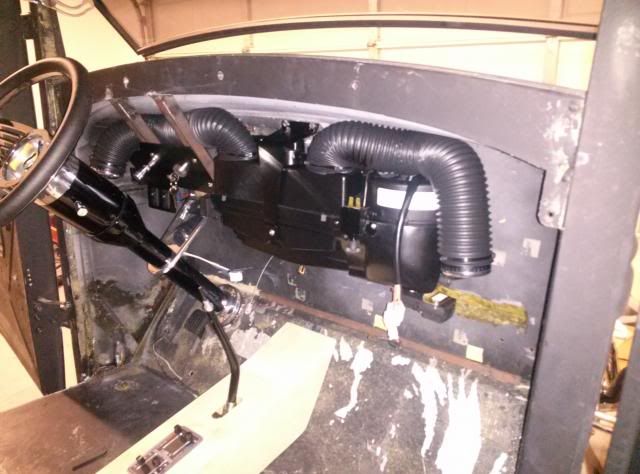
Ash and her Dad both pushed me to make vintage air "fit" in the truck... Well I have all the parts and now it is time to make it all fit. I also have a few other parts that are collecting dust. I have stopped working on it until I can trailer it out to the shop so I can have all the tools I will need to finish it.
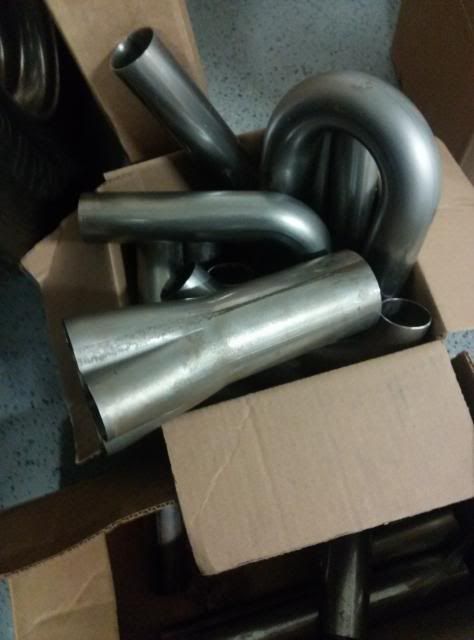
Parts I have
1 7/8th to 3" collector header parts... Yes I will be building the headers too
Billet Specialties Throttle and Brake Pedals

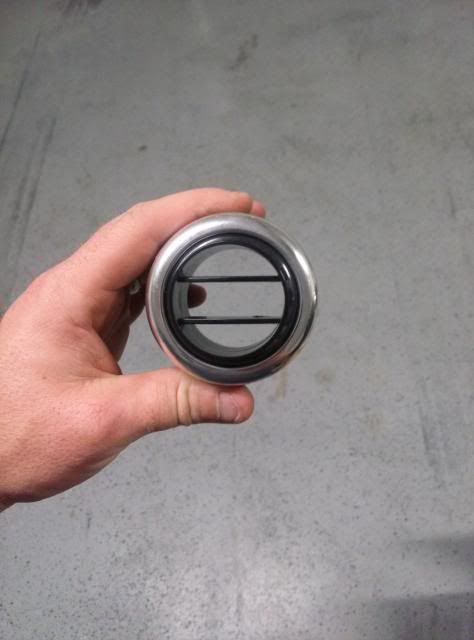
Billet Specialties A/C vents
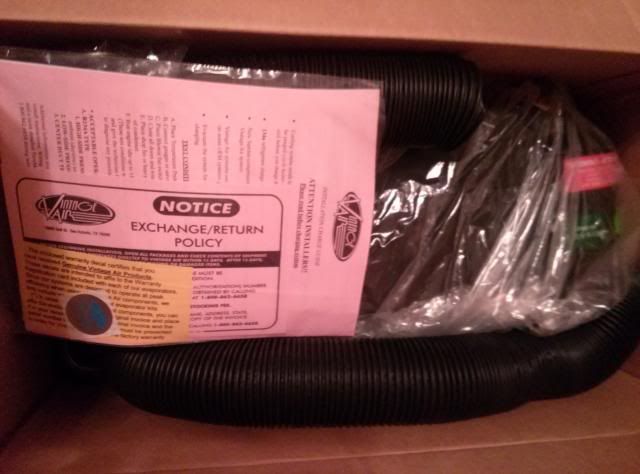
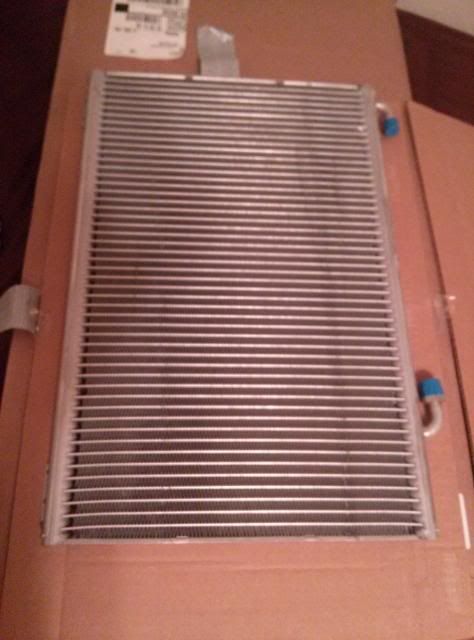
Vintage Air Heat/Cool Mini Evap unit with vertical controls and 28-32 ford condensor
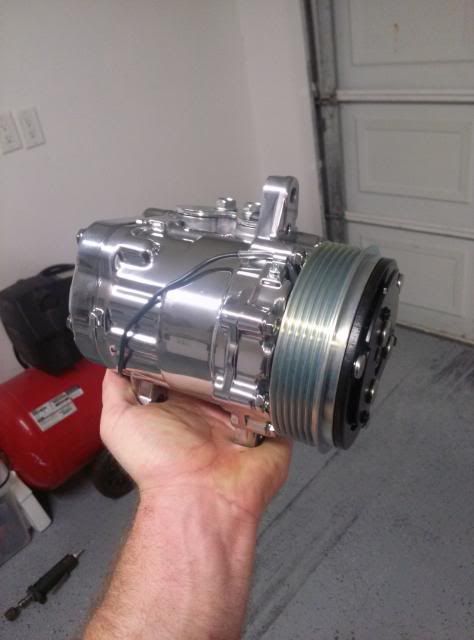
Billet Specialties Polished SD-7
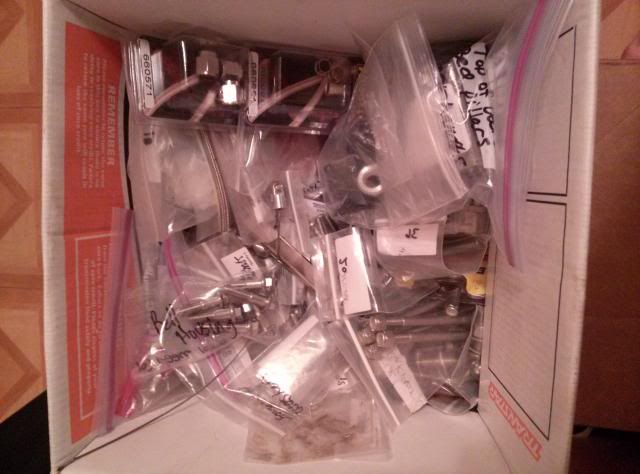
Box of ARP bolts, polished button heads, fuel fittings, and misc other small parts
Ash bought these as a surprise. Lokar billet interior handles

SPD 1.75" Flanges... I will be building 1.75 to 1.875" stepped longtubes
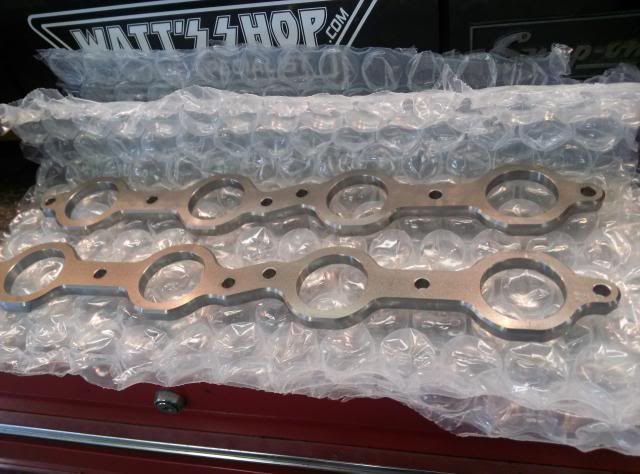
GM MLS Gasket fit
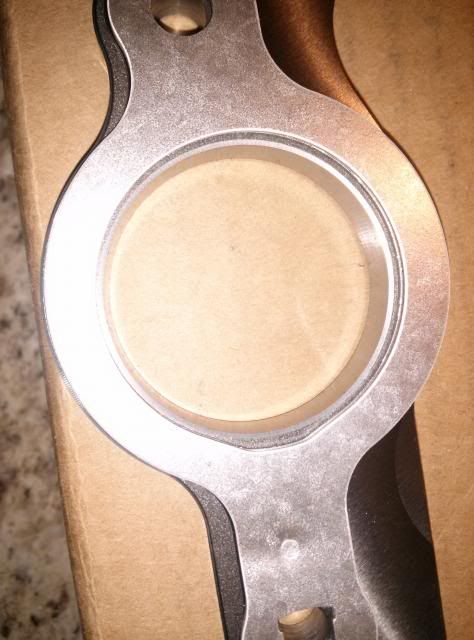
Test fit on engine... these things are built perfect.... they better be they are just under 200.00 a set LOL.
-
08-31-2013 12:45 AM #4
CHR Member
- Join Date
- Jun 2013
- Location
- Wylie
- Posts
- 153
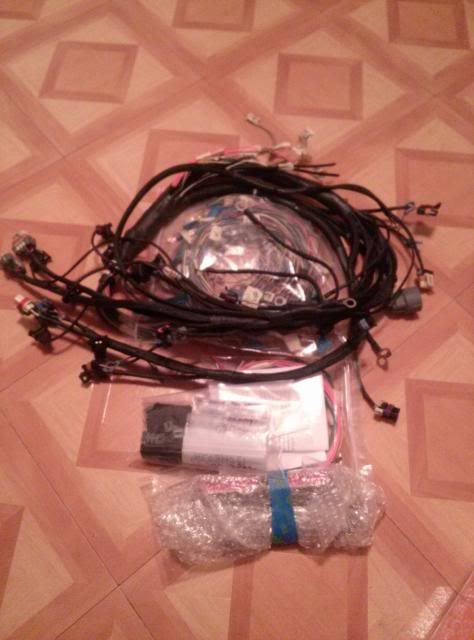
I do not have a Tig at home so I had to use the Mig to make the transmission crossmember. Also got the harness 99% completed. It is sitting at BP Automotive waiting to have the PCM pins crimped on and the 80 pin connectors installed. Also scored a caravan seat for 20.00 which I may or may not keep. Got the steering column bracing finalized and the vintage air box mounted too! You can also see the start of the ignition switch/headlight switch panel.... it is still in "rough" shape.
All pictures are from my shitty cell phone as the Nikon battery was dead!
Harness ready for a box
Caravan seat in mock up

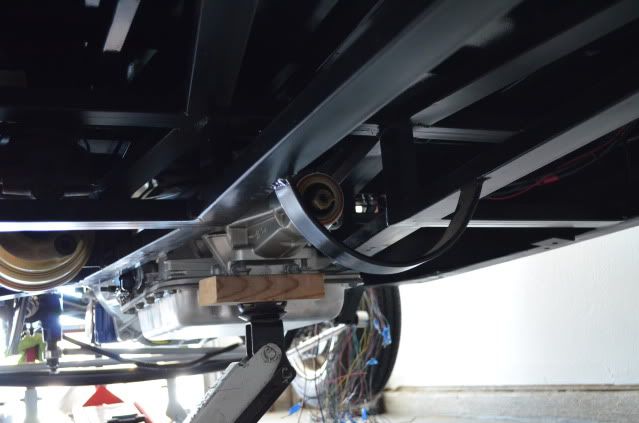
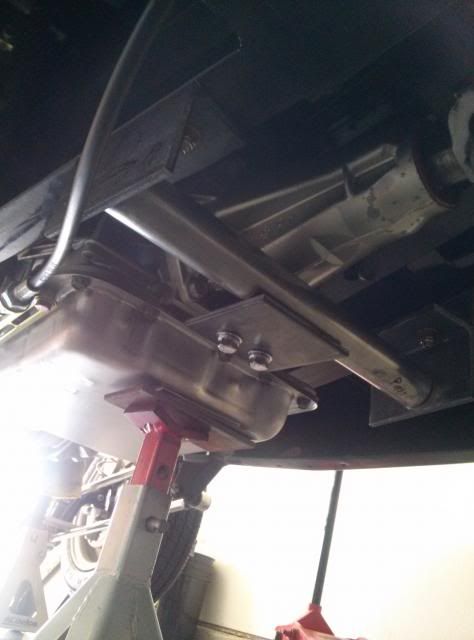
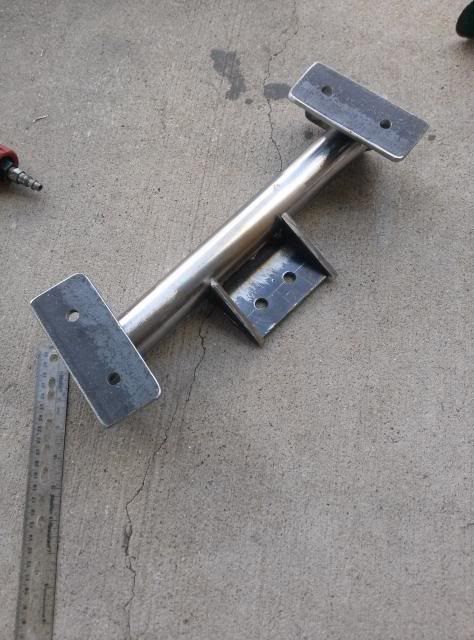
Transmission crossmember from mock up to complete (minus paint) All it made from .250 mild steel.
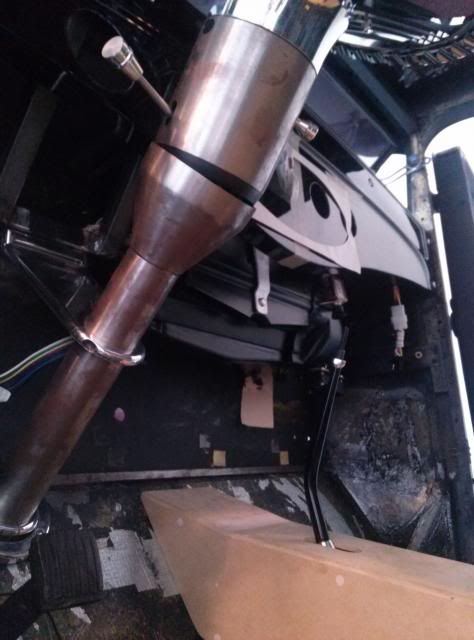
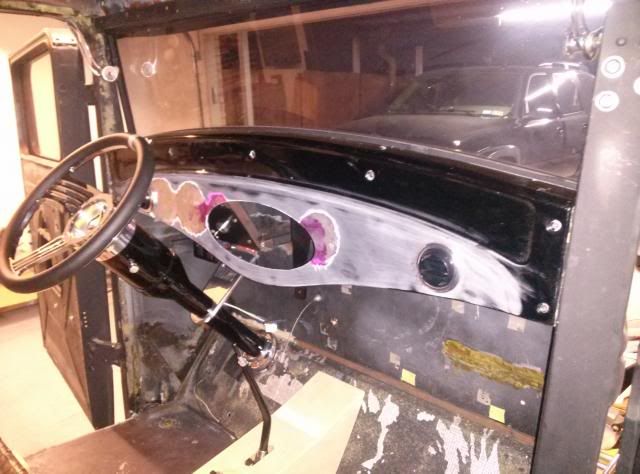
Steering Column and AC box with dash placed in position
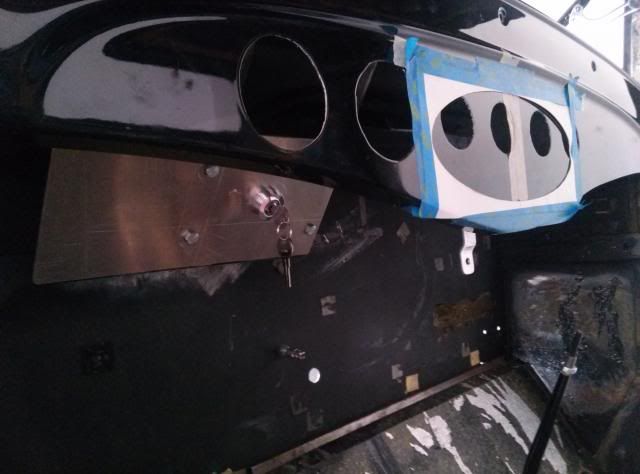
Start of the switch panel
Here are the pictures of the new powermaster alternator and I polished the bracket

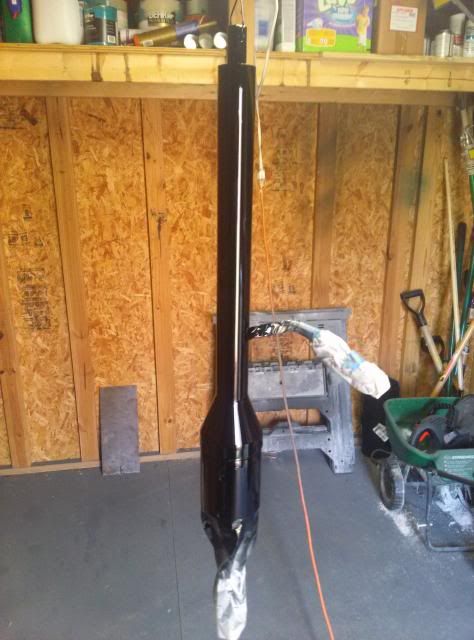
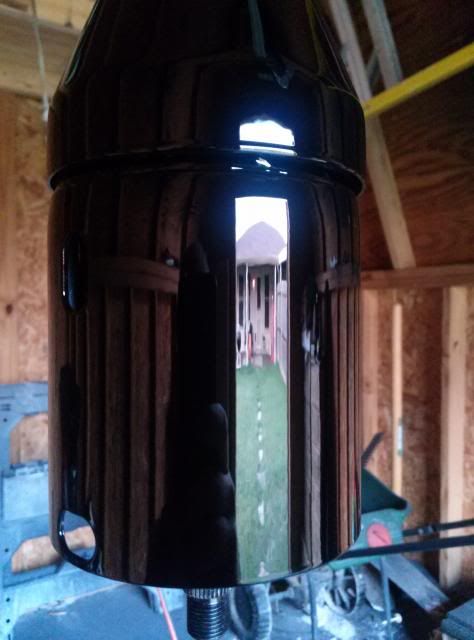
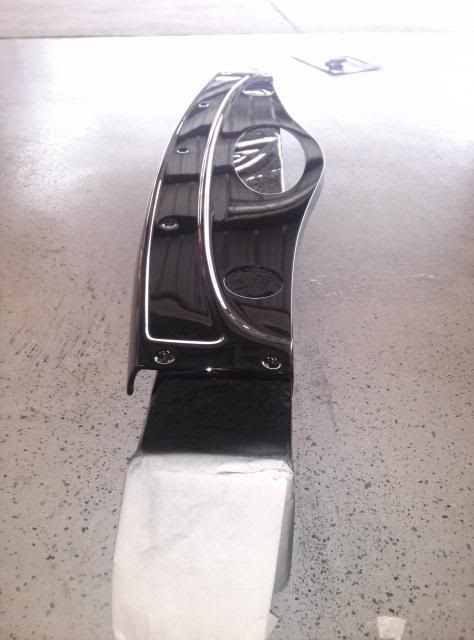
Got Bored on a weekend and said screw it.. painted the damn column in my shed with no trash and no color sanding needed
Sealed it up with PPG DP90LF
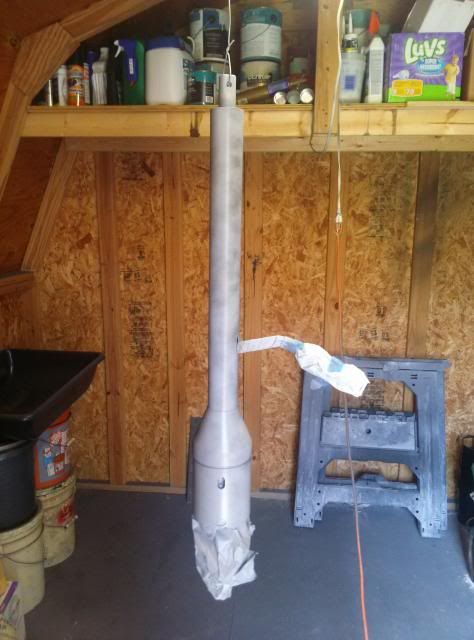
Primed with PPG K36
Base coat is PPG DBC and is a custom mix of black and blue. It is extremely deep.

Last is 3 coats of PPG DCU 2002 HS Clear
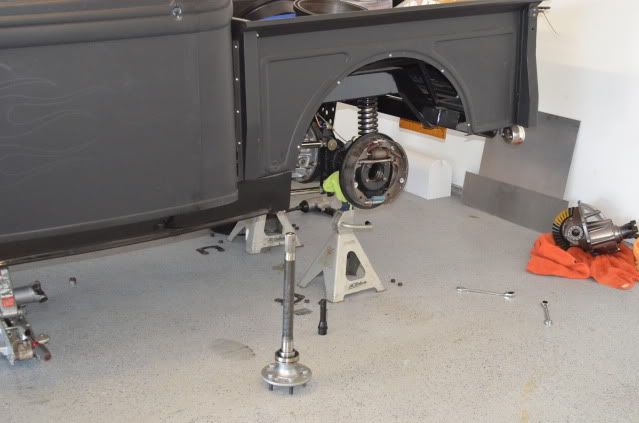
Got my set of "poor mans" lifts back from the shop to get some work done
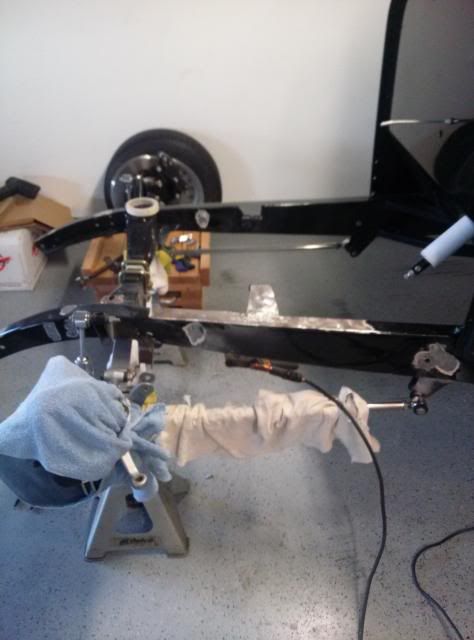
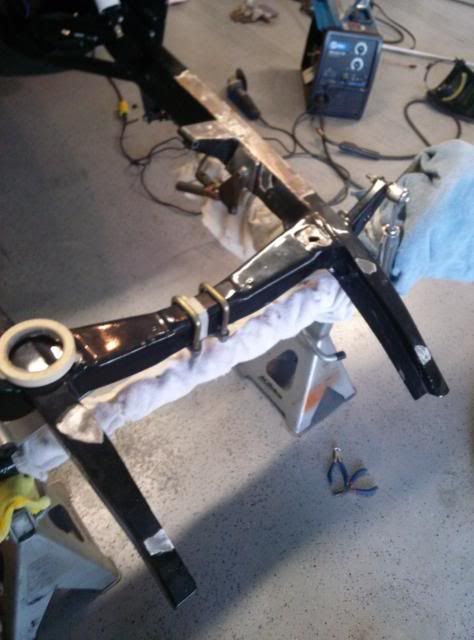
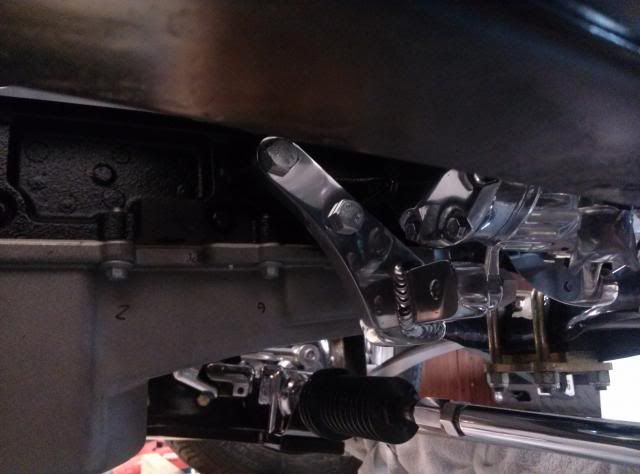
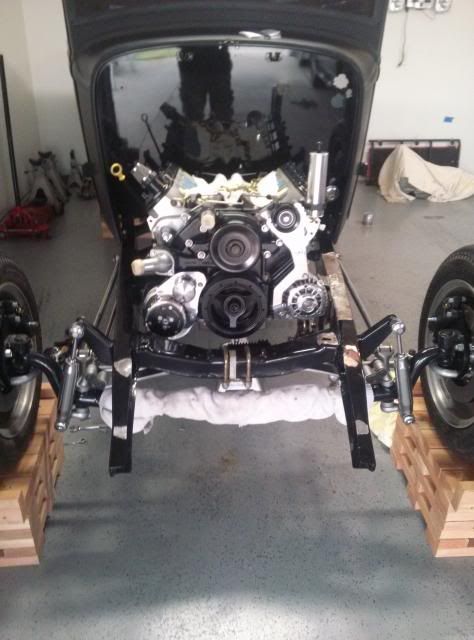
Started cutting the crap vega box bracket off the frame to weld on the new one
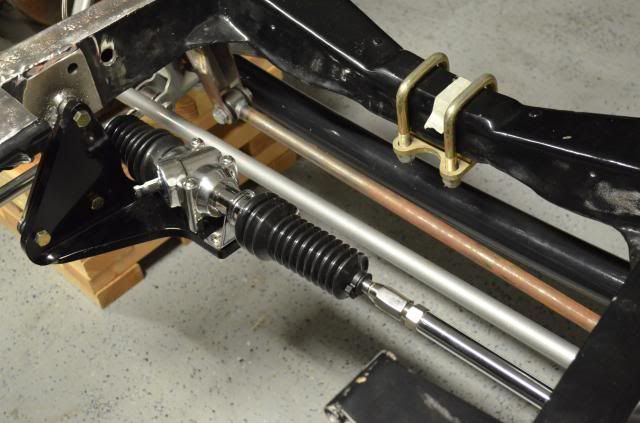
New Unisteer Cross Strerr and front panhard bar in!
Then onto the transmission cooler


Also got some more crap mounted in the console

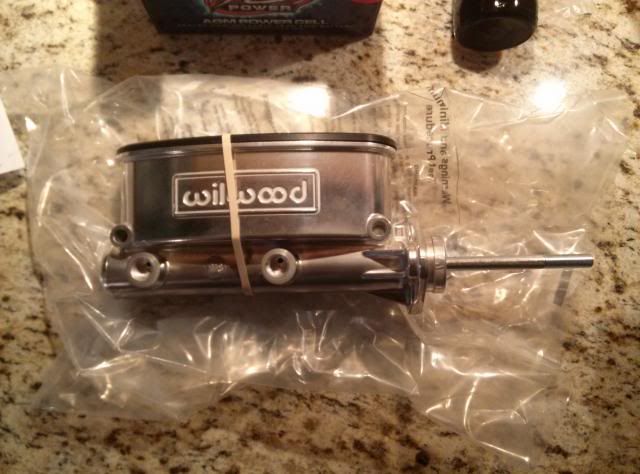
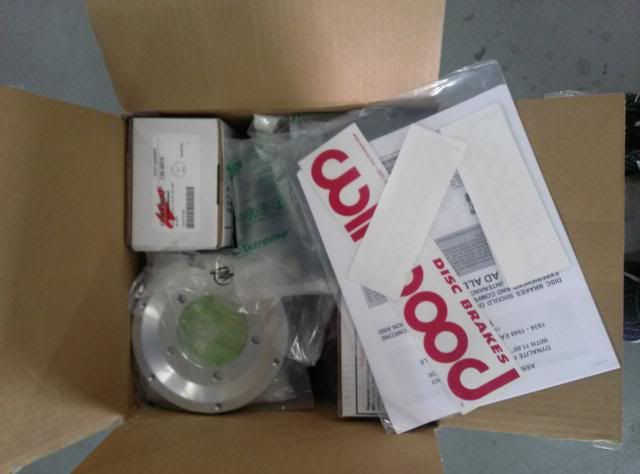
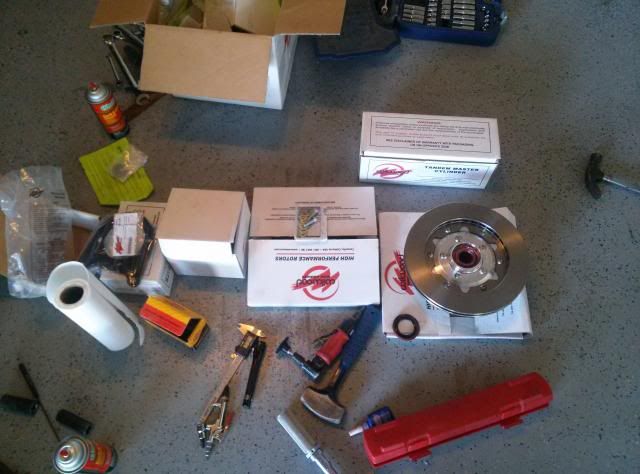
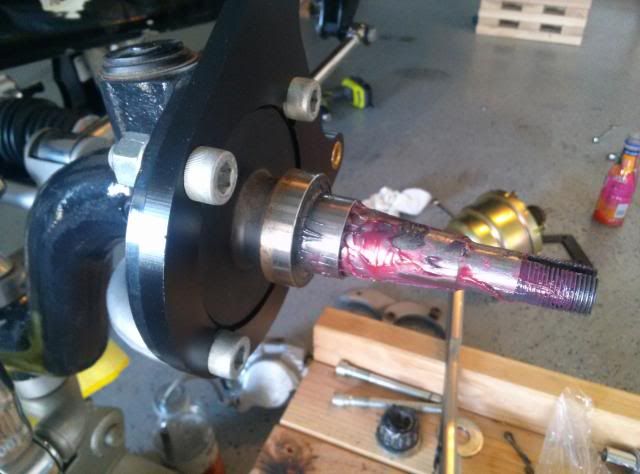
Brake parts are coming in
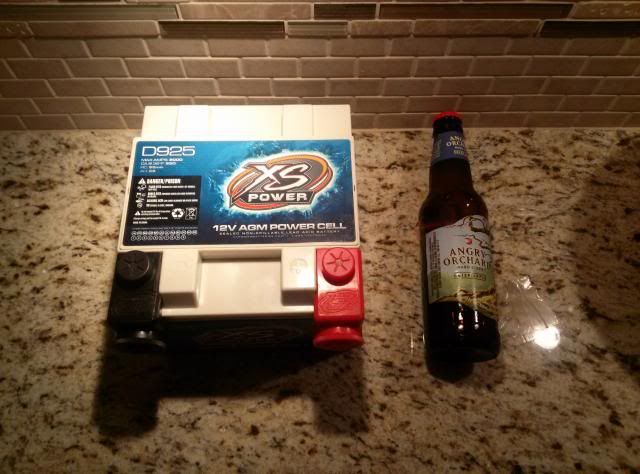
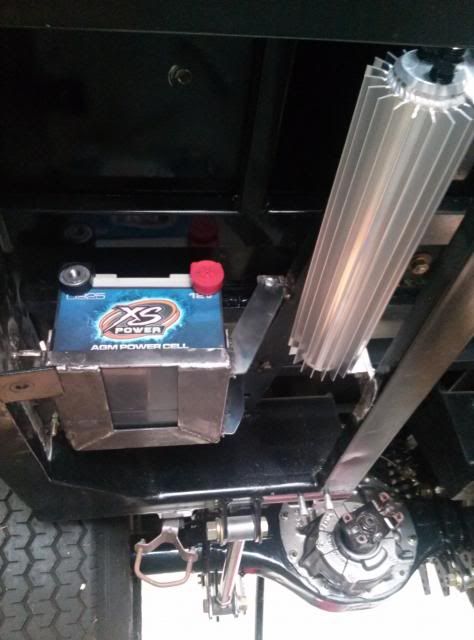
Also got my new battery... Tiny little guy
Made the removable battery box and frame brackets
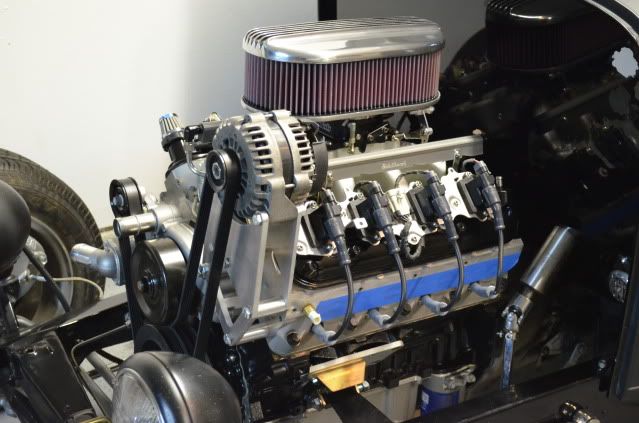
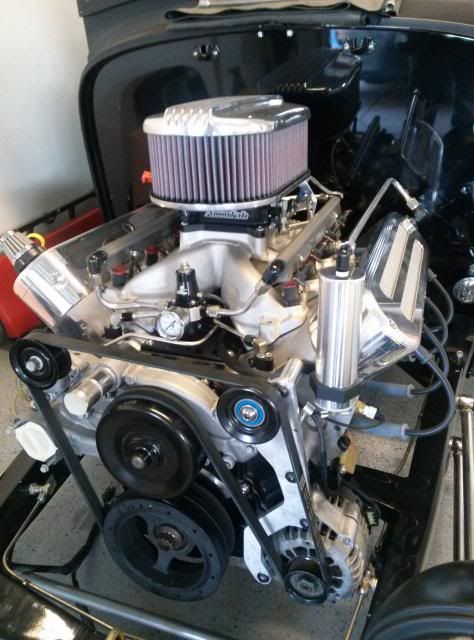
Made the last SS hardline for the PCV and decided to take some "engine porn" pics
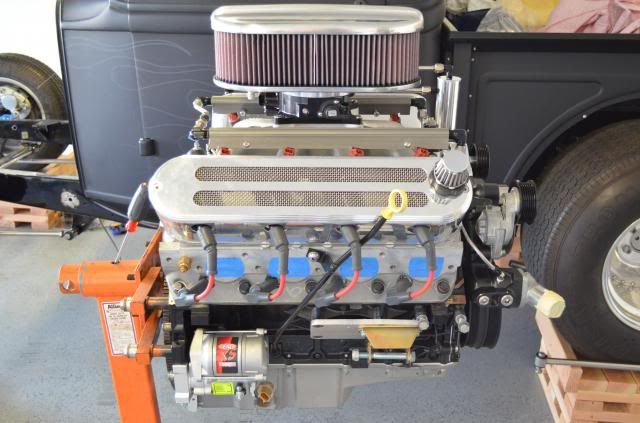
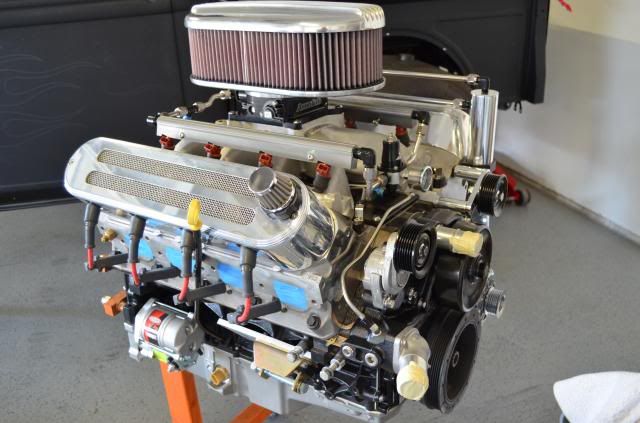
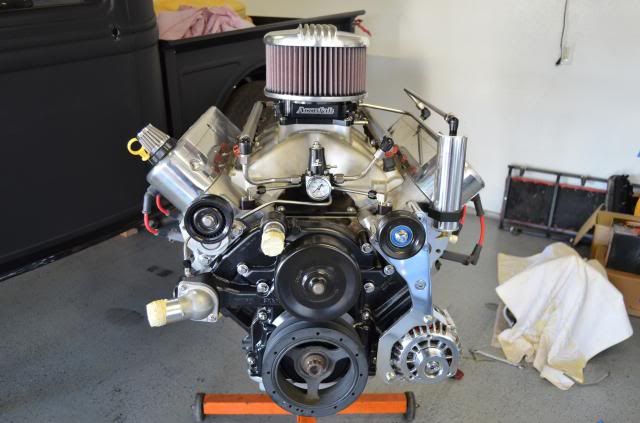

The Intake and tensioner are now sitting in Ohio getting polished
-
08-31-2013 12:48 AM #5
CHR Member
- Join Date
- Jun 2013
- Location
- Wylie
- Posts
- 153
Ah yes more brake parts
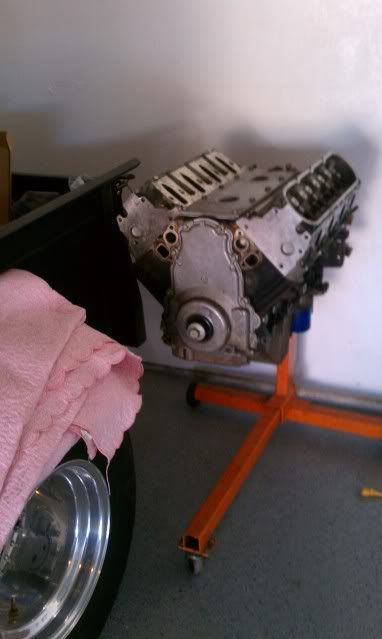
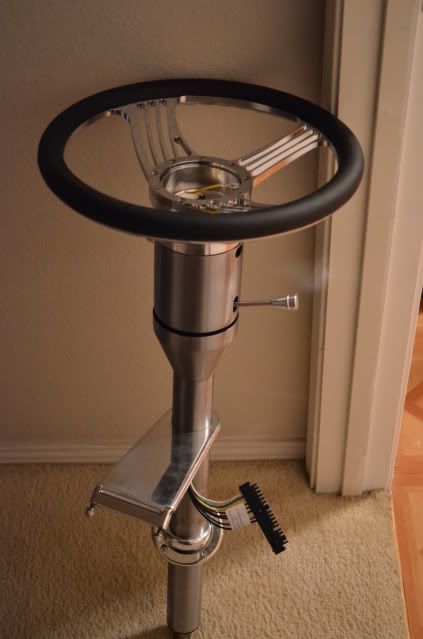
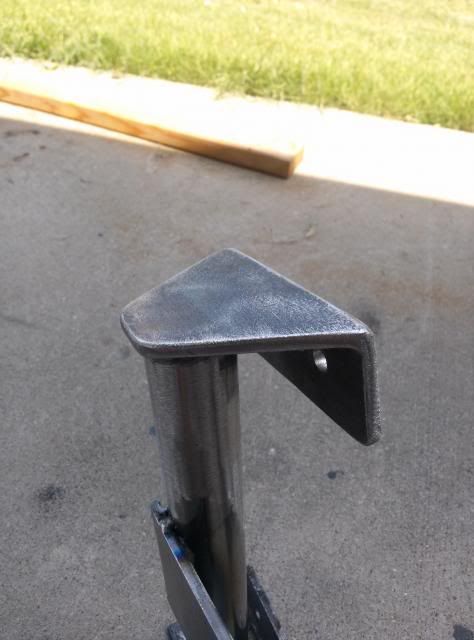
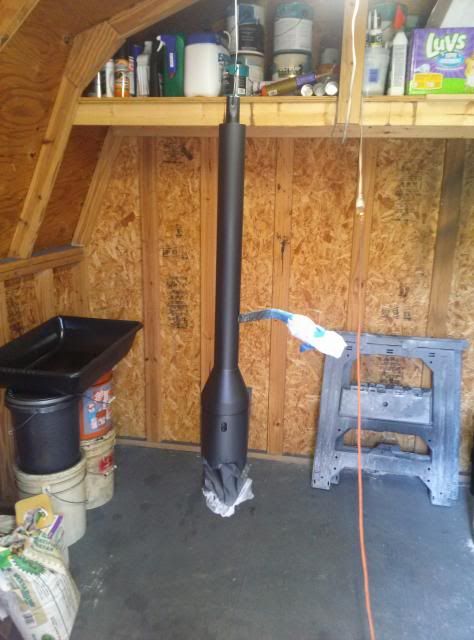
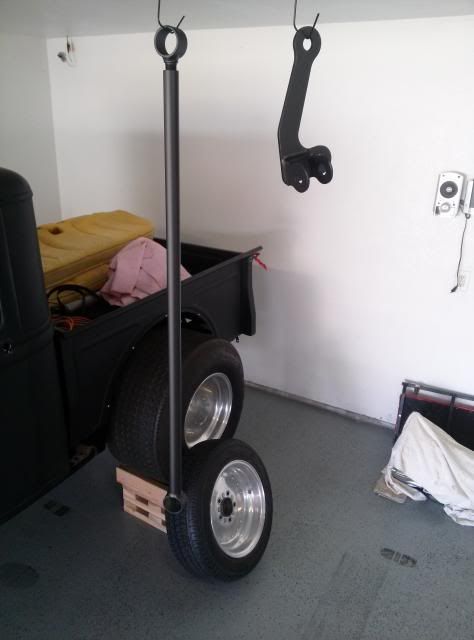
Then had to make a stand to transport the engine to the shop to work on the brackets for the Sanden SD07

Finally bit the bullet and welded up all the holes that severed 0 purpose
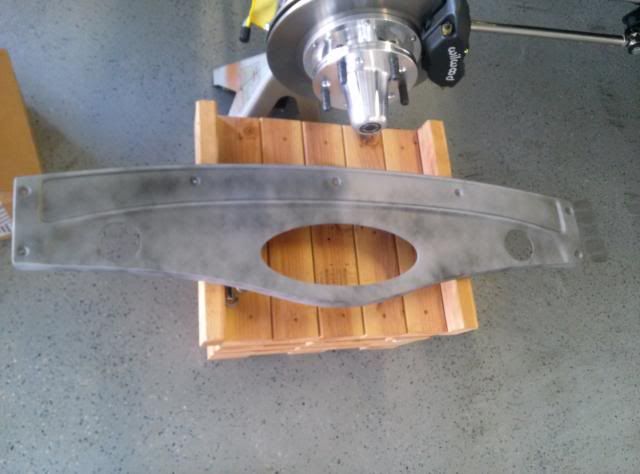
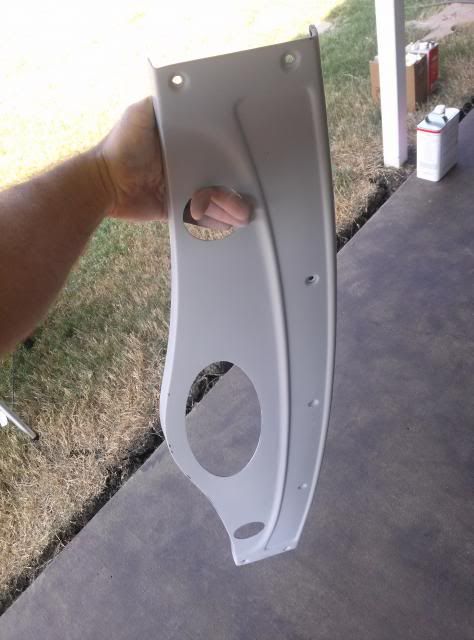
Then tackled the Dash.. this was stressful as thin sheet metal likes to warp... but it didnt

AC Vent
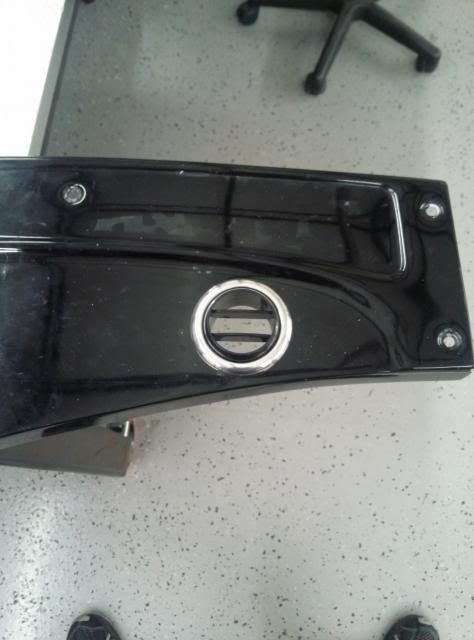
Center hole cut and welds ground down
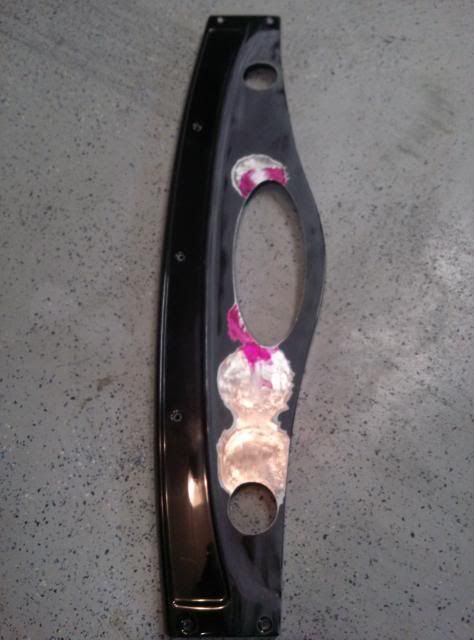
Test fit in the dash just because it was midnight and I was bored
Decided to go ahead and get the AC vent duct work done.
Dash bodywork done and needs primer
-
08-31-2013 12:50 AM #6
CHR Member
- Join Date
- Jun 2013
- Location
- Wylie
- Posts
- 153
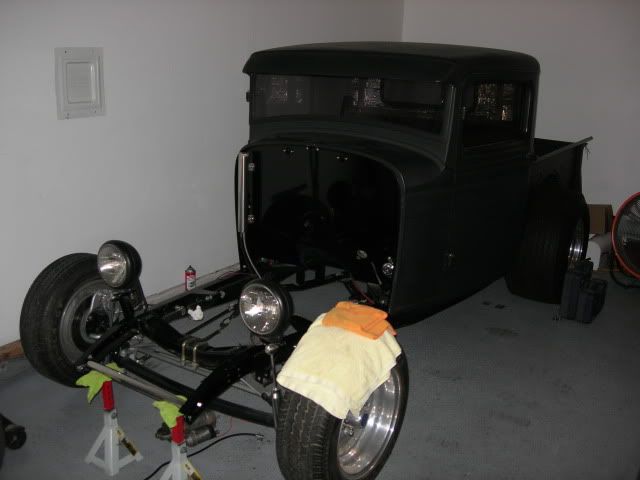
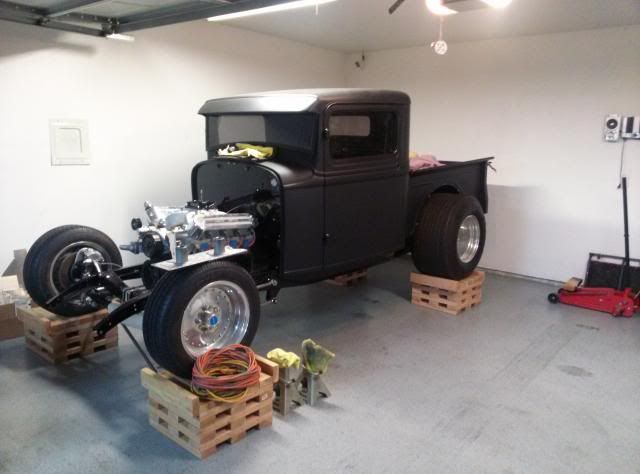
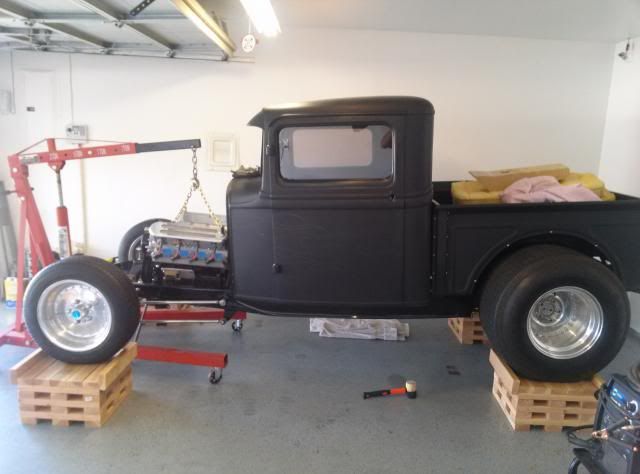
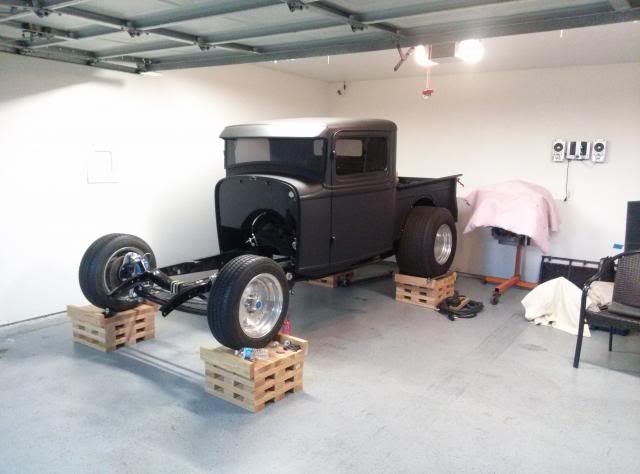
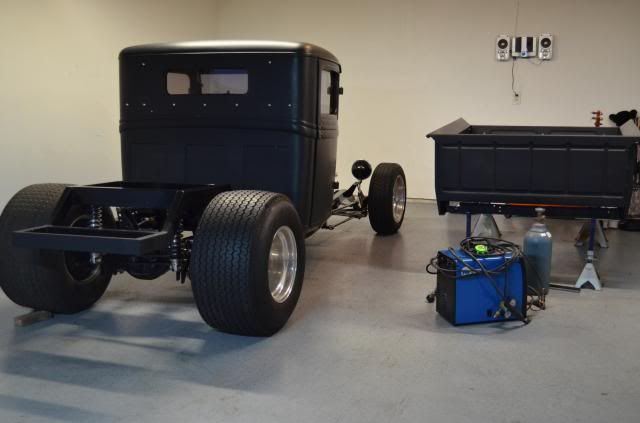
And this is where I am at... More progress to come.
-
08-31-2013 04:30 AM #7
CHR Member
- Join Date
- Sep 2007
- Location
- New Bedford
- Car Year, Make, Model: 34 Ford 3W Coupe Replica
- Posts
- 14,754
Whew! I read this one twice..
Thanks for sharing the build and all those pics!!!
Gonna be a beautiful ride when you're through, they said run with it and you did!
Thanks again and great to see you here. Welcome to CHR.
-
08-31-2013 08:16 AM #8
CHR Member
- Join Date
- Feb 2007
- Location
- Santa Monica
- Car Year, Make, Model: 37 Ford tudor humpback
- Posts
- 1,988
Wow! Great truck! Great work! Great pics! But how you can perform all that major surgery without so much as a drop of oil on the floor is completely beyond me!!!!
Welcome to CHR! This will be fun to watch!
Thanks"It is not much good thinking of a thing unless you think it out." - H.G. Wells
-
08-31-2013 10:31 AM #9
CHR Member
- Join Date
- Jun 2013
- Location
- Wylie
- Posts
- 153
 Originally Posted by randyr

Very good clean up crew. Ash comes out once a month with me and we scrub the floor clean.
-
08-31-2013 11:28 AM #10
CHR Member/Contributor
- Join Date
- Sep 2007
- Location
- Gardner, KS
- Car Year, Make, Model: '33 HiBoy Coupe, '32 HiBoy Roadster
- Posts
- 11,245
I was up last night while you were posting and each time went back there was another segment added!! Lots of nice work on the truck, and top quality parts, too! Thanks for posting!Roger
Enjoy the little things in life, and you may look back one day and realize that they were really the BIG things.
-
10-12-2013 09:56 PM #11
CHR Member
- Join Date
- Jun 2013
- Location
- Wylie
- Posts
- 153
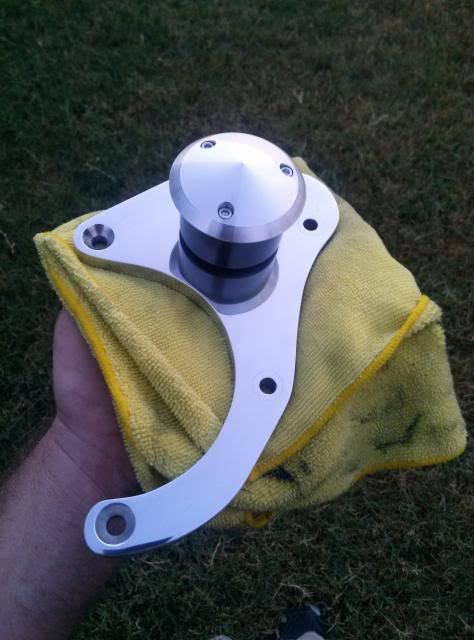
Got the engine out to the shop to work on the AC compressor bracket after hours. I dont have it finished yet as Im waiting for a specific shoulder bolt from billet specialties to finish the rear bracket. I also had to order more ARP fasteners from totally stainless.
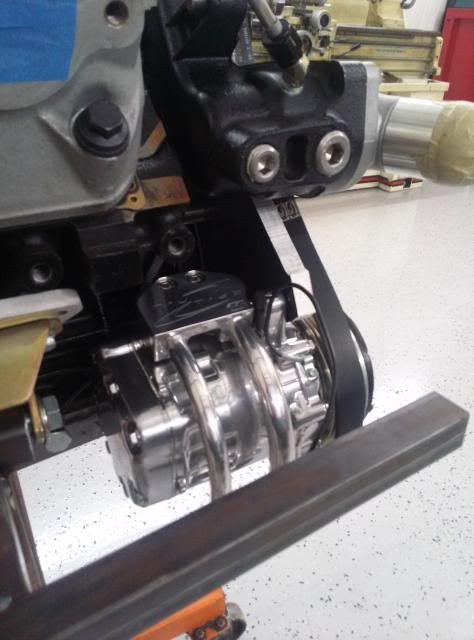
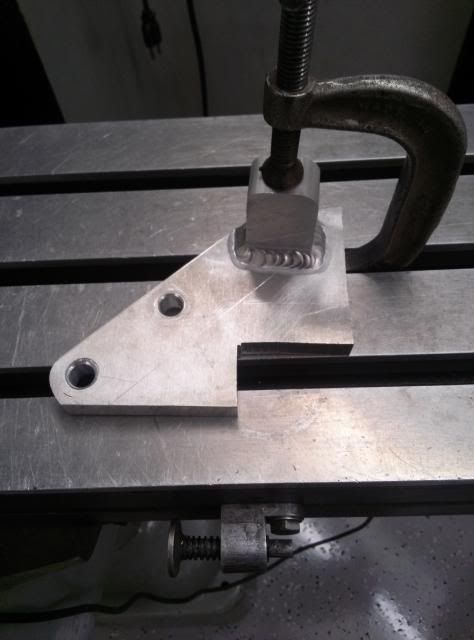
Bracket in the rough. Dont mind the random 1" square tube. It is the reference point of where the frame is when the engine is in the truck.
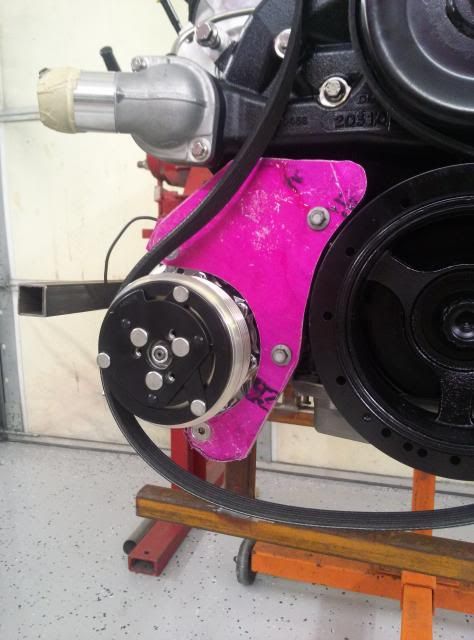
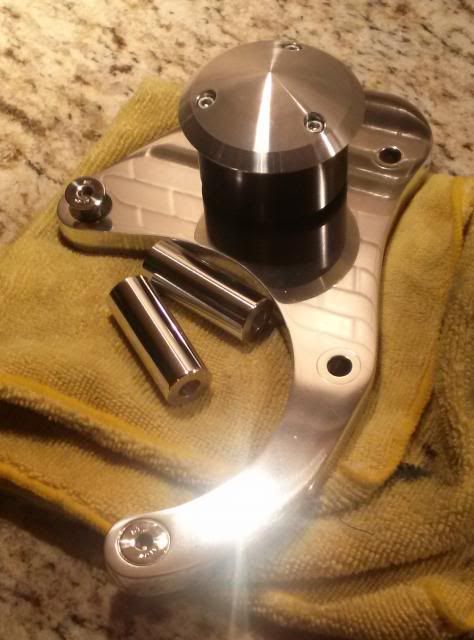
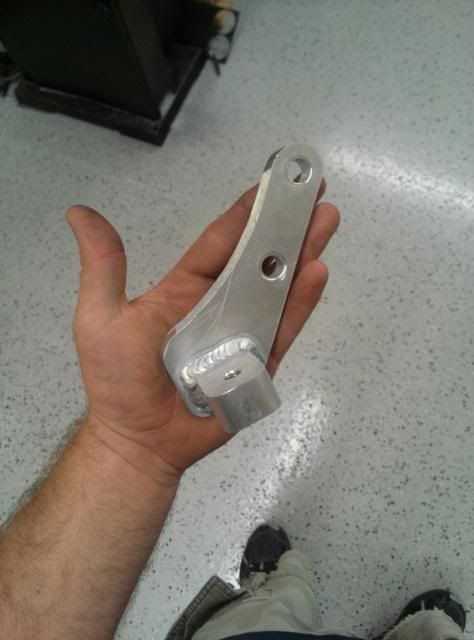
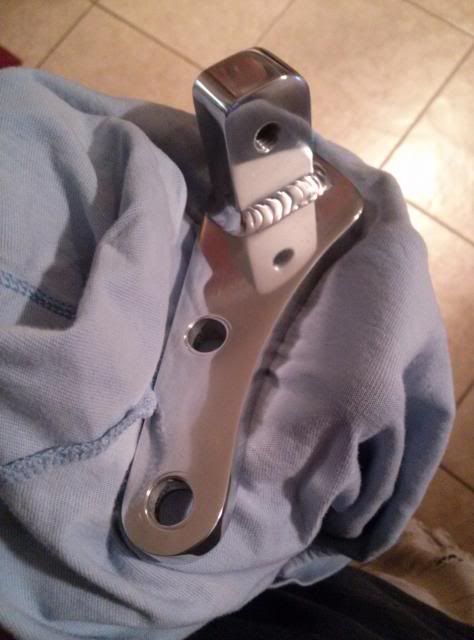
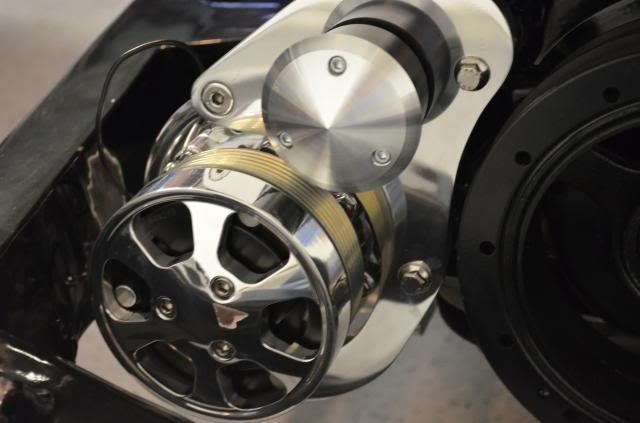
Bracket in its final shape with a 2.25" March idler pulley.
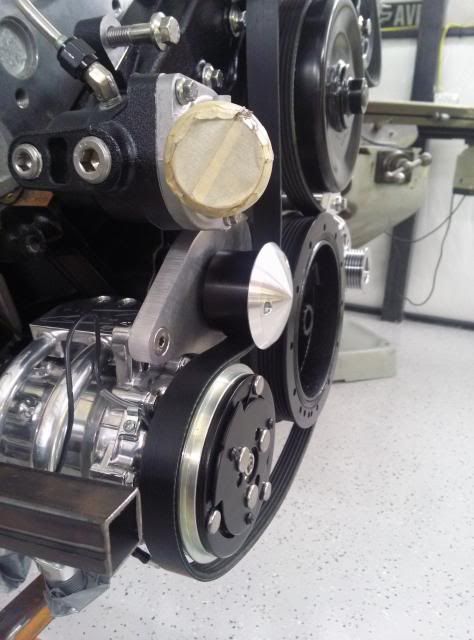
A bit of elbow grease
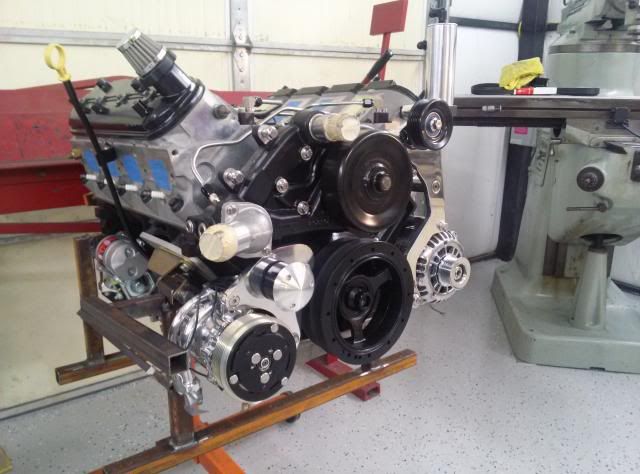
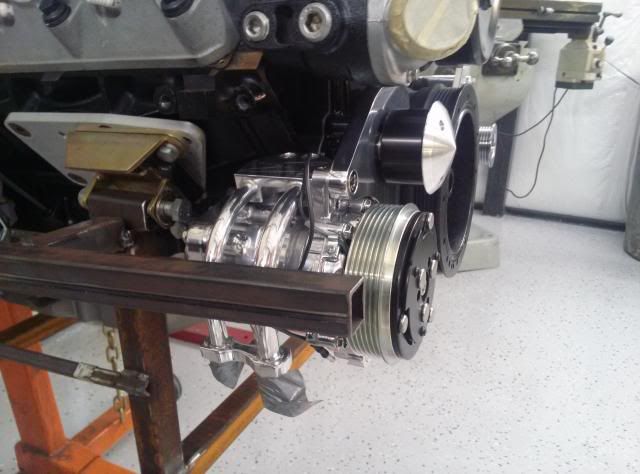
Mounted back on the engine (the valve covers are boxed up and the intake is being polished)
-
10-12-2013 09:57 PM #12
CHR Member
- Join Date
- Jun 2013
- Location
- Wylie
- Posts
- 153
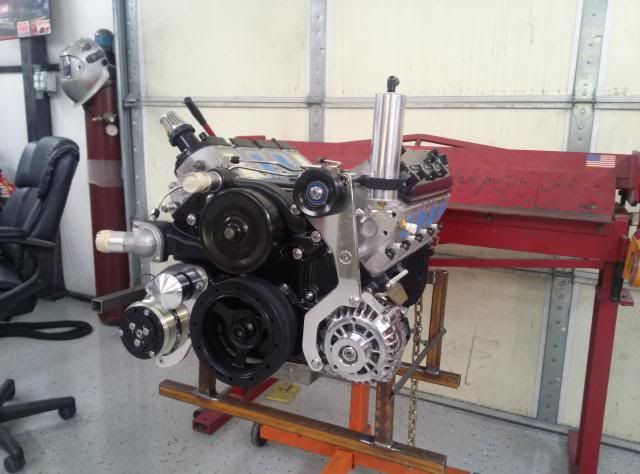
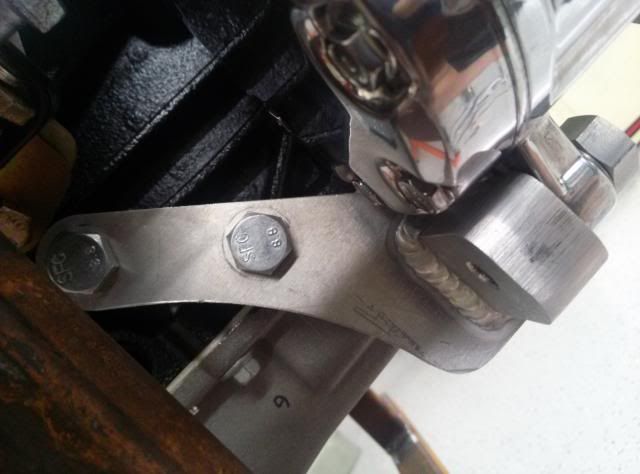
Rear bracket from start to finish
Got the Dash, front panhard bar, and drag link sealed, primed, and painted
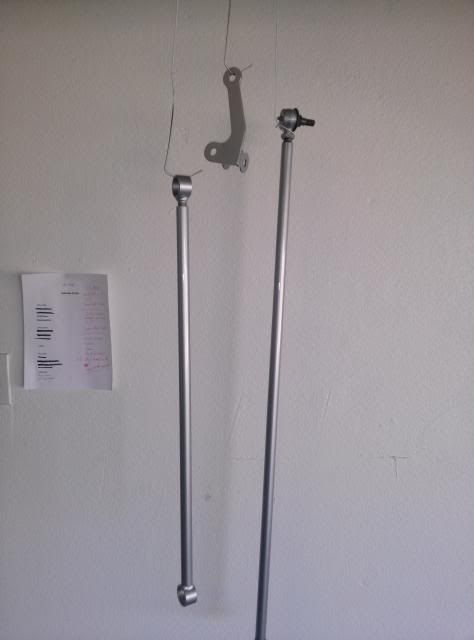
Engine back in the Chassis
-
10-12-2013 10:07 PM #13
CHR Member
- Join Date
- Jun 2013
- Location
- Wylie
- Posts
- 153
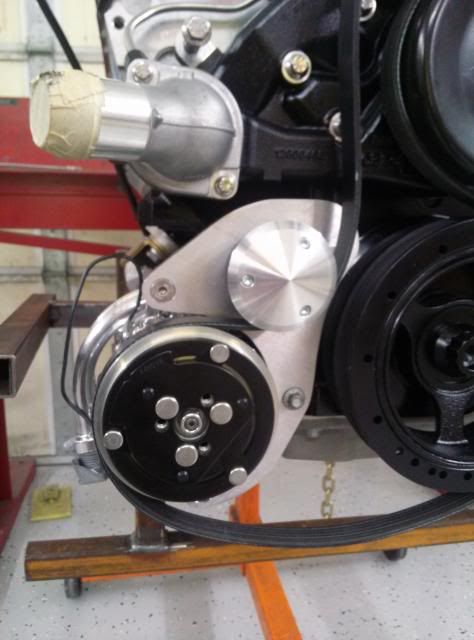
I got ahold of one of the billet specialties compressor covers that only comes in their tru trac kits
Got the Battery Tray Finished and painted

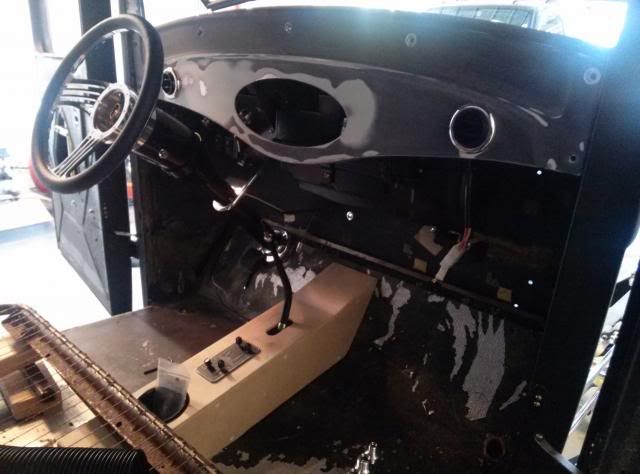
Fitting the Dash to get the idea... I still think I may take the column an Dash and shoot them a Satin Dark Charcole or Dove Gray color to better fit the interior
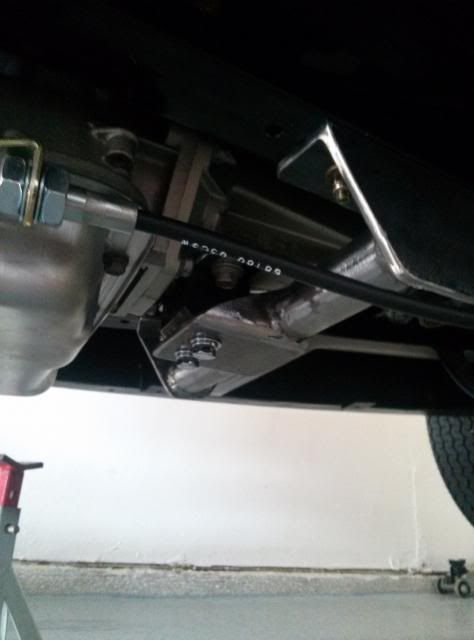
Transmission crossmember painted and cooler lines run (sorry for the dark pics)
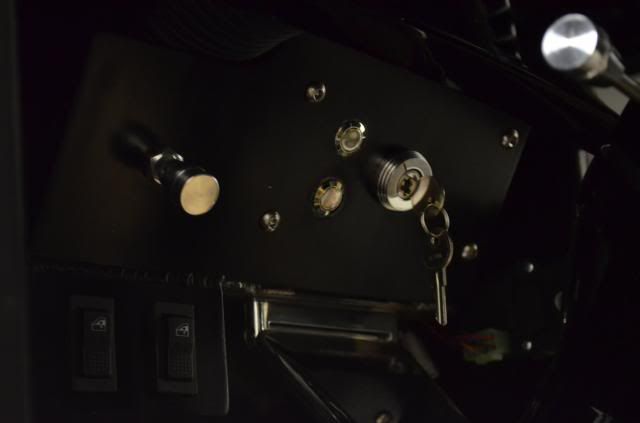
Under dash switch panel
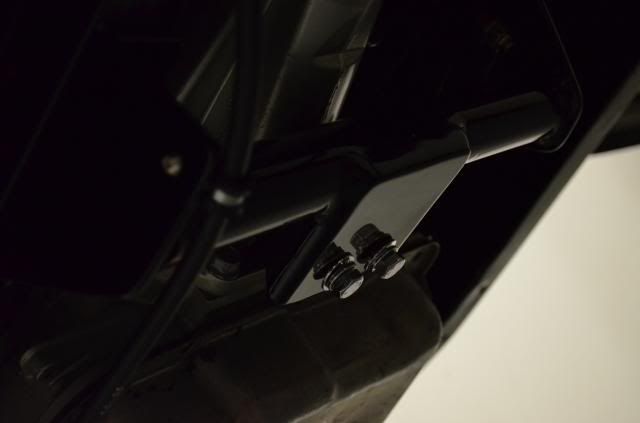
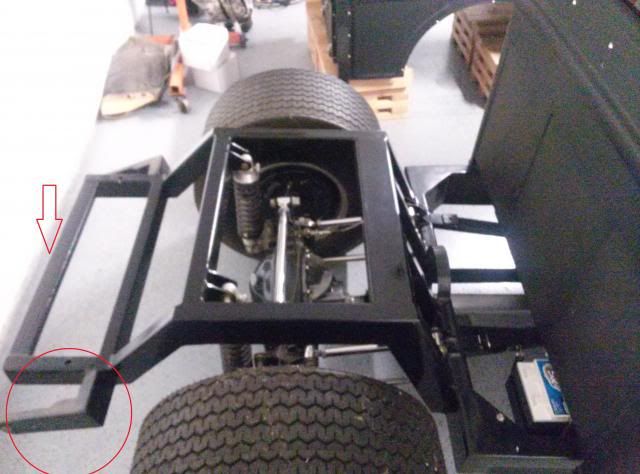
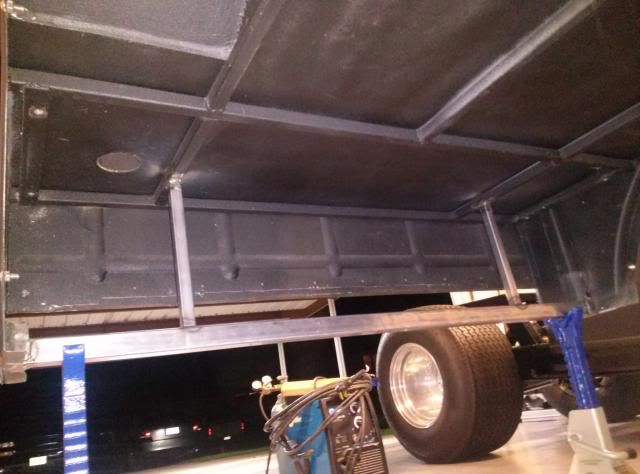
Got the bed off the truck to cut out the old battery tray and inspect it and the rear frame. I have attached a picture of the two things that has to be removed and changed. The circled area is a bracket that held the spreader bar. This was cut off and I will not be running the rear spreader bar as it serves no purpose. The arrow is a 1x2 that was welded in with the 2in width sideways and took up valuable space for the new fuel tank. This was changed to a 1x3.
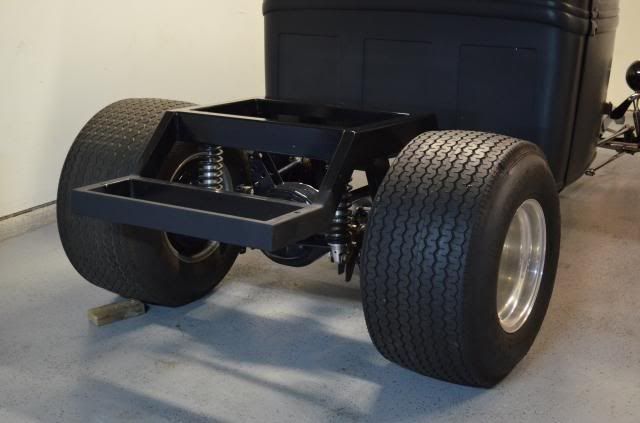
Fixed
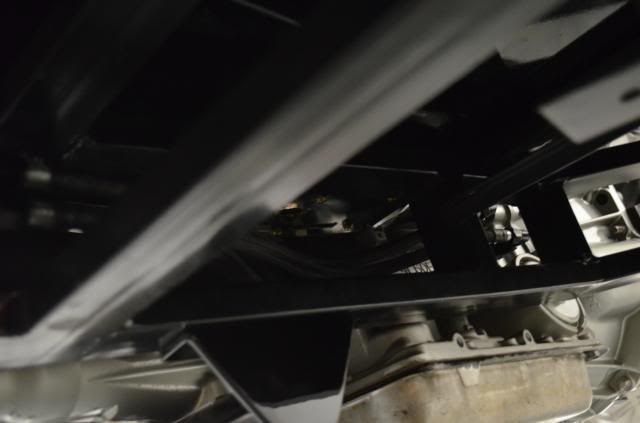
I also found that the front crossbar that is also the front mounts for the bed, was the original 80 year old metal cross bar that was cut up about 6 different times. So I cut it all out and remade the cross bar and tied it into the rest of the bed frame.
You can see the old cross bar on the bed in this picture... see all the holes.... yeah thats years of drilling holes for god knows what.
Fixed
Also got some parts porn from the guy that polished the Vic Jr. It should be back next week sometime.

-
10-13-2013 03:12 AM #14
CHR Member
- Join Date
- Sep 2007
- Location
- New Bedford
- Car Year, Make, Model: 34 Ford 3W Coupe Replica
- Posts
- 14,754
NICE! Good stuff! Keep it up and thanks for sharing the pics.
-
10-13-2013 06:26 AM #15
CHR Member/Contributor
- Join Date
- Sep 2007
- Location
- Gardner, KS
- Car Year, Make, Model: '33 HiBoy Coupe, '32 HiBoy Roadster
- Posts
- 11,245
Great job on the details that will make this a great little truck! Thanks for taking time to take & post the pictures!!Roger
Enjoy the little things in life, and you may look back one day and realize that they were really the BIG things.
 Reply With Quote


Posting Permissions
- You may not post new threads
- You may not post replies
- You may not post attachments
- You may not edit your posts

Either return this forum to what was or get the HELL OUT!
Dead!