


 3390Likes
Thread: 55 Wagon Progress
Results 1 to 15 of 1865
 LinkBack URL
 About LinkBacks
Threaded View
-
07-15-2024 04:44 AM #11
 CHR Member

- Join Date
- Jun 2008
- Location
- Leonardtown
- Car Year, Make, Model: Walking
- Posts
- 1,228
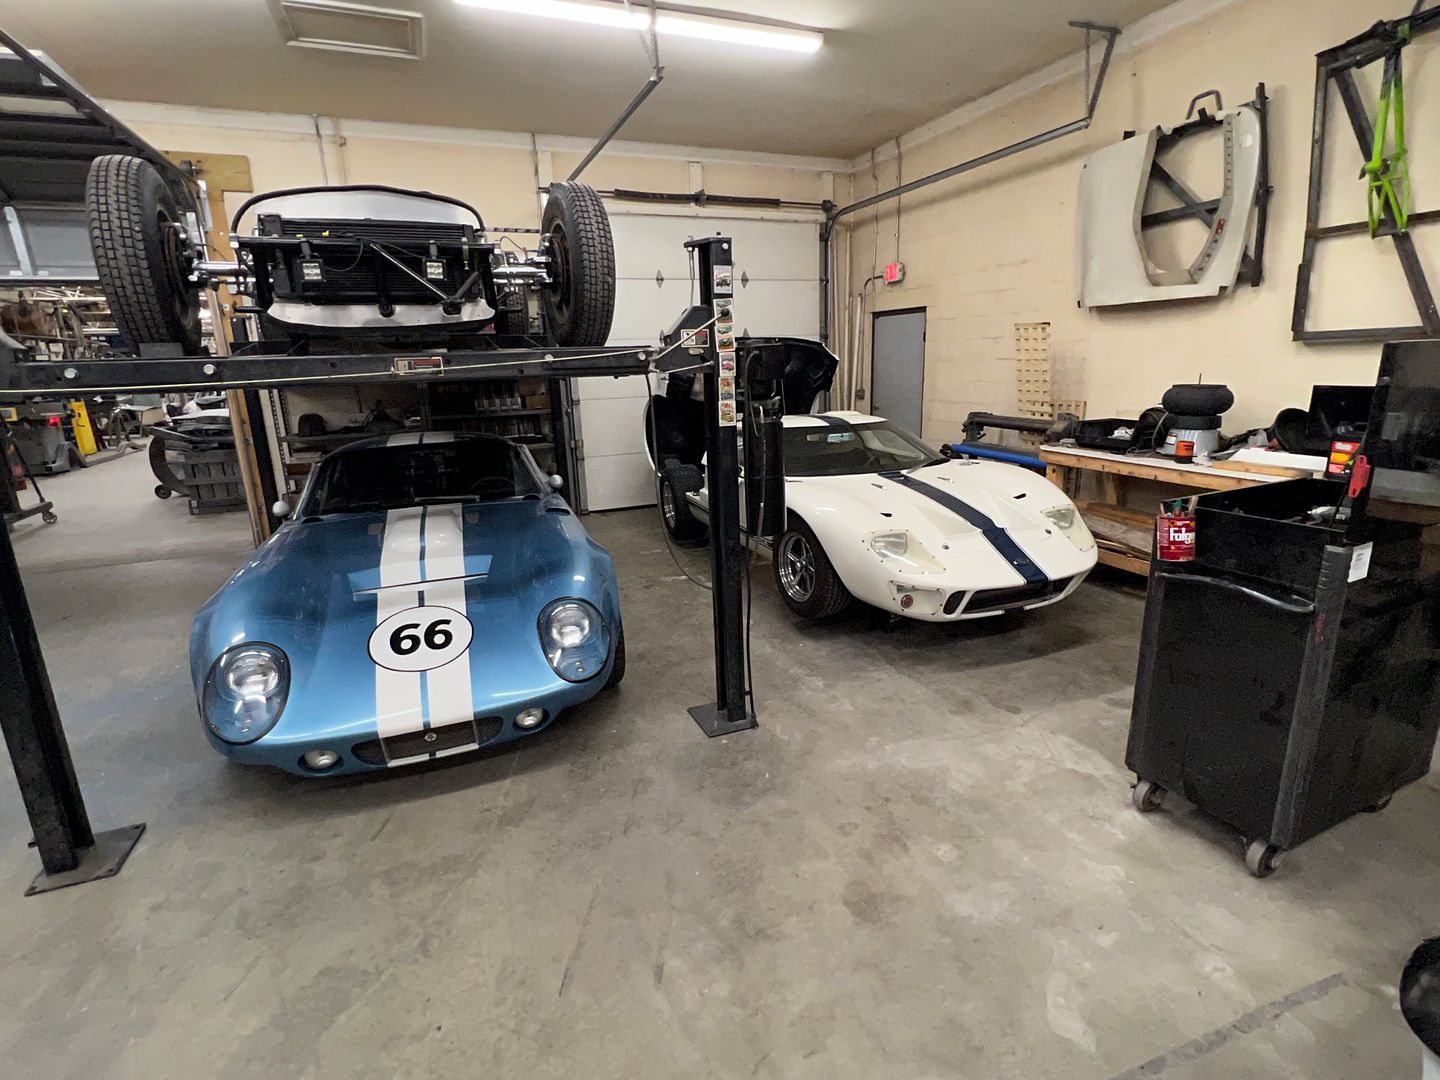
Saturday we had about a three hour drive to our next stop southeast of Cincinnati, at Cornfield Customs. Mike Wagner is among the premiere craftsmen in the country when it comes to metalshaping, it was nice to get to see his shop and some of the projects he has going on.
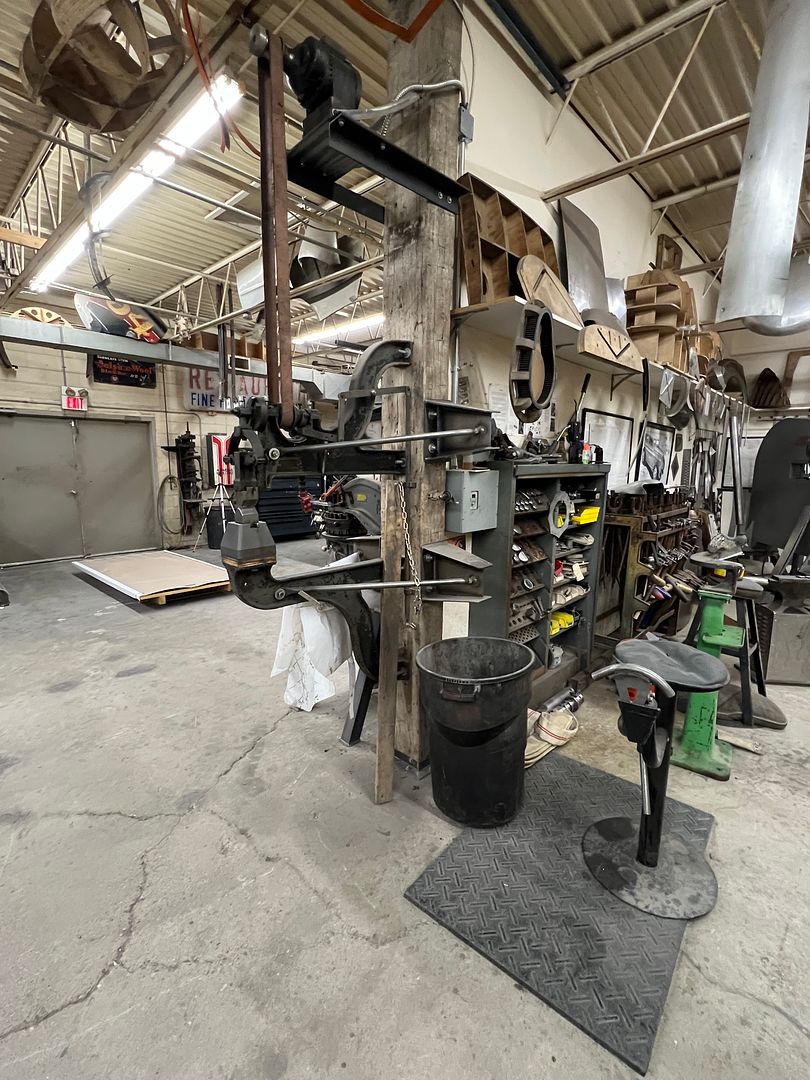
Mike's shop is a mix of both new and vintage equipment, here is an early Pettingel power hammer that came out of a local warehouse. If only it could tell stories of it's past life...
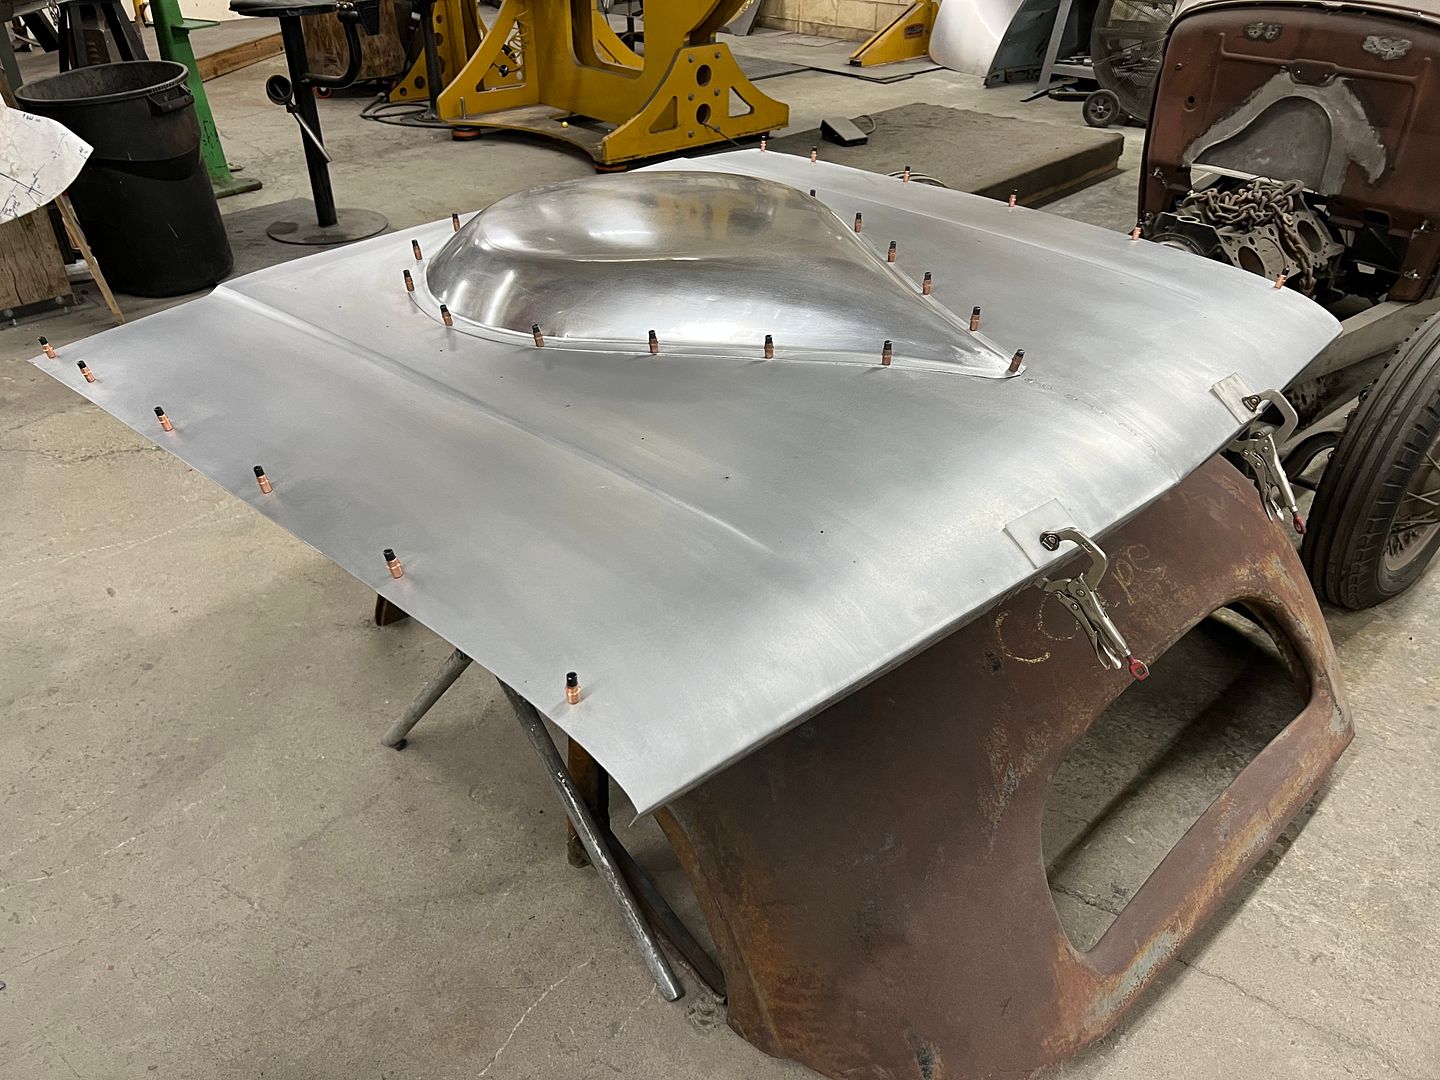
One of the projects, an all aluminum fabricated hood for a Galaxie, complete with tear drop hood scoop.
Before leaving I had to get a picture next to his 61 Unibody Salt Flats push truck.
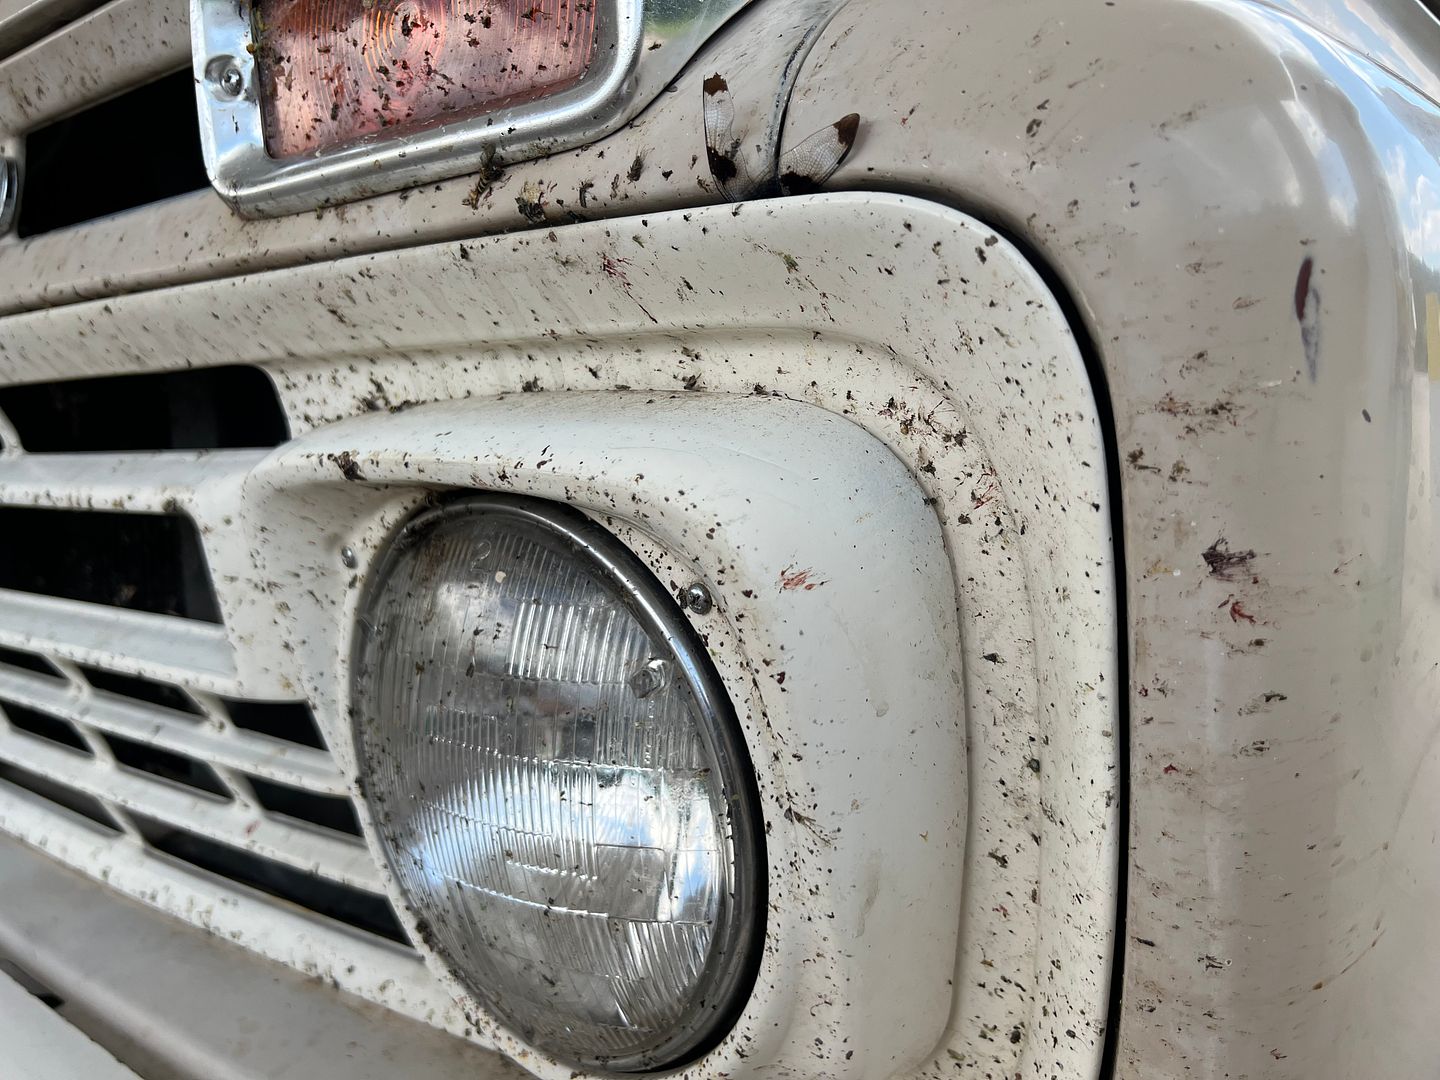
Mike, thanks for the hospitality!! From there I had about a 9-1/2 hour ride home. Here's what 11 states worth of bugs looks like...
I had noticed that the fuel economy appeared to be getting better. Or more precisely, that it was taking less fuel to fill up at about the same mileage reading using the tape notation method. So I broke out the calculator again, the last tank was 14.1 mpg. My driving started at about 4 pm in Oregon on Wednesday evening and I was home all safe and sound back in Maryland Saturday night at 9 pm. Quite an adventure.
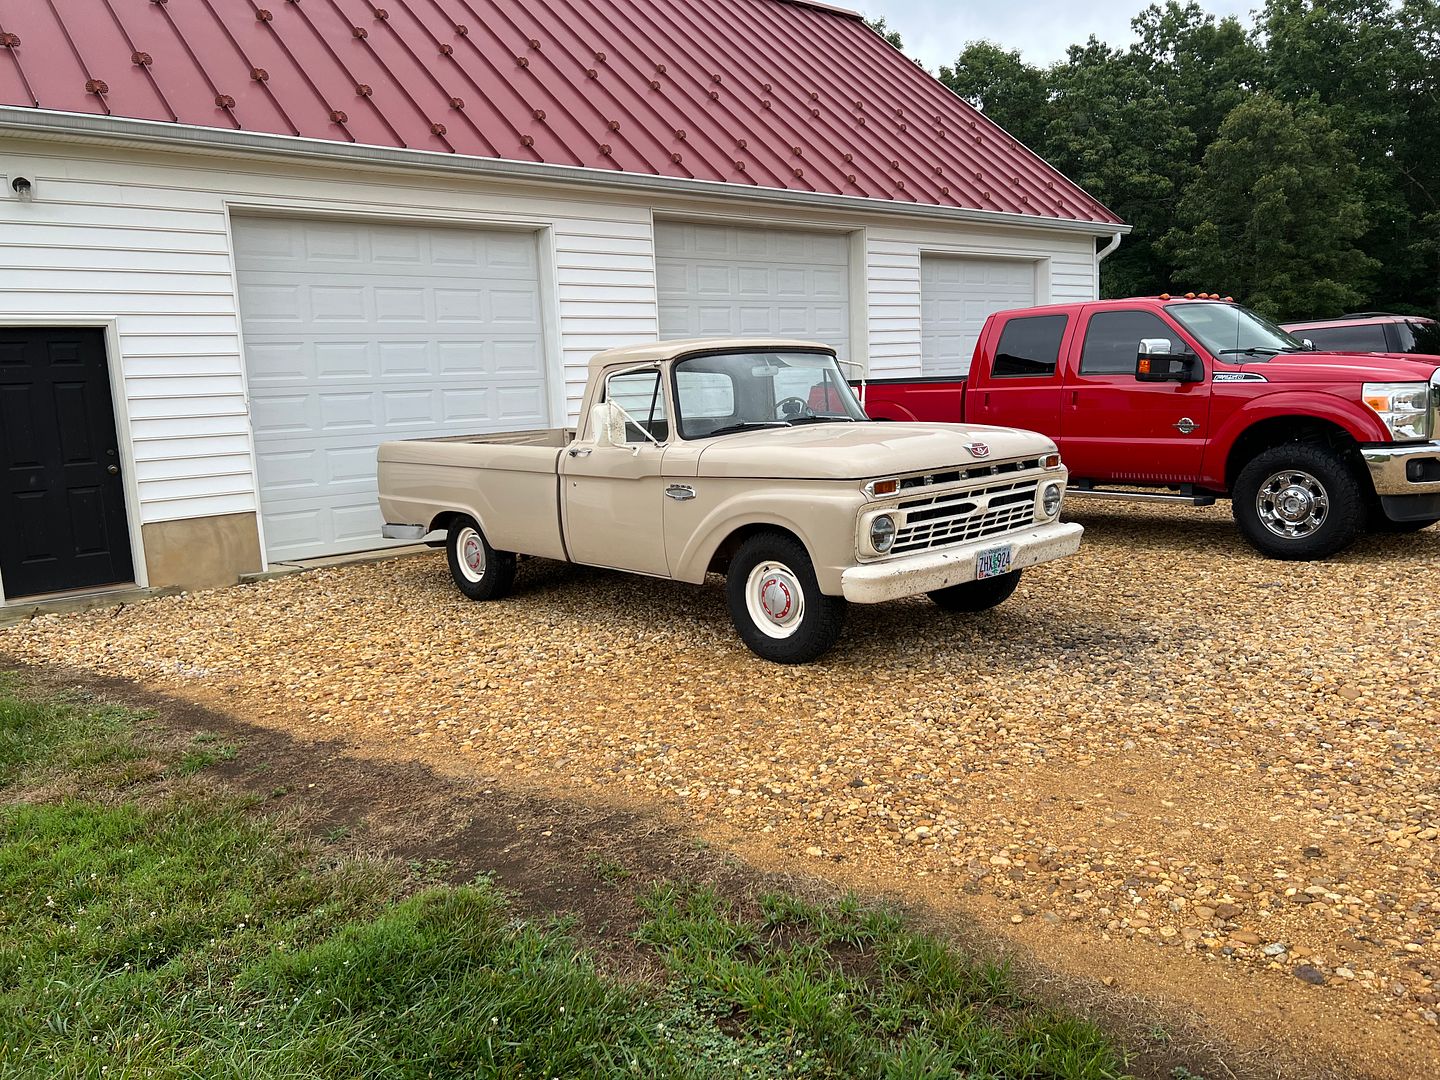
Robert

 Reply With Quote
Posting Permissions
- You may not post new threads
- You may not post replies
- You may not post attachments
- You may not edit your posts

Turn out the lights, the party's over THIS PLACE IS DEAD!
Dead!