


 3390Likes
Thread: 55 Wagon Progress
Results 1 to 15 of 1865
 LinkBack URL
 About LinkBacks
Threaded View
-
10-07-2020 06:01 AM #11
 CHR Member

- Join Date
- Jun 2008
- Location
- Leonardtown
- Car Year, Make, Model: Walking
- Posts
- 1,228
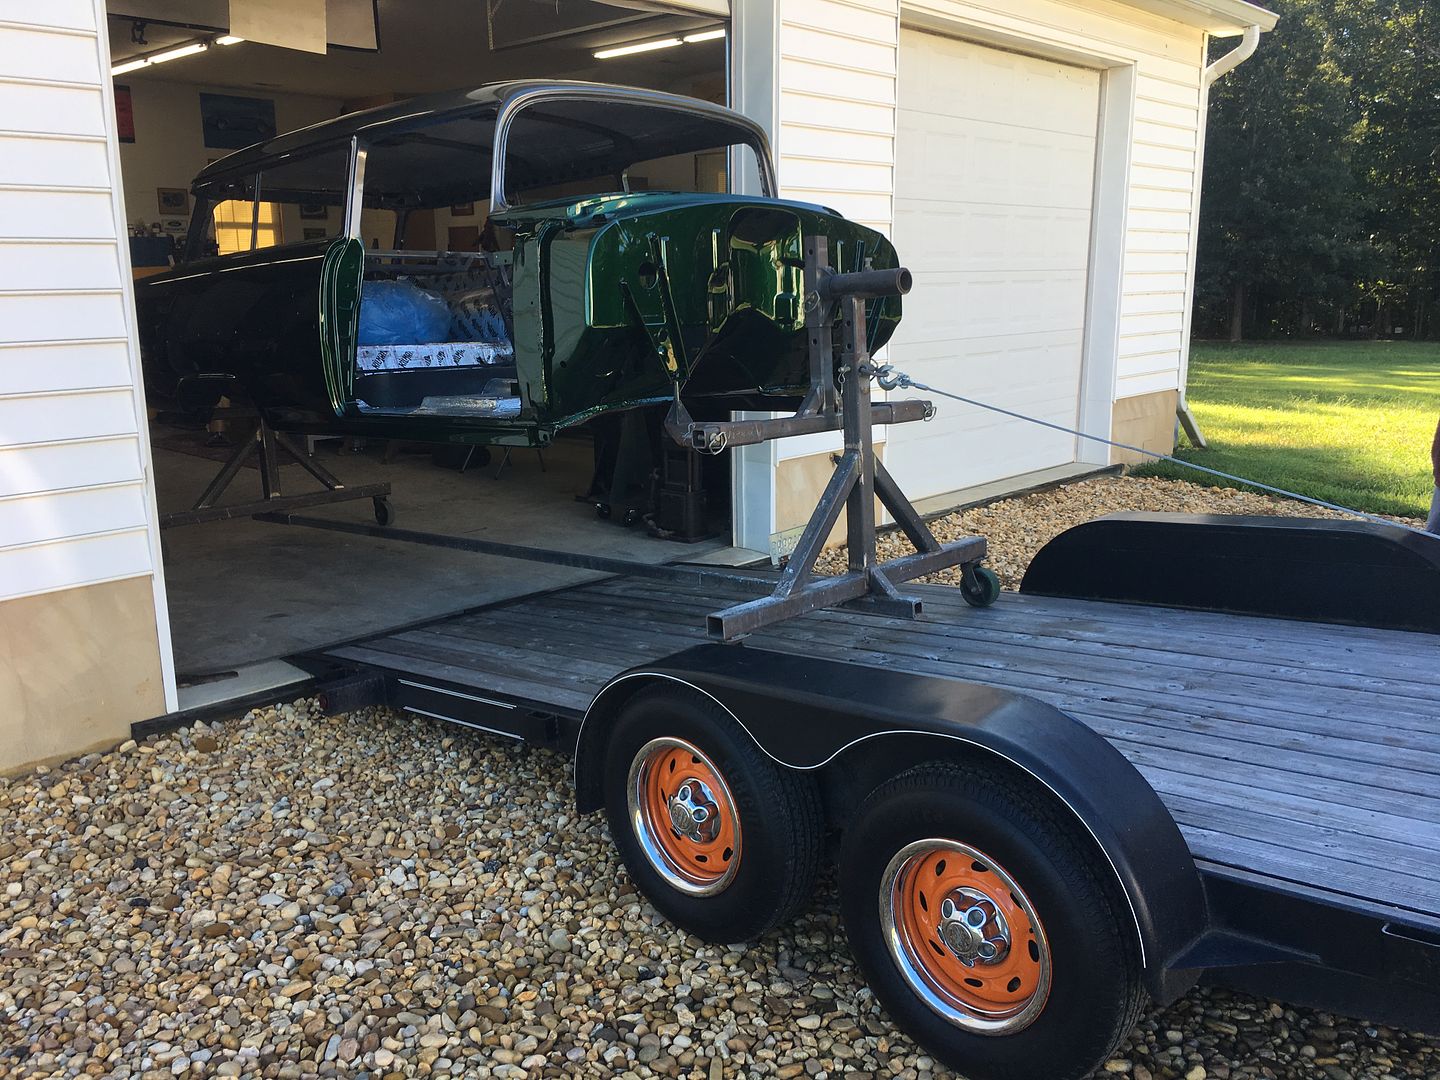
Well I think we're long overdue for a wagon update. Yes, it is back in the building....
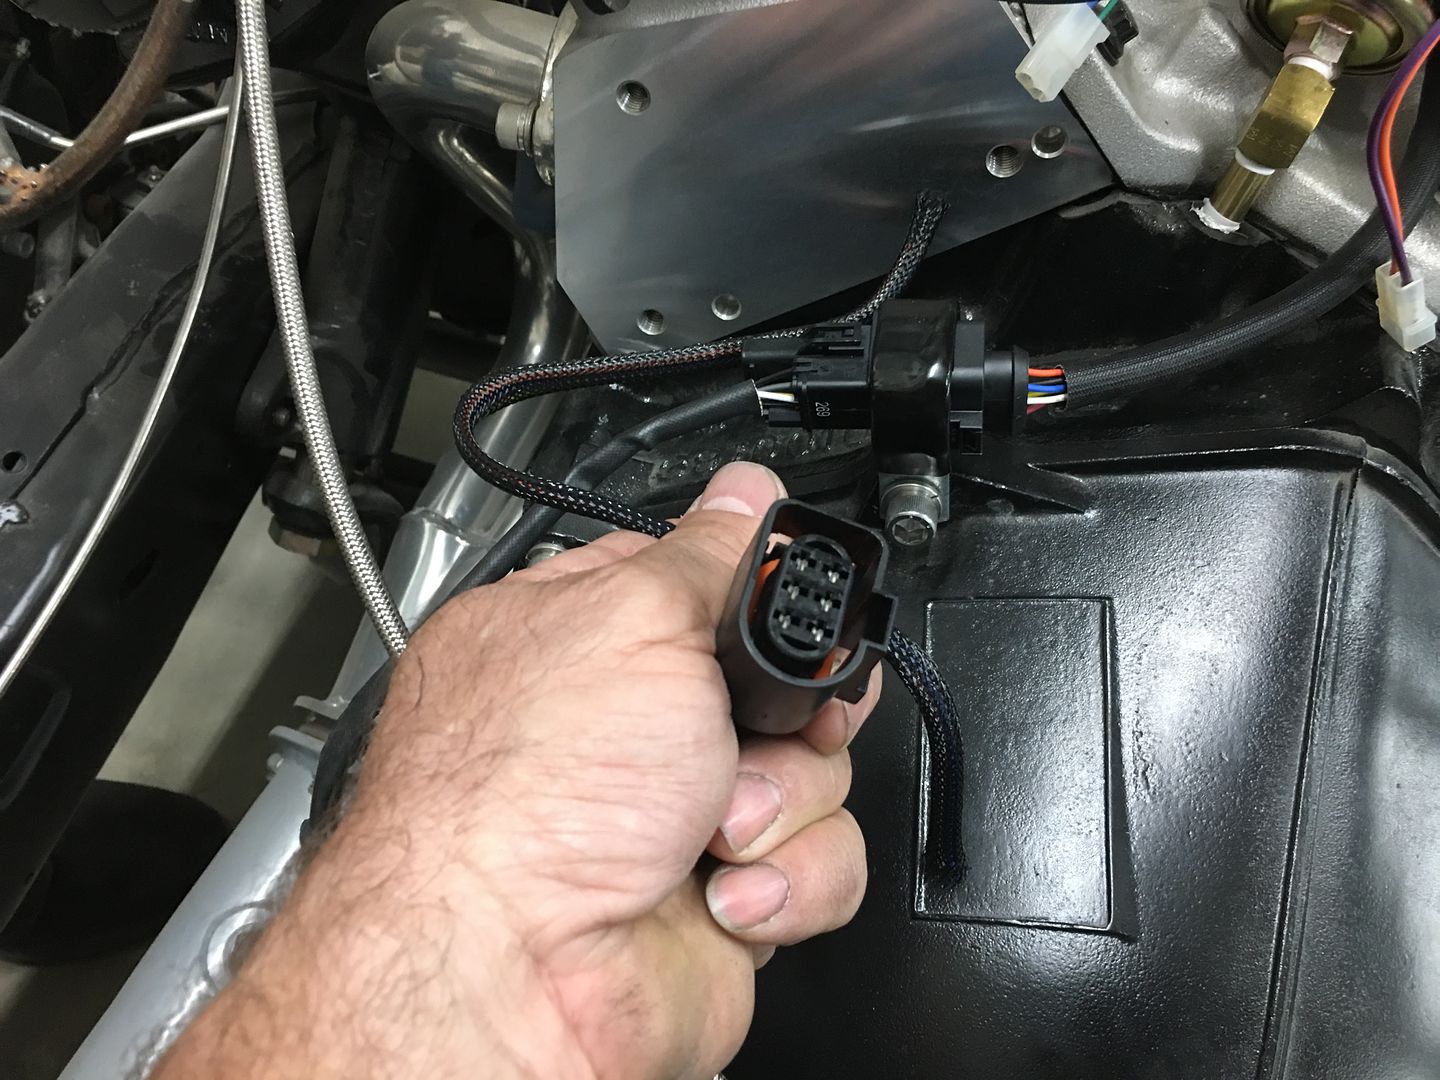
And we should be setting the body back on the chassis this weekend. We've been buttoning up some last minute things on the frame before a body makes accessibility more of a challenge. The cable for the O2 sensor up to the EFI was about two feet too long, so we ordered another connector and shortened it up a bit.
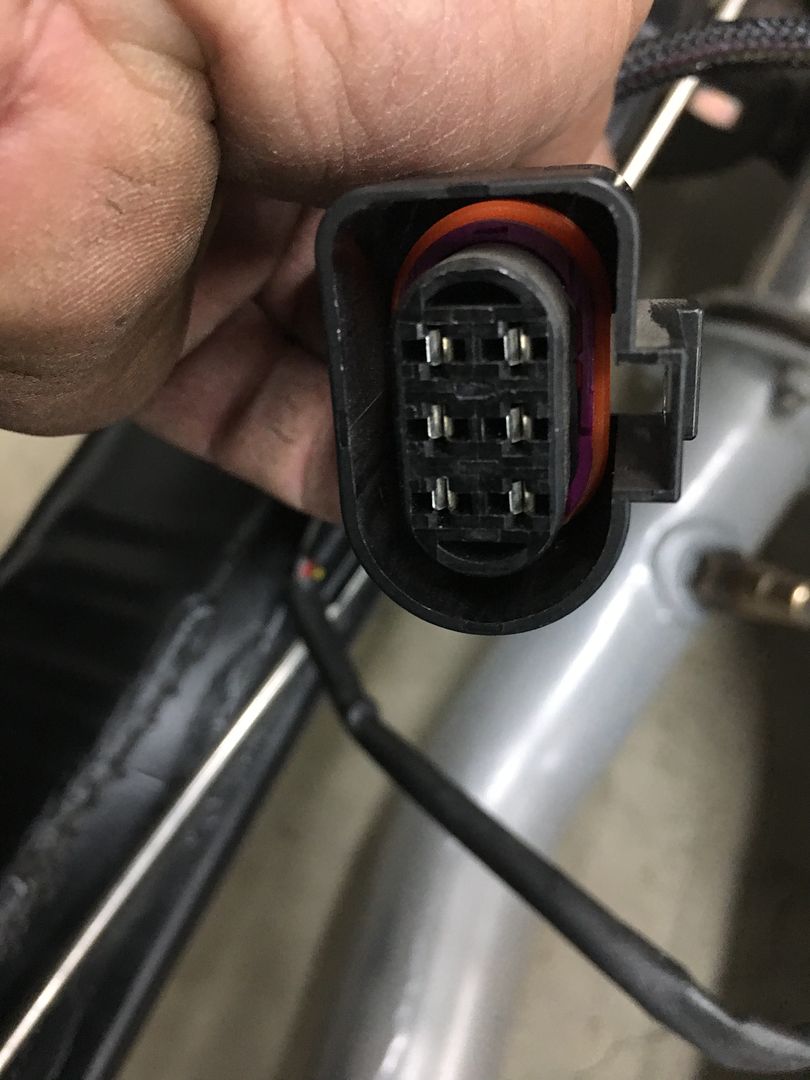
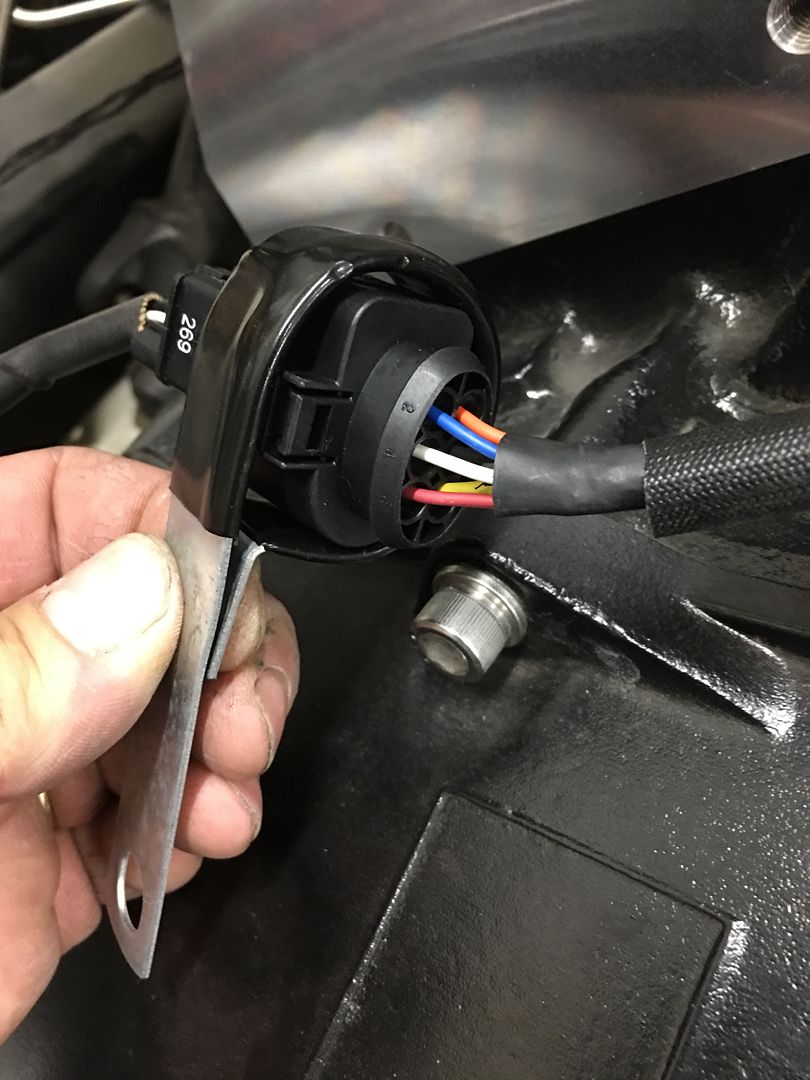
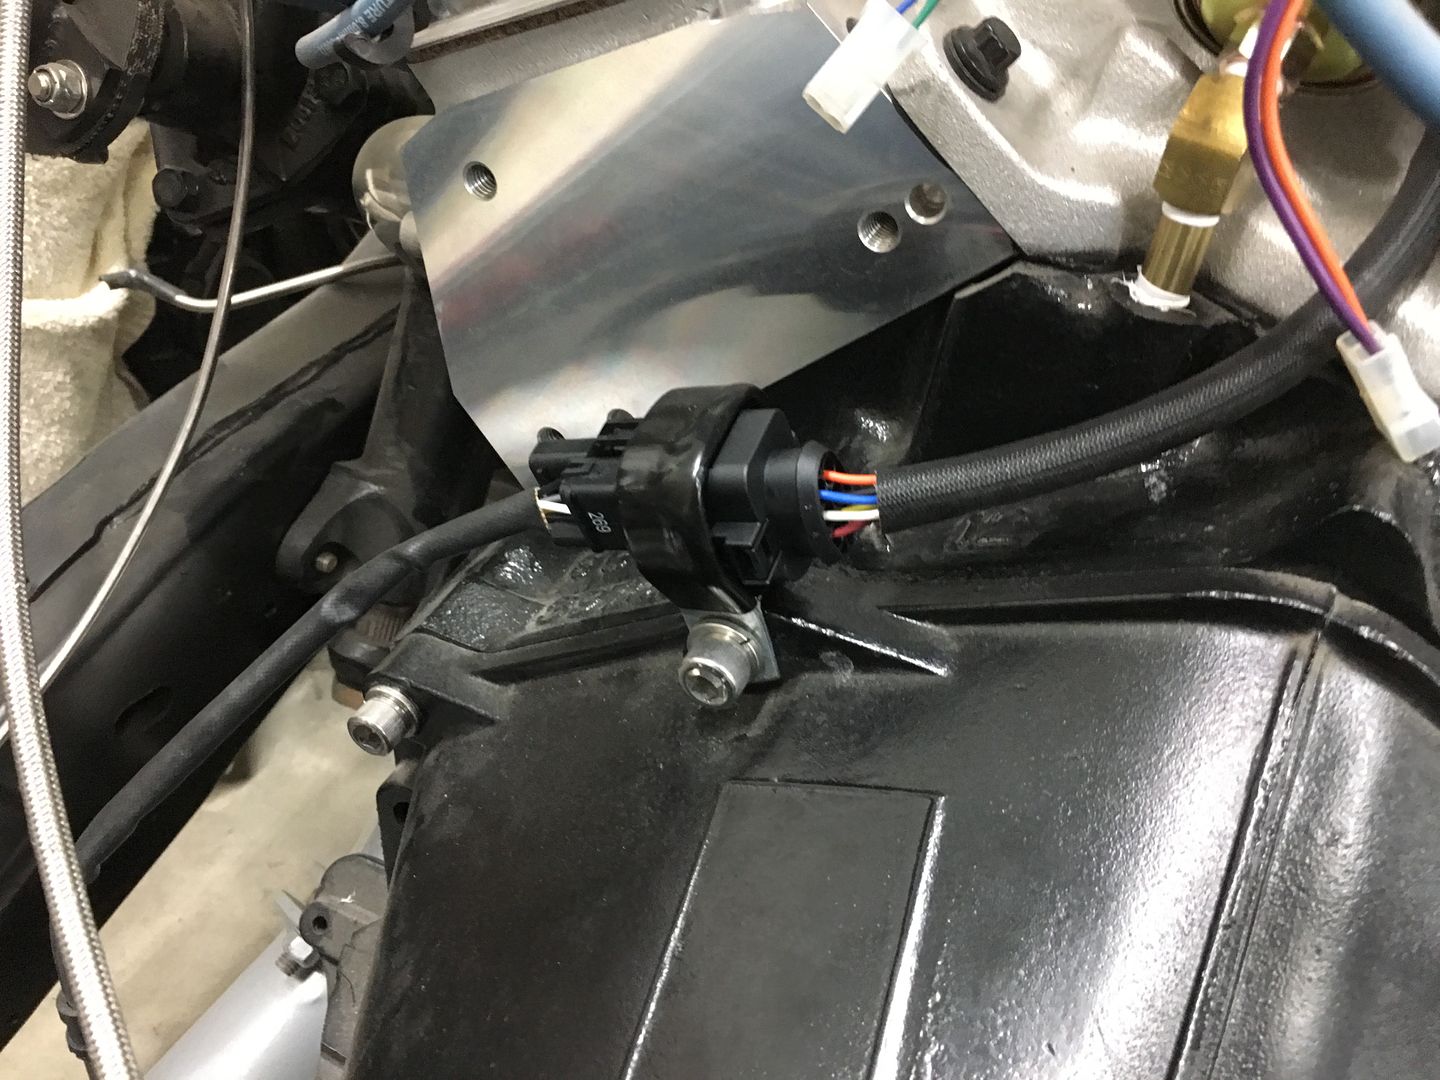
In order to better hold things from bouncing around, a large Adel clamp is "massaged" to better fit the shape of the Bosch connector, and yet remain loose enough to remove the connector if need be for any future troubleshooting needs..

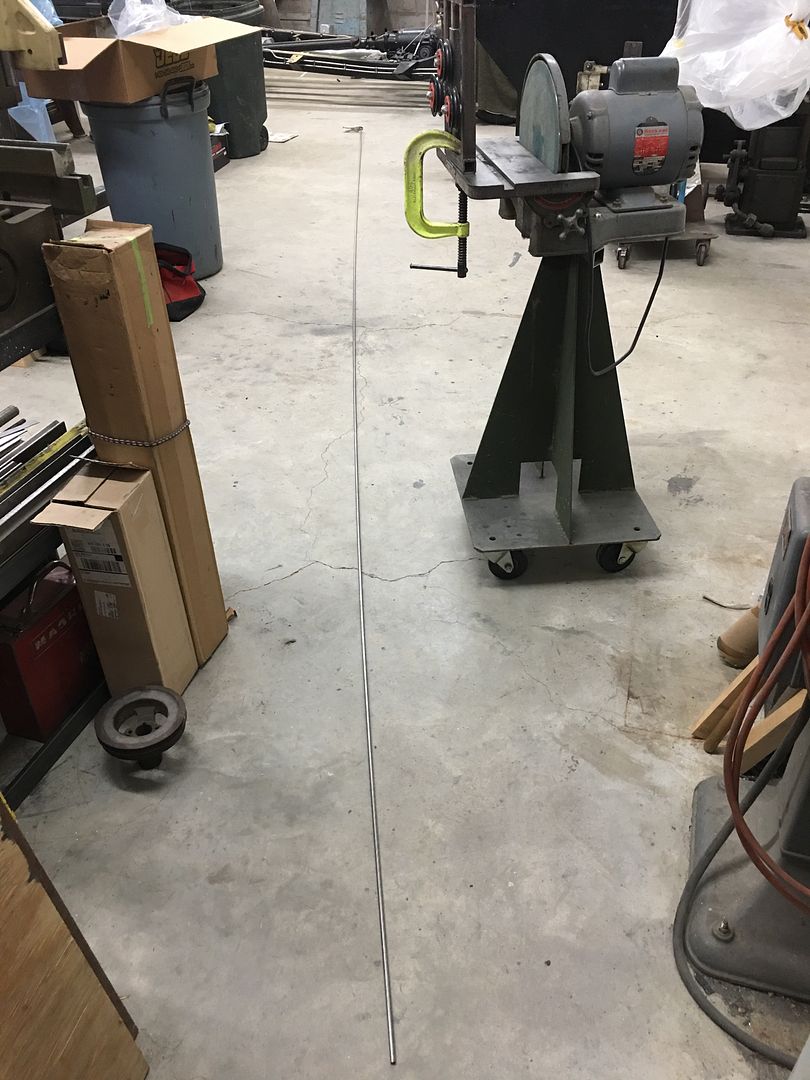
….and here's our leftover.
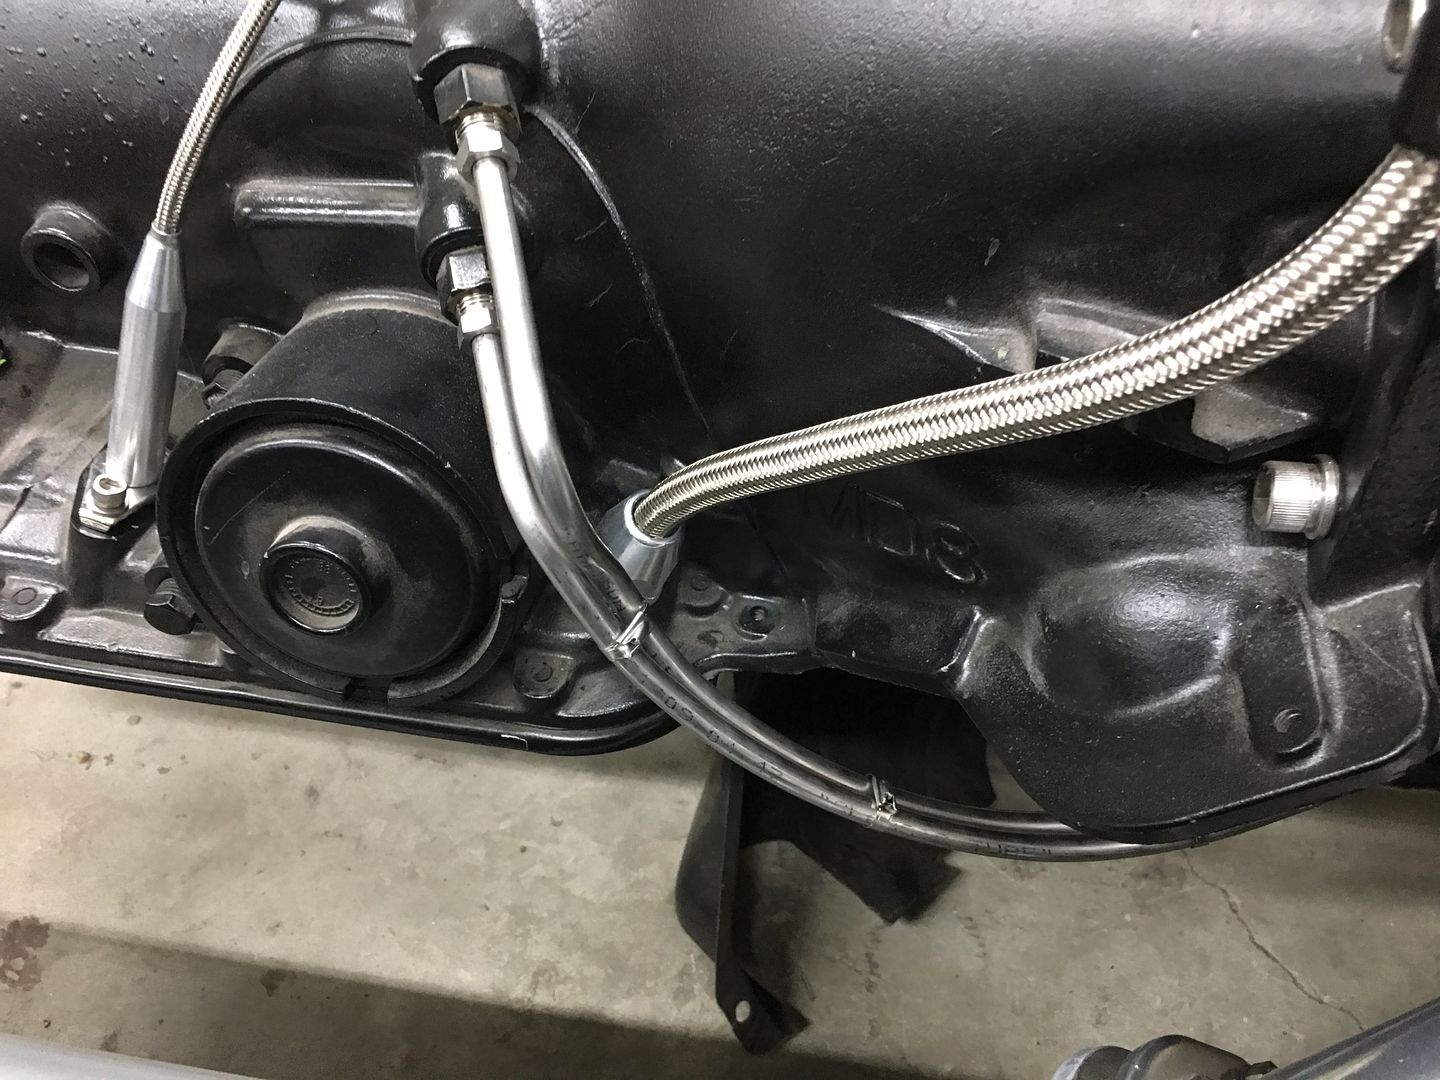
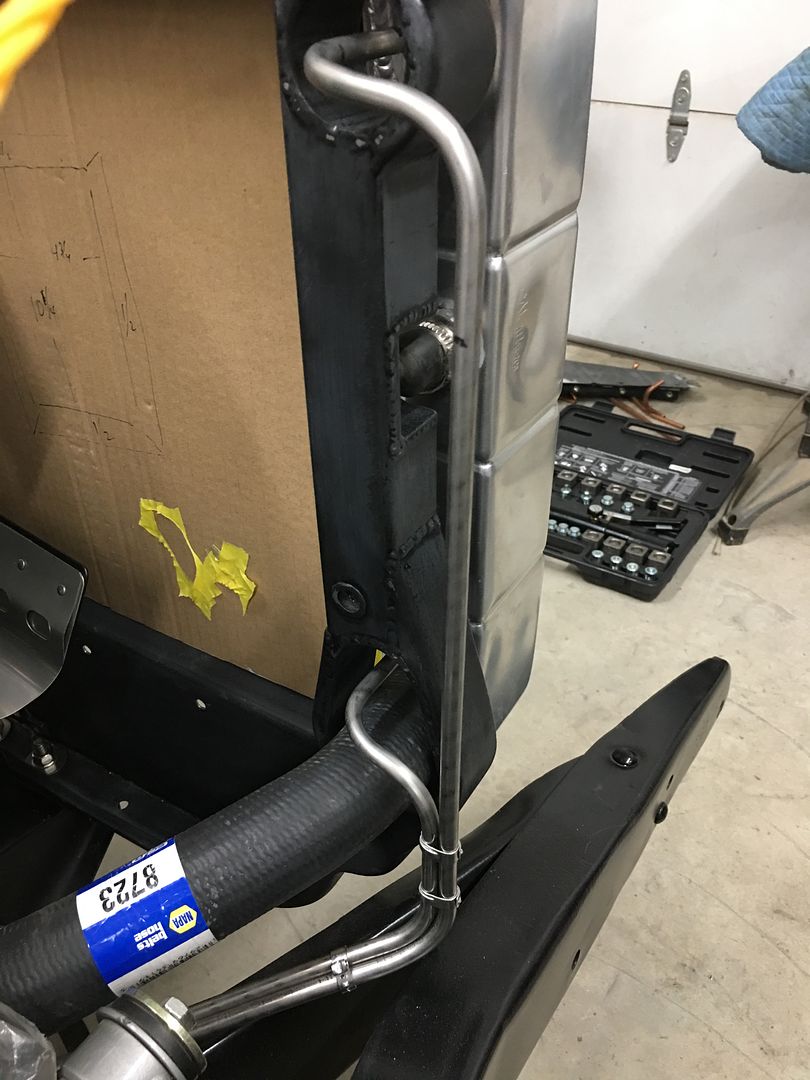
Next, we had transmission cooling lines to run, which means straightening a coil of stainless 5/16 line....
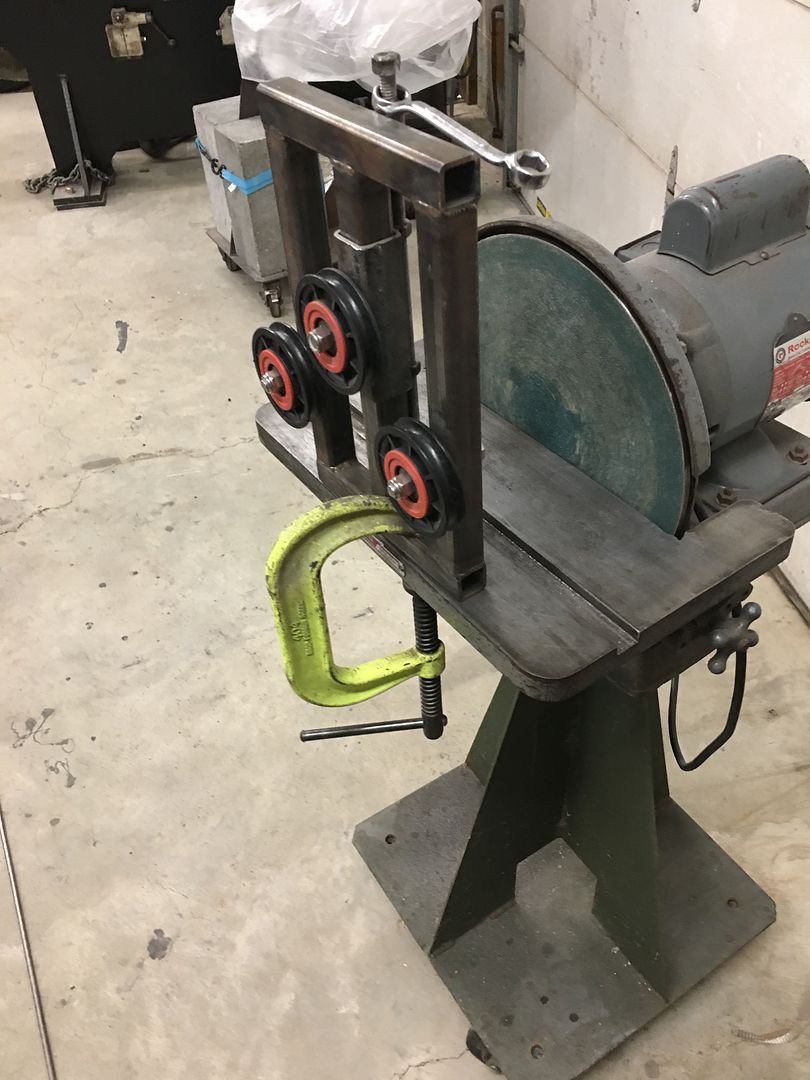
This should be straight enough....
We had to insure clearance around the inspection cover and starter, so those were temporarily installed...
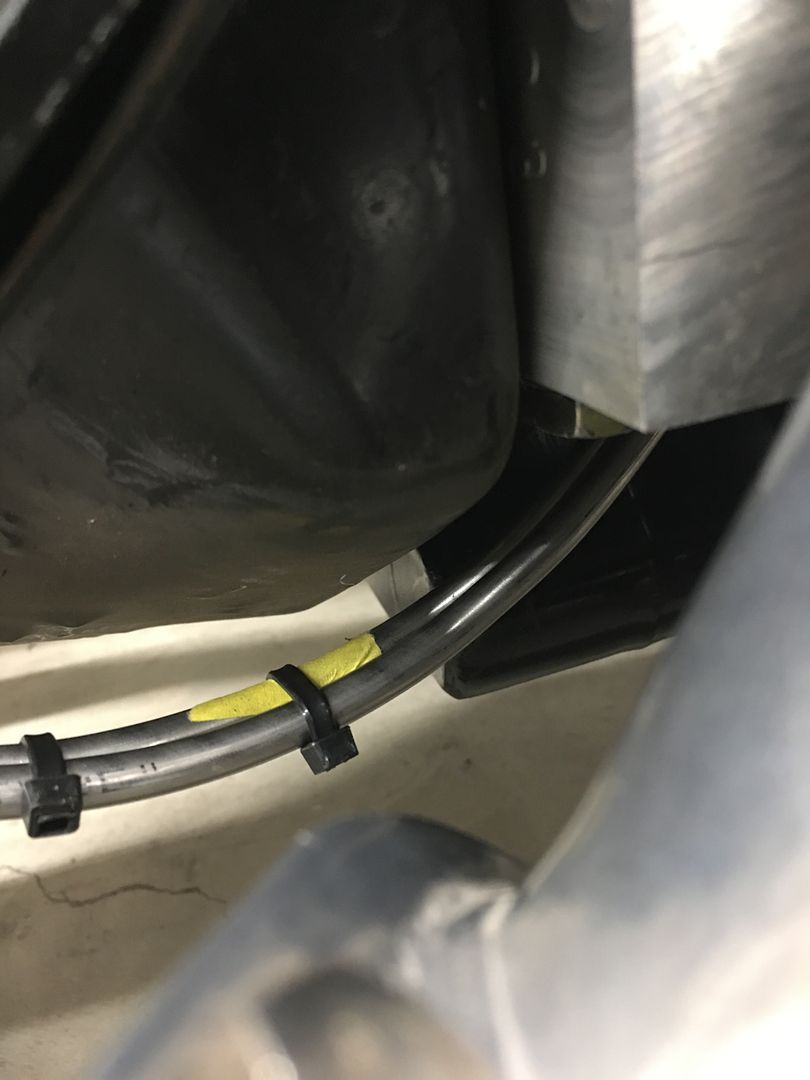
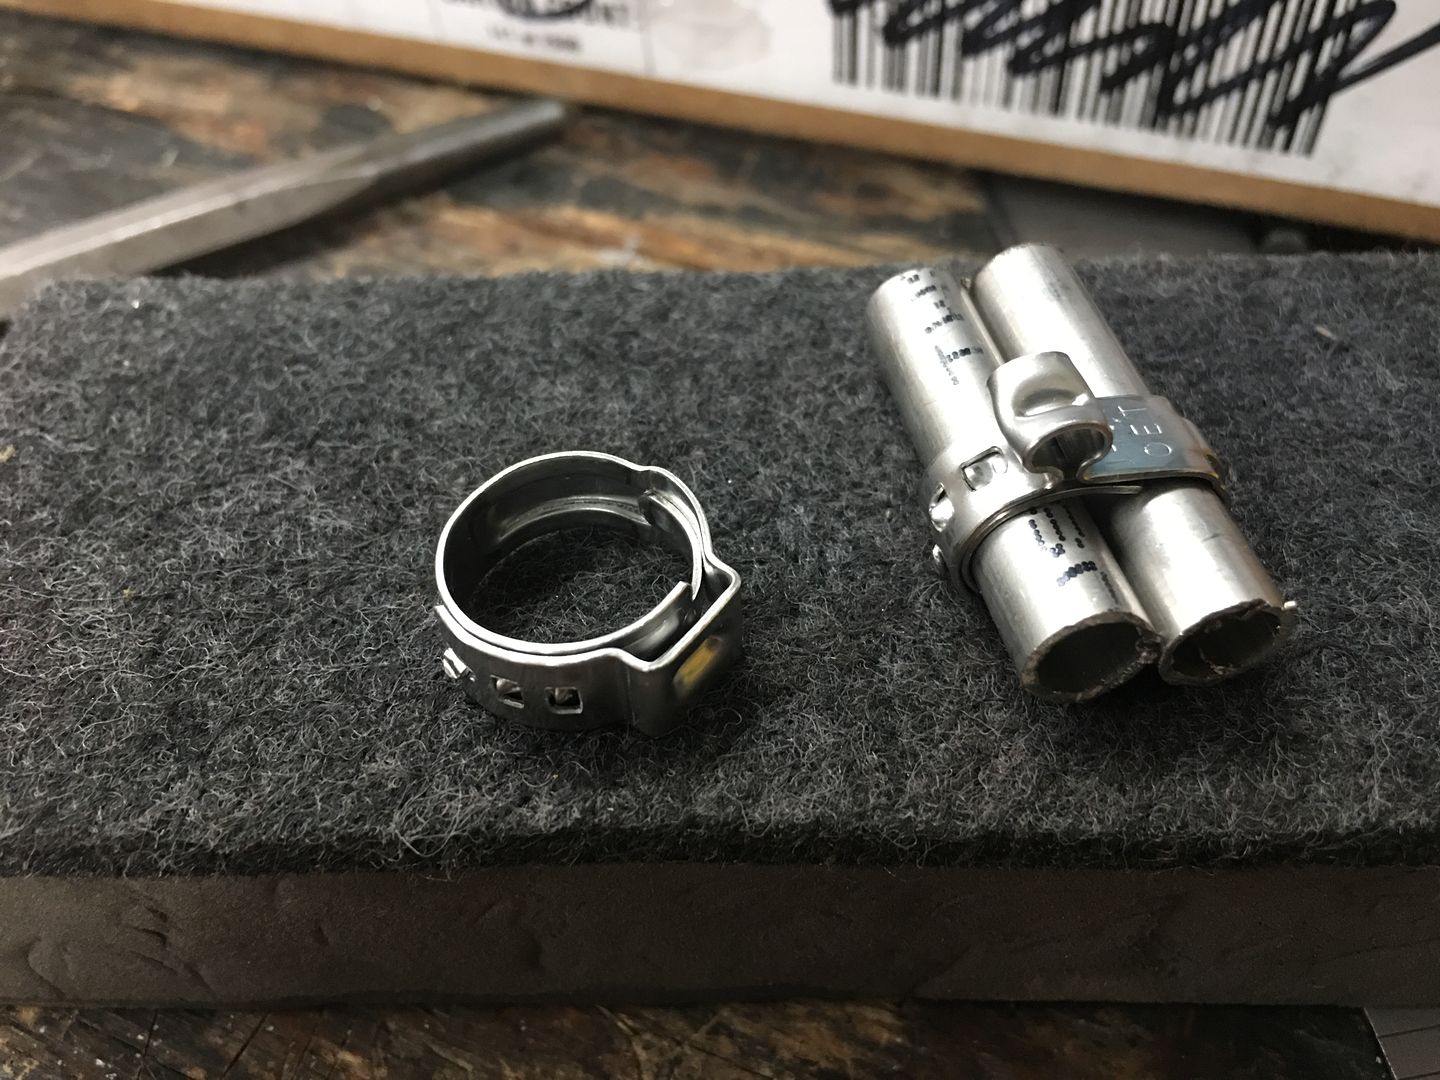
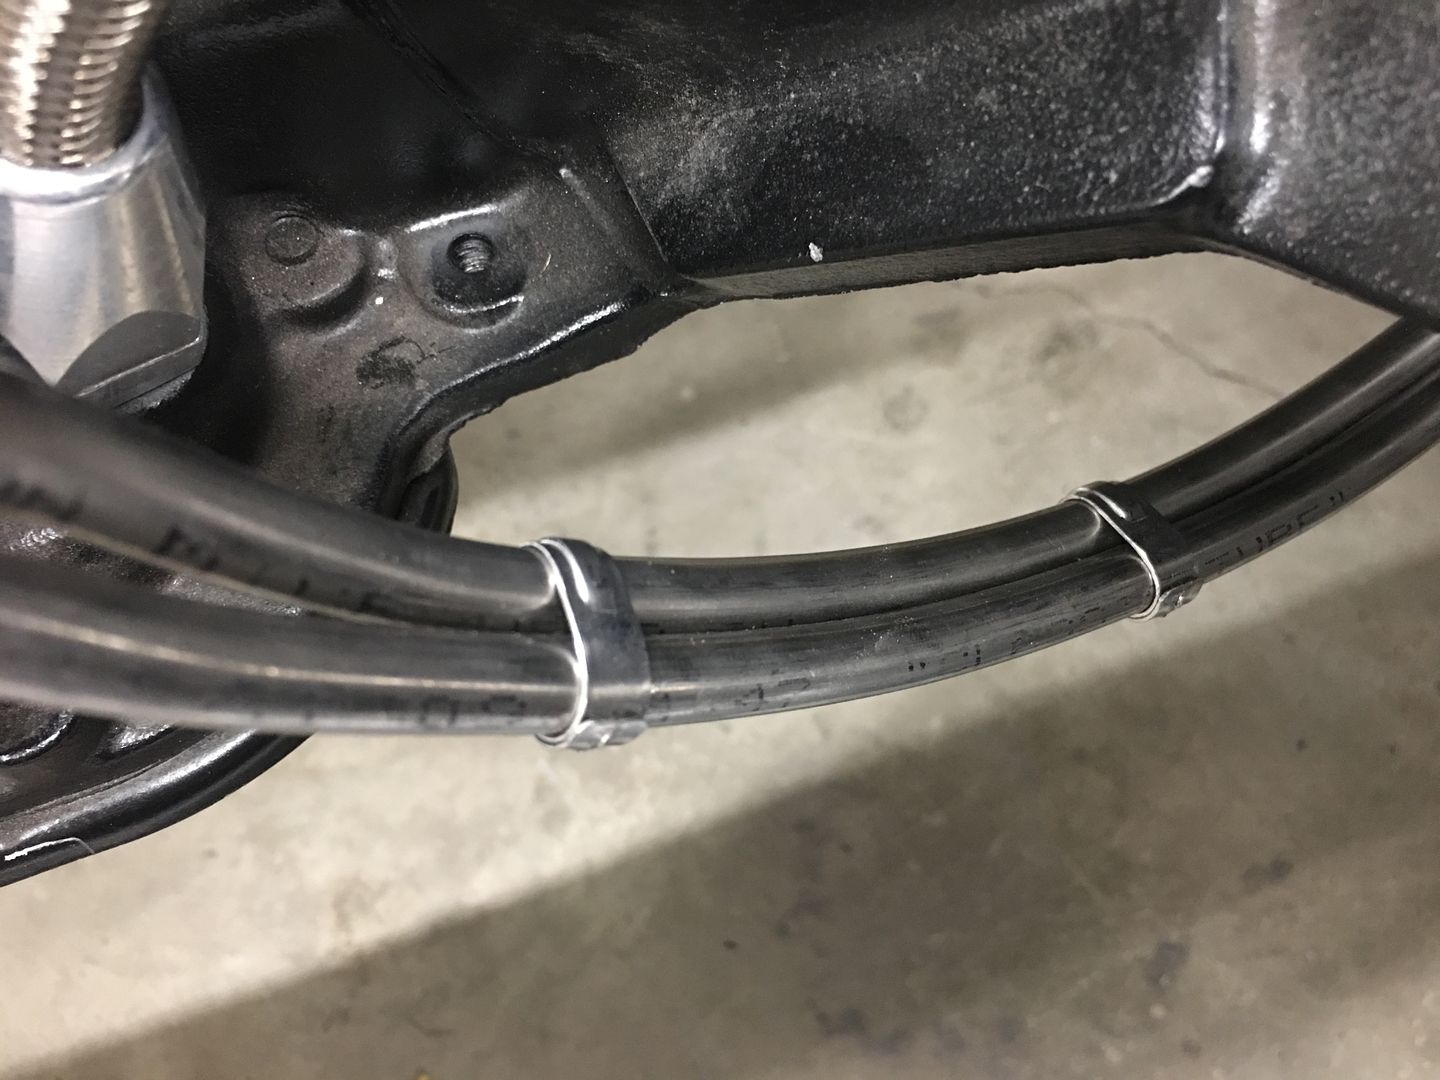
We found these fancy stainless "cable ties" at McMaster, but even using a banding tool to tension it, the "tang" retention allows it to loosen slightly before the tang locks in.
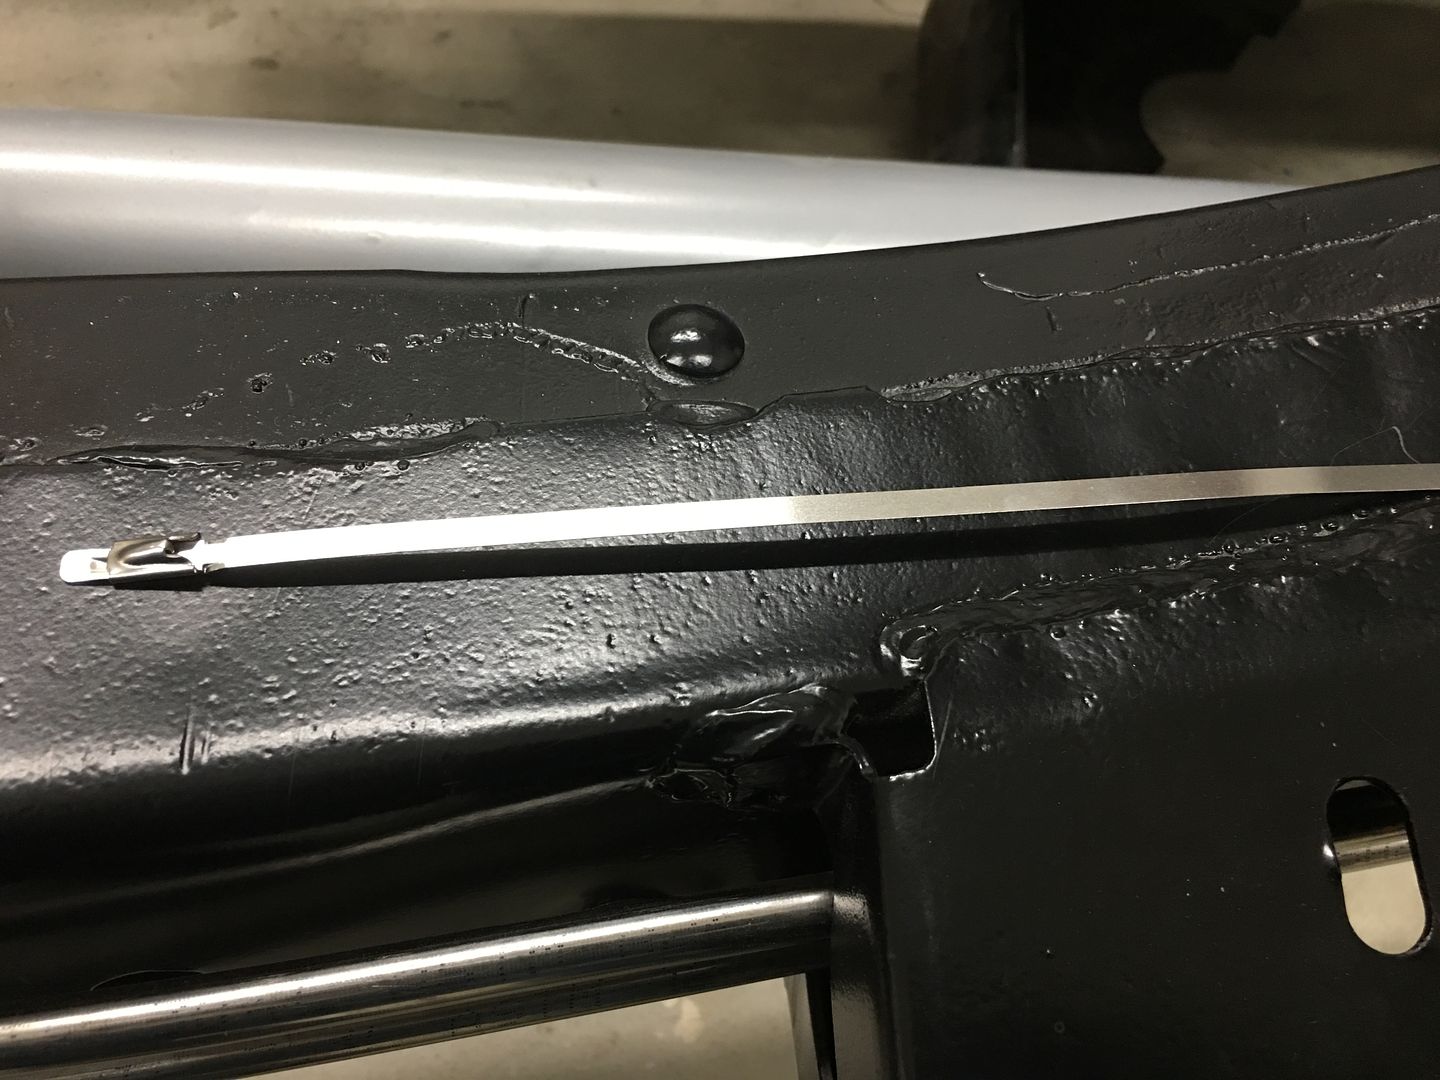
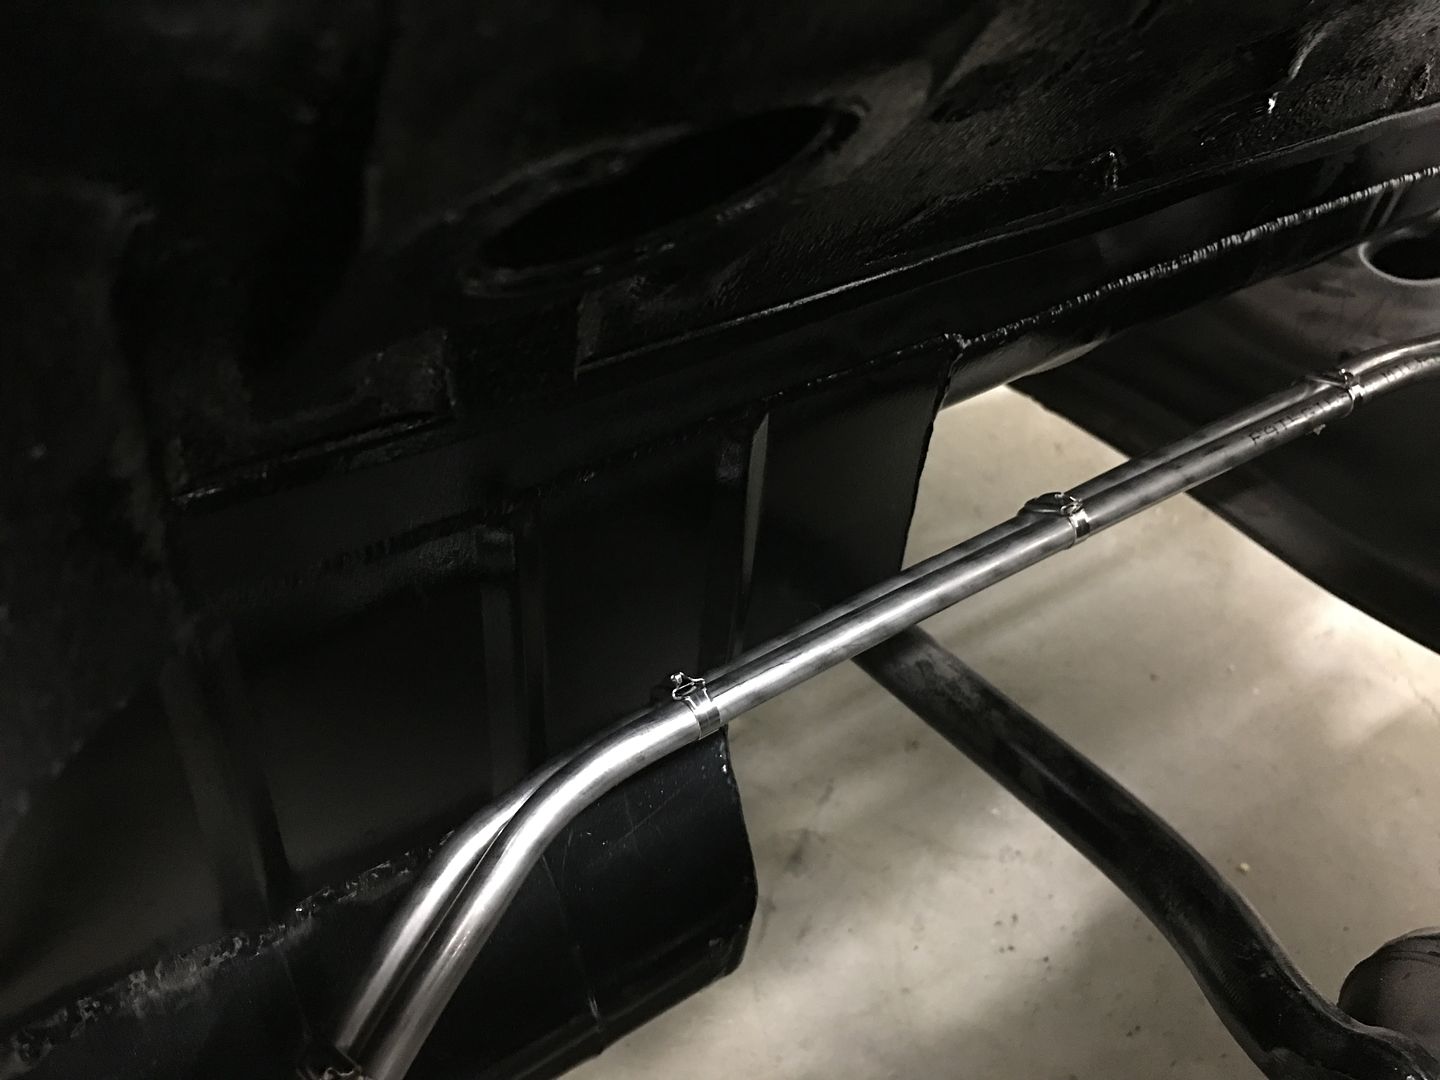
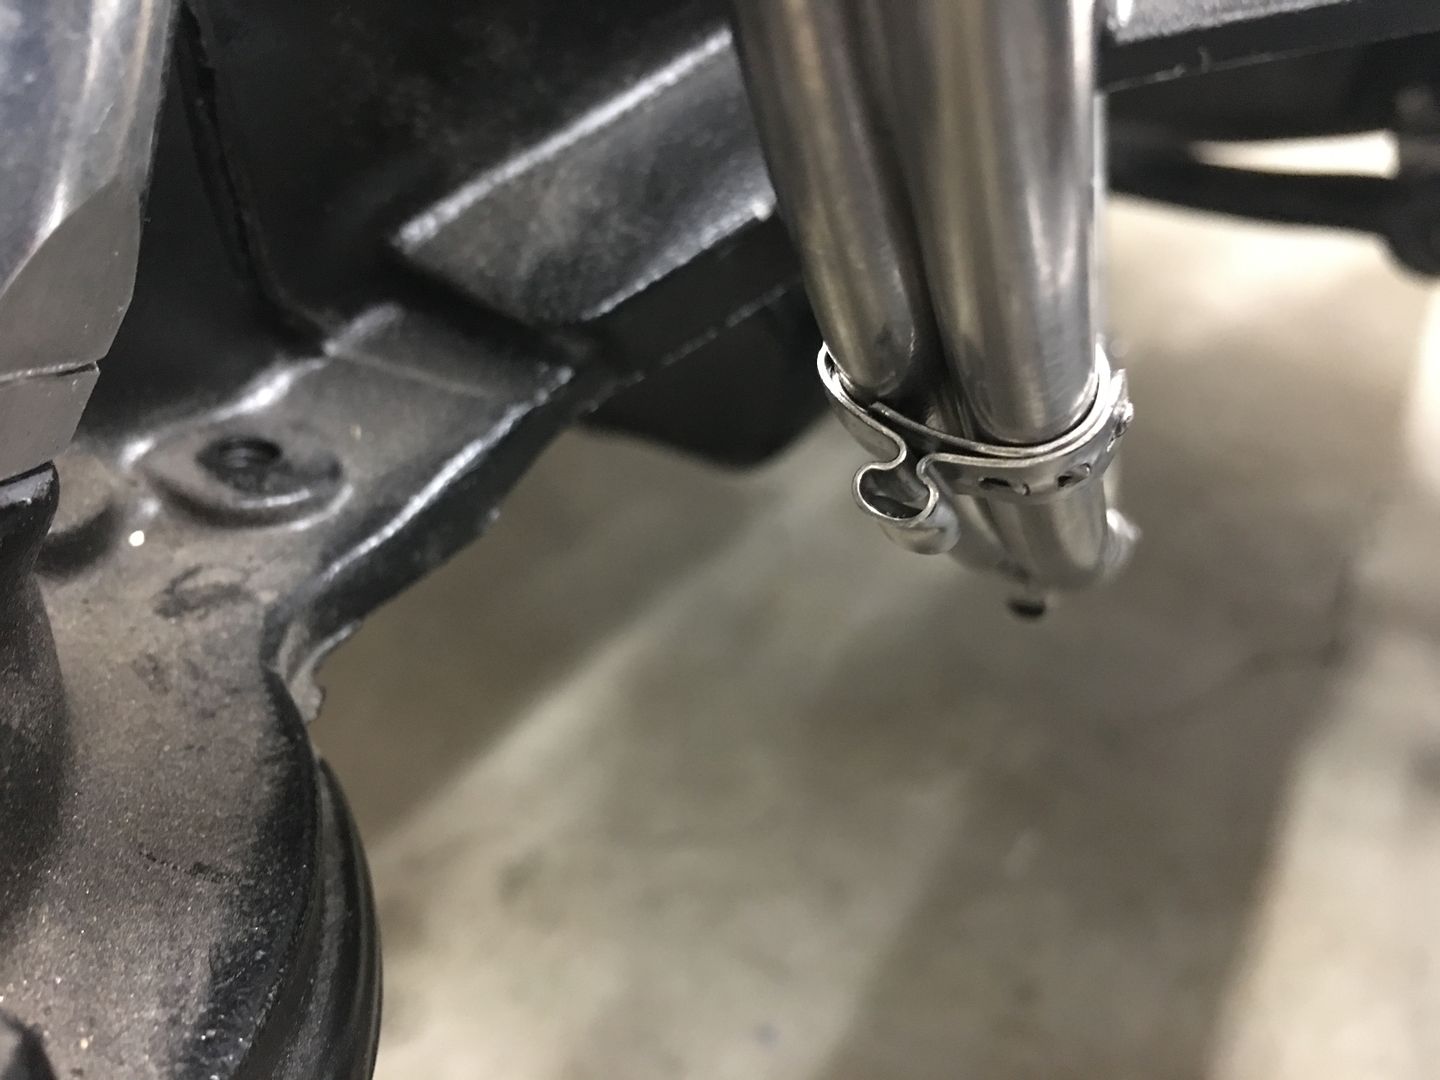
Since I had recently picked up a pair of Pex crimpers at a pawn shop for cheap, we thought we'd give those Oetiker clamps a shot for keeping things snug.. Looks like this may work!
Top side...
Bottom...
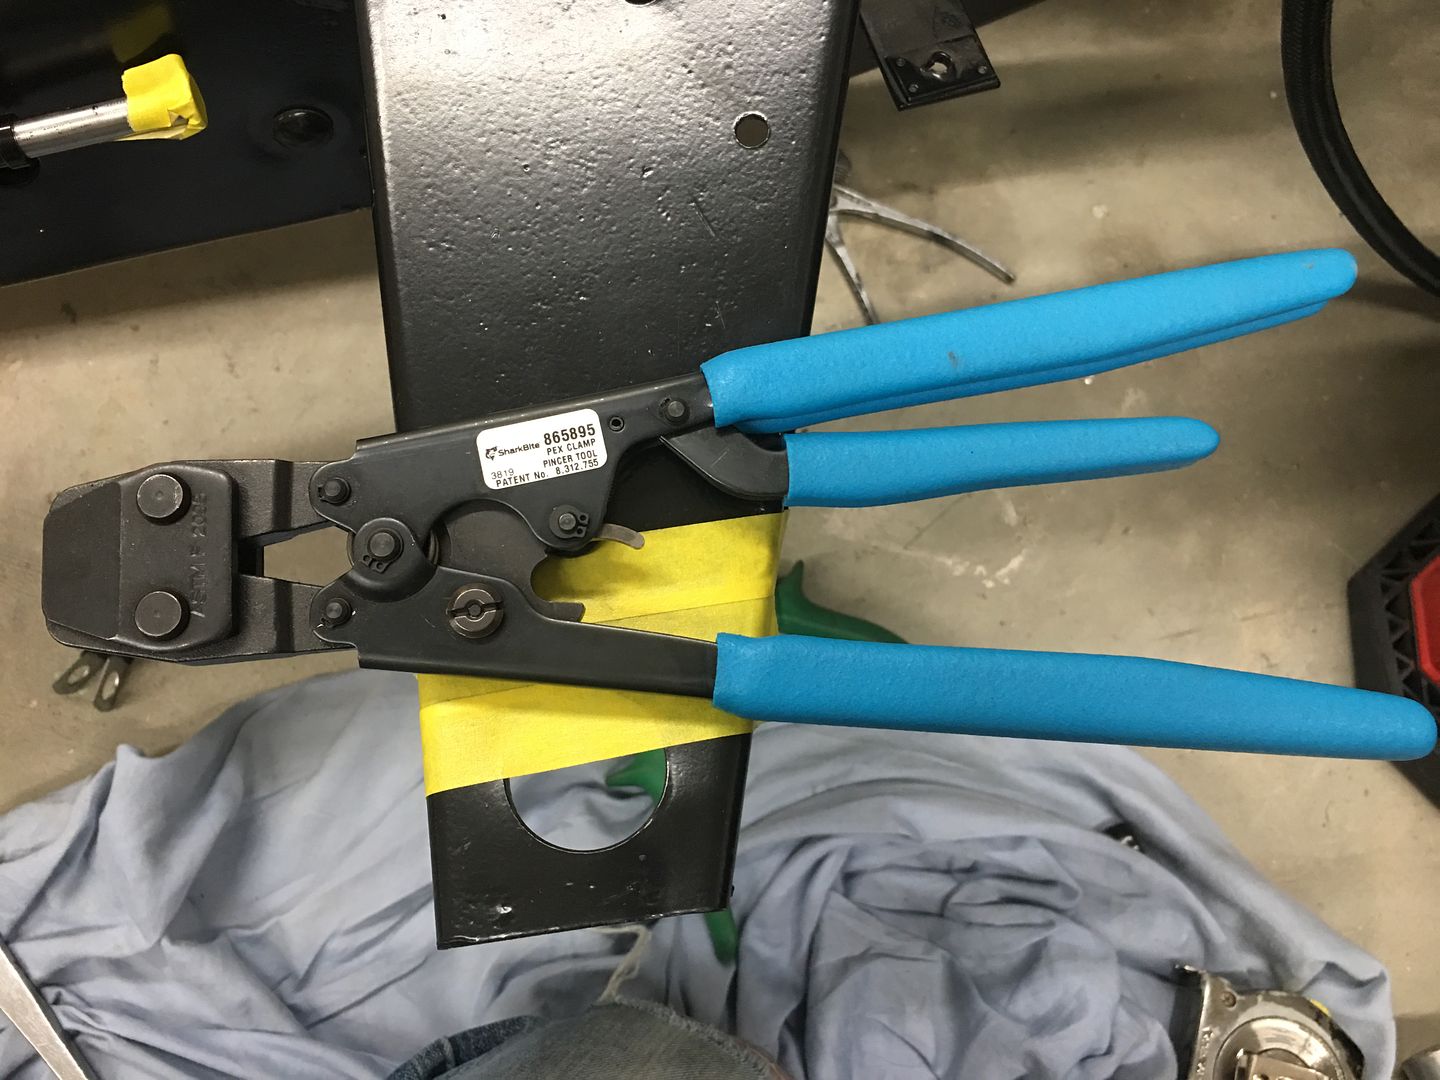
The crimpers/pliers we used... $15 at a pawn shop...
Running the radiator ends...
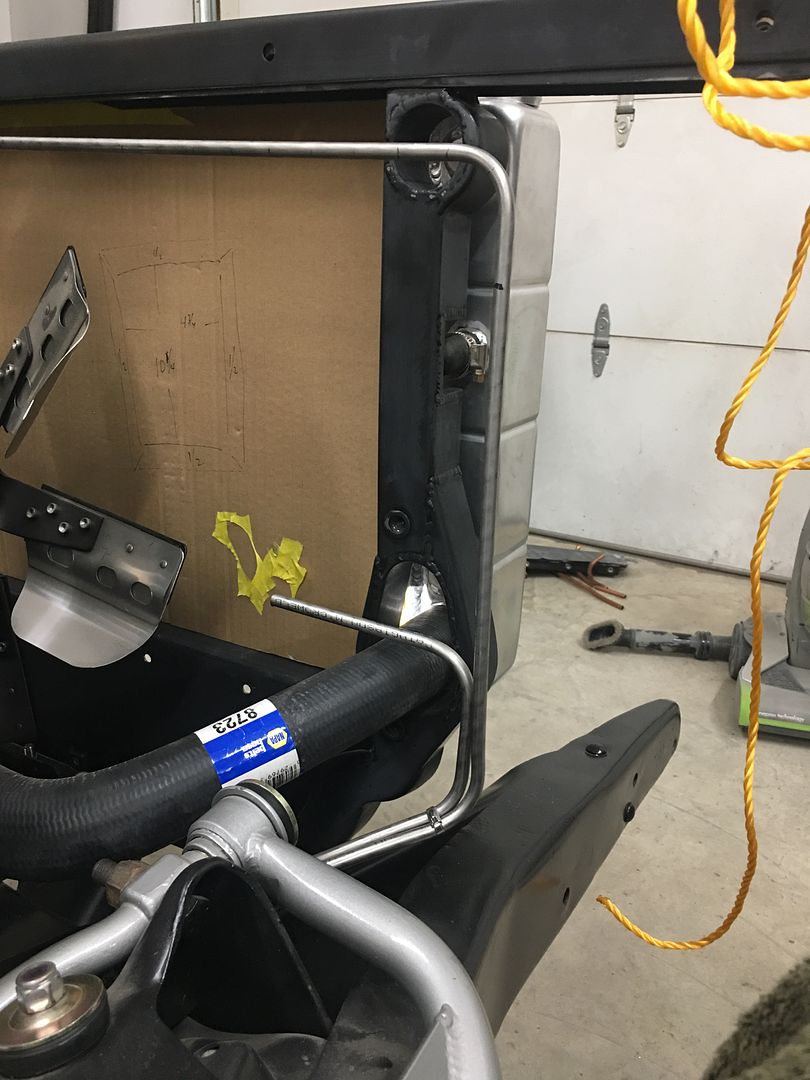
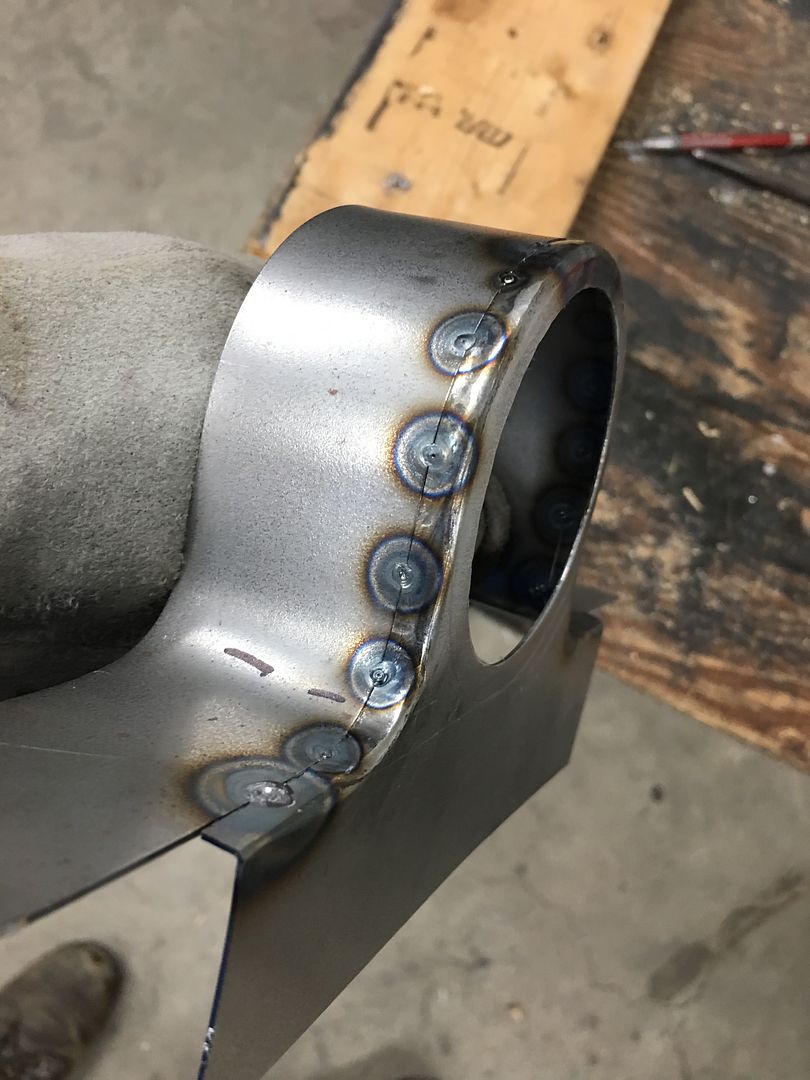
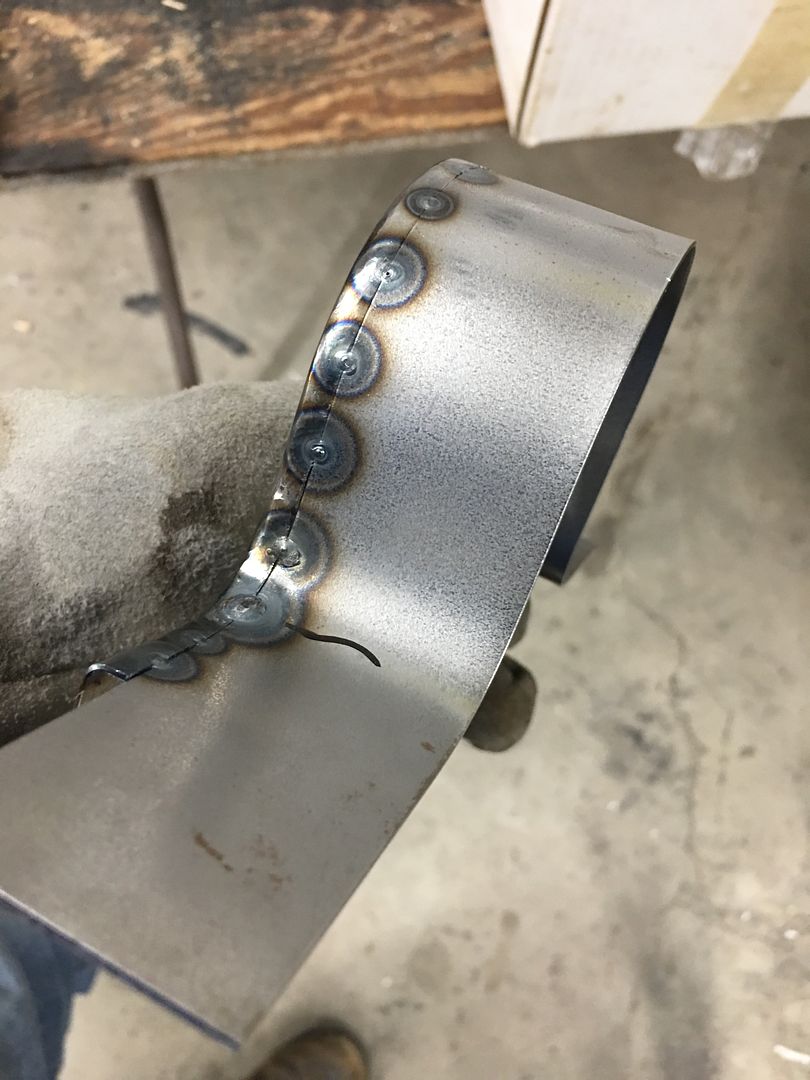
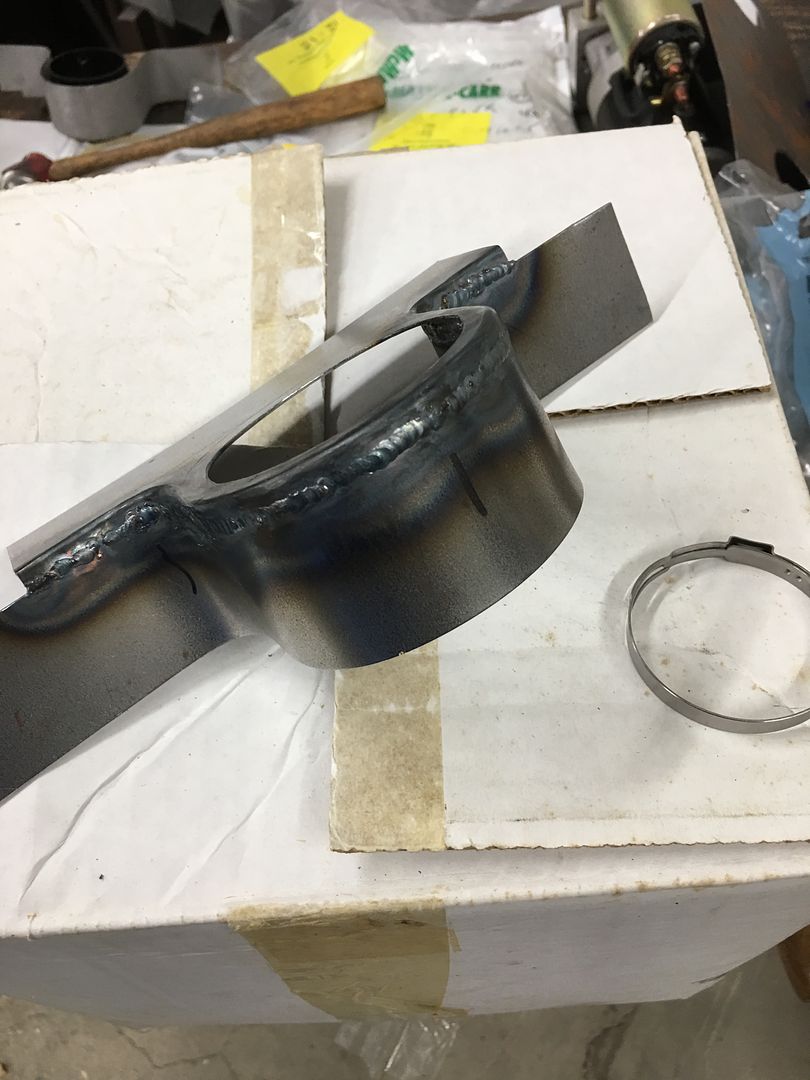
And then some other superfluous stuff, we got the second vent bracket welded up last night
And even though it's off in the near distance, it's about time to repaint the tag so DMV can register it to the car (1955 only had one plate in MD)...
Thought I had some bus paint that was close, but looks a bit too light..
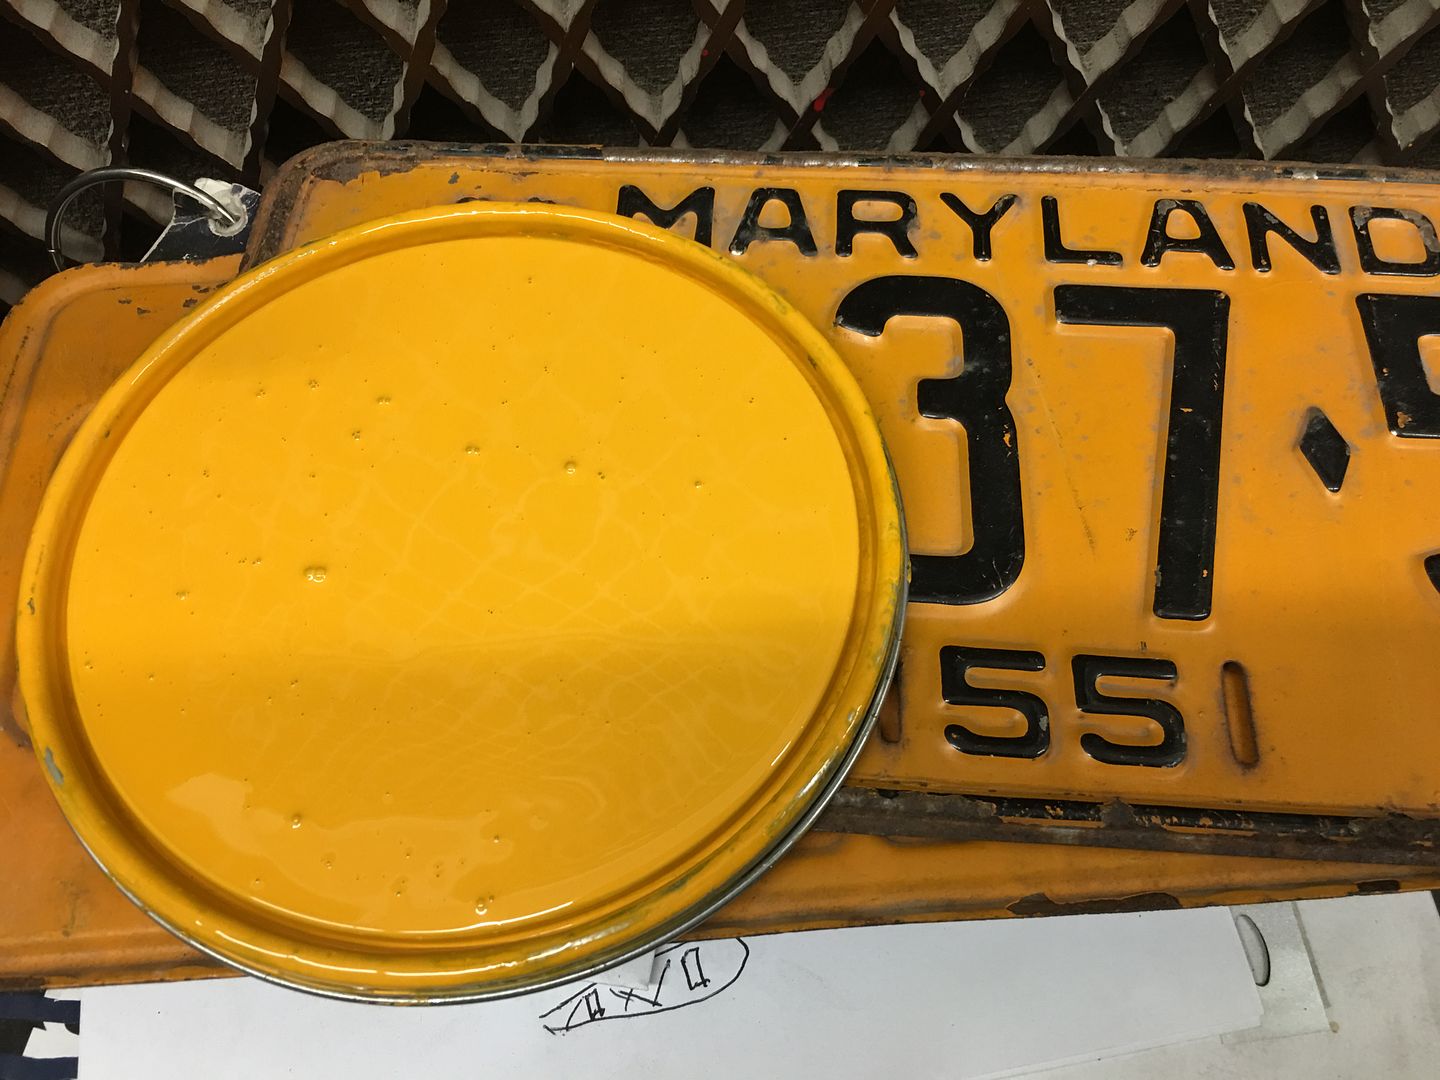
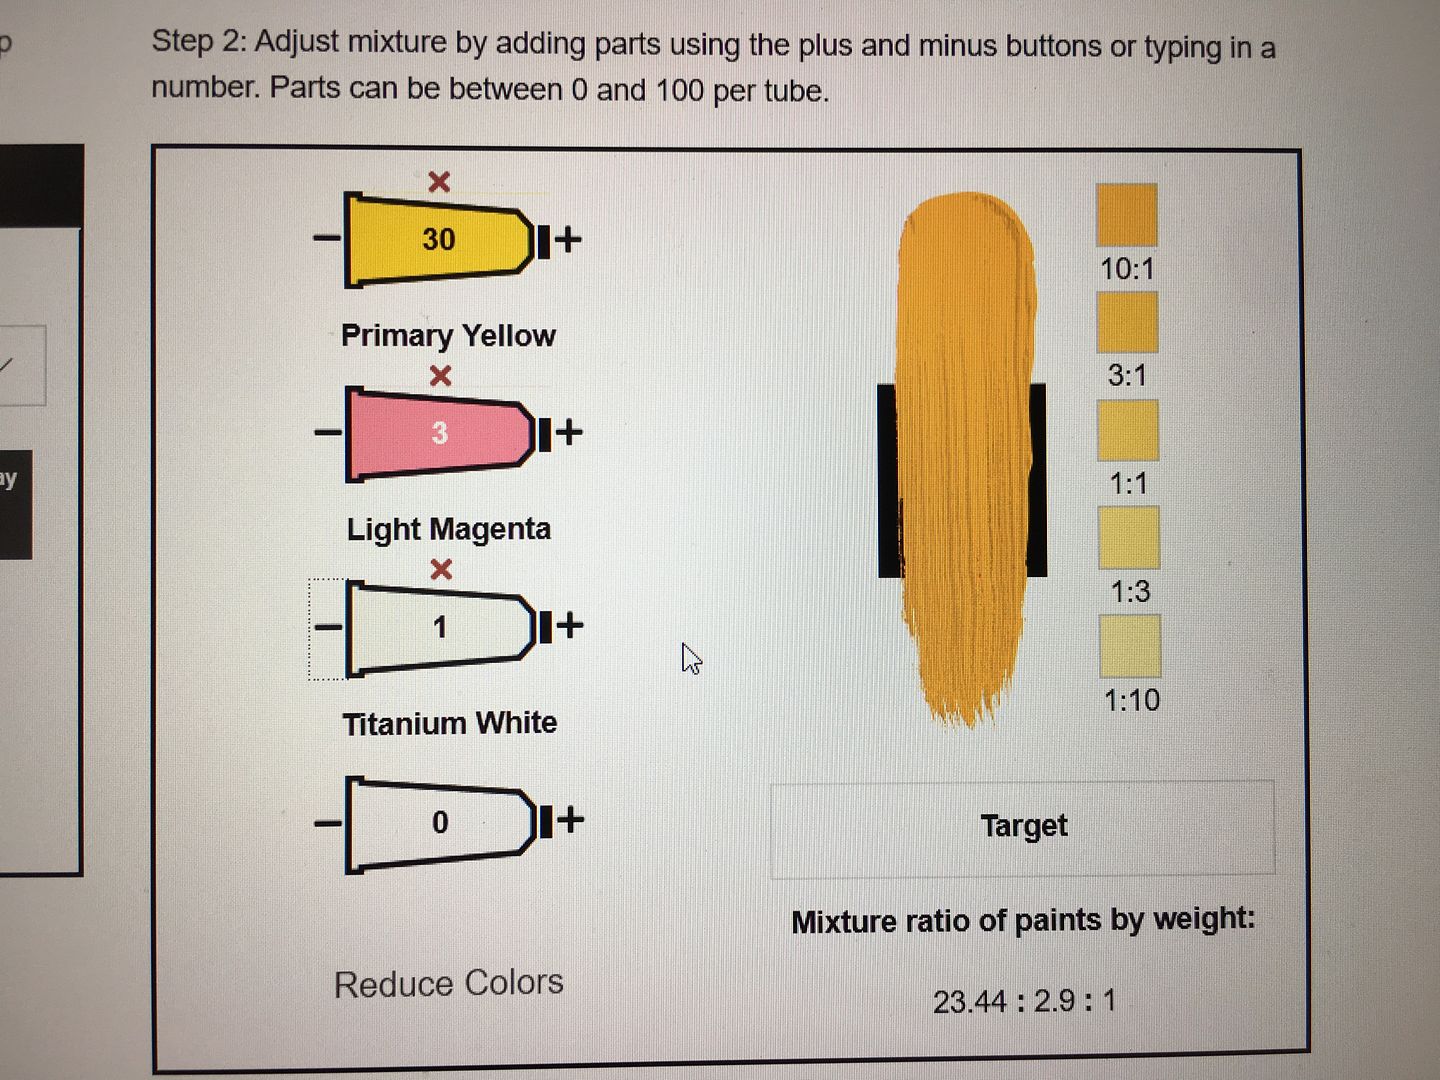
But playing with some mixing ratios online, I may be able to use some of my one shot lettering paint as a tint to get us much closer...
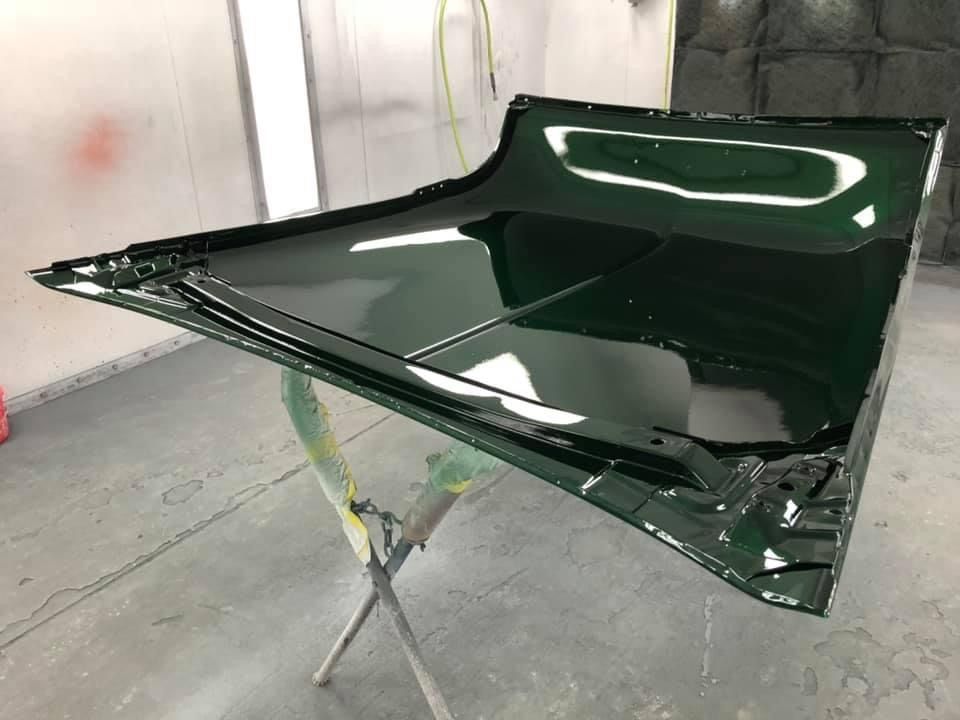
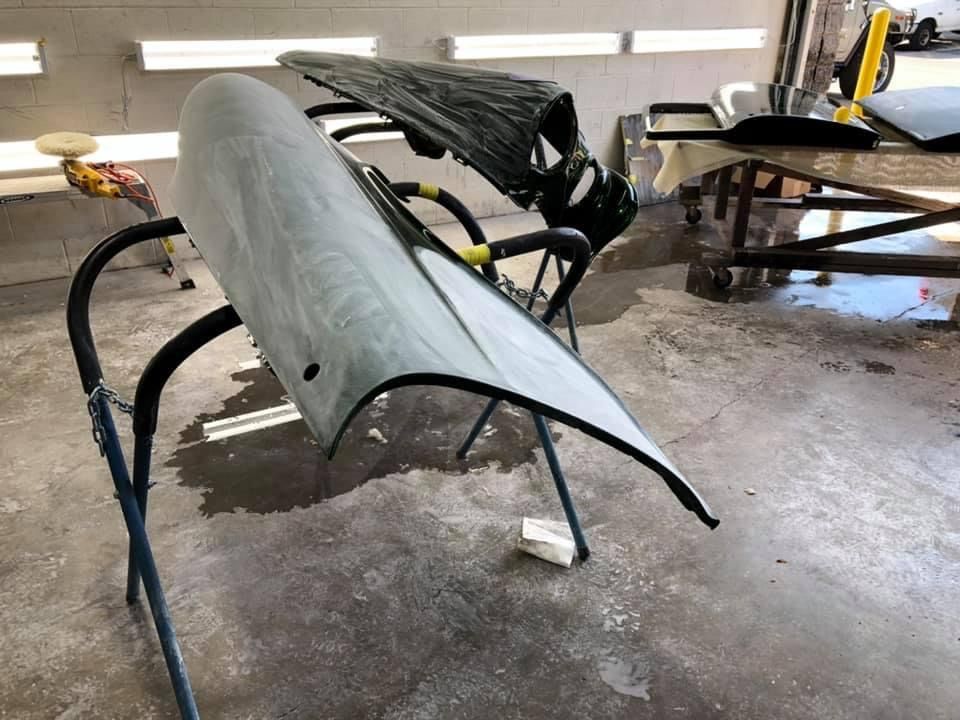
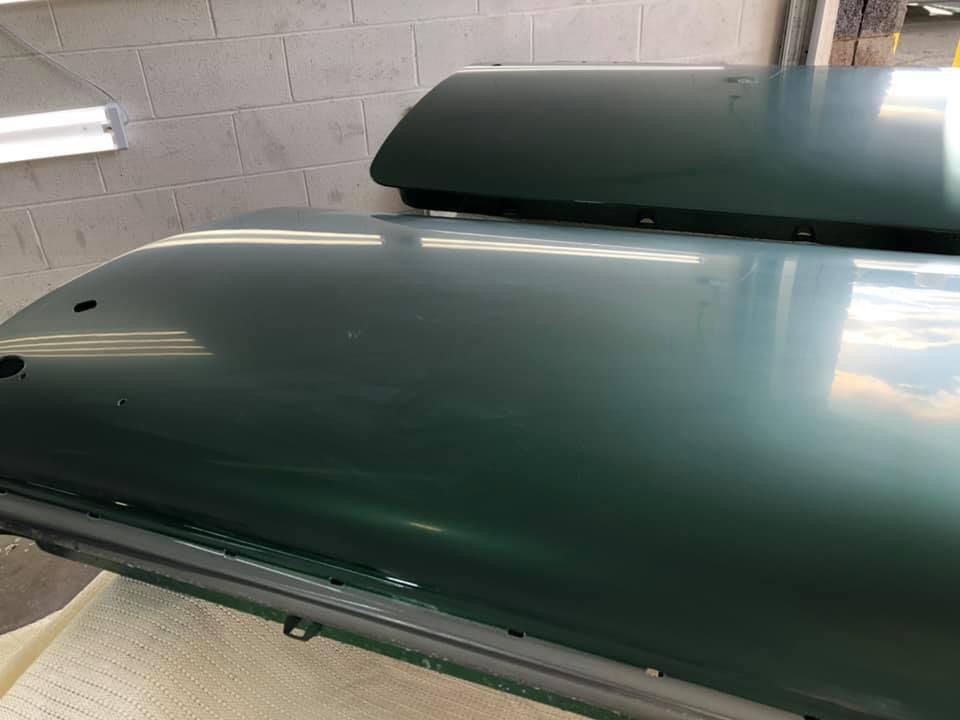
And since the rest of the bits are now being cut and buffed, we better get the body on the frame to make some room in the shop..
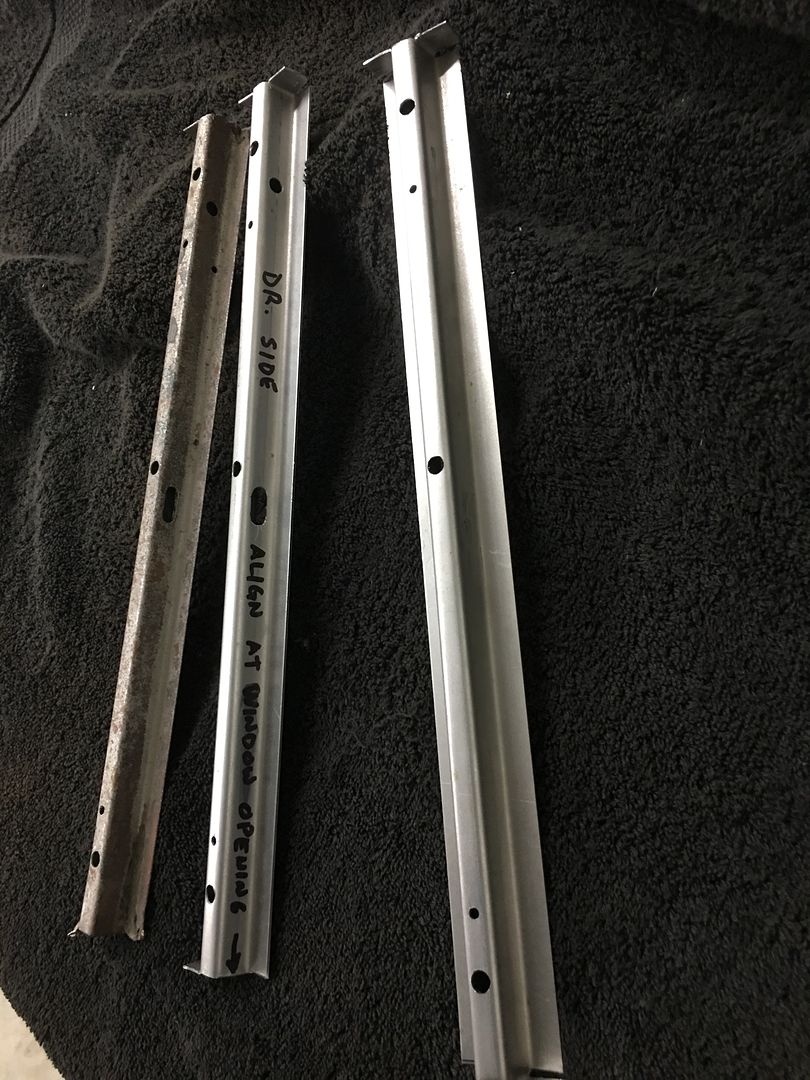
….and between all that, we made another set of window dividers, these going to Dallas for the restoration of a 57 wagon...
Robert

 Reply With Quote
Posting Permissions
- You may not post new threads
- You may not post replies
- You may not post attachments
- You may not edit your posts

This site is up more often lately, but very little traffic.
Dead!