


 260Likes
Results 106 to 120 of 150
 LinkBack URL
 About LinkBacks
Threaded View
-
03-10-2016 07:31 PM #1
 CHR Member

- Join Date
- Jun 2008
- Location
- Leonardtown
- Car Year, Make, Model: Walking
- Posts
- 1,228
1947 Biederman Truck Fender Repairs
Tonight in the shop we started the repair work on the front fenders for the 1947 Biederman Truck, seen here for reference:
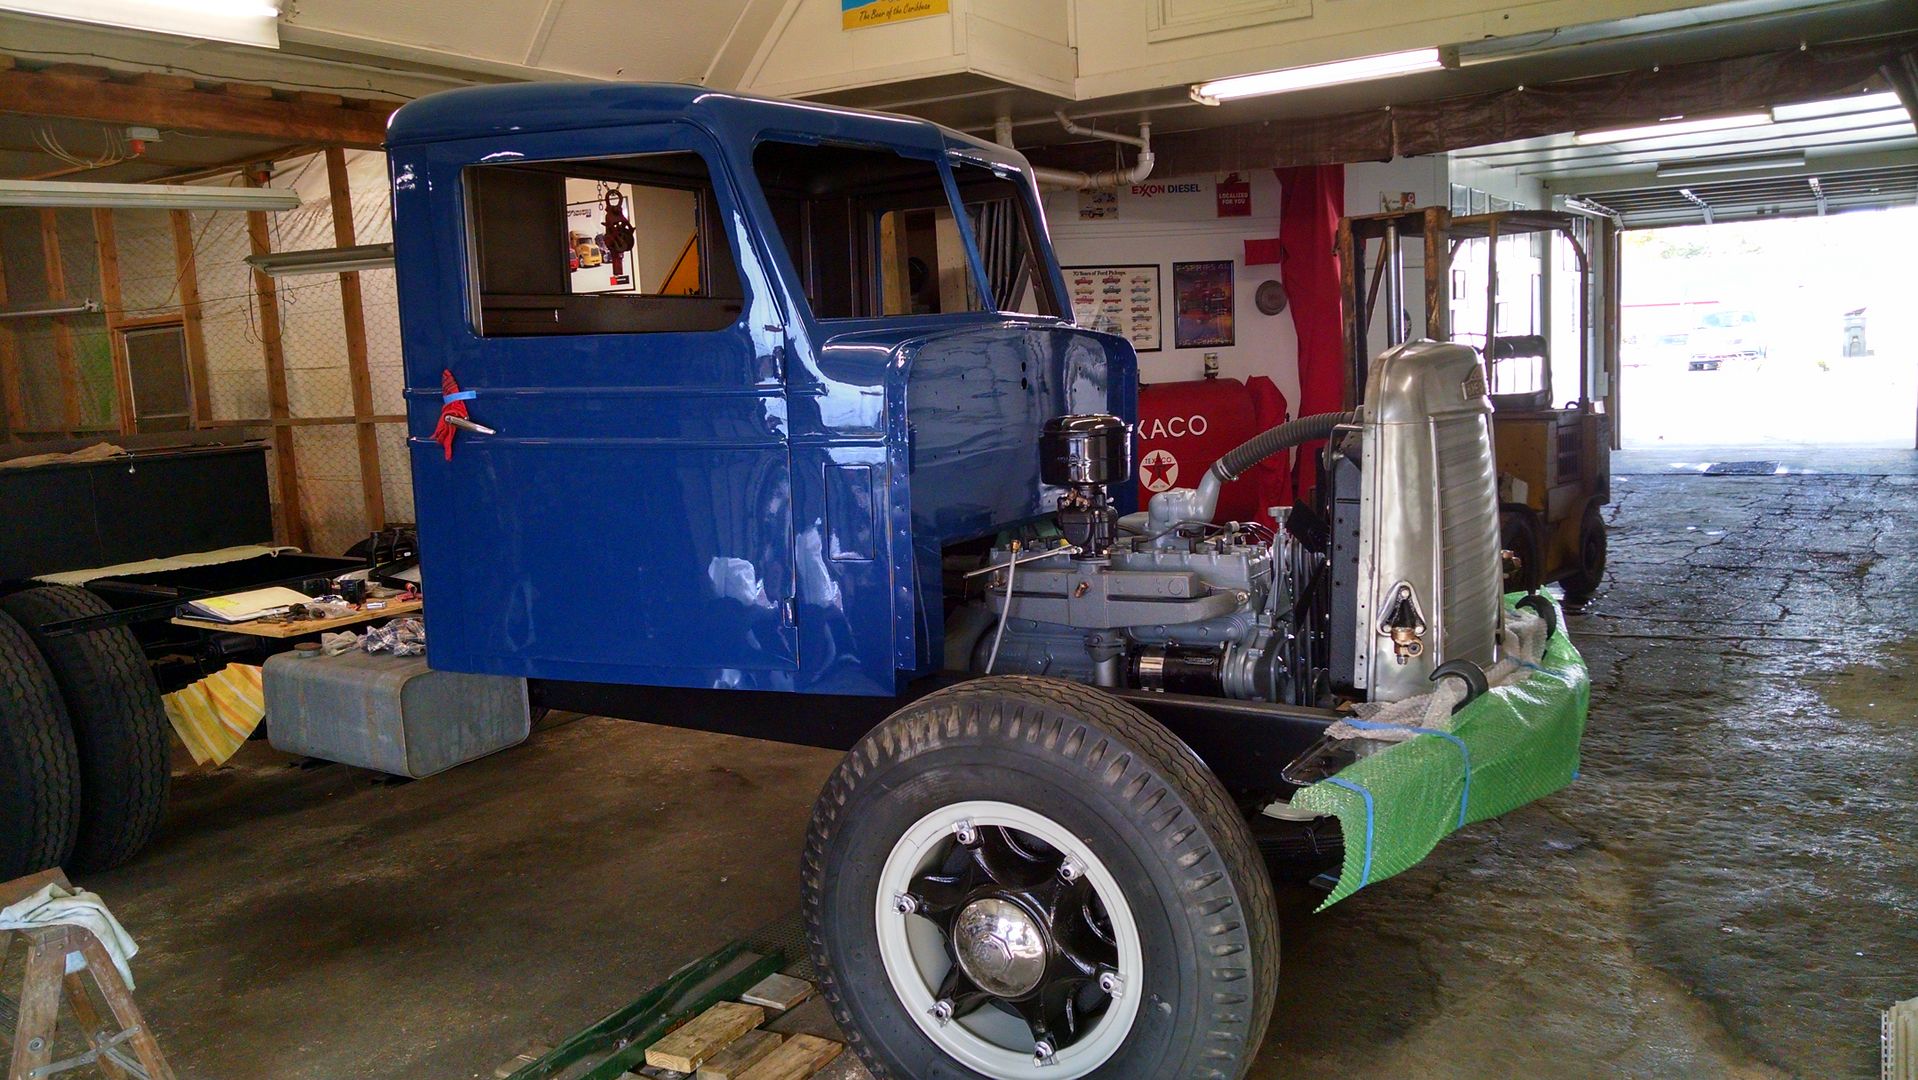
The fenders are made using 16 gauge steel, so this may be a bit challenging when we get to blocking and wheeling patches for the fenders themselves. In the meantime (while still waiting for the new English wheel) let's get started on the inner fenders. The driver's side is the worst, with so much rotted away that we couldn't get accurate dimensions. The passenger side was in much better condition, but just shy of 70 years has taken its toll in adding some wavy distortion. So we'll remake both sides for a better match.

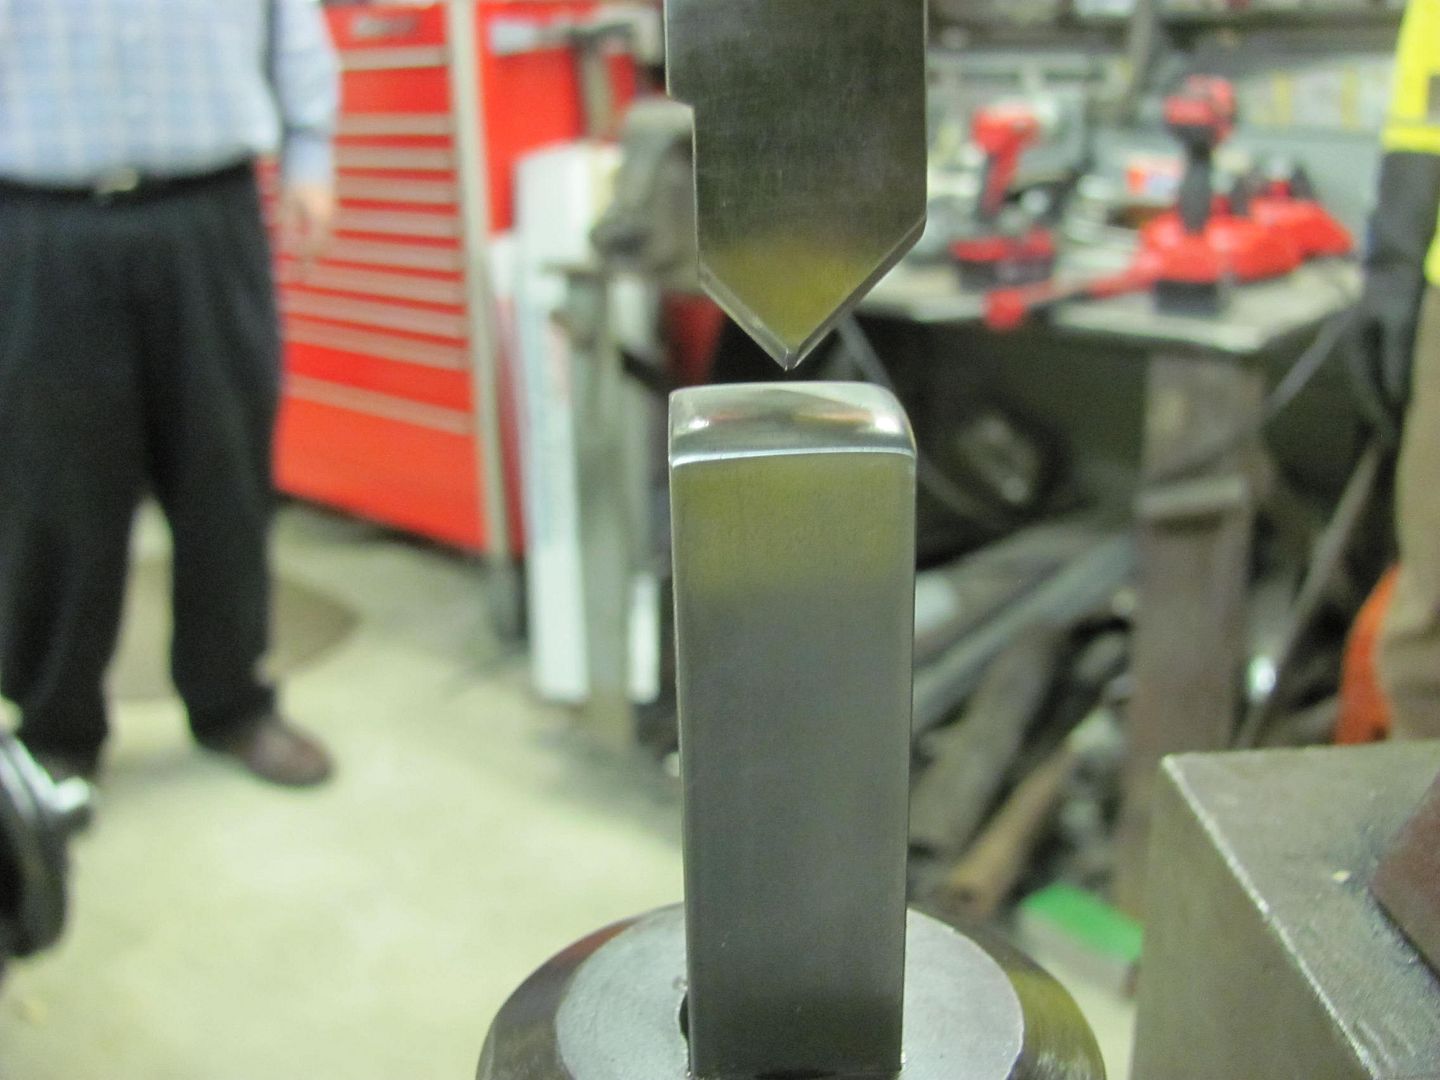
In order to get a more crisp bend on the 16 gauge steel, we used a tipping die in the Lennox to thin the metal at the line of the bend.

Bending in the Baileigh Magnetic Brake..
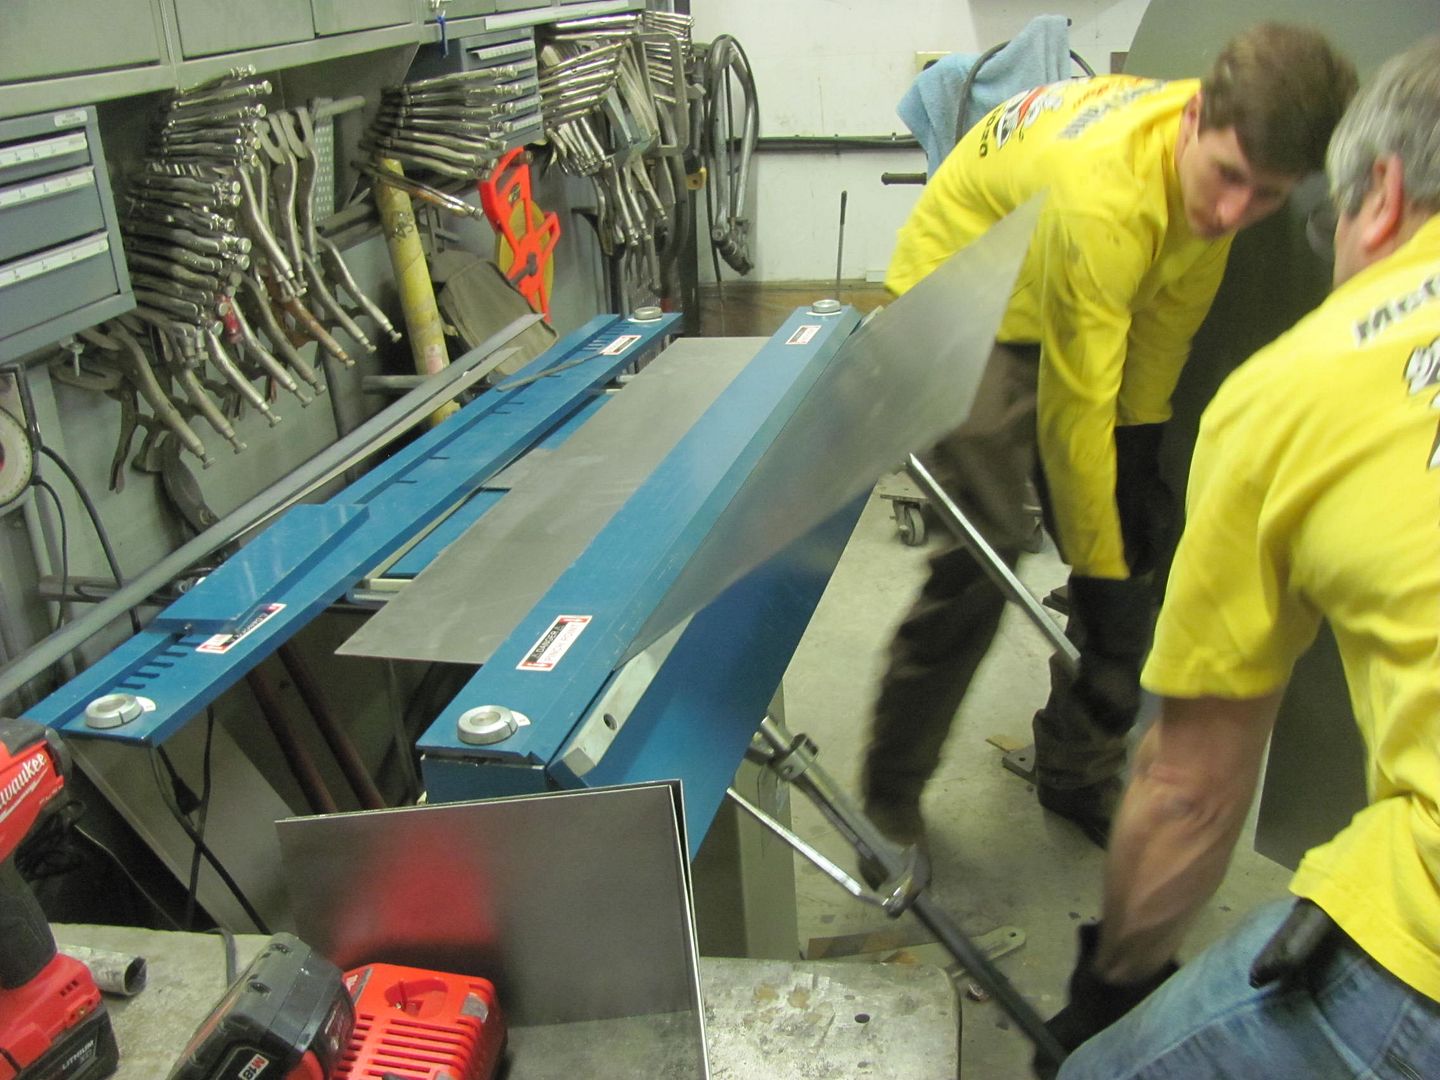
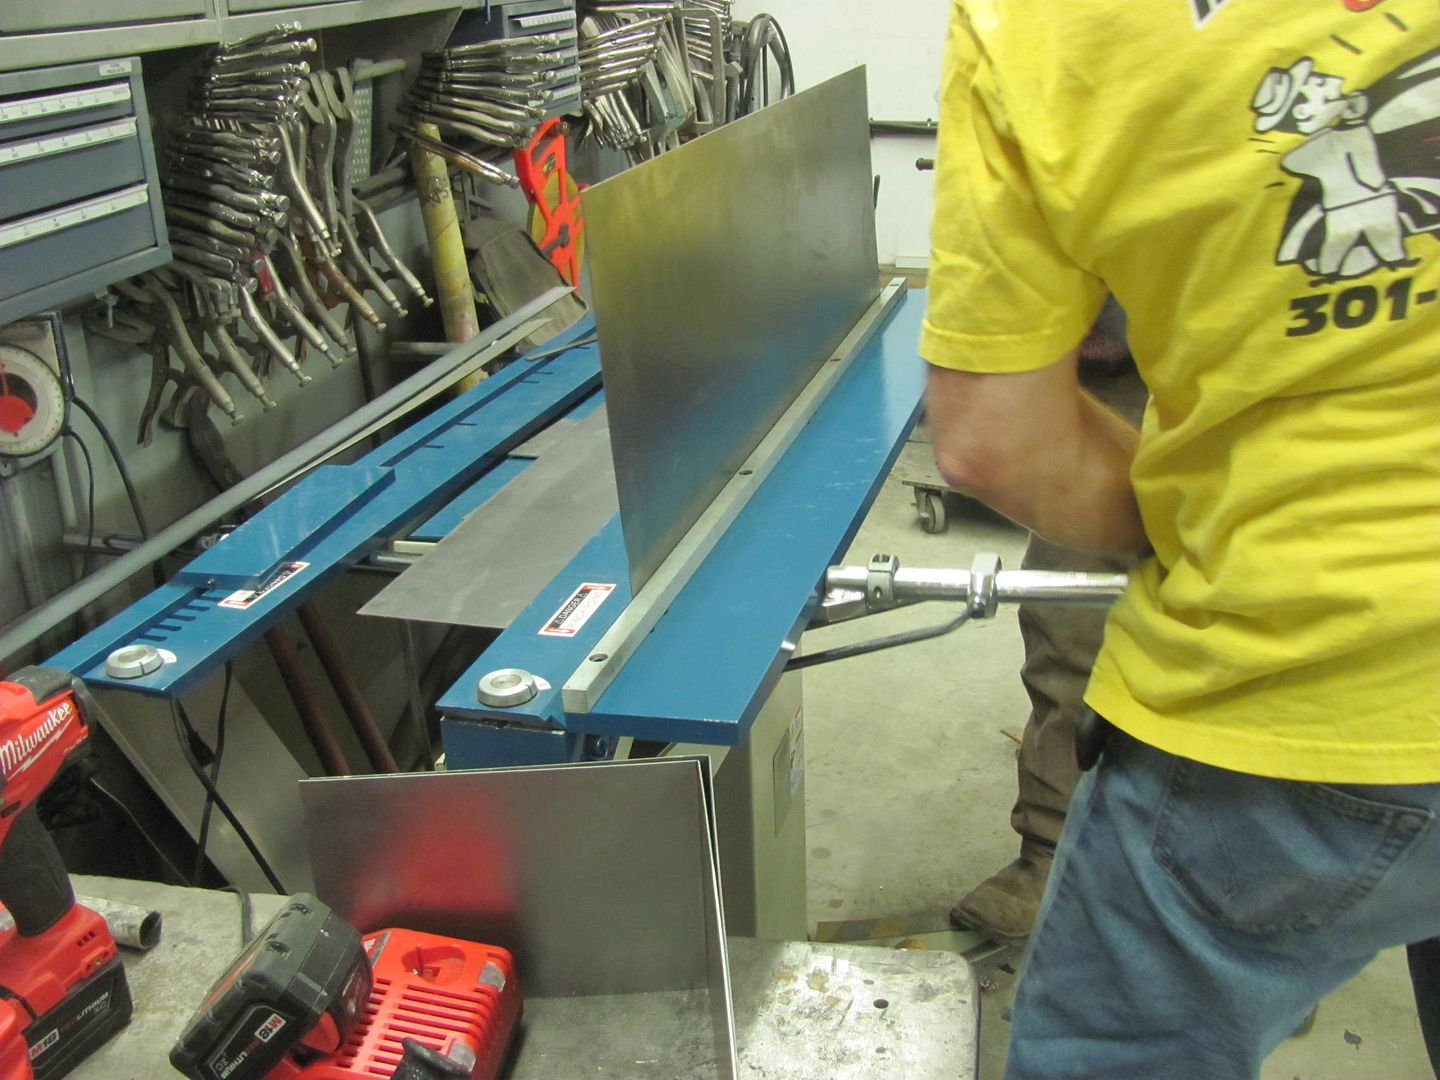
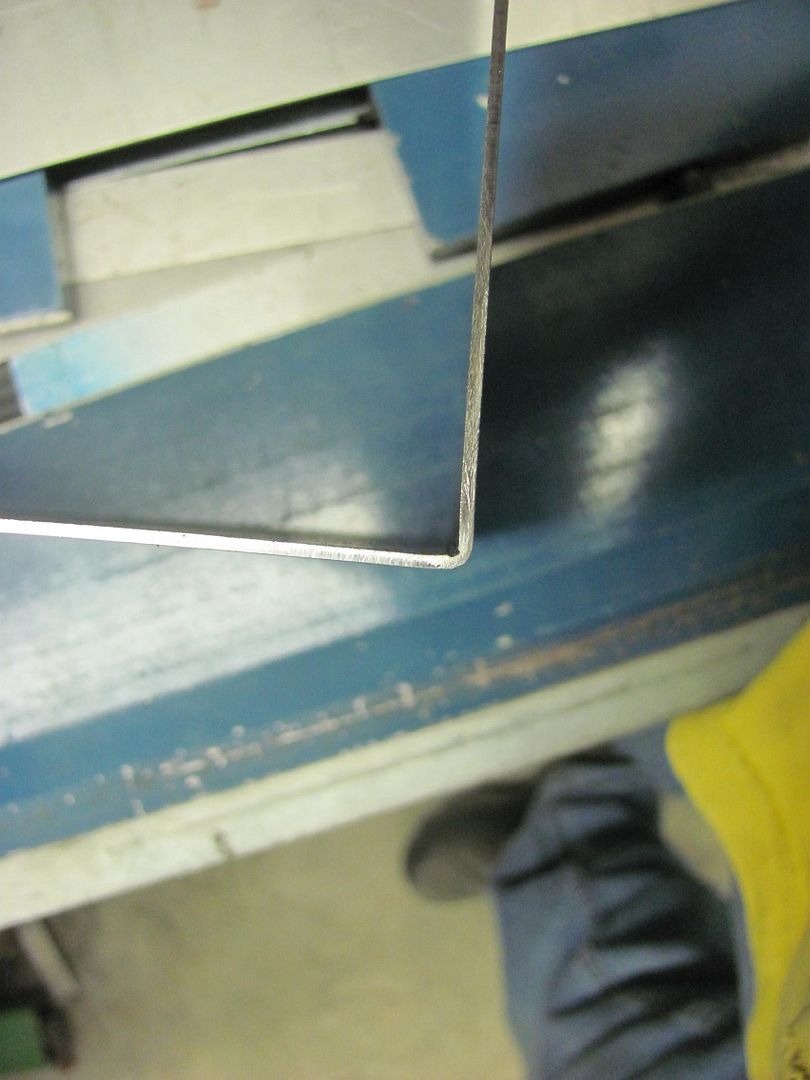
This detail shot shows how the thinning helps get a tighter bend..
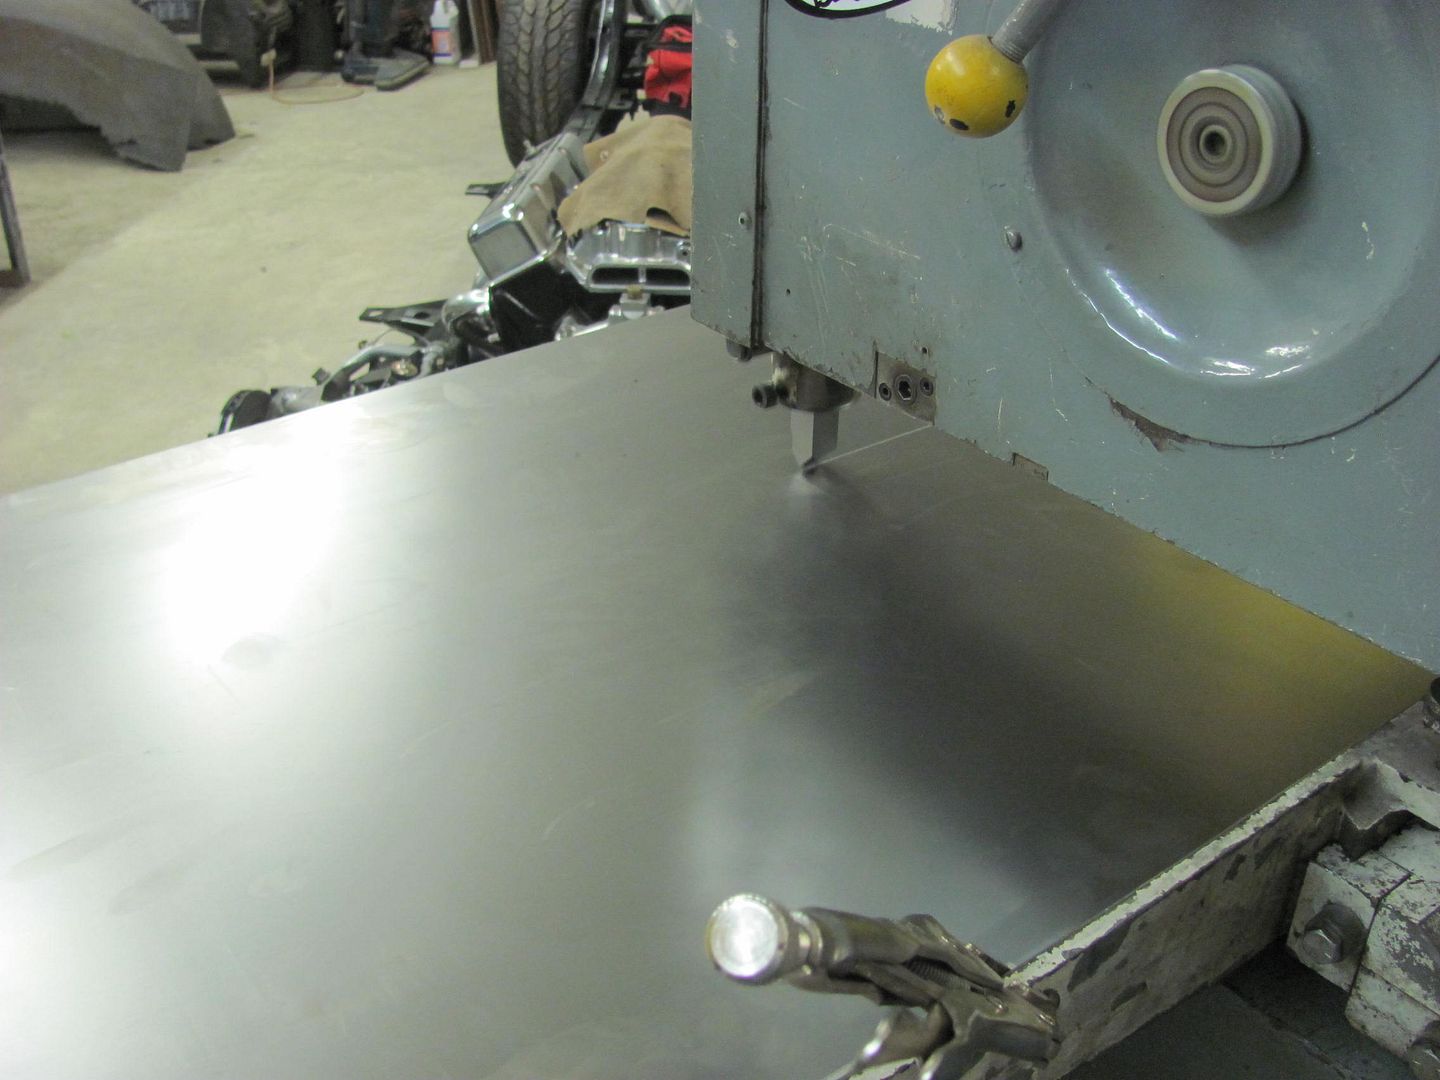
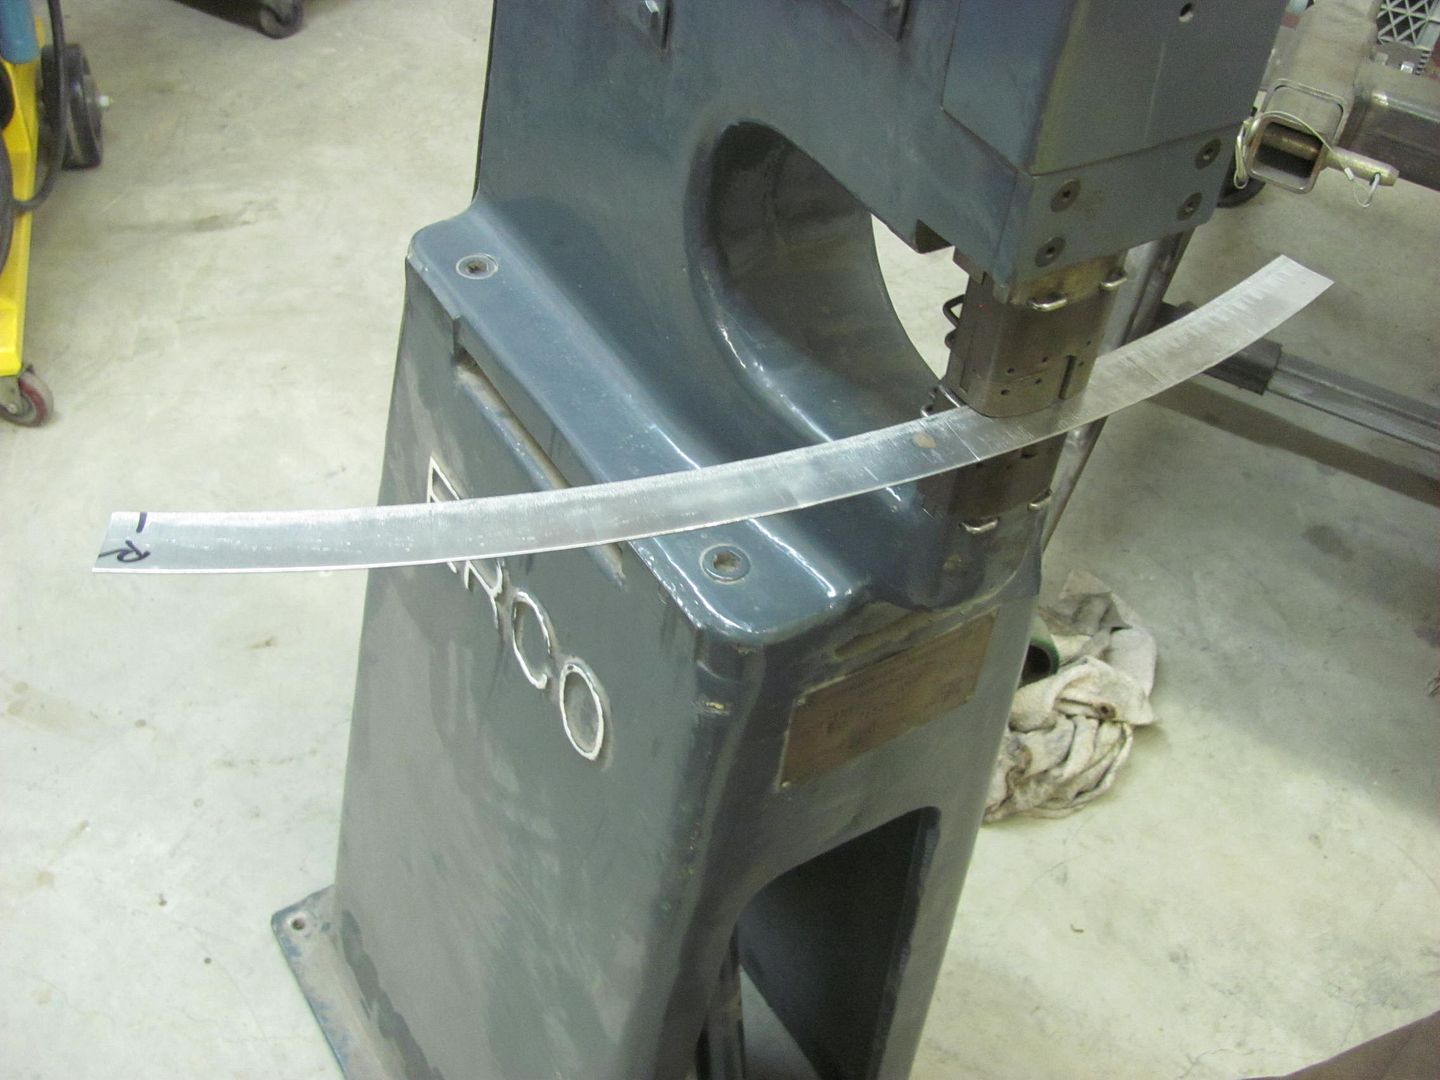
Next, we needed a profile template for the rear radius, so the kick shrinker is used on a folded 19 gauge strip to add the radius..

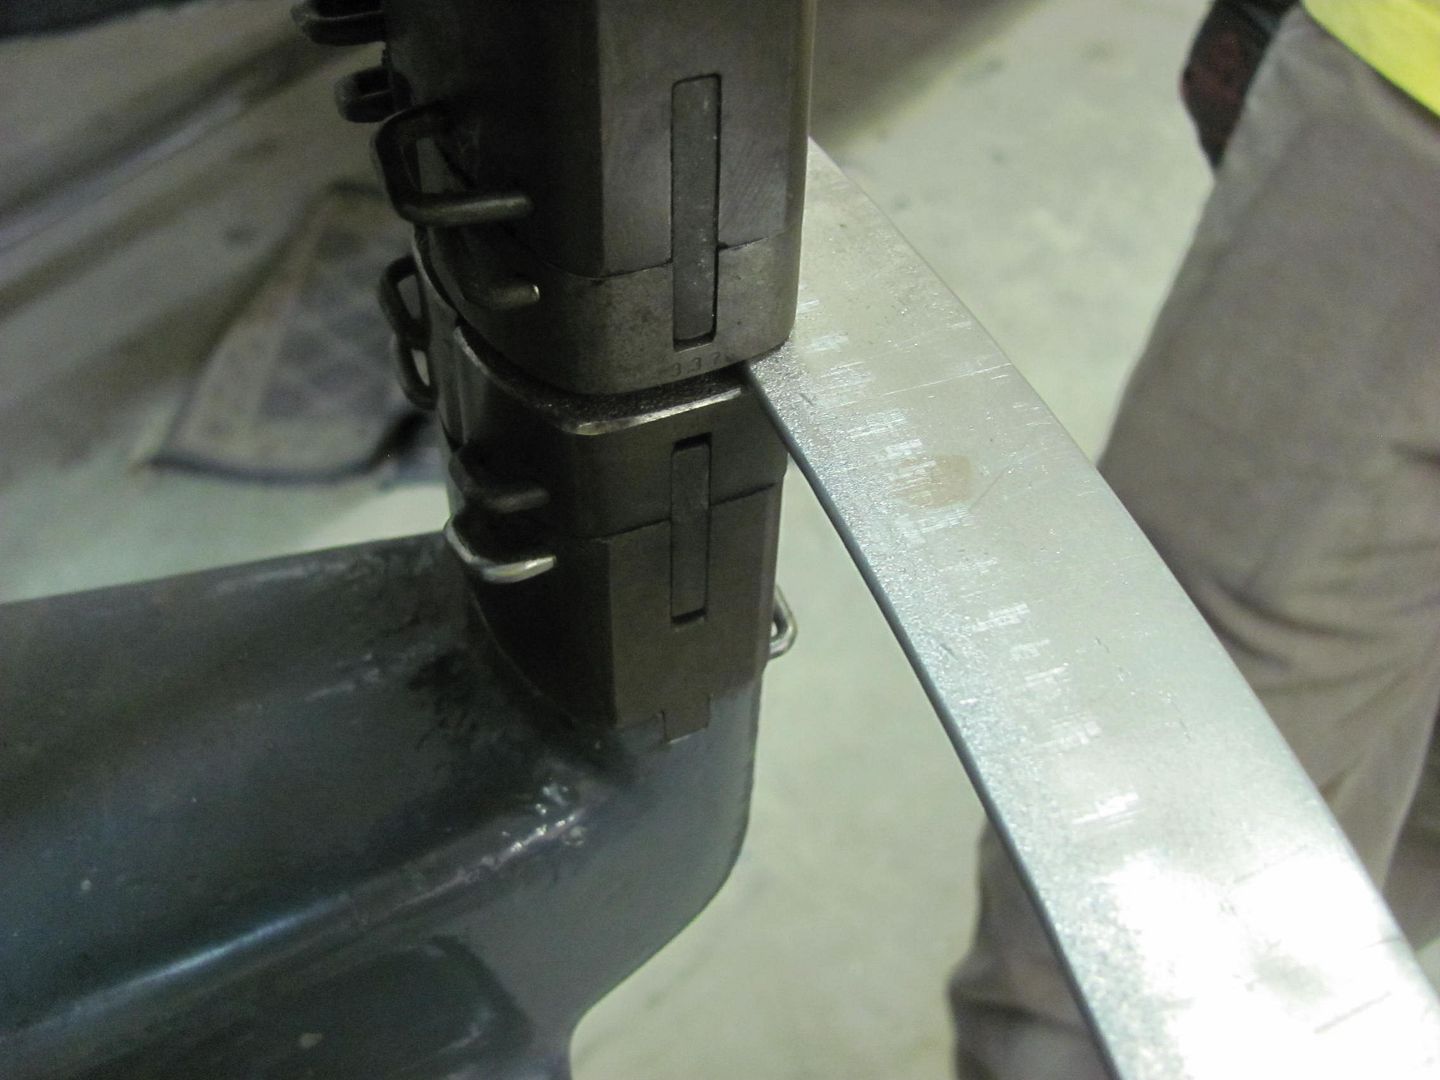
A flat folded strip works better than an angle as if you shrink too far in this direction.....
......you can simply shrink the back half to reverse the effect without the need for changing to the stretching die..

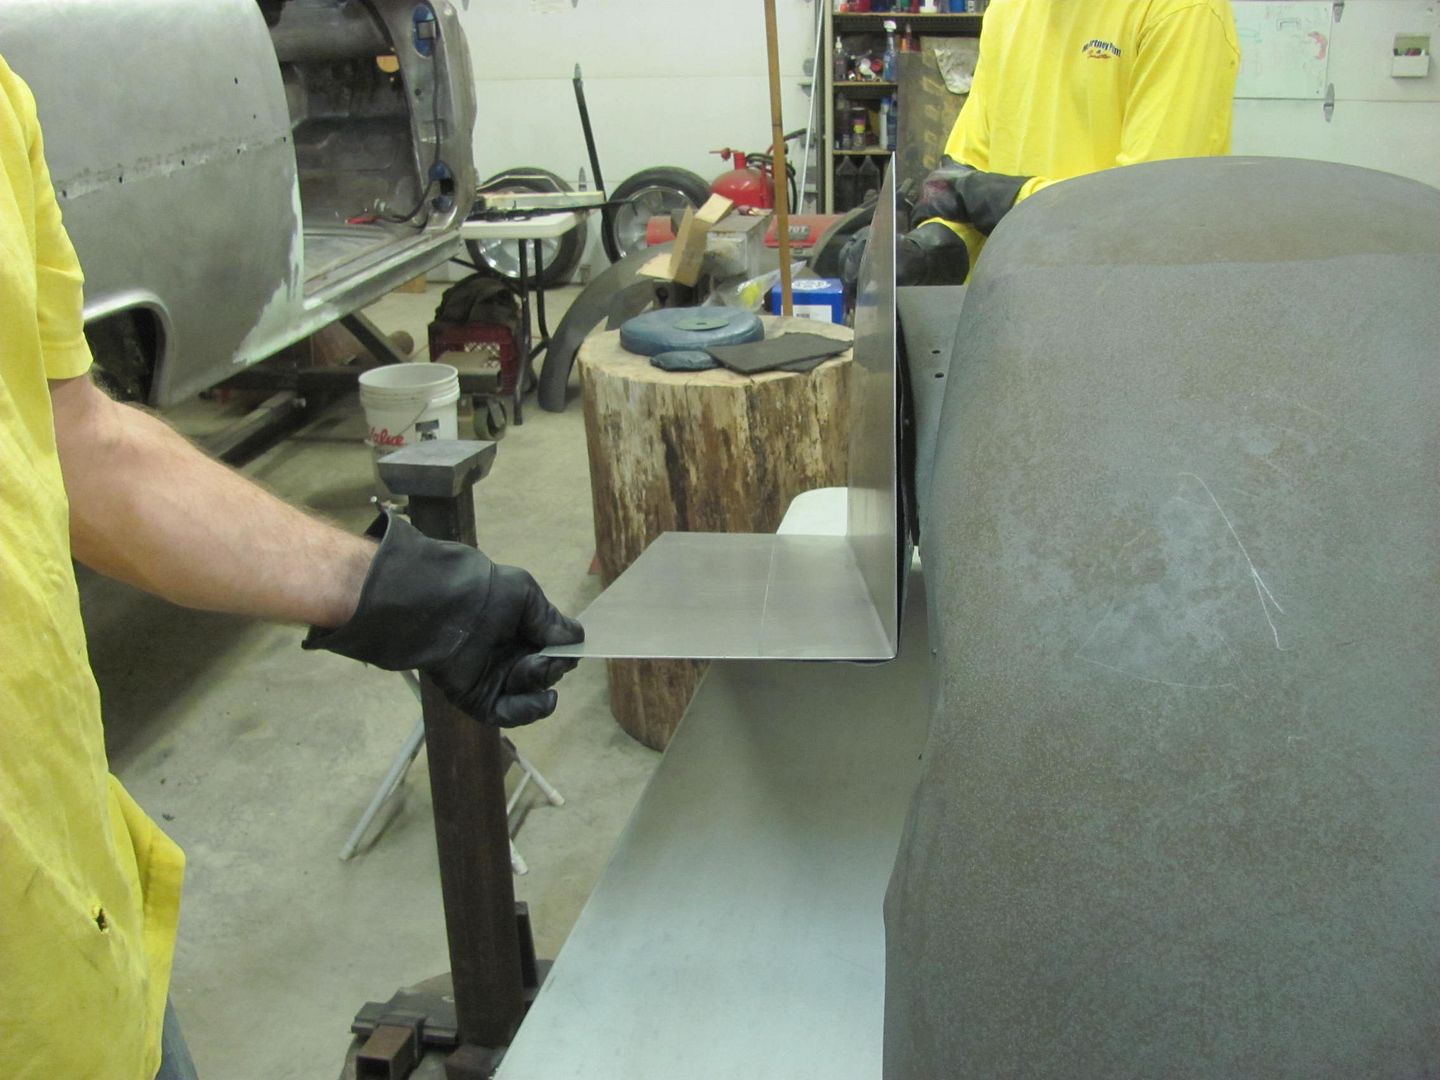
Now with an accurate pattern, we can use the template on the new inner fender..

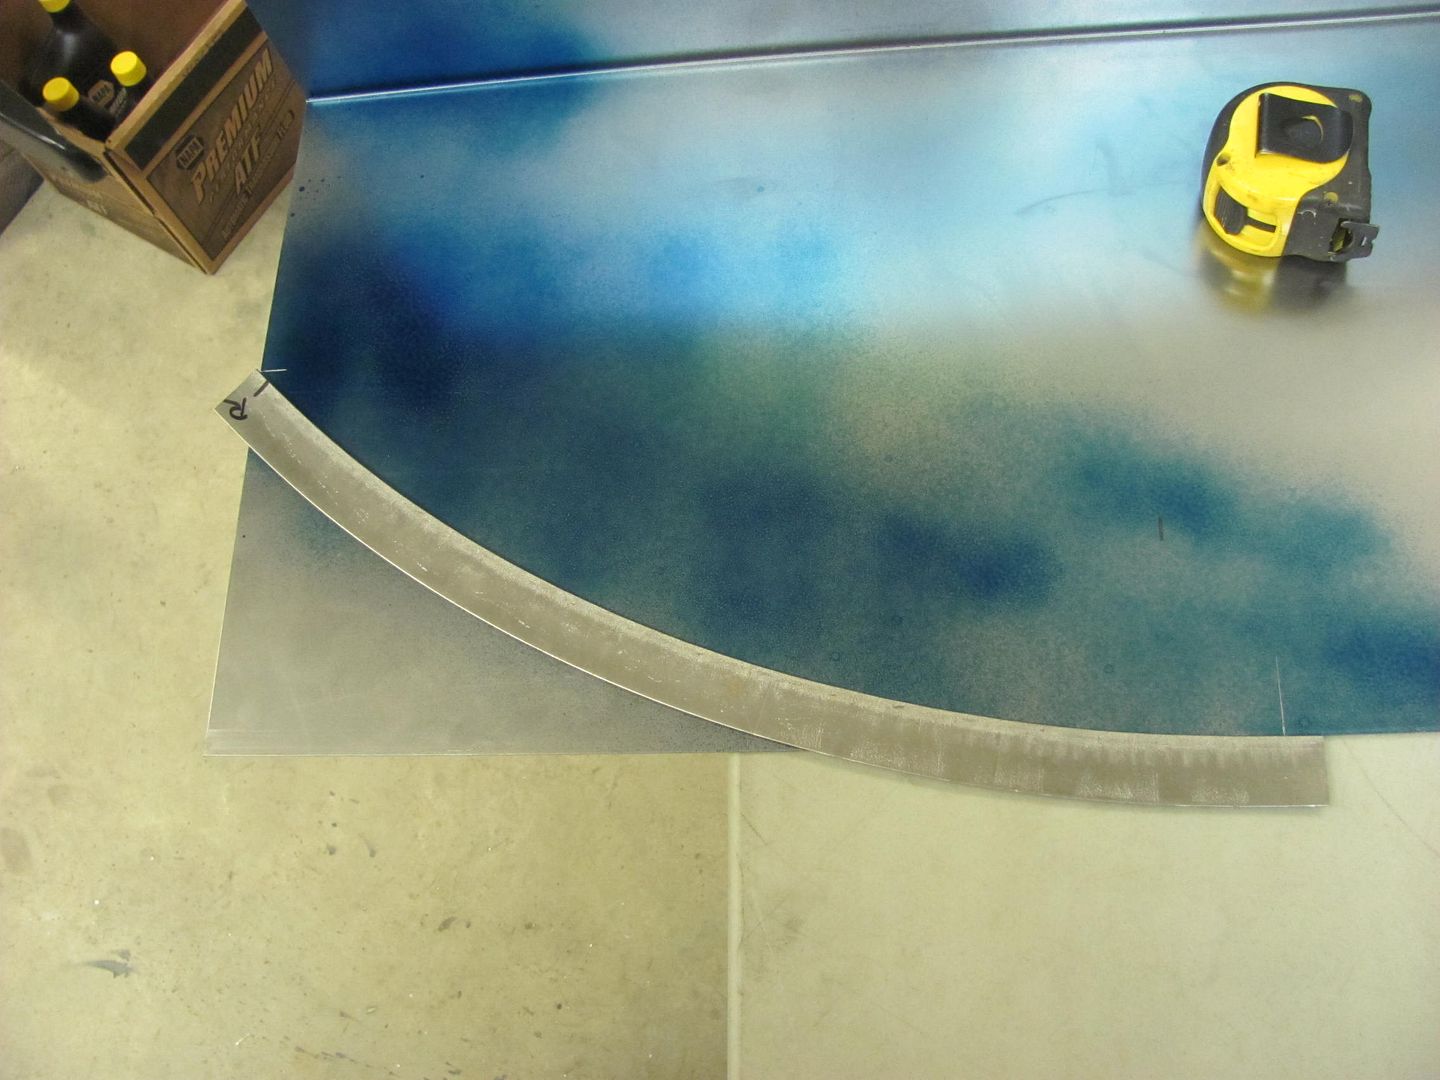
All trimmed...
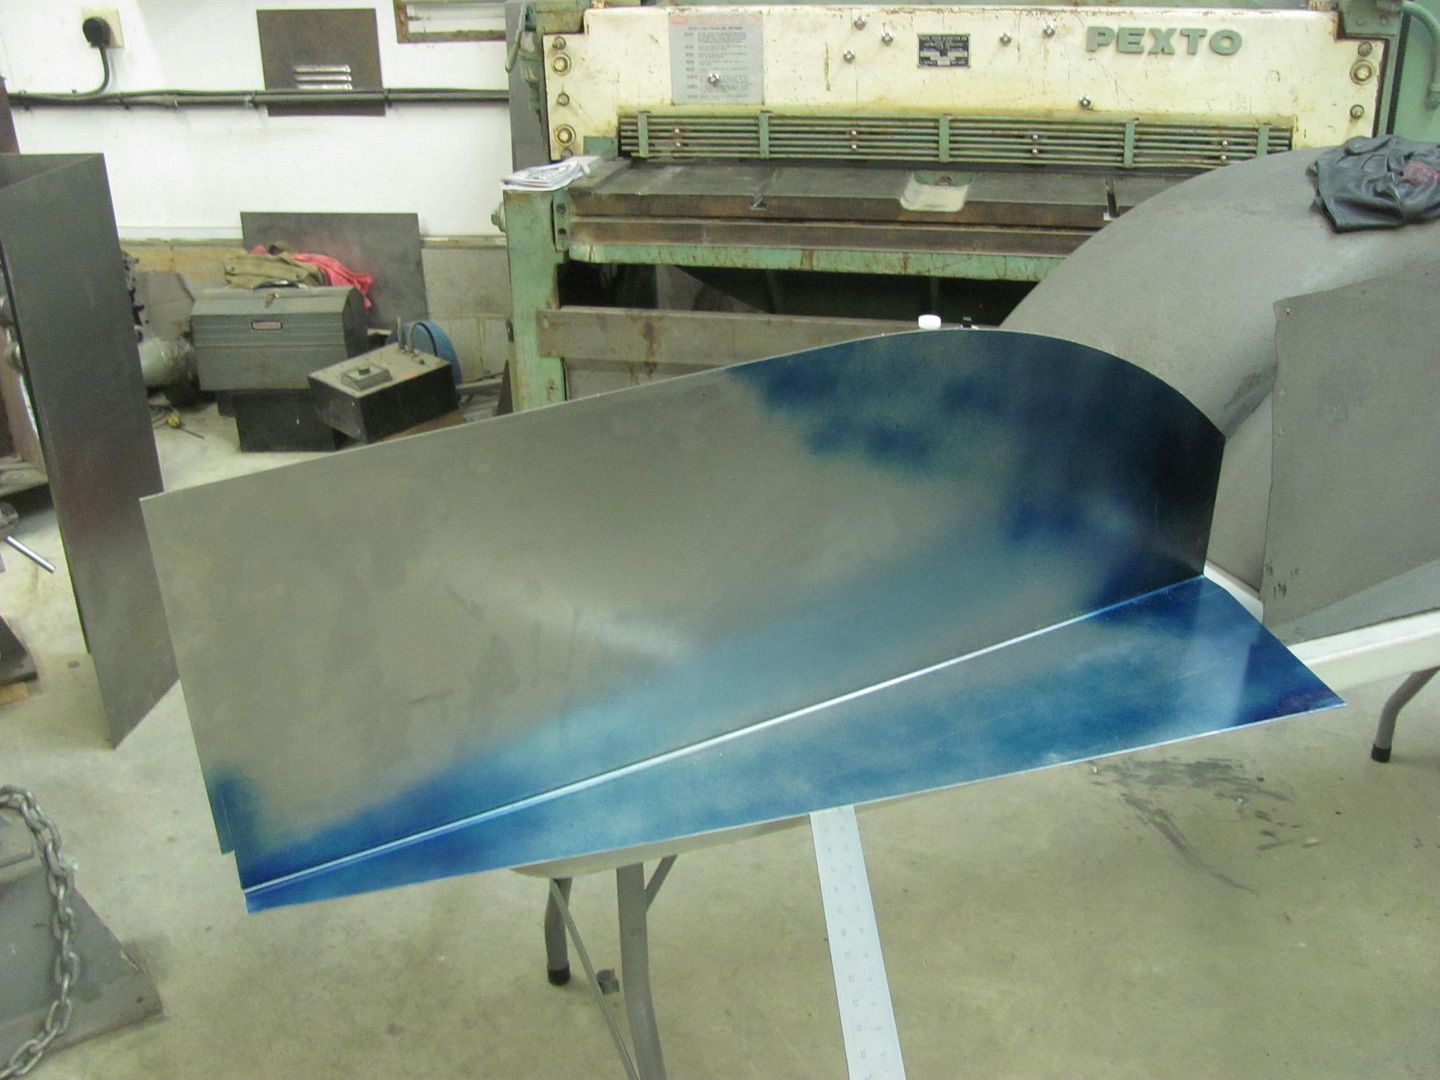
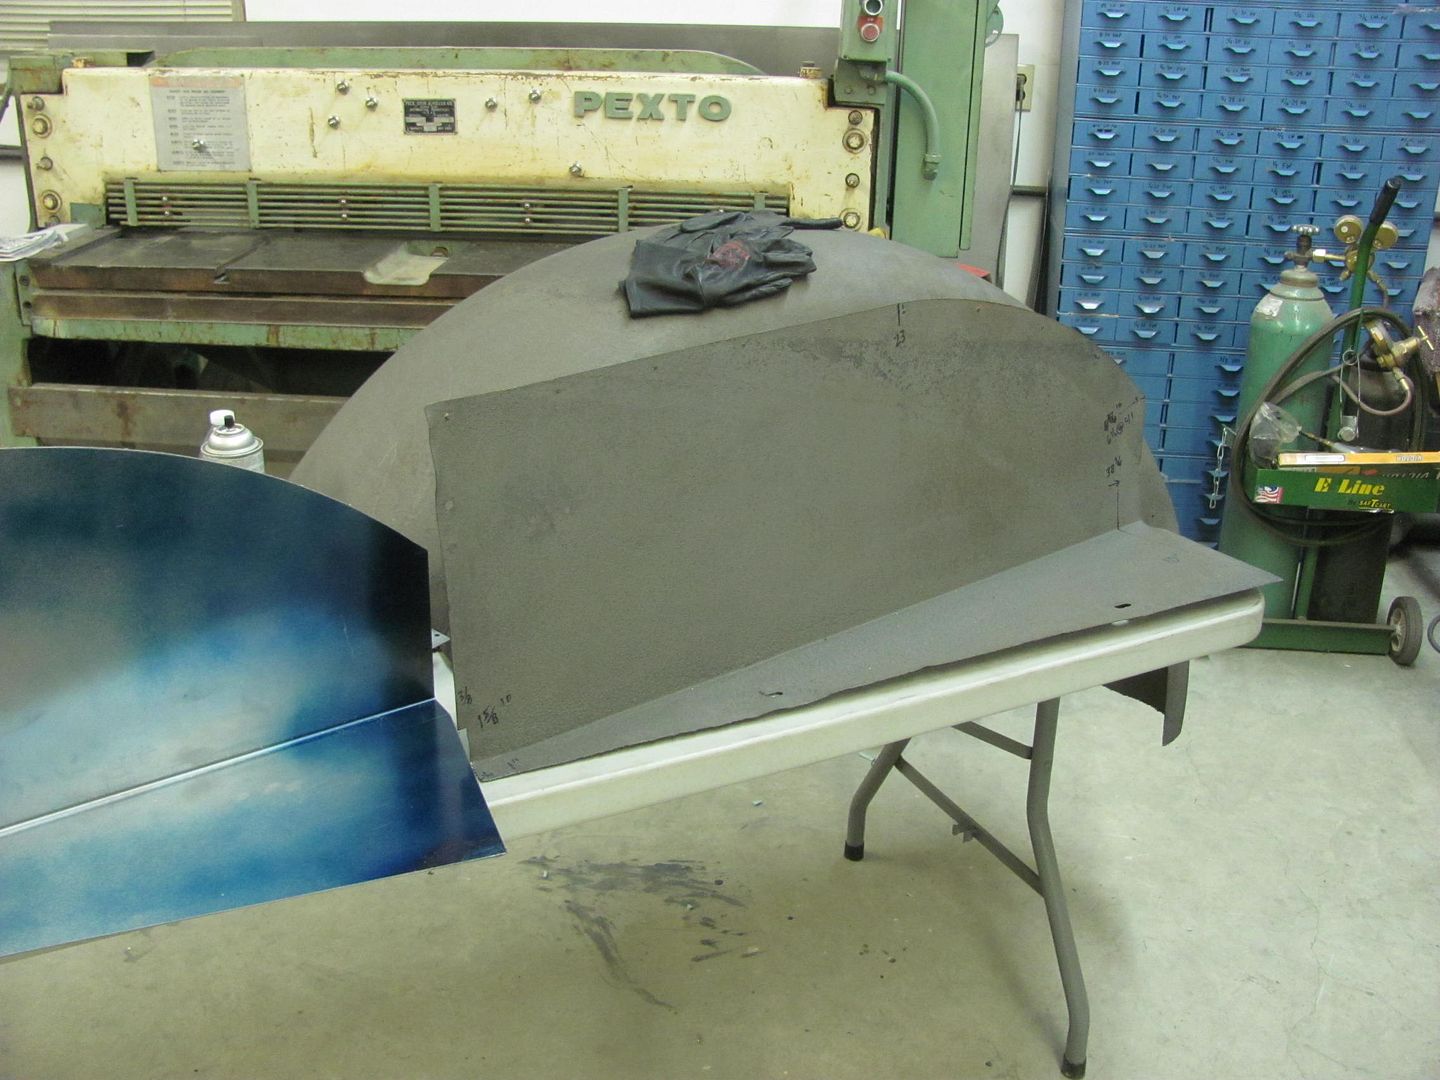
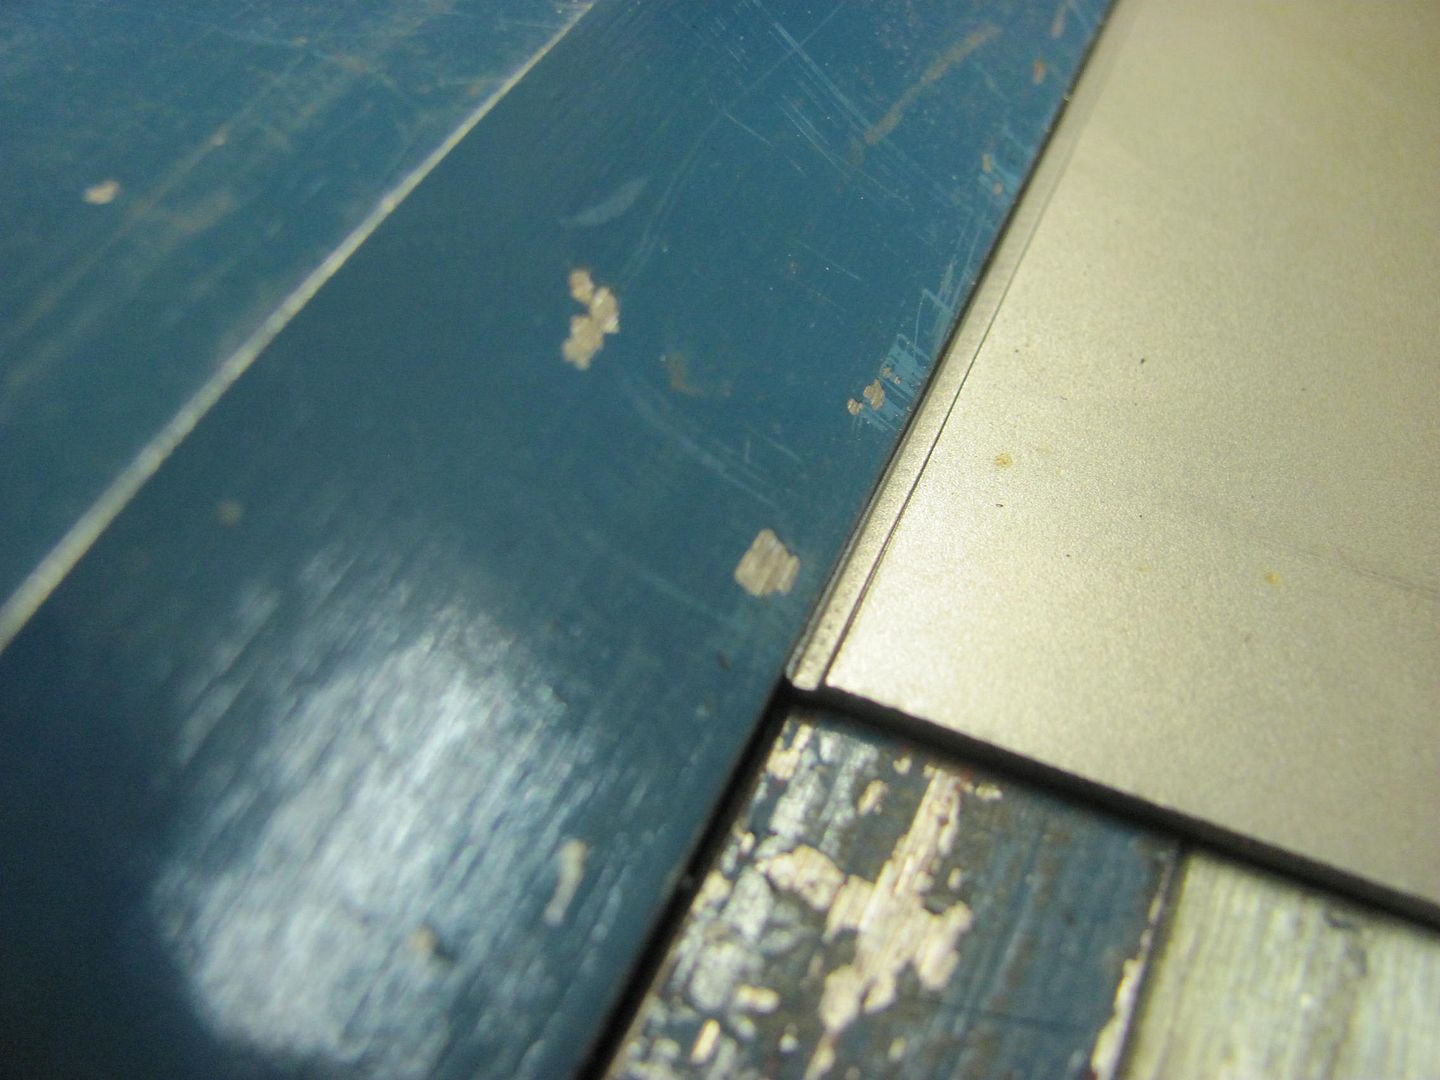
With the new clamped to the old, we can see what the years of abuse has done..
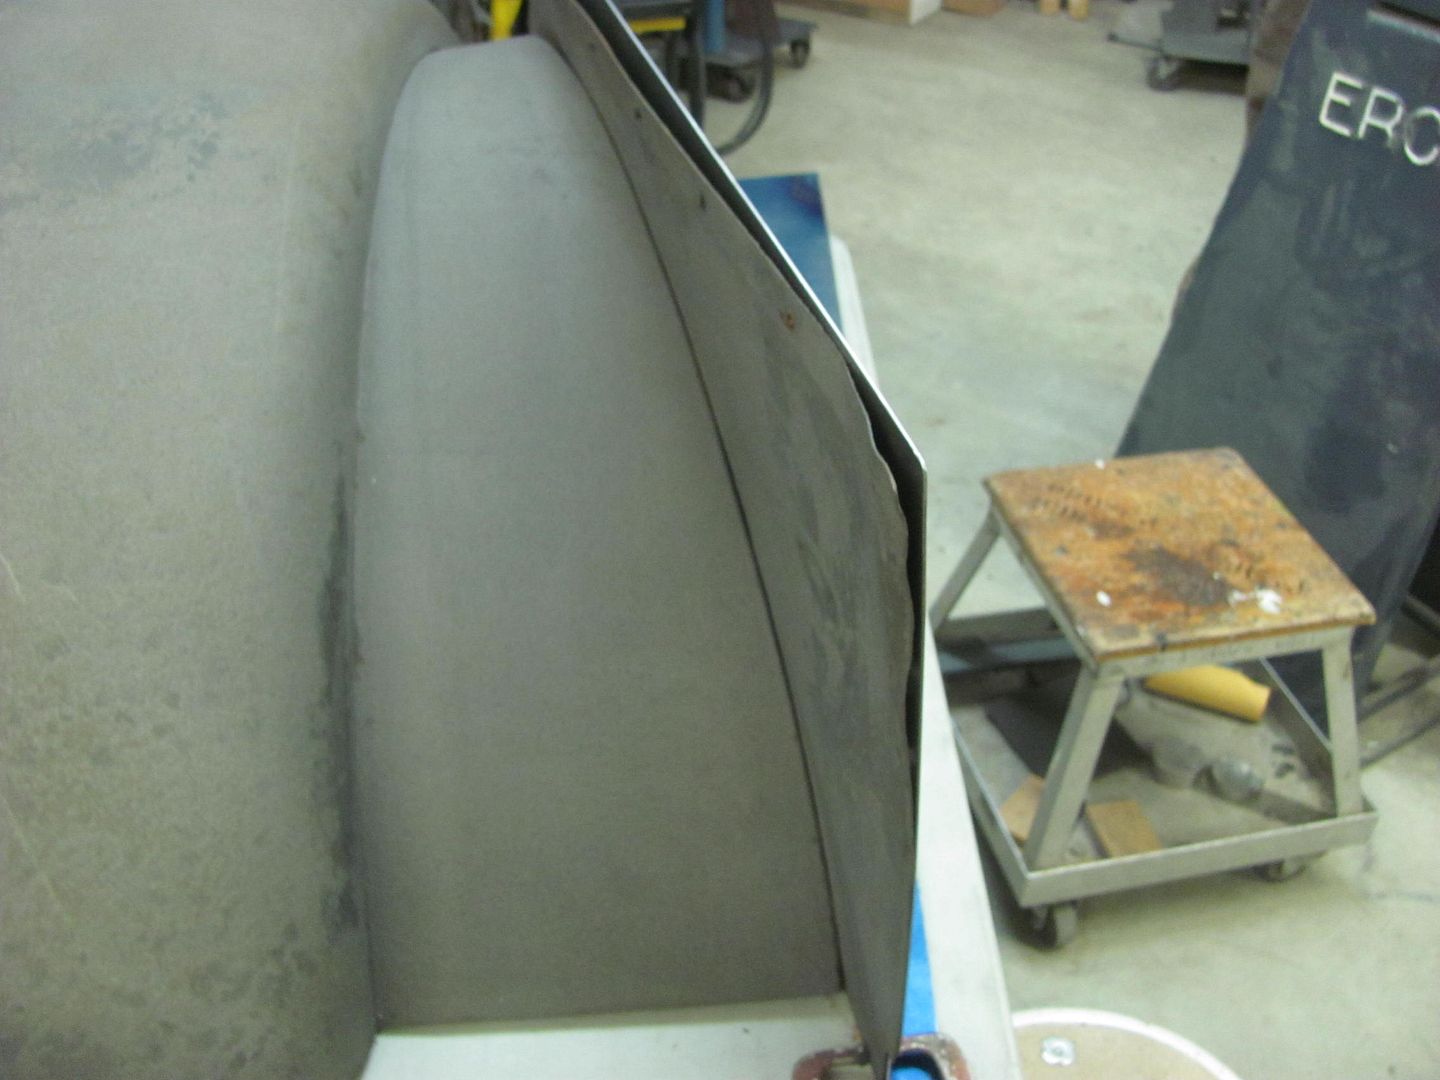
One down, one to go..Robert

 Reply With Quote
Posting Permissions
- You may not post new threads
- You may not post replies
- You may not post attachments
- You may not edit your posts

This site is up more often lately, but very little traffic.
Dead!