


 13Likes
Thread: Lets see your tin work...
Results 1 to 15 of 47
 LinkBack URL
 About LinkBacks
Threaded View
-
05-01-2013 07:43 PM #18
 CHR Member

- Join Date
- Jun 2008
- Location
- Leonardtown
- Car Year, Make, Model: Walking
- Posts
- 1,228
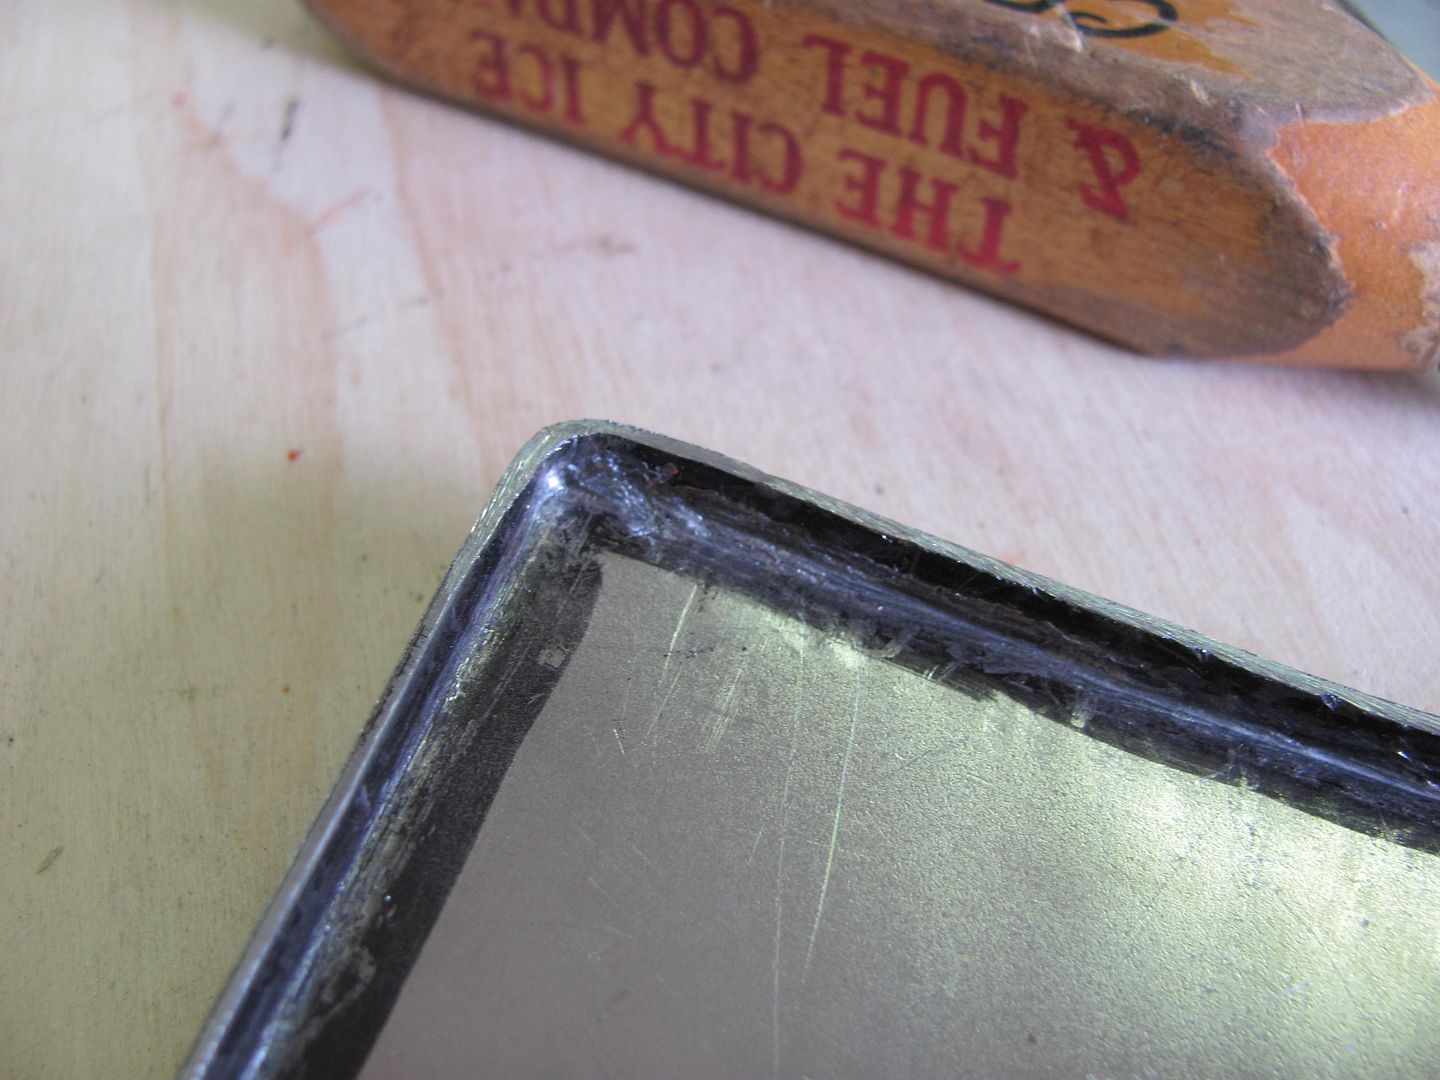
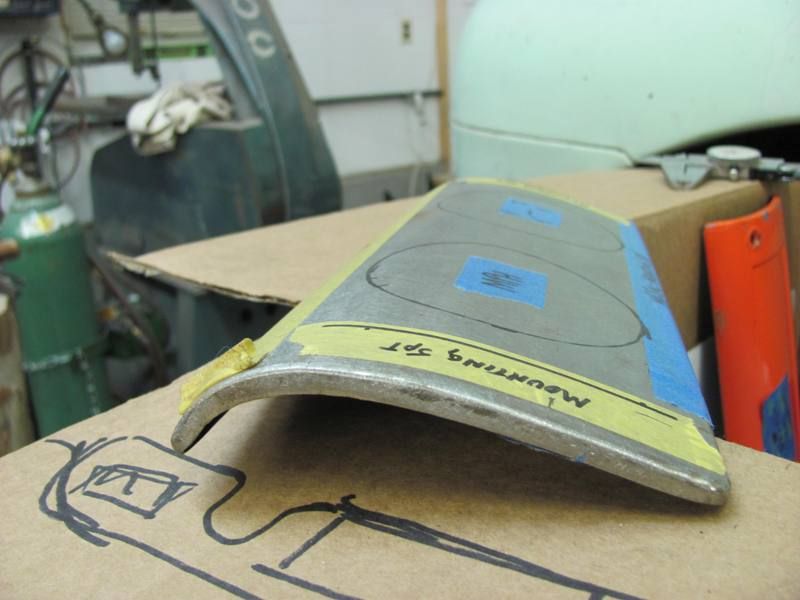
One of the local Studebaker owners needed some panels made for the dash of his truck (1947 M5), he's revamping the dash gauge/radio arrangement and needed some fresh metal to work with. Here's the existing:
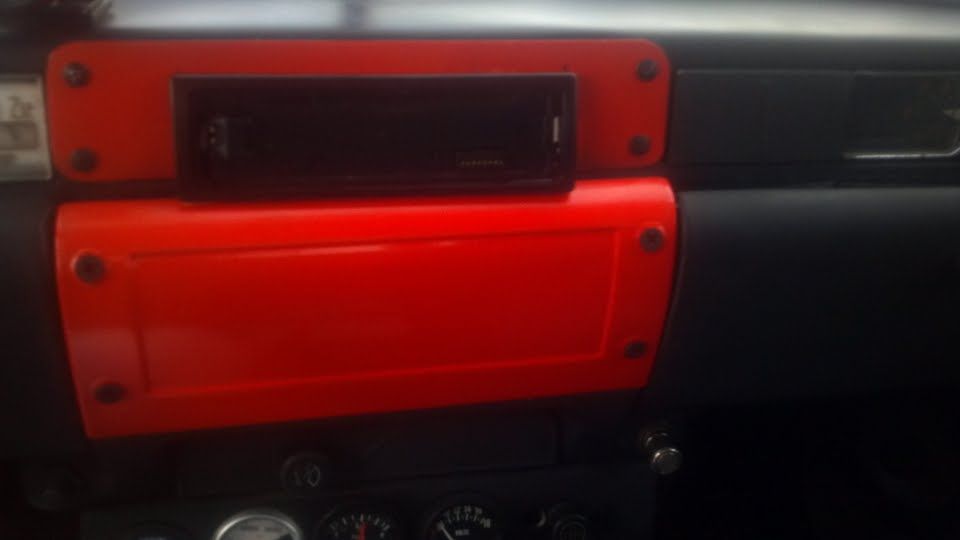
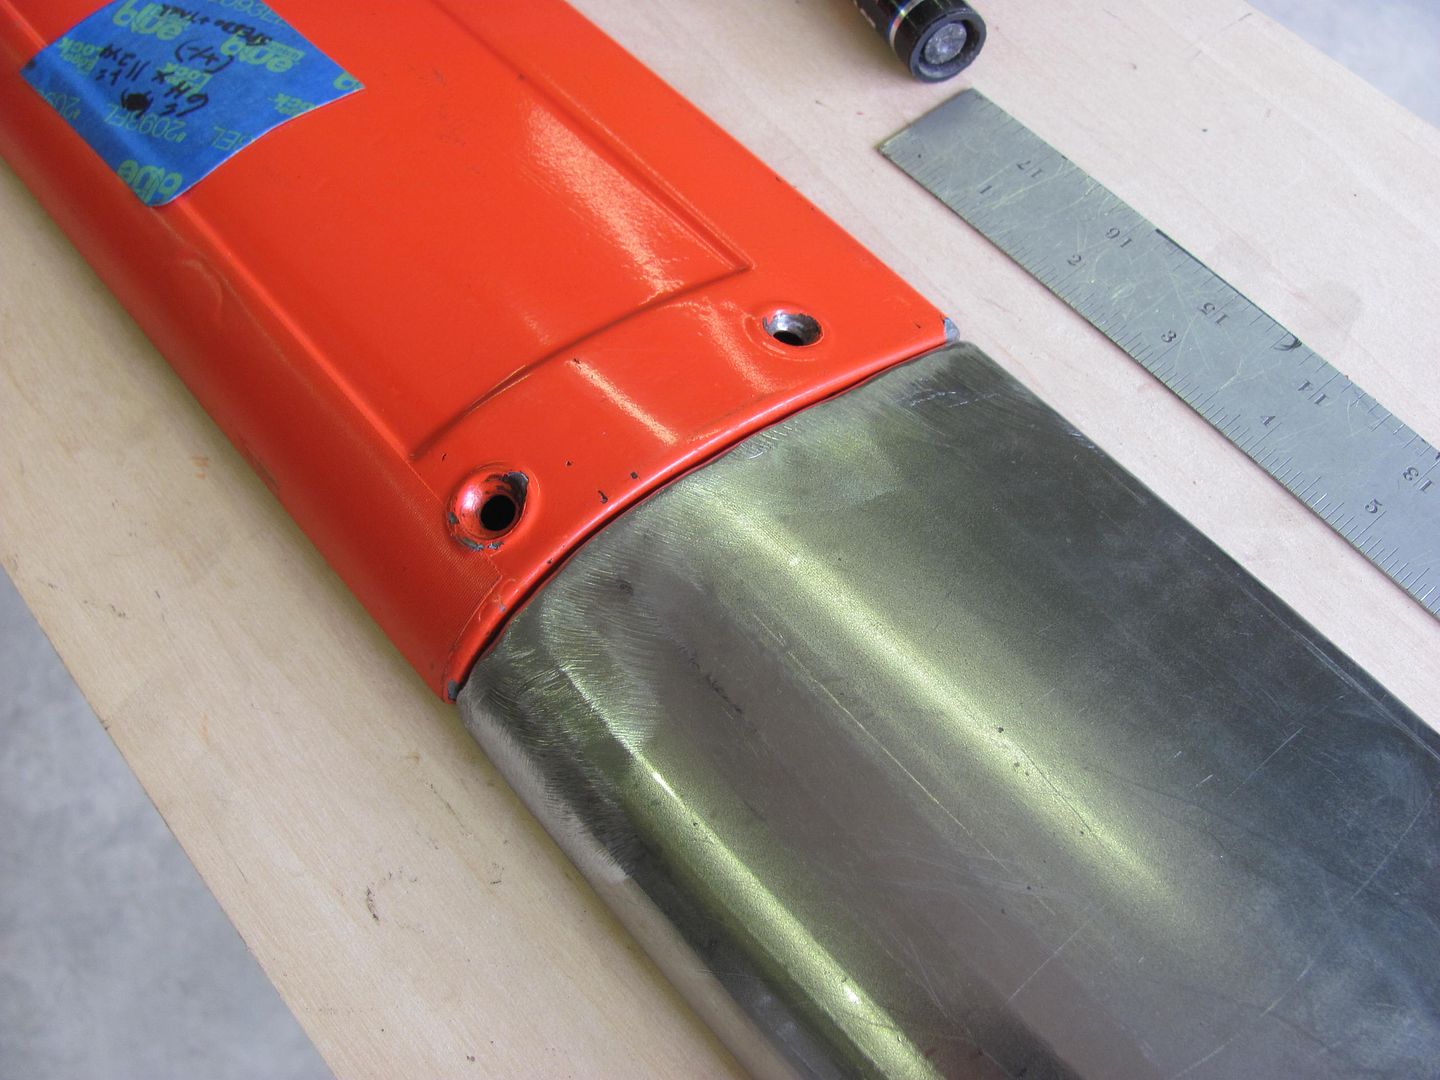
Where the factory panel has a recess, and since he has plans for installing a couple gauges in that panel, the new will be made without the recess. The flat panel above for the DIN radio will be replaced as well, with the sides tipped for uniformity.
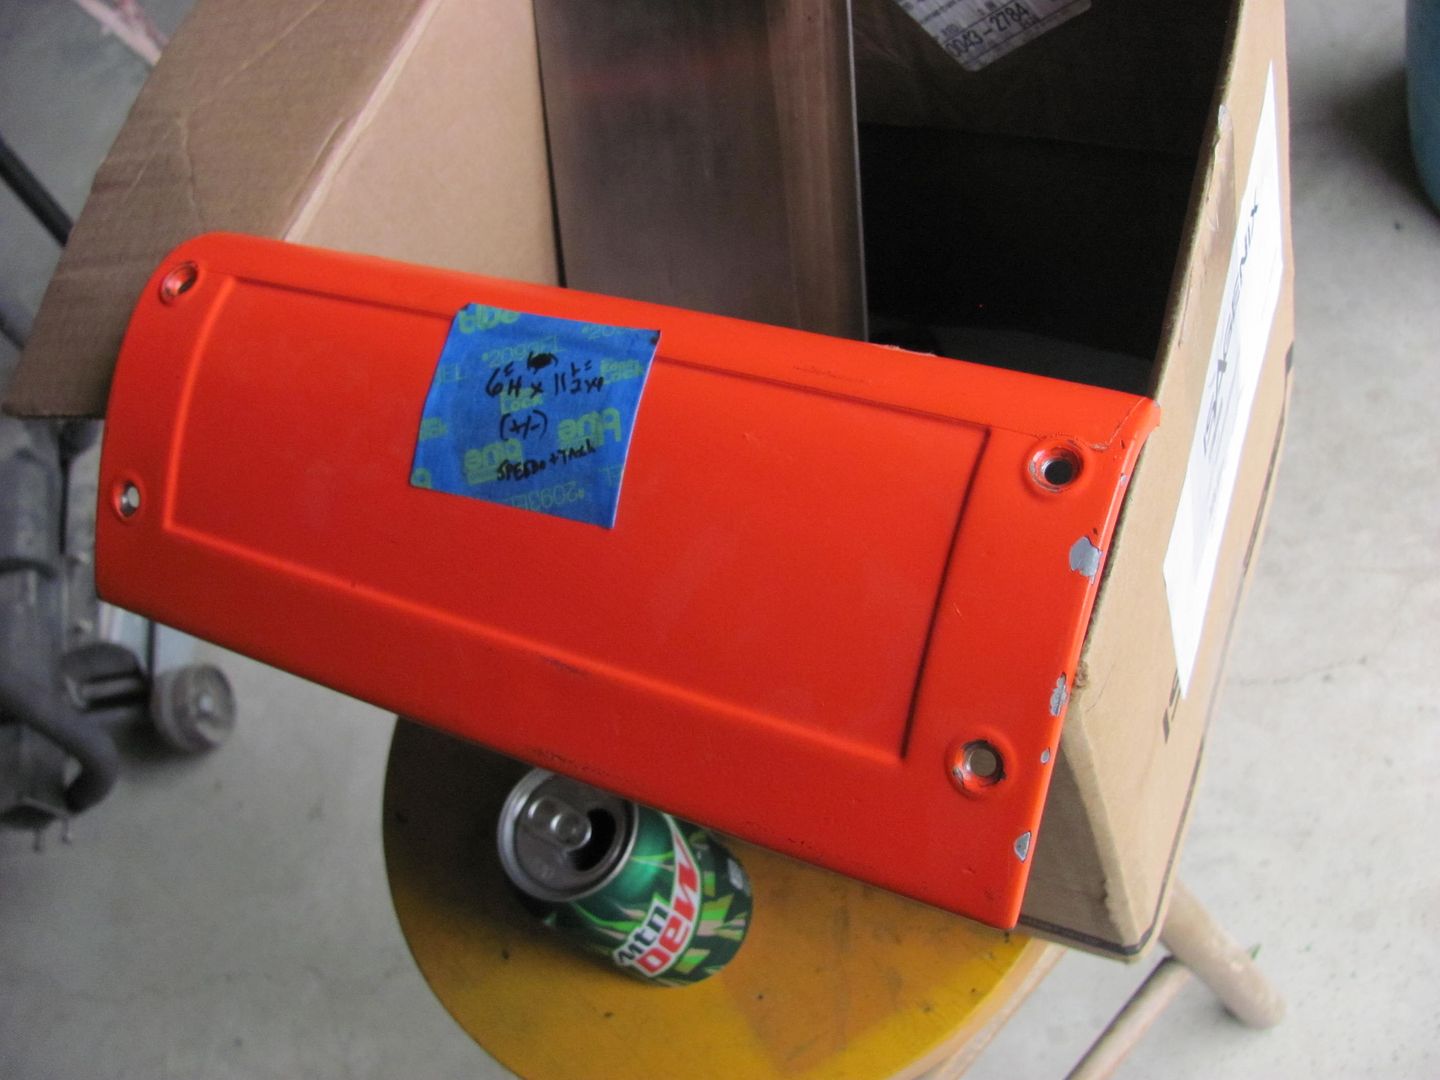
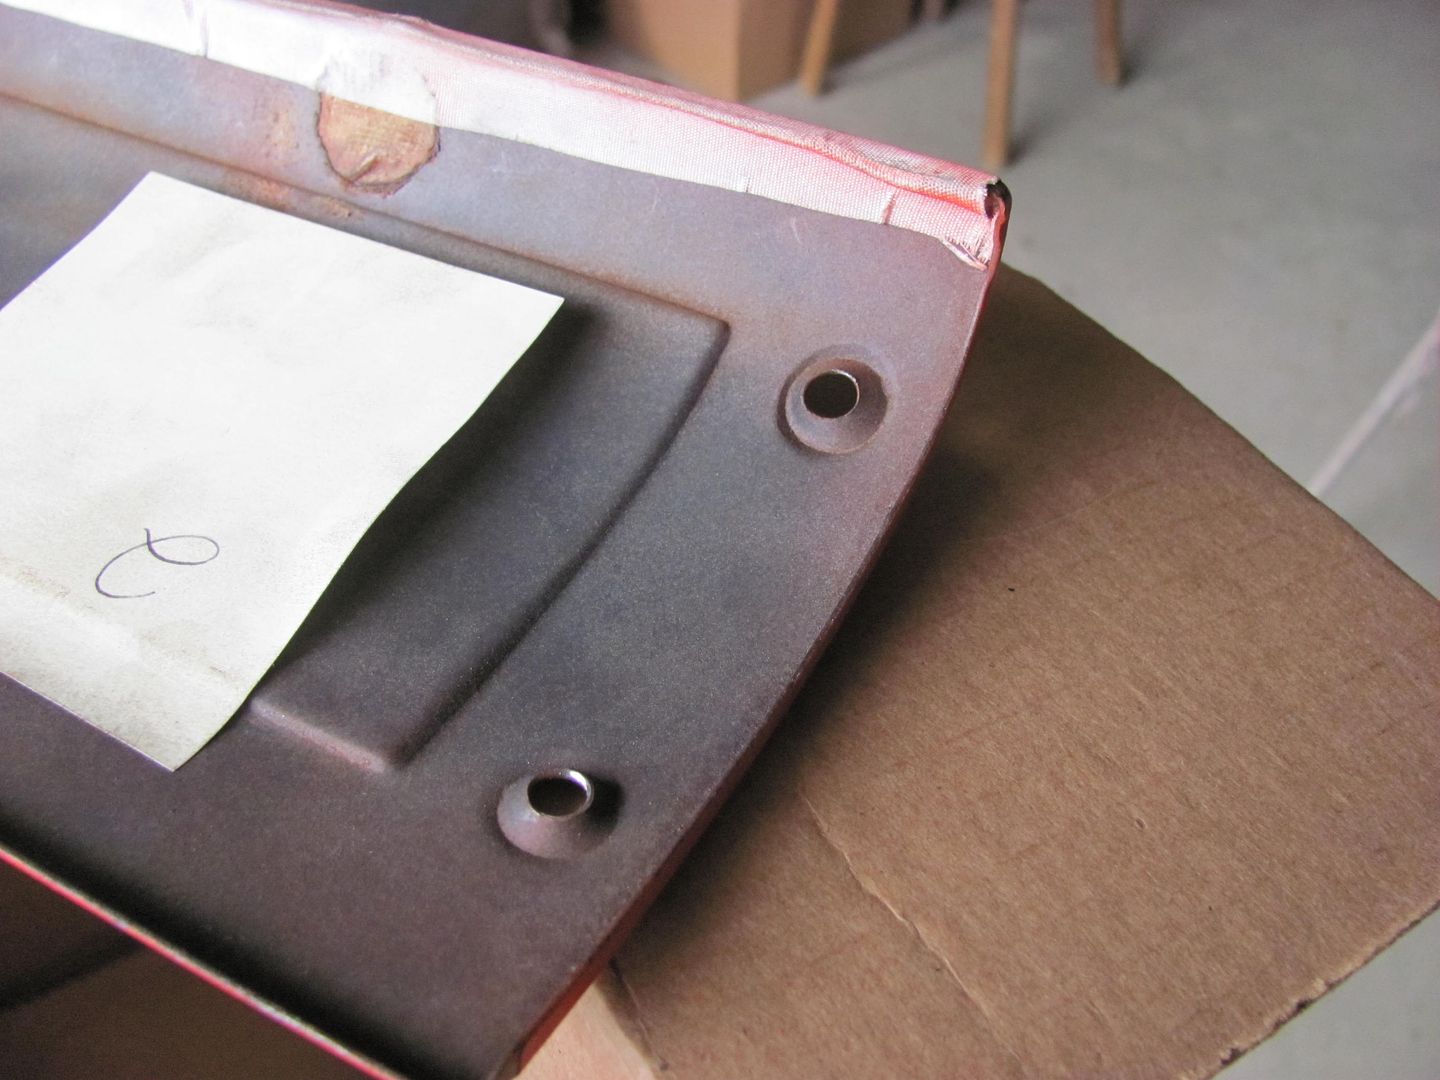
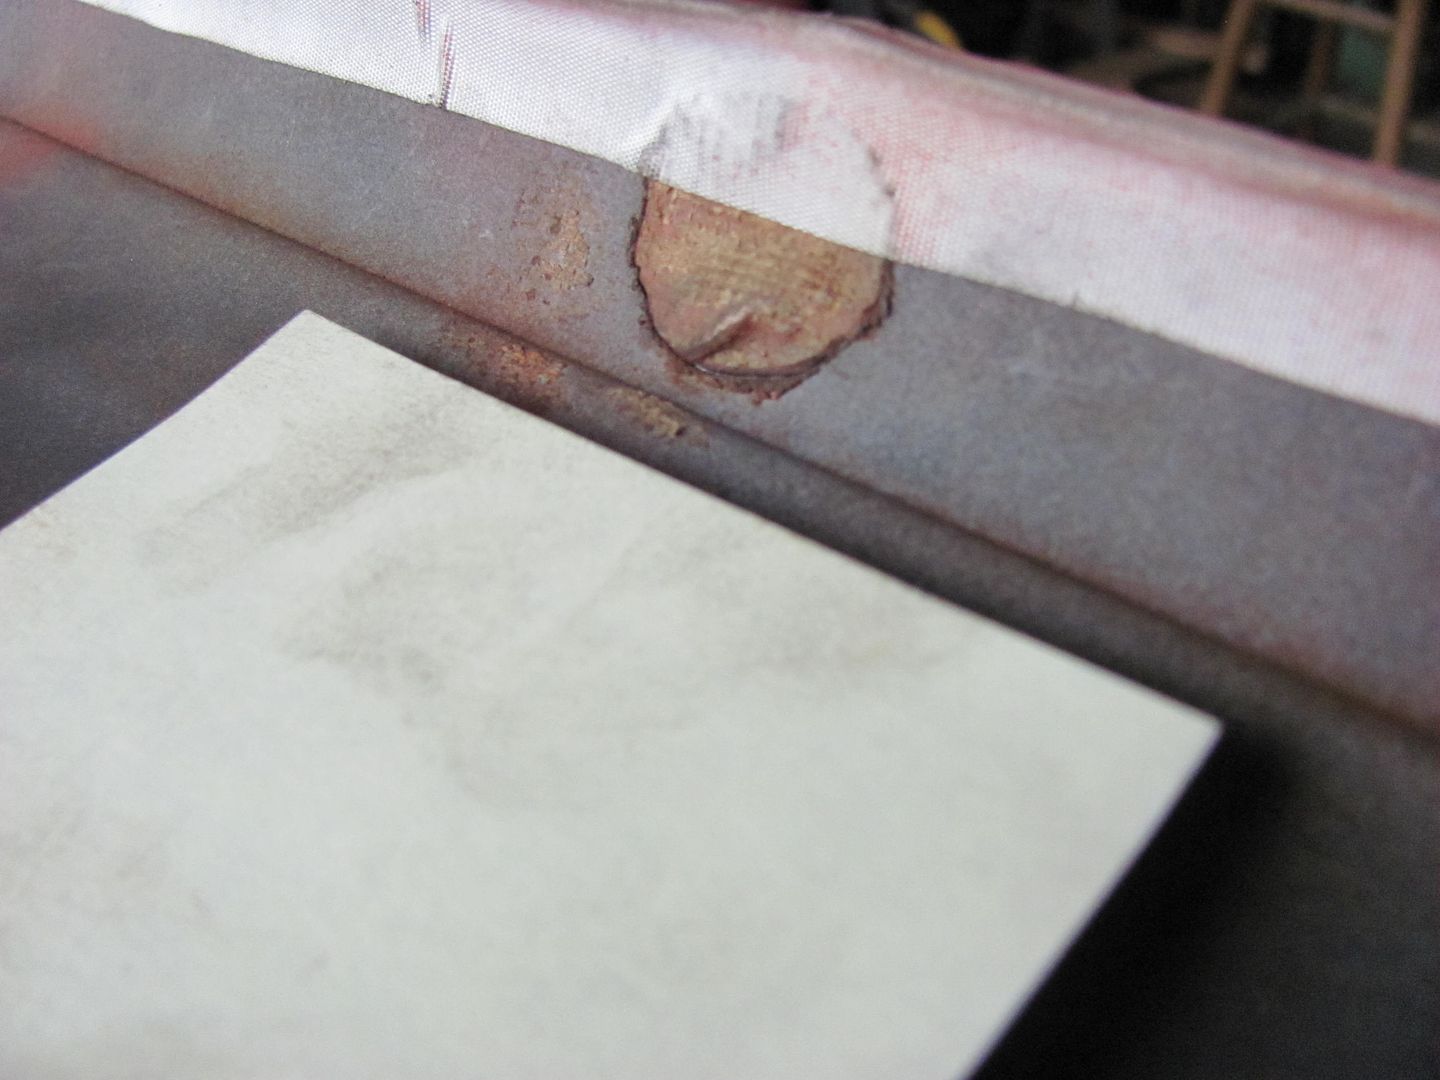
The old panel has seen some previous holes, for whatever reason.
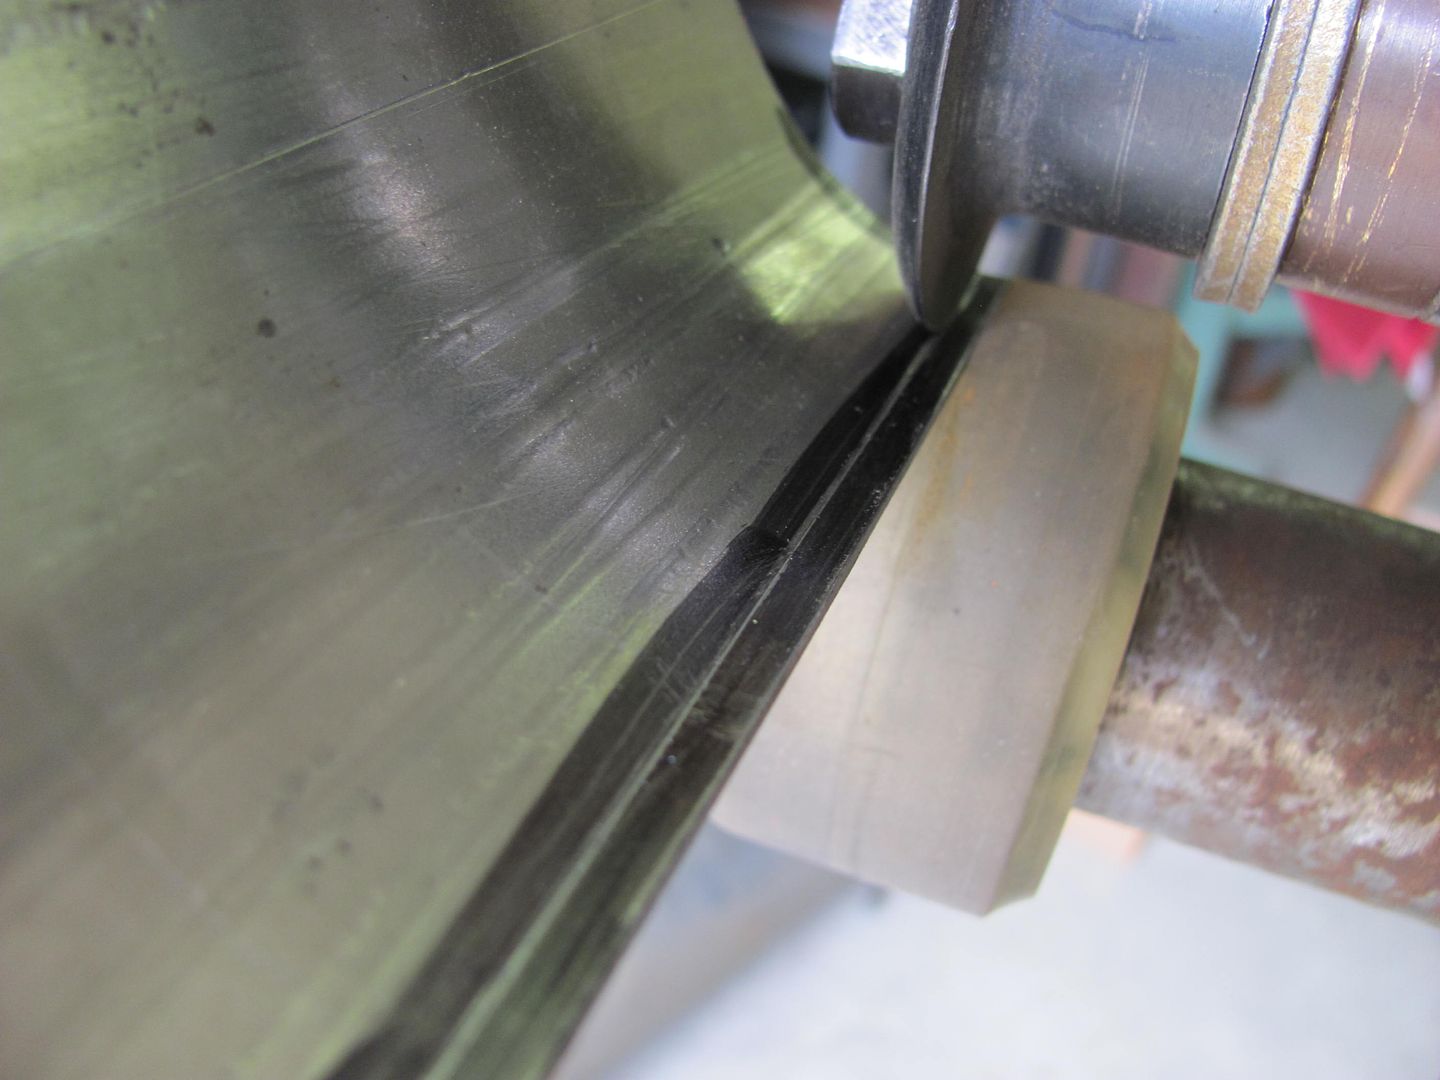
Where the rubber tire on top of the e-wheel does a nice job of forming a radius across a panel, the upper portion of the panel was a bit tighter than the 3" radius anvil will provide.
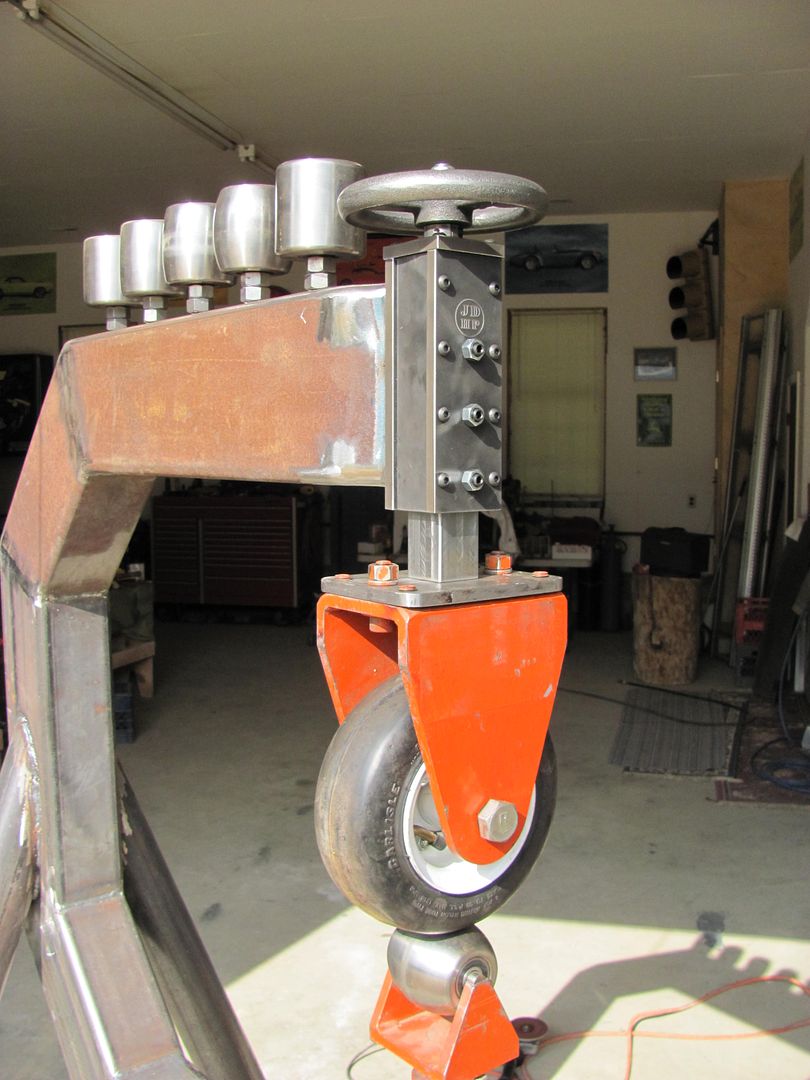
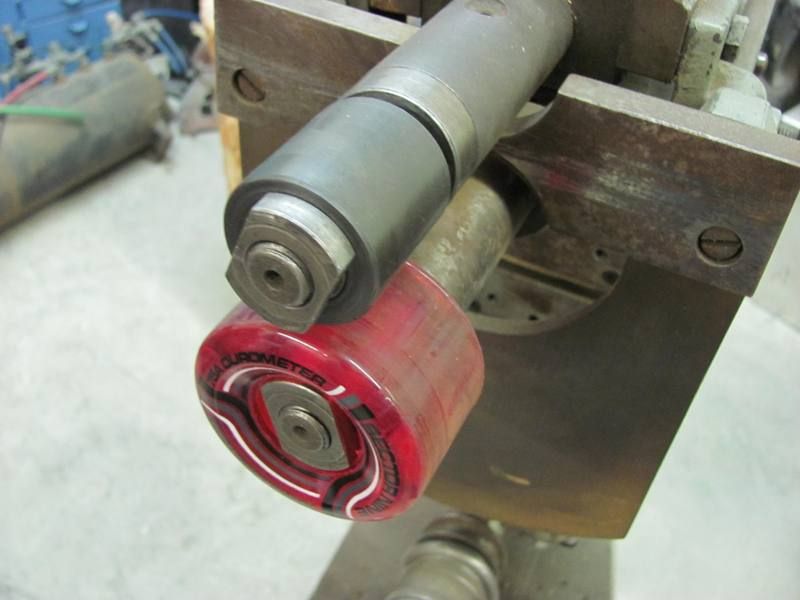
Having just set up my bead roller with the skateboard wheel for tipping, I thought to use this with a beading die to form the tighter radius.
Here's the results of "rolling" the panel
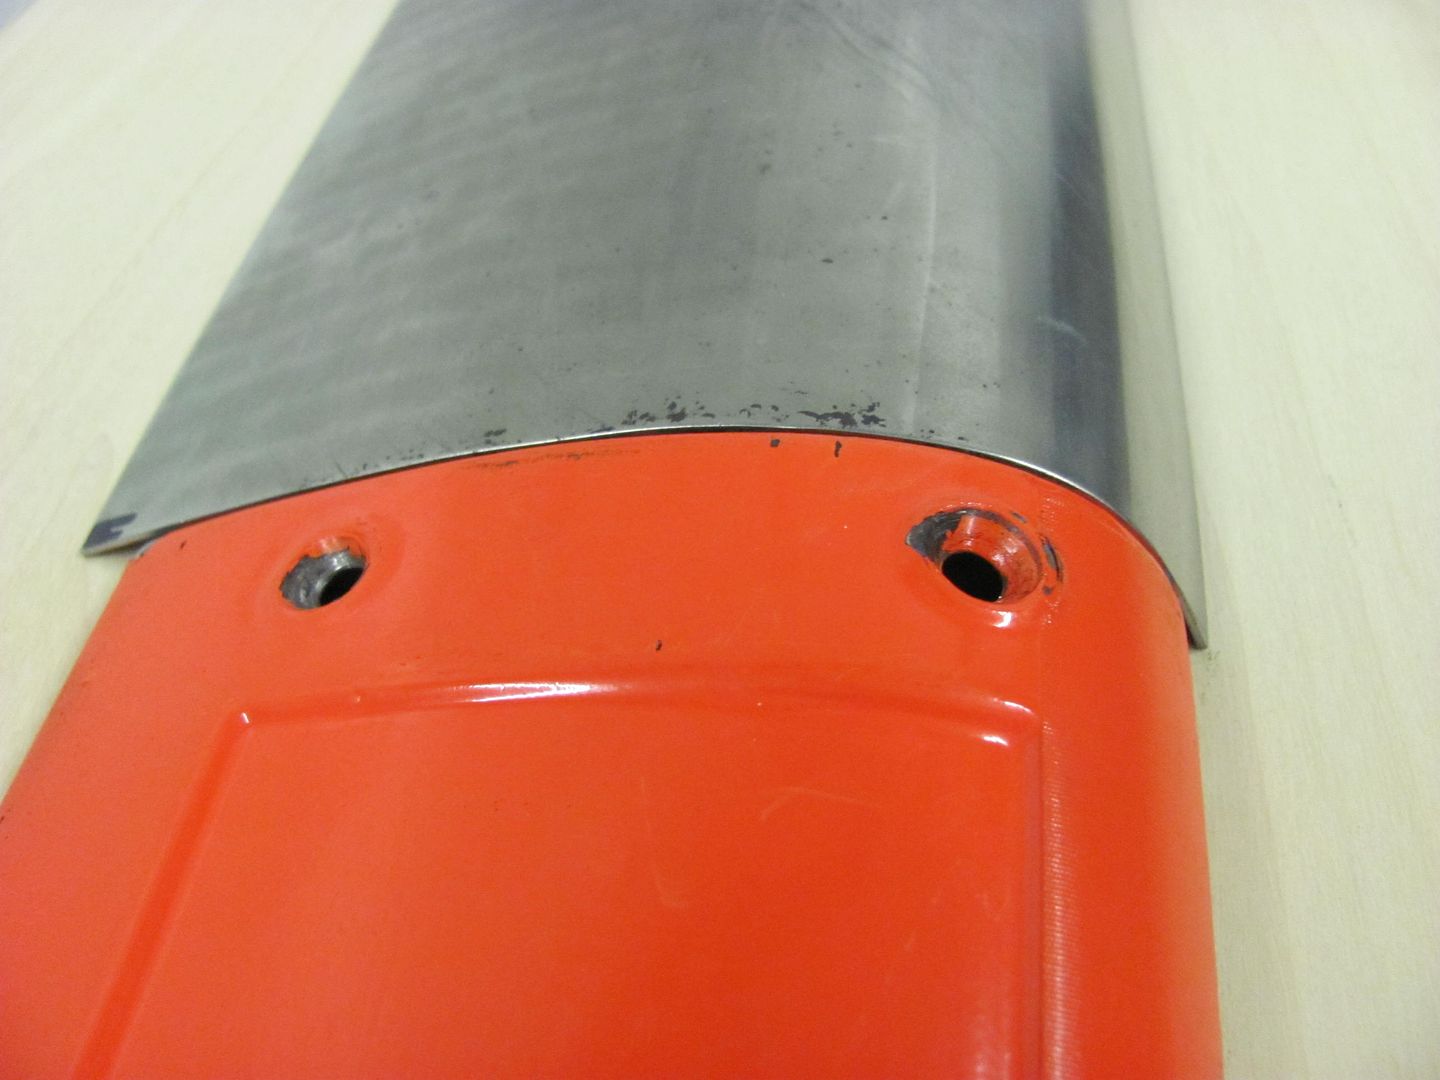

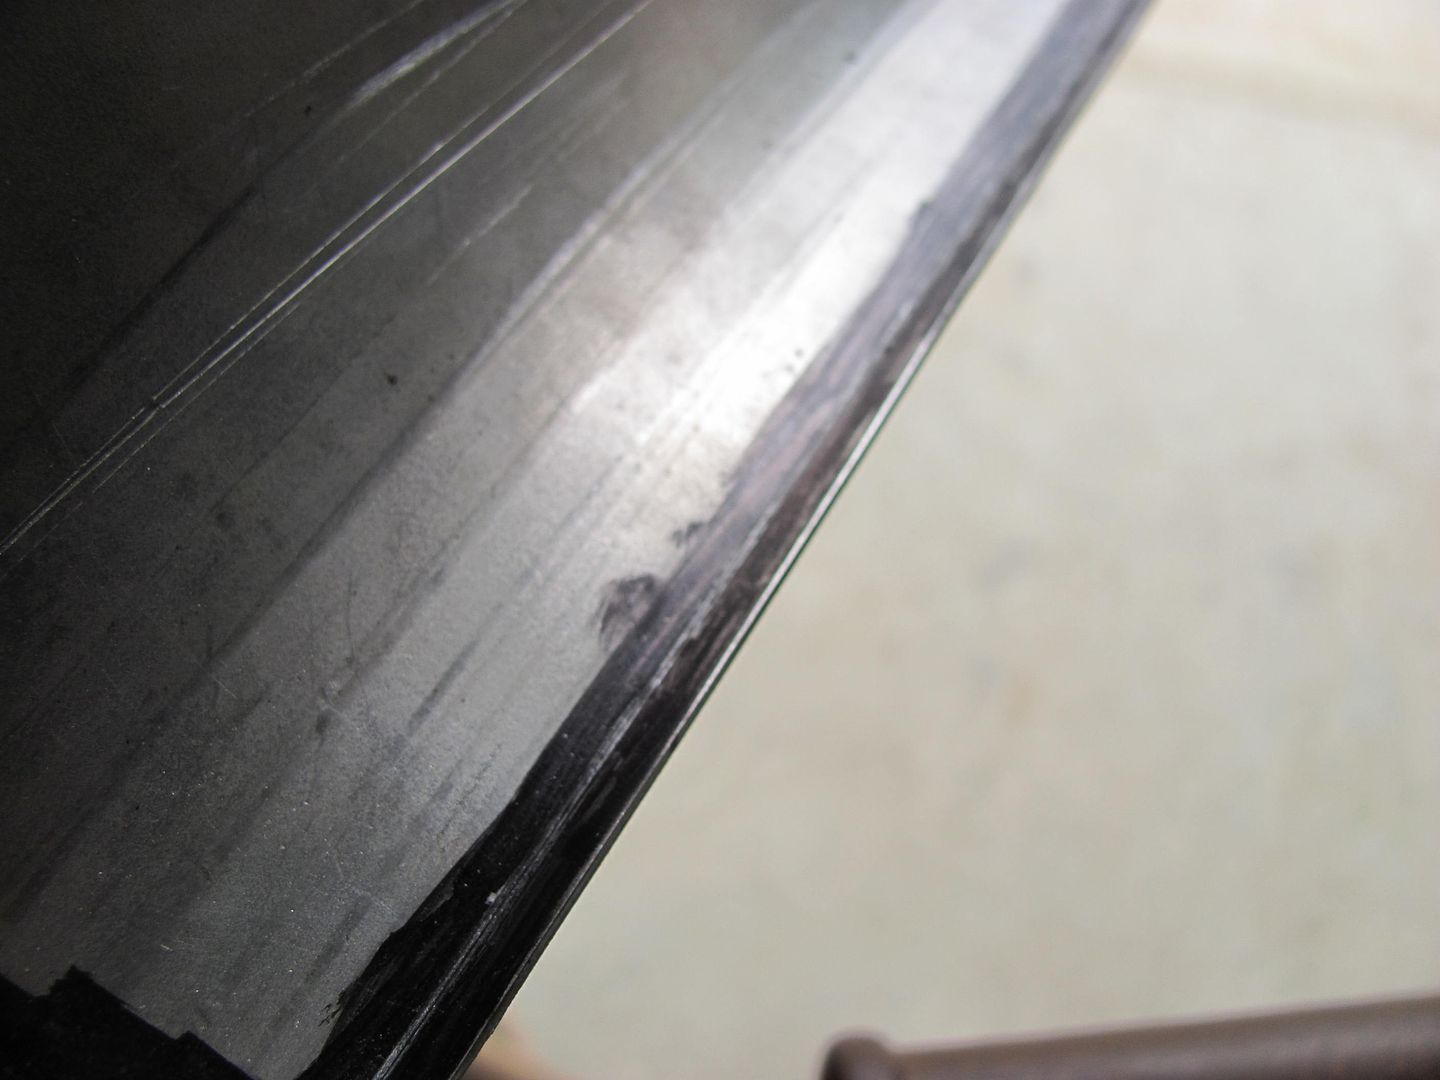
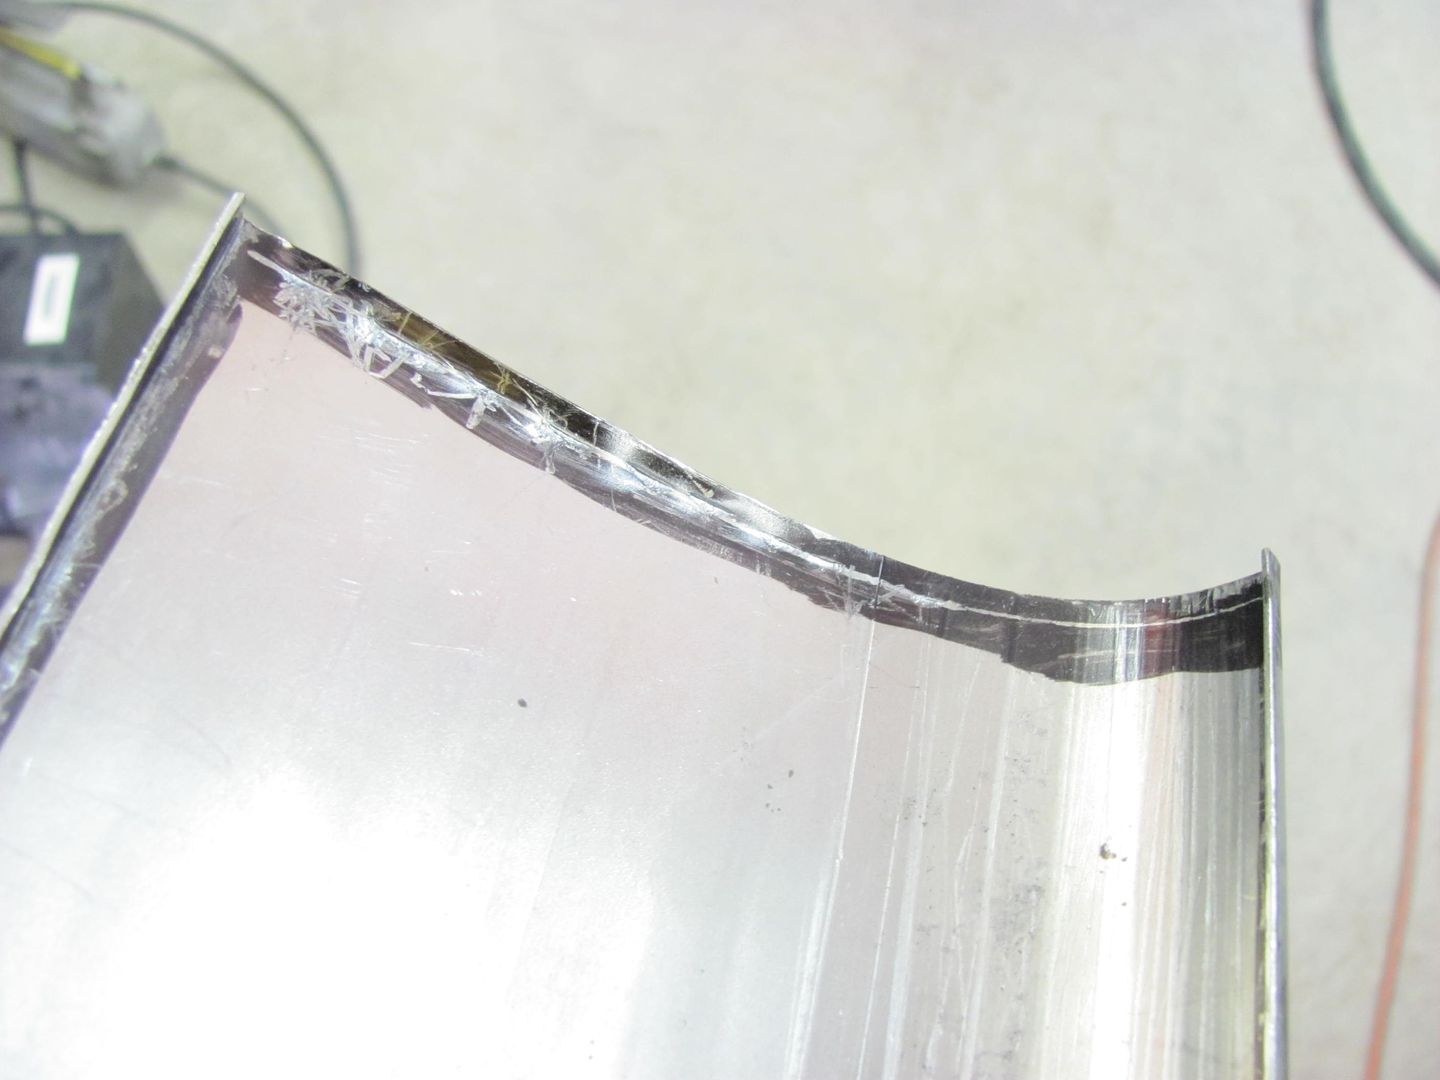
The panel has about an 1/8" lip around the perimeter, so the radius die was changed out to one for tipping.

With only just over 1/8 of extra to tip the flange, this process was not that effective. Hindsight, about 1/4 left over and trimmed afterwards would have been more effective. But since the panel matched so well, lets try other persuasive devices.

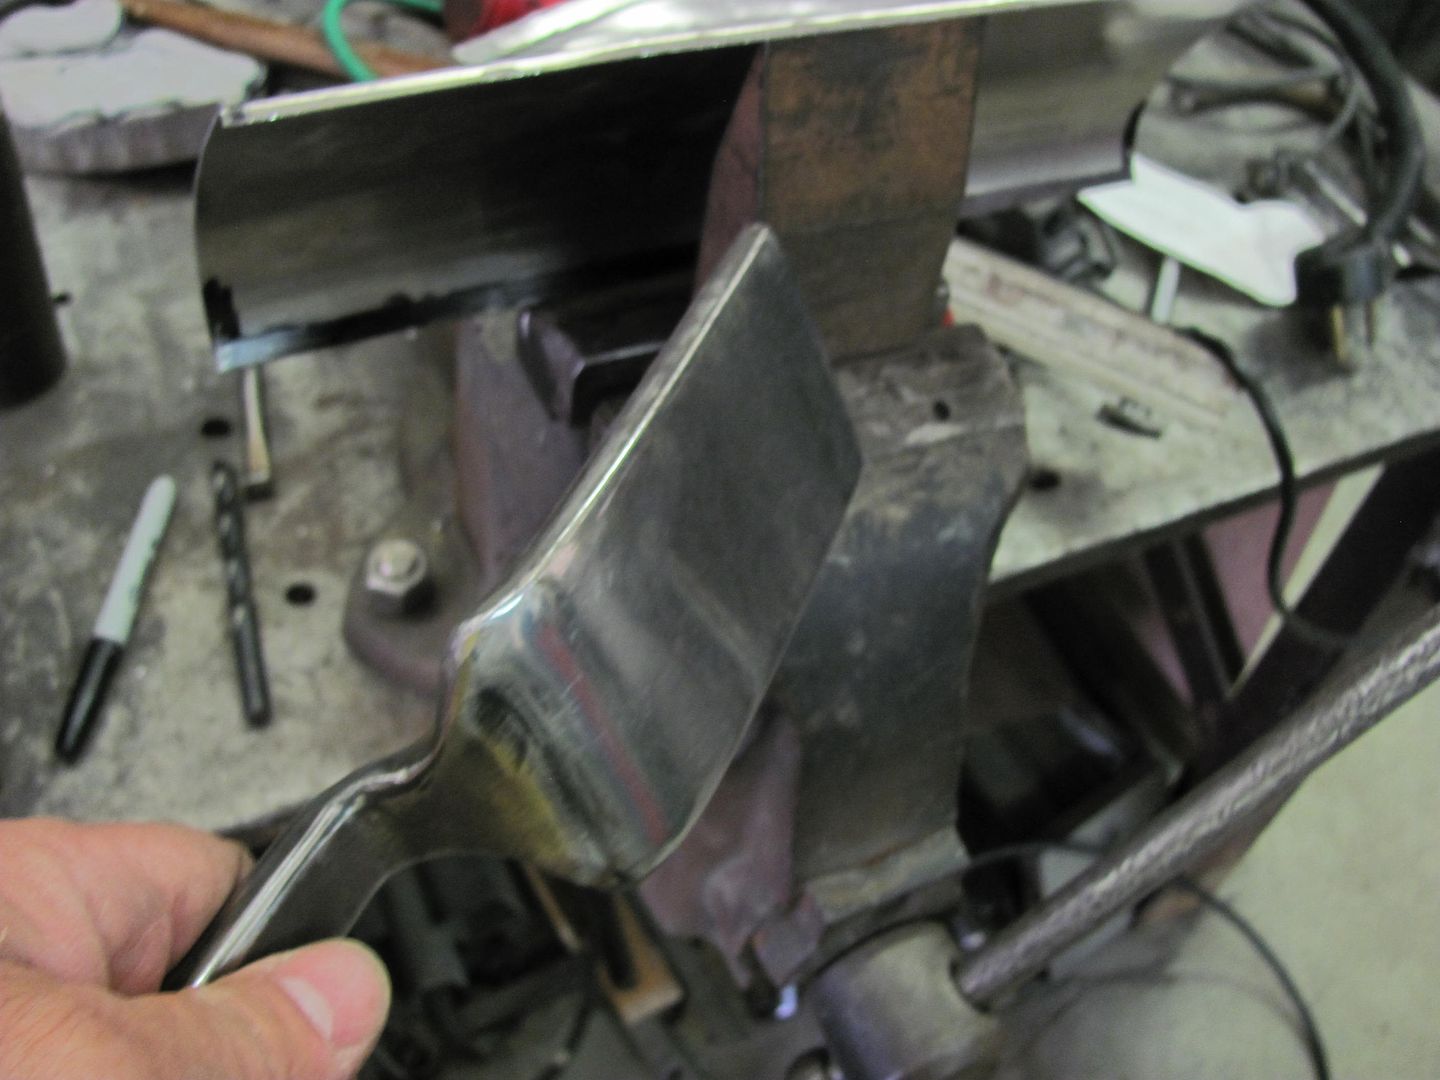
The tipping wheel did do an adequate job of marking the crease location....
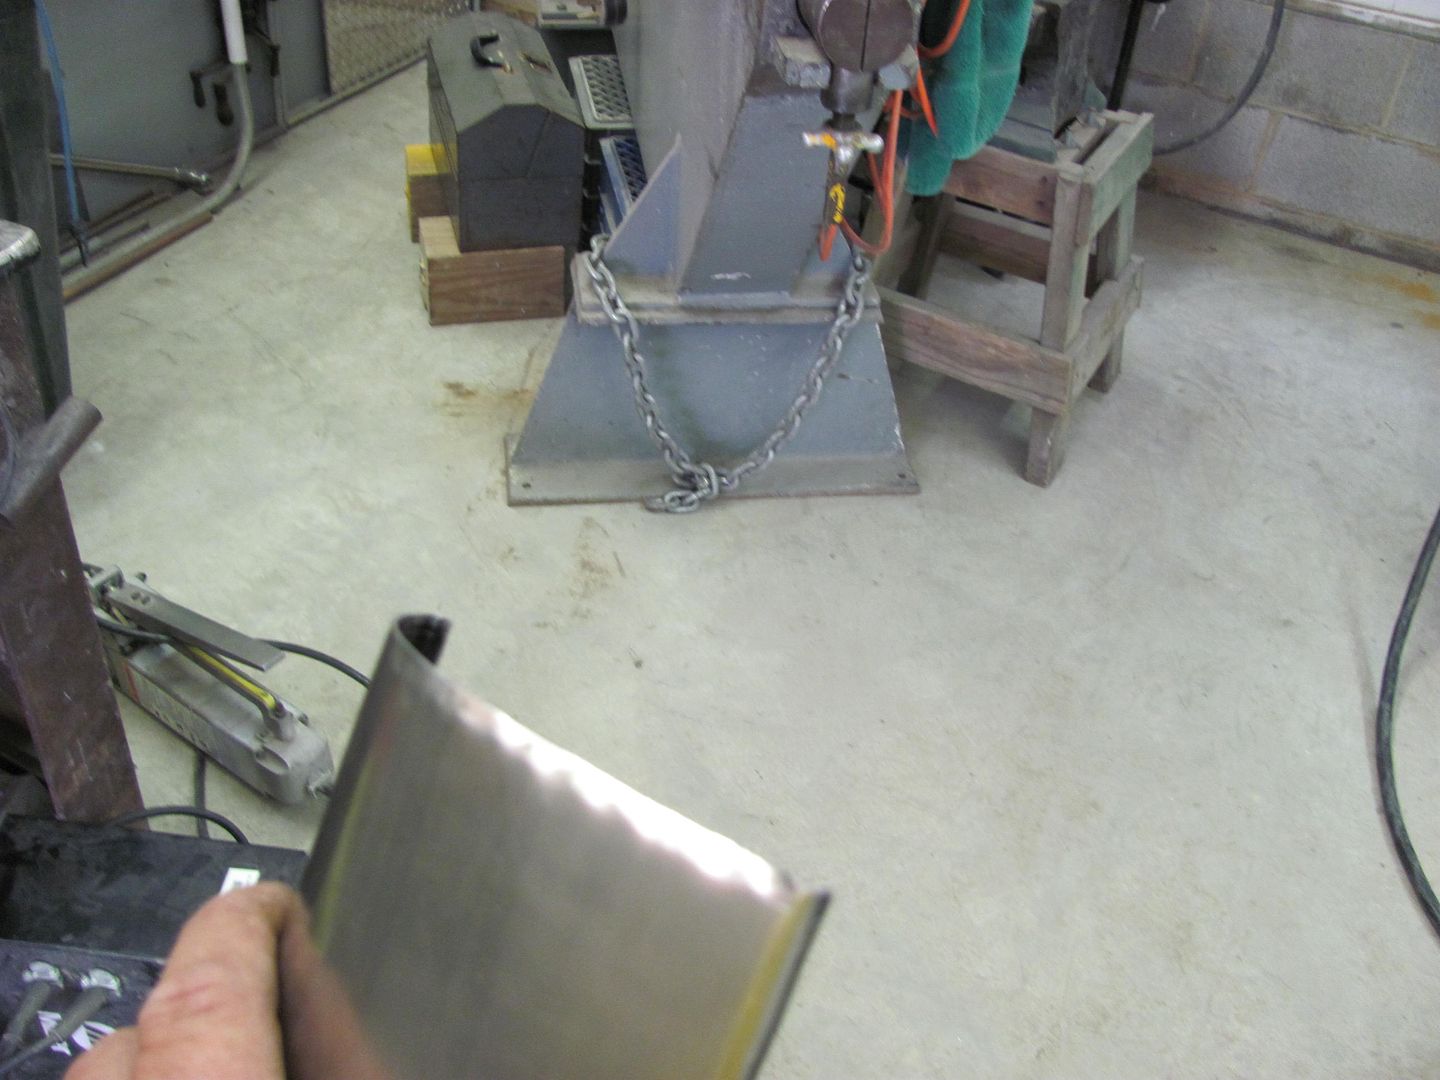
And the "vice anvil" and a slapper was used to fold the straight lip over to a 90....
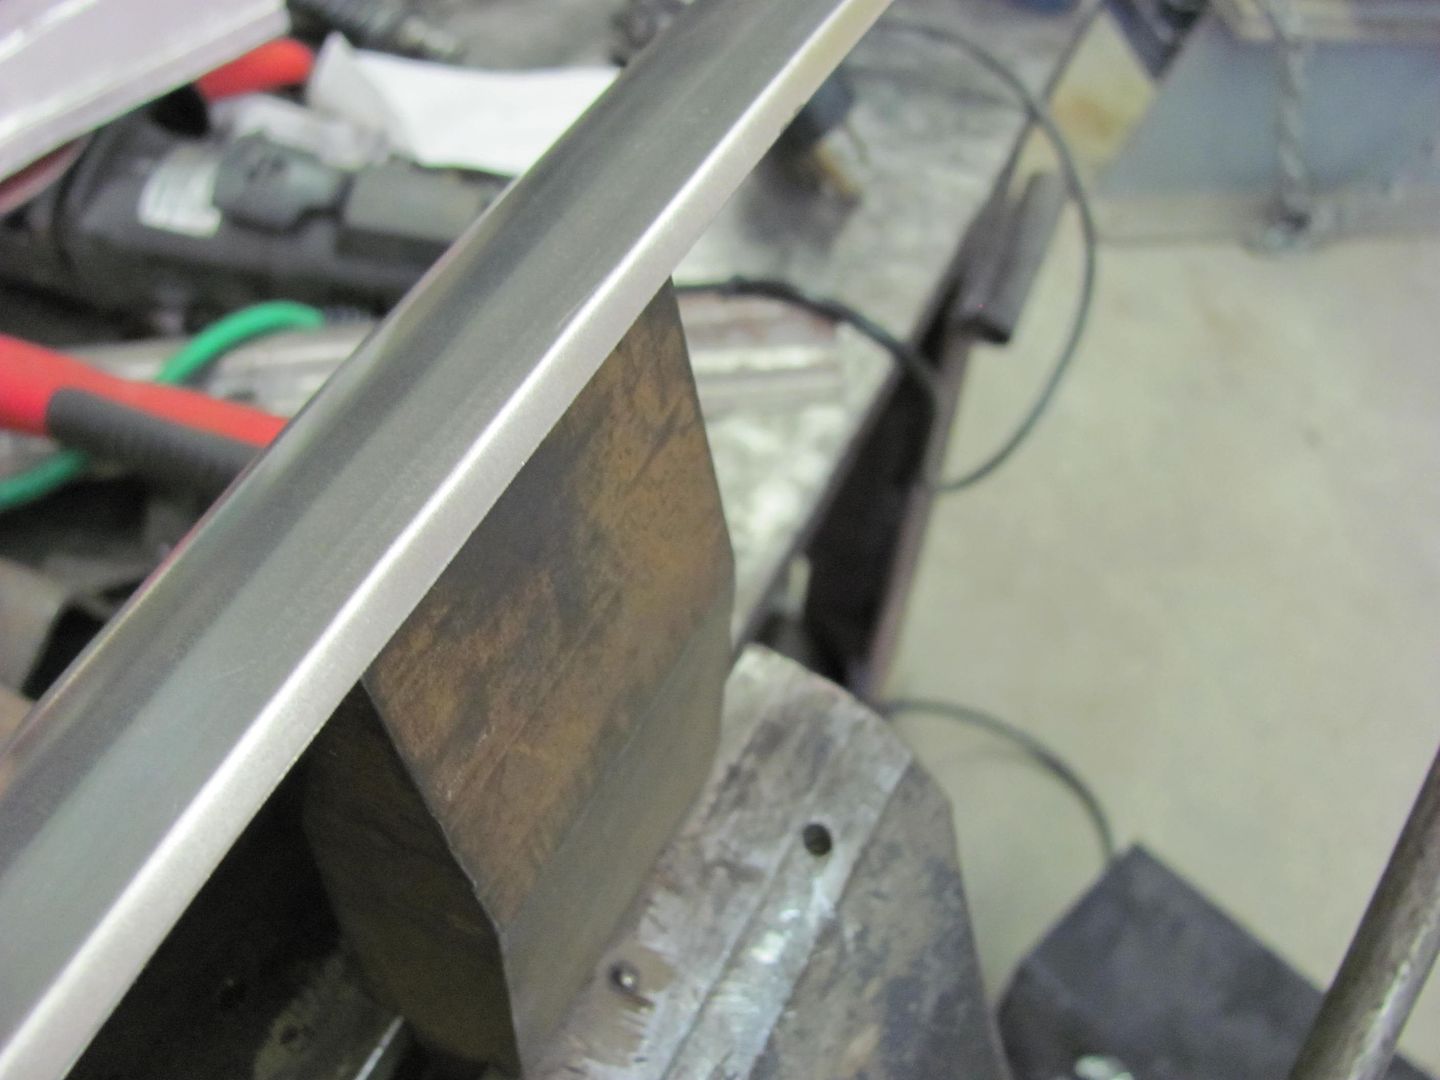
A different anvil was chosen for the radiused edges...
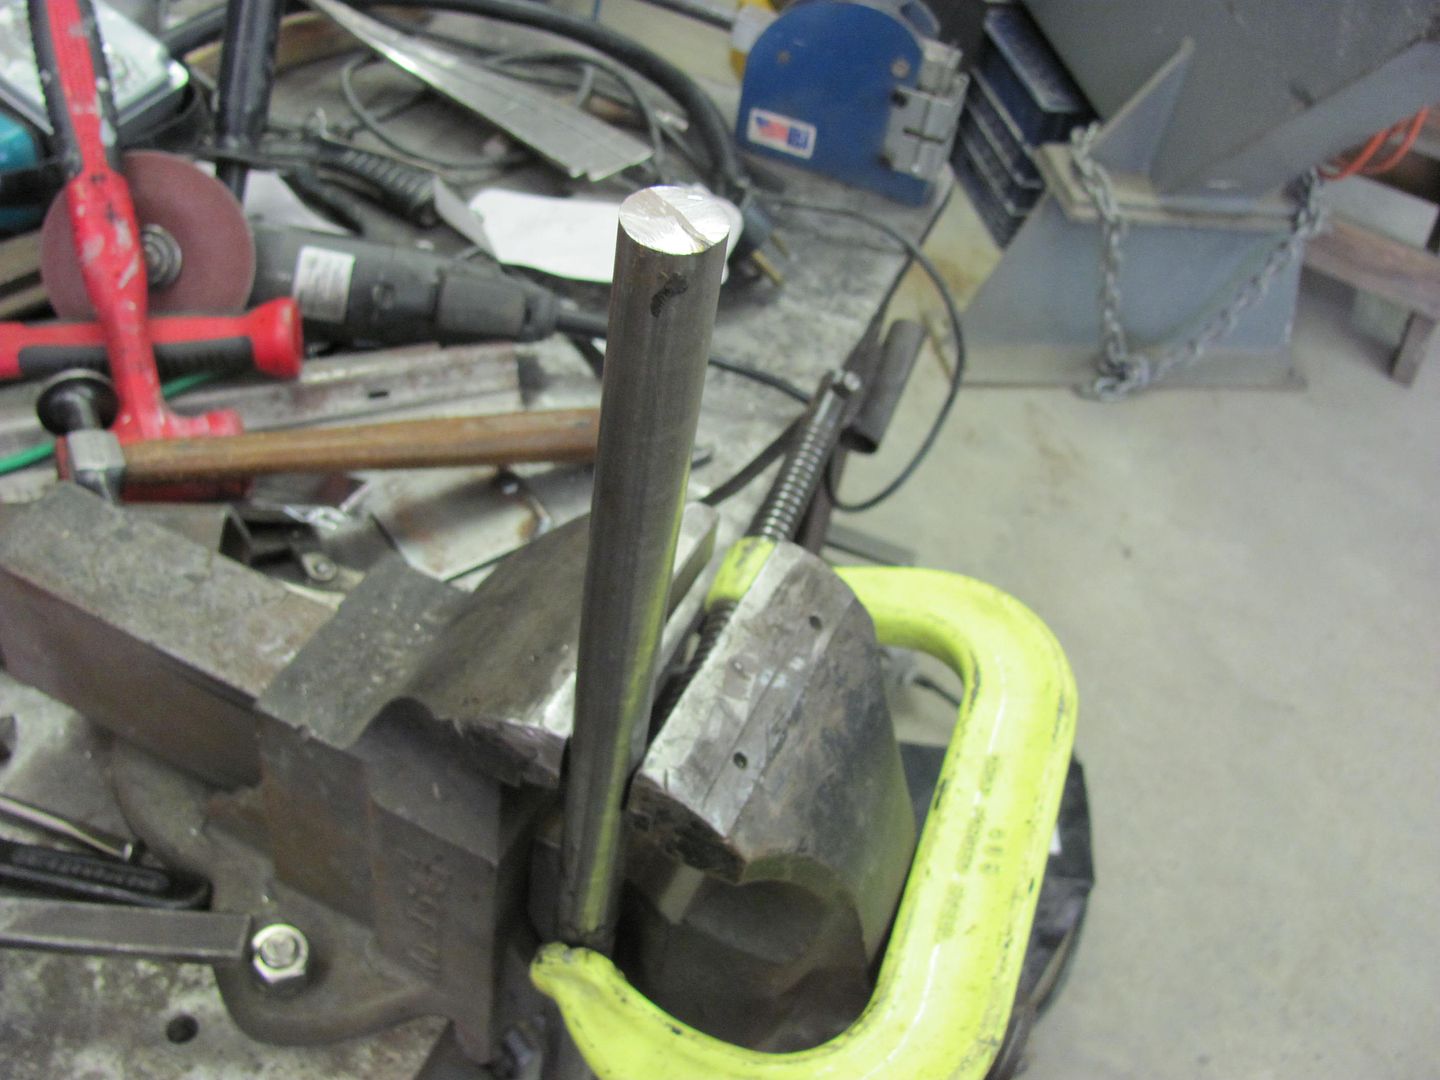
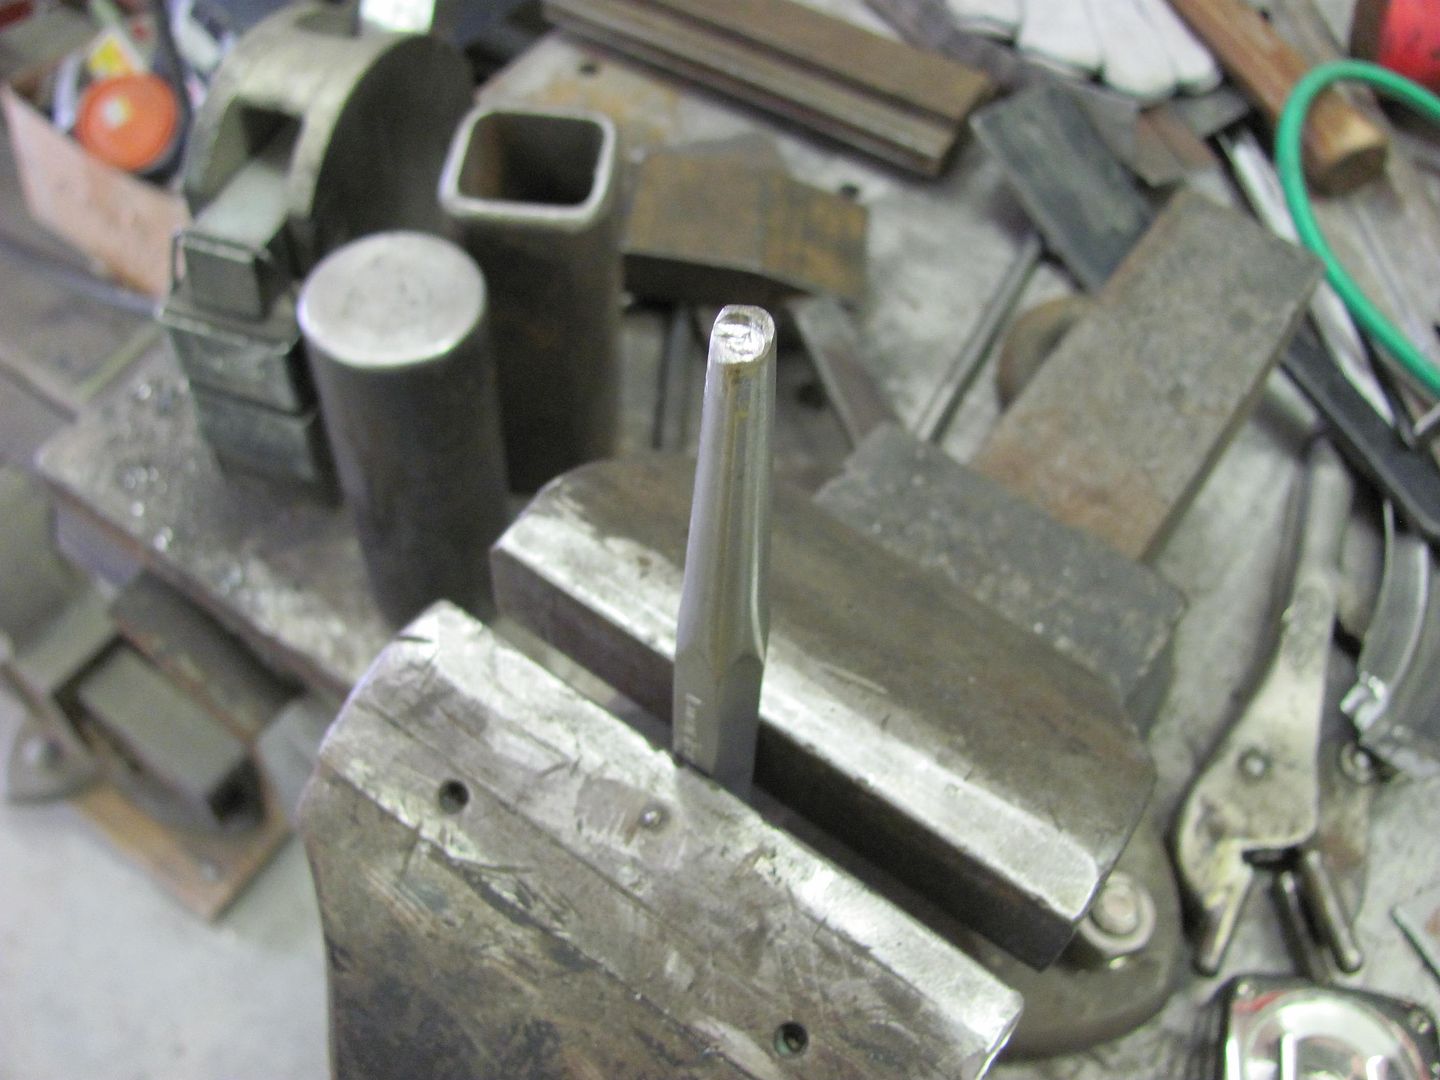
And a punch used to form the 4 corner radiuses...
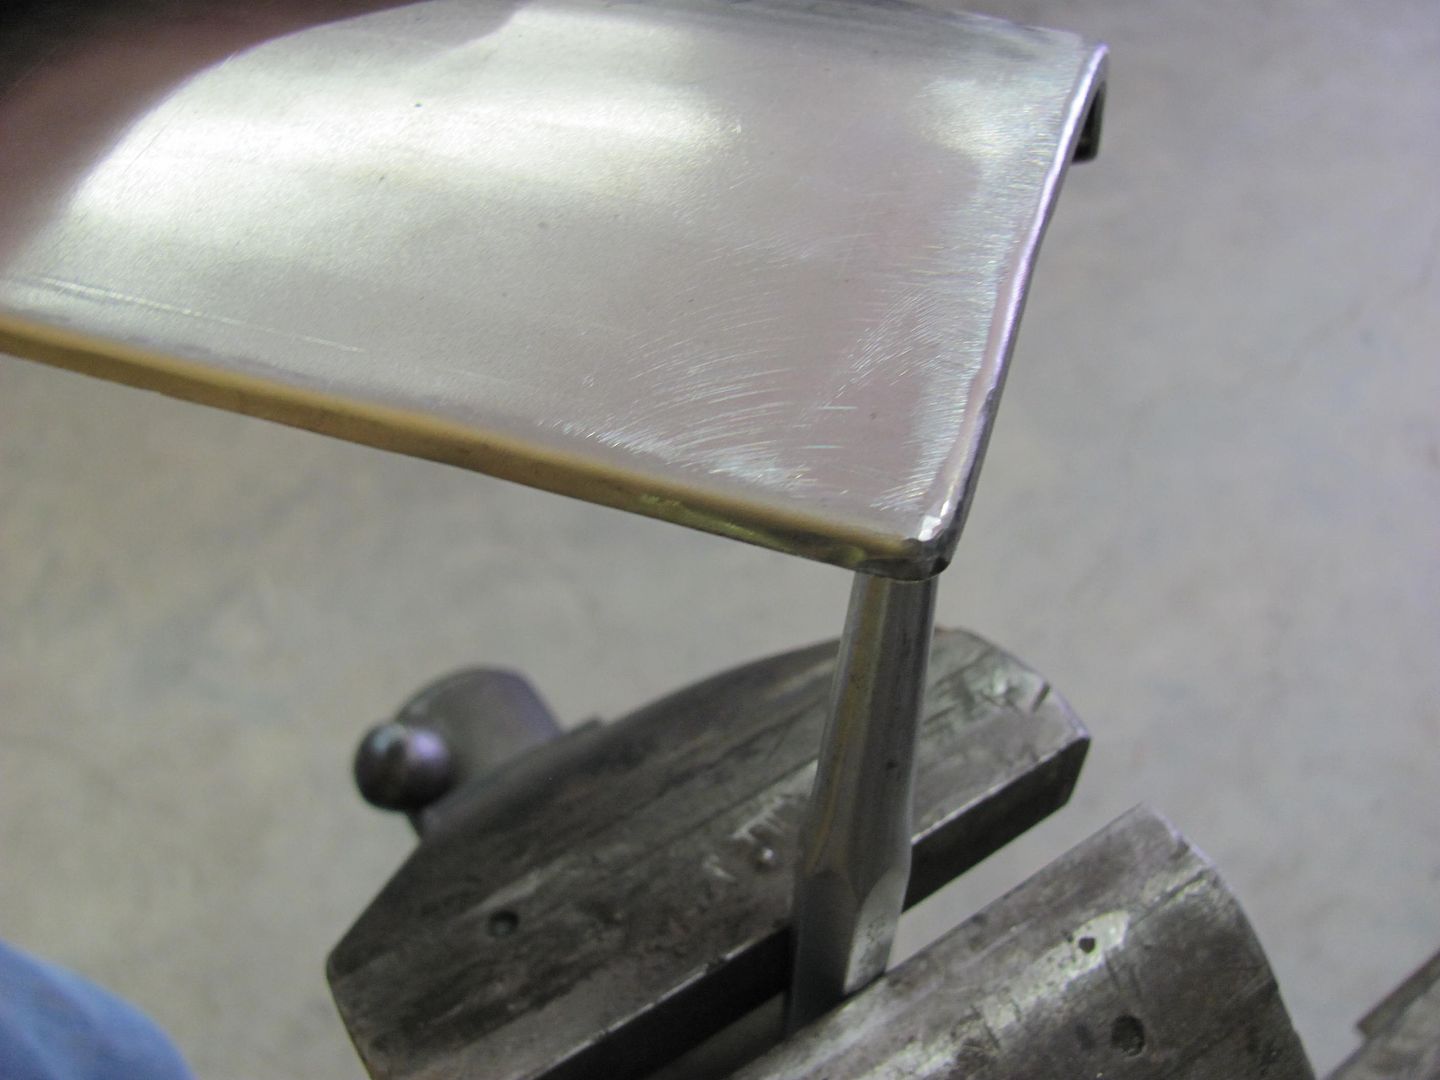
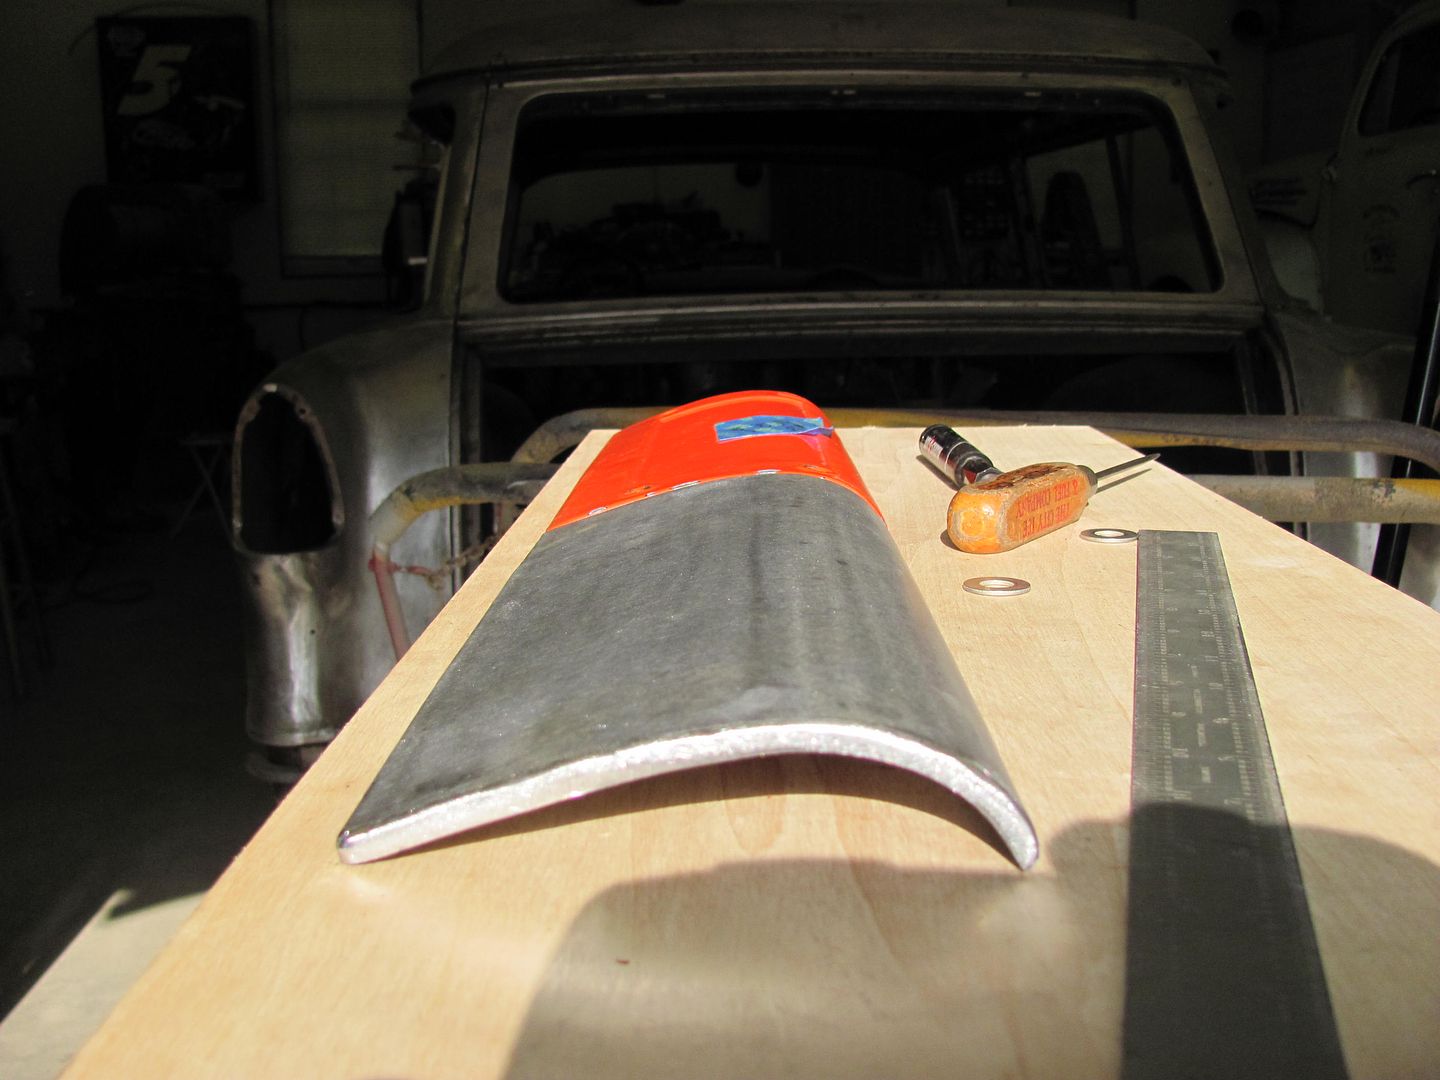
And once complete, the comparison.........
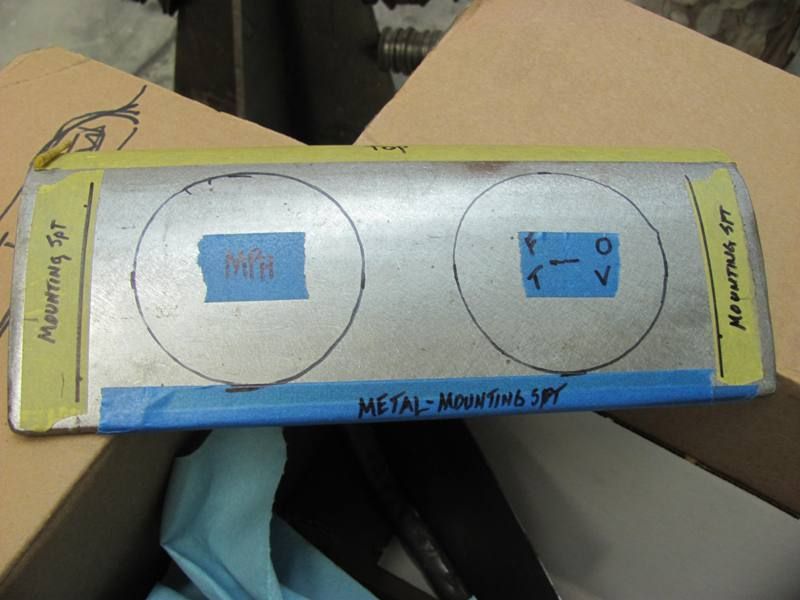
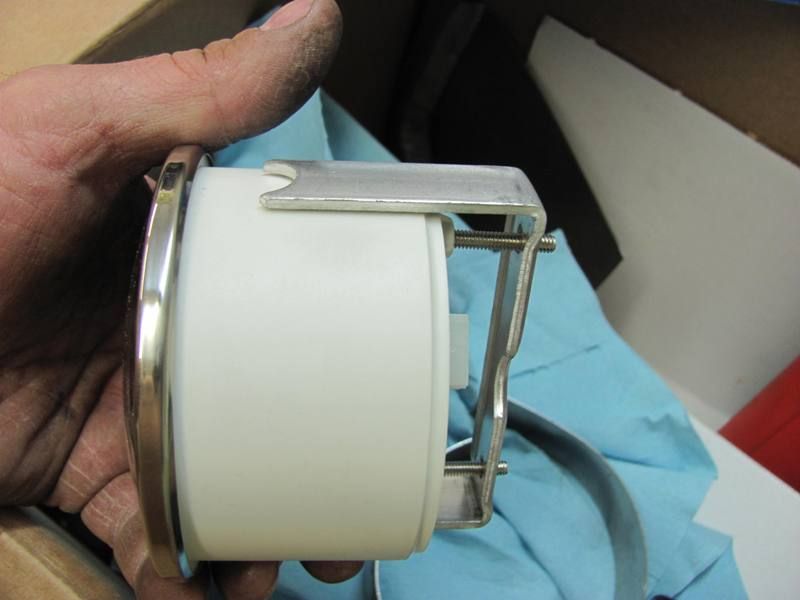
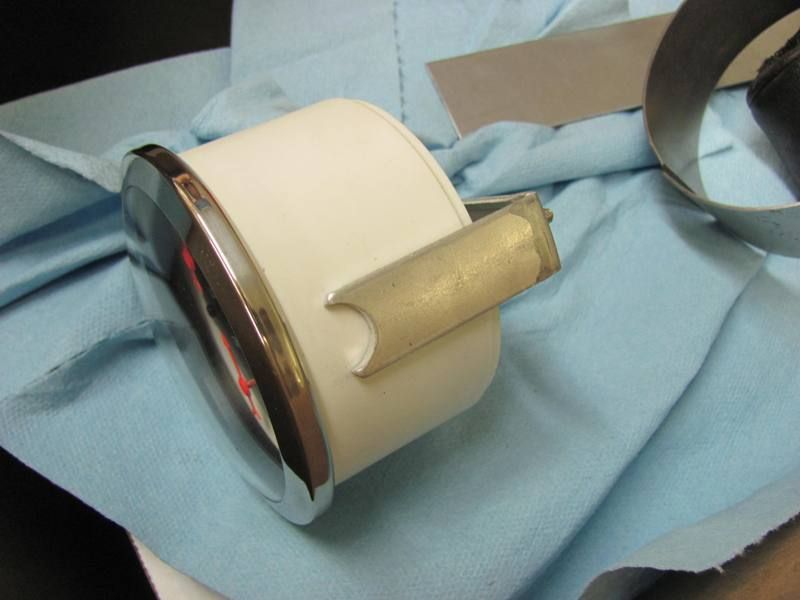
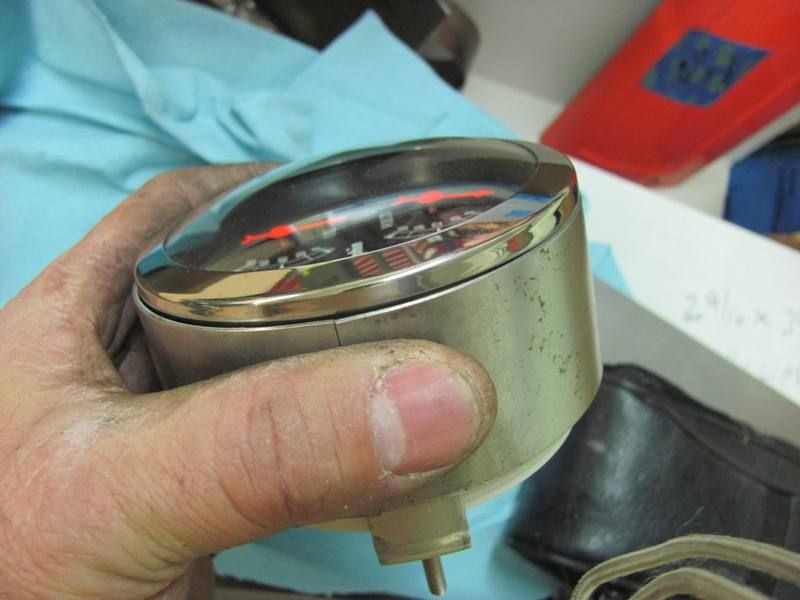
He recently stopped by with a better idea of his plans for the dash, and a box full of gauges. As the panel for the center of the dash has a crown, we will need some adapter rings...
Here's the new gauge with the clamping bracket....
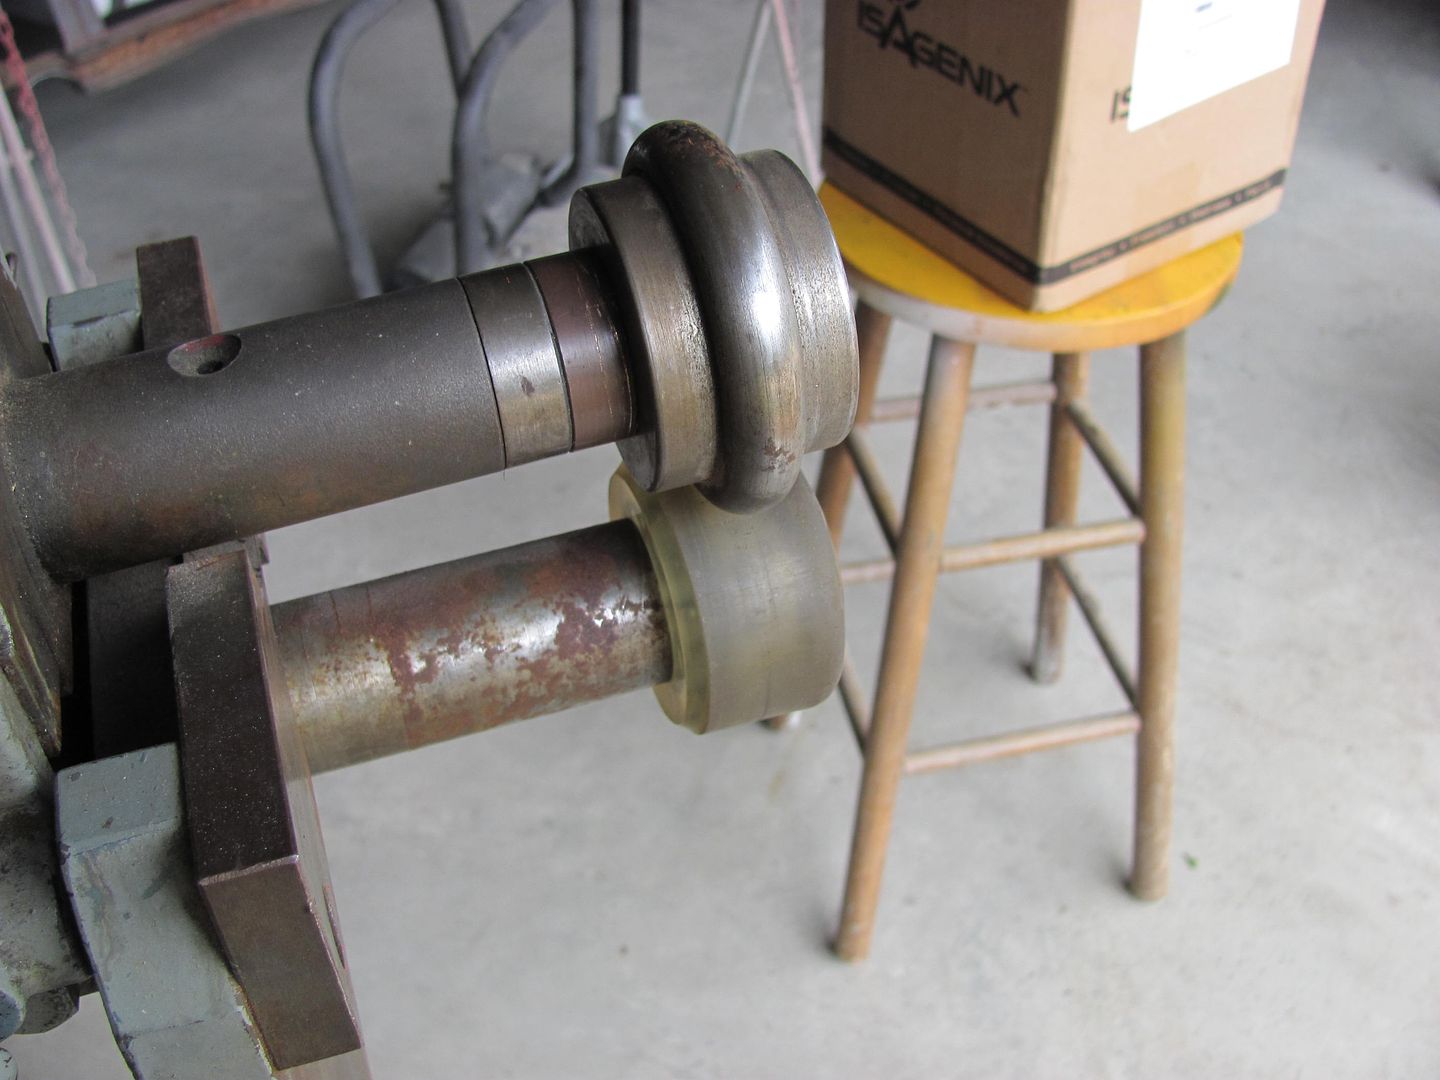
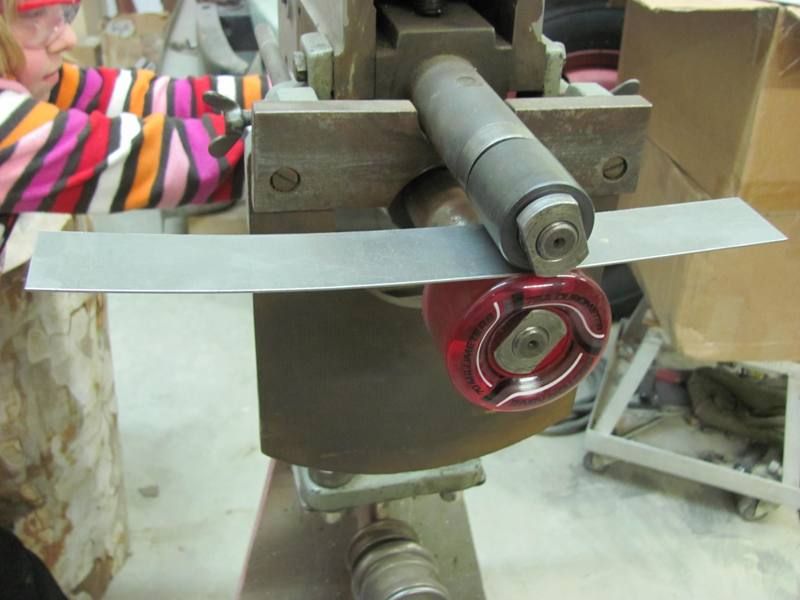
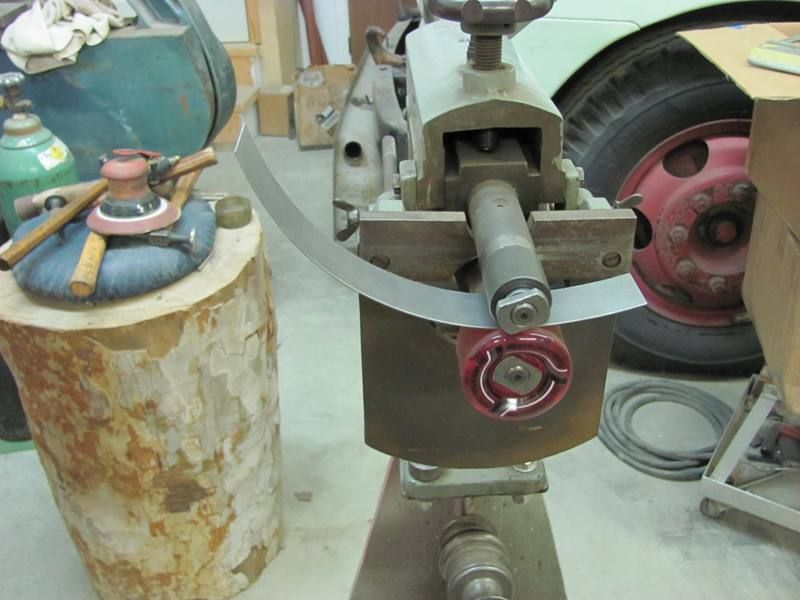
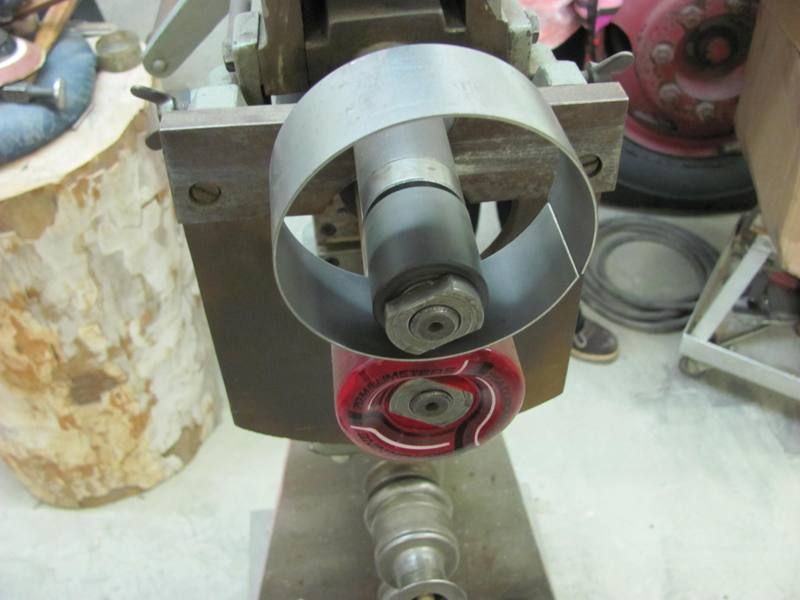
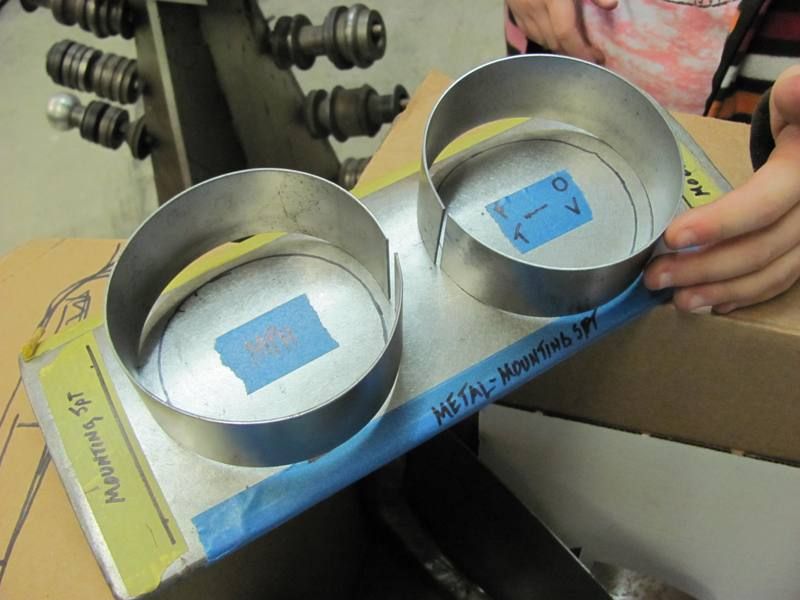
Not having a slip roll, I decided to try these in the bead roller:
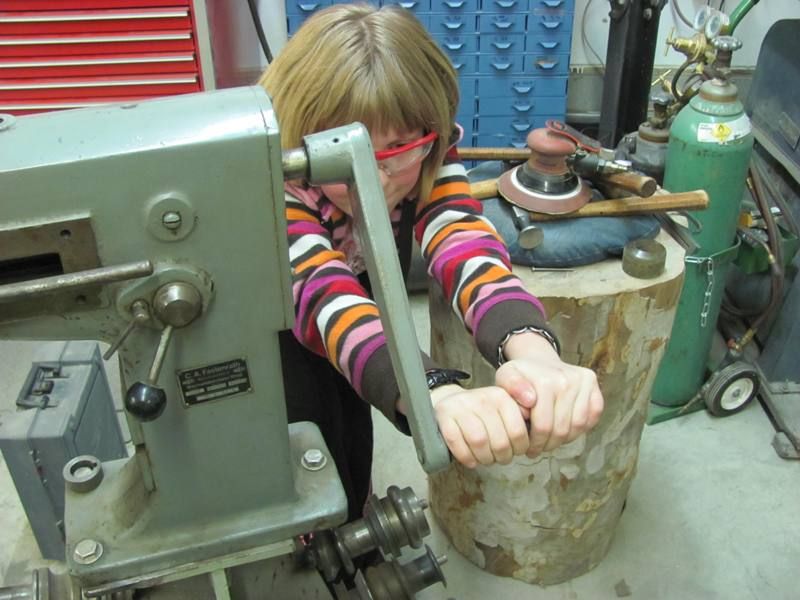
I had some help in the shop this evening, so in addition to having the powered option on the bead roller this evening, given the diameter of the gauge bezel, I was able to show her real world application of Pi X D....
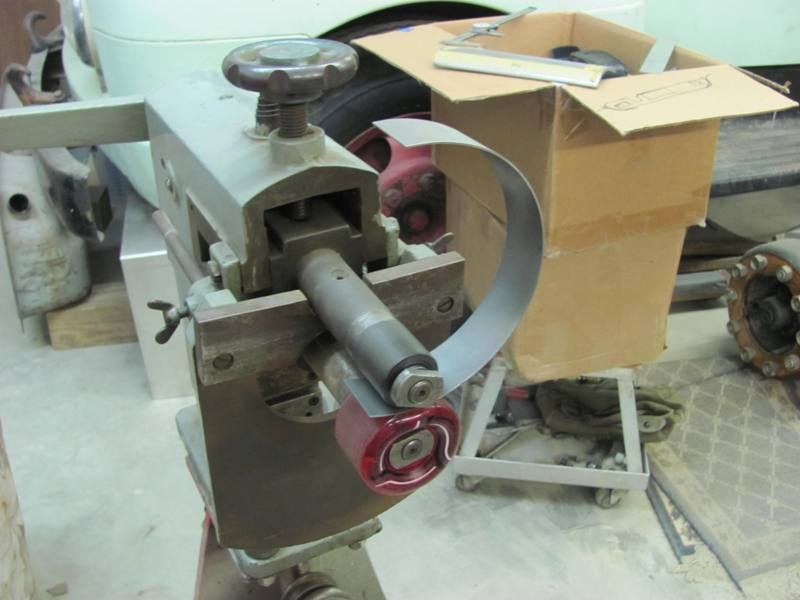
Just to test fit, here's the gauge with bracket, and the ring placed over both....
Both rings formed, tomorrow we'll get them welded up and tip some flanges for the bracket to push against...
Robert

 Reply With Quote
Posting Permissions
- You may not post new threads
- You may not post replies
- You may not post attachments
- You may not edit your posts

I saw last night on fb about John. The world sure lost a great one. I'm going to miss his humor, advice, and perspective from another portion of the world. Rest in Peace Johnboy.
John Norton aka johnboy