


 5Likes
Thread: Shop gathering #3, Metal Shaping


Results 1 to 10 of 10
 LinkBack URL
 About LinkBacks
-
03-07-2013 03:16 PM #1
 CHR Member

- Join Date
- Aug 2010
- Location
- Berryville
- Posts
- 486
Shop gathering #3, Metal Shaping
Just a headsup, this is the final shop gathering of the year is this Sunday, the 10th and its' gonna be a dussie.
Robert (MP&C here on CHR) is going to do a bangup presentation of basic and some advanced metal shaping.
We'll have TIG welding demo's and bring your shield if you want to learn 'fusion' style welding.
We decided to expand on what we've done before and we'll let you guys mess with the machines too...bring your own bandaids and no whineing when you run your thumb up under the rollers of the English wheel. You can play with the bead rollers (electric & mechanical), pnuematic hammer, shot bag or stump...have at it.
materials etc are provided - again i have only the one cheapest junkiest shields (i been looking for the old cardboard stapled together kind as an upgrade) so bring yours.
We'll have a tasty buffet lunch and i hear ther'll be BROWNIES!
We start at 10am and go until we are woreout and done.
My shop is www.clarkecountyspeed.com
located at 607 E. Main St. Berryville VA
shop phone is 540-955-0479")
Last edited by ojh; 03-07-2013 at 03:22 PM. Reason: forgot the day
-
Advertising

- Google Adsense
- REGISTERED USERS DO NOT SEE THIS AD
-
03-07-2013 06:11 PM #2
CHR Member
- Join Date
- Jun 2008
- Location
- Leonardtown
- Car Year, Make, Model: Walking
- Posts
- 1,228
We've got some old fenders and doors where we'll be covering some layout, fabrication, trimming, etc of patch panels, tipping tools for making door skin repairs. Also some basic dent repairs and bumping techniques using the donut dolly, and more....Robert
-
03-08-2013 10:46 AM #3
CHR Member
- Join Date
- Oct 2003
- Location
- ST.LOUIS
- Car Year, Make, Model: 31 FORD 5 WINDOW,69 442, 305 sprint car,
- Posts
- 1,410
Wish I was closer, but a weekend trip to Virginia ain't in the budget
-
03-11-2013 08:12 PM #4
CHR Member
- Join Date
- Jun 2008
- Location
- Leonardtown
- Car Year, Make, Model: Walking
- Posts
- 1,228
Spent much of the day yesterday at Clarke County Speed Shop in Berryville Va. The owner, OJ Higgins was hosting an all day event of Tig welding and metal shaping, and I was on the hook to provide a good bit of the metal shaping demo. James Bowler added his expertise in showing fusion welding using the Tig. The audience was primarily gear heads, and it seemed everyone had some vintage iron they were working on and looking for some insight to help out with rust repair and panel forming. Based on our audience, OJ asked that I focus on the use of hand tools where ever possible that anyone should be able to easily duplicate. We did stray from this slightly in showing the tipping wheel on the bead roller, but only after showing tipping methods using hand tools, including a cresent wrench...
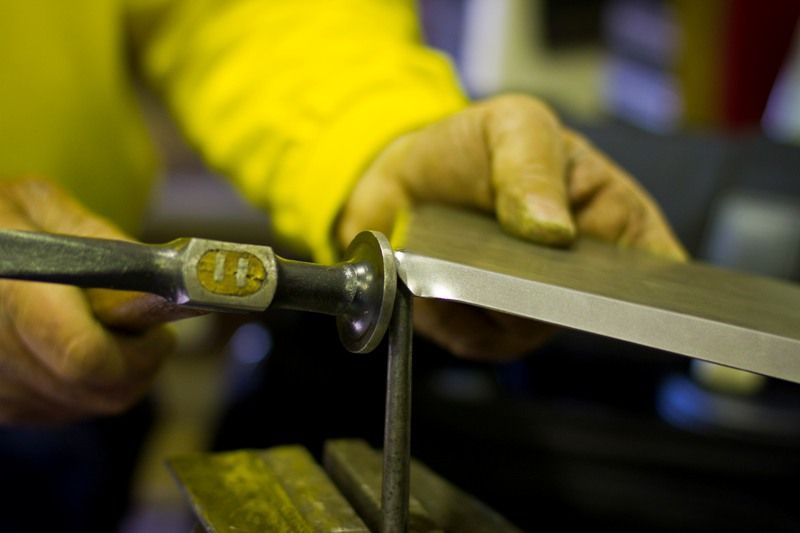
We started off discussing hammer selection....
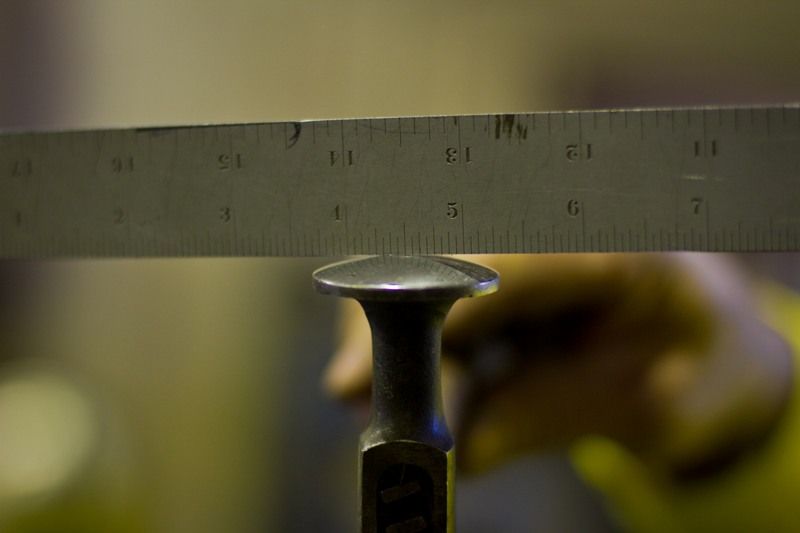
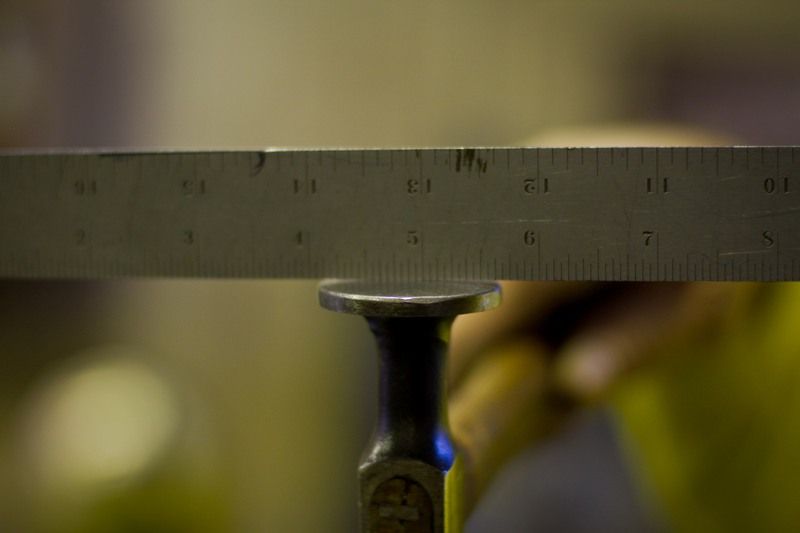
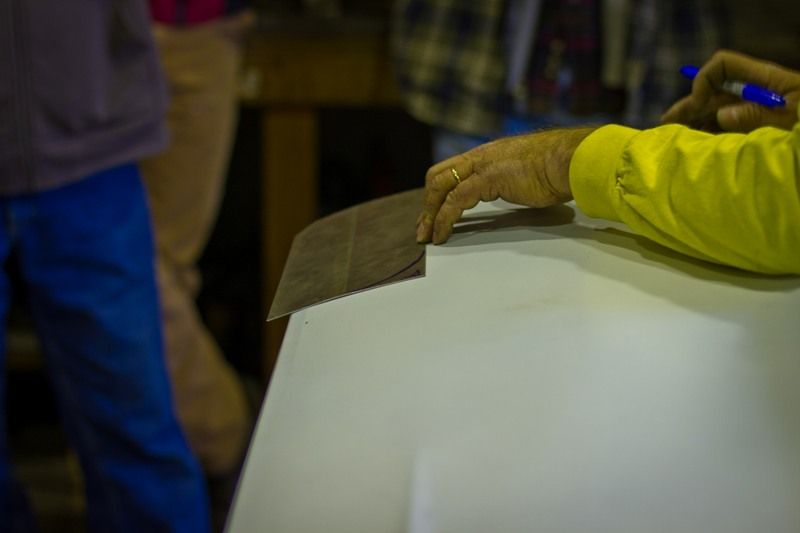
Then, using the body hammers, we showed the principles behind on-dolly, off-dolly, and use of the donut dolly, shown here with a damaged bus door.
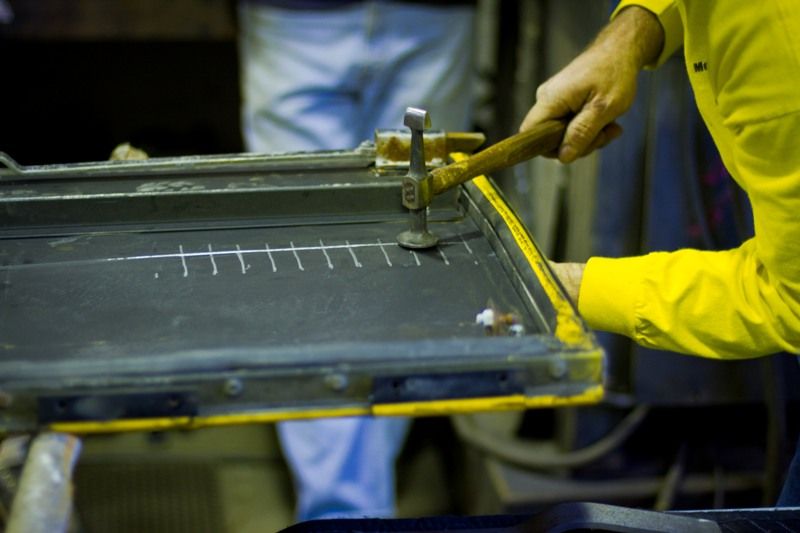
A grid was used on the door to assist with occasionally checking the alignment of the hammer to the dolly, for optimal effectiveness in using the donut dolly.
Next, in preparation for trimming patch panels we discussed the proper use of tin snips.
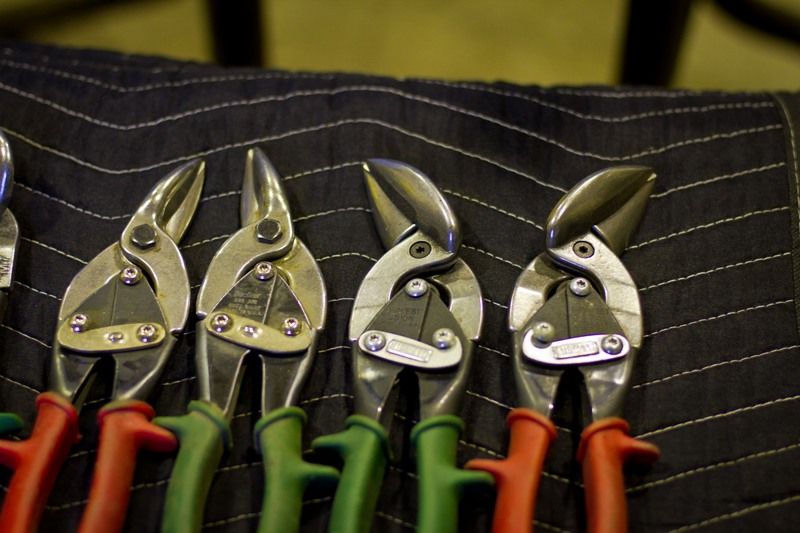
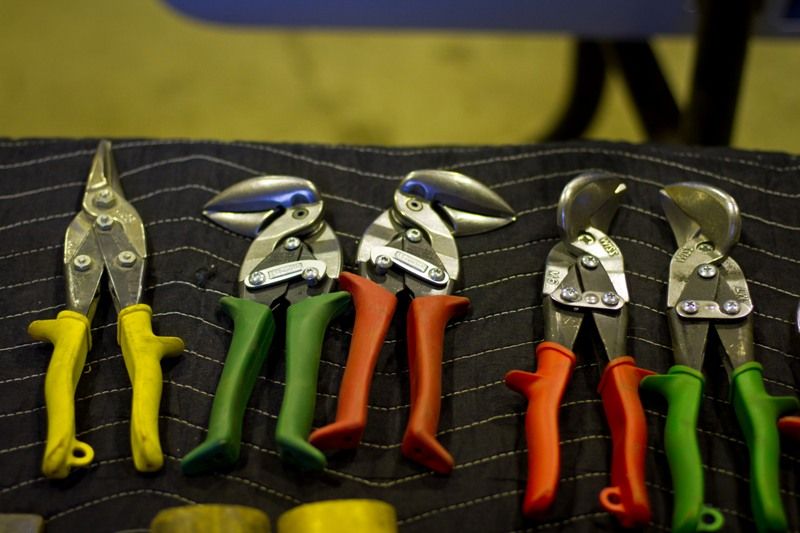
This was based on a video by Bill Gibson, a must see on youtube:
https://www.youtube.com/watch?v=qAOQ...eature=related
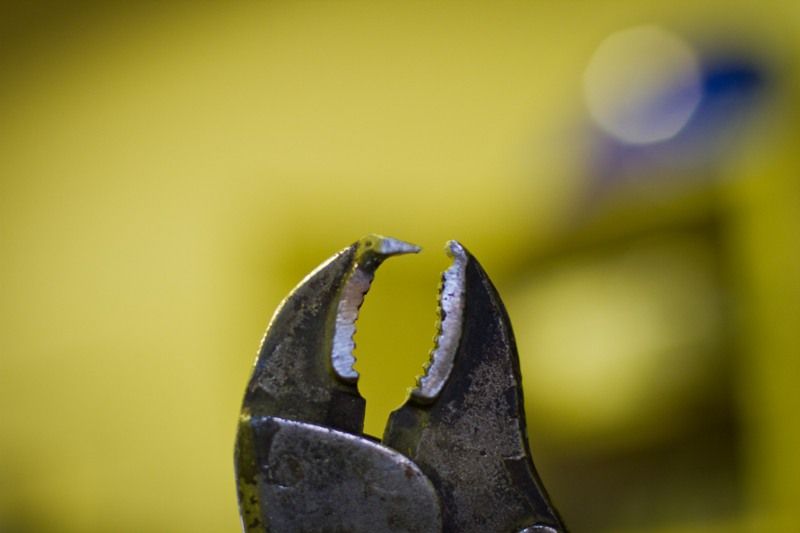
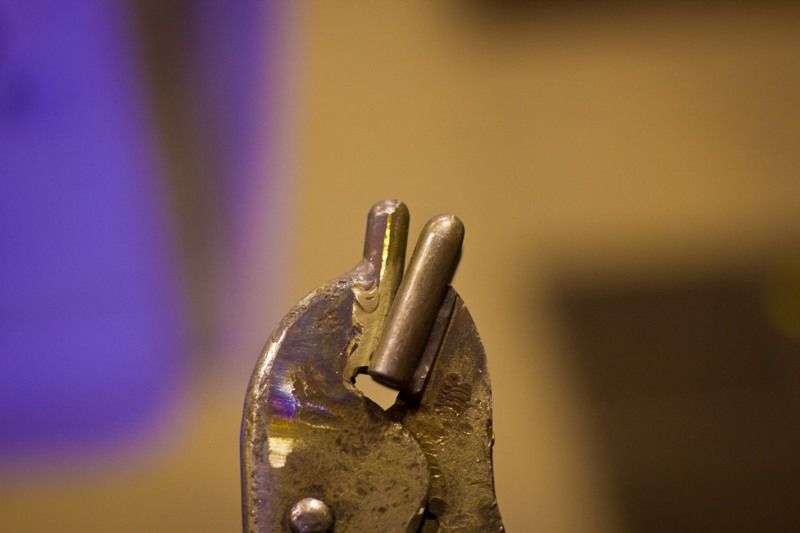
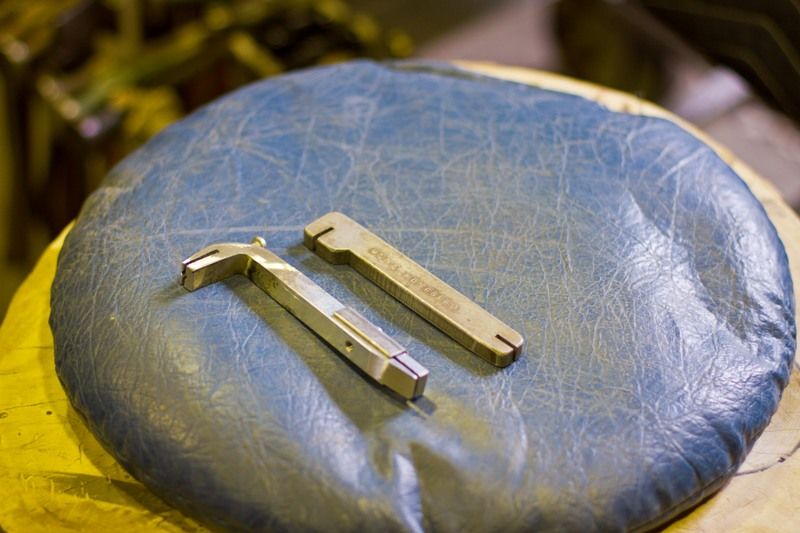
Questions diverted to the "odd looking" vise grips I had brought along, the de-skinning tool:
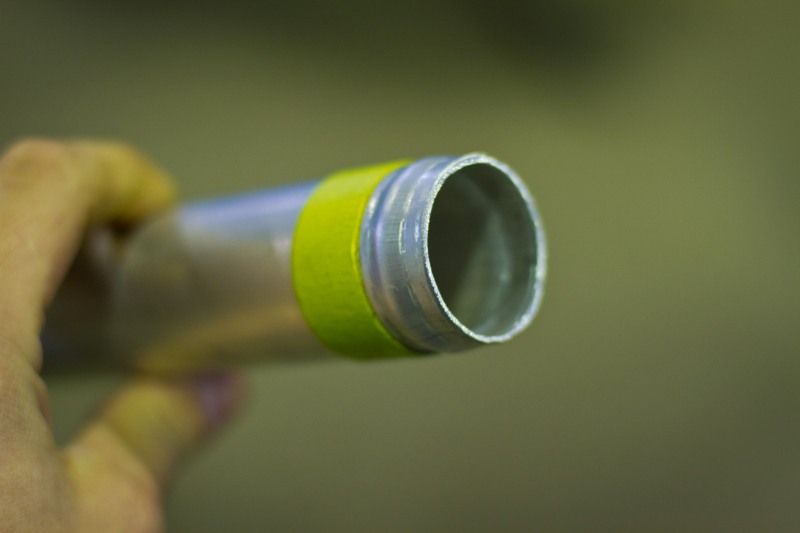
The tube beading tool demonstrated:
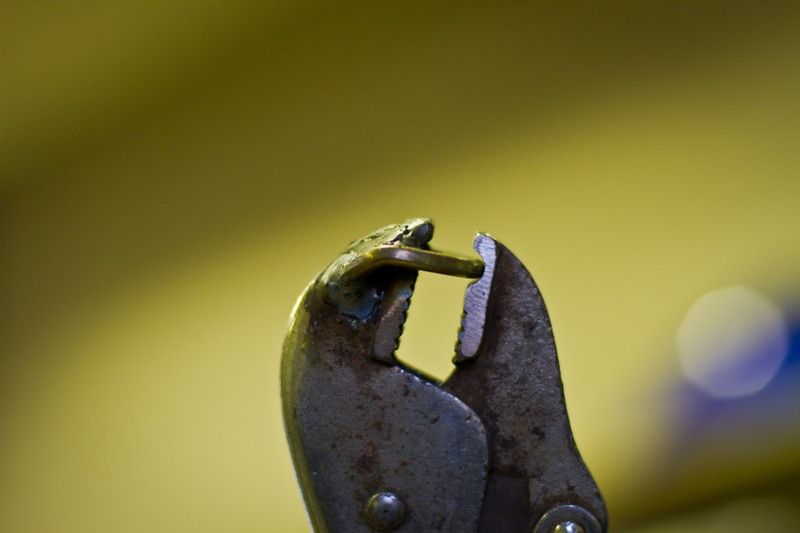
.....and the tuck-shrink pliers...
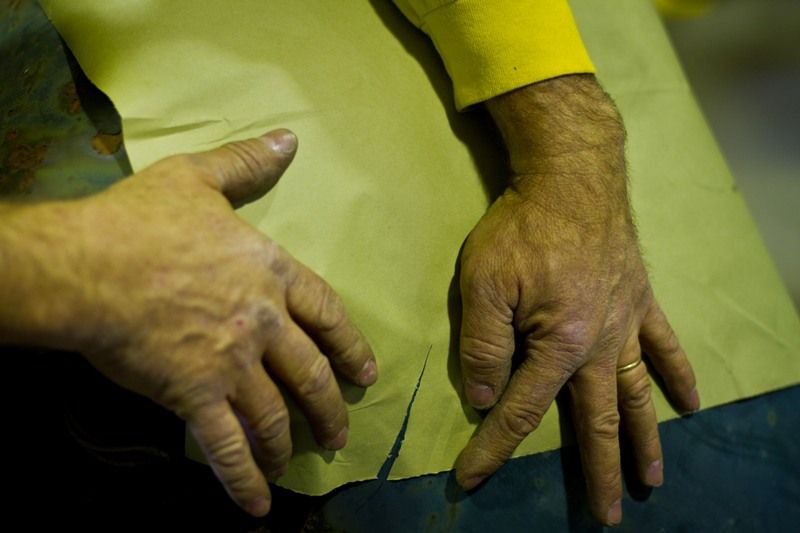
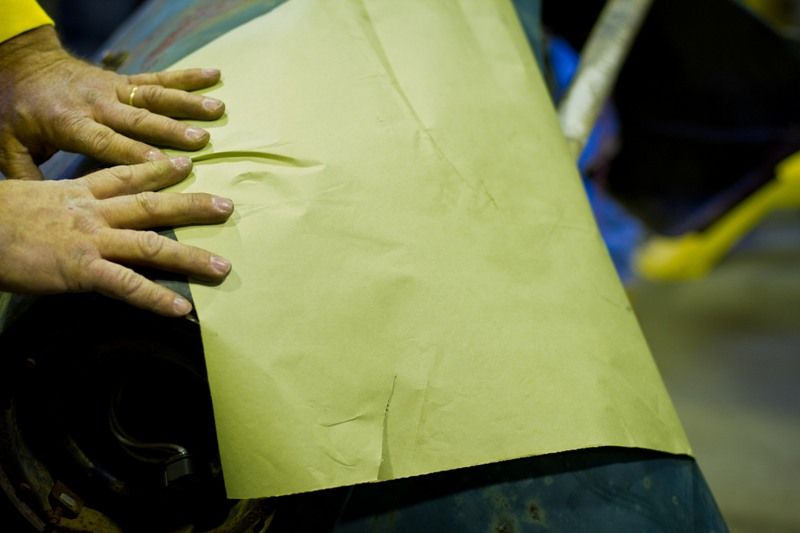
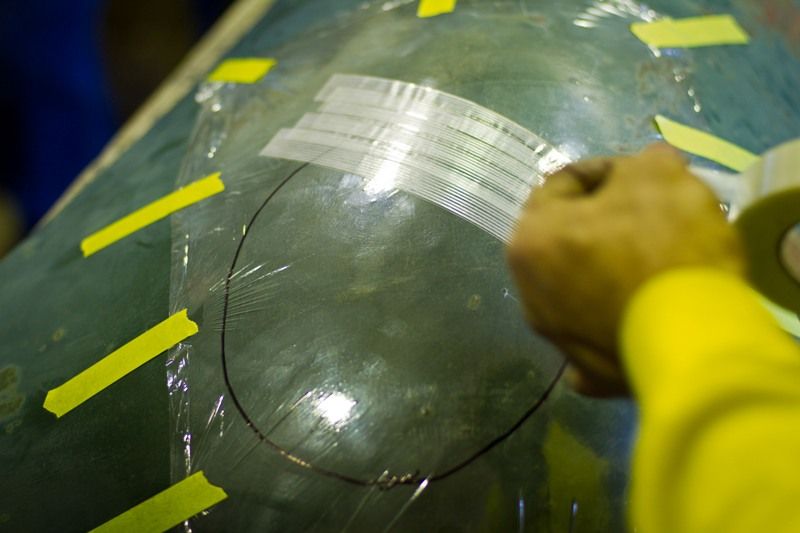
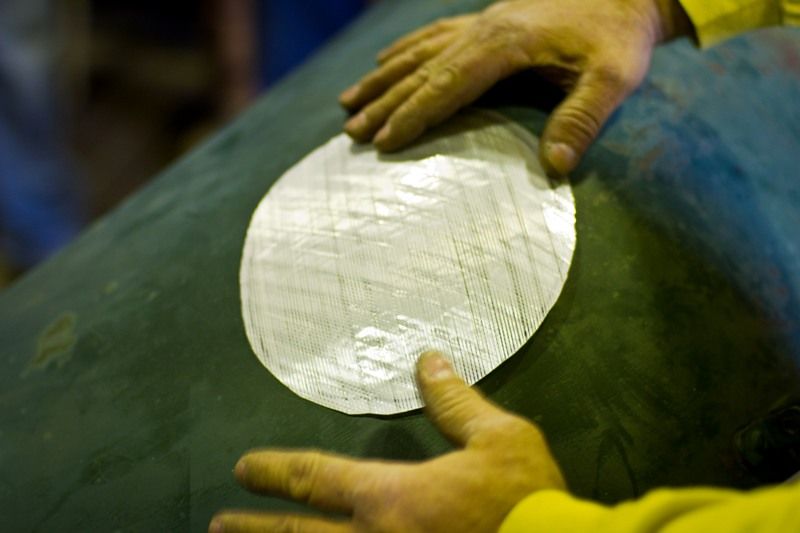
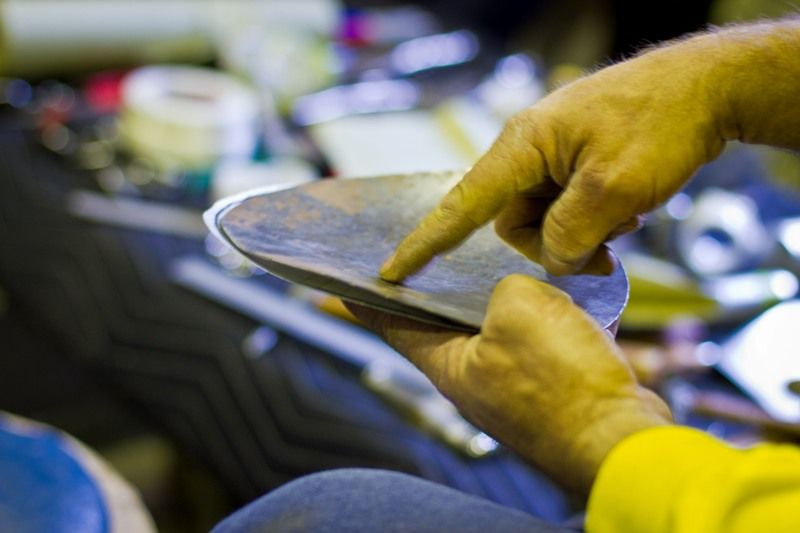
Then we moved on to reading the panel for fabrication of a patch. Starting with a piece of masking paper, forming it tight to the panel, any area showing a pleat would require shrinking, a slit would require stretching.
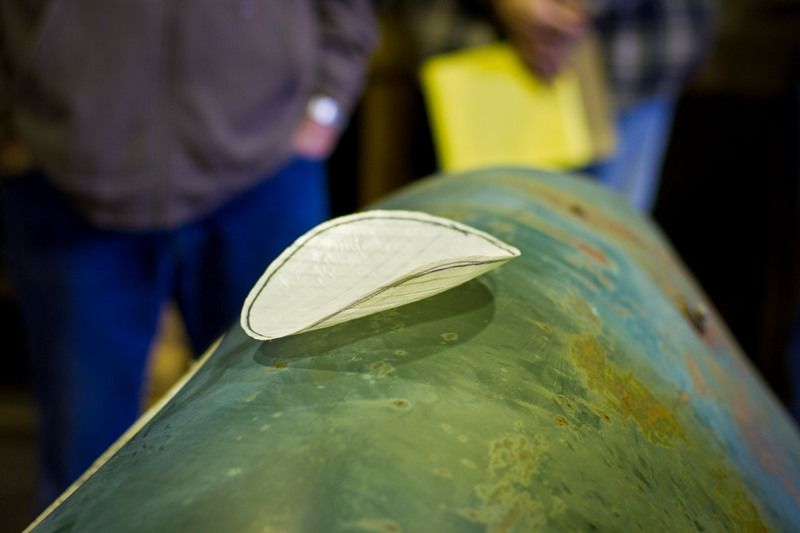
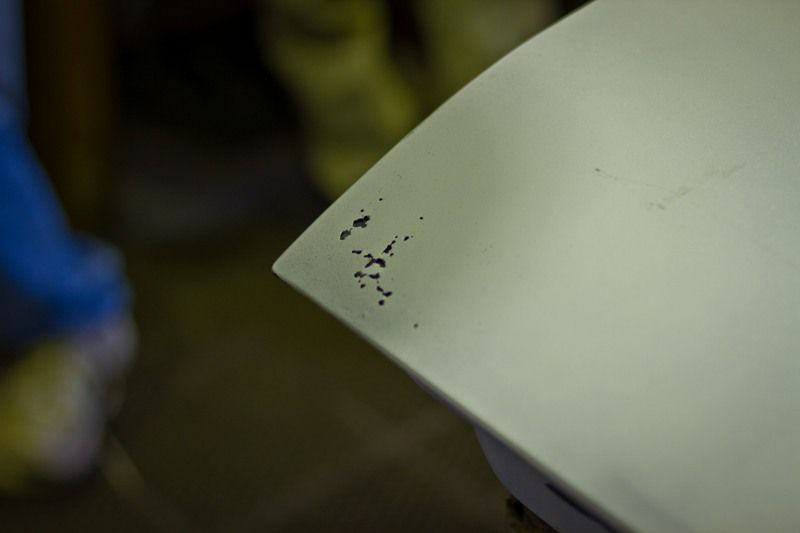
Next, a flexible shape pattern was taken from our circled "sample damage area". Cling wrap was used to act as a release agent, but as the cling didn't, it was stretched across the area and taped in place.
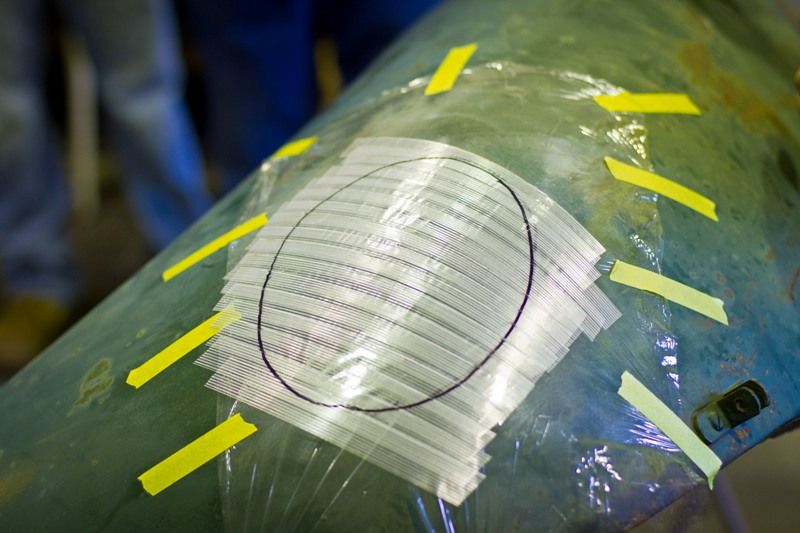
An opposing angle on the second layer helps to lock in the panels shape on the pattern...
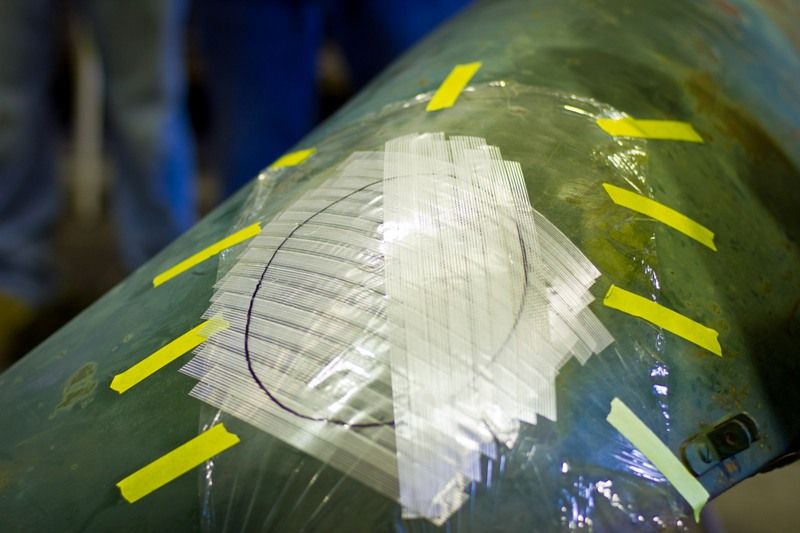
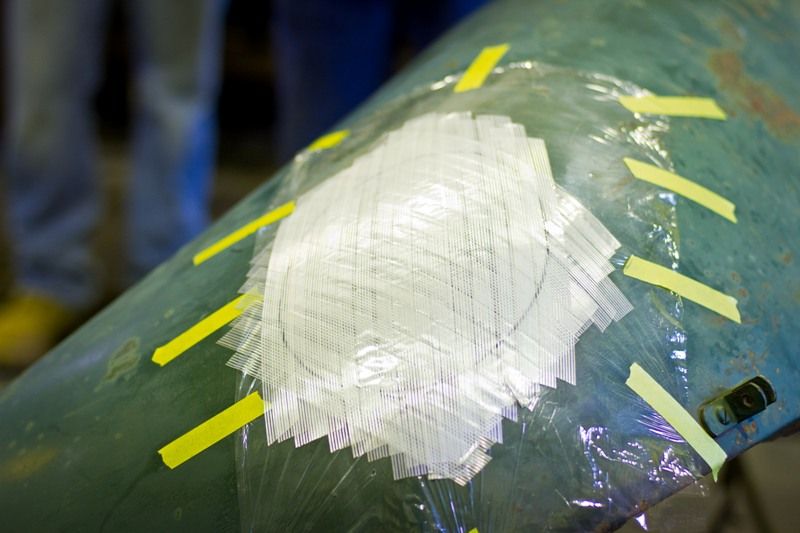
And trimmed off the excess. The reference line surrounding our "damage area" was copied onto each layer to help determine the correct size for the patch panel...
Robert
-
03-11-2013 08:13 PM #5
CHR Member
- Join Date
- Jun 2008
- Location
- Leonardtown
- Car Year, Make, Model: Walking
- Posts
- 1,228
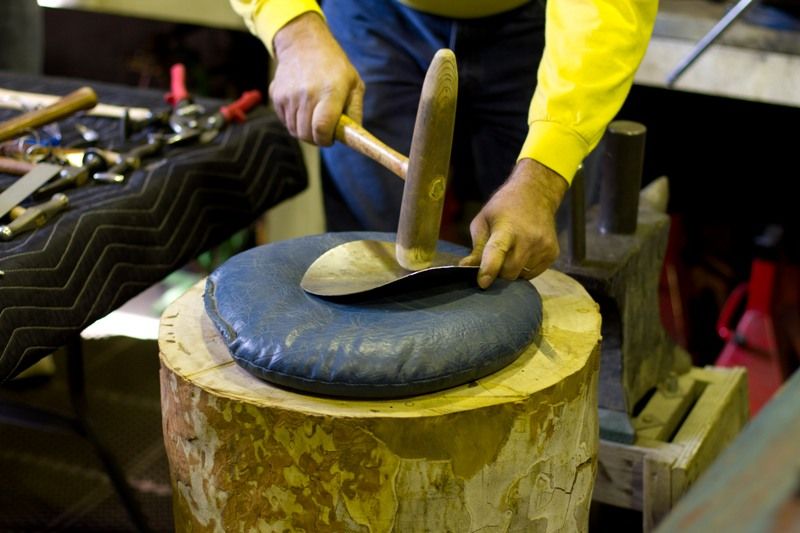
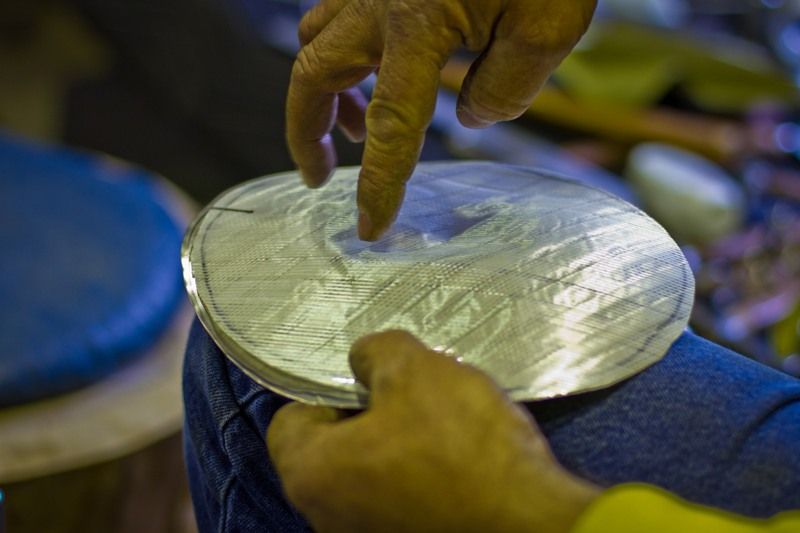
Next, a shot bag was used to hammer out our repair panel. By using the FSP on top of our patch, the loose areas shown indicate more stretch or shape is needed in the panel.. until the pattern reaches a snug fit.. And by simply inverting the pattern it will give us a pattern for the opposite fender.
Next, we showed fabrication of a door skin patch. The outline of the door was marked on the patch, and the width of the flanges added.
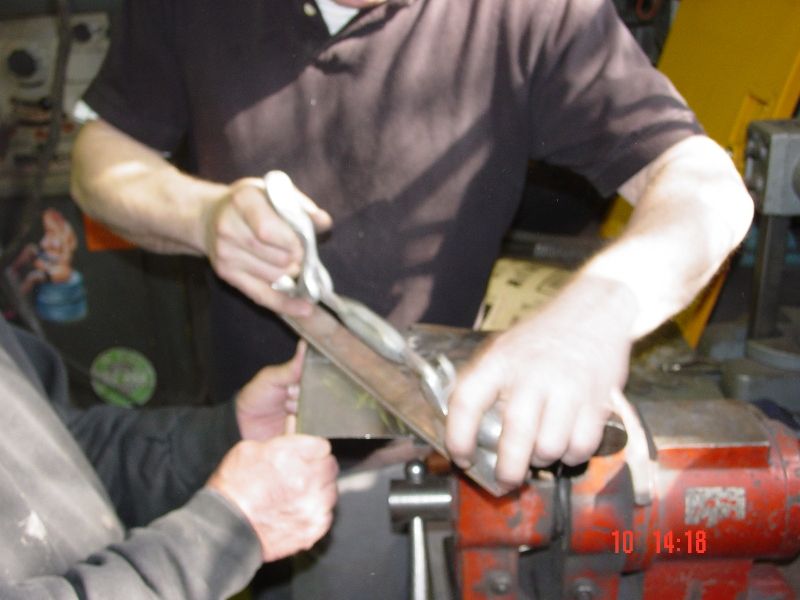
The first trial was done using a cresent wrench, and we found the disadvantage being no depth stop. These tools show a fixed depth tool and an adjustable depth tool..
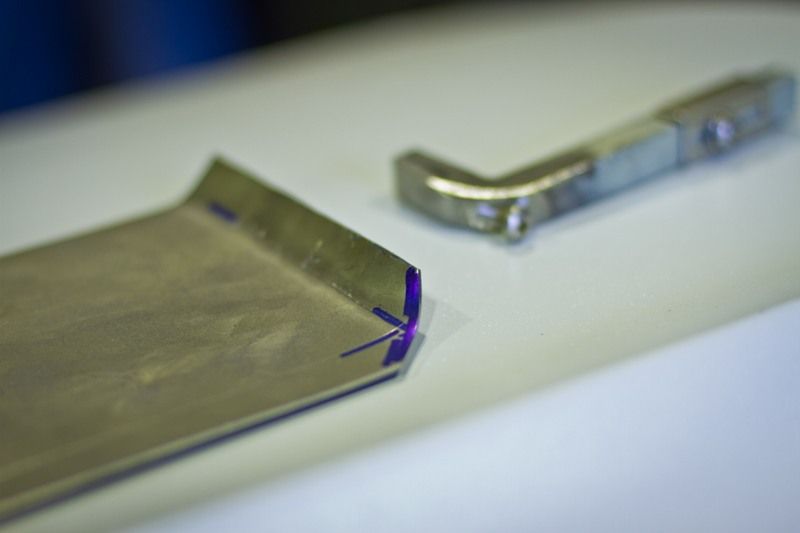
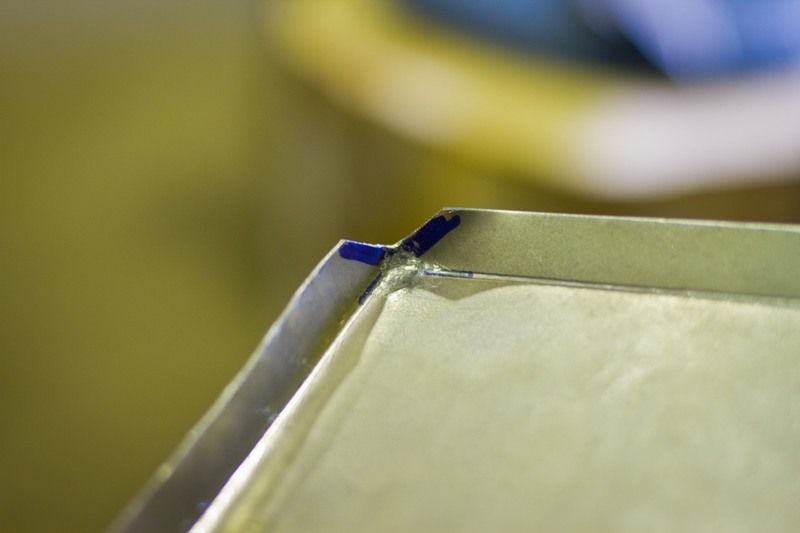
And then the tipping wheel in the bead roller showed another method. After both flanges had been tipped, one of OJ's drift punches clamped in the vise became a radius anvil for the corner....
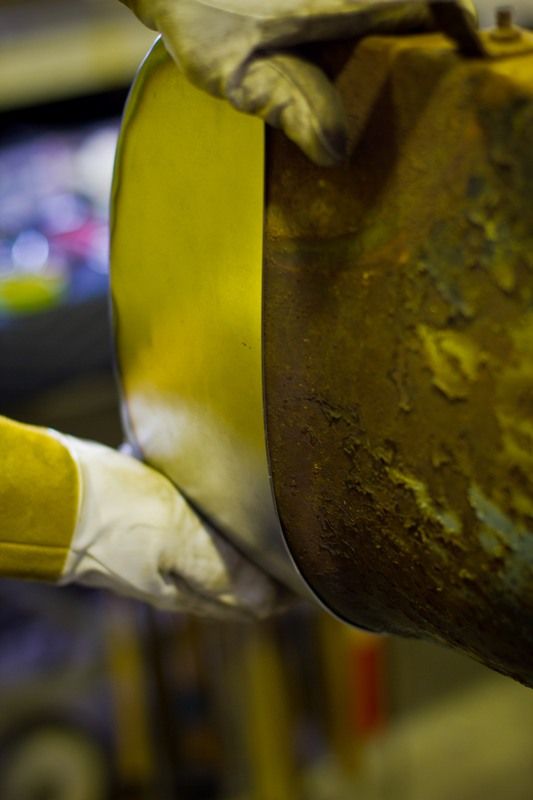
Then we wrapped up a few of the different lessons together in forming a patch for the bottom of a Stovebolt rear fender. Many fenders of this vintage are plagued with rust around the running board attachment area, and this sample also showed a stress crack or two.
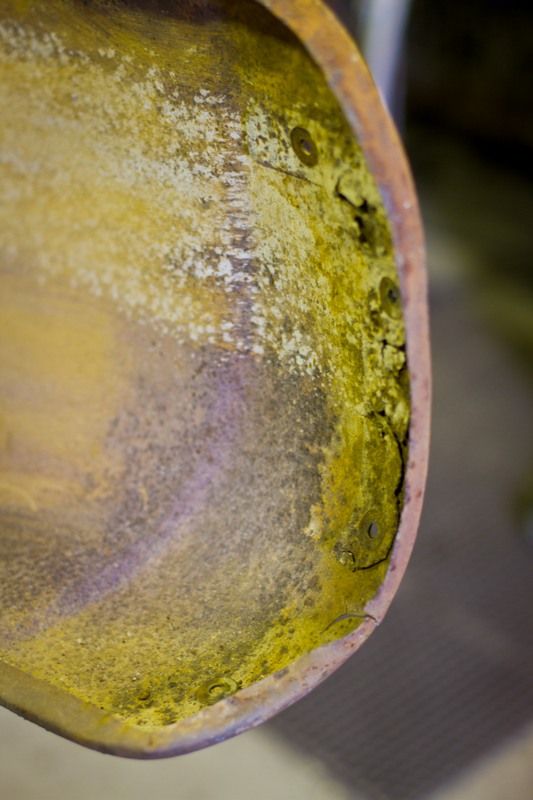
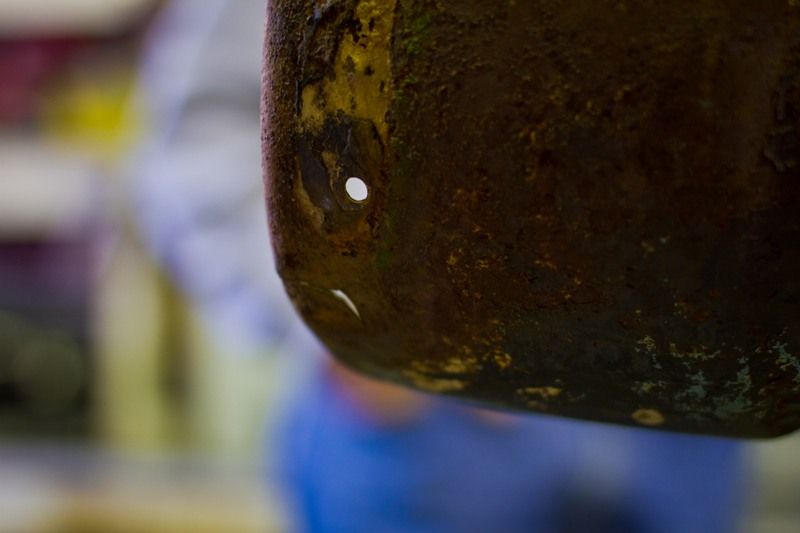
This patch needed rolling, a bit of stretching in the shot bag to add crown, tipping flanges, and a bit of tuck shrinking.
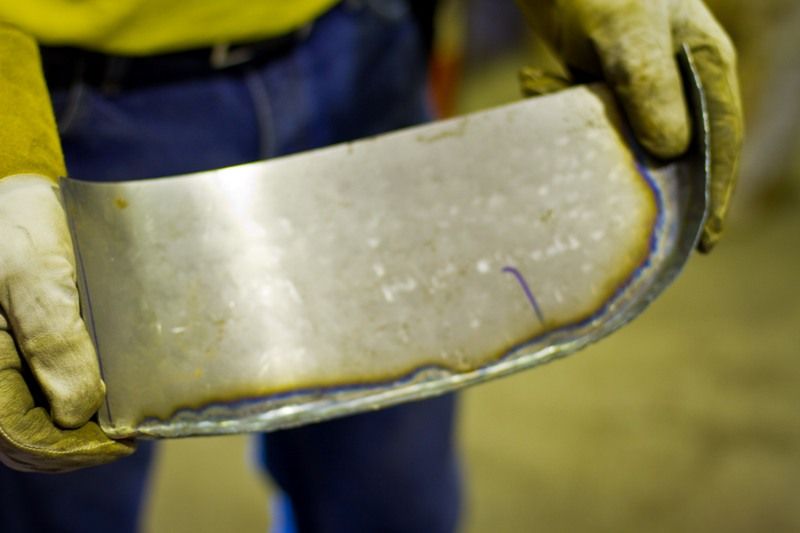
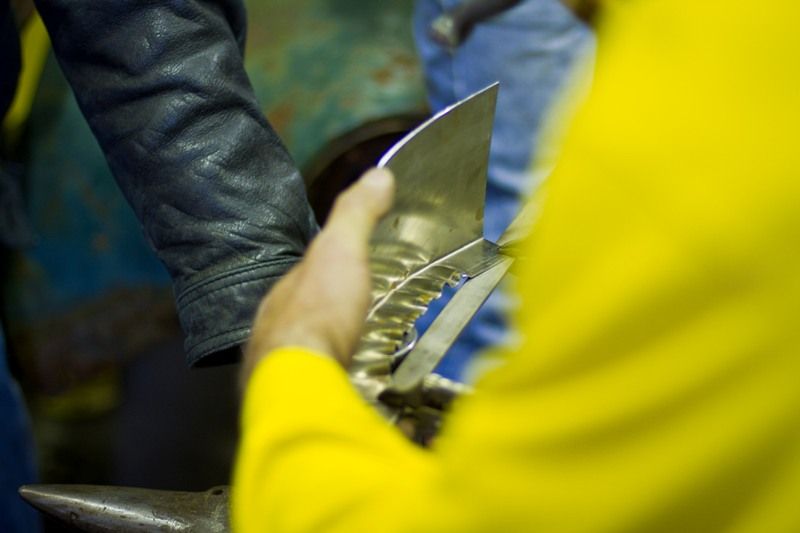
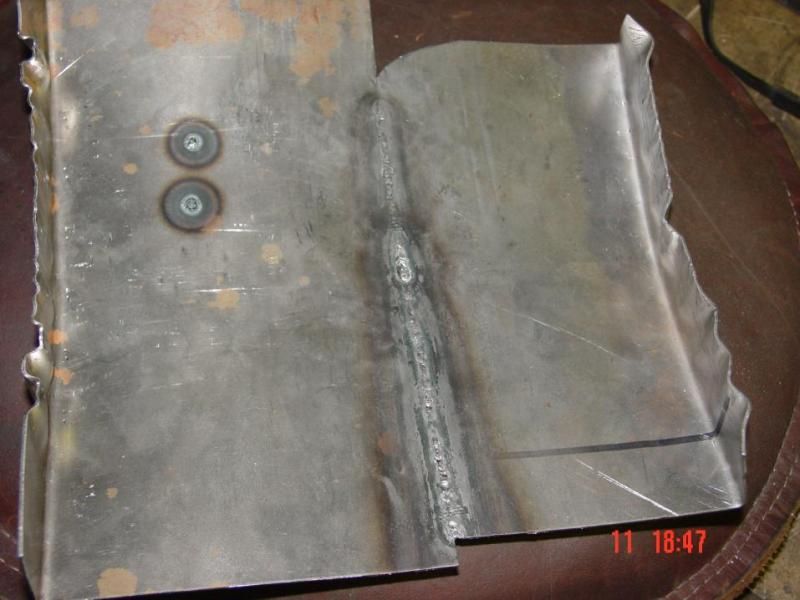
James Bowler showed fusion welding using the Tig. Two formed pieces were welded together and with a bit of filing and shaping, the outer seam was invisible...
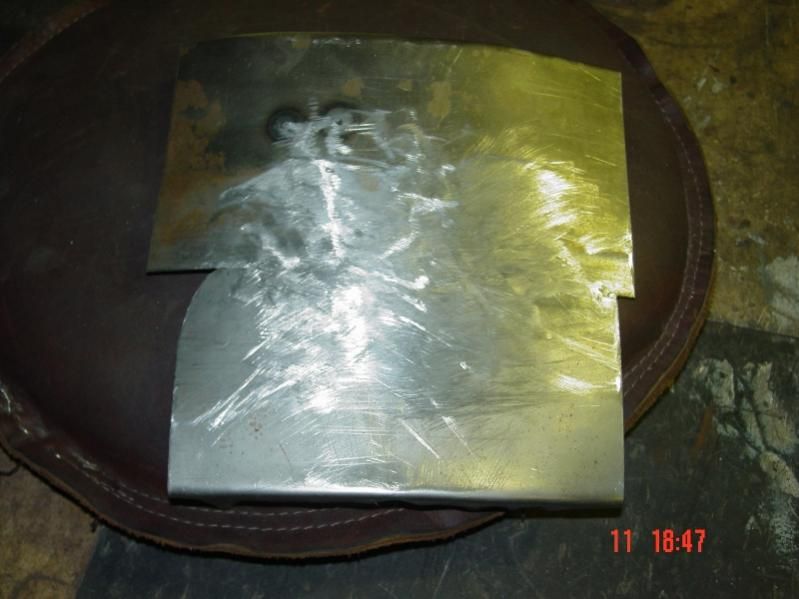
....and here is the rear view...
I think everyone had a good time, we answered many questions, OJ kept everyone well fed, all in all a good day..Robert
-
03-11-2013 08:41 PM #6
CHR Member
- Join Date
- Feb 2007
- Location
- Santa Monica
- Car Year, Make, Model: 37 Ford tudor humpback
- Posts
- 1,988
Thanks for sharing, Robert!!!"It is not much good thinking of a thing unless you think it out." - H.G. Wells
-
03-12-2013 02:05 PM #7
Banned
- Join Date
- Feb 2010
- Location
- Roch
- Car Year, Make, Model: 1985 high top Astro van
- Posts
- 2,520

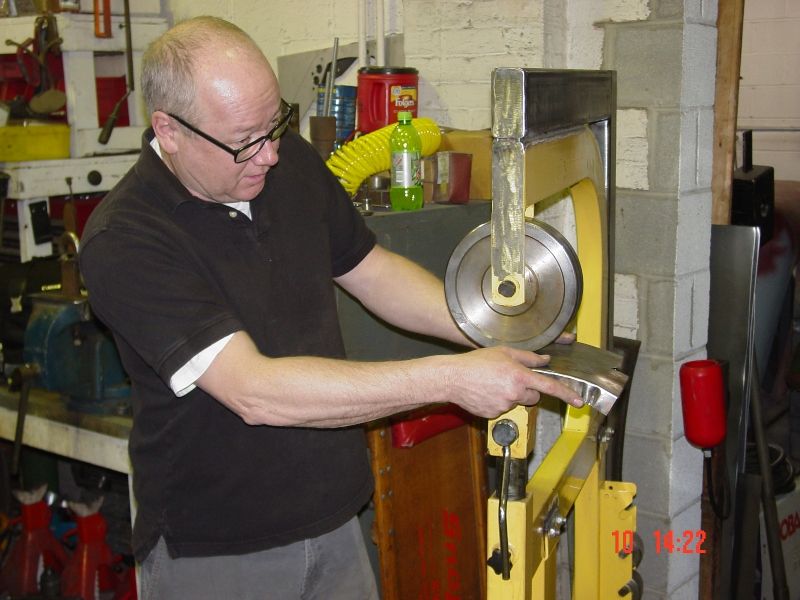
Is that a HF e-wheel weld reinforced??.
-
03-12-2013 02:47 PM #8
CHR Member
- Join Date
- Oct 2003
- Location
- ST.LOUIS
- Car Year, Make, Model: 31 FORD 5 WINDOW,69 442, 305 sprint car,
- Posts
- 1,410
Yep it is, I got one just like it, and despite what ya read and hear they work just fine.... Originally Posted by 1gary

-
03-13-2013 03:52 AM #9
CHR Member
- Join Date
- Jun 2008
- Location
- Leonardtown
- Car Year, Make, Model: Walking
- Posts
- 1,228
Gary, Yes, that's the HF wheel. There are threads online about stiffening the frame, a search should turn up the procedure... Can't remember now where I saw it... Originally Posted by 1gary
Robert
-
03-18-2013 12:00 PM #10
CHR Member
- Join Date
- Jan 2003
- Location
- Centreville
- Car Year, Make, Model: 35 ford 5 window coupe
- Posts
- 691
Thanks for the recap Robert. I was hoping to make it, but I got called in to work. I was there a couple years ago and have seen numerous posts of yours on patch panels, but I would have liked to have seen it all in person. I have a door skin clamped in place that I'm dragging out and I needed a nudge. Slow and steady I guess, but it's a long way across that door..'35 Ford coupe- LT1/T56, '32 Ford pickup, 70 GTO convertible, 06 GTO
Robert
 Reply With Quote

Posting Permissions
- You may not post new threads
- You may not post replies
- You may not post attachments
- You may not edit your posts

This site is up more often lately, but very little traffic.
Dead!