


Thread: 1951 Ford F1 Rat Rod Truck


Results 1 to 15 of 60
 LinkBack URL
 About LinkBacks
Hybrid View
-
08-07-2009 08:31 PM #1
 CHR Member

- Join Date
- Jul 2008
- Location
- Edgewood, New Mexico, United States
- Car Year, Make, Model: 30,34,39,50,54,65,68,70,71,72
- Posts
- 571
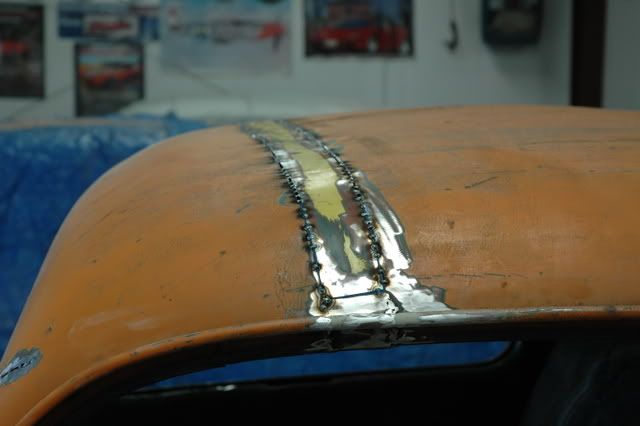
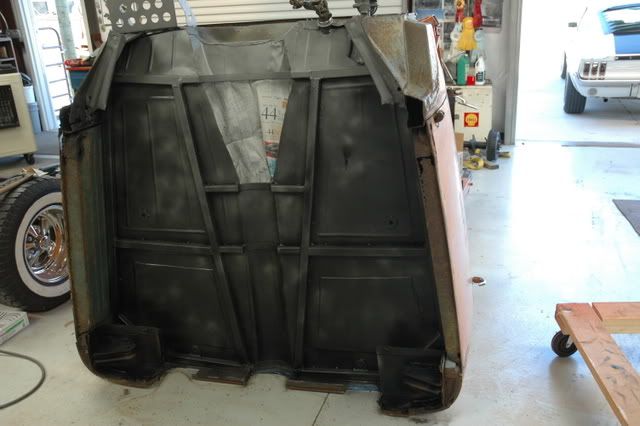
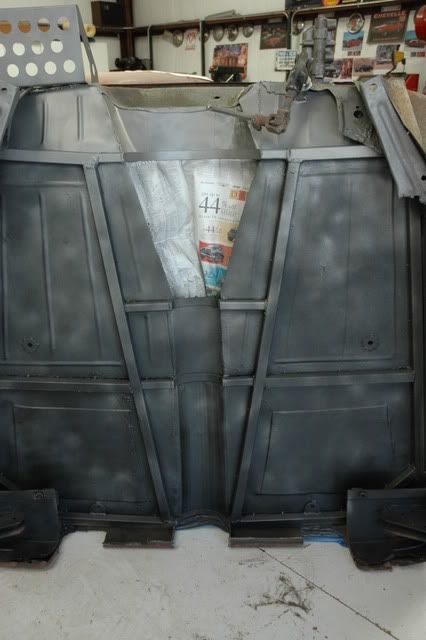
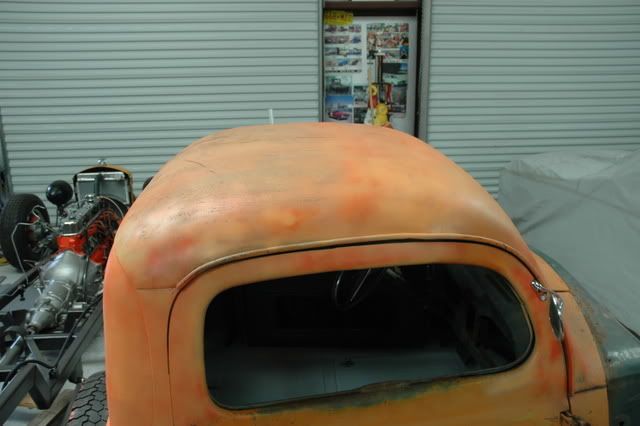
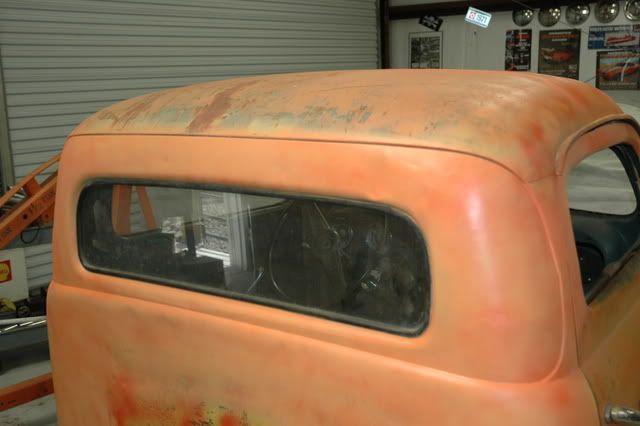
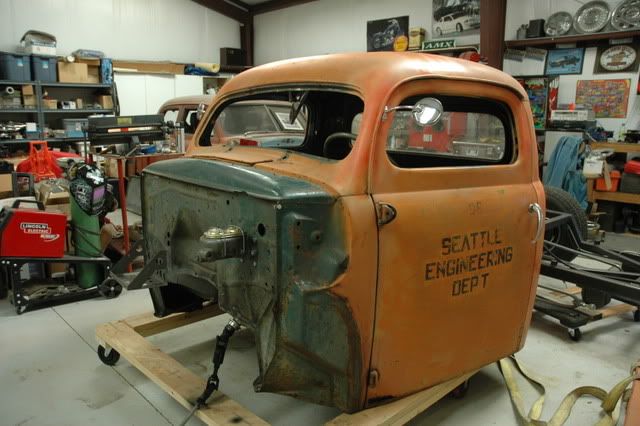
I welded the strip in the roof. and removed all the bracing inside. Finished up some of the welding and slap so Bondo on to how it will look.
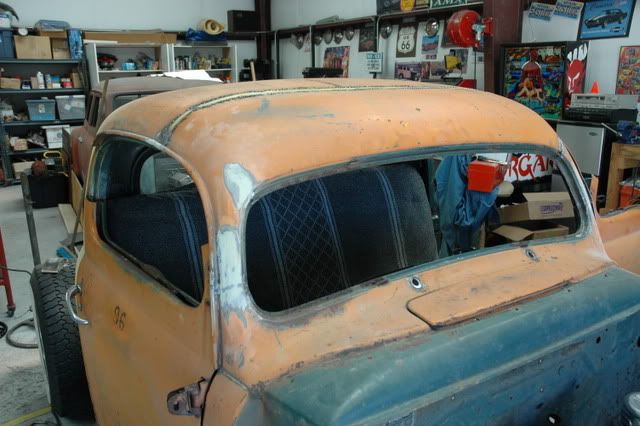
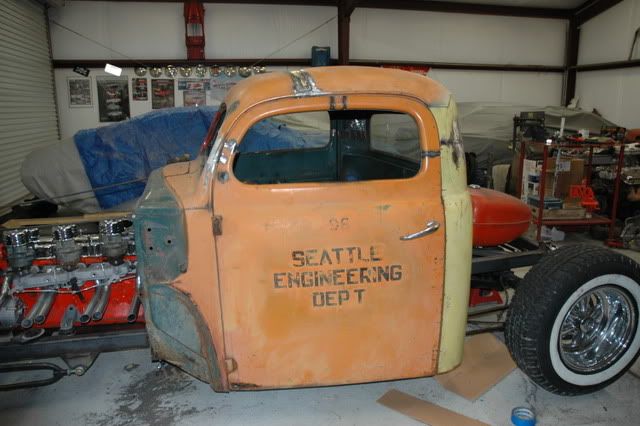
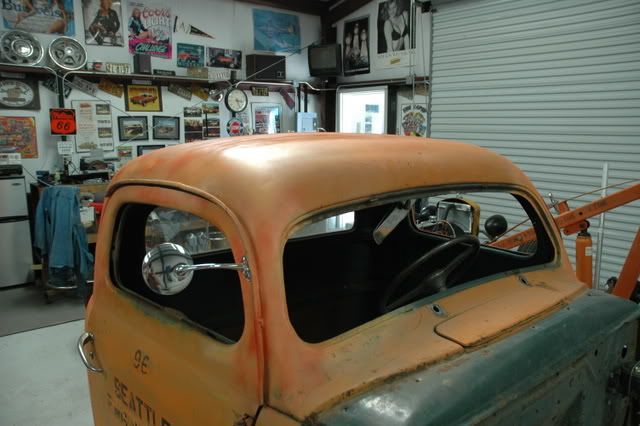
door frames cut and fitted. Still have tons of welding and grinding to do.

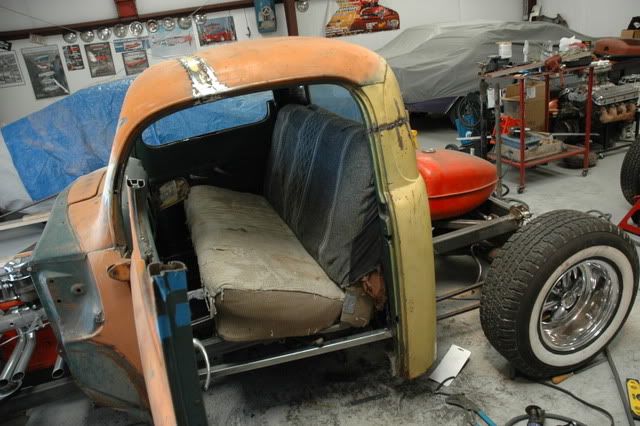
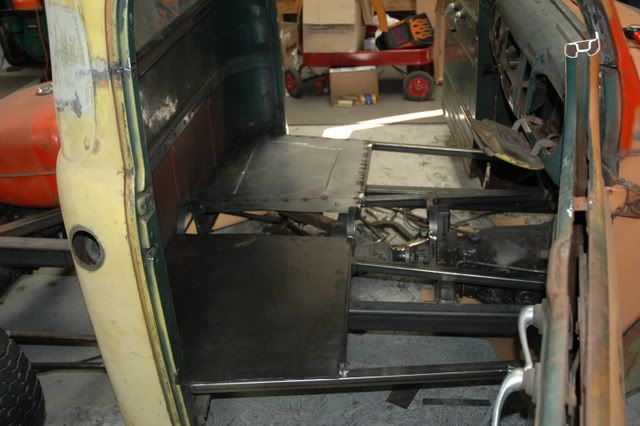
Threw the seat out of 50 Stude in to see if it will fit. It will needs a few modification but will work just fine. I'll need to go to "Old Town" and get some upholstery material (Mexican blankets).
Livin' on Route 66 
-
08-13-2009 09:28 PM #2
CHR Member
- Join Date
- Jul 2008
- Location
- Edgewood, New Mexico, United States
- Car Year, Make, Model: 30,34,39,50,54,65,68,70,71,72
- Posts
- 571
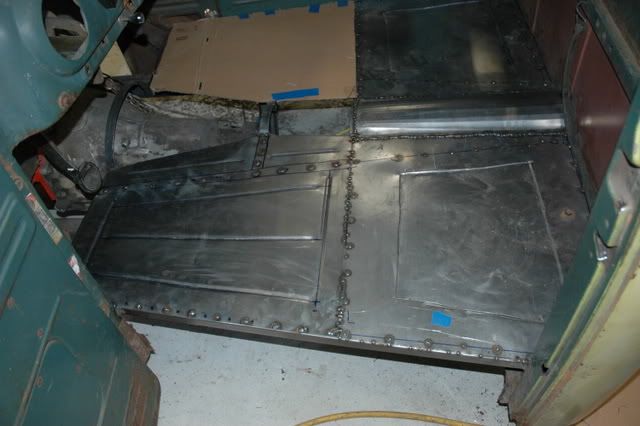
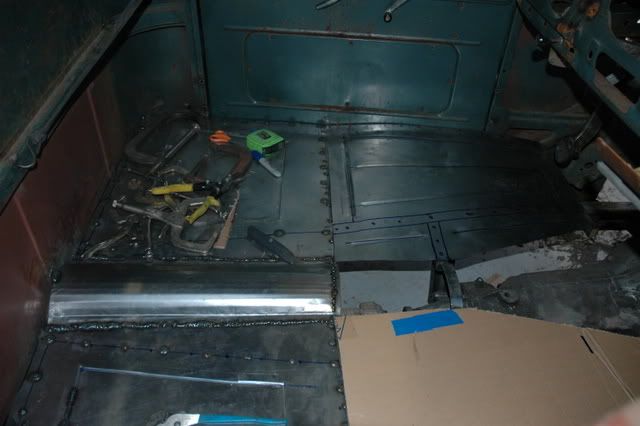
Used some 16 gauge and the bead roller for the floor.
Livin' on Route 66
-
08-13-2009 09:34 PM #3
CHR Member
- Join Date
- Jul 2008
- Location
- Edgewood, New Mexico, United States
- Car Year, Make, Model: 30,34,39,50,54,65,68,70,71,72
- Posts
- 571
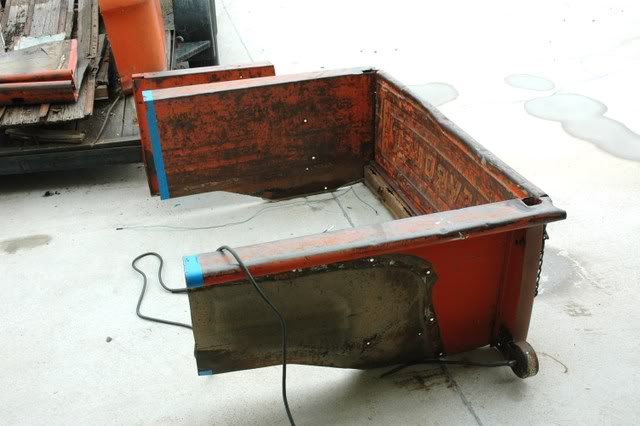
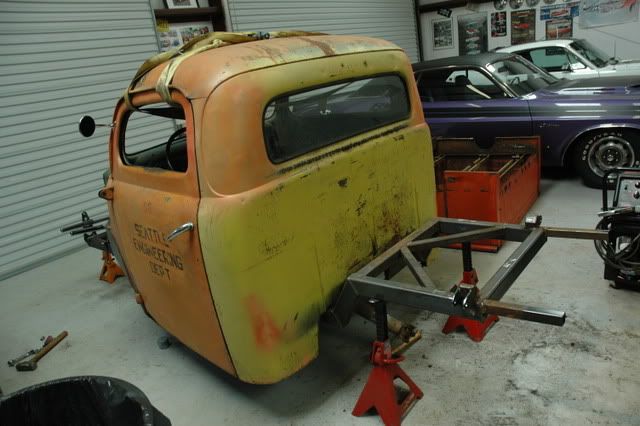
Got a free Chevy bed from a friend. Cut it down to 46" and welded it back together.
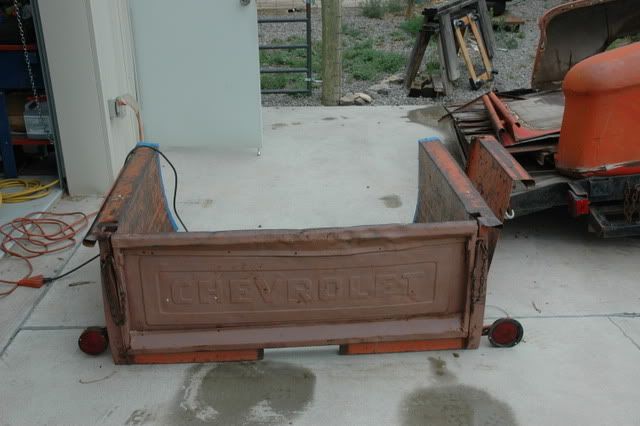
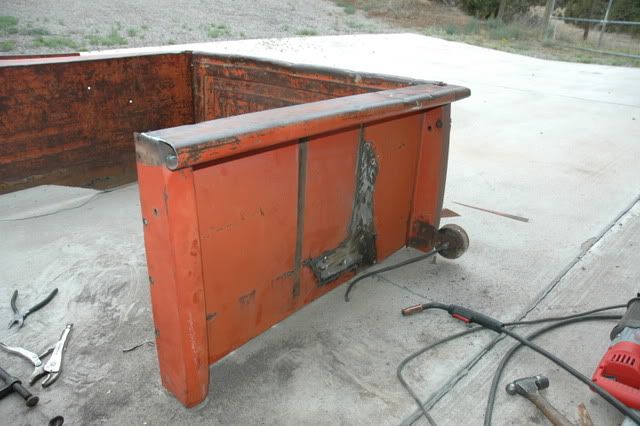
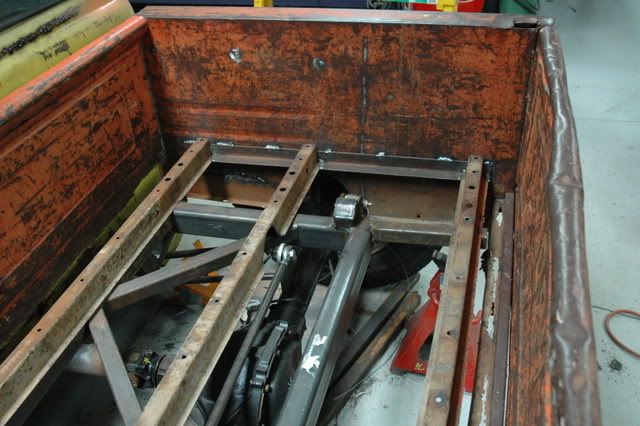
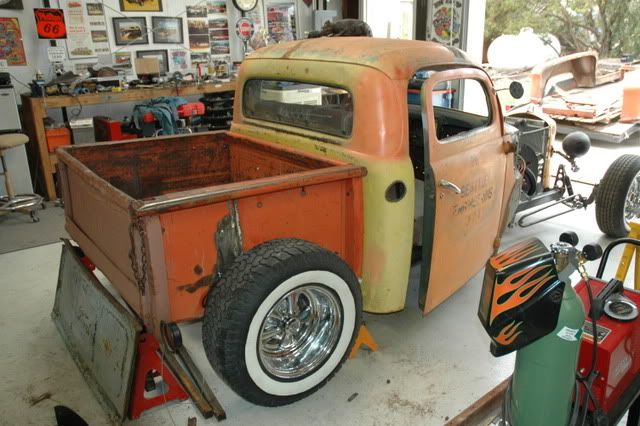
Livin' on Route 66
-
08-13-2009 09:39 PM #4
CHR Member
- Join Date
- Jul 2008
- Location
- Edgewood, New Mexico, United States
- Car Year, Make, Model: 30,34,39,50,54,65,68,70,71,72
- Posts
- 571
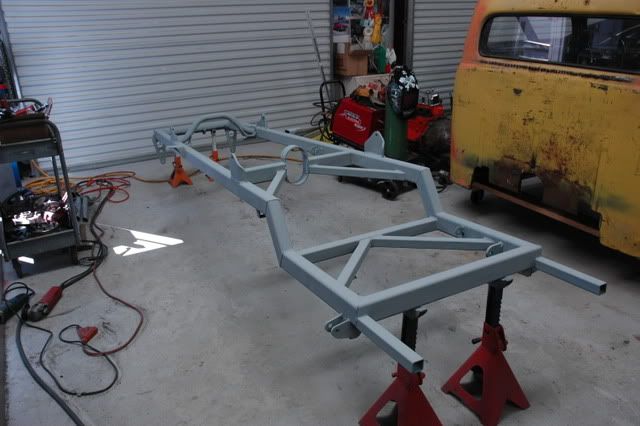
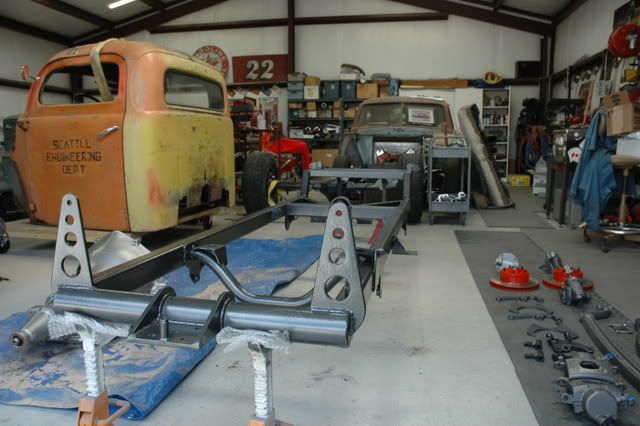
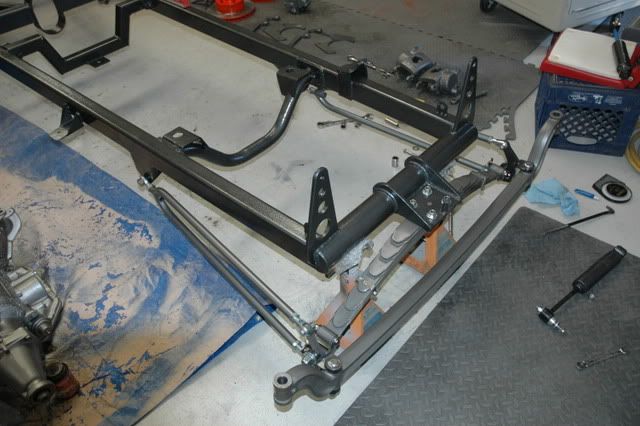
Tearing it apart after mock-up and painting the frame.
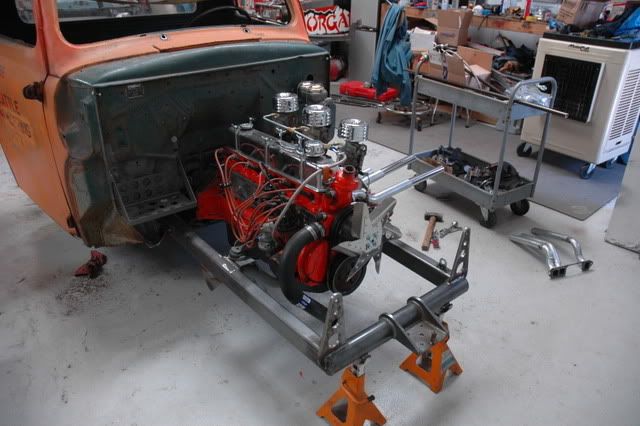
Livin' on Route 66
-
08-13-2009 09:47 PM #5
CHR Member
- Join Date
- Jul 2008
- Location
- Edgewood, New Mexico, United States
- Car Year, Make, Model: 30,34,39,50,54,65,68,70,71,72
- Posts
- 571
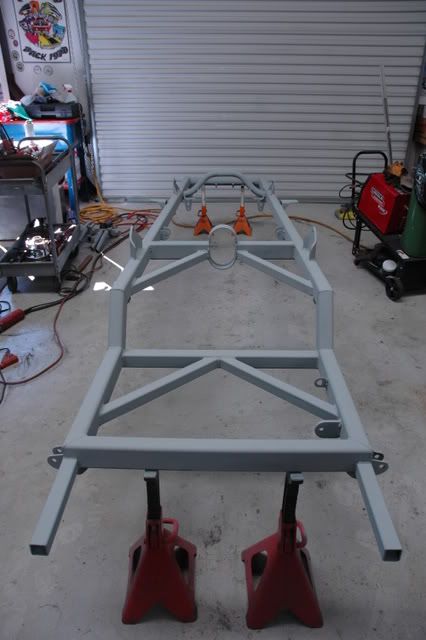
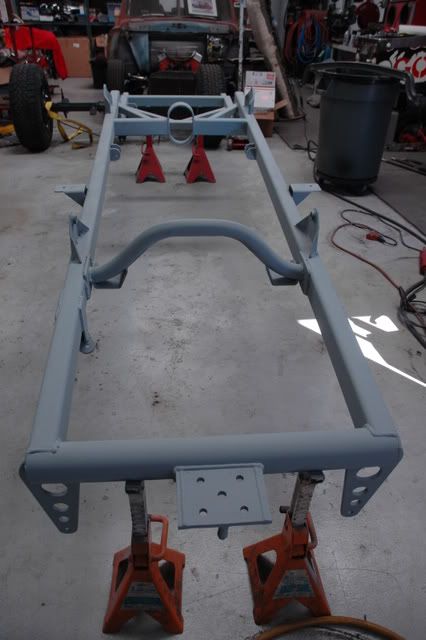
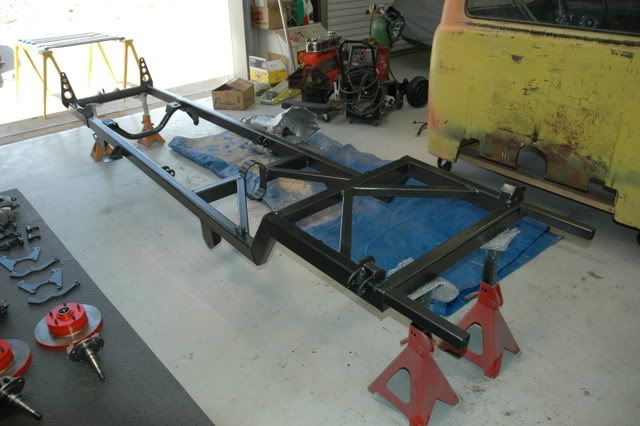
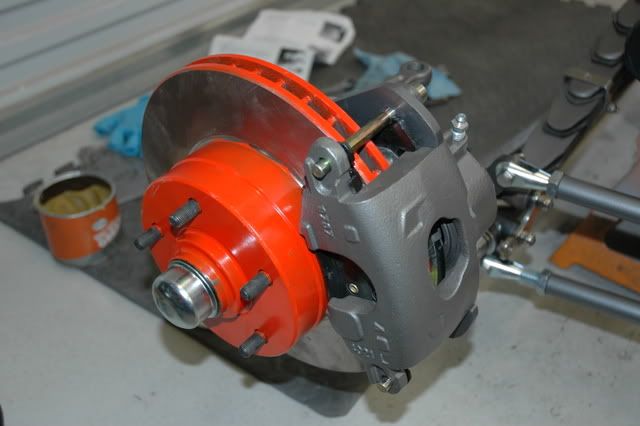
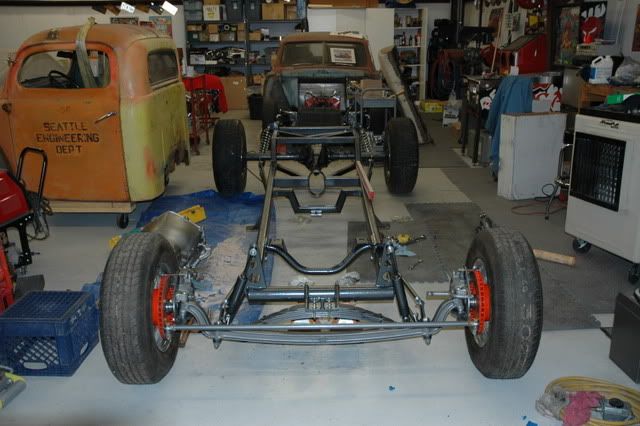
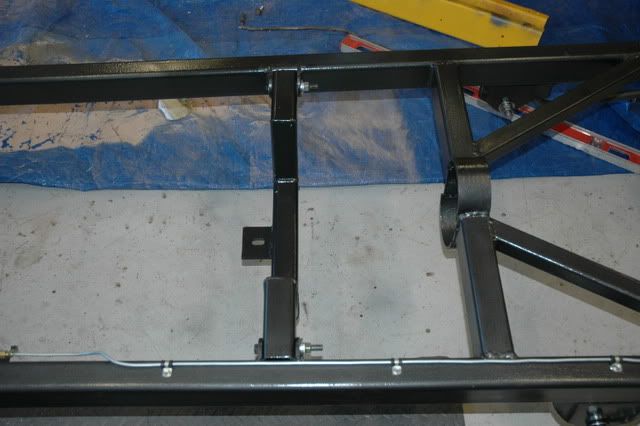
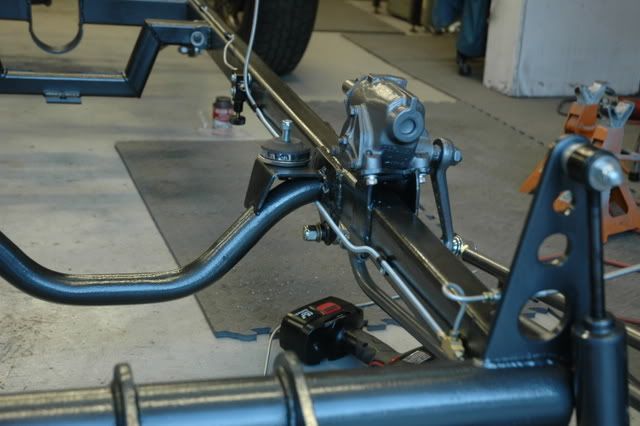
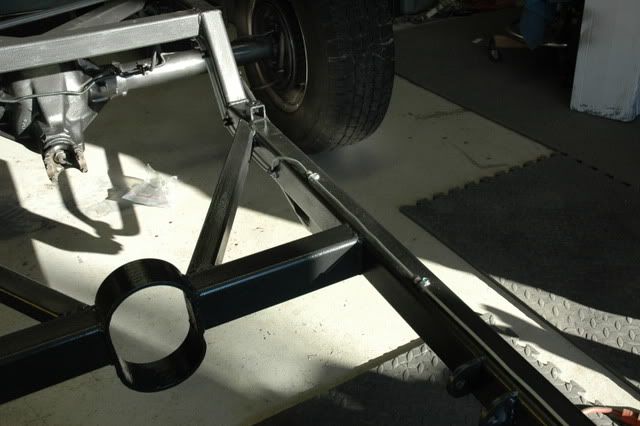
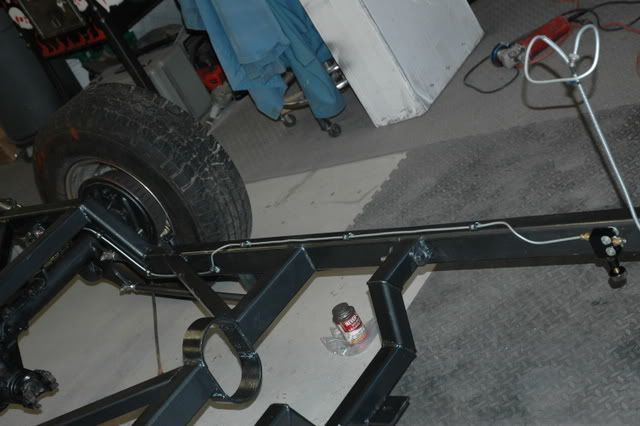
Frame paint and putting it all back together.
Livin' on Route 66
-
08-13-2009 09:54 PM #6
CHR Member
- Join Date
- Jul 2008
- Location
- Edgewood, New Mexico, United States
- Car Year, Make, Model: 30,34,39,50,54,65,68,70,71,72
- Posts
- 571
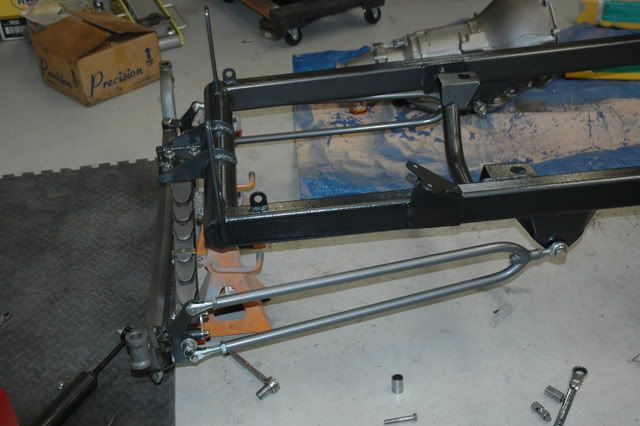
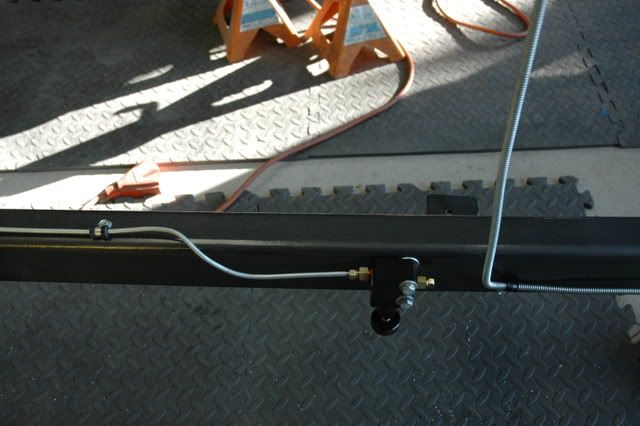
Brake lines bent, ran, and mounted. Using a Wilwood proportioning valve.
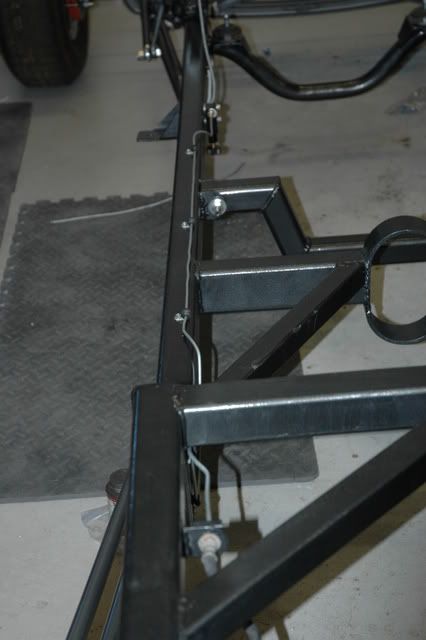
Last edited by dmw56; 08-18-2009 at 08:19 PM.
Livin' on Route 66
-
08-13-2009 09:57 PM #7
CHR Member
- Join Date
- Jul 2008
- Location
- Edgewood, New Mexico, United States
- Car Year, Make, Model: 30,34,39,50,54,65,68,70,71,72
- Posts
- 571
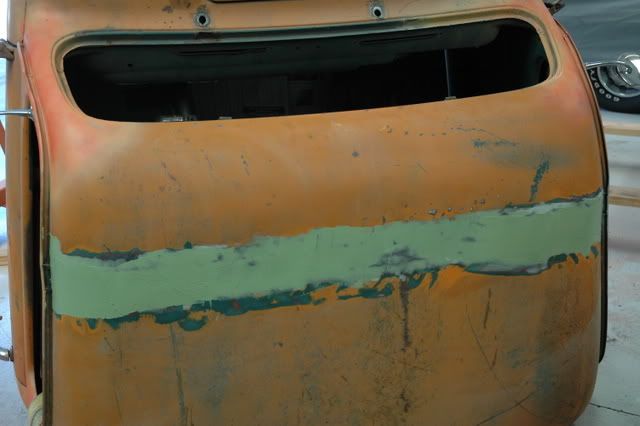
Paint and body work completed.
Livin' on Route 66
-
11-19-2009 06:52 PM #8
CHR Member
- Join Date
- Nov 2009
- Location
- Cornwallville
- Posts
- 26
Great job of detailing the chop process. It will be useful when I attempt the chop of the 35. You obviously had to add the same amount of filler to the top of the door frame to equal the gap you had in the roof, correct? Did you use a piece of the material that you cut off the door frame? That all has to be done to keep the winshield posts on the same angle, right? I hope you understand what I am asking.
-
11-19-2009 07:26 PM #9
CHR Member
- Join Date
- Jul 2008
- Location
- Edgewood, New Mexico, United States
- Car Year, Make, Model: 30,34,39,50,54,65,68,70,71,72
- Posts
- 571
Yes the piece I cut out of the door in the front was welded back in the top of the door frame to lengthen it. Originally Posted by tuhll

You can also tilt the "A" pillar of the cab back and the "A' pillar of the roof foreward so you won't have to splice a piece in the roof. You will need to do the same with the doors. It will give it a more aggressive look.Livin' on Route 66
 Reply With Quote

Posting Permissions
- You may not post new threads
- You may not post replies
- You may not post attachments
- You may not edit your posts

A belated Happy 78th Birthday Roger Spears
Belated Happy Birthday