


Thread: The Roofus Special


Results 316 to 330 of 375
 LinkBack URL
 About LinkBacks
-
01-16-2012 06:18 AM #316
 CHR Member

- Join Date
- Mar 2007
- Location
- festus
- Car Year, Make, Model: 48 Plymouth, 48,54 Heap
- Posts
- 3,407
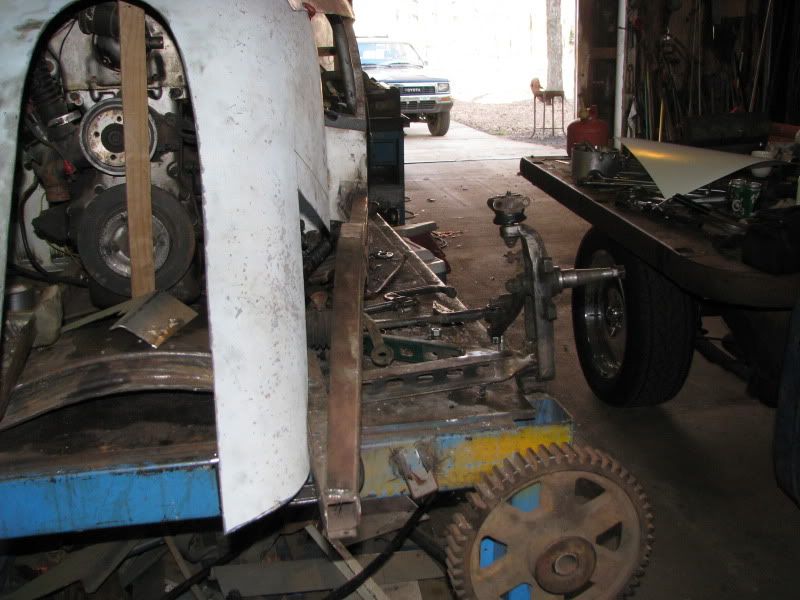
You've come a long way on this. Mocking up the nose and hood has to be a big motivator; it really shows what the final shape is going to look like.
-
Advertising

- Google Adsense
- REGISTERED USERS DO NOT SEE THIS AD
-
01-16-2012 08:47 AM #317
CHR Member
- Join Date
- Jul 2003
- Location
- Kentucky
- Car Year, Make, Model: 47 Seagrave
- Posts
- 683
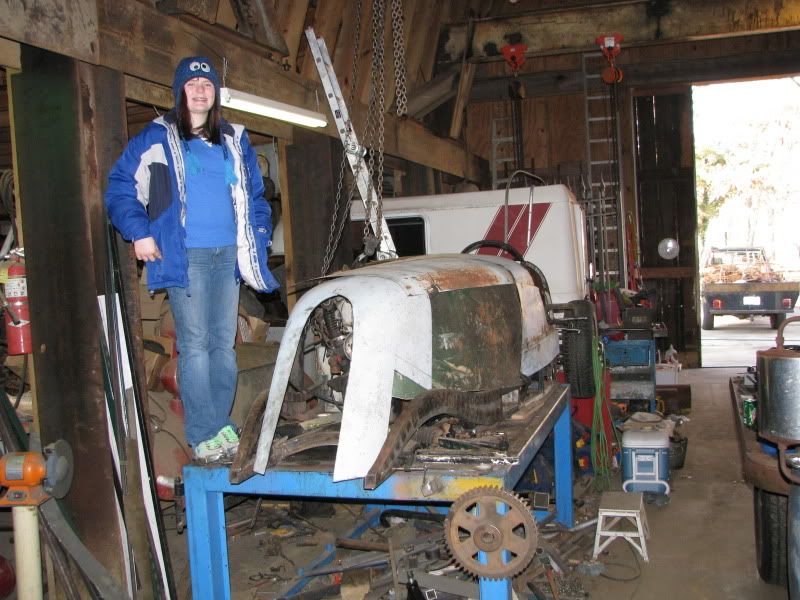
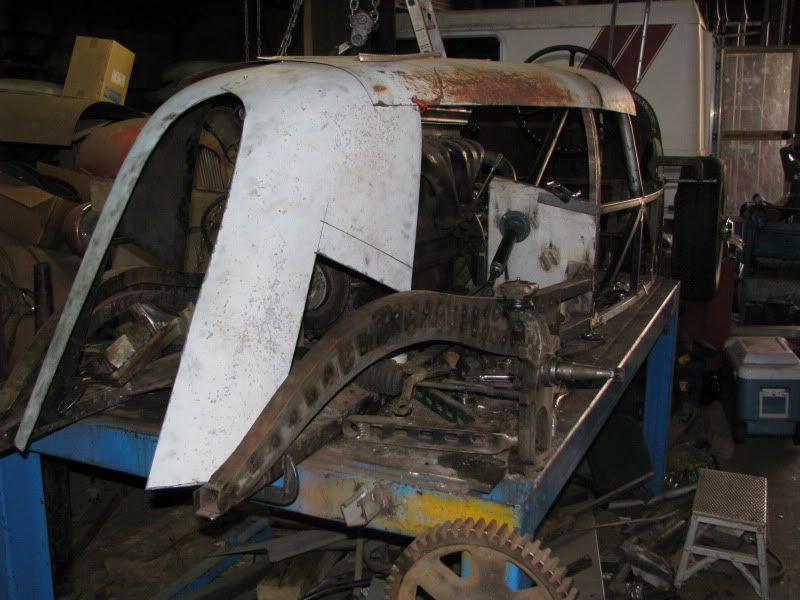
To be honest, taking this pic suprised me. I thought the car was going to be taller than it is. Originally Posted by falconvan

There are two things in life where penetration is really important.....and one of them is welding.
-
02-27-2012 07:49 AM #318
CHR Member
- Join Date
- Jul 2003
- Location
- Kentucky
- Car Year, Make, Model: 47 Seagrave
- Posts
- 683
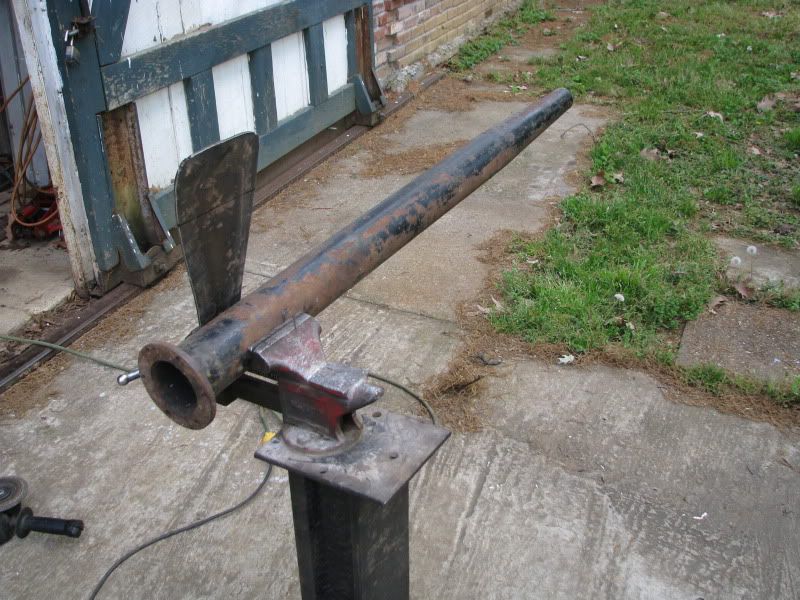
I finally got a chance to do something!
I had a general idea of how I wanted to do my trans mount, but had no idea of how the trans tunnel would tie in. Everything I visualized got real complicated.
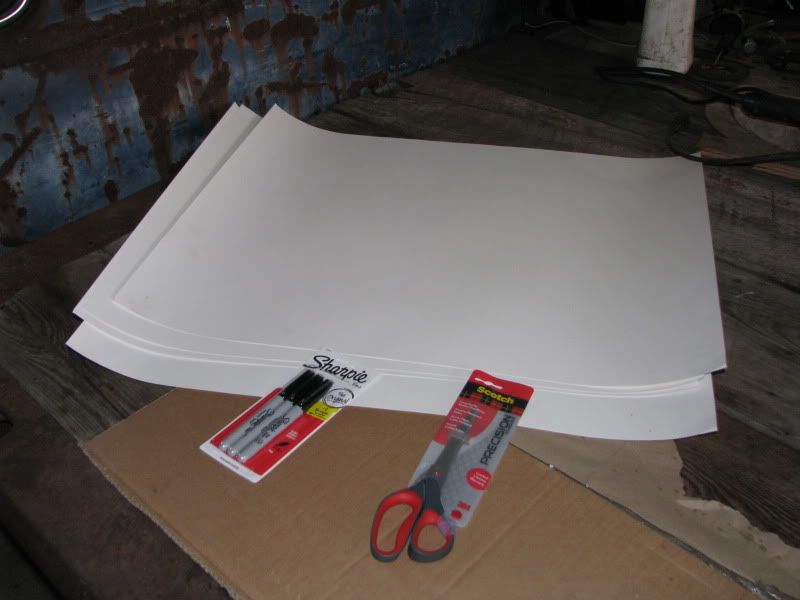
I went to wally-world and picked up posterboard to play with.
It worked great to eliminate a couple of ideas that didn't work in real life.
I started off making fronts to the seat bases. The beefed up bead roller is fun to use (as uposed to frustrating).
I then traced the panels to see the "box" th trans mount had to fit in.

I mocked up a mount in posterboard. It worked good enough to transfer to steel.
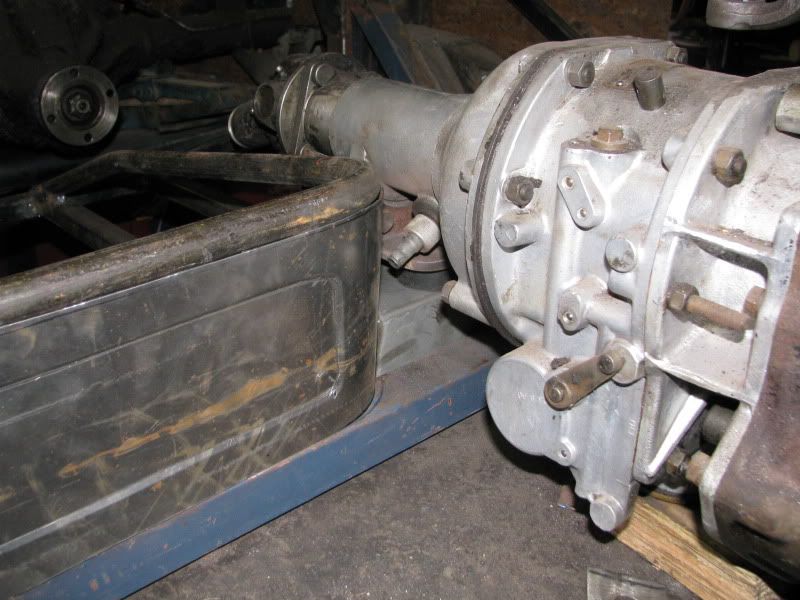
Even though it is a short span between the seats, I felt the mount needed more beef.
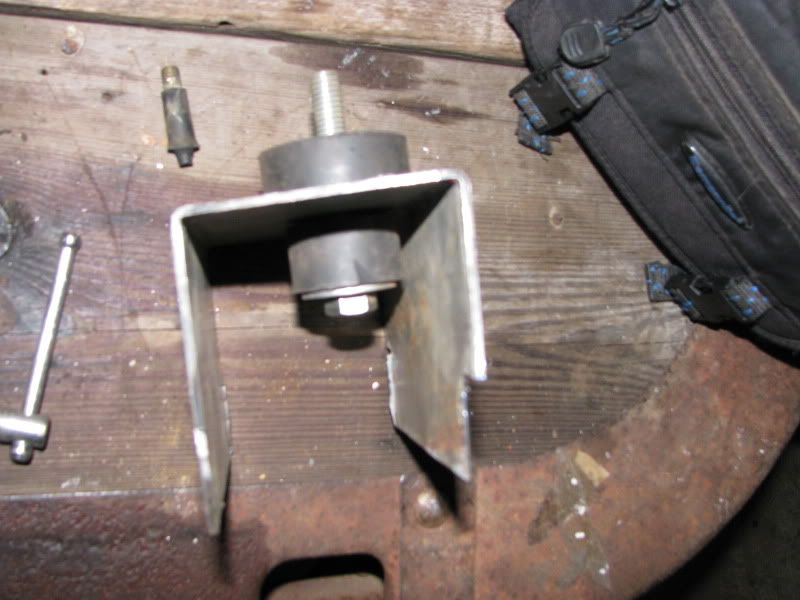
I bent up a simple reinforcement to double the material and add gussets
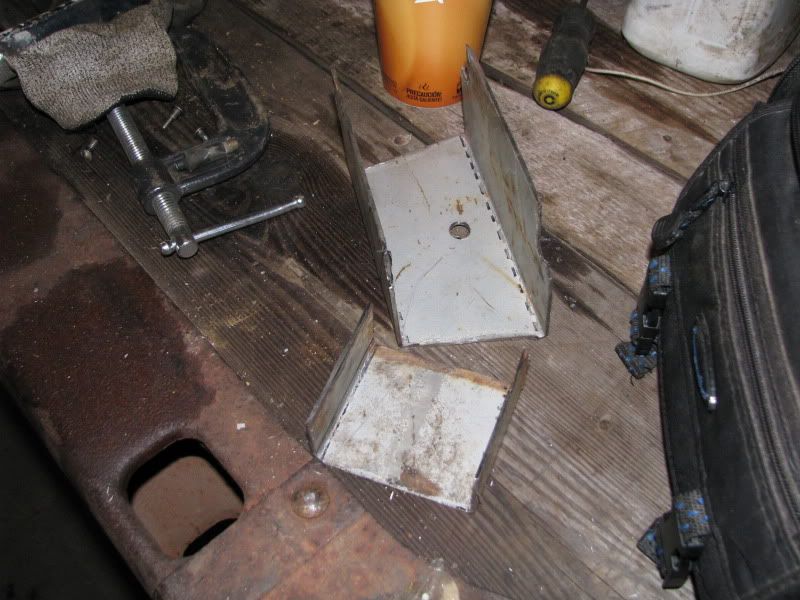
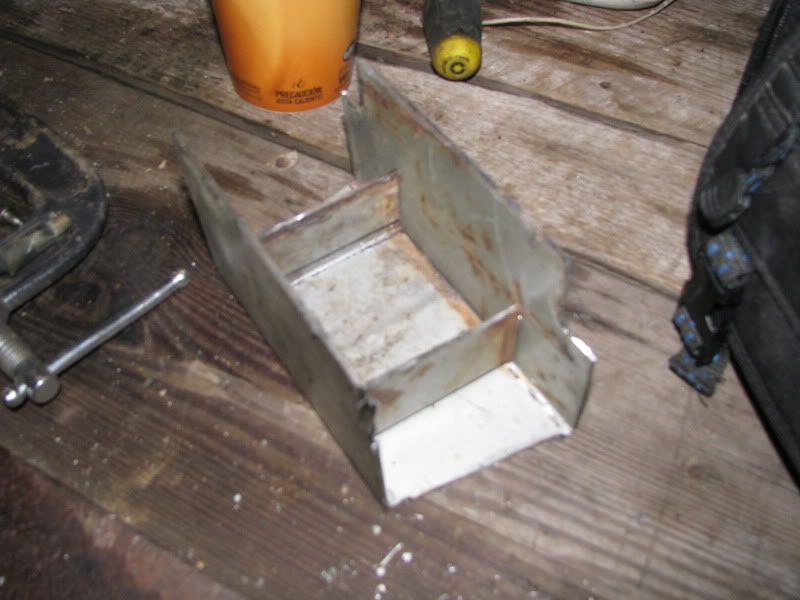

now for the tunnel
I screwed around with the idea of a beefy safety loop, but nothing seemed to work. In the end I just made a simple tunnel.
First in posterboard
then in steel


Nothing is welded in. I am considering bead rolling the tunnel, but need to know where the seat back will be before I can finalize a design.
....and I also plan to have a bolt in piece at the front of the tunnel to seal off around the trans.There are two things in life where penetration is really important.....and one of them is welding.
-
02-28-2012 06:46 AM #319
CHR Member
- Join Date
- Jul 2003
- Location
- Kentucky
- Car Year, Make, Model: 47 Seagrave
- Posts
- 683
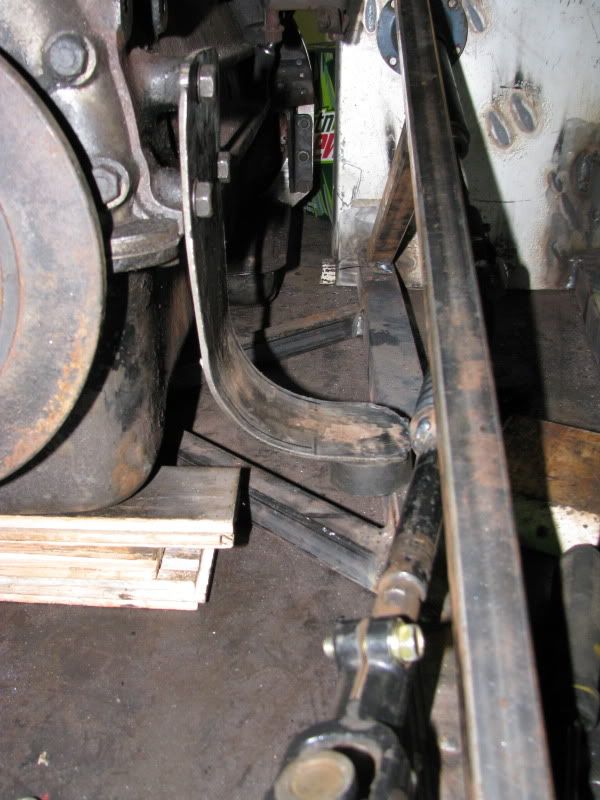
I also, played with front end pieces too....trying to figure out what my upper control arms might look like. I did a comparison of front spindle relative to the bottom of the car and the current rear "ride height". ...the front is about 2.5 to 3 inches lower (spindle higher). It ought to be fun trying to make this crazy mismatch of parts sit right. It should be plenty low.
There are two things in life where penetration is really important.....and one of them is welding.
-
02-28-2012 07:00 AM #320
CHR Member/Contributor
- Join Date
- Sep 2007
- Location
- Gardner, KS
- Car Year, Make, Model: '33 HiBoy Coupe, '32 HiBoy Roadster
- Posts
- 11,244
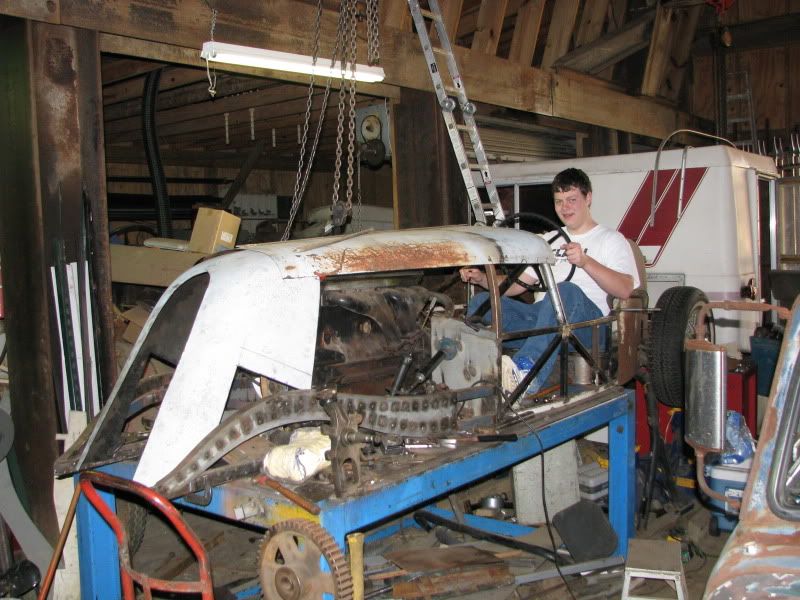
It's neat that your daughter hangs around to help out some. Looking forward to seeing the smiles when she sits behind the wheel with it on the ground, and after that first ride down the road & back! Thanks for continuing to post pictures of the progress - it's a fun project to see come together.Roger
Enjoy the little things in life, and you may look back one day and realize that they were really the BIG things.
-
02-28-2012 10:31 AM #321
CHR Member
- Join Date
- Oct 2007
- Location
- Petaluma
- Car Year, Make, Model: 48 Ford F1
- Posts
- 9,794
Ditto! It's a cool unique build."  "No matter where you go, there you are!" Steve.
-
03-06-2012 07:51 AM #322
CHR Member
- Join Date
- Jul 2003
- Location
- Kentucky
- Car Year, Make, Model: 47 Seagrave
- Posts
- 683
I put a vacation day request in for this Friday. I'm gonna work on it again this weekend.
The pieces are finally falling into place. Hopefully I will have motor mounts after this trip.There are two things in life where penetration is really important.....and one of them is welding.
-
03-07-2012 09:13 AM #323
CHR Member
- Join Date
- Oct 2007
- Location
- Littleton
- Car Year, Make, Model: 31 ford five window
- Posts
- 156
You are doing a great job of stuffing and fitting... lol.
The car is coming together and I am diggin on your imagination.
Your daughter will be driving before you know it and she is going to look great in it, going down the road.Scott
31 Ford five window
-
03-12-2012 07:10 AM #324
CHR Member
- Join Date
- Jul 2003
- Location
- Kentucky
- Car Year, Make, Model: 47 Seagrave
- Posts
- 683
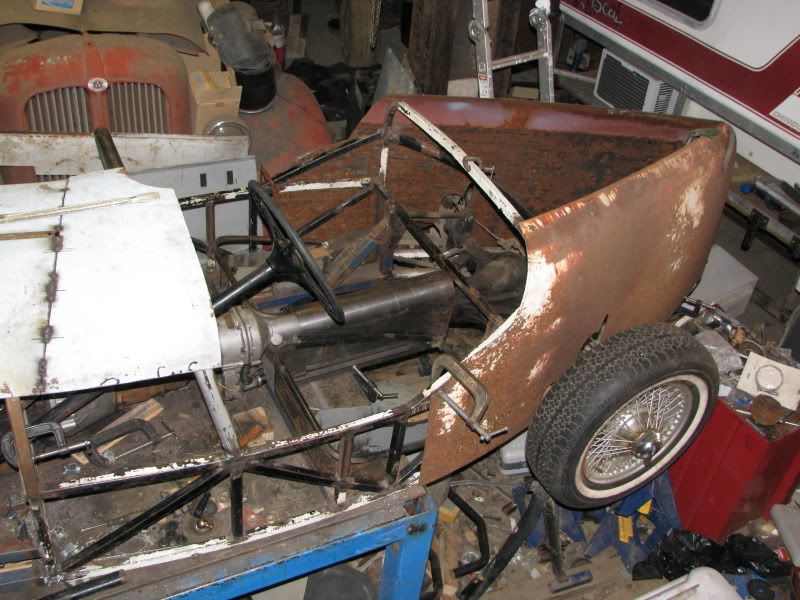
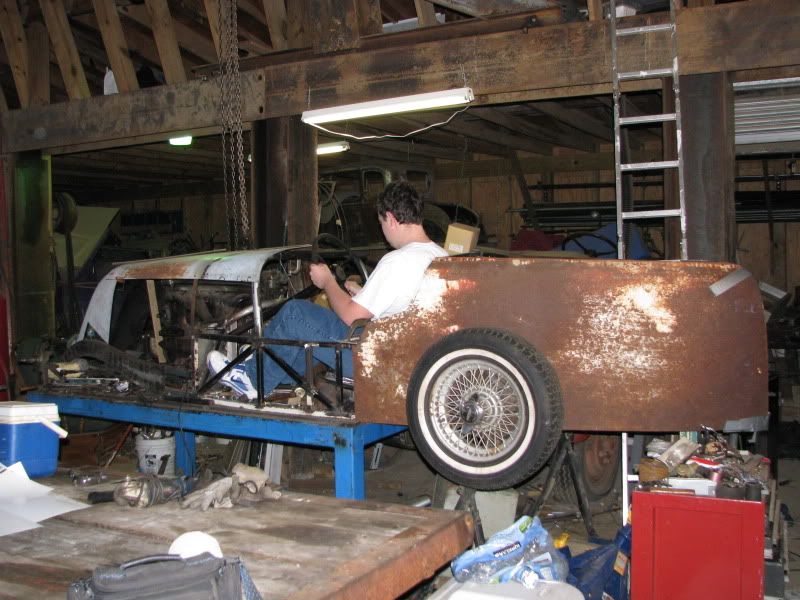
The 6'5" boy doesn't fit quite as well as my daughter did, but nobody can resist the chance to make racecar noises.
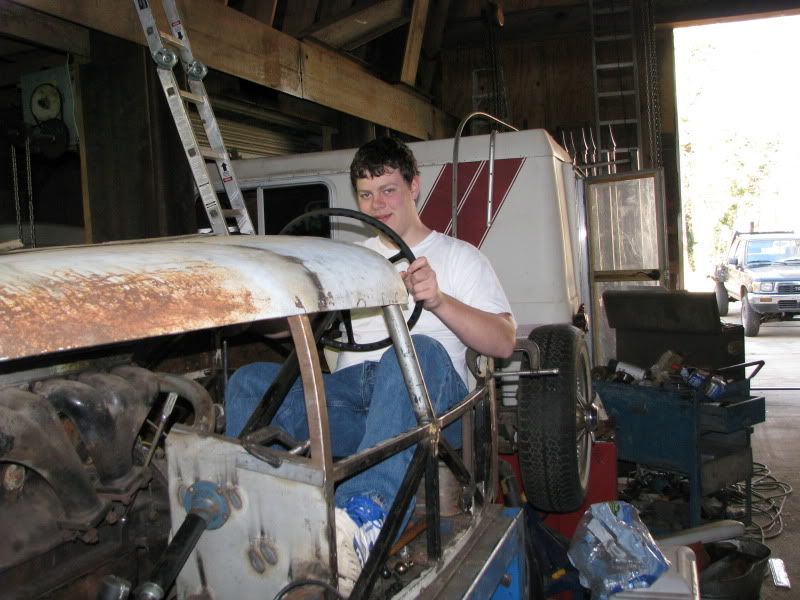
The goal for the weekend was motor mounts.
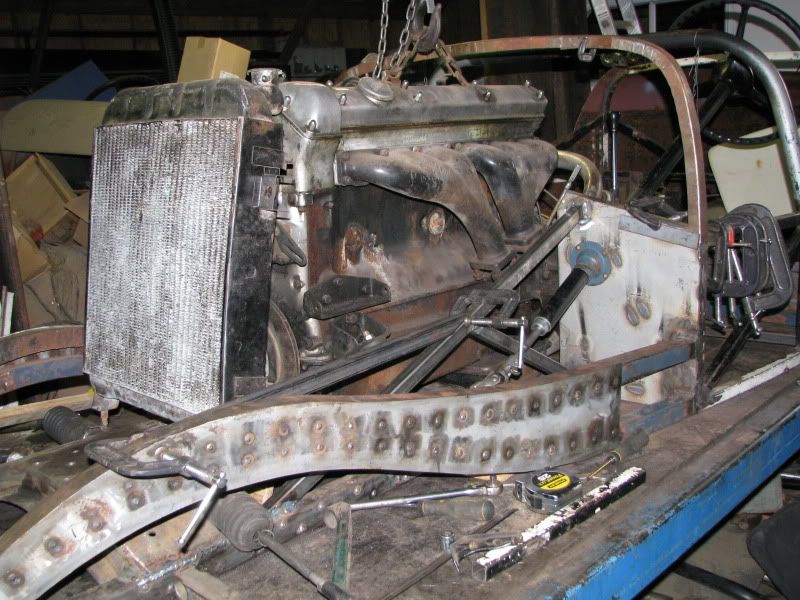
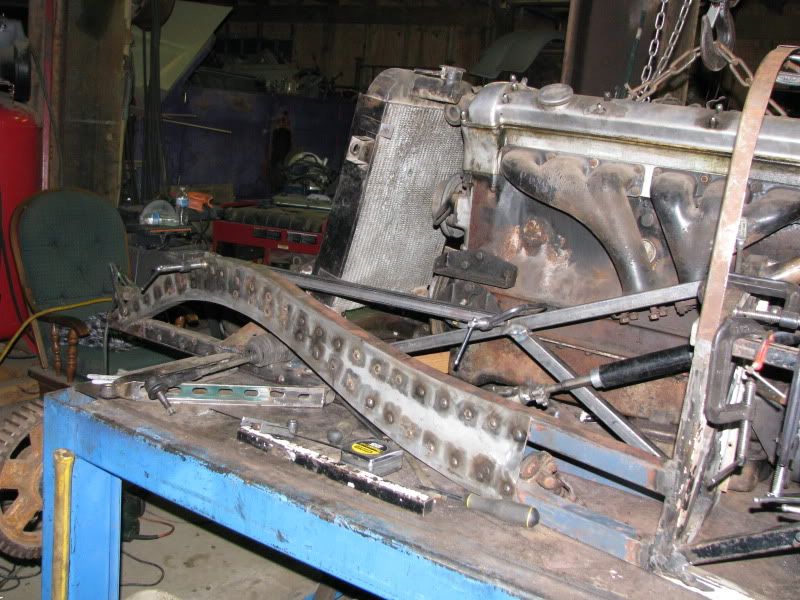
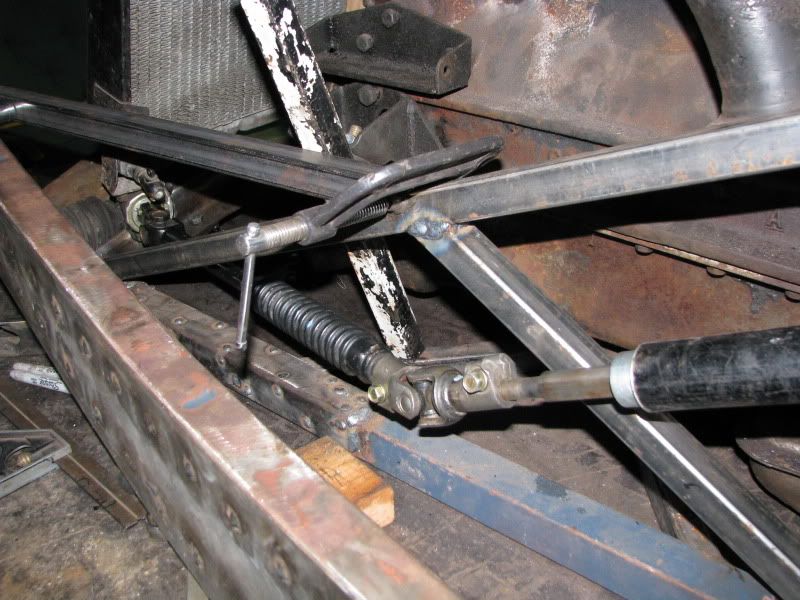
First I needed to figure out what the motor would attach to. Before I could do that, I needed to figure out exactly where the steering would be....
I started with a brace from the firewall cop car brace to the front crossmember.
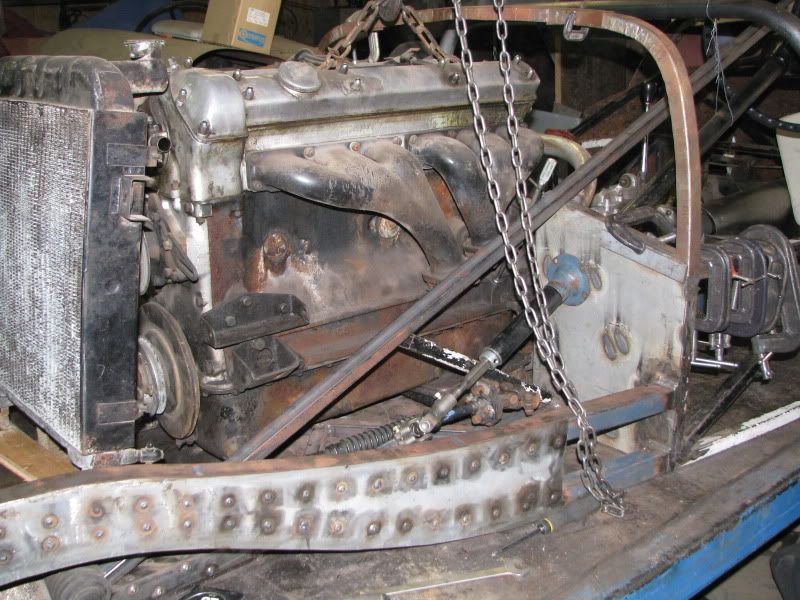
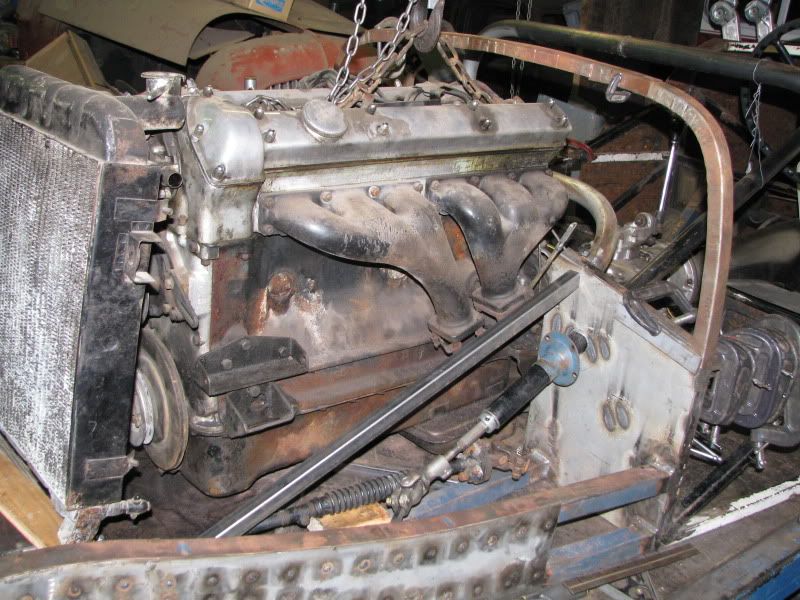
then thought about going from that diagonal to the front framerail swoop
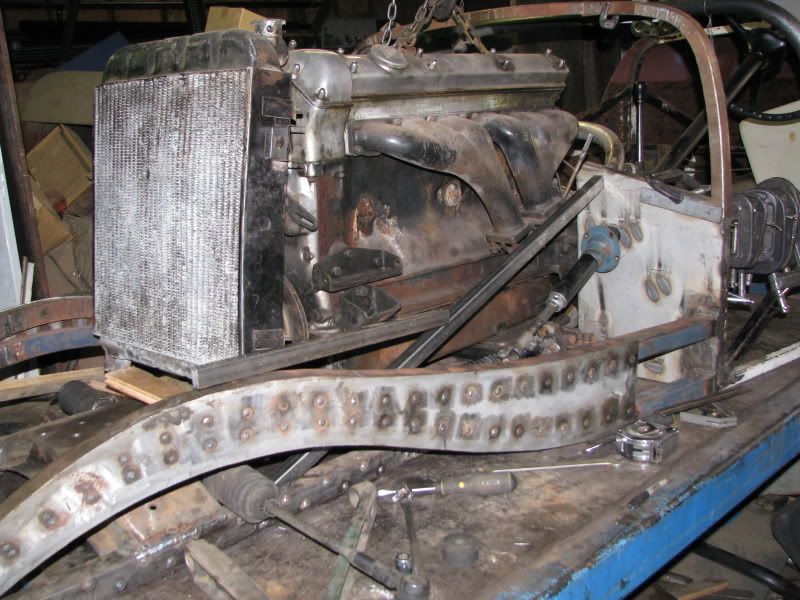
I buzzed in the diagonal and added a brace to that
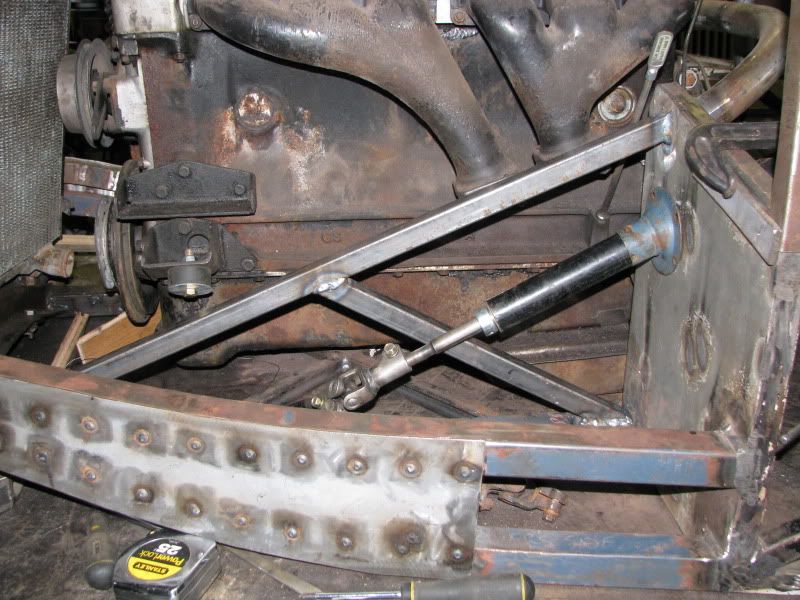
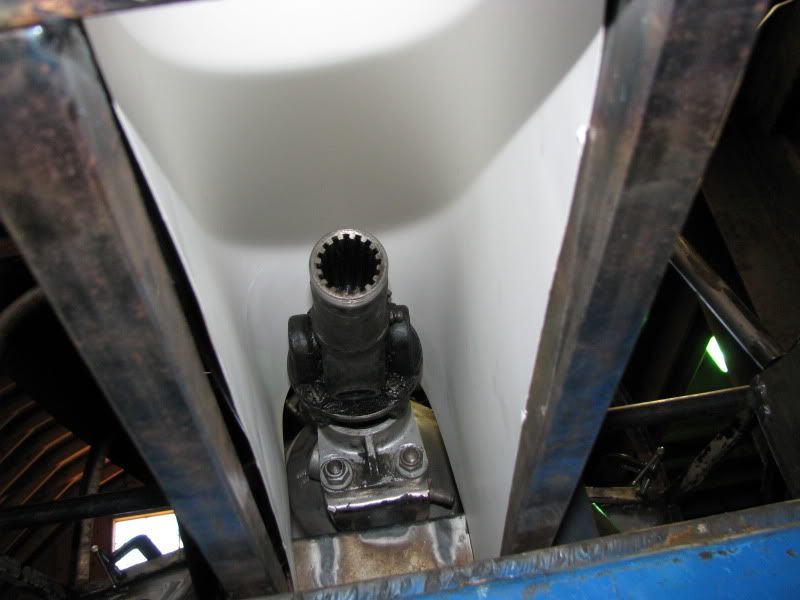
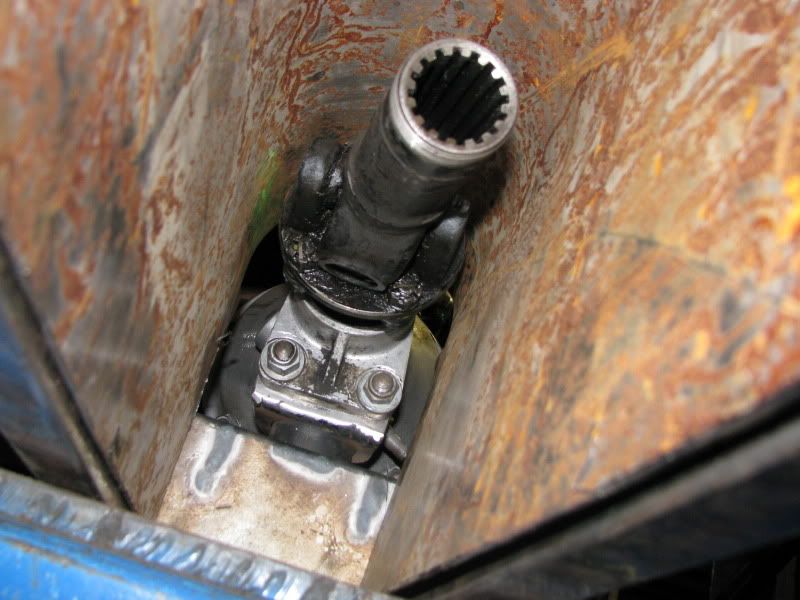
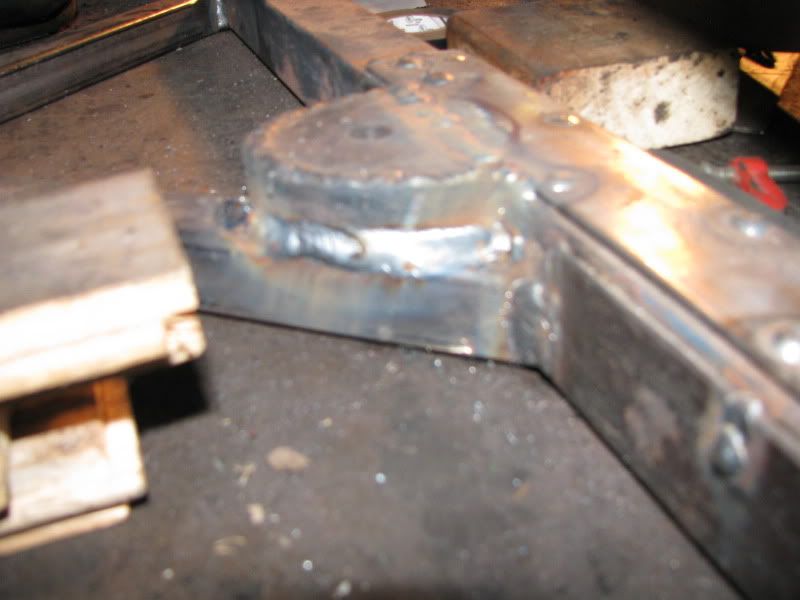
The steering crosses from the outside (at the column) to the inside (at the rack). I neede to figure out where the middle shft is going to be.
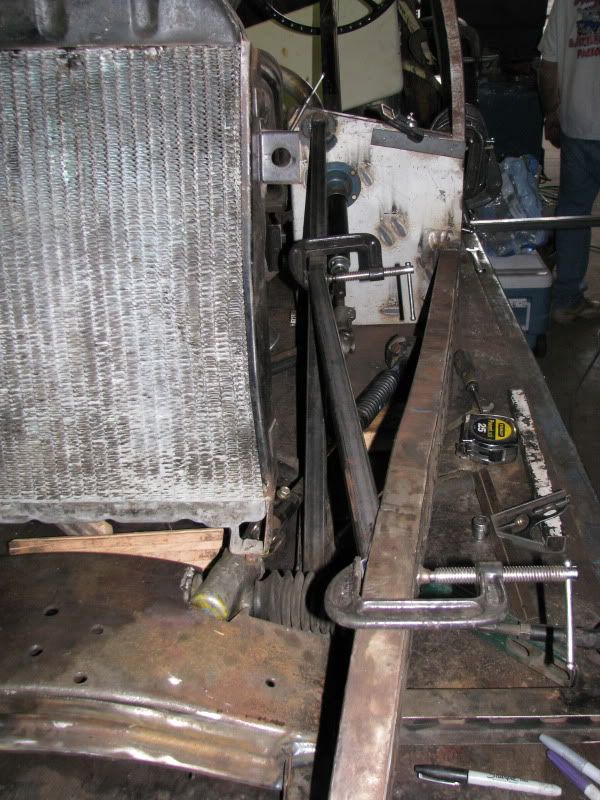
I cut apart a Toyota four runner steering sector (partially to see how it was put together)

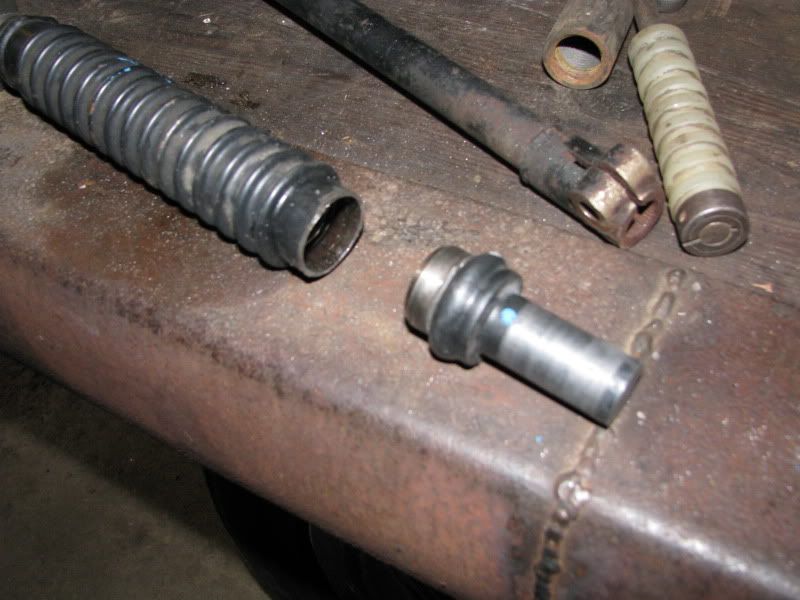
I made an adapter bushing to match up the splined section I needed to the crush section
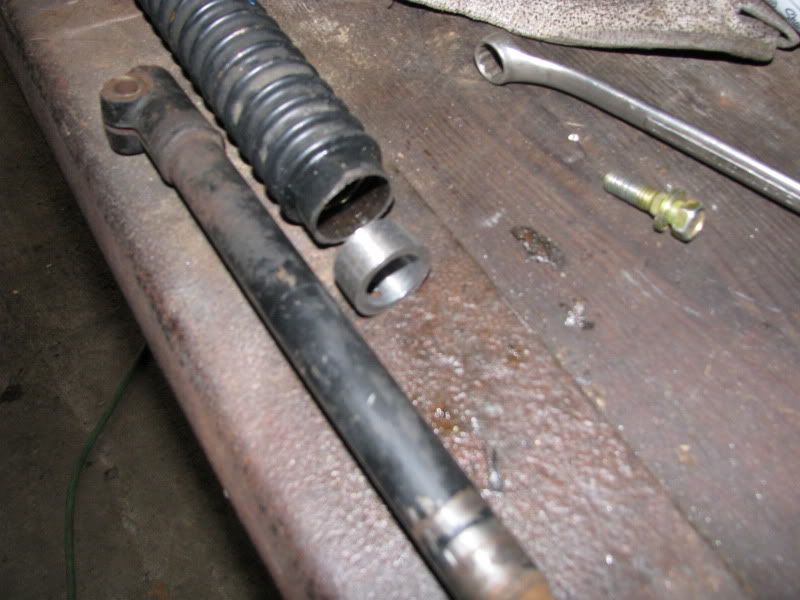
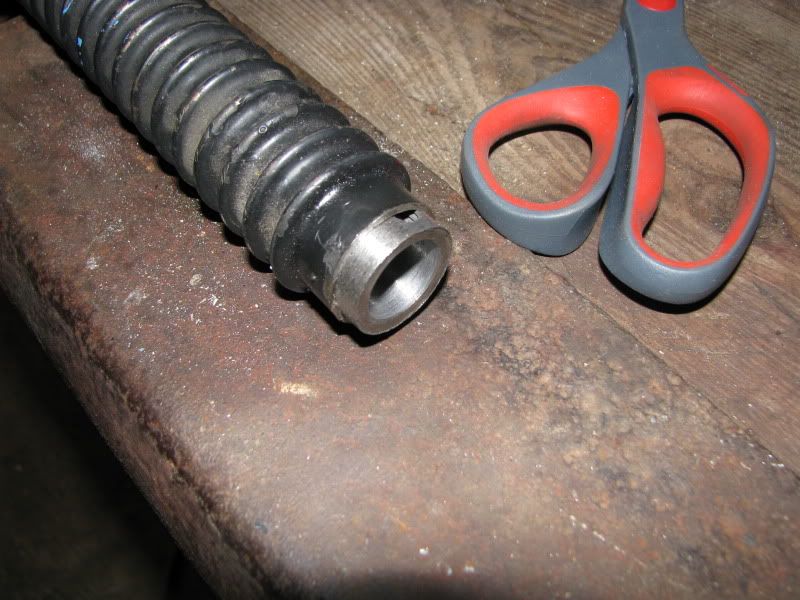
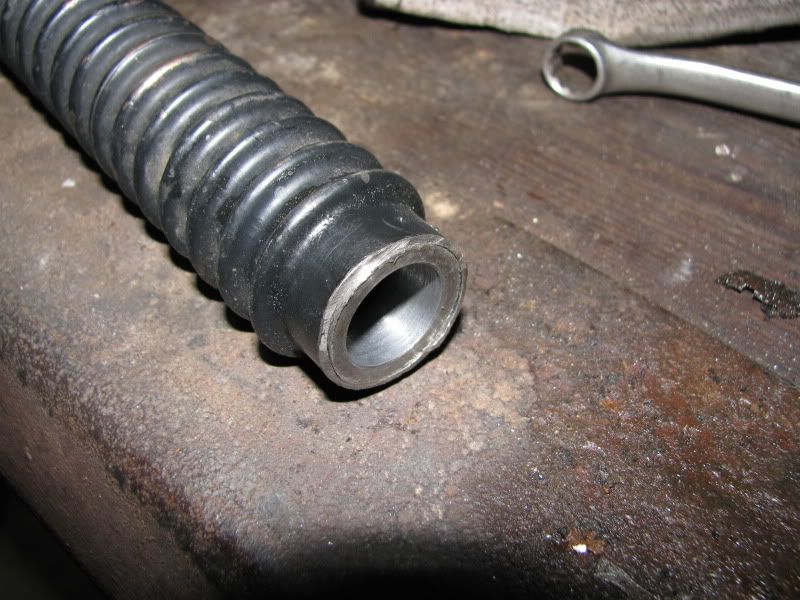
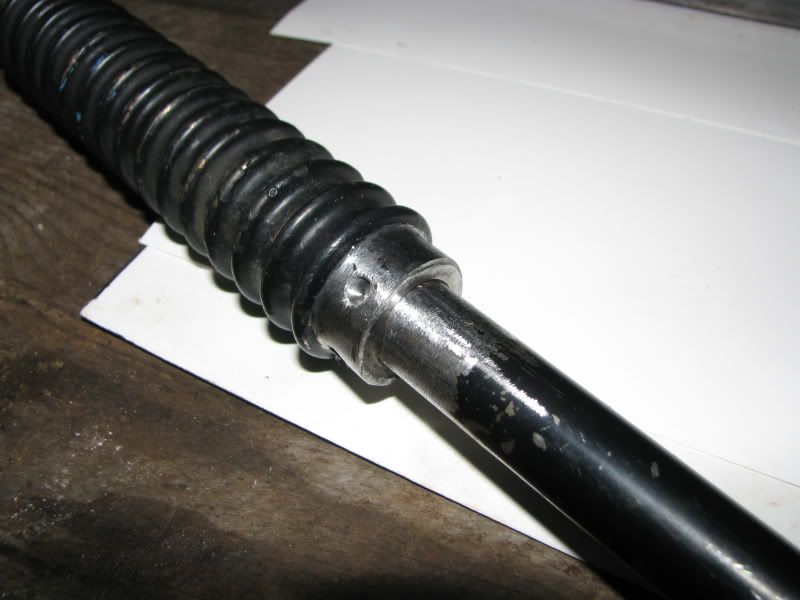
The bushing started out as a 1.25" collar that I ground down to 1"
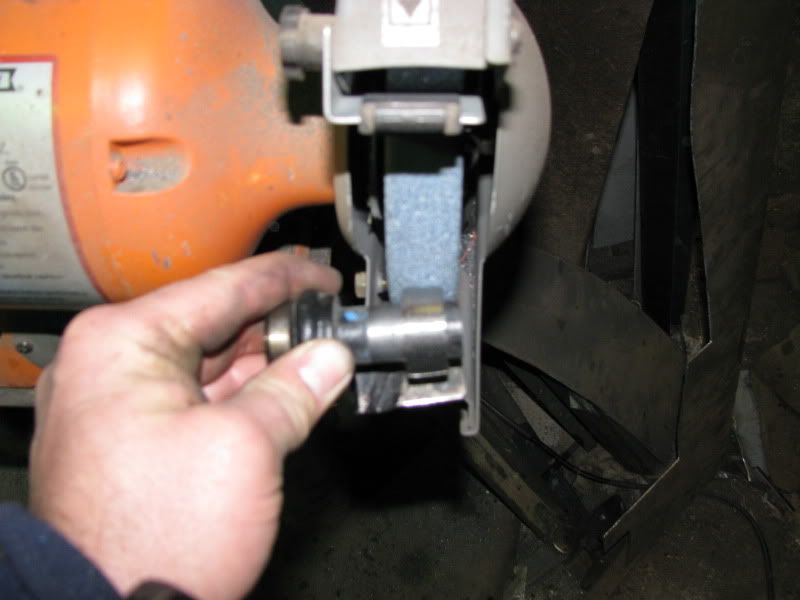
trial fit before welding
bzzzzzzz
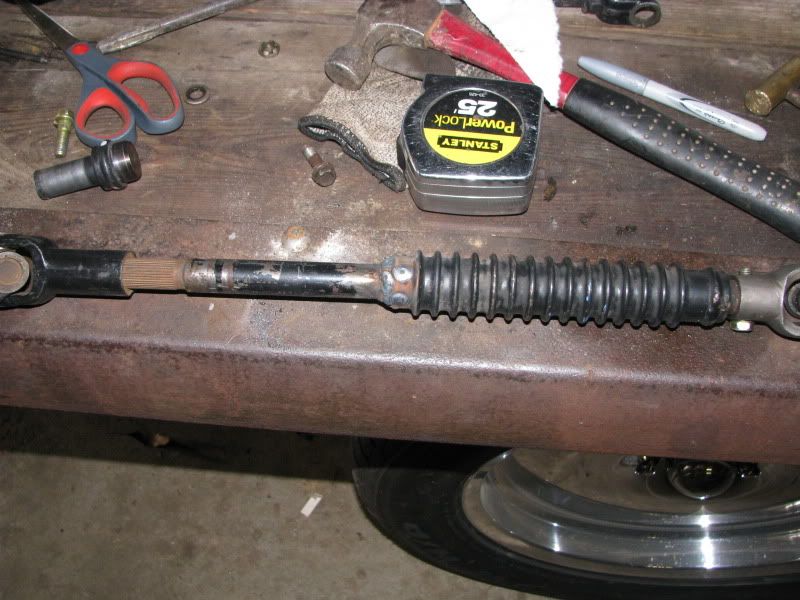
I have steering!
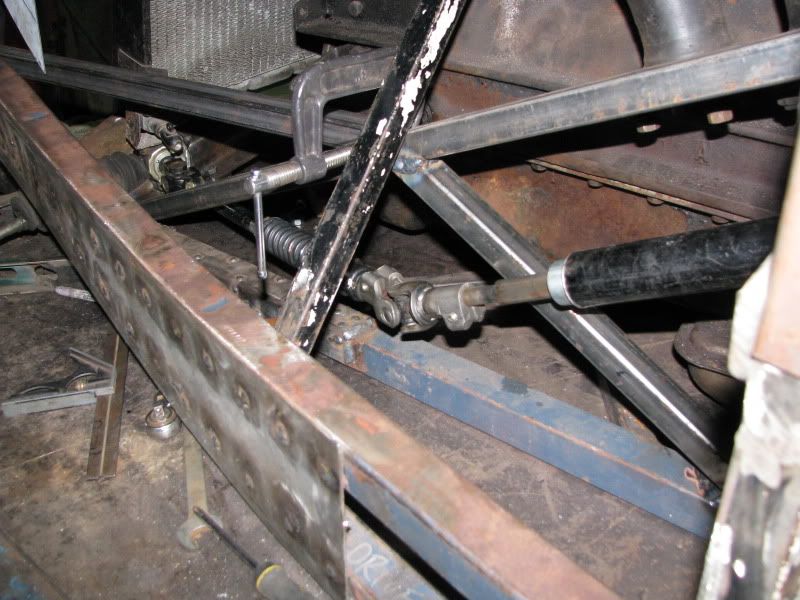
still a lot of decisions to be made on how the whole underhood bracing will tie together.....
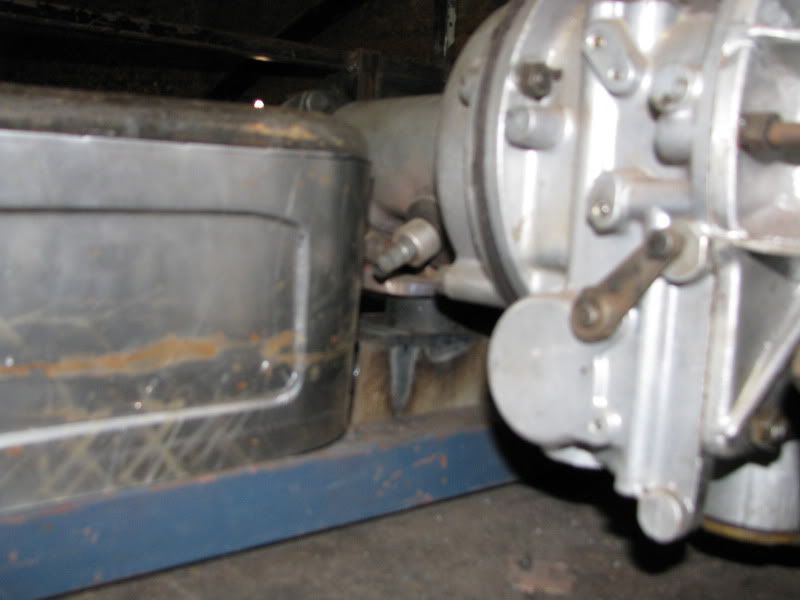
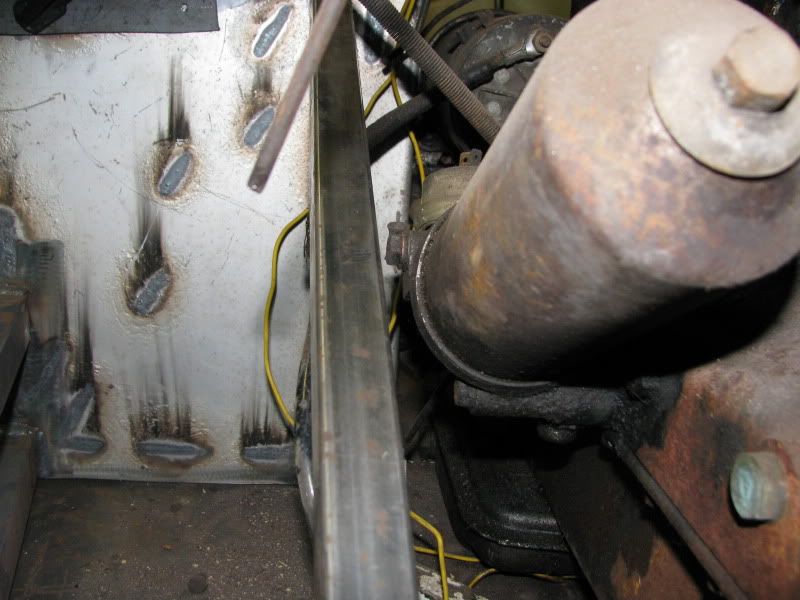
Started on the other side
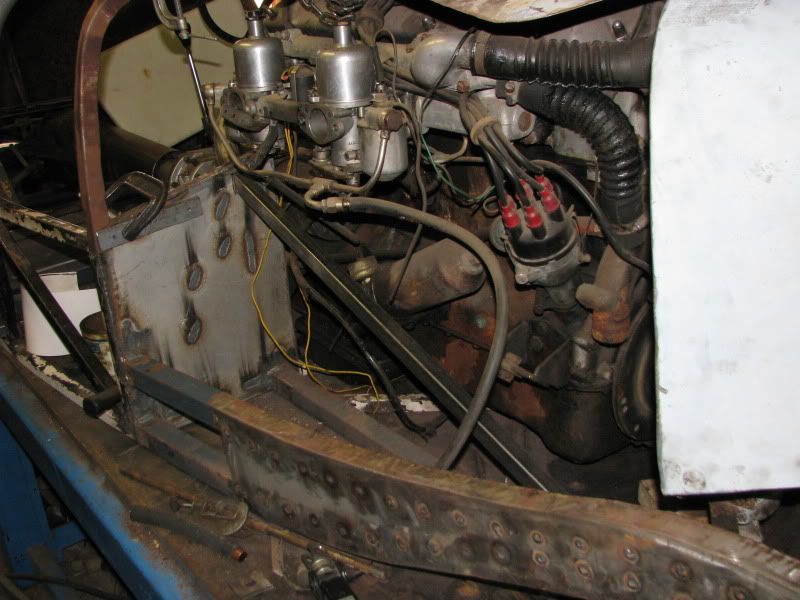
not a whole lotta room next to the oil filter
I didn't get around to motor mounts...too much basketball watching.There are two things in life where penetration is really important.....and one of them is welding.
-
03-12-2012 08:31 AM #325
CHR Member
- Join Date
- Jul 2003
- Location
- Kentucky
- Car Year, Make, Model: 47 Seagrave
- Posts
- 683
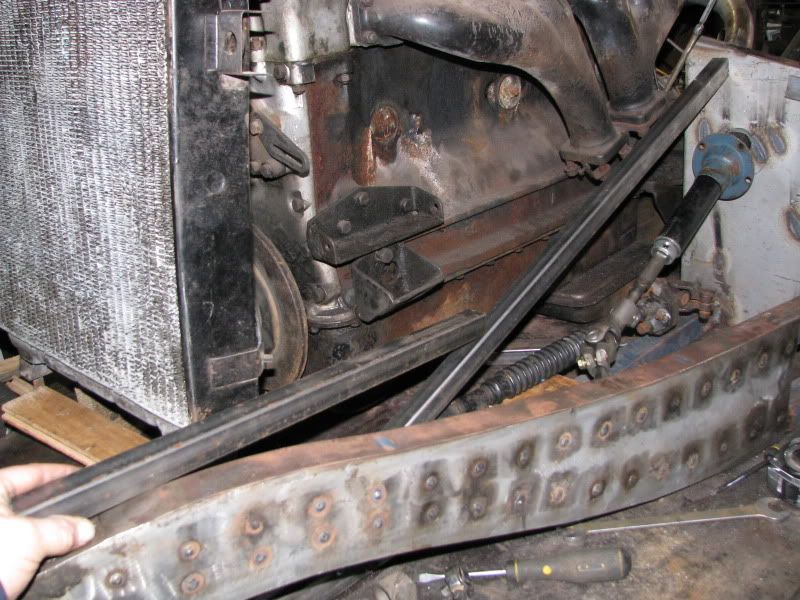
I'm not real sure if I'm happy with angling the front braces out to the outer frame rail like this:
I kinda think they need to go to a radiator hoop or something.There are two things in life where penetration is really important.....and one of them is welding.
-
03-14-2012 08:08 AM #326
CHR Member
- Join Date
- Jul 2003
- Location
- Kentucky
- Car Year, Make, Model: 47 Seagrave
- Posts
- 683
After studying the pictures for a few days....I really don't like the look of having a horizontal piece going from the diagonal to the arch of the front framerail. Also the motor mount attachment point needs to be lower on the frame.There are two things in life where penetration is really important.....and one of them is welding.
-
03-26-2012 08:54 AM #327
CHR Member
- Join Date
- Jul 2003
- Location
- Kentucky
- Car Year, Make, Model: 47 Seagrave
- Posts
- 683
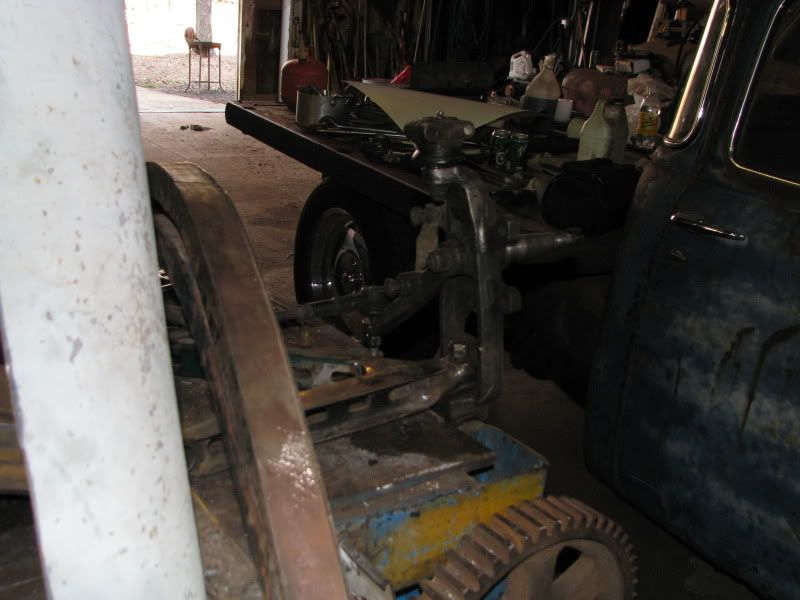
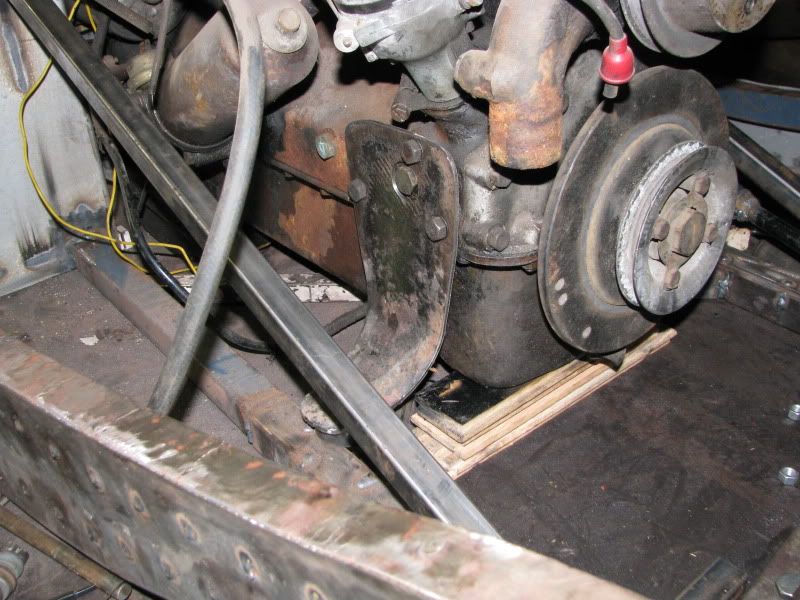
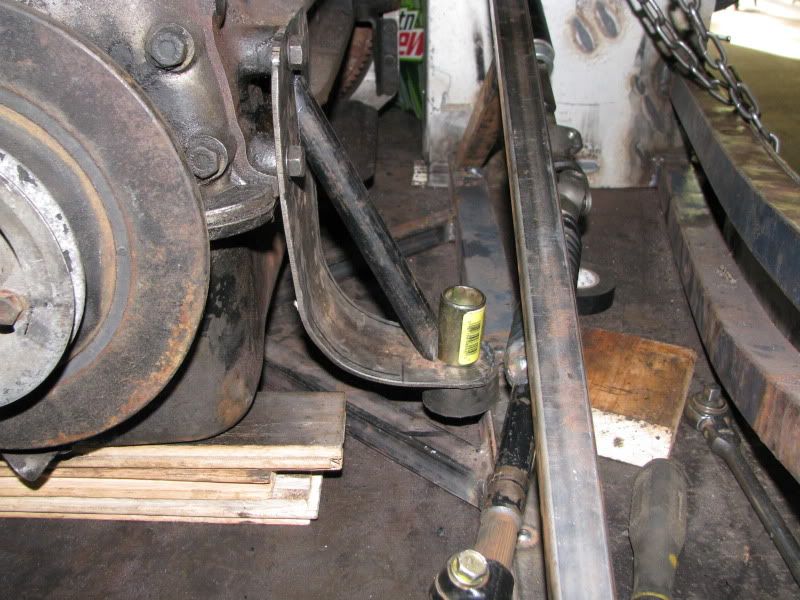
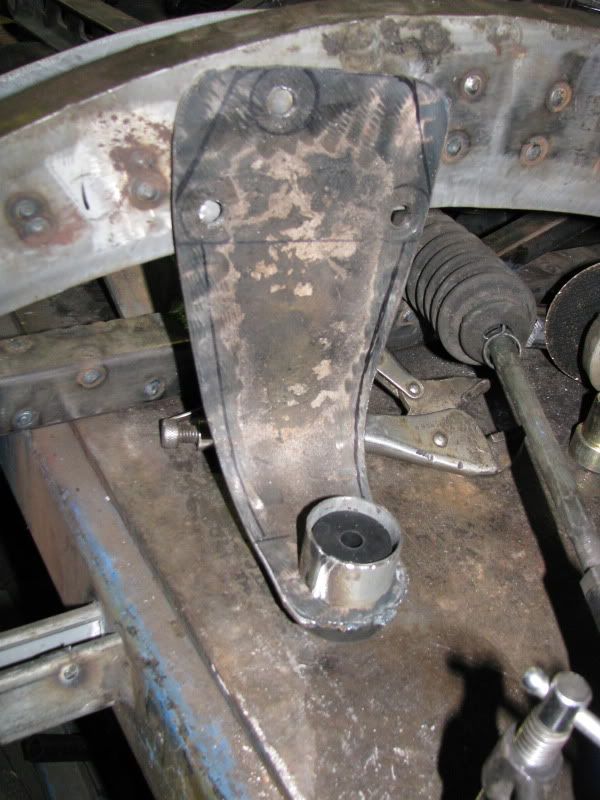
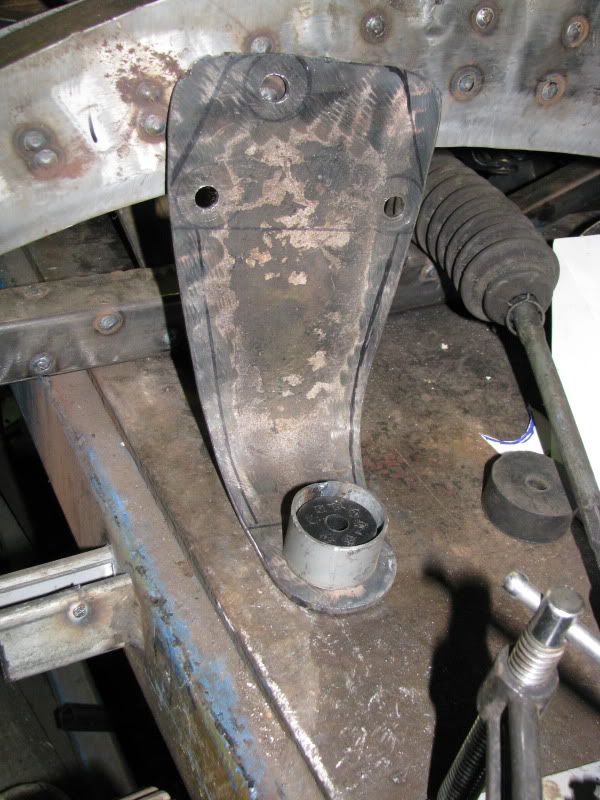
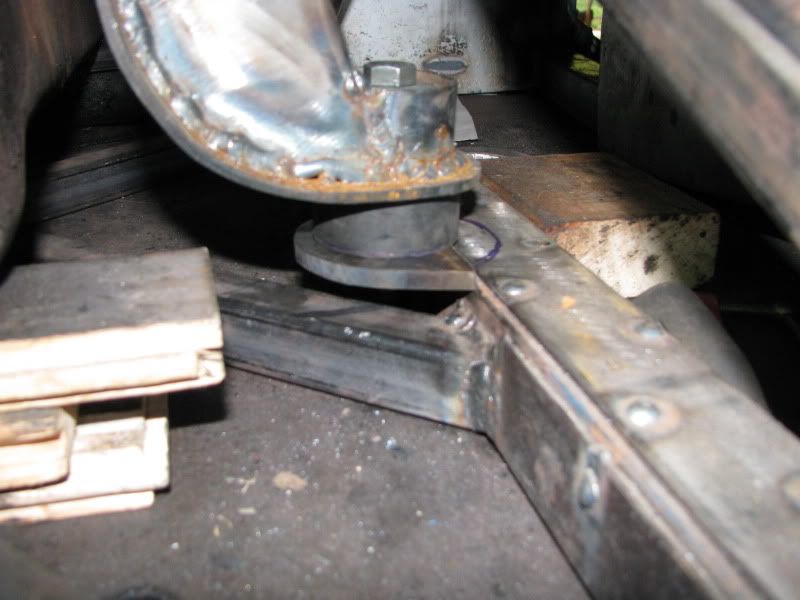
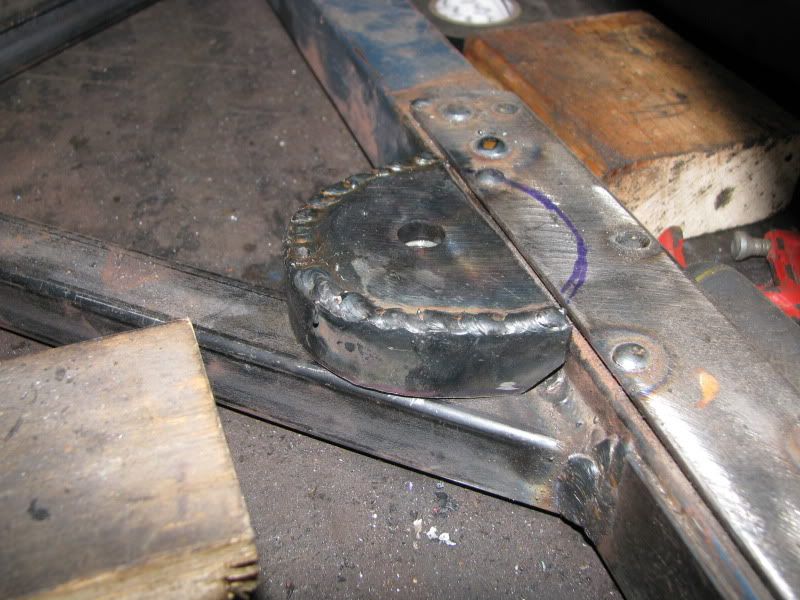
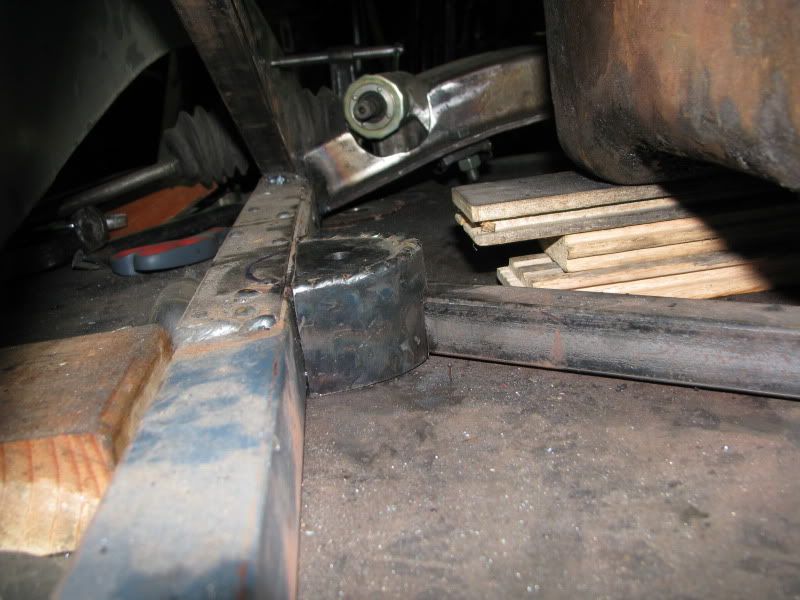
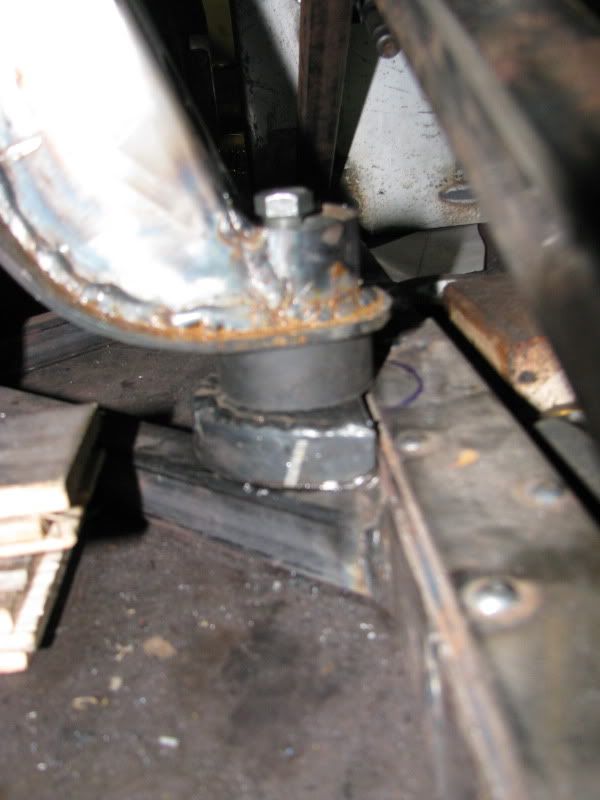
I took a second swing at motor mounts this weekend. trying to use the factory jag mounting scheme wasn't working for me. I think the mounts need to be lower.
Inside the frame rail, just behind the x-brace is where I'm thinking for the frame pad.

more posterboard
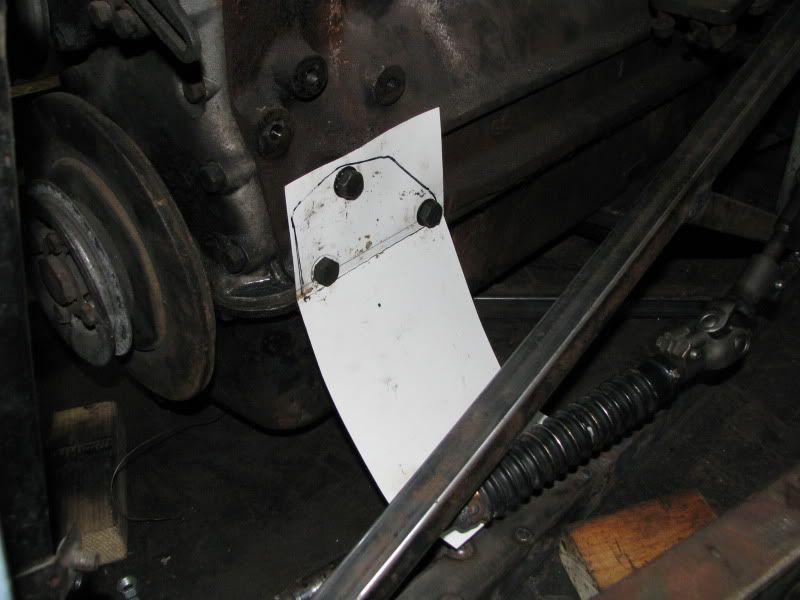
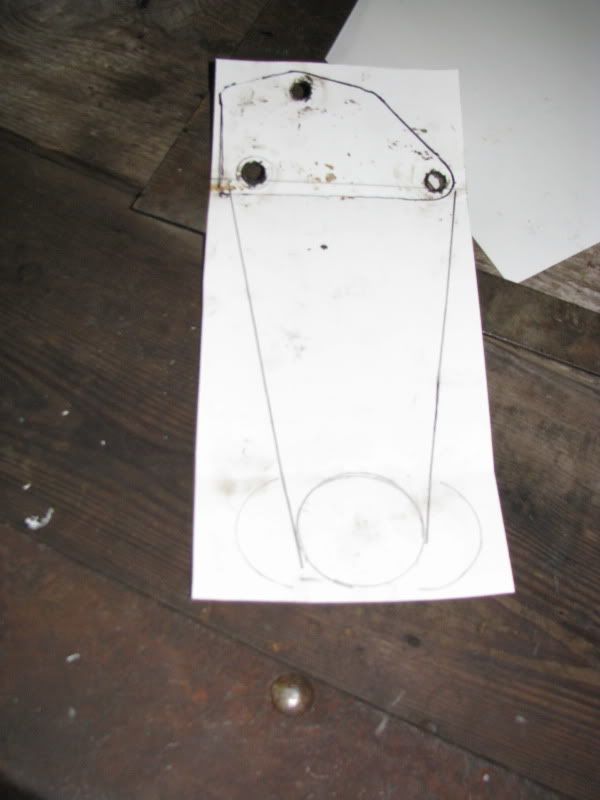
couldn't tell crap with posterbaord. I needed metal.
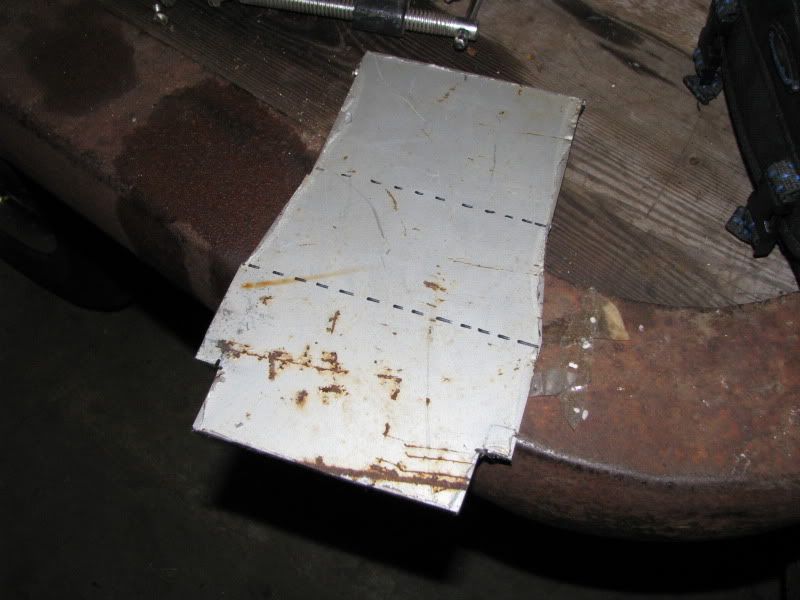
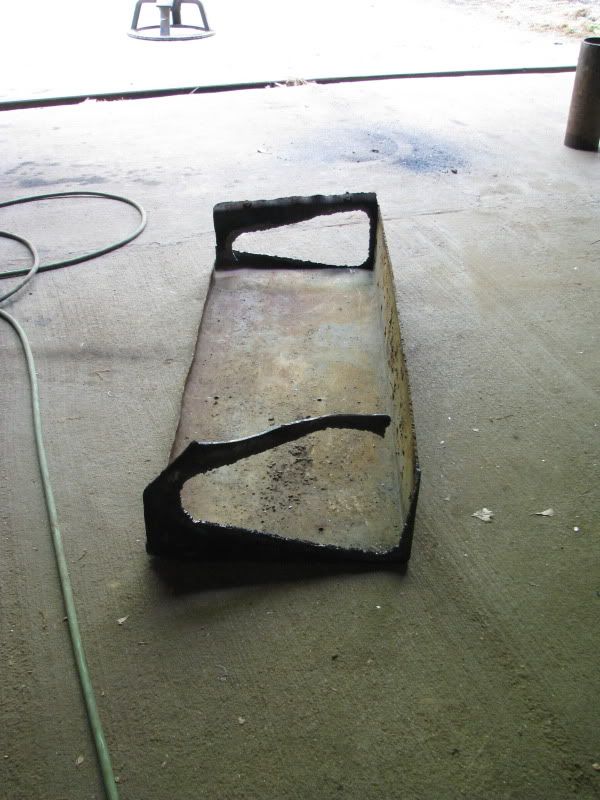
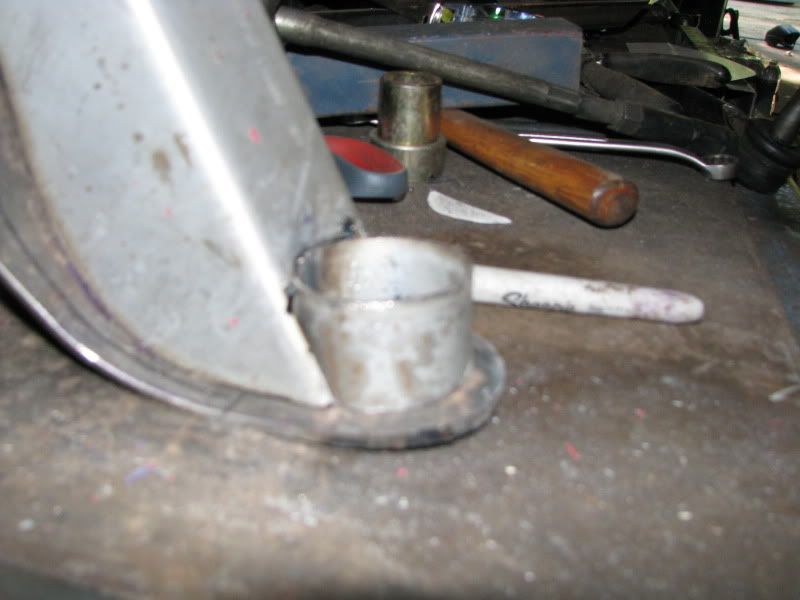
more recycled WWII dodge 4x4 ambulance turned hunting buggy. This was a rear fender.
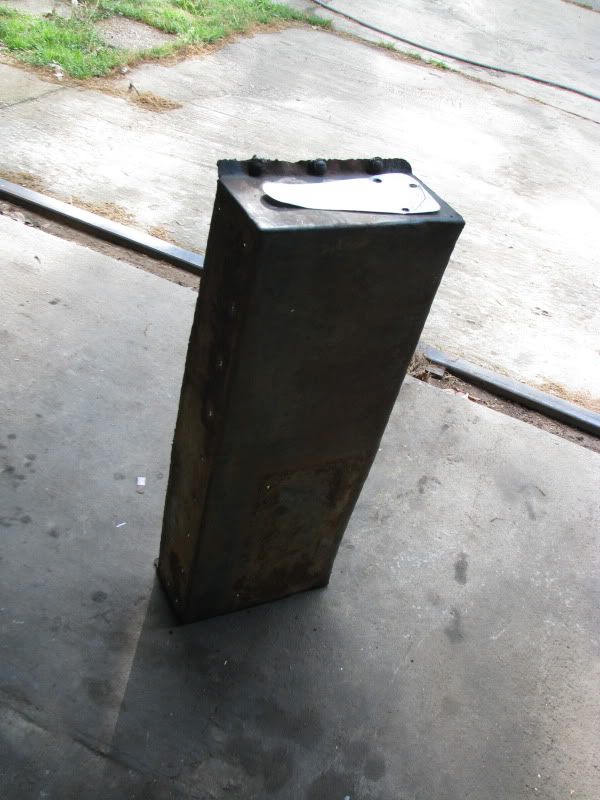
set free with fire
found something round to add shape
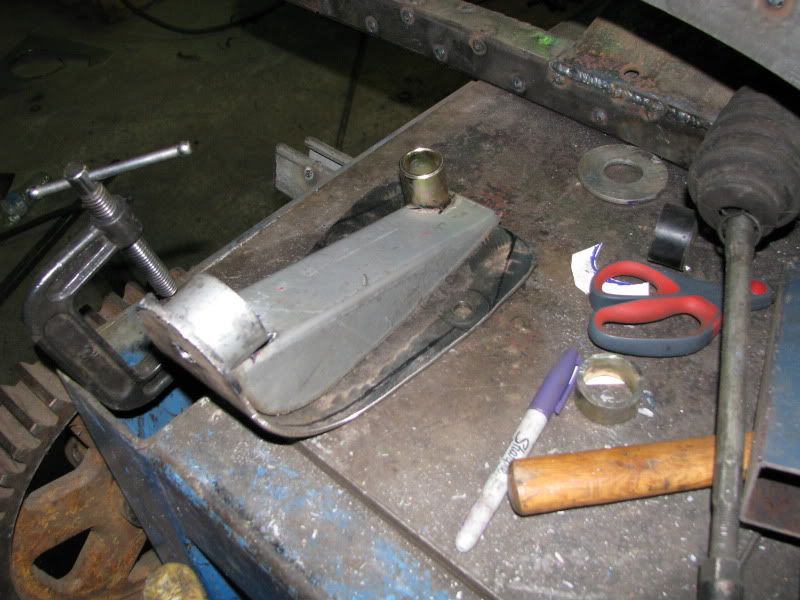
first look
second look (bolted down)
other side

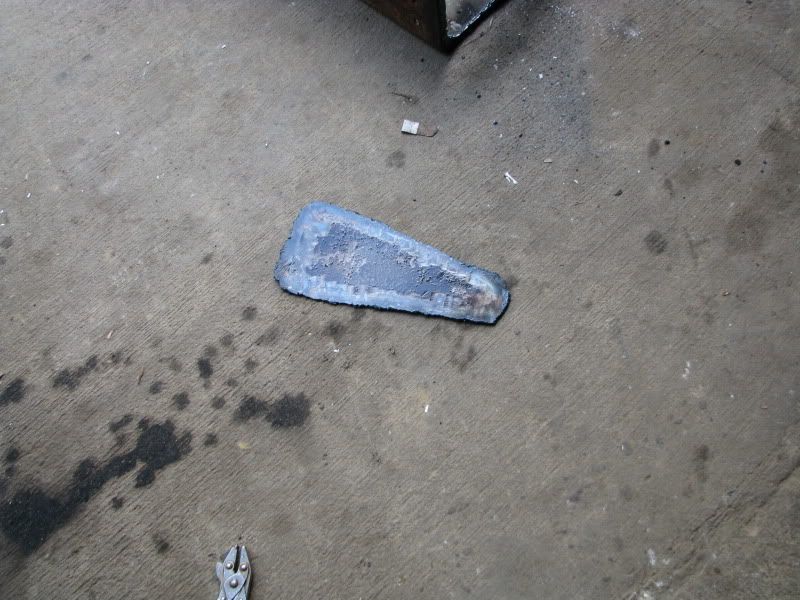
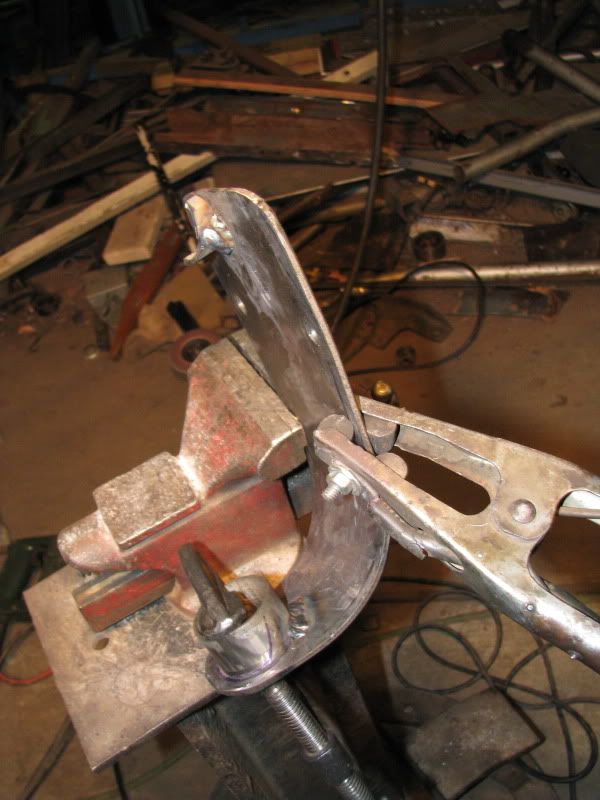
My plan was to tie the two sides together with a brace that would run under the oil pan. The top section looks like it will be flimsy no mater what.
Add gussets to the outside too? (mounting bolt would go down through the gold colored tube)

Not really sure these parts will be used either.There are two things in life where penetration is really important.....and one of them is welding.
-
04-09-2012 06:54 AM #328
CHR Member
- Join Date
- Jul 2003
- Location
- Kentucky
- Car Year, Make, Model: 47 Seagrave
- Posts
- 683
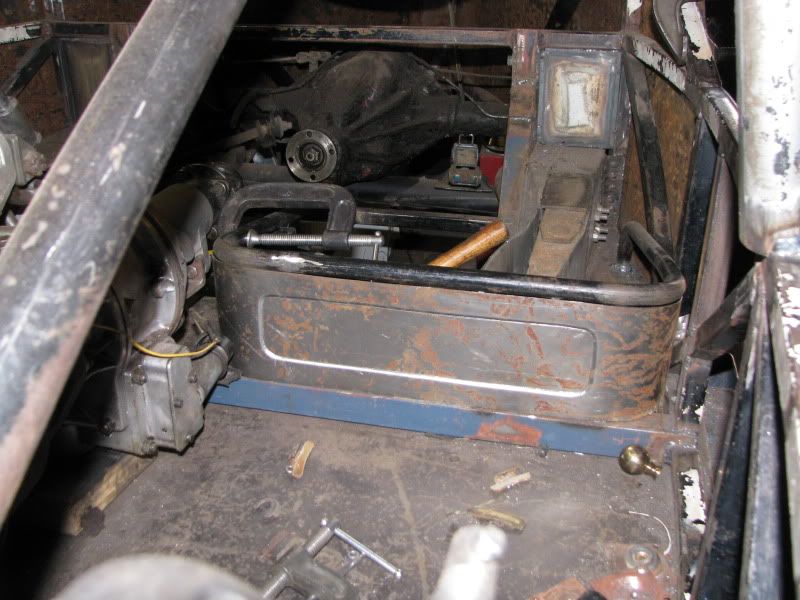
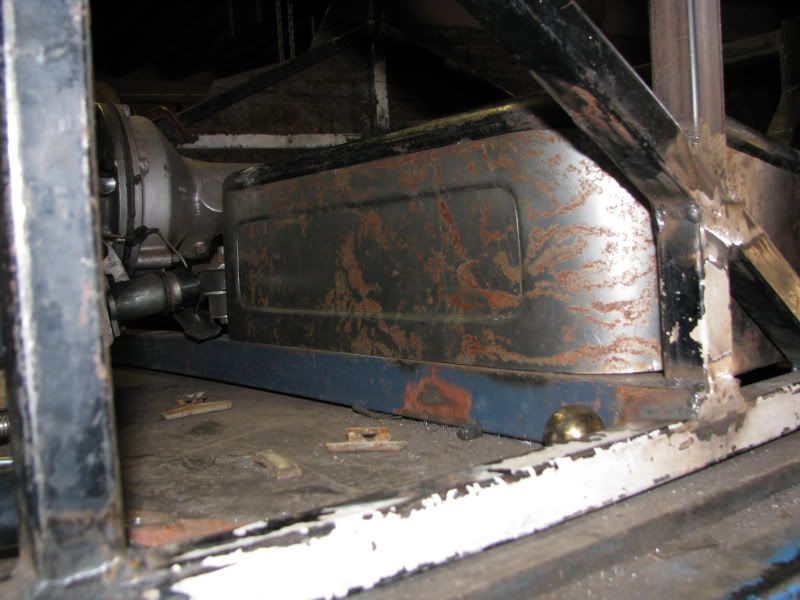
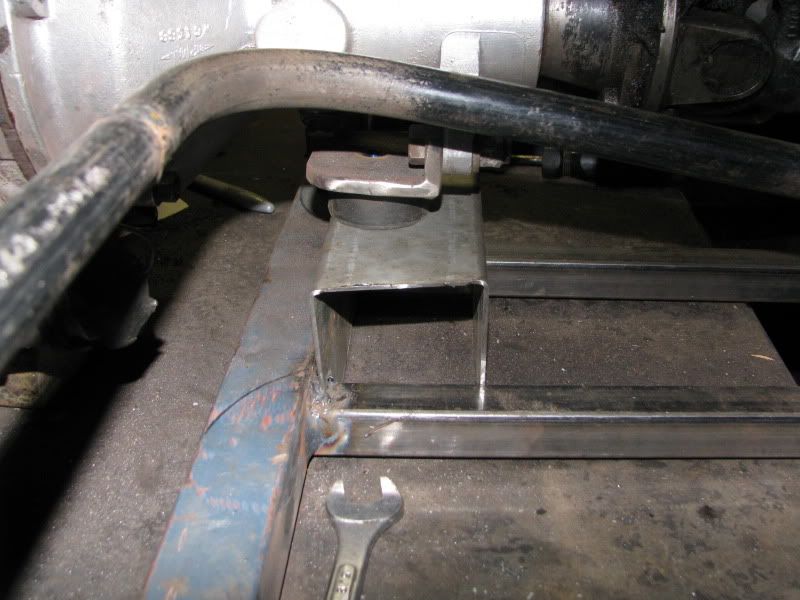
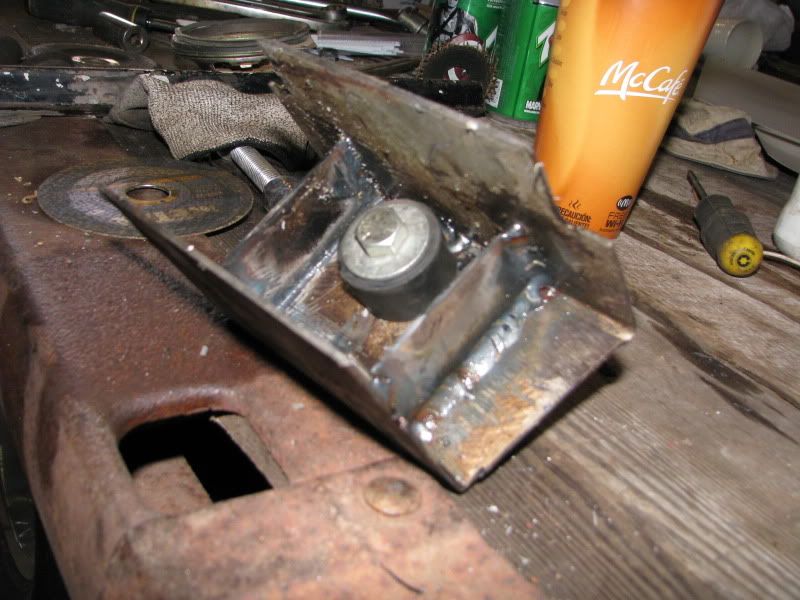
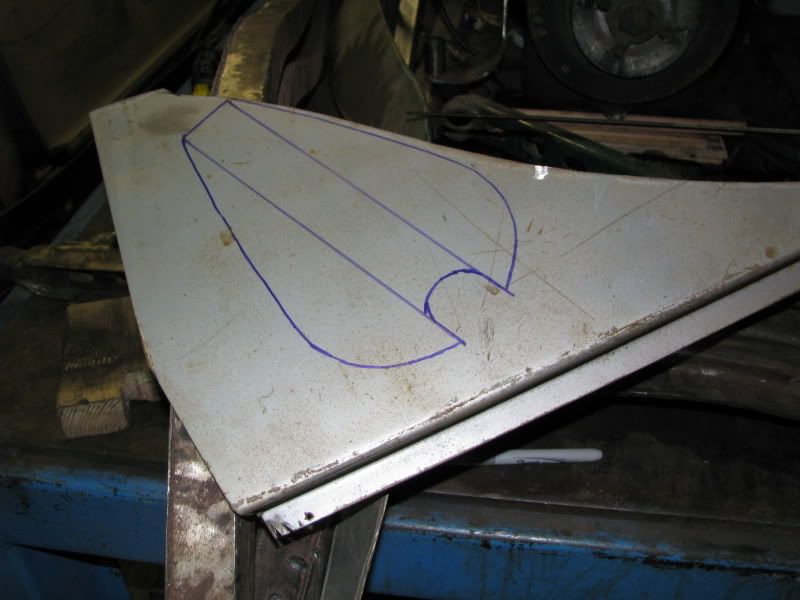
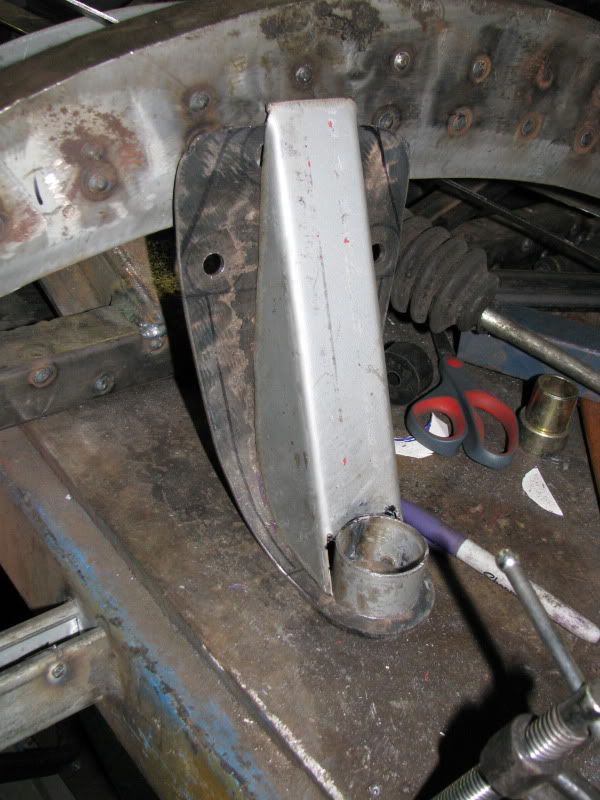
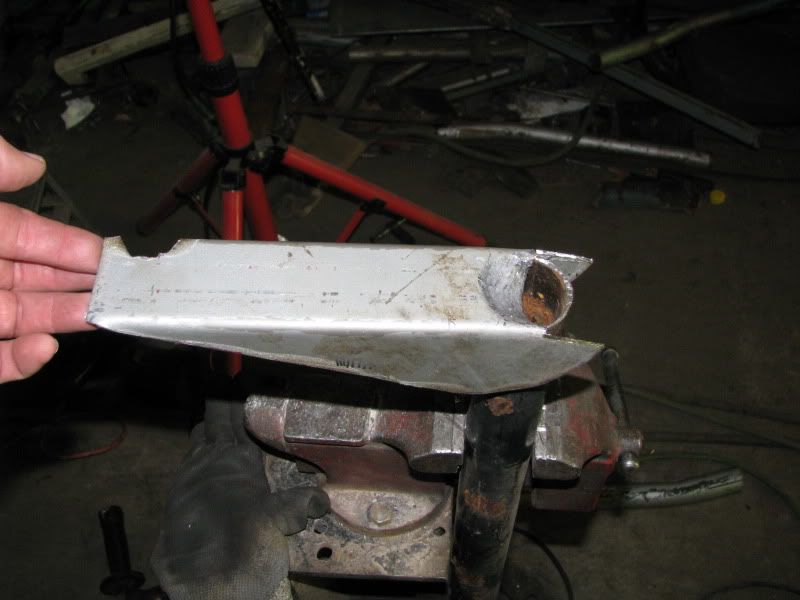
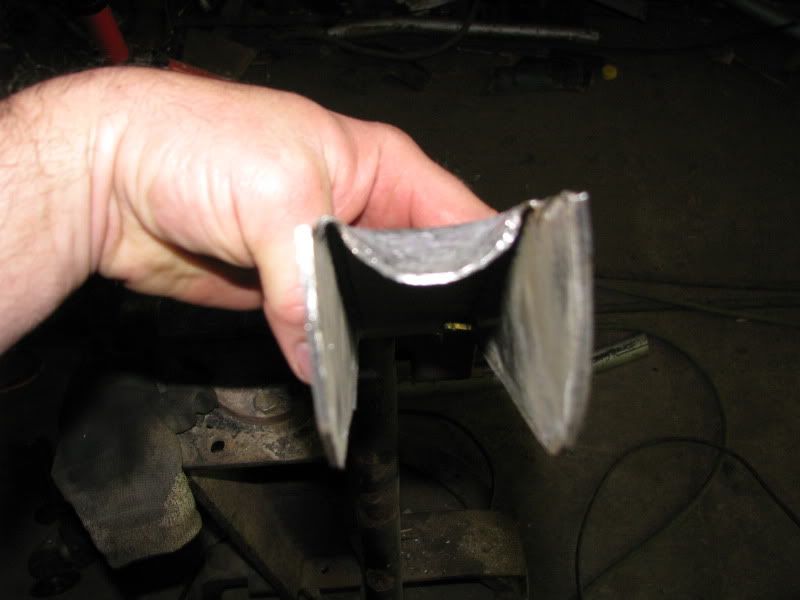
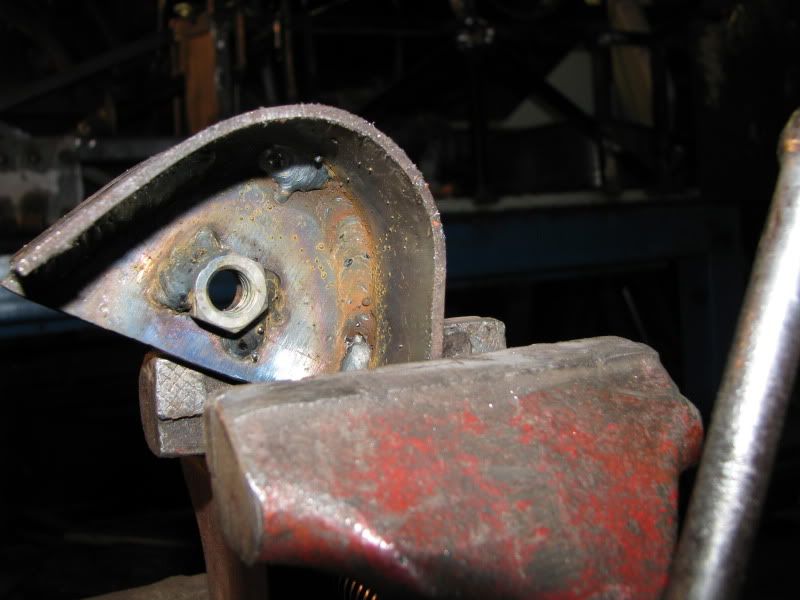
The small tube gusset wasn't cutting it. I needed to do something more substantial, but not super heavy. I also decided the mounts needed upper biscuits.
I wanted a flange to go around the buscuit, but didn't have the right size tube...so I made my own. ...from cop car kick panels.
I started by making a strip of flat stock.
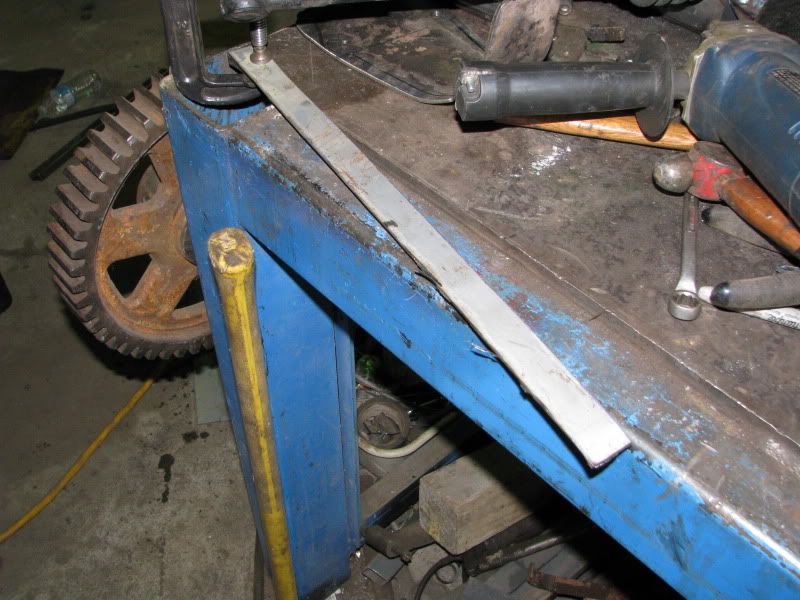
wrapped around a piece of roll bar tube
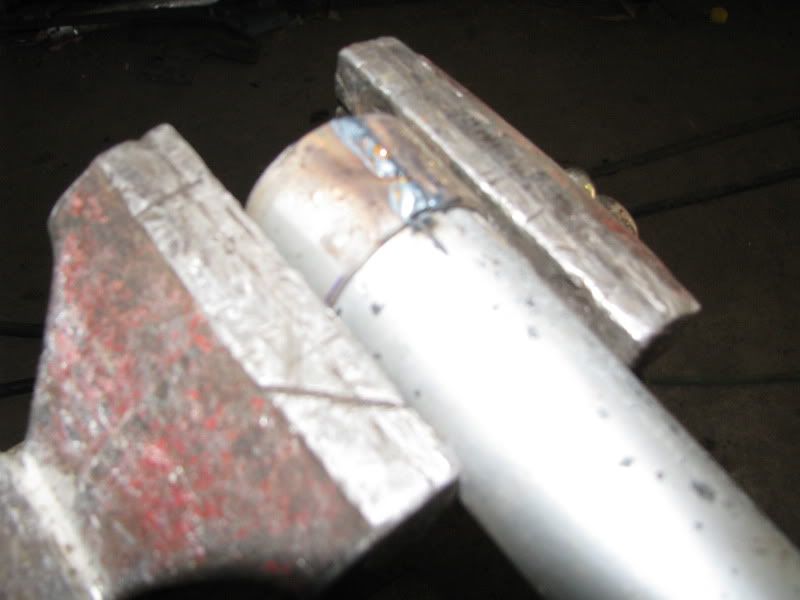
it worked!
Now that I had a better idea what I was making, I cleaned up the end

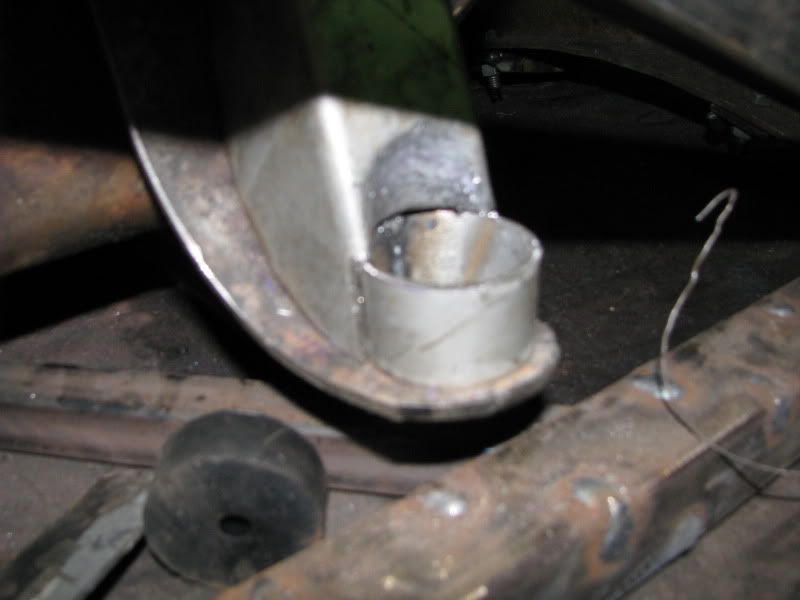
time for sheetmetal gussets
the top bolt hole was the hard part to figure out. I sleeved it and then cut the sleeve down.

I welded the circles first (welds under the big gusset)
and added speed holes

socket fits great on the top bolt
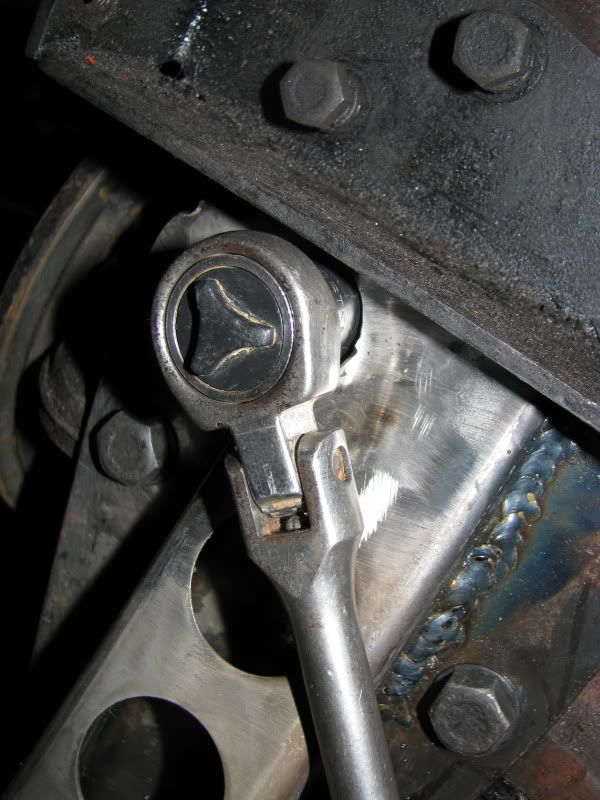
with a rubber

Now the other side.
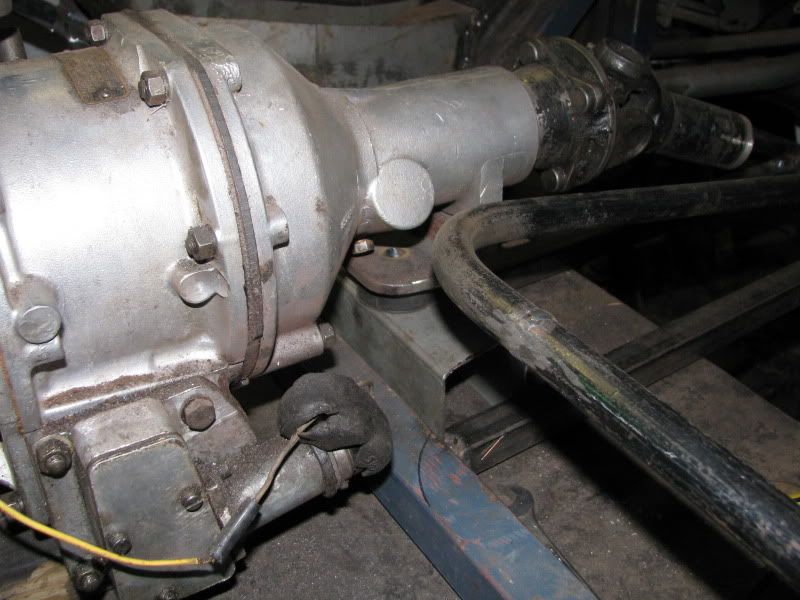
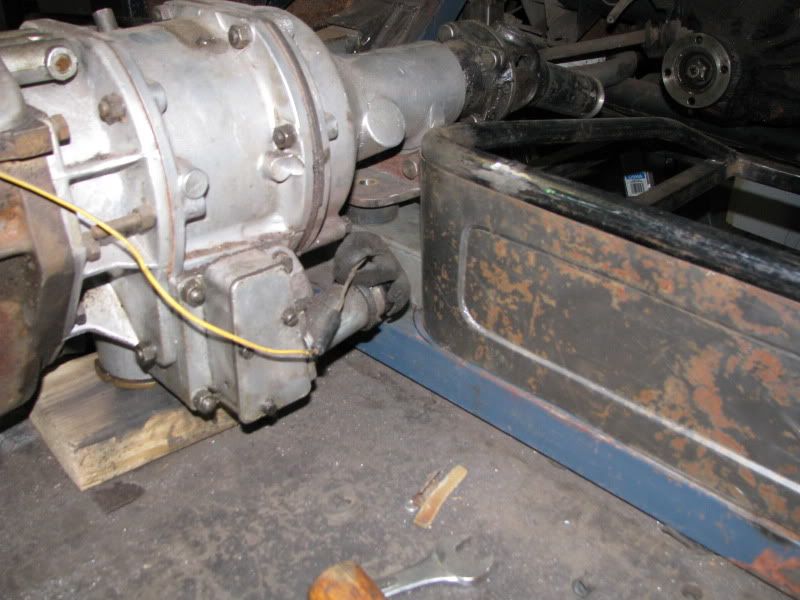
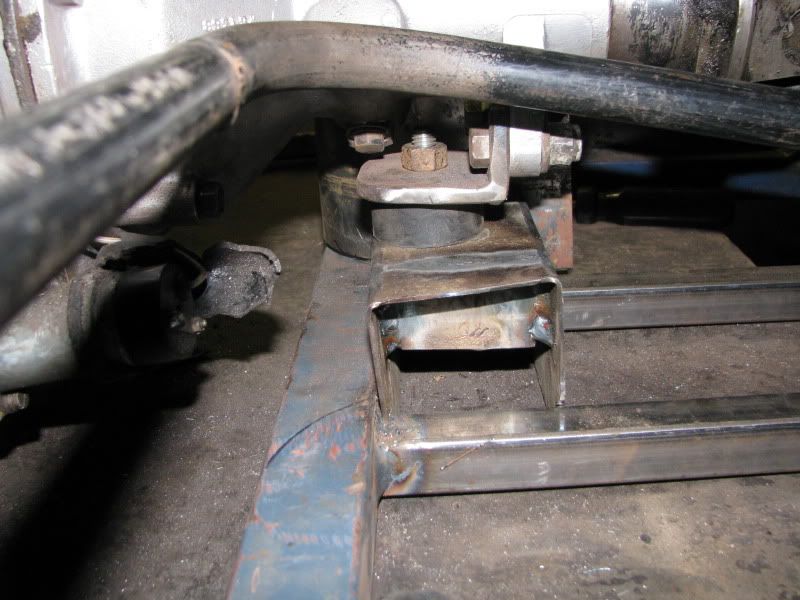
The passenger side mount is shorter due to the engine offset (more foot room for me). I had to cram things closer to get it all to fit. hammer time!

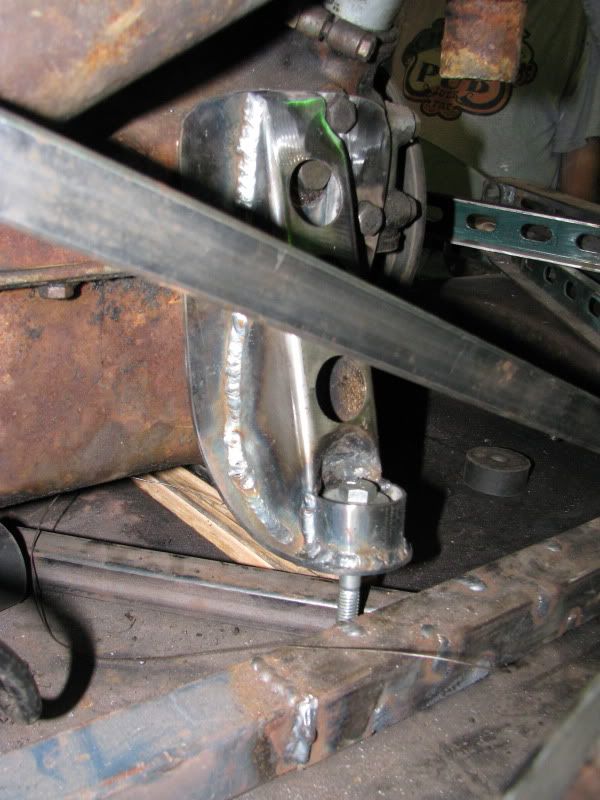
Now to give it something to bolt to


trimmed to sit on the X-brace
test fit
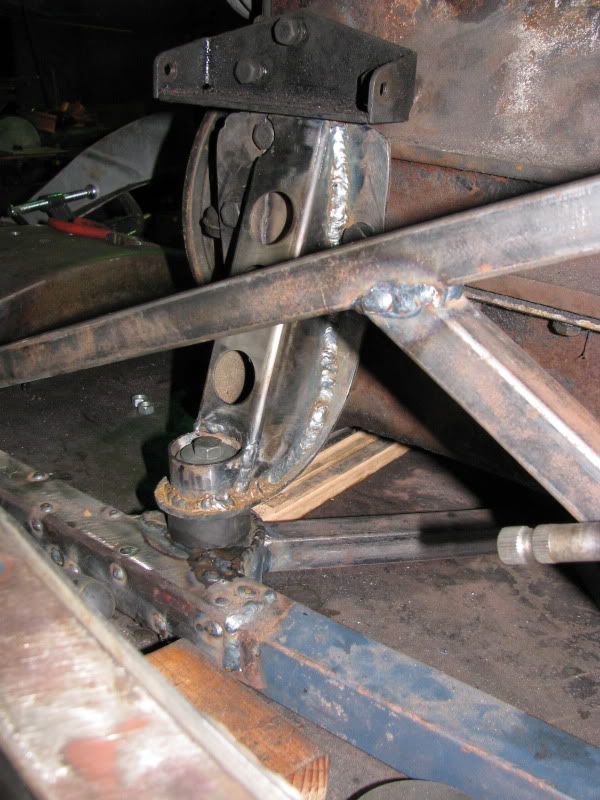
did the same thing for the other side
I now have a mounted motor!There are two things in life where penetration is really important.....and one of them is welding.
-
04-09-2012 06:57 AM #329
CHR Member
- Join Date
- Jul 2003
- Location
- Kentucky
- Car Year, Make, Model: 47 Seagrave
- Posts
- 683
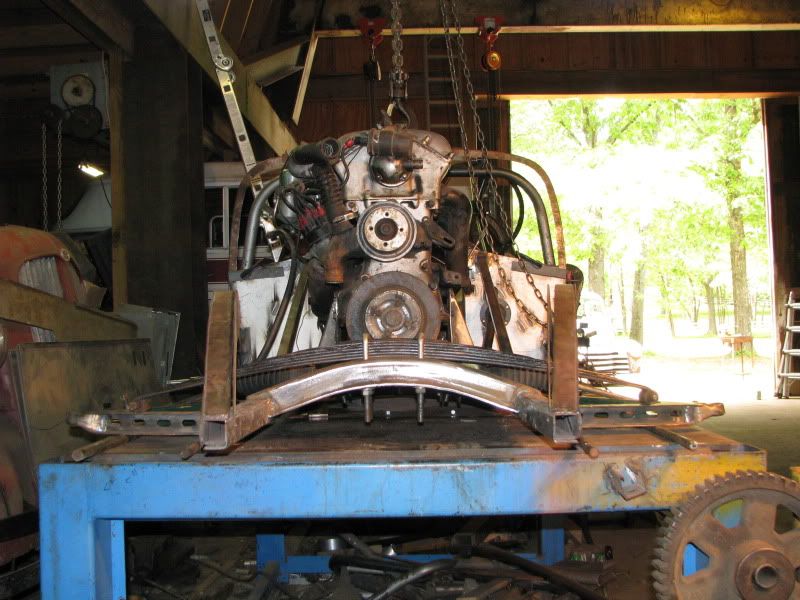
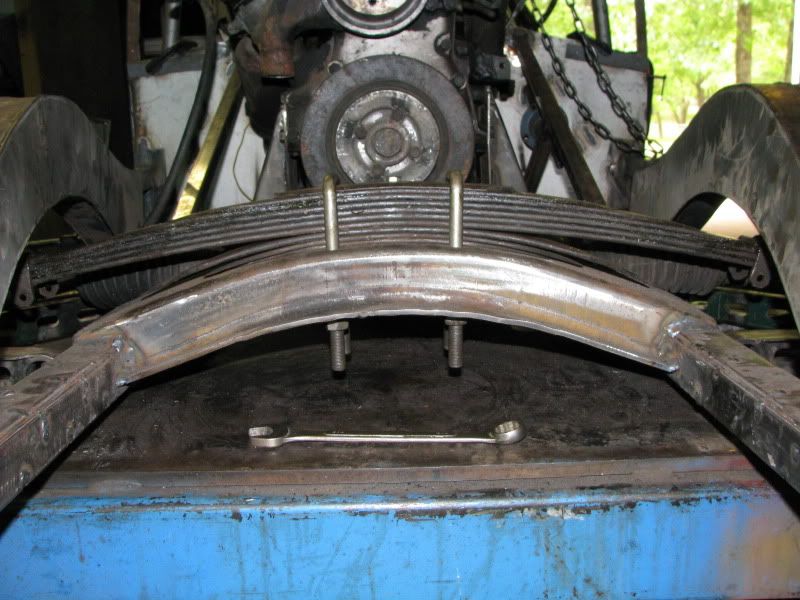
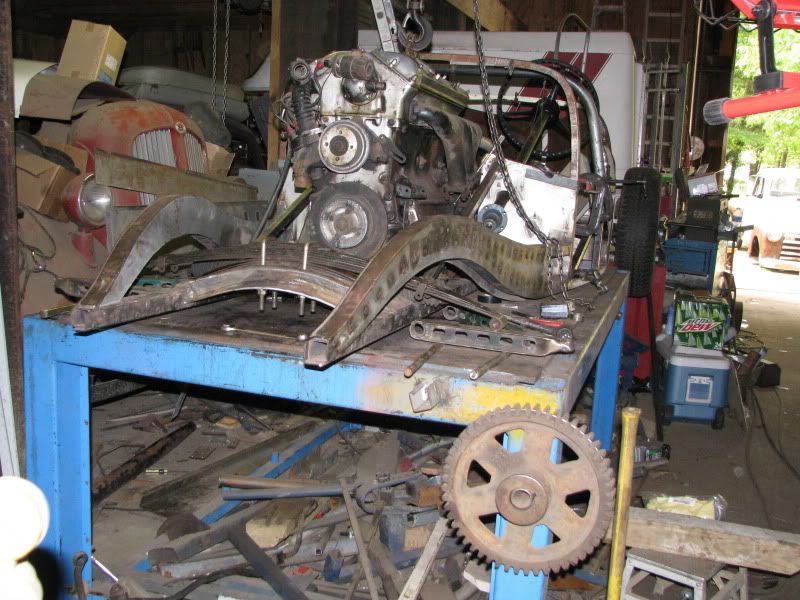
Now to test out my idea for using the Ford leafspring. I have no idea what sort of spring rate this car actually needs.
I bolted it to the crossmember and let the ends rest on the control arms
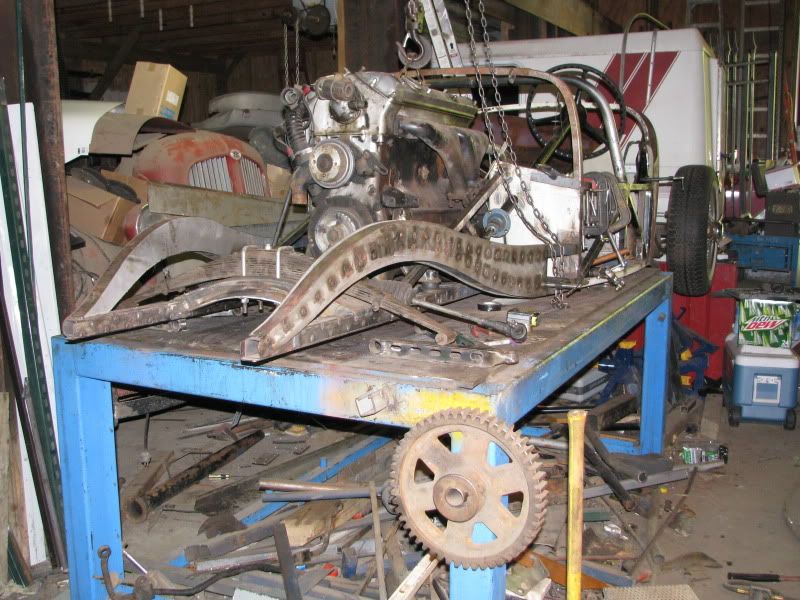
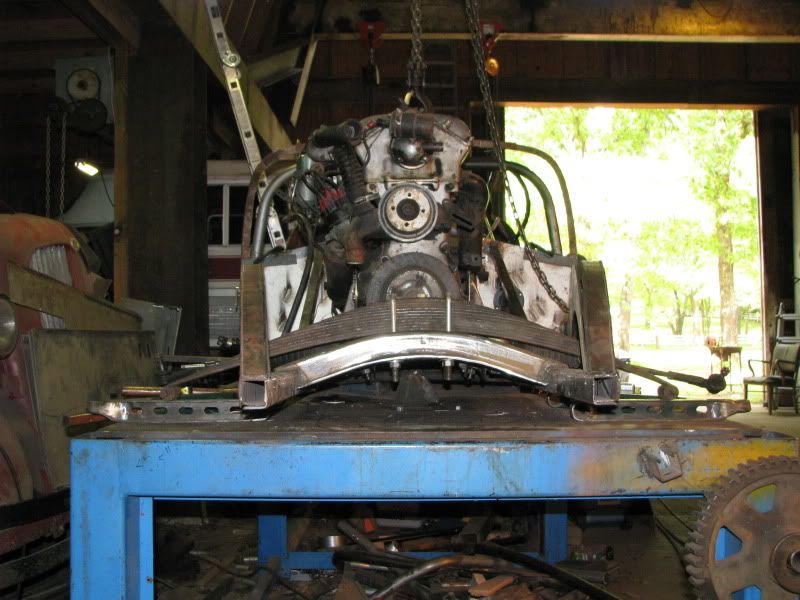
too high and this thing was solid as shit! The weight of the jag and my fat ass on the crossmember didn't hardly budge it!
pull out a bunch of leaves
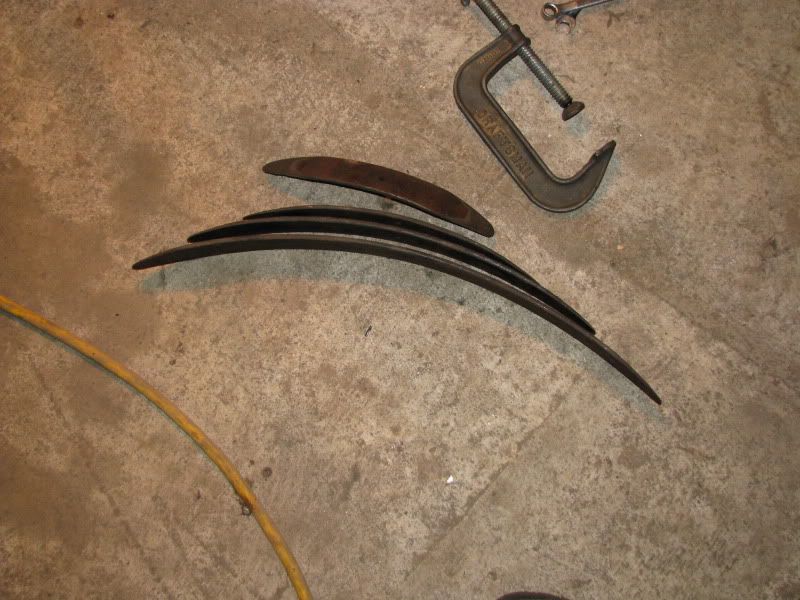
better
but still not much movement. you think the rust has any thing to do with that? ...duh!
I cleaned up the leaves and greased everything up (and pulled one more leaf). ...lots better!
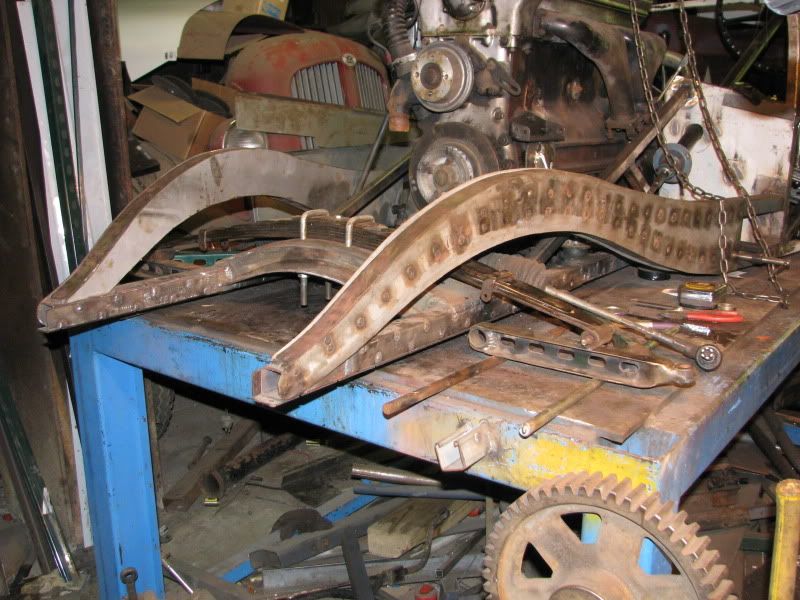
I added some of the removed leaves to the bottom of the pack to raise the pack (lower the car)

close enough until the car gets more weight. I'm sure I will have to fine tune it some more.There are two things in life where penetration is really important.....and one of them is welding.
-
04-09-2012 07:54 AM #330
CHR Member
- Join Date
- Jul 2003
- Location
- Kentucky
- Car Year, Make, Model: 47 Seagrave
- Posts
- 683
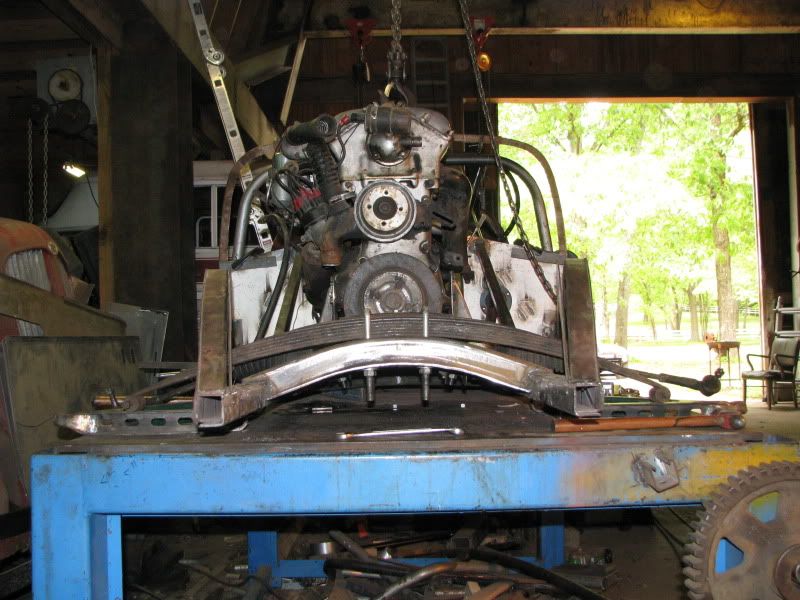
After bouncing the car on the front spring, it sure was hard to not set it on the ground and bounce it on both ends.
Before I get too carried away, I need to flip it over and weld the bottom sides of a lot of the joints.There are two things in life where penetration is really important.....and one of them is welding.
 Reply With Quote

Posting Permissions
- You may not post new threads
- You may not post replies
- You may not post attachments
- You may not edit your posts

I'm on Firefox and generally don't have any problems.
Back online