


Thread: The Roofus Special


Results 286 to 300 of 375
 LinkBack URL
 About LinkBacks
-
06-04-2011 01:39 PM #286
 CHR Member

- Join Date
- Jul 2003
- Location
- Kentucky
- Car Year, Make, Model: 47 Seagrave
- Posts
- 683
This is the new version of the "thinking chair"
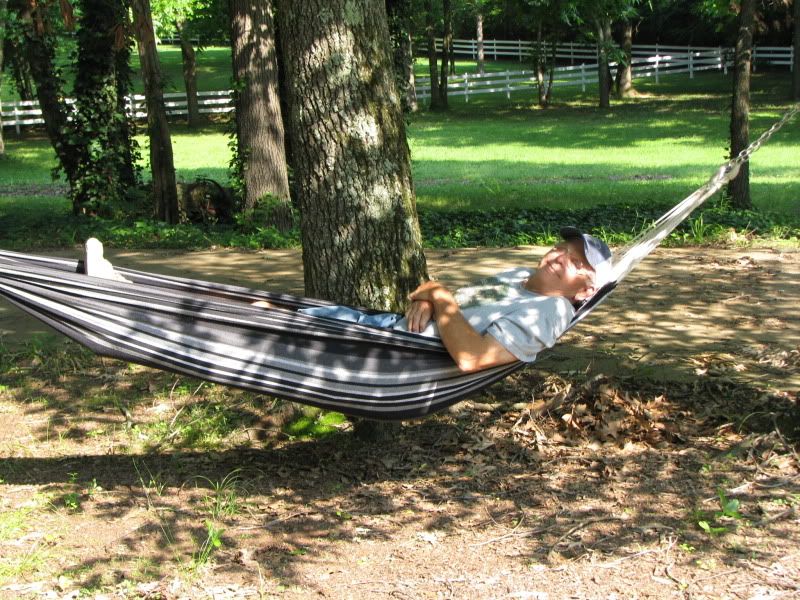
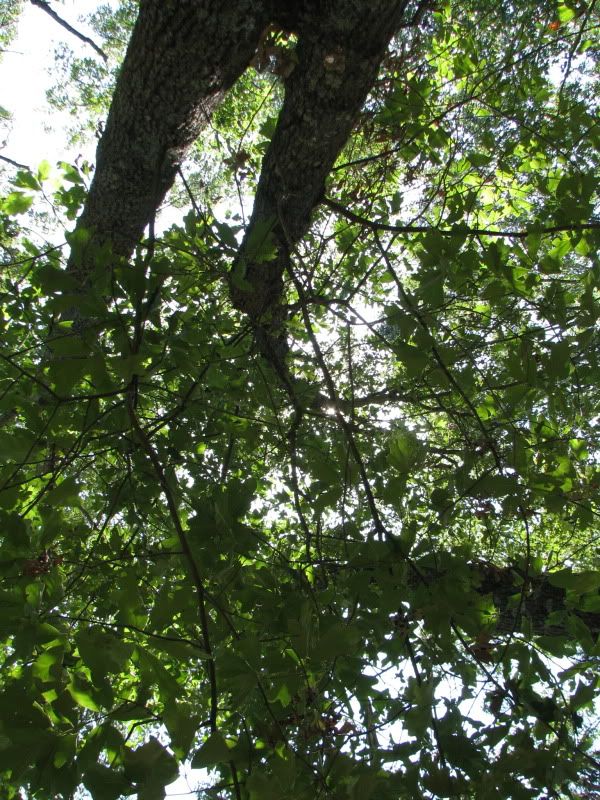
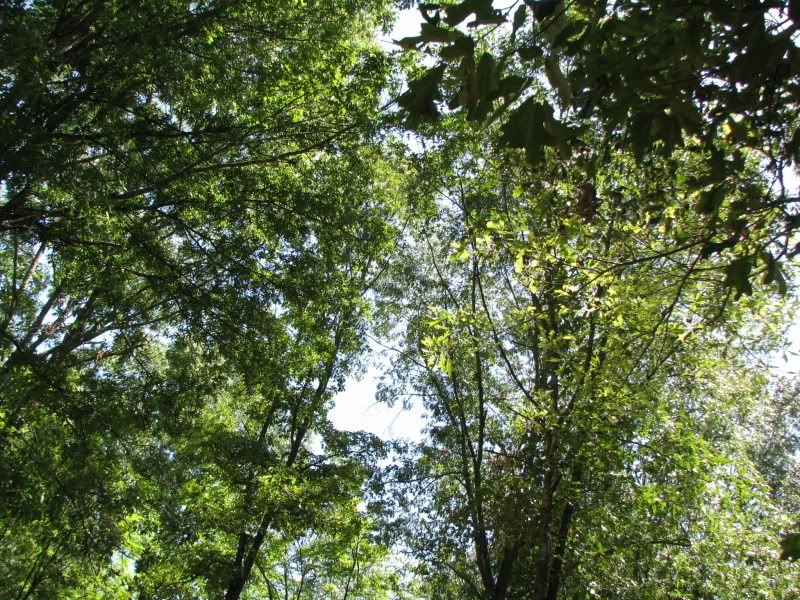
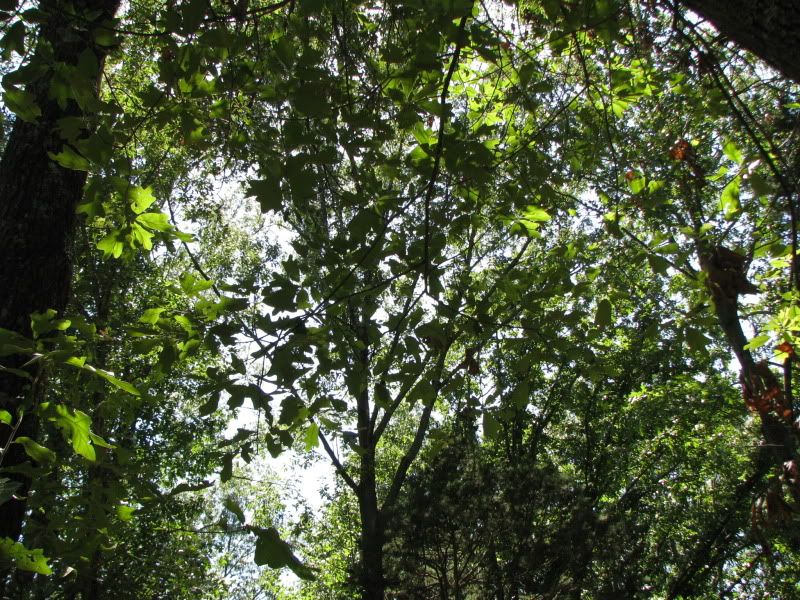
and the views
It is a pretty nice spot to just chill and think up strange shit like this.... a floor buffer grill and wind deflectors (it is cast aluminum).
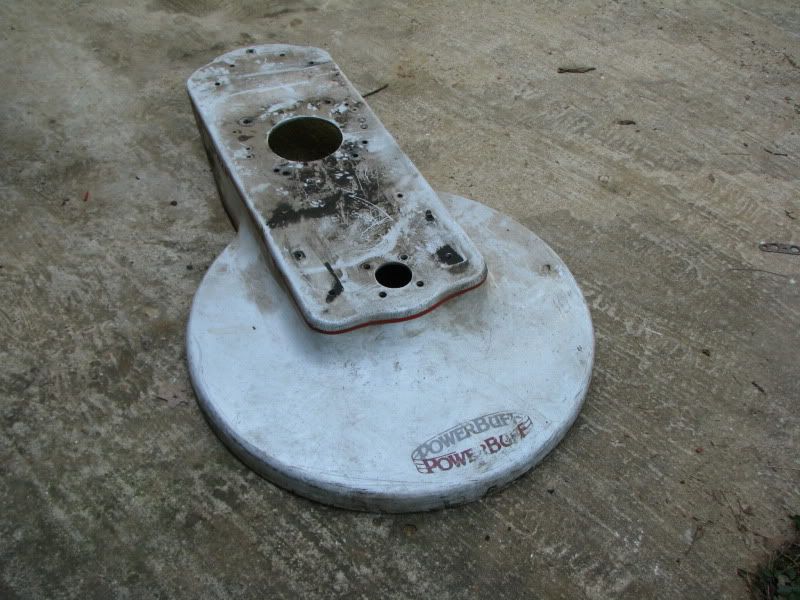
The center portion would be cut out for the grill shell.
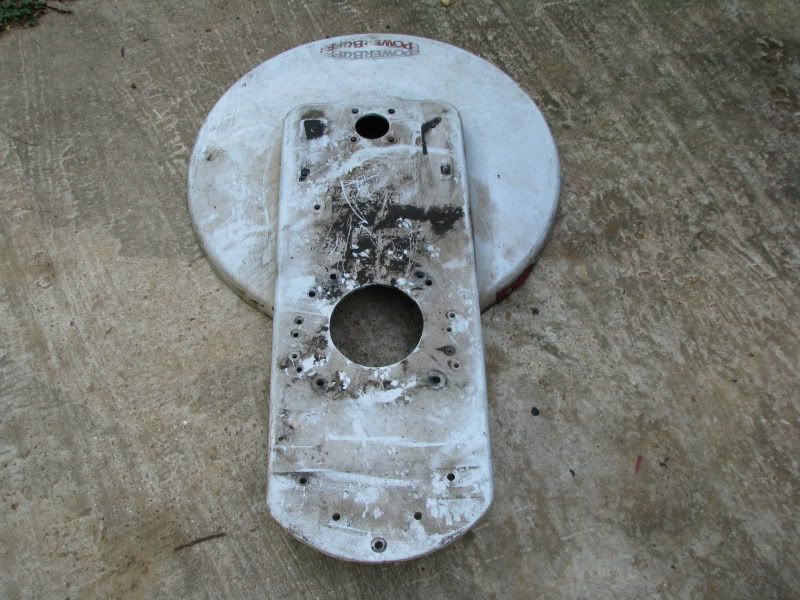
The round part would be cut into semi-circles and mounted on the cowl.
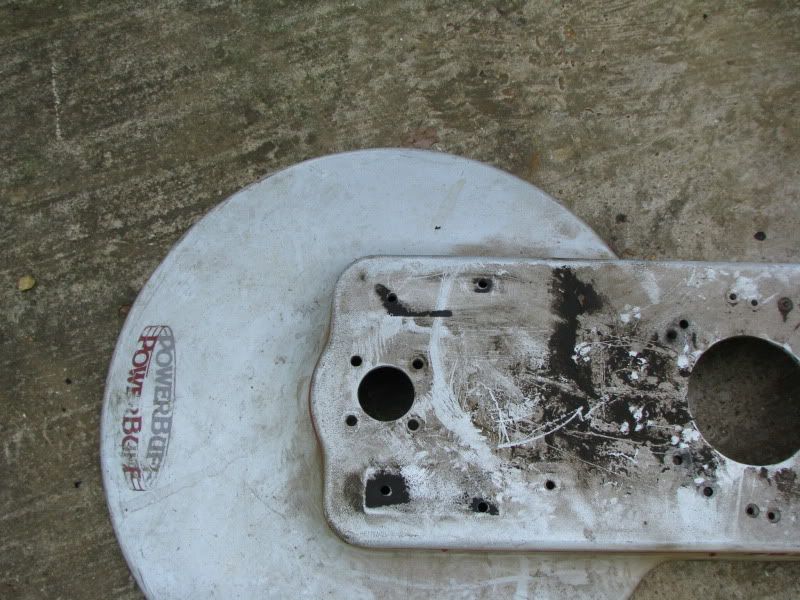
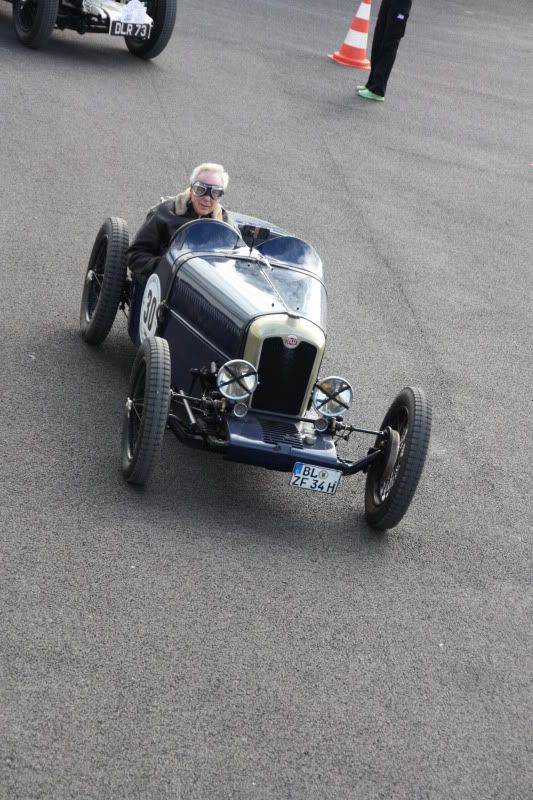
...along the lines of this
I may end up saving this for a single seater build, That way the wind deflector could wrap all the way around the cowl.There are two things in life where penetration is really important.....and one of them is welding.
-
Advertising

- Google Adsense
- REGISTERED USERS DO NOT SEE THIS AD
-
06-22-2011 08:33 AM #287
CHR Member
- Join Date
- Jul 2003
- Location
- Kentucky
- Car Year, Make, Model: 47 Seagrave
- Posts
- 683
I bought a steering wheel quick disconnect at the NHRA Hot Rod Reunion swap meet. I'm gonna see if I can make it work with the Jag steering column pieces.There are two things in life where penetration is really important.....and one of them is welding.
-
06-22-2011 09:40 AM #288
CHR Member
- Join Date
- Oct 2007
- Location
- Petaluma
- Car Year, Make, Model: 48 Ford F1
- Posts
- 9,795
Coming along nicely. Like tha shade tree and hammock!"  "No matter where you go, there you are!" Steve.
-
07-18-2011 08:45 AM #289
CHR Member
- Join Date
- Jul 2003
- Location
- Kentucky
- Car Year, Make, Model: 47 Seagrave
- Posts
- 683
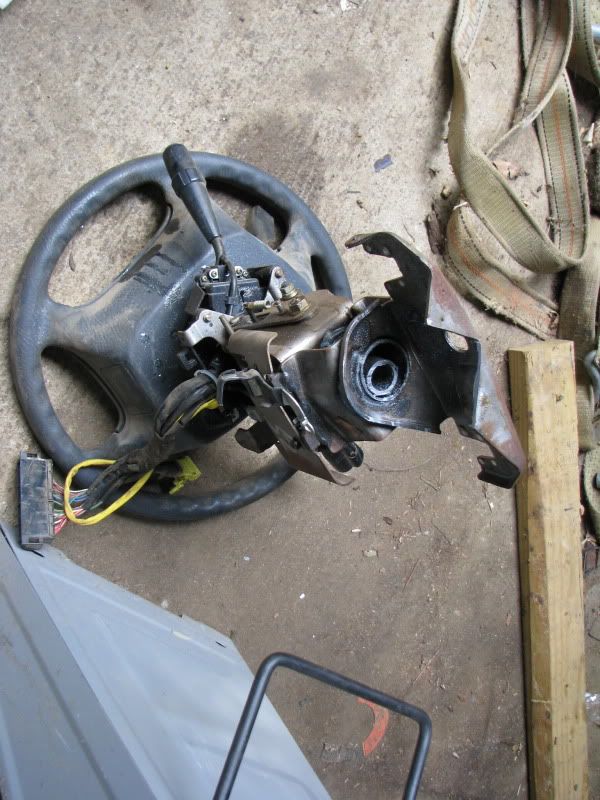
This was one of those one step forward, two steps back kinda weekends, but I think the car will be better because of it.
I had planned on trying to work a quick disconnect into the jag set-up (I had ruled out the speedway parts because they looked like "new parts"). When I tore into the jag column, I discovered it was a cheezy design that used felt bushings top and bottom and the shaft was 1" bar stock.
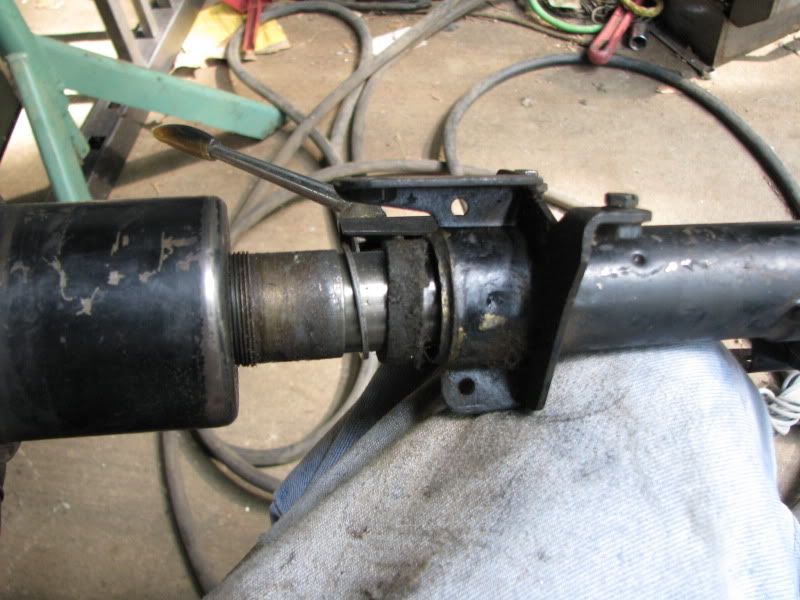
I decided I needed something with bearings.
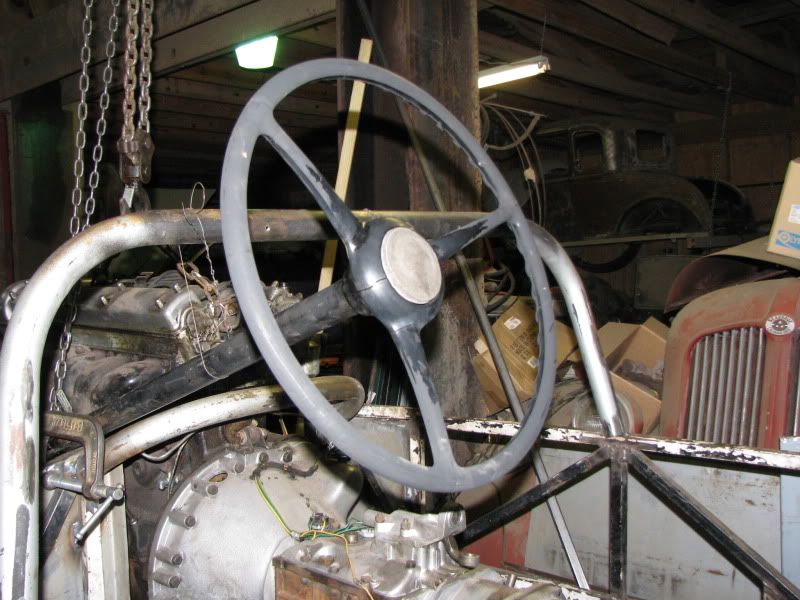
I dug through my stash and pulled out what I think is a Dodge column and wheel (cheap swap meet raw material). The wheel is kinda generic with a smooth horn button that can be customized.
While mocking up the new coulmn (and exhaust routing), I figured out that the path I had previously picked for the steering sector was too prominent. It needed to blend into the background.
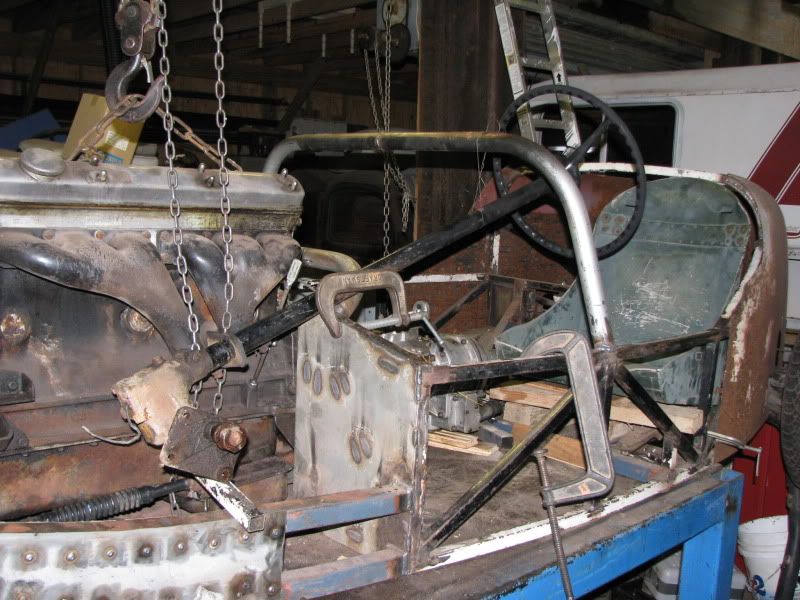
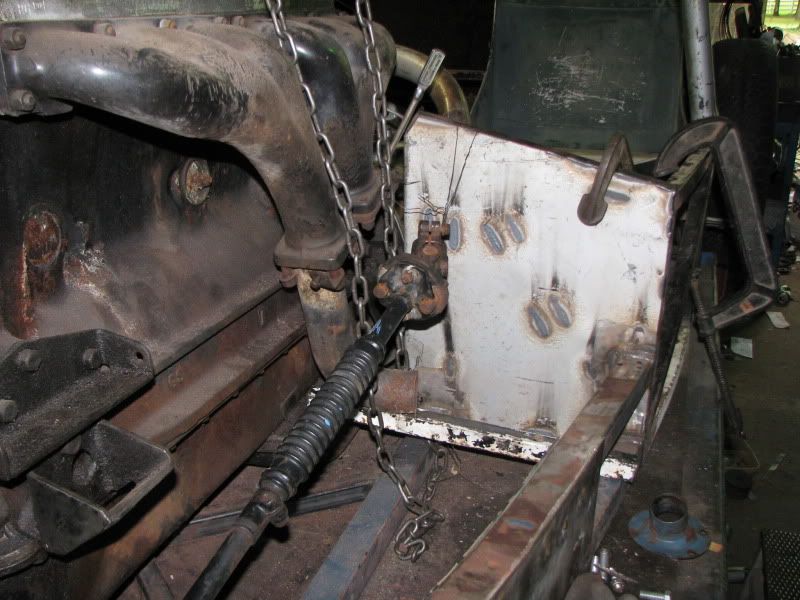
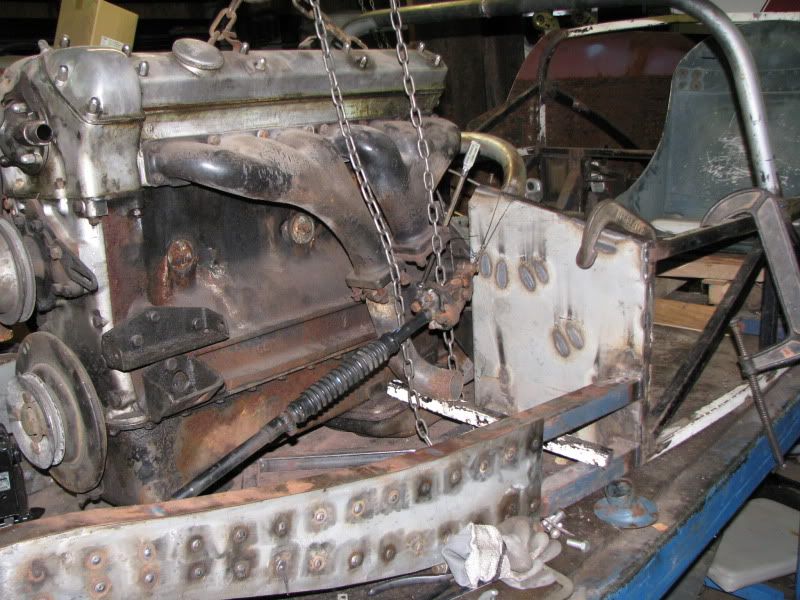
The sector needed to go under the exhaust.
There are two things in life where penetration is really important.....and one of them is welding.
-
07-18-2011 08:46 AM #290
CHR Member
- Join Date
- Jul 2003
- Location
- Kentucky
- Car Year, Make, Model: 47 Seagrave
- Posts
- 683
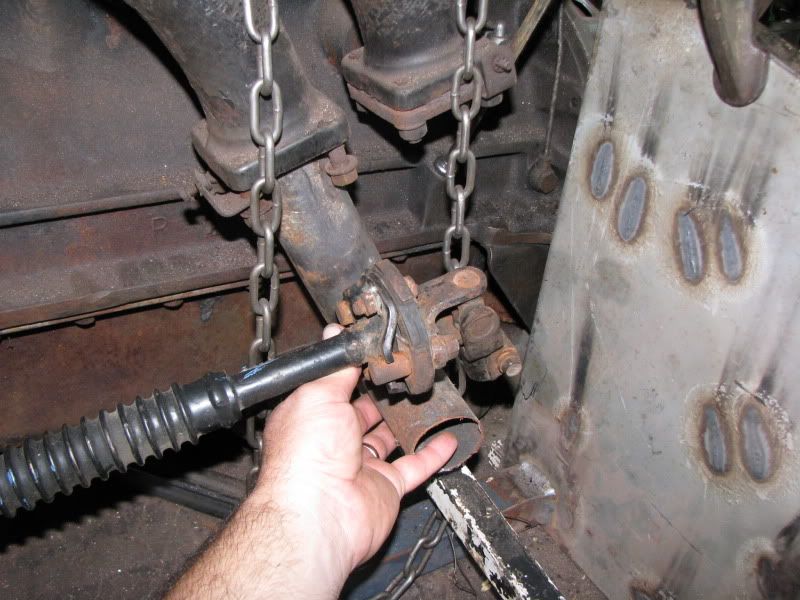
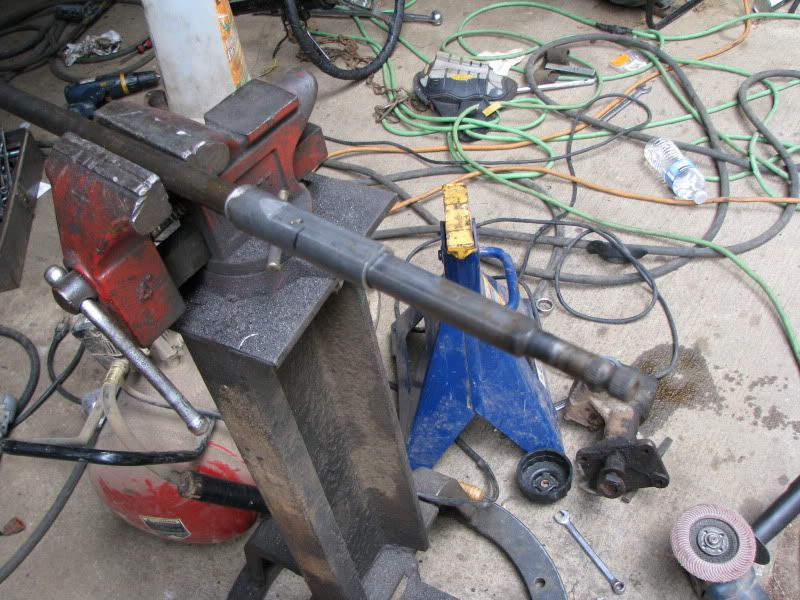
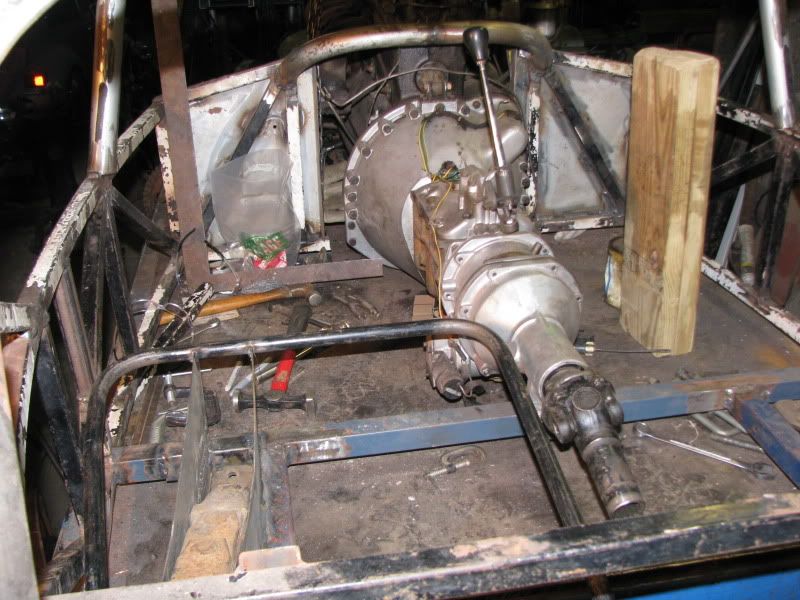
To pull this off as simply as possible, I decided I needed a really long steering column (column to sector junction as far away from the firewall as possible).
I did not cut the outer tube.
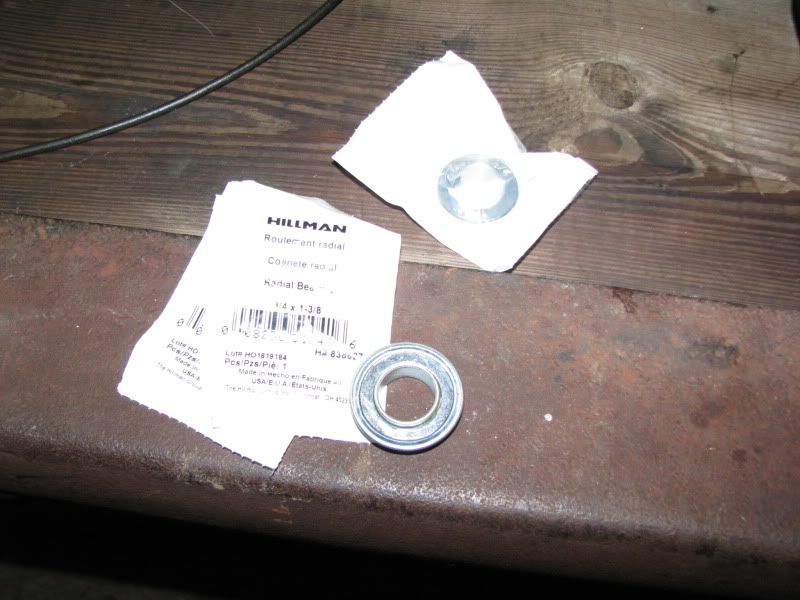
For the lower bearing, I used an off the shelf part from Tractor Supply Company (TSC).
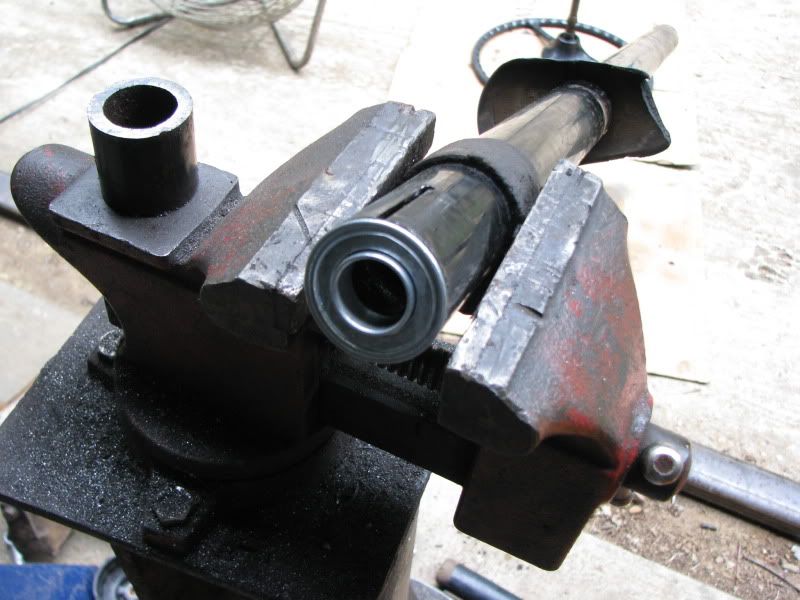
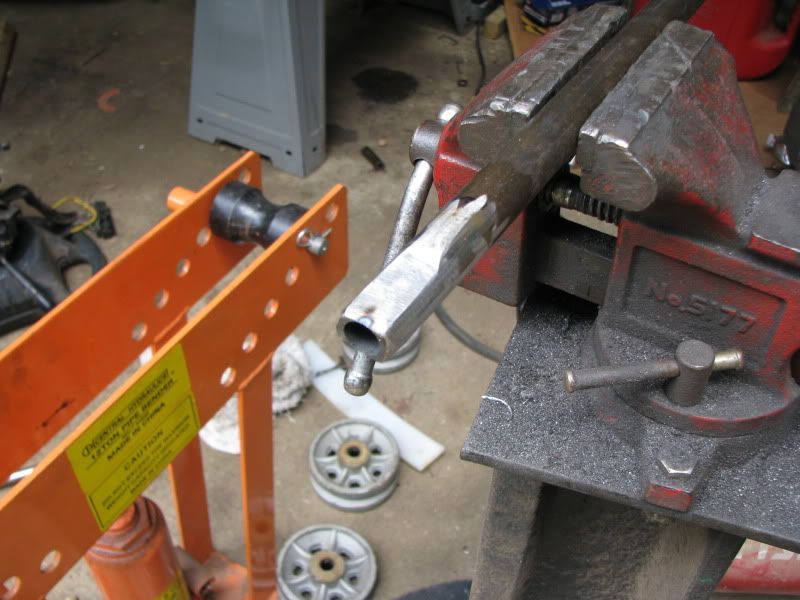
I needed a splined end to connect to the toyota u-joints, so I hacked into a 1991 Celica column.
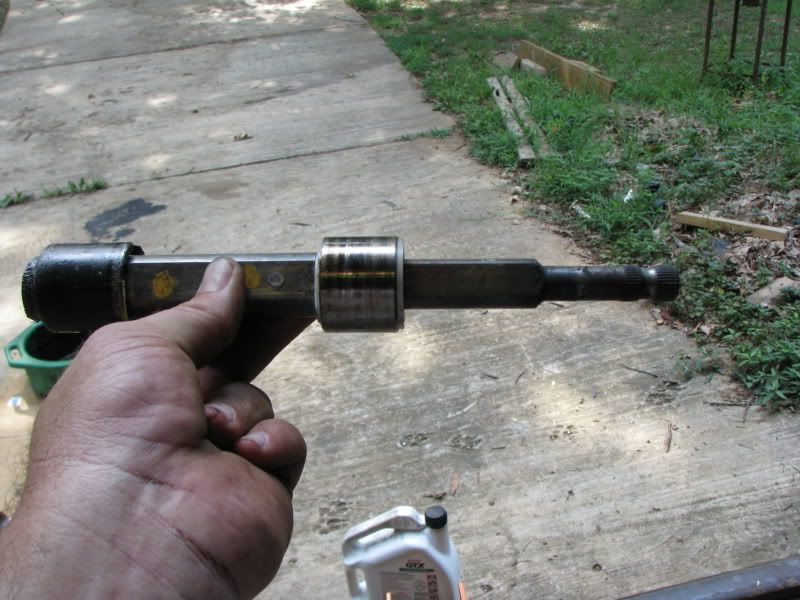
It was stuck together with plastic that acted like shear pins
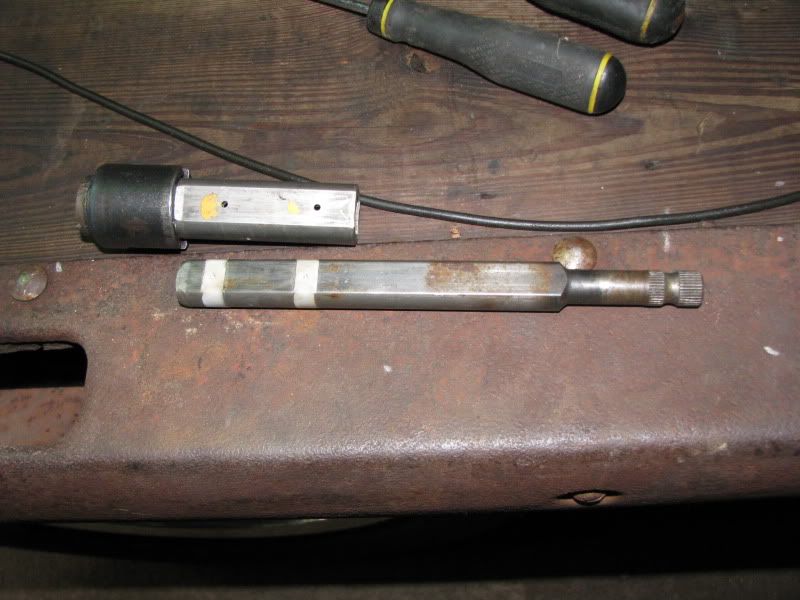
plastic removed
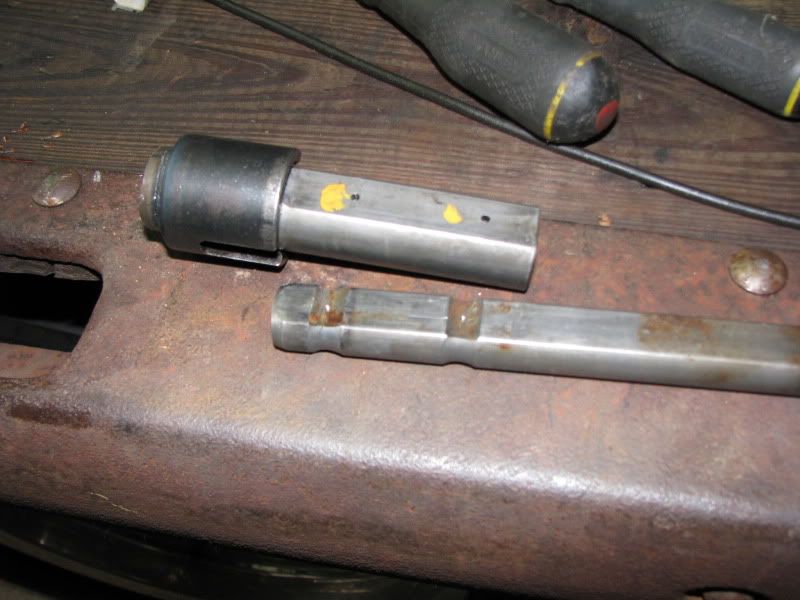
Trying to figure out how much dodge shaft to trim. The double-D coupler needed to be completely inside the coulmn, above the lower bearing.
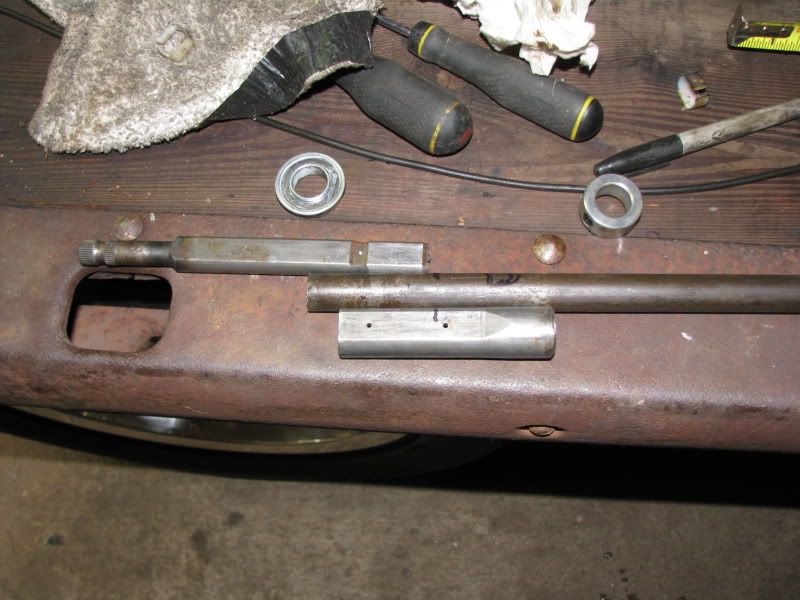
a little snip here
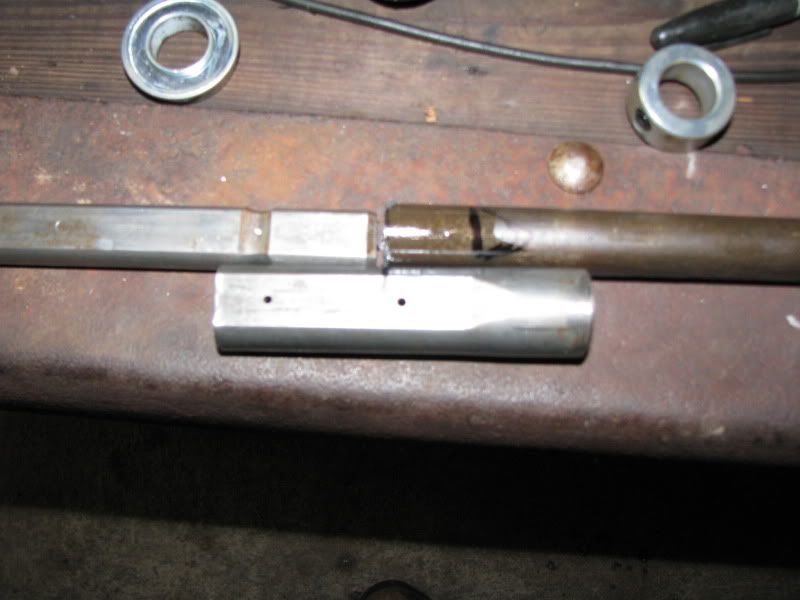
a little grinding turned the round shaft into a double-d. It is a snug fit in the coupler (it goes from round to D on the dodge end)
welded with plug welds
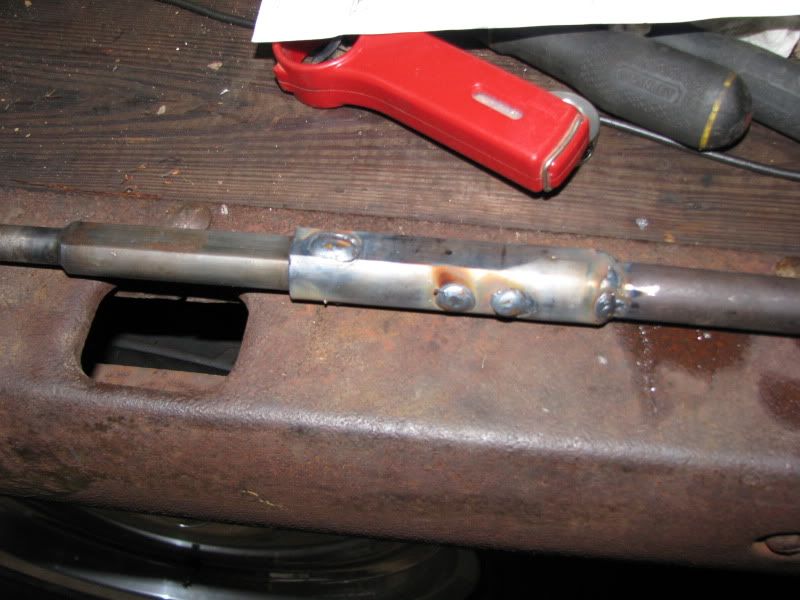
assembled.
The new column is 46.5" long

There are two things in life where penetration is really important.....and one of them is welding.
-
07-19-2011 08:26 AM #291
CHR Member
- Join Date
- Jul 2003
- Location
- Kentucky
- Car Year, Make, Model: 47 Seagrave
- Posts
- 683
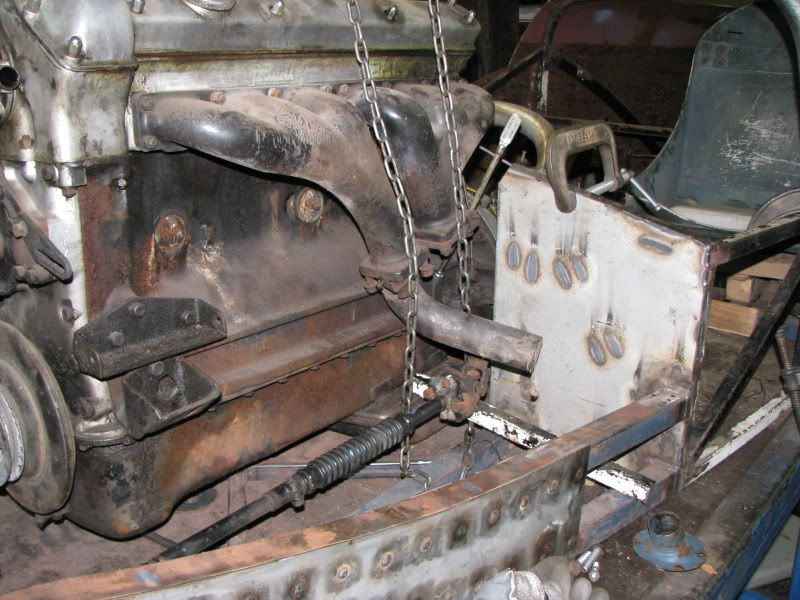
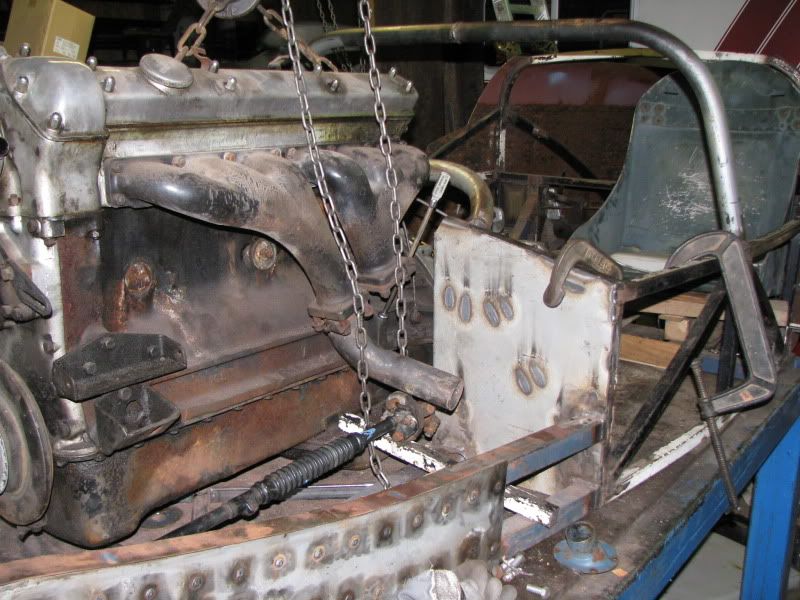
KEEP THE JAG MANIFOLDS OR BUILD HEADERS?
I really like the "factory" headers that are on the motor already, but they dump too close to the center of the car to look like 30's racecar stuff. .....and, If I built headers that came out farther before going down, I could hide the steering no matter where I ran it.
Here are some examples I found.
All into one up high
All into one down low
Two sets of three into one

There are two things in life where penetration is really important.....and one of them is welding.
-
07-19-2011 10:27 AM #292
CHR Member
- Join Date
- Mar 2007
- Location
- festus
- Car Year, Make, Model: 48 Plymouth, 48,54 Heap
- Posts
- 3,407
Looks great! Nice job on the column.
-
07-19-2011 10:29 AM #293
CHR Member
- Join Date
- Oct 2007
- Location
- Petaluma
- Car Year, Make, Model: 48 Ford F1
- Posts
- 9,795
I like the extended headers. Only other option may be to make some sort of extension to the existing manifold to give the same appearance, just a thought! I know Sanderson can make custom headers for anything, if you go that route and don't want to make them yourself." "No matter where you go, there you are!" Steve.
-
07-20-2011 04:47 AM #294
CHR Member
- Join Date
- Jul 2003
- Location
- Kentucky
- Car Year, Make, Model: 47 Seagrave
- Posts
- 683
Nope, I hadn't thought about making a spacer to move the manifolds outboard. That is something to think about. Originally Posted by stovens

There are two things in life where penetration is really important.....and one of them is welding.
-
09-26-2011 05:11 AM #295
CHR Member
- Join Date
- Jul 2003
- Location
- Kentucky
- Car Year, Make, Model: 47 Seagrave
- Posts
- 683
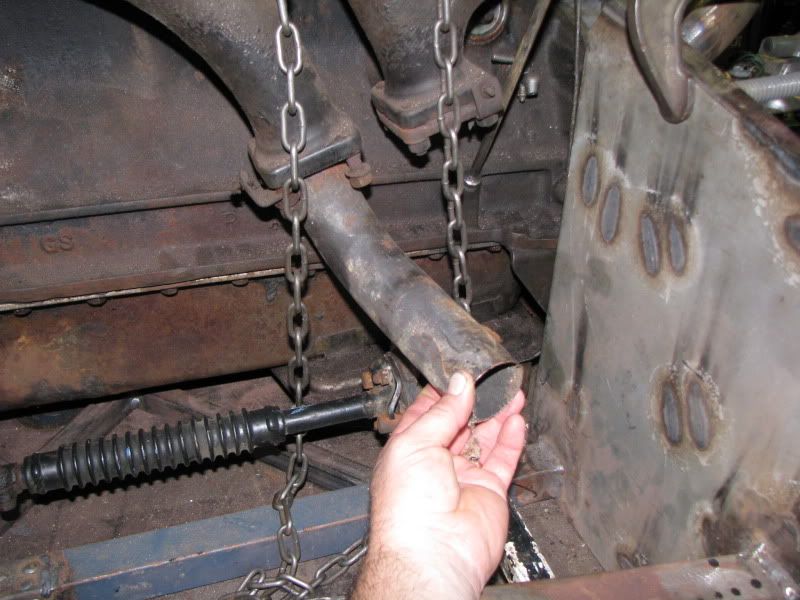
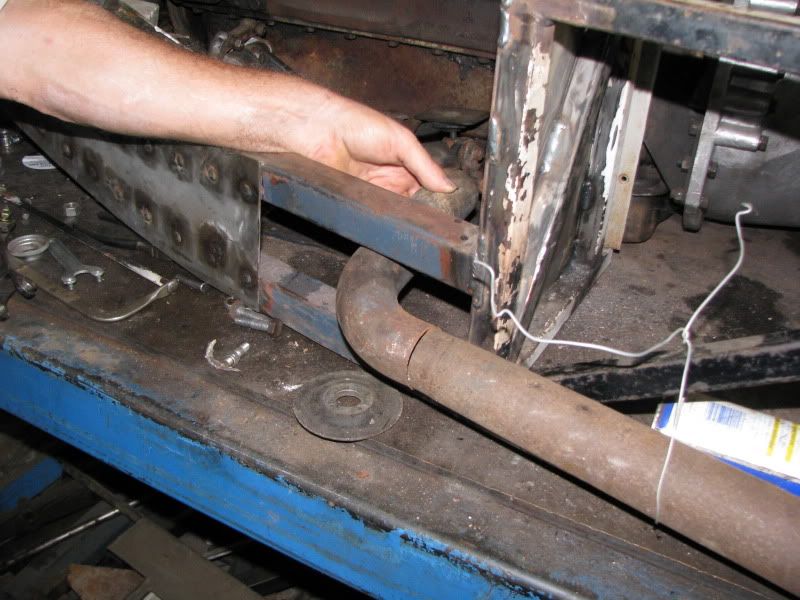
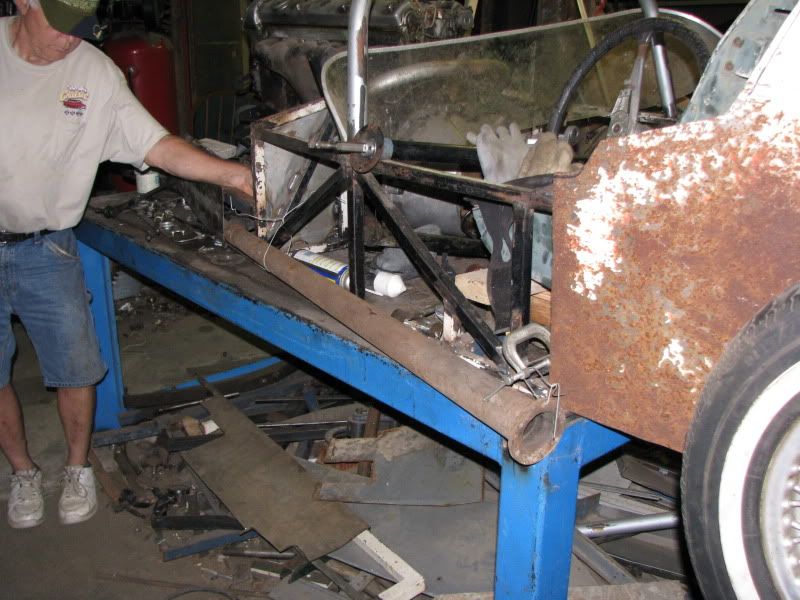
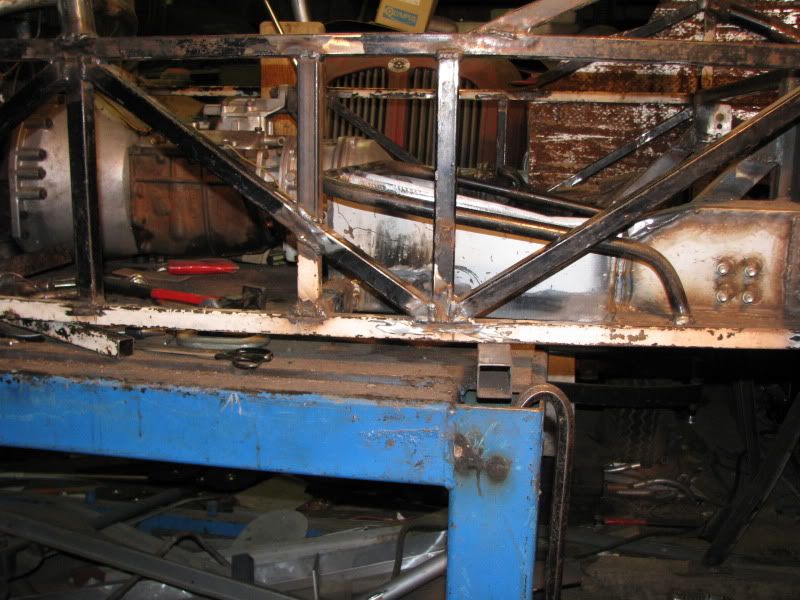
I didn't have time to do anything more than mock up a torque tube exhaust pipe in two different positions.
Above the frame rail/ angle down
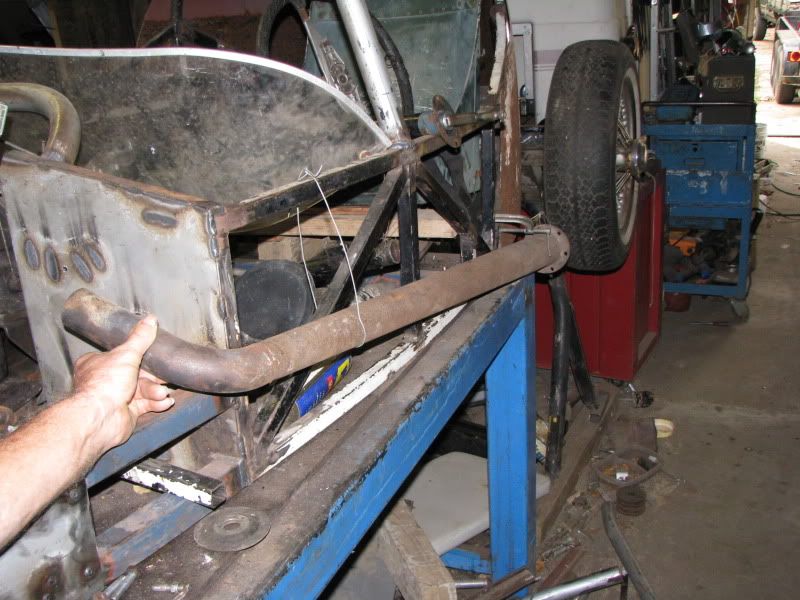
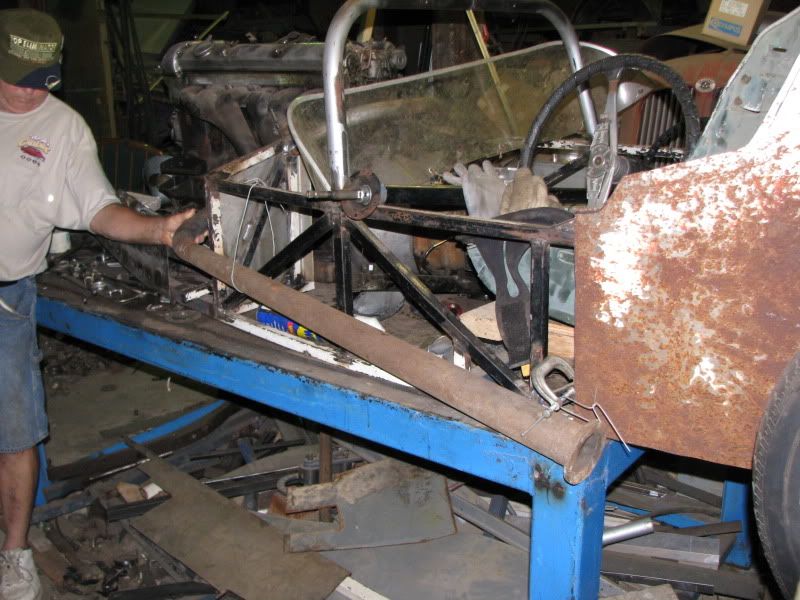
And down low/ through the frame. I think I like this best.
There are two things in life where penetration is really important.....and one of them is welding.
-
09-26-2011 09:00 AM #296
CHR Member
- Join Date
- Oct 2007
- Location
- Petaluma
- Car Year, Make, Model: 48 Ford F1
- Posts
- 9,795
Looks right! Nice work. Hopefully the fumes will pass right by you!" "No matter where you go, there you are!" Steve.
-
11-09-2011 10:26 AM #297
CHR Member
- Join Date
- Jul 2003
- Location
- Kentucky
- Car Year, Make, Model: 47 Seagrave
- Posts
- 683
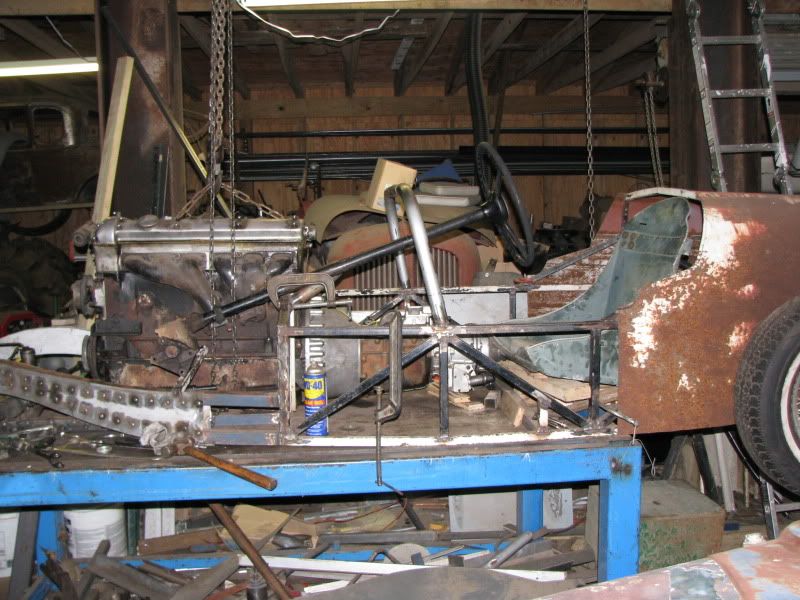
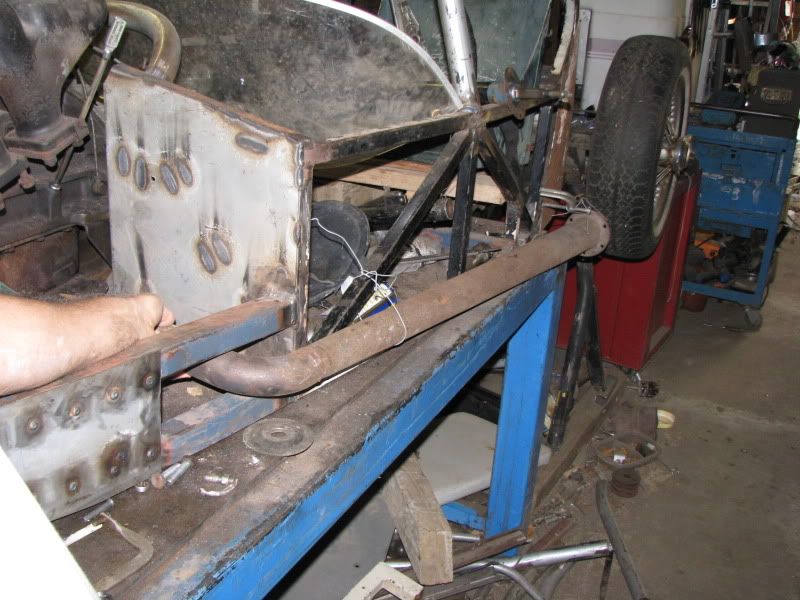
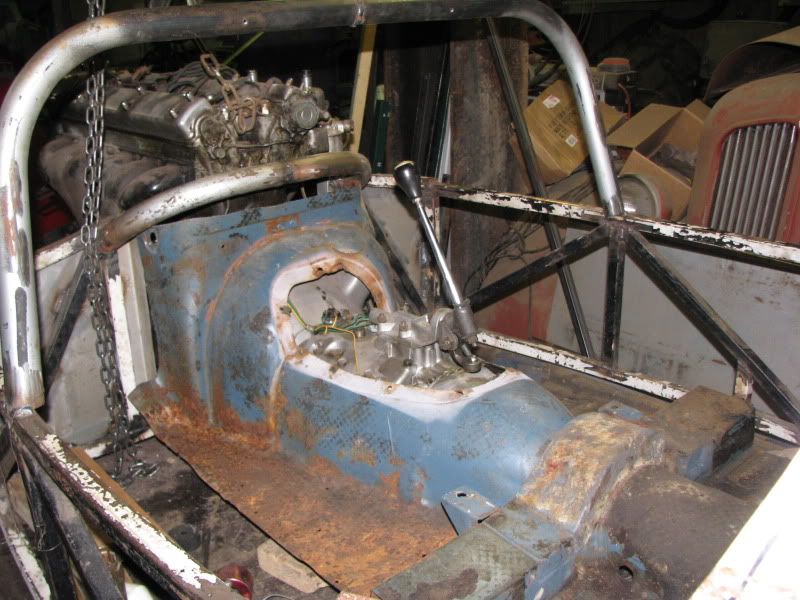
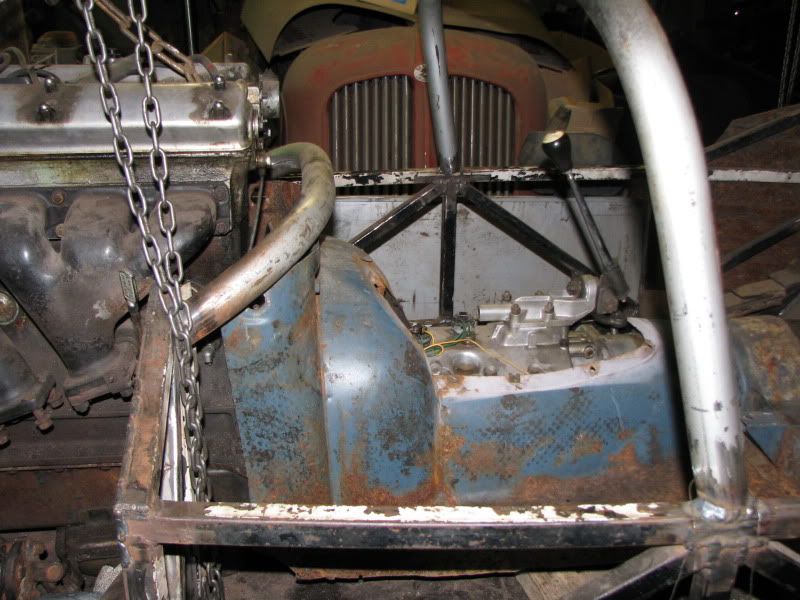
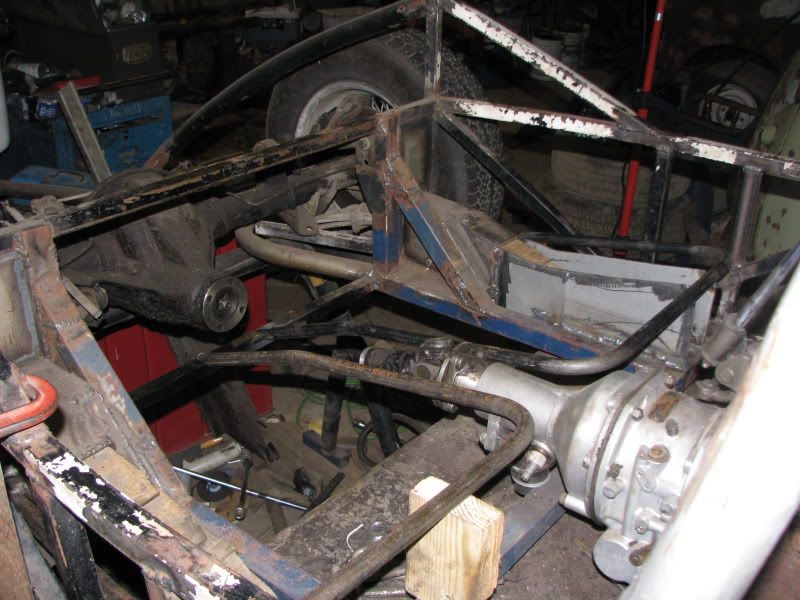
I went and played with it this past weekend. I think I forked up more than I fixed...but I enjoyed the time with my folks and I figured out/rembered what I wanted to do a year ago......
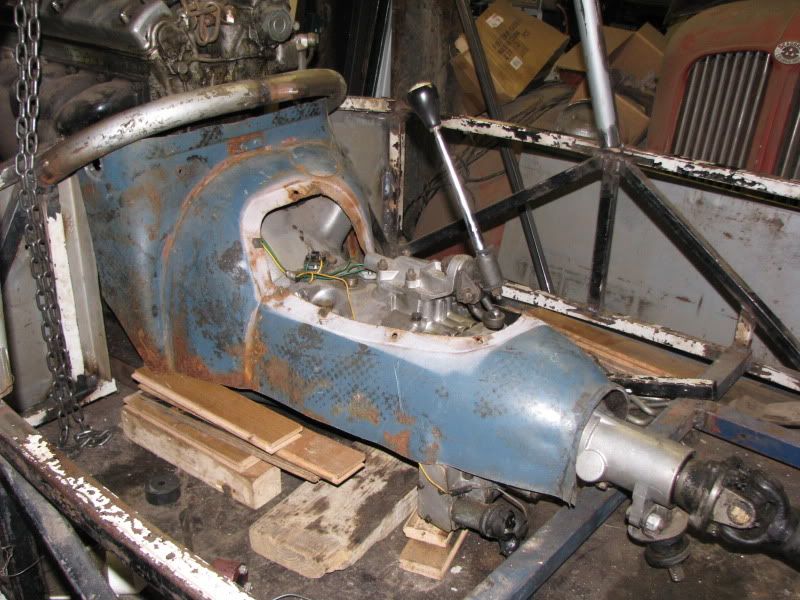
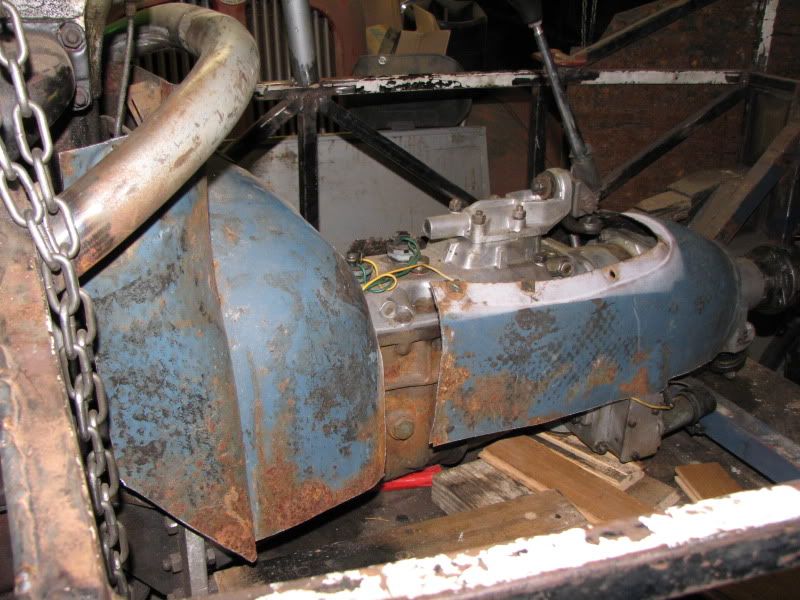
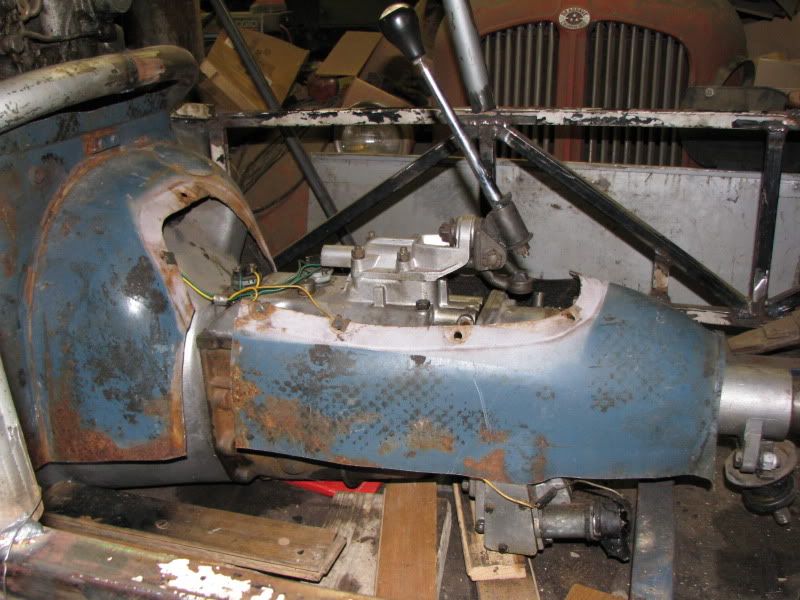
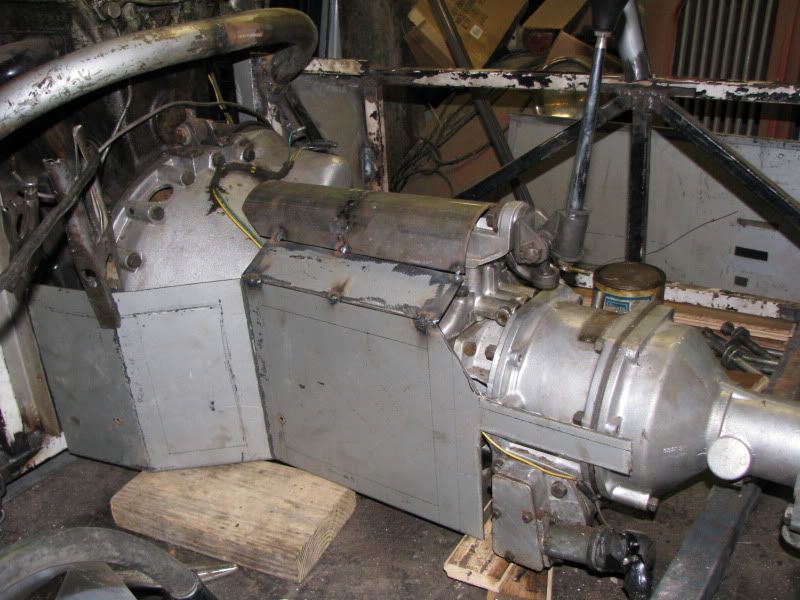
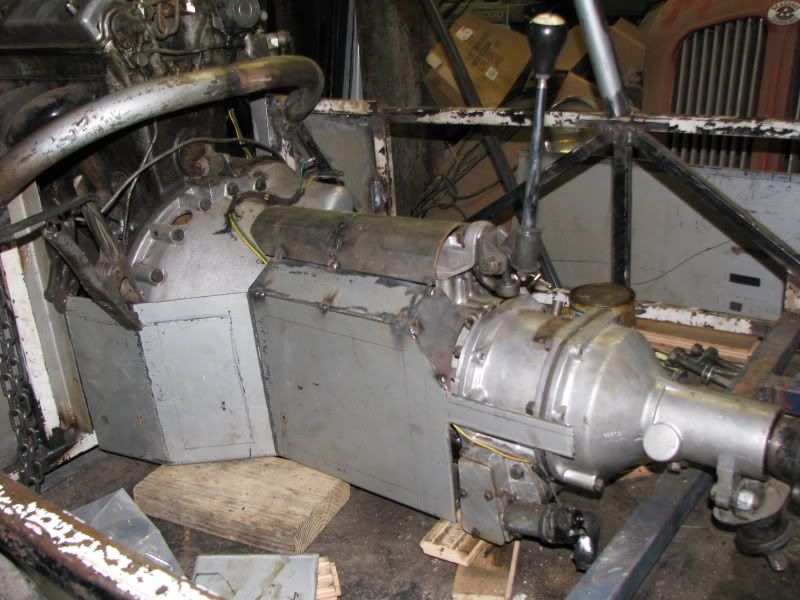
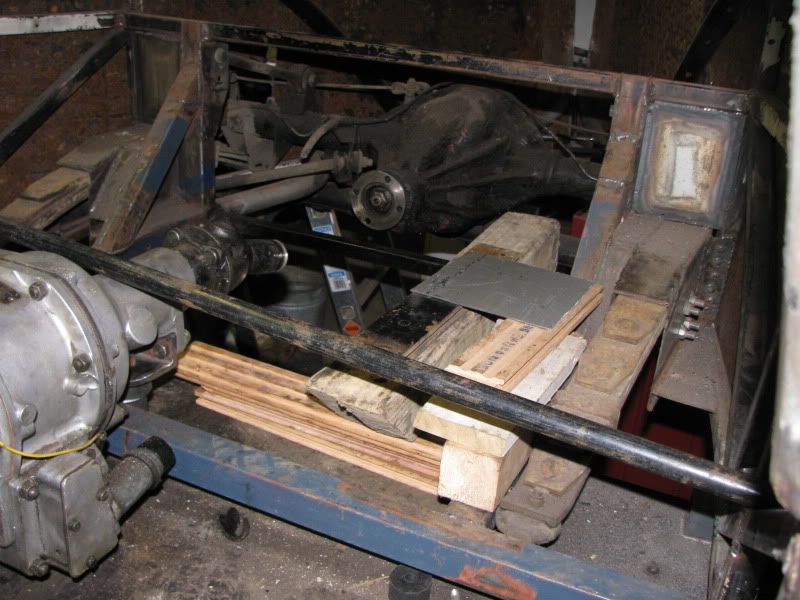
I needed to figure out the transmission tunnel before I could figure out the transmission mount
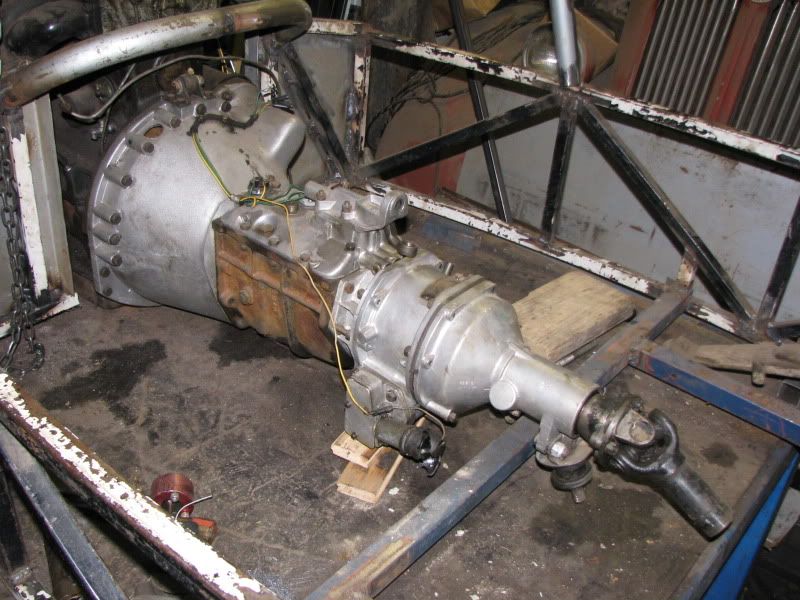
I tried the jag tunnel again
I didn't fit as snug as I wanted it to, so I sliced and diced it...
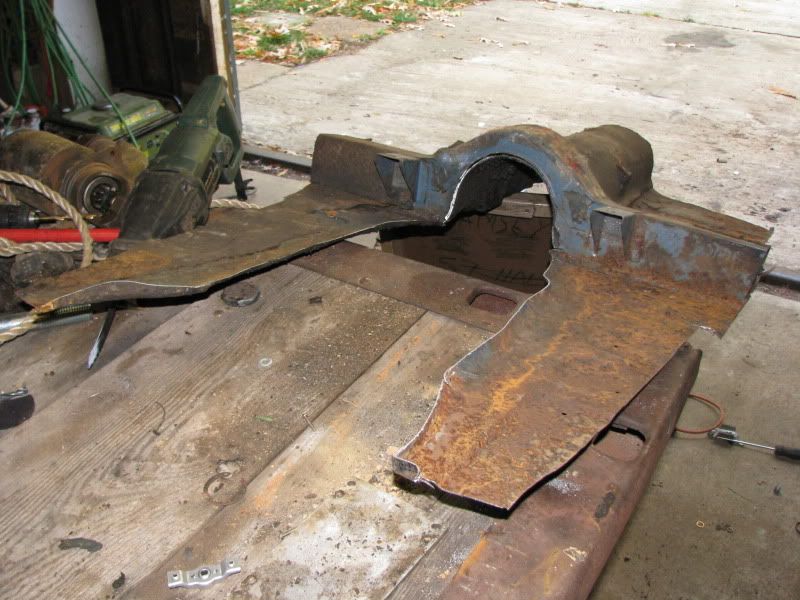
I cut it a little more

There was too much air space between the sheetmetal and the bell housing...that space is needed for a gas pedal.
so I broke out the cop car kick panel sheet metal to build a beefy, close fitting tunnel
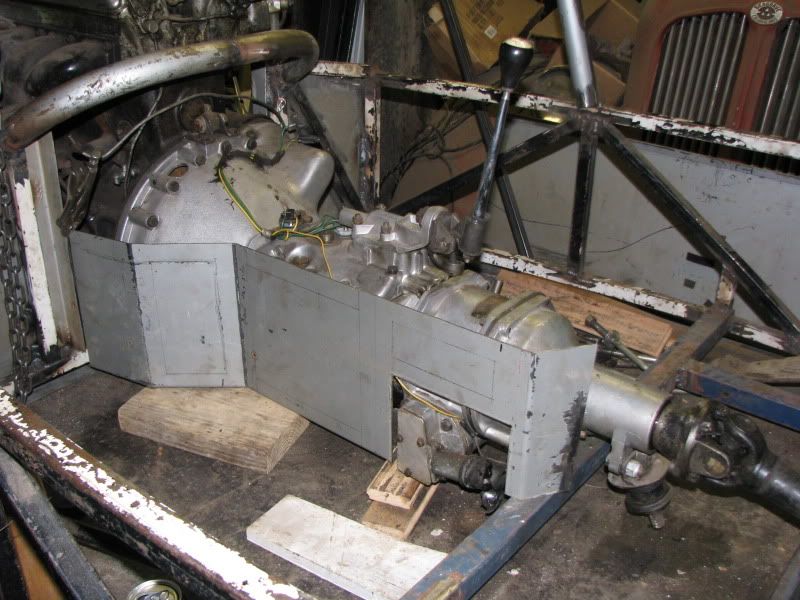
I realized I didn't want to run it all the way behind the seats as one piece, so I added a center bulkhead to give it something solid to tie into in the middle of the cockpit.
I really didn't like that, so I cut it out
It needed to be straight across, so that it could be the start of the front of the seat. I had to add verticals to weld to.

I ran out of time, but I figured out/remembered that I needed to have a bulkhead that doubled as a seat front and that the spring boxes need to extend to that bulkhead.
I don't like the new tunnel either.... I think I like the trans out in the open better.
There are two things in life where penetration is really important.....and one of them is welding.
-
11-21-2011 04:35 PM #298
CHR Member
- Join Date
- Jul 2003
- Location
- Kentucky
- Car Year, Make, Model: 47 Seagrave
- Posts
- 683
Logging in on Dad's dial-up internet connection ....so no pics for now, but I am making really good progress.
I made a trans mount...and figured out how to finish the front half of the spring boxes (driverside mostly done, cutting pieces for the passenger side) and also figured out the frame for the seat bottoms (driverside is already welded in, passenger side is formed). I must say, that I am REALLY proud of what I came up with. The drivers side seat feels great...even without seat foam. ....And looks like it belongs in a vintage racer.
Oh yeah, I think I figured out how to seal the exposed trans too....rubber hose. I am going to form a half round chanel (split tubing) that goes around the flange of the bellhousing. the hose will fill th gap. I just need to make some motor mounts that hold everything in place really well.There are two things in life where penetration is really important.....and one of them is welding.
-
11-21-2011 04:37 PM #299
CHR Member
- Join Date
- Jul 2003
- Location
- Kentucky
- Car Year, Make, Model: 47 Seagrave
- Posts
- 683
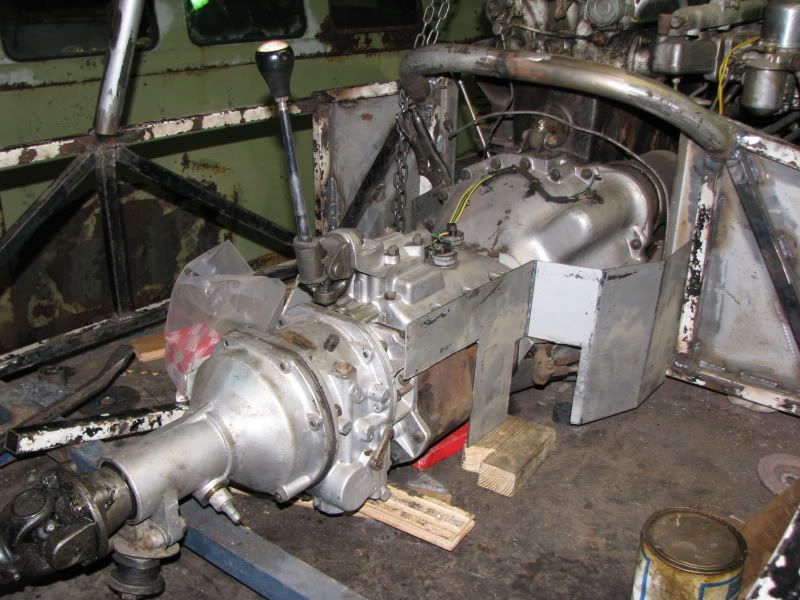
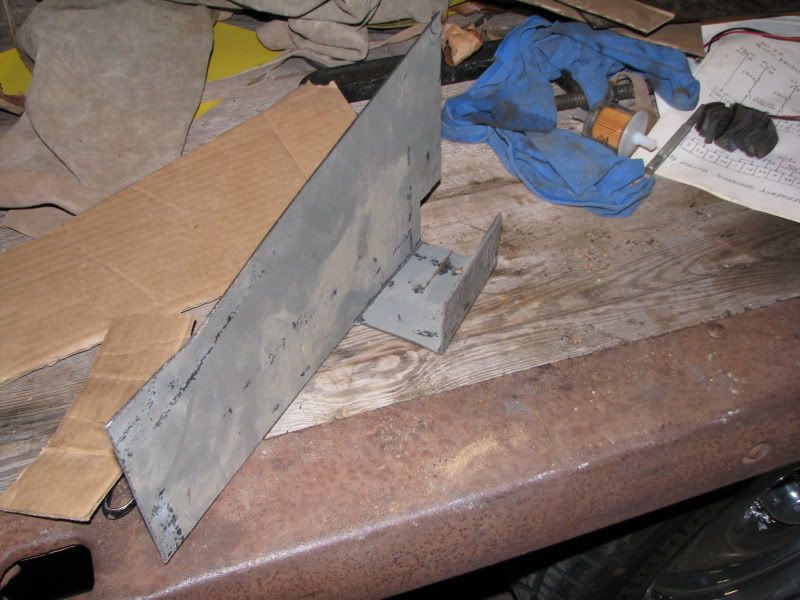
OK, here's the picture post.
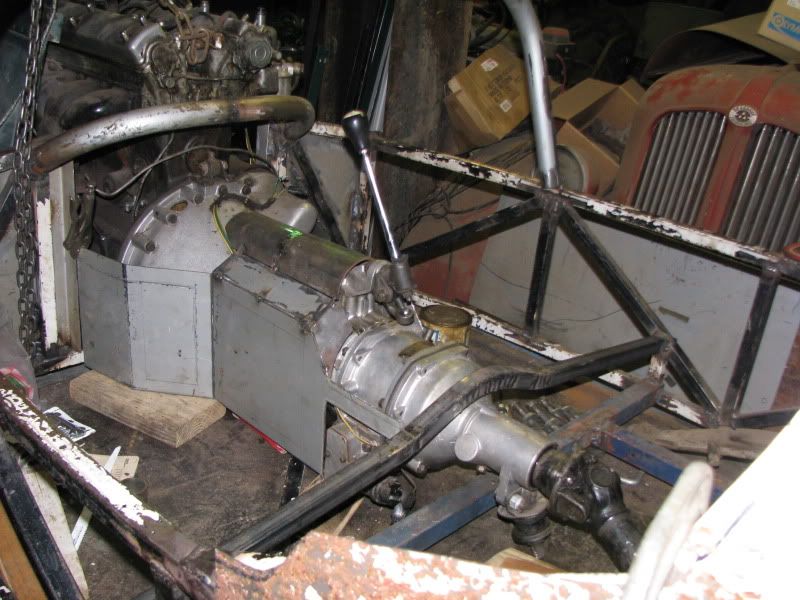
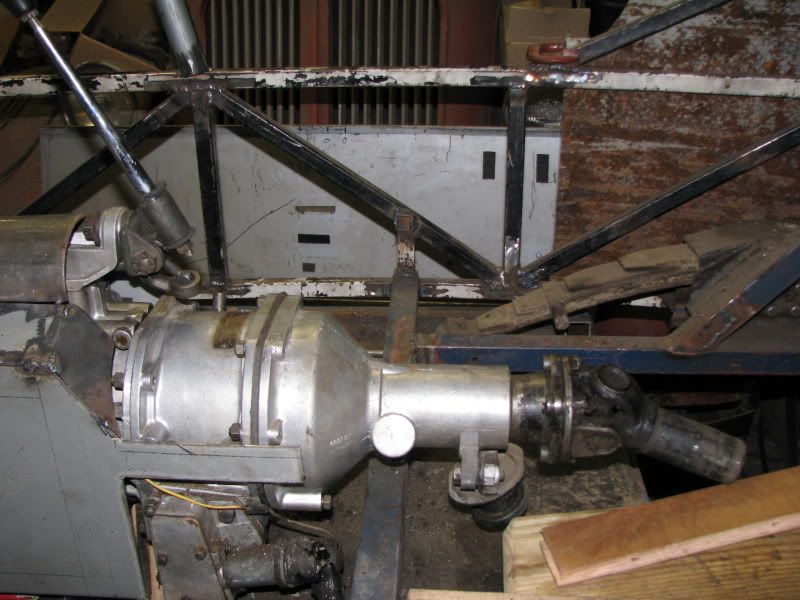
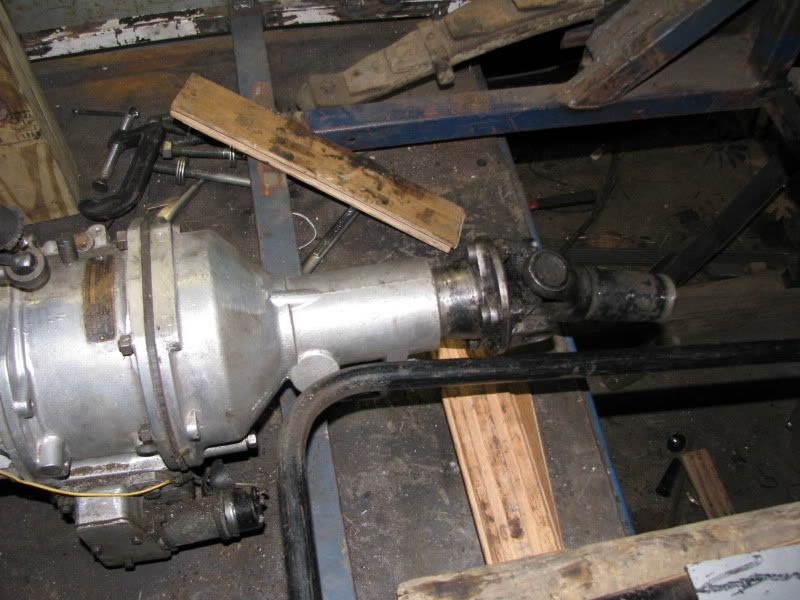
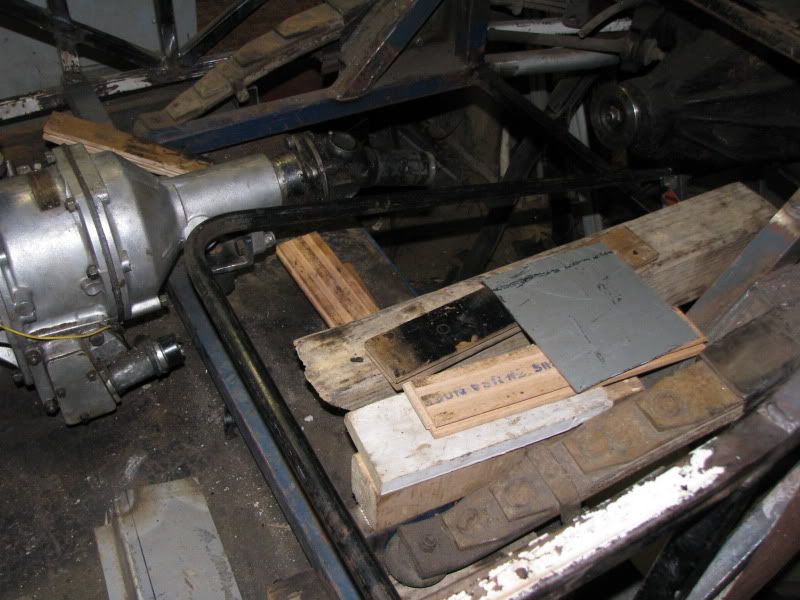
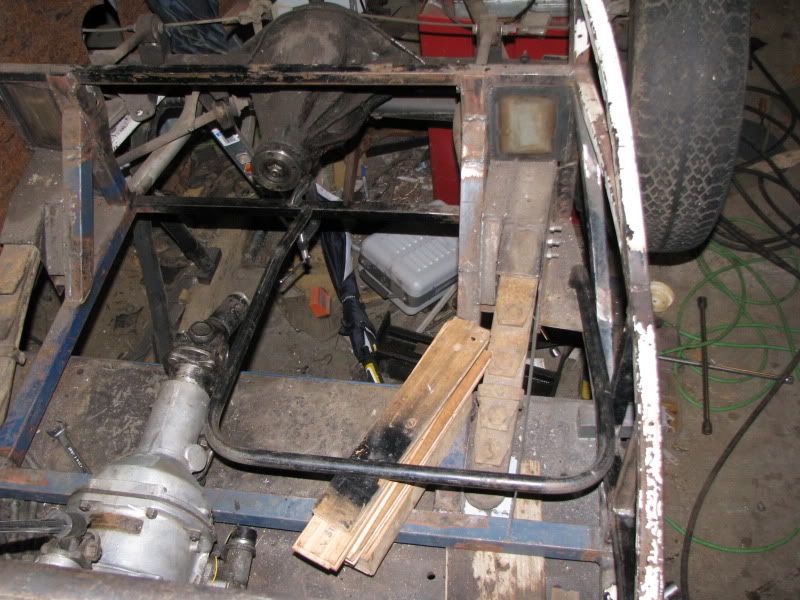
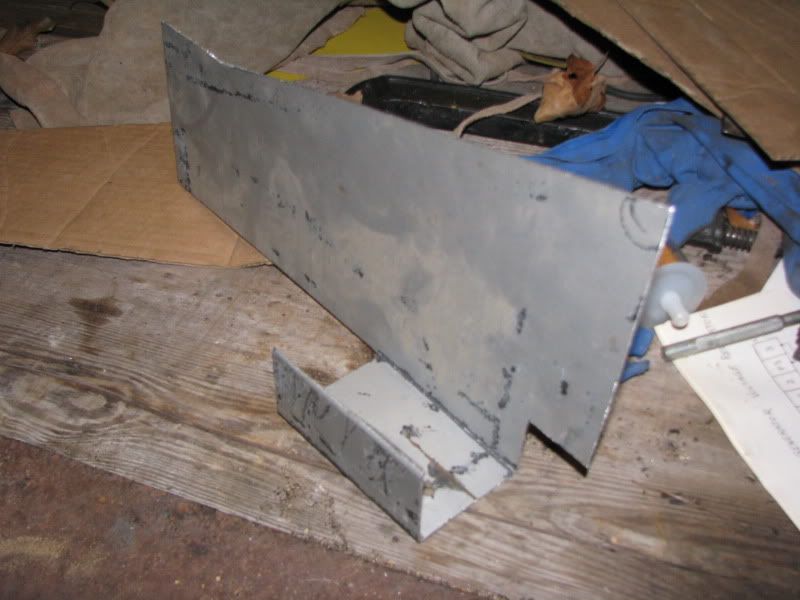
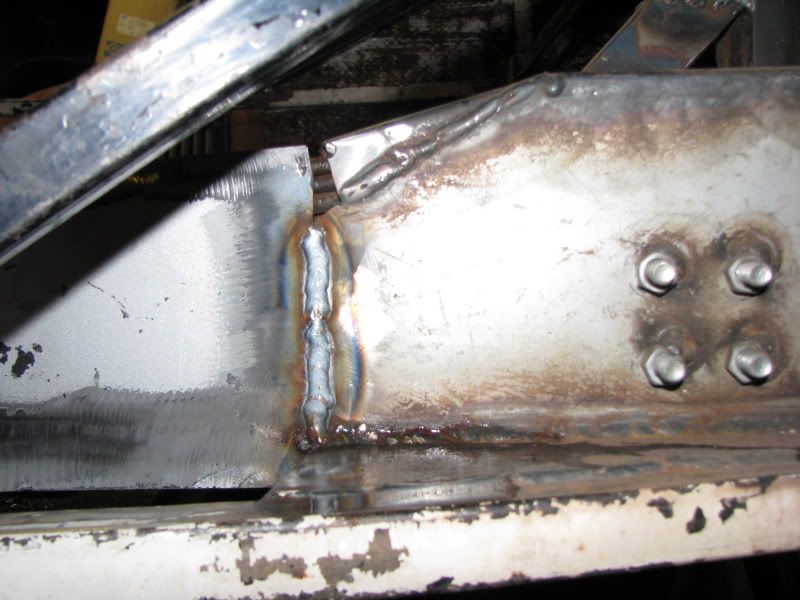
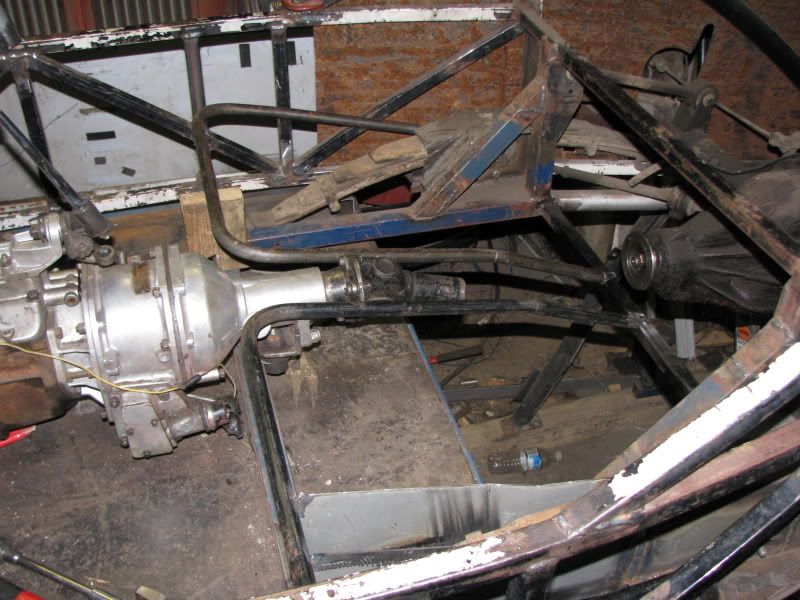
I started the weekend with a simple transmission mount
What Jag gave me to work with
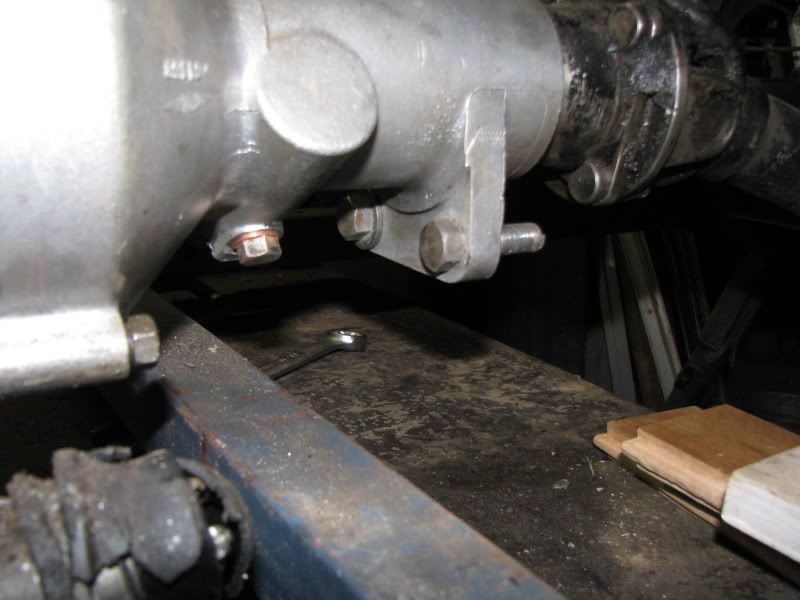
Donor steel
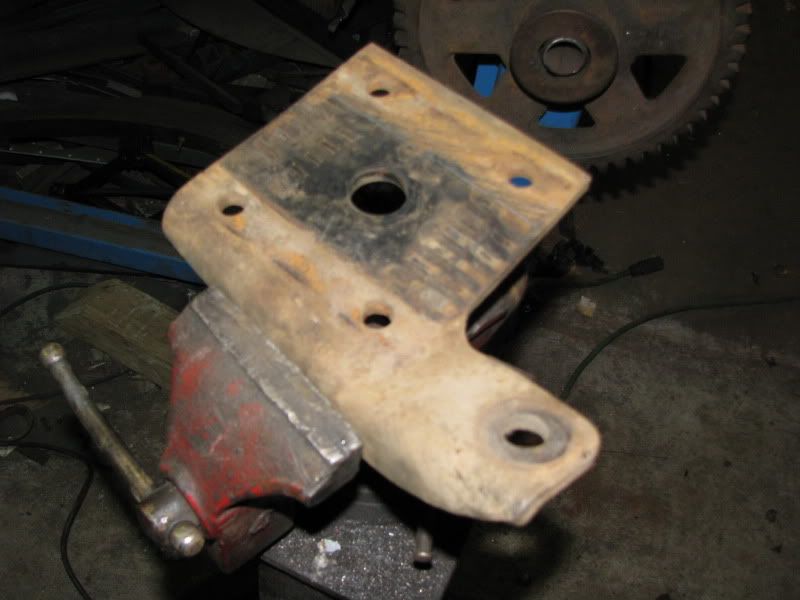
One of the holes is chevy made
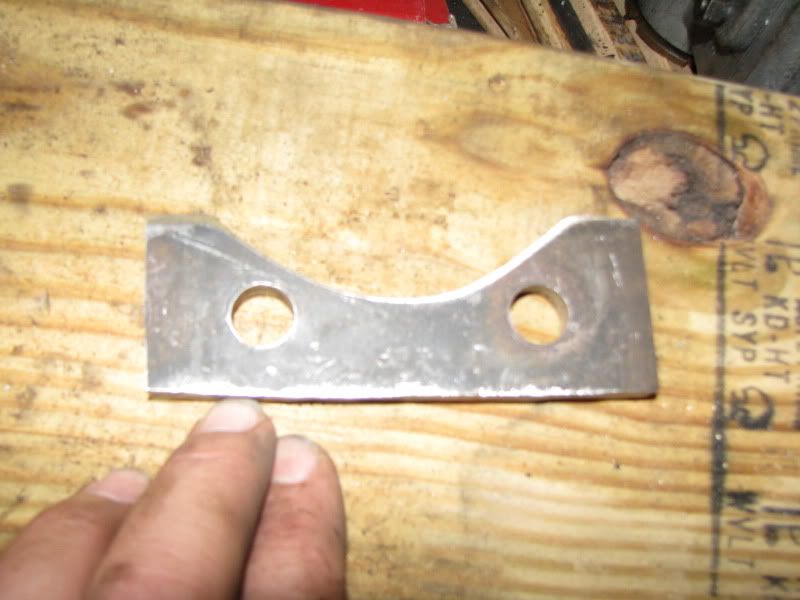
Second part
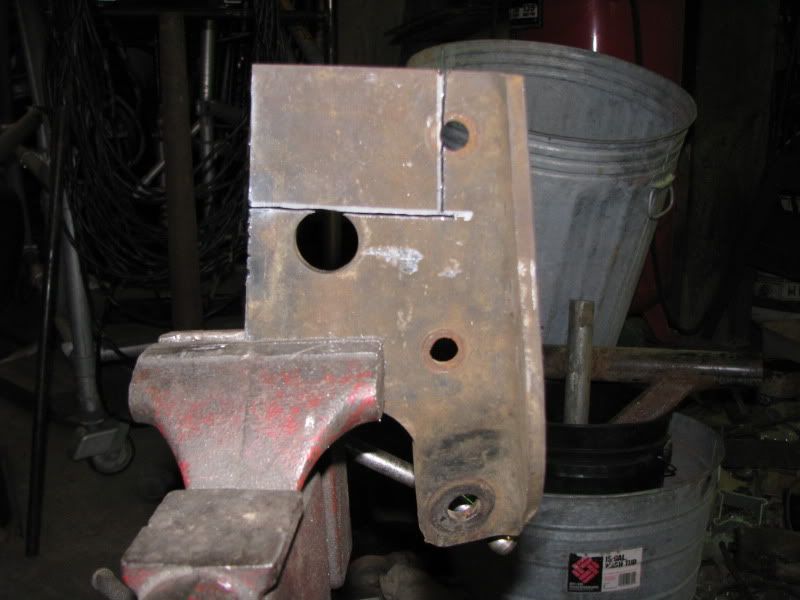
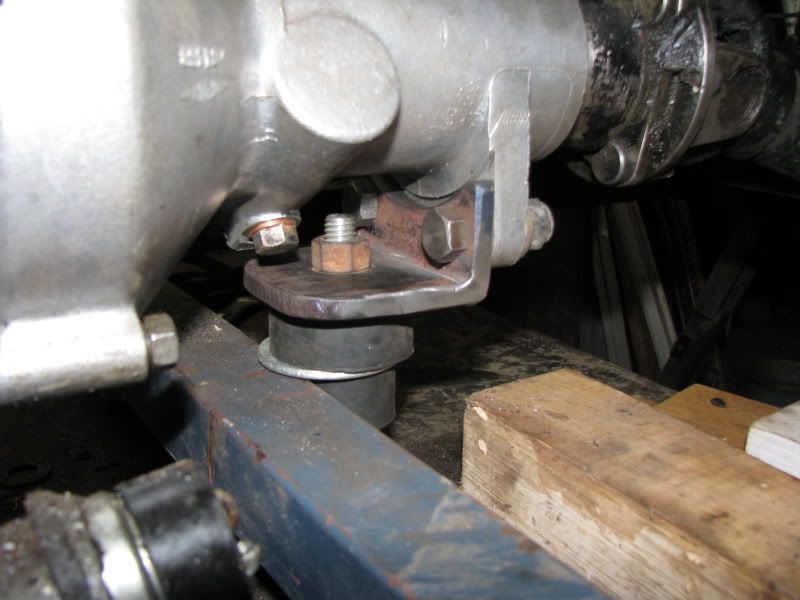
Welded and bolted in place on the trans with rubber pucks mocked up. There will be a body side mounting surface where the silver washer is.
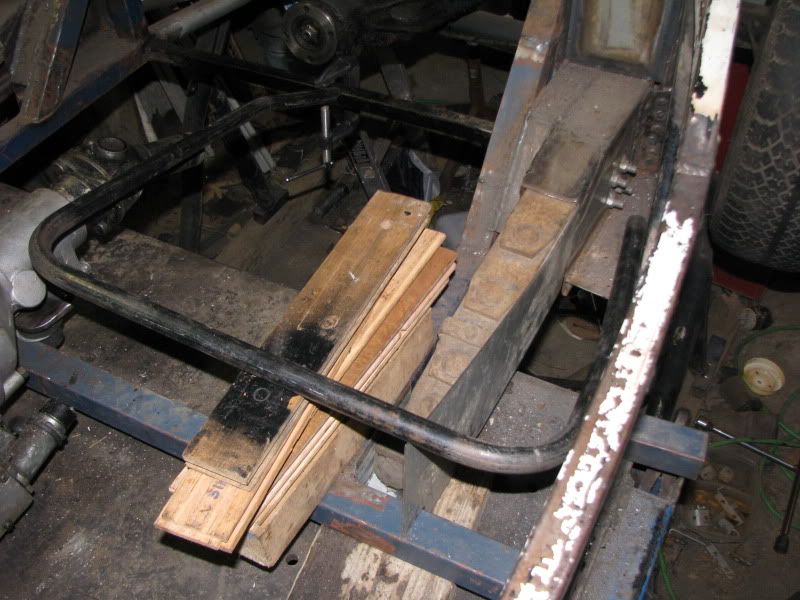
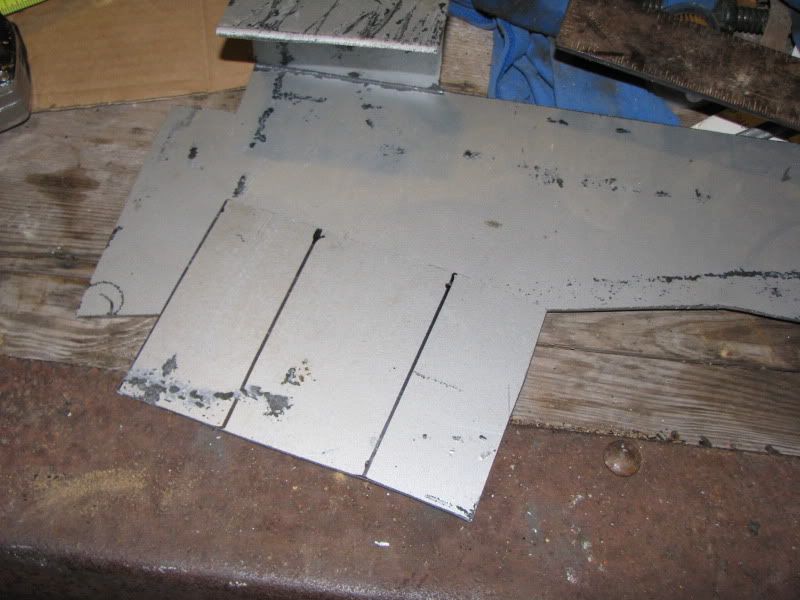
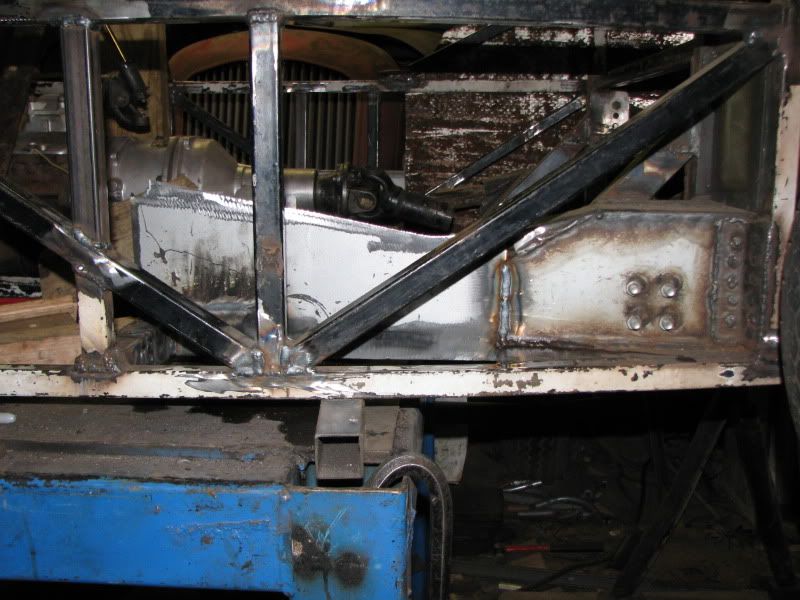
Last time I tried a square crossmember and hated it. I tried round this time and didn't really like it much either.
A plain bench seat just doesn't feel right. It needed to be bucket-like.
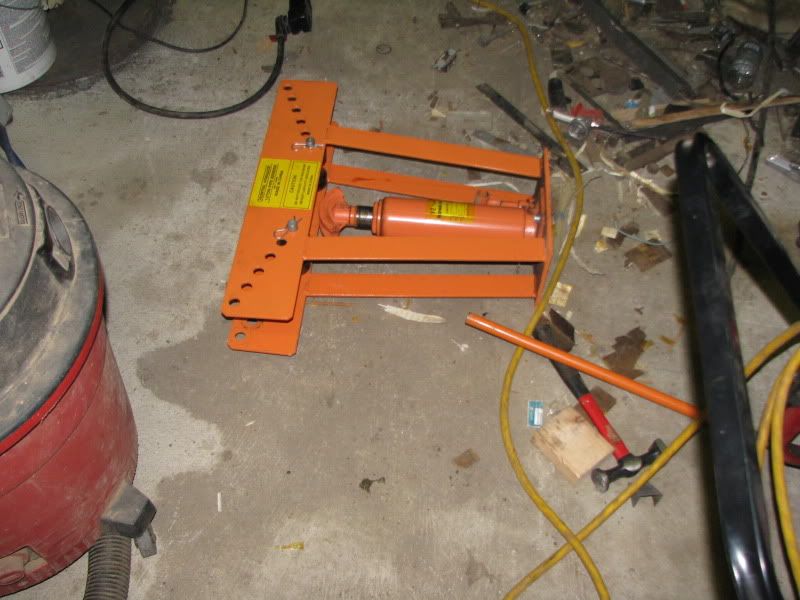
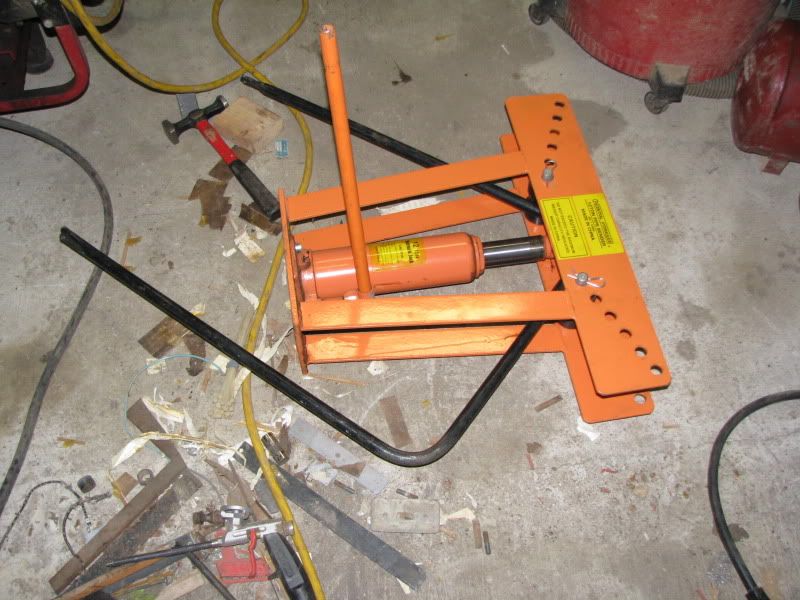
Time to break out the Horrible Fright pipe bender
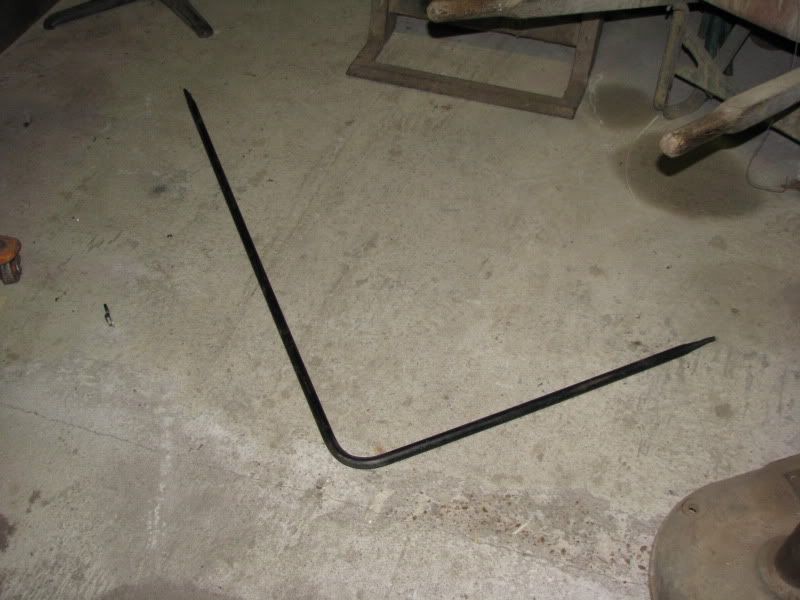
Better. ...but I didn't like the tube just going over and tieing in to the frame on the outside
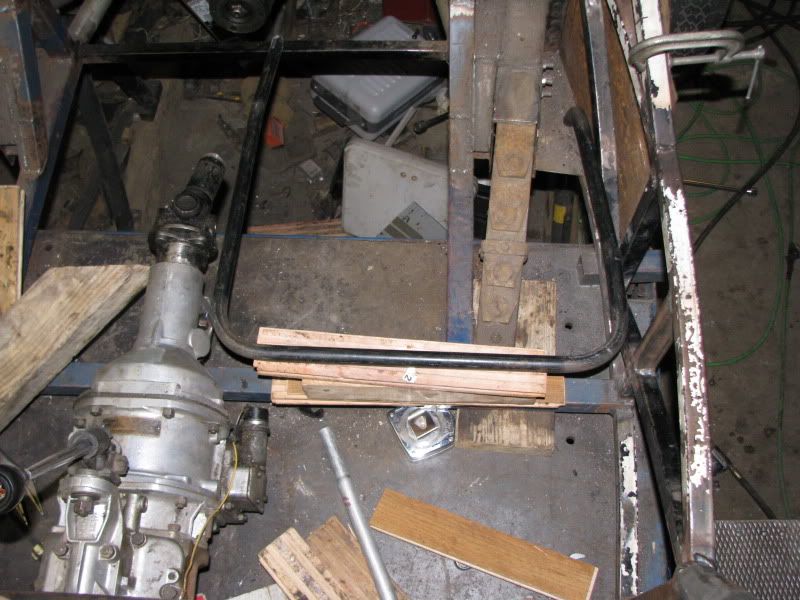
I didn't really know what to do with it back in the corner, so I just bent it down..it will disappear under the seat cushion
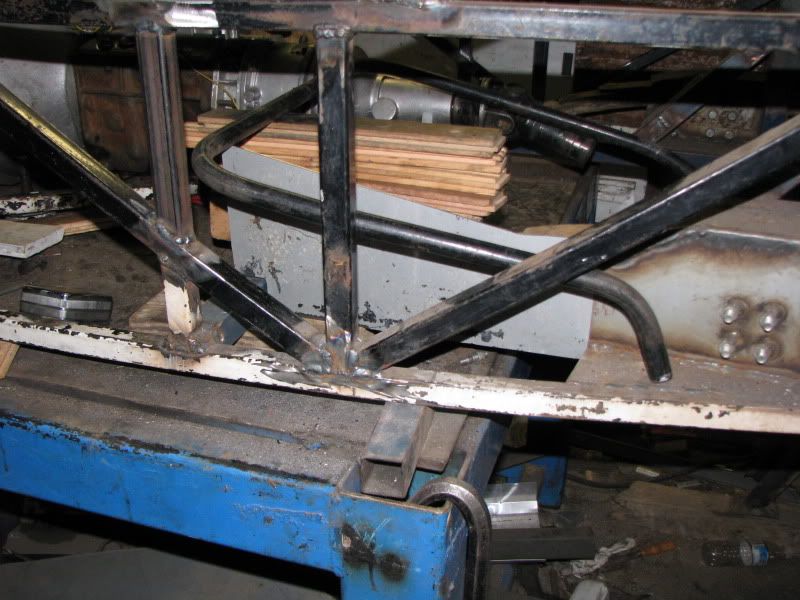
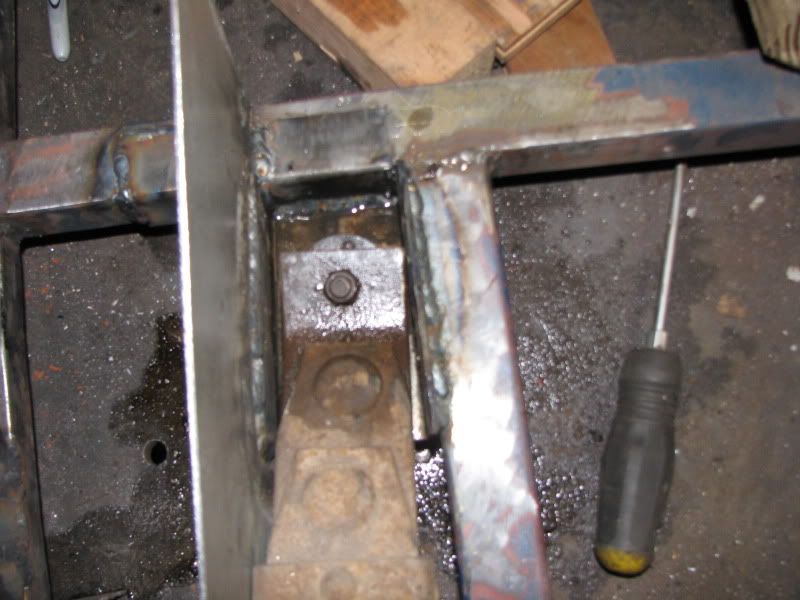
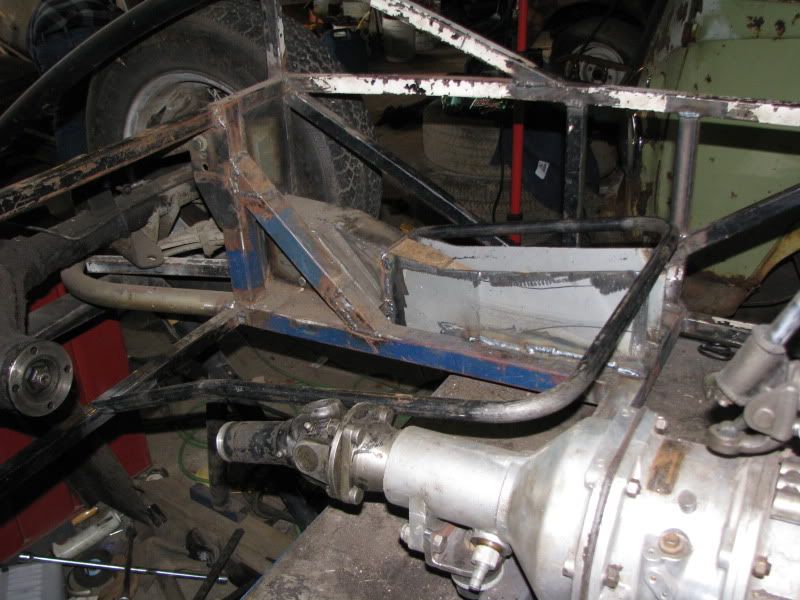
I realized that I really couldn't finish the seat frame without doing the front half of the spring boxes. They had to be there before the seat gets welded in.
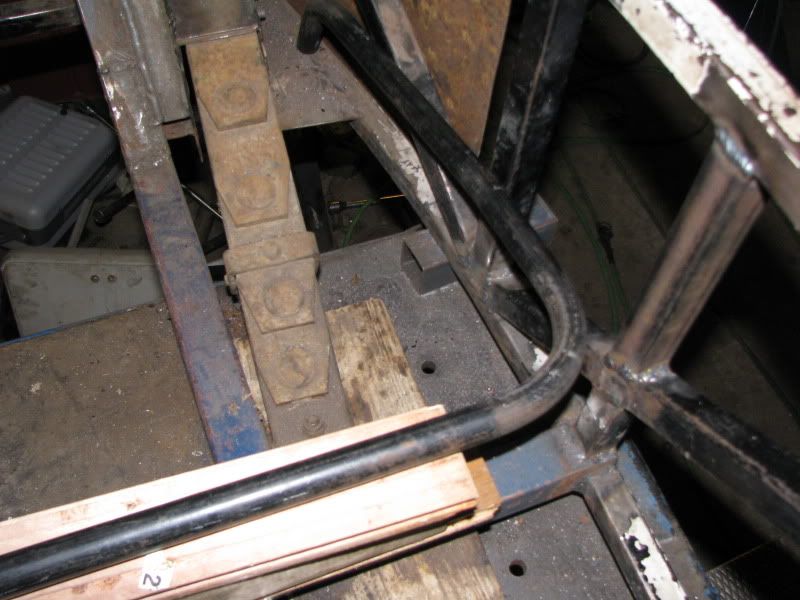
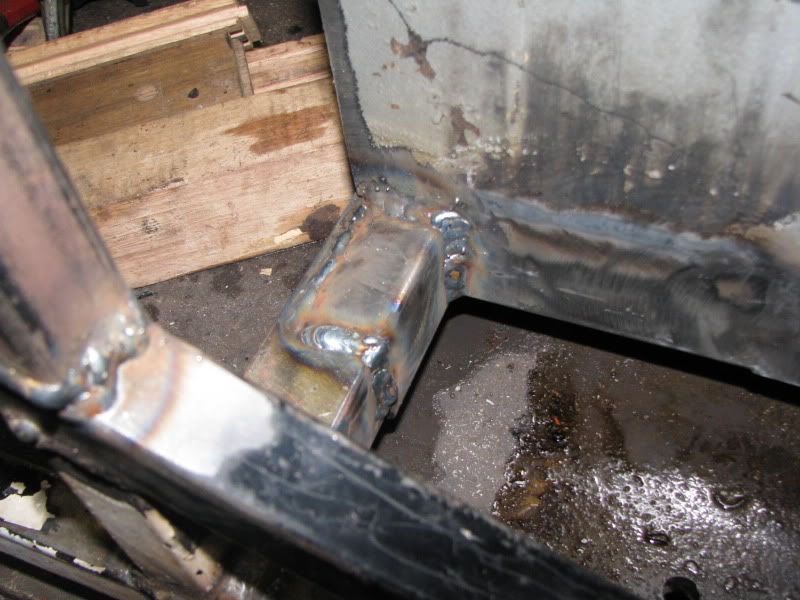
The U-shaped section is where the front of the leaf spring sits.
I doubled up on the spring holder
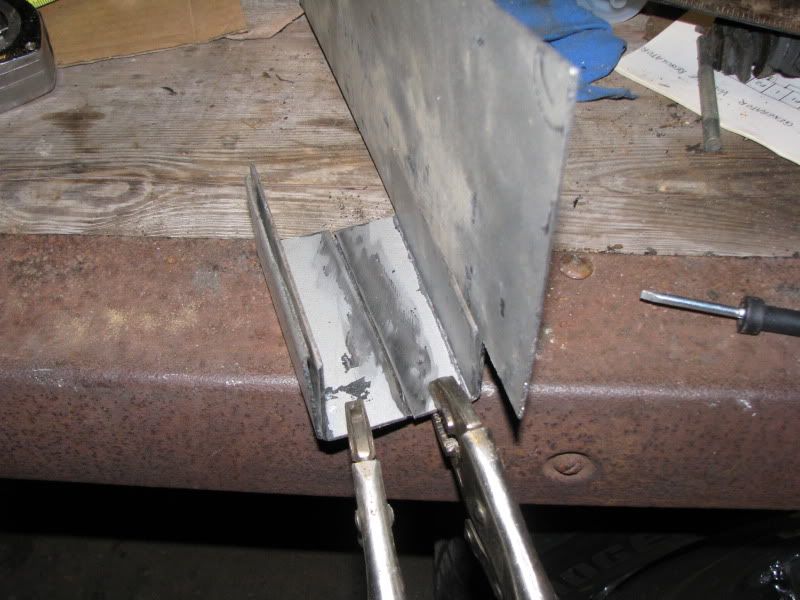
I went ahead and gusseted the tube that this piece welds to at the front...because I have no idea what kind of loads this suspension places on the frame.
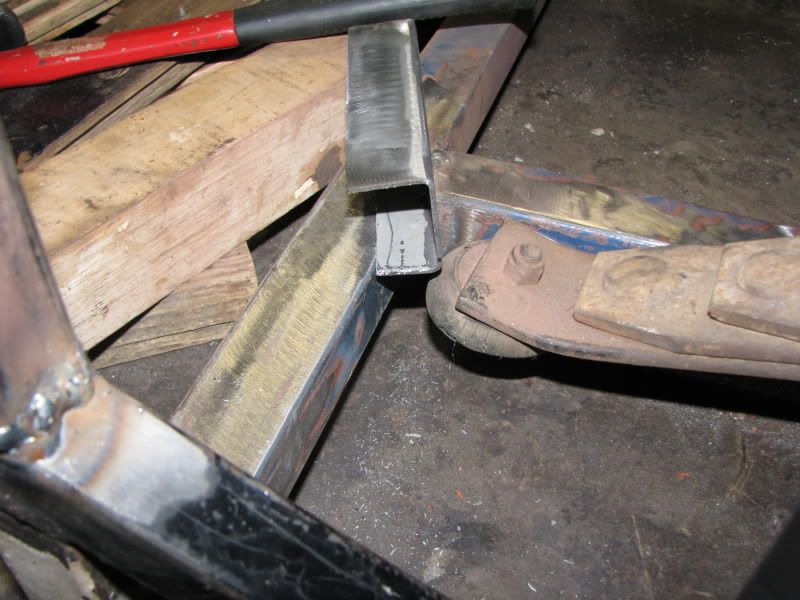
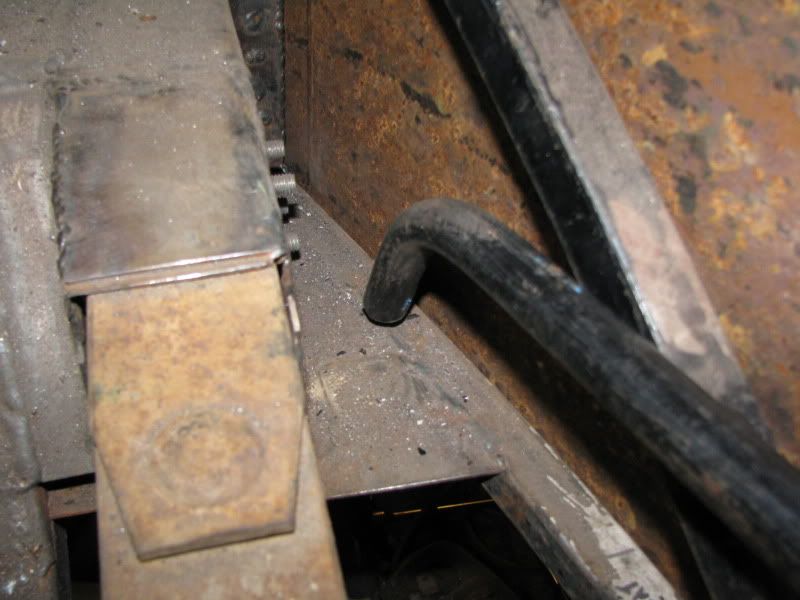
I melted the rubber pad under the spring...oops!
Now I could put the seat frame in place.
Time to make a second one. ...that is a little skinnier (I offset the engine and the trans to the passenger side so that I have plenty of foot room).
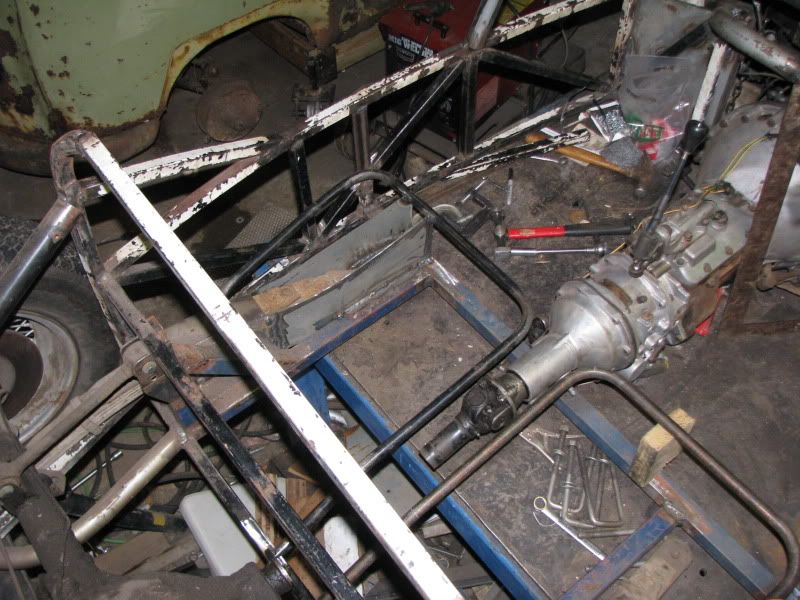
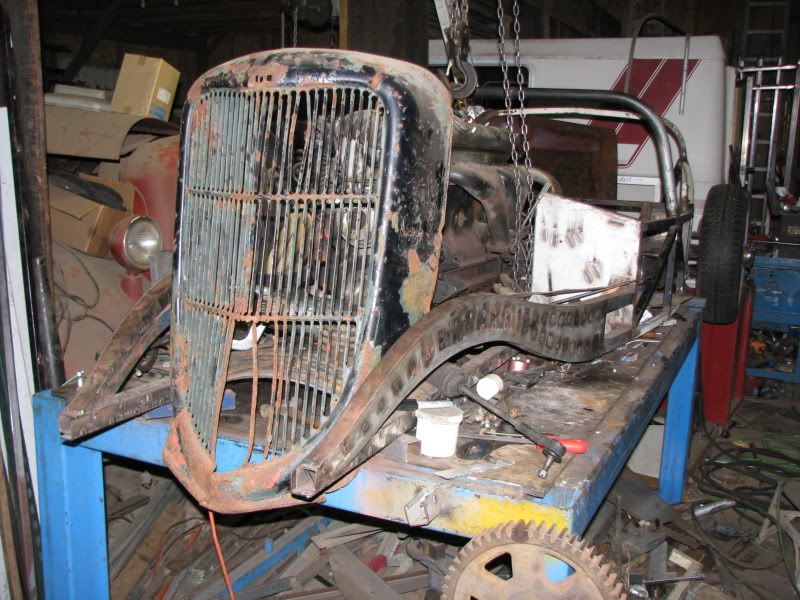
For the heck of it, I propped up a 36 ford truck grill to see what it looked like.
I did more, but don't have pics ...my camera bit the dust at the Turkey Drags on SaturdayThere are two things in life where penetration is really important.....and one of them is welding.
-
11-22-2011 06:40 AM #300
CHR Member
- Join Date
- Jul 2003
- Location
- Kentucky
- Car Year, Make, Model: 47 Seagrave
- Posts
- 683
Oh yeah, I replaced the melted rubber pads under the front of the leaf spring with a 3/4 eurothane pad (jeep body mount). I put a jack under the rear axle and jacked up the back of the car. The rear rim was about 3 inches below the frame rail without engine weight, gas tank or people. I'm probably gonna have to tweak something to raise the rear enough to be driveable.There are two things in life where penetration is really important.....and one of them is welding.
 Reply With Quote

Posting Permissions
- You may not post new threads
- You may not post replies
- You may not post attachments
- You may not edit your posts

Even though I know he won't see this, I still want to wish a Happy Birthday to my best friend, Richard Moore aka techinspector1
Happy Birthday techinspector1