


Thread: madmax nova
Results 31 to 41 of 41
 LinkBack URL
 About LinkBacks
Threaded View
-
03-22-2009 04:26 PM #1
 CHR Member

- Join Date
- Sep 2005
- Location
- Hamilton
- Car Year, Make, Model: 69 nomad, 73 charger, 74 vega
- Posts
- 3,900
madmax nova
OK, so I got the six headlights installed in the 76 nova. The extras aren't wired yet. Going to put them all on a relay fired off the highbeam circuit, probably straight off the battery for convience.
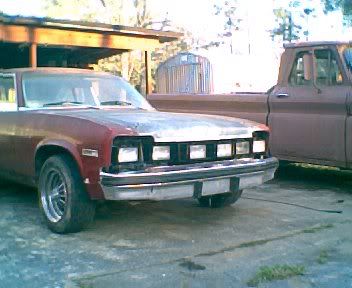
Everyone whom looks at it says MAD MAX.
.
Education is expensive. Keep that in mind, and you'll never be terribly upset when a project goes awry.
EG

 Reply With Quote
Posting Permissions
- You may not post new threads
- You may not post replies
- You may not post attachments
- You may not edit your posts

i've enjoyed the years here . made a lot of friends. most who have left. i see no reason to continue with this so hope to see you somewhere else. i dont think this site will ever be back. it's lived...
Dead!