


 390Likes
Thread: Un-streetrodding a 34 tudor


Results 16 to 30 of 396
 LinkBack URL
 About LinkBacks
-
02-03-2014 08:58 PM #16
 CHR Member

- Join Date
- Jan 2014
- Location
- NW
- Posts
- 363
Thanks 40ford I try not to waste stuff. I reuse boxes and packing materials for things I sell on evilbay. I re-purposed a 66 mustang roof for my wife's 33 coupe and a buddy was cutting up an 80's monte carlo so I took sections of the roof to make the door bottoms for her car as well. I'm always thinking. I don't like to put stuff in landfills if I don't have to. Hell; I could right a book on recycling and re-purposing things.Last edited by BIG-JIM; 02-05-2014 at 12:03 AM.
-
Advertising

- Google Adsense
- REGISTERED USERS DO NOT SEE THIS AD
-
02-03-2014 10:00 PM #17
CHR Member
- Join Date
- Jan 2014
- Location
- NW
- Posts
- 363
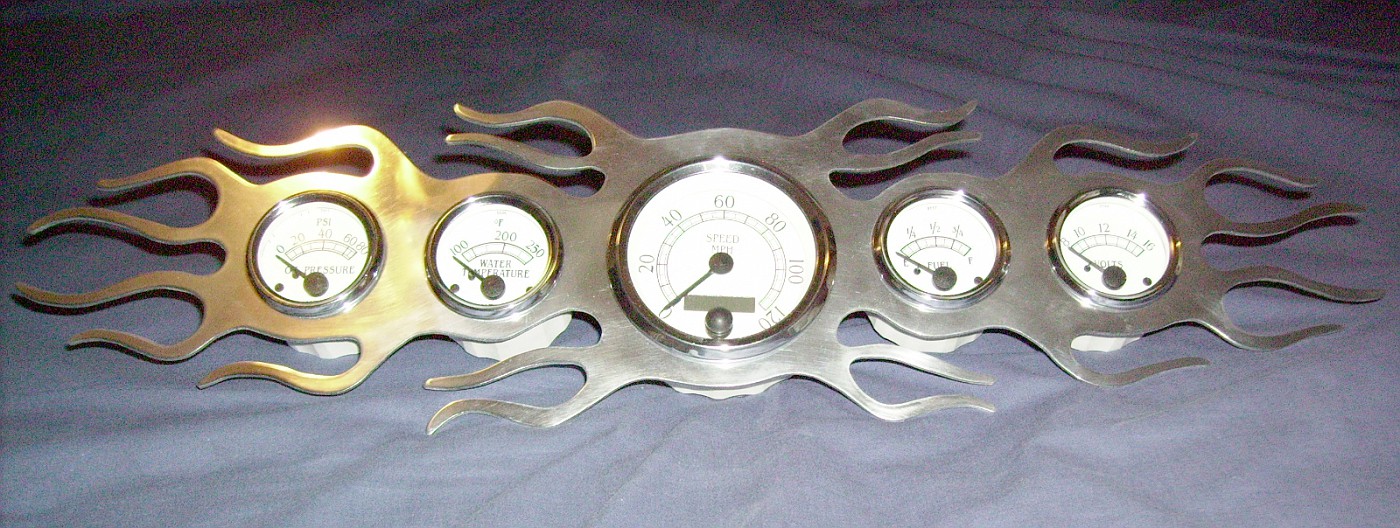
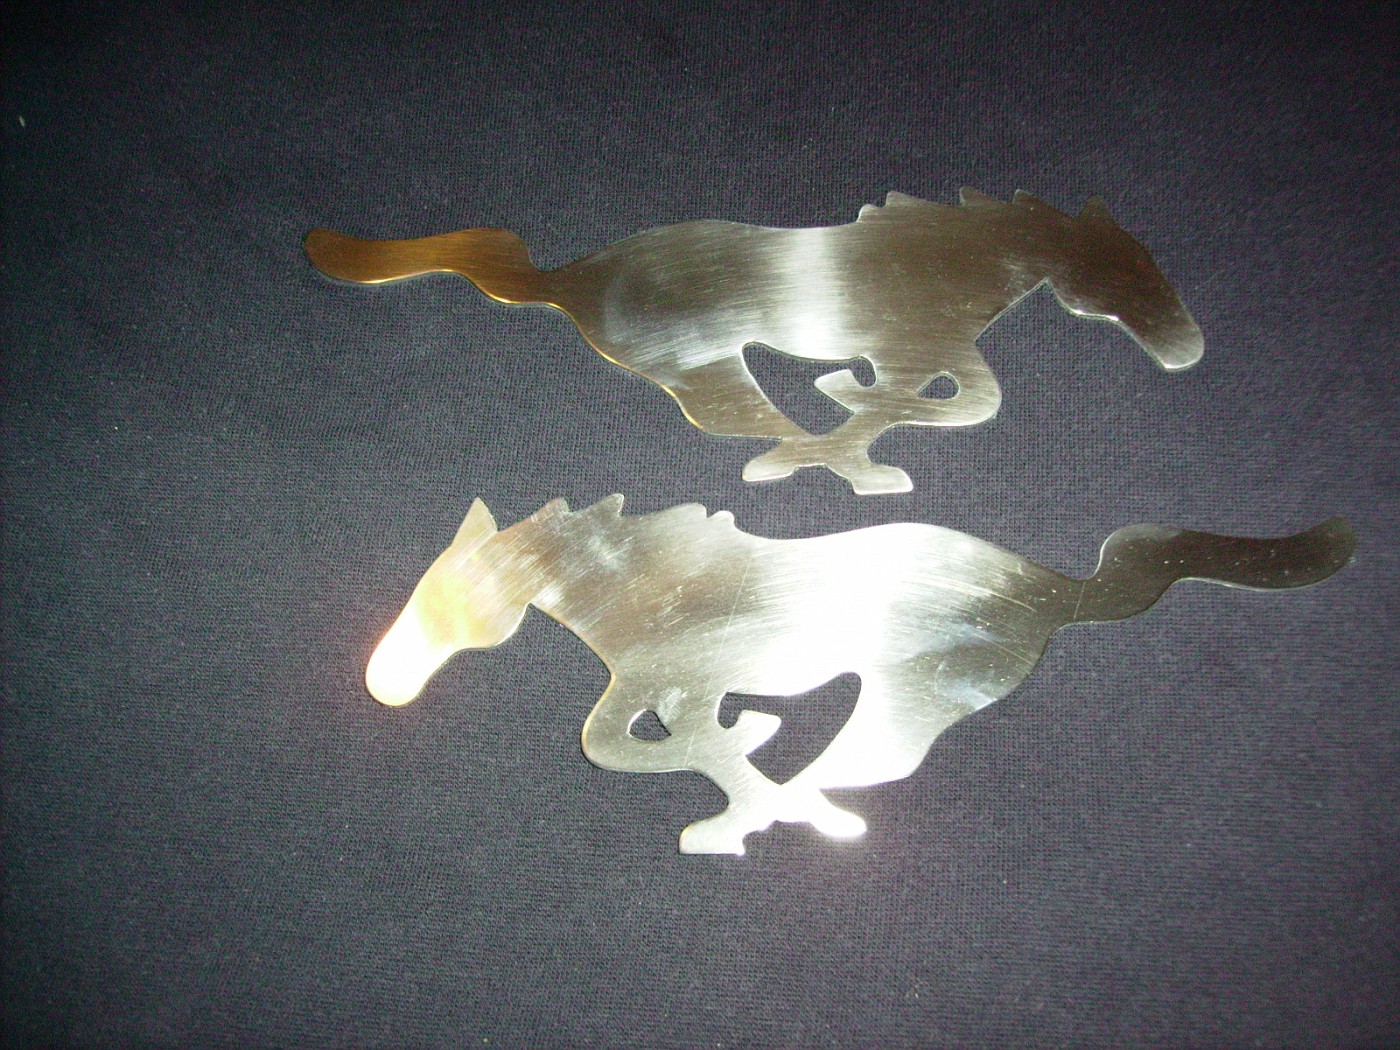
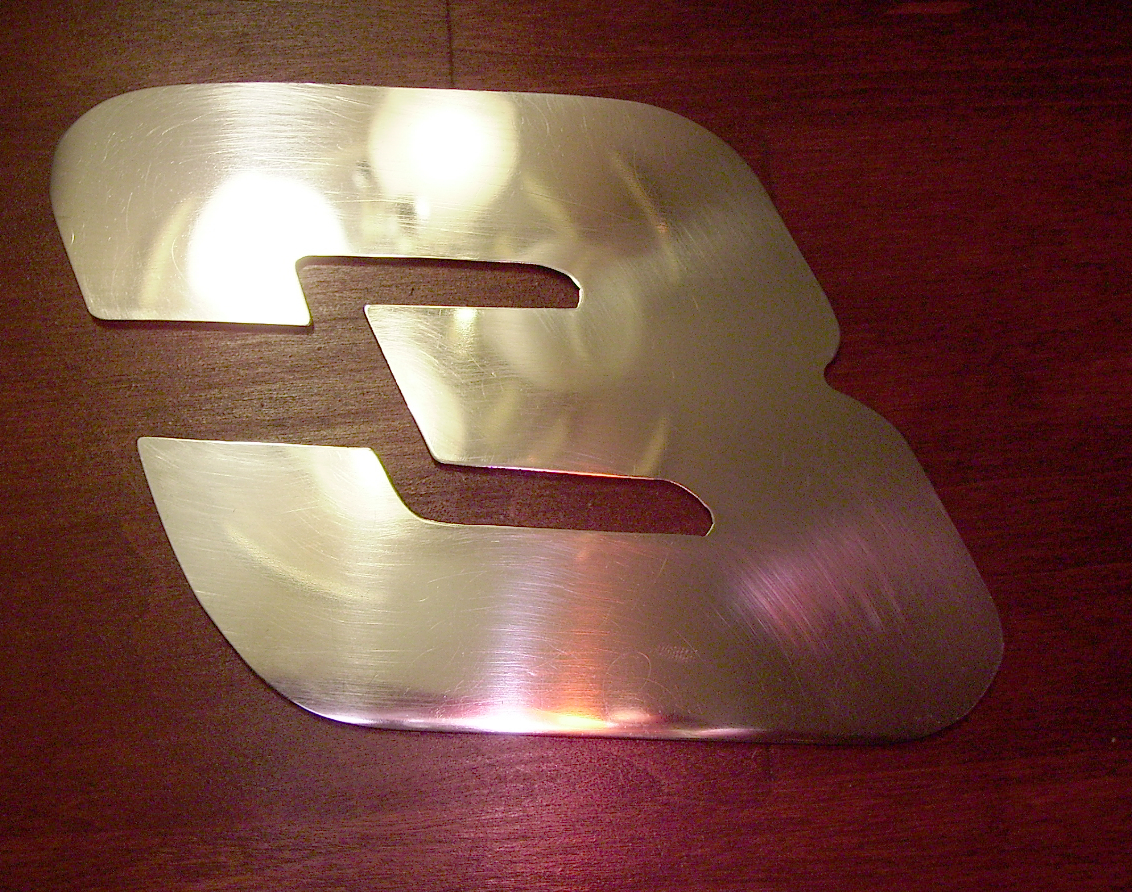
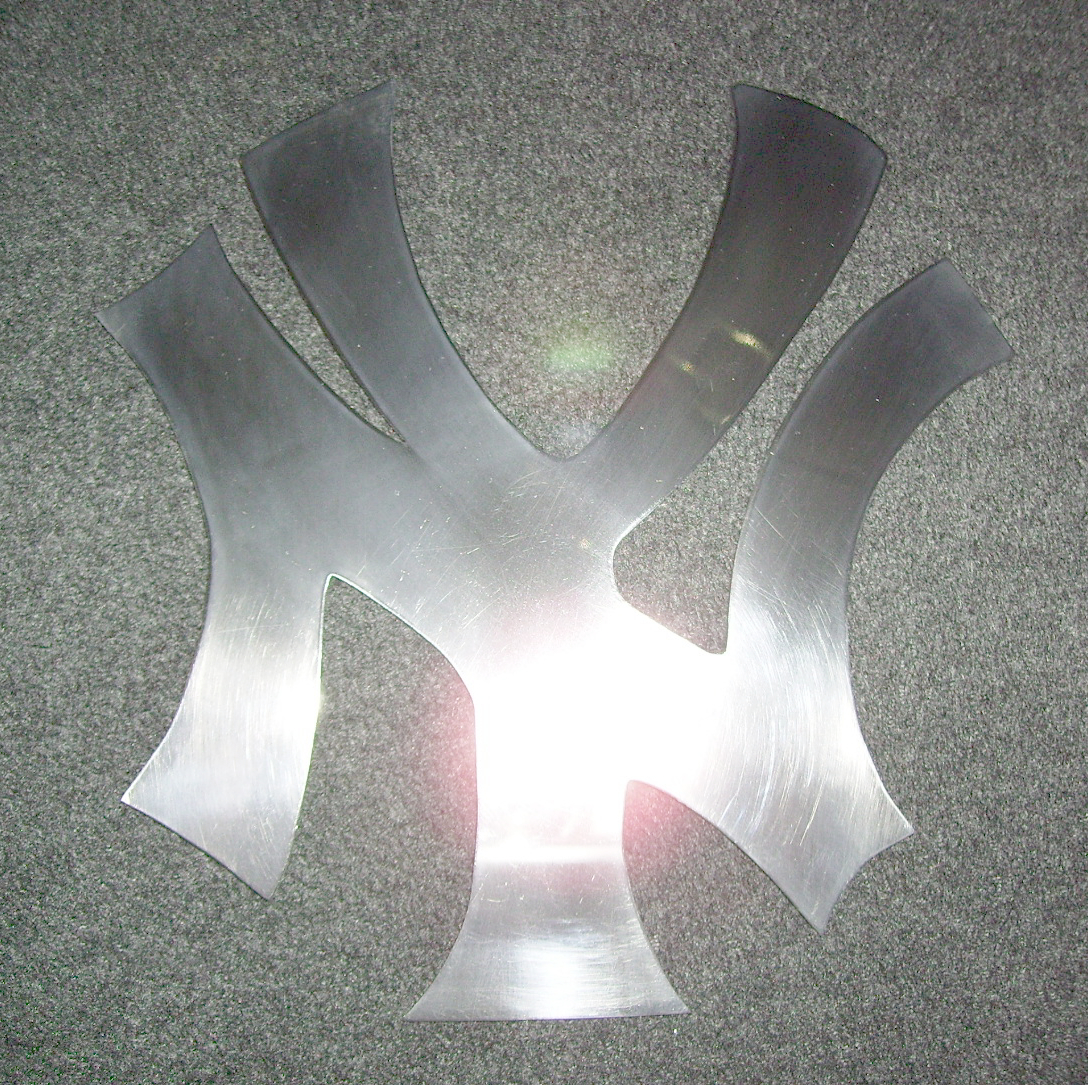
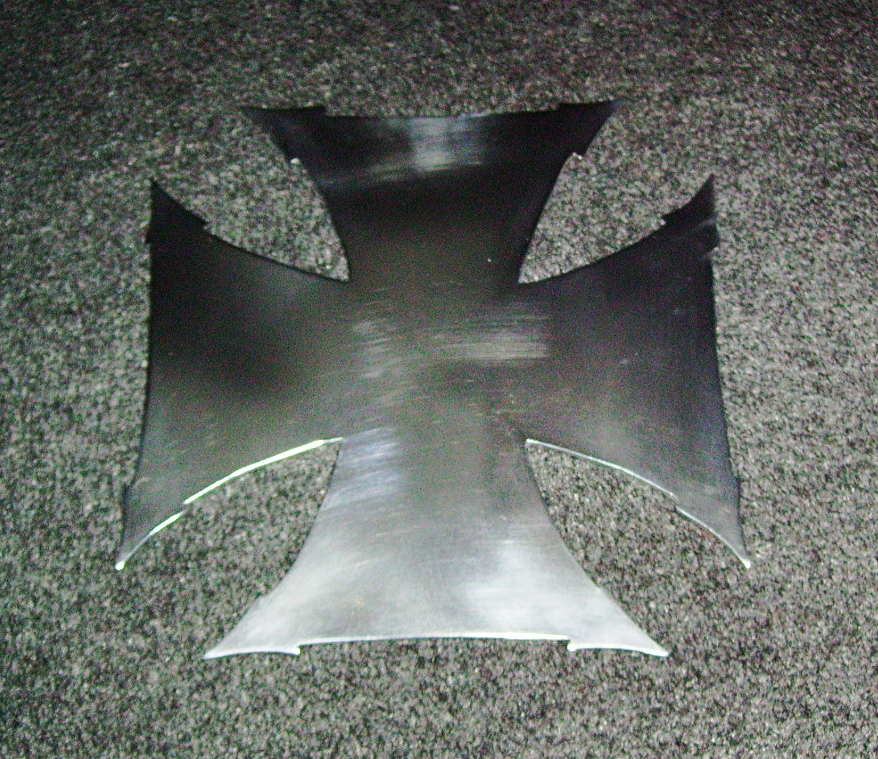
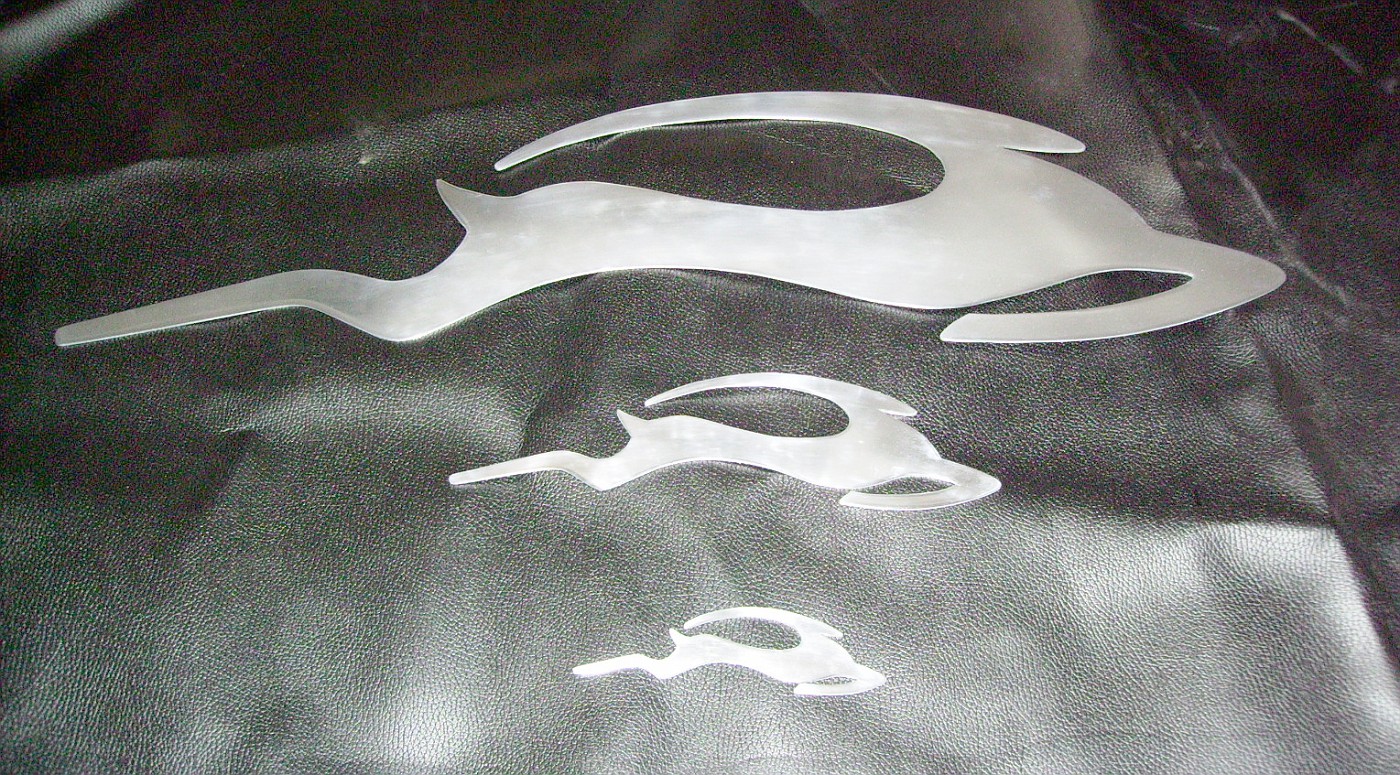
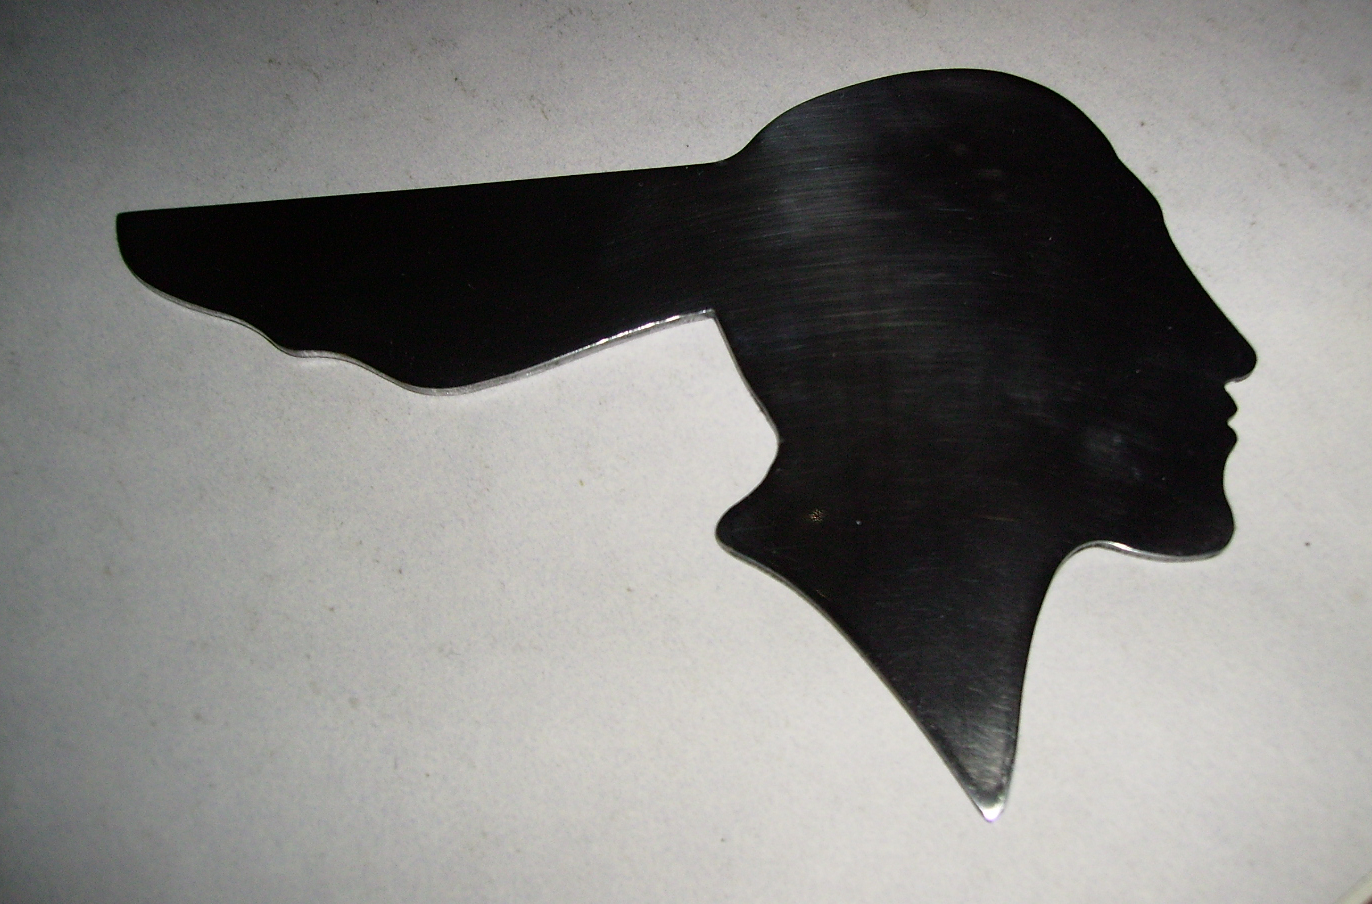
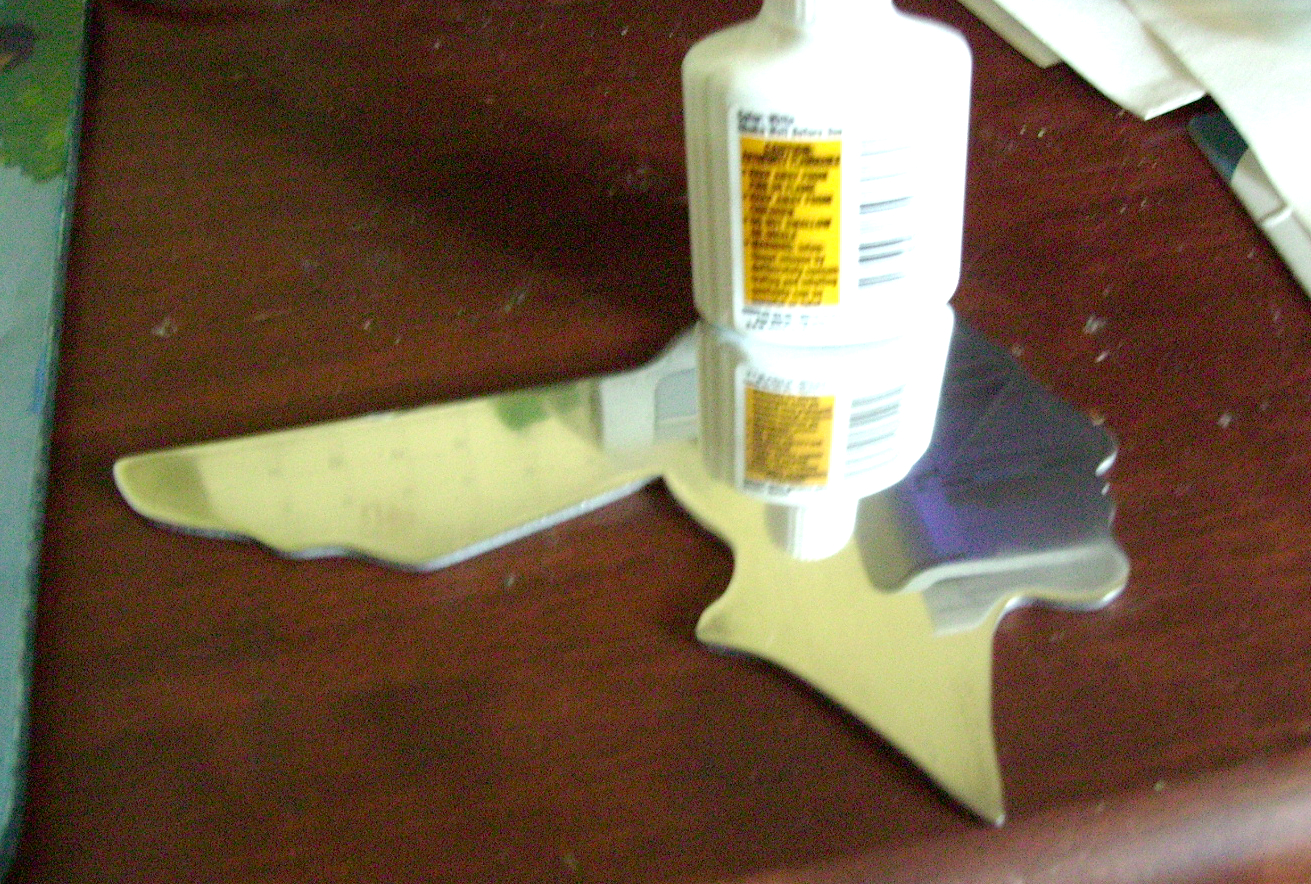
I got some scrap aluminum and was out of work so I made (by hand) aluminum emblems, silhouettes, and even a kool dash insert. Here is some of my work.
A flamed dash insert for a Model A
Mustangs I did for a buddy. his stang was black and they looked great on it.
For a Dale fan.
For a NY fan.
Just because.
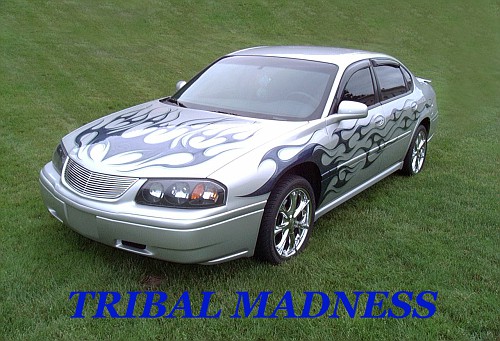
Impala's I did for my wife's daily driver 2001 Impala that looked like anything but a daily driver.

And for a Pontiac fan.
The only picture I have of anything after final polishing. Because they were like mirrors when done they were kinda hard to get a picture of.
-
02-04-2014 05:28 PM #18
CHR Member
- Join Date
- Apr 2011
- Location
- Prairie City
- Car Year, Make, Model: 40 Ford Deluxe, 68 Corvette, 72&76 K30
- Posts
- 7,301
- Blog Entries
- 1
Very nice work! Do you use a band saw or jig saw to rough cut the pieces?Ryan
1940 Ford Deluxe Tudor 354 Hemi 46RH Electric Blue w/multi-color flames, Ford 9" Residing in multiple pieces
1968 Corvette Coupe 5.9 Cummins Drag Car 11.43@130mph No stall leaving the line with 1250 rpm's and poor 2.2 60'
1972 Chevy K30 Longhorn P-pumped 24v Compound Turbos 47RH Just another money pit
1971 Camaro RS 5.3 BTR Stage 3 cam, SuperT10
Tire Sizes
-
02-04-2014 08:59 PM #19
CHR Member
- Join Date
- Jan 2014
- Location
- NW
- Posts
- 363
I actually use a ryobi scroll saw like this one.

It gets me close then I use files to fine tune it. Then I start with 400 grit and go all the way to 2000 and then it's Mothers time. All by hand. Not a lot of fun but it kept us going till I found a job. The Impala emblems were a real big seller for me. I sold over a 100 of just the large 36". I did a few 12" but most were the small ones (I think 8"). I still have the patterns. Then I branched out to casting 1/8th scale model parts. That was (and still is) very lucrative. I'm a pretty diverse guy.
-
02-05-2014 12:20 AM #20
CHR Member
- Join Date
- Jan 2014
- Location
- NW
- Posts
- 363
I played with the headlights and swapped tires that are closer to the correct size and offset. Up top wide tires (I'm not running) and Guide 682-C's and bottom is stock stainless 34 headlights and skinnier tires. Ended up going with the stock 34's.


Before and after shots of the ends of the bones. What was this guy smokin when he welded these things?


Next was to modify the end of the bone and remove the forward spring mount and clean up the notches on the top of the bone where the perch bolt goes in.


And then a shot of it all installed (though not tight) just to see how everything fits. Installed the steering arms and tie rod and that all looks like it fits nice just have to shorten the tie rod about an inch clean it up and paint it. Not bad for a couple of productive weekends.

A shot of me playing with the grille and hood.

-
02-05-2014 12:25 AM #21
CHR Member
- Join Date
- Apr 2011
- Location
- Prairie City
- Car Year, Make, Model: 40 Ford Deluxe, 68 Corvette, 72&76 K30
- Posts
- 7,301
- Blog Entries
- 1
Very nice work Jim. Those welds and that hacked cut was really scary for sure.Ryan
1940 Ford Deluxe Tudor 354 Hemi 46RH Electric Blue w/multi-color flames, Ford 9" Residing in multiple pieces
1968 Corvette Coupe 5.9 Cummins Drag Car 11.43@130mph No stall leaving the line with 1250 rpm's and poor 2.2 60'
1972 Chevy K30 Longhorn P-pumped 24v Compound Turbos 47RH Just another money pit
1971 Camaro RS 5.3 BTR Stage 3 cam, SuperT10
Tire Sizes
-
02-05-2014 12:44 AM #22
CHR Member
- Join Date
- Jan 2014
- Location
- NW
- Posts
- 363
I ran into some clearance issues with the radiator. Because I went with a model A cross member (flat) to get it low in the front, there was no room for the bottom hose and the grille sat way too high. So I found a Walker radiator that is 2" shorter then stock. Ironically made for the worst kit car in the world (Street Beast). I had them add the stock brackets and dummy filler neck because I'm running a stock 34 nose. It's a thing of beauty though.
Now originally I was going to run full fenders so the IFS would have worked just fine. Unfortunately the motor mounts will not work with the vega box.

So I have to change the mounts (man I hate doing things twice). I tried all kinds of crazy configurations. Chassis Engineering makes an offset mount but it wasn't offset enough so I tried making my own and just wasn't happy with the results.

I have a buddy that is a mechanical engineer and said what I did would have worked just fine. but I still didn't like it so I picked up a set of welder series motor mounts. The kool thing about these are you can put the gusset off to one side to clear the box. These mounts take up a lot less real estate.


-
02-05-2014 01:25 AM #23
CHR Member
- Join Date
- Jan 2014
- Location
- NW
- Posts
- 363
The guy that built the 37 was an old school circle track guy(now in his 70's). His welds were VERY scary indeed but they were strong as hell. It looked like the guy just built the car form scraps he had hanging around. He was a good body man and his engineering was great but his welds looked like hell. He defiantly knew what he was doing. If you look in this picture you'll notice the spring is bent. In order to bend it it had to be heated. If you don't know what you are doing they will almost always crack and literally just fall apart. Originally Posted by 40FordDeluxe

The slave cylinder was a work of art (sarcasm). So much so my buddy hung it on his wall. Cut things out with torches and made "EVERYTHING". Don't have a piece of metal long enough? No problem; weld 2 pieces together. Literally looks like he held things where they needed to be and closed his eyes and welded them there. Another example of use what you have: He welded the BIGGEST power steering box GM ever made to the frame rail. It was gusseted, plated, welded, bolted and took my buddy DAYS to remove it. Damn thing had to weigh 100 pounds. Top side of the car looked great. Now having said all that. That car drove like a dream. Started and stopped perfectly. Tracked correctly. Didn't pull during hard braking. Cornered well. Suspension worked perfectly (original 37 shocks). You would think the car was sitting on a TCI chassis. Honestly I drove it. Either it was a fluke that it all just worked out (I doubt it) or that SOB knew what the hell he was doing. As scary as the welds were they were not going anywhere. trust me we tried breaking some and just ended up bending shit. He drove the car this way for well over 10 years and drove the hell out of it he did.
-
02-05-2014 06:56 AM #24
CHR Member
- Join Date
- Feb 2006
- Location
- Bartlett
- Posts
- 6,831
That last pic isn't your car?/
Which front wheels are you using--seems like one pic has a lot of off set and king pin angle is way inside tire contact patch??????????
-
02-05-2014 07:41 AM #25
CHR Member
- Join Date
- Jan 2014
- Location
- NW
- Posts
- 363
No I just got the mounts in today. I was just showing you what they look like. As for tires; I was using the fat tires for rollers and I was having headlight clearance issues so I grabbed the wife's skinnies. They have the same offset my wires have 2". Here are the wires 15X8 rear and 15X5 front. I hope that clears it up for you. Originally Posted by jerry clayton

-
07-17-2014 04:06 AM #26
CHR Member
- Join Date
- Jan 2014
- Location
- NW
- Posts
- 363
Well I haven't been on here for a while. The project is still moving forward albeit slowly. I got my tires mounted and now have the motor mount issues all ironed out. I'm workin on the brake pedal assembly now. I have the bones mounted where they need to be. With no weight on the front end I'm at almost 8° caster so that should put me at 7° once everything is in place. I took the body off for better access to the frame. I almost have everything where it needs to be and tacked in. I'm going to blow it apart and have the frame professionally welded (I only have a 110V welder). I took off all the old brake and fuel lines. The brake lined looked like hell and they were all corroded. The fuel lined were run inside the frame with lots of potential to rub through and besides I'm going with a Chevy engine and need to run it down the opposite side. The gas tank is out and although it's stainless it sounds like there is some sediment rolling around in there so I'll give her a quick flush. Before I break down the frame I have to pop the body back on and mock up the column so I can see where the u-joint support will go and tack that in. A buddy says he knows a guy that will blast and powder coat the frame for about $600. I personally think it's well worth it. Get back a purdy frame all clean. Now on to some pictures.


-
07-17-2014 05:31 AM #27
CHR Member/Contributor
- Join Date
- Jul 2003
- Location
- Madison
- Car Year, Make, Model: '67 Ranchero, '57 Chevy, '82 Camaro,
- Posts
- 21,160
That's some really great progress since your last post Jim!!! Dang good idea on the welding, too many people try to get by with less then first rate welding, never a good plan in my book!!!! The powder coating price doesn't sound bad either, with the price of primer and paint these days, not counting your labor, doubt you would be saving much by painting it yourself....only thing I've seen on powder coating errors is picking a color that is hard to touch up (rock chips, etc) later on....
Very nice work, gonna be a kewl ride!!!Yesterday is history, tomorrow is a mystery, Live for Today!
Carroll Shelby
Learning must be difficult for those who already know it all!!!!
-
07-17-2014 09:51 AM #28
CHR Member
- Join Date
- Oct 2007
- Location
- Petaluma
- Car Year, Make, Model: 48 Ford F1
- Posts
- 9,795
Ditto, great progress. Thanks for the update and photos."  "No matter where you go, there you are!" Steve.
-
07-17-2014 03:50 PM #29
CHR Member
- Join Date
- Feb 2010
- Location
- Pukekohe, New Zealand
- Car Year, Make, Model: '23 Ford T Roadster
- Posts
- 2,199
Good to have you back Jim and thanks for the update..... I do like your wheel tyre combination and the powder coated wires is something I would like for my Bucket. ... Very cool build....I maybe a little crazy but it stops me going insane.
Isaiah 48: 17,18.
Mark.
-
10-05-2014 07:57 PM #30
CHR Member
- Join Date
- Jan 2014
- Location
- NW
- Posts
- 363
Well guy's I don't get on here much (working crazy hours) but I figure it's time for an update. My biggest wall on this build has been without a doubt the gaping hole in the floor. I just couldn't wrap my head around how I was going to get this done. I have never done any fiber-glassing before and it was a little intimidating to say the least. One day I was setting there just lookin at it and said to myself "Man; no one is going to do it for you so just get at it"! So I rolled up my sleeves and plugged away at it and I'm happy to announce I HAVE A FLOOR! At this point I couldn't be happier. While I was at it I set the indentation for the distributor up and back 1" each way and filled the hole for the master cylinder because I'm going with power brakes and the booster moves it out about three inches. Besides that section was all broken up so I had to repair that too. Ya can't hold me back with fiberglass now, not that I'm an expert but it isn't as hard as I thought. I had a 2'X2' sheet of cured fiberglass that I used for the toe boards and a glass T-bucket tranny tunnel as the basis for my floor. I just cut out some panels and used some of that fiberglass bondo (Hair) to kinda spot weld them into place. Sorta like gluing them in place just to hold them till I get them glassed in. I clamped the front edge of the tunnel to the existing floor to keep it level till the spot welds dried. Then I just glassed it all in. The outside still needs to be trimmed and smoothed out but it is solid as a rock now. I've also been workin on the column and the column drop. I did run into some clearance issues with the brake pedal but that was an easy fix and there should be plenty of room for the gas pedal now too. On to the pictures!


 Reply With Quote

Posting Permissions
- You may not post new threads
- You may not post replies
- You may not post attachments
- You may not edit your posts

i've enjoyed the years here . made a lot of friends. most who have left. i see no reason to continue with this so hope to see you somewhere else. i dont think this site will ever be back. it's lived...
Dead!