


 3390Likes
Thread: 55 Wagon Progress


Results 1 to 15 of 1865
 LinkBack URL
 About LinkBacks
Hybrid View
-
11-08-2013 01:56 PM #1
 CHR Member

- Join Date
- Apr 2011
- Location
- Prairie City
- Car Year, Make, Model: 40 Ford Deluxe, 68 Corvette, 72&76 K30
- Posts
- 7,301
- Blog Entries
- 1
Great work! I just used the same method to make some slots in the trans mount for my Excursion. I have a long way to go before rebuilding any tail gate hatches though. Haha
Ryan
1940 Ford Deluxe Tudor 354 Hemi 46RH Electric Blue w/multi-color flames, Ford 9" Residing in multiple pieces
1968 Corvette Coupe 5.9 Cummins Drag Car 11.43@130mph No stall leaving the line with 1250 rpm's and poor 2.2 60'
1972 Chevy K30 Longhorn P-pumped 24v Compound Turbos 47RH Just another money pit
1971 Camaro RS 5.3 BTR Stage 3 cam, SuperT10
Tire Sizes
-
11-08-2013 08:02 PM #2
CHR Member
- Join Date
- Jun 2008
- Location
- Leonardtown
- Car Year, Make, Model: Walking
- Posts
- 1,228
Dave, thanks for the offer, but that's one of the few things on this car in good shape!
Ryan, one of those McGuyver moments!
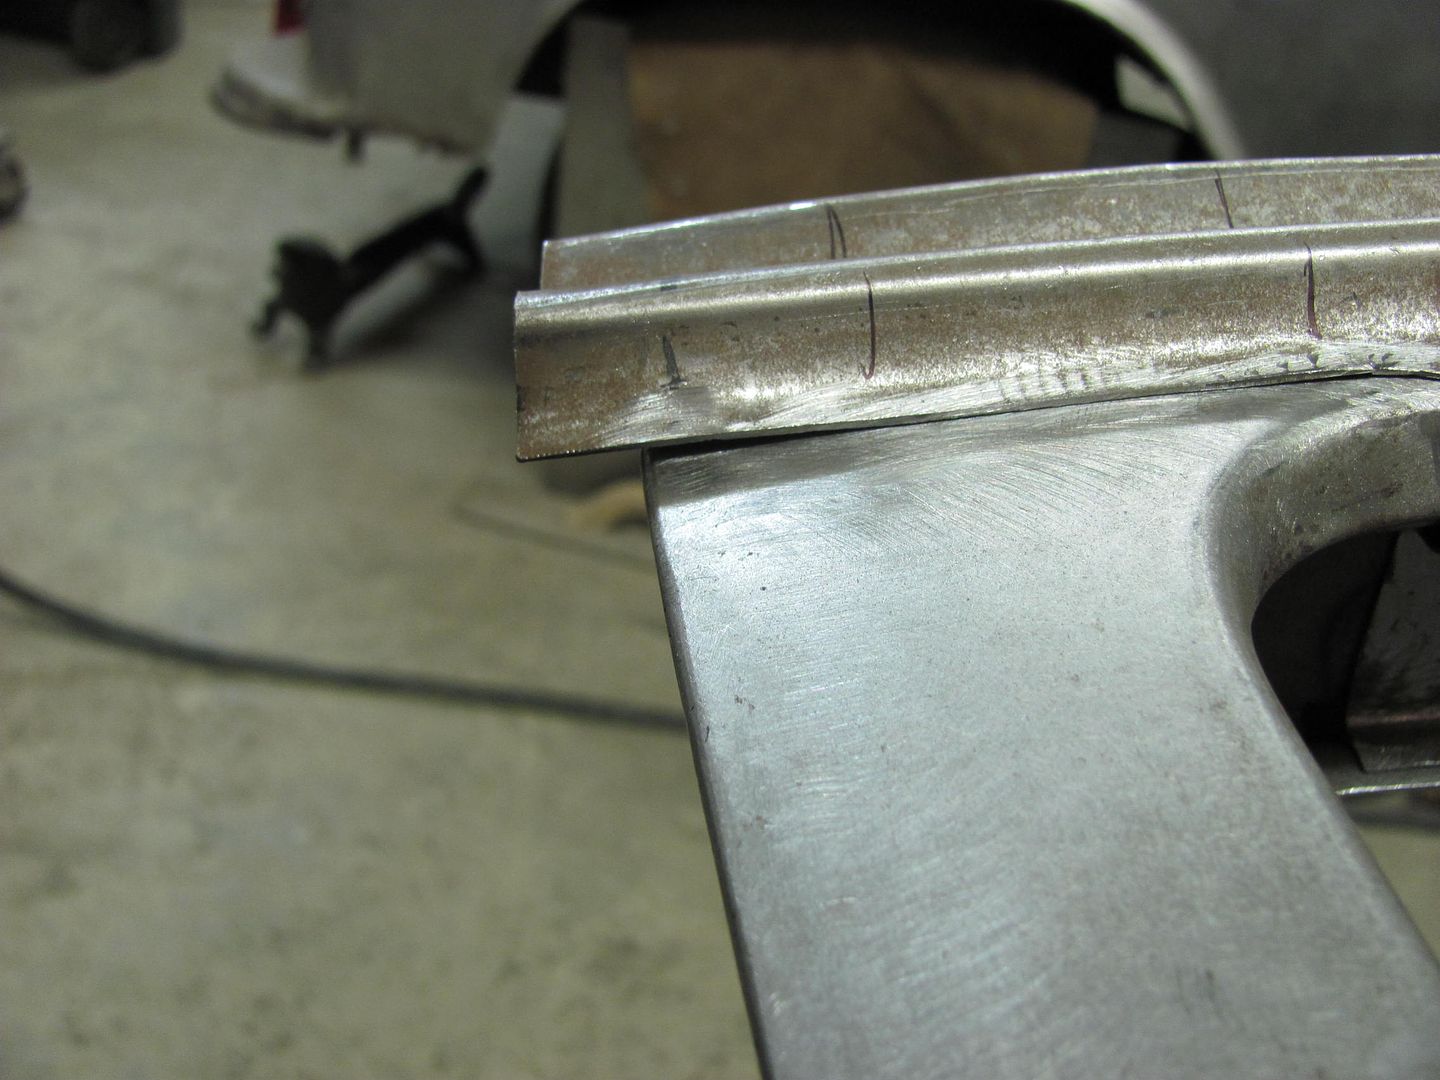
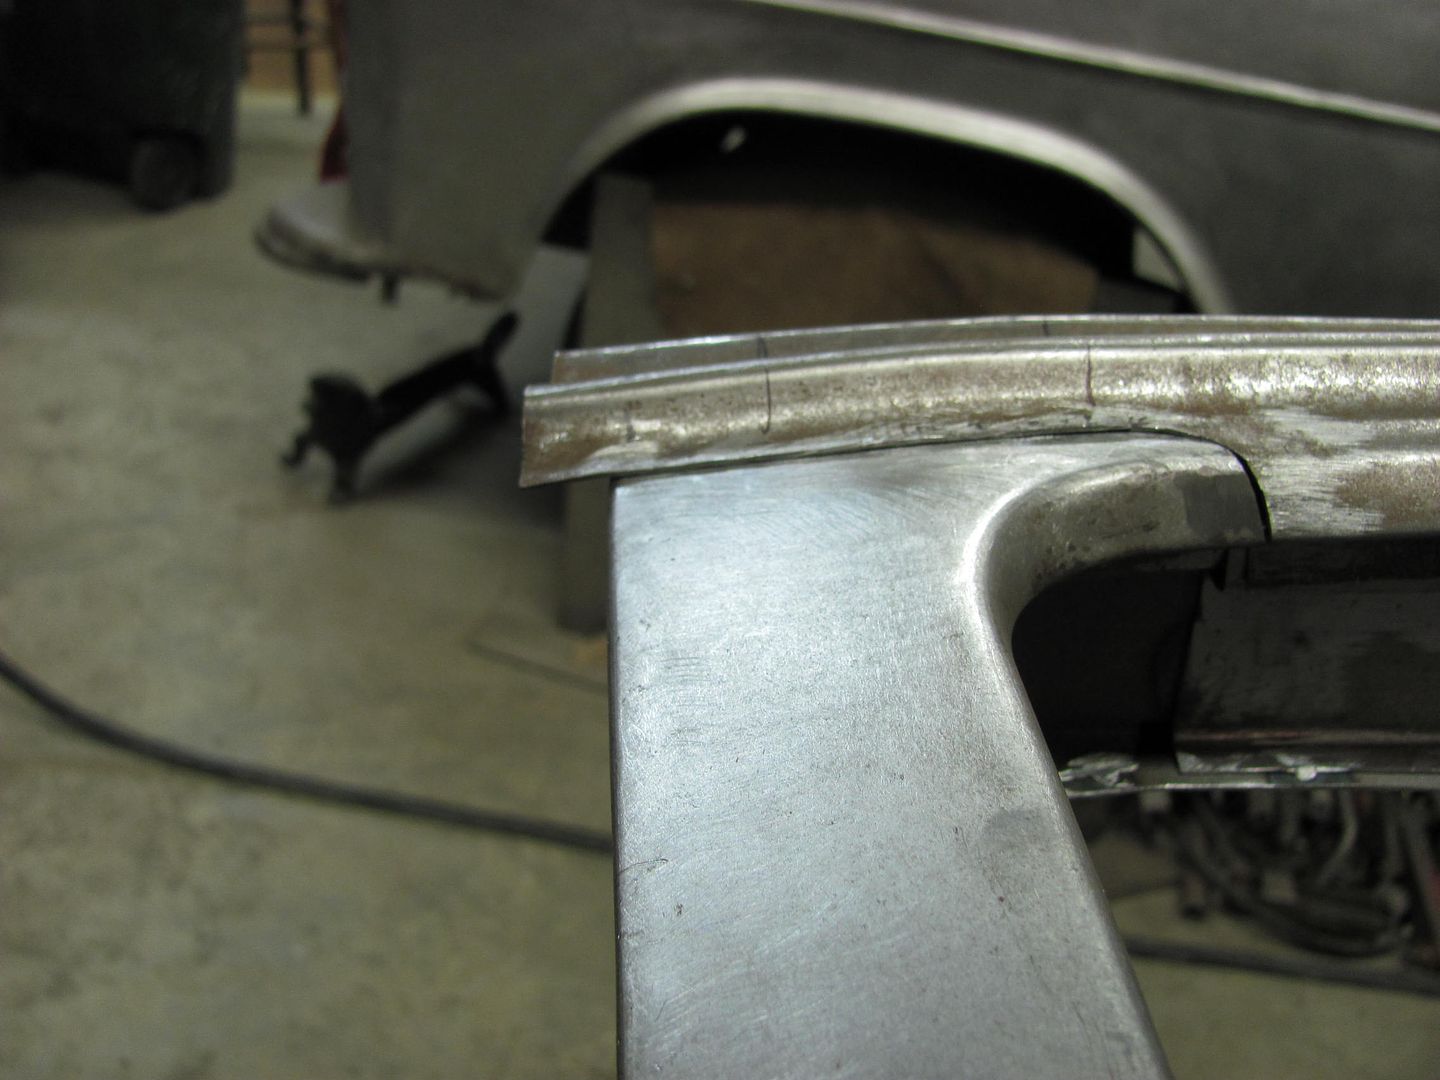
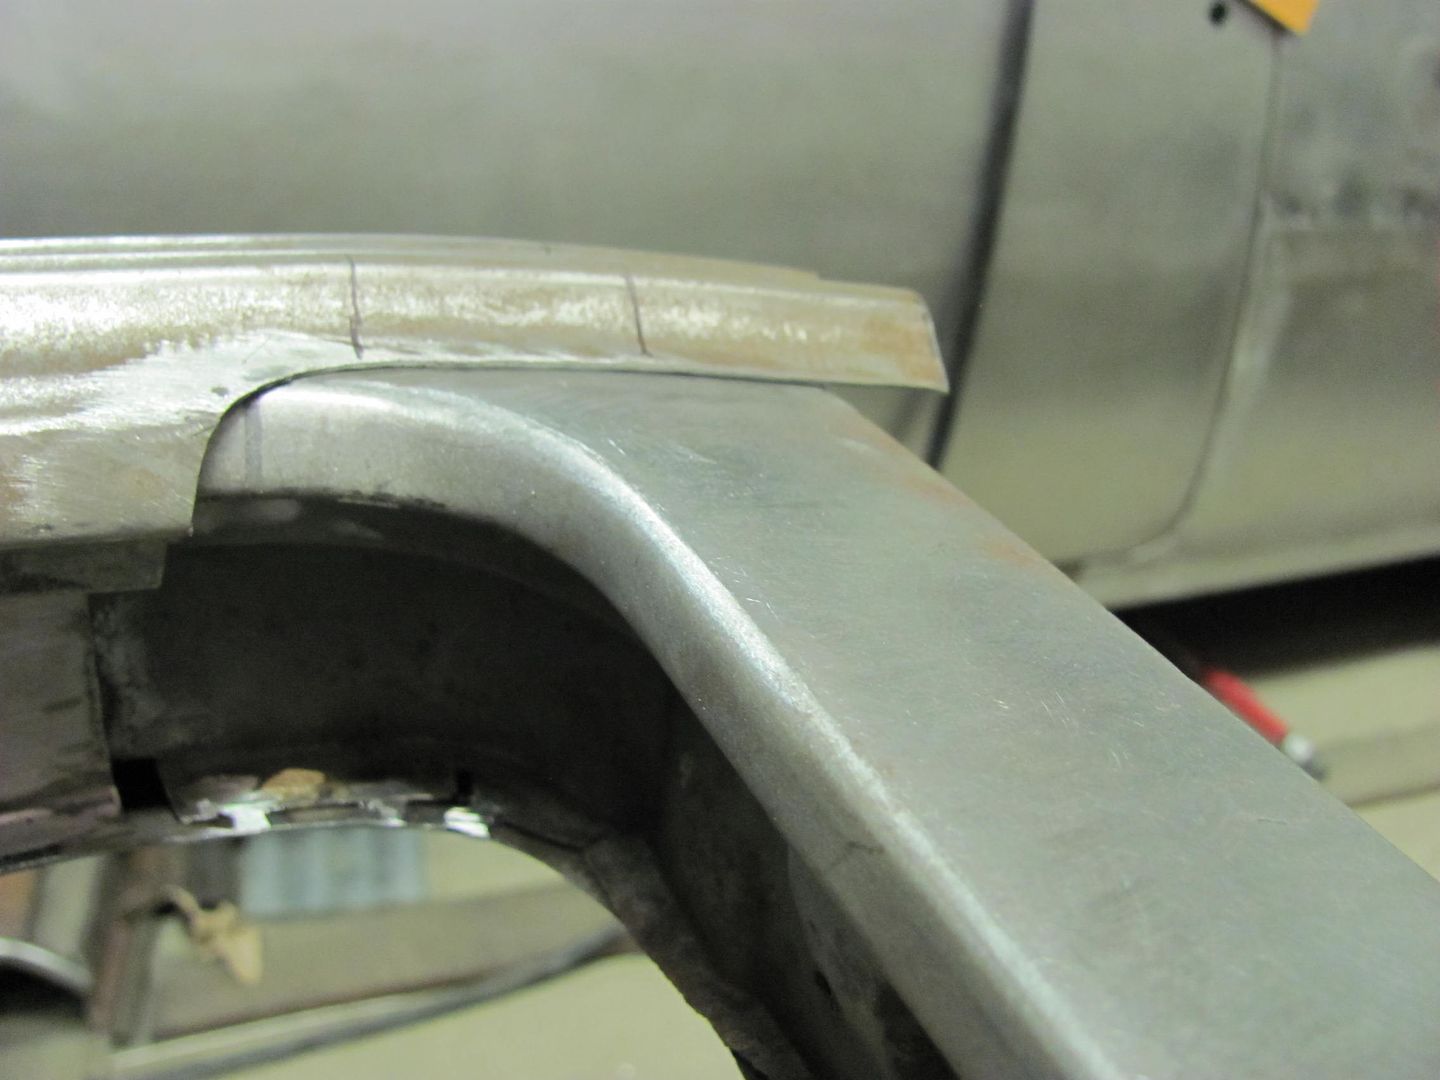
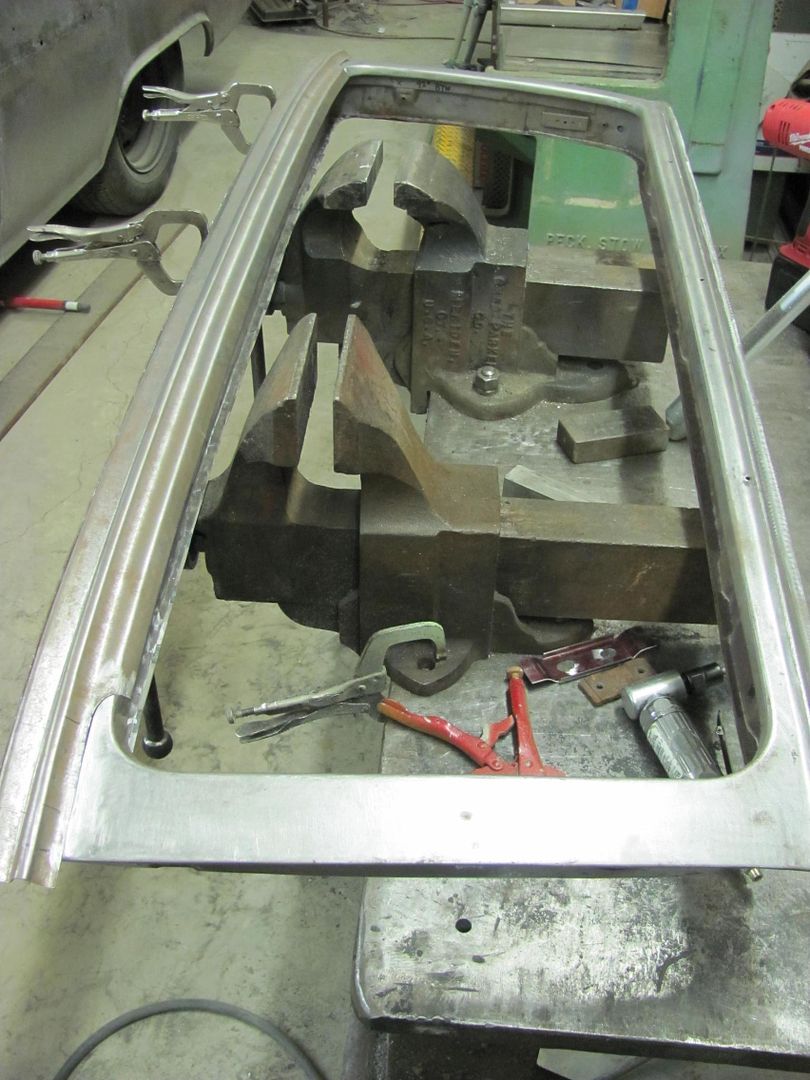
Tonight I trimmed the lower edge of the lift gate to get the final repair part fitted up.
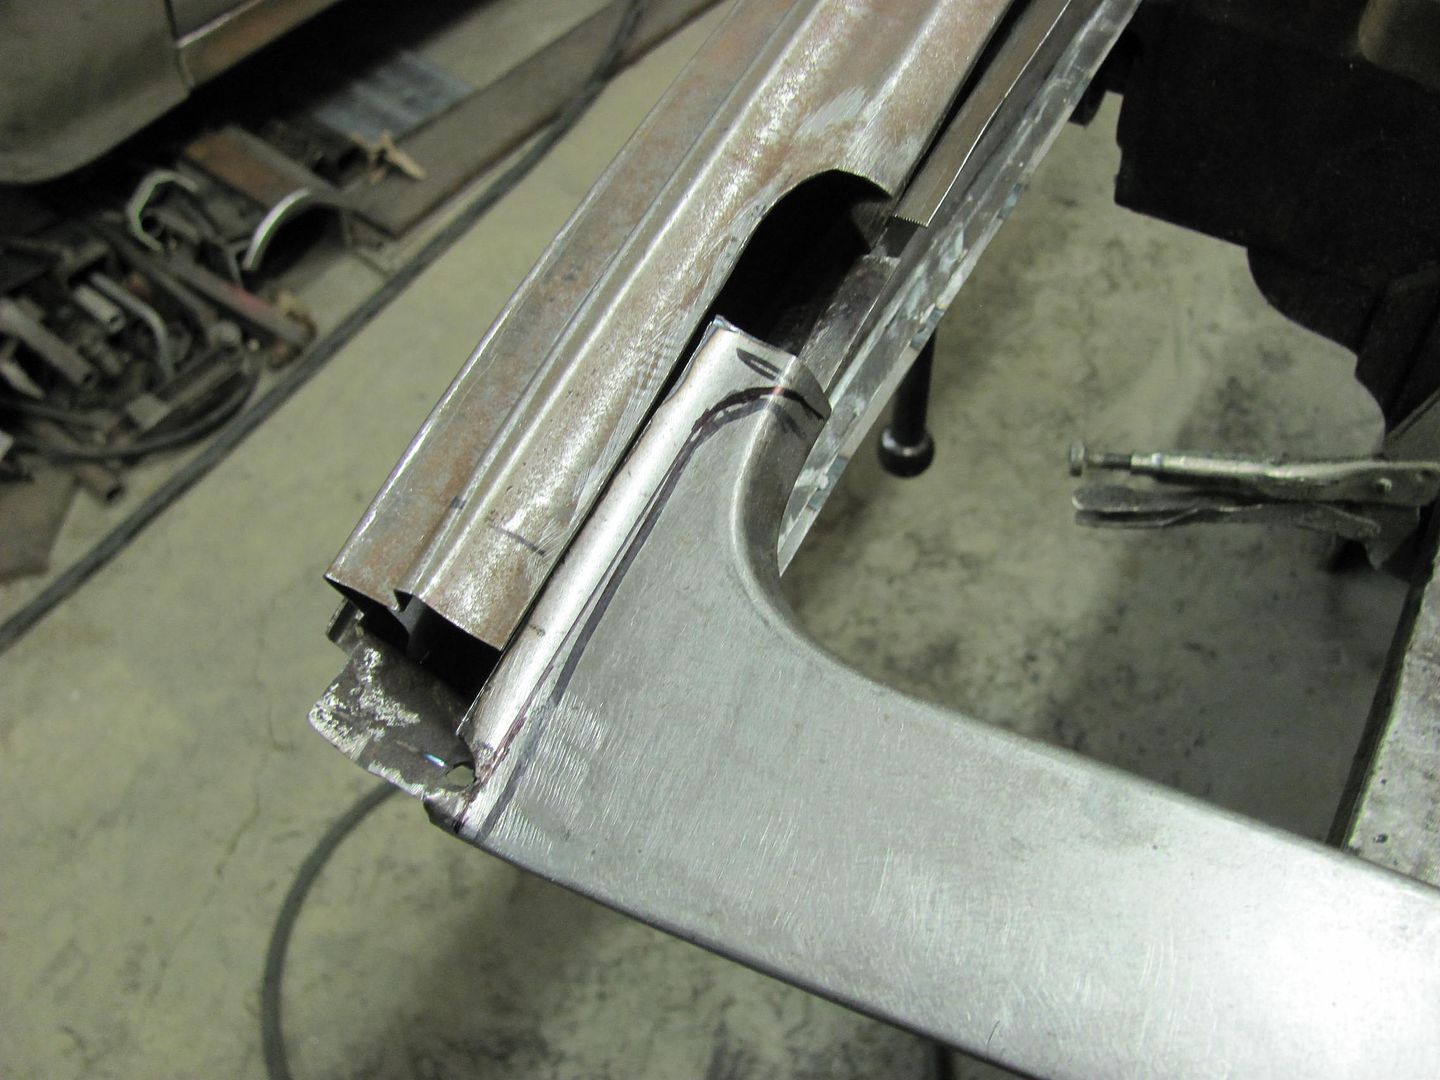
Once both ends of the lift gate were trimmed, looking at the surface profile you can see we need a bit more crown at the ends of the repair part.
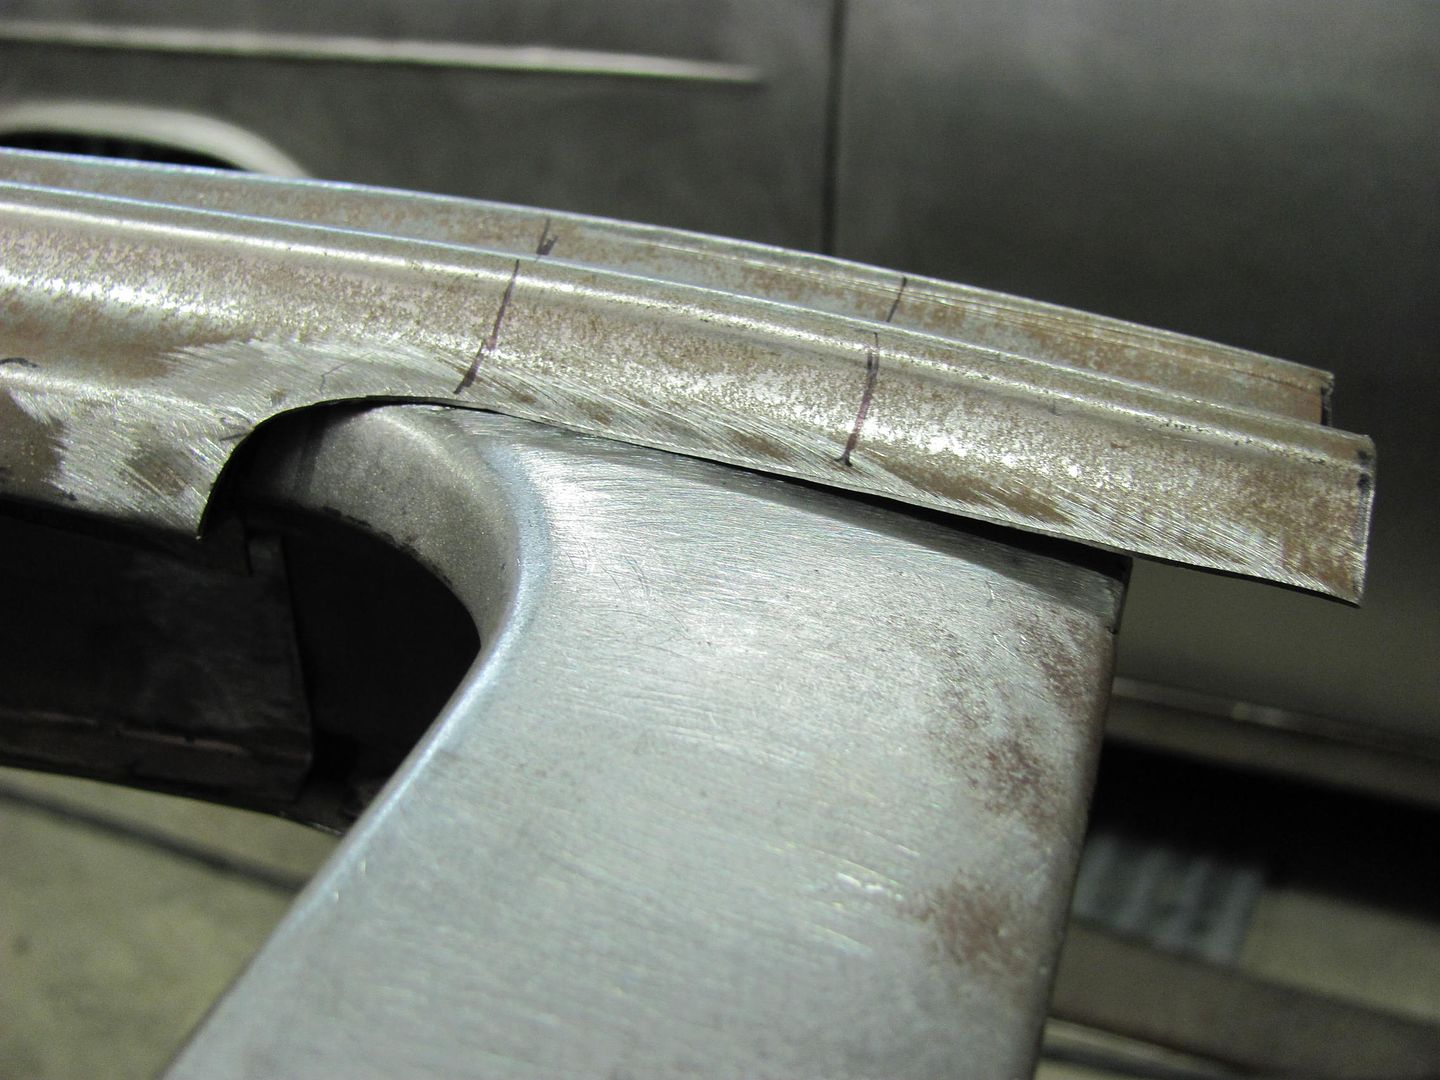
To add some crown, the lower flanges on the ends were folded flat and used the Erco to shrink the bottom flange.
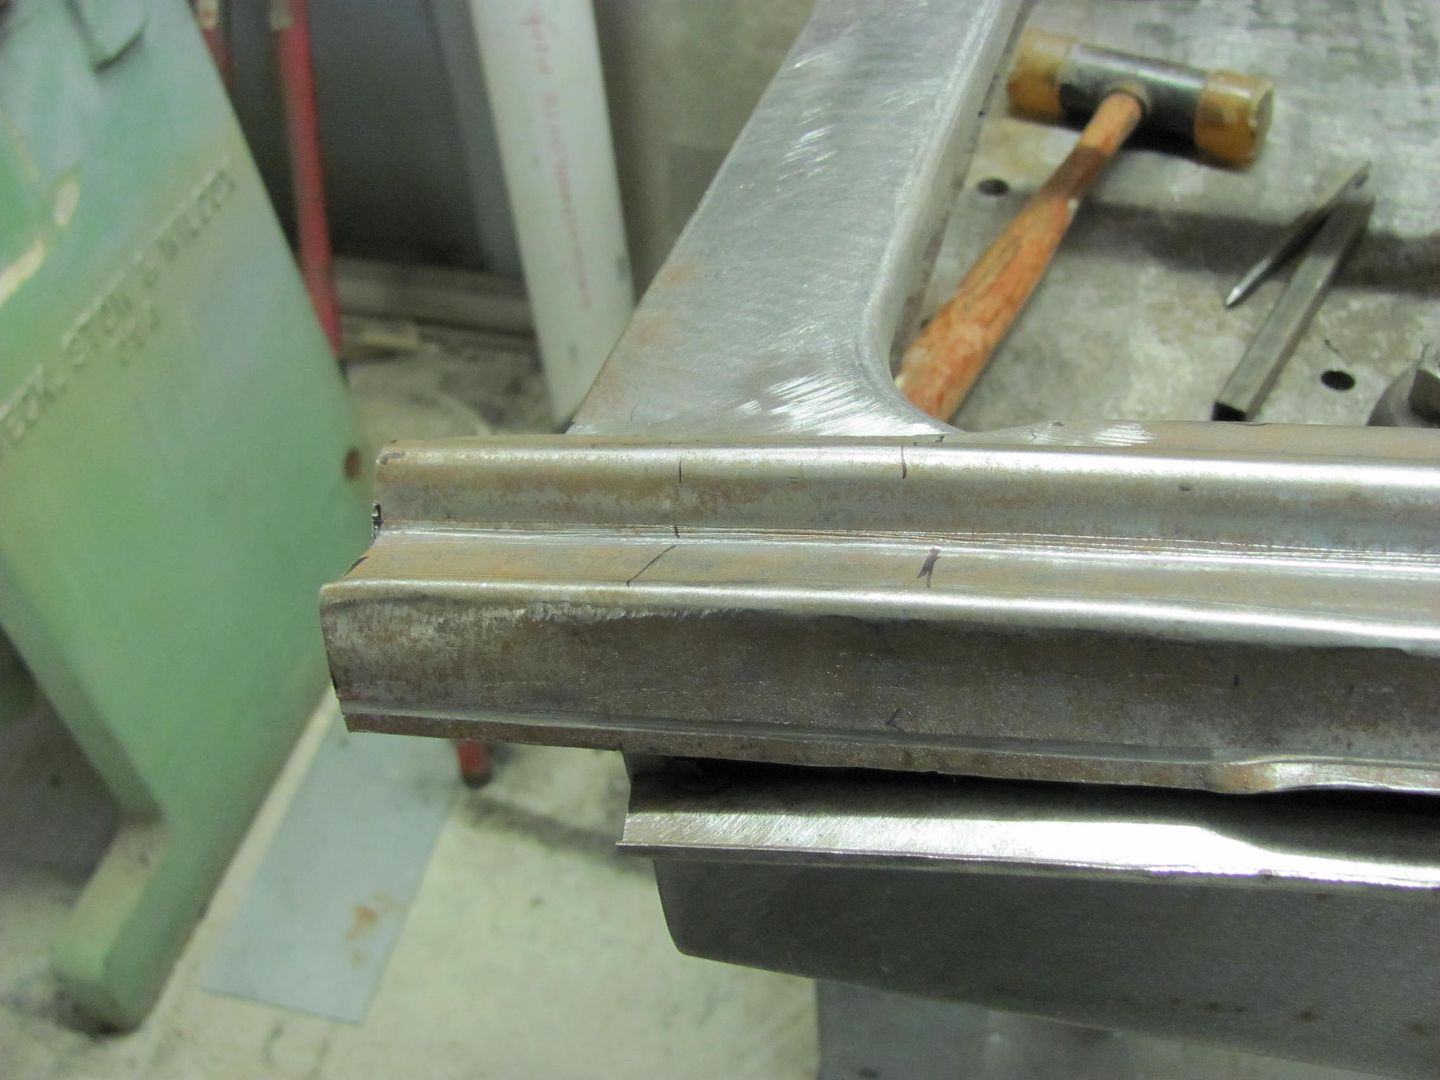
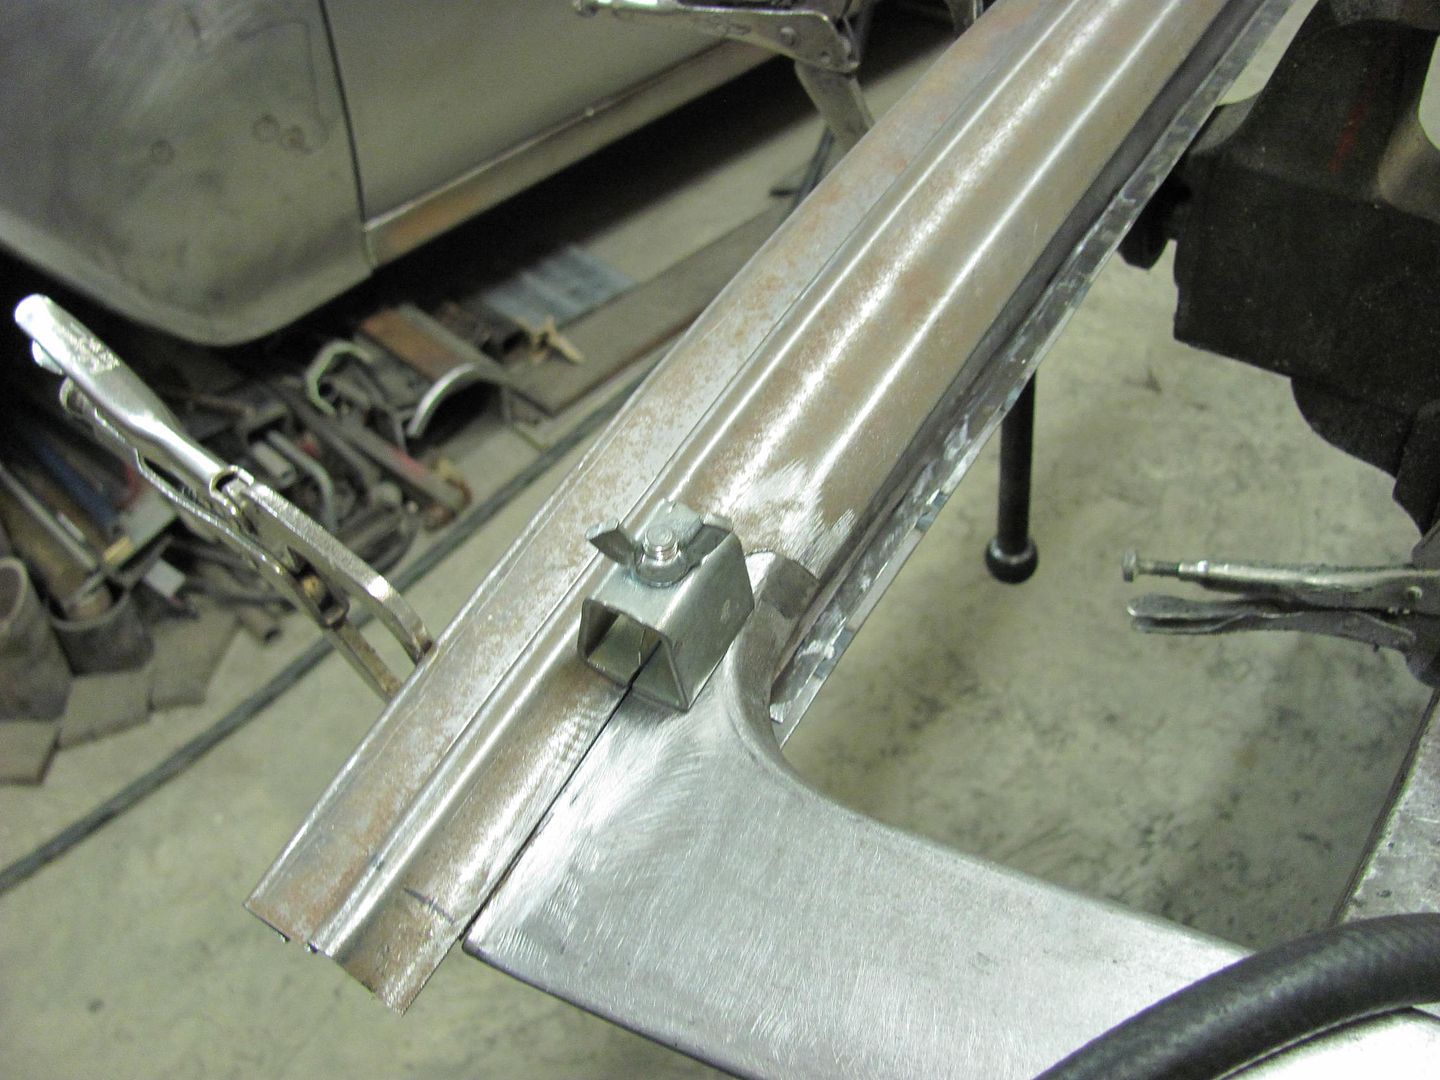
The multiple bends toward the top were another story, a 1/4 beading die lightly pushing into a skateboard wheel, and the ends were pushed in and pulled up while exiting. Here's the results...
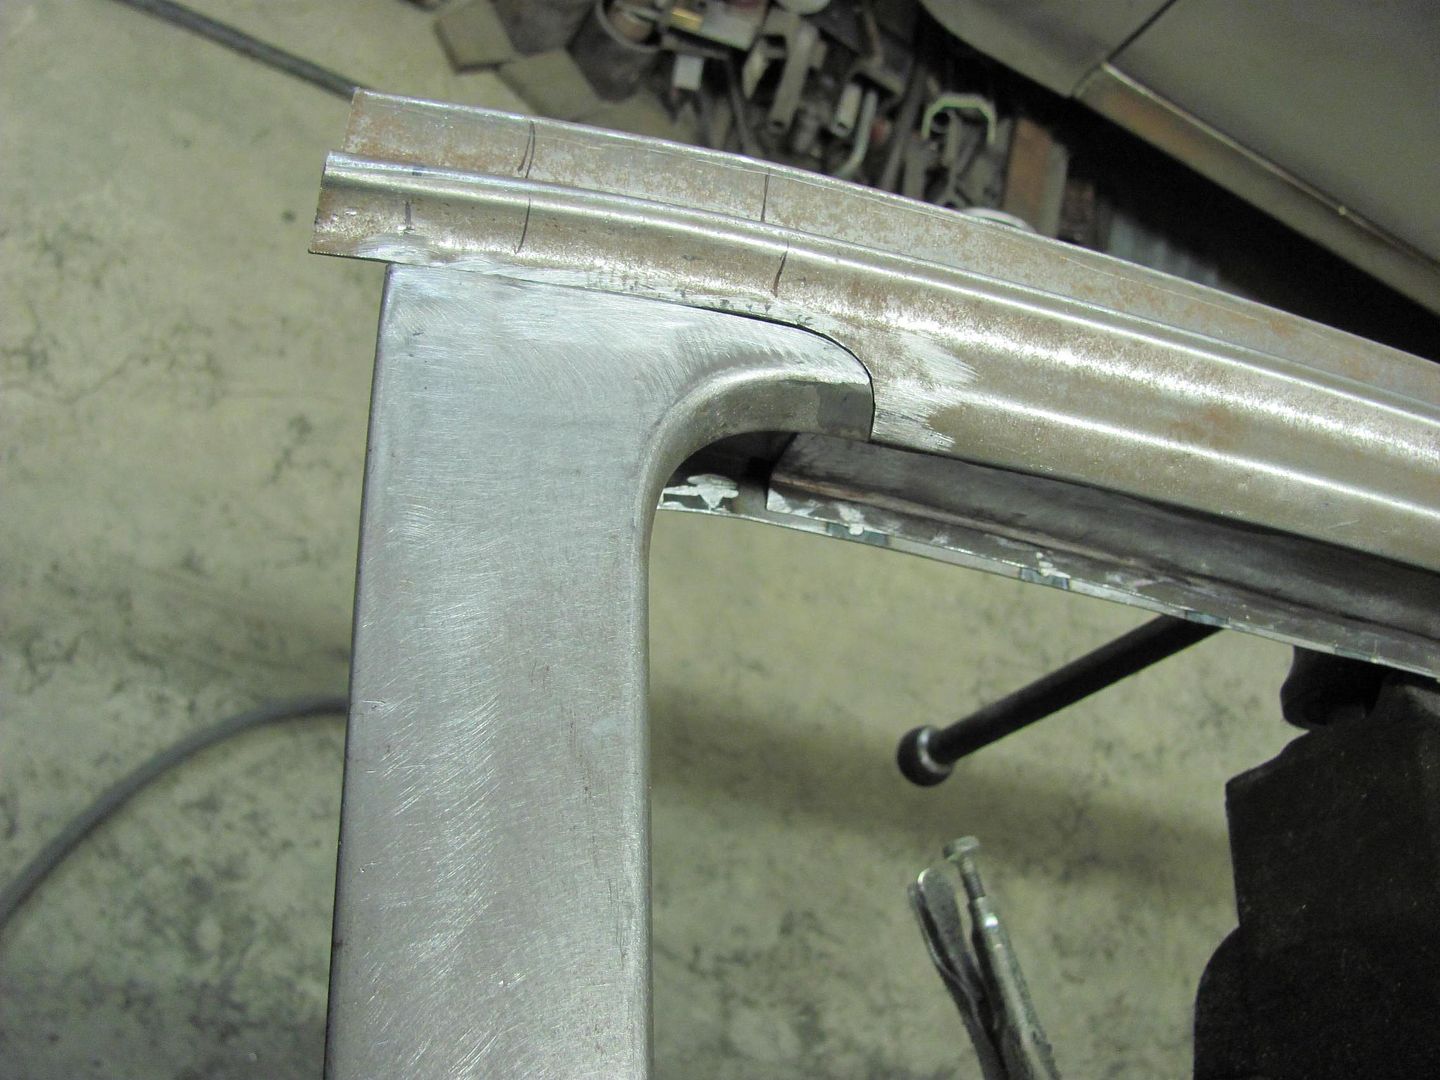

Oh yeah.....you can see the top of the welding table again!
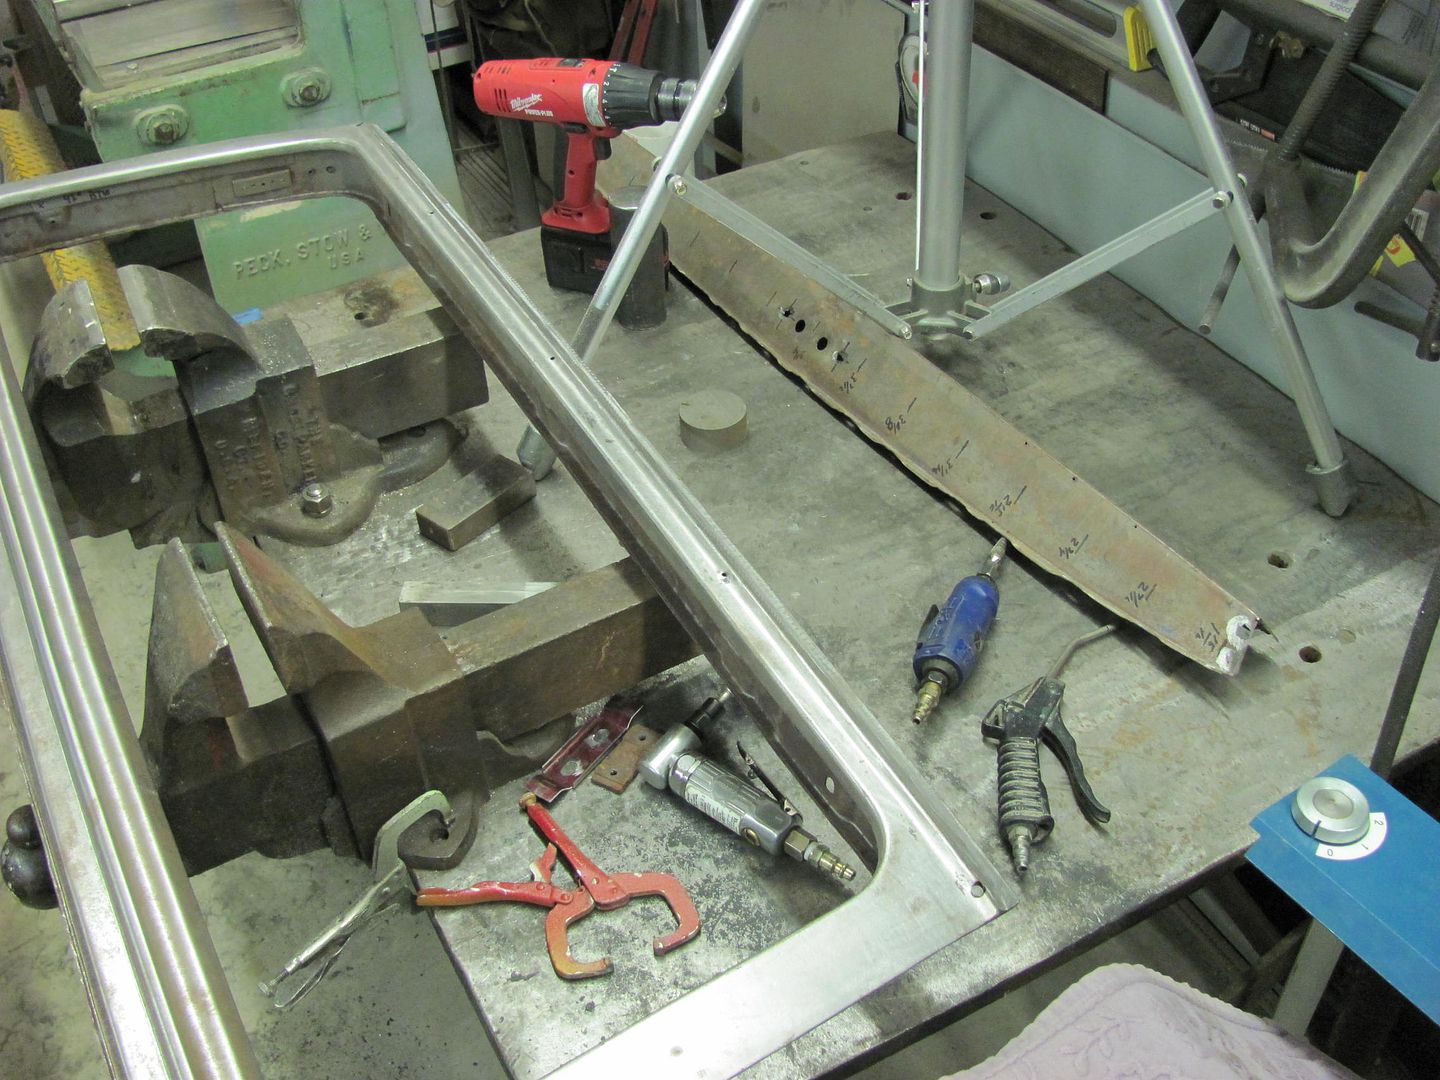
Next task on the list will be to form/fold the ends..Robert
-
11-16-2013 08:55 PM #3
CHR Member
- Join Date
- Jun 2008
- Location
- Leonardtown
- Car Year, Make, Model: Walking
- Posts
- 1,228
Another slight detour.... I need to stop looking for this stuff....or is it looking for me?
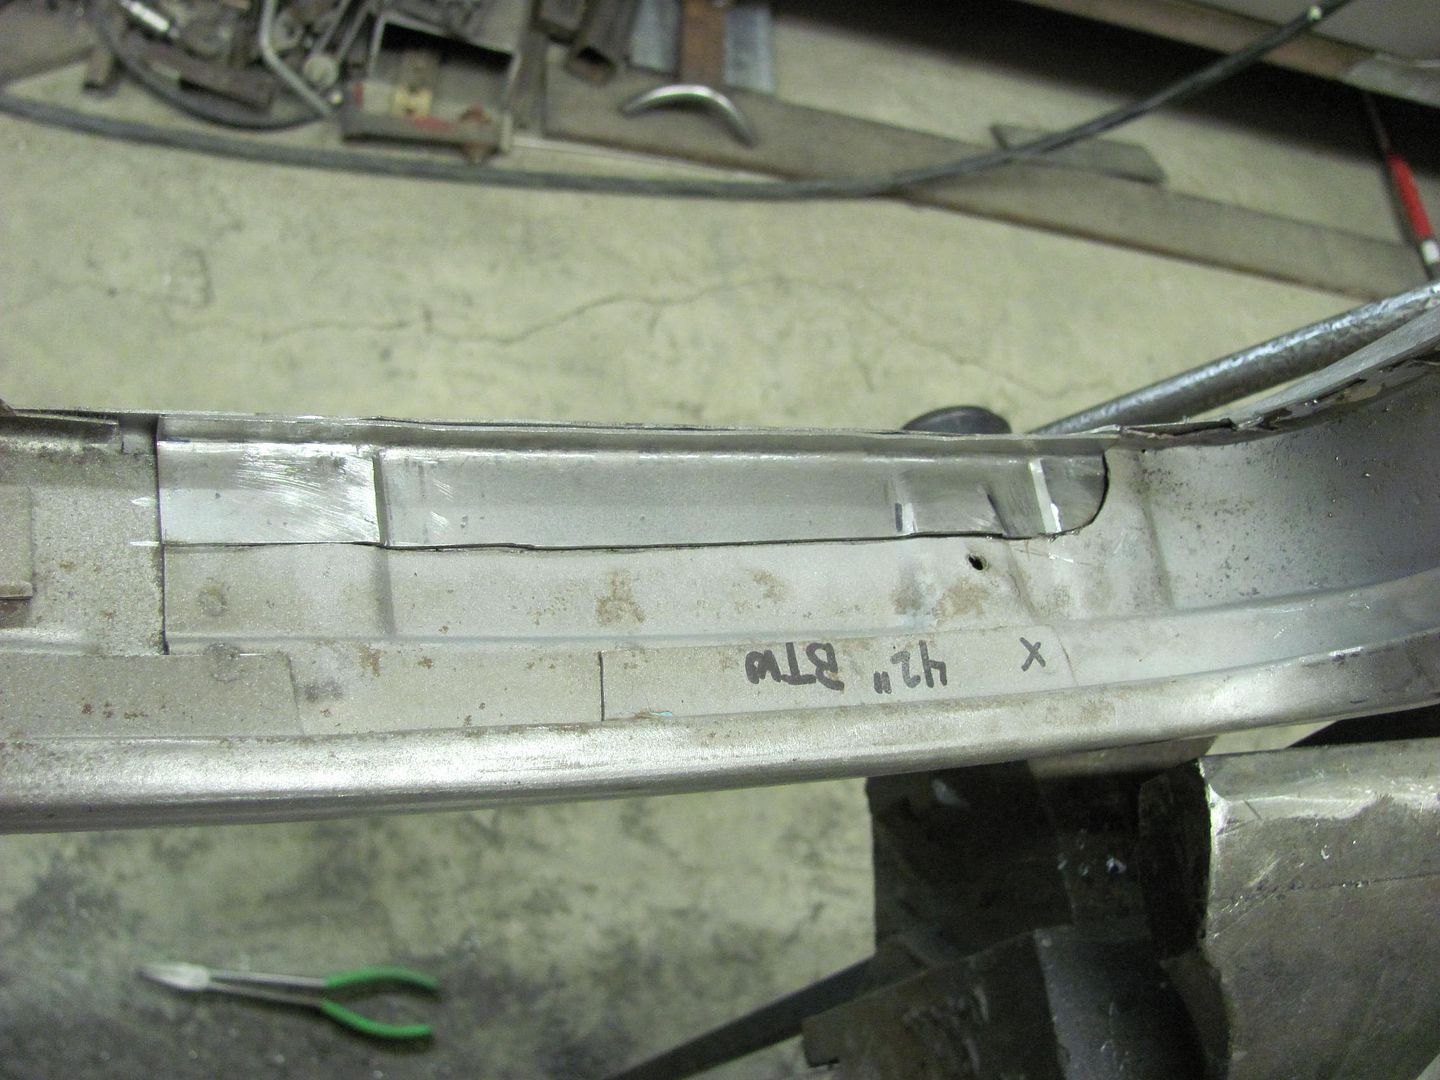
This pinch weld showed swelling between the two sheets, and a closer inspection showed some rather thick scale...
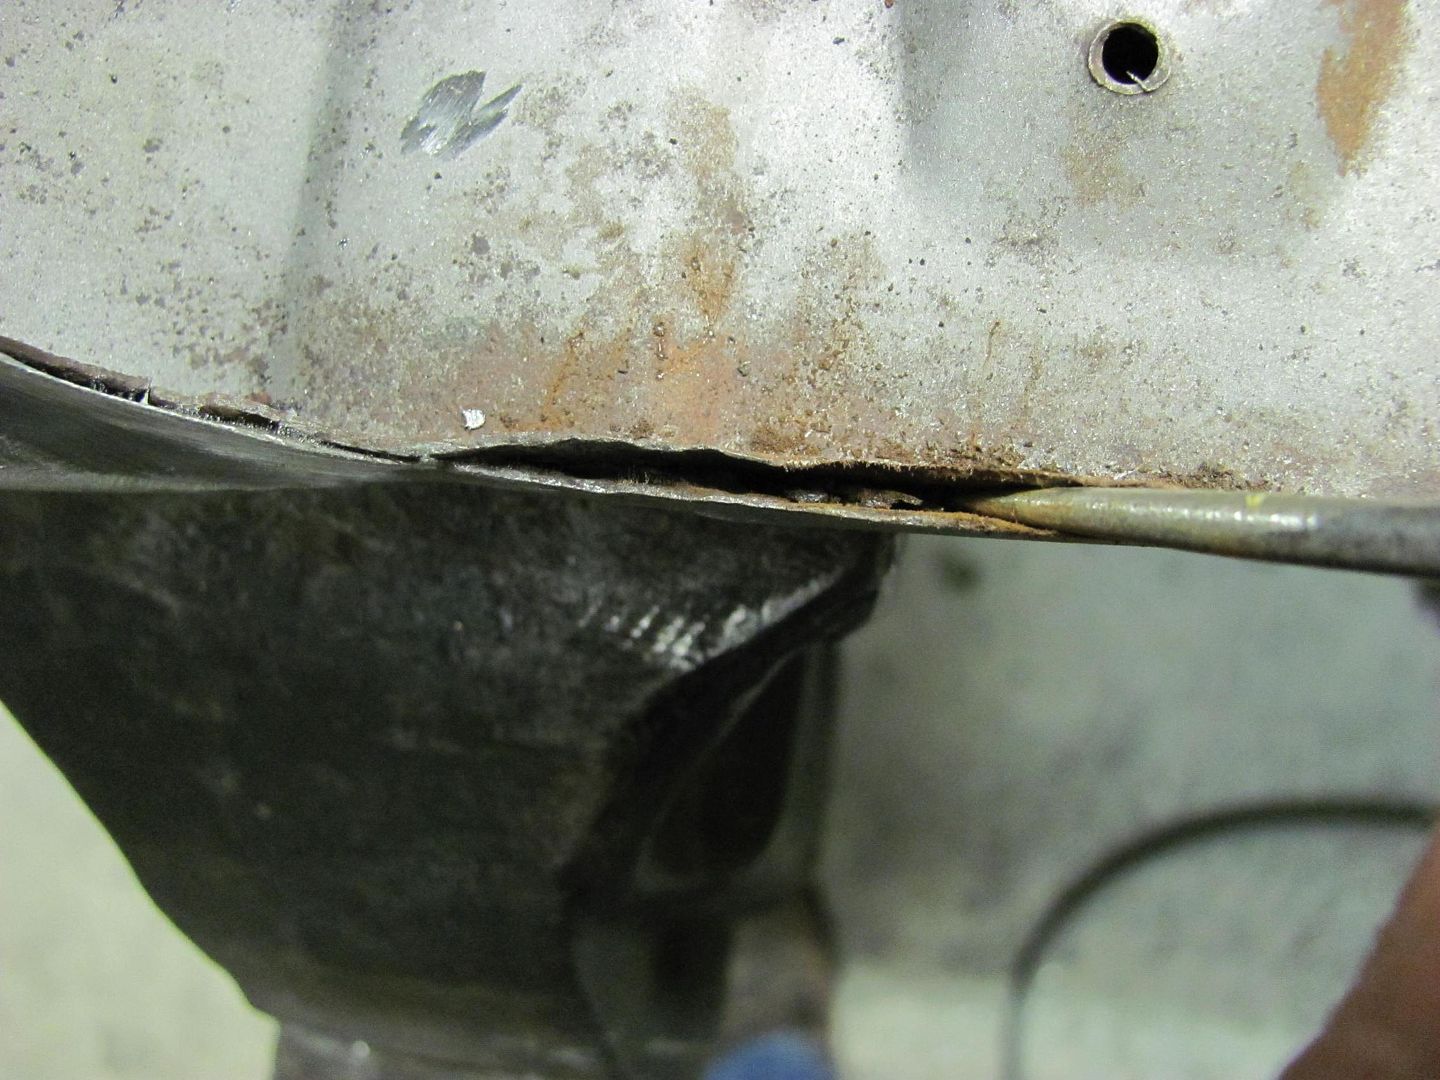
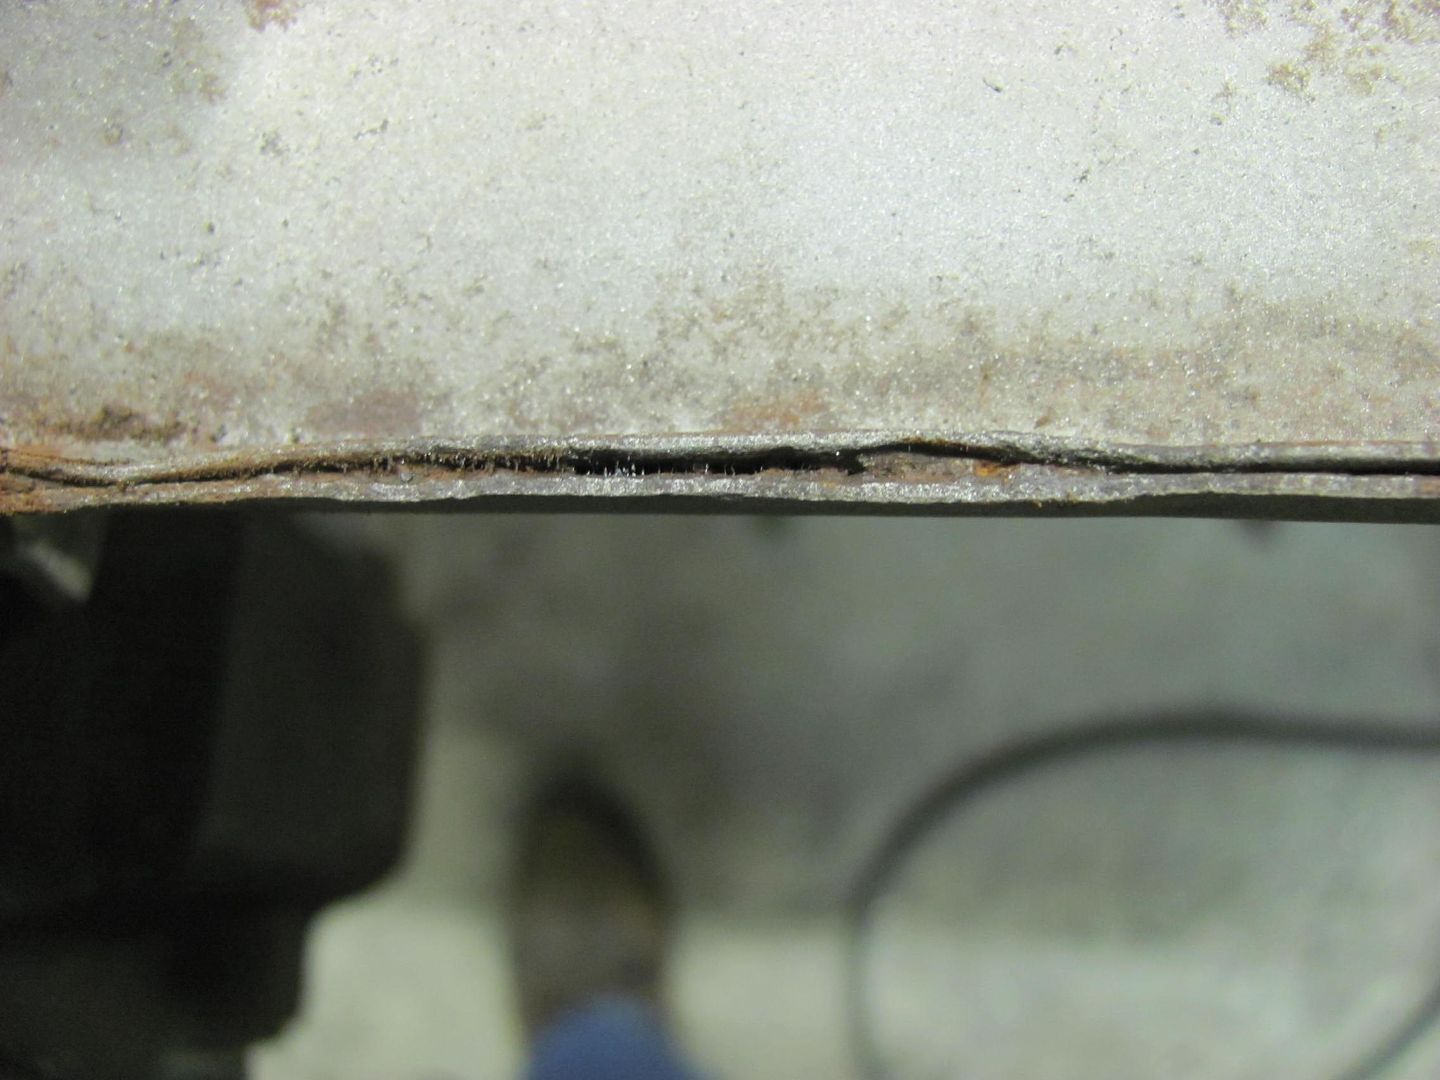
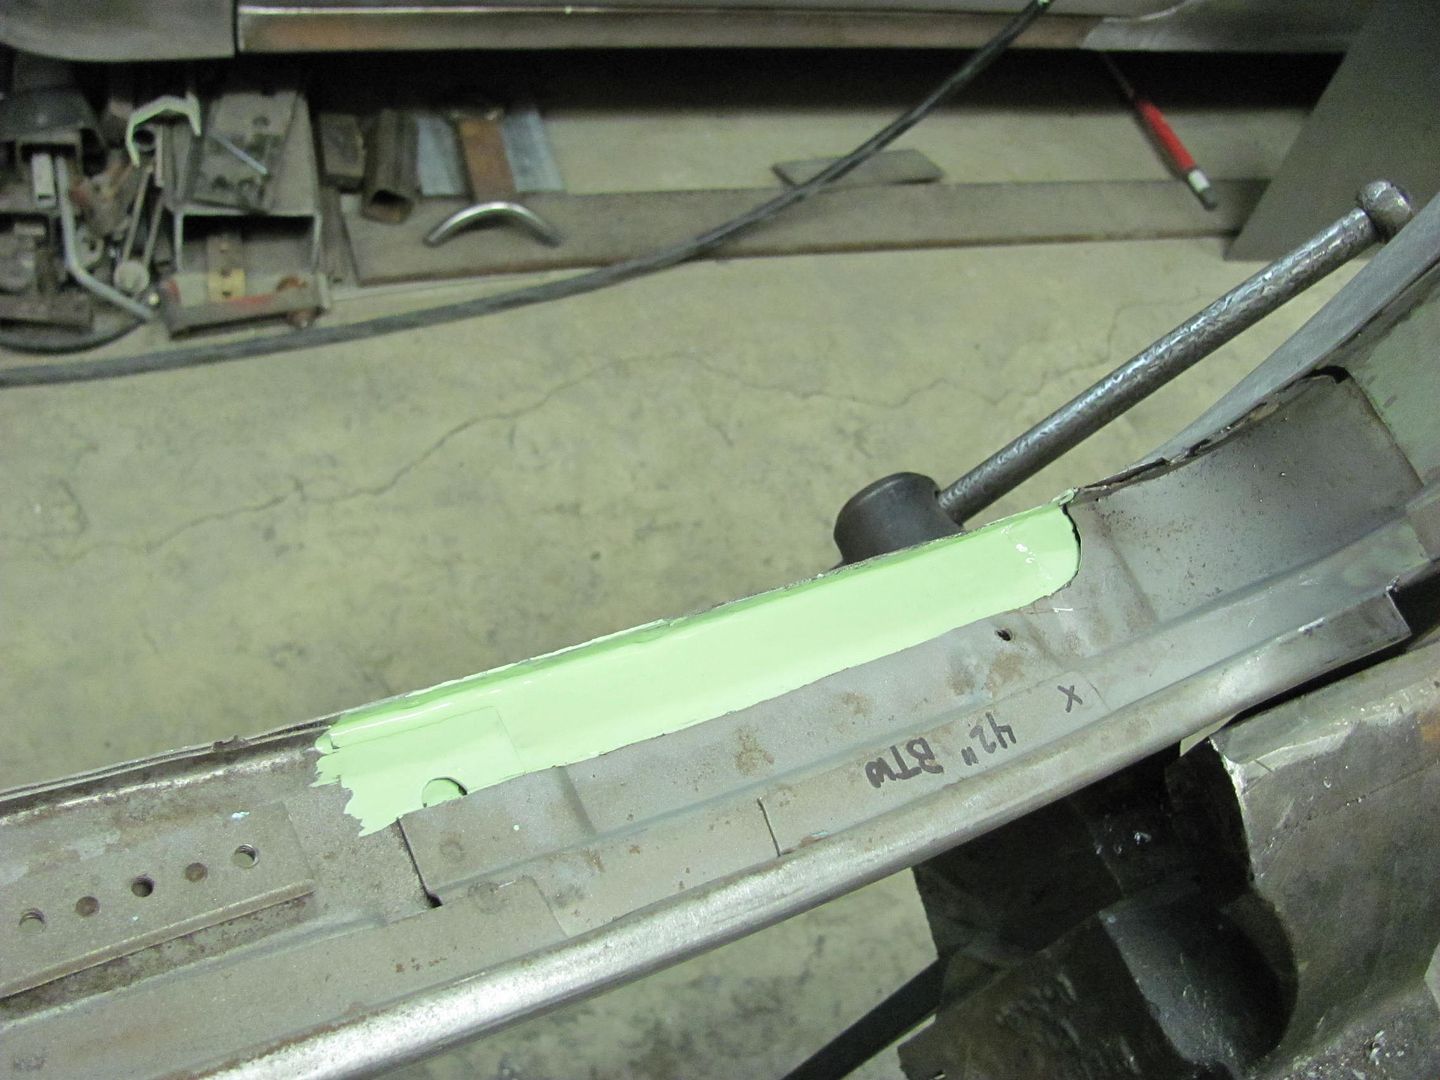
Out with the old...

Test fit of the new...
The exposed metal was media blasted, as was the inside of the newly made patch....and some epoxy primer added...
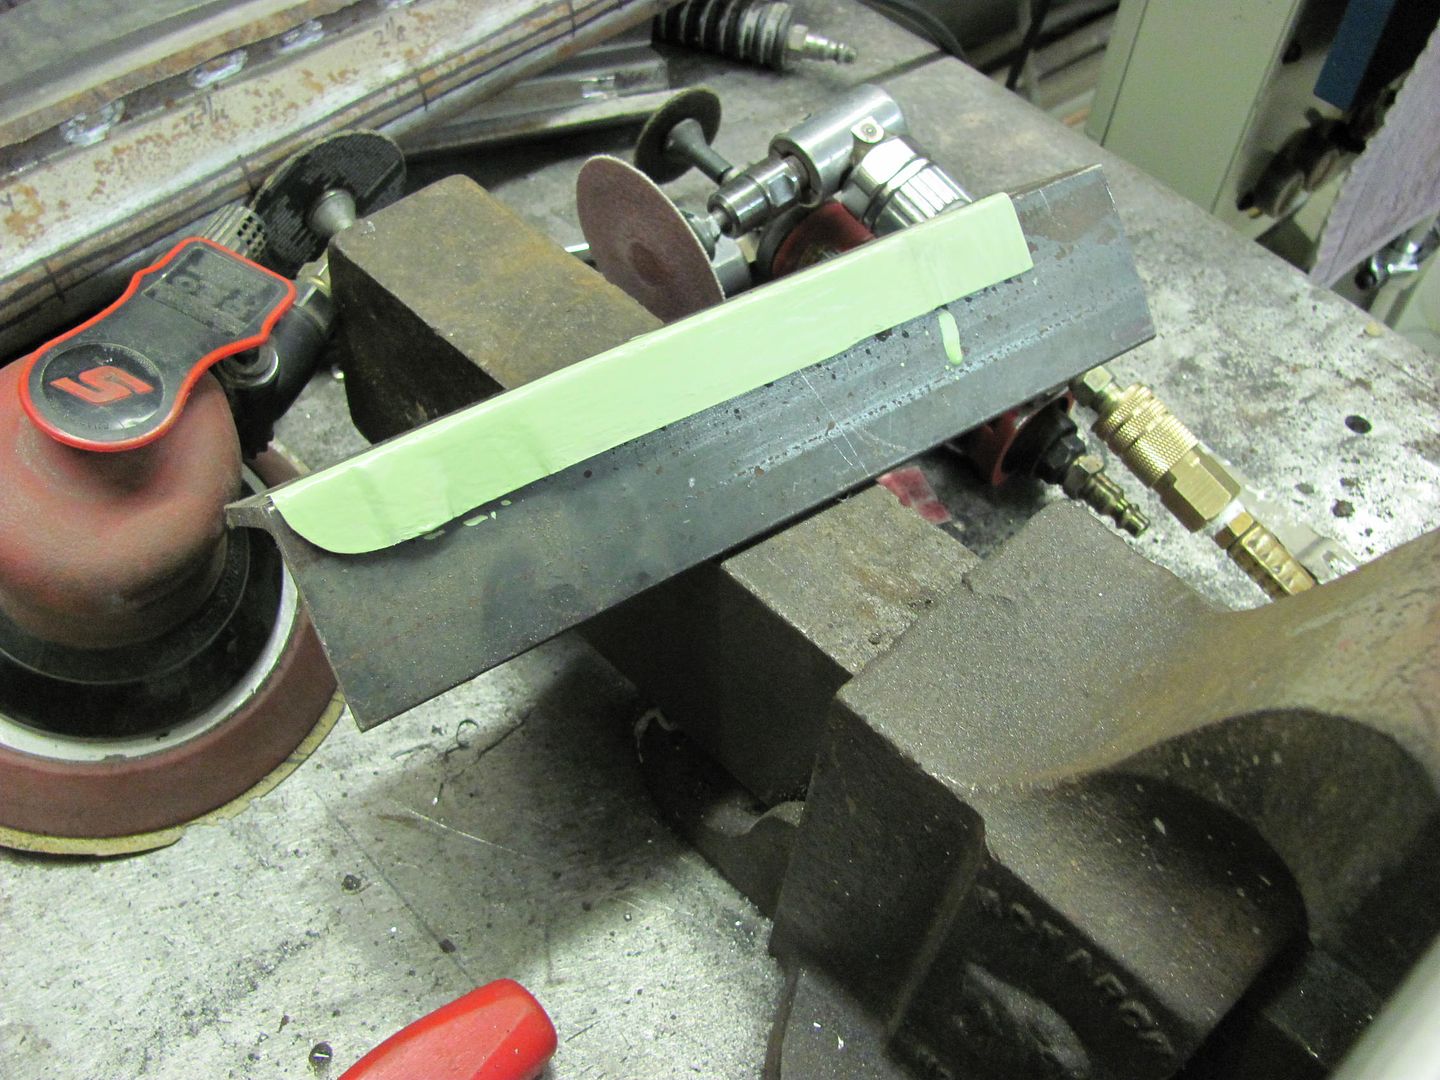
We'll let that dry and then get it welded in place.
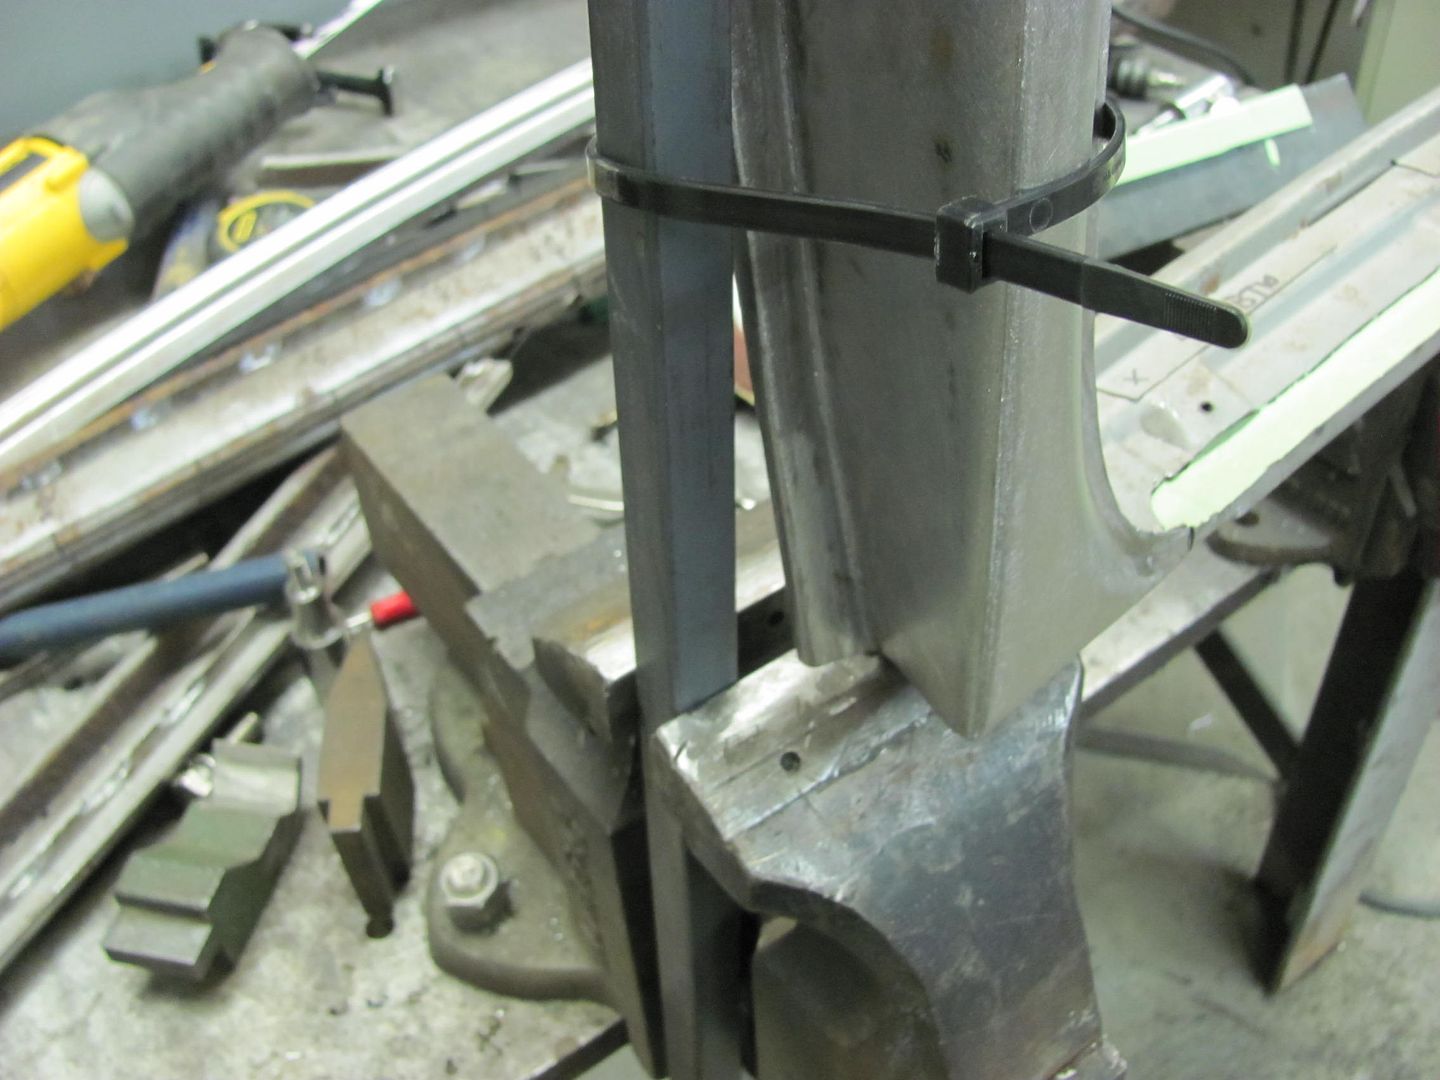
And just to show the makeshift clamping system for cutting, grinding, and painting in an awkward spot......

Robert
 Reply With Quote

Posting Permissions
- You may not post new threads
- You may not post replies
- You may not post attachments
- You may not edit your posts

I saw last night on fb about John. The world sure lost a great one. I'm going to miss his humor, advice, and perspective from another portion of the world. Rest in Peace Johnboy.
John Norton aka johnboy