


 6Likes
Thread: 1965 Fairlane build
Results 1 to 15 of 57
 LinkBack URL
 About LinkBacks
Threaded View
-
02-10-2012 08:00 AM #1
 CHR Member

- Join Date
- Jun 2008
- Location
- Leonardtown
- Car Year, Make, Model: Walking
- Posts
- 1,228
1965 Fairlane build
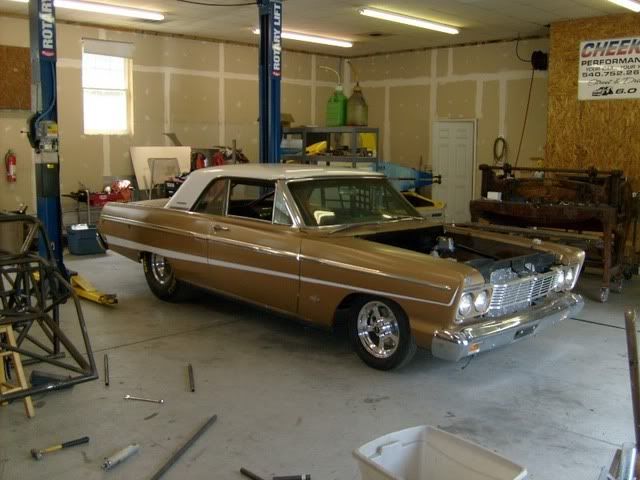
Although this car is already complete, I did take a grunch of photos, so perhaps posting a build thread here, with some of the rust repairs or other tips & tricks can help someone out for working on their own project.
The owner first had plans for a resto-mod, but after a weekend as a spectator at the MIR drag strip, he had flashbacks of an earlier time, and the direction of the build drastically changed. A full chrome moly tube chassis was built and the body installed at Cheeks Performance in VA. And this is what I had to work with.....
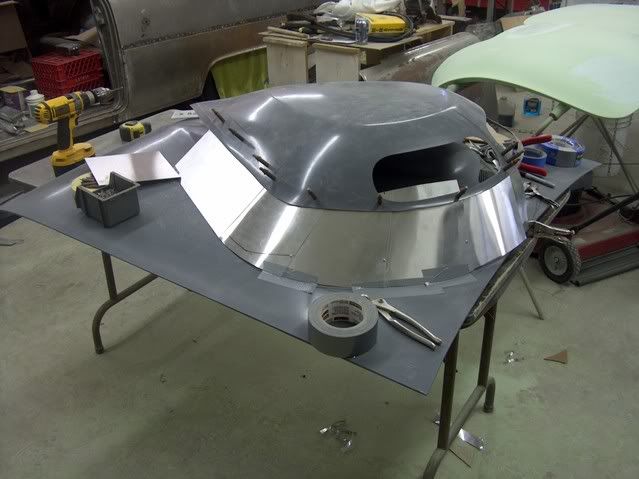
As an homage to the Thunderbolts from a year earlier, the owner had decided on a Crites teardrop hood. Only it didn't quite fit......
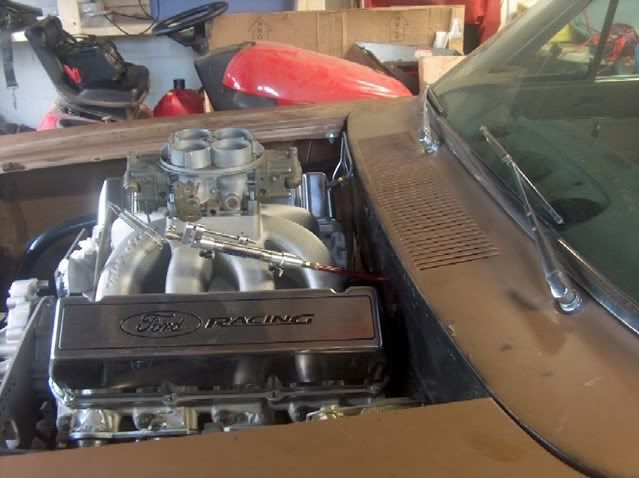
....as the engine was raised up a bit for the harmonic balancer to clear the rack and pinion. He was ready to throw in the towel and send the hood back, and concede to using a snorkel. I told him to order another teardrop, and we'd make it work. He was hesitant (I don't think he trusted me), but he did order it.
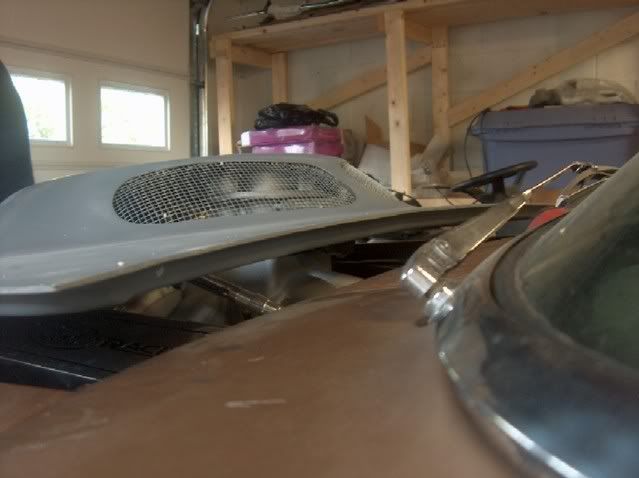
Height mocked up. The aluminum will be used to support the f/g mat while the resin cures. Then it will get flipped over, remove the aluminum, and more mat goes in from the back side. I never could get the hang of welding on fiberglass, so I had a local Corvette guy come over and join in the fun. :lol_hitti
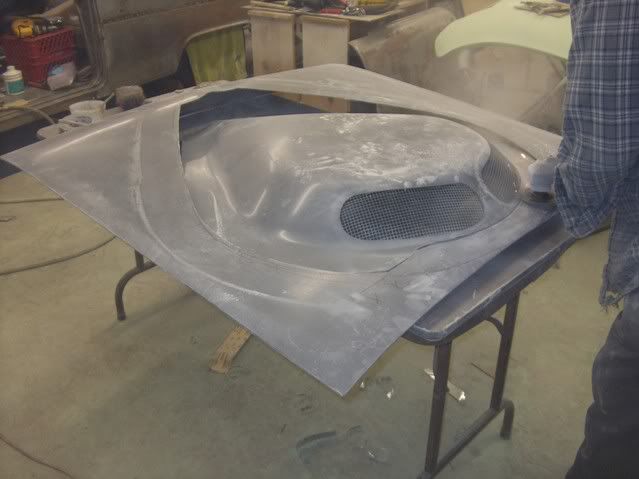
Strips of f/g mat laid in to tighten things up, and keep the hood scoop from moving.

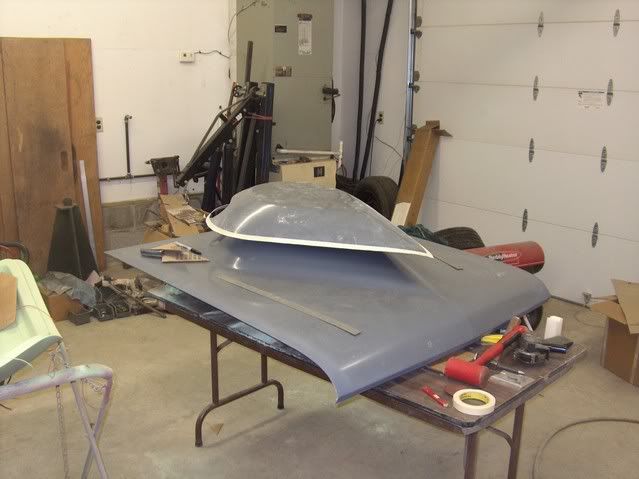
The owner did stop by and loved the look. When I gave him a hard time, he did say it wasn't that he didn't trust me, just that he couldn't see my vision.
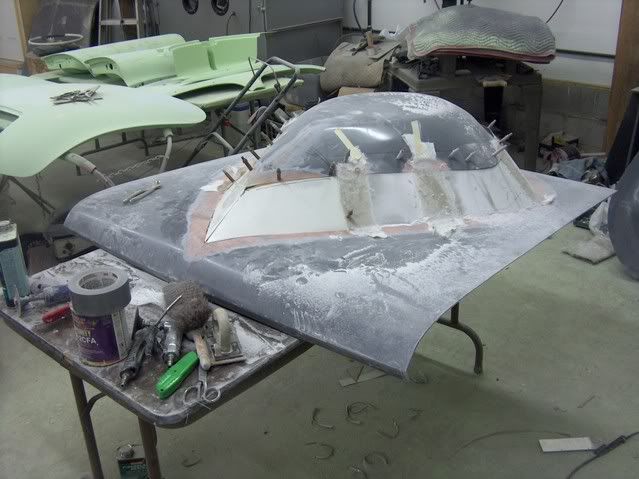
Starting to take shape. All the aluminum is removed, mat installed inside and out. A couple low spots and thin spots, as well as one really thin spot that looks like a hole!
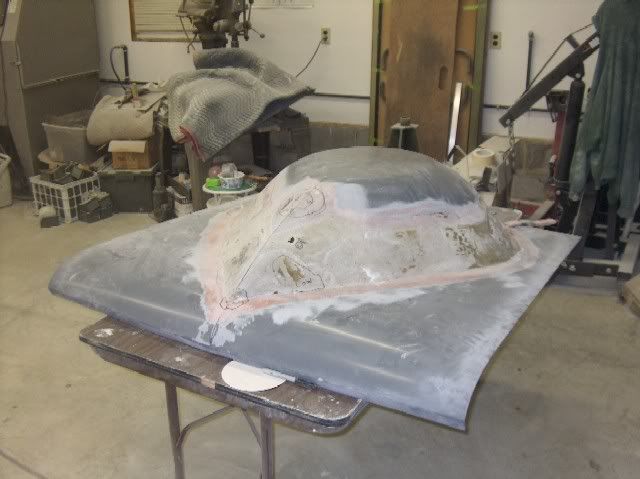
I think this might work yet!

 Reply With Quote
Tags for this Thread
Posting Permissions
- You may not post new threads
- You may not post replies
- You may not post attachments
- You may not edit your posts

i've enjoyed the years here . made a lot of friends. most who have left. i see no reason to continue with this so hope to see you somewhere else. i dont think this site will ever be back. it's lived...
Dead!