


 6Likes
Thread: 1965 Fairlane build


Results 16 to 30 of 57
 LinkBack URL
 About LinkBacks
-
02-10-2012 10:51 AM #16
 CHR Member

- Join Date
- Jun 2008
- Location
- Leonardtown
- Car Year, Make, Model: Walking
- Posts
- 1,228
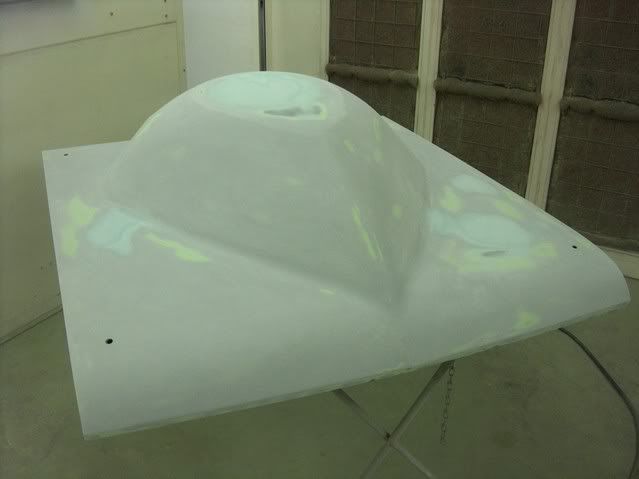
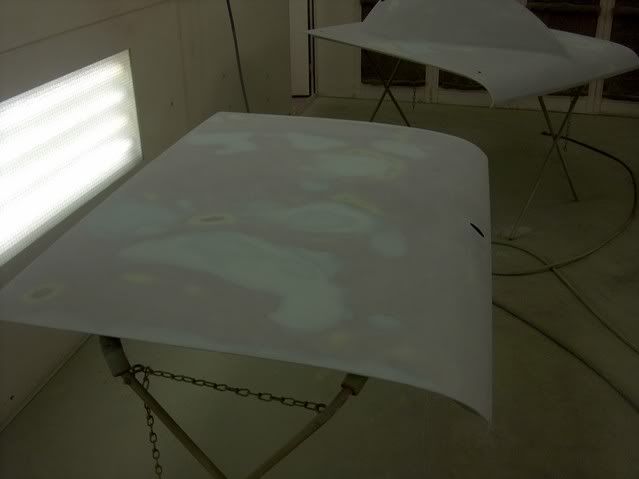
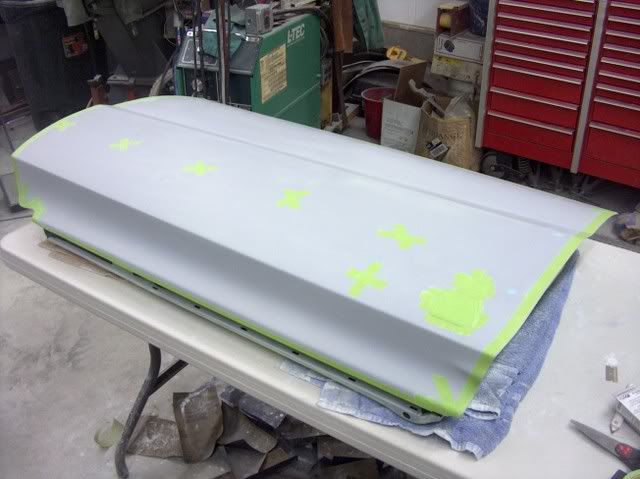
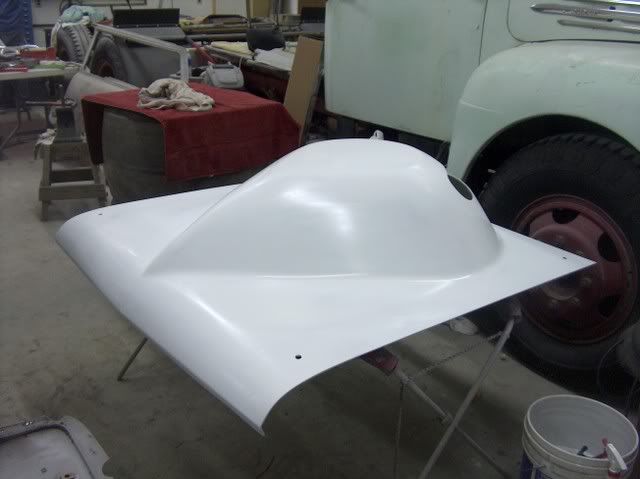
A slight bit more progress, got the hood and trunk lid blocked out and low spots addressed. Will need a couple more coats of high build later this week as well as some of the few remaining bare parts. The doors and fenders look like they will get by with wetsanding only.

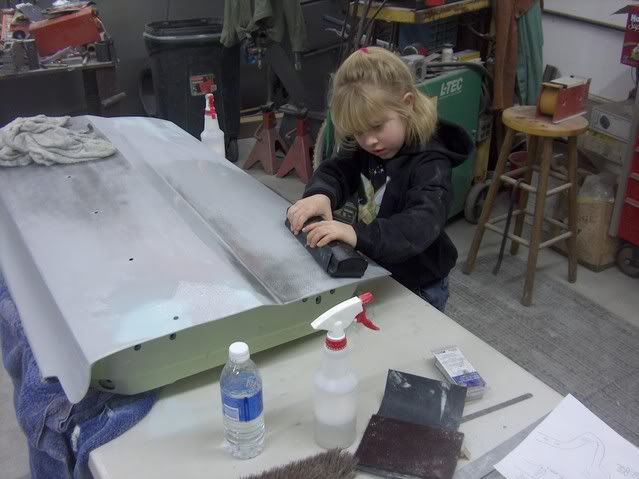
I did have some help with sanding.
One front fender left to sand, and then I'll spray another couple coats on the hood and trunk lid.
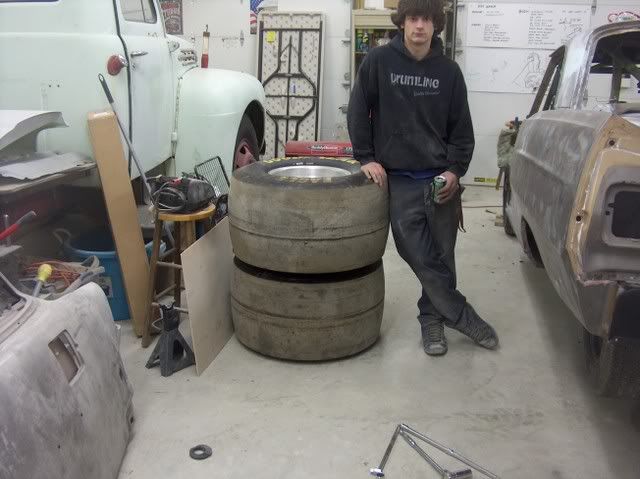
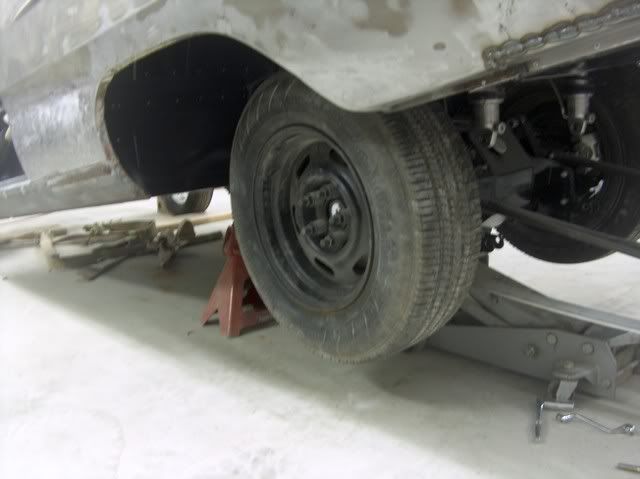
My nephew Chris did some prep work while I continued wet sanding, the rear tires were removed so we can trim a bit more inside the bottom edges of the wheel opening. We had a set of "painting grade" wheels and tires, but had to open up the bolt holes to accomodate the 5/8" studs. Also had to unbolt the bottom of the coilover shocks to get the rear tires off. Forgot how large those beasts were

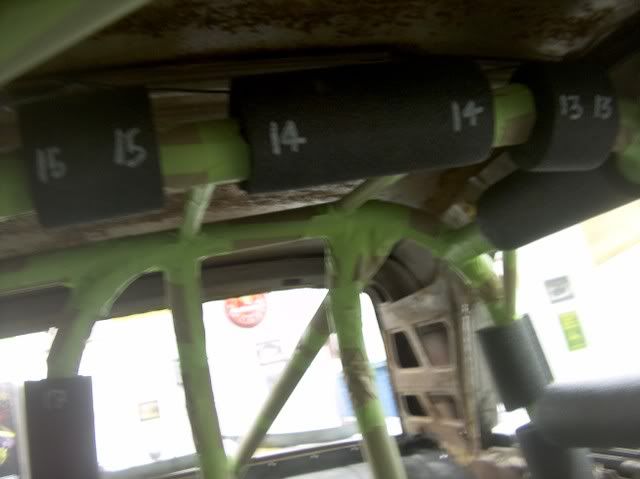
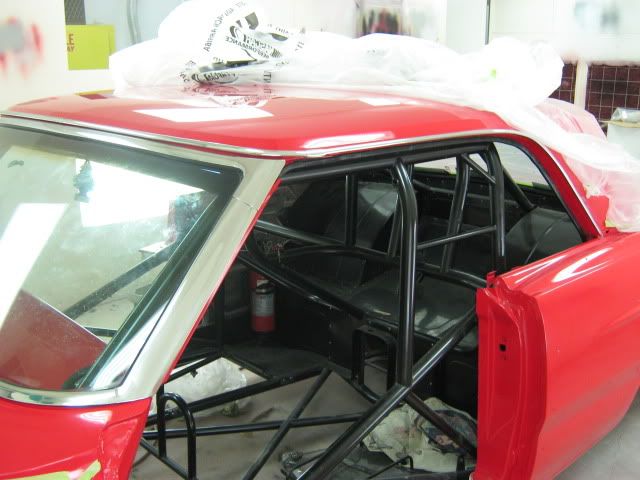
The roll cage and chassis has been IHRA/NHRA inspected (to 7.50 I believe...), and we don't want any more paint on it that would interfere with weld inspections, so Chris masked off all the roll cage, and then he and Brad (the owner) cut and fit the padding to get it ready for the upholsterer. Here's the official "treasure map" to locate all the pieces.


I had sprayed another couple coats of slick sand yesterday on the trunk lid as I still wasn't happy with it, and it turned out pretty nice this time. Started masking off the holes and front sides of the body panels, getting ready to spray some red on the back sides.
-
Advertising

- Google Adsense
- REGISTERED USERS DO NOT SEE THIS AD
-
02-10-2012 10:53 AM #17
CHR Member
- Join Date
- Jun 2008
- Location
- Leonardtown
- Car Year, Make, Model: Walking
- Posts
- 1,228
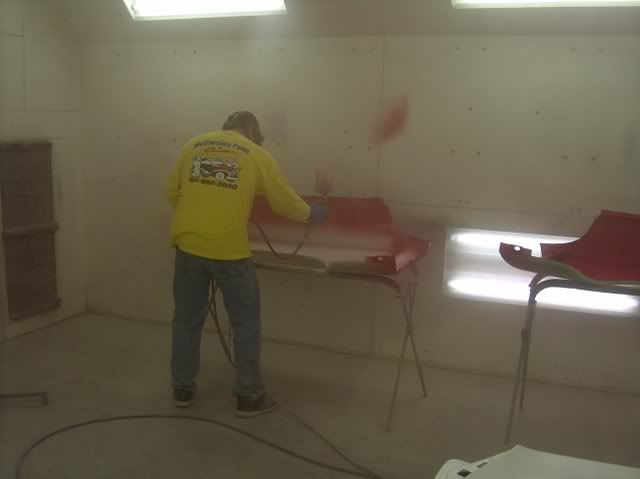
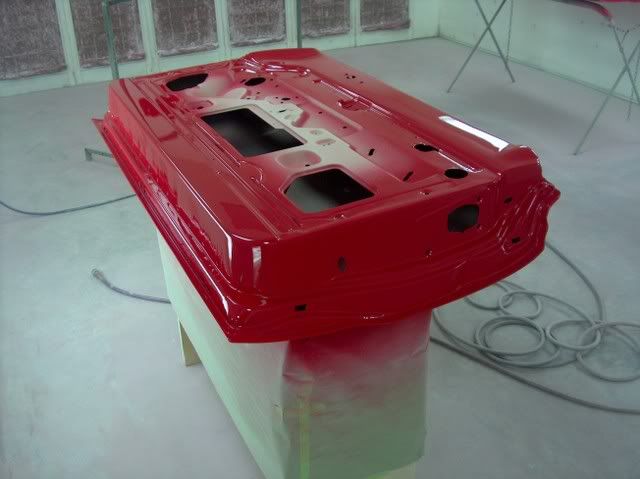
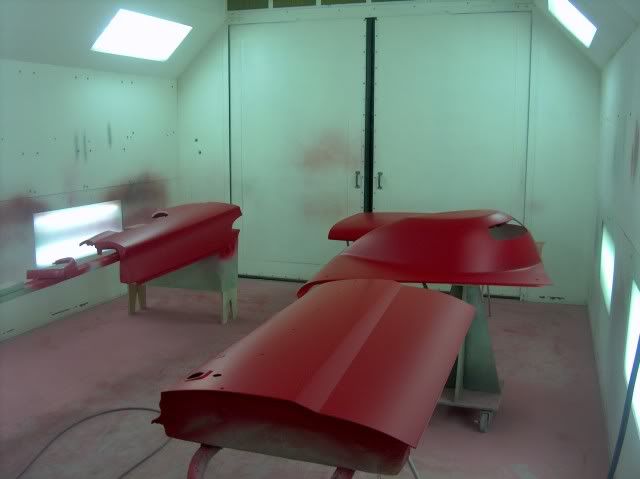
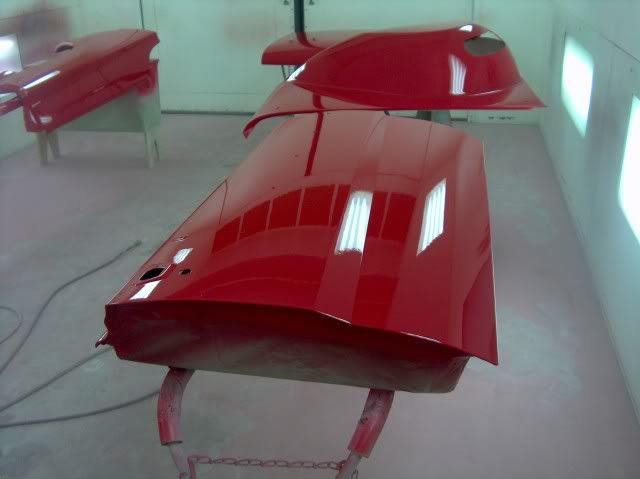
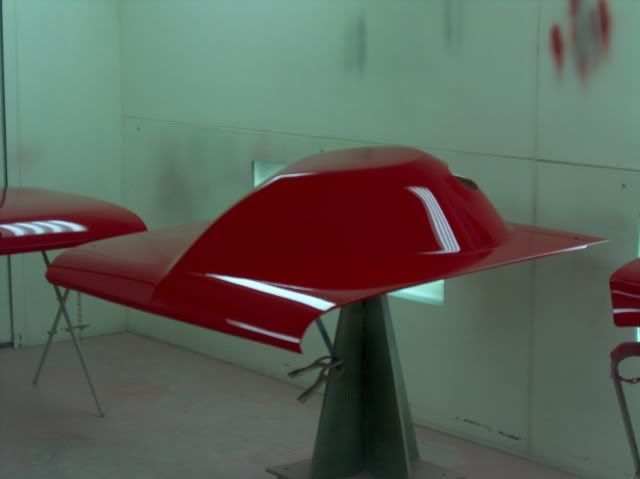
Got some painting done, White sealer, Viper red base, and a couple coats of clear. Will let this sit for a few days and then get it prepped for spraying the outside.


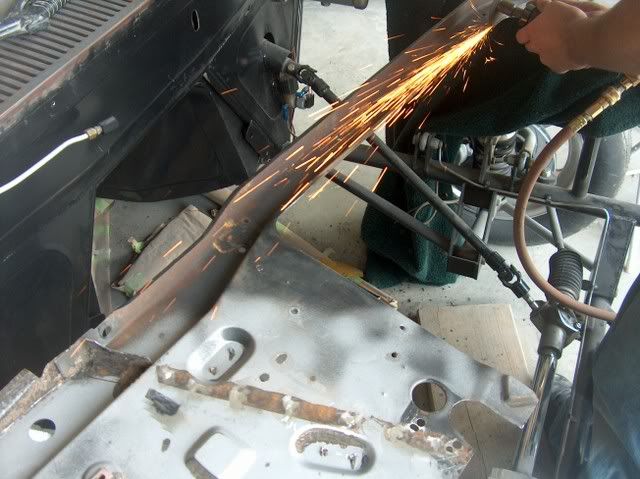
Part of the job done by the frame builder was to cut out the opening for the new, larger, aluminum radiator. This was done with a plasma cutter, and still needed to be cleaned up a bit to straighten the edges. Here Chris is trying his hand at giving the opening in the core support some nice straight edges and radiused corners.

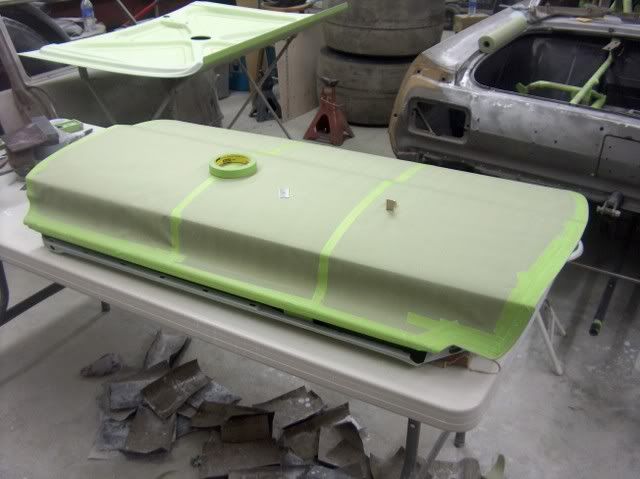
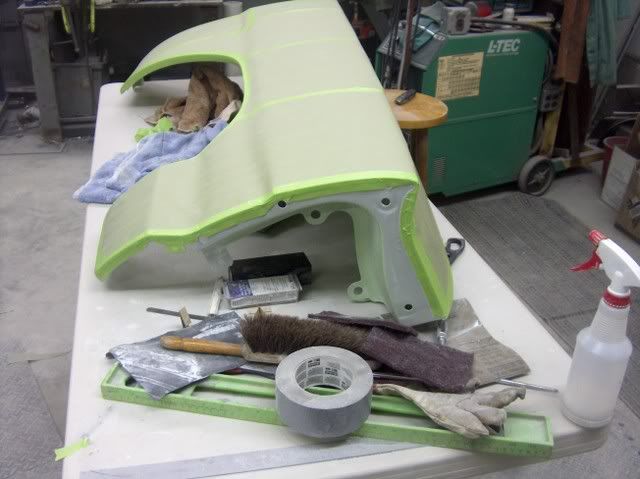
While he was tackling that as well as blocking the bare body to find low spots, I got a couple coats of white sealer on the loose body panels. It's an extra step, but I normally wet sand between this and the red base, as it prevents any stray dust nibs from appearing as little white dots when you wet sand and buff any imperfections later.

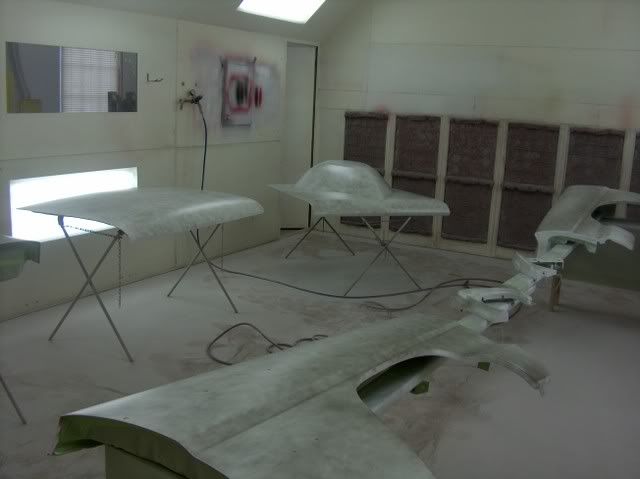
After the sealer and guide coat was sprayed, I started fixing some dents while Chris continued sanding.
This was about a 3 to 4 inch diameter bondo repair on the roof. Chris had sanded it out, so I got out the dent puller to try it's magic.
A little clean up afterwards with the hammer/dolly, and then a bit of sanding brings it right around......
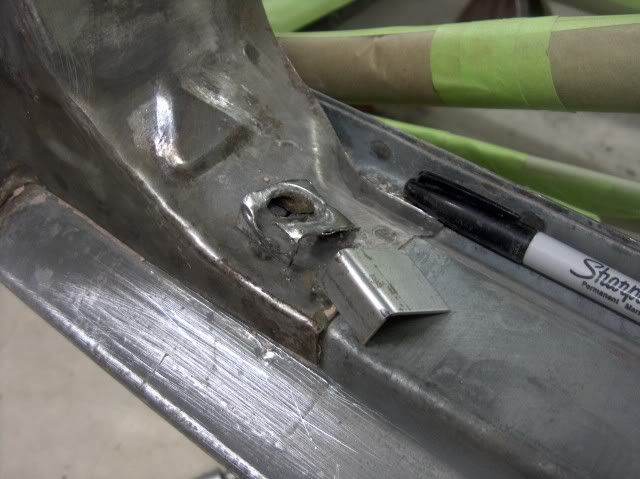
We had a couple of "issues" left in the drip rail, namely a couple of scattered pin holes in the bottom that I thought I could fill with the mig. The first three went well. The last one, not so much. Here I thought I was done with this stuff!
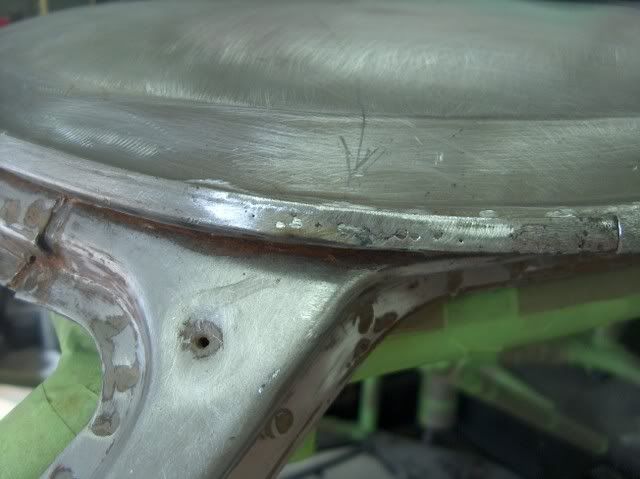
These holes were not visible prior to welding the pin hole in the bottom, but once the blue heat travelled up the side it appeared to stop there along the center in a jagged pattern. The trusty ice pick told the tale. I had a "practice" piece left over from my drip rail fabrication, so it came in handy. The damaged area was trimmed out, a replacement cut, and some shrinking done on the Lancaster to match the original.


All dressed up.....
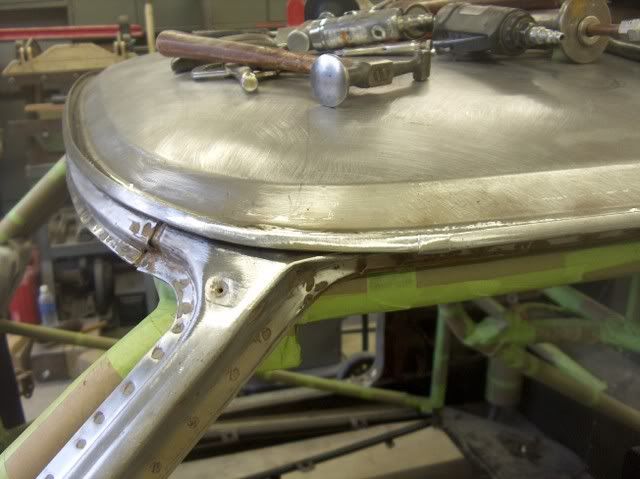
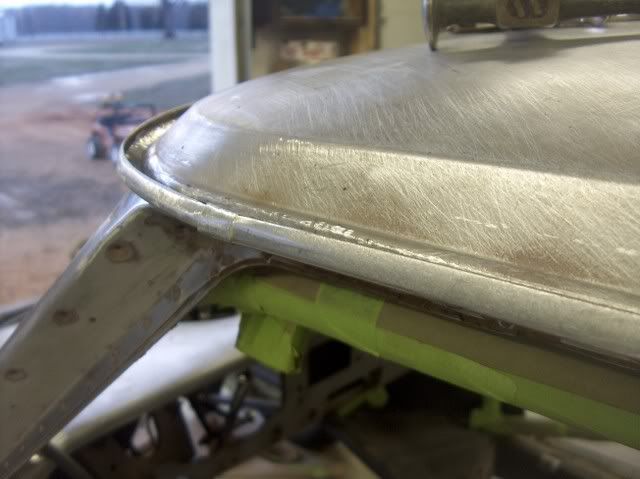
........and back to where I thought I was two hours ago.....!
-
02-10-2012 10:55 AM #18
CHR Member
- Join Date
- Jun 2008
- Location
- Leonardtown
- Car Year, Make, Model: Walking
- Posts
- 1,228
Got the hood wet sanded and test fit the Griffin radiator.......


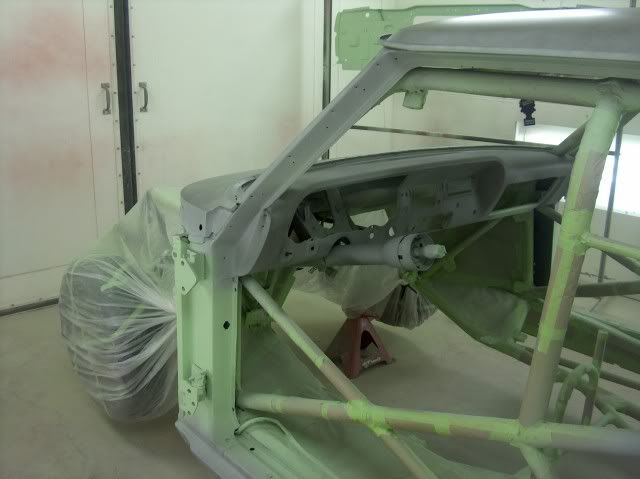
In addition to getting some more wet sanding done, (hoping to spray more red tomorrow) we had noticed a patch of lead in the B-pillar on the passenger side. Used the torch to melt it out, only to reveal a nice hole punched in. Judging from the direction the striking object must have travelled, it appears the door was not installed at the time. Looks like it had to be damaged and repaired at the factory??


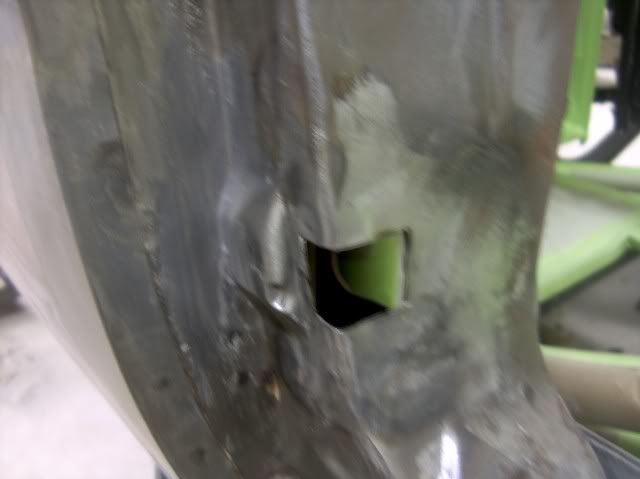

I've been told this was likely a "suspended" spot welder that was overzealously swung out of the car at the factory?
-
02-10-2012 11:14 AM #19
CHR Member
- Join Date
- Jun 2008
- Location
- Leonardtown
- Car Year, Make, Model: Walking
- Posts
- 1,228
More painting done, basecoat:
Cleared:

Here's some progress on the body. H/K epoxy primer and then Slick Sand high build.
My nephew's contribution to the interior, +20HP so he says...

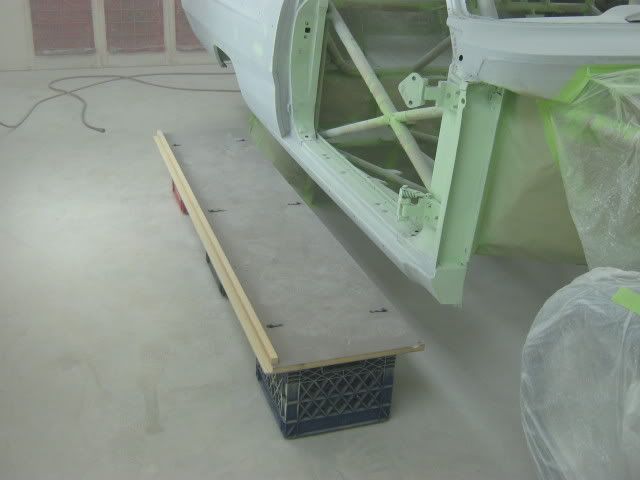
Full paint cans taped to the floor to help keep the air hoses out of the masking paper.

-
02-10-2012 11:16 AM #20
CHR Member
- Join Date
- Jun 2008
- Location
- Leonardtown
- Car Year, Make, Model: Walking
- Posts
- 1,228
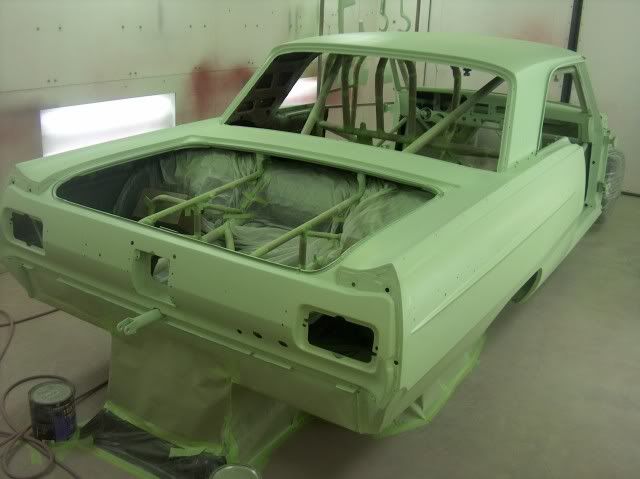
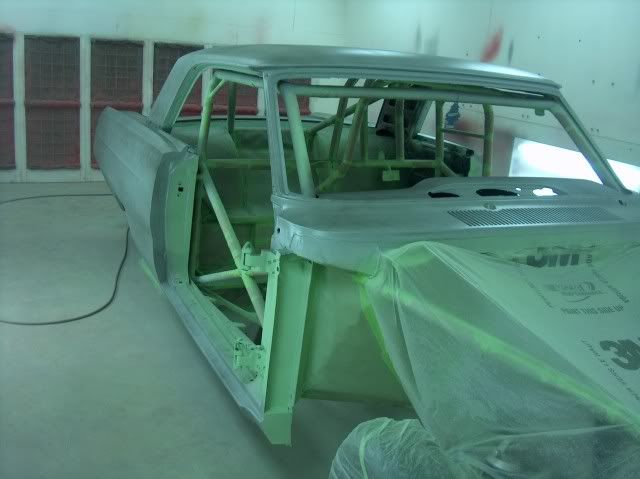
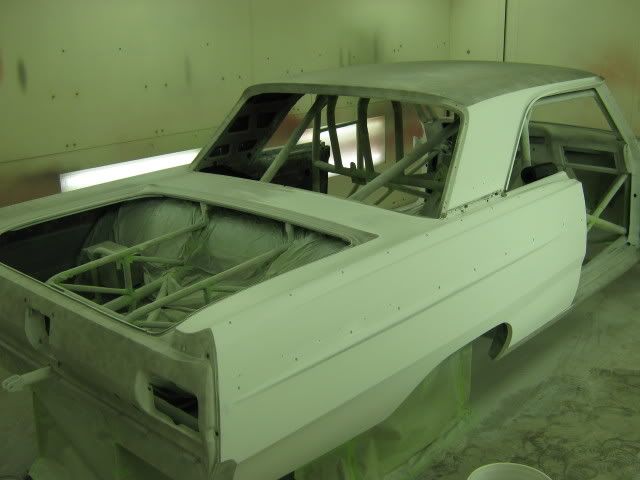
The car is blocked out, ready for the white sealer.

Do these tires make my rear end look big?
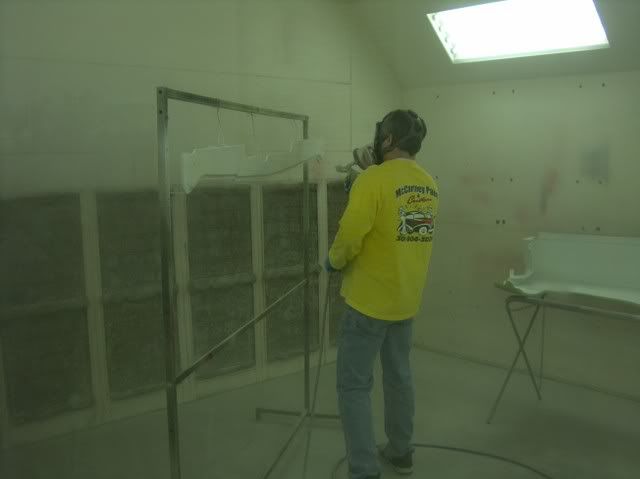
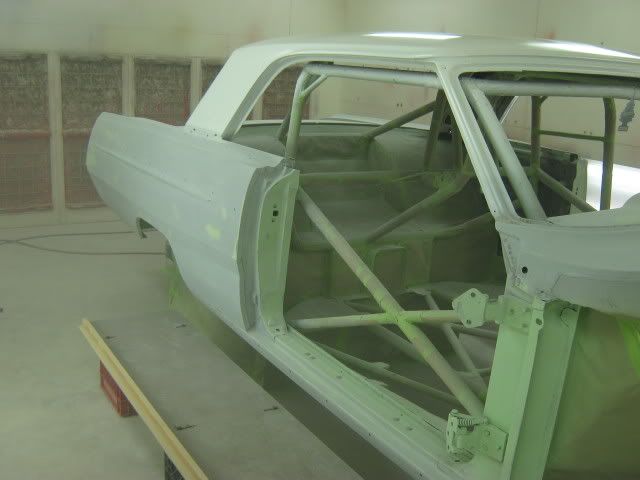
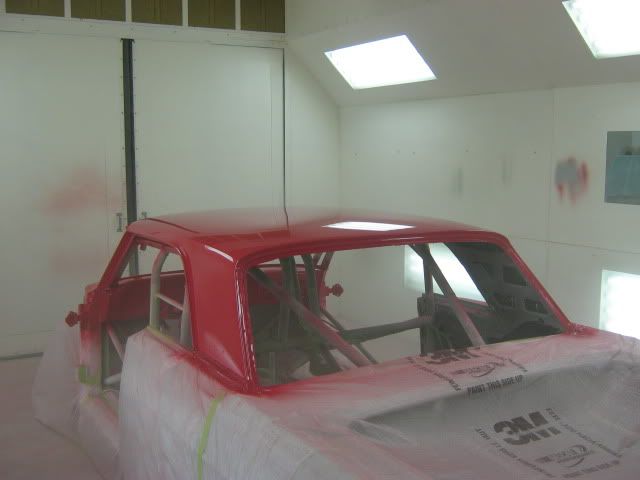
Here's the sealer painted. Even though I am using the 3M PPS on the paint gun, it was still a bit tight last time in painting the rocker panels. So we raised the car even higher in the air, and made use of some walk boards to get to all of the roof. Painted the roof first, and then moved the walk boards and finished the car.

I took these last two pictures as teaser shots for Brad (the owner). He had talked about painting the roof white, but this is as close as it gets. The Viper red is just too bright to have a white roof also.
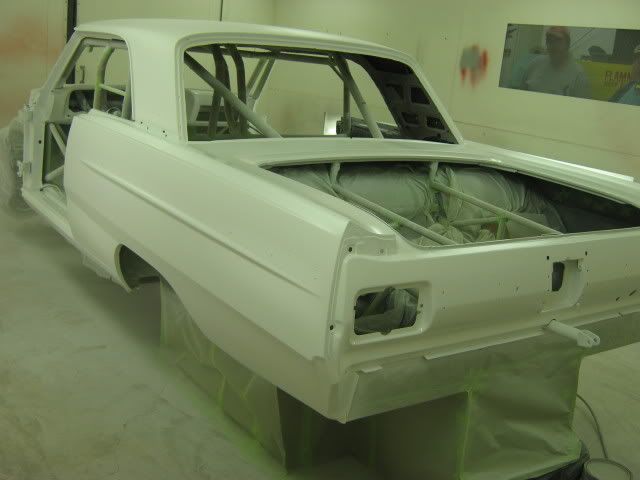

One more dose of wet sanding and it should be ready for red paint.


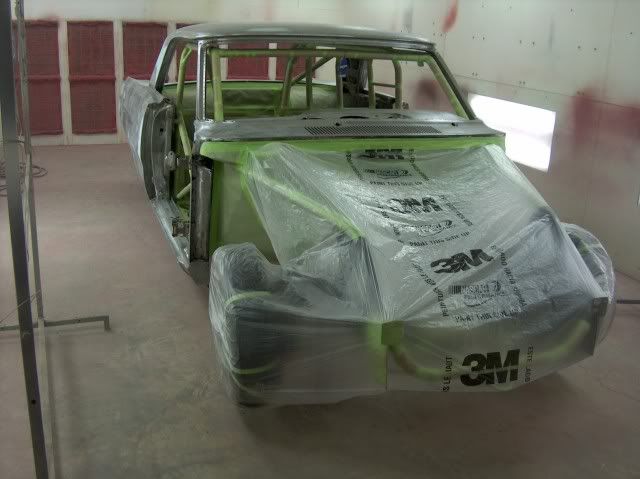
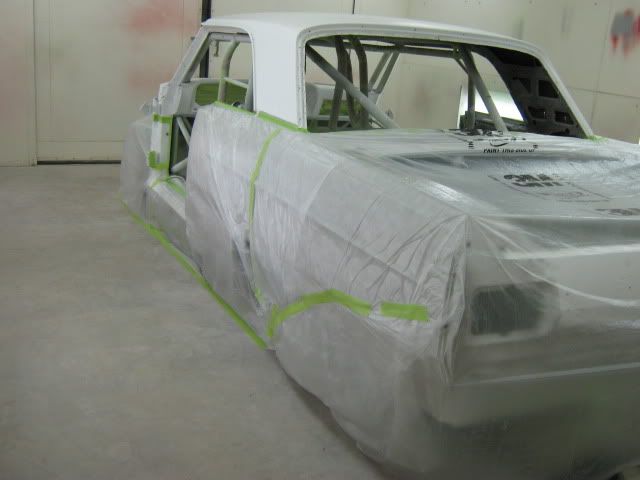
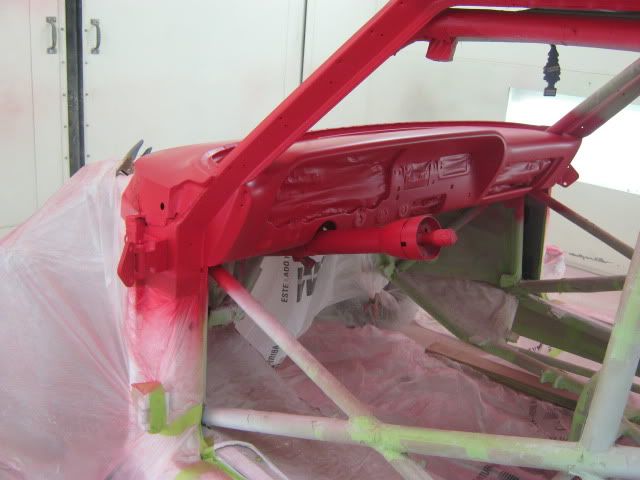
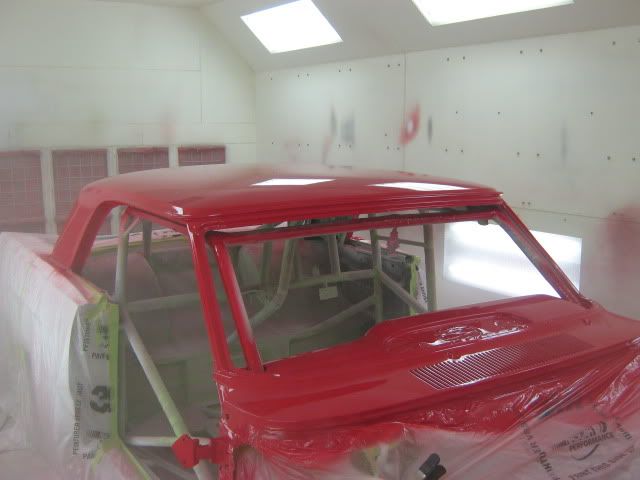
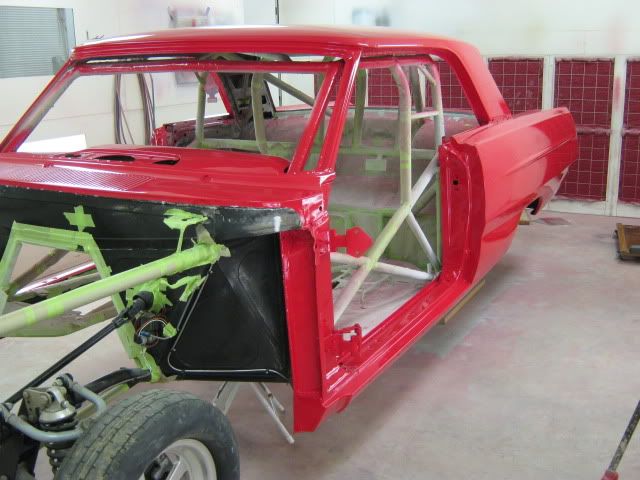
Just to back up and offer some explaination here, I normally use a white sealer under the Viper red just to give it some more punch. The downside to this is if you were to get any dust nibs in the white that may not get noticed until after the red goes on, when the imperfections get buffed out you have a good chance of little white specs showing up in the bright red paint as the red gets rubbed off the white painted dust nib. This is why I usually do separate processes, wet sanding the white in between painting the red. One thing I noticed while spraying the white sealer was that it is a pain to get inside and paint the dashboard with the roll cage in the way. It was also a pain to get the underside of the rockers sprayed (let's use some jackstands) which made it fun to get to the roof (and now walkboards). Now all of this was fine for a sealer coat that was getting wetsanded anyhow, but I could just see me dragging an air hose across the door sill or opening at the quarter while trying to climb inside to paint the dash. Likewise, using walkboards on final paint, and having to move them between coats, was just an invitation for more debris in the paint. The early Fairlanes were known for having a chrome divider along the bottom of the sail panel, so I thought to use this as my saving grace, a break point to divide the paint job up into separate sprays. (like I need to drag this along further....") ) But in the interest of a better job, that's what we'll do. Here's the masking for painting the roof, dash, and front cowl. The car was placed back on the ground for easier access to the roof. Once the red has set up, we'll mask those areas, revert back to jack stands for access to the lower rockers, and spray again. Fun, fun.
) But in the interest of a better job, that's what we'll do. Here's the masking for painting the roof, dash, and front cowl. The car was placed back on the ground for easier access to the roof. Once the red has set up, we'll mask those areas, revert back to jack stands for access to the lower rockers, and spray again. Fun, fun.
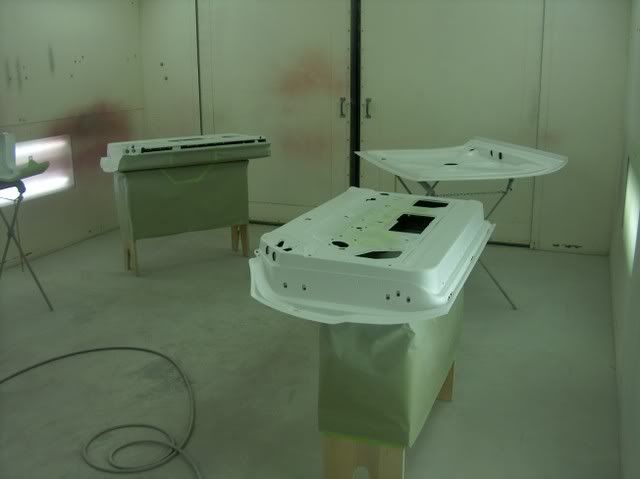
White sealer wet sanded and masked:

Basecoat:

Cleared:
-
02-10-2012 11:22 AM #21
CHR Member
- Join Date
- Jun 2008
- Location
- Leonardtown
- Car Year, Make, Model: Walking
- Posts
- 1,228
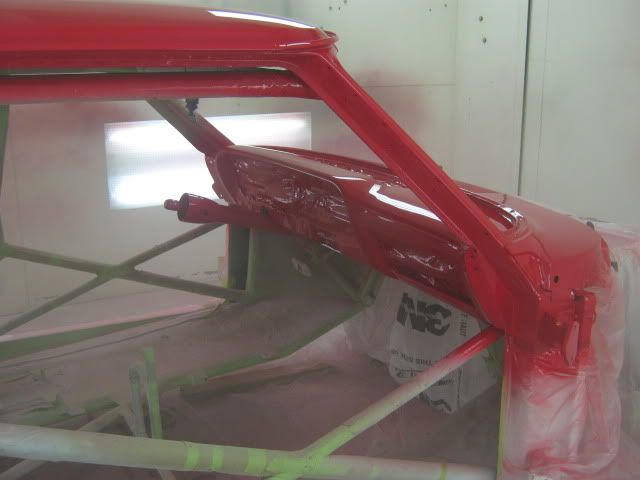
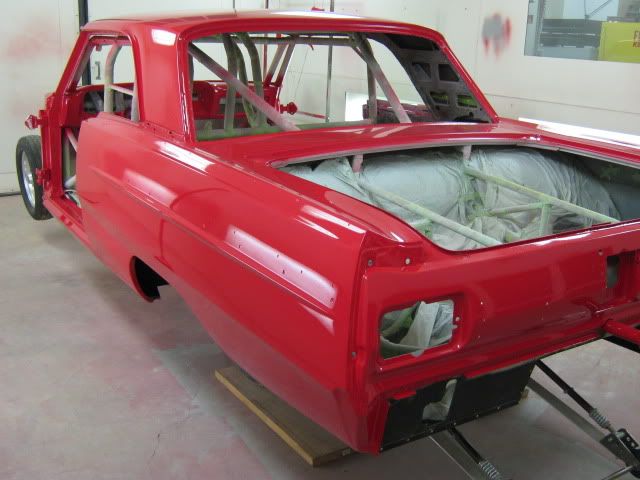
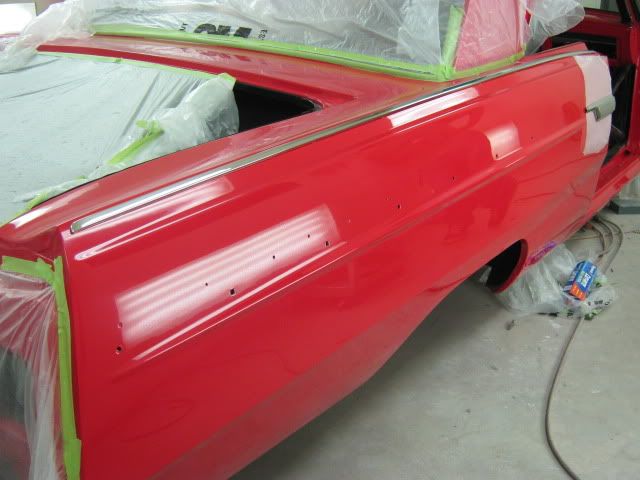
After waiting on my paint supplier a couple weeks (someone used up all his red tint!), here's more progress:
Base:

Cleared:
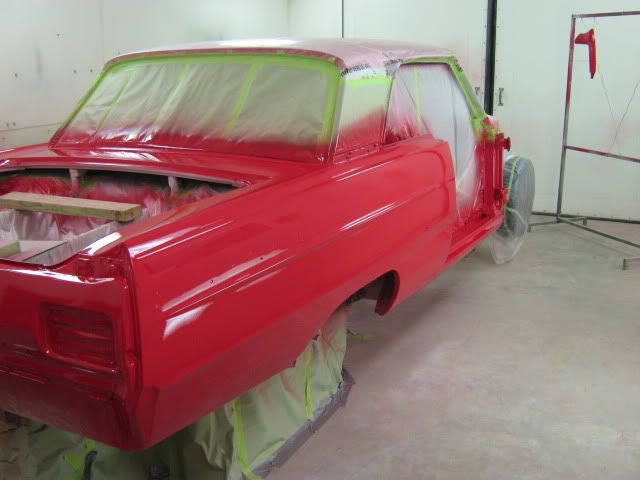

We'll let it set a few days before starting to wet sand and buff. We've got one rack of parts to spray Hot Rod black still.
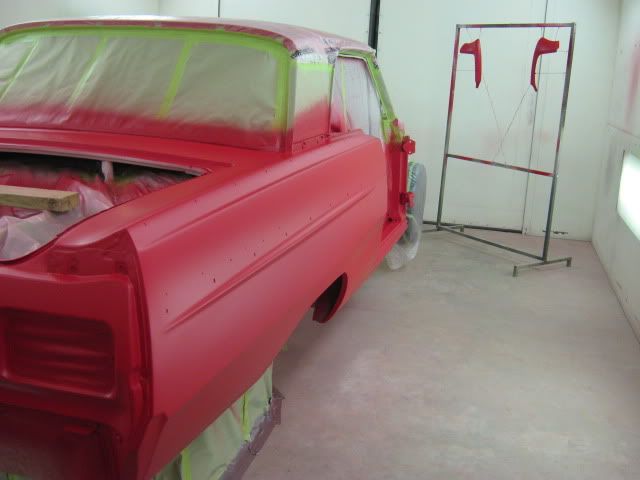
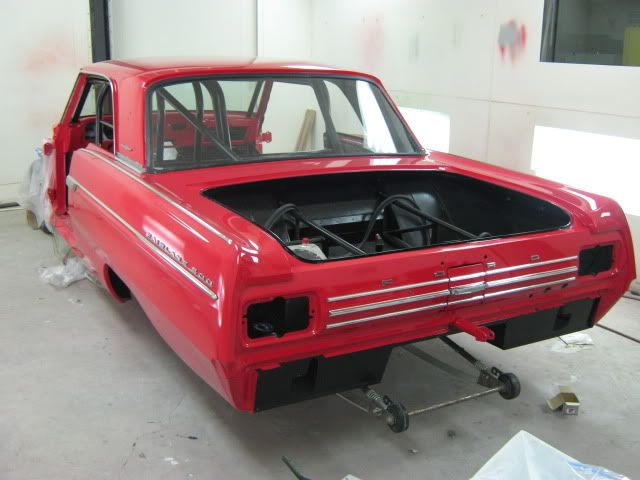
Here is the car unmasked.

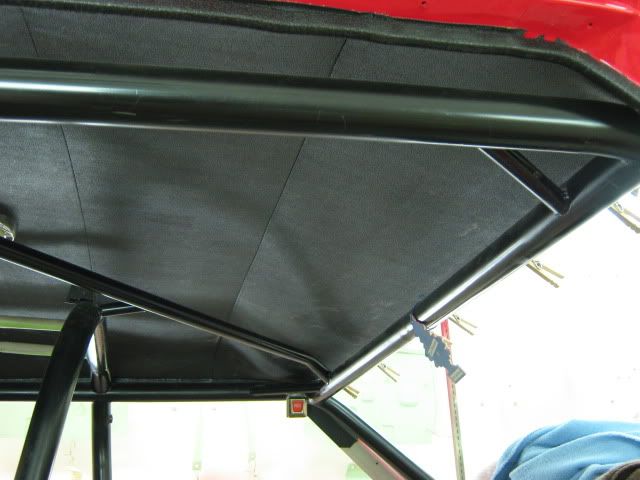
Nephew Chris has started to reassemble some of the components, and has been touching up some of the black paint on the roll bar and tubs. We had our upholstery guy stop by a couple evenings last week to get the headliner knocked out. That goes in before windows, and I want the windows in before w/s & buffing so I don't sling too much inside.


Tree freshener has lost some of it's kick, but it's still hanging in there......(+20 hp)Last edited by MP&C; 02-10-2012 at 11:28 AM.
-
02-10-2012 12:00 PM #22
CHR Member
- Join Date
- Jun 2008
- Location
- Leonardtown
- Car Year, Make, Model: Walking
- Posts
- 1,228
Got some of the piece parts painted this morning, as well as the bottom of the hood, using SEM Hot Rod Black.
The viewing window in the booth needs cleaning:

Masking removed:

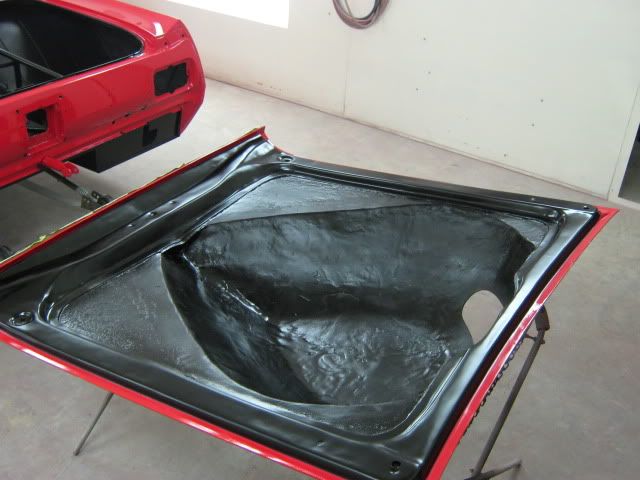
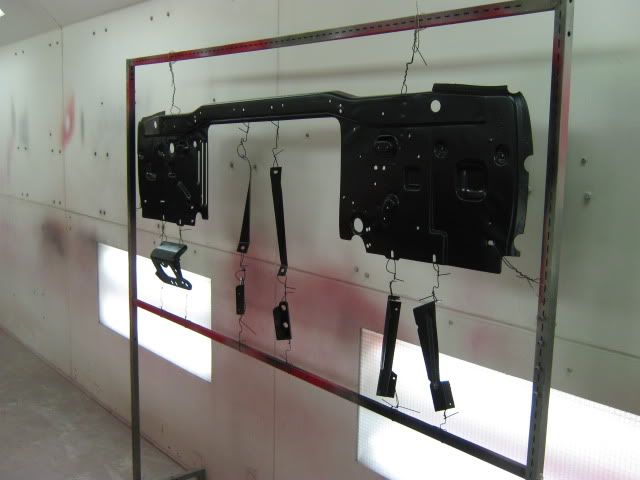
Should dull out just a touch more, but seems a nice black to use for underhood sheetmetal.
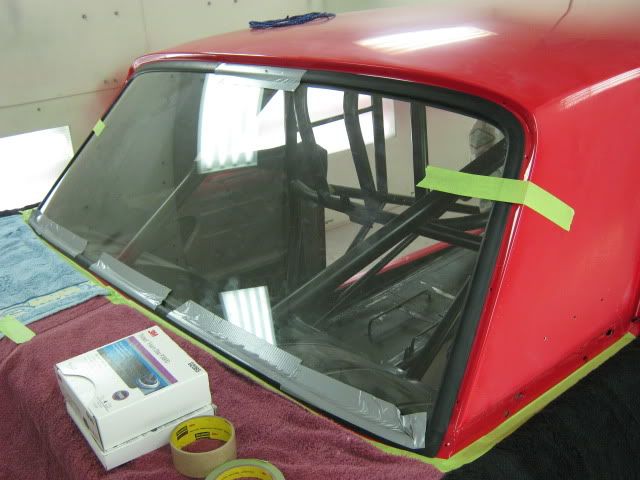
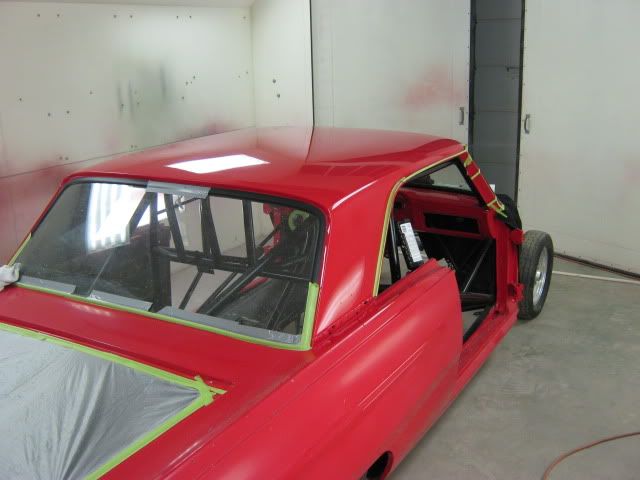
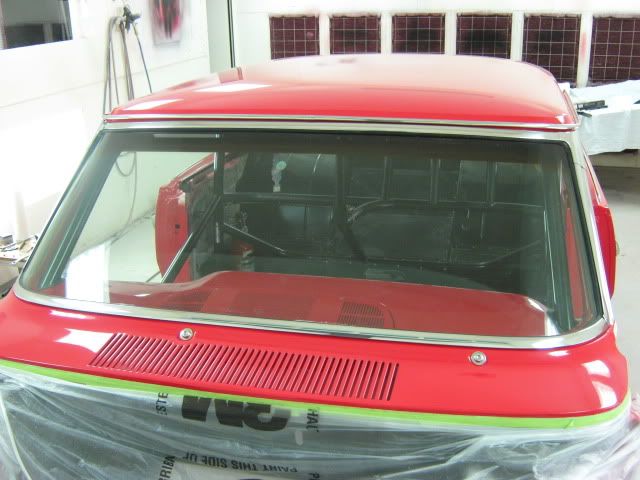
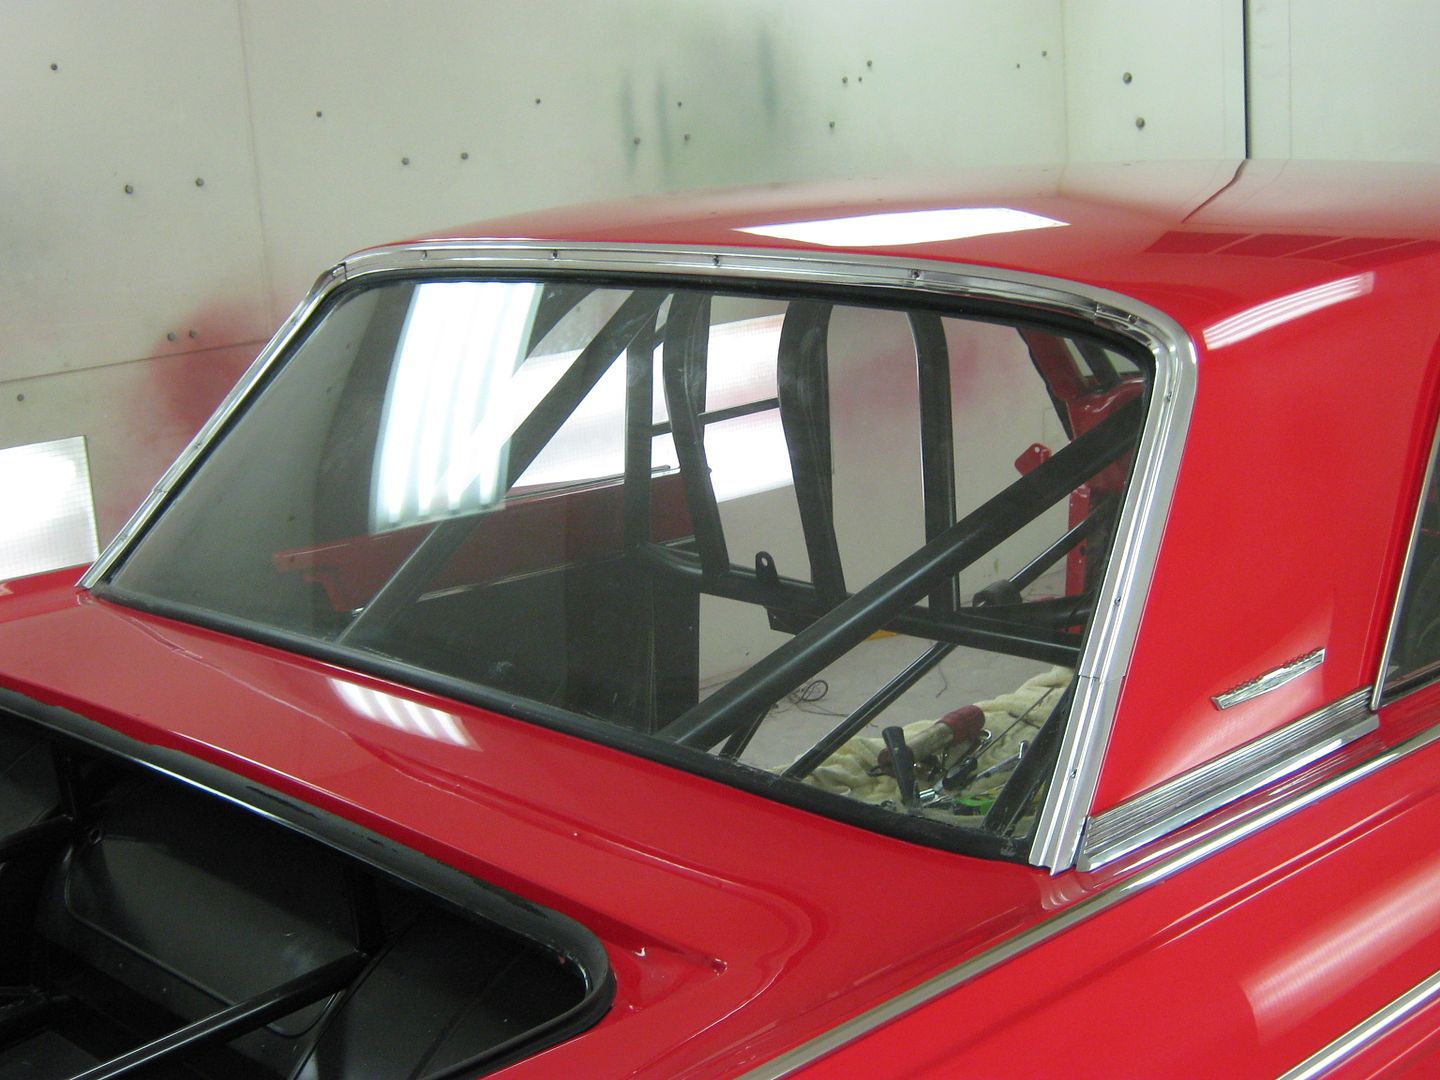
We went to put windows in and the rear window had been damaged by some sand blasting, and Brad decided that while we were putting the window in, it may as well be a new one. We found a company that still makes the replacement rear window, and it showed up last week. We got the rear window and windshield in, so now we can start the buffing process on the body without slinging too much stuff inside.


Got the tail light panel and roof buffed out today, will work on some more tomorrow. Then we can start re-installing the stainless trim.


-
02-10-2012 12:04 PM #23
CHR Member
- Join Date
- Jun 2008
- Location
- Leonardtown
- Car Year, Make, Model: Walking
- Posts
- 1,228
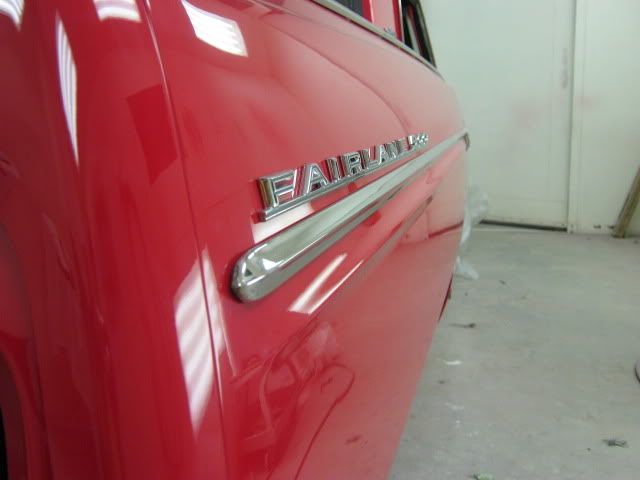
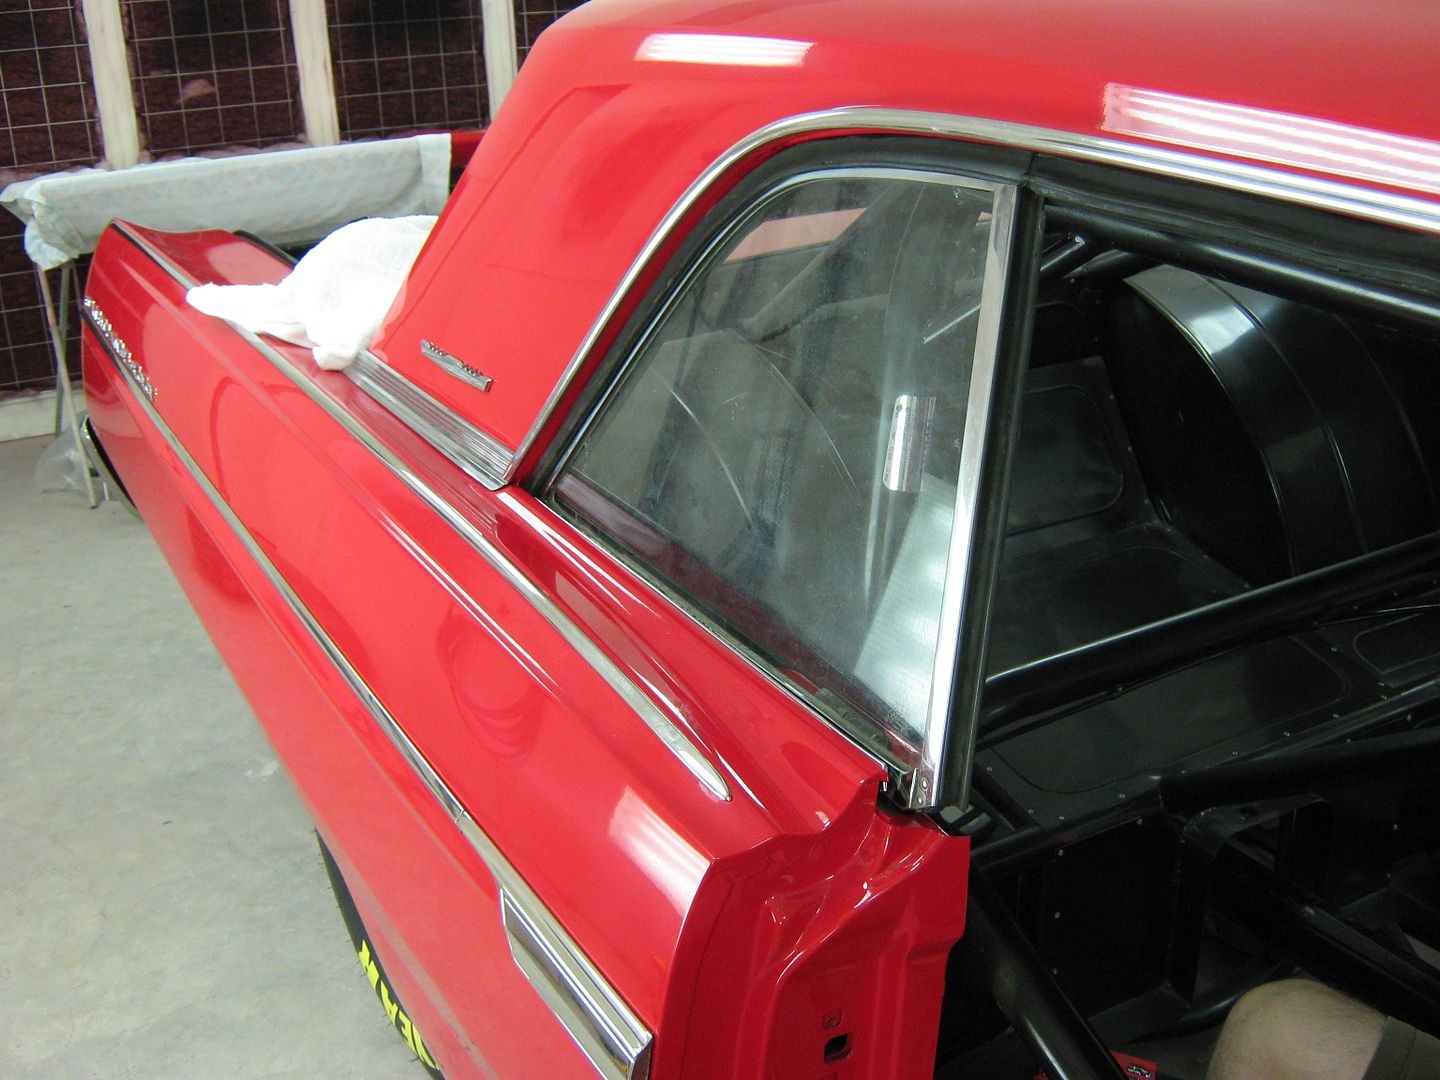
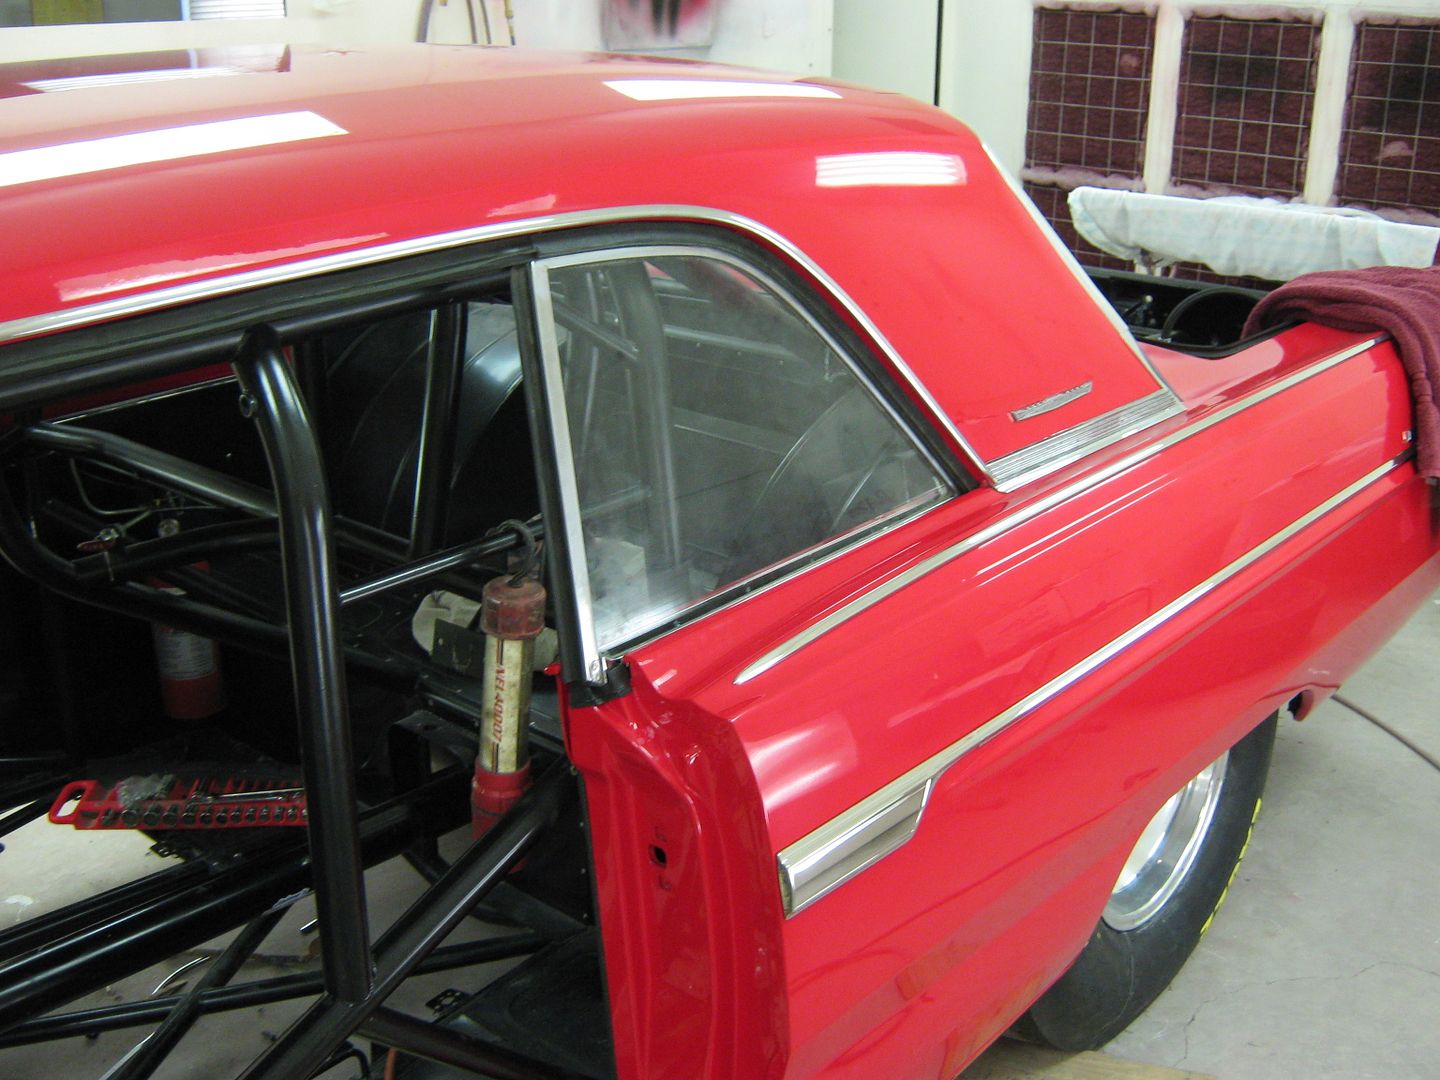
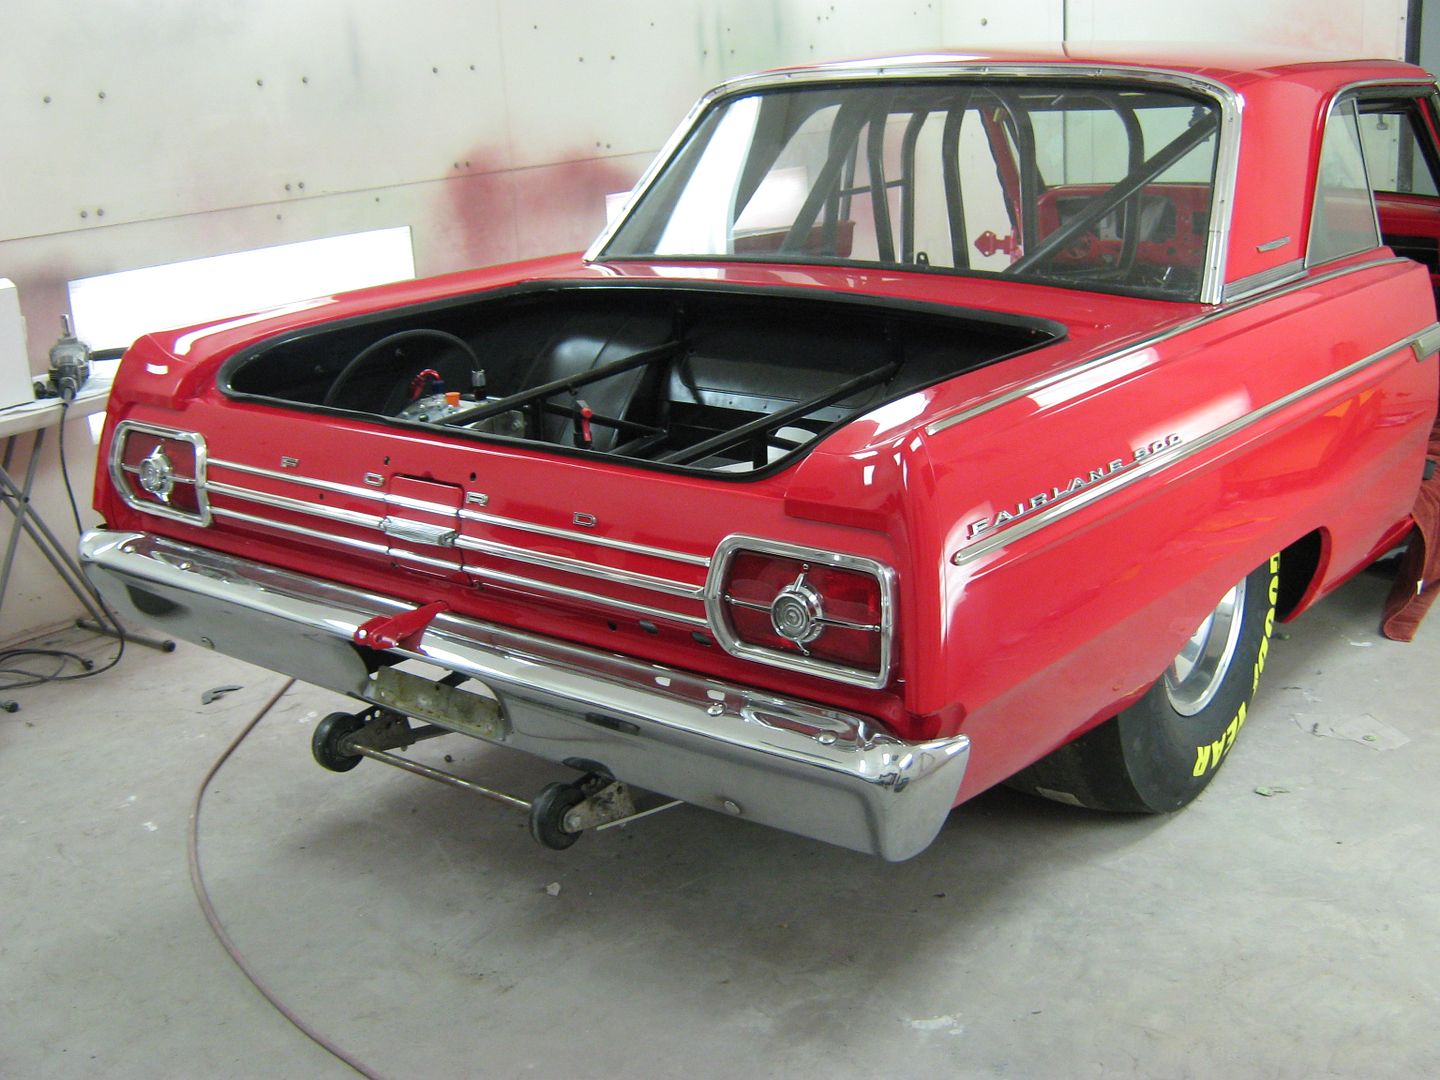
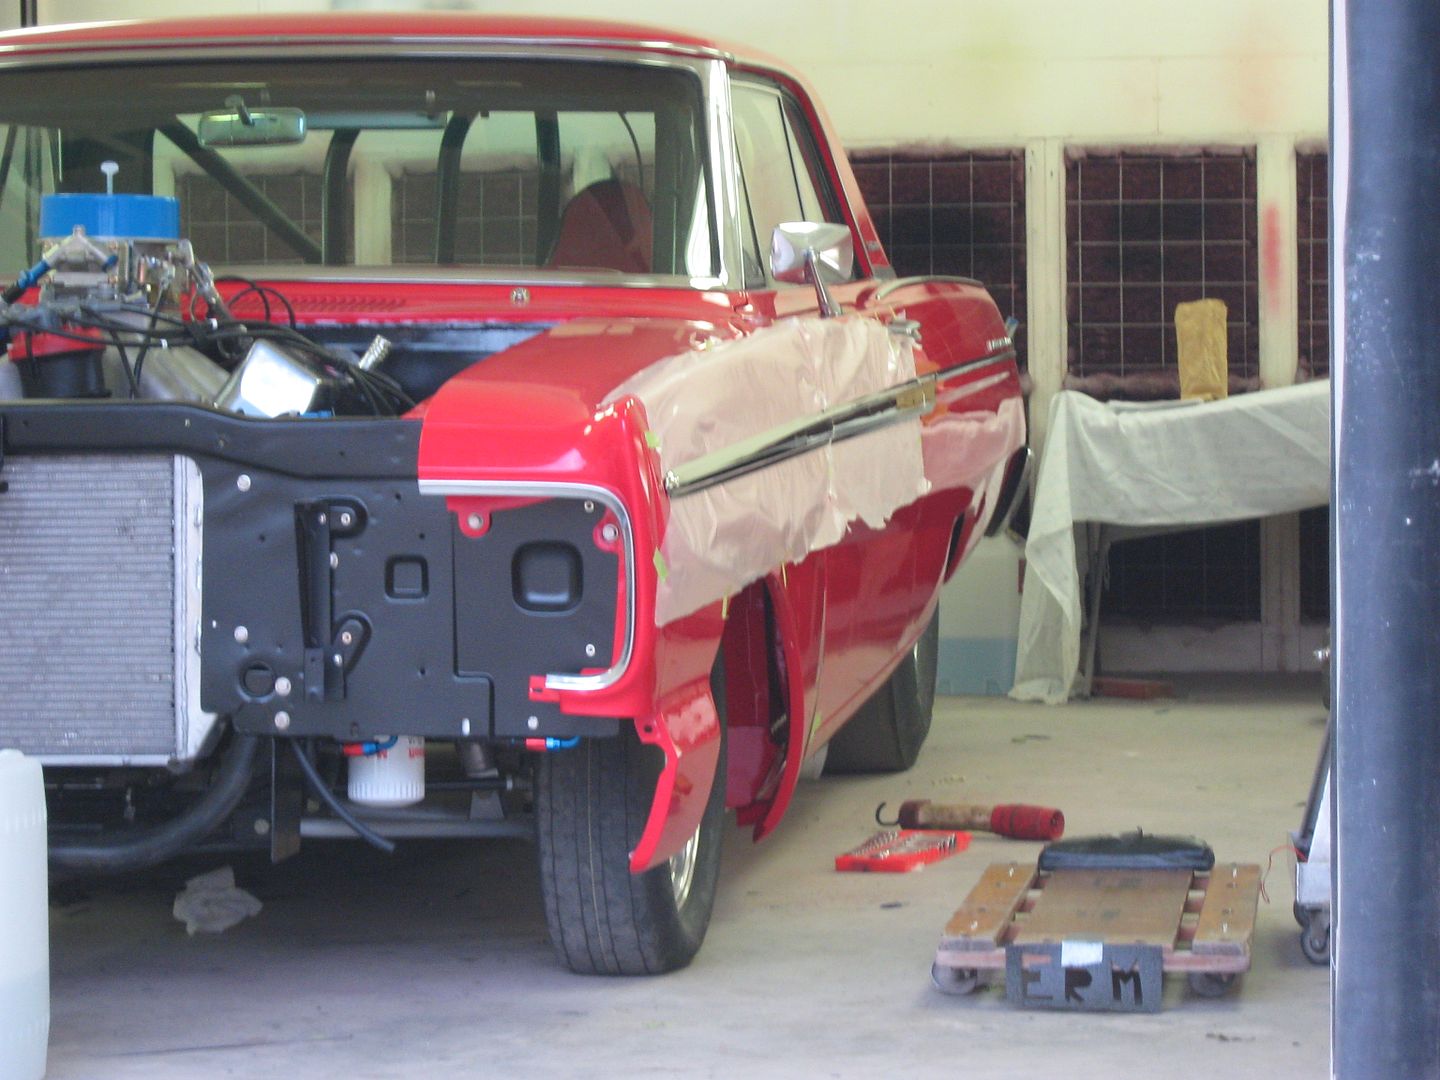
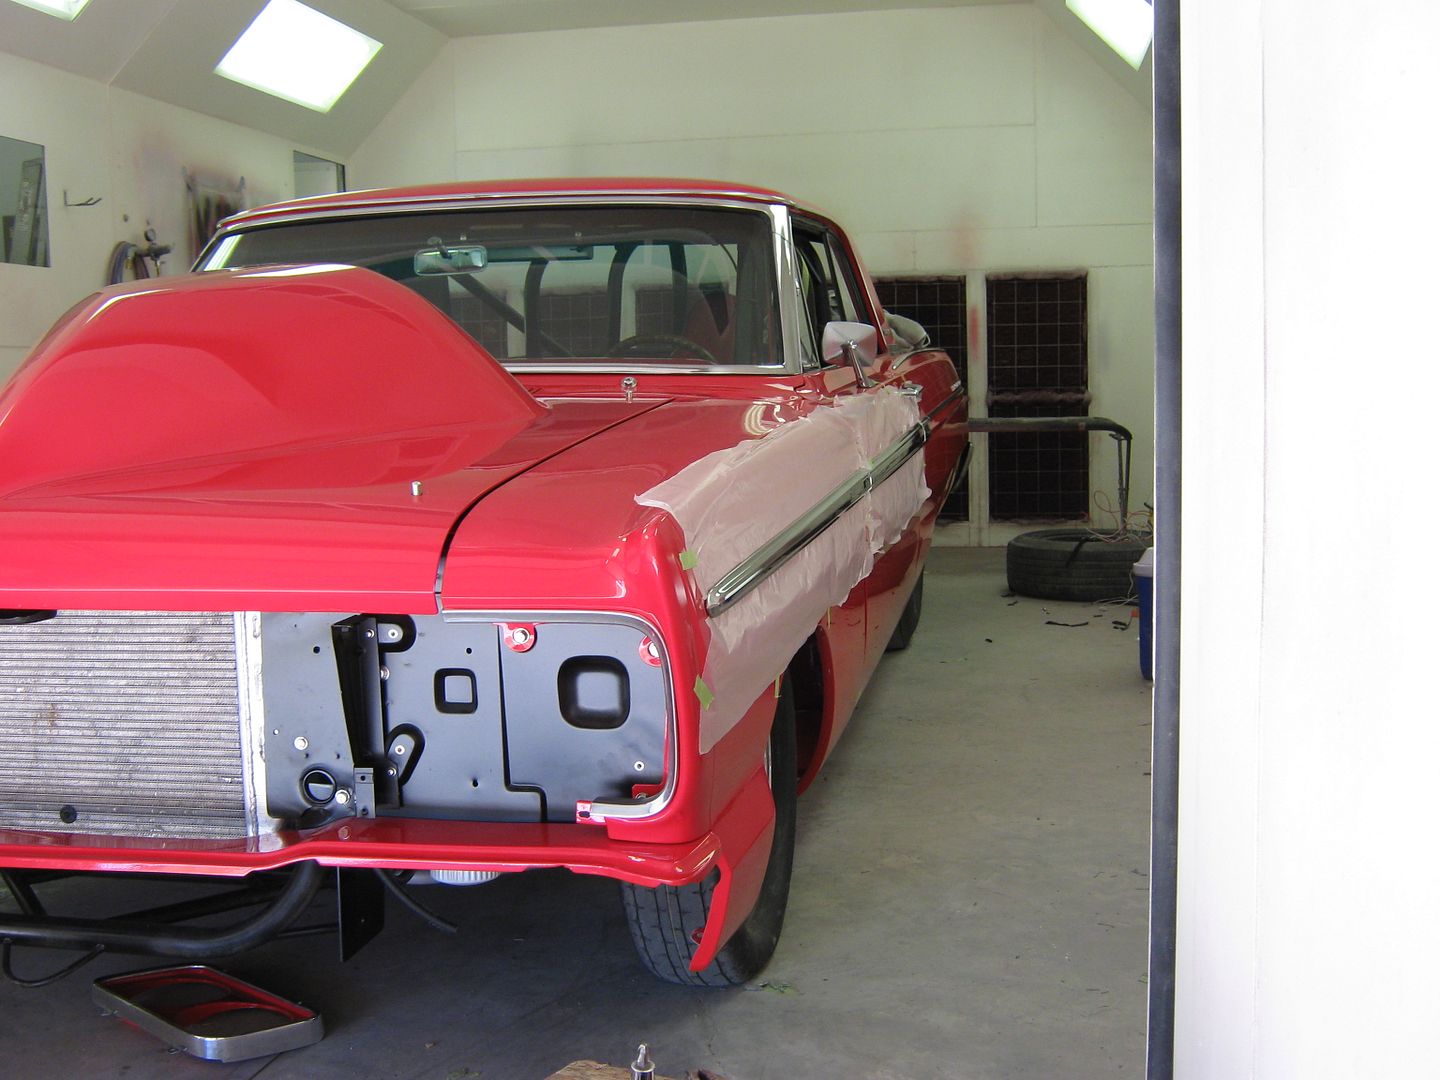
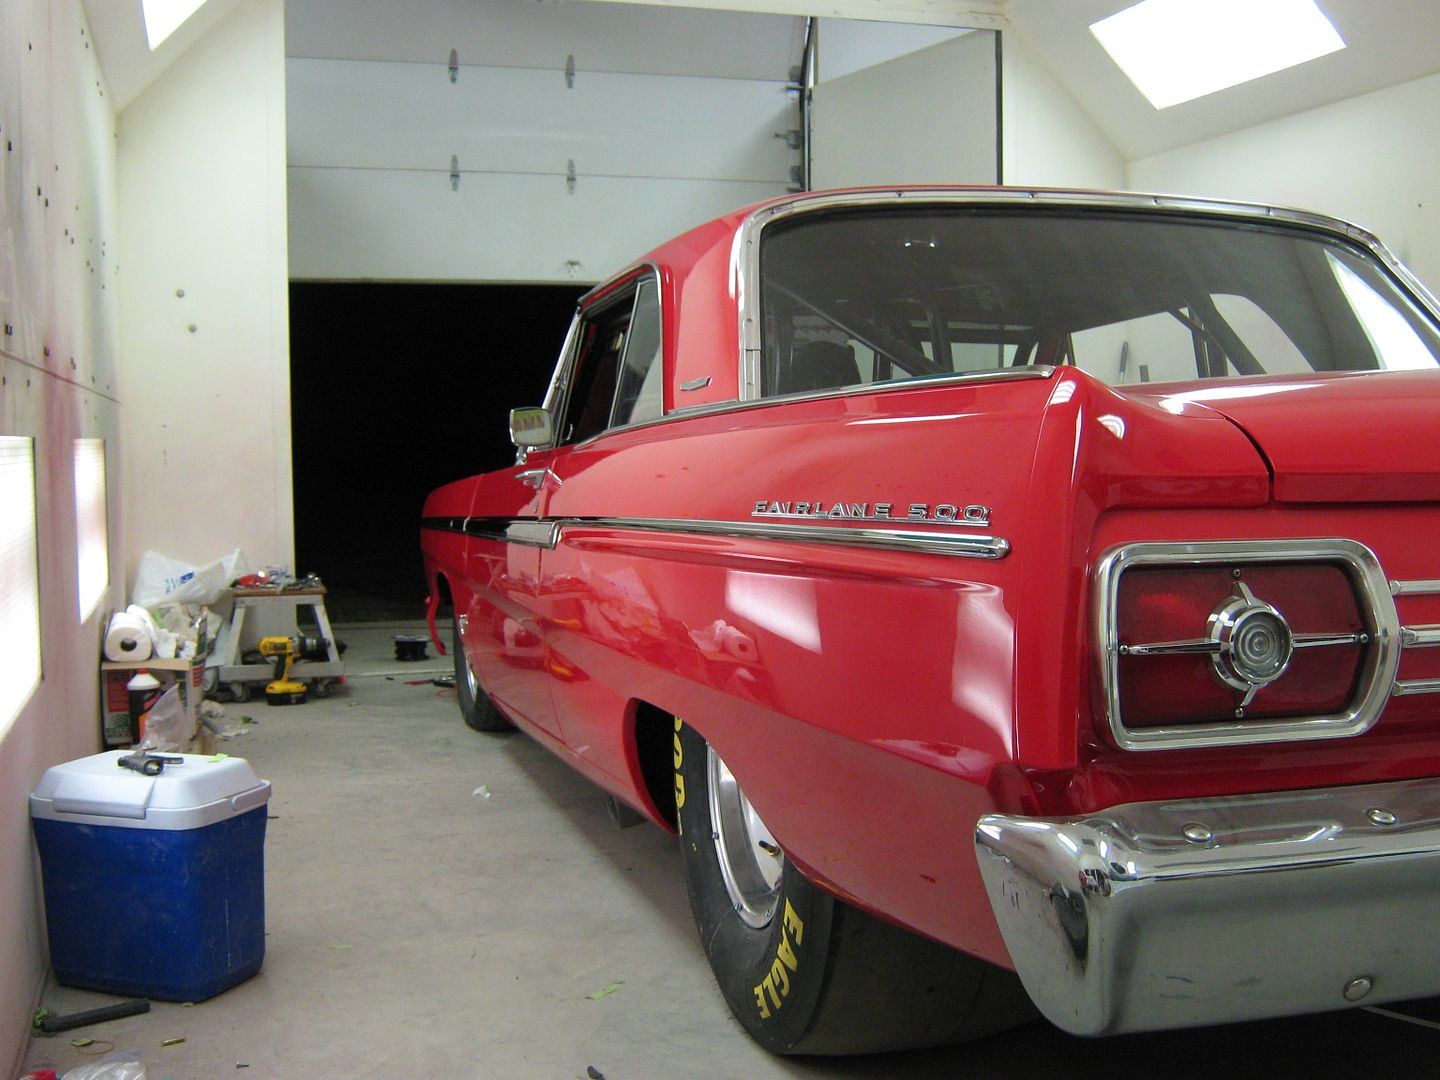
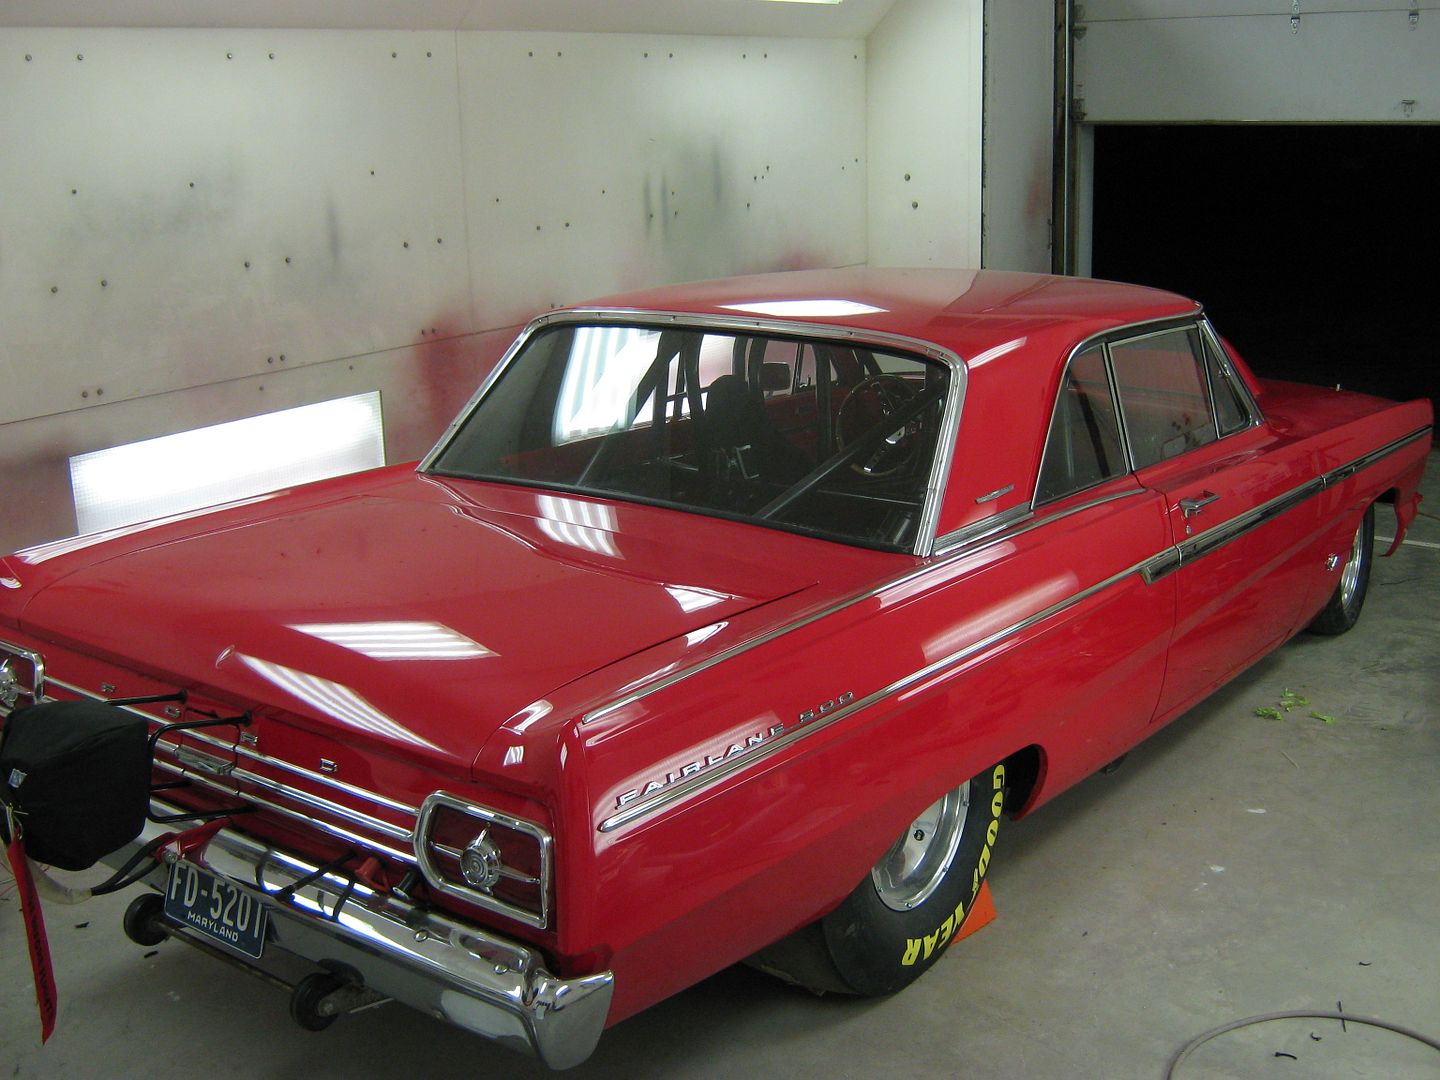
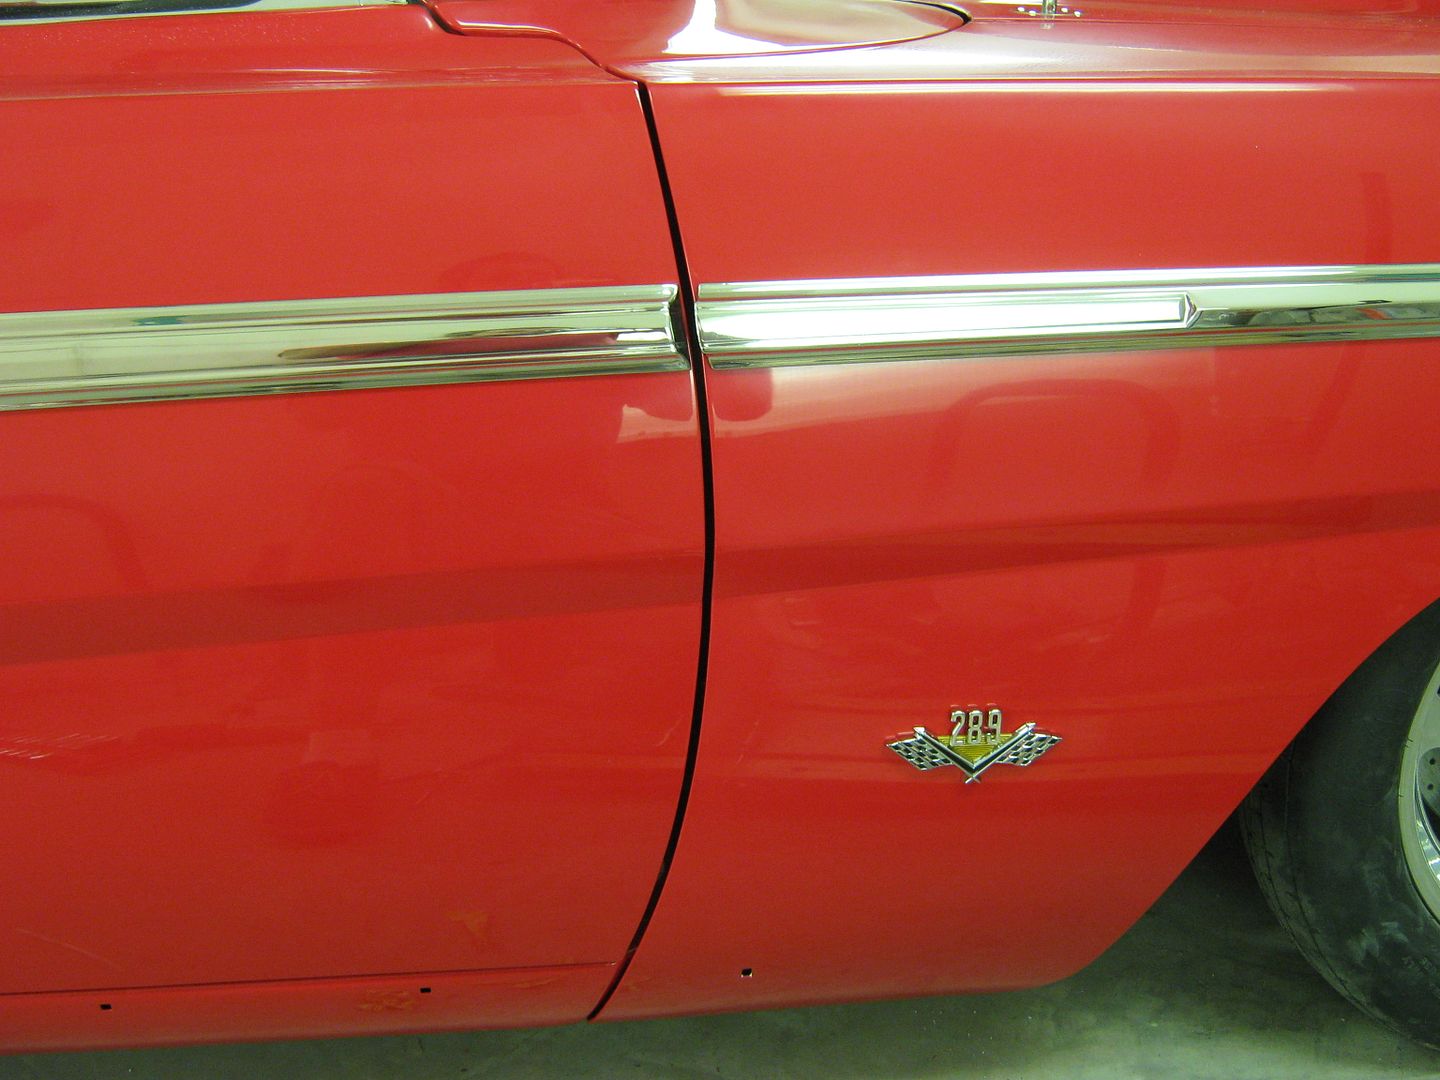
Started putting stainless on. Sure makes a world of difference having polished it up, really looks nice against the red.


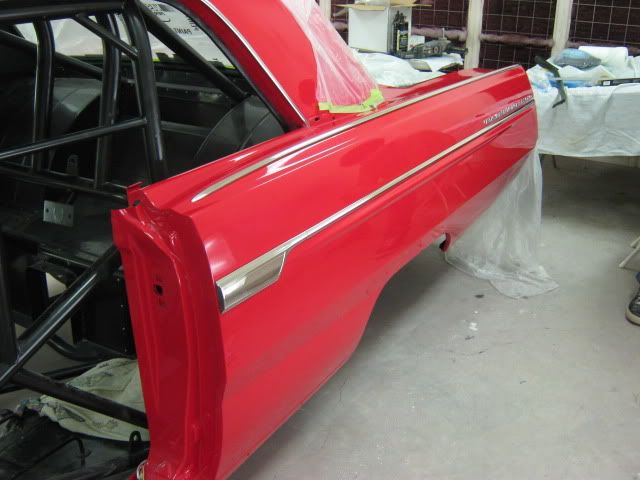

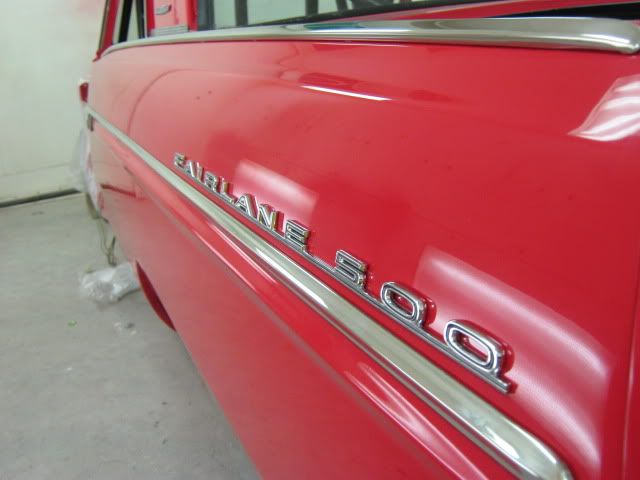
Still need to polish the aluminum trim around the rear window and Zoops that as well. Brad's not installing the wipers, so we found some chrome bolts and polished up some stainless washers to fill in the holes.
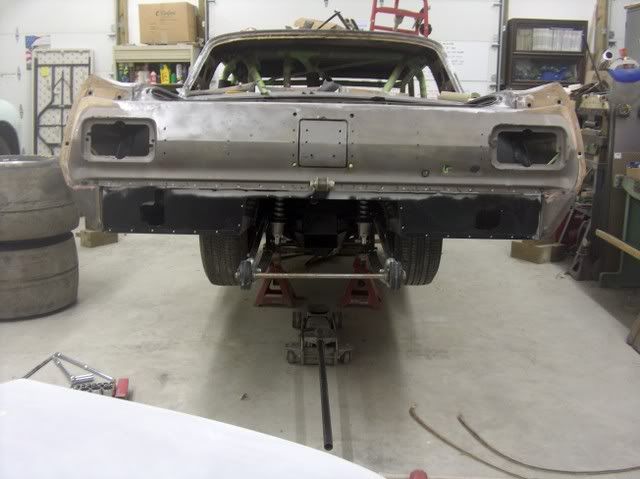
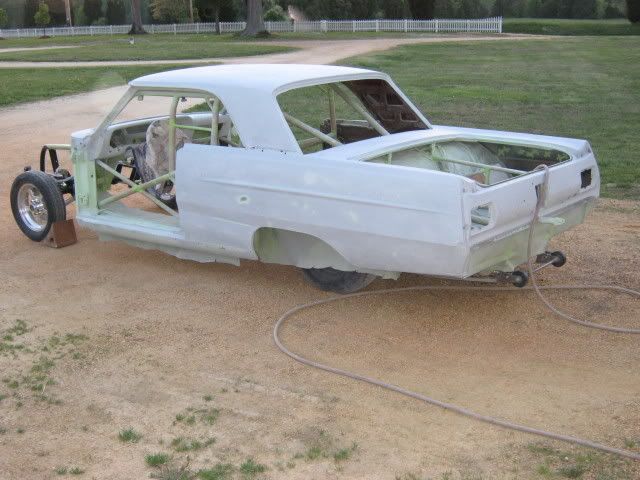
We tied up some loose ends on the car and got the rear wheels back on. Seemed like a nice day to roll it outside again for more pictures....
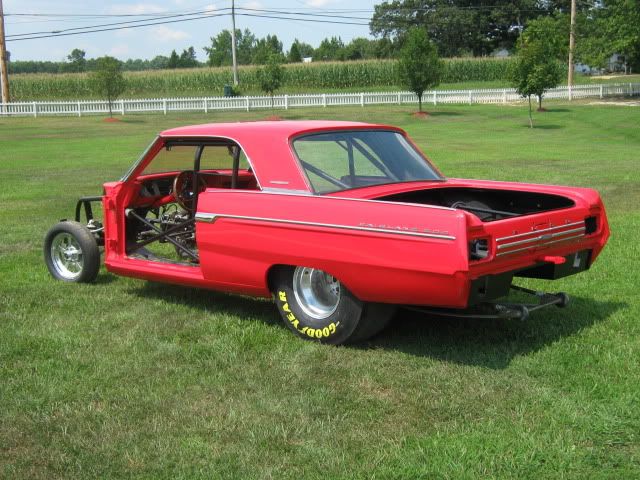
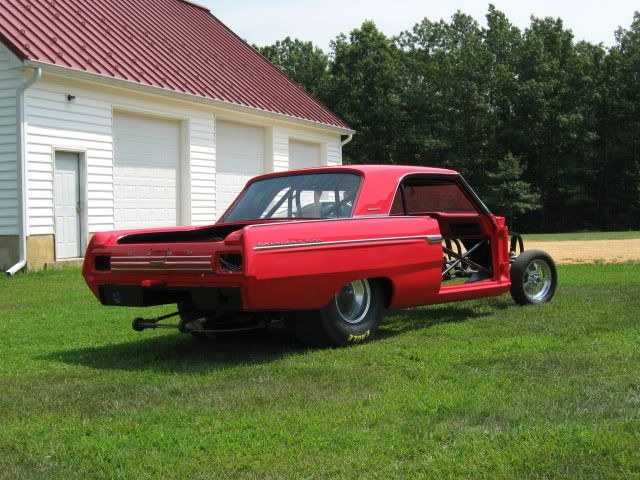
For what was considered a mid-size car back in the 60's this thing sure has some long quarter panels!
-
02-10-2012 04:46 PM #24
CHR Member
- Join Date
- Jun 2008
- Location
- Leonardtown
- Car Year, Make, Model: Walking
- Posts
- 1,228
We got the quarter windows installed, but while assembling all the pieces, noticed that one window was missing a felt "shoe"
The "shoes" are used to keep the rear corner of the window from flopping around so much when the window rolls down. So we used the one remaining as a pattern, a piece of the old window felt was recycled, and some .06 stainless tig wire duplicated the "factory" staple. These were originally held in with sheet metal screws, and as the holes were quite sloppy, rivet nuts were installed so we could use machine screws instead.

Wheel tubs and no back seat quickly retired the old kick panels, so some new ones were cut out of .06 aluminum. Some trim lock finished off the edges.


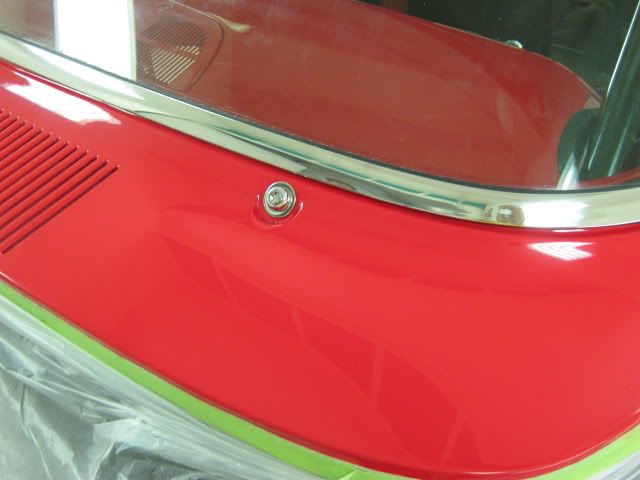
The rear window trim (aluminum) had been polished up so Chris Zoop sealed and installed that as well.
The tail lights and rear bumper were also installed. Getting closer all the time.
-
02-10-2012 04:49 PM #25
CHR Member
- Join Date
- Jun 2008
- Location
- Leonardtown
- Car Year, Make, Model: Walking
- Posts
- 1,228
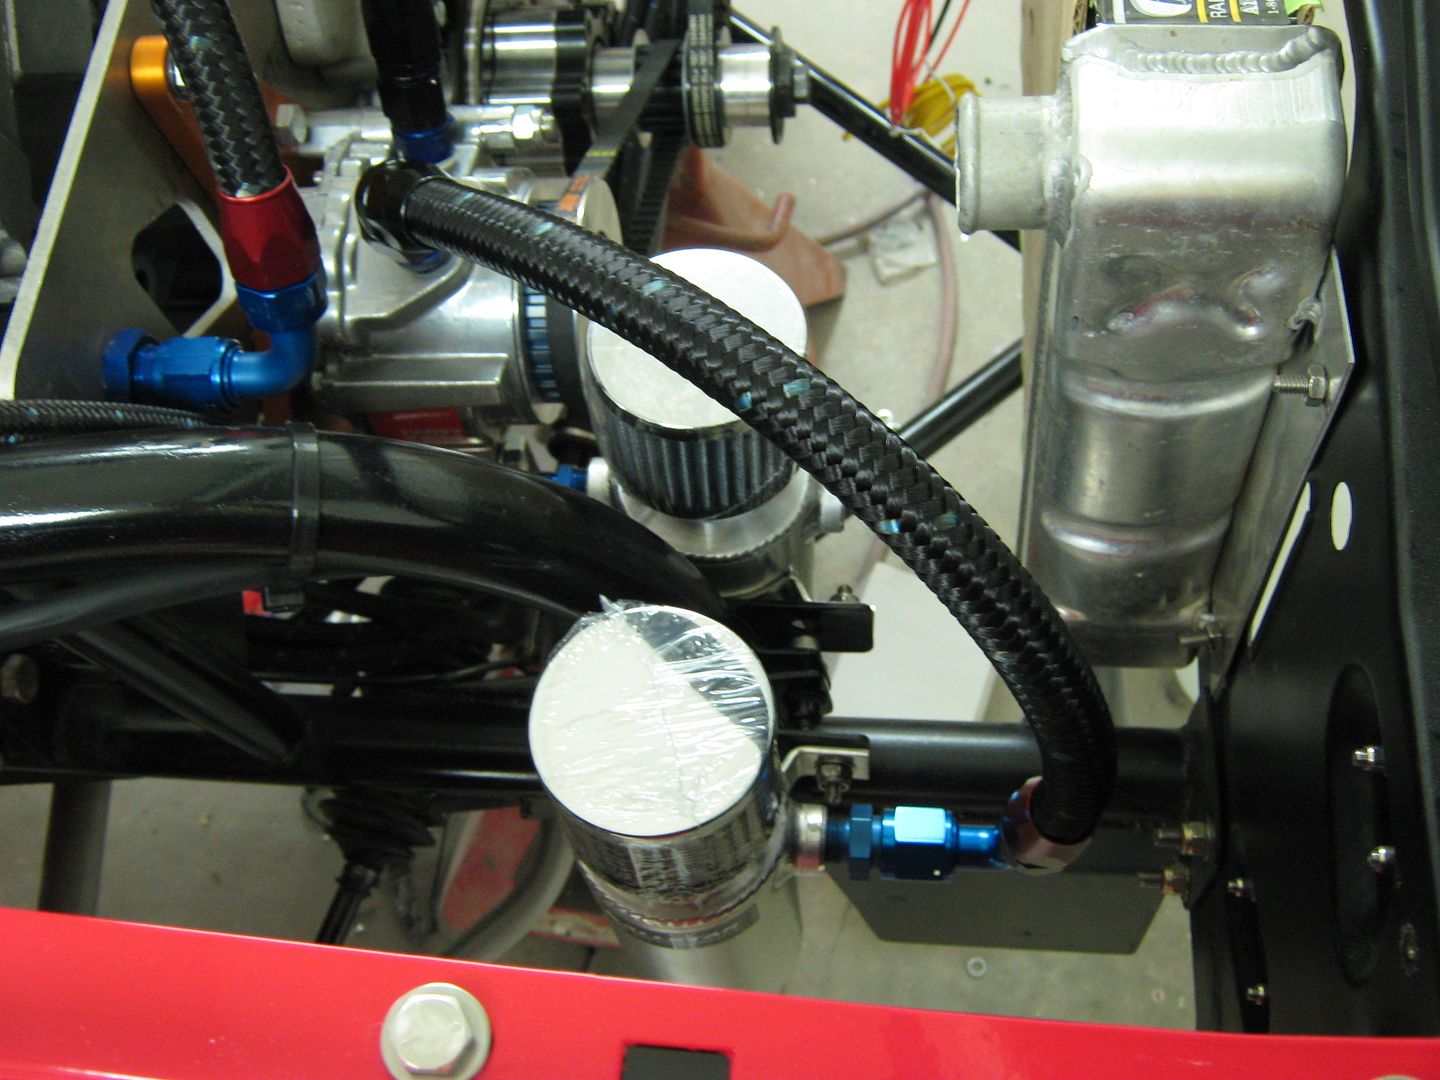
The "Fat" 460 really fills up the engine bay....
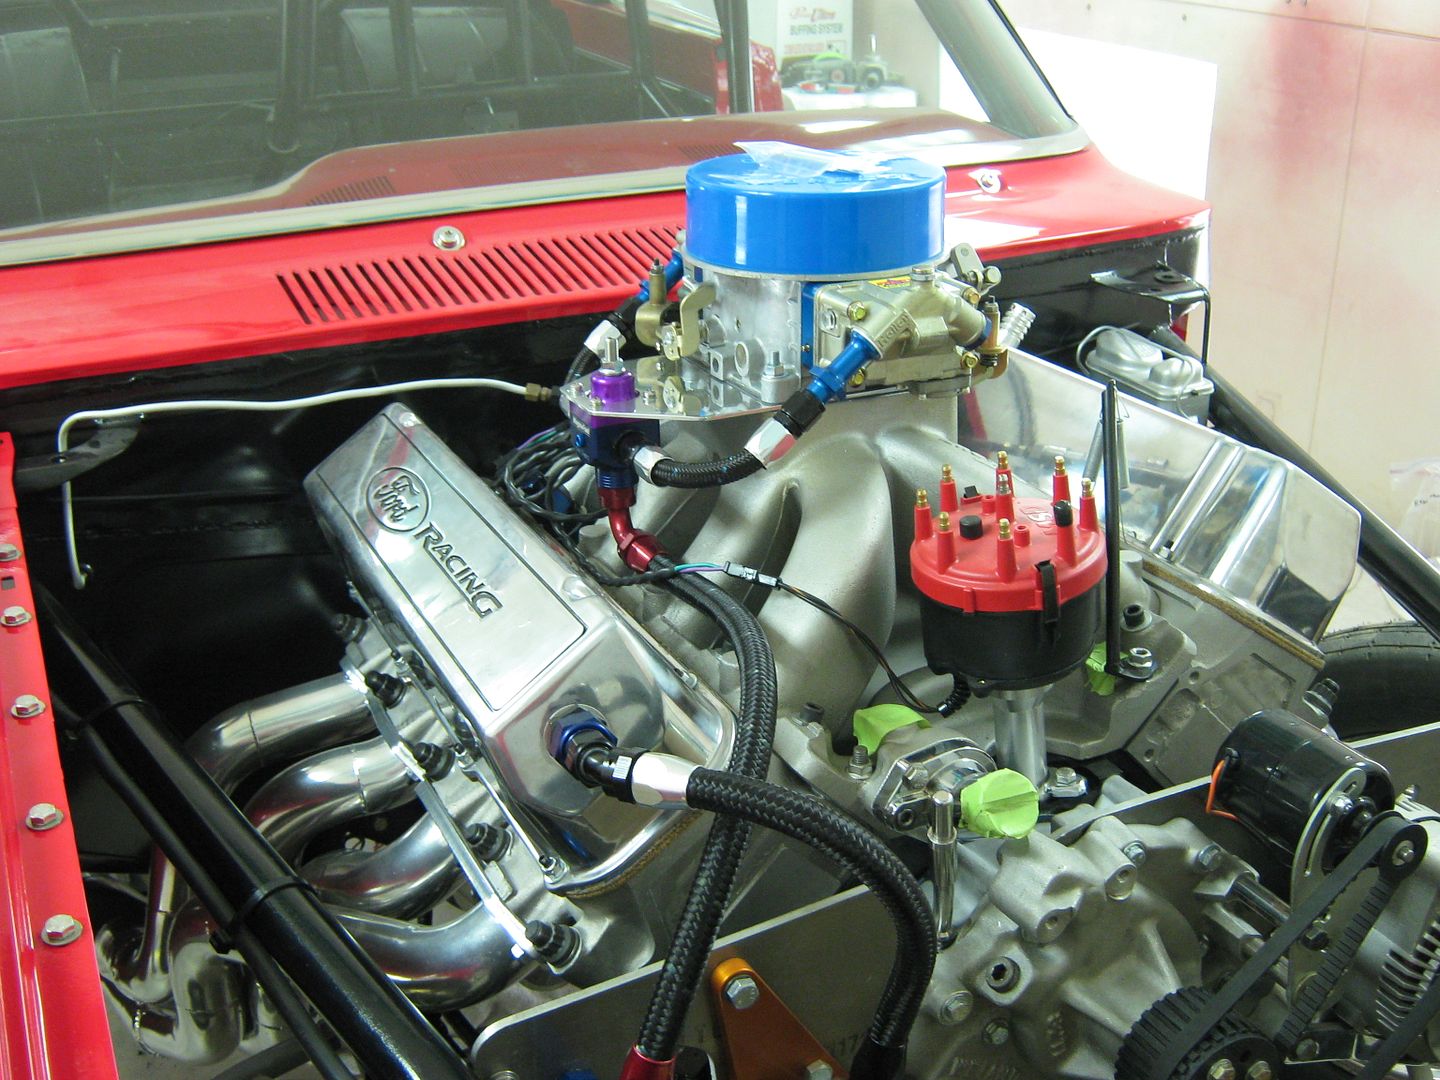
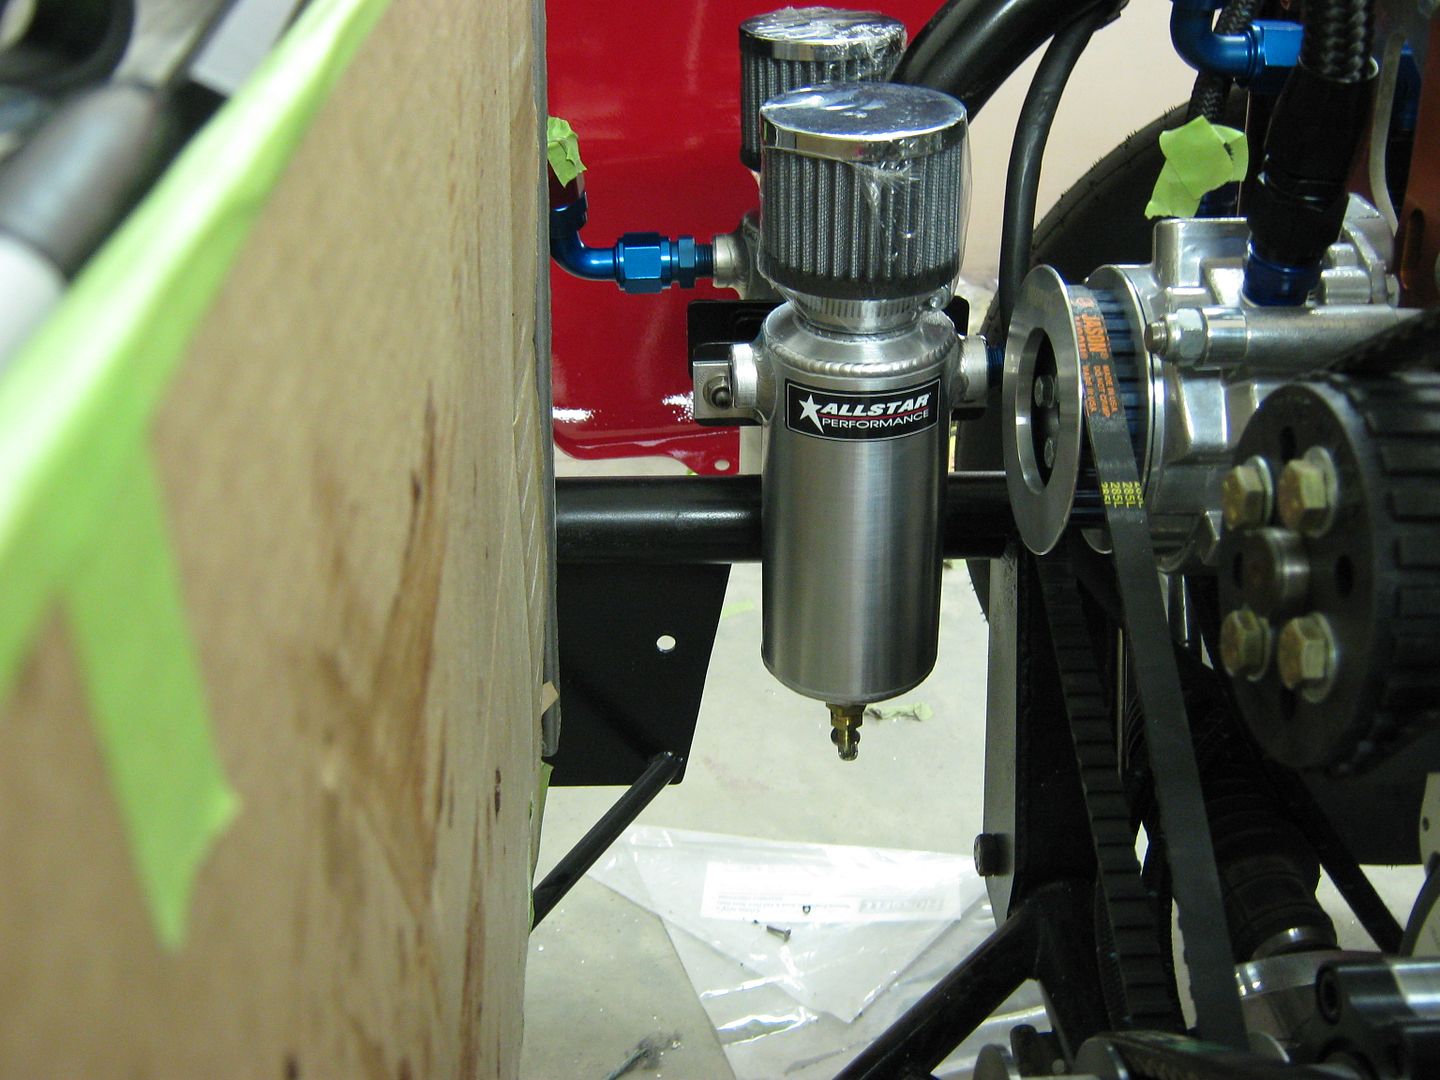
All the components needed under the hood and no inner fenders to mount to make for challenging work. The radiator core support is filling quick.......
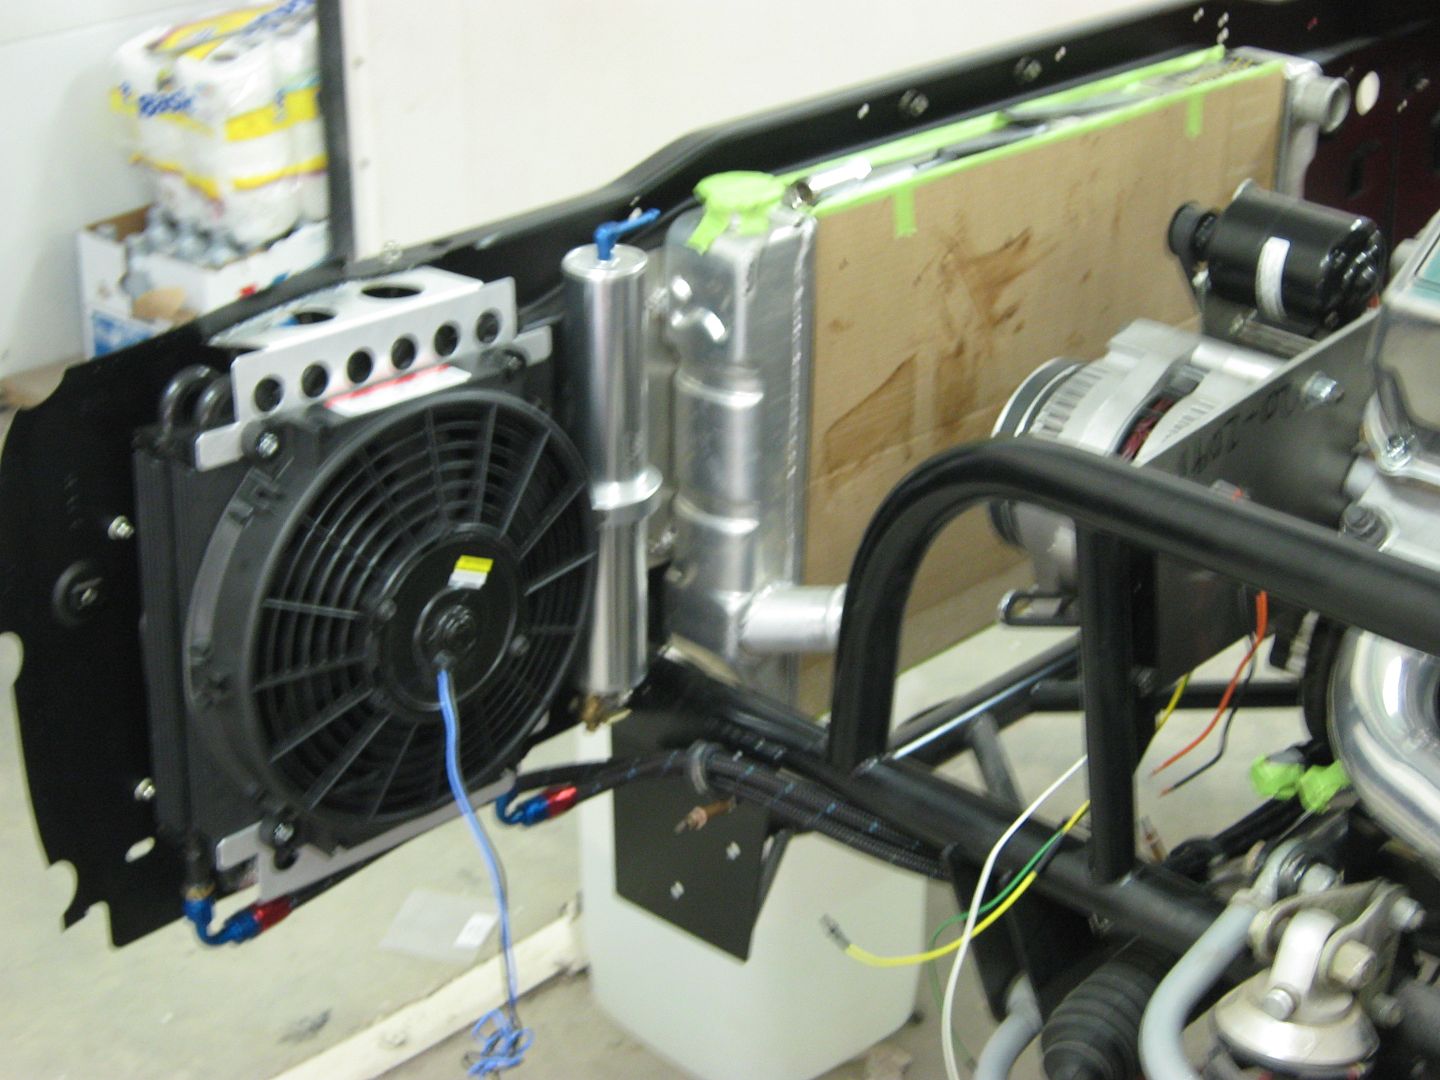
.......and as we wanted to keep the other side open for fuse blocks and electrical relays, we had to look elsewhere for the overflow/vent tanks. Decided to make a bracket to clamp the vacuum pump tank to a section of the moly tubing of the frame. Once it was comleted, it was easy to see a simple modification would kill two birds with one stone.......


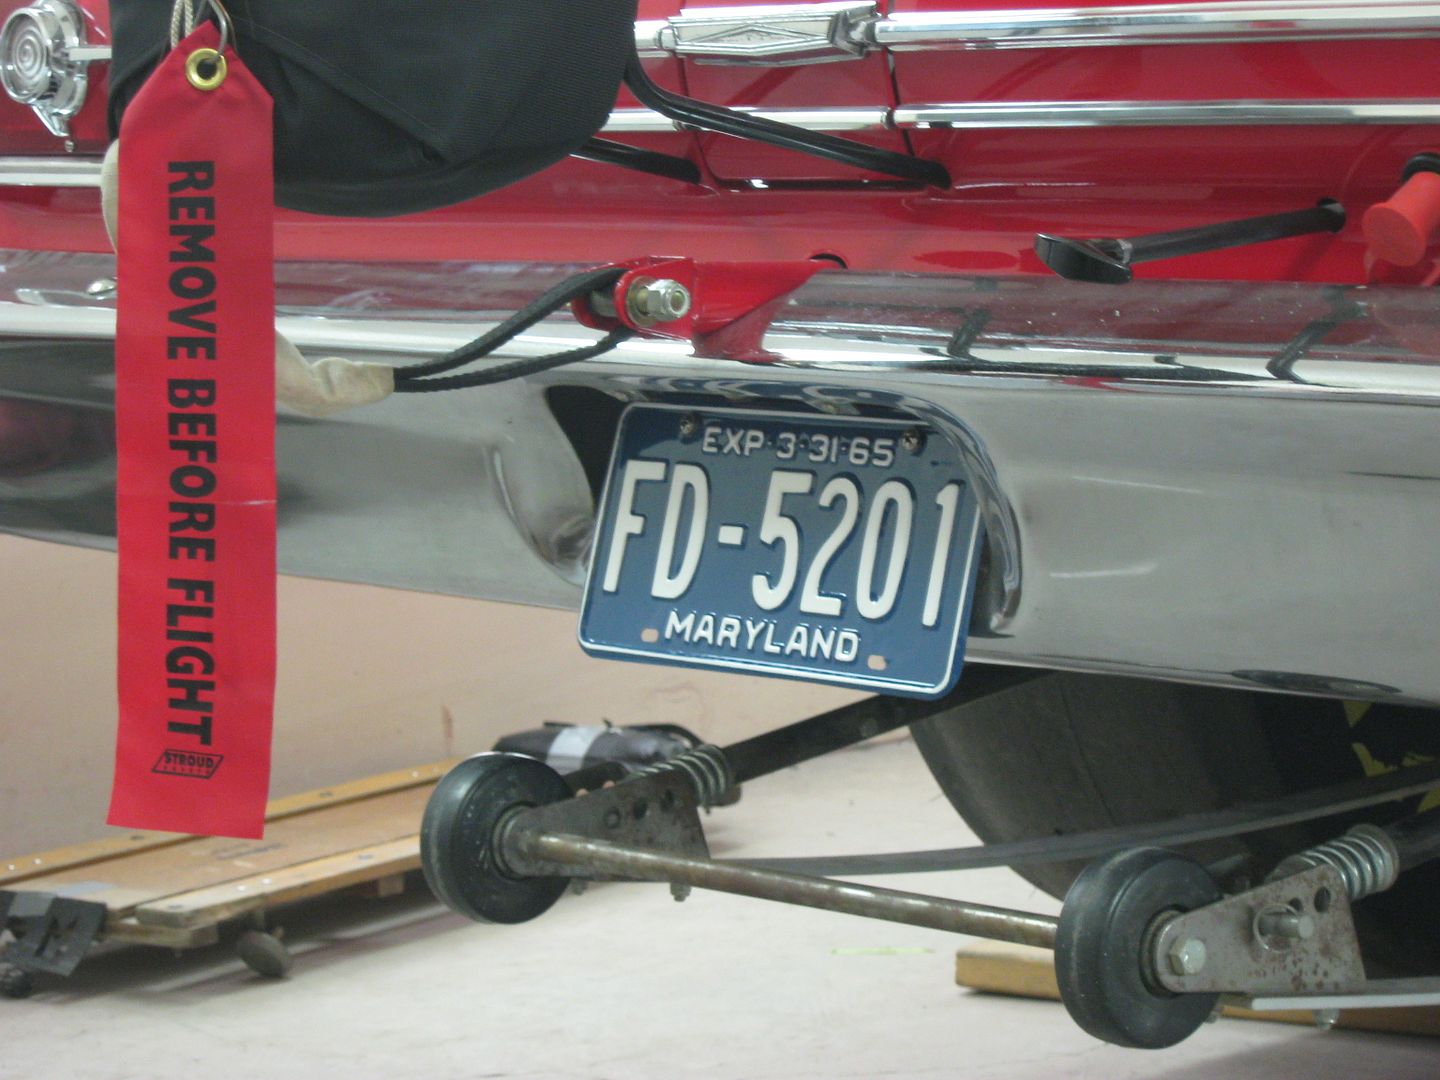
And DMV sent the tags the other day.....
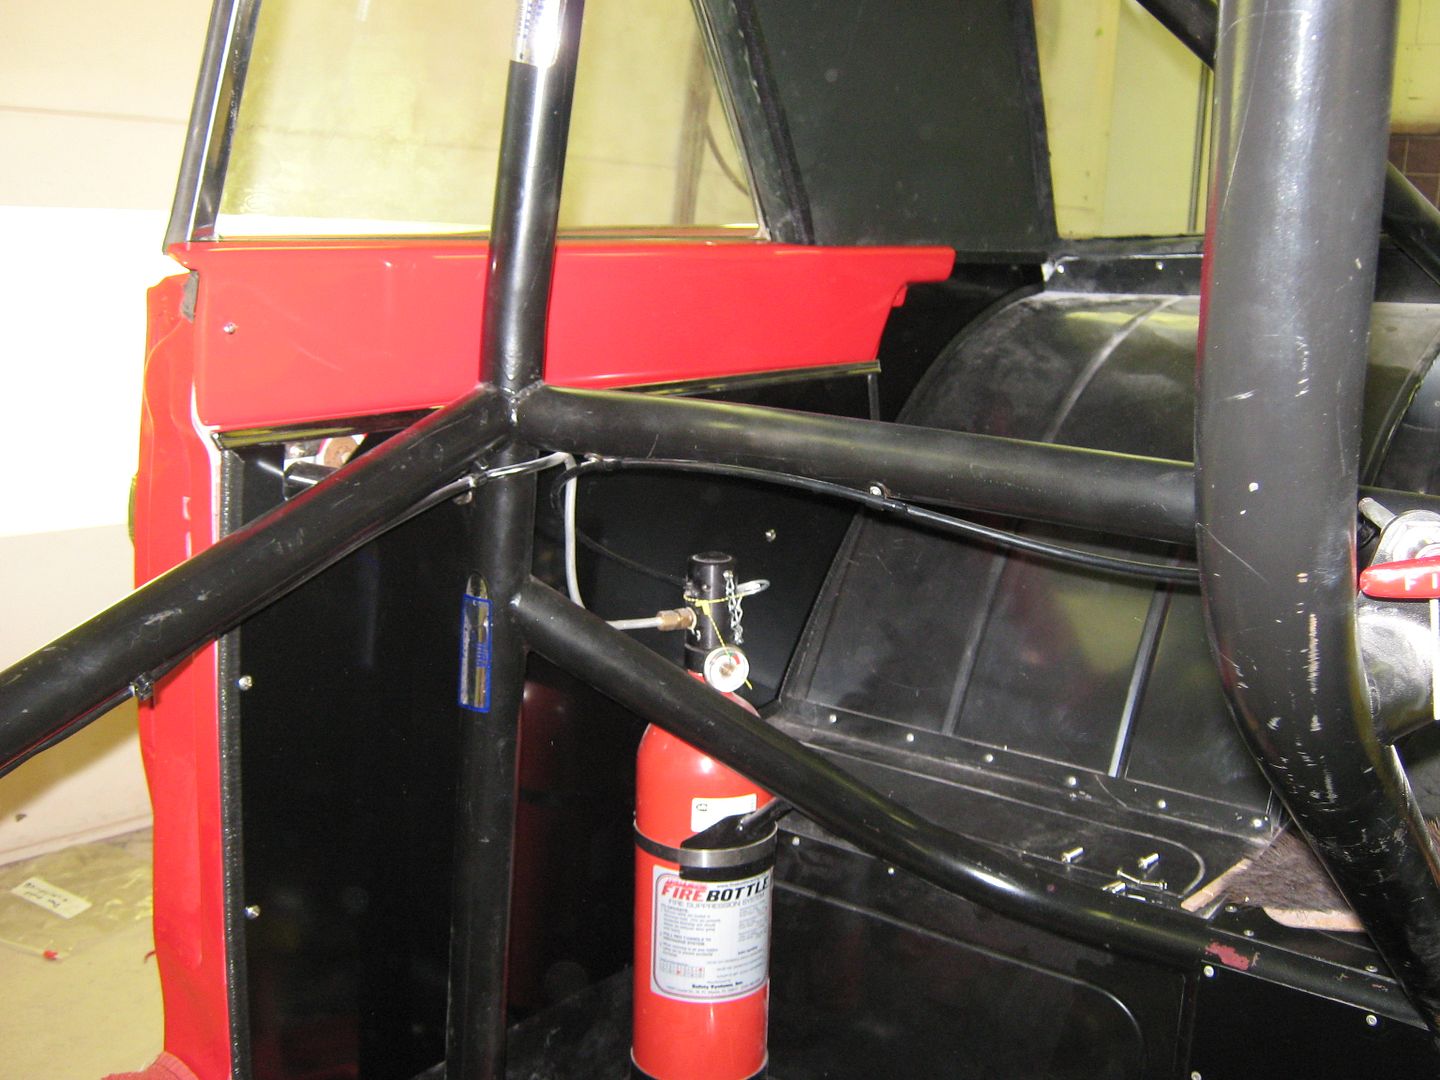
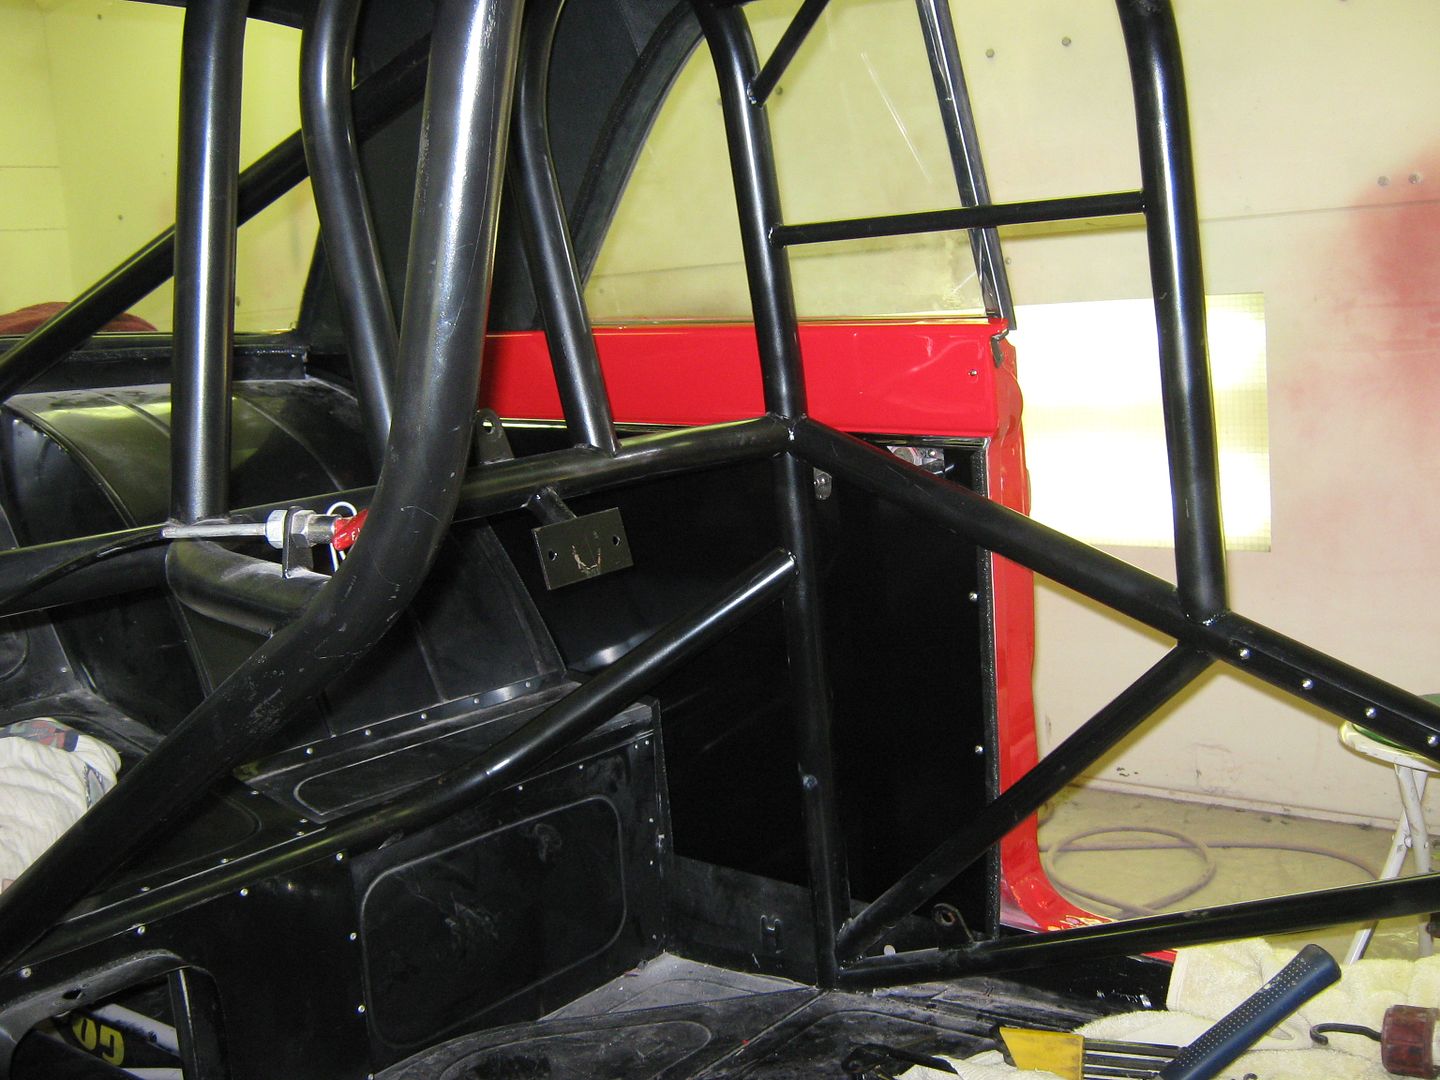
Starting on the electrical, everything from the switch panel, which mounts to the top cross bar of the roll bar.....
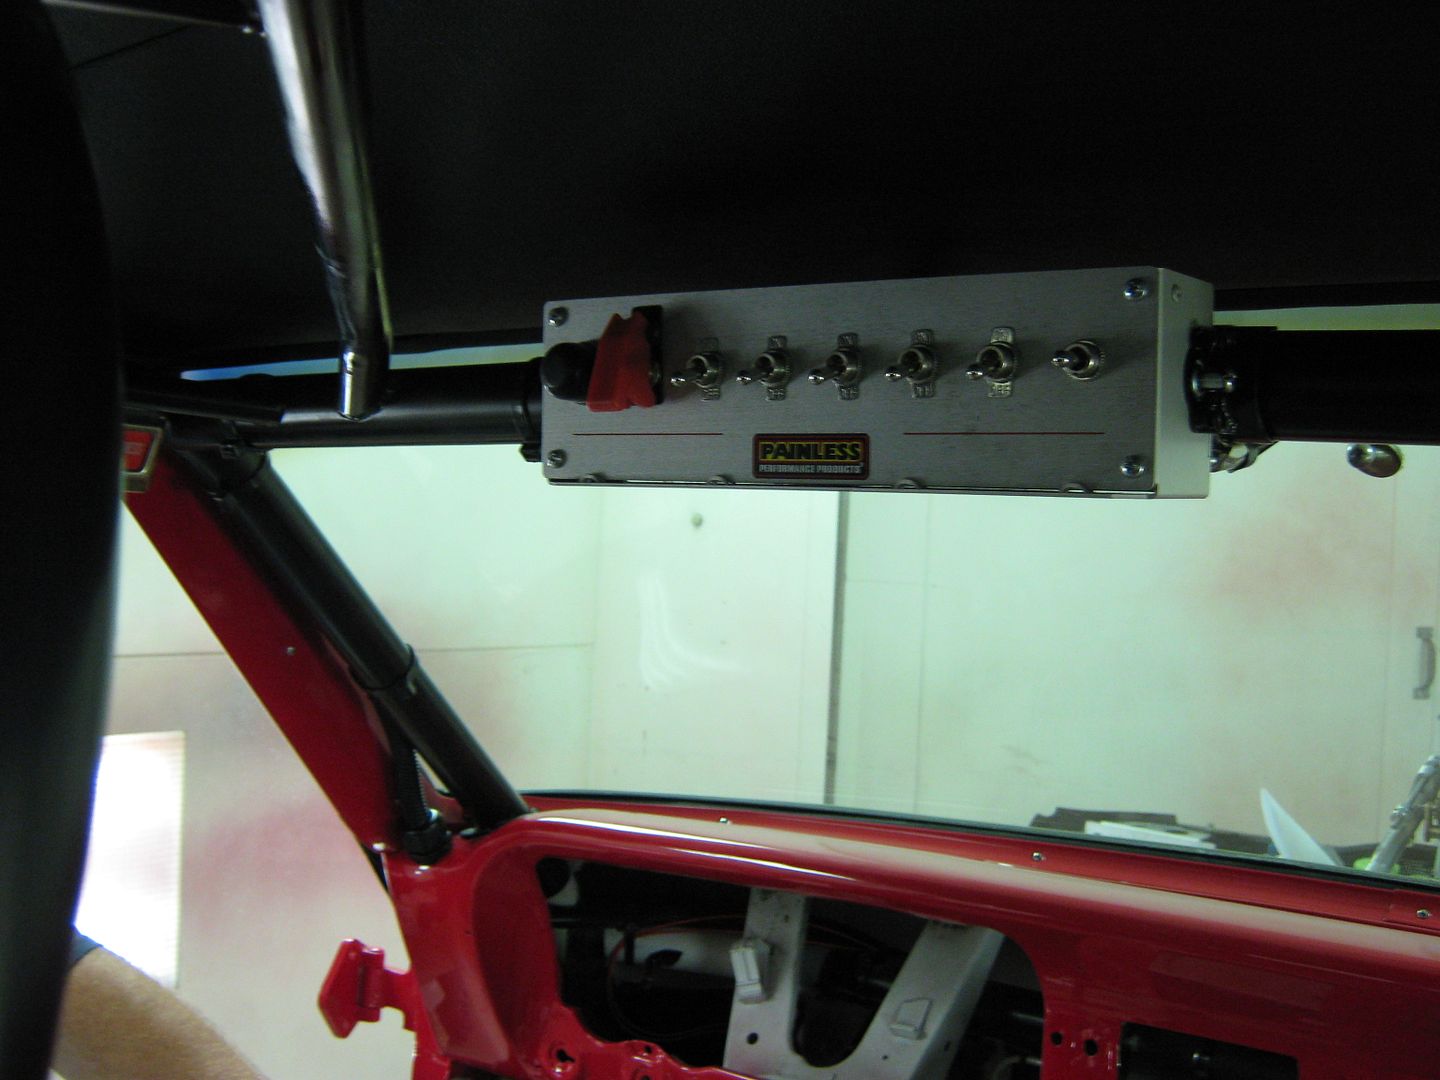
.................and all the circuits from the switches go thru in line fuses, which will be mounted in the new glove box liner:
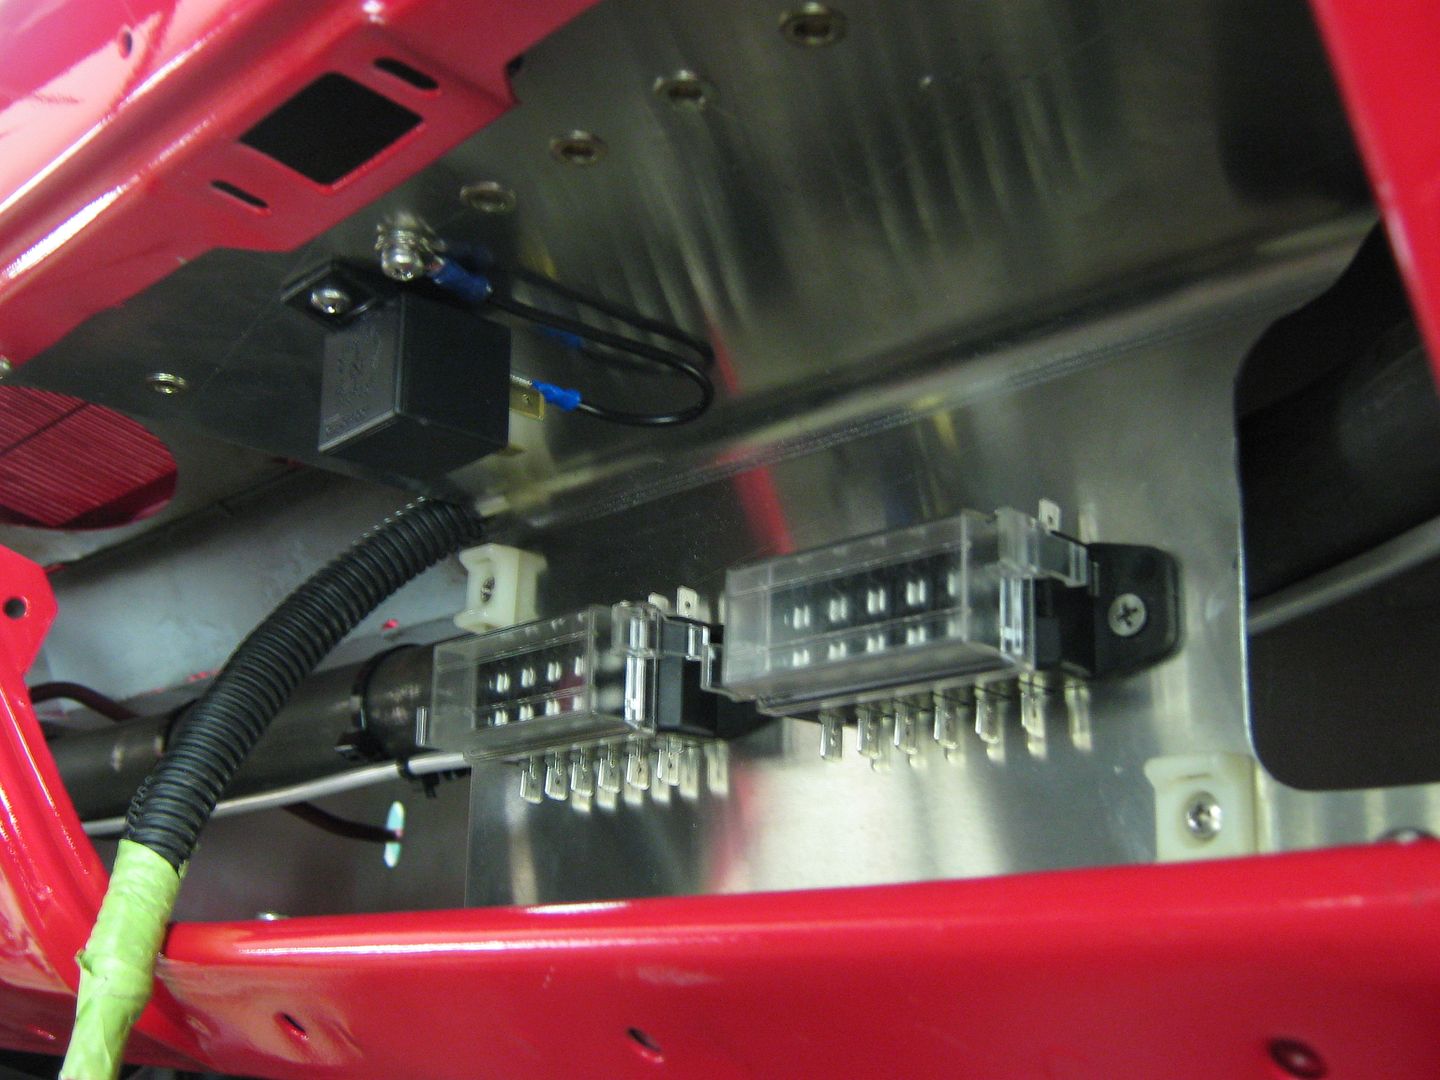
The relay mounts above, and as you can see there are a couple extra spots pre-rivnutted in case we missed something. The wiring coming from the switches:

The large red wire hanging in the above picture will feed the switch panel. The fuse panel for the main power inside will be mounted onto the glove box door, and another will be located on the radiator core support for engine components.

-
02-10-2012 04:52 PM #26
CHR Member
- Join Date
- Jun 2008
- Location
- Leonardtown
- Car Year, Make, Model: Walking
- Posts
- 1,228
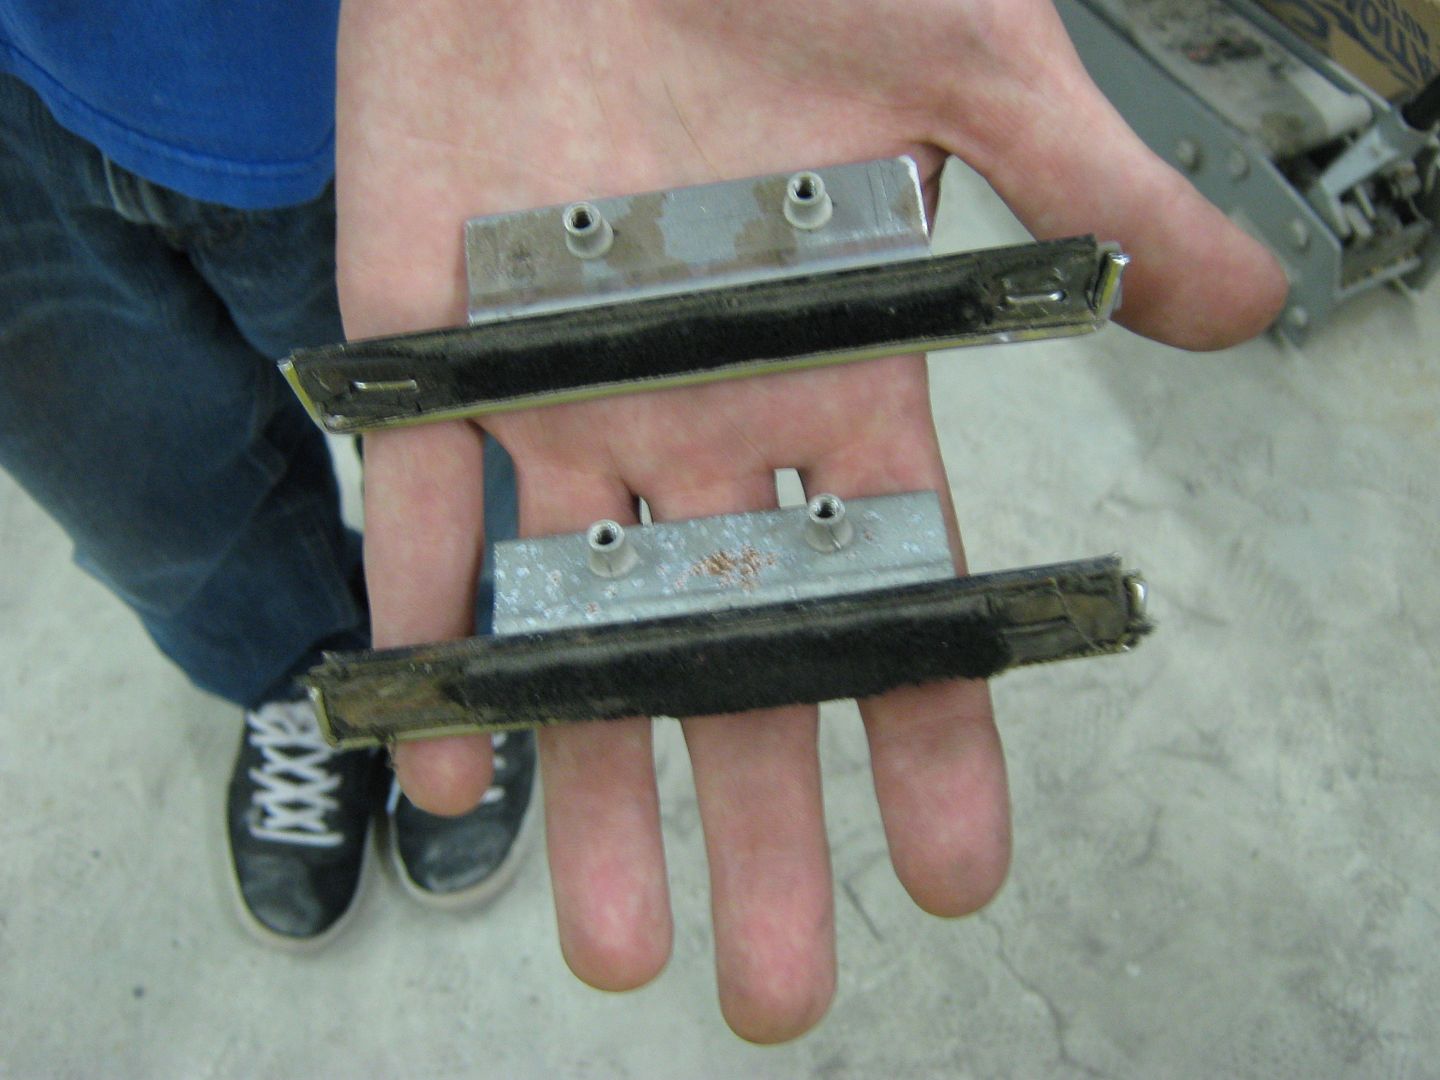
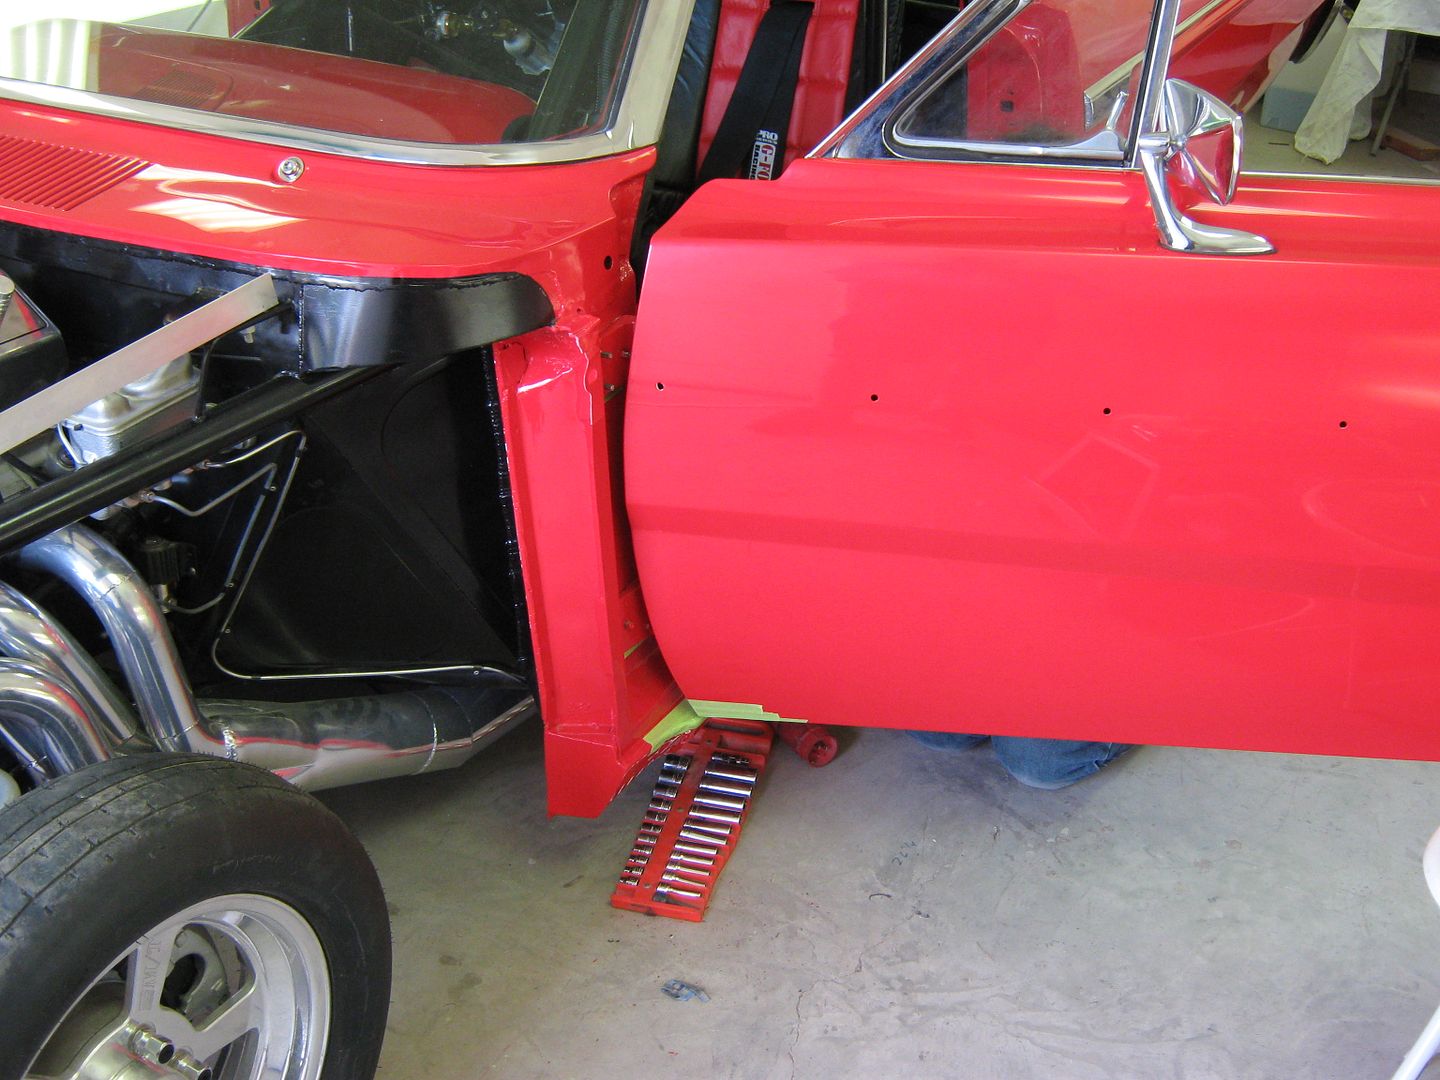
While re-assembling the car I came up with a door installation fixture as these doors were about as long as the quarters and quite heavy, we didn't need any paint chips....
I had seen some of the cradle style that you could add to your floor jack, but I have a problem how the cradle supports the complete weight of the door across the lower edge of a door skin. Too much risk of paint damage in my view. So I came up with another version that would support the weight across a wider area on the inner door, for less risk of damage to any visible area.
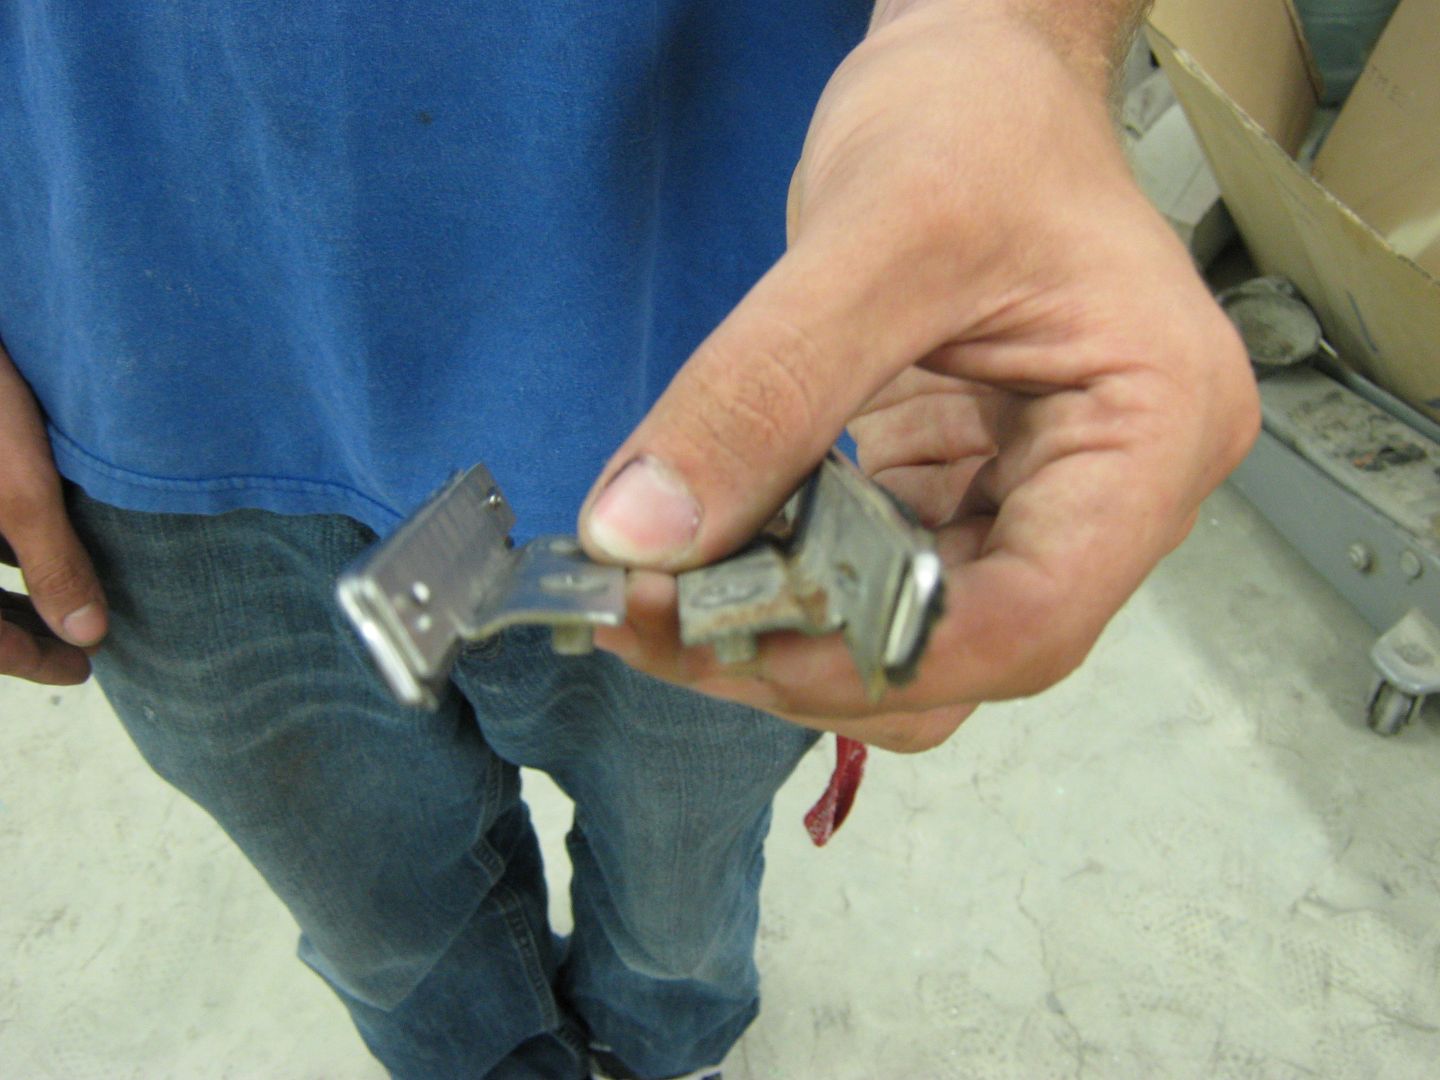
Here's the basic form, with some pipe receivers using set screws. The support braces are bent from electrical EMT and covered in pipe insulation to protect the finish..
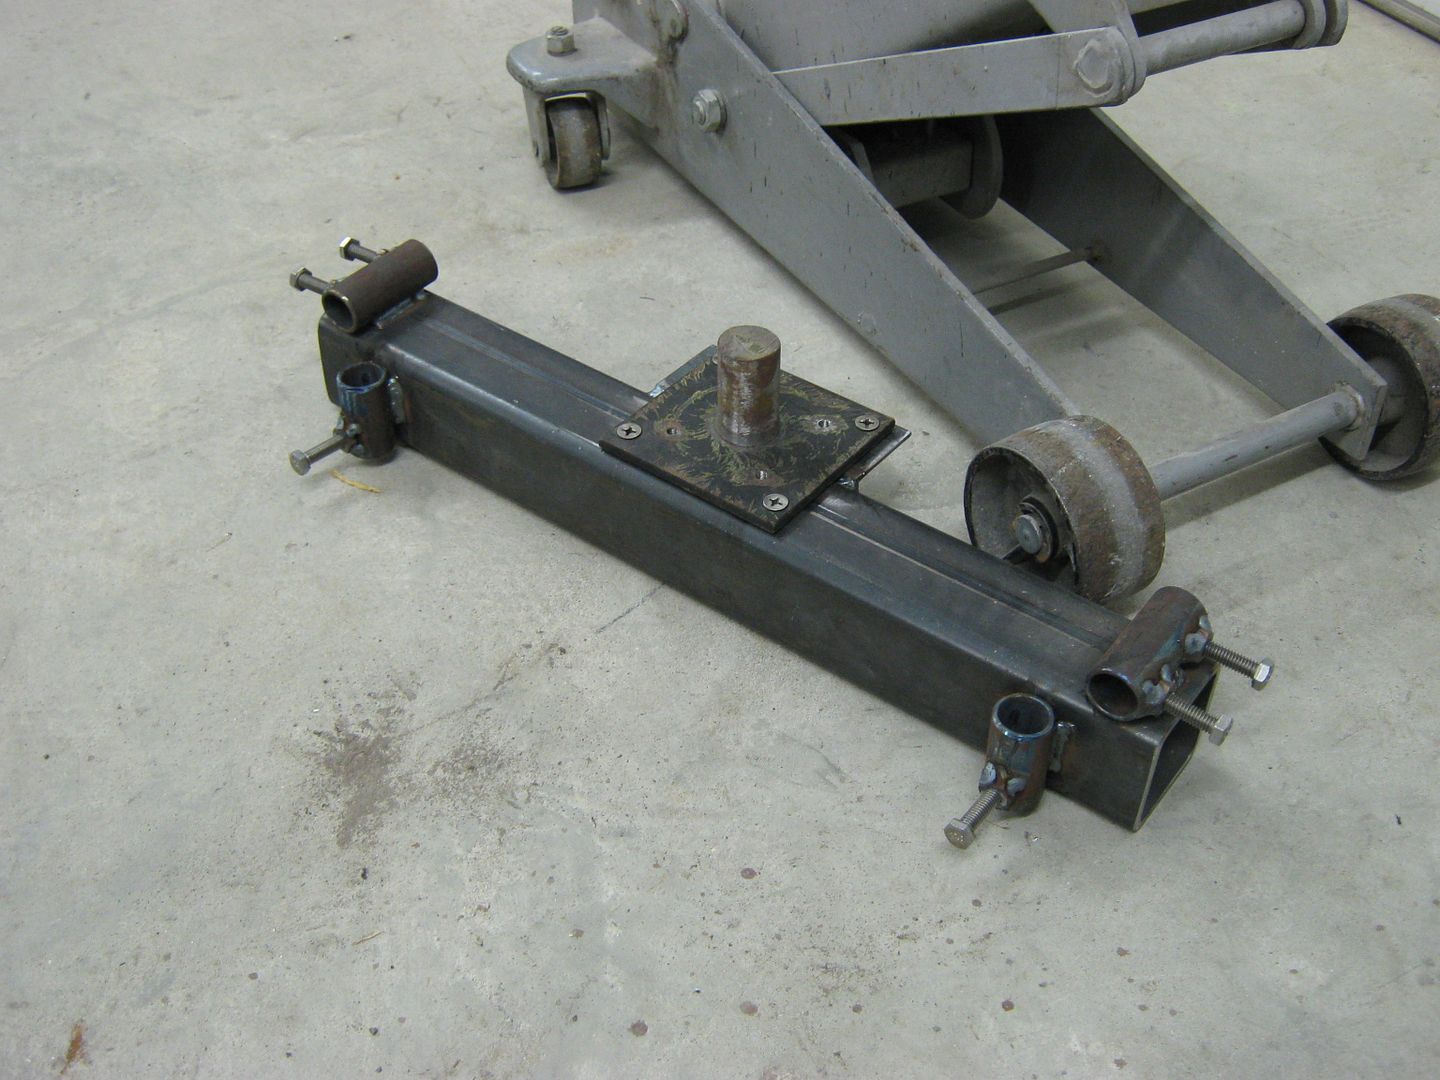
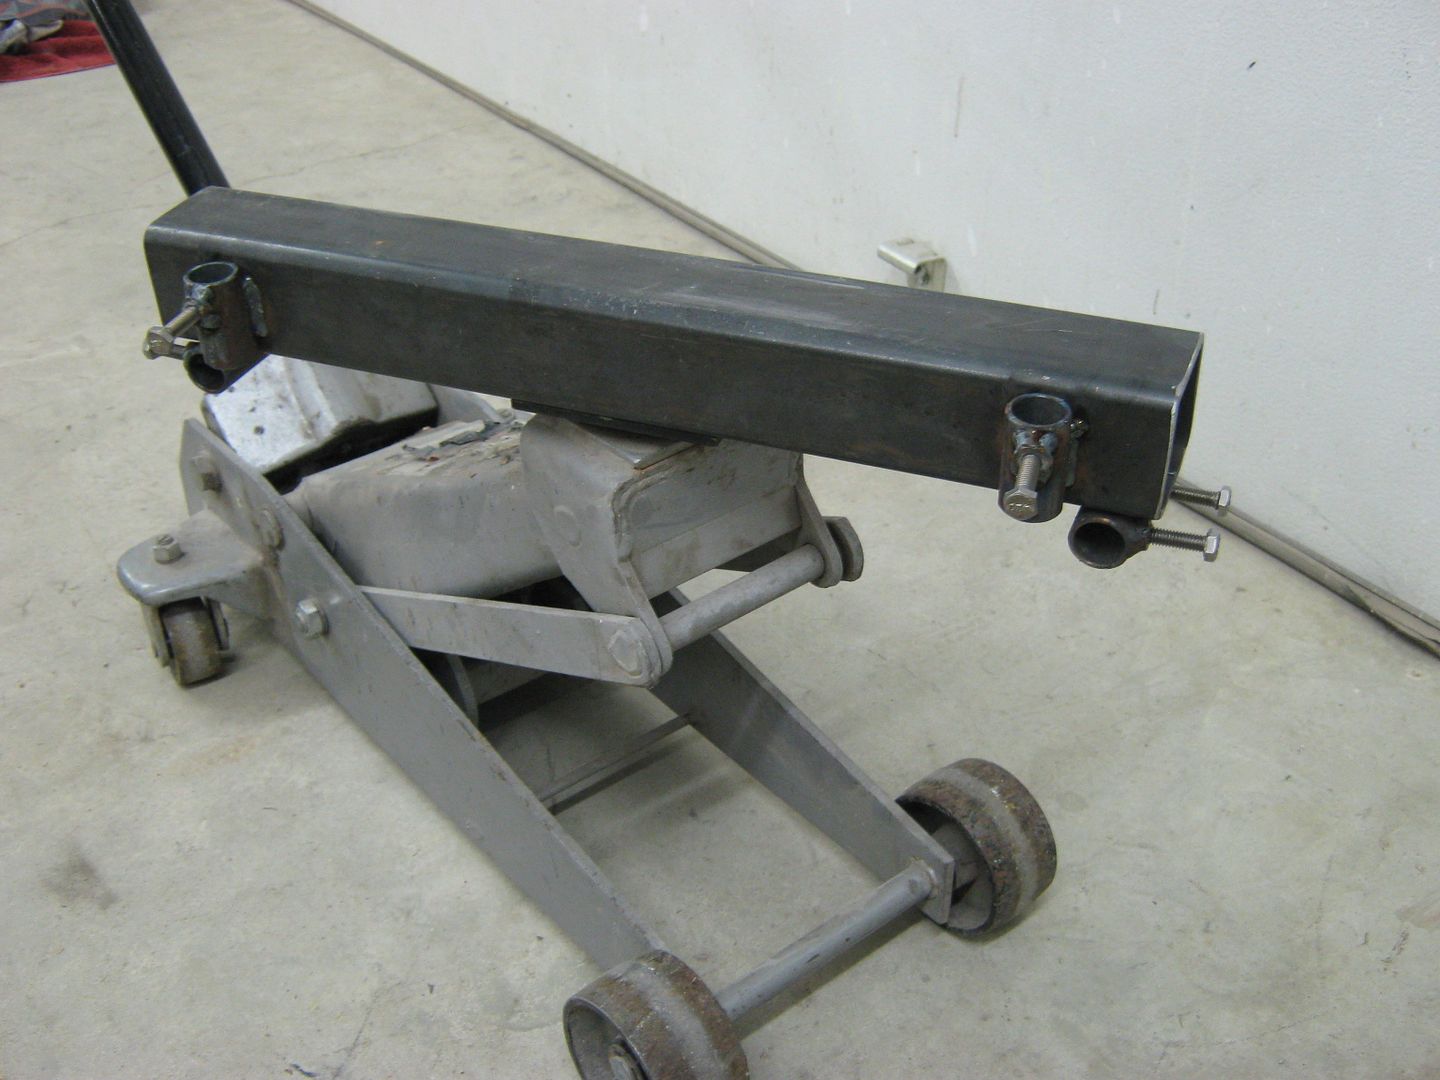
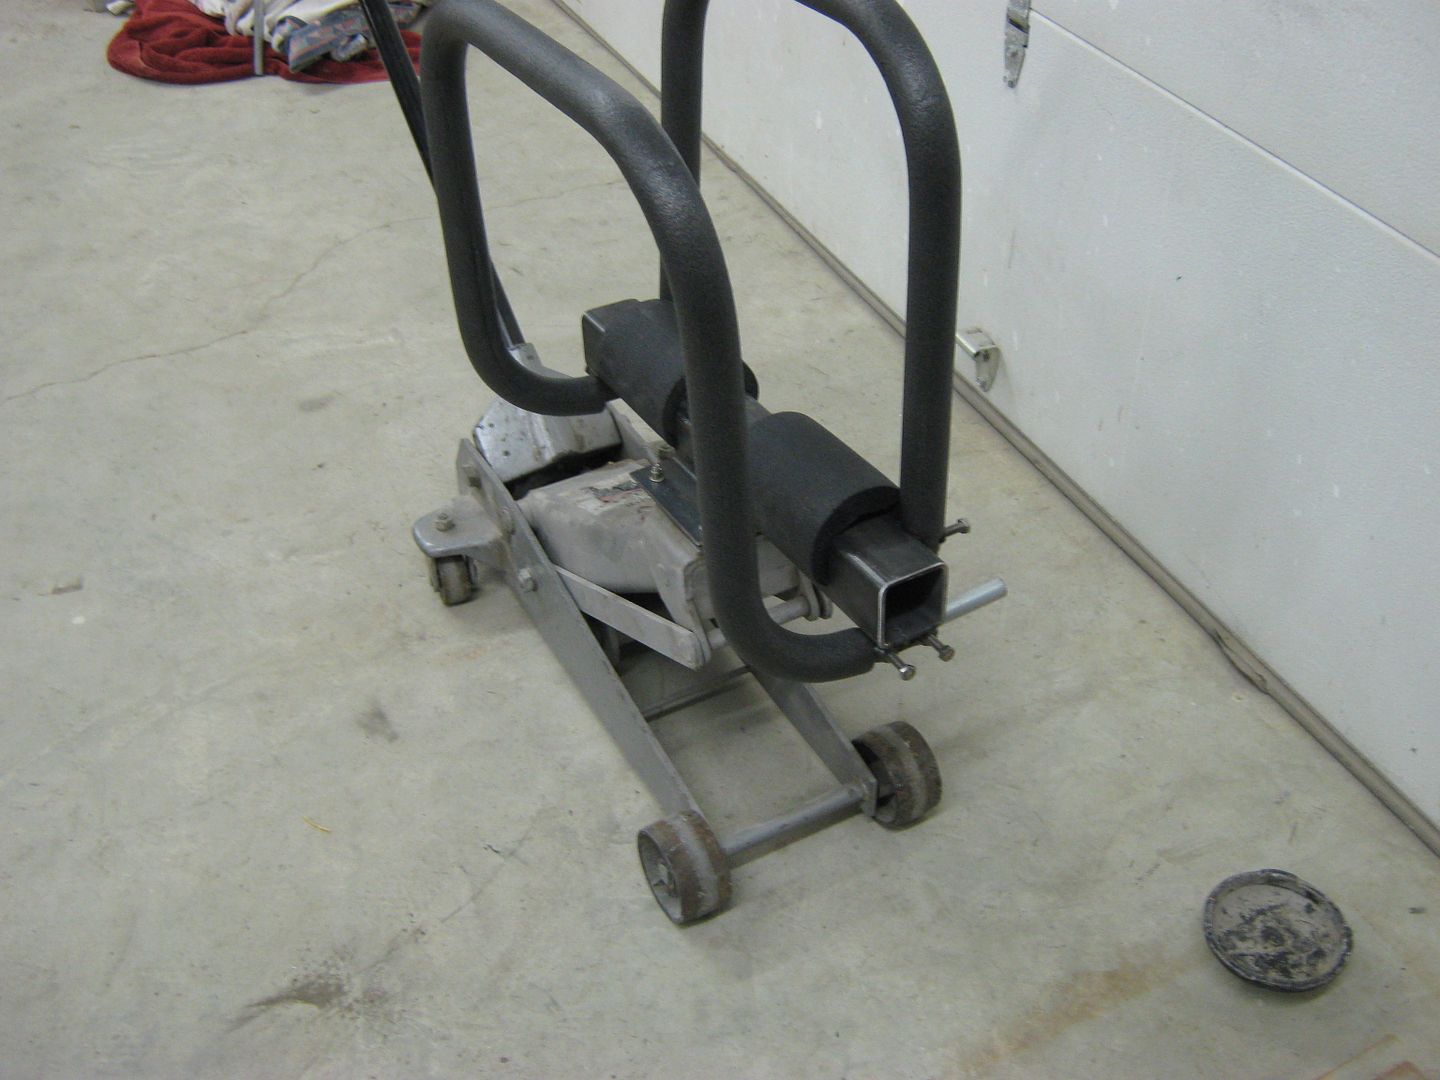
The support braces also help to keep the door oriented in a vertical position, to keep the door from flopping back and forth (as you may experience with the cradle style). This will help prevent paint damage/chips from excessive door movement during the install.
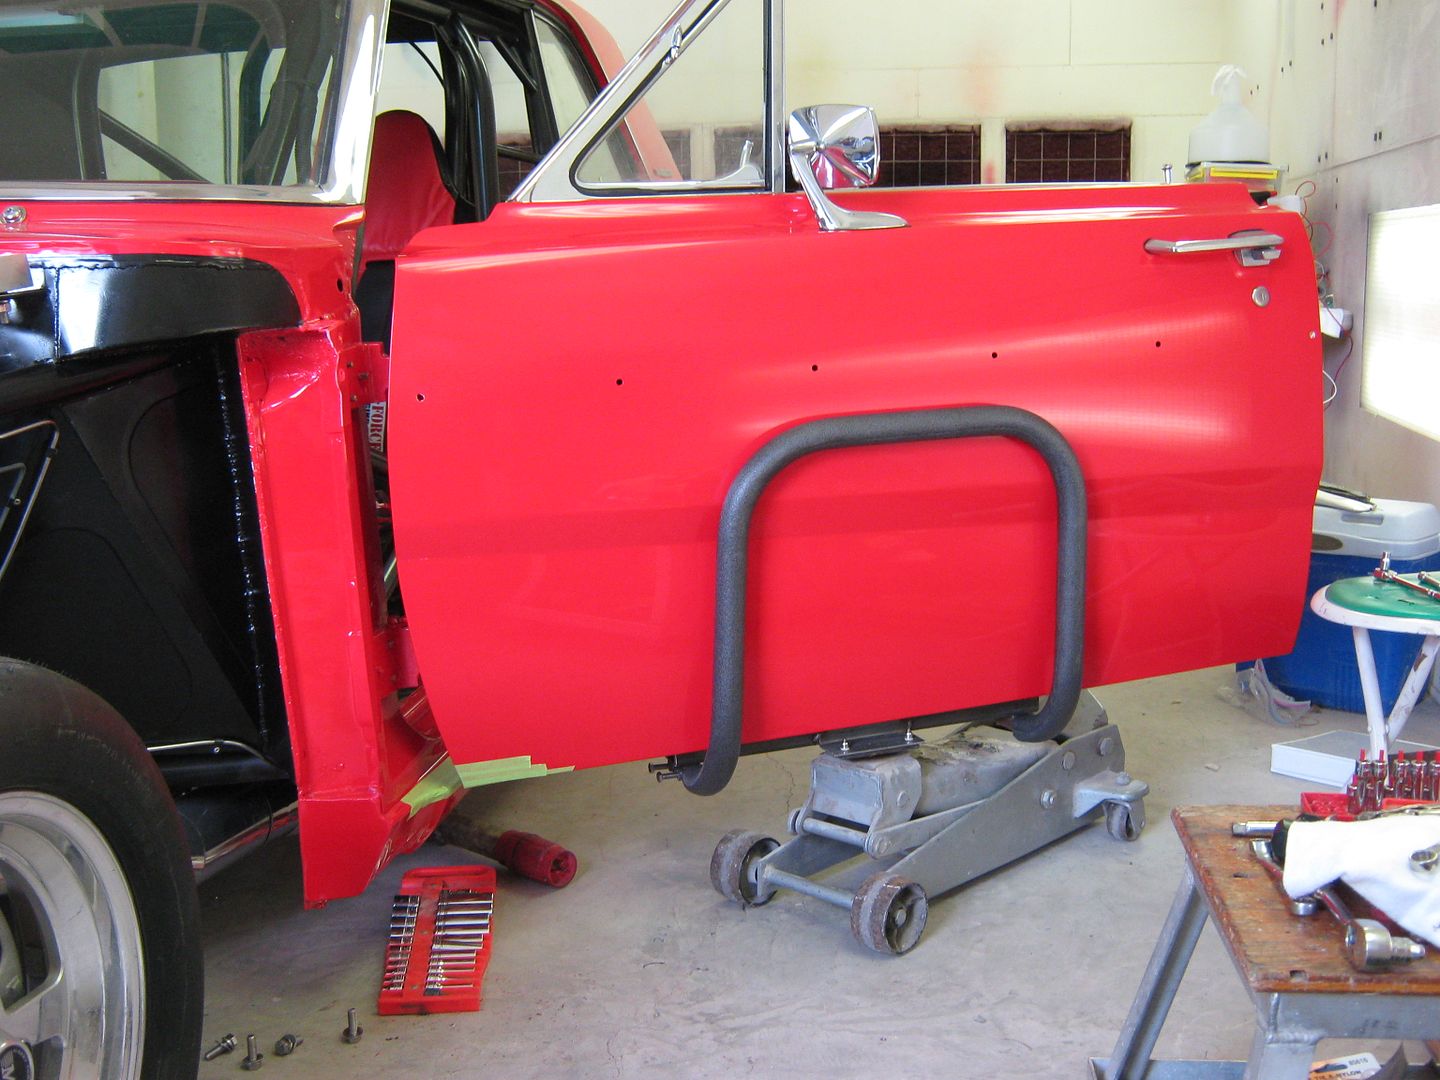
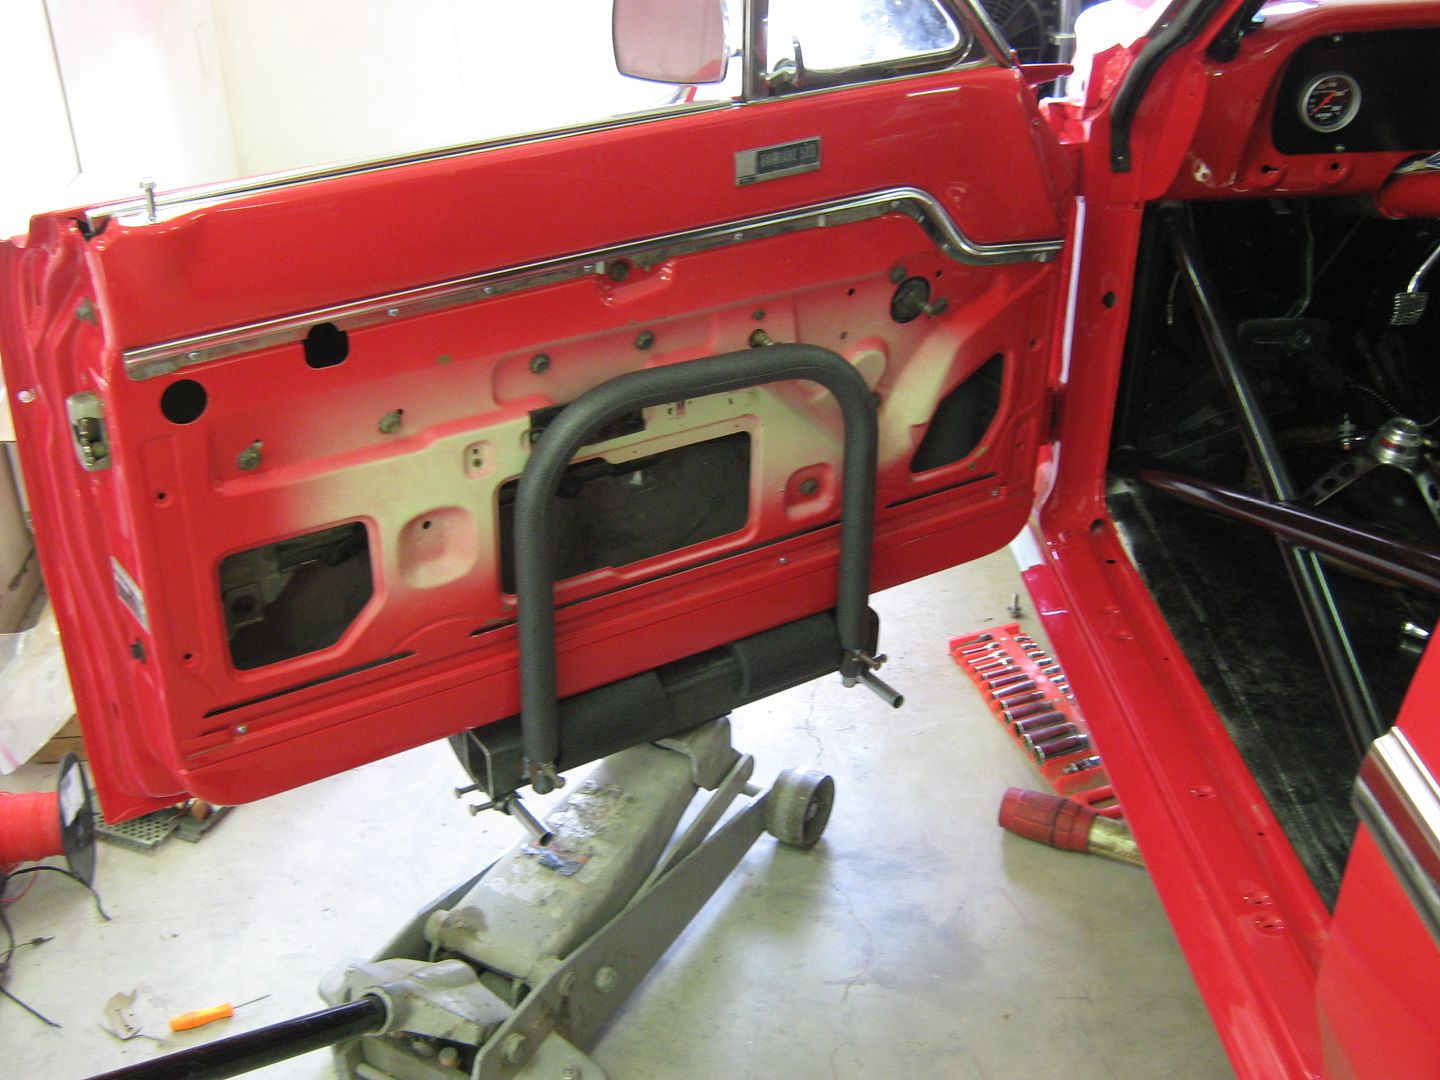
Notice nothing touches the edge of the door skin....
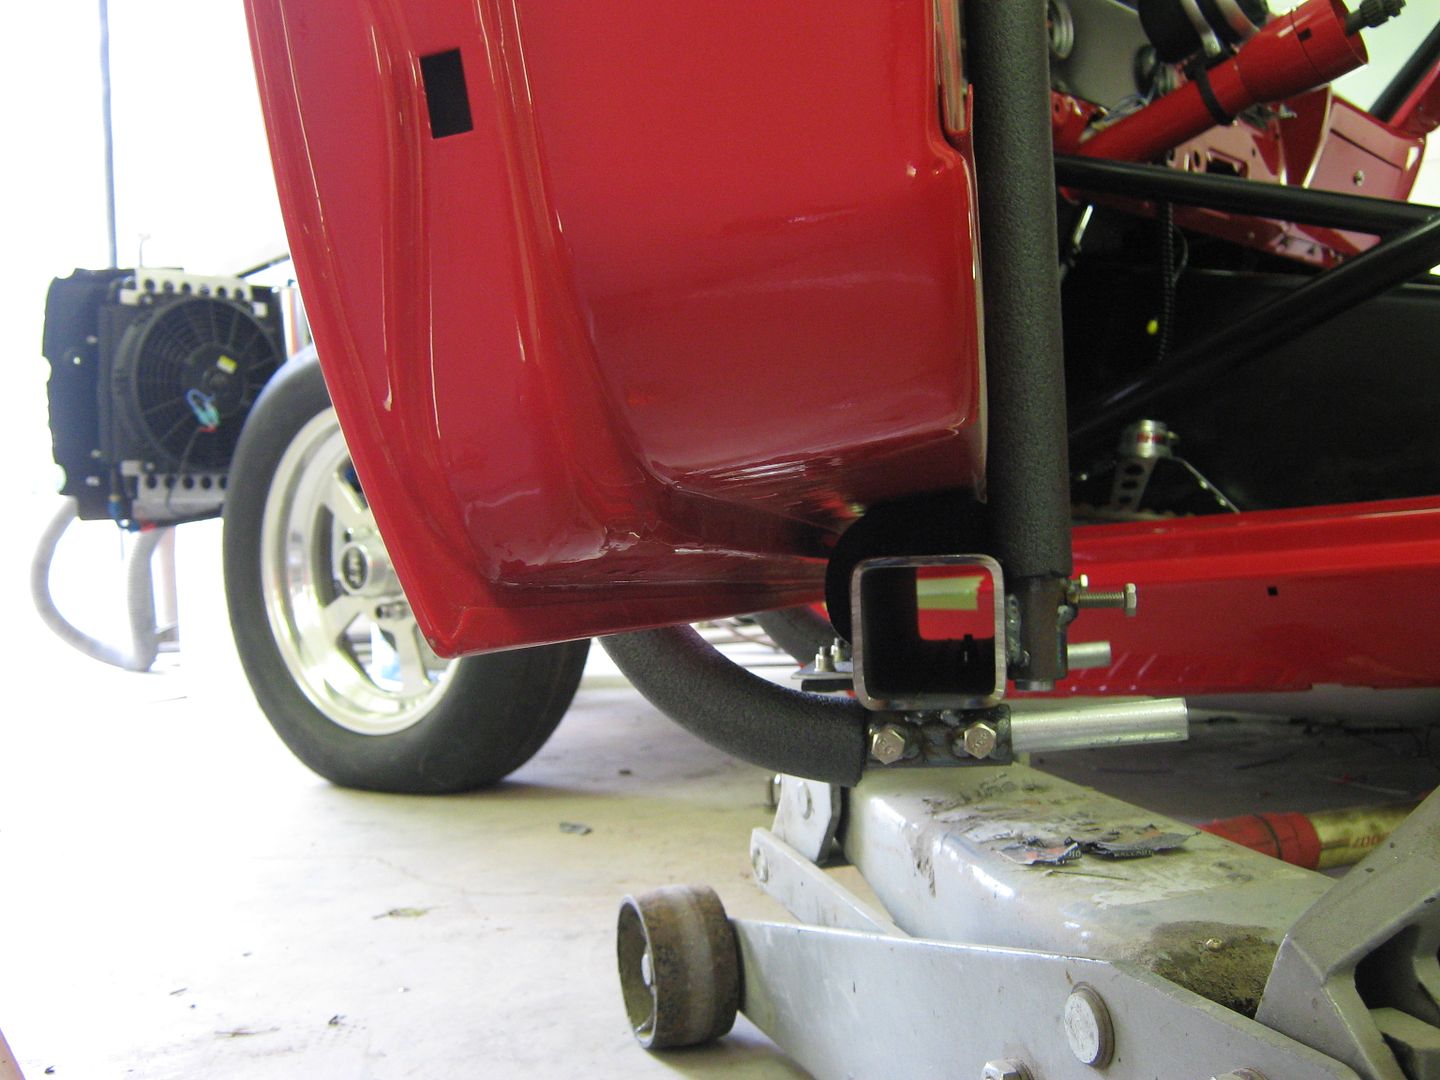
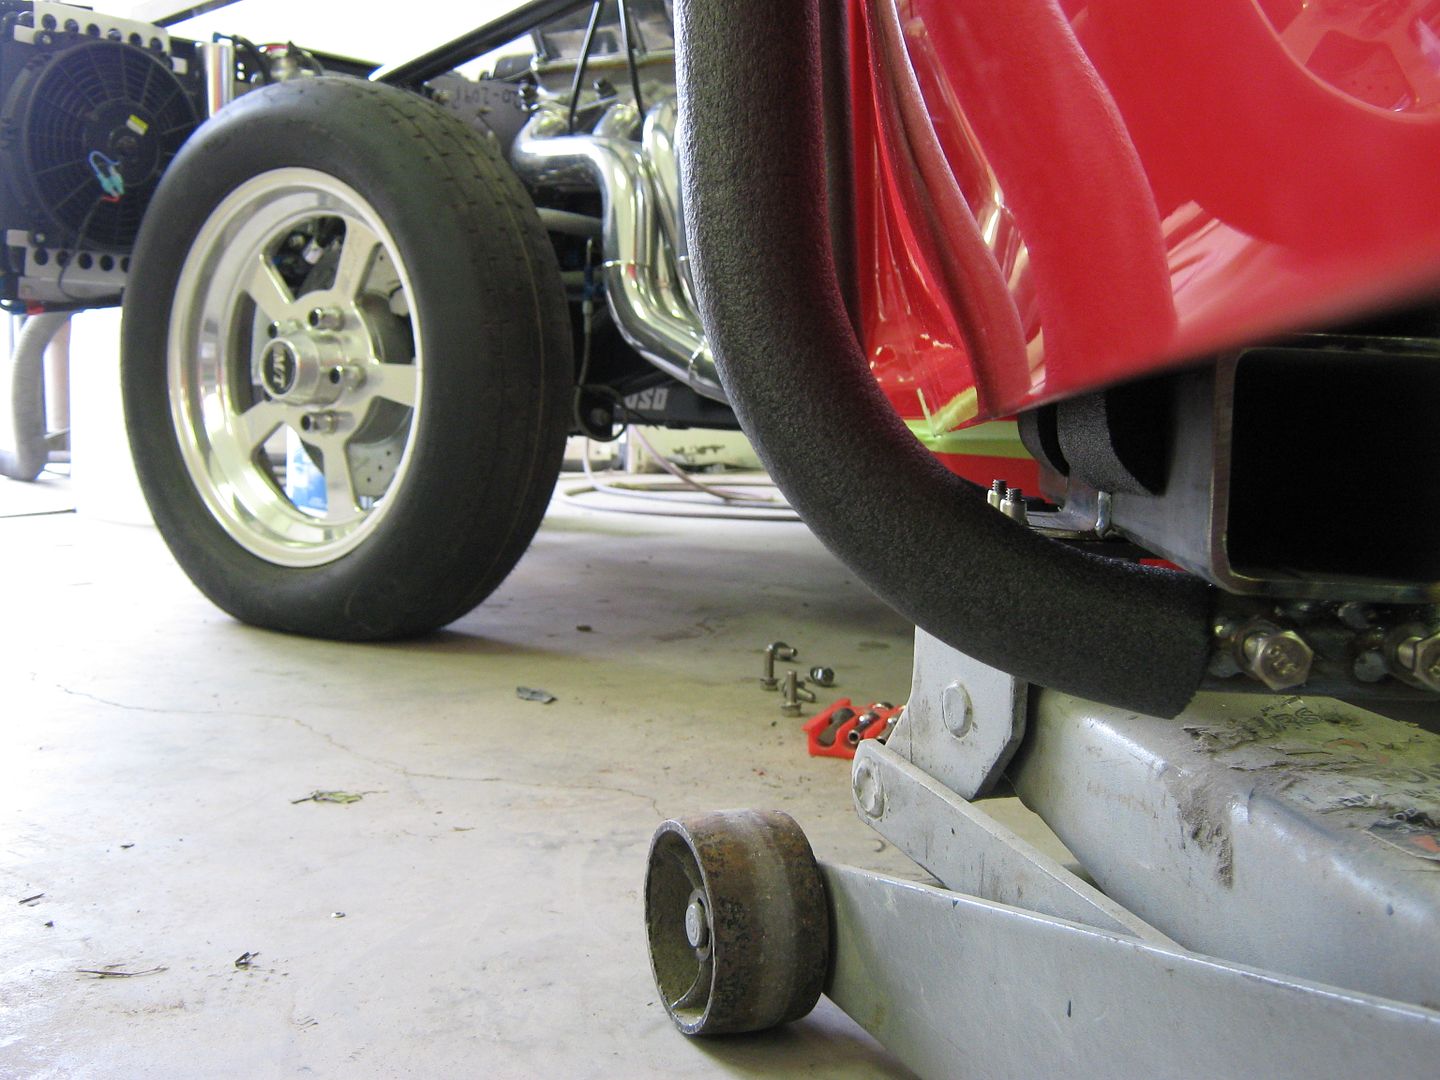
Once hinges are snug, loosen set screws for outer support brace, lower a couple inches, remove outer support brace, and simply pull jack toward rear of car to clear door.
-
02-10-2012 04:54 PM #27
CHR Member
- Join Date
- Jun 2008
- Location
- Leonardtown
- Car Year, Make, Model: Walking
- Posts
- 1,228
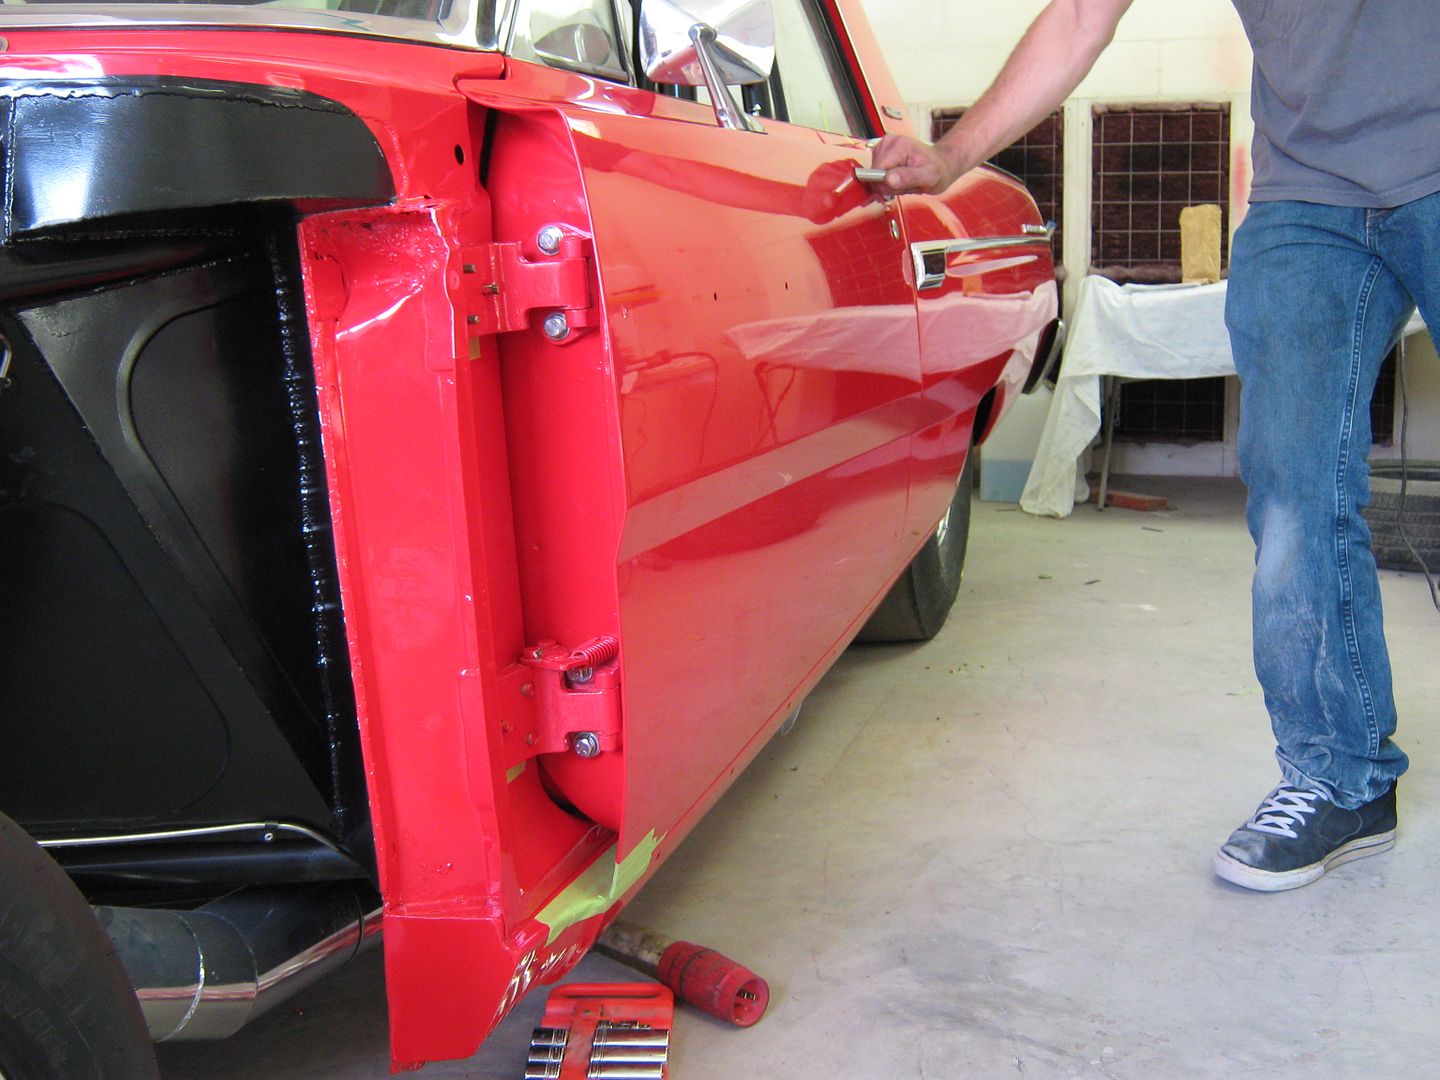
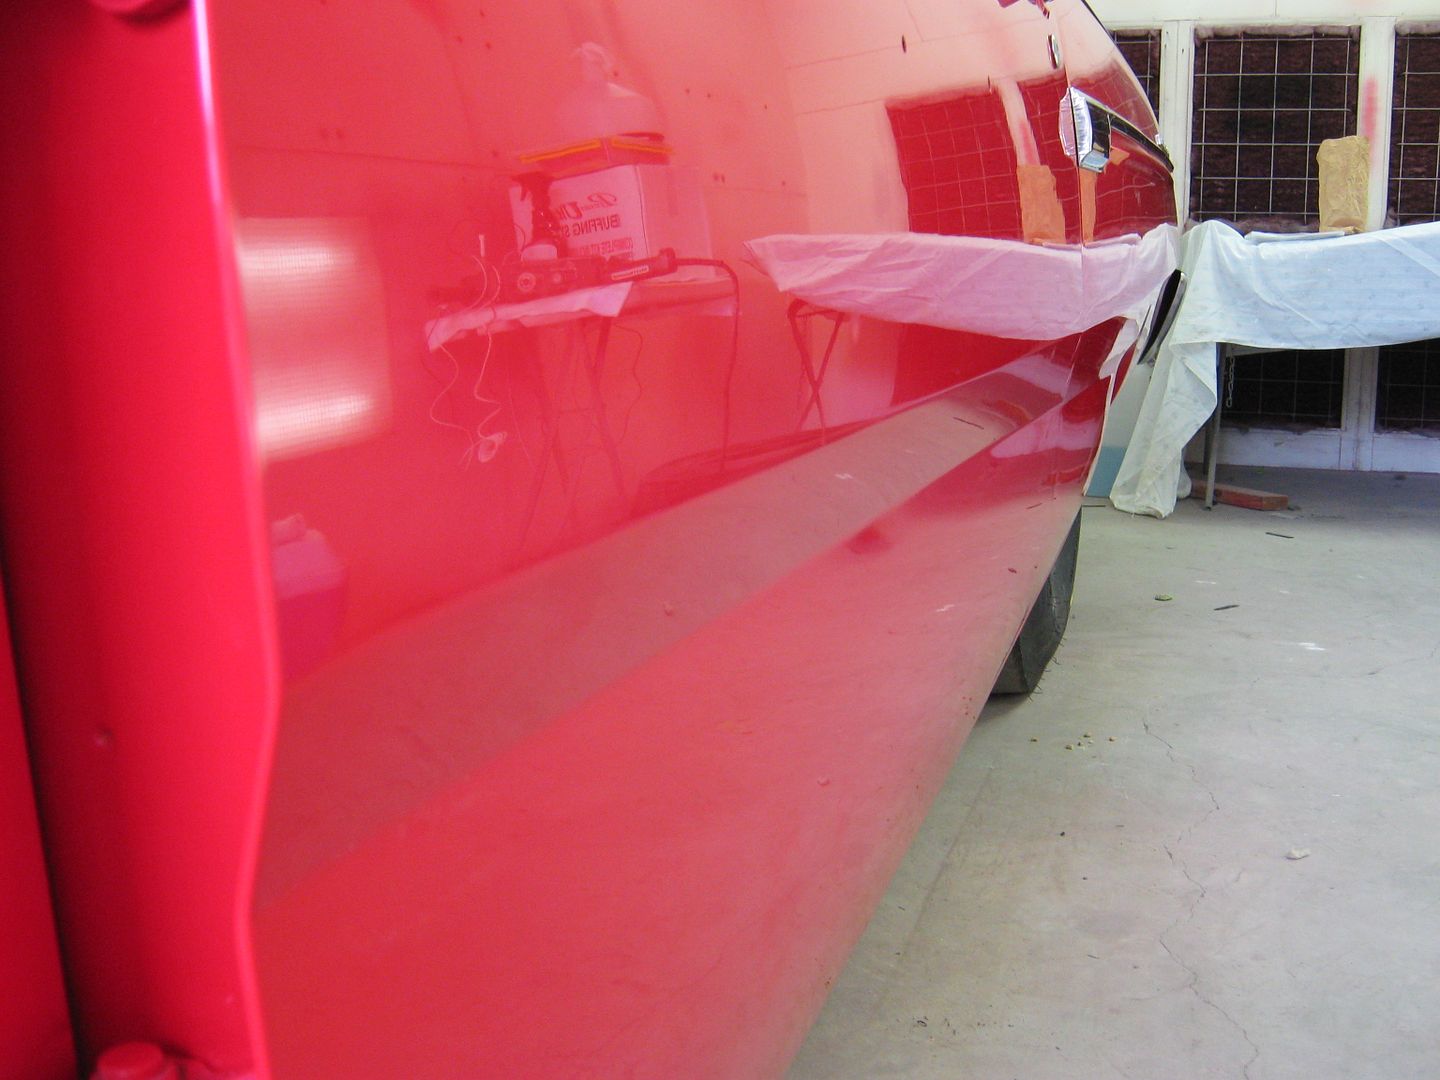
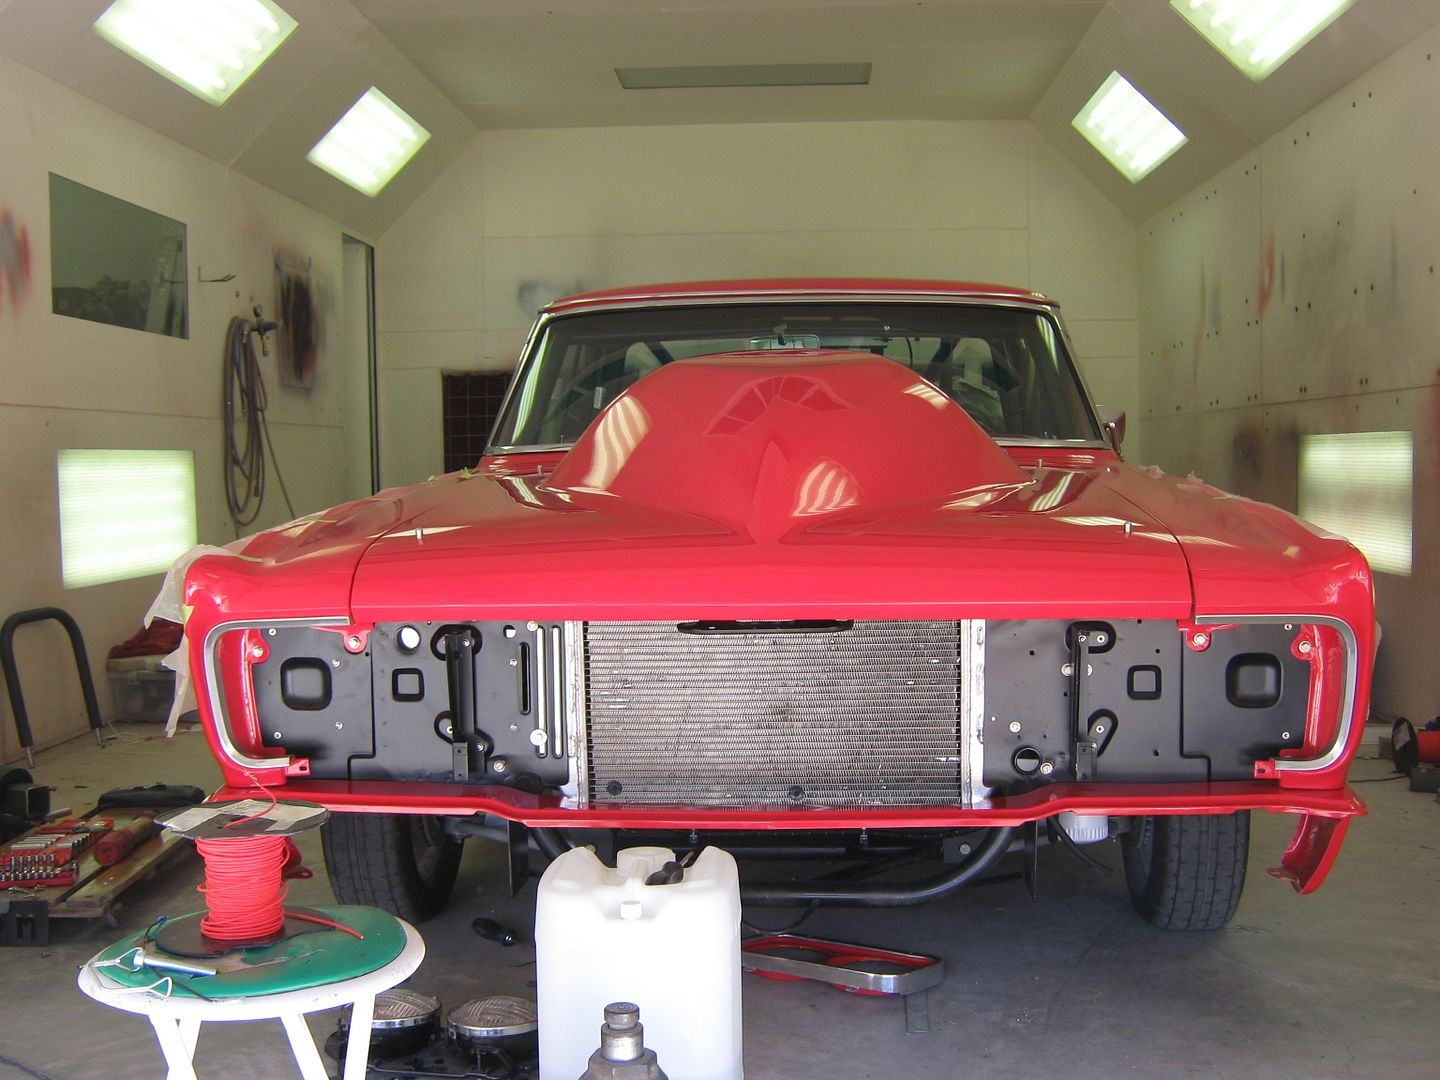
Starting to assemble the rest of the car.
Fitting the front fender and stainless. Wax paper inserted under the stainless, one strip from below, one from on top. After all the tweaking is done with the panel fitment, the stainless is aligned one end to the other, remove the wax paper while holding the position, and snug in place. Helps to keep from scuffing up the new finish while fine tuning the stainless placement.
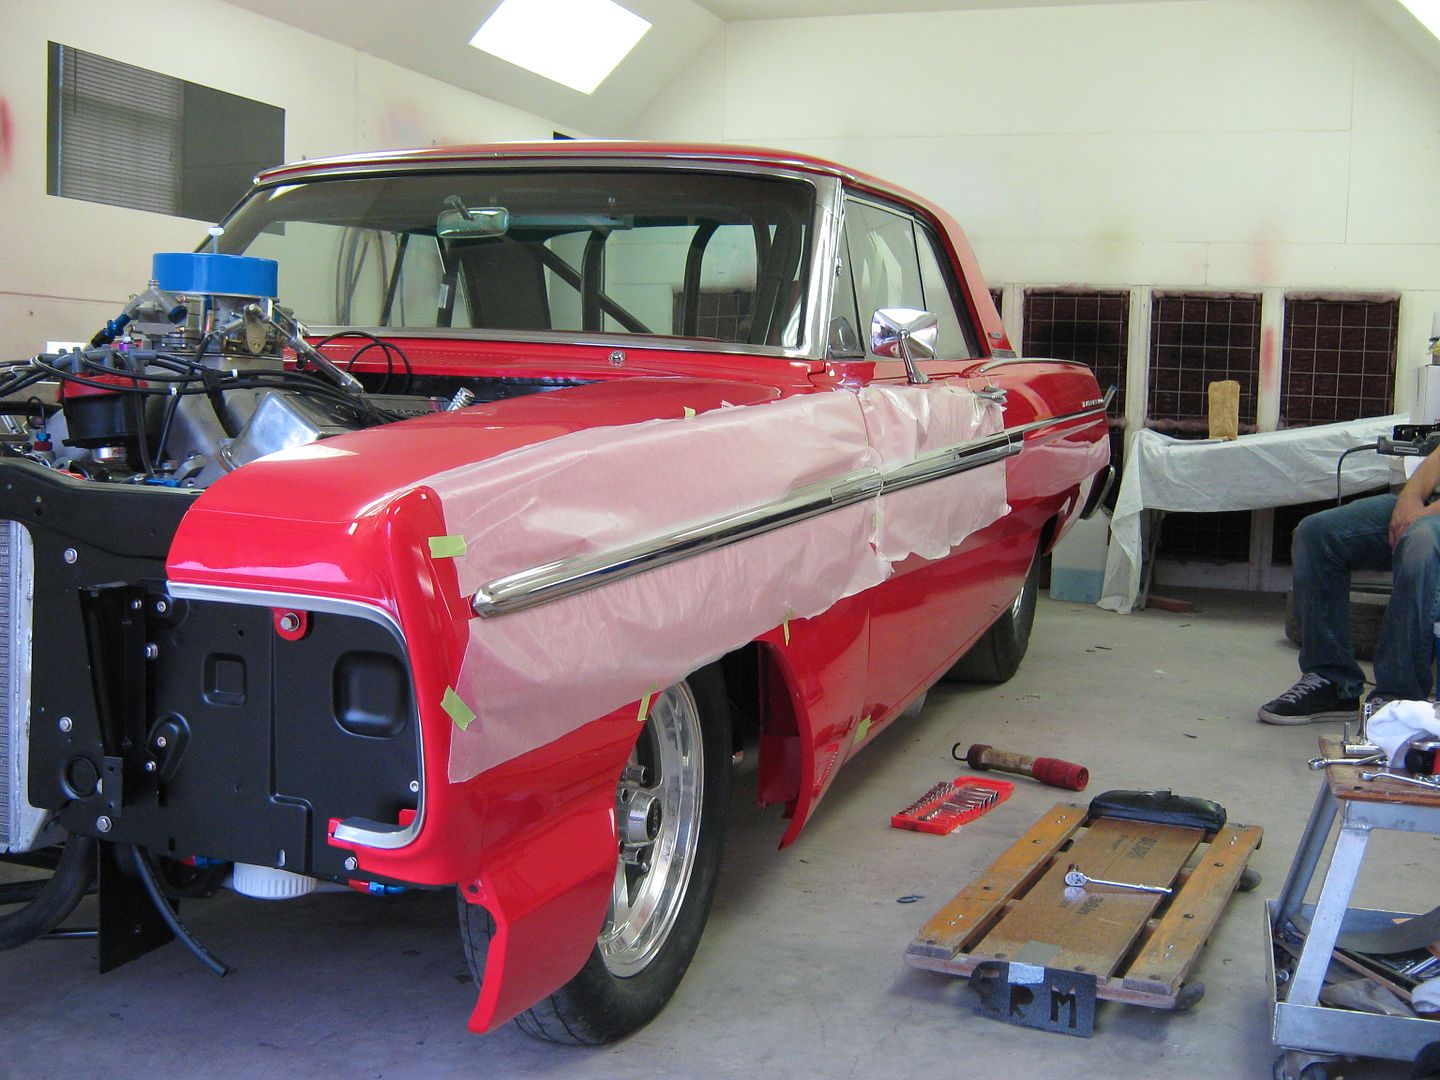
Pretty pleased with the door gaps. We'll see how well they stay that way once he get's racing....


Starting to take shape now!

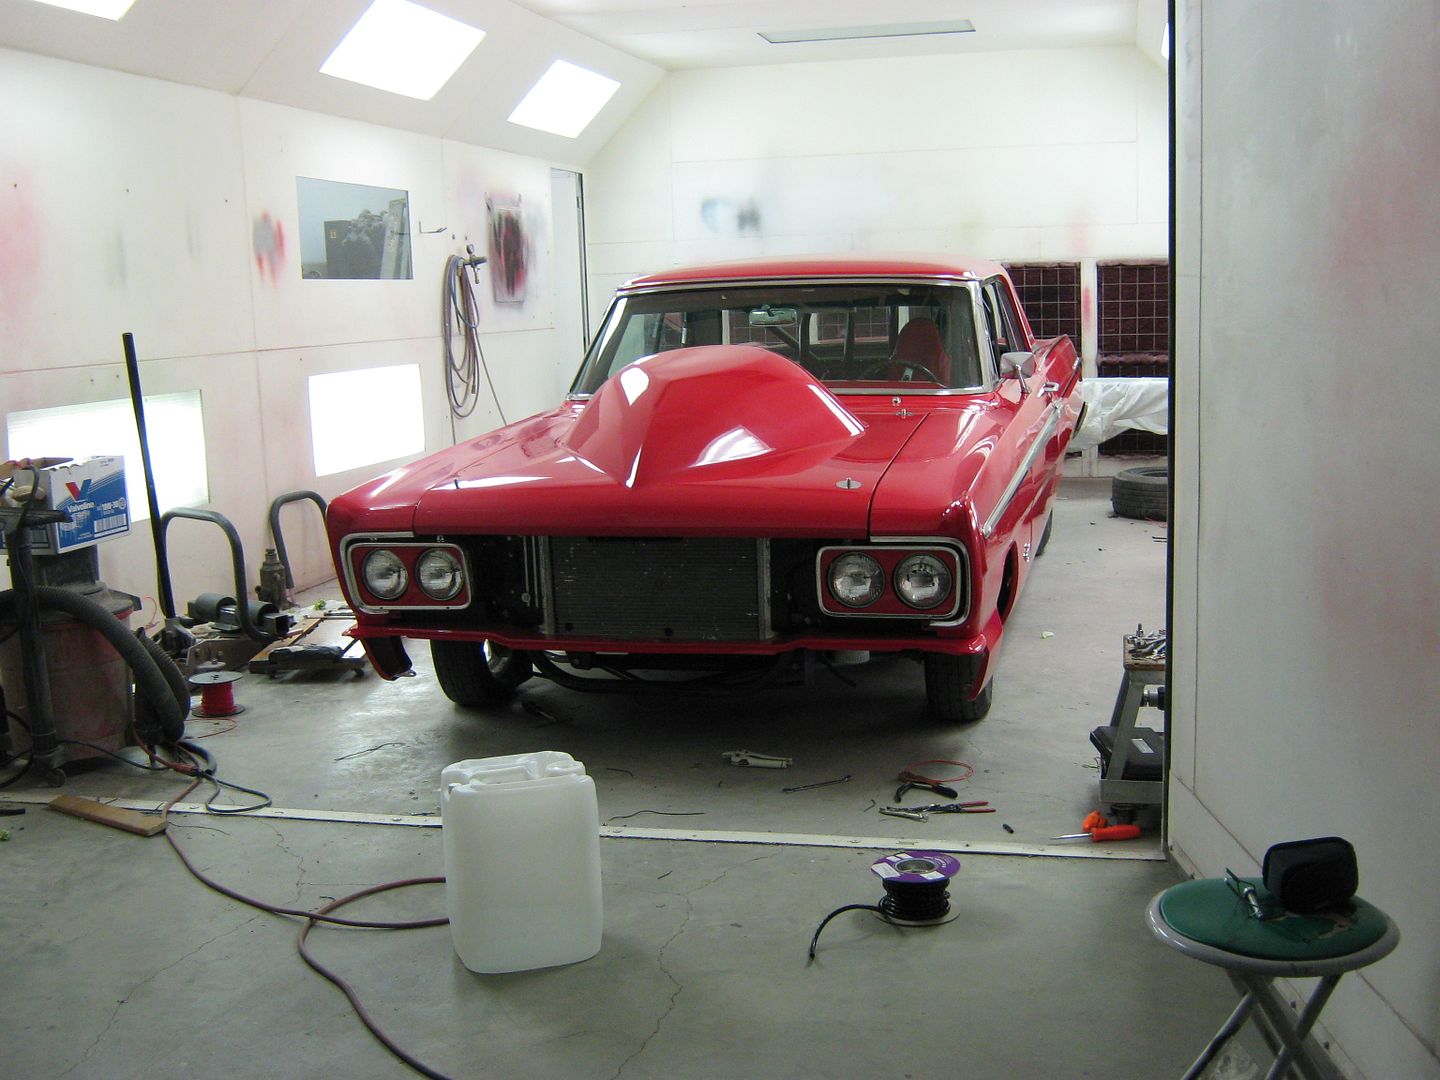
Still need to fine tune the gaps and tighten down the panels, then align the stainless down the sides.
Aligned the gaps on the front fenders, had to lower the core support slightly to close the door to fender gaps at the bottom. Aligned and tightened the stainless trim on the doors and front fenders, and installed the headlights. The low beams are the only ones hooked up, in case the return lane is dark....


-
02-10-2012 07:32 PM #28
CHR Member
- Join Date
- Sep 2006
- Location
- New Lenox
- Car Year, Make, Model: 67 Mstg cpe , 37 Ford Coupe
- Posts
- 2,787
Besides being one great transformation , the tech is helpful right down to the what it needed .
-
02-11-2012 04:30 AM #29
CHR Member/Contributor
- Join Date
- Jul 2003
- Location
- Madison
- Car Year, Make, Model: '67 Ranchero, '57 Chevy, '82 Camaro,
- Posts
- 21,160
Nice thread and a really good looking, nicely built Fairlane!Yesterday is history, tomorrow is a mystery, Live for Today!
Carroll Shelby
Learning must be difficult for those who already know it all!!!!
-
02-11-2012 04:48 AM #30
CHR Member
- Join Date
- Sep 2007
- Location
- New Bedford
- Car Year, Make, Model: 34 Ford 3W Coupe Replica
- Posts
- 14,754
It looks perfect! 'cept for that hood... imho...
 Reply With Quote

Tags for this Thread
Posting Permissions
- You may not post new threads
- You may not post replies
- You may not post attachments
- You may not edit your posts

i've enjoyed the years here . made a lot of friends. most who have left. i see no reason to continue with this so hope to see you somewhere else. i dont think this site will ever be back. it's lived...
Dead!